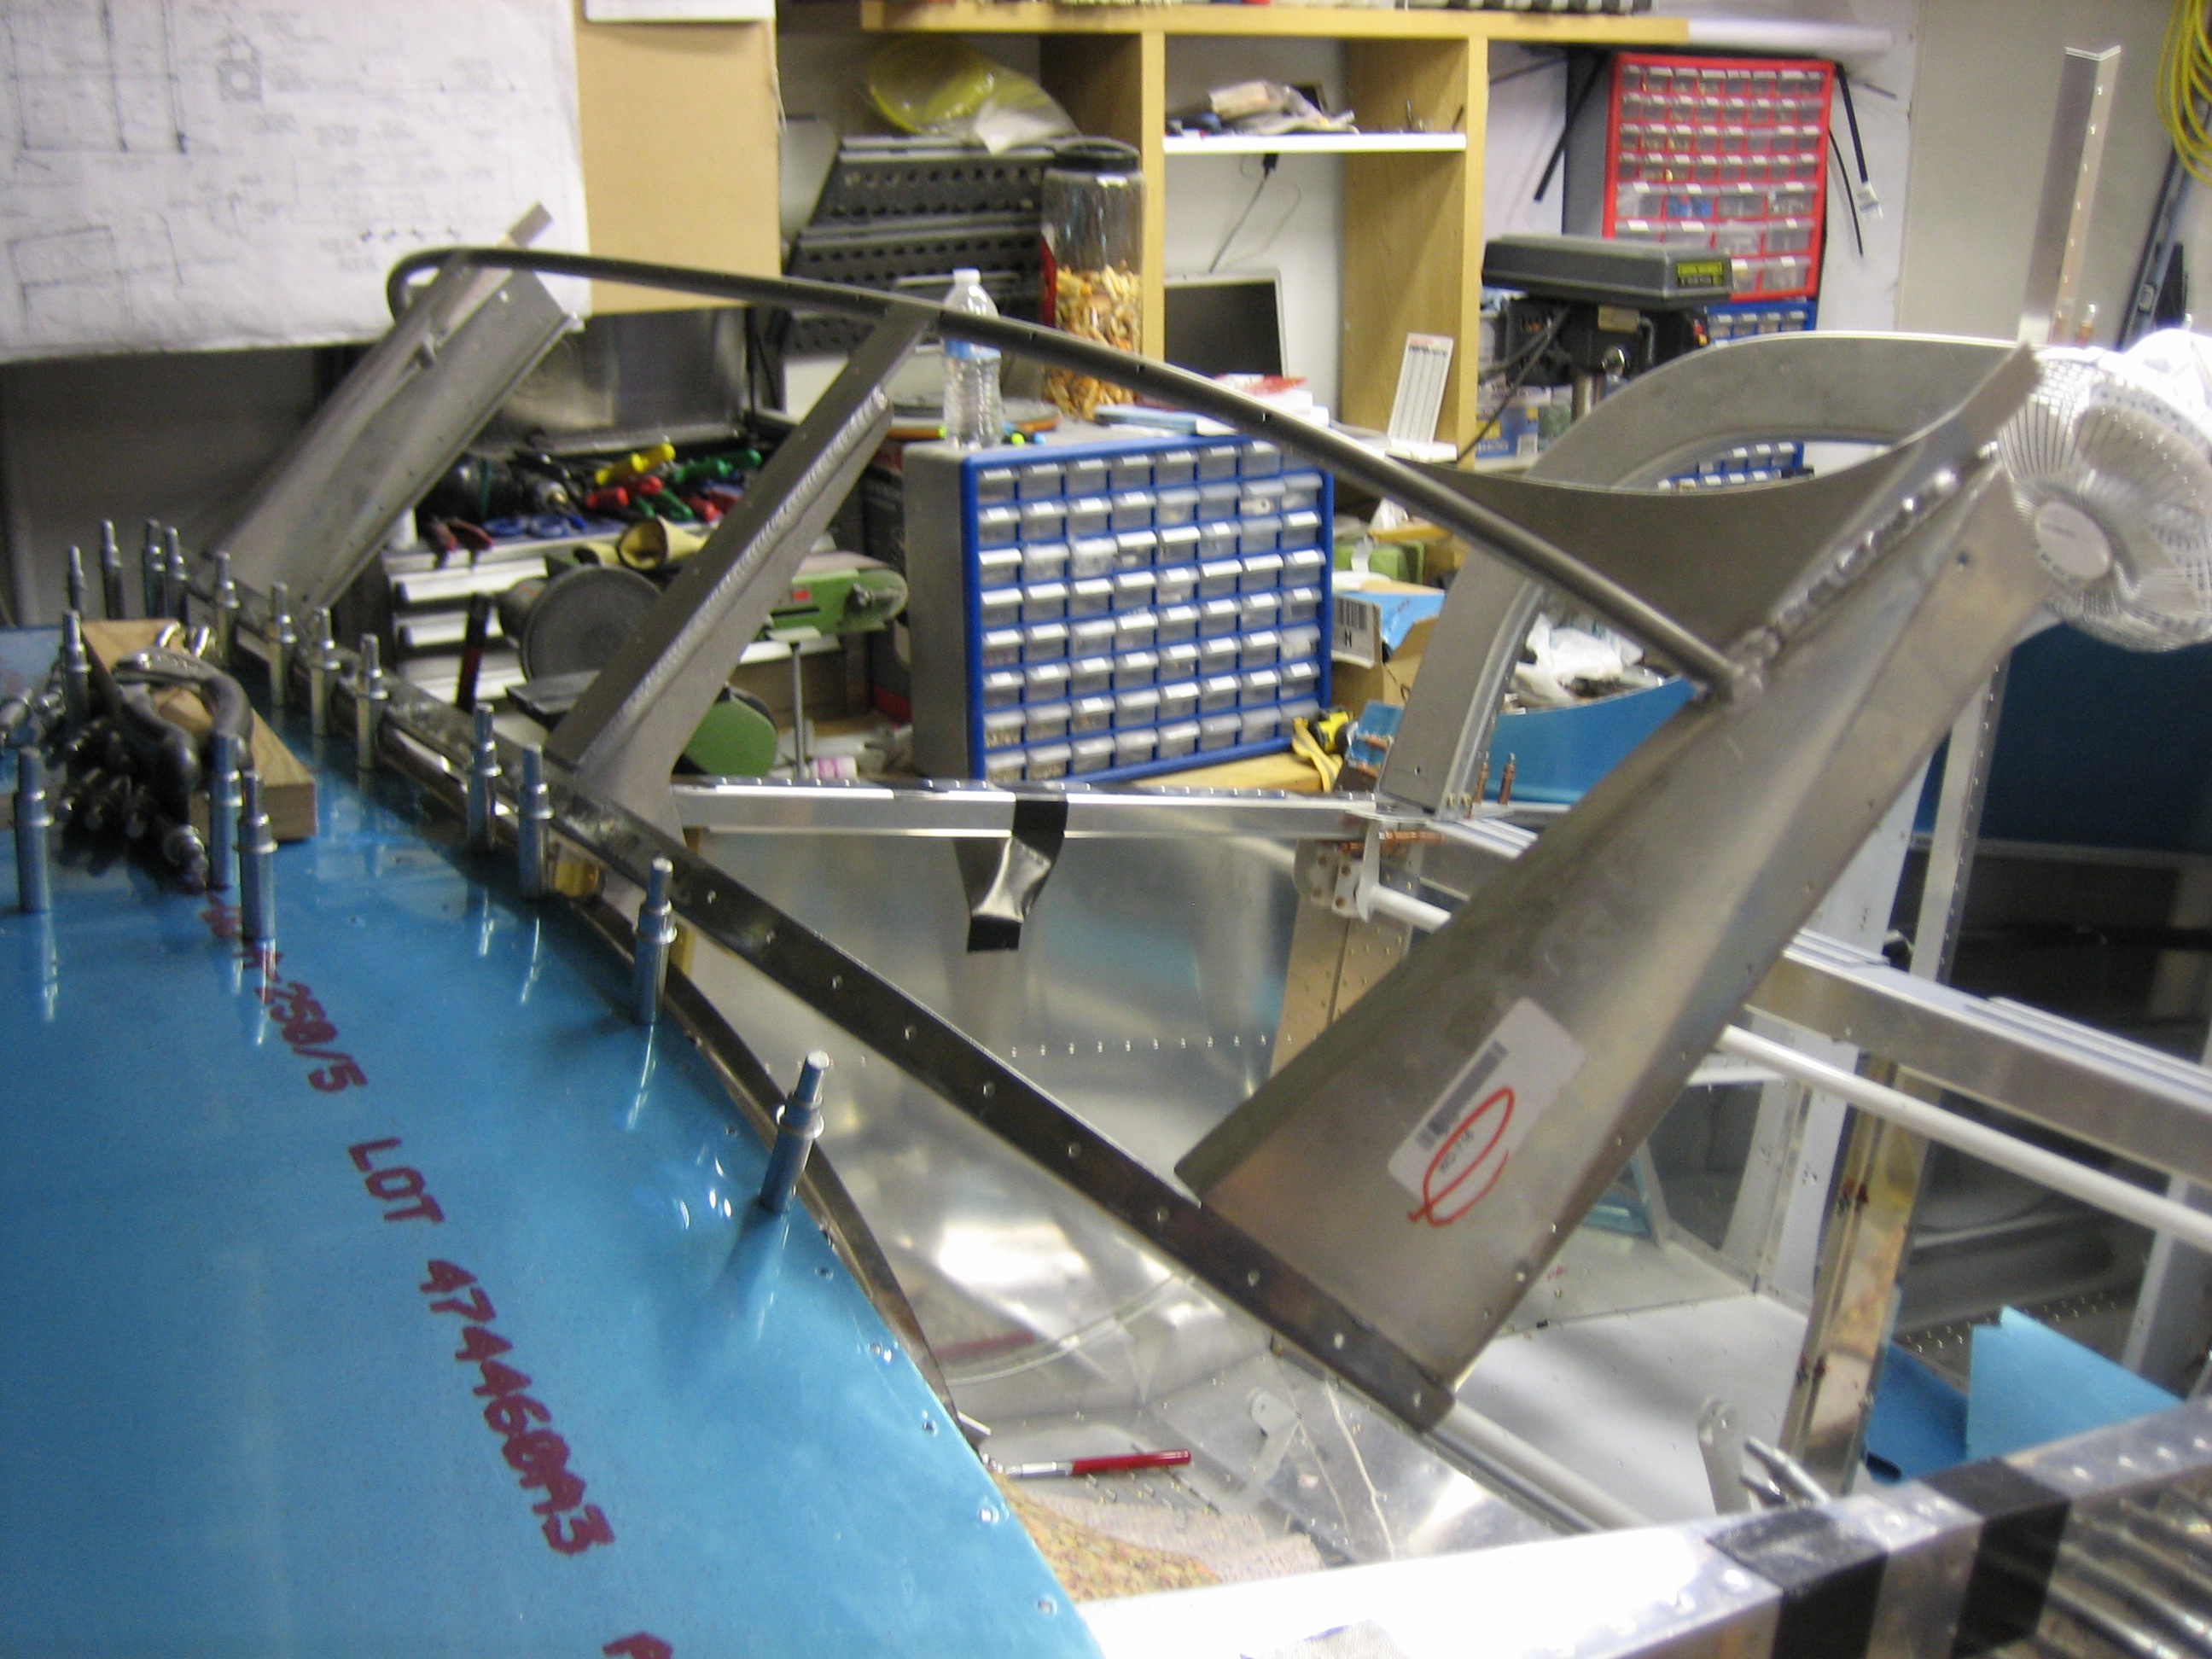
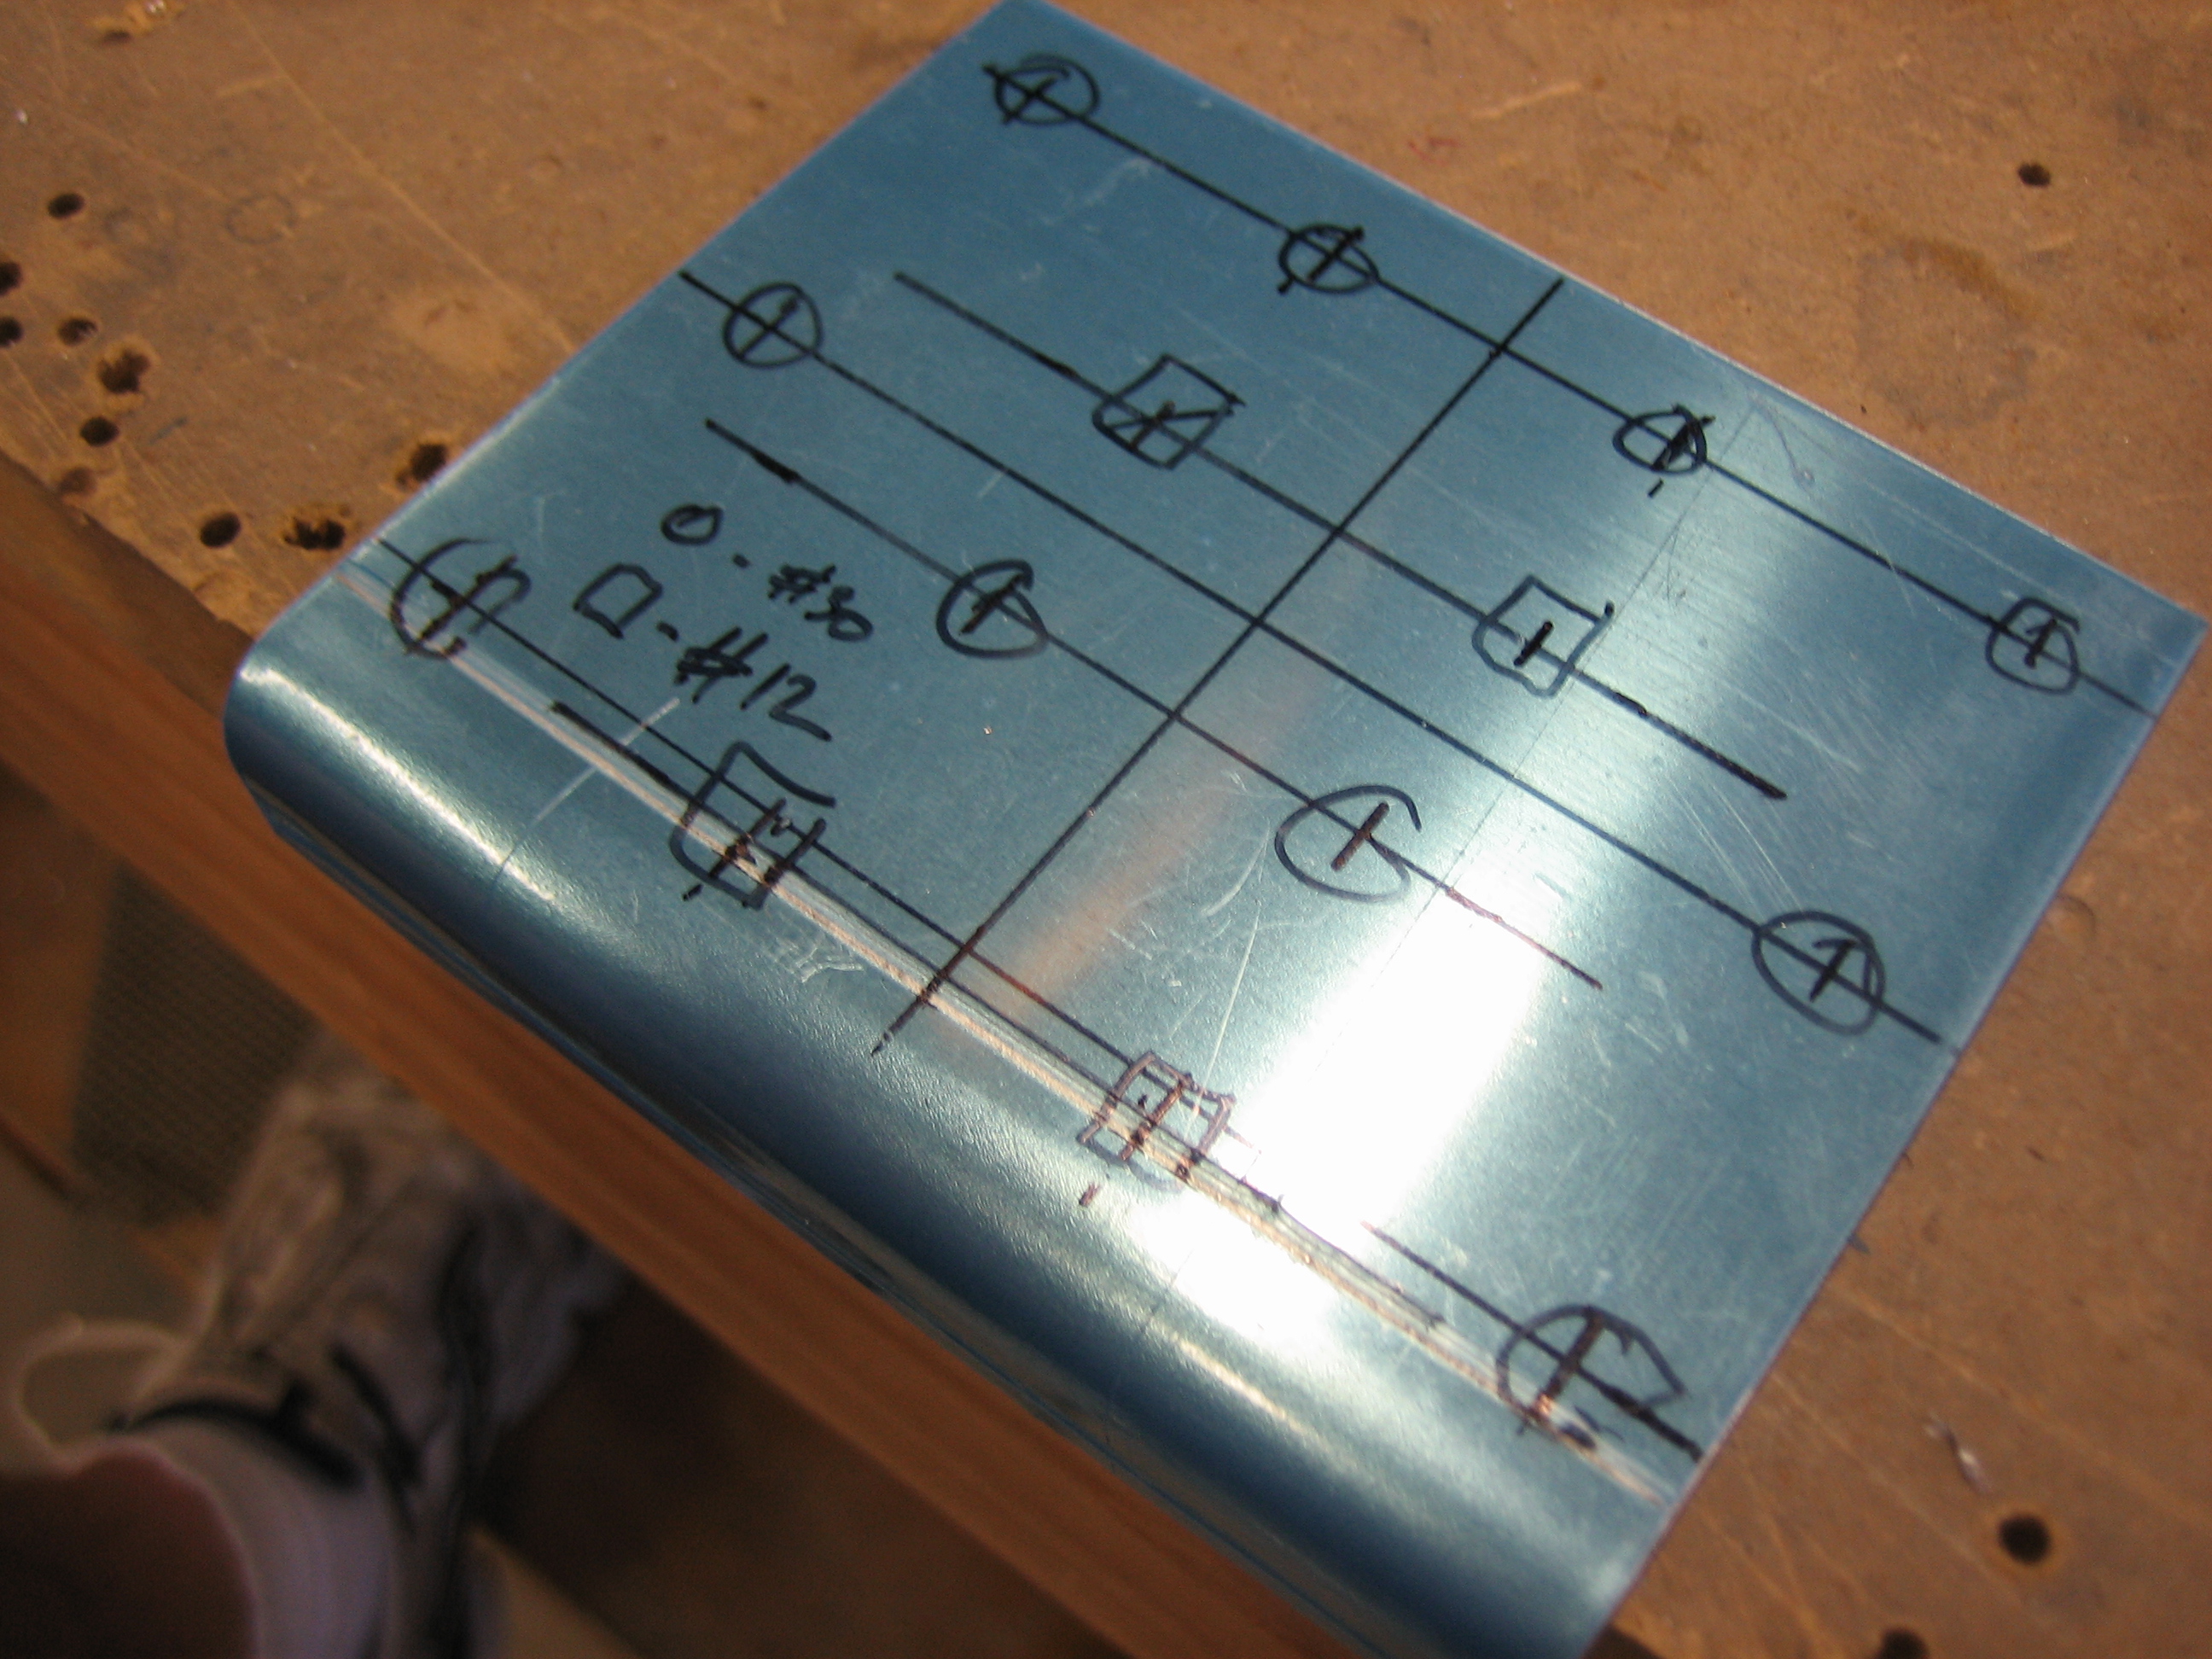
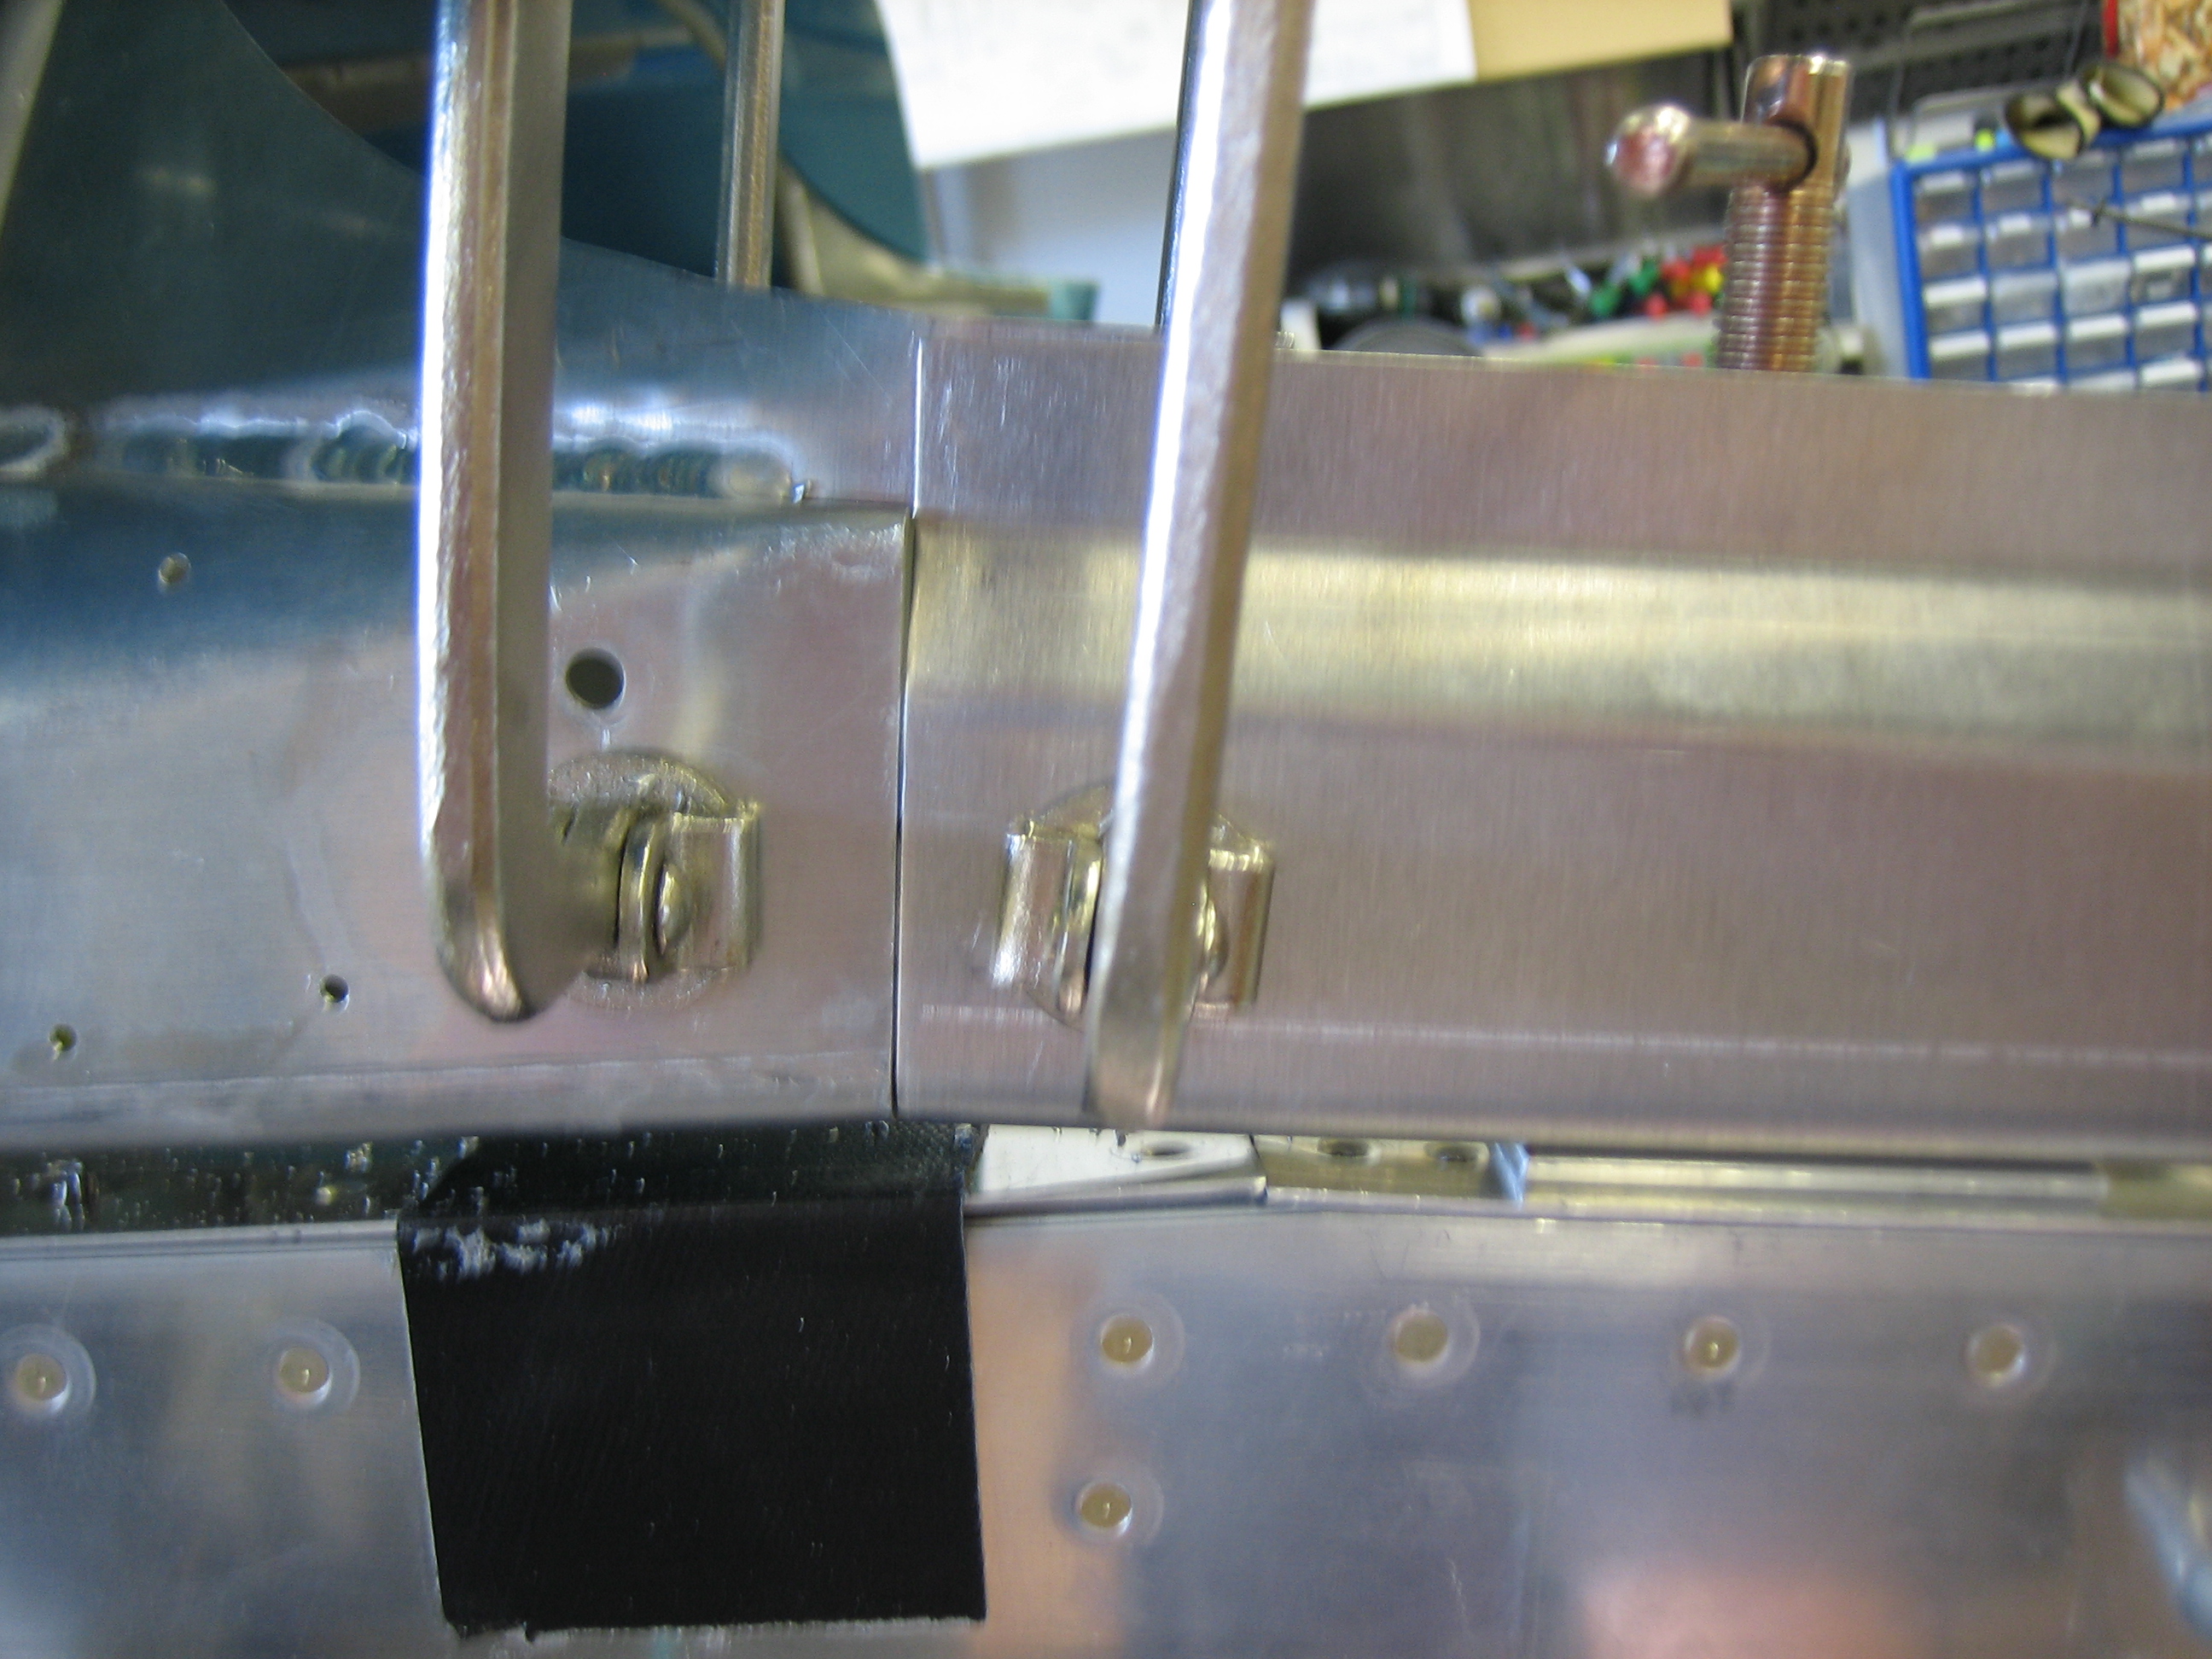
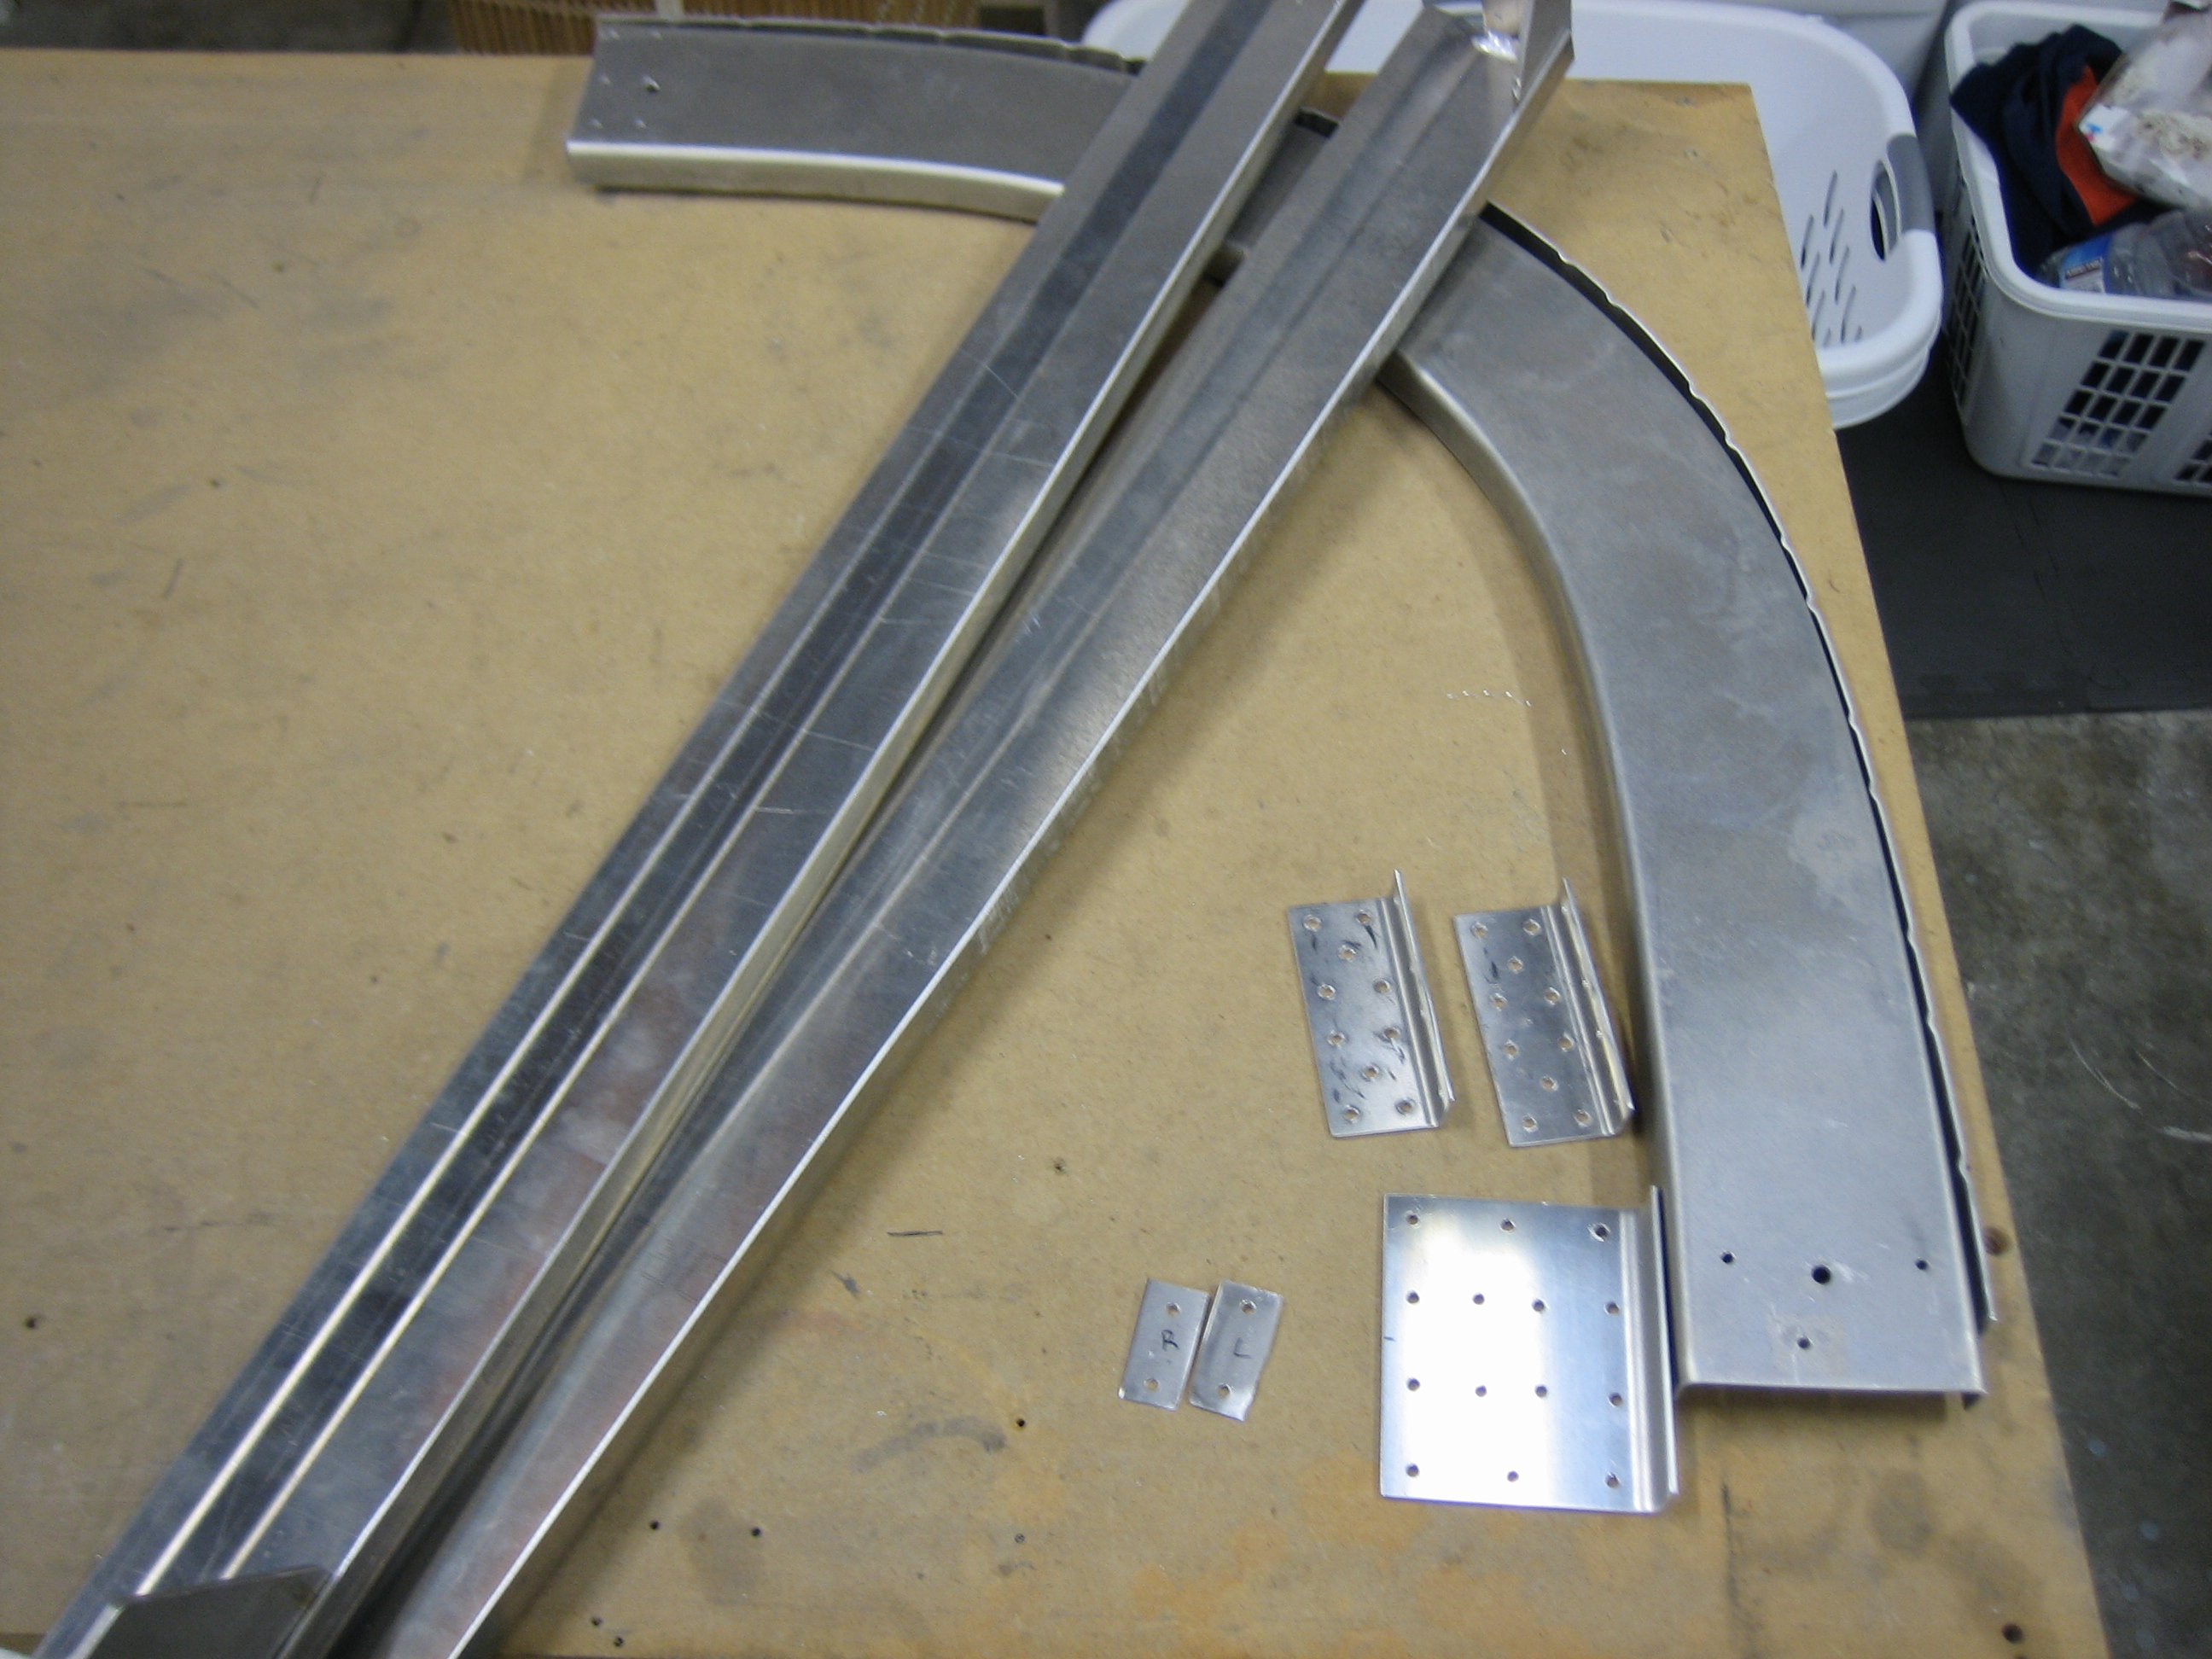
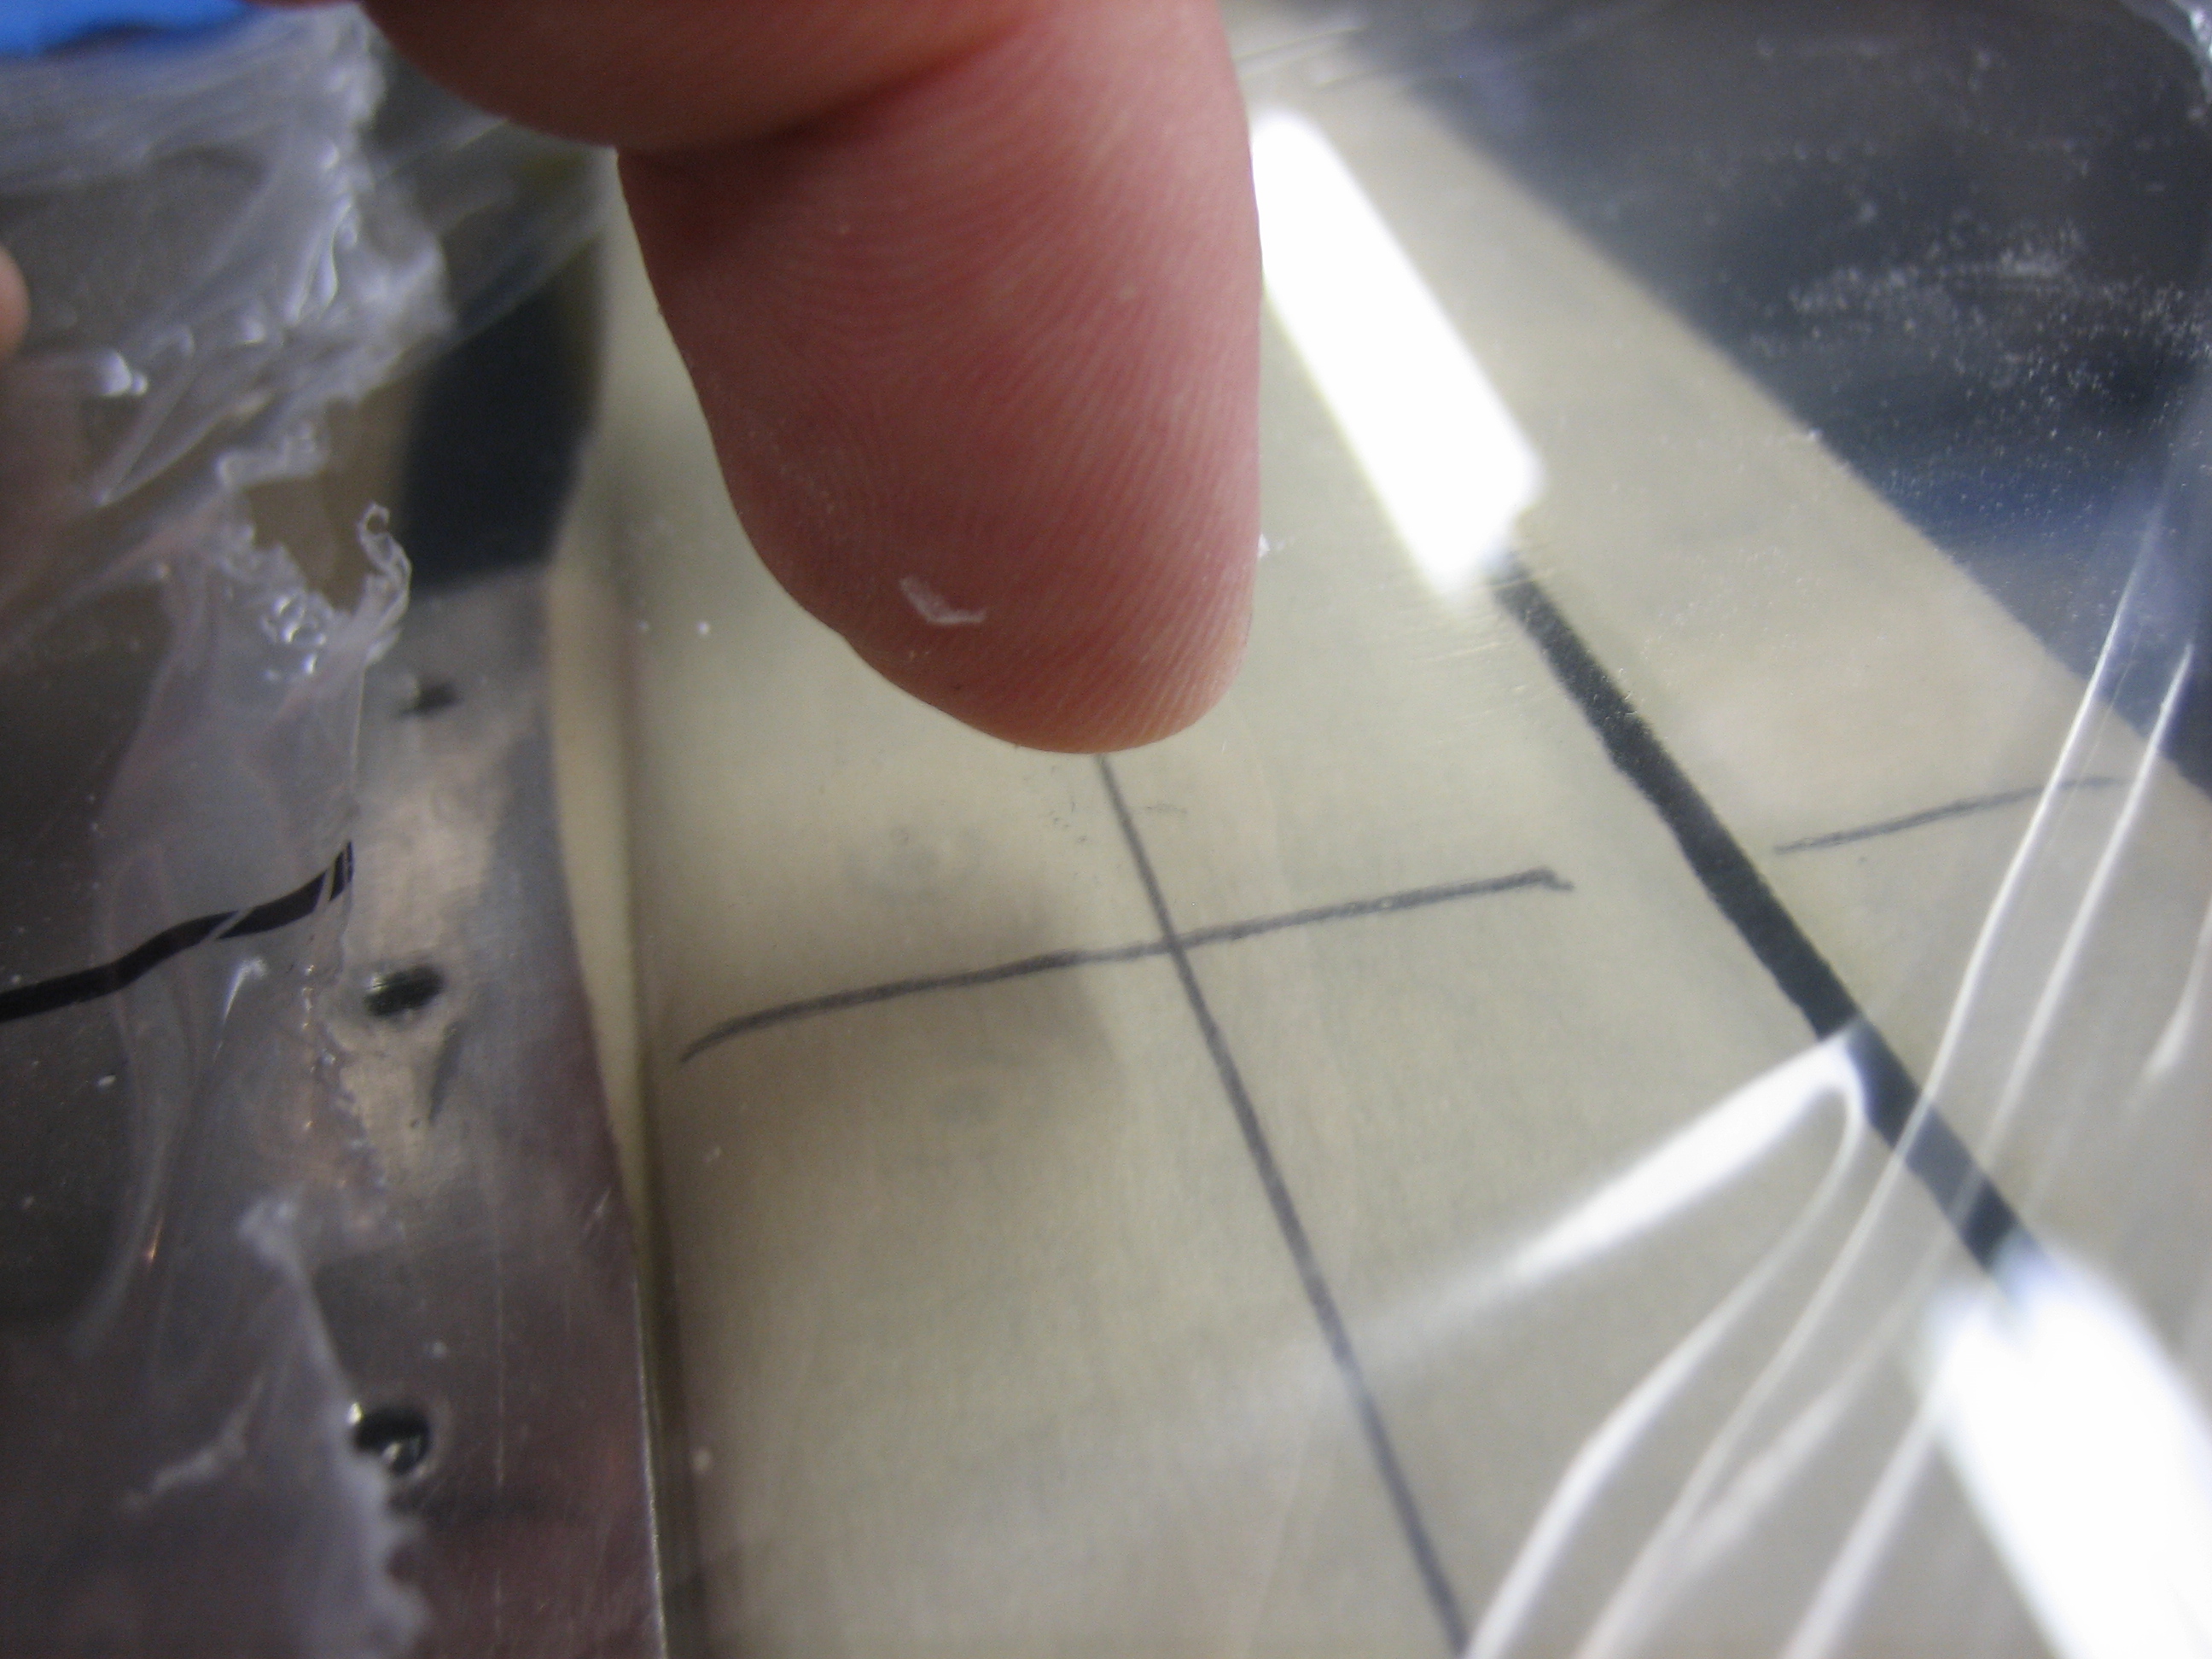
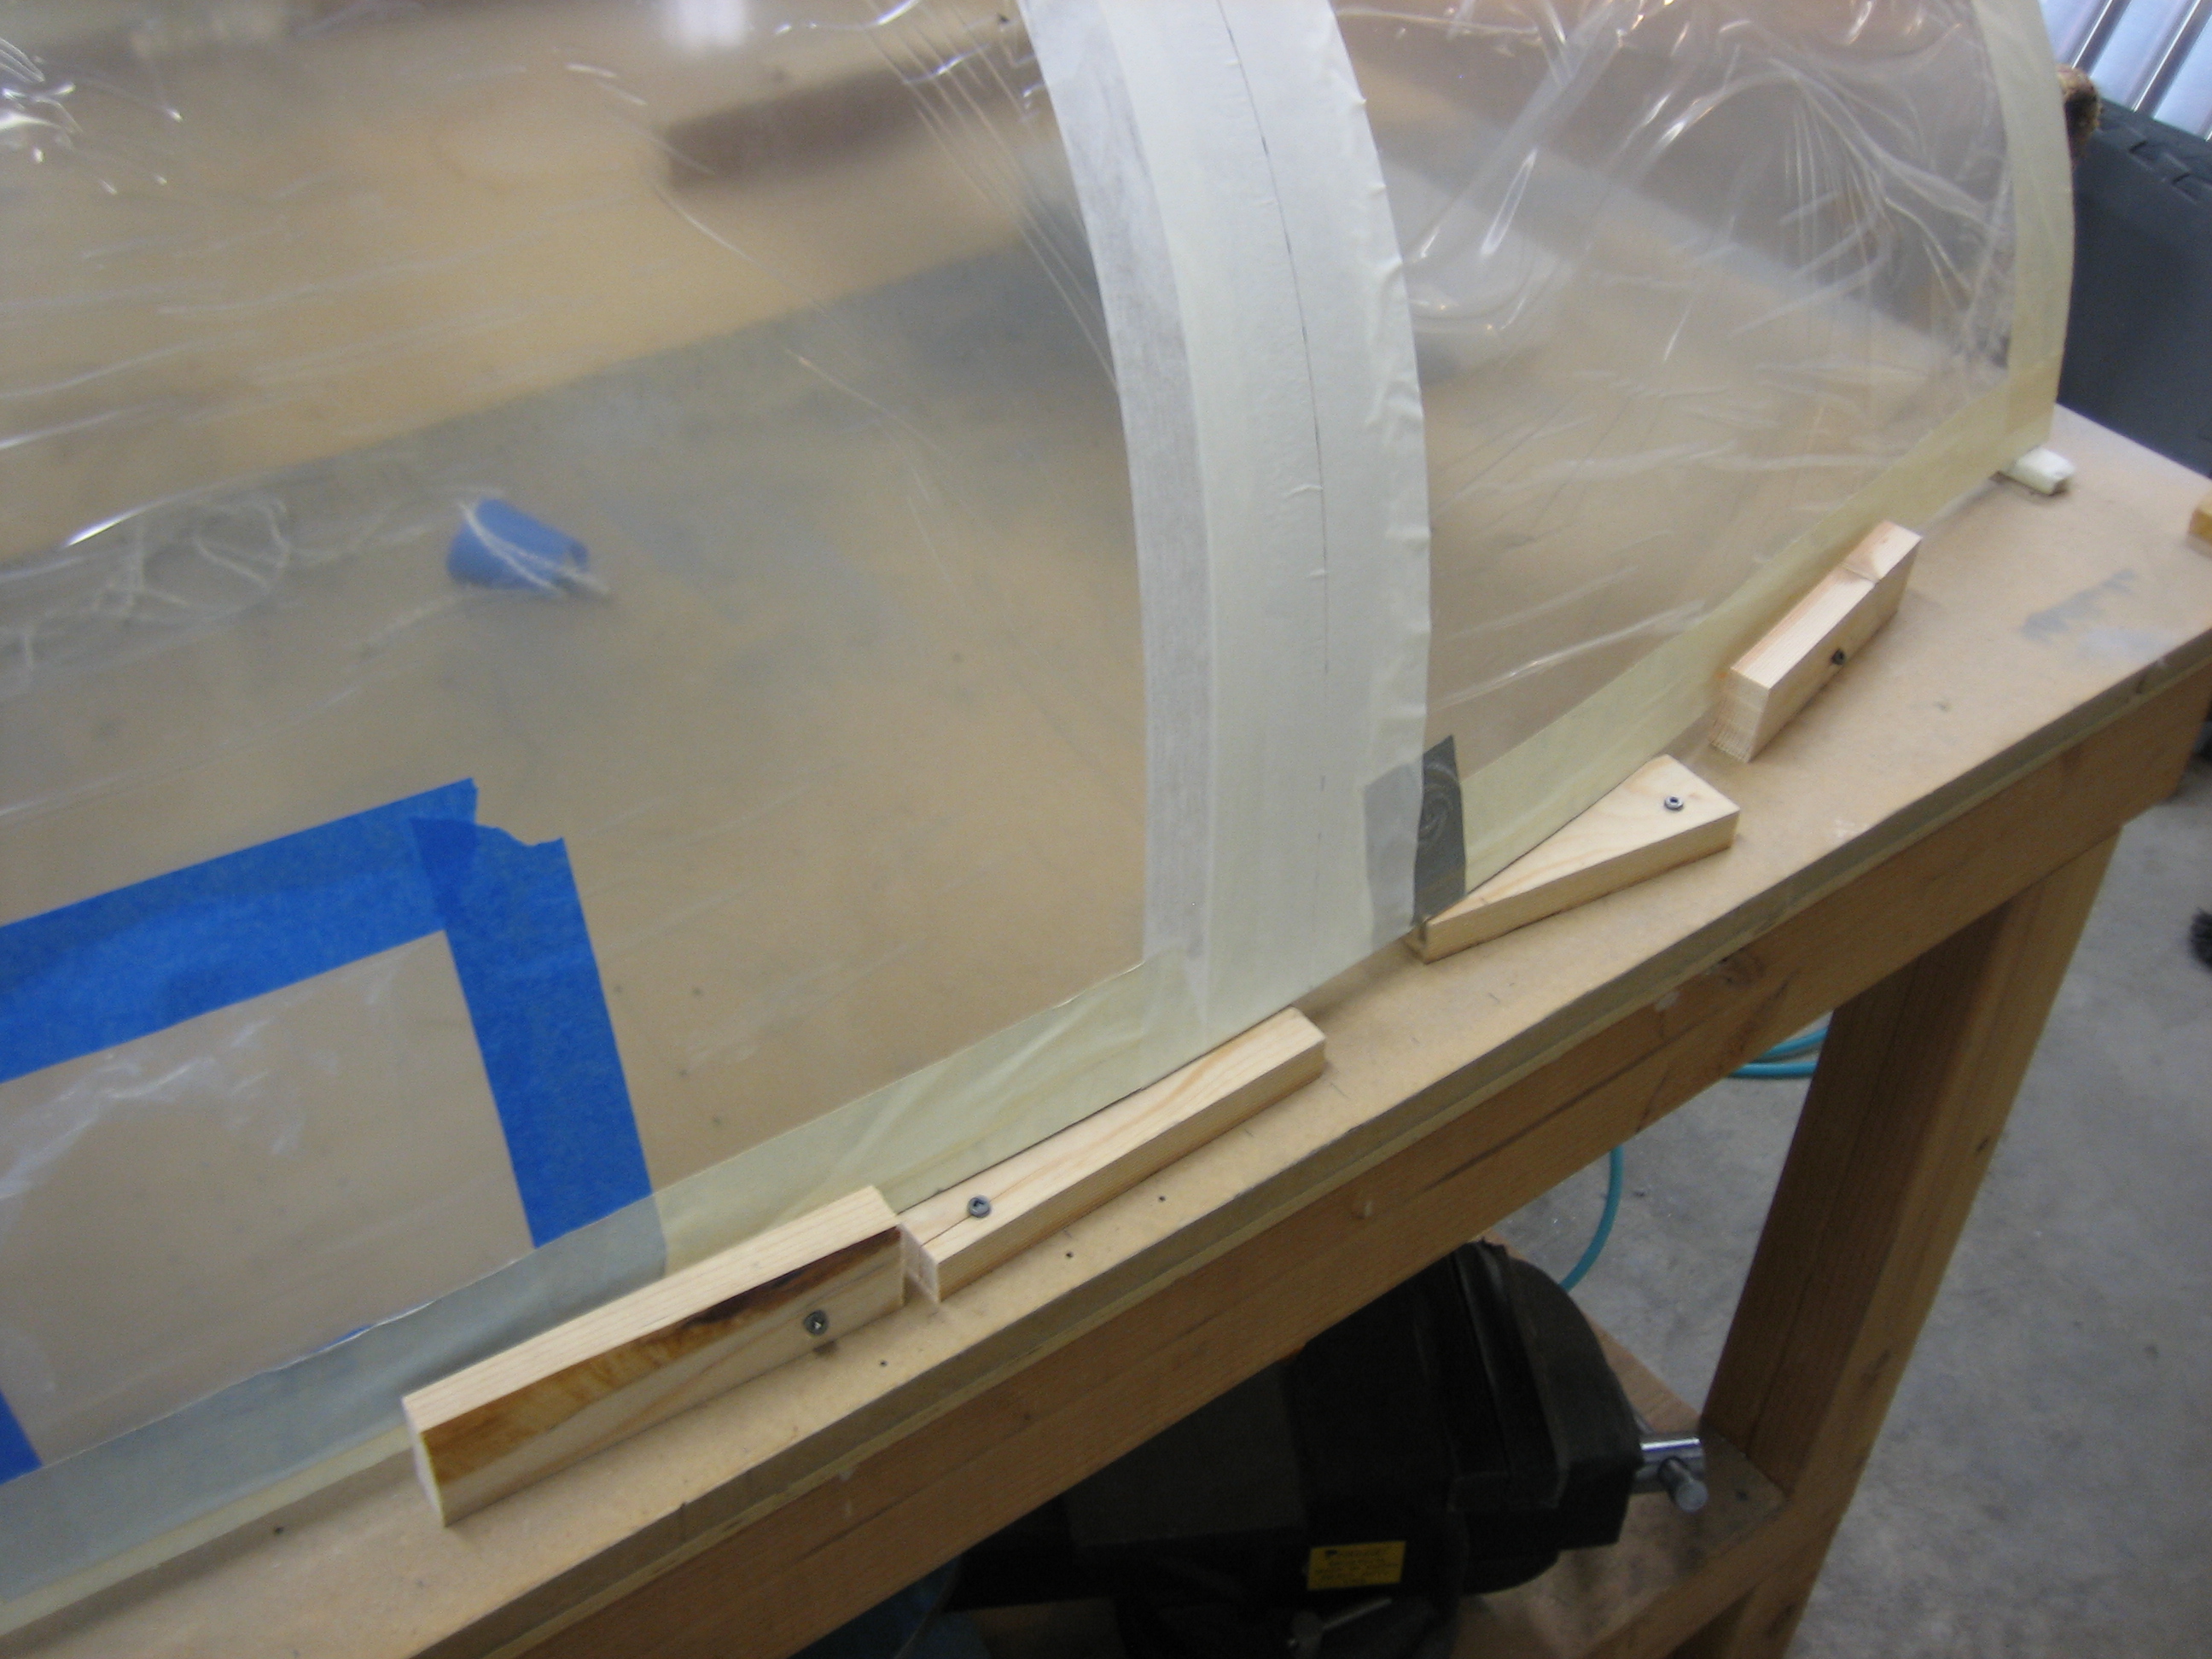
I drilled the channel to the flanges on the hinge bracket. I then disassembled the frame and deburred everything and countersunk all of the holes on the forward face of the channel. You can also see the little target I drew on the hinge arms. Once I get the canopy frame in position, I can look through the holes in the hinge blocks. As long as I don’t see any of the red line, I will have plenty of edge clearance on the pivot hole.
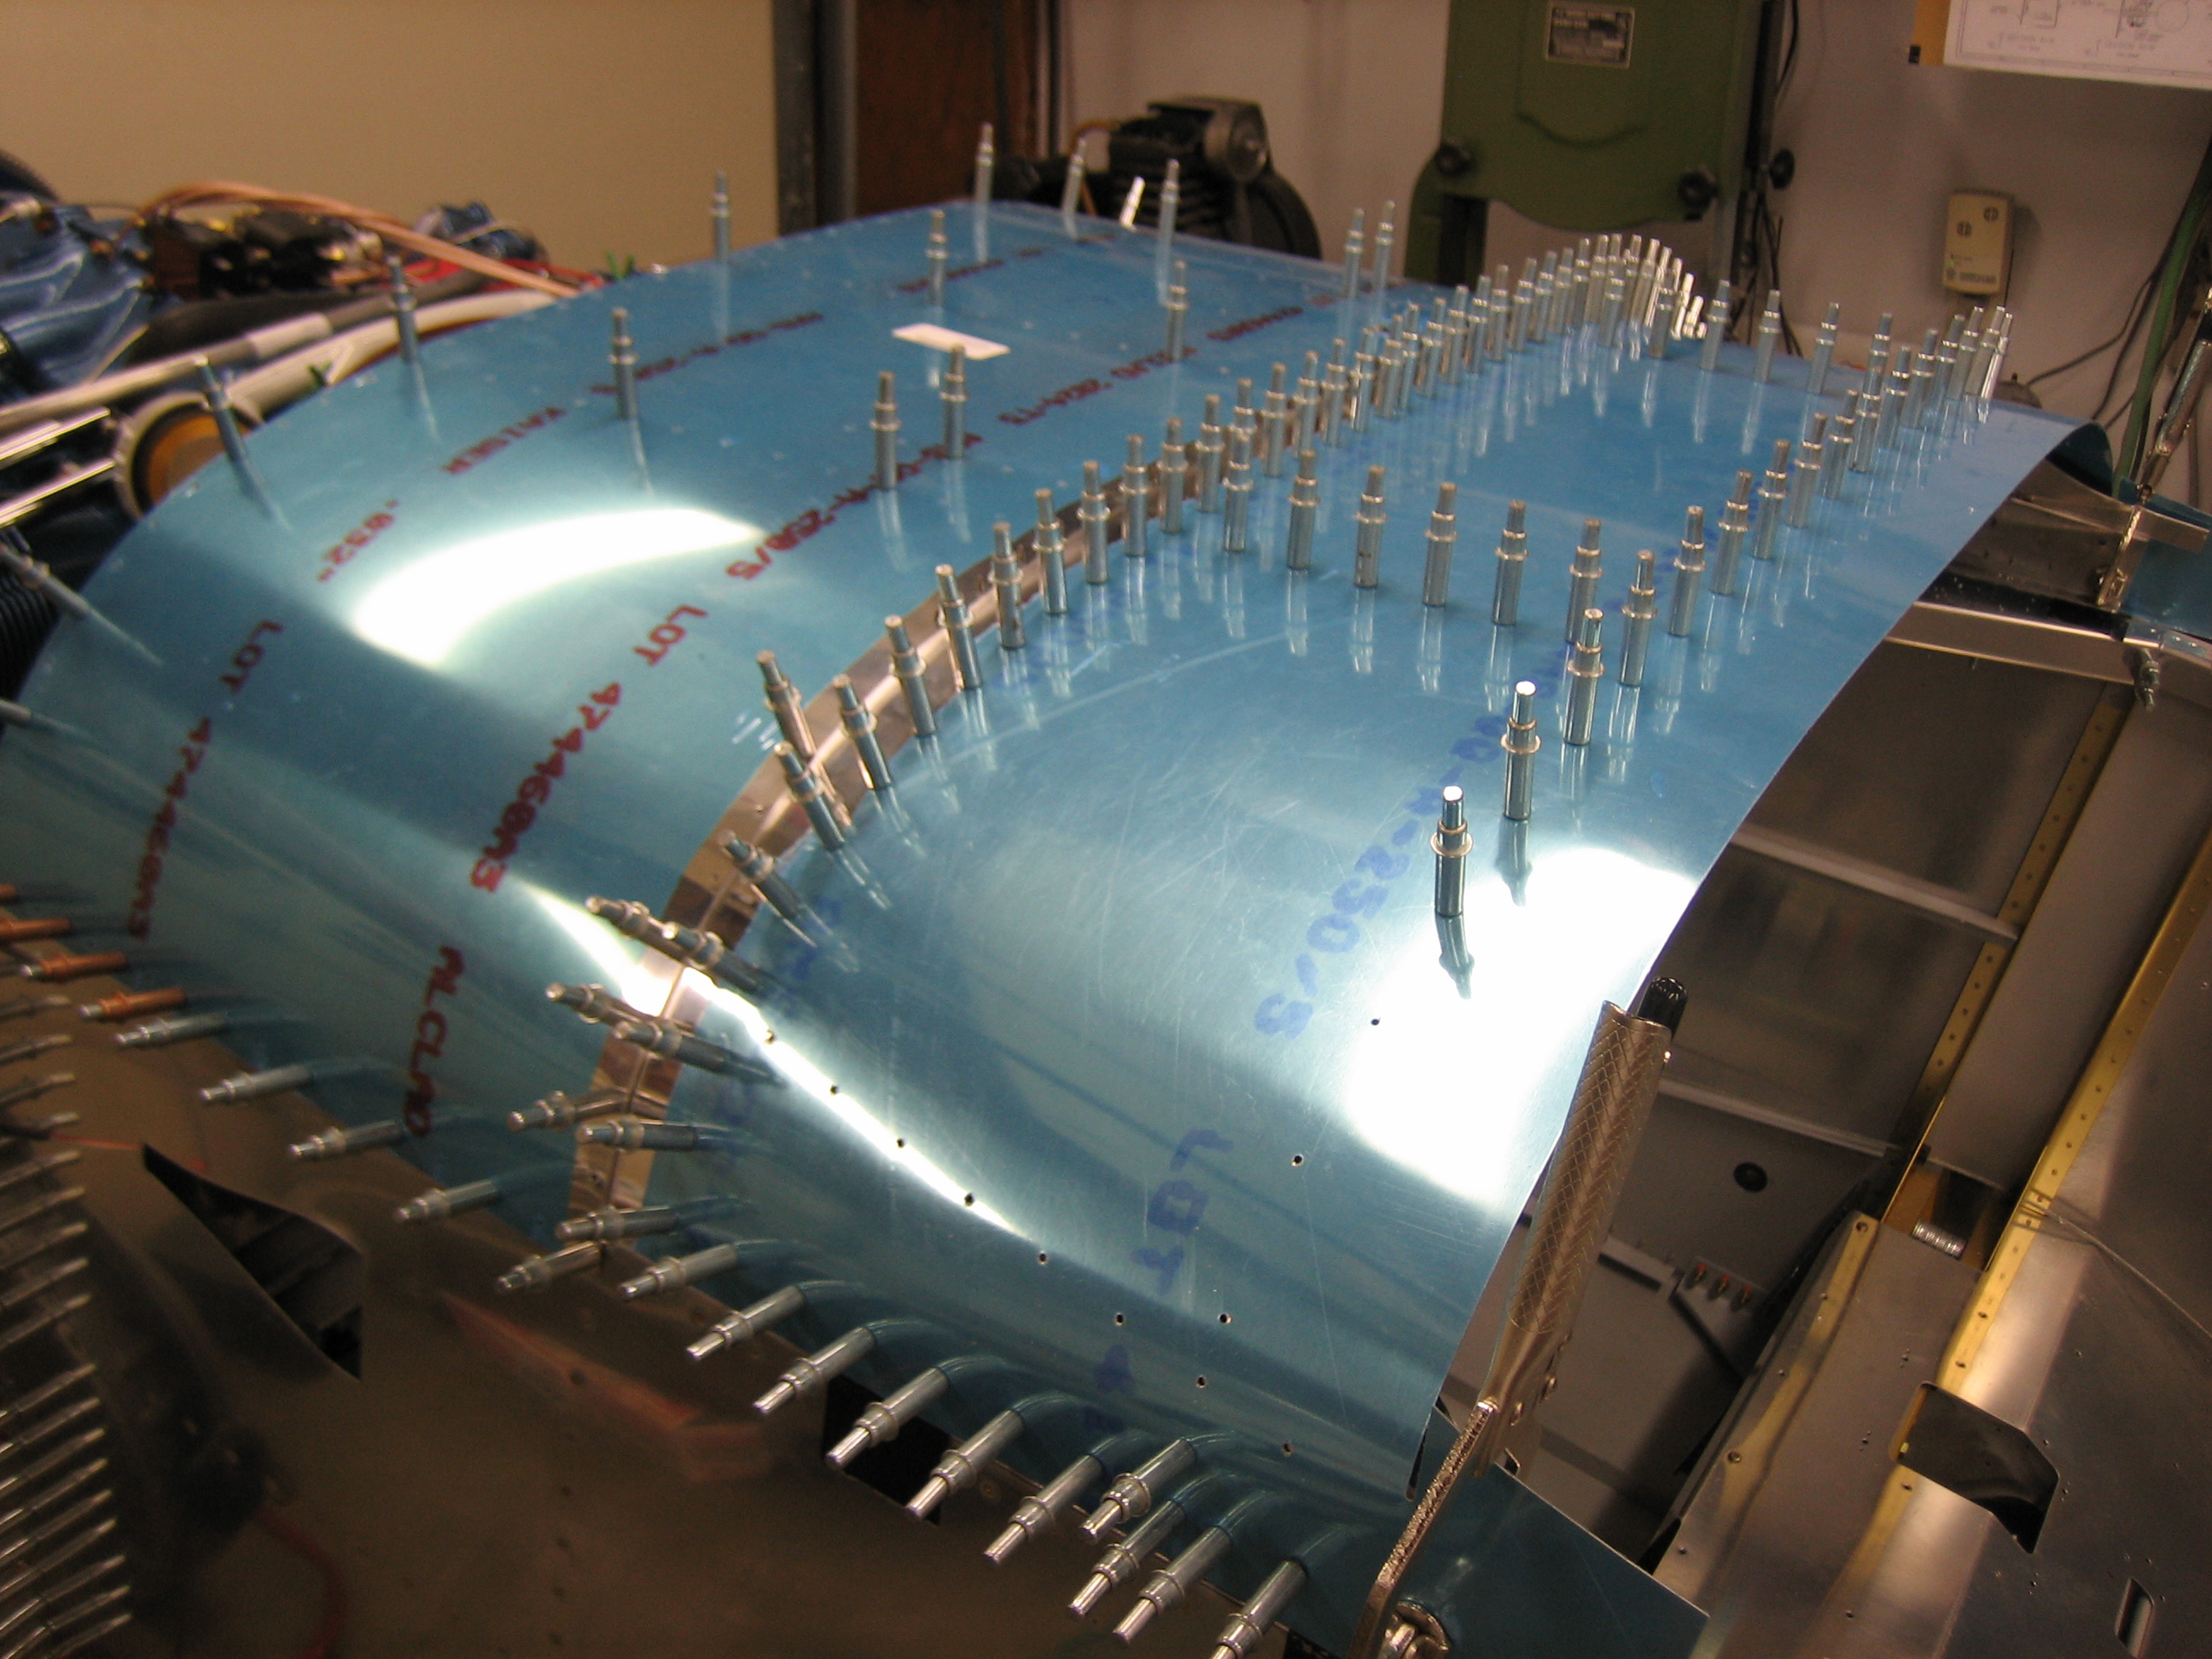
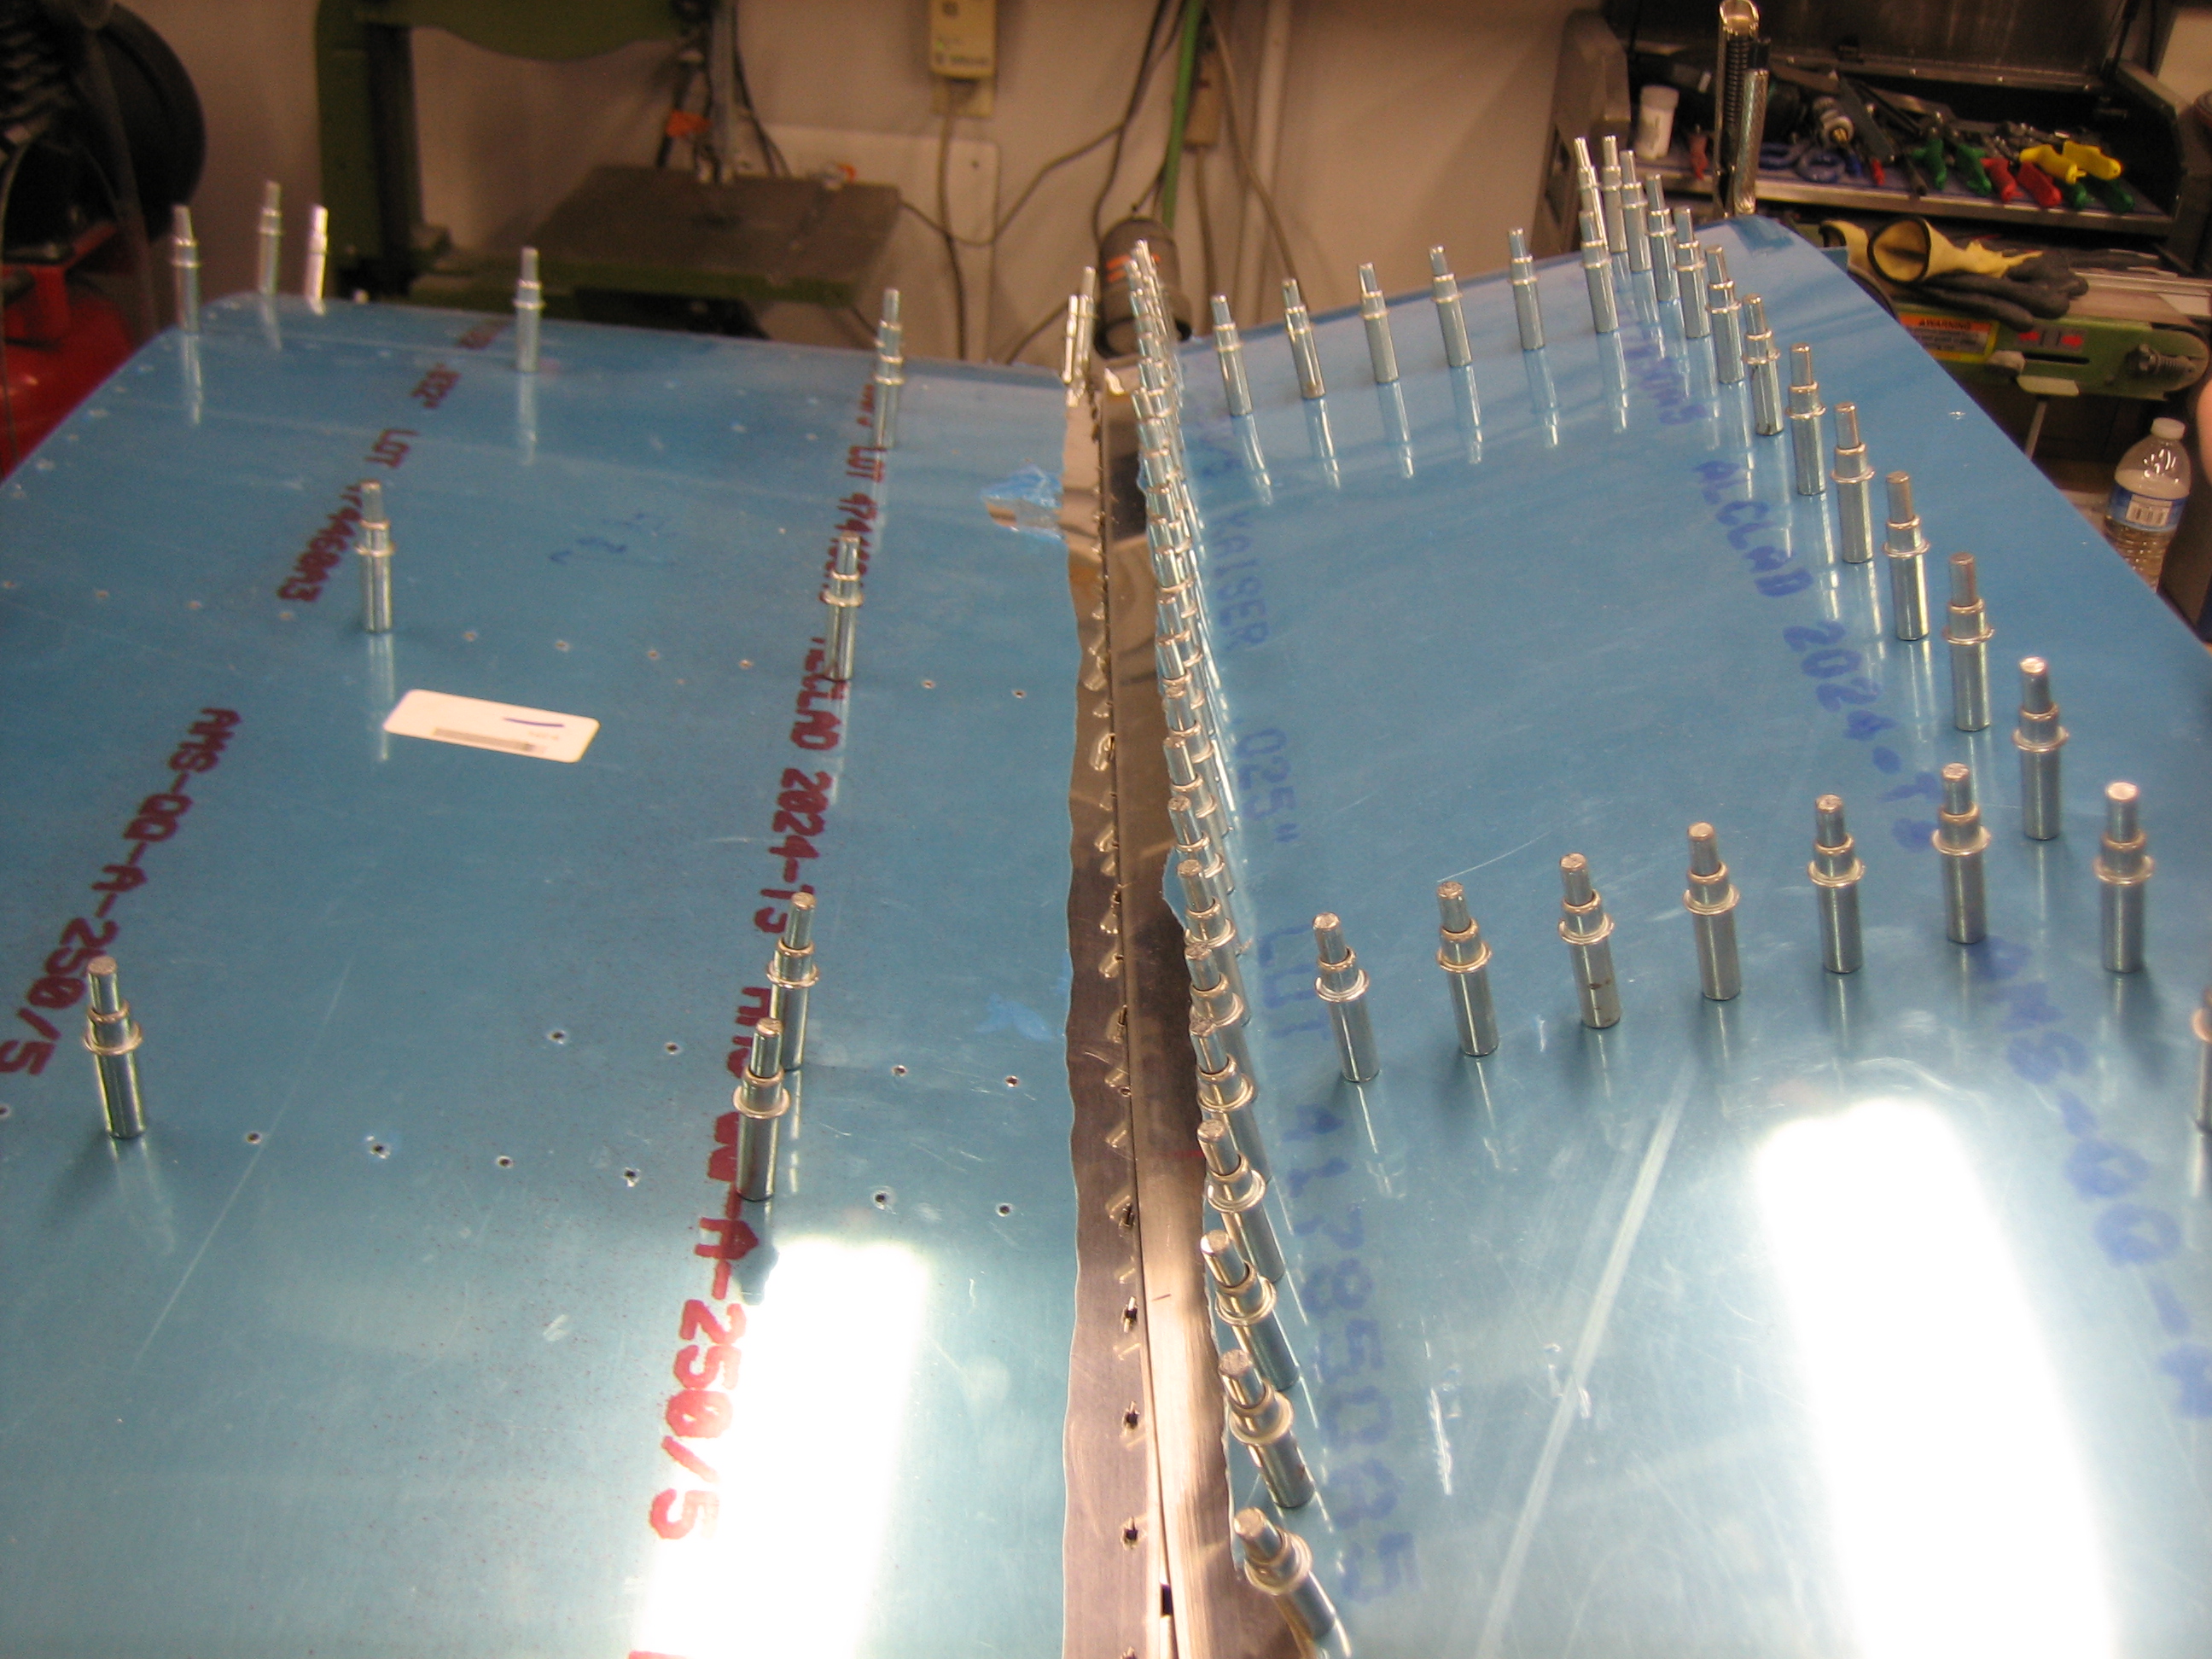
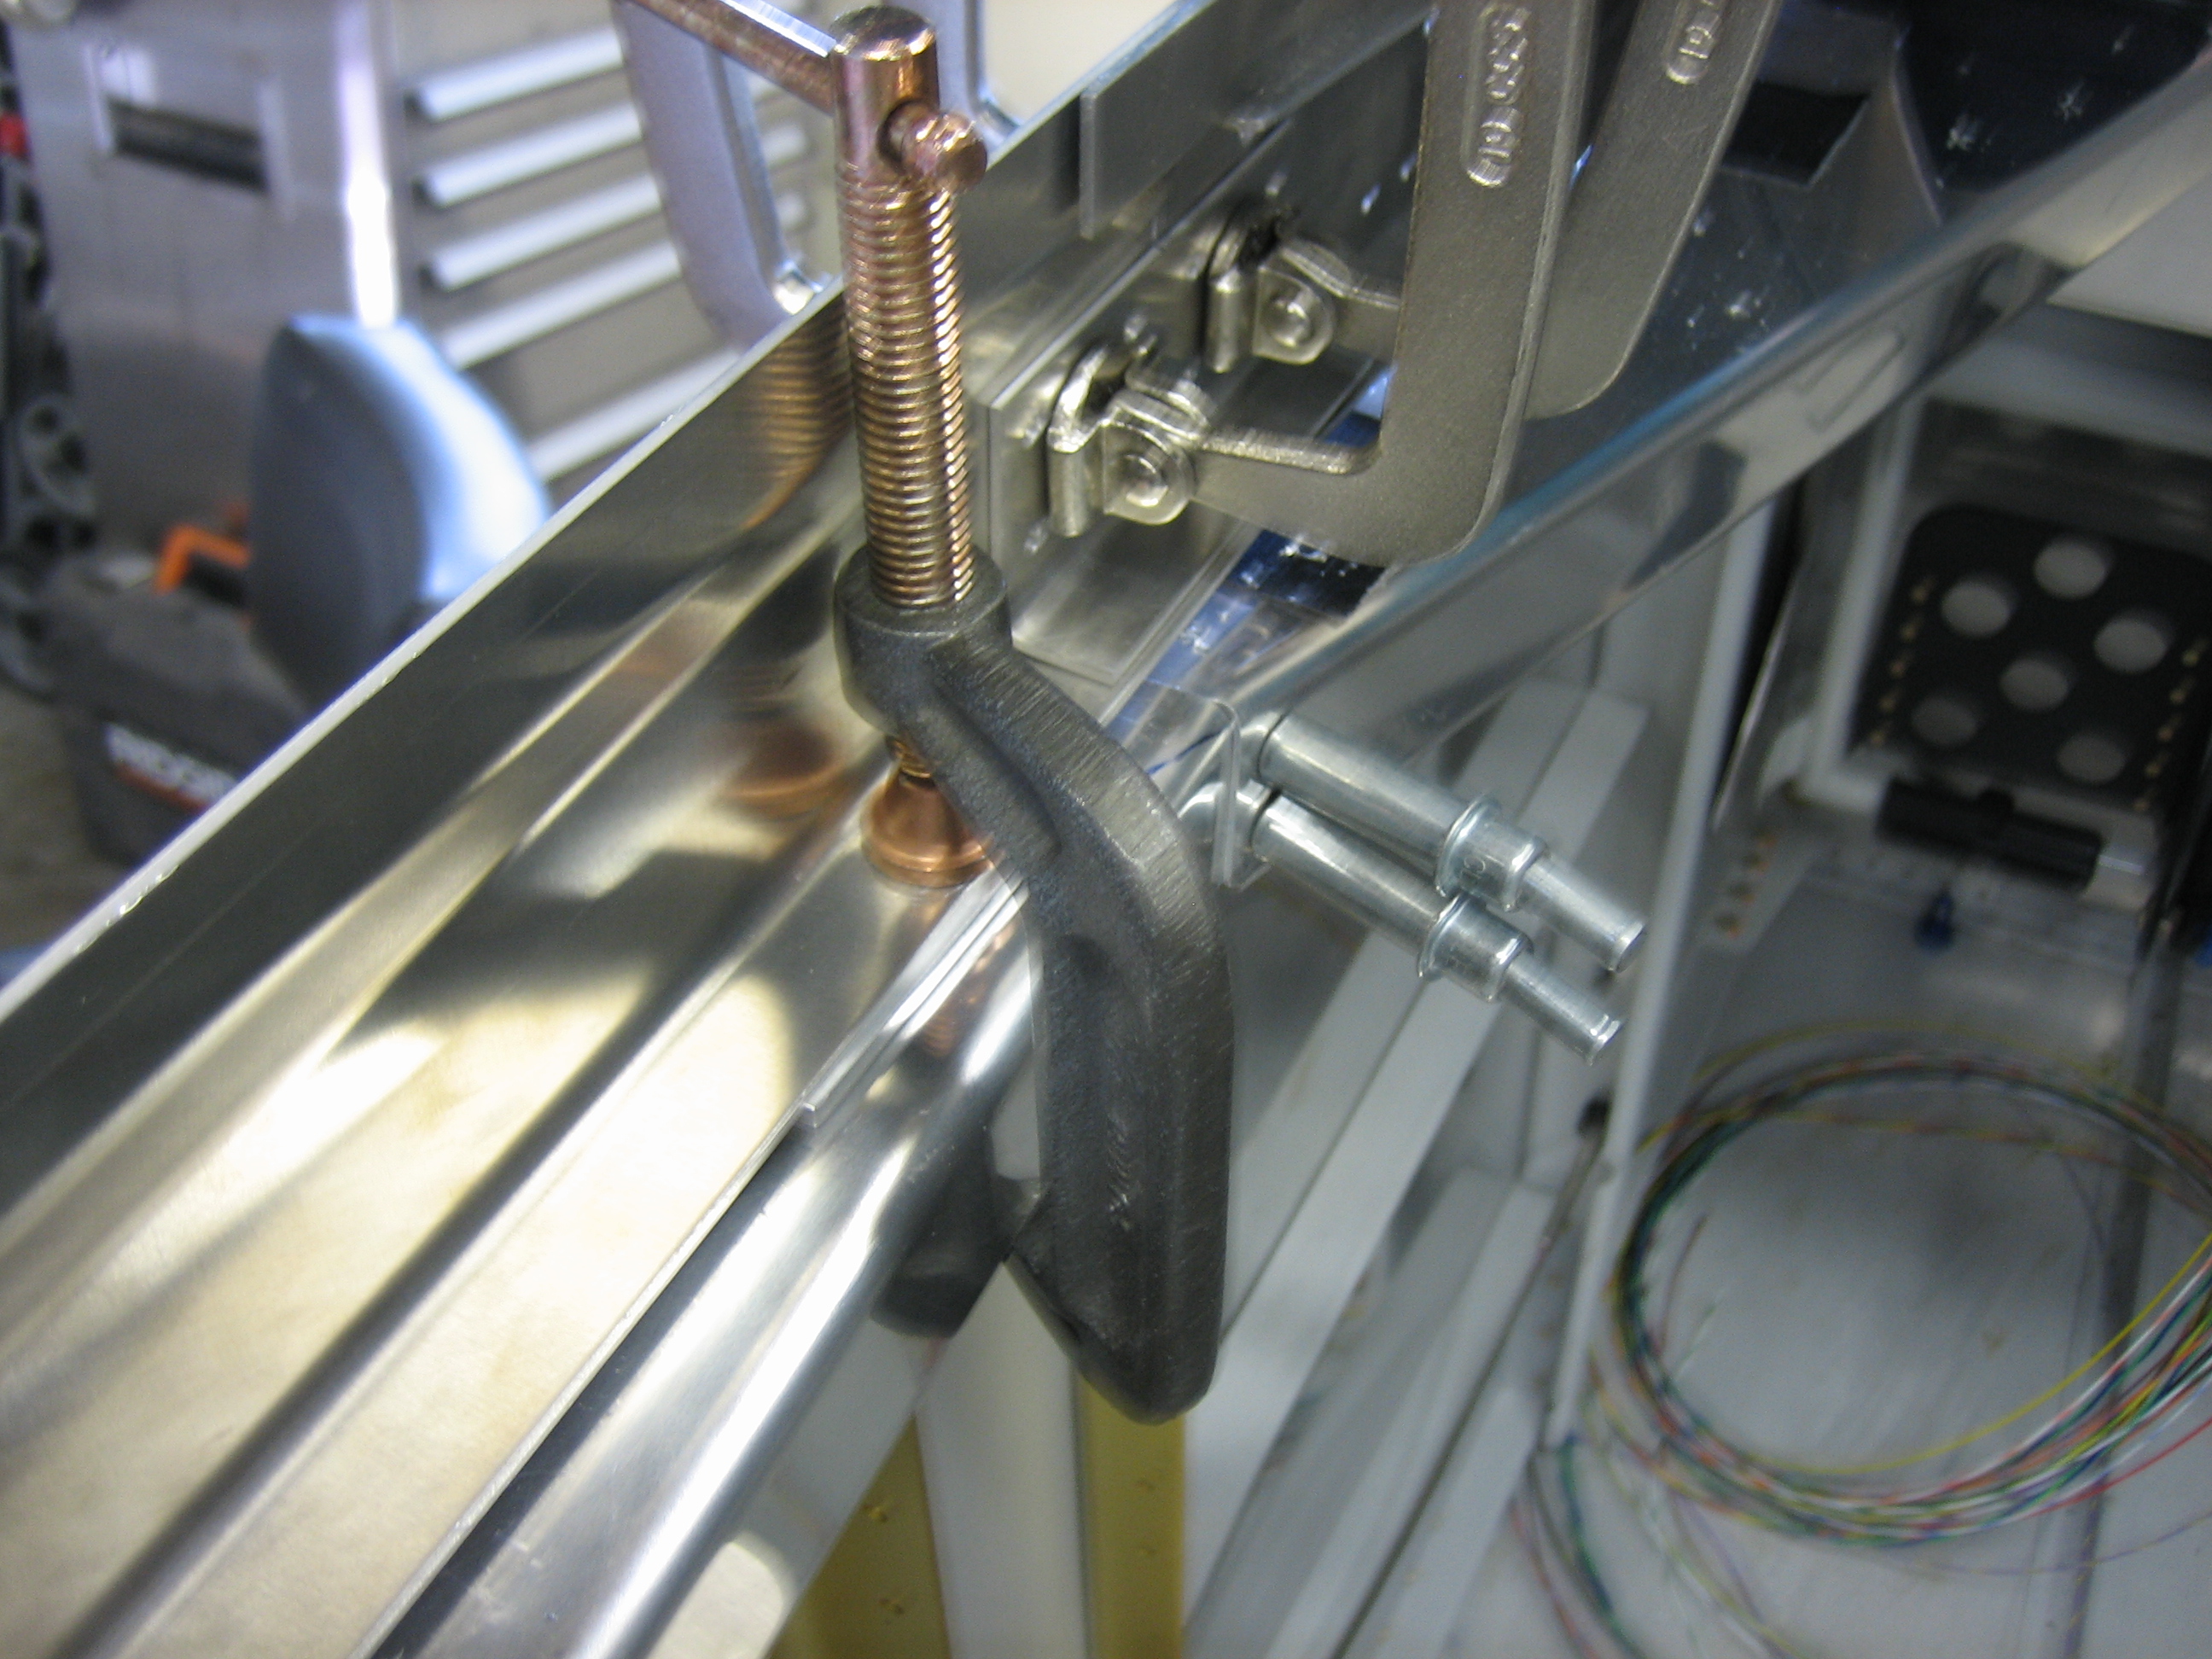
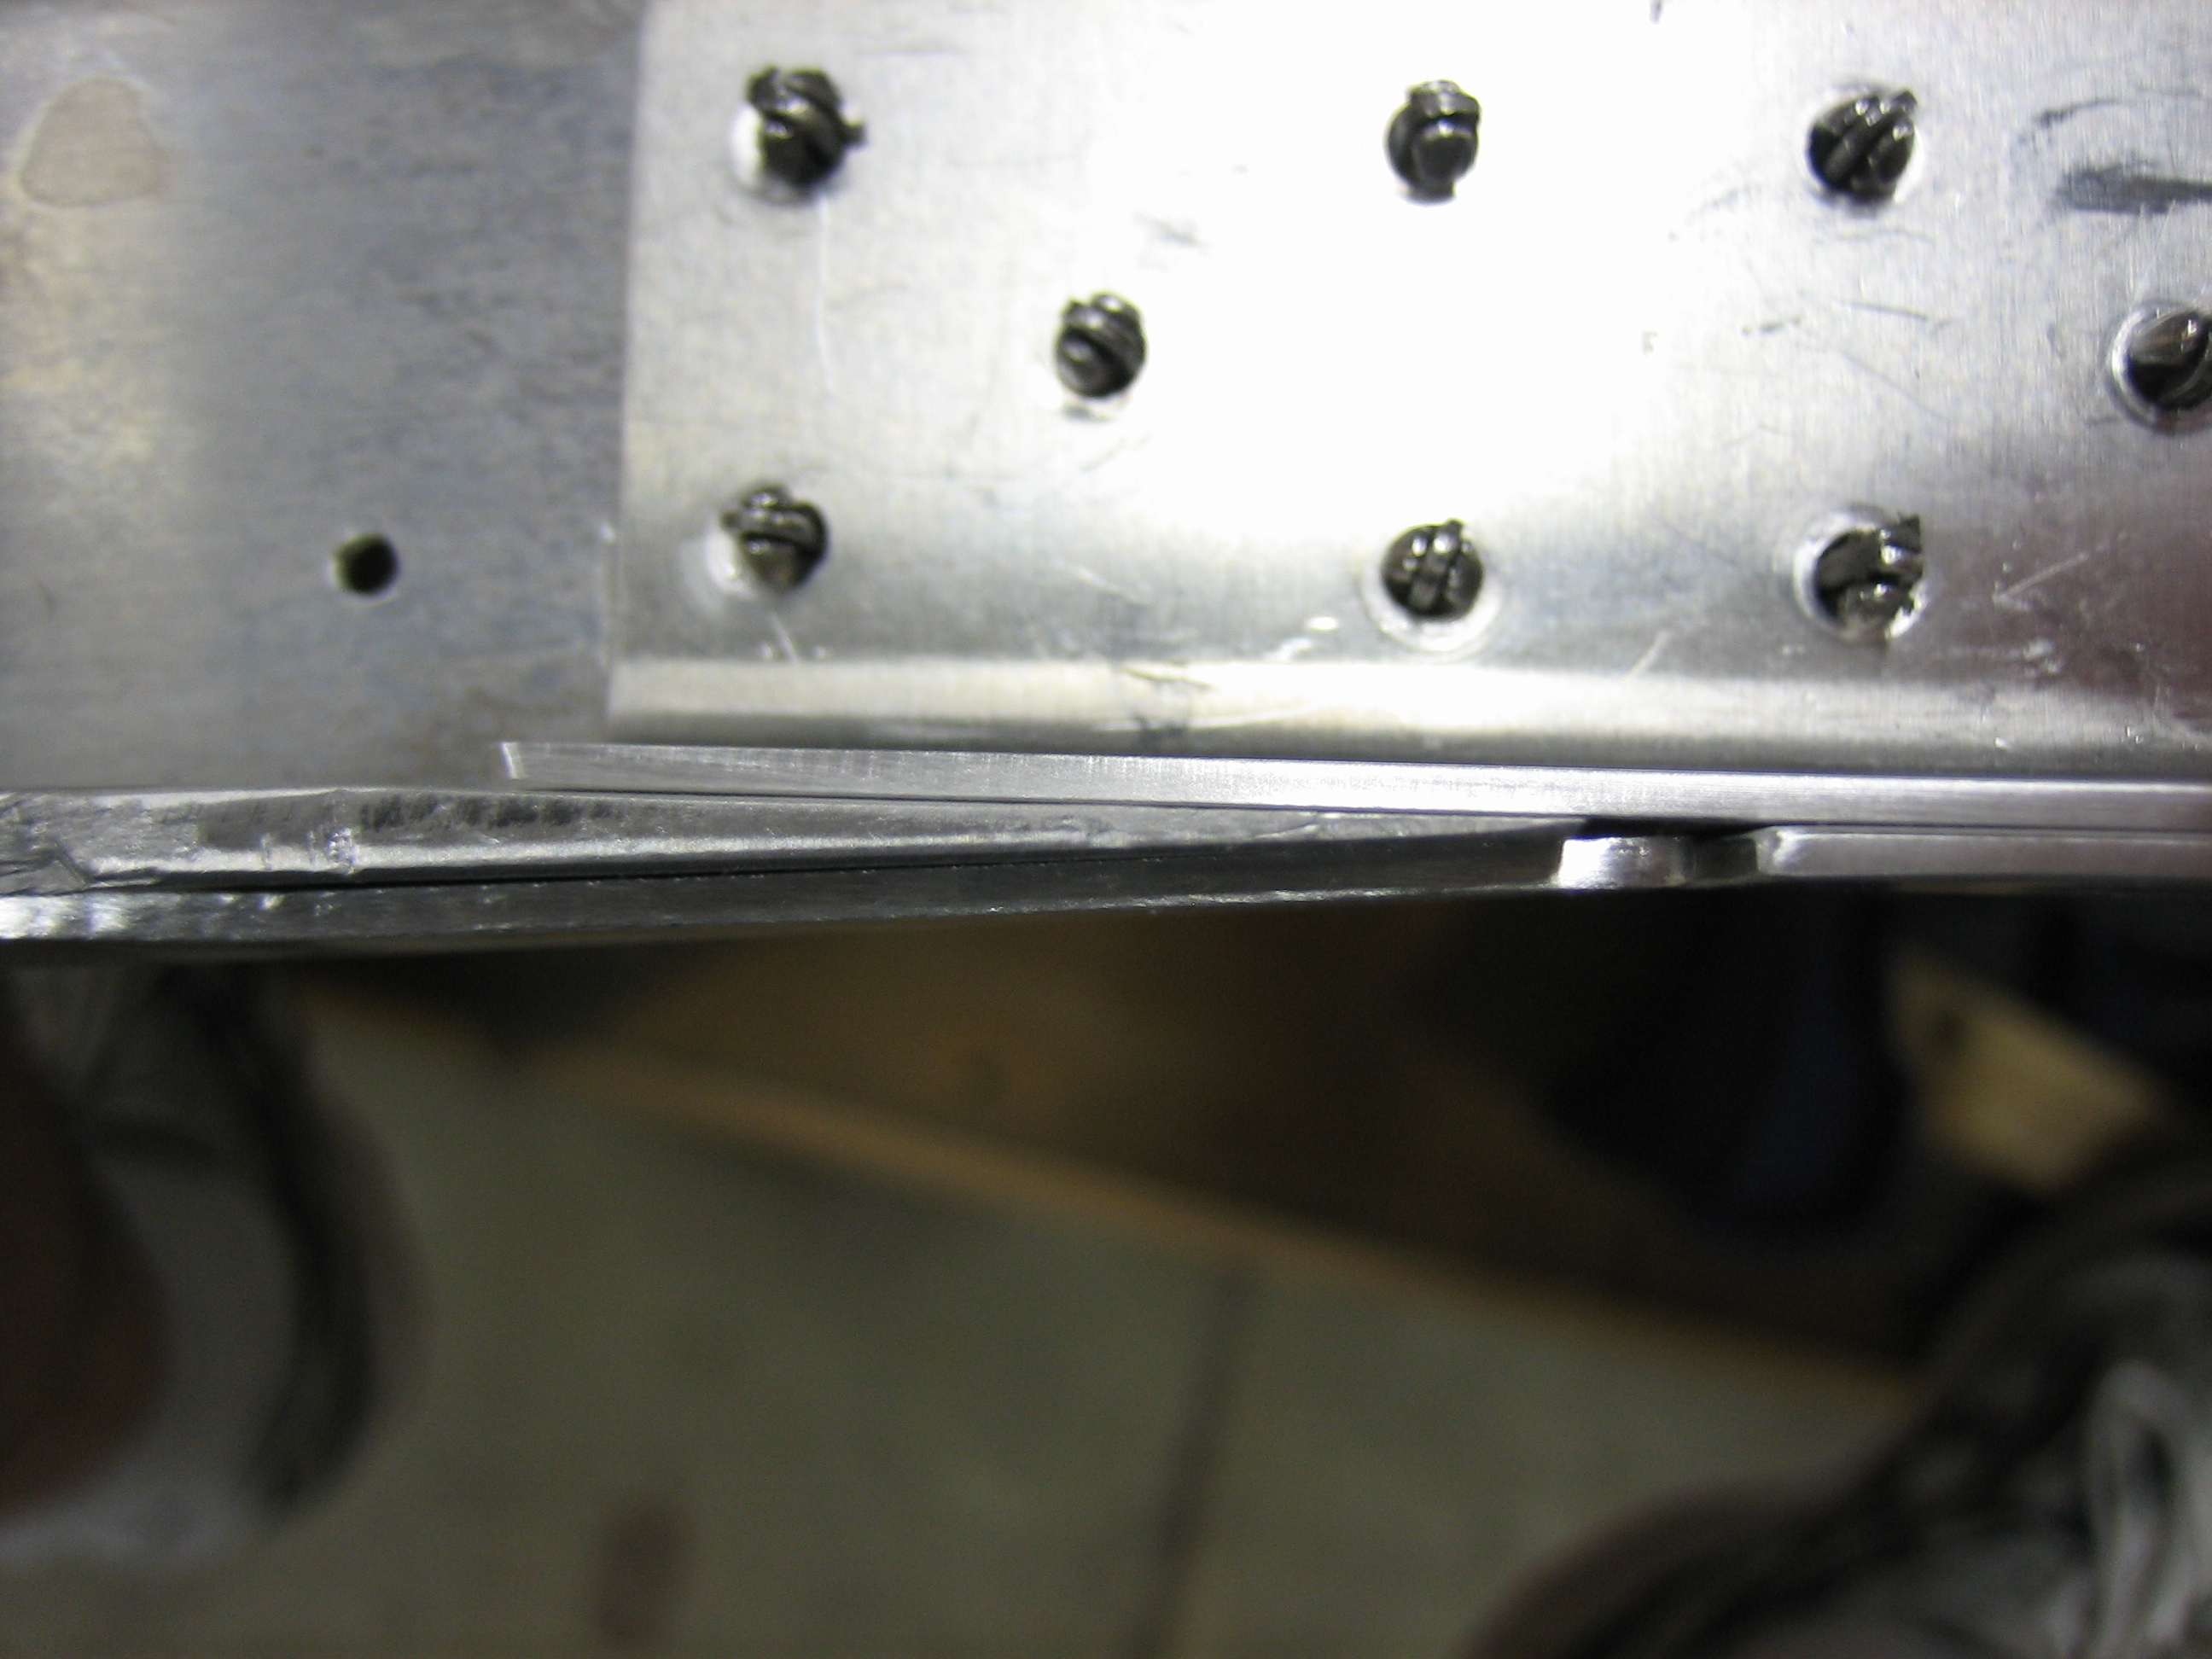
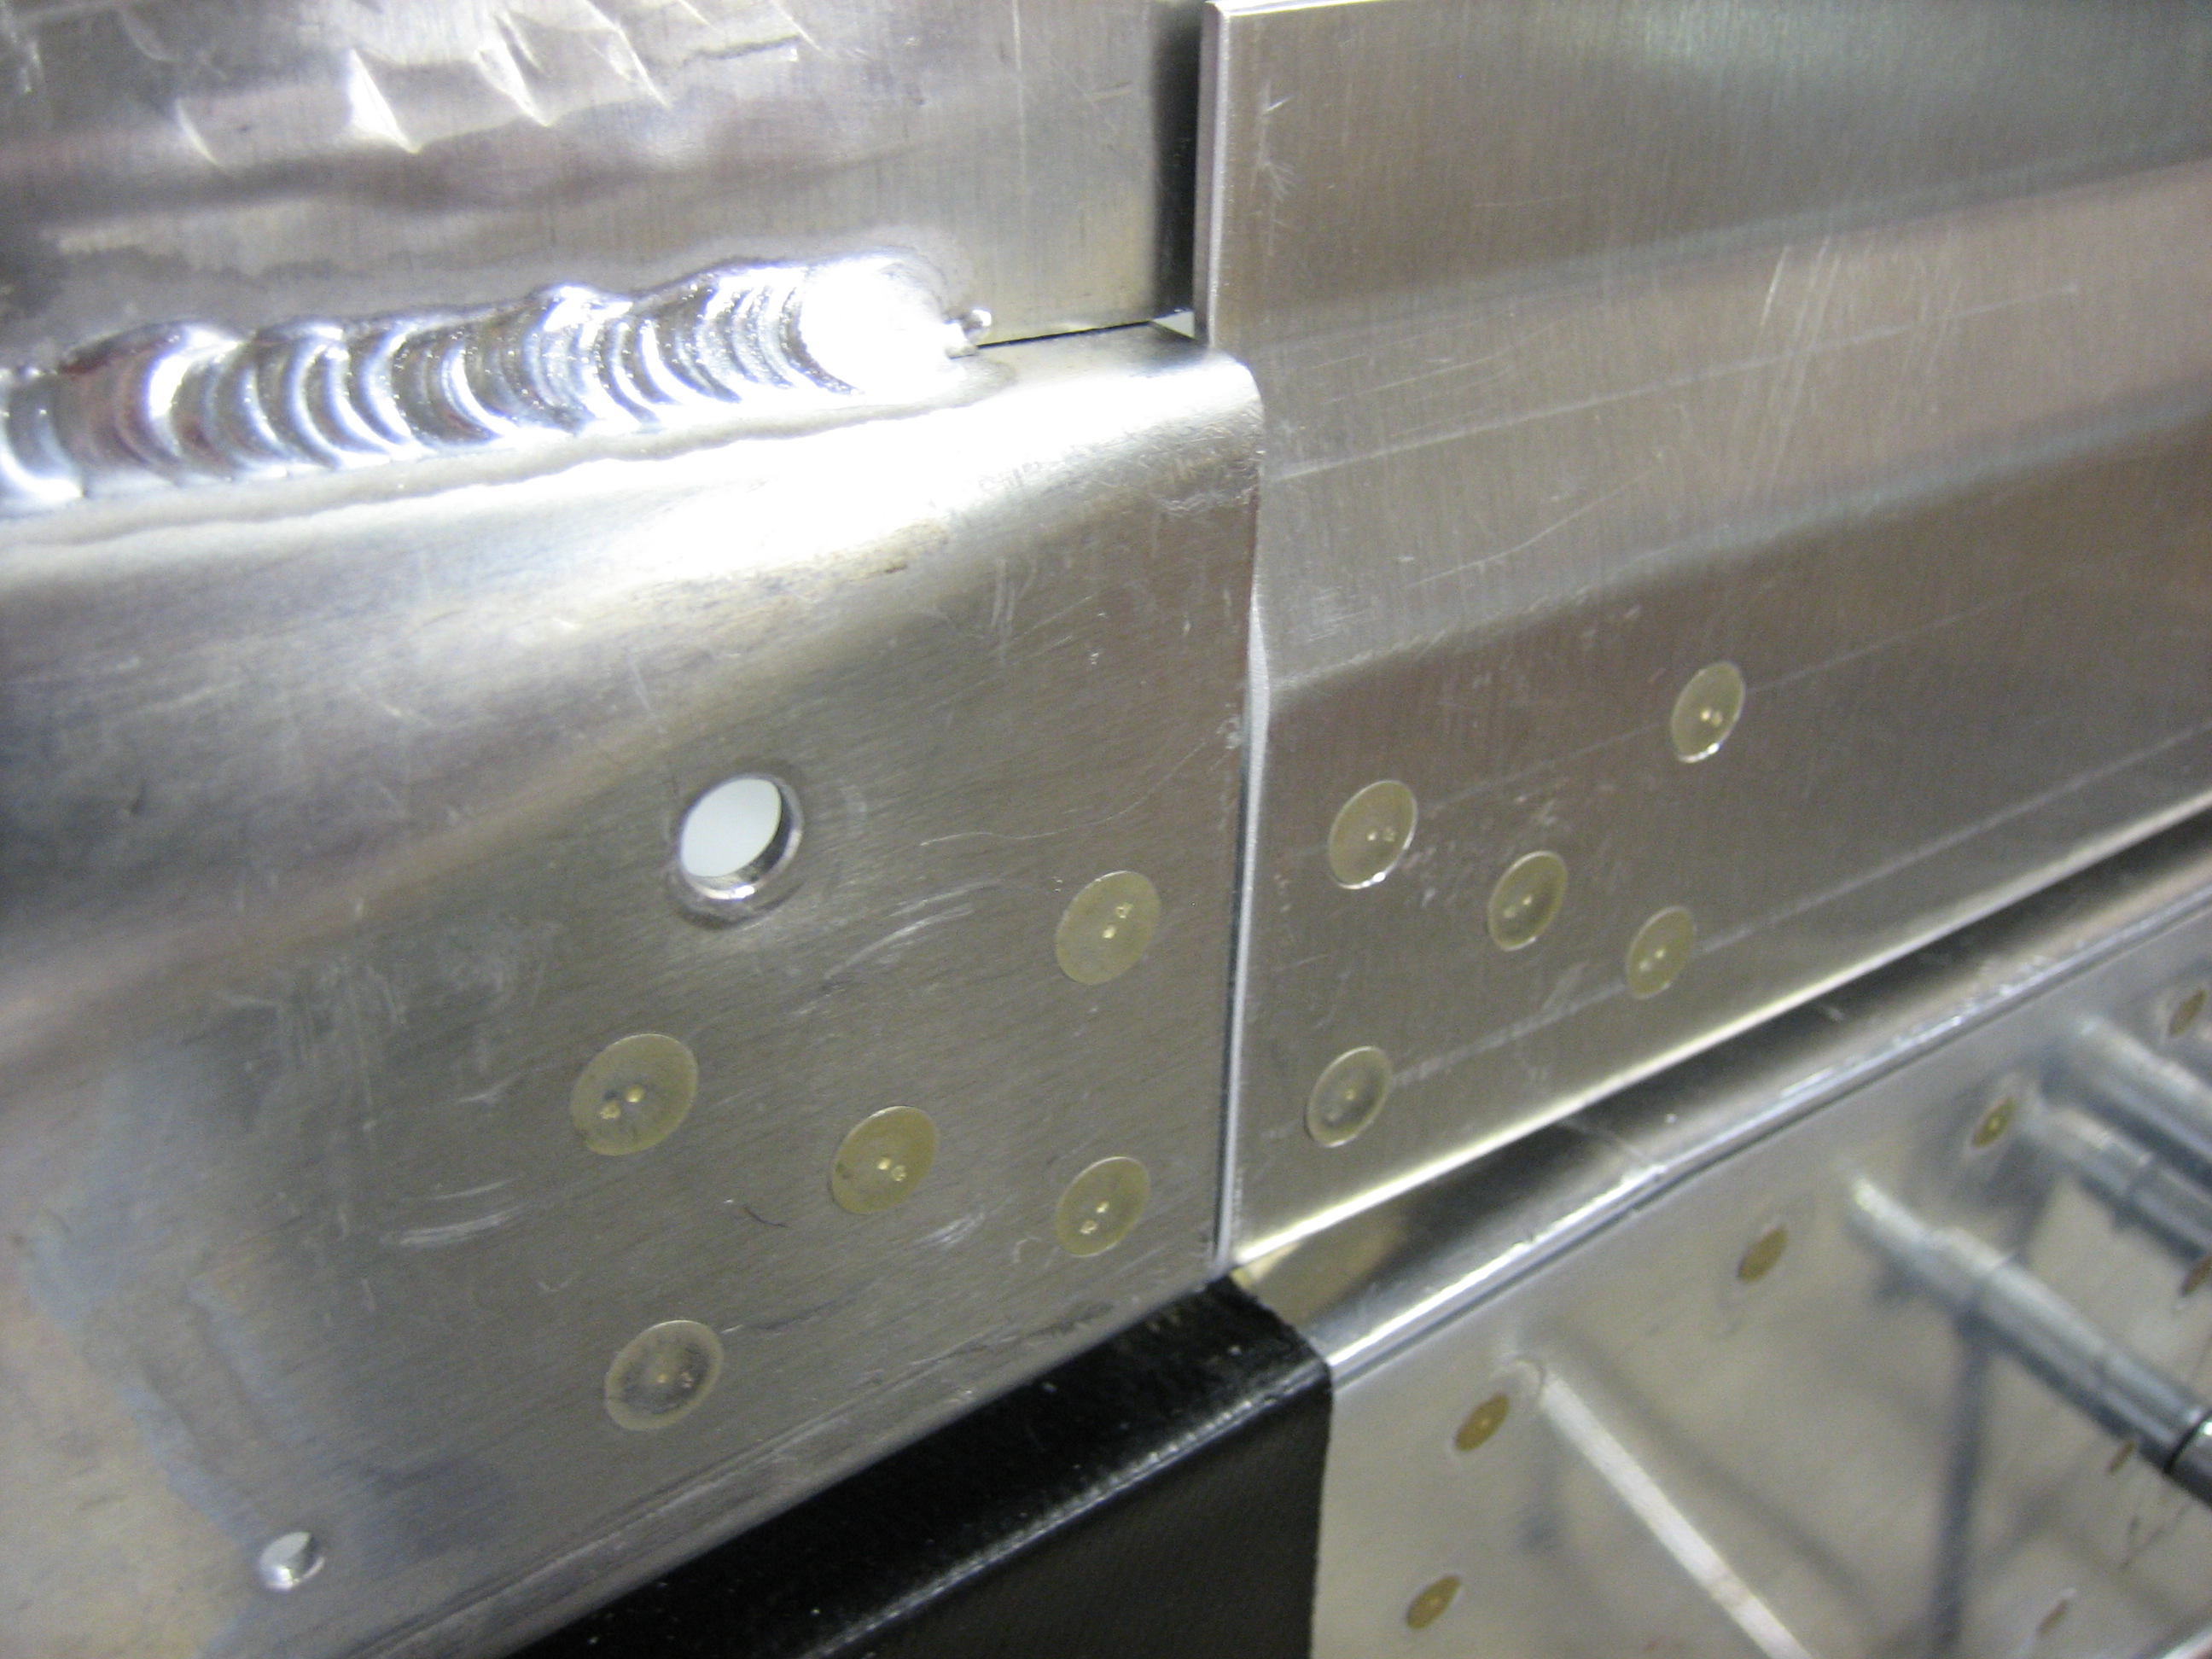
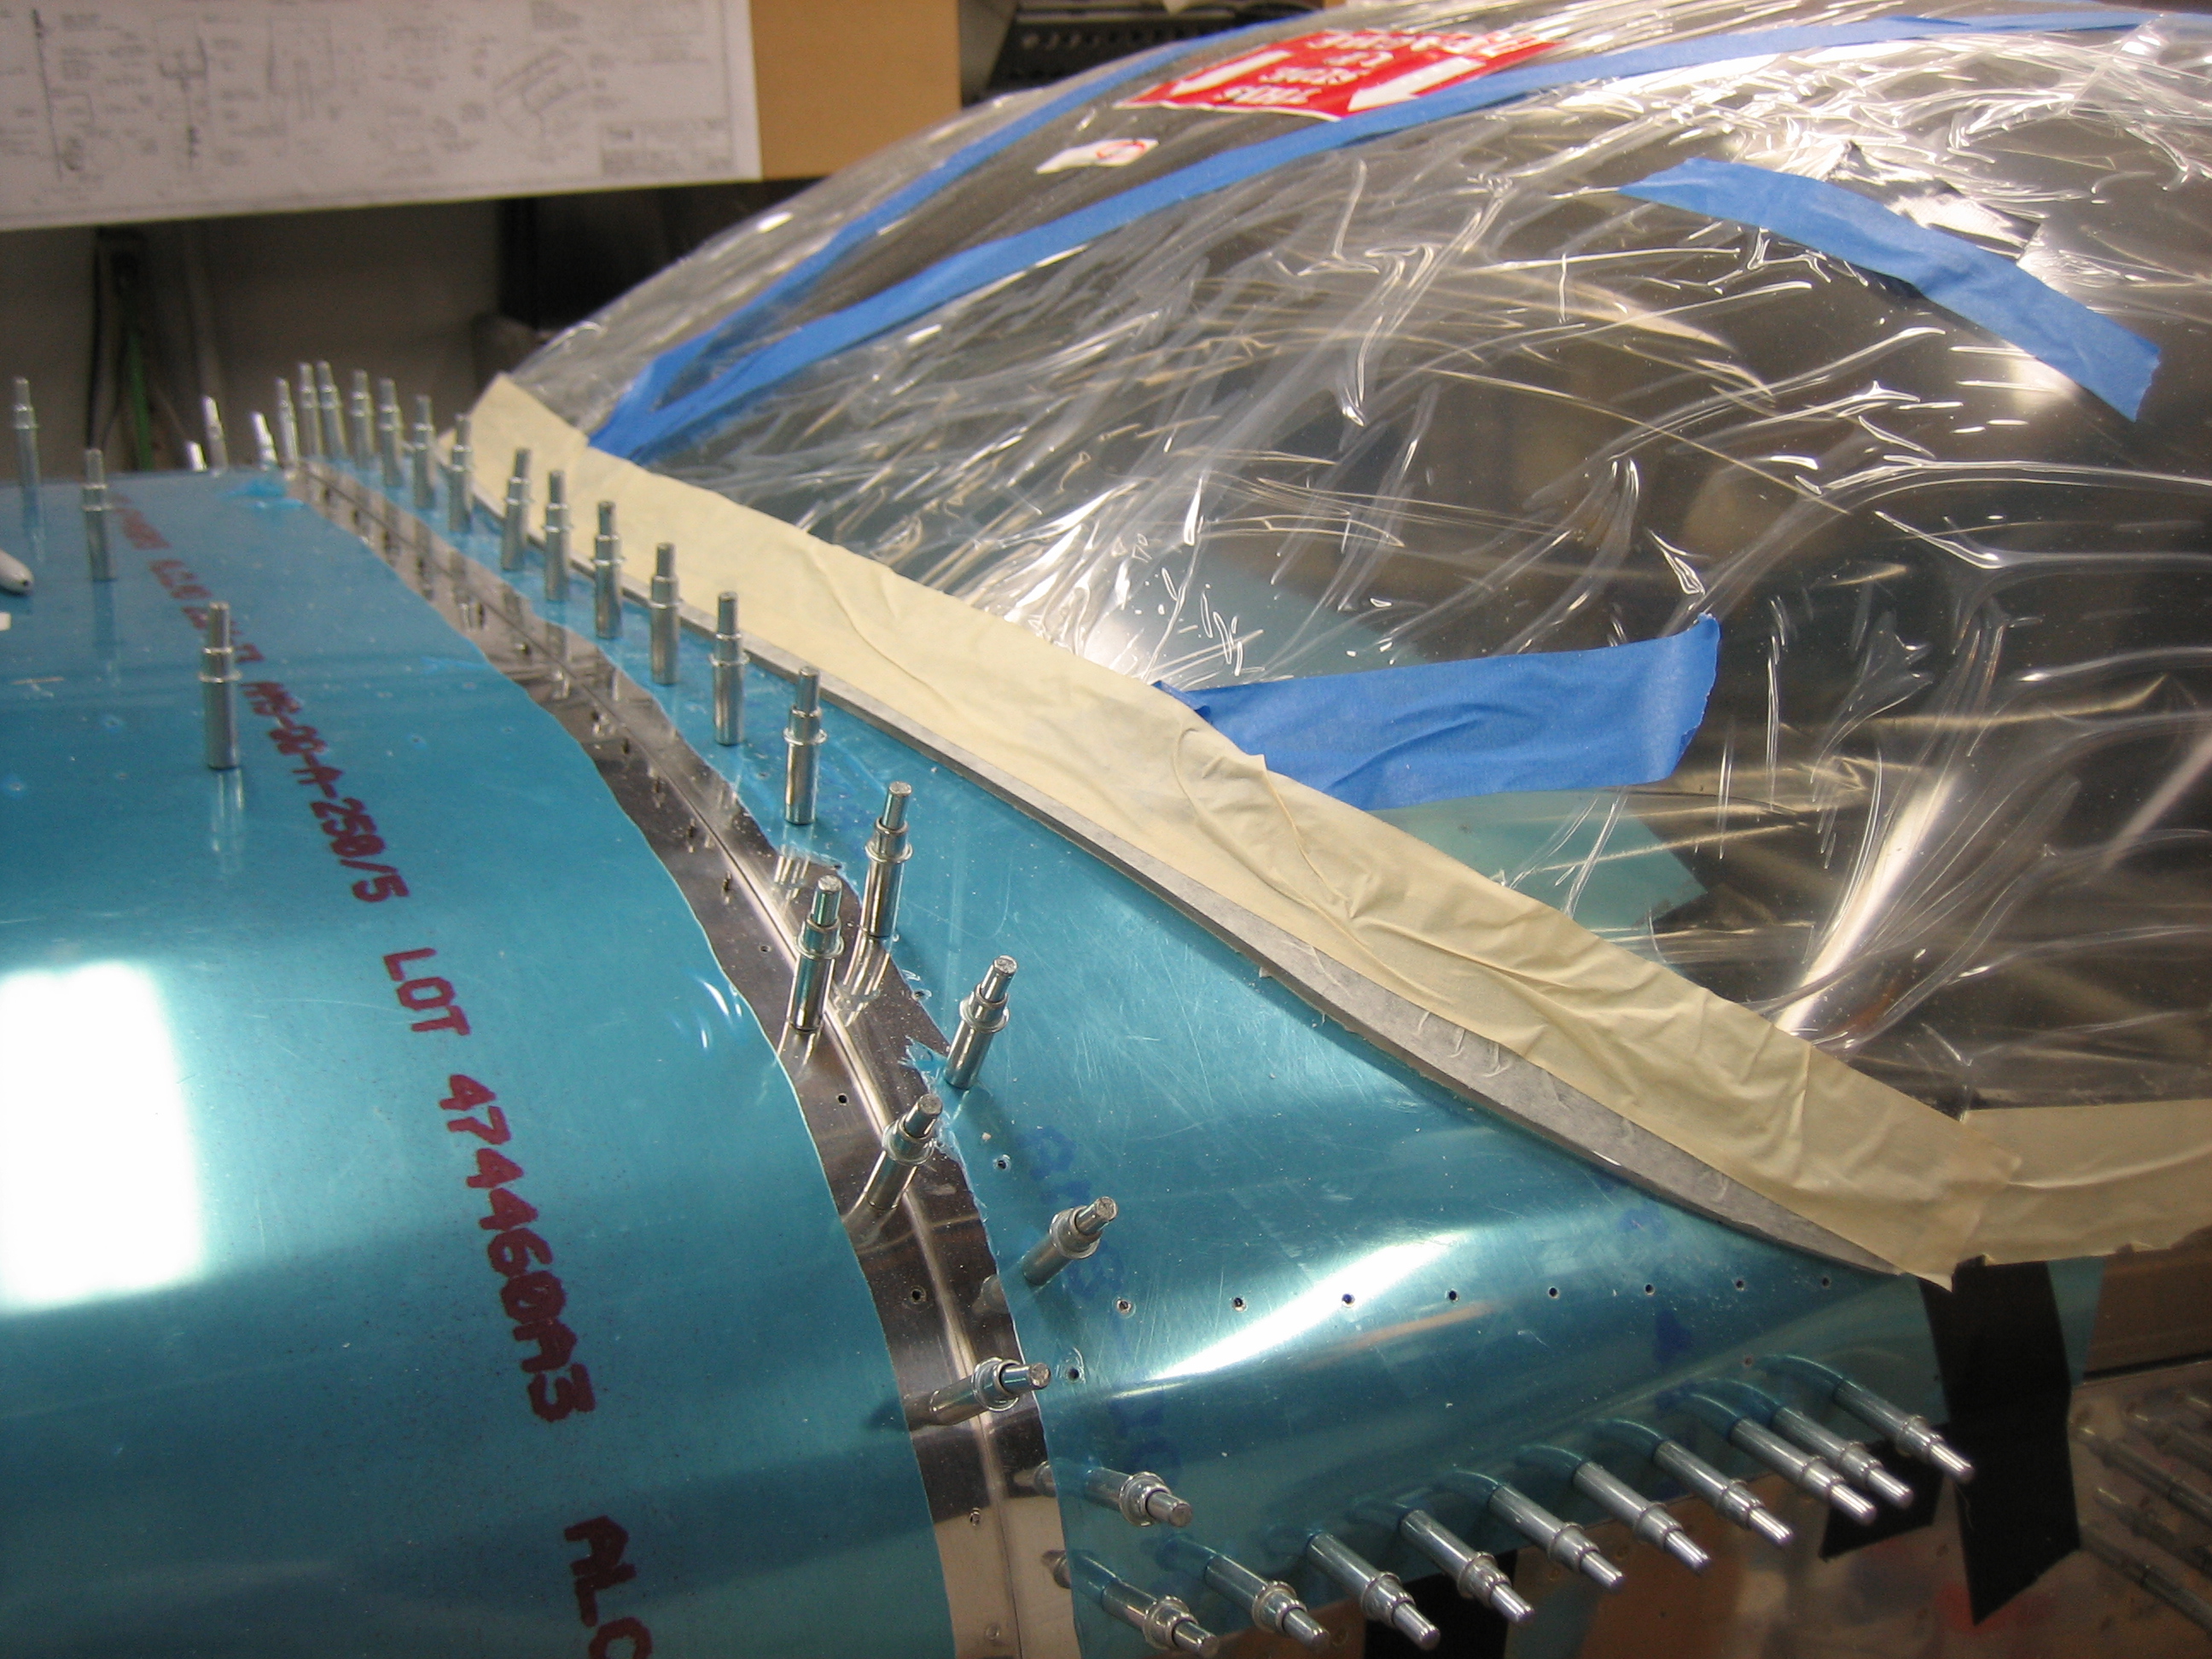
After spot priming all of the mating surfaces, I clamped the frame to pull the sides in as far as possible since the clecoes allow some flex. I then squeezed all of the rivets in the splice plate.
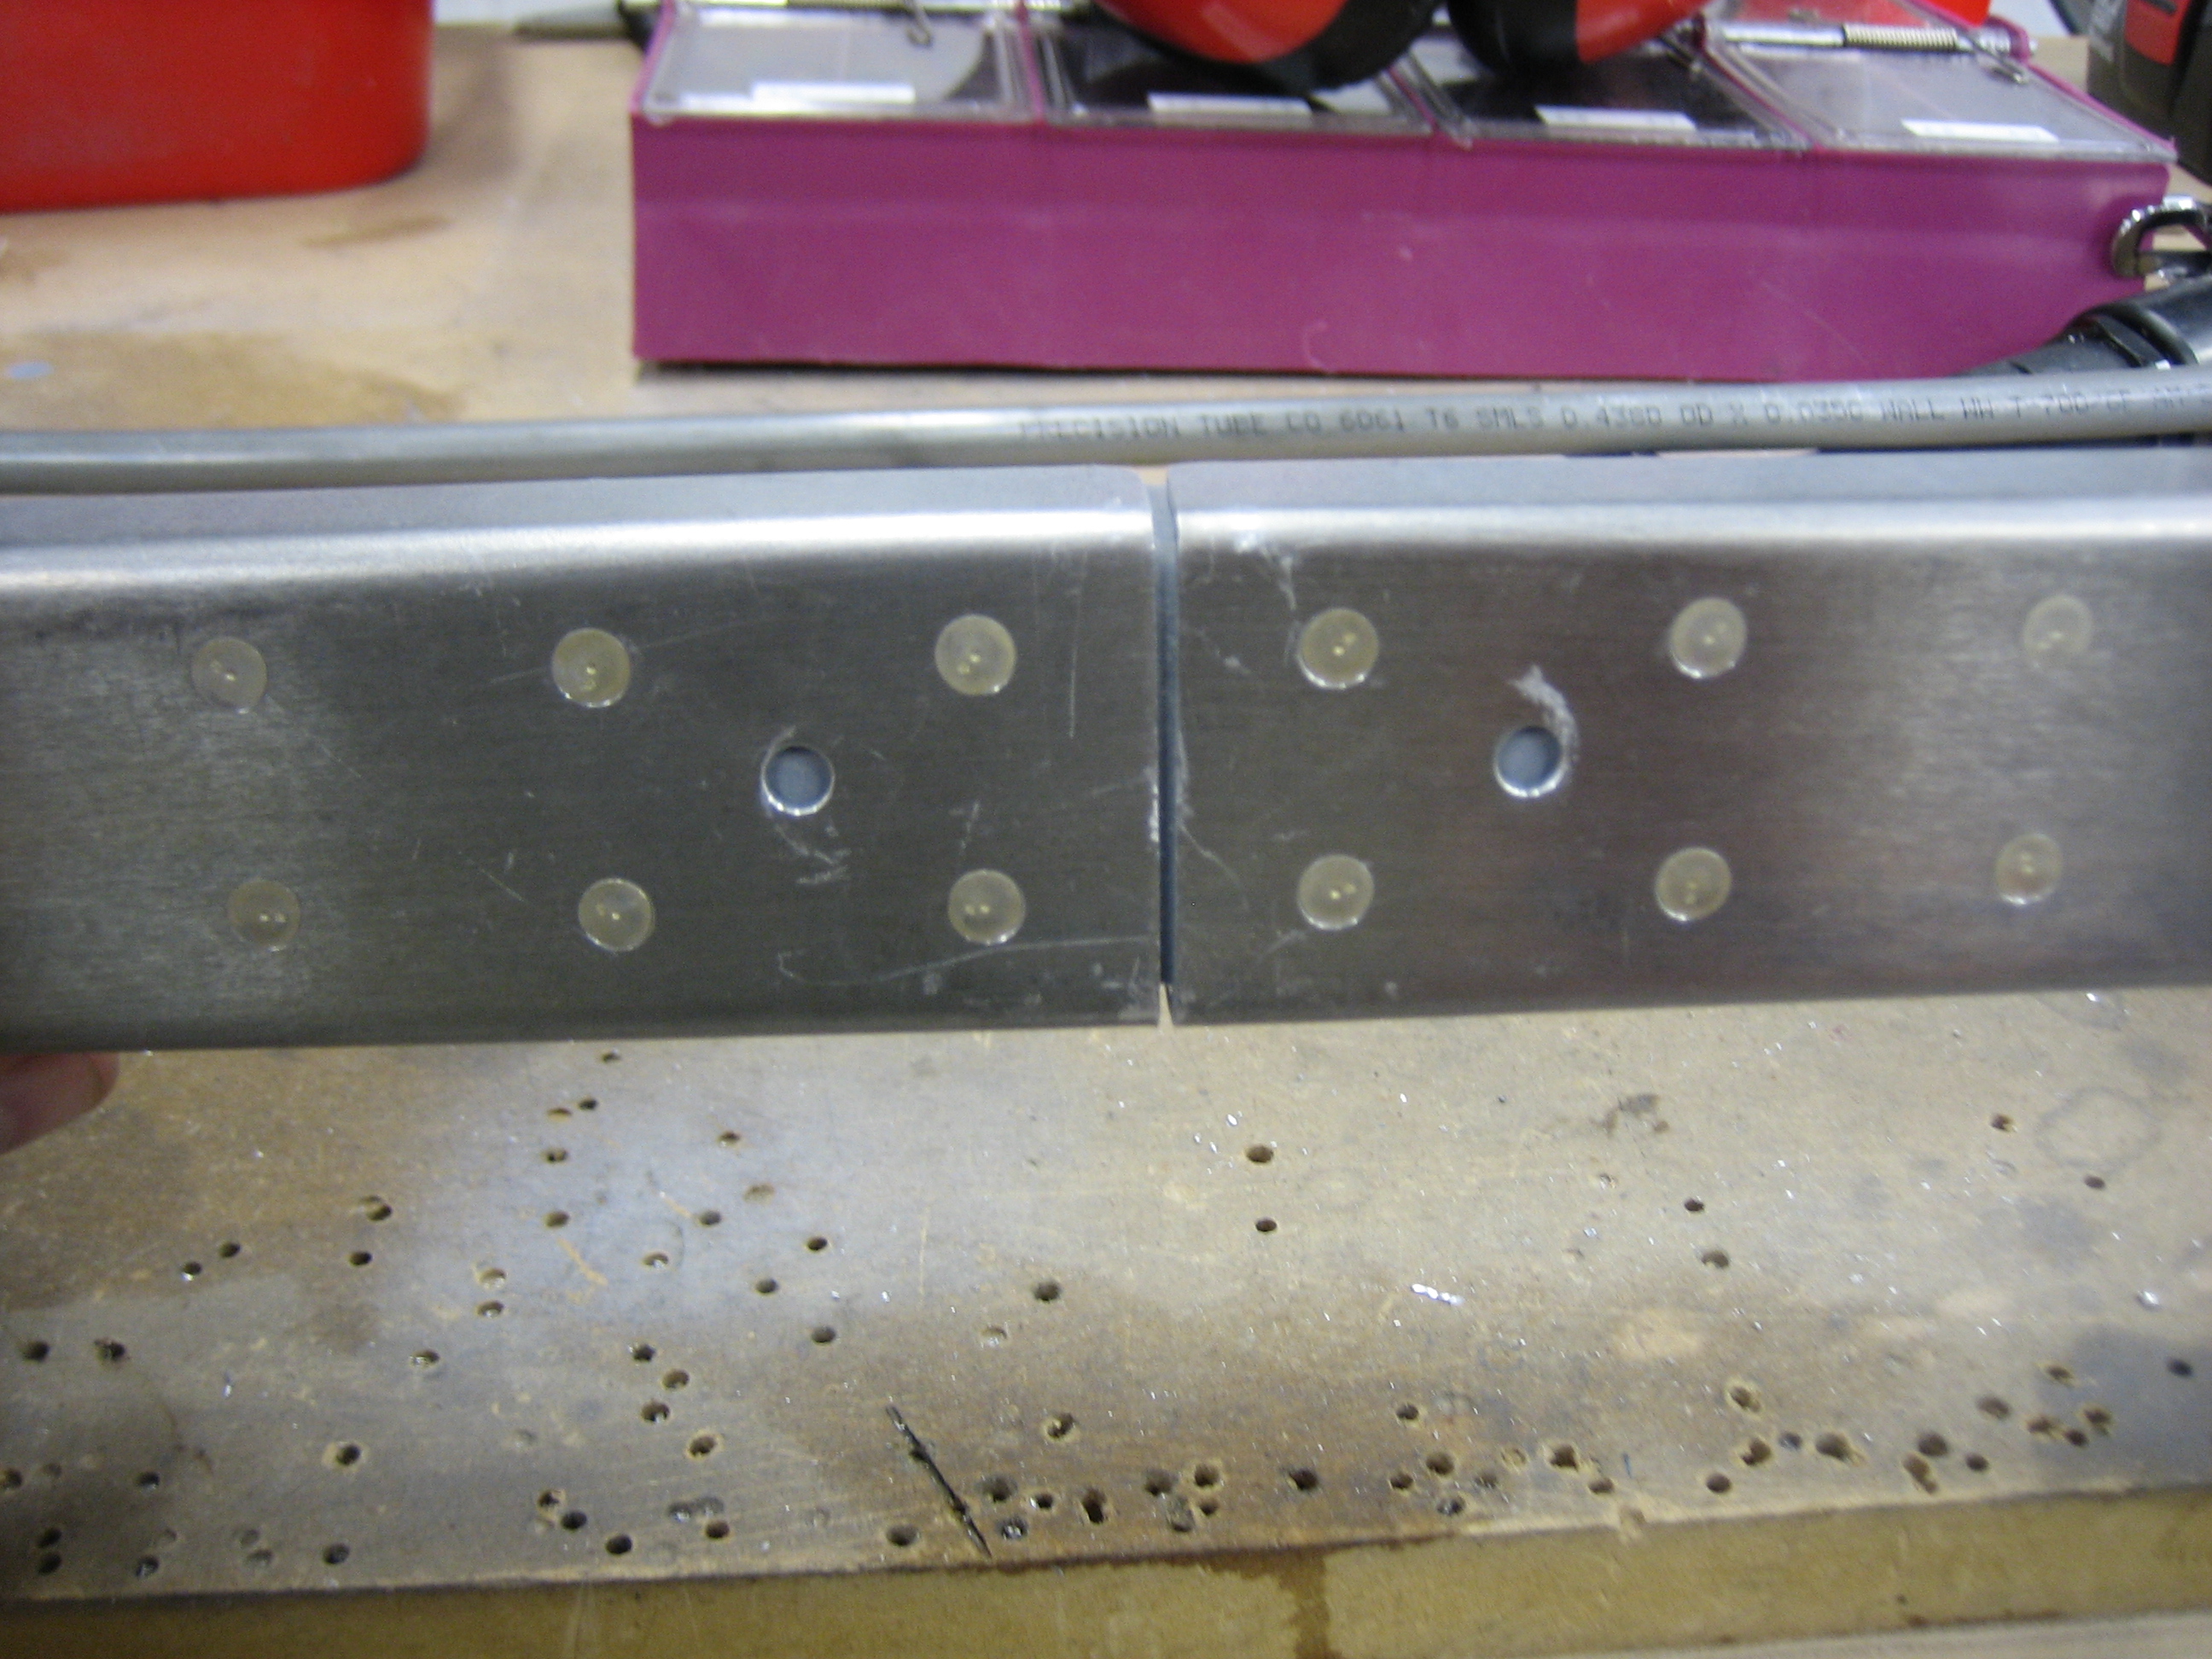
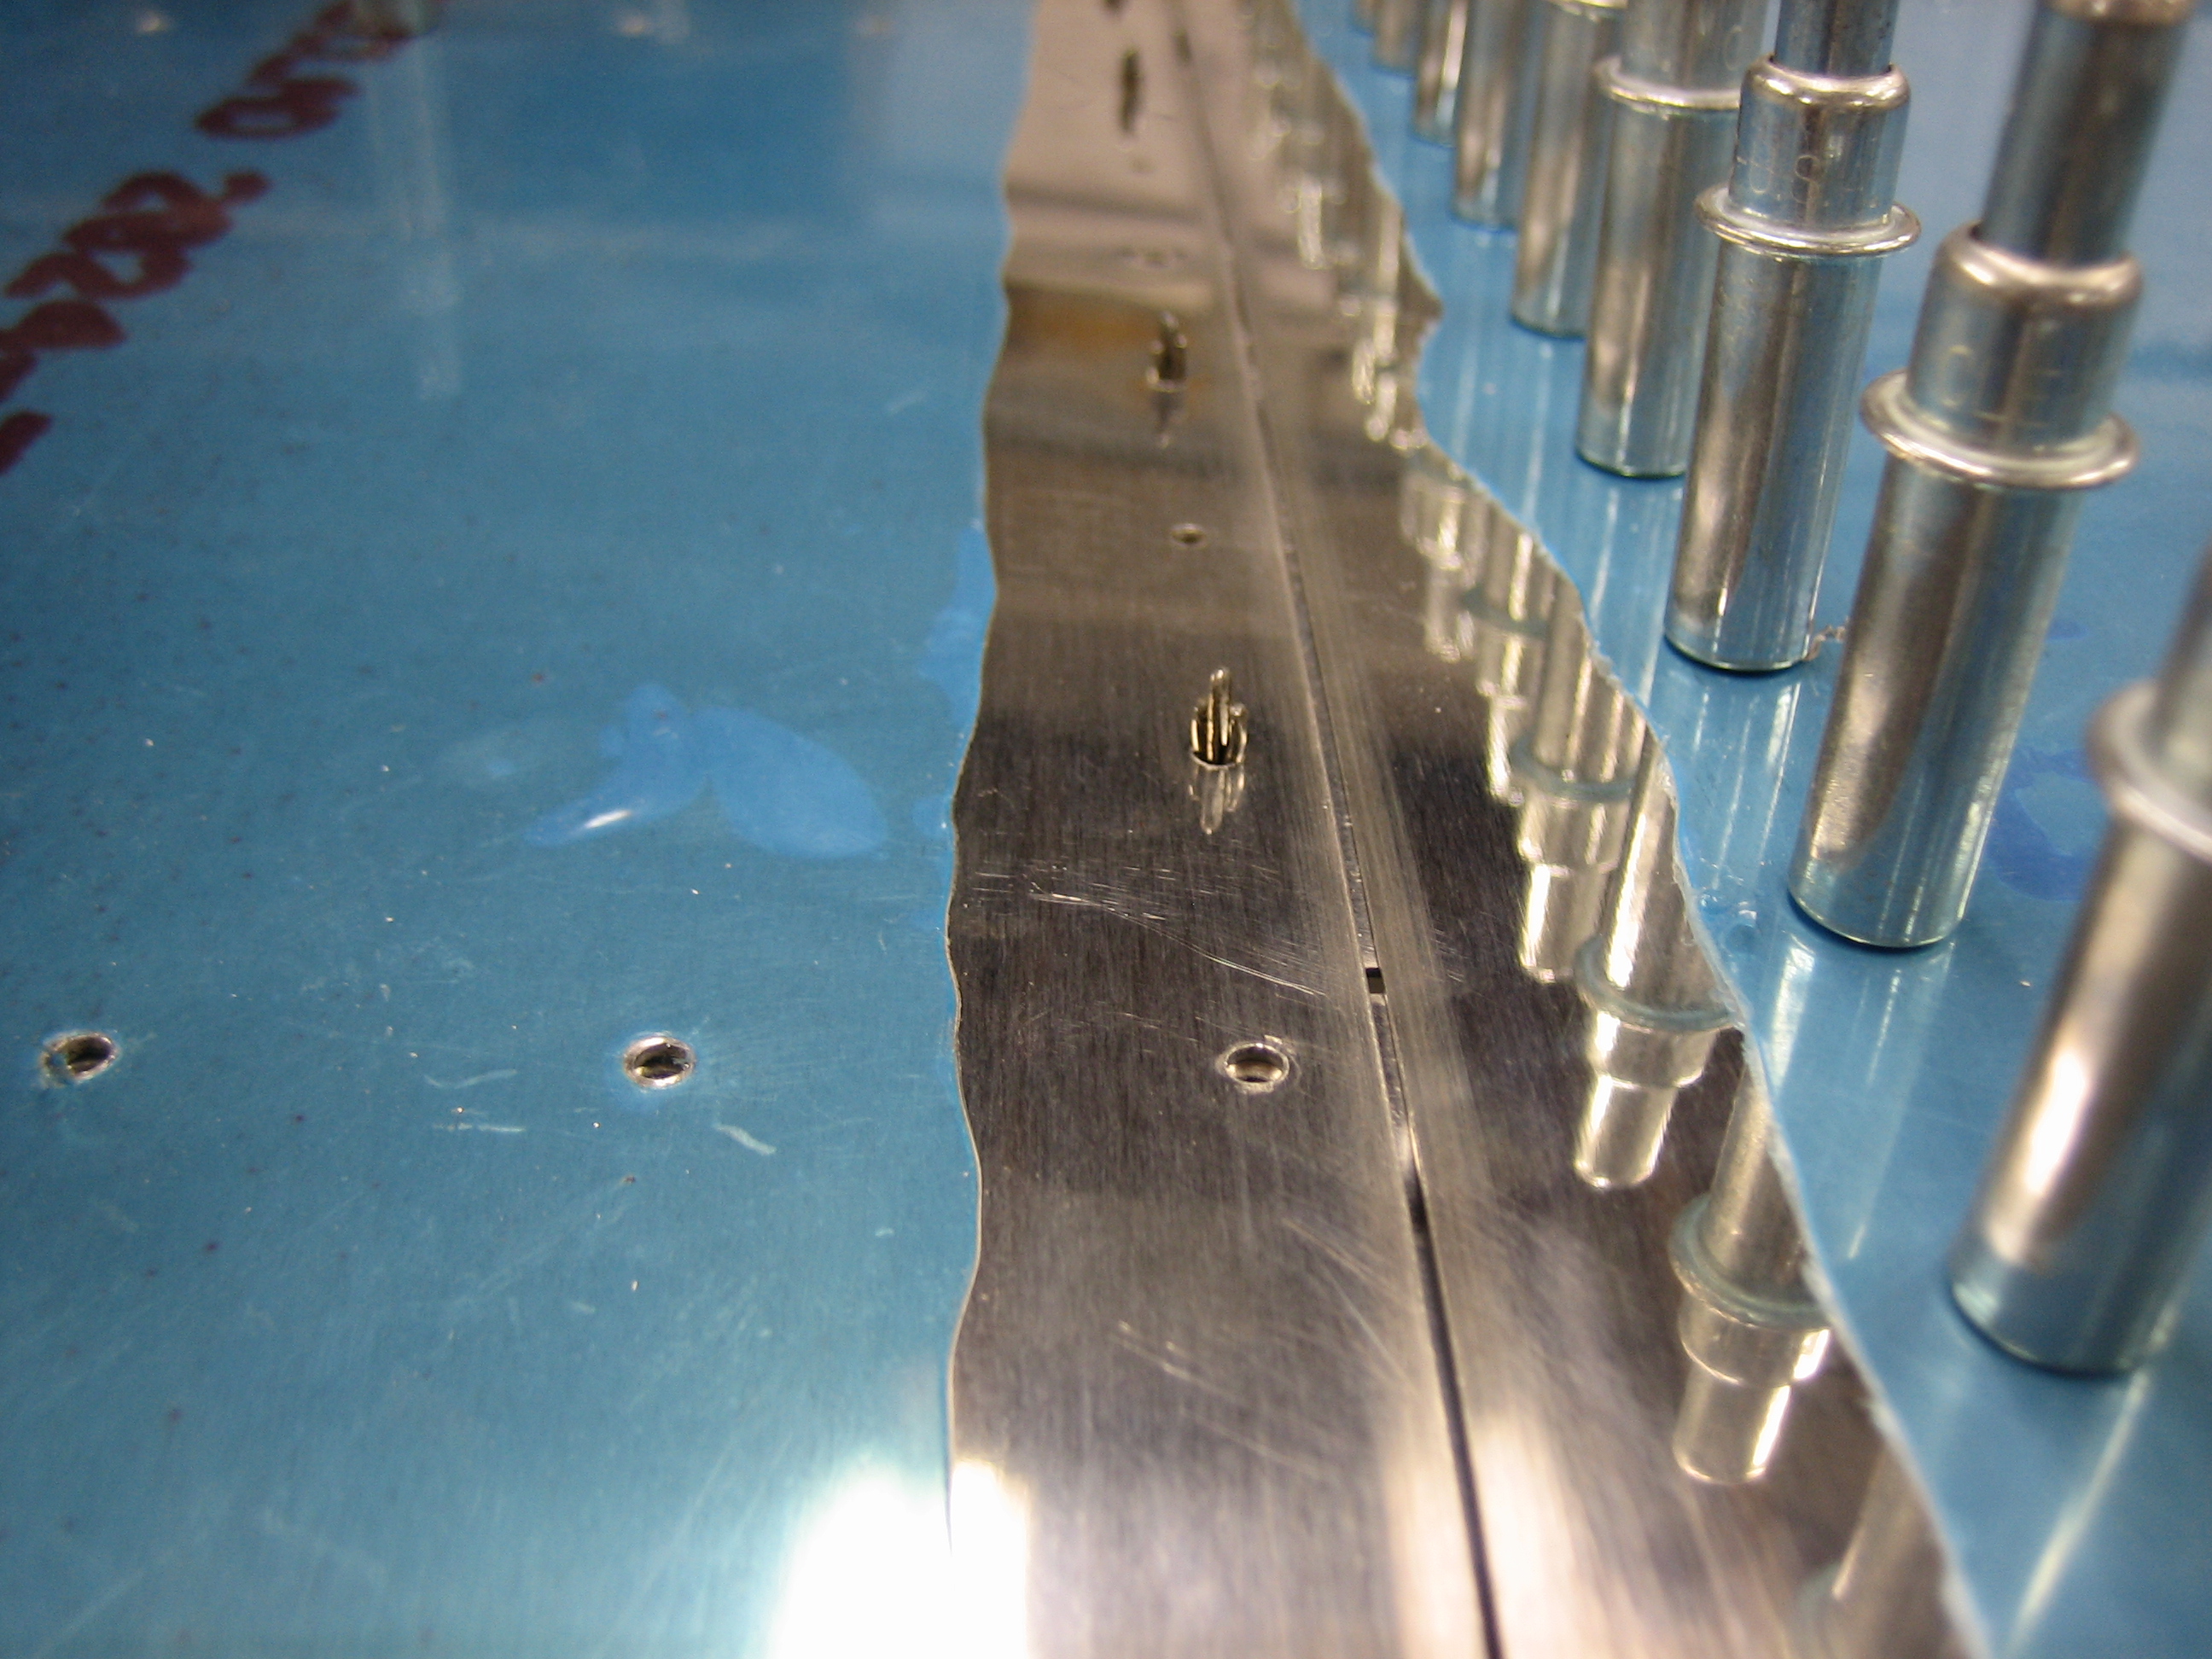
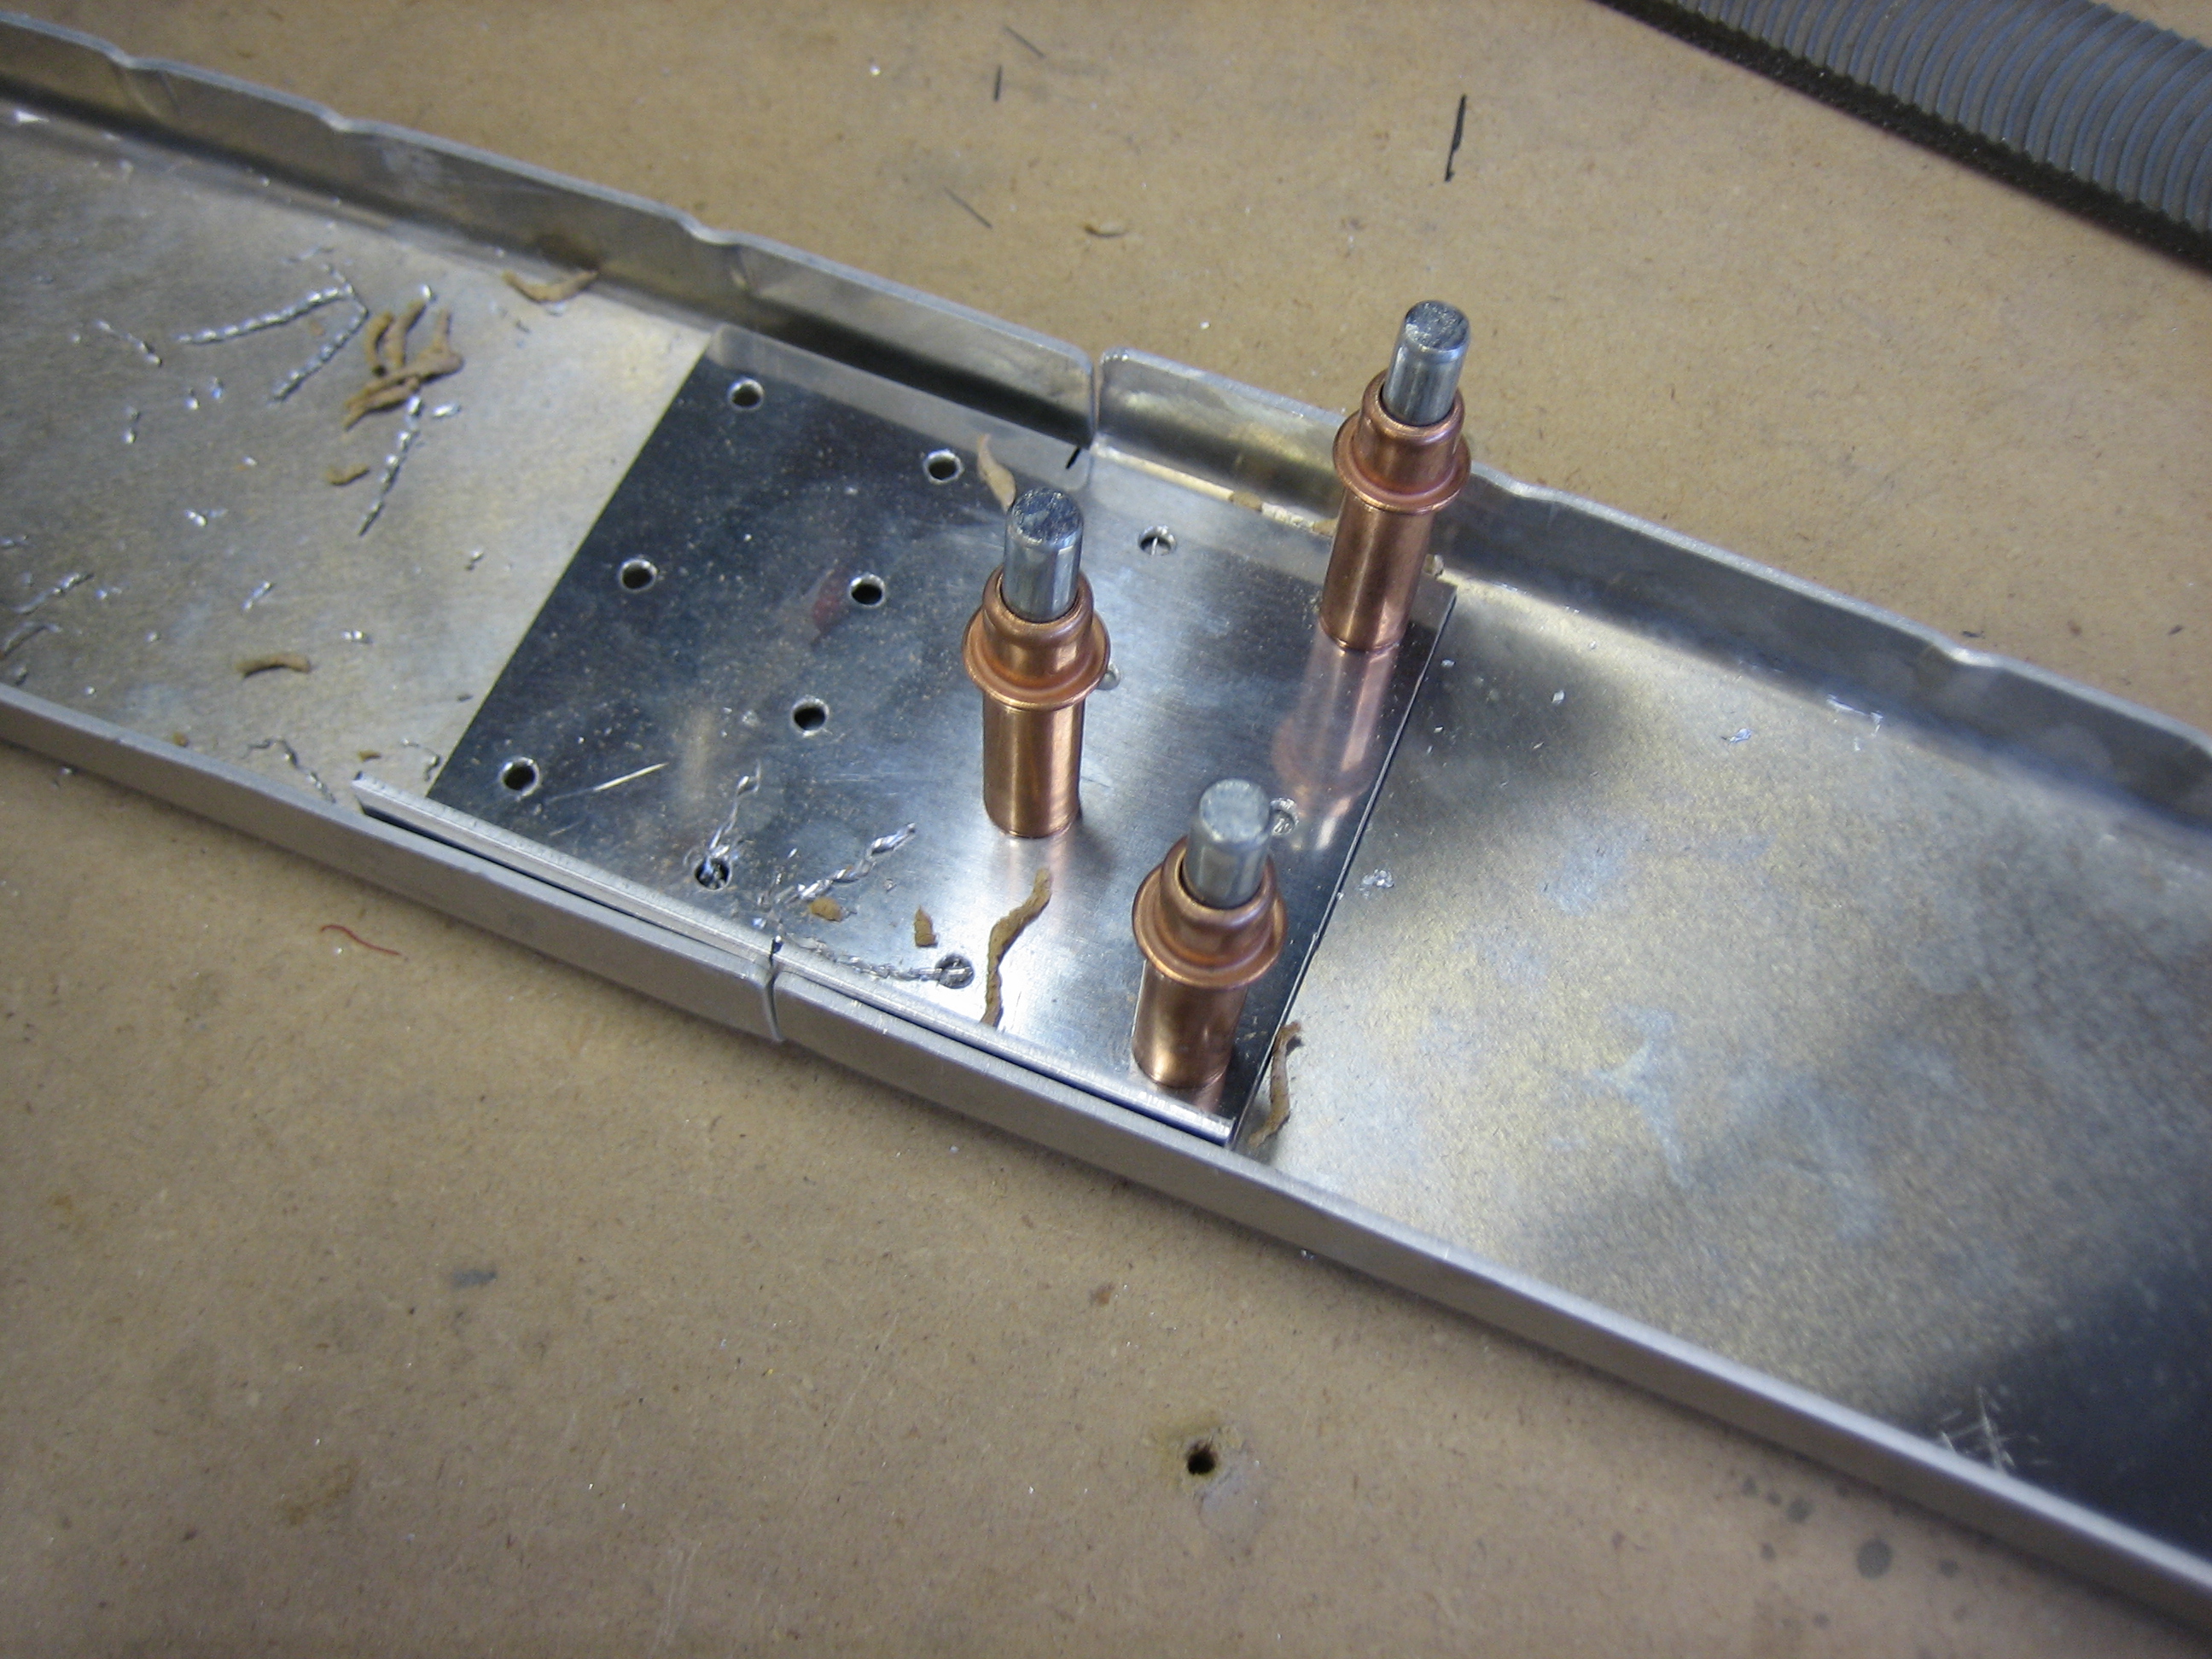
I also squeezed all of the rivets holding the hinge bracket to the channel. I ended up needing to make some spacers that fit between these two pieces since the hole spacing on the skin pulled the bracket back slightly.
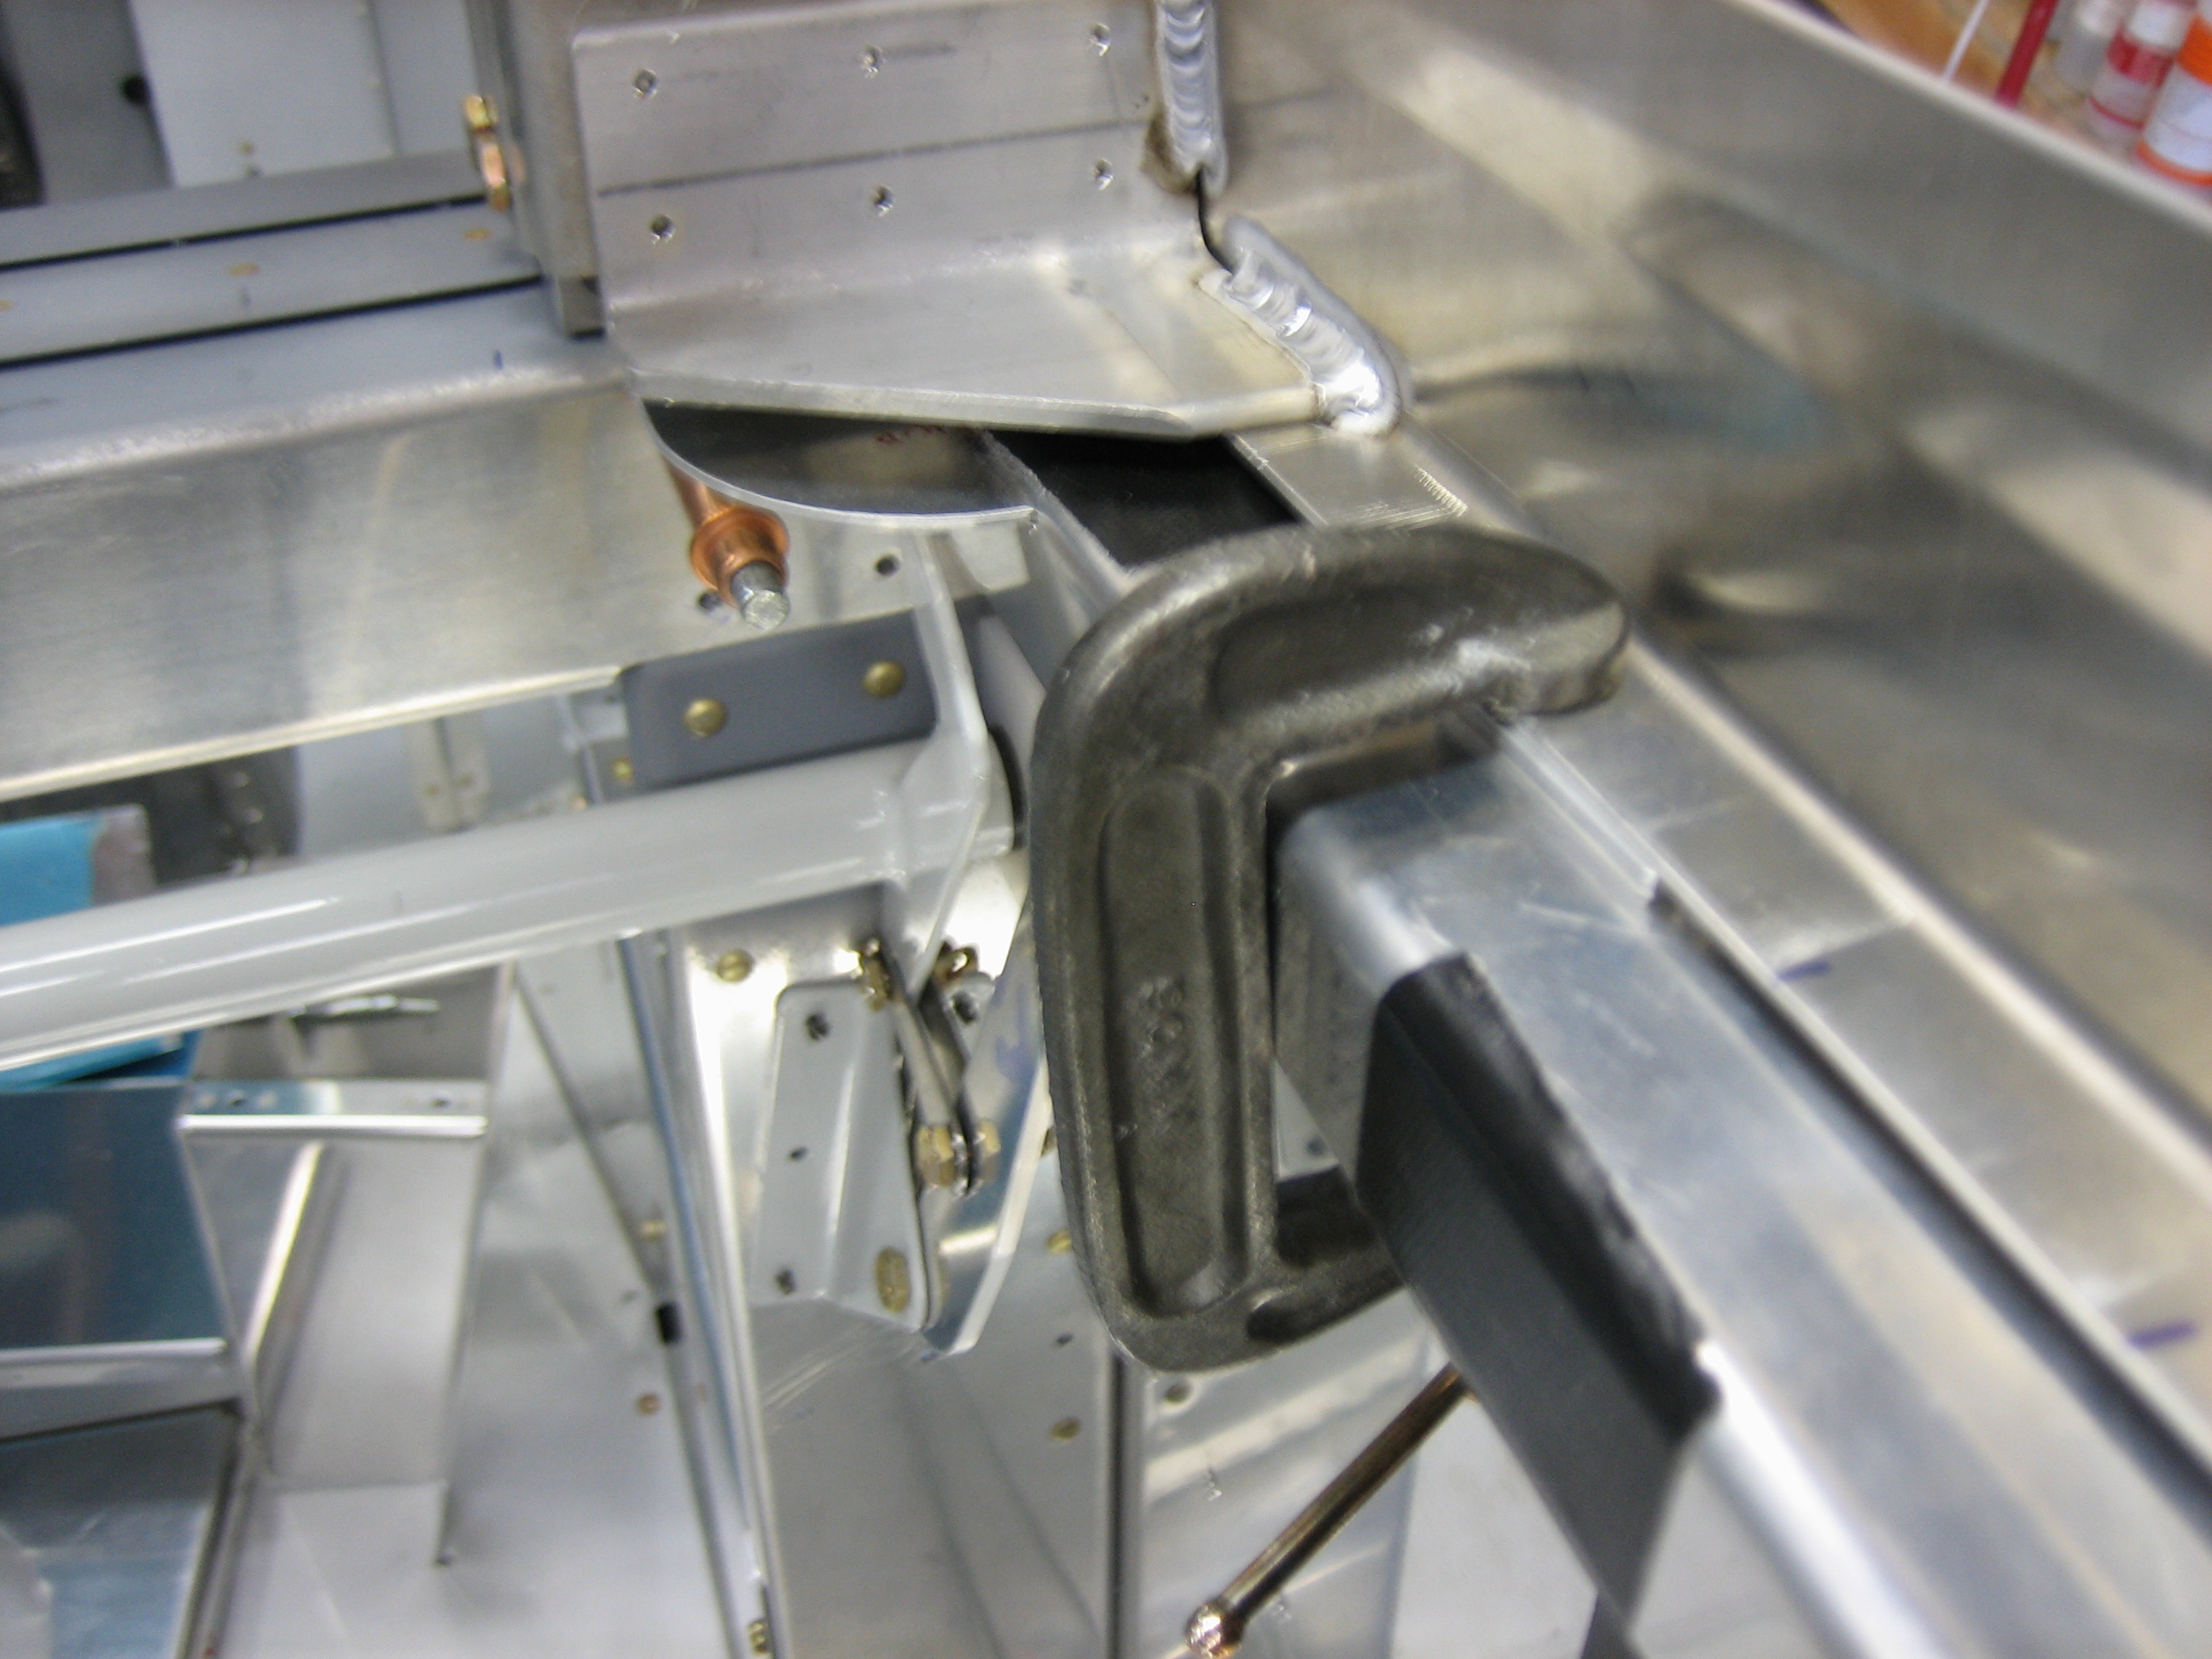
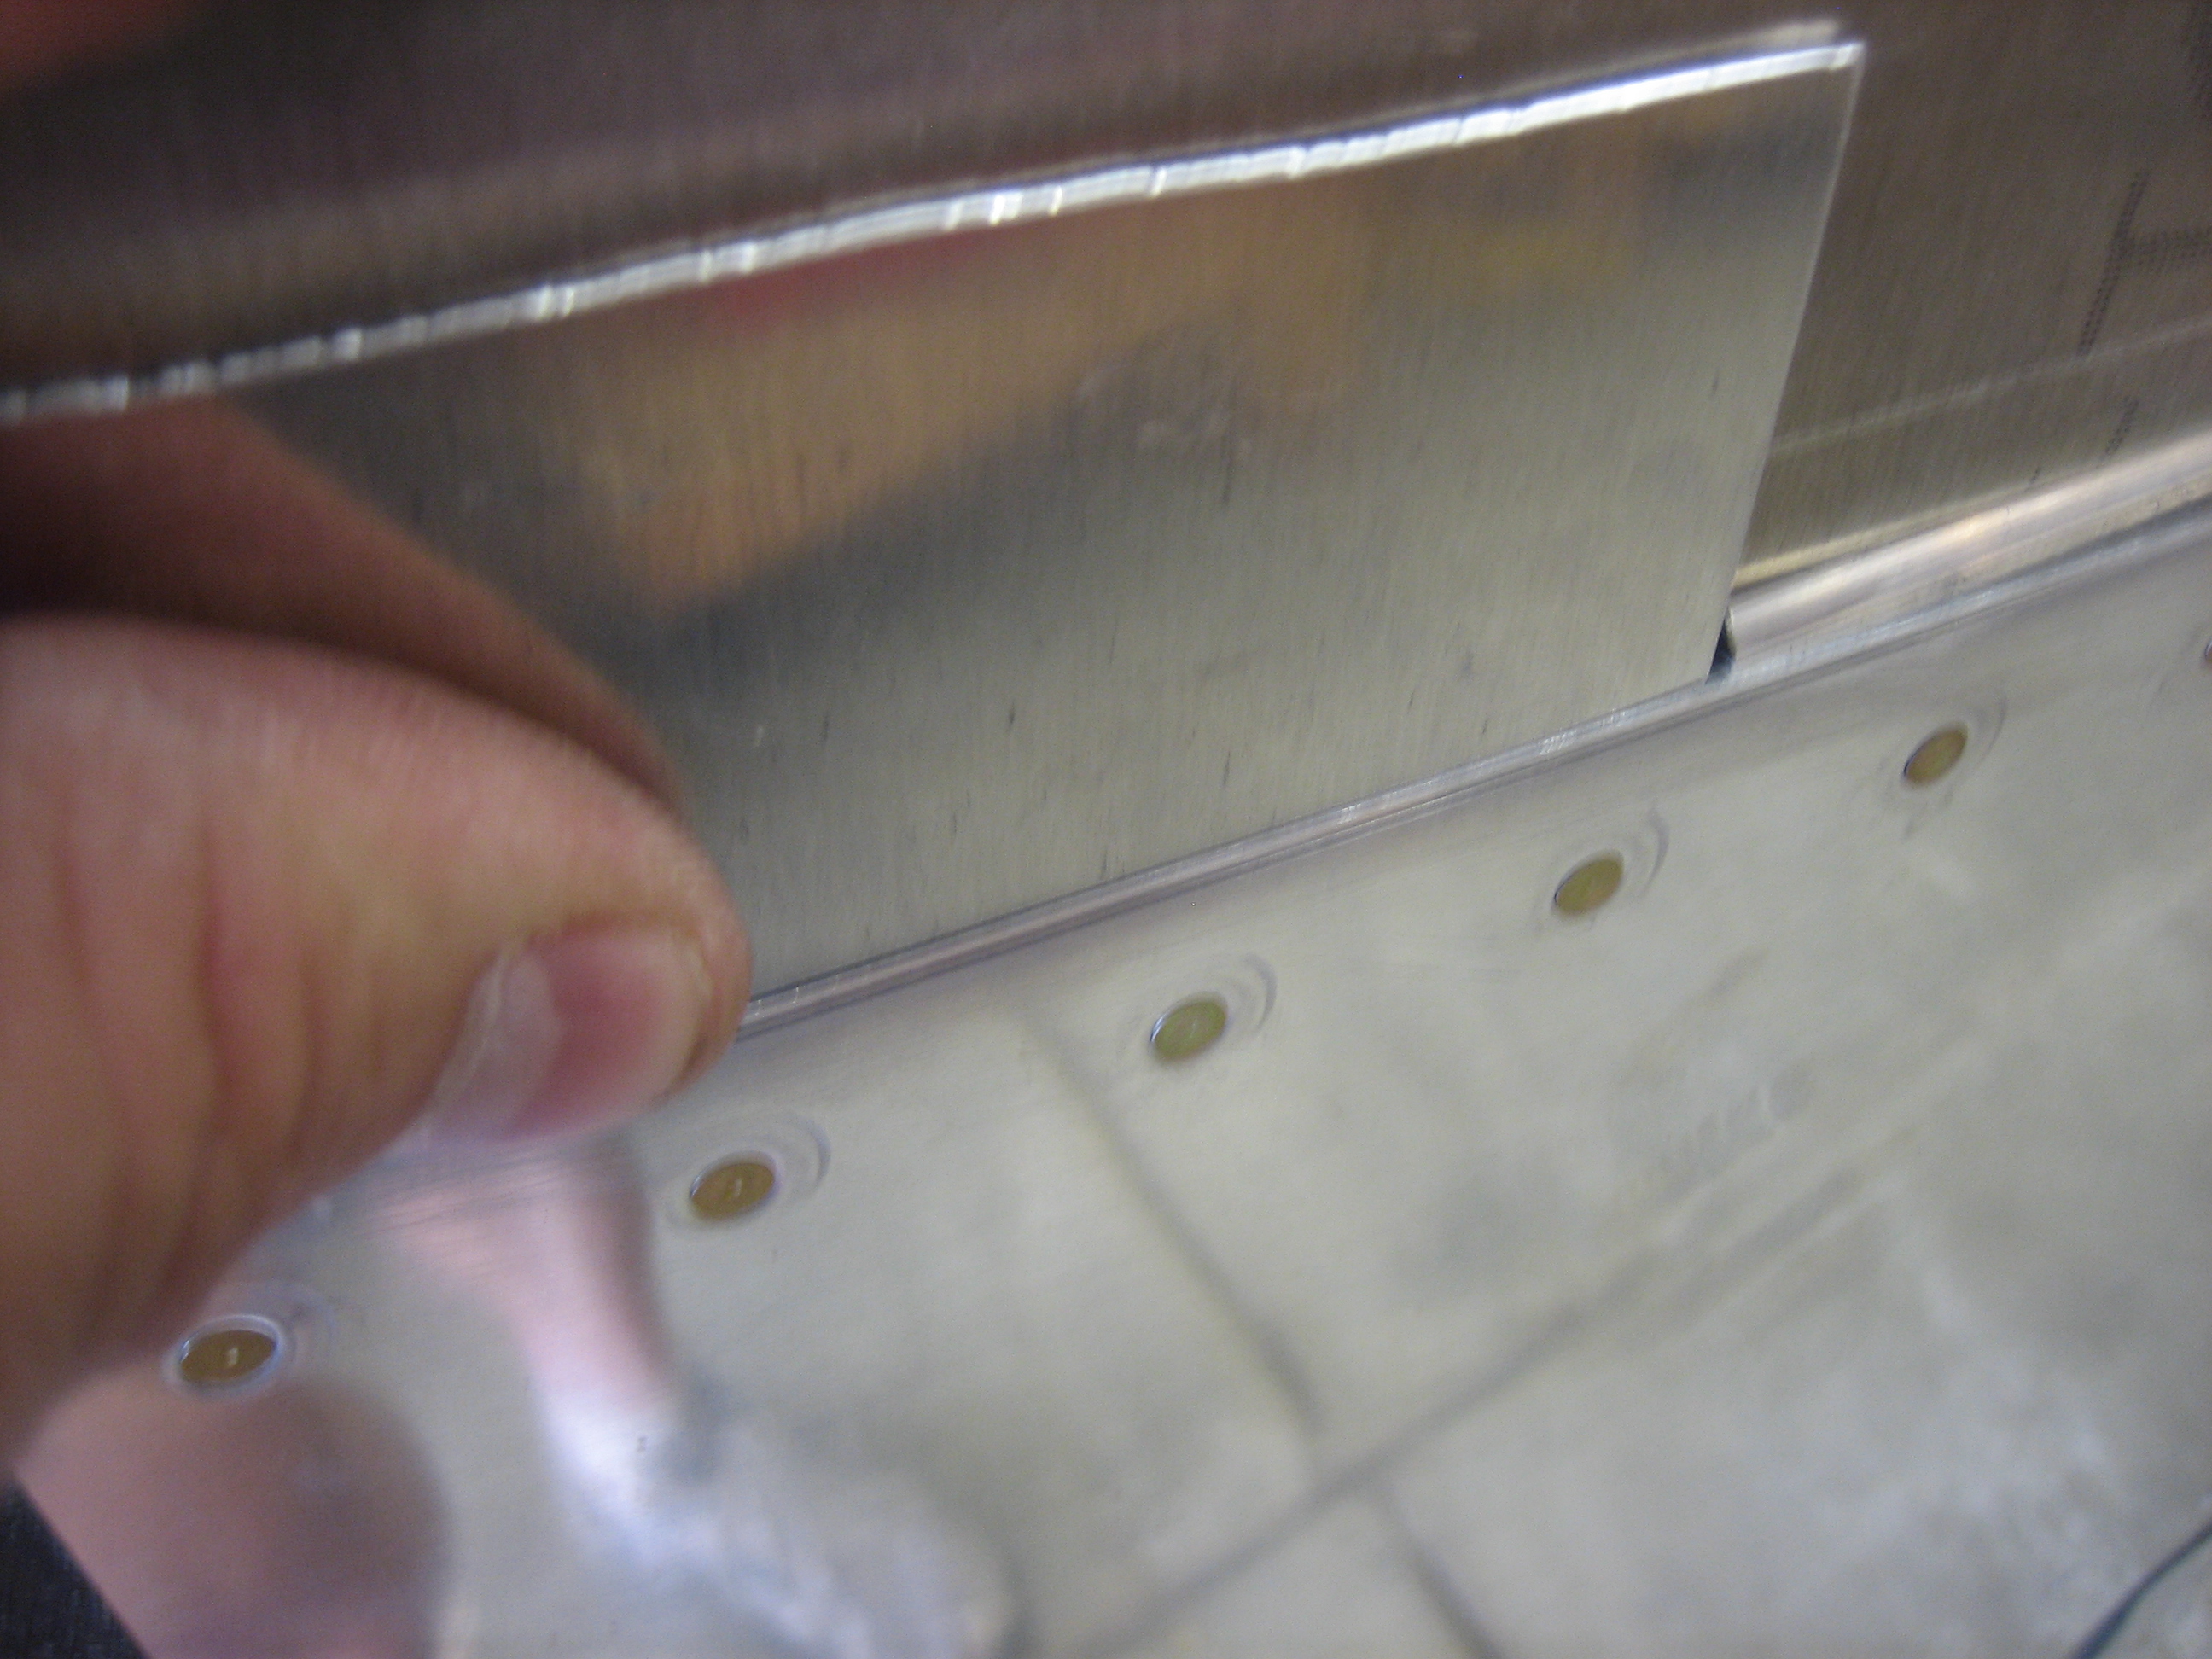
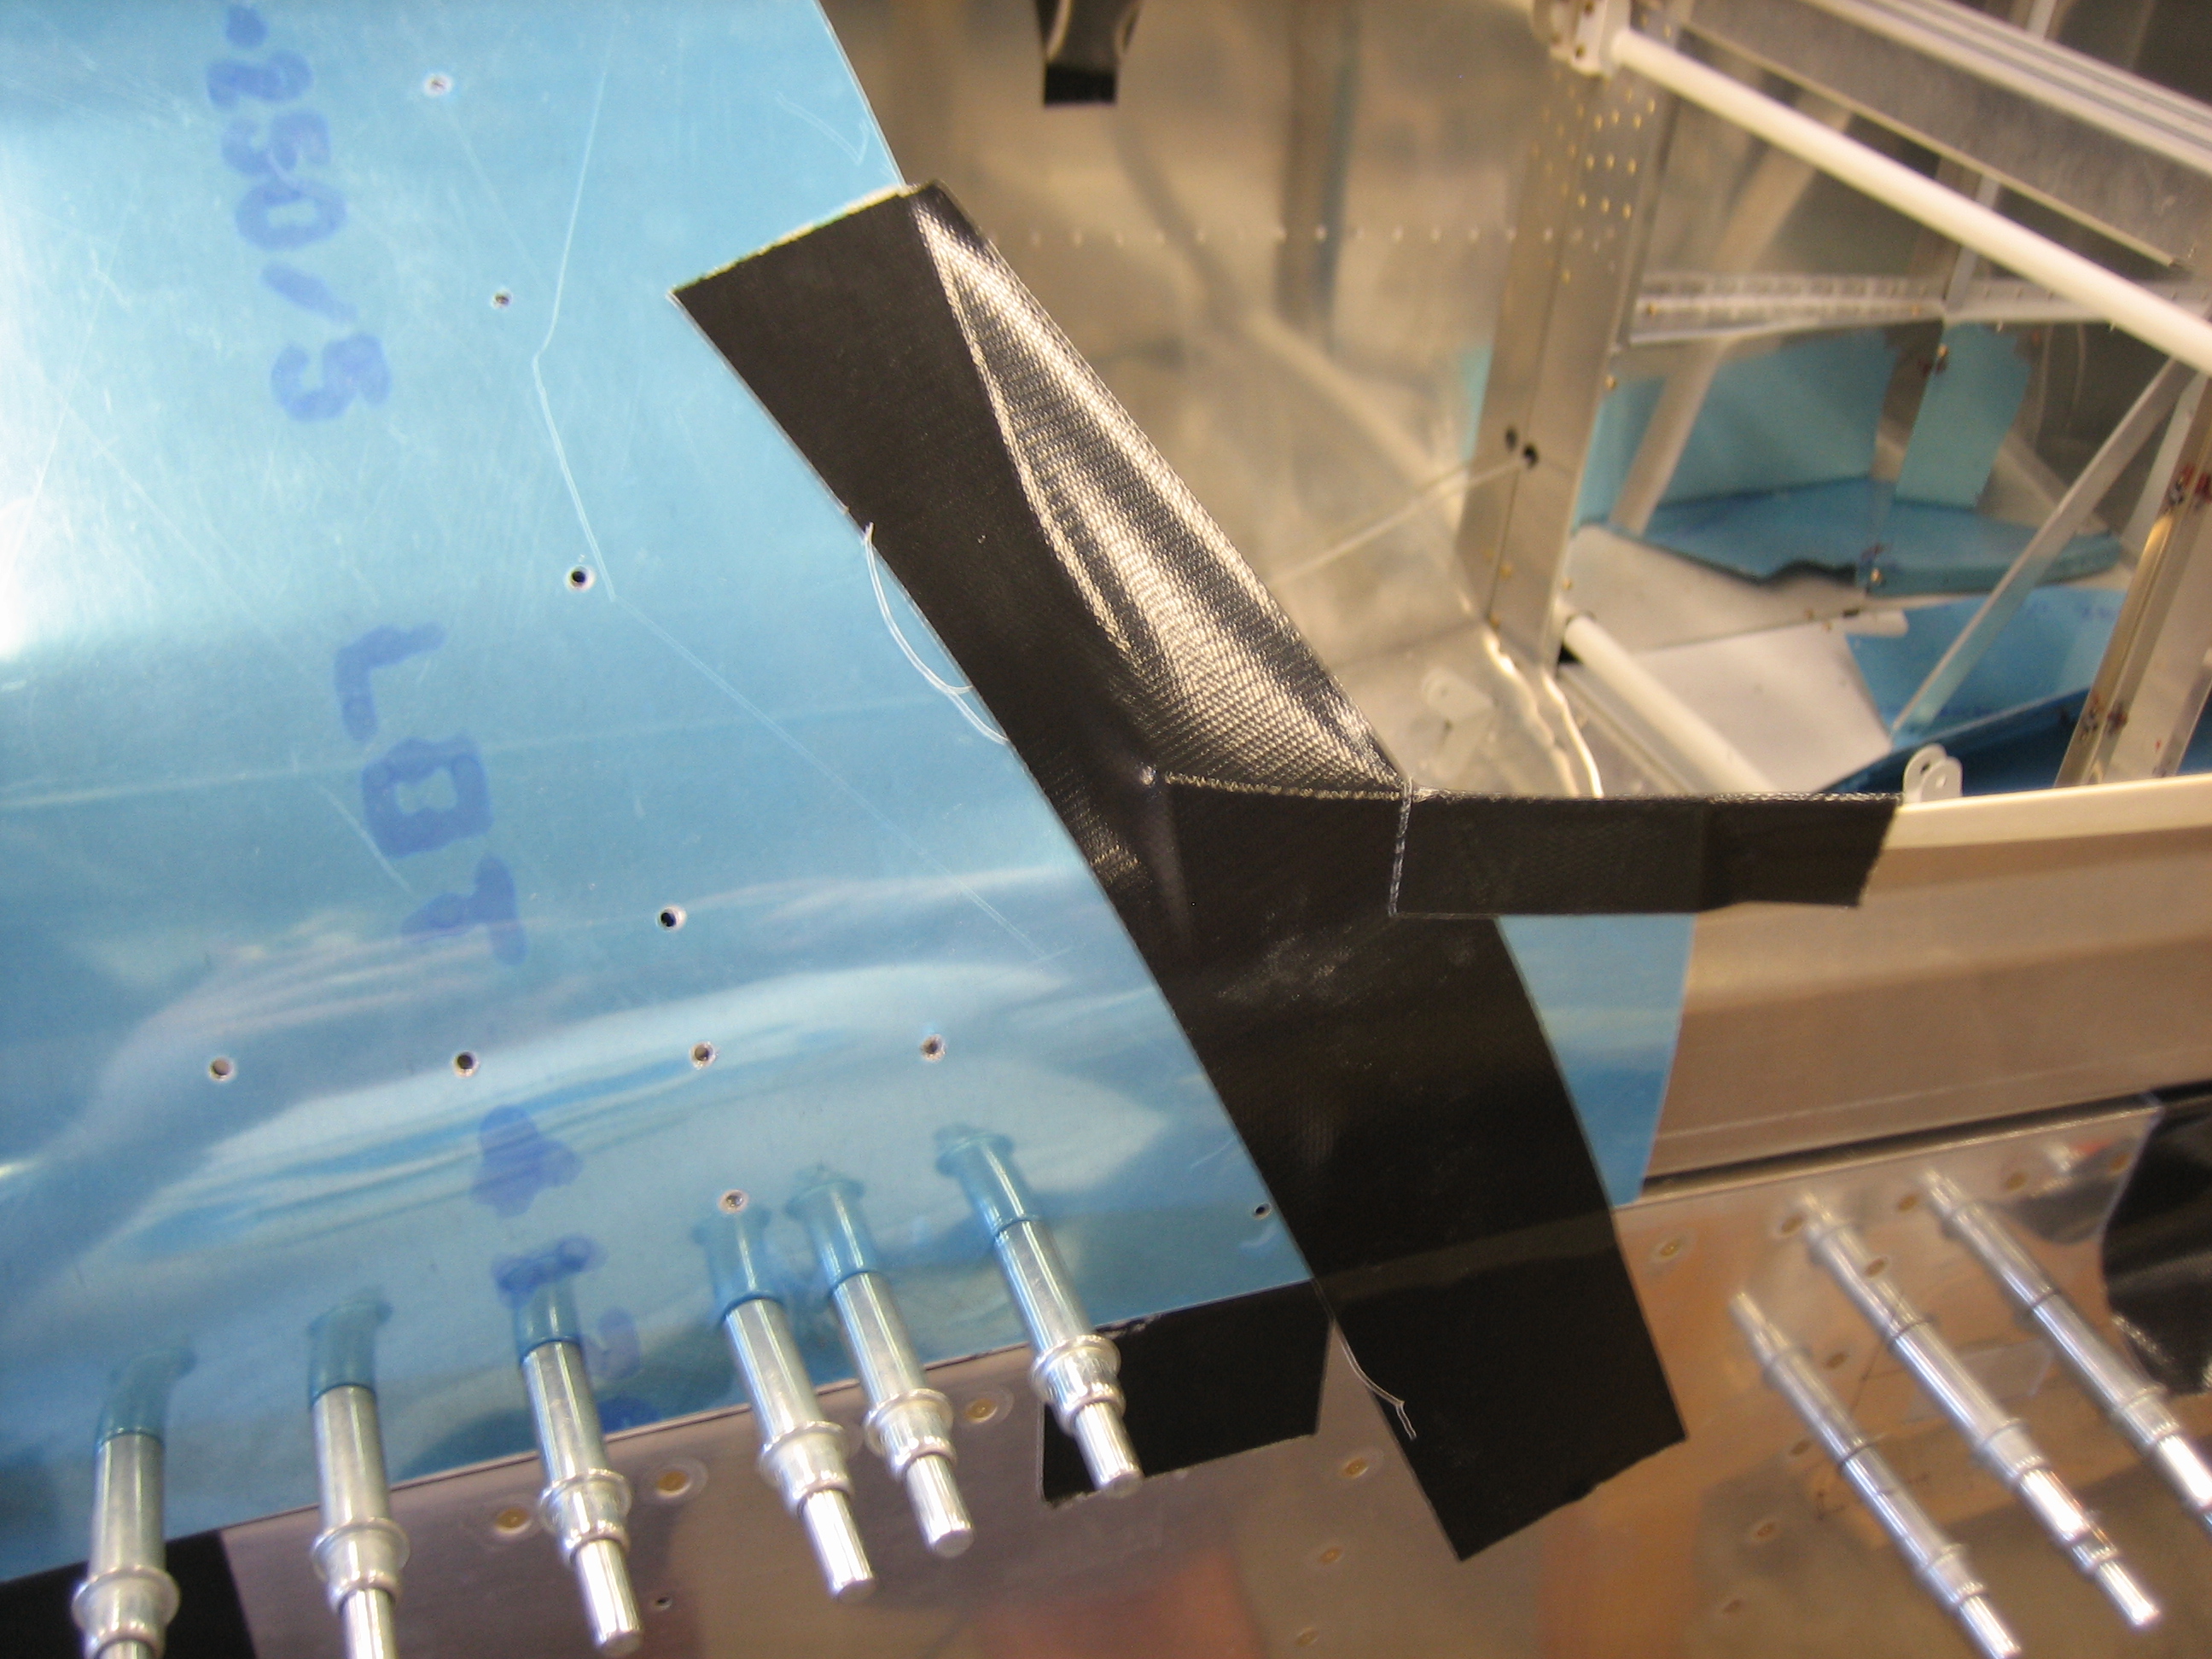
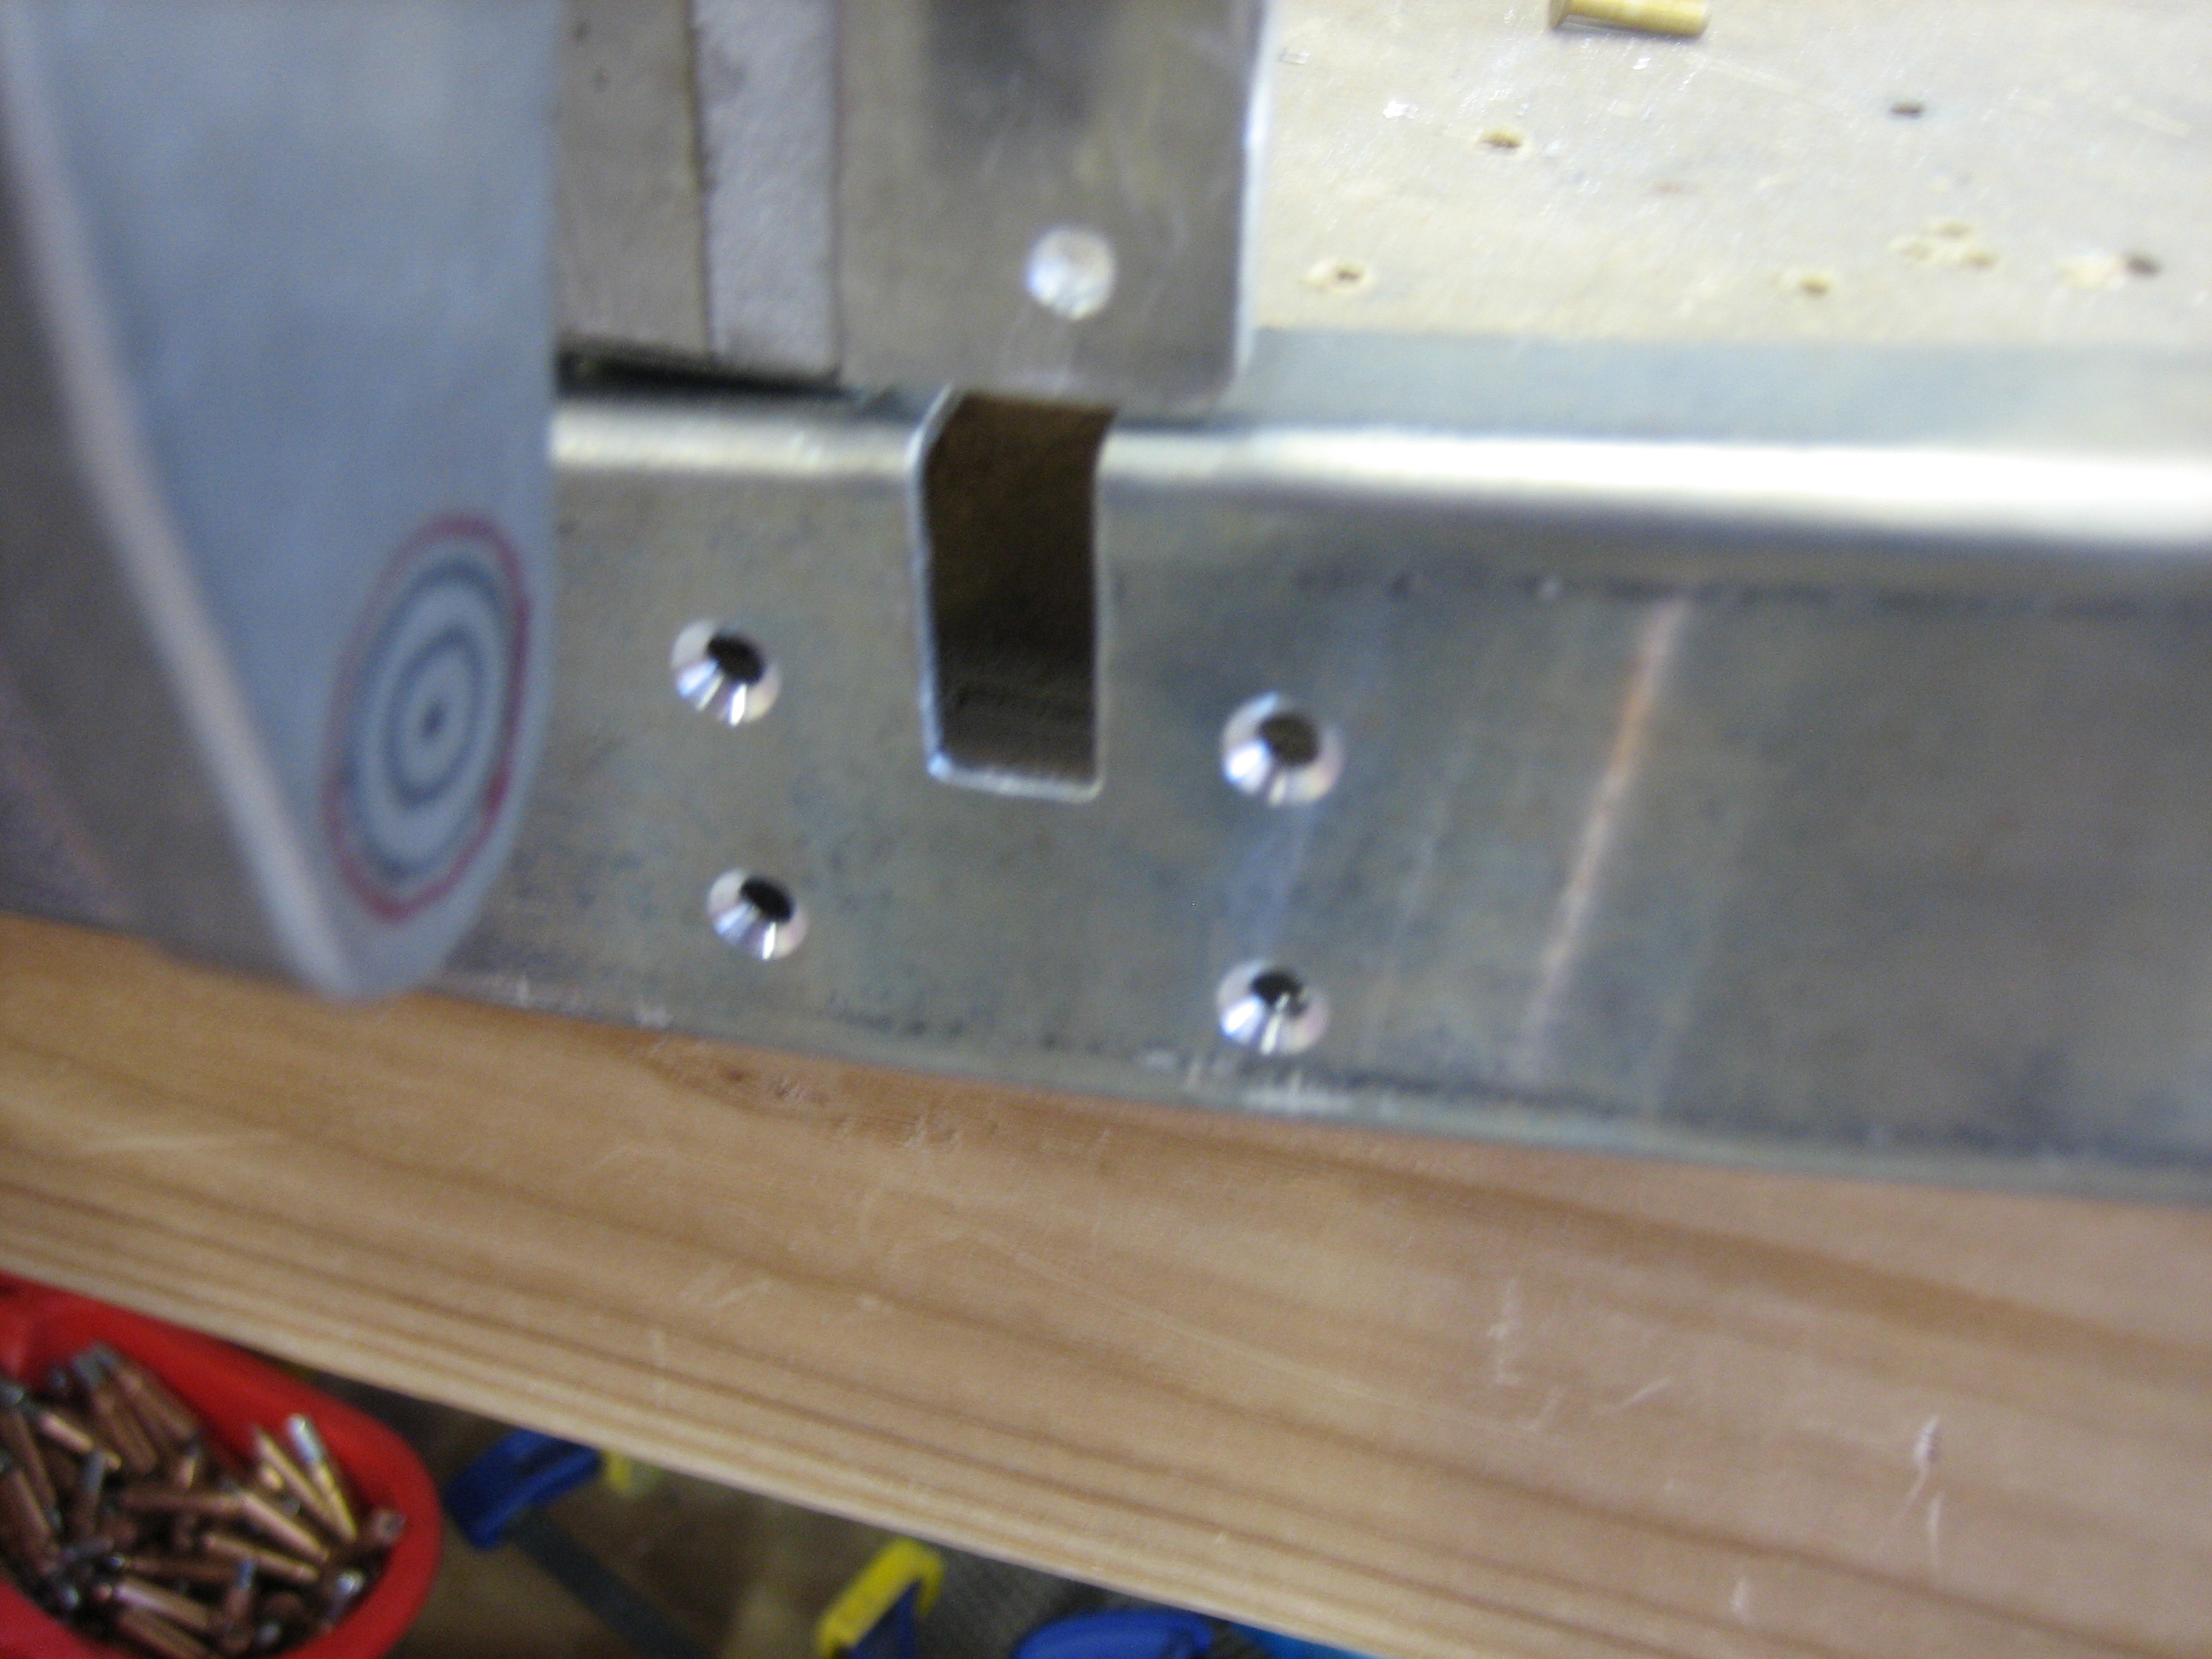
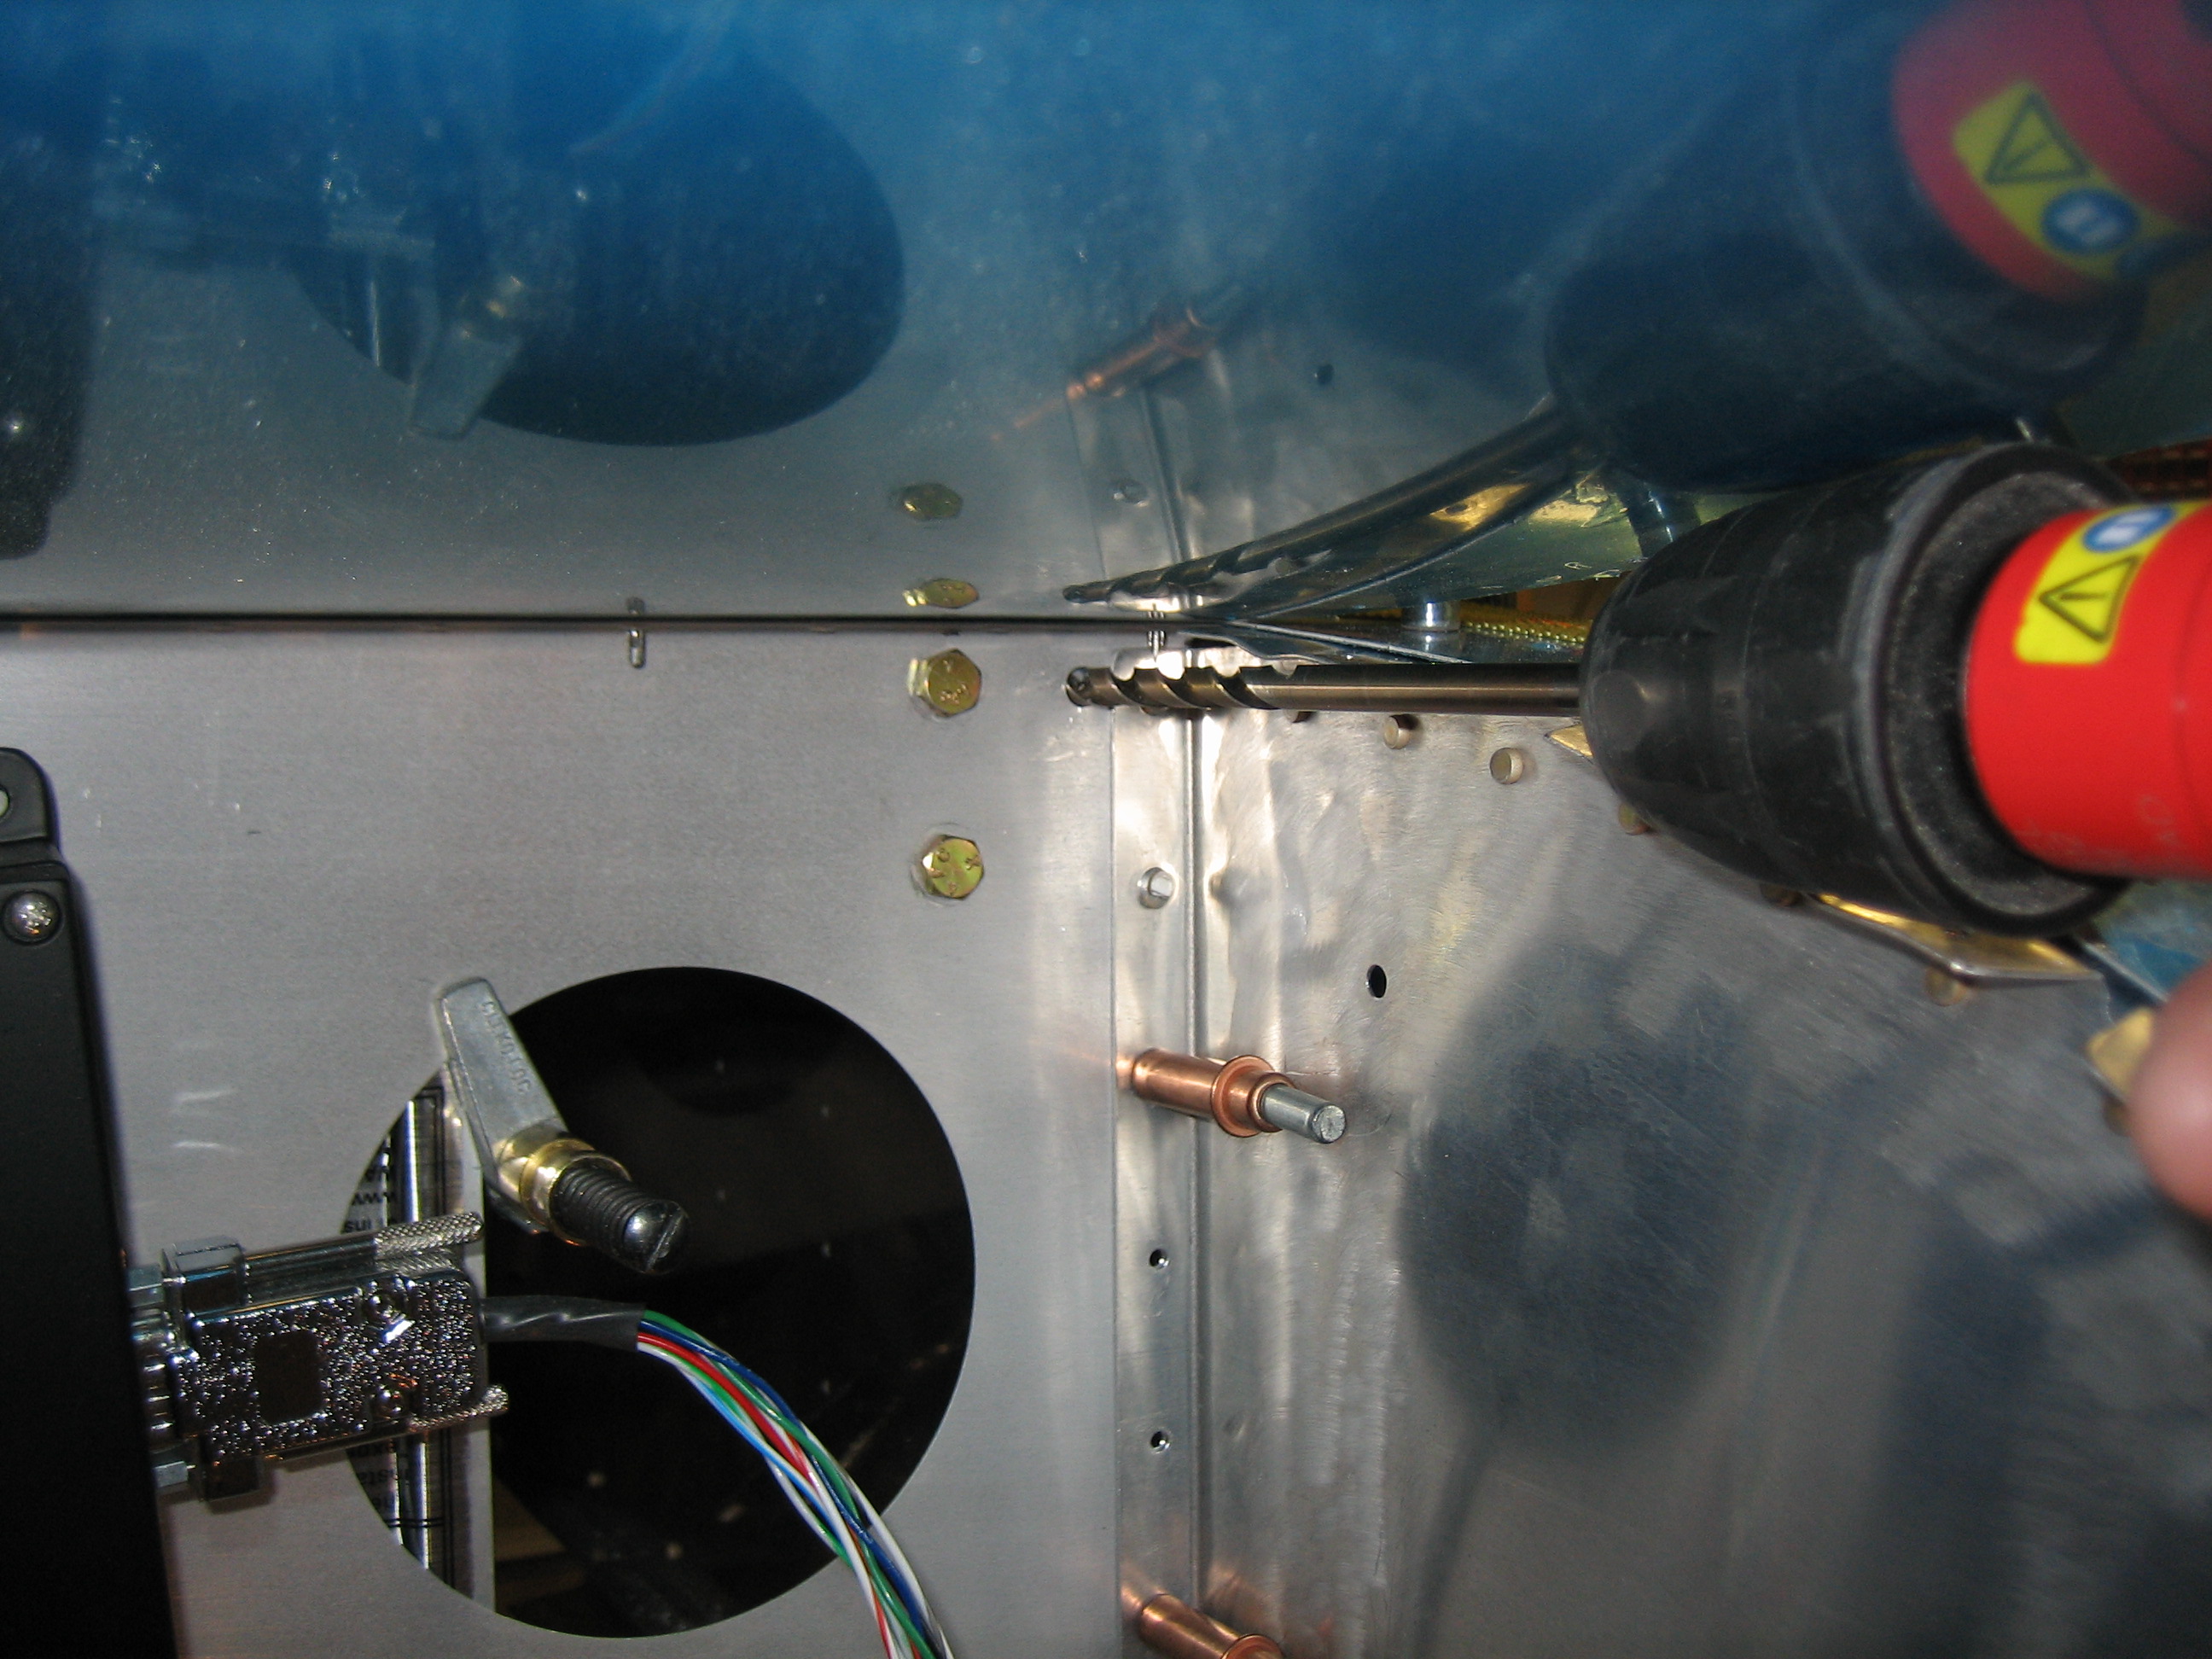
I then reinstalled the canopy frame on the fuselage and got it back into position. I crawled in the fuselage to confirm the holes would land in the right spot and they were great. Plenty of edge clearance all around. I tried using my right angle drill, but I couldn’t get squarely on the hole. Instead, I decided to peel up the outboard portions of the forward skin and use a straight drill. If you click on the picture to zoom in, you can see that the hole is nearly centered on my target.
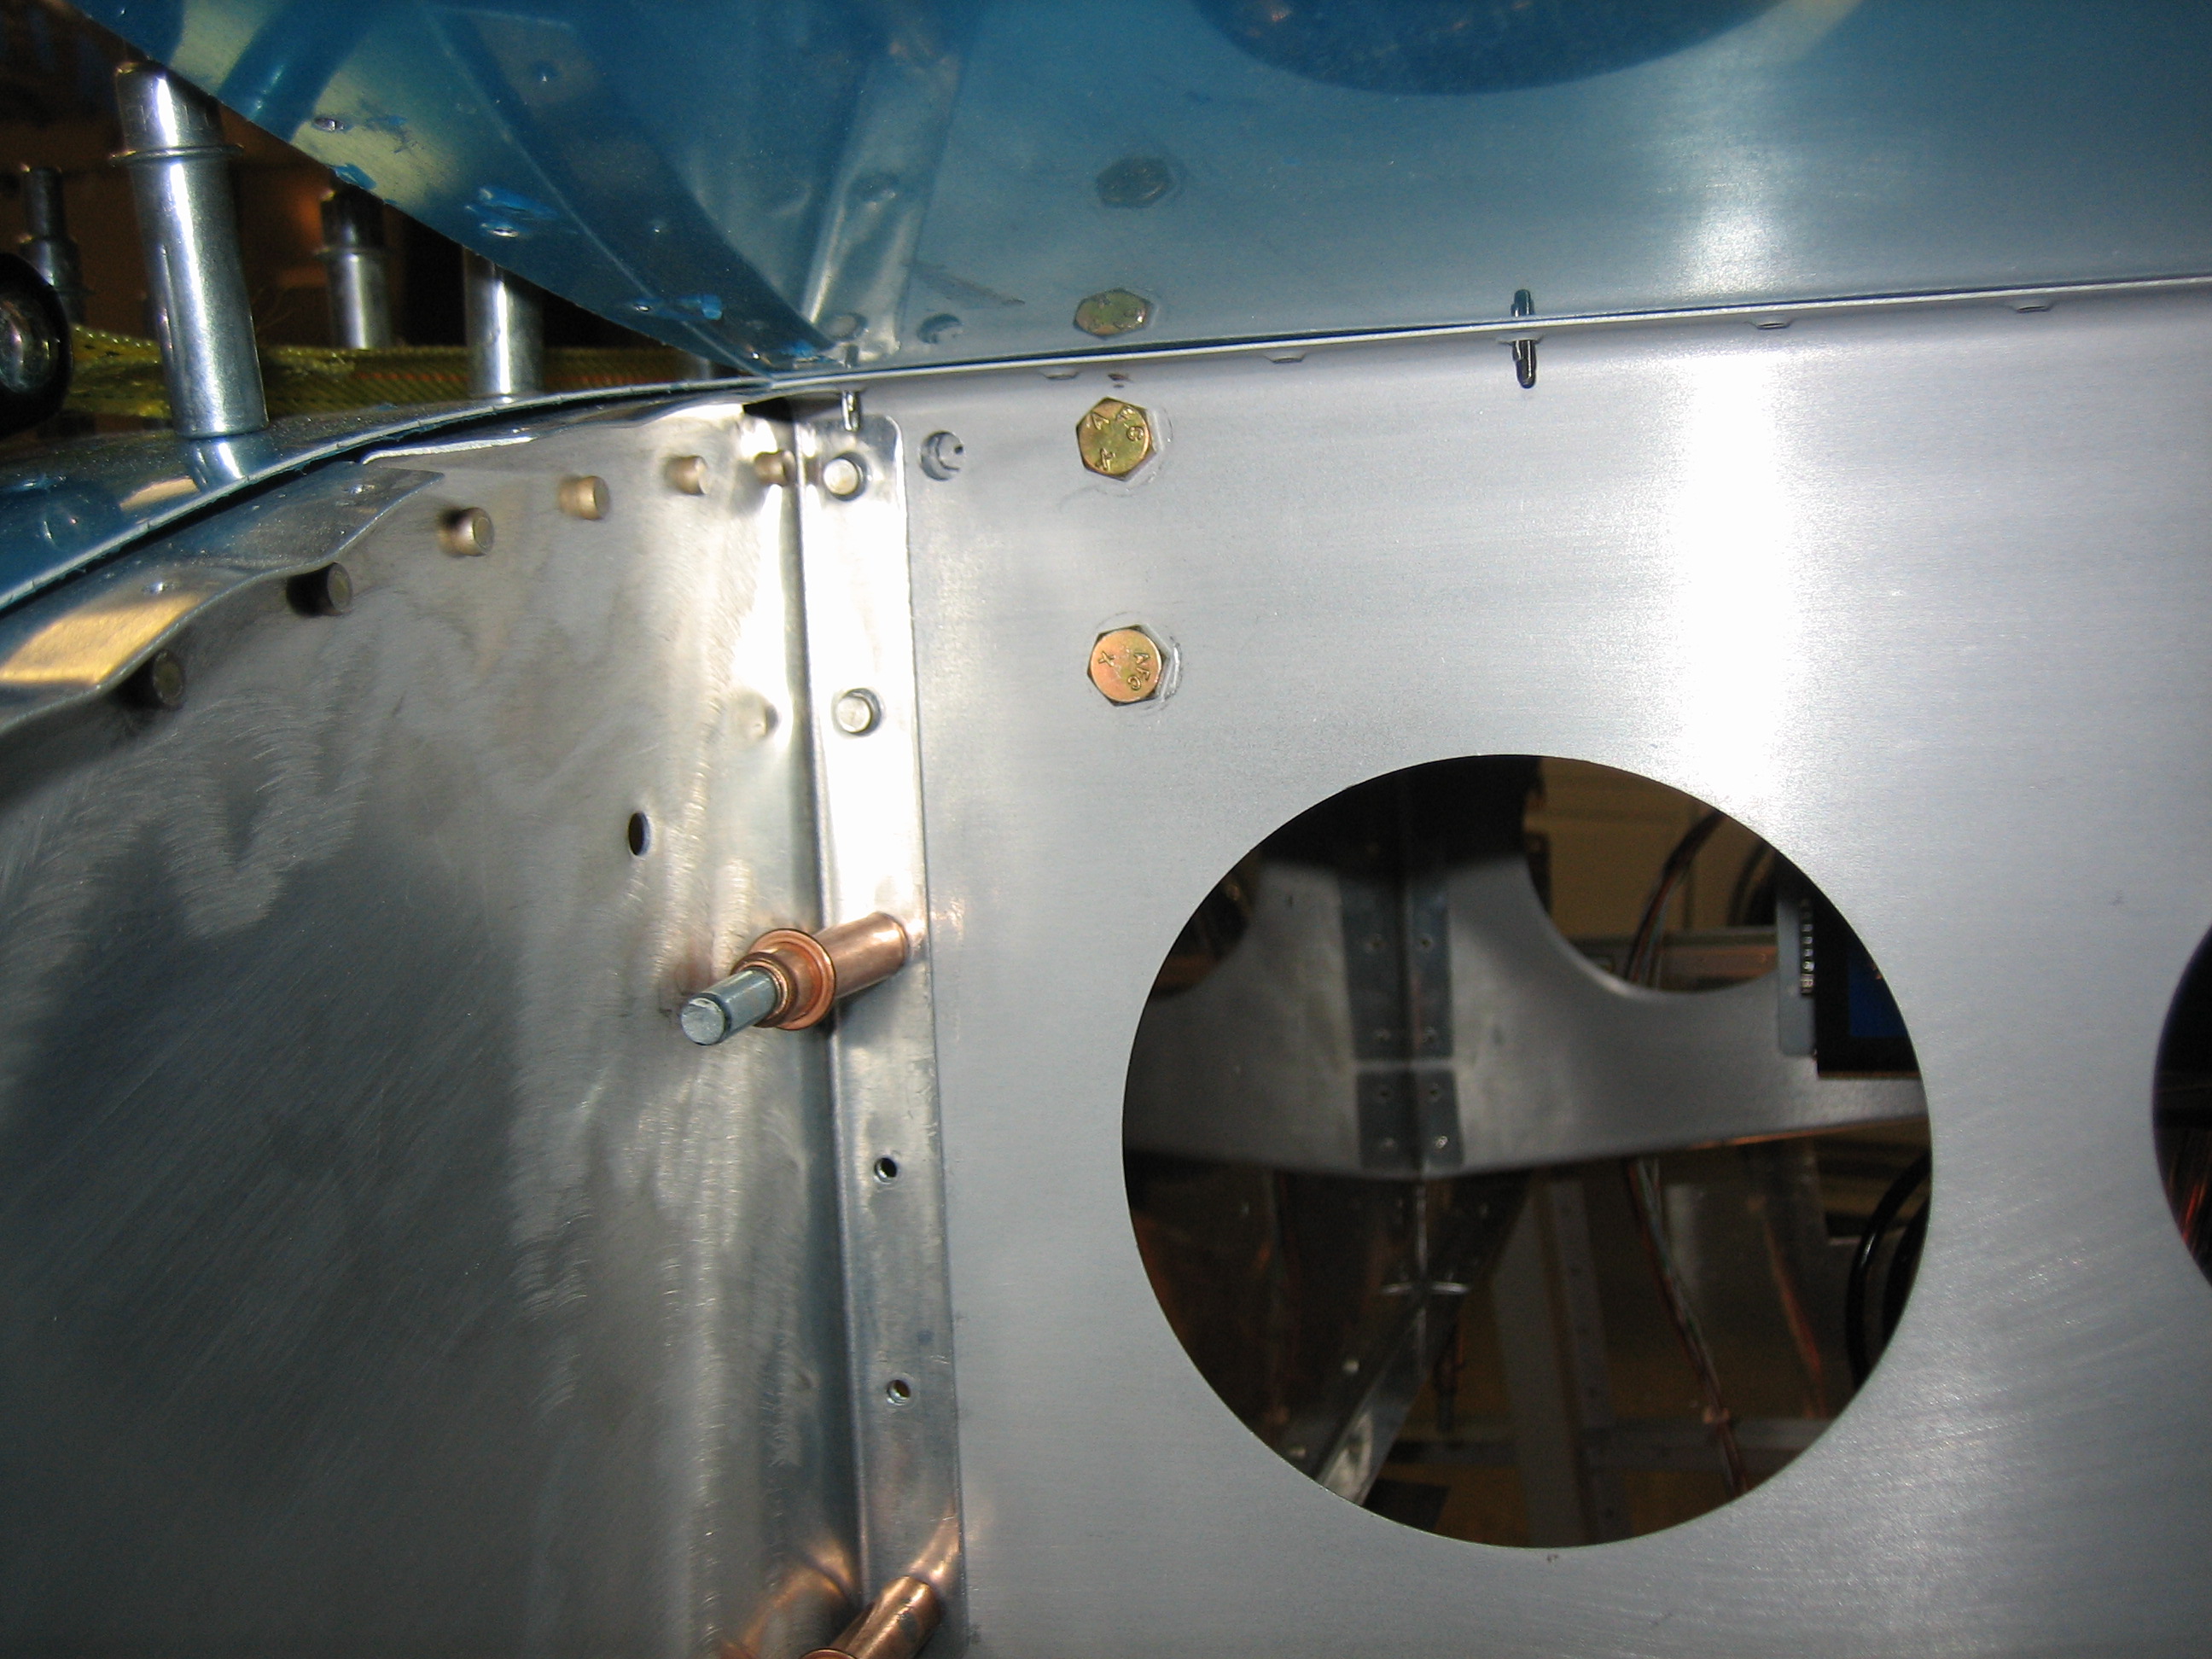
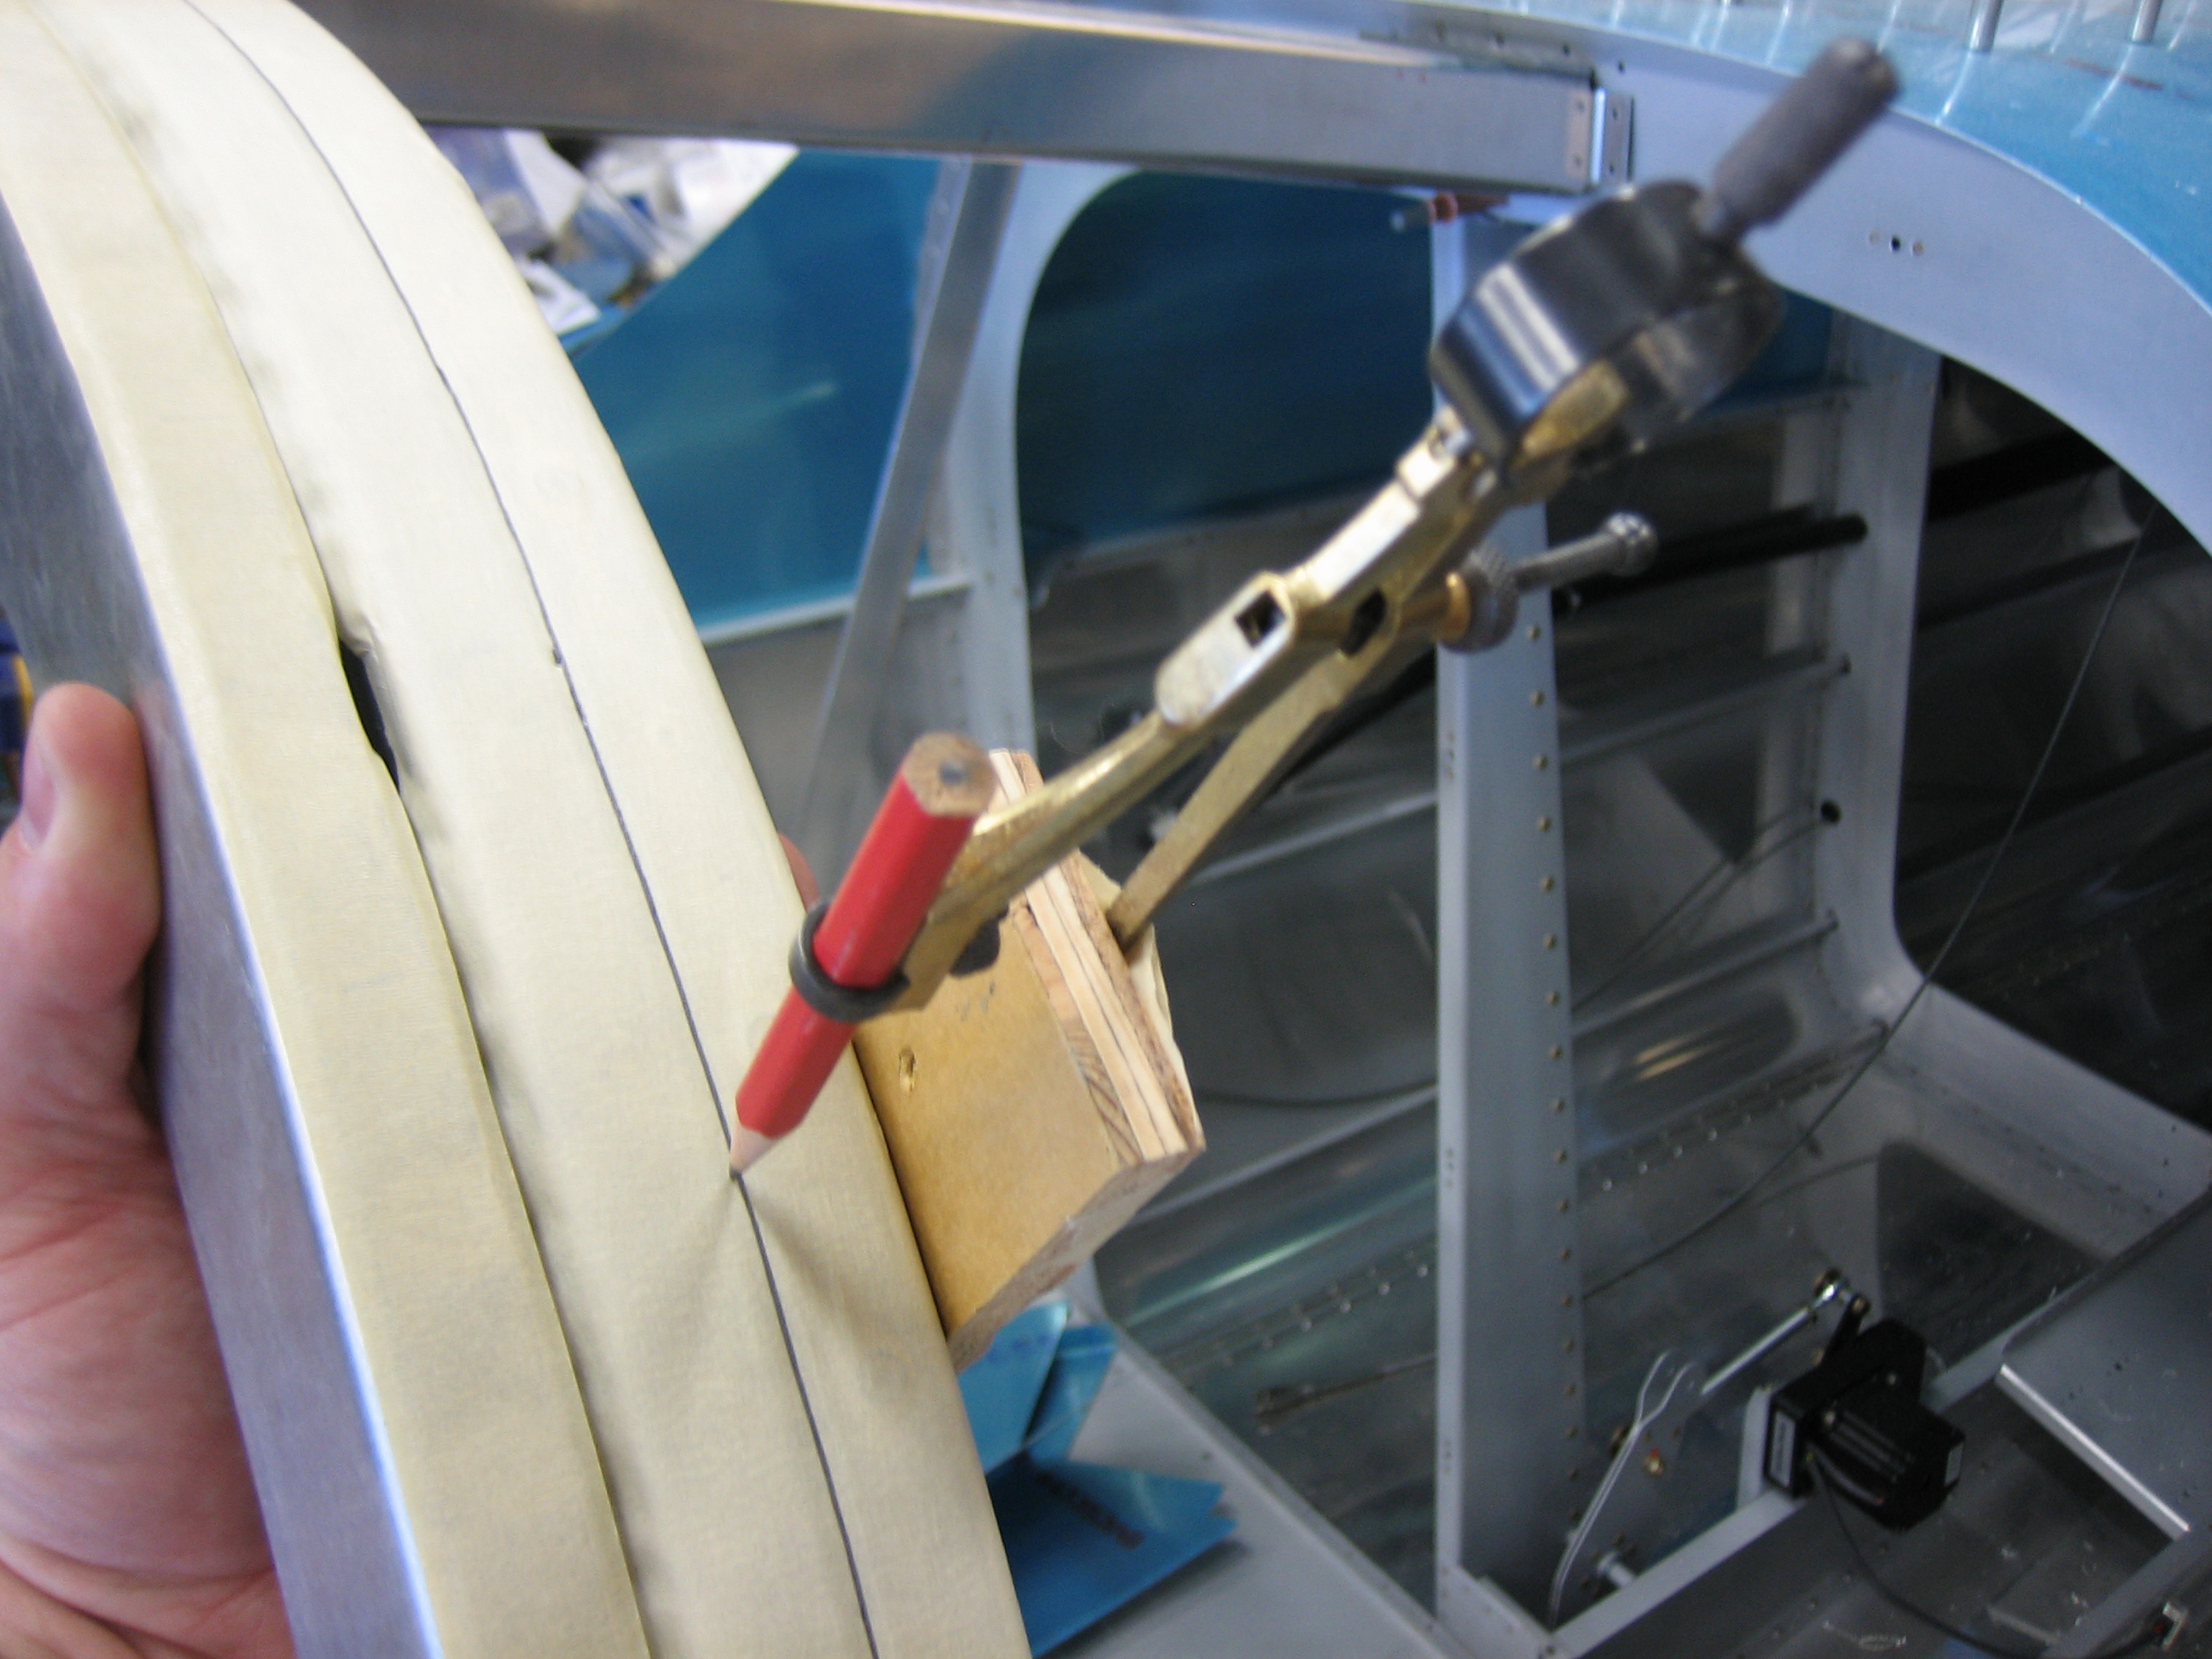
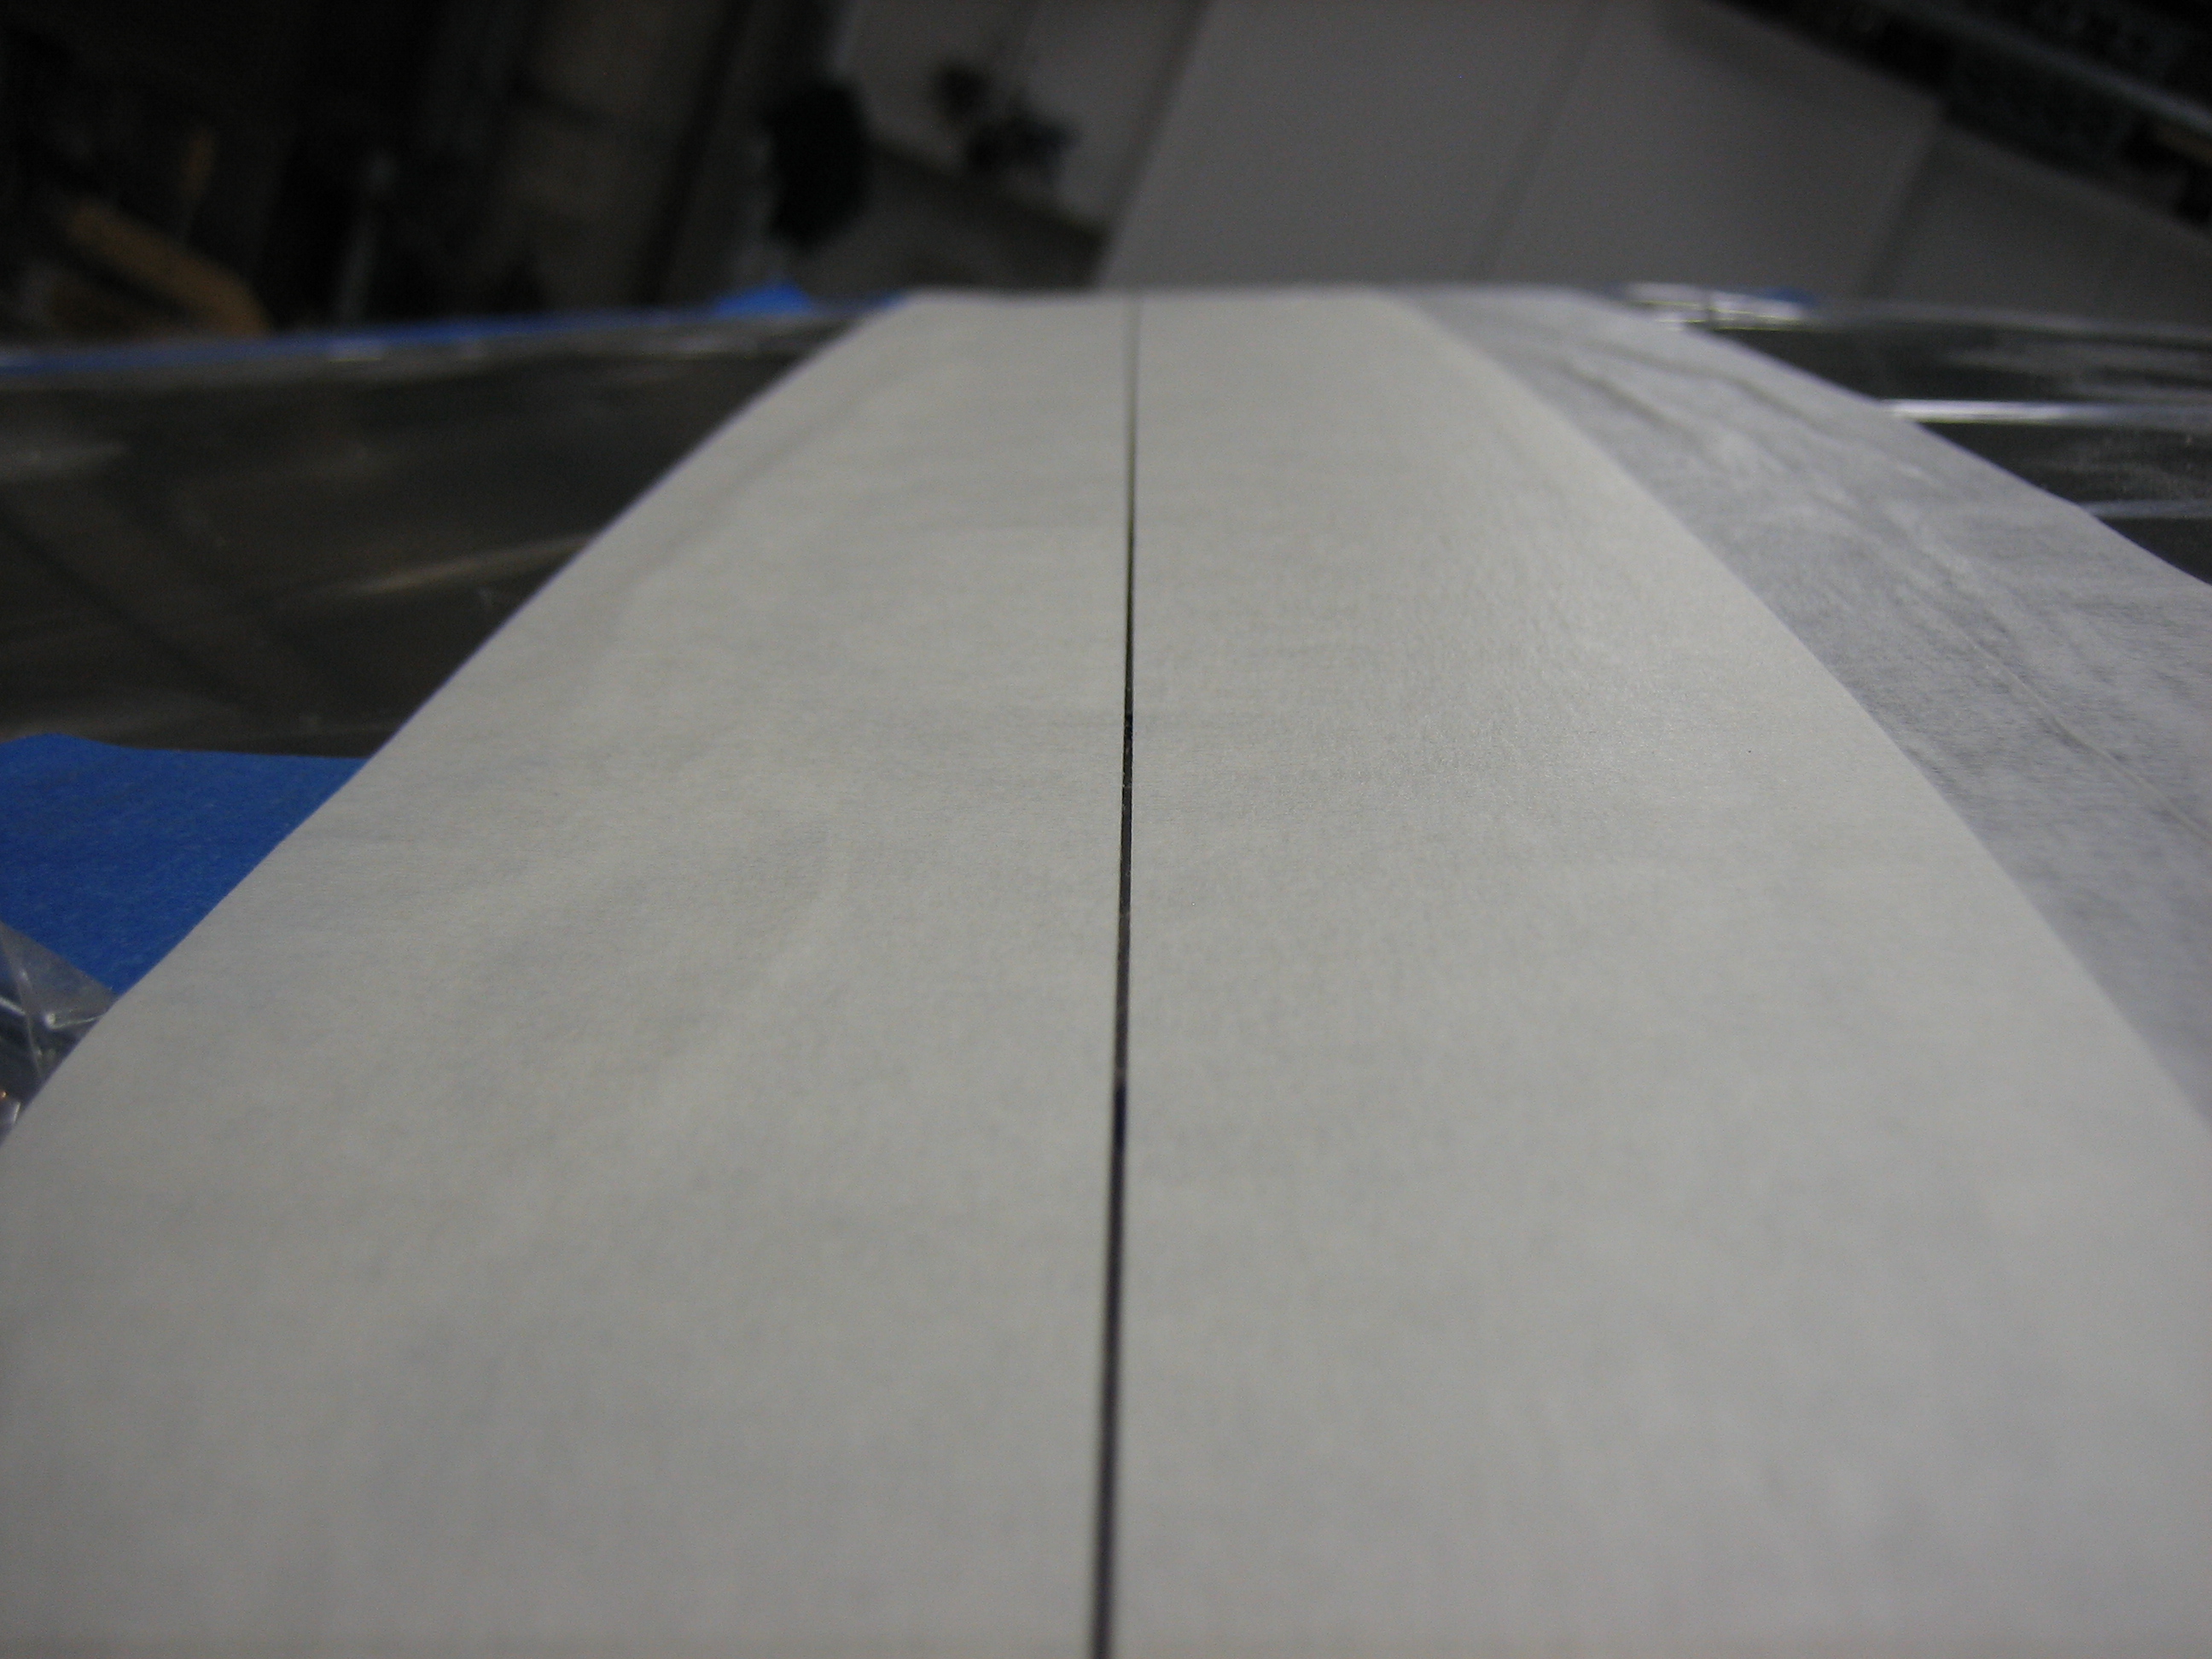
I used my straight drill with a 6″ long, 1/4″ bit to mark the holes.
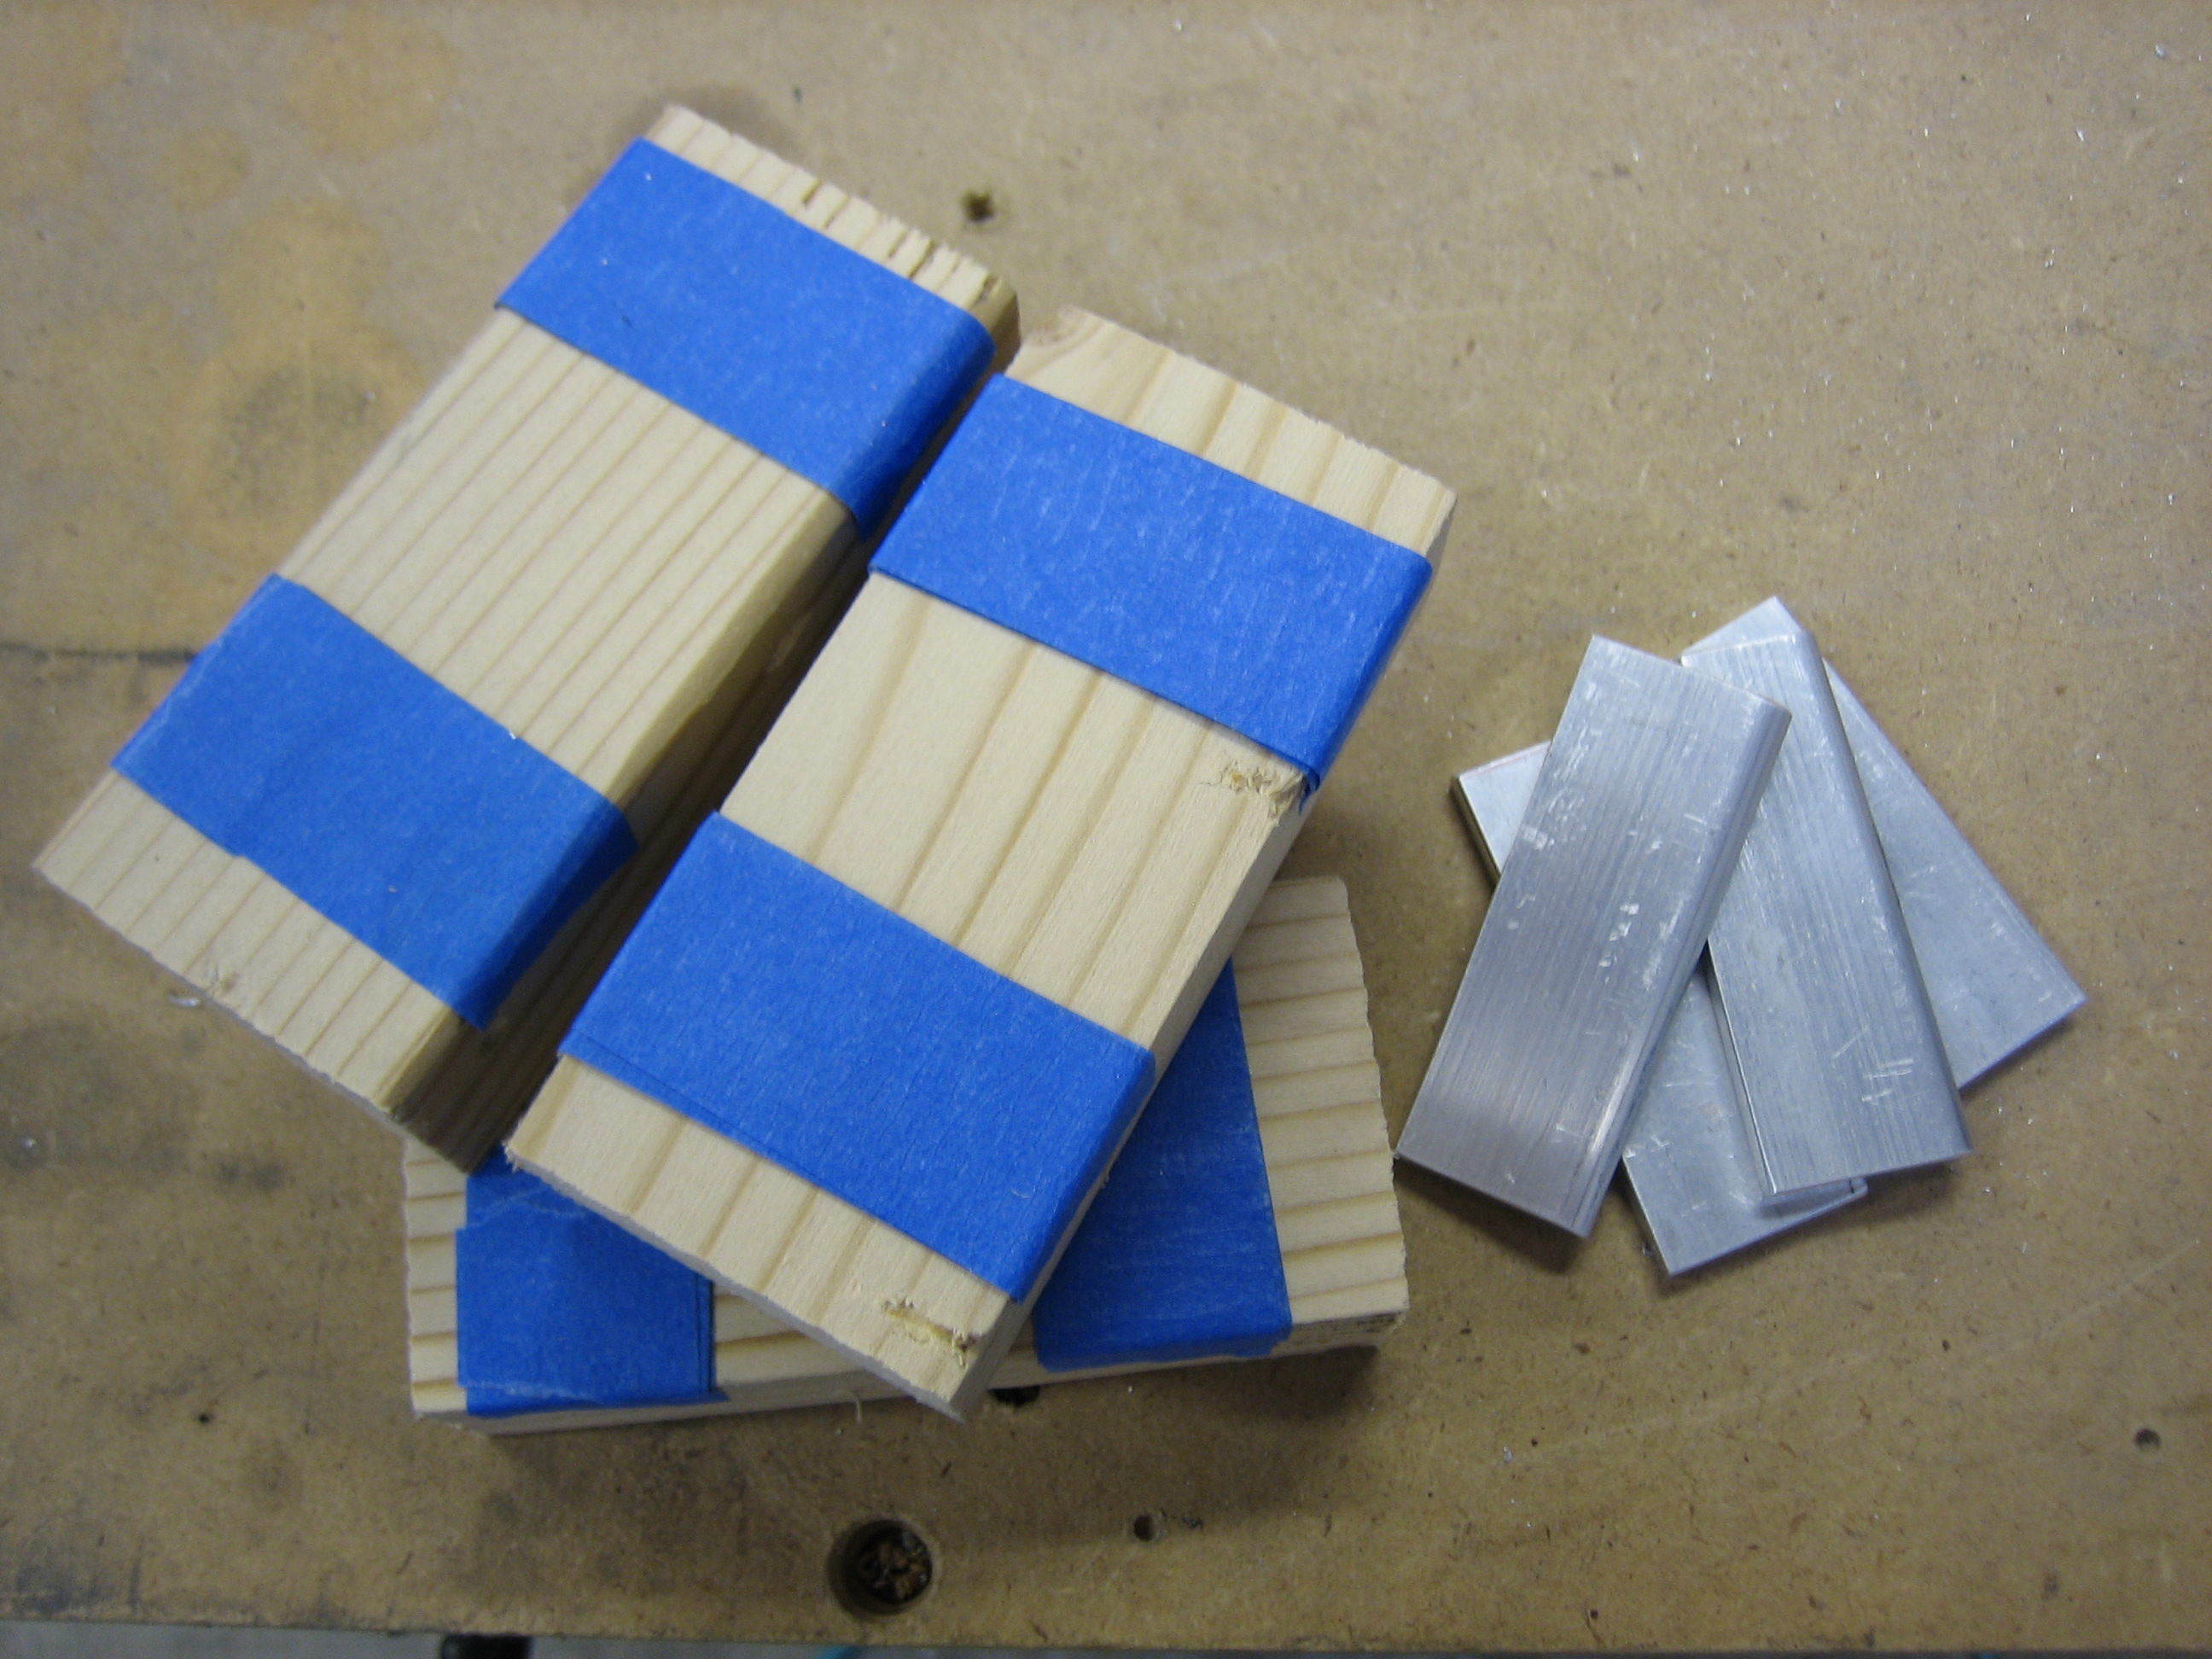
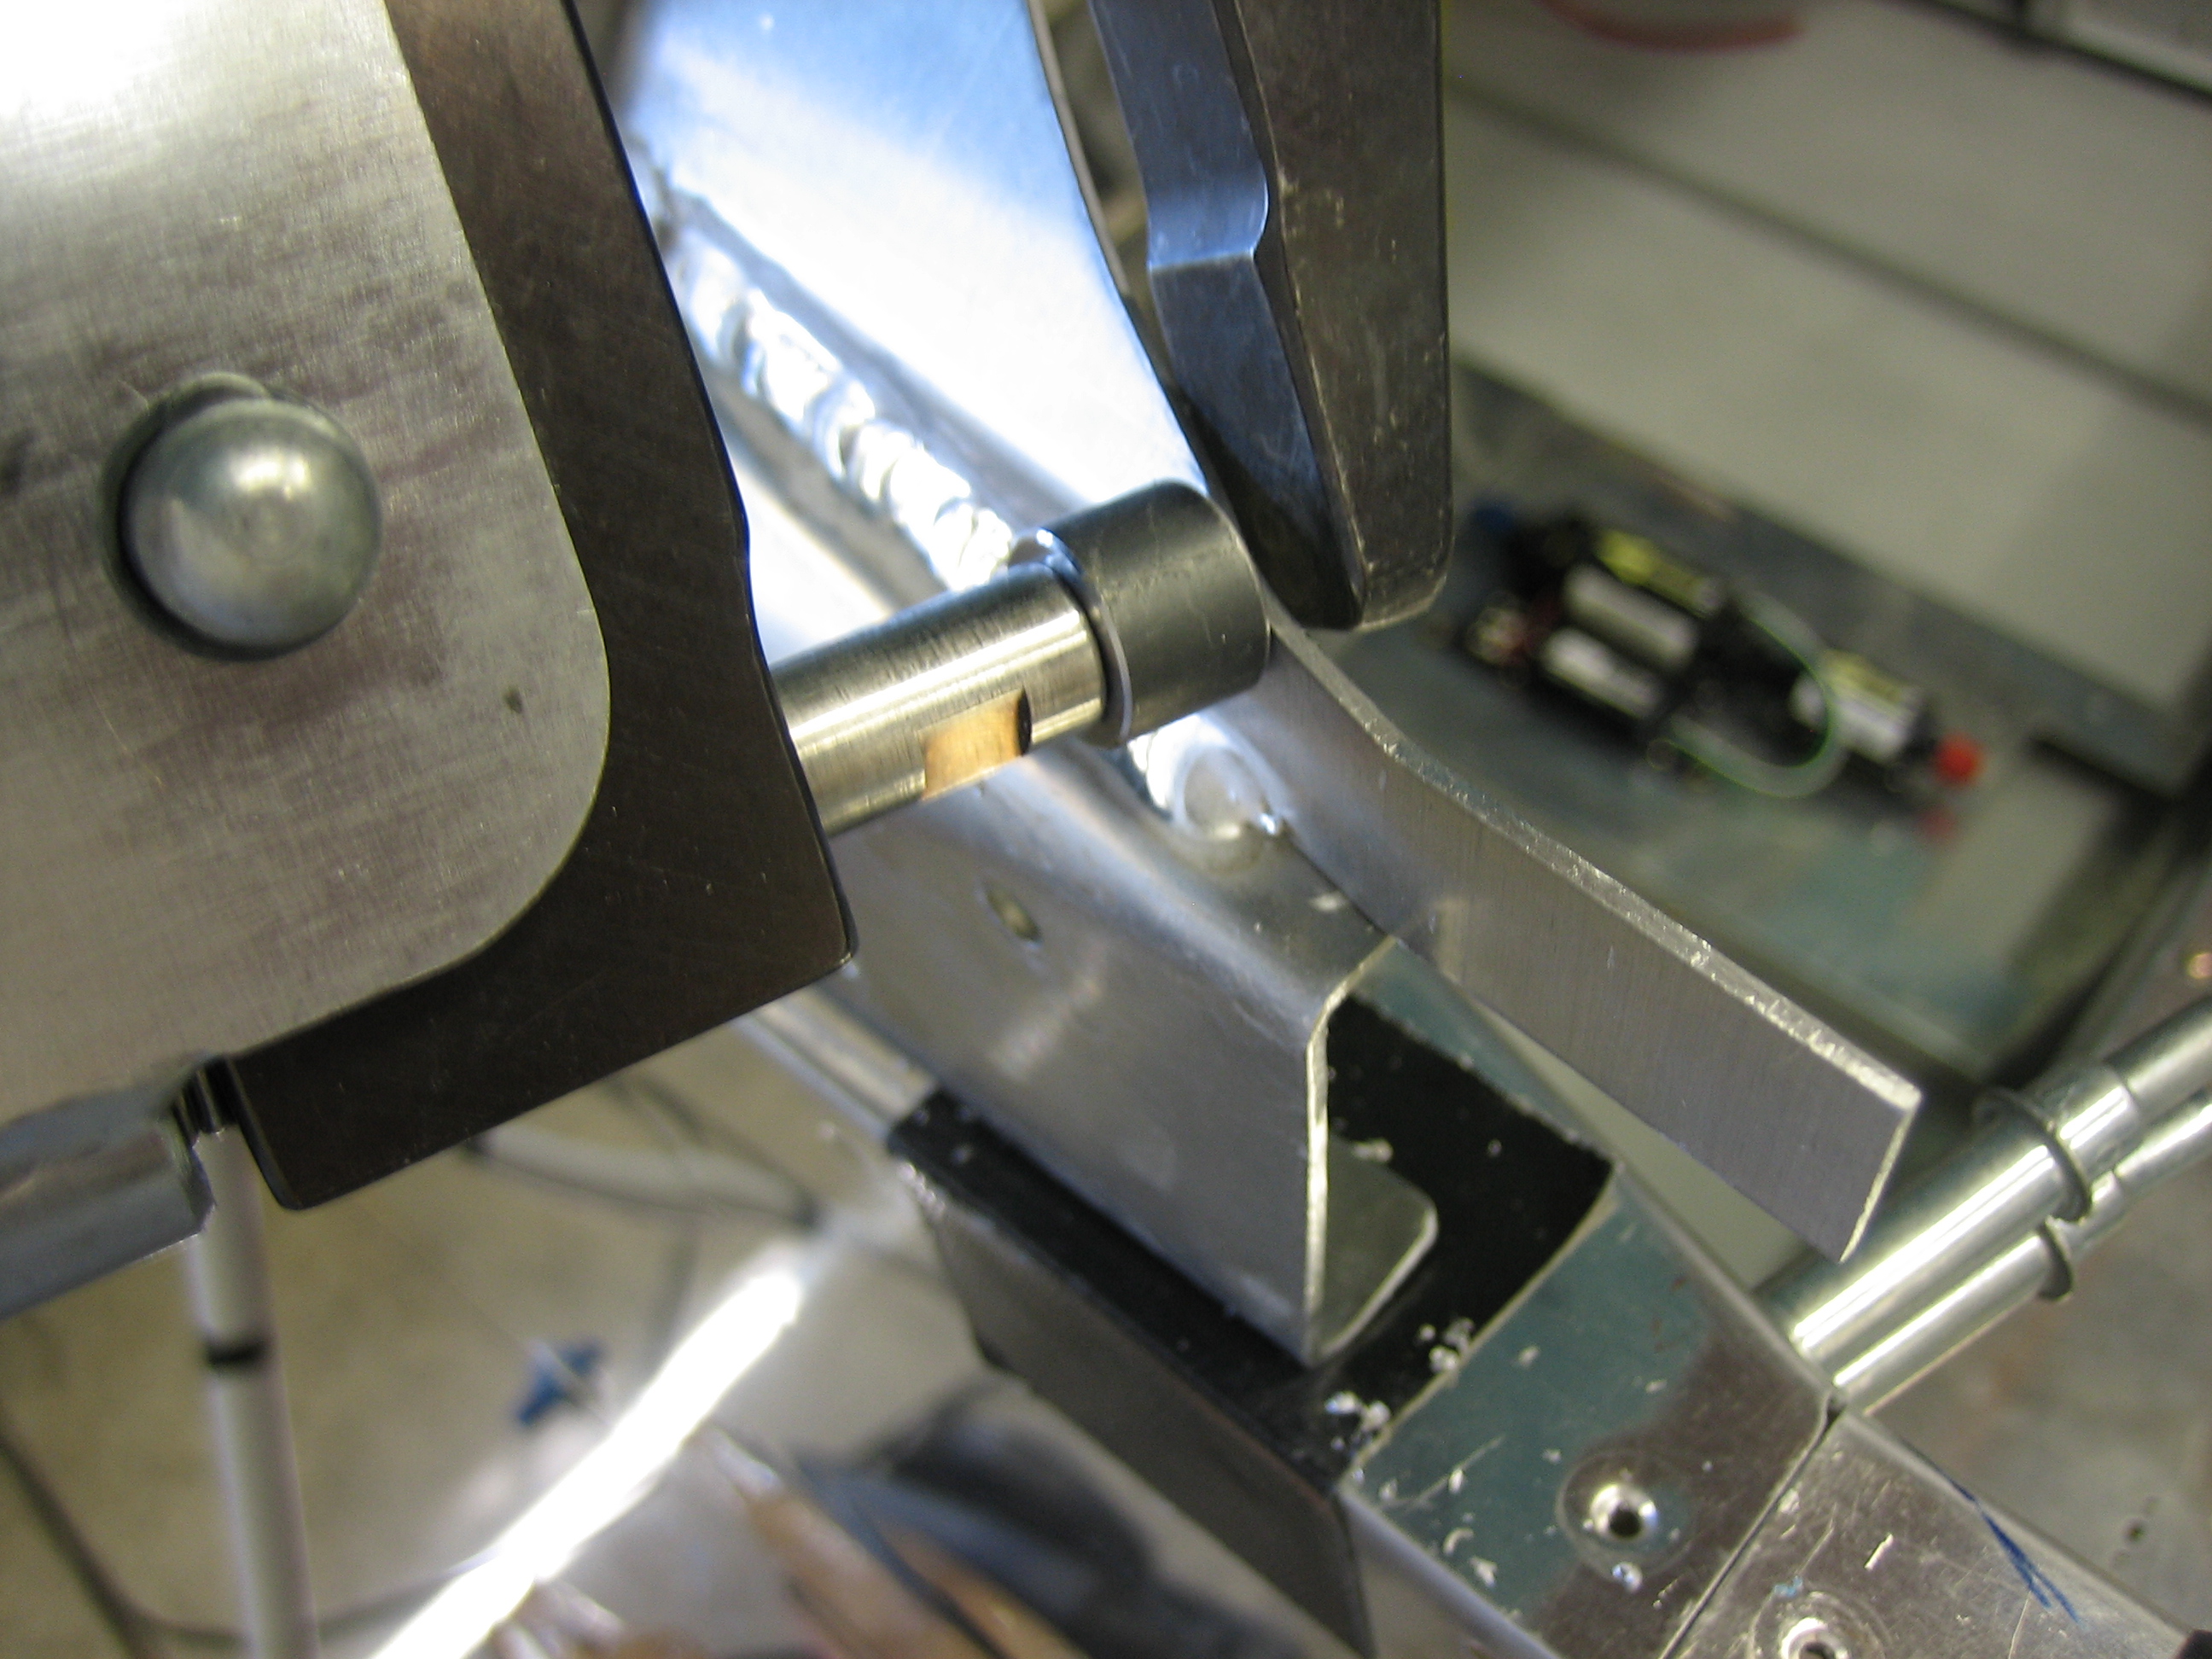
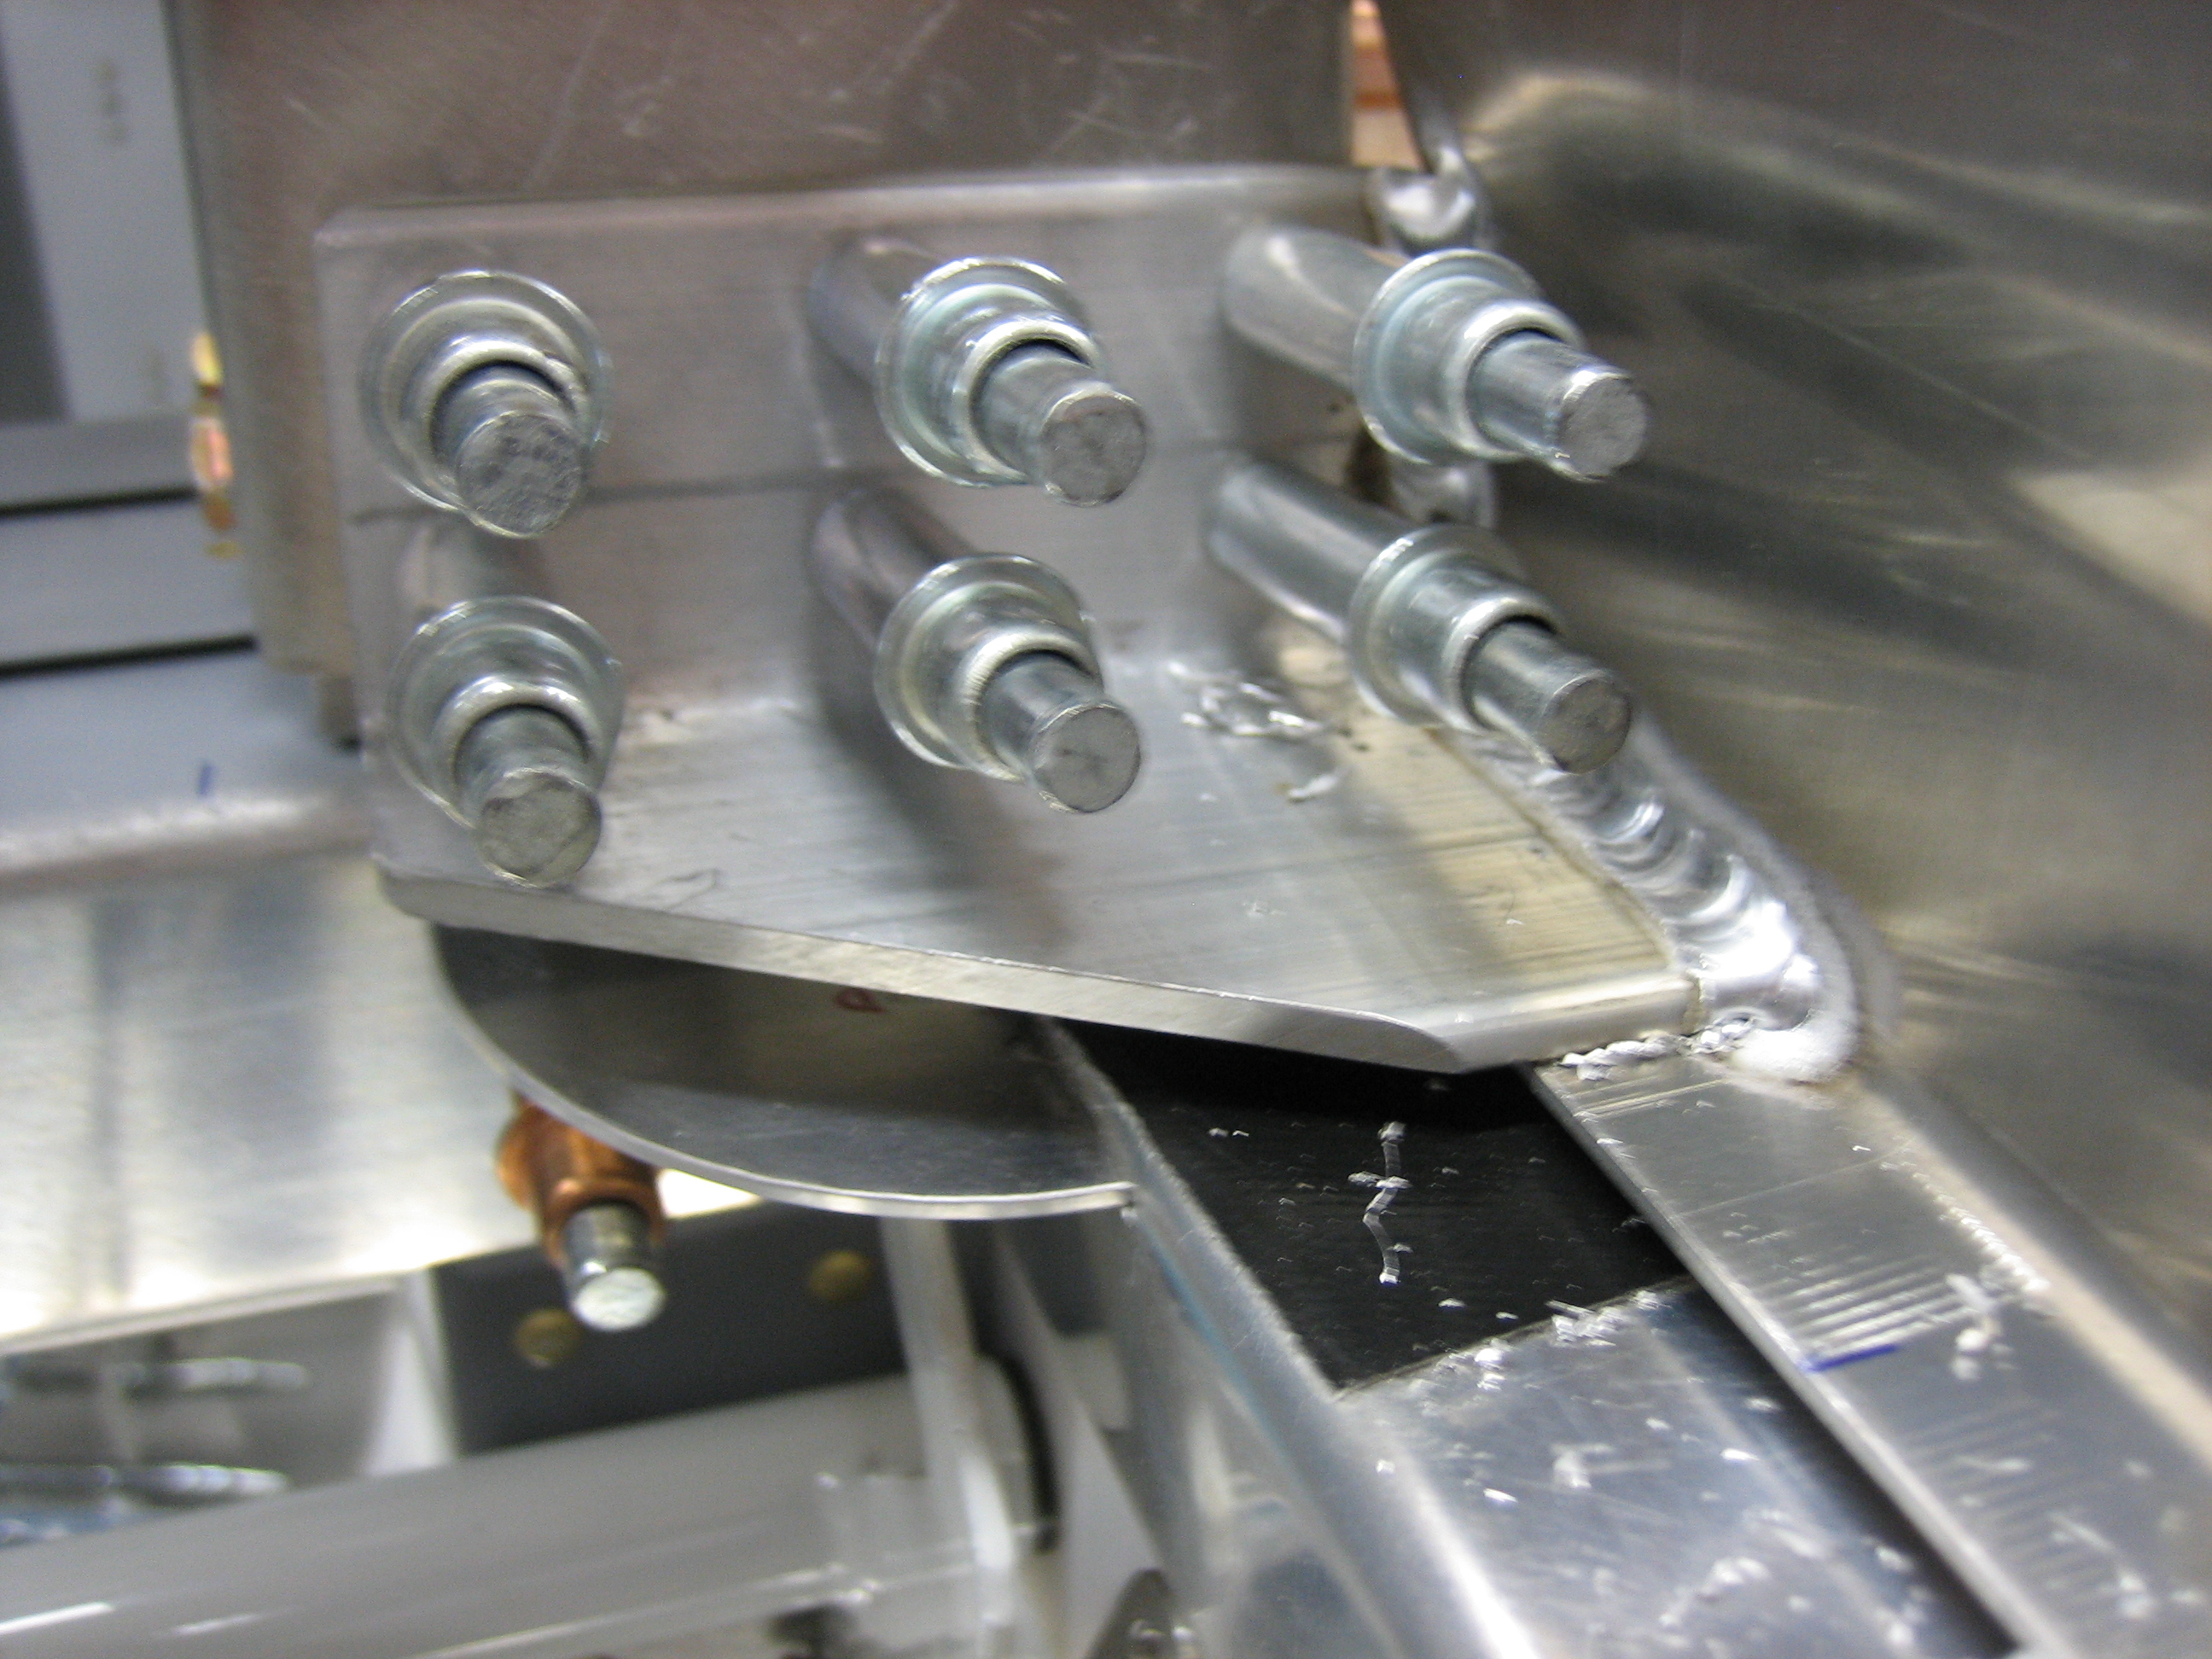
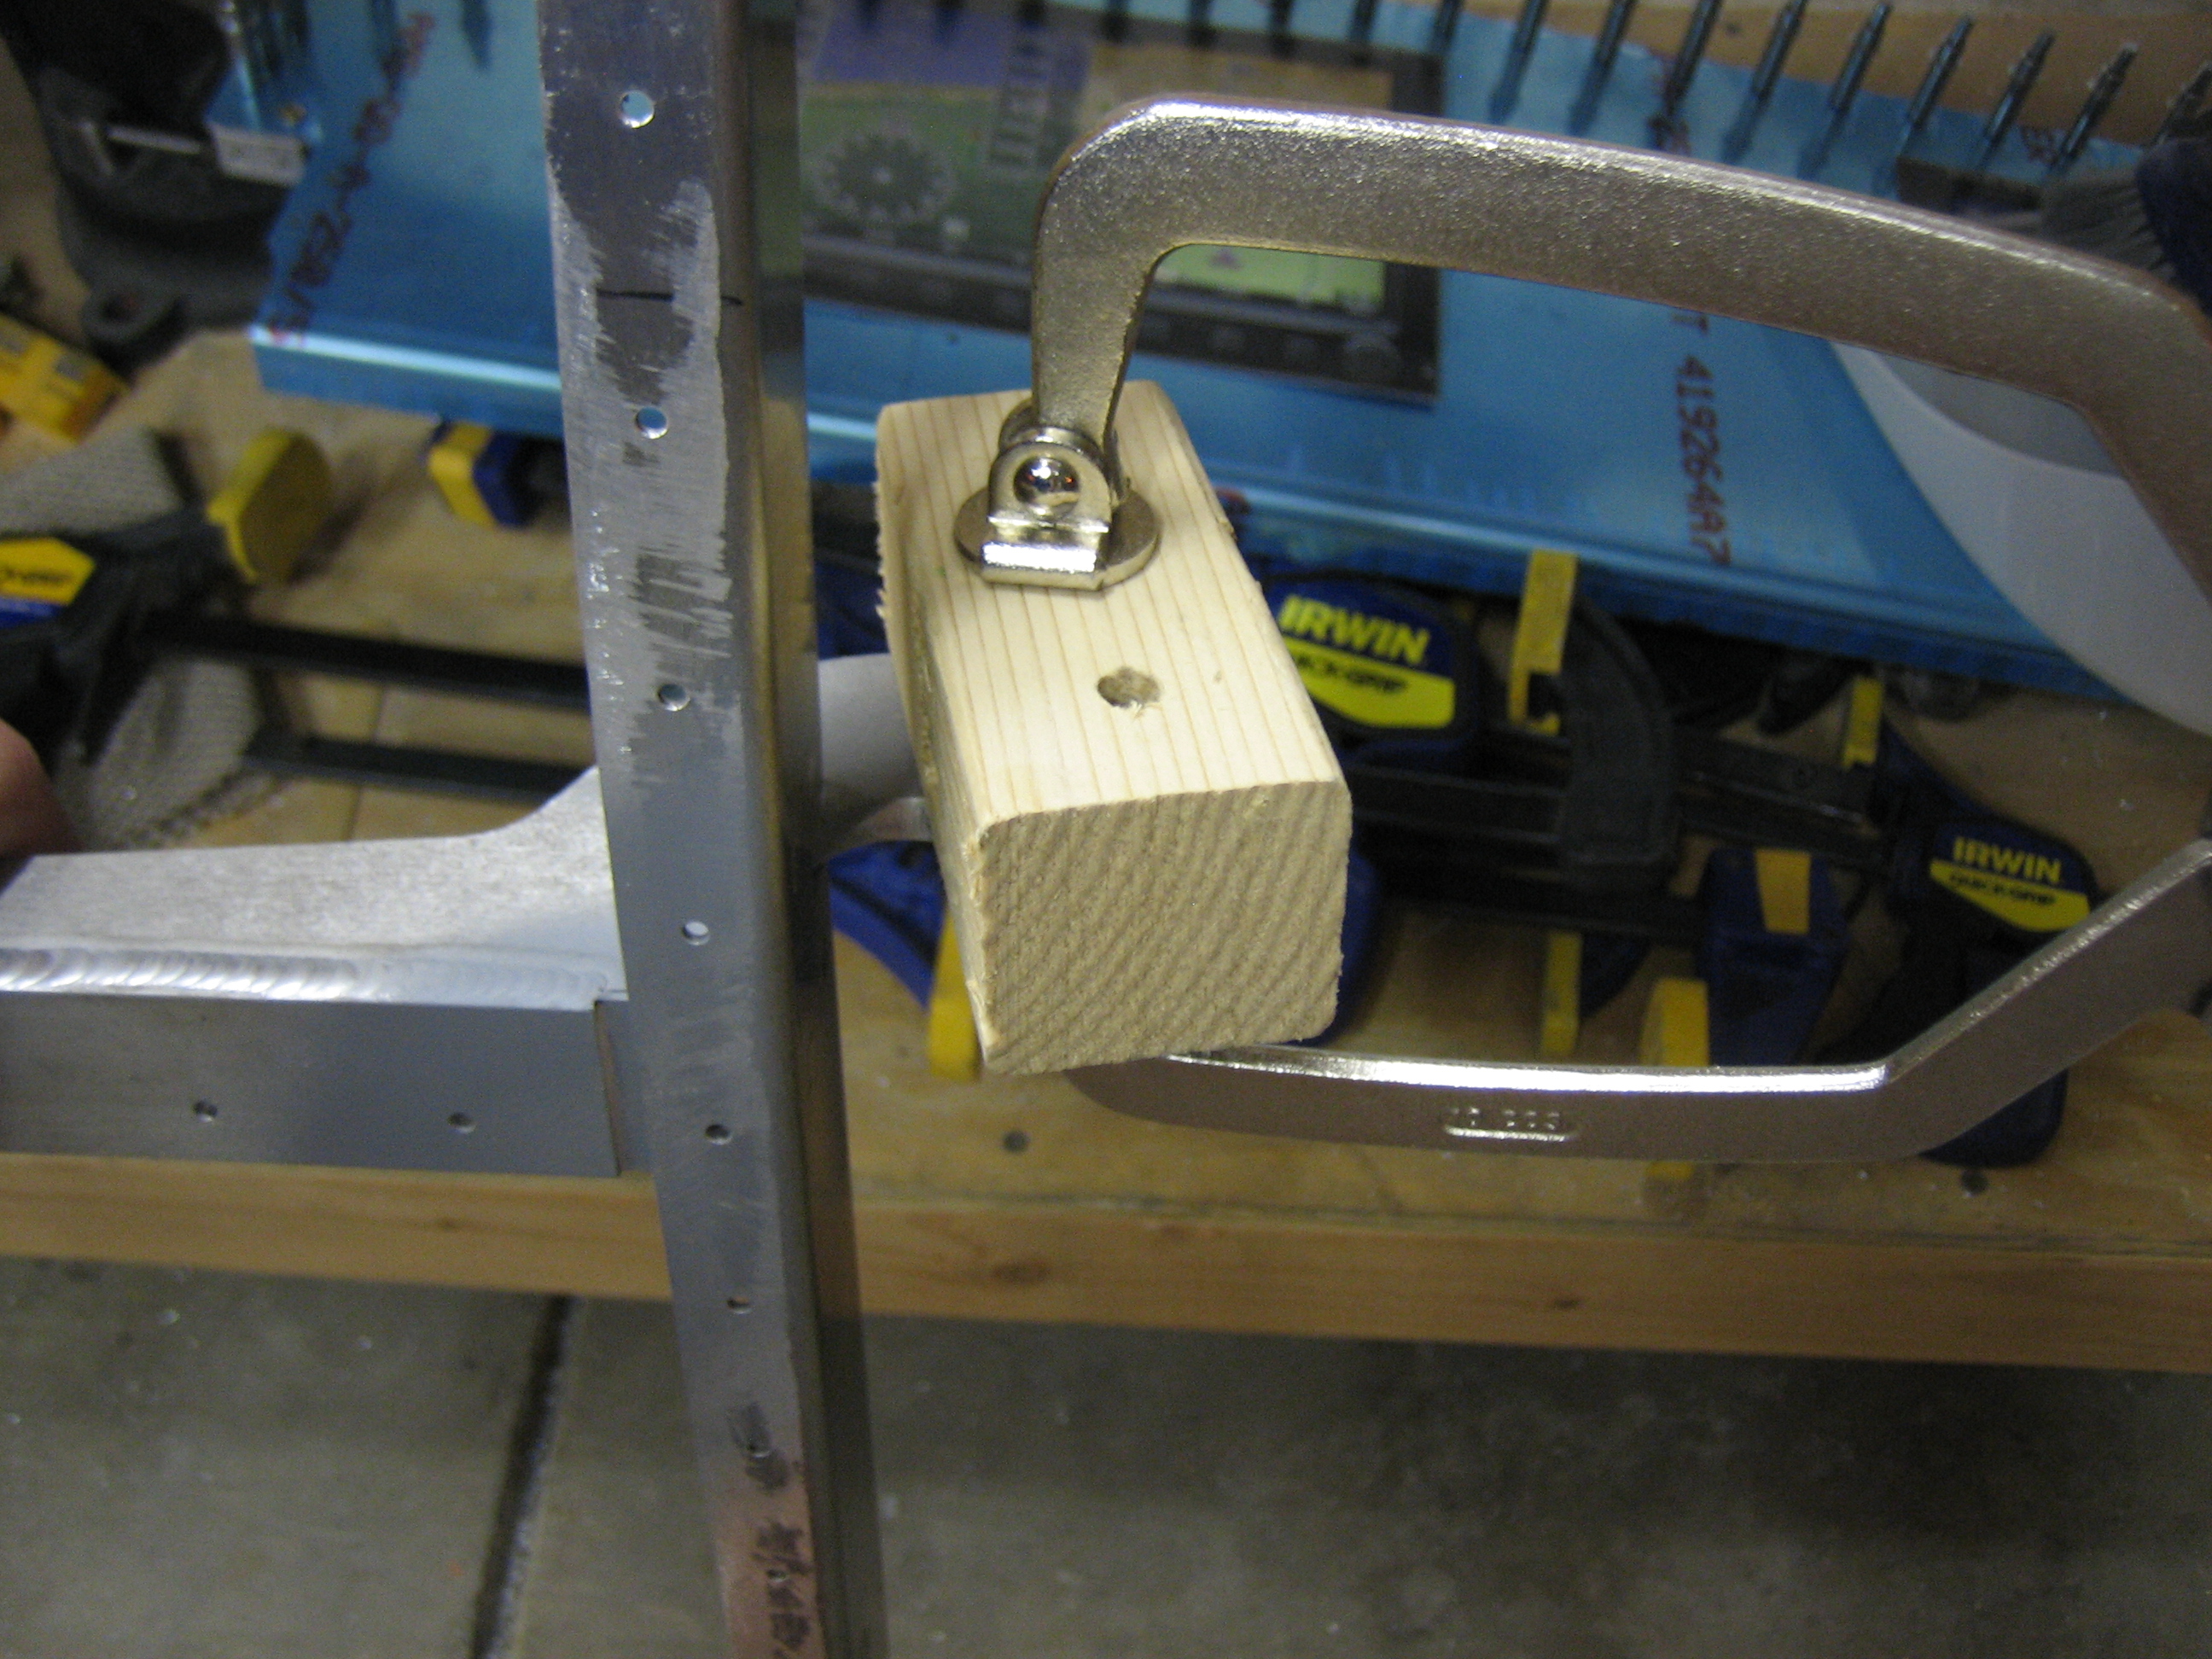
Then a fabbed up a little drilling block to ensure the hole would be square and drilled all the way through the brackets with the 1/4″ bit.
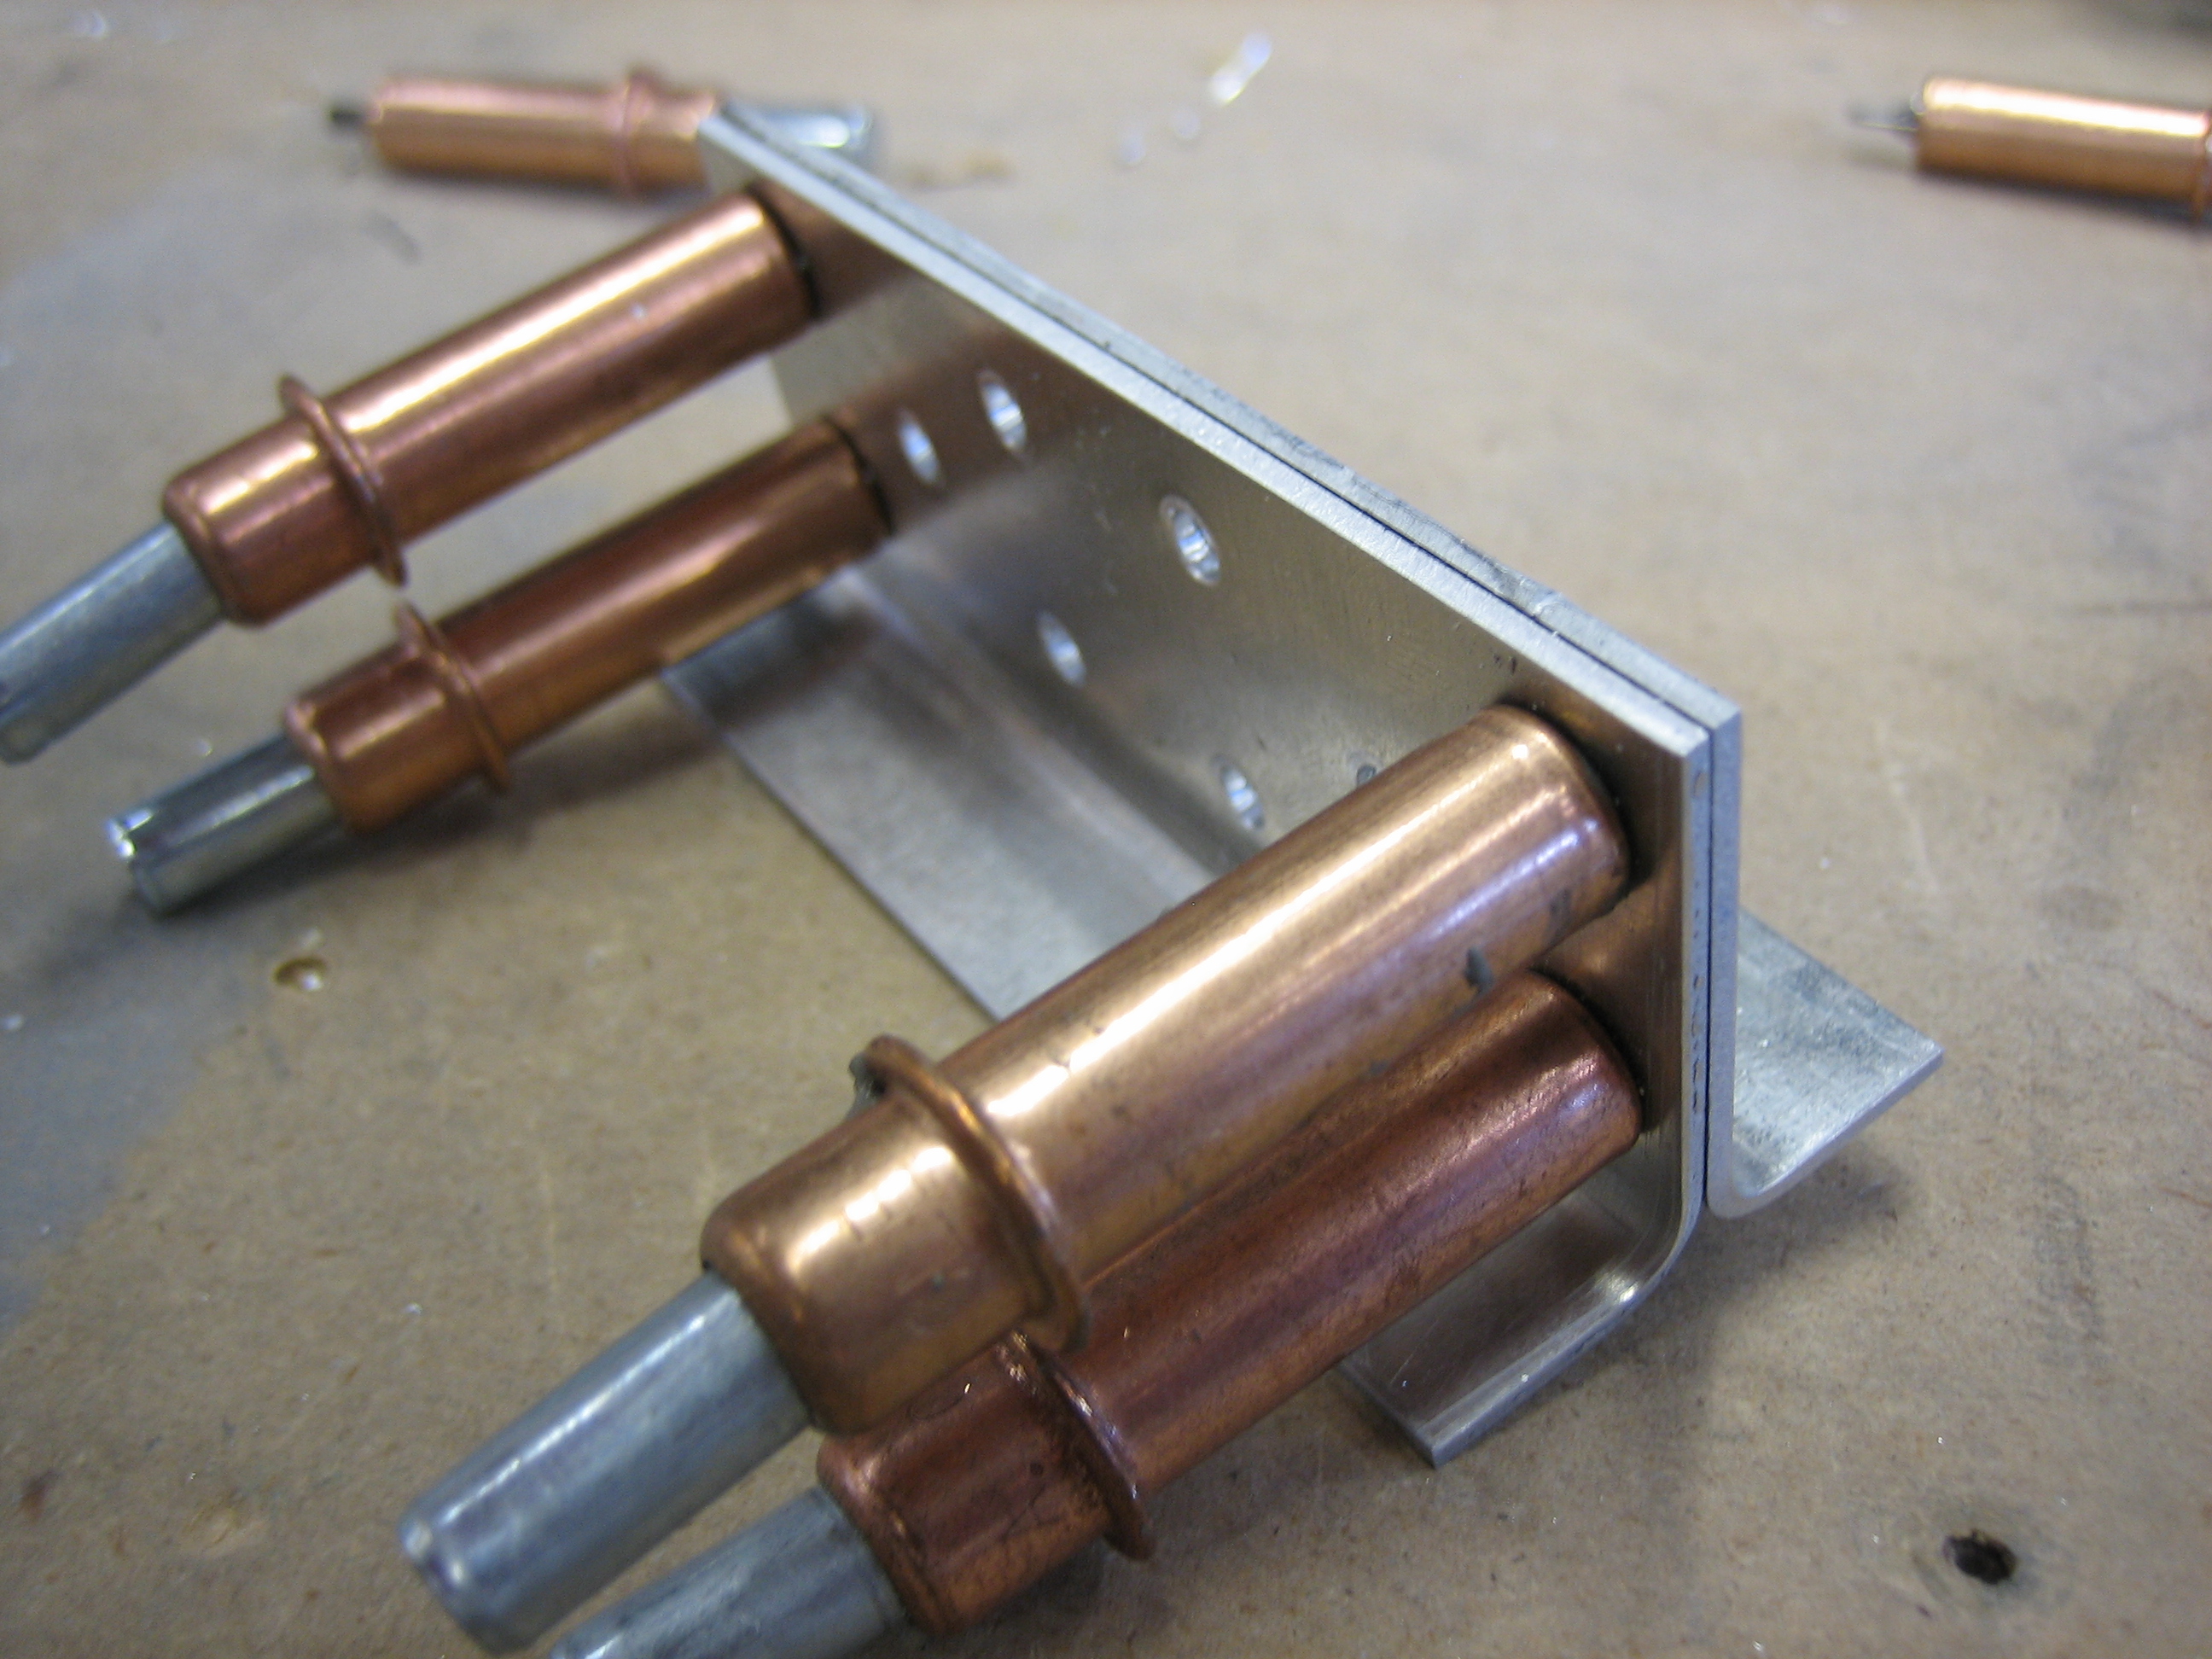
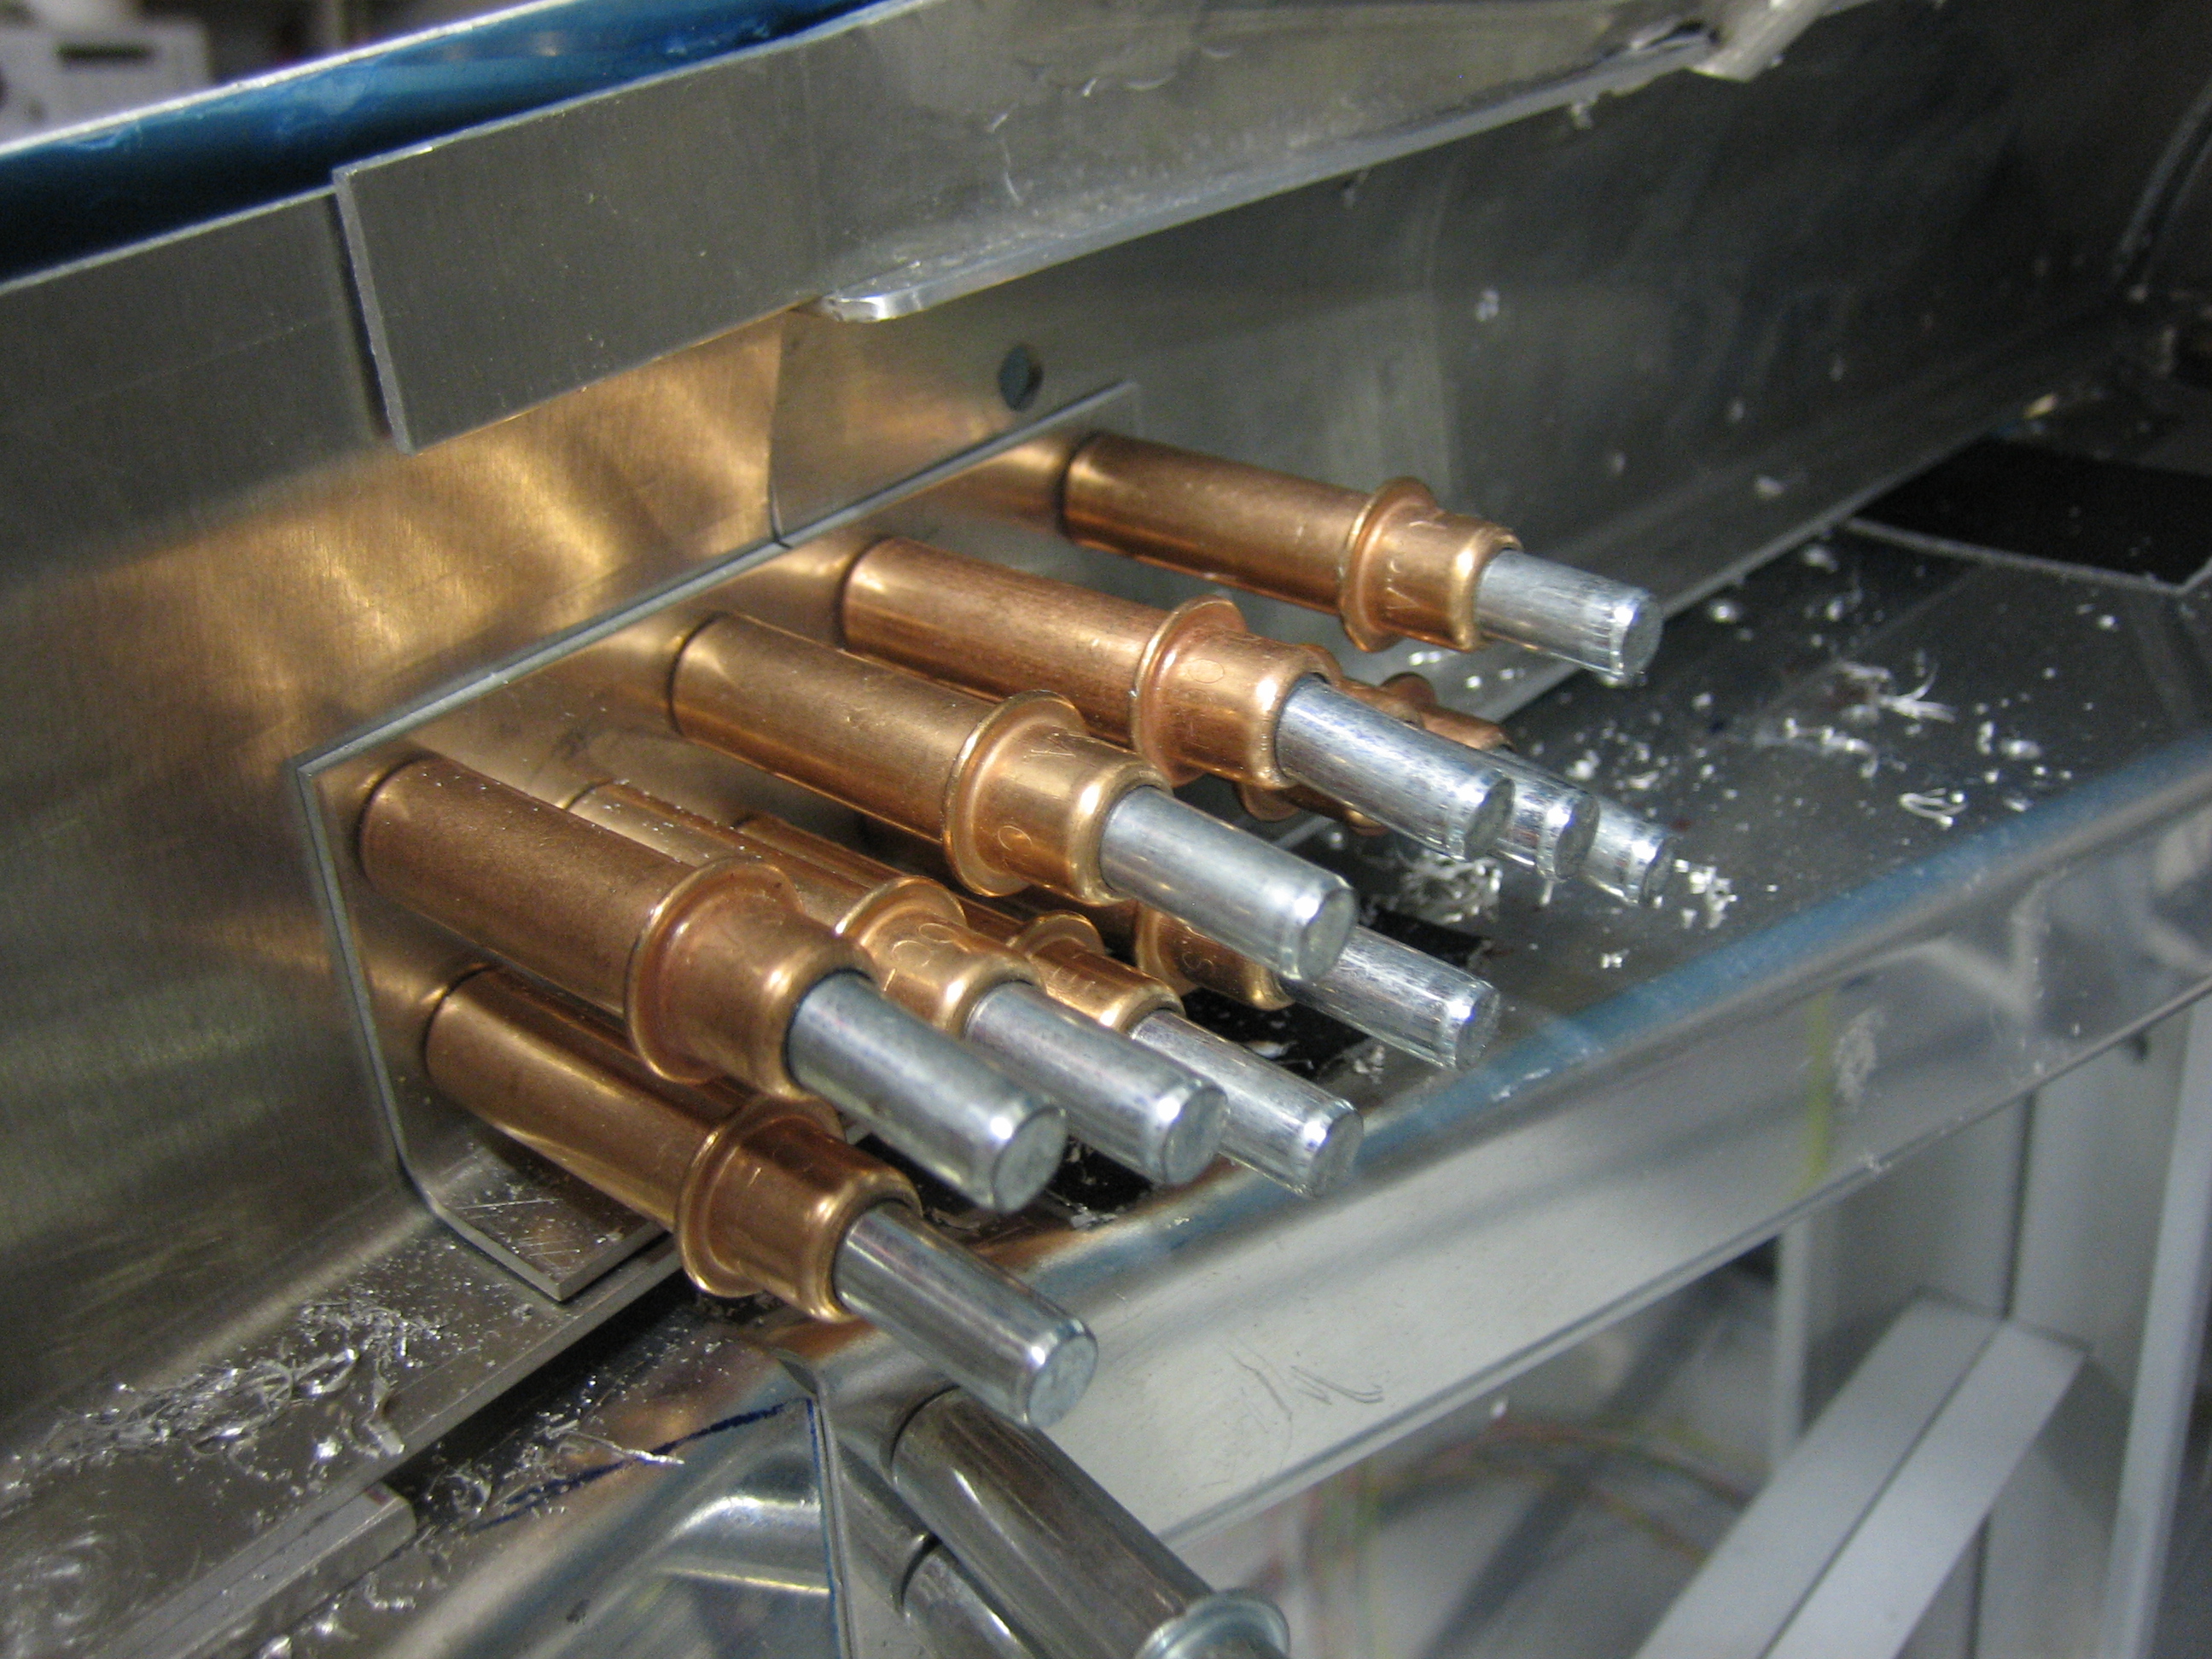
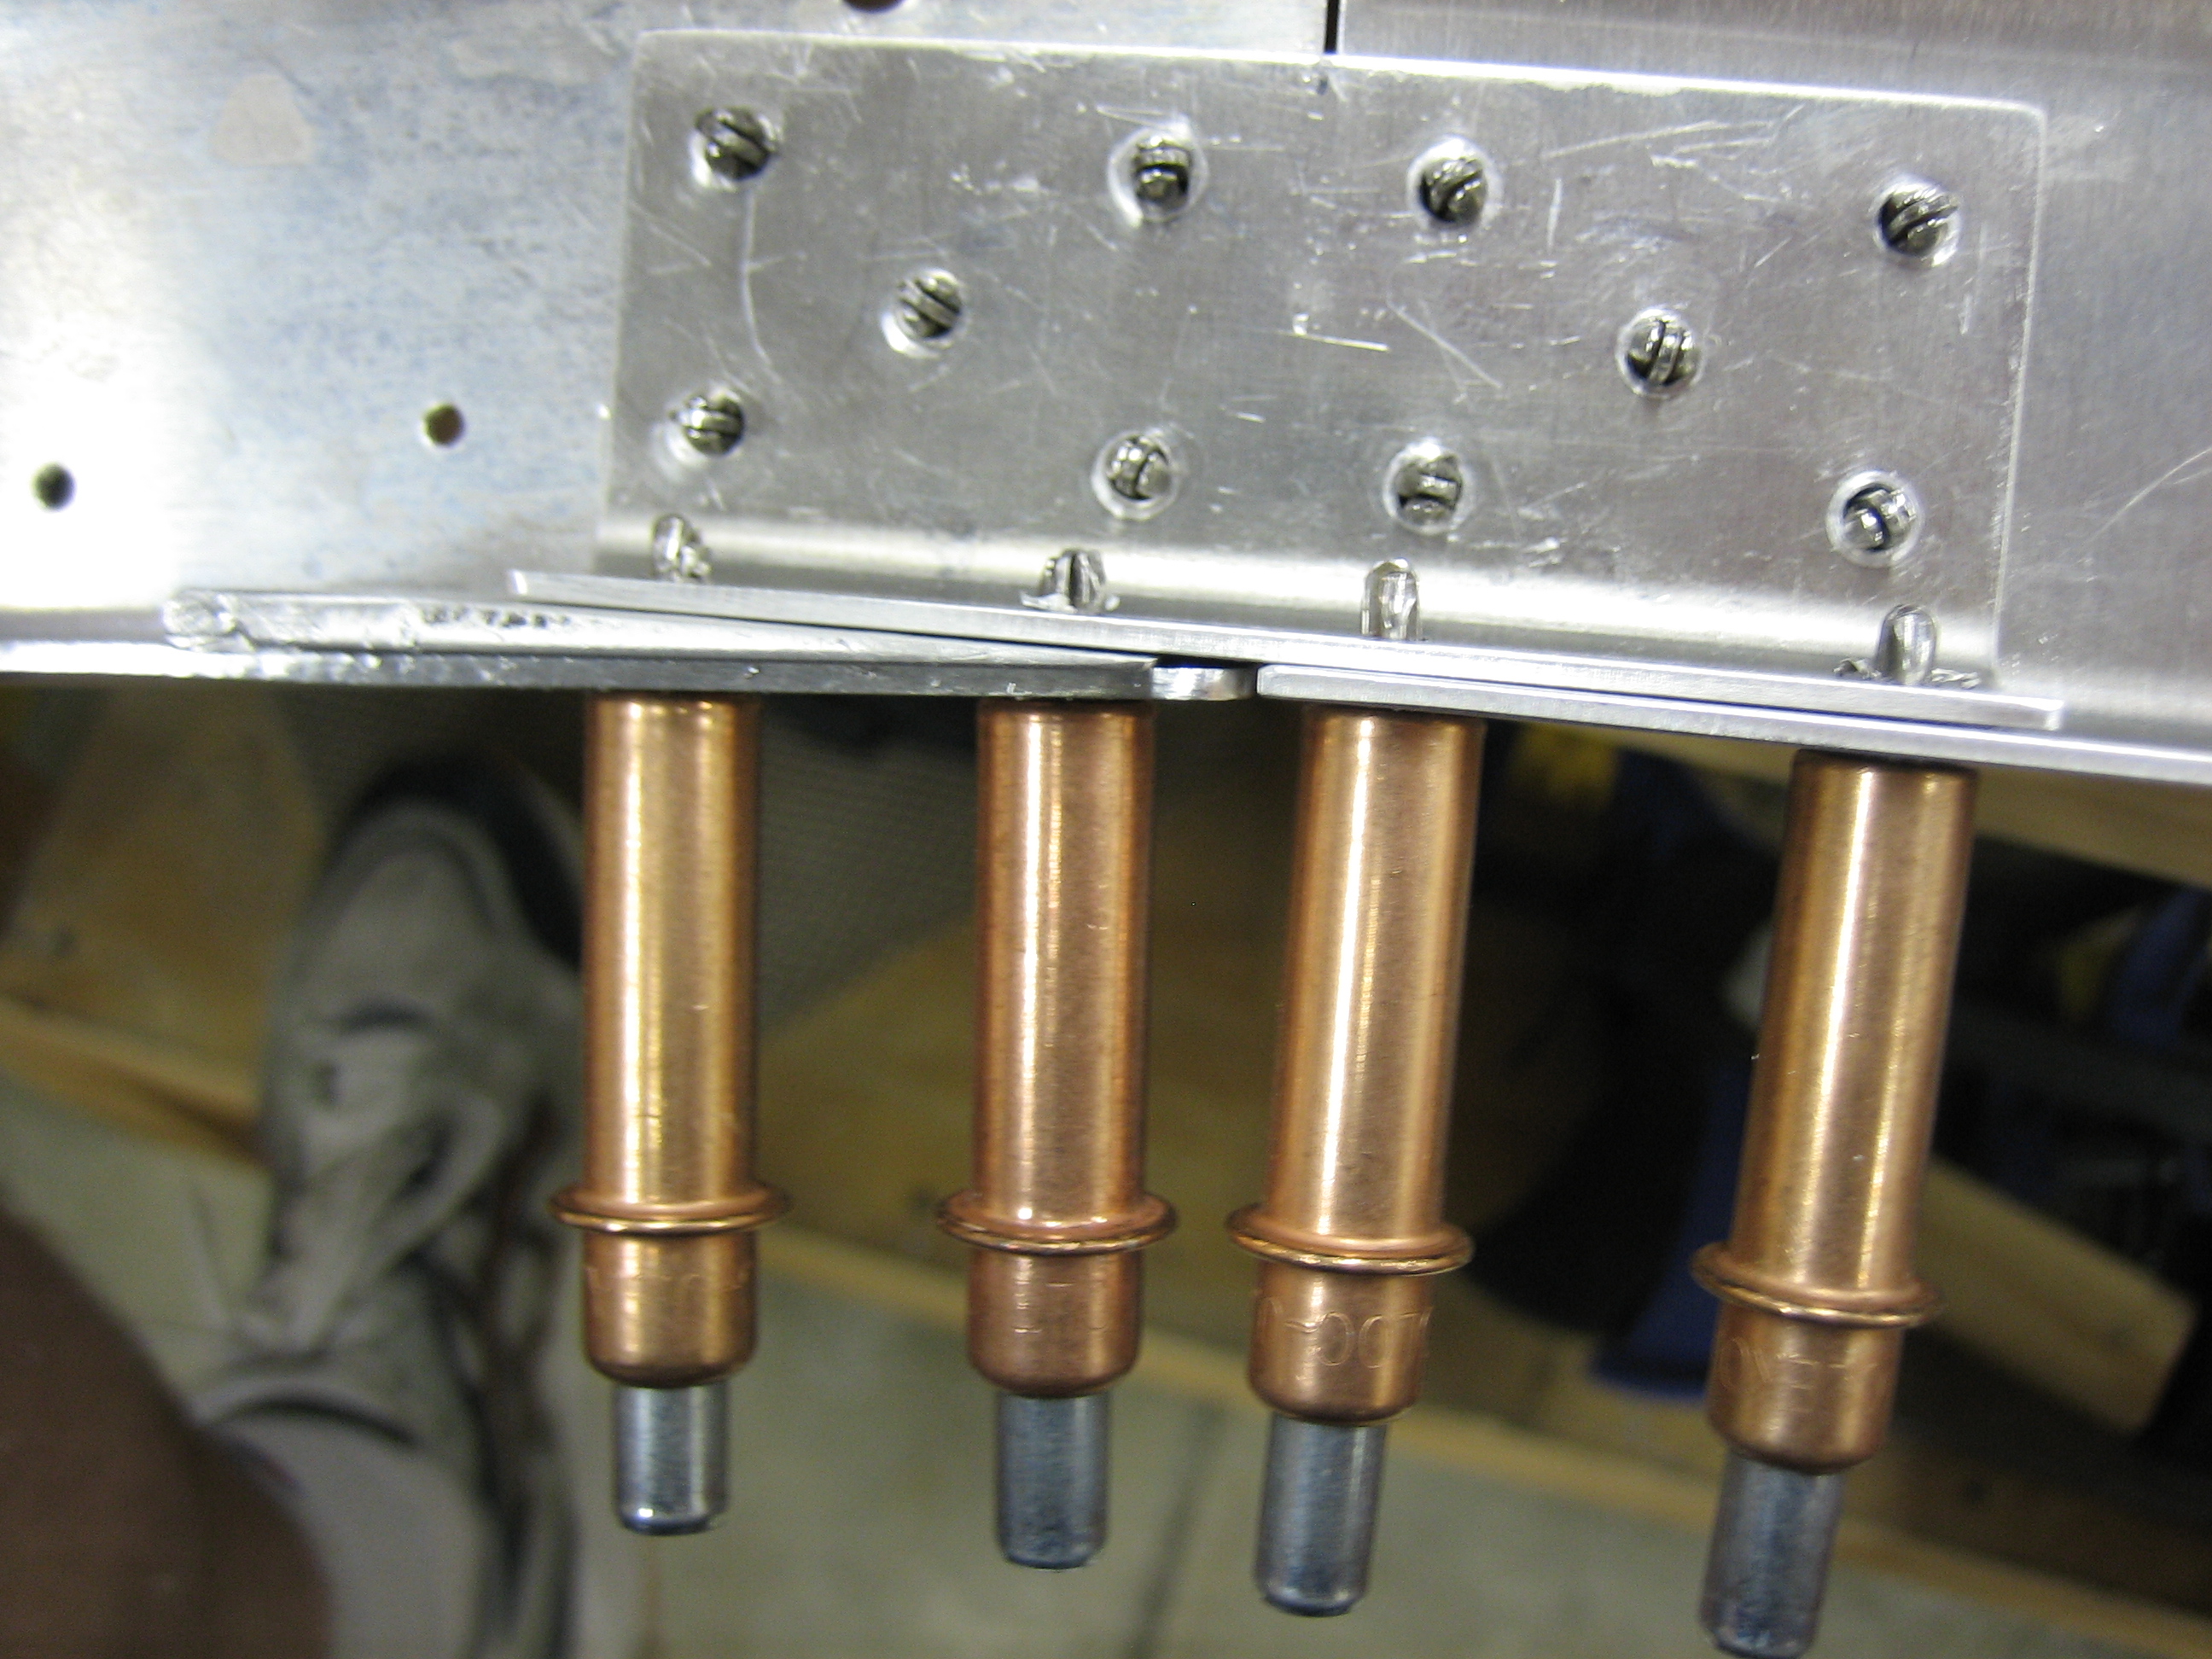
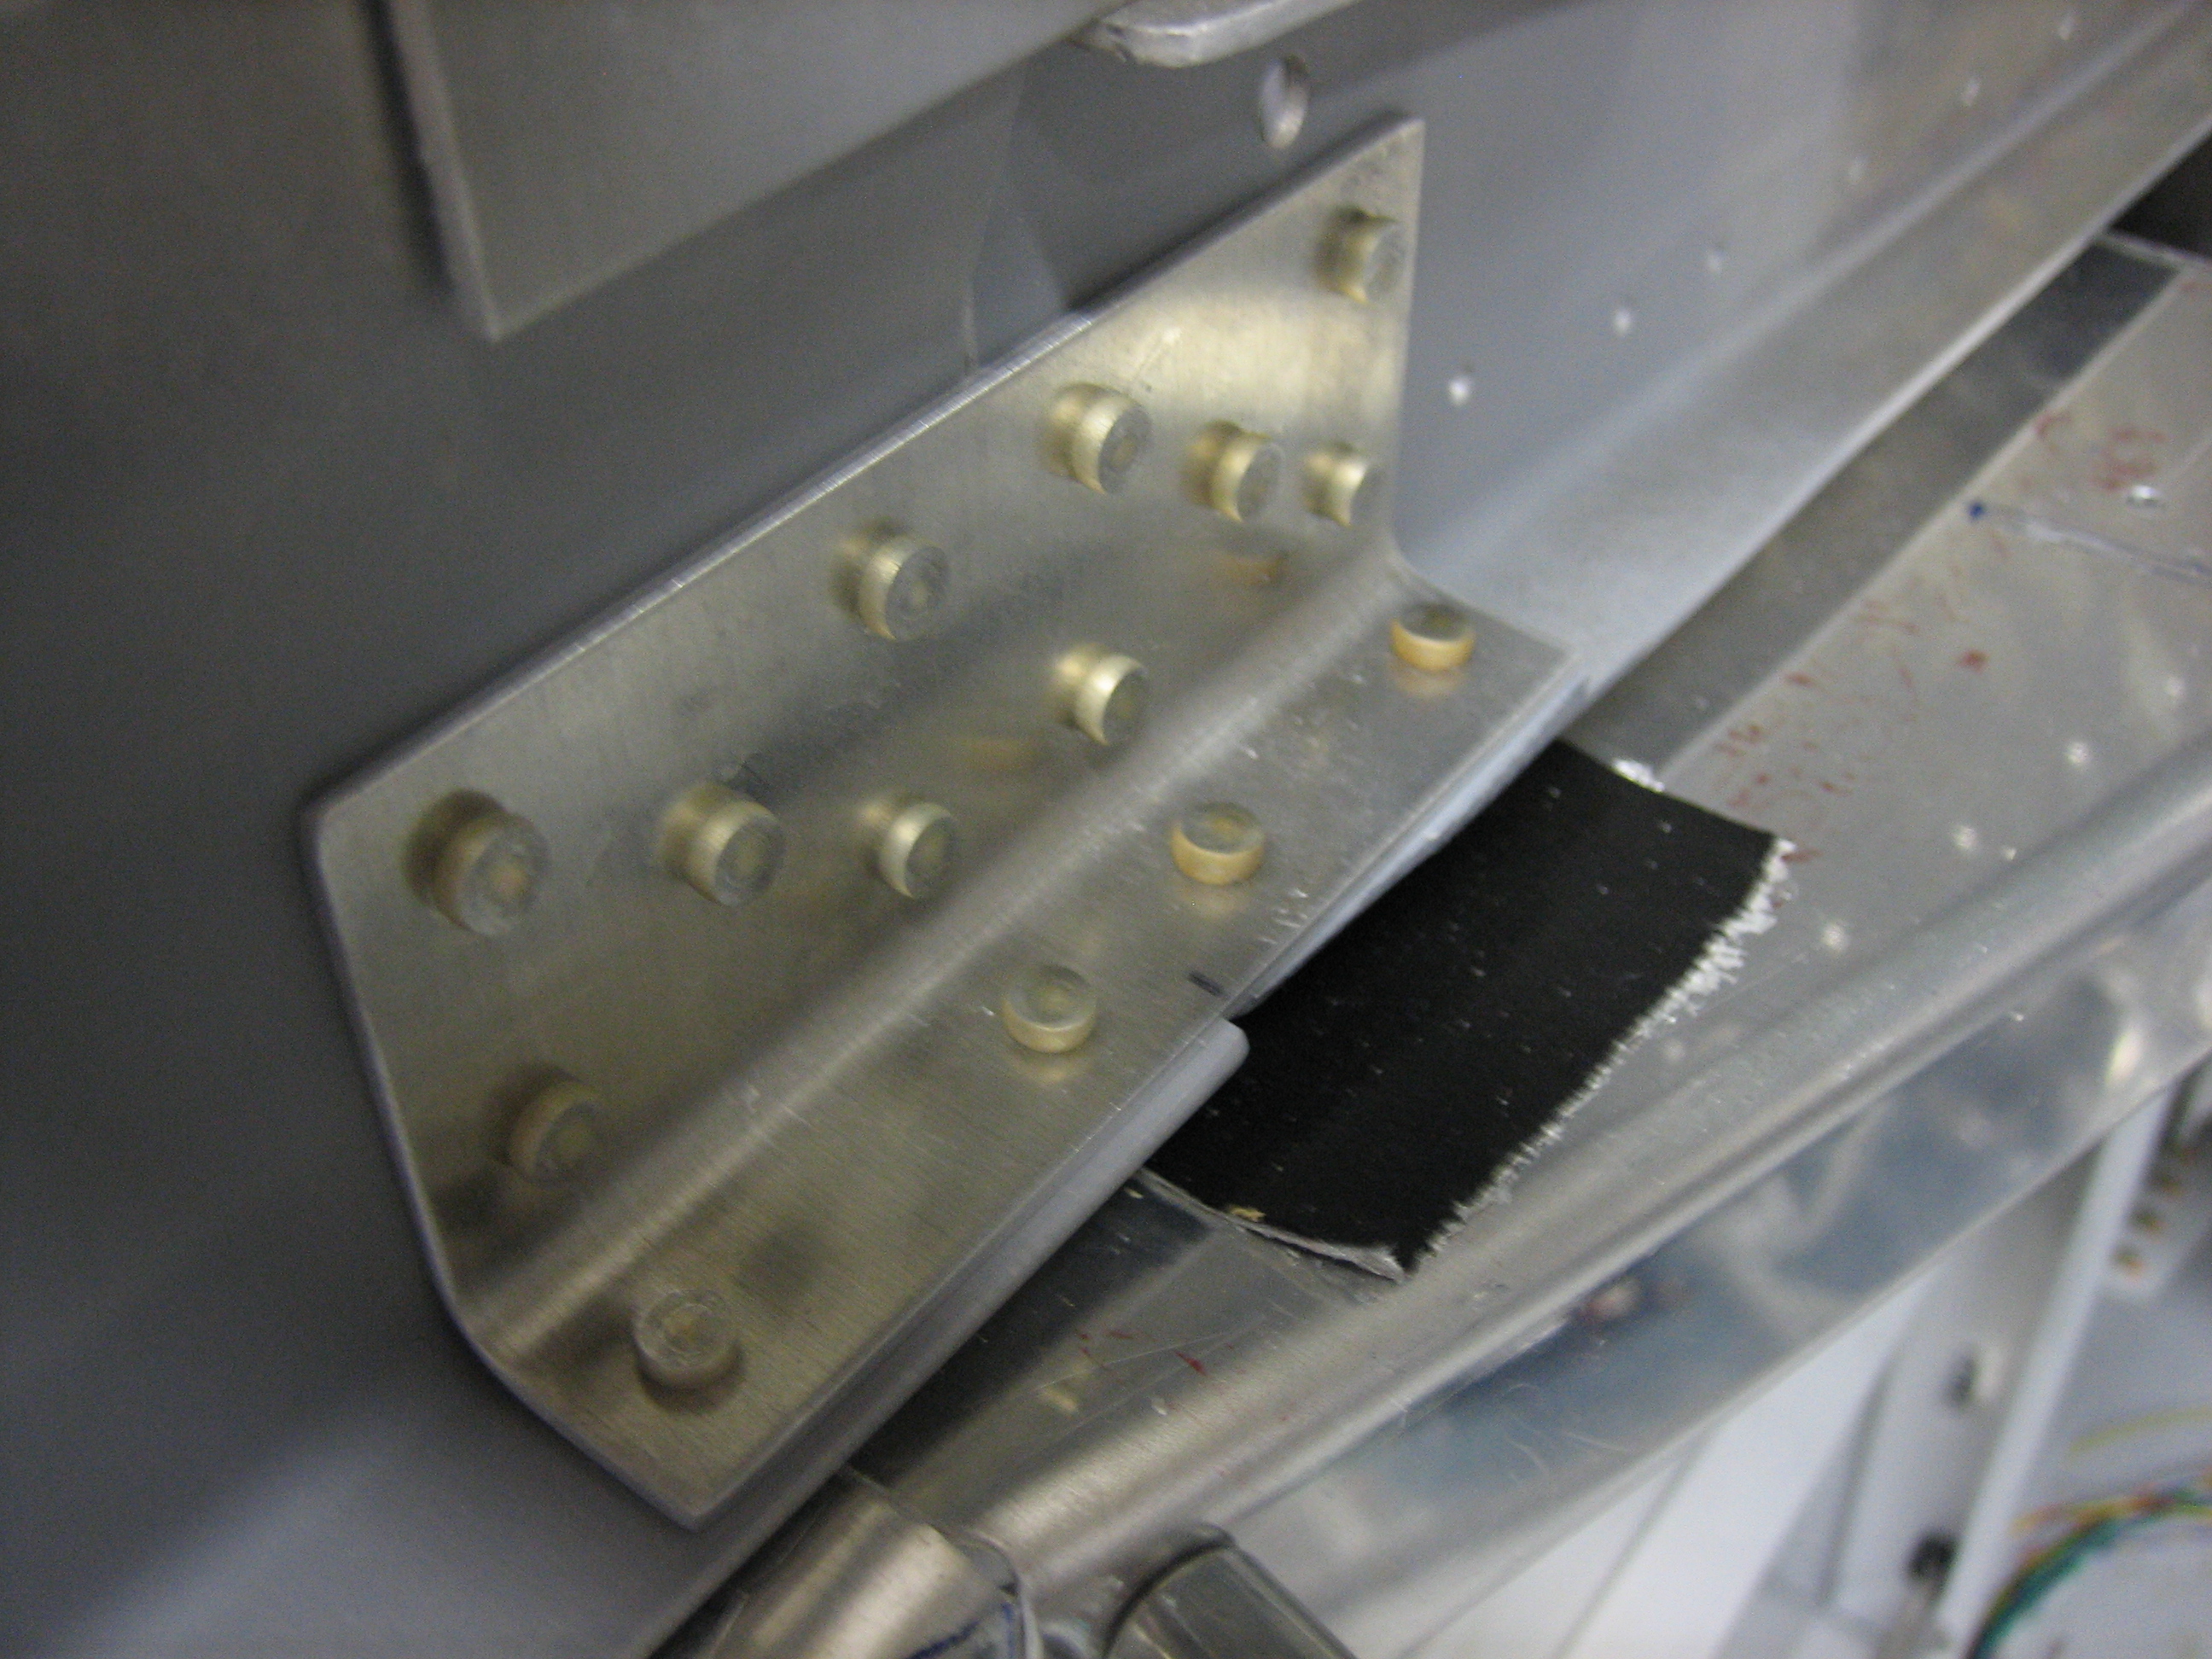
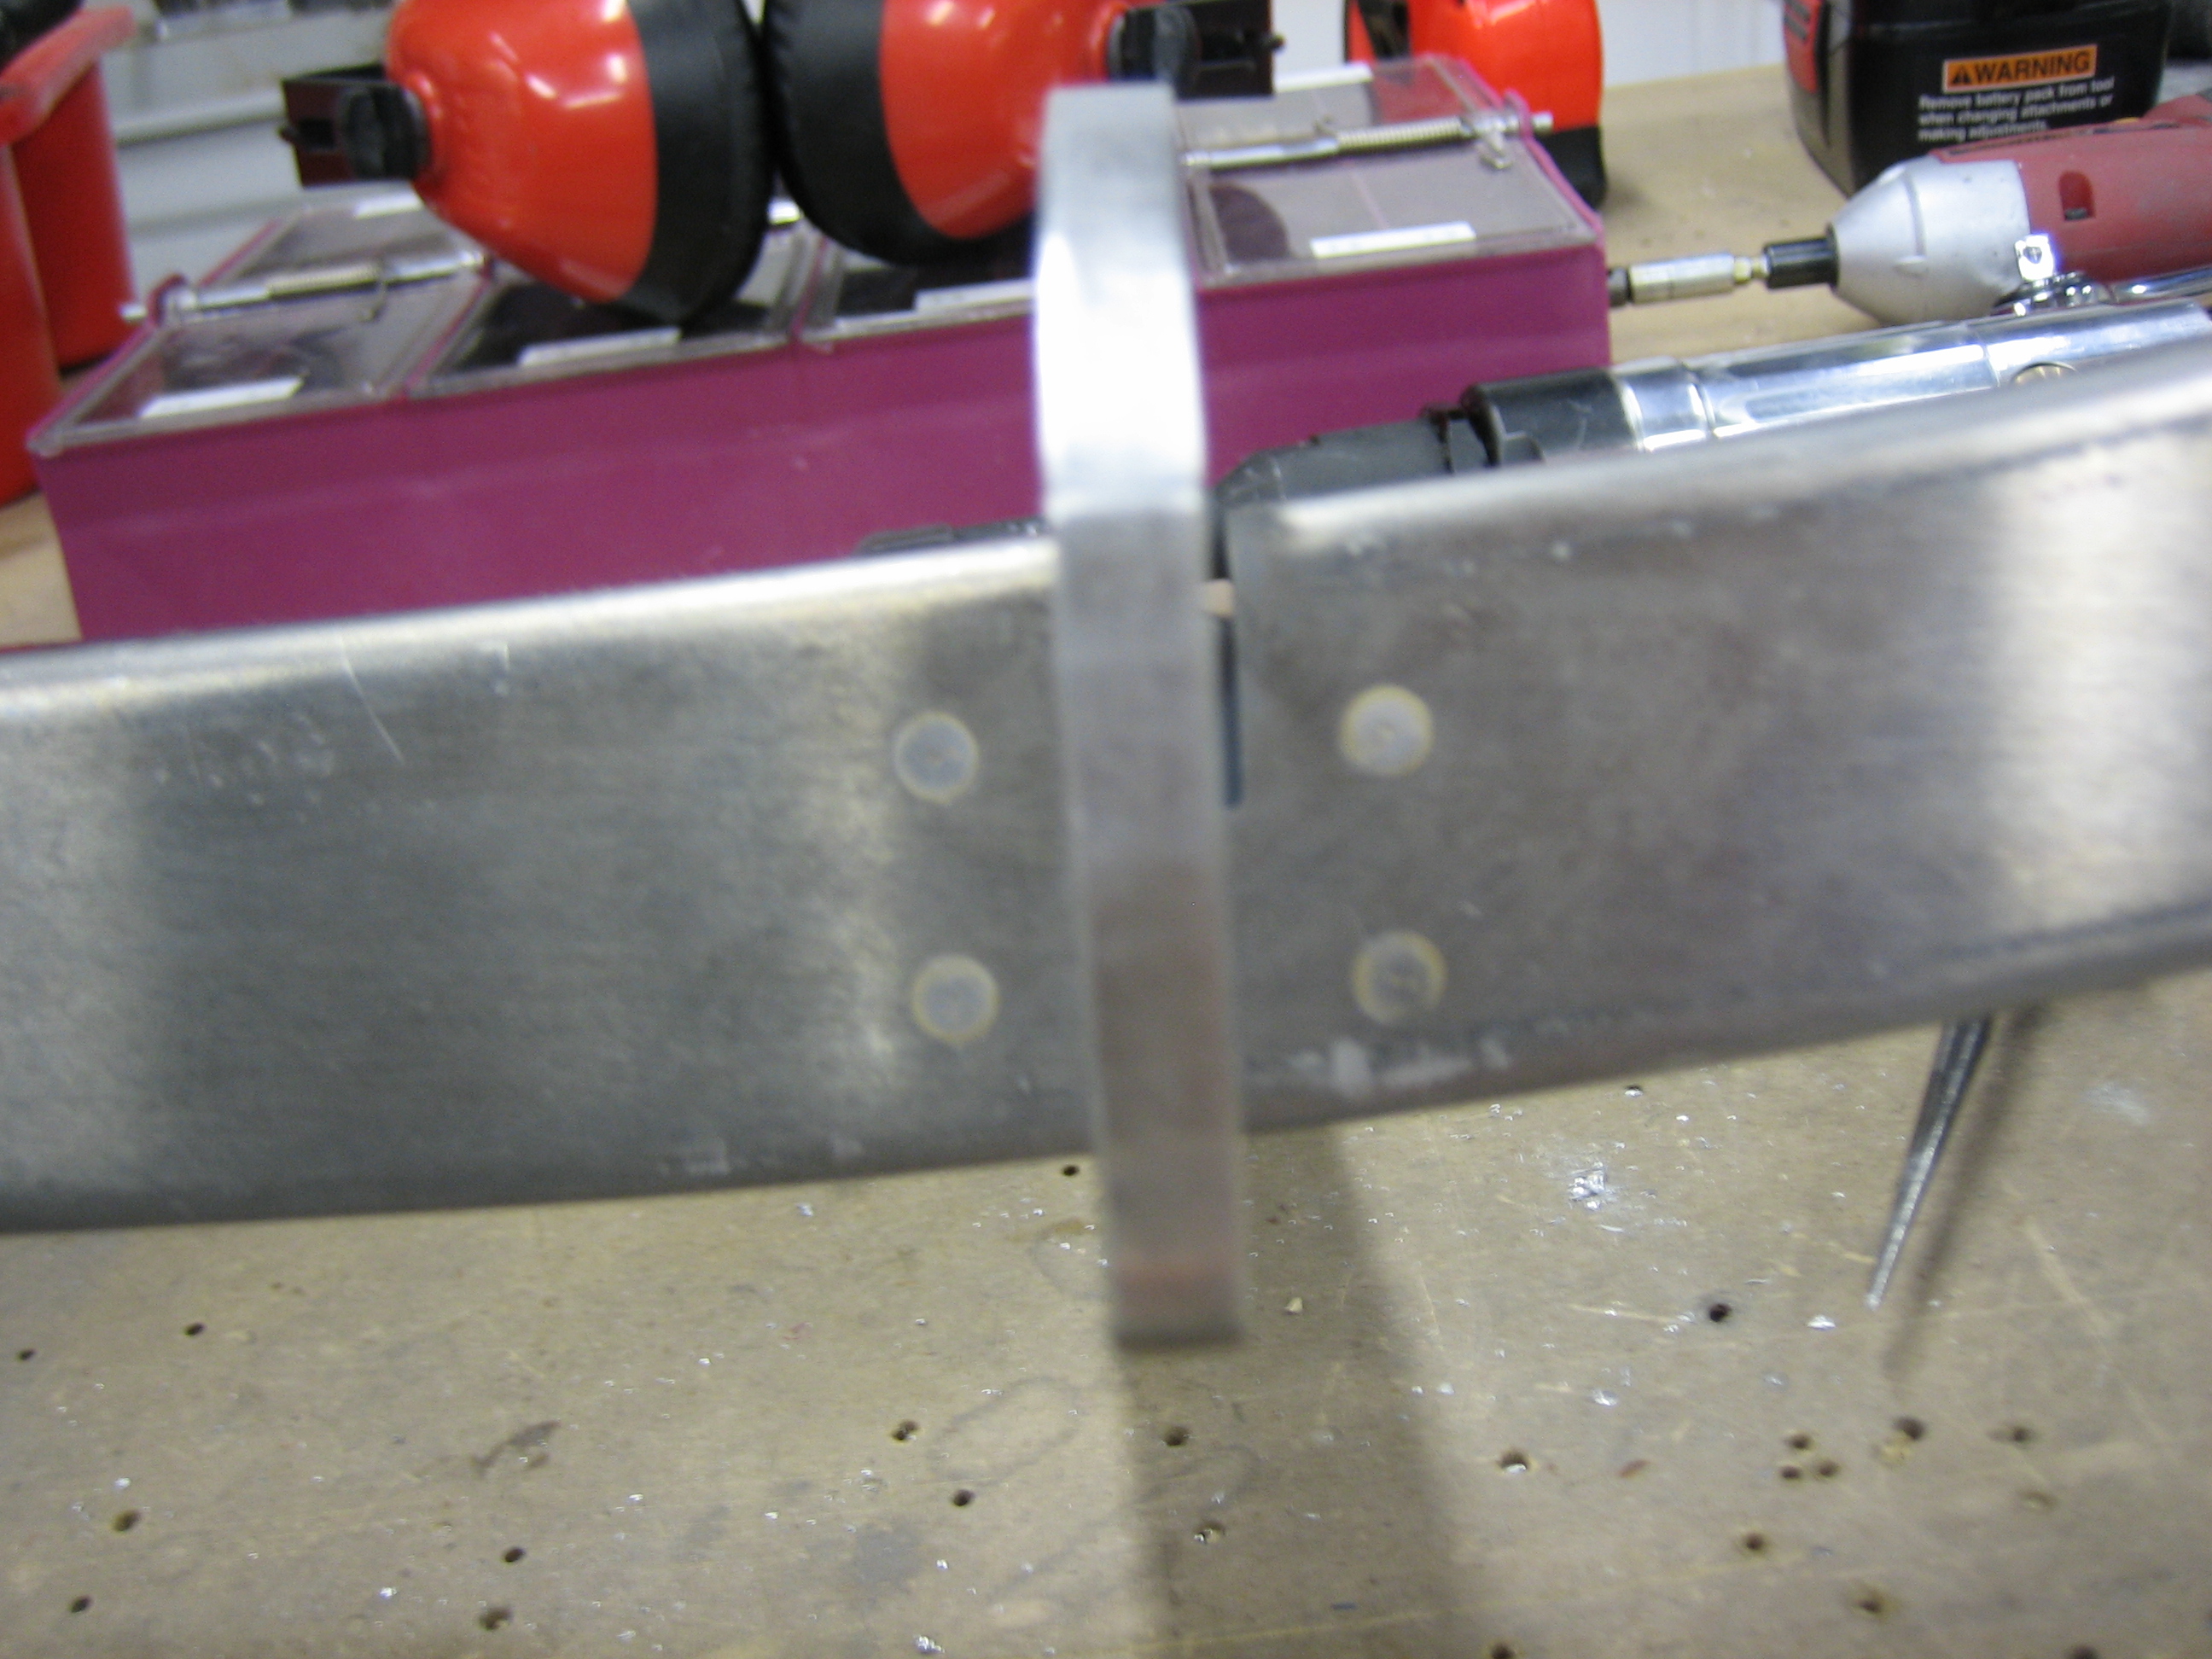
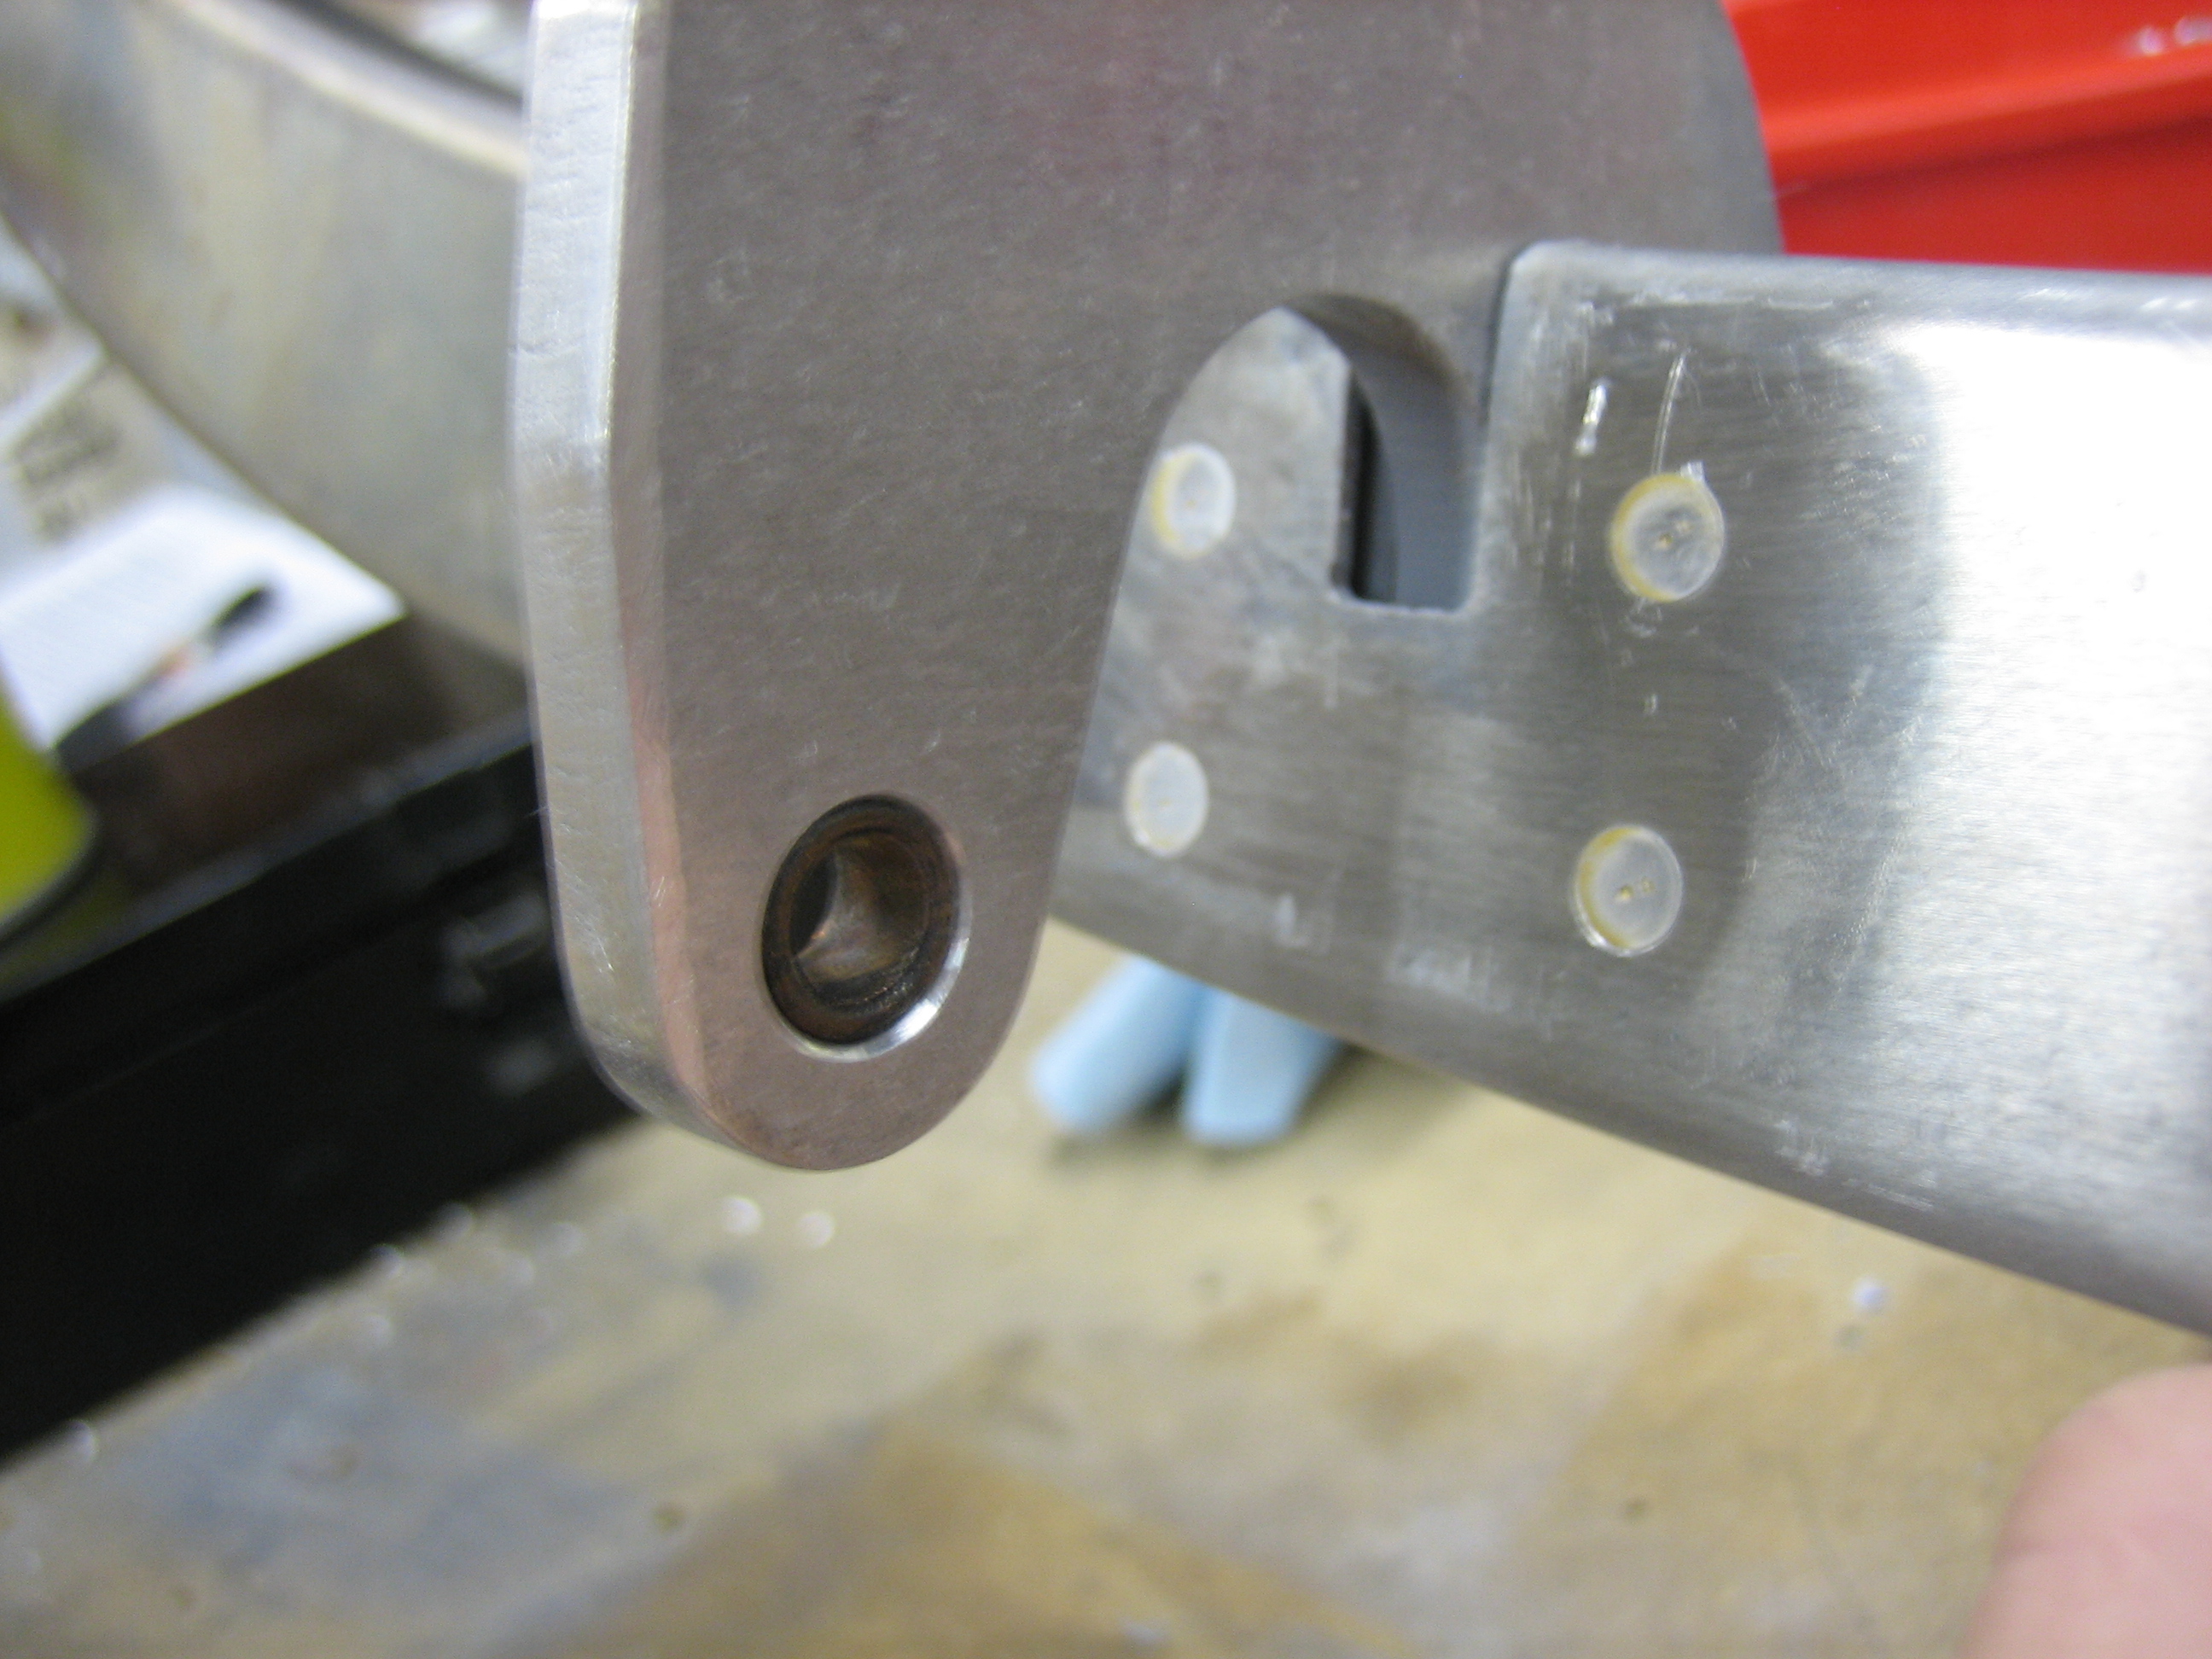
I then opened the hole up to 23/64″ and then used my 3/8″ unibit to open the holes up to 3/8″. Here you can see the bushing block in the right hinge arm.
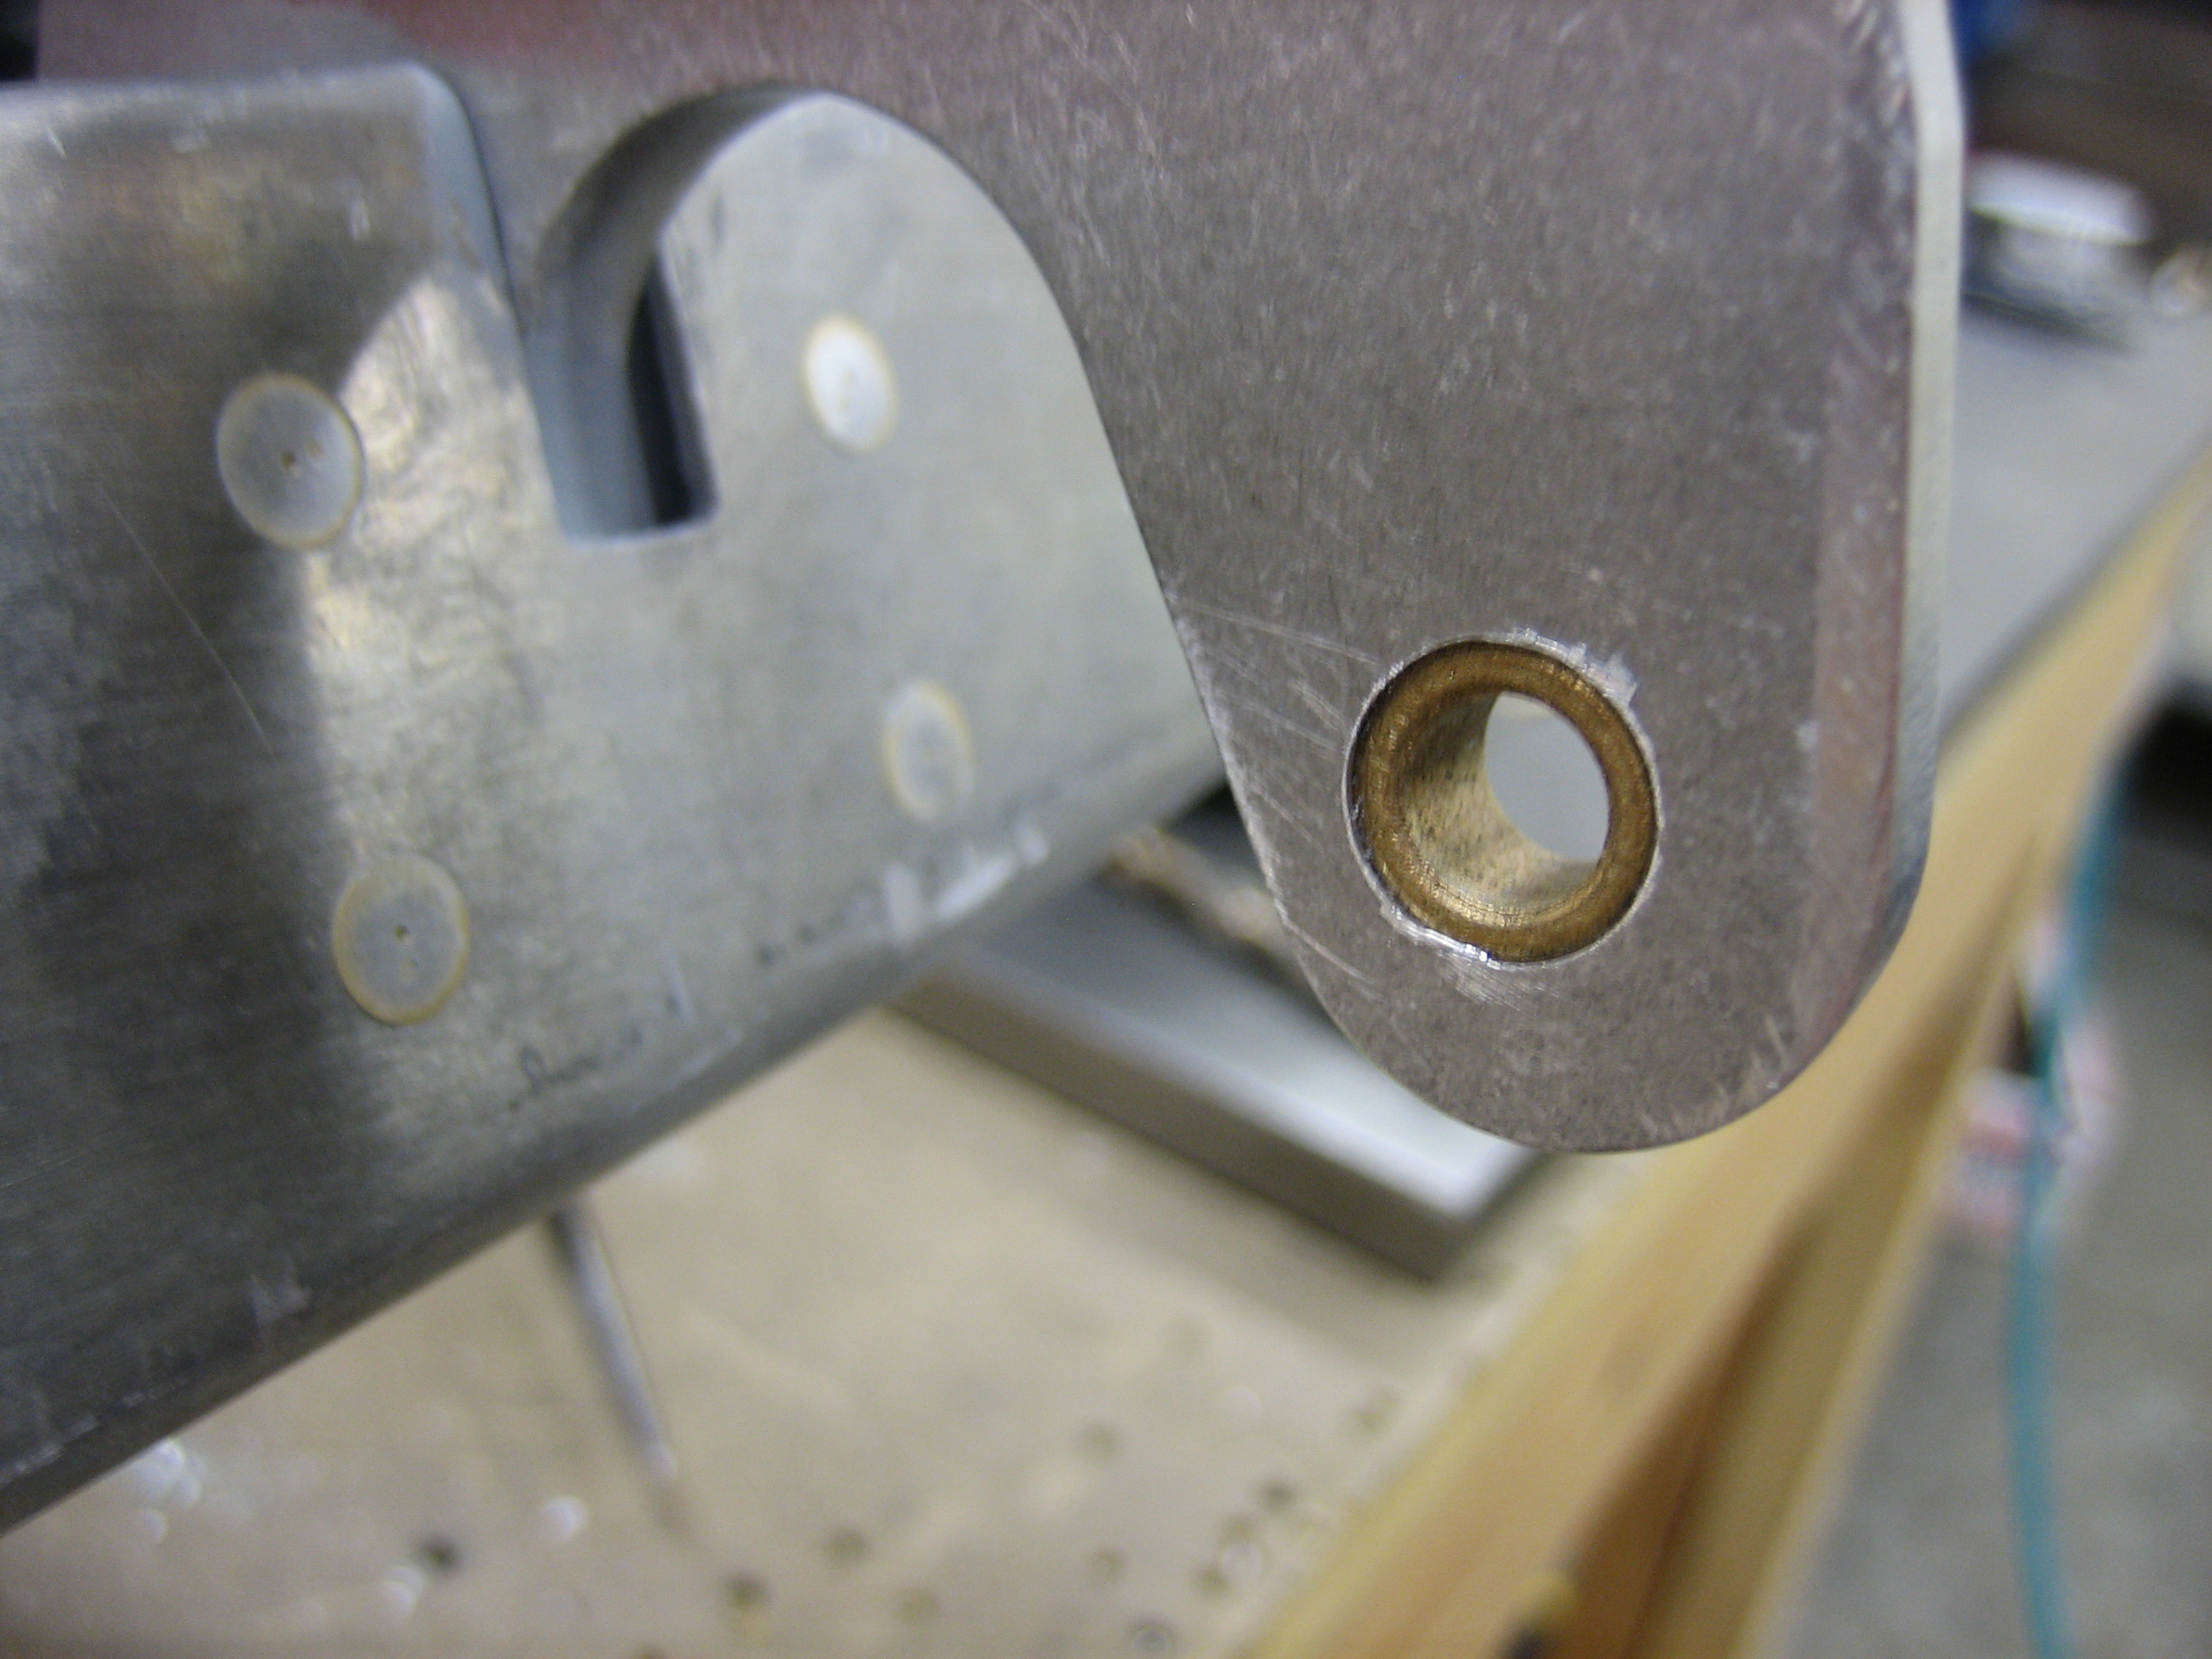
And here’s the bushing block in the left hinge arm.
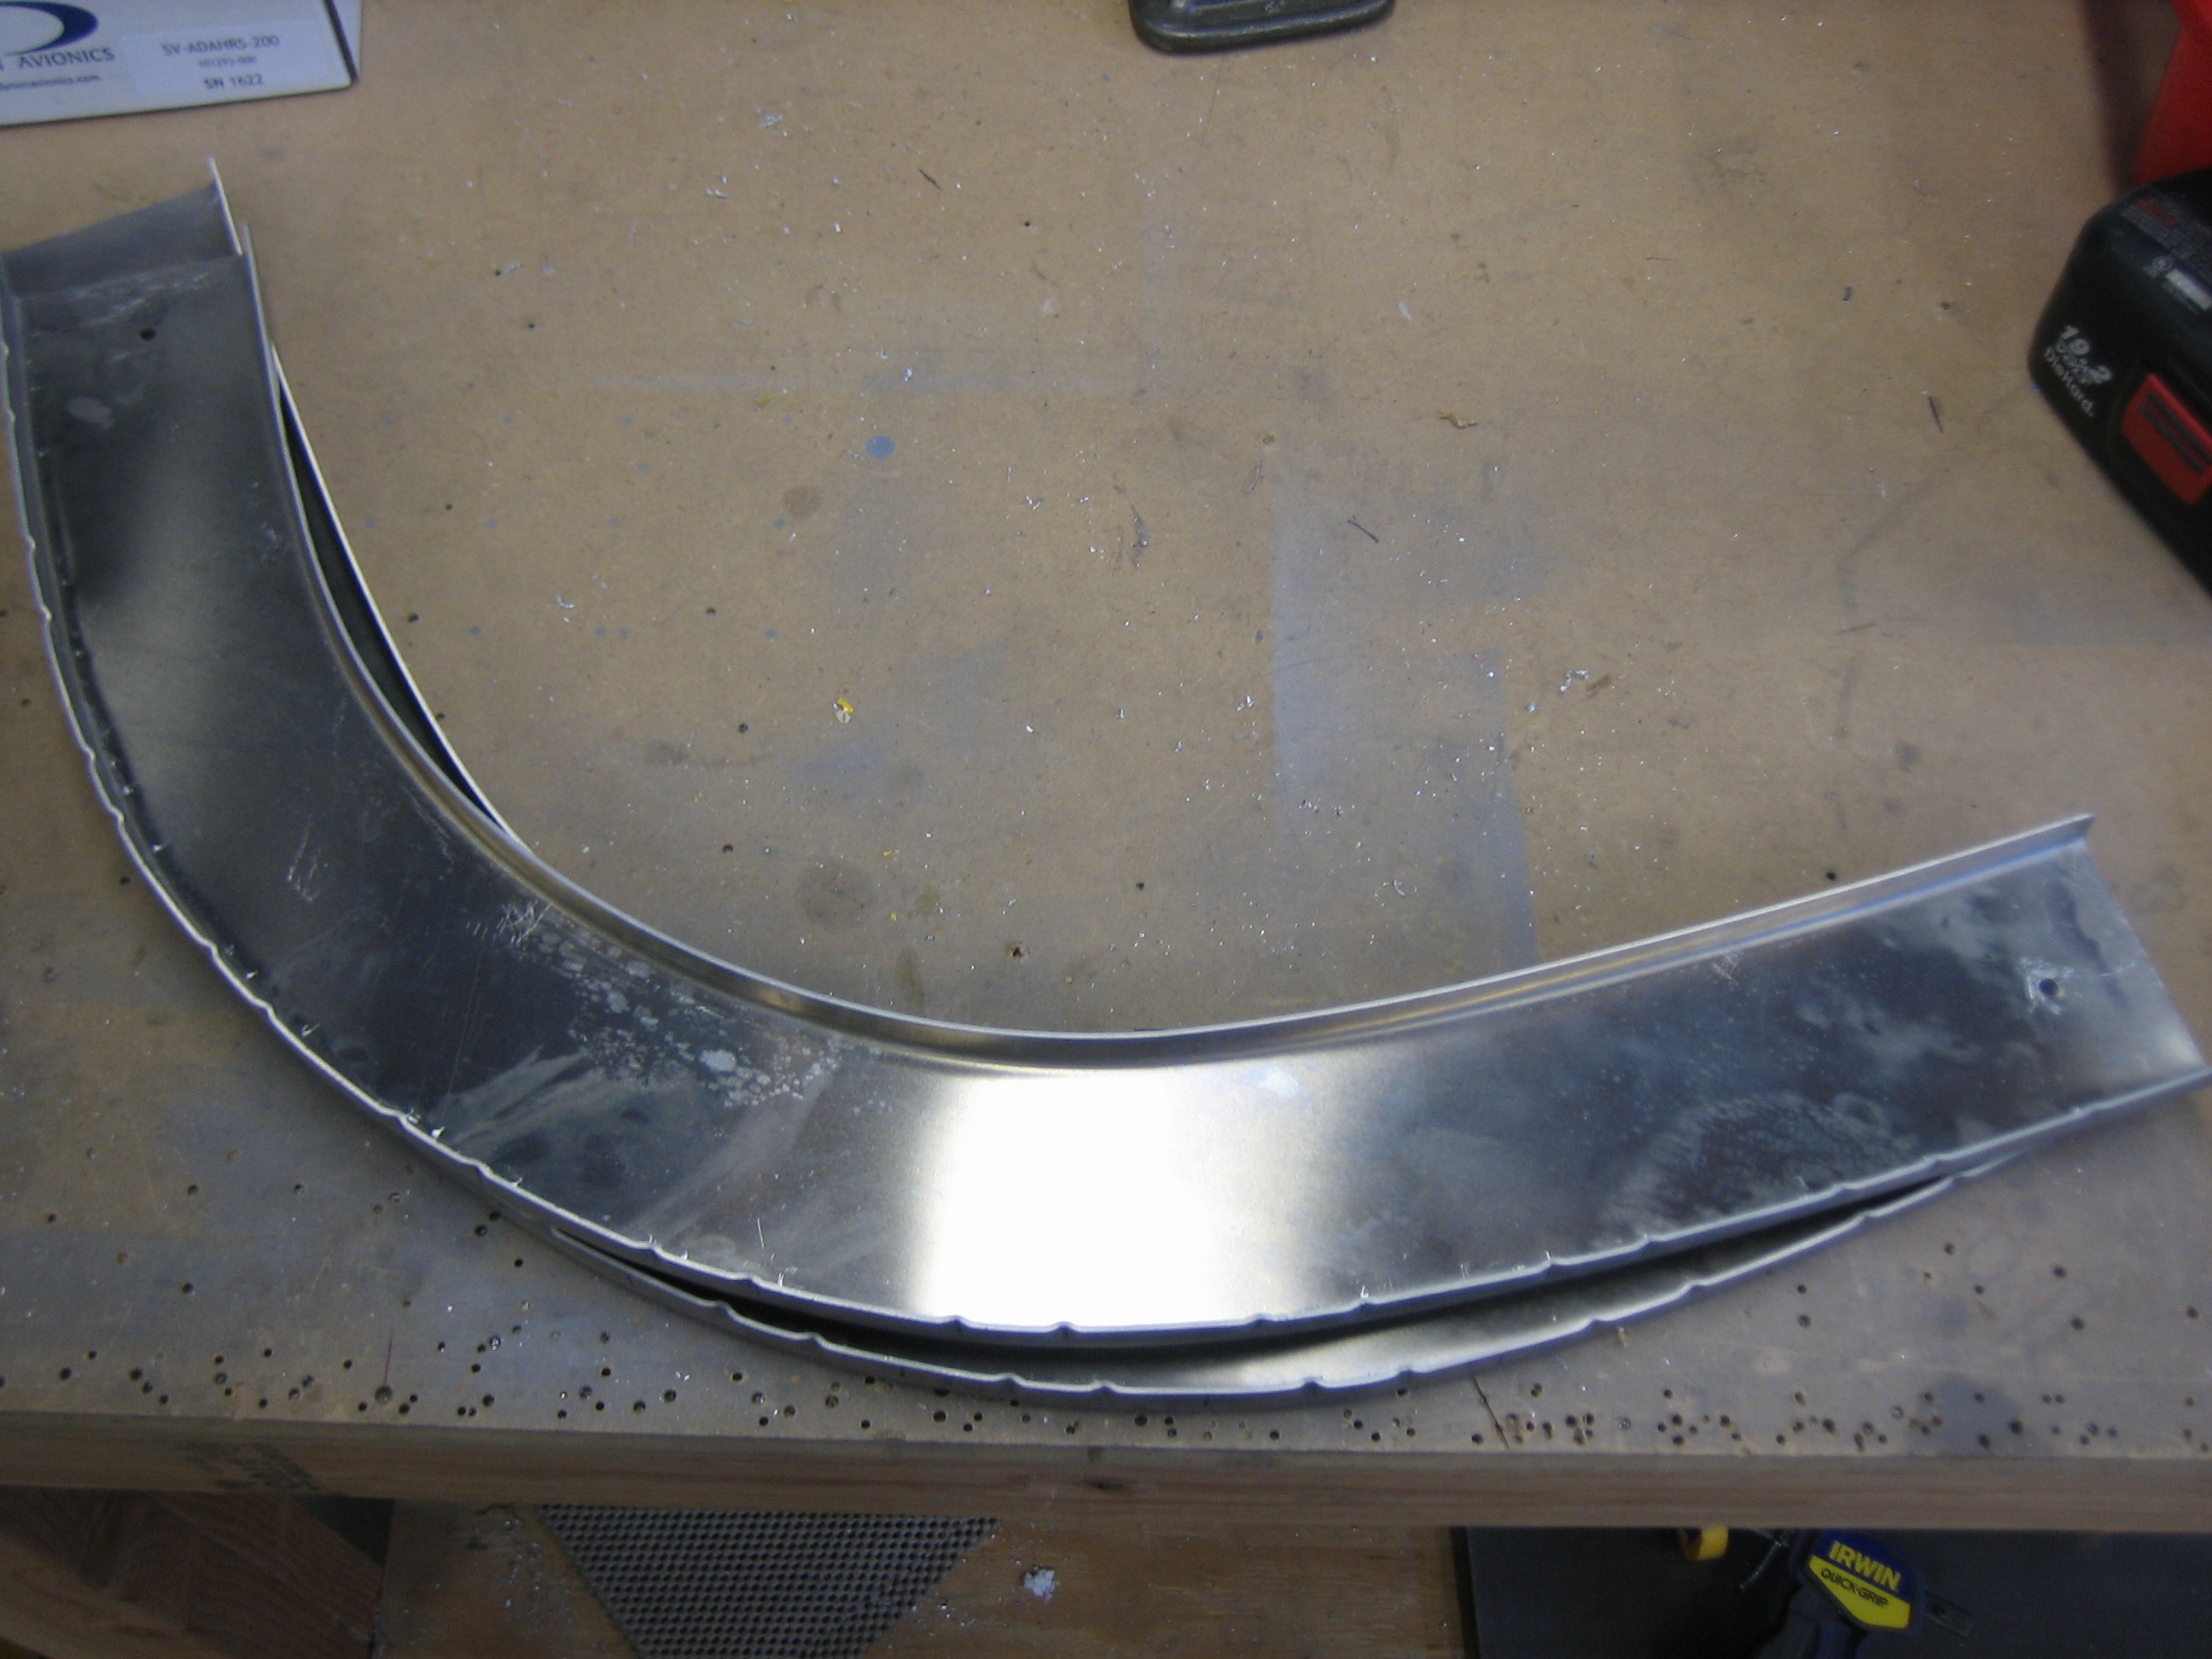
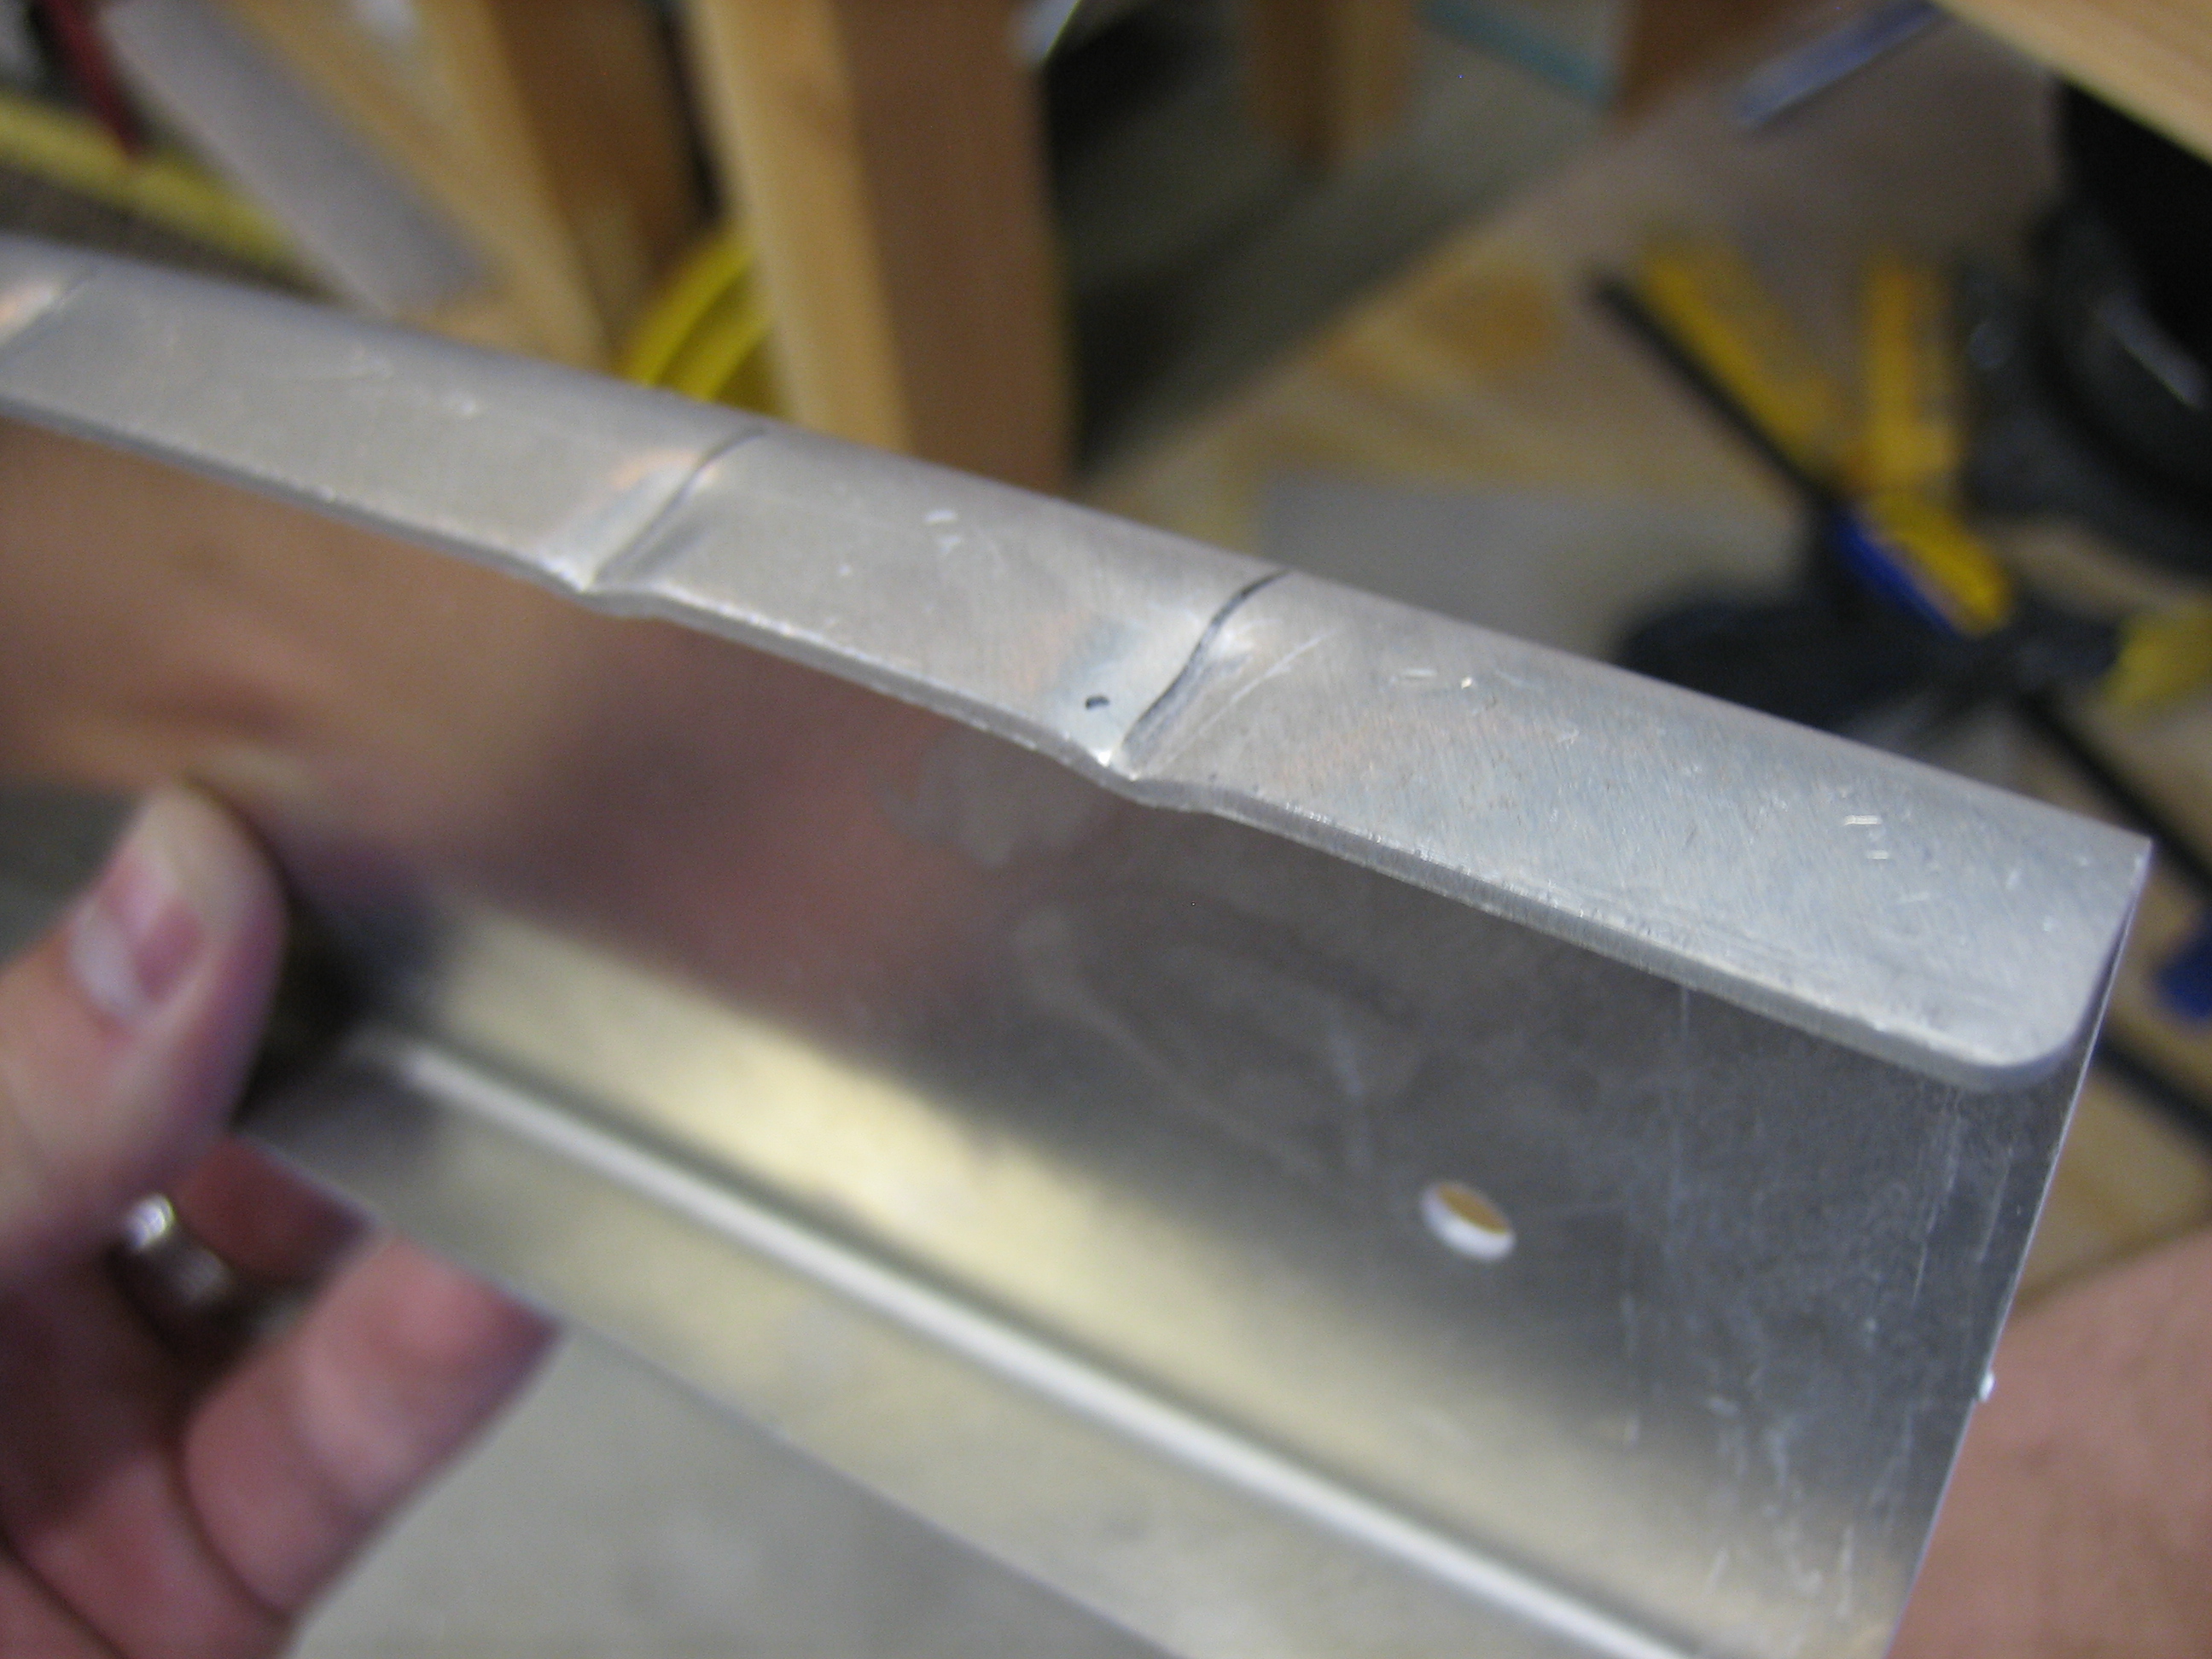
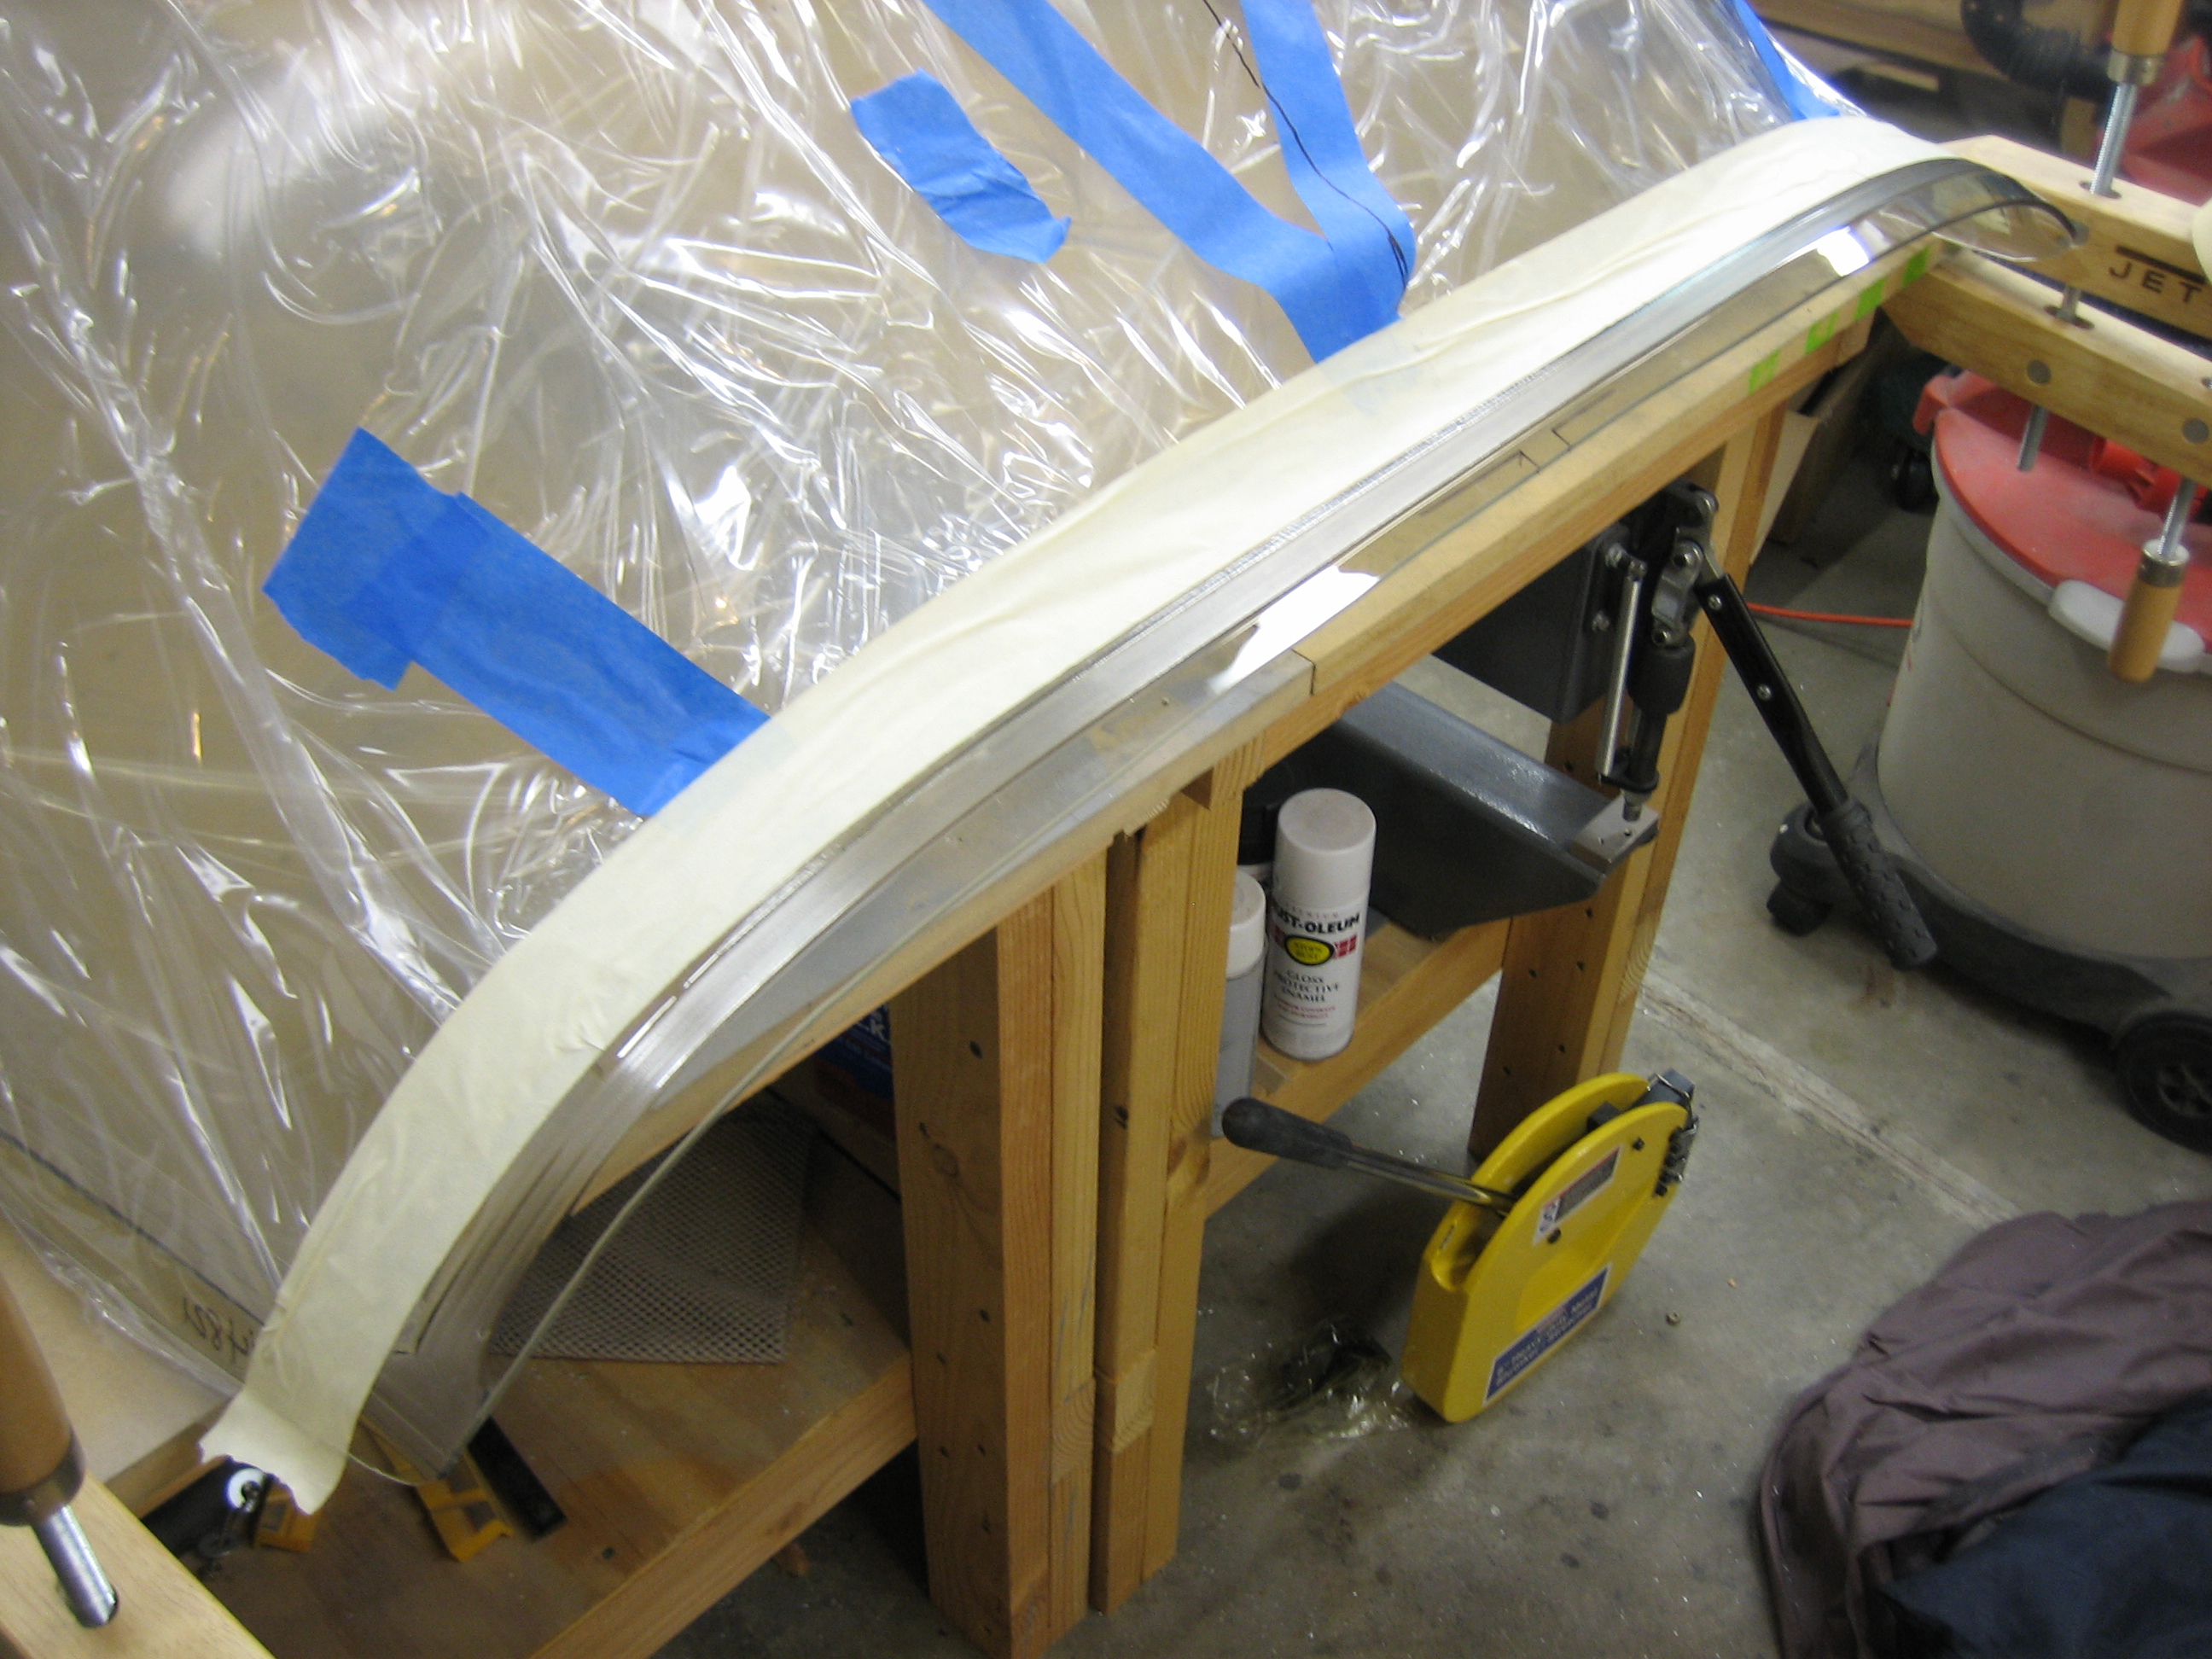
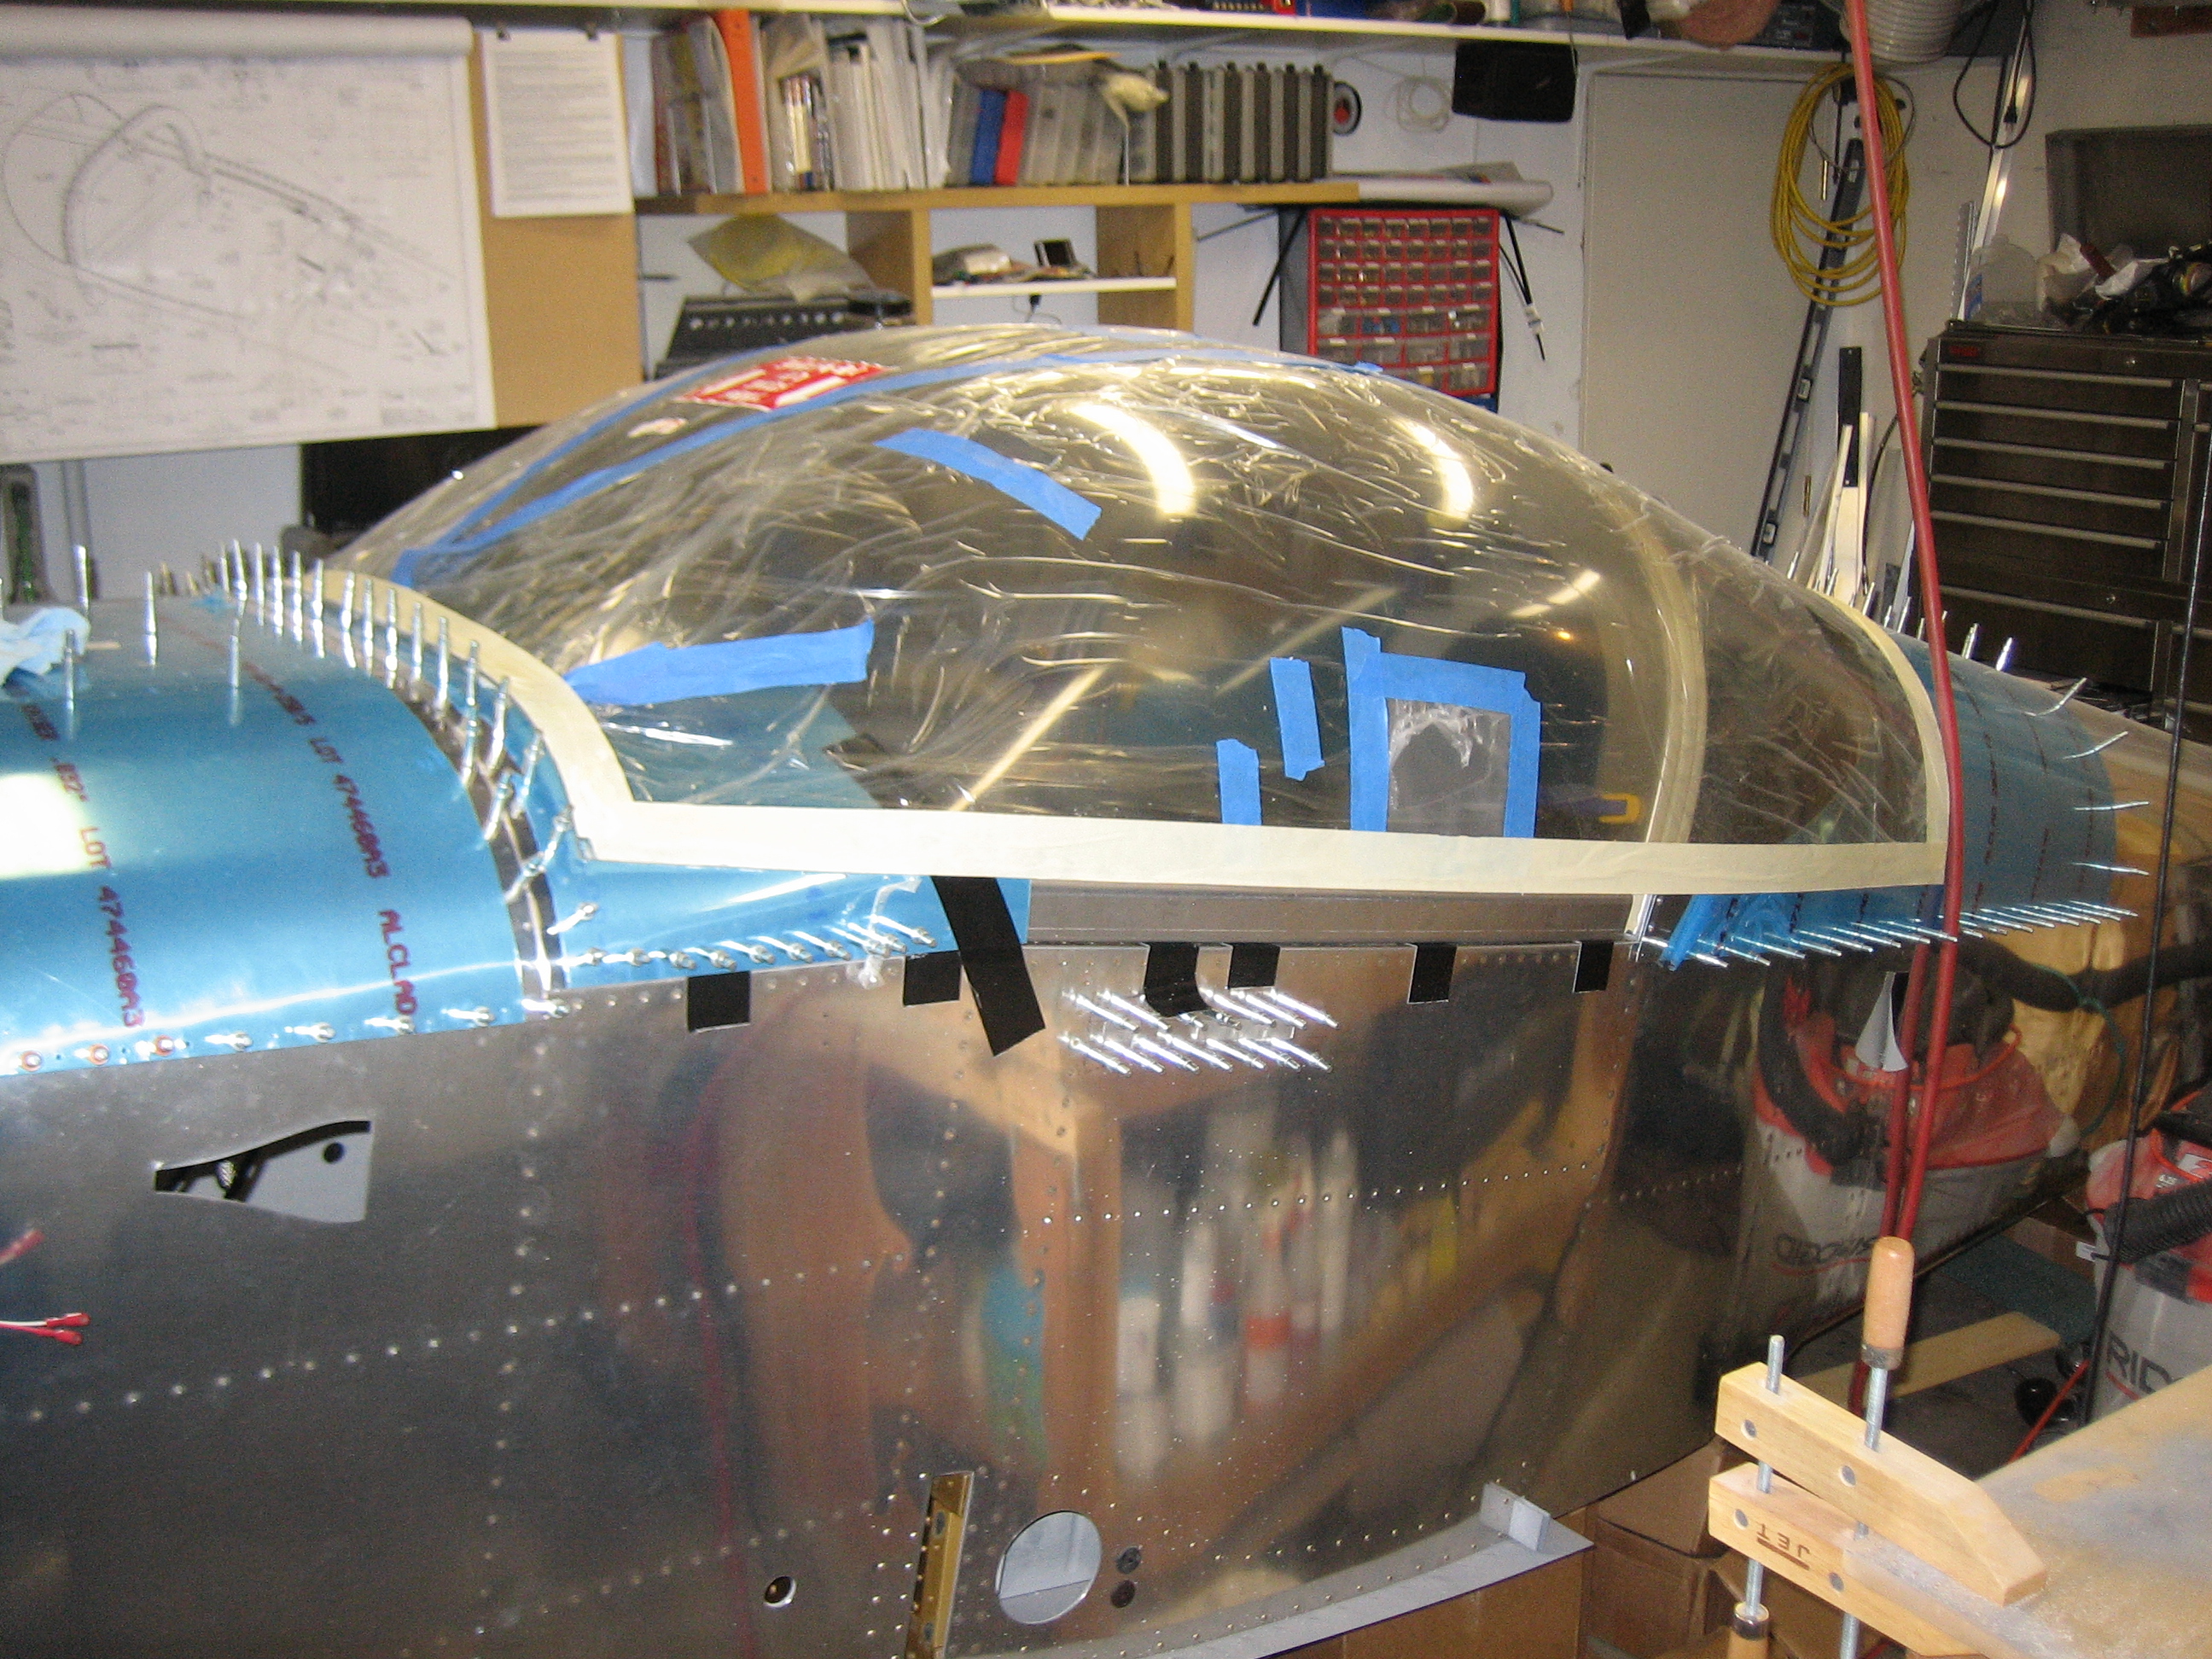
Finally, I put the canopy frame back on using some temporary pins and checked the motion. As the instructions specify, the seal support angle interferes with opening the canopy frame. I filed back the seal support angle a little bit and retried the frame. After a few iteration, I have the canopy frame swinging smoothly.