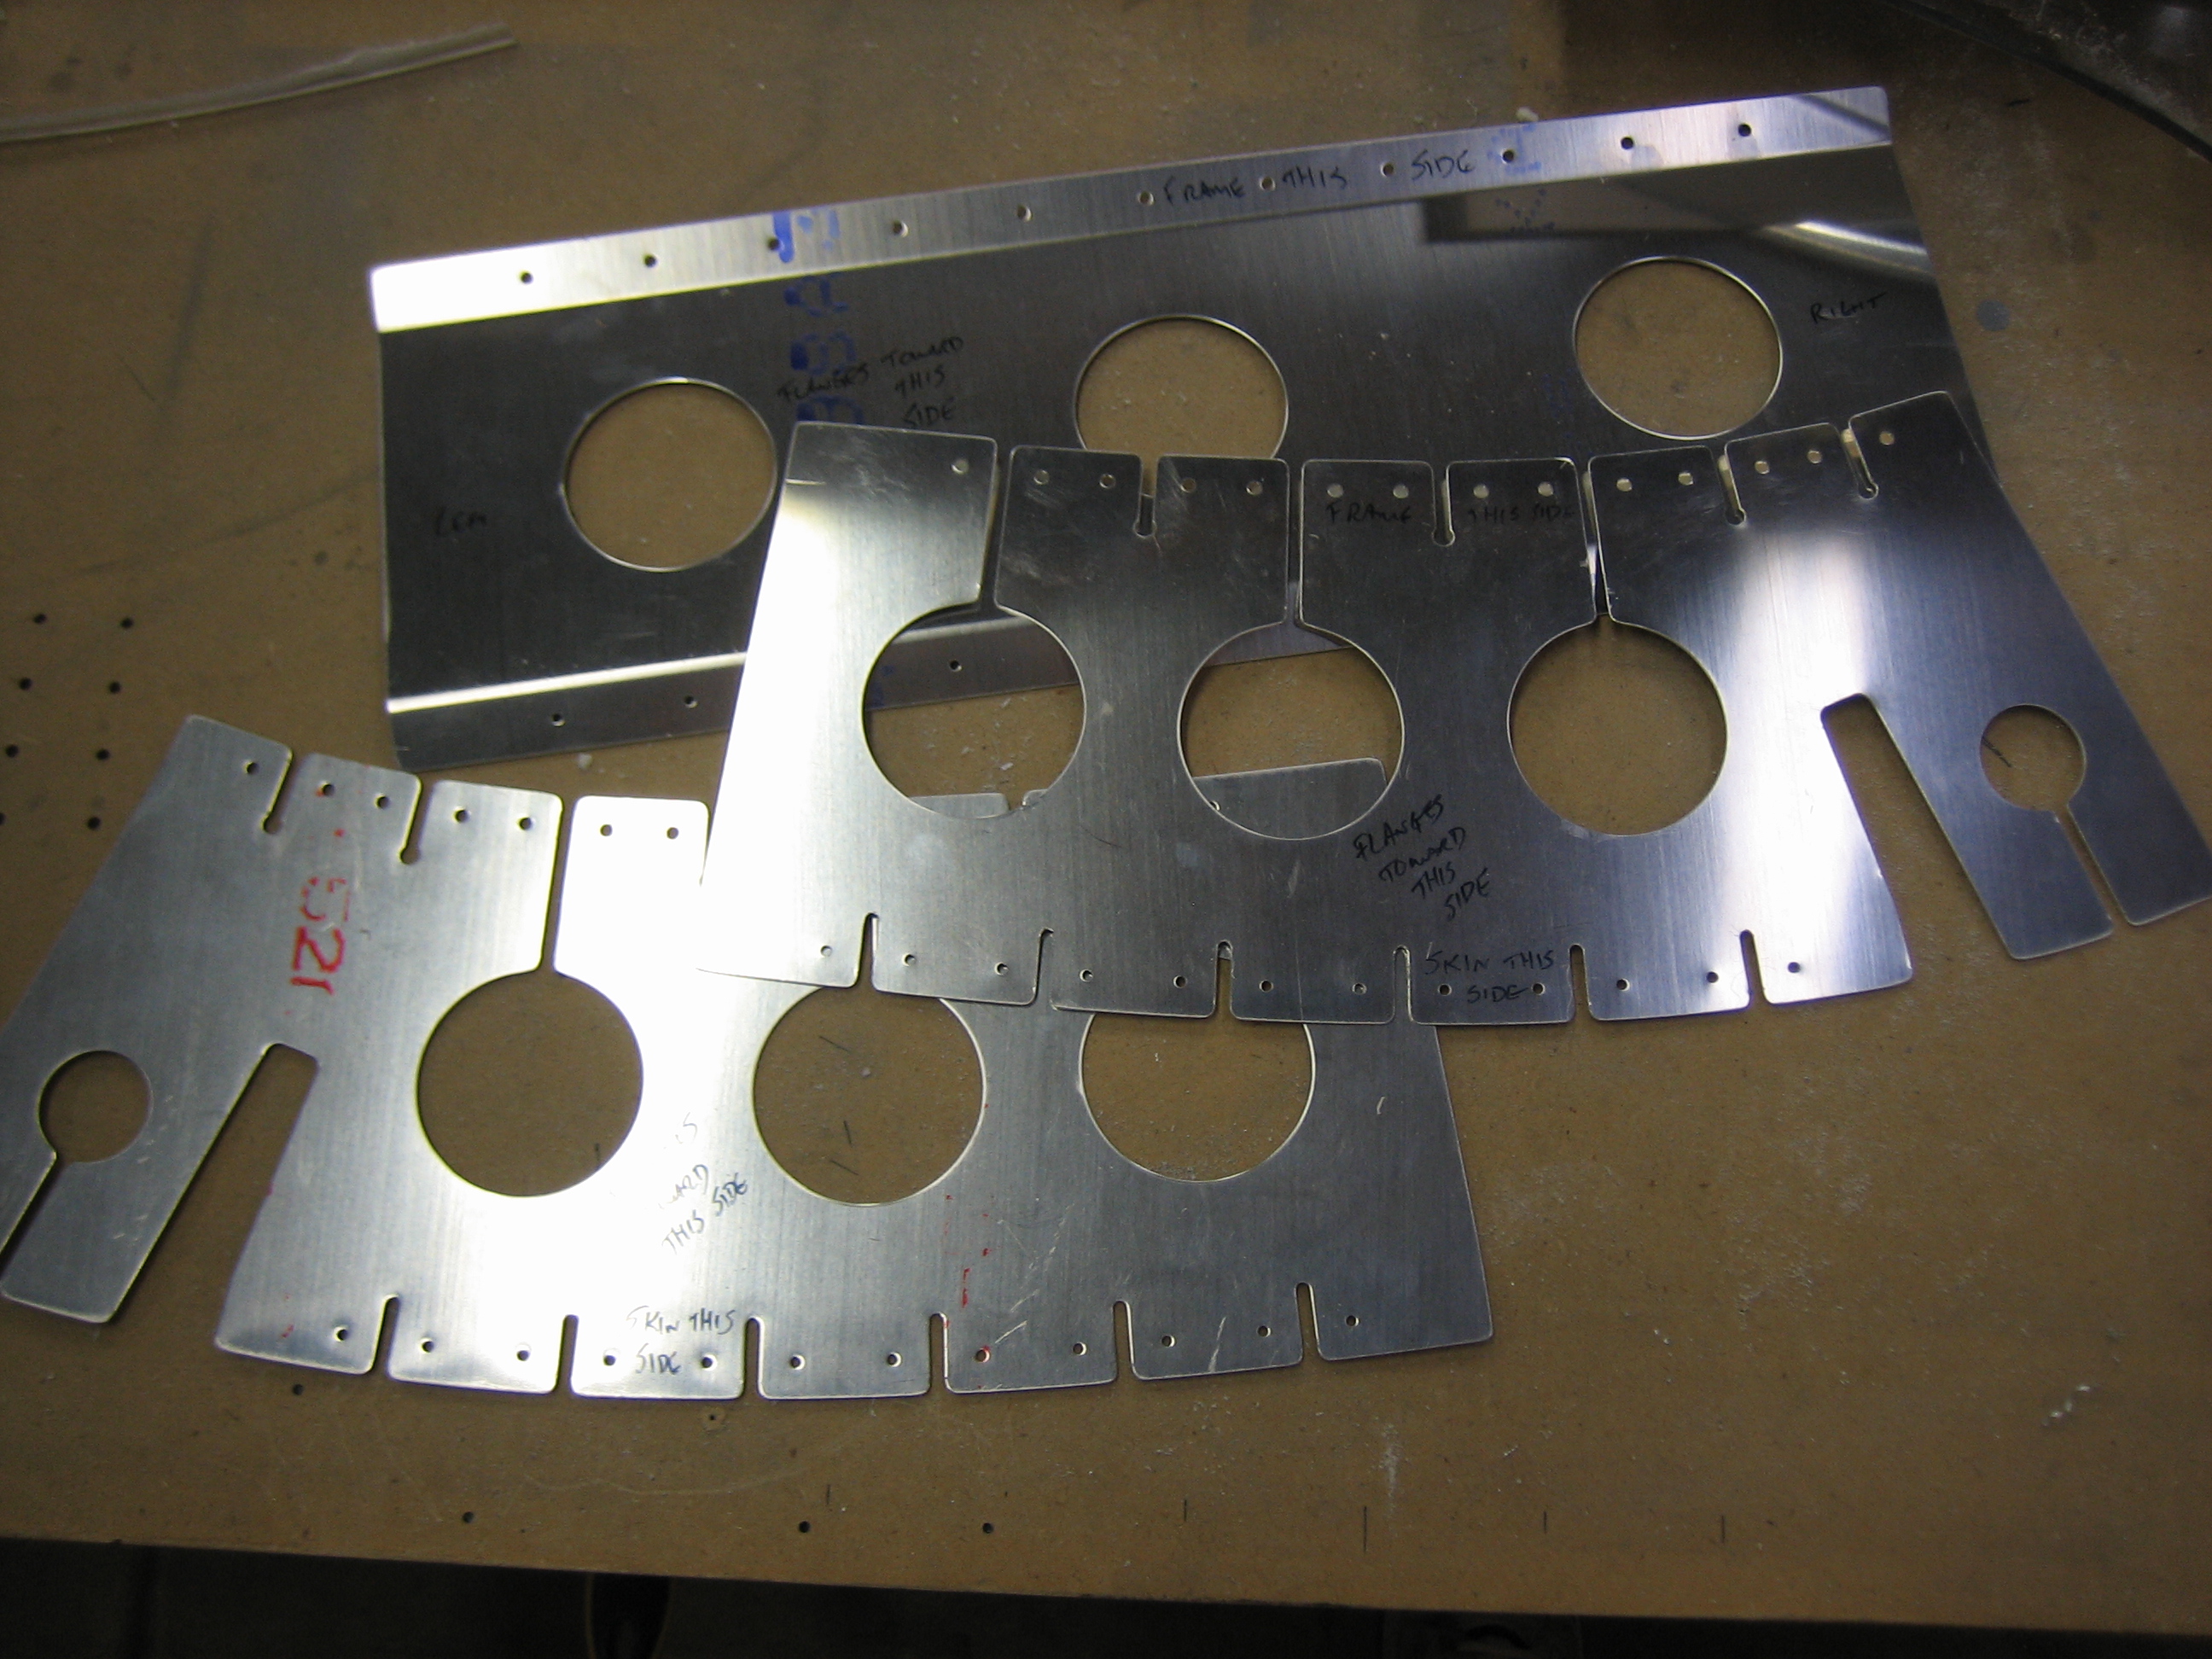
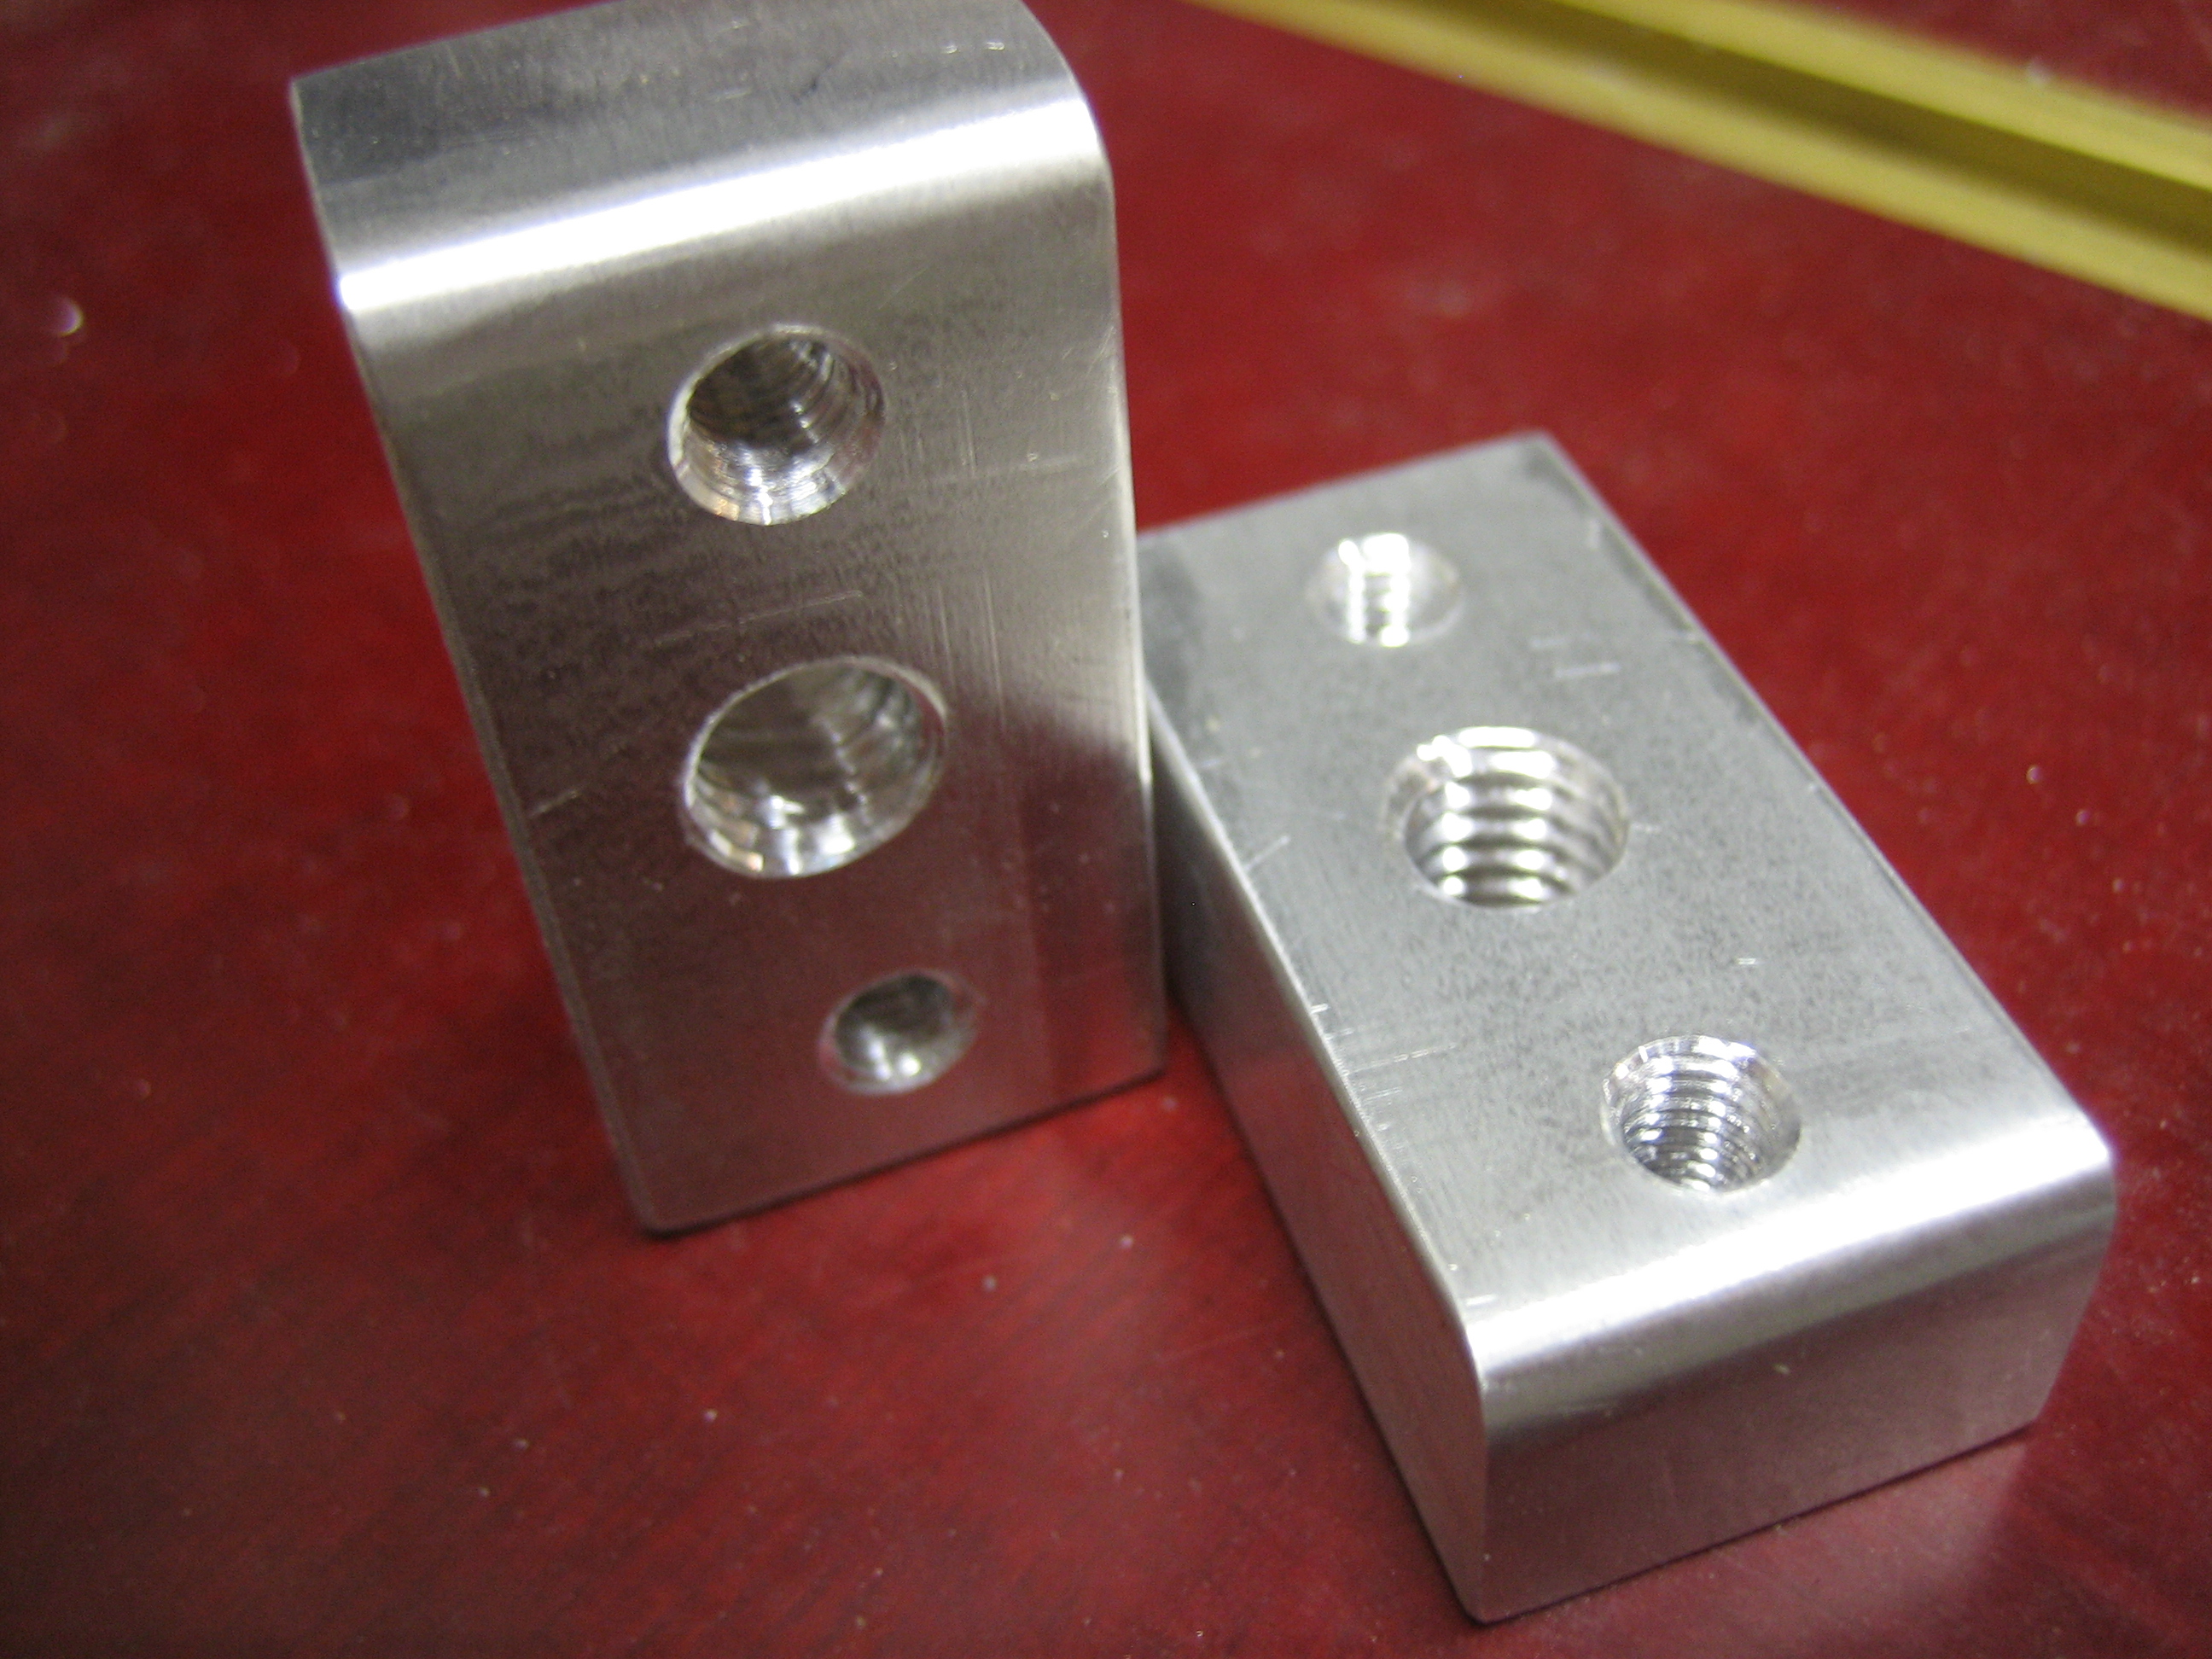
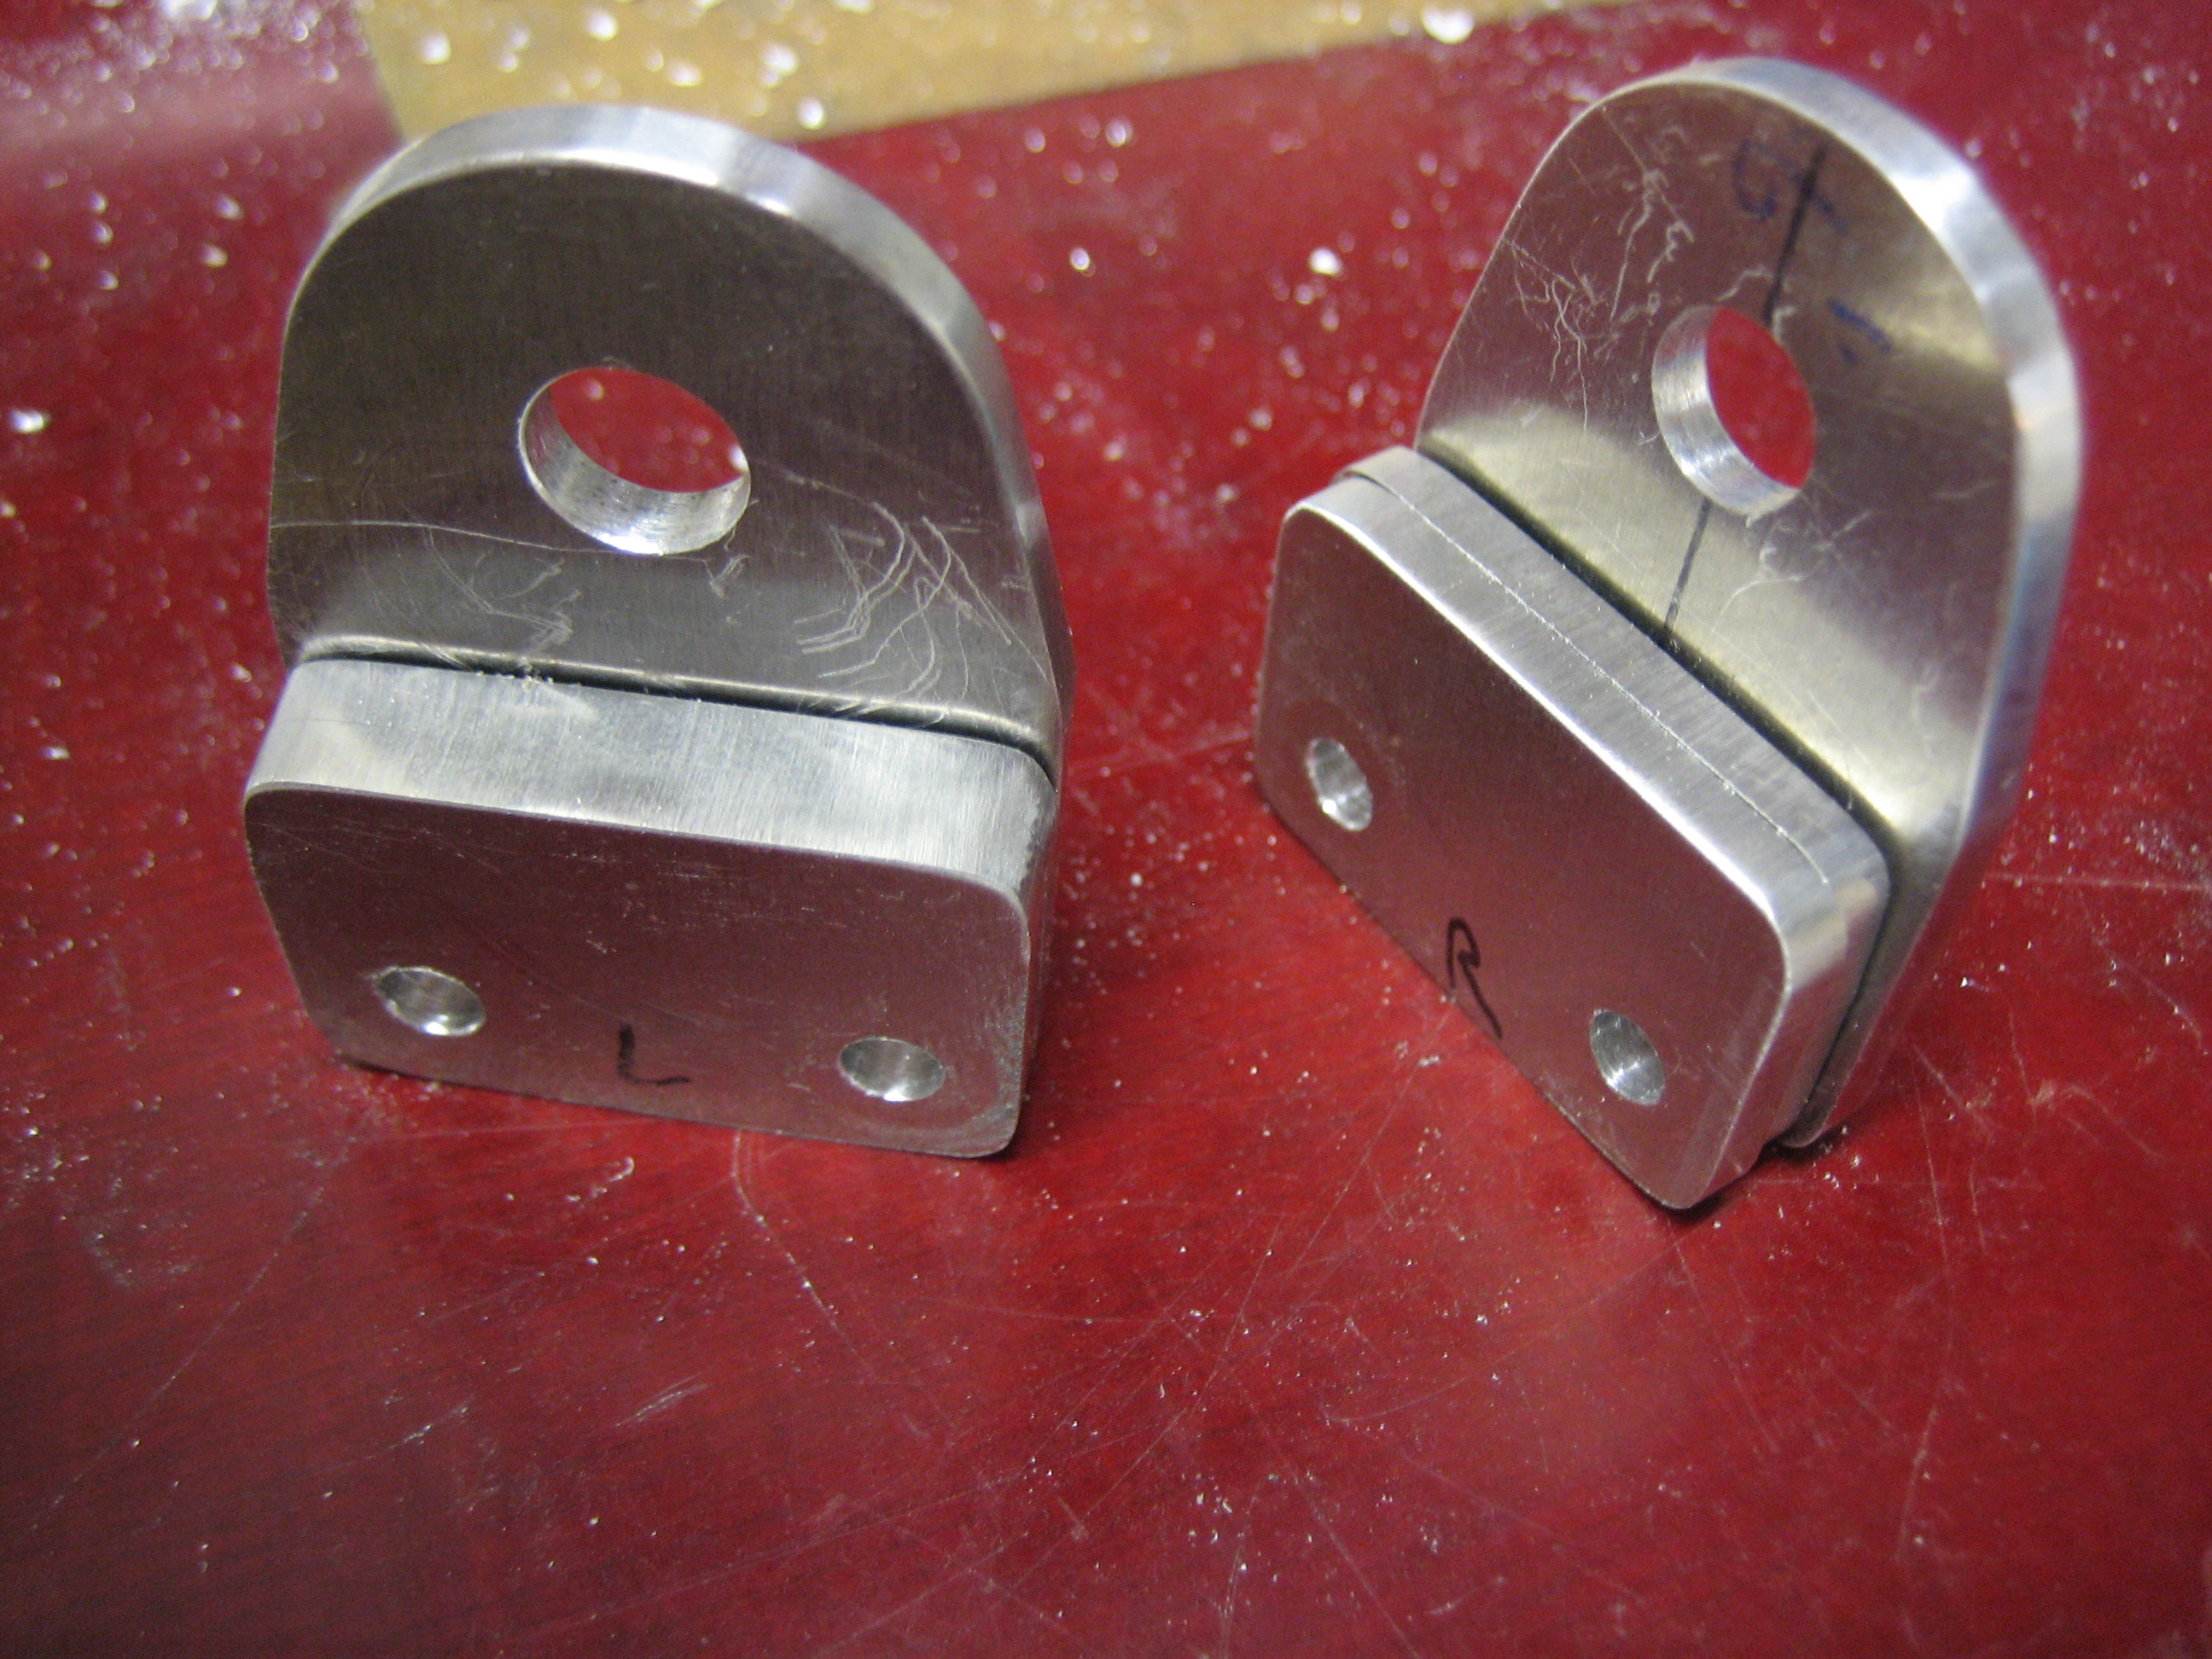
I finished drilling the canopy frame reinforcement pieces to the forward channel.
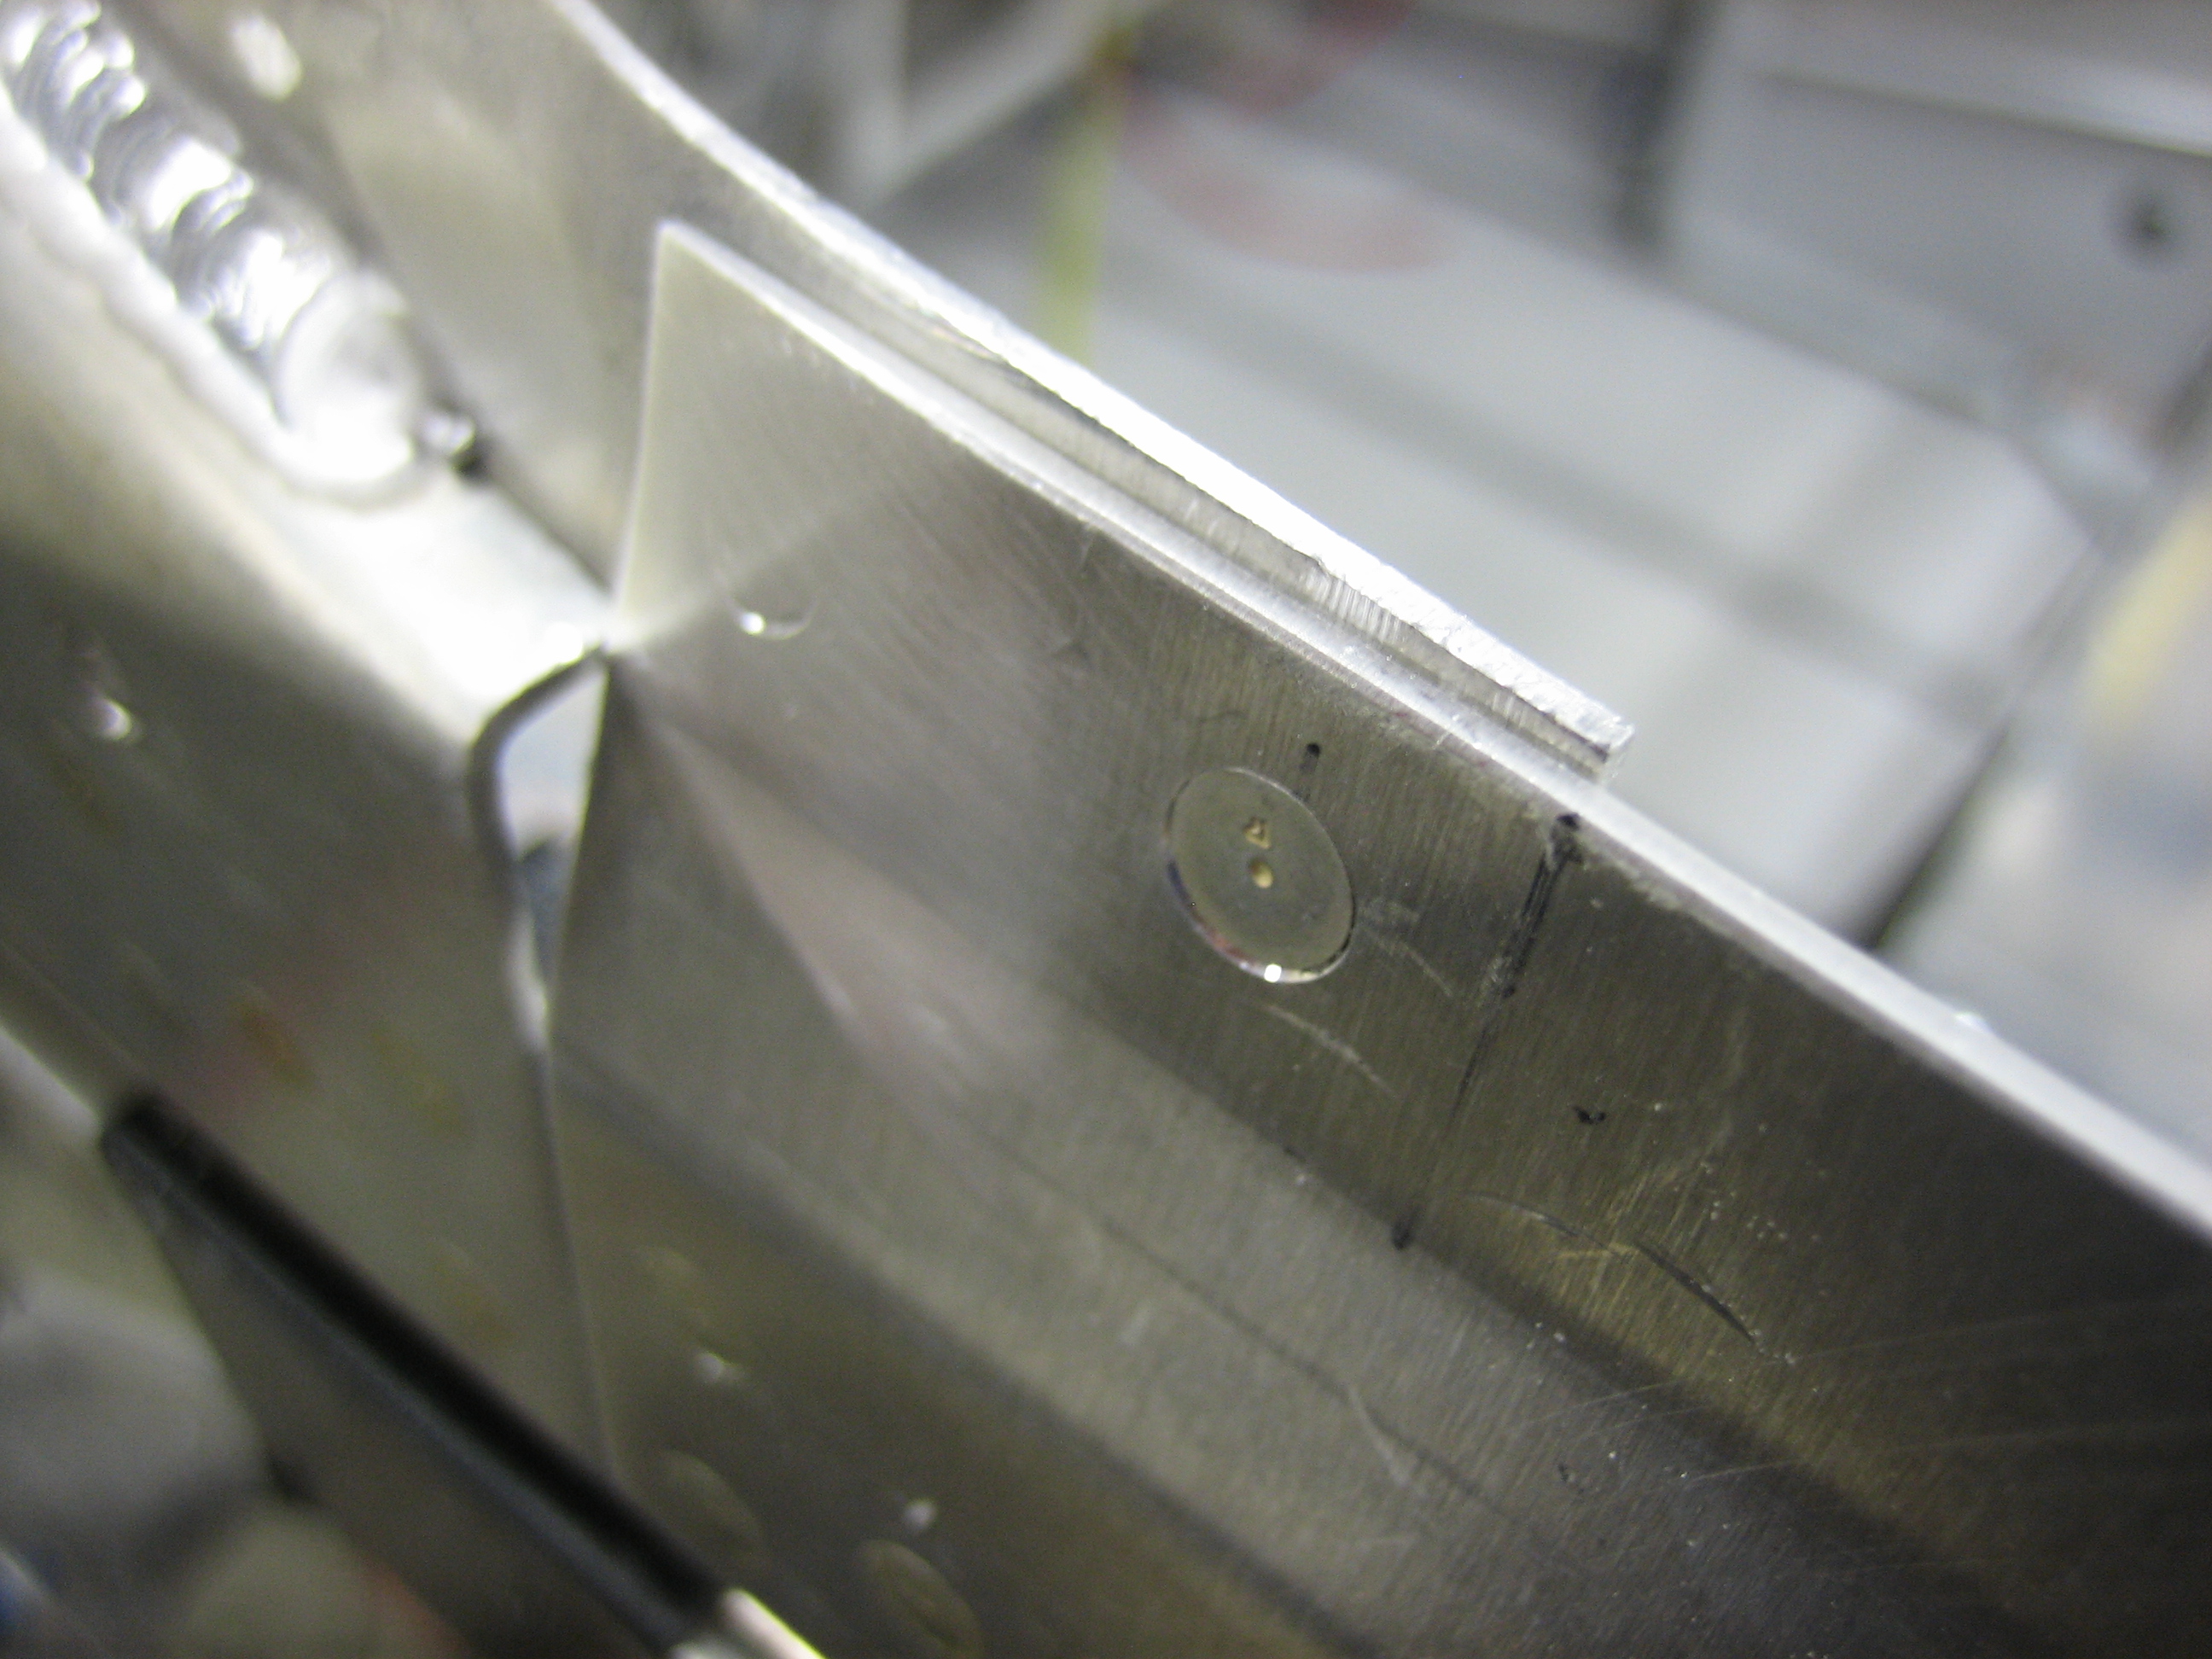
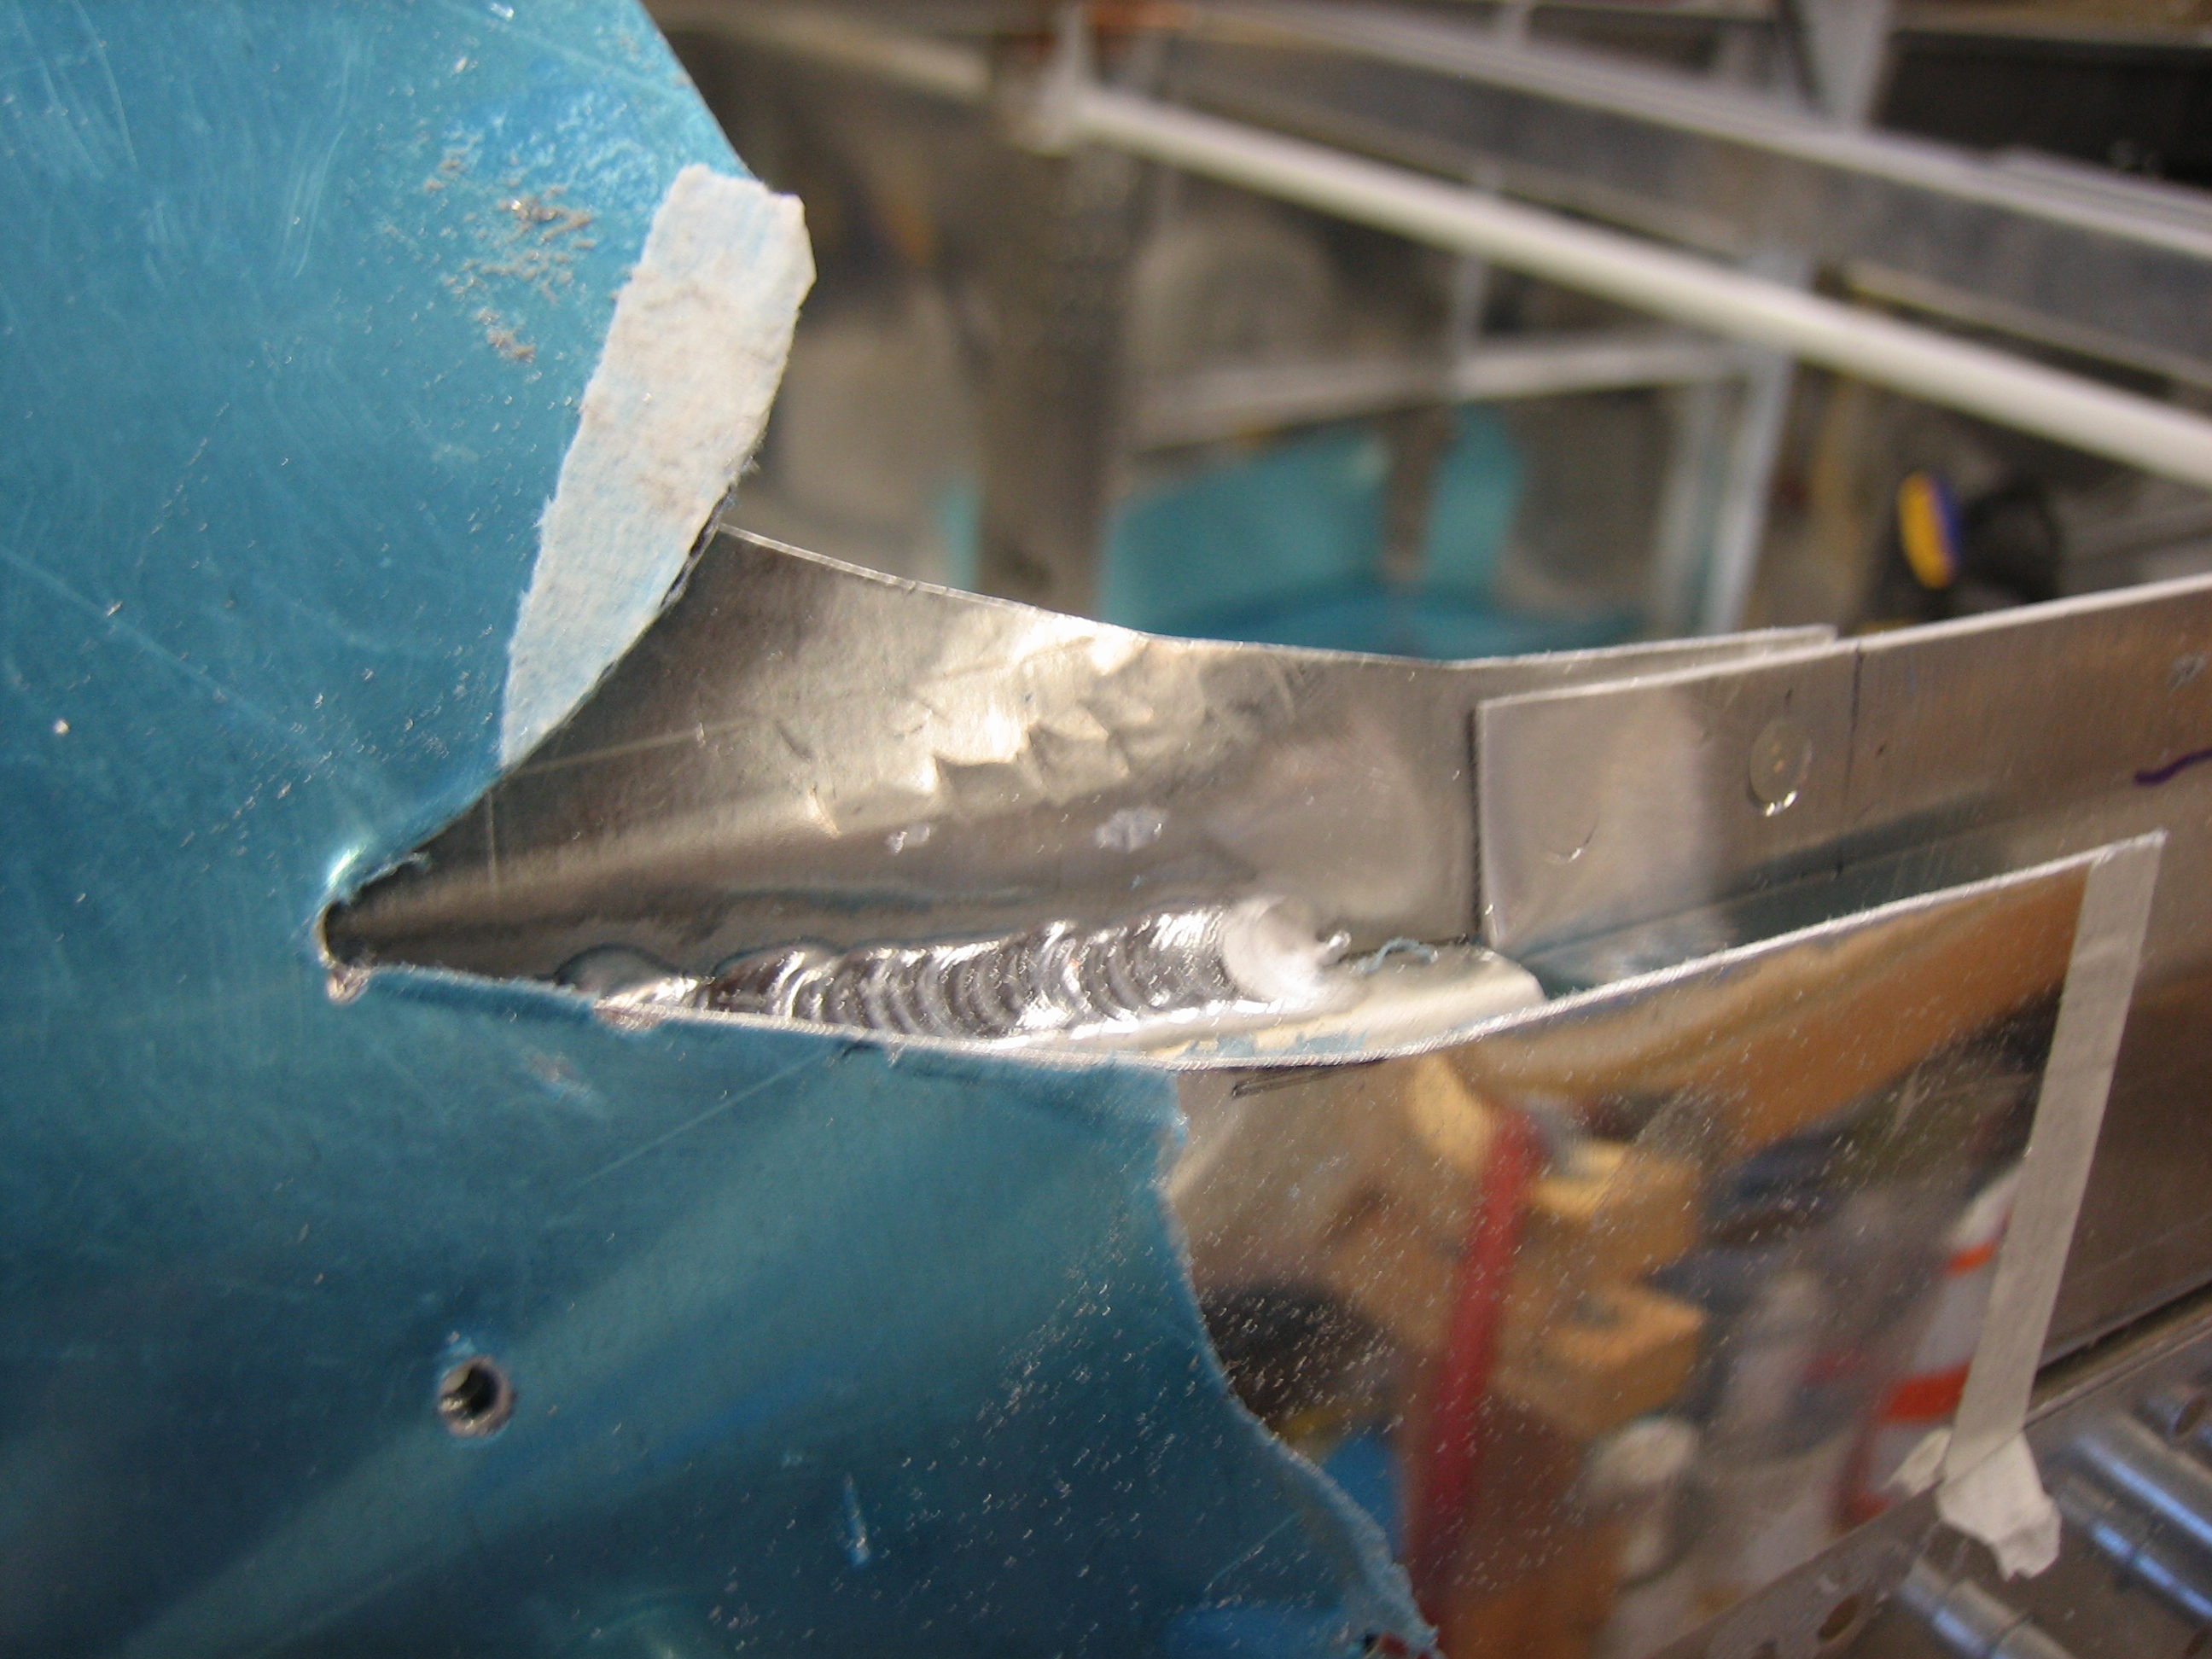
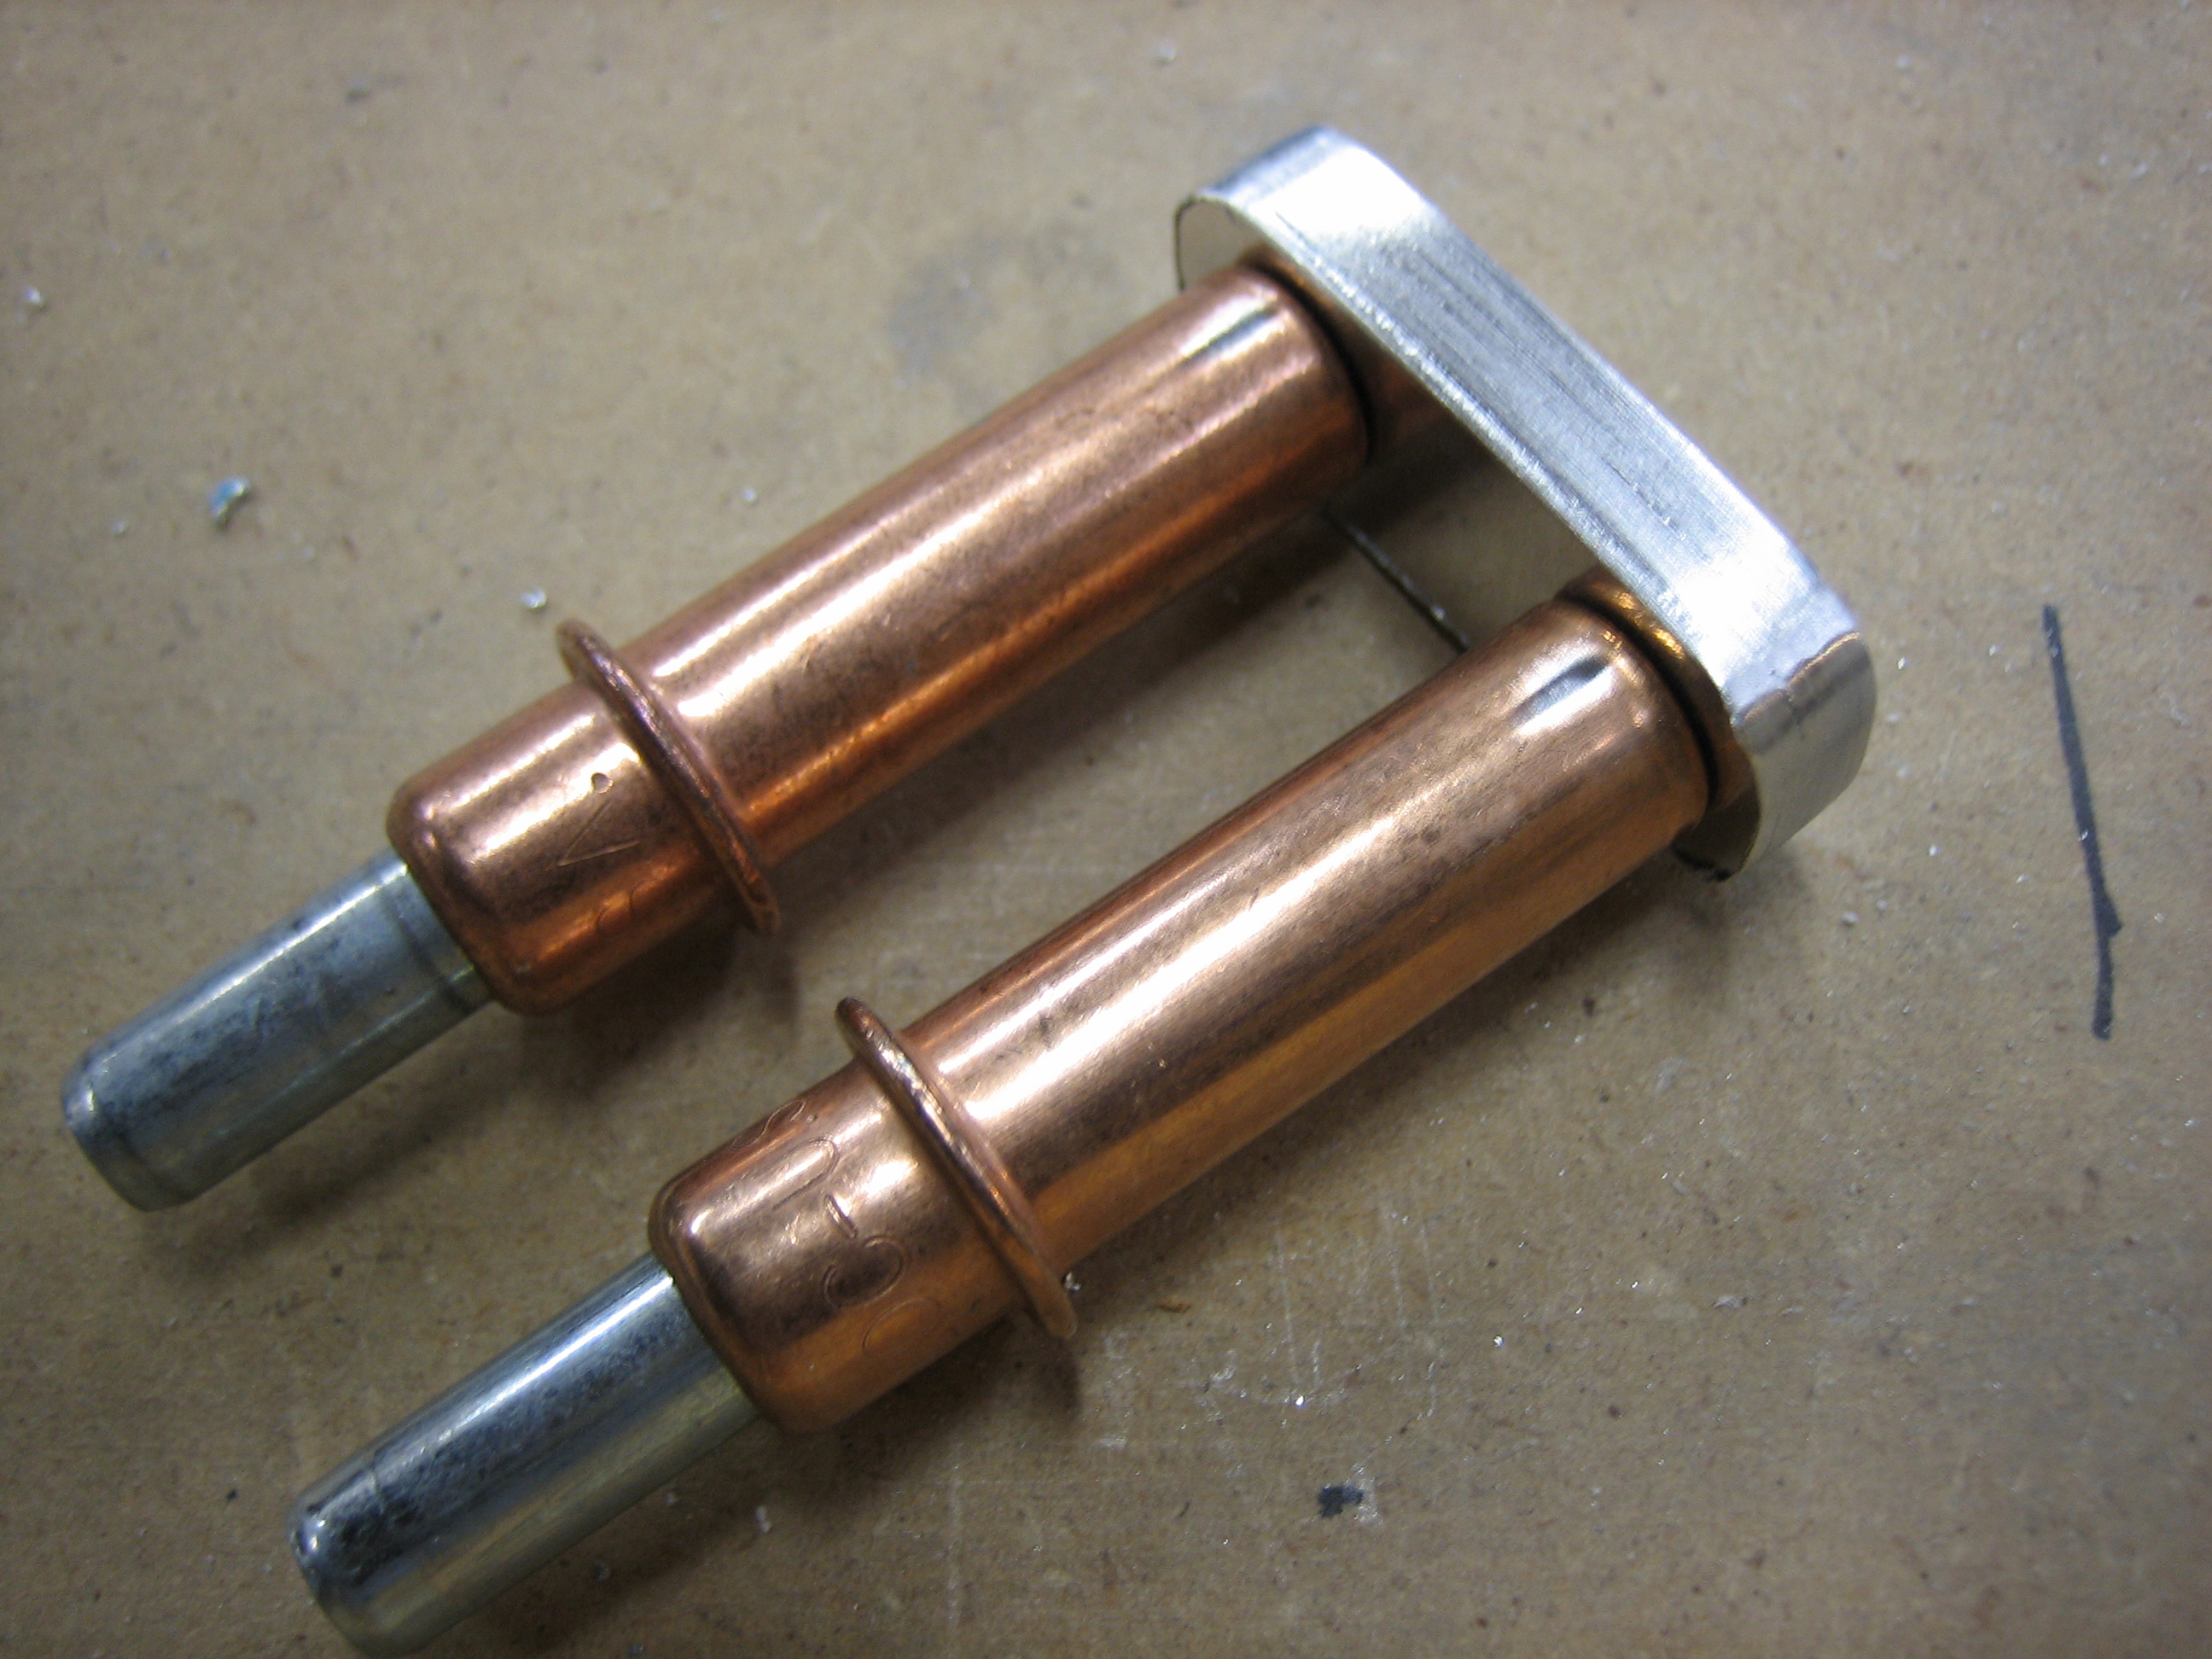
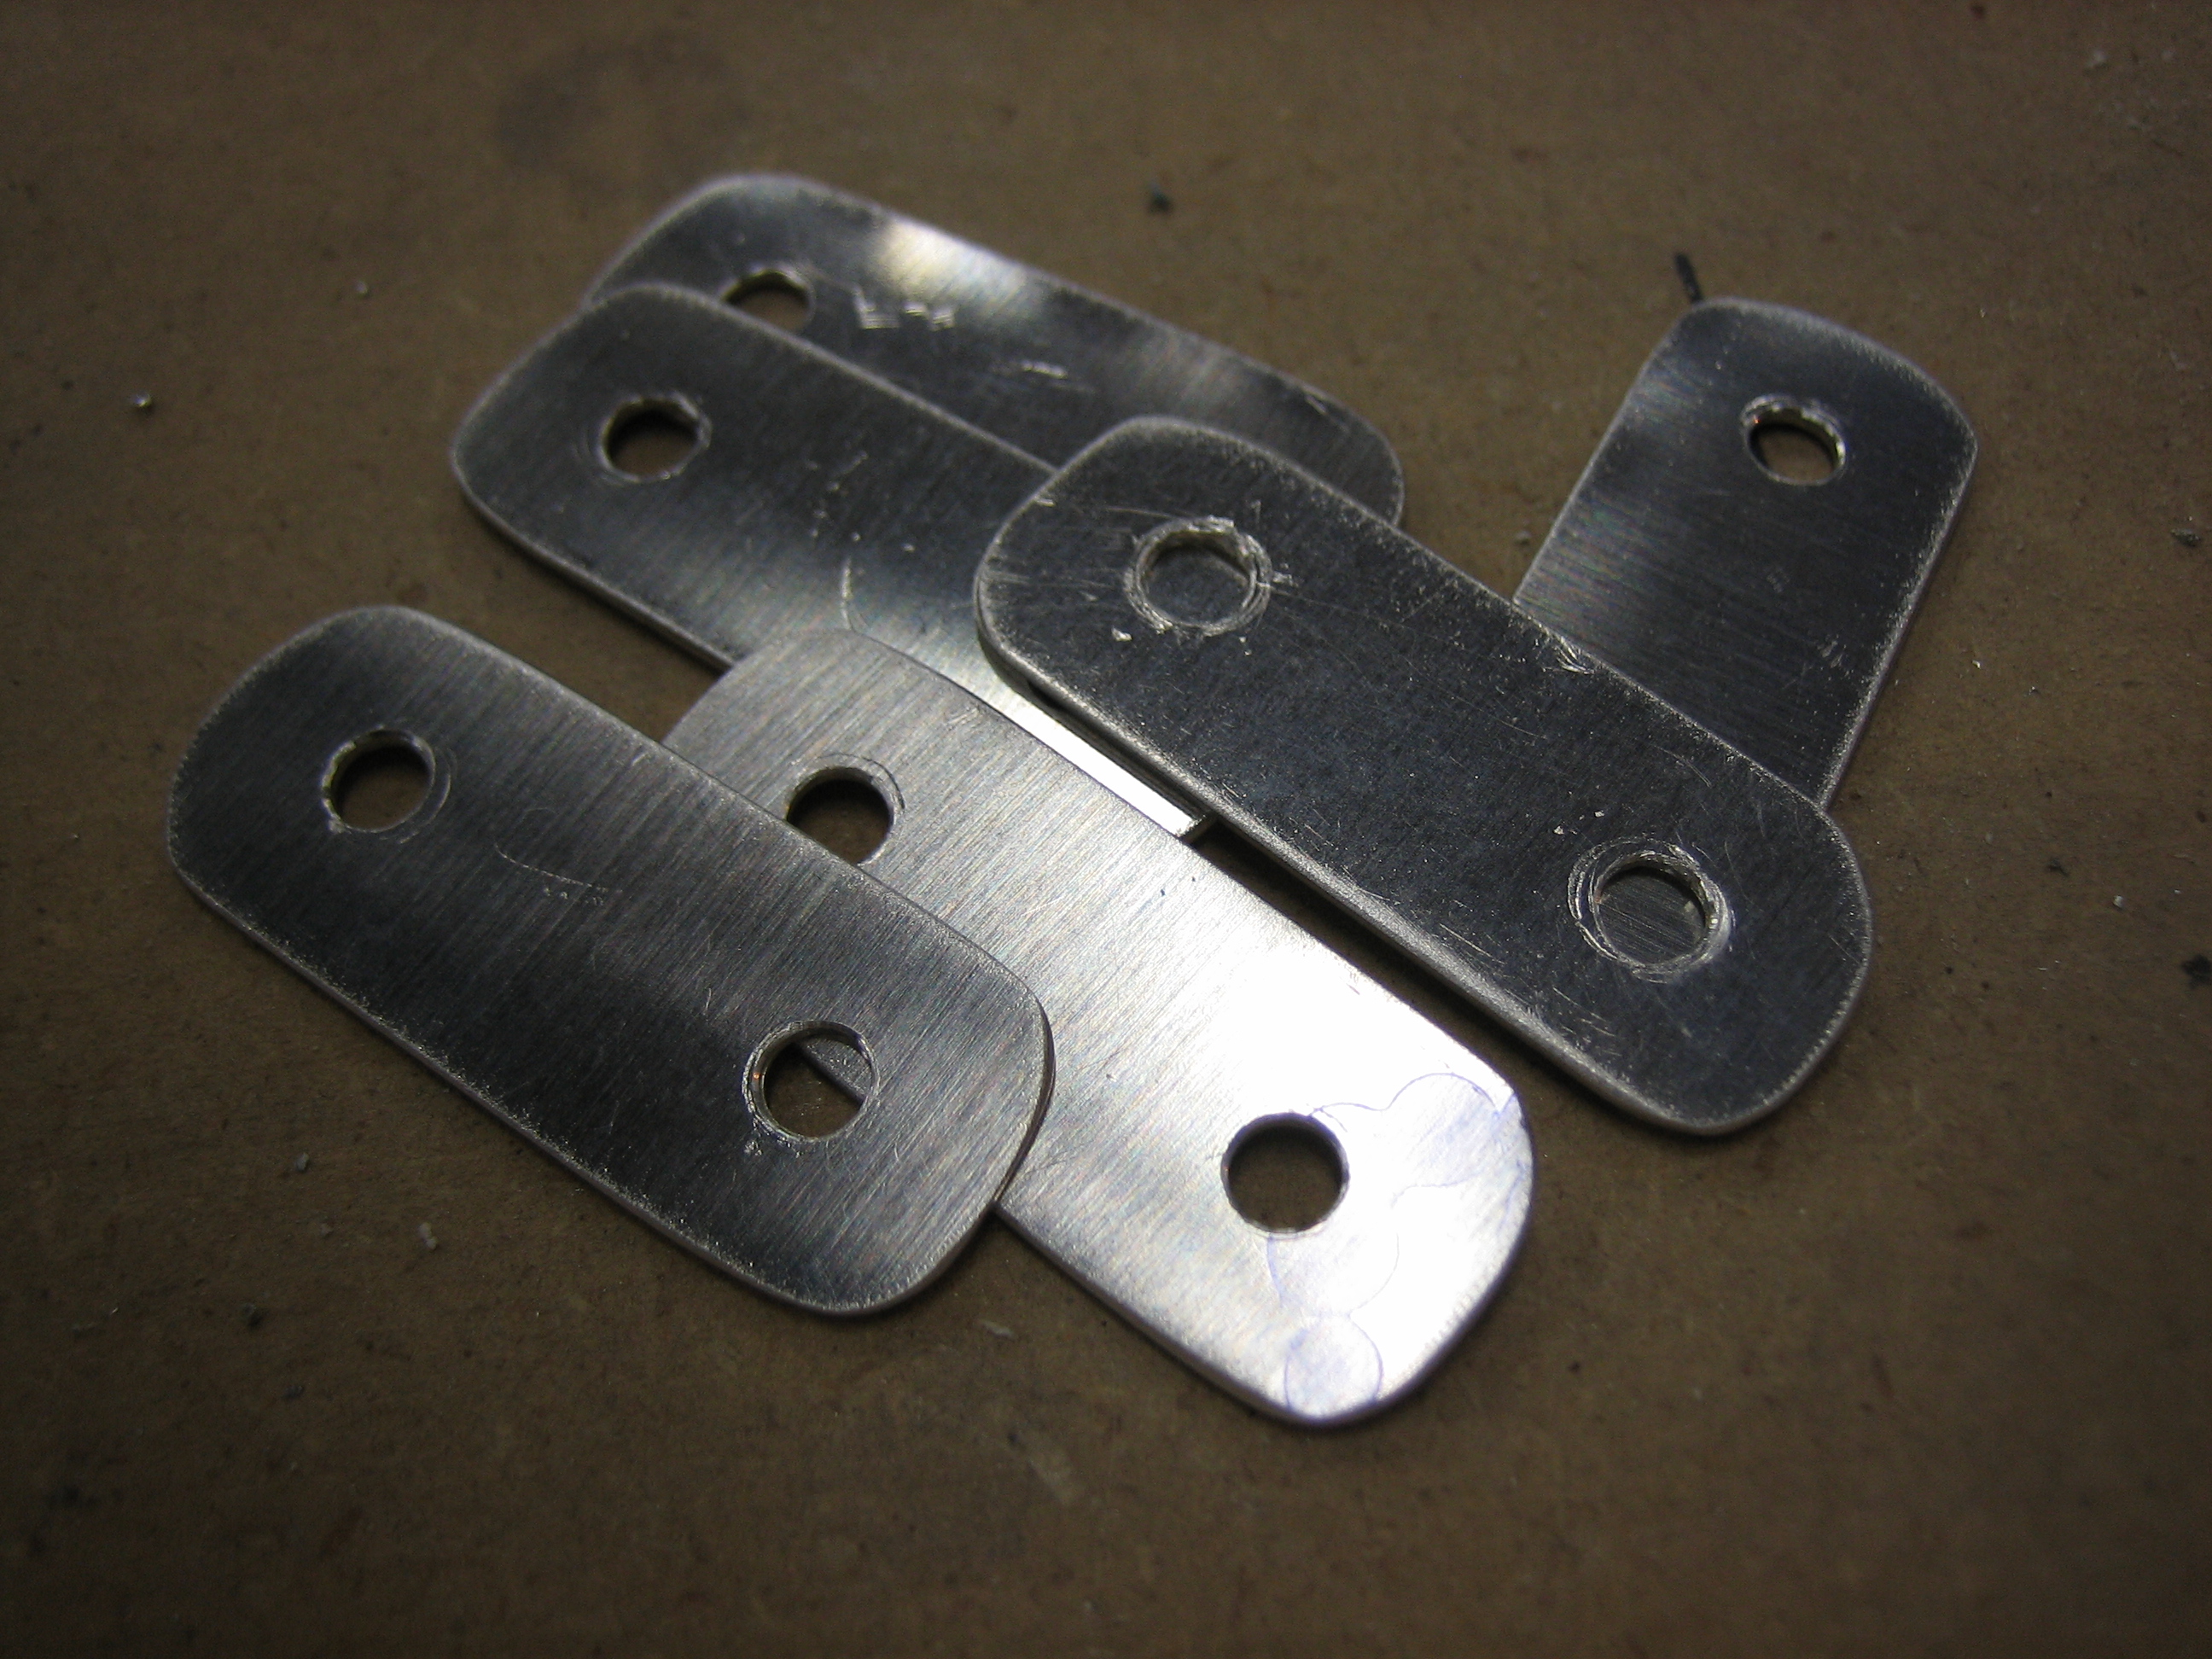
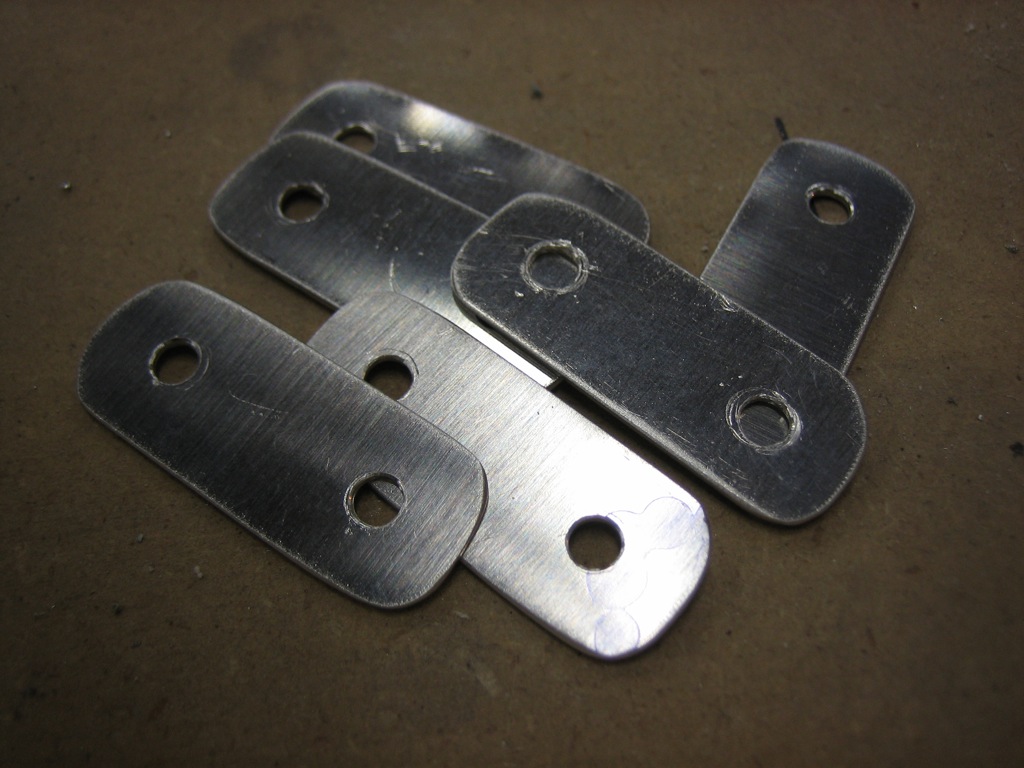
Six little clips need to be fabricated from some 0.032″ stock. I cut pieces out slightly oversized using snips then stacked and drilled them. Using some clecoes to keep them aligned, I then sanded them so they were uniform and rounded the ends.

After individually touching them up on the scotchbrite wheel, they’re ready for attachment to the canopy reinforcement pieces.
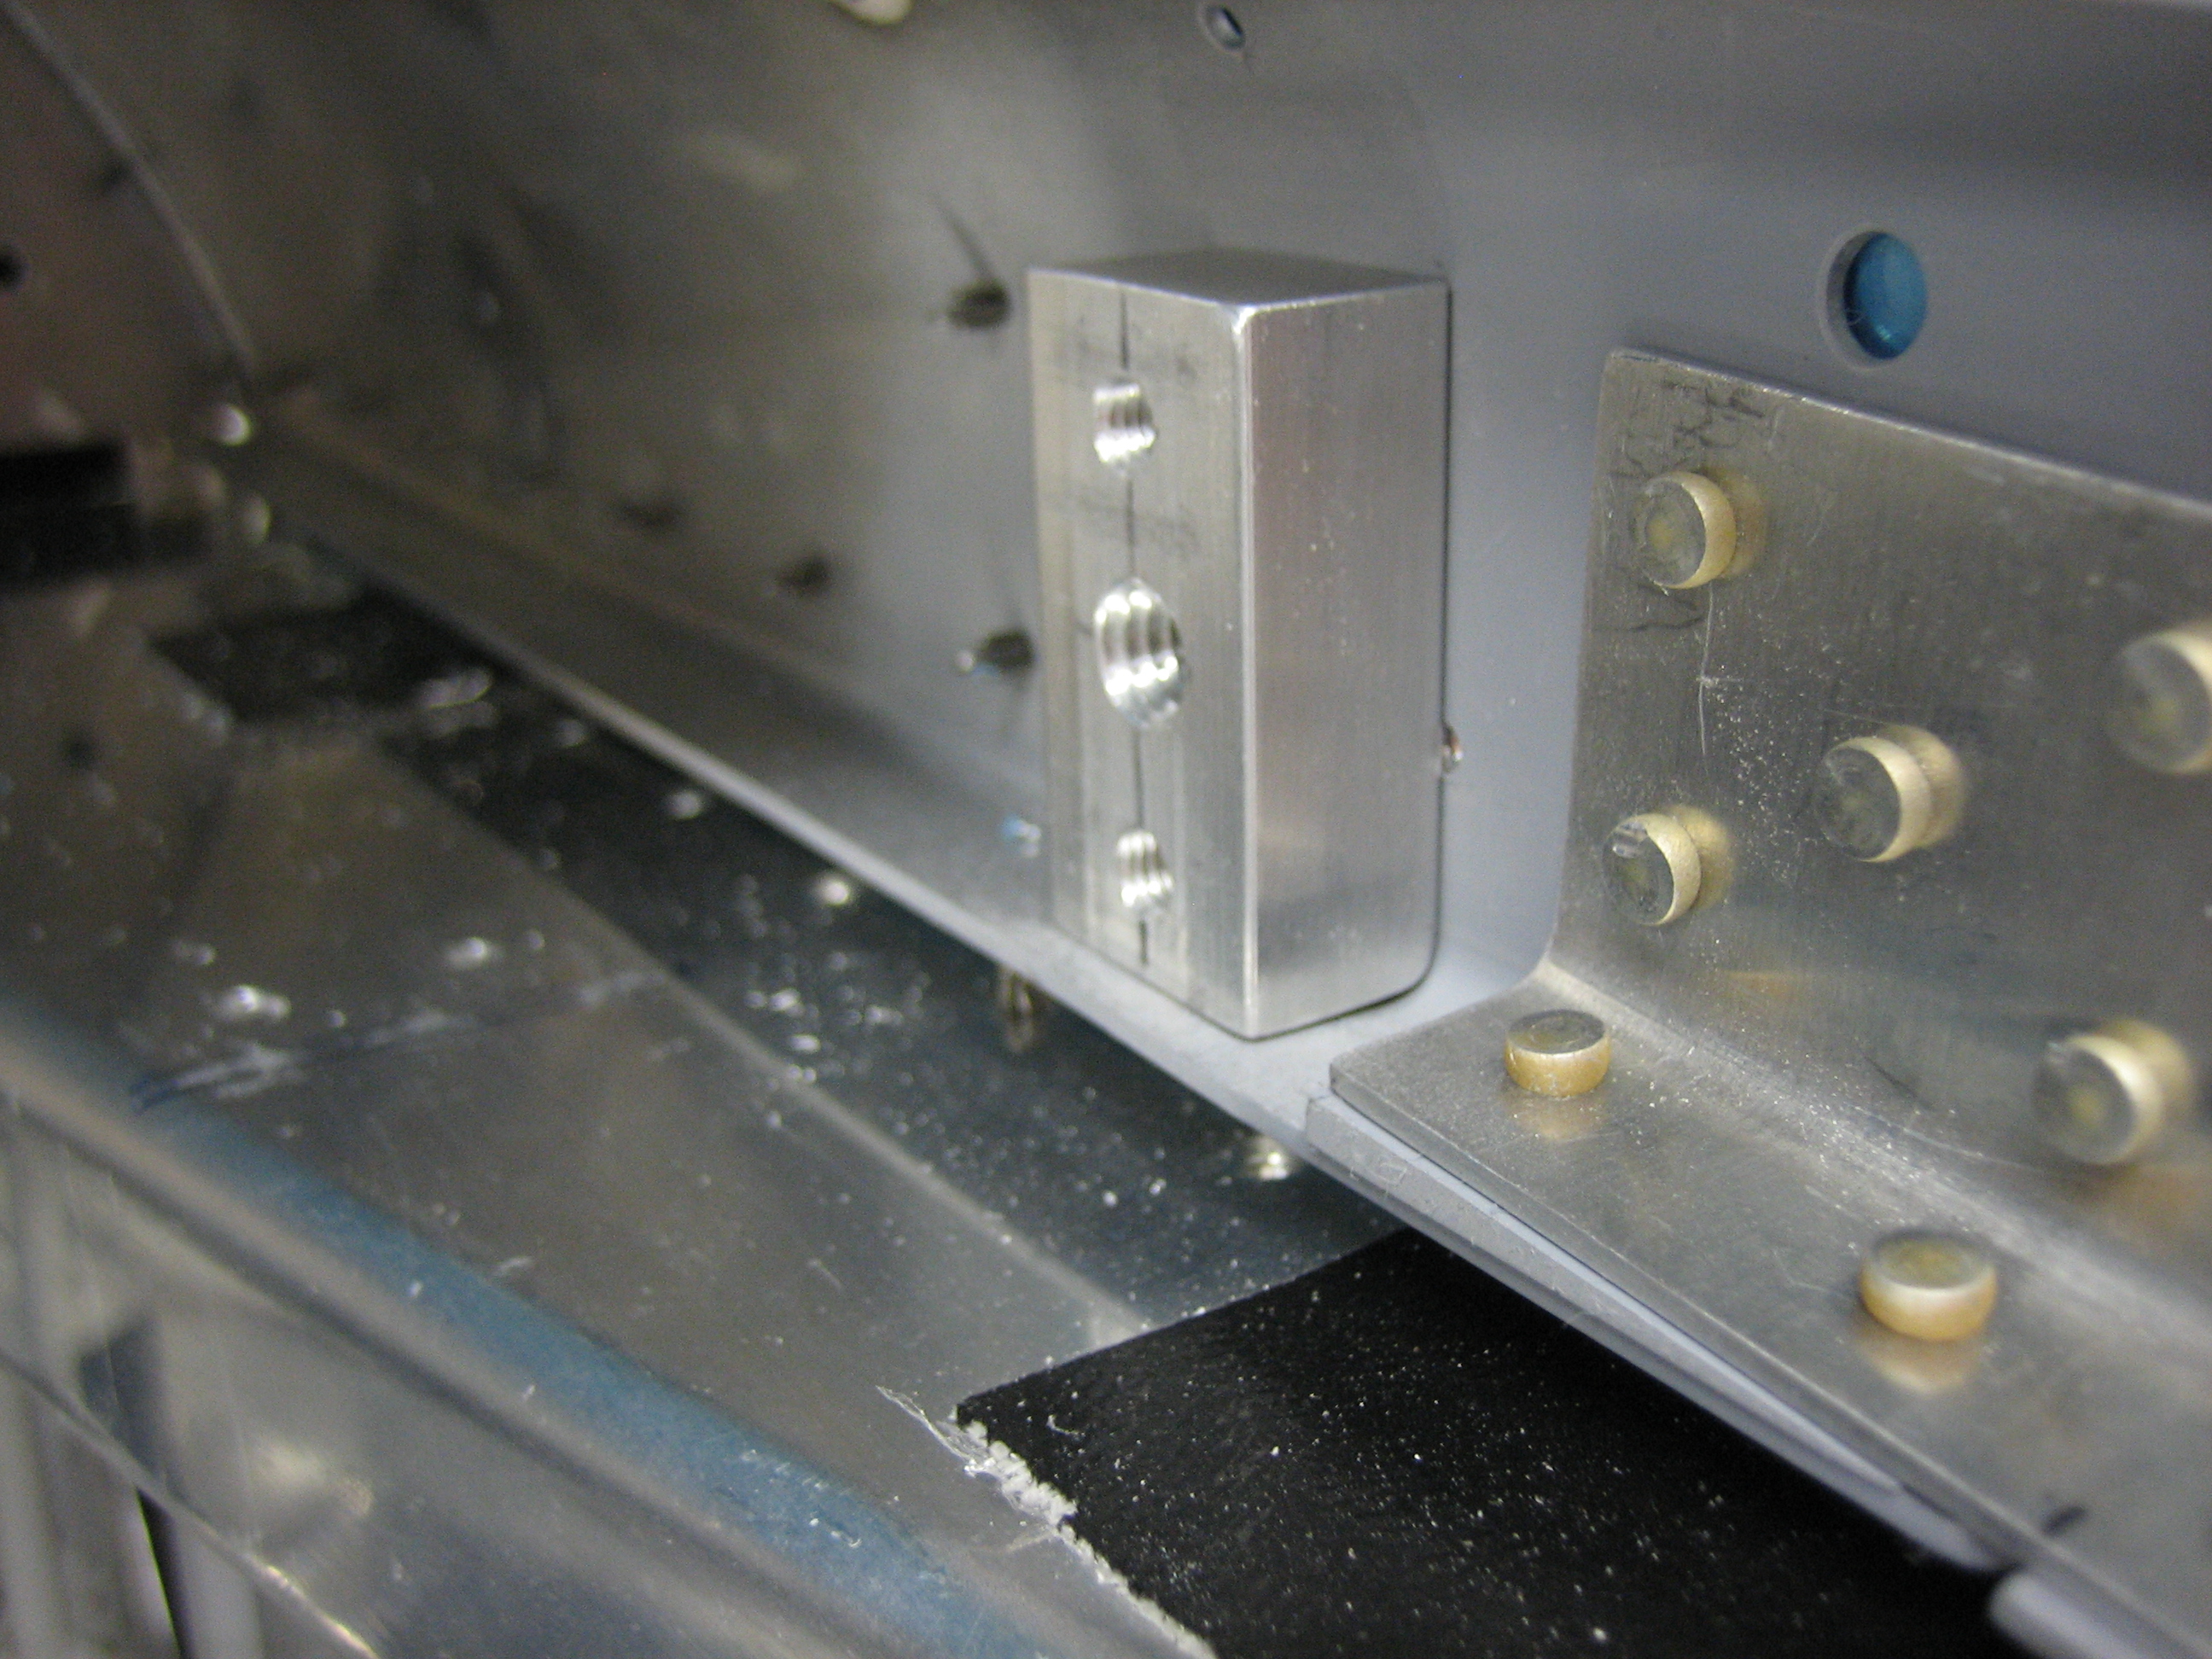
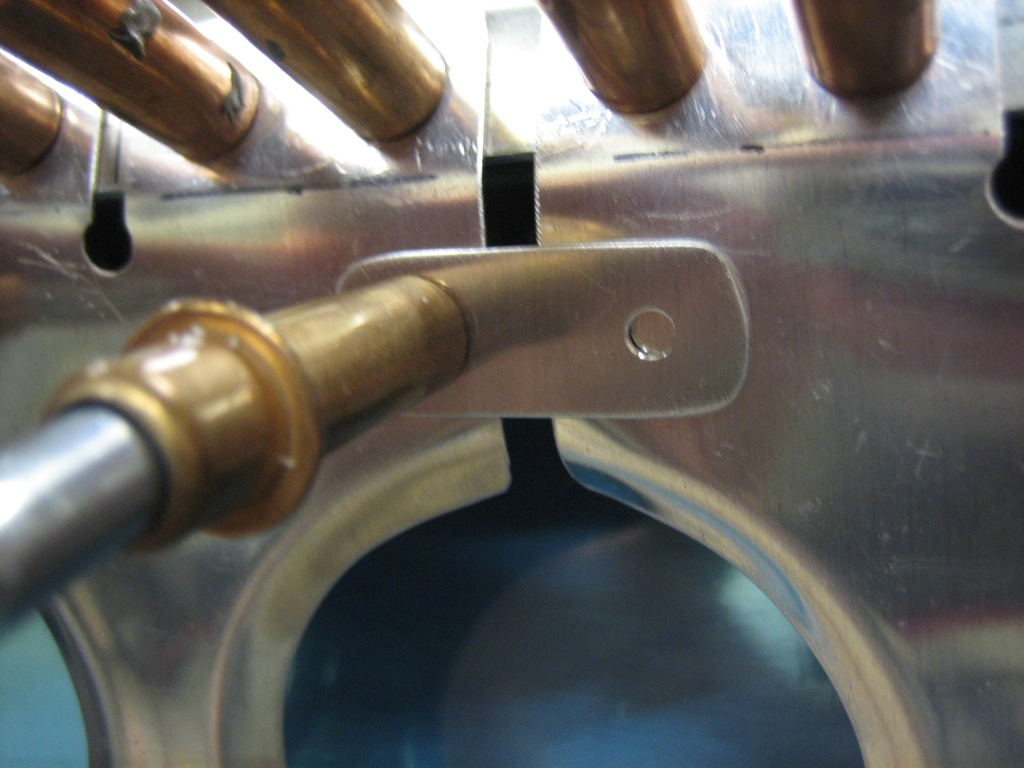
I clamped them in place and drilled one side of each piece. I’ll drill the other side once the canopy frame is square.
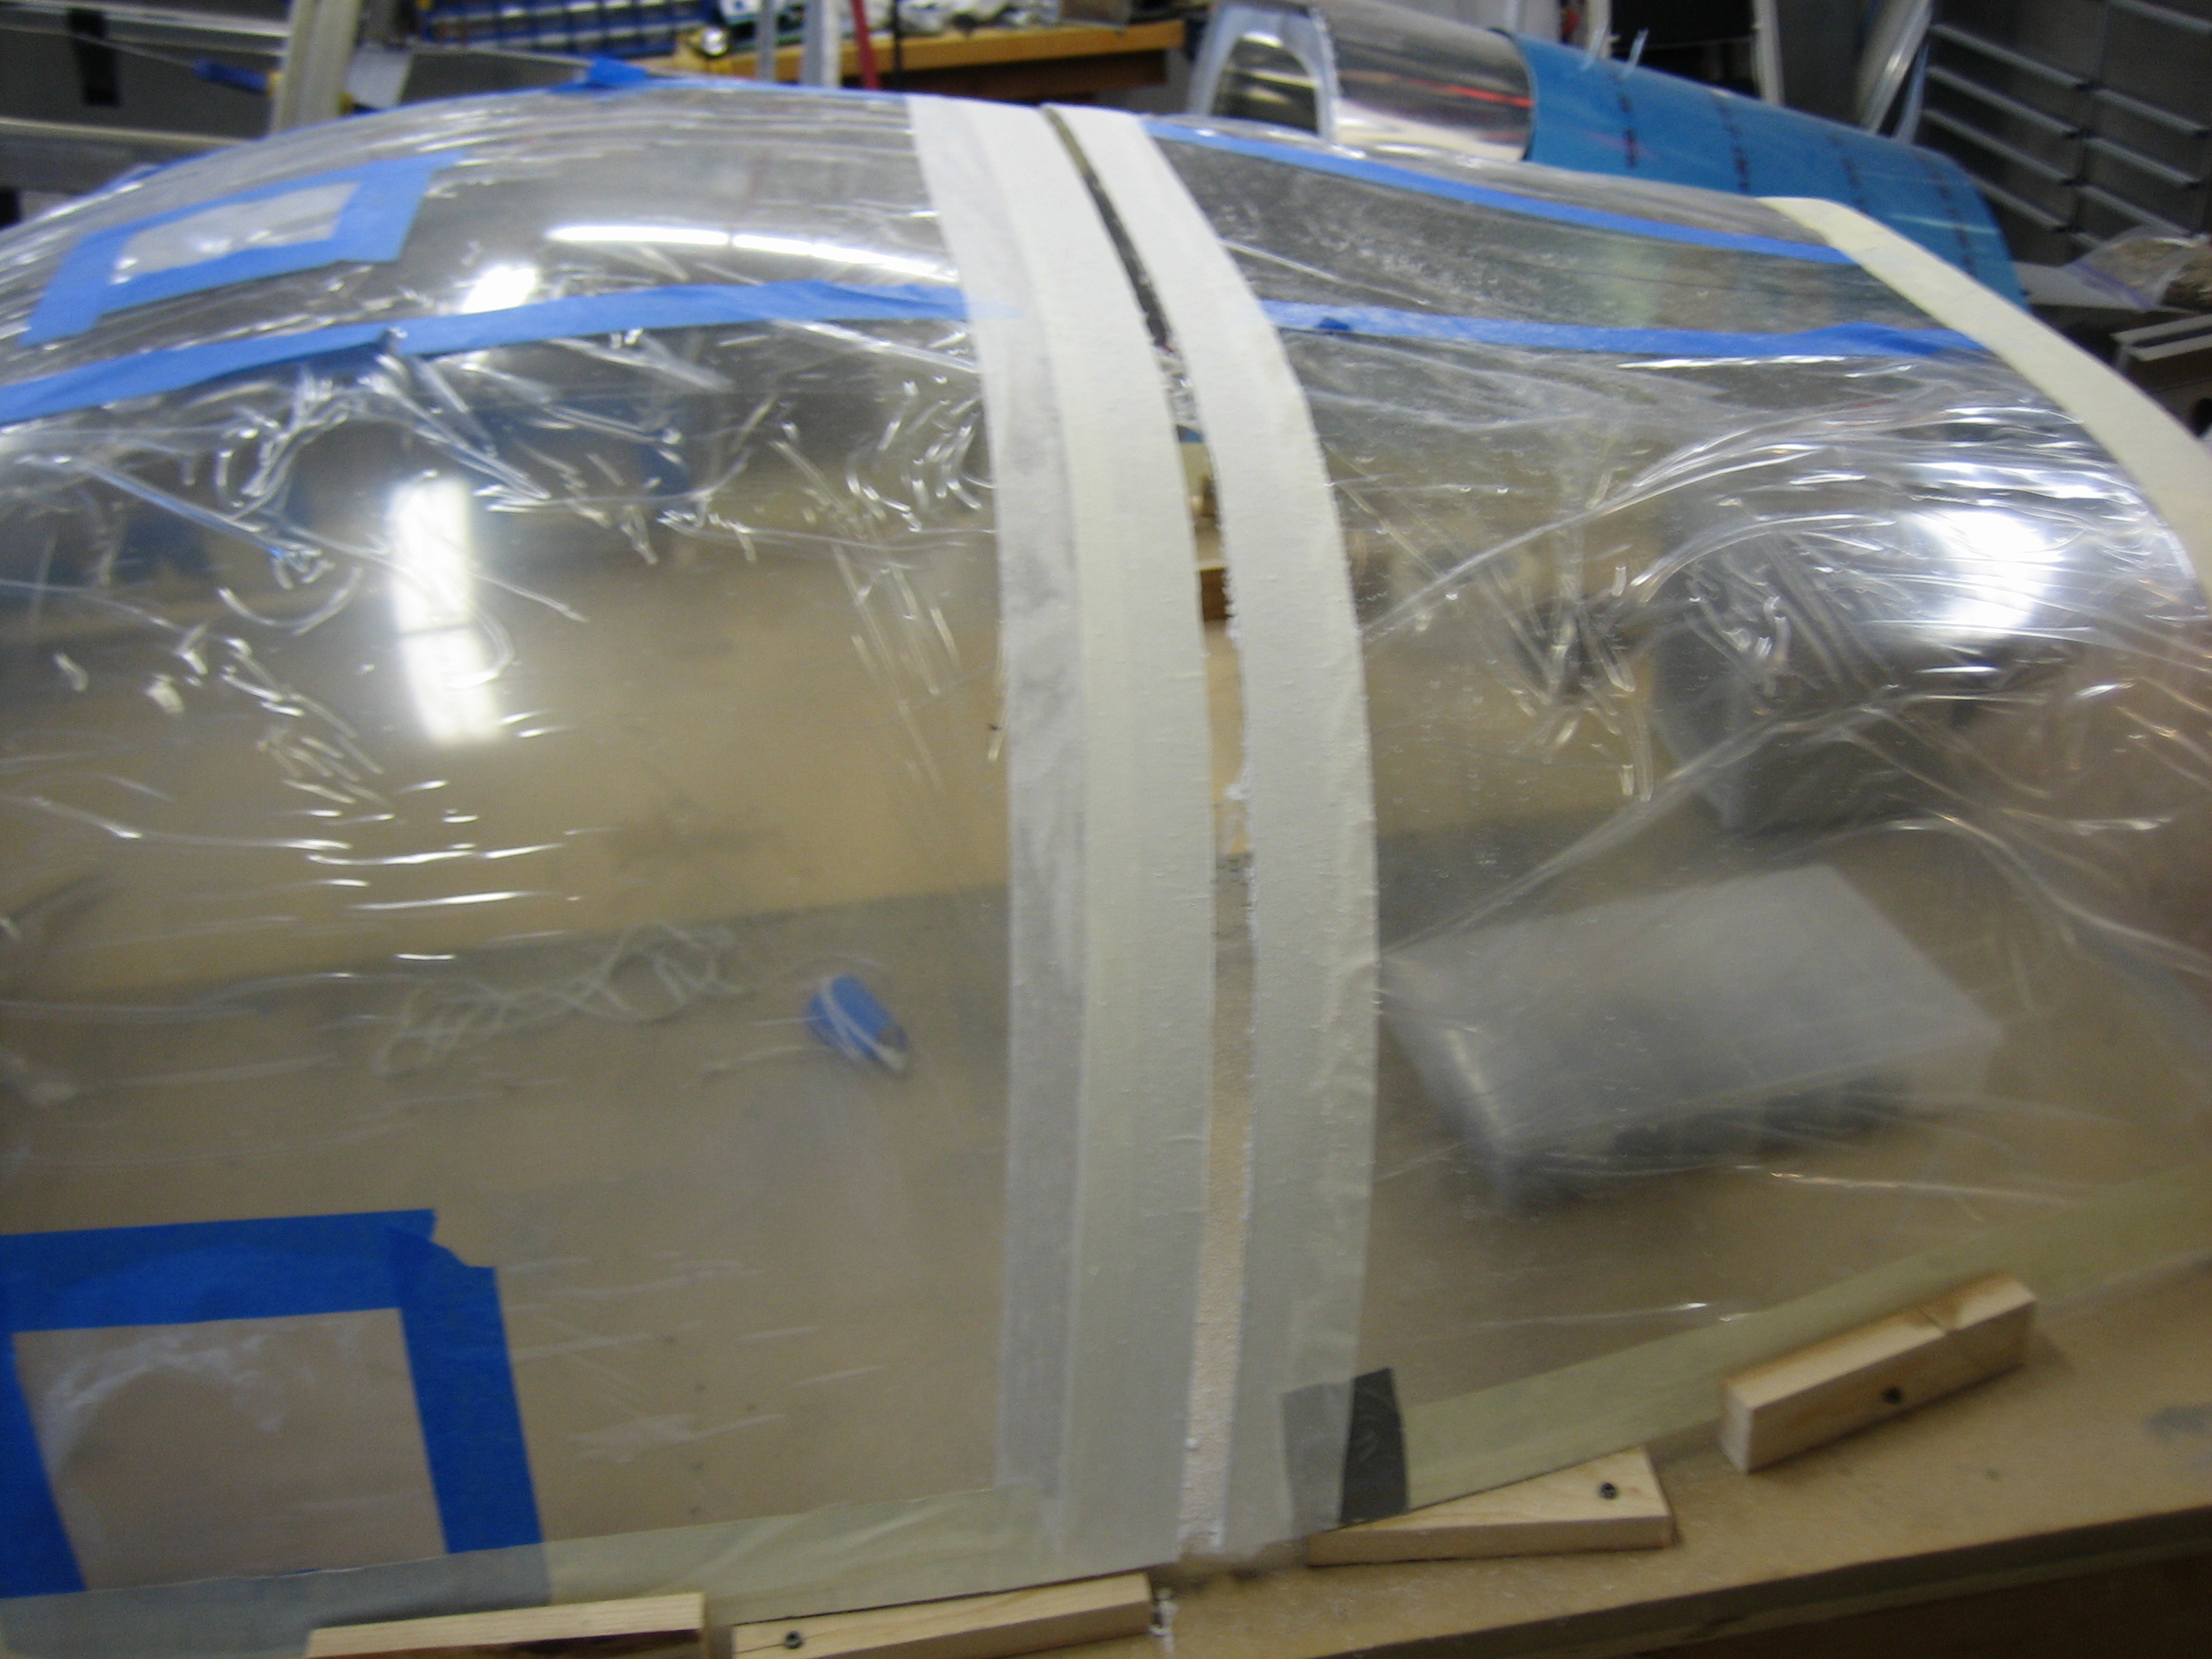
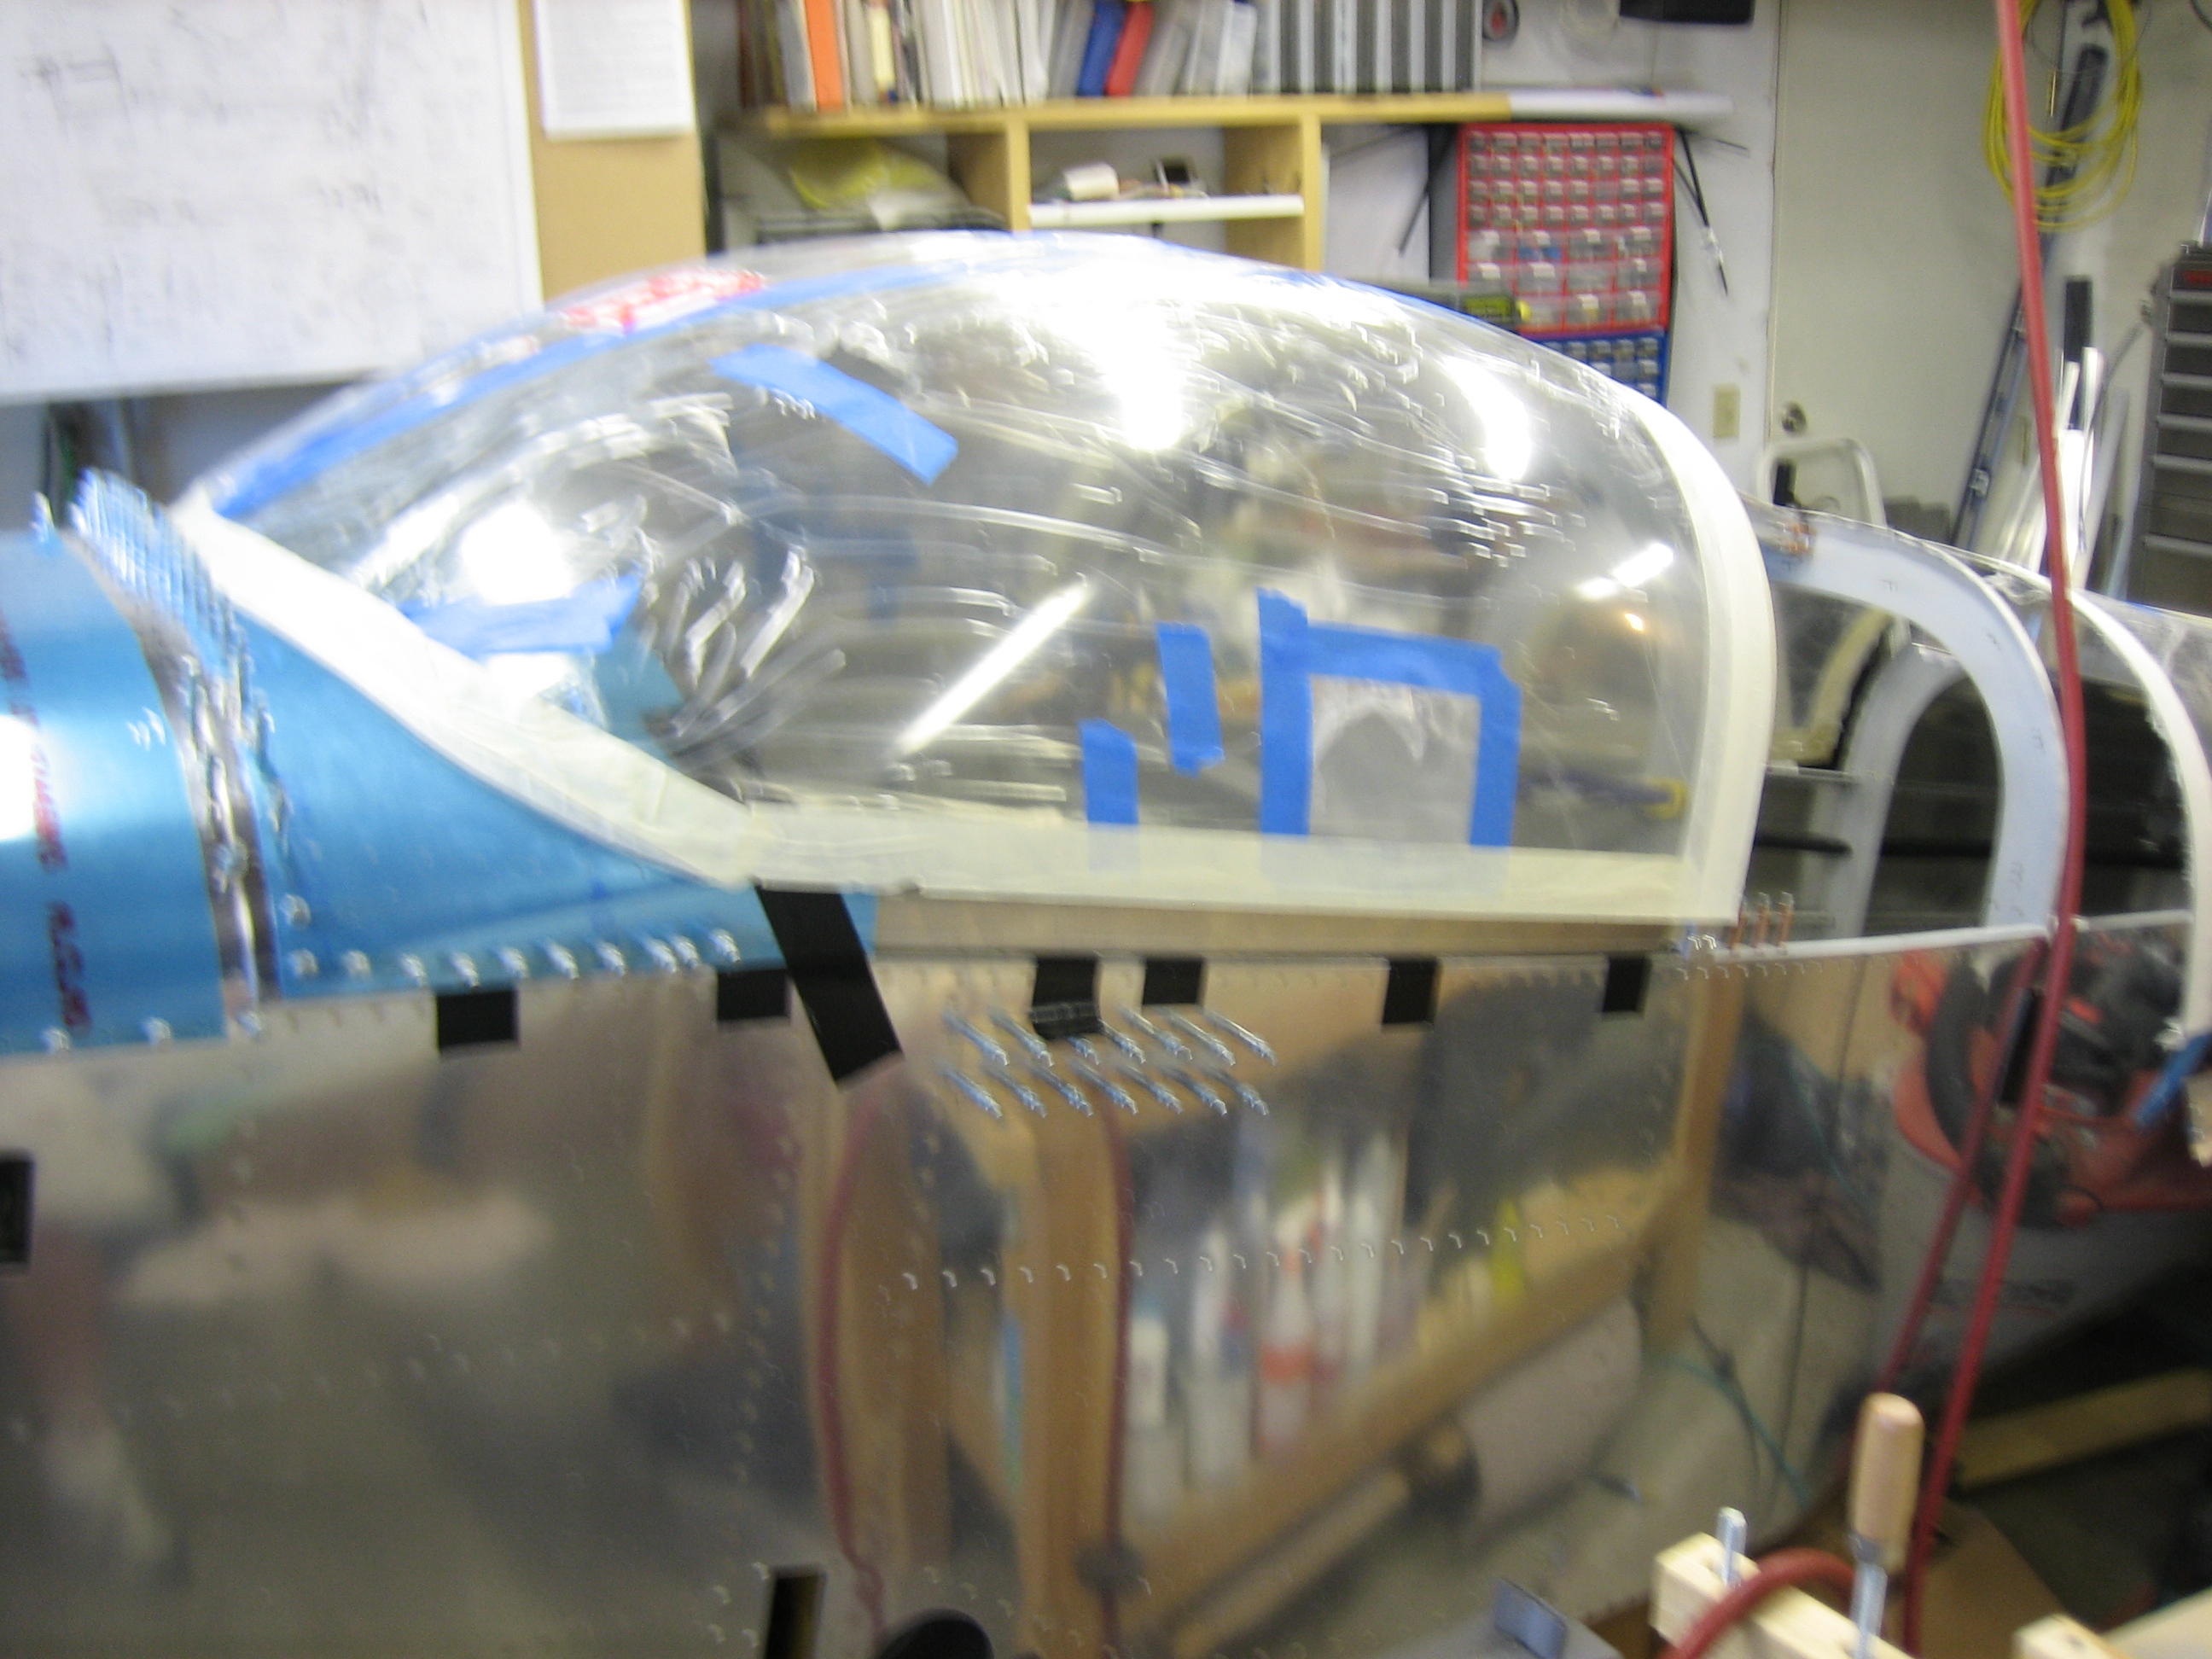
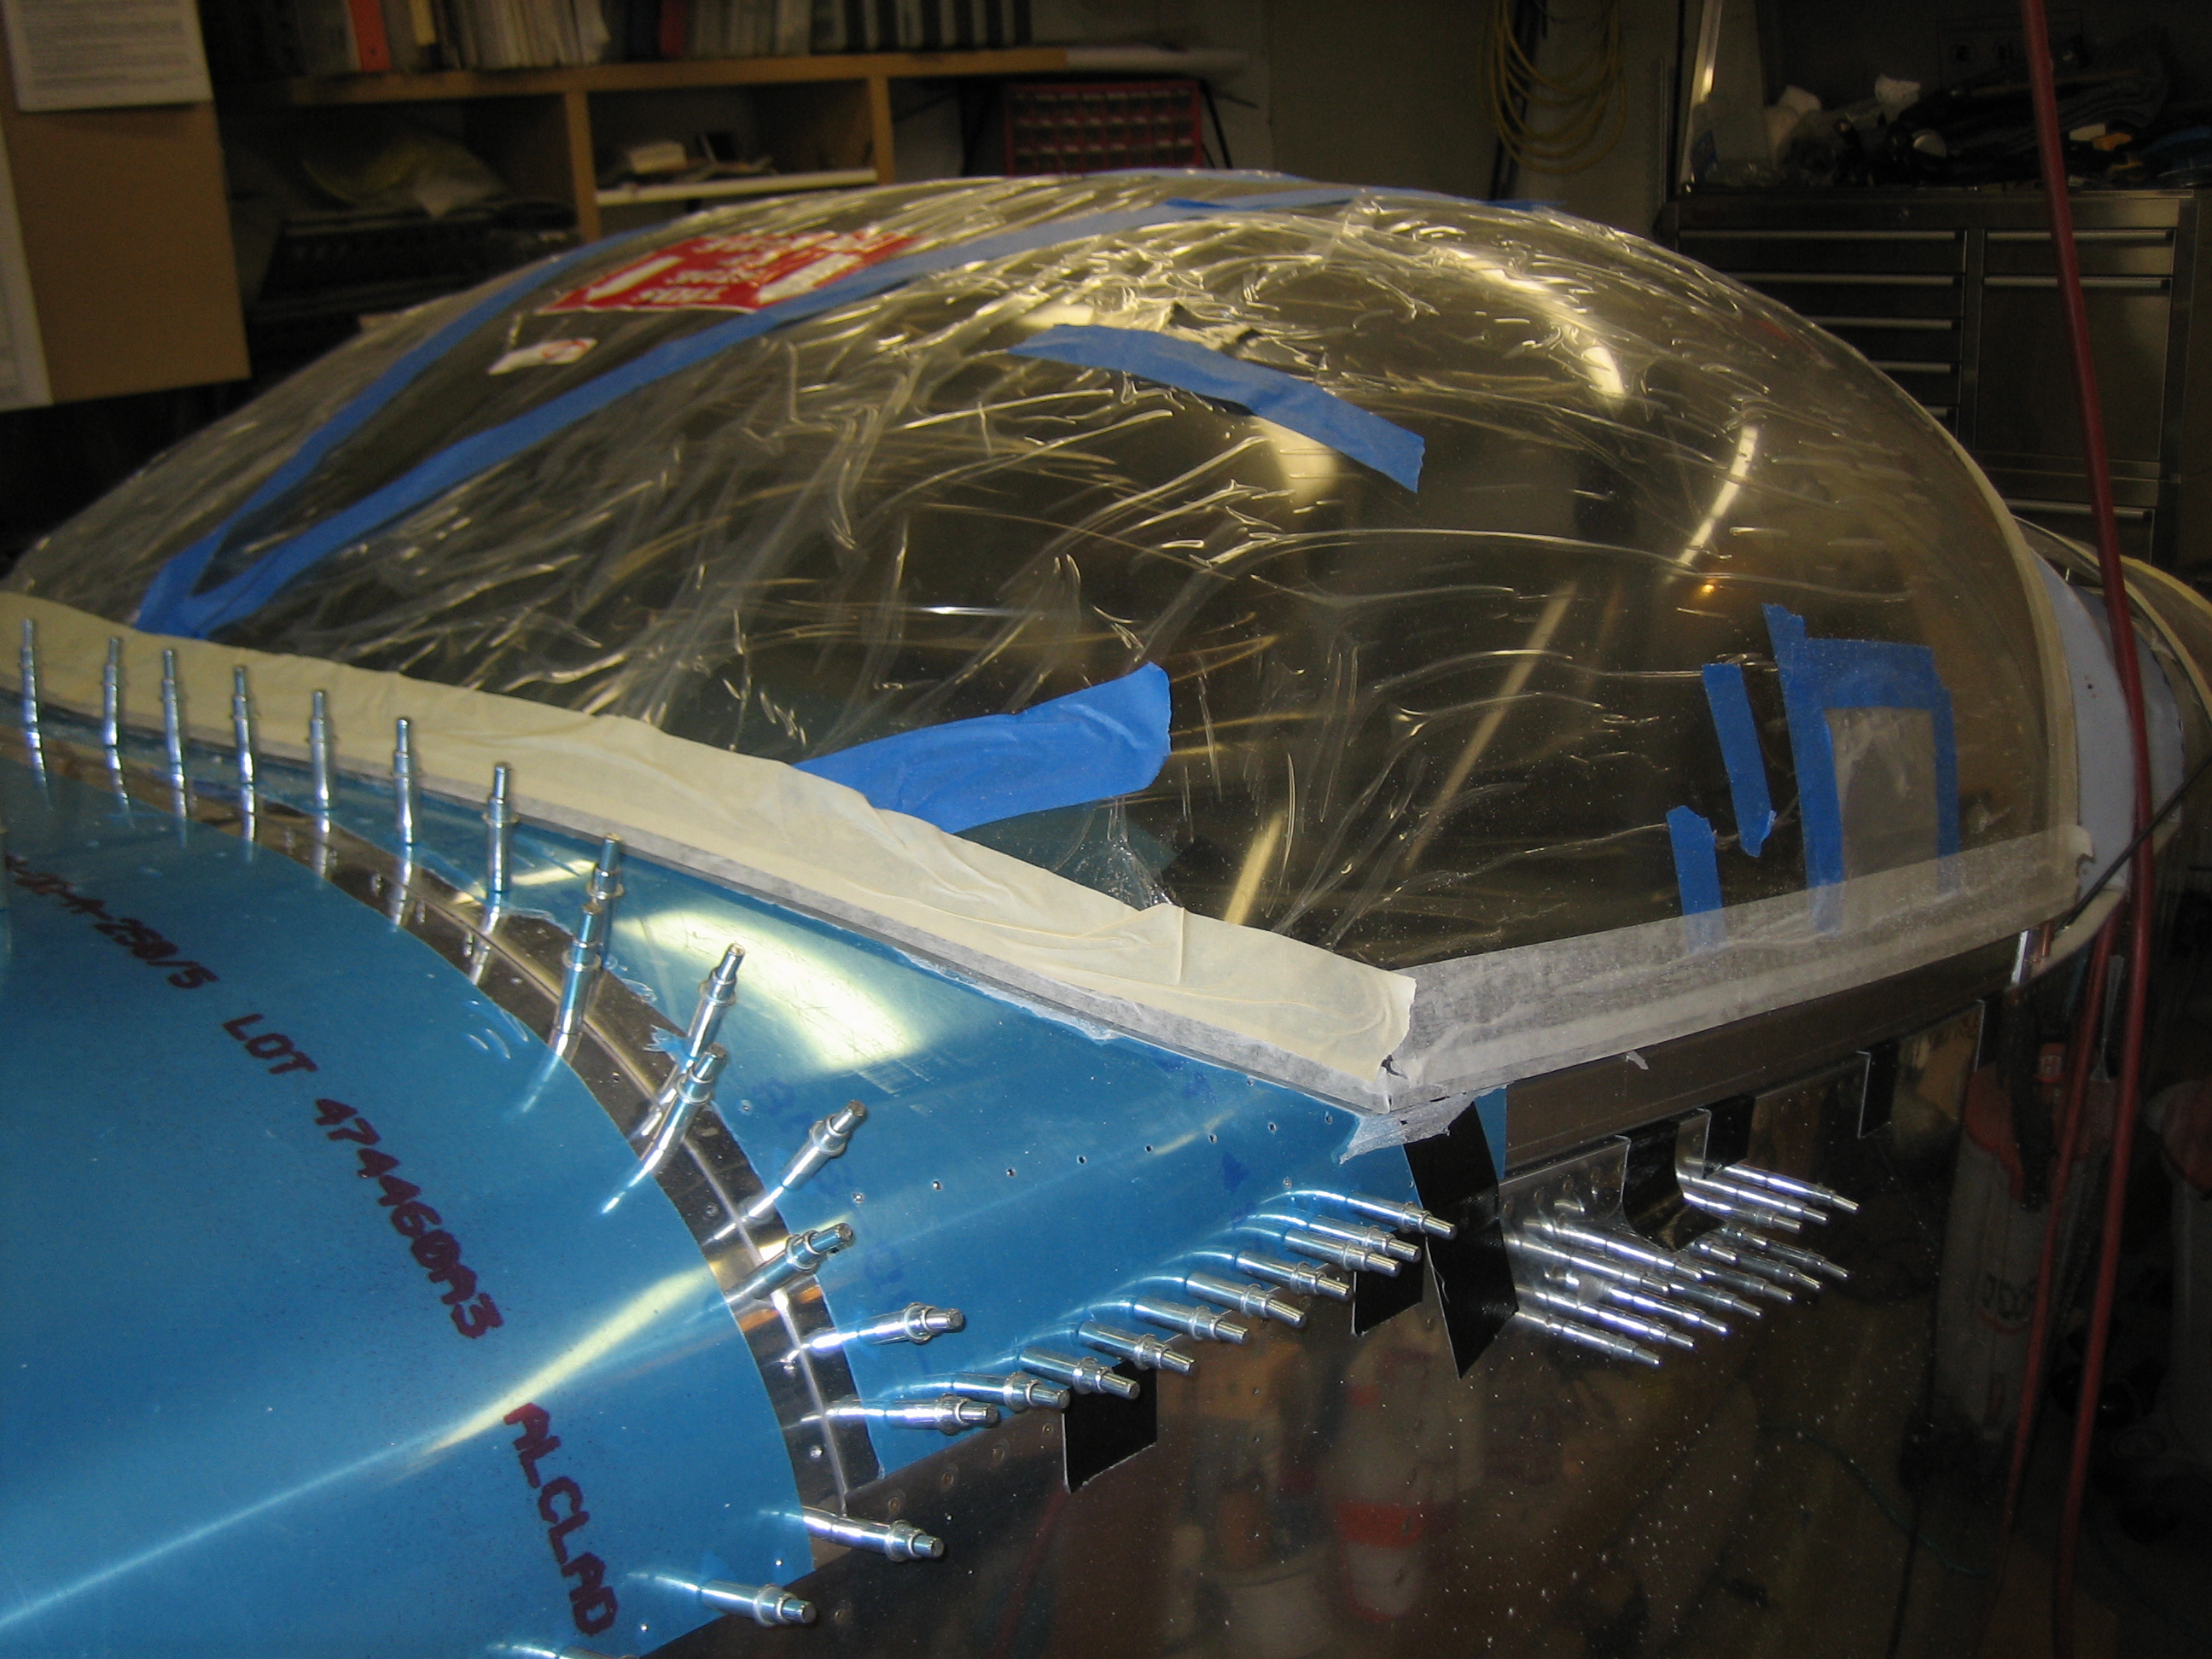
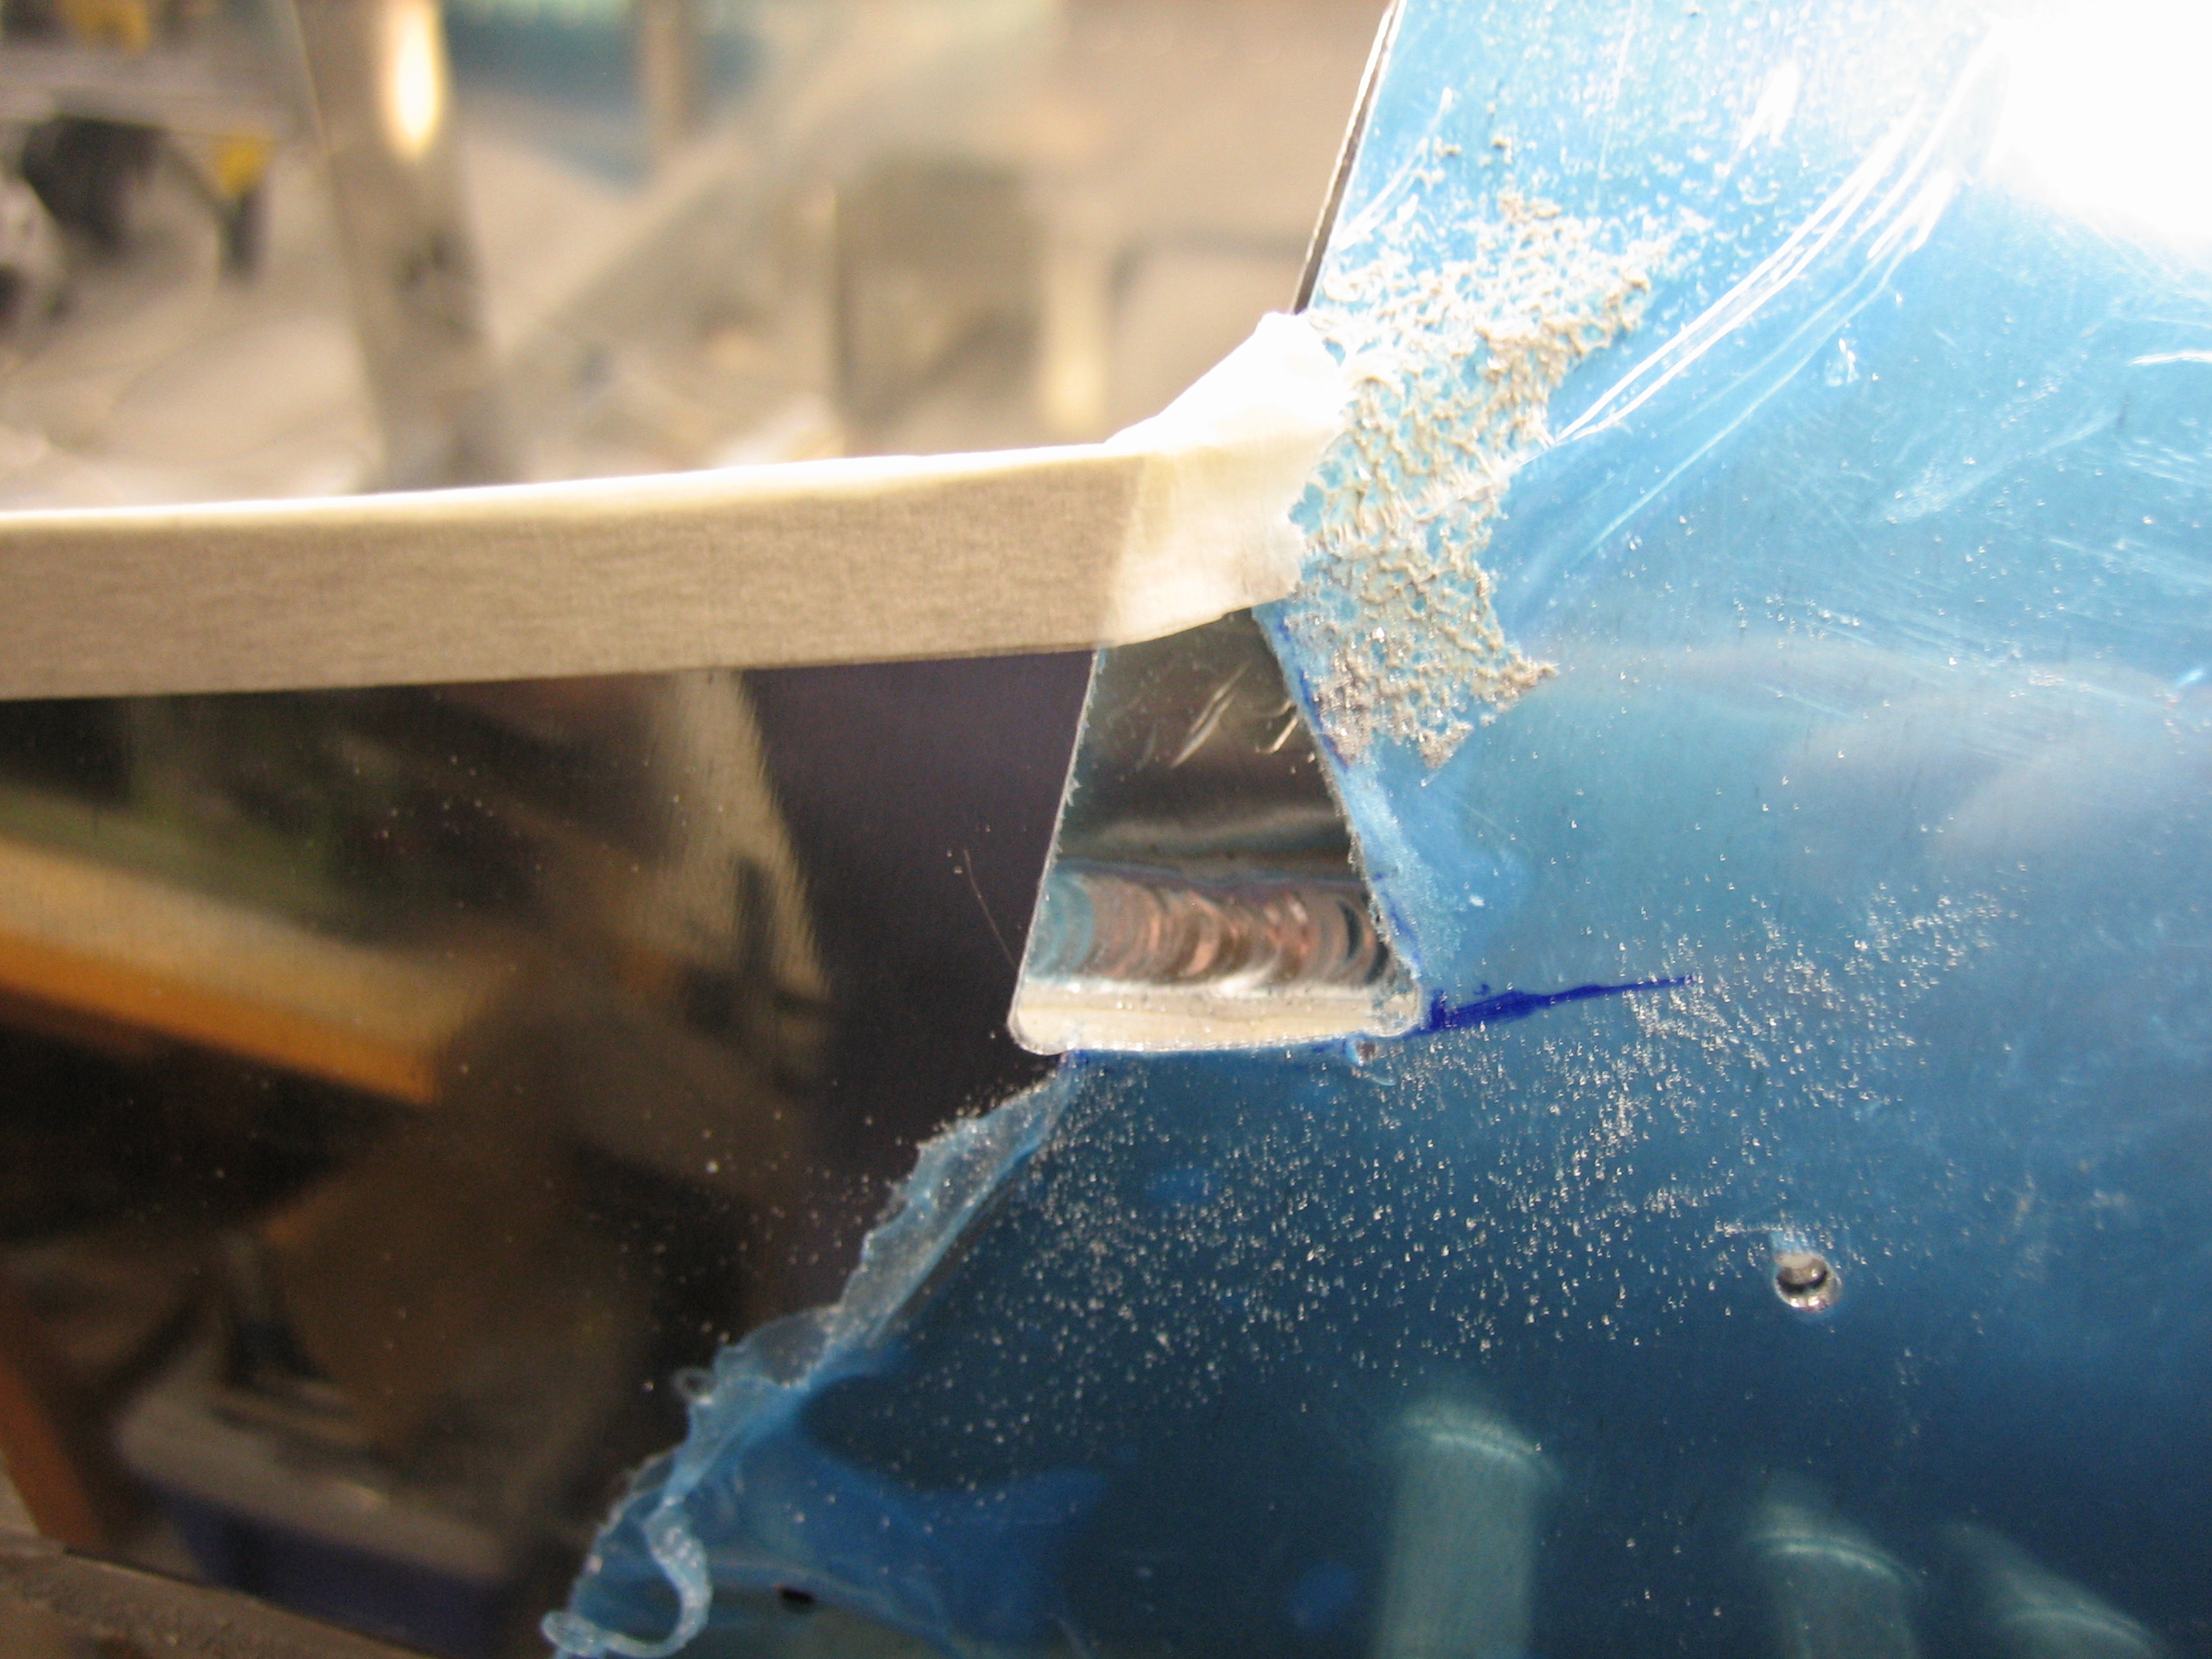
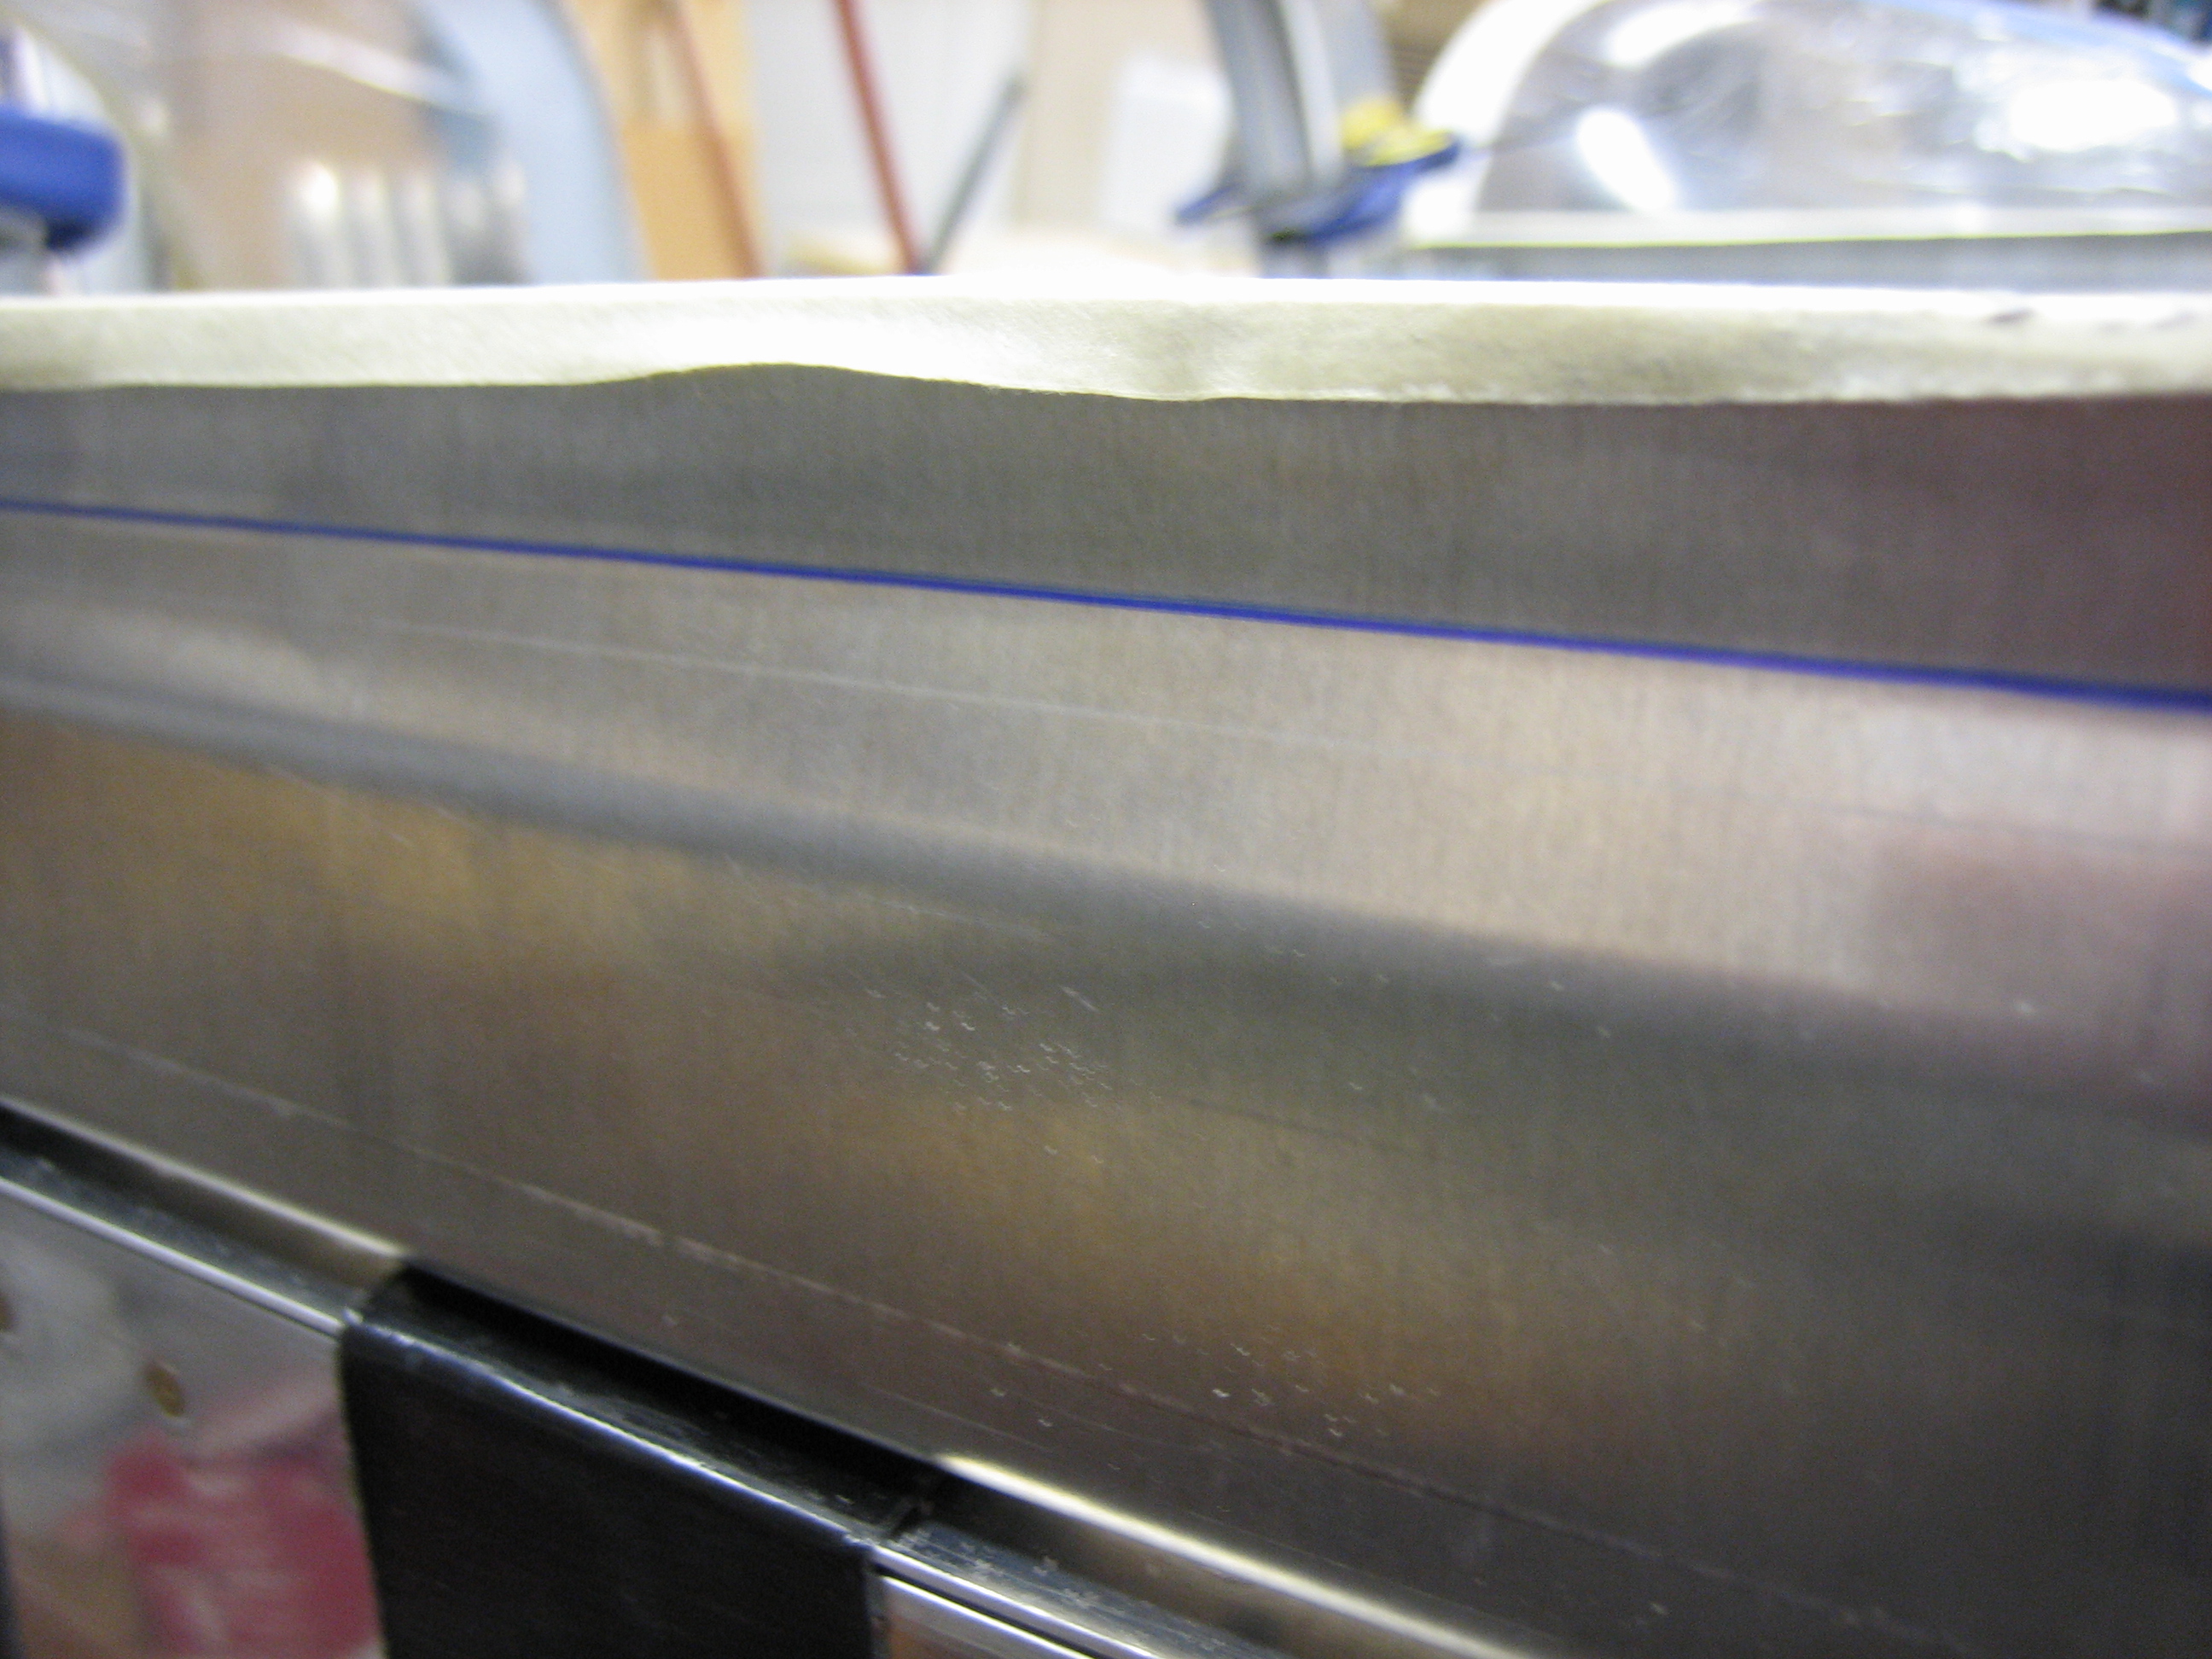
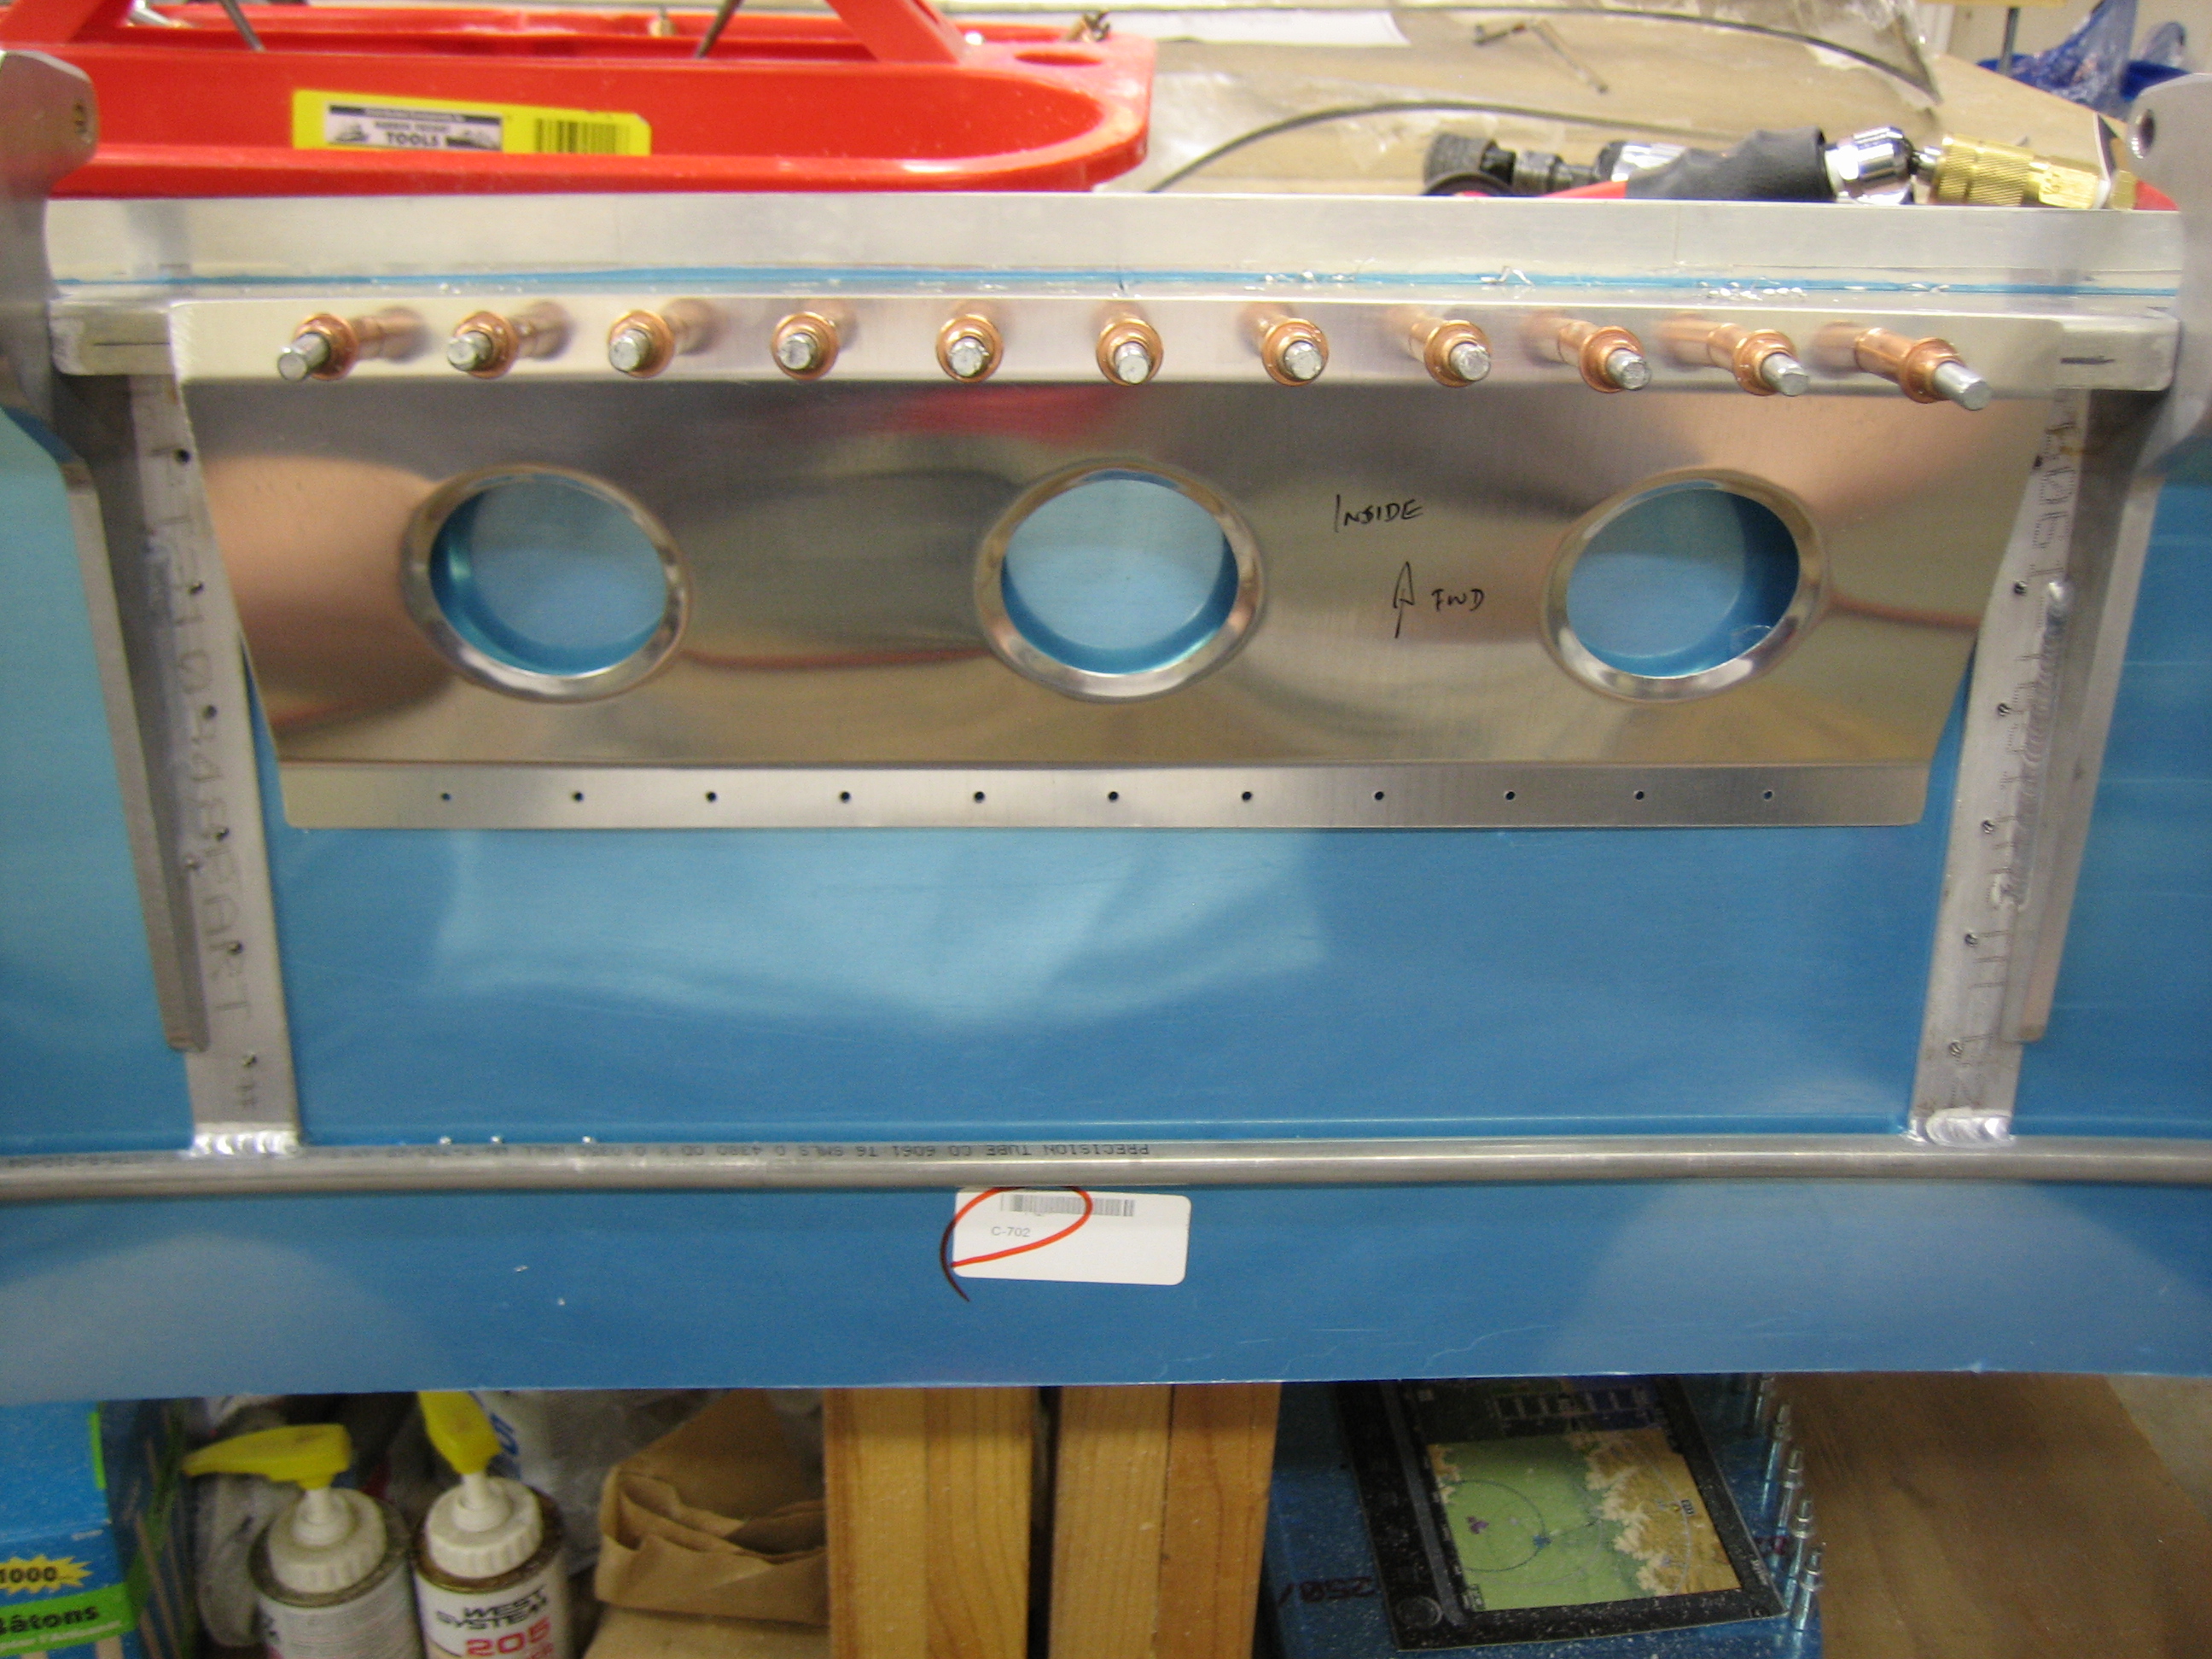
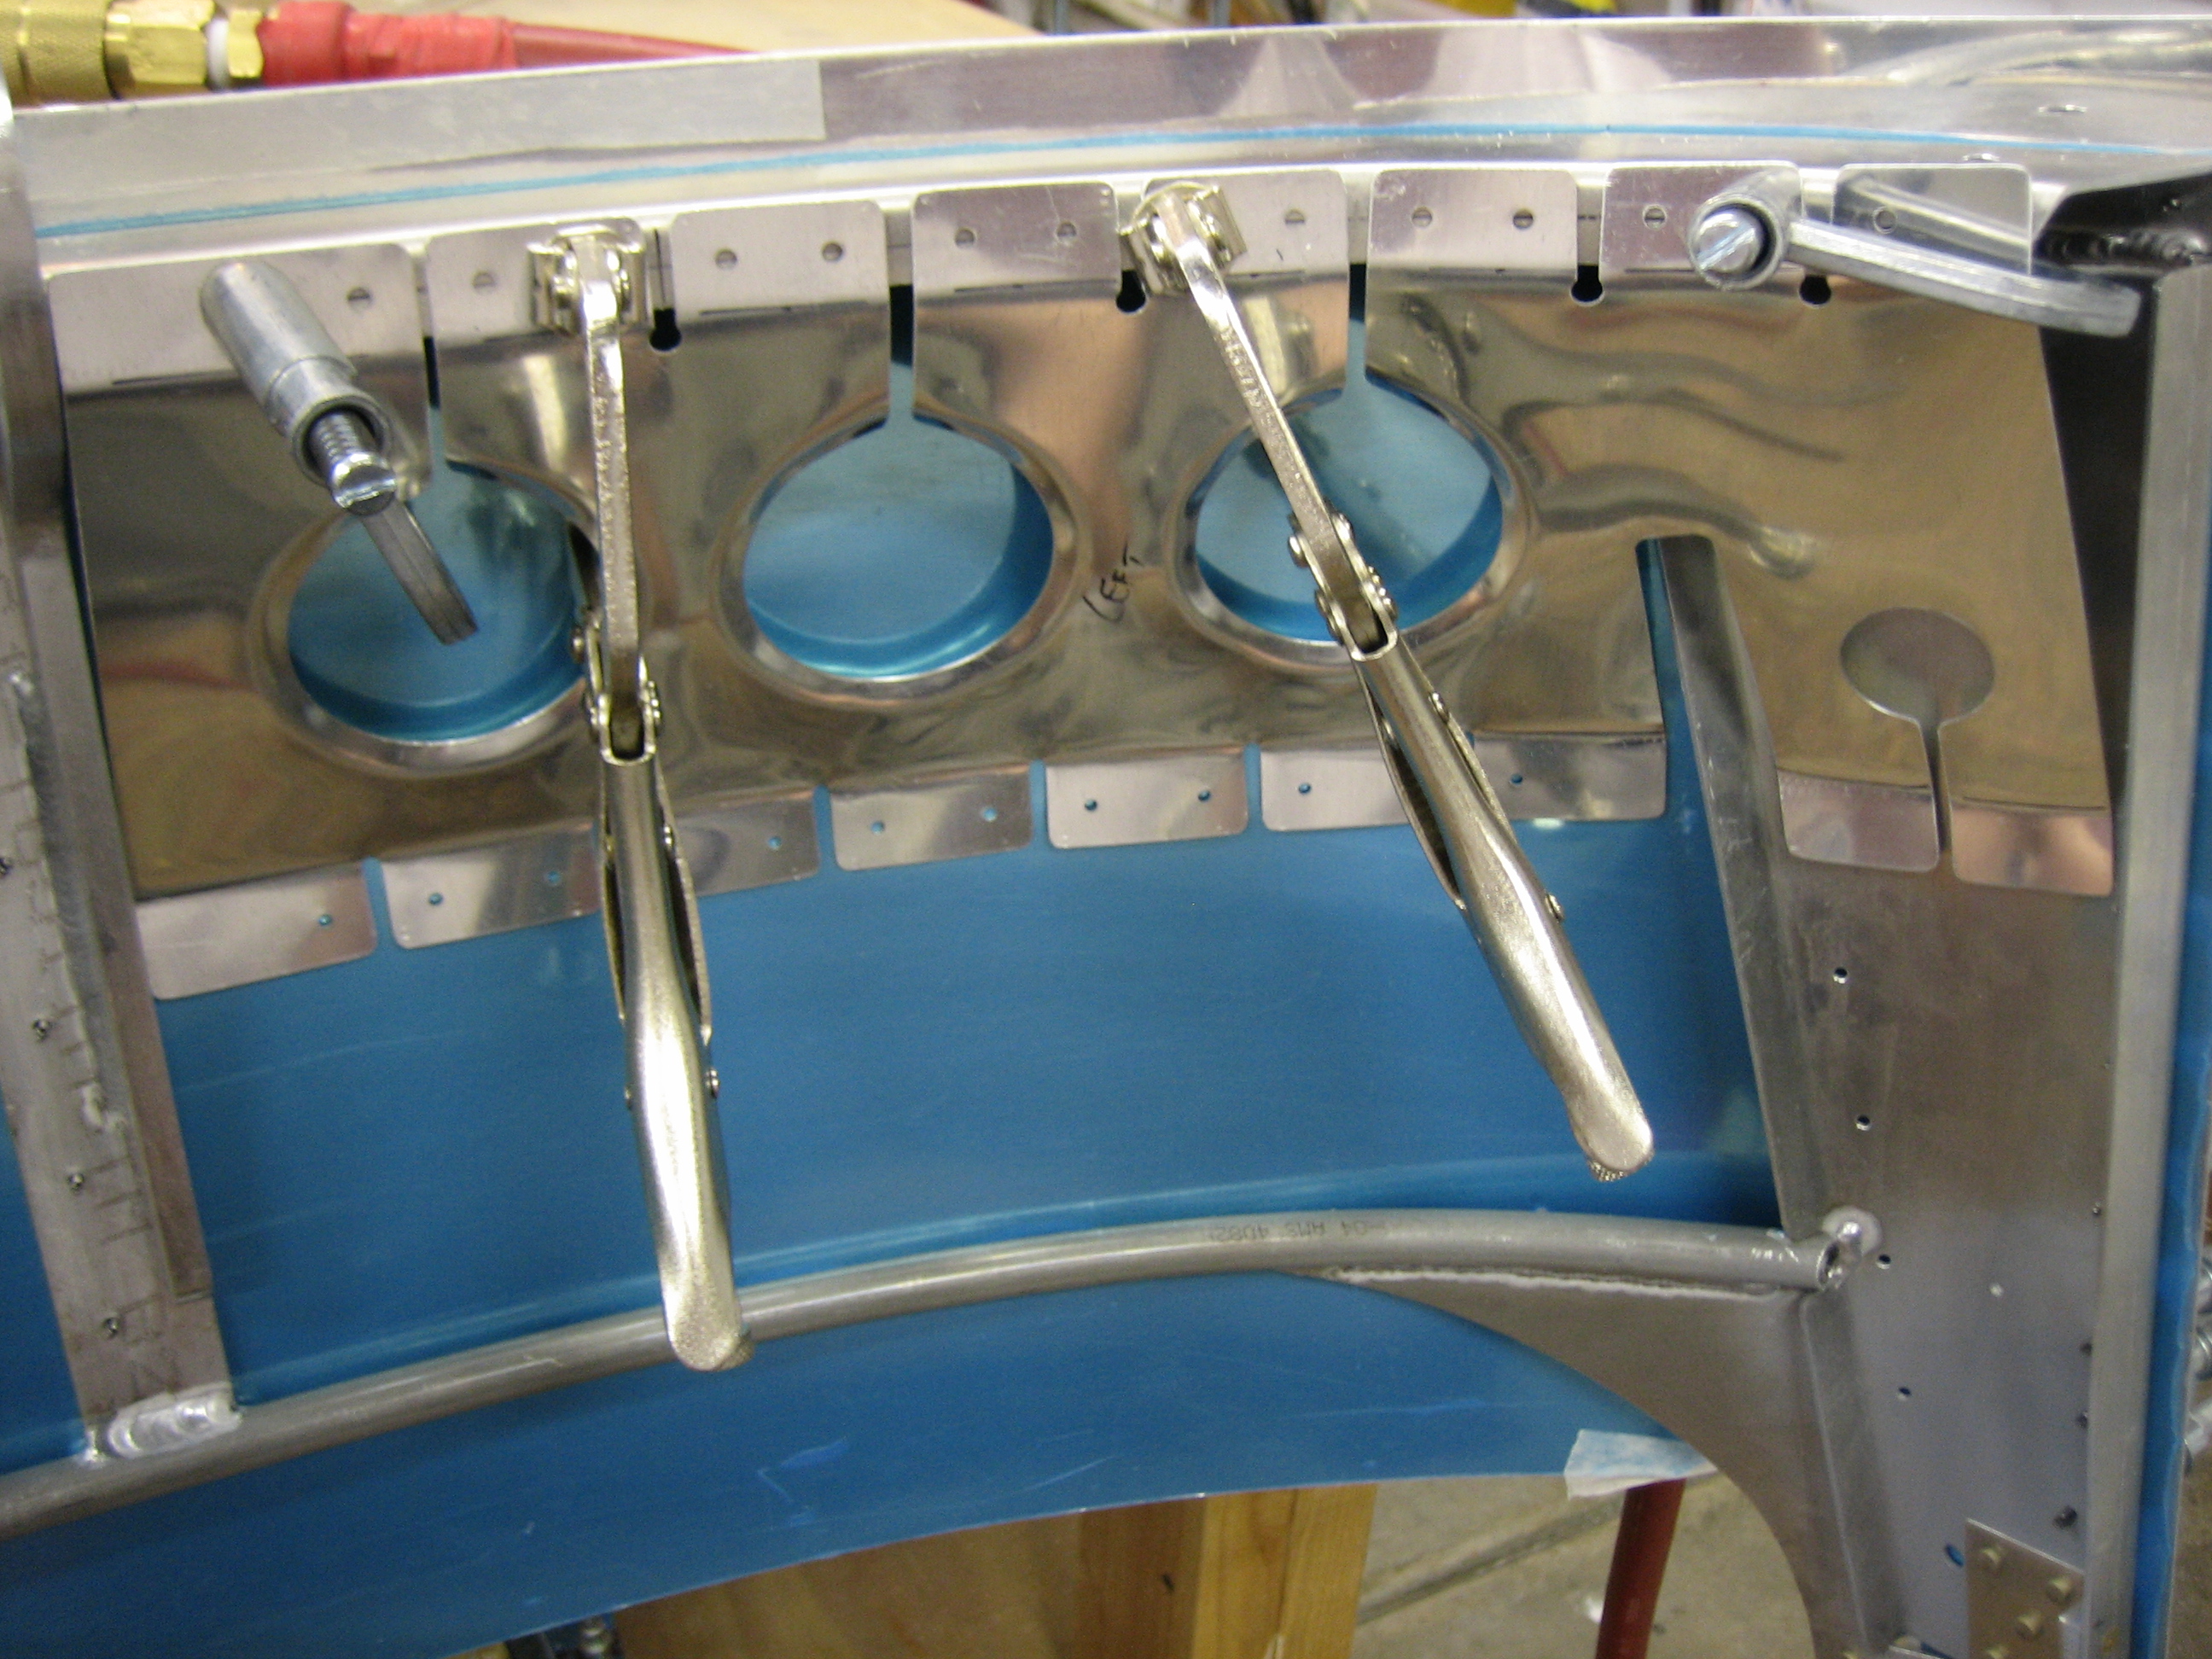
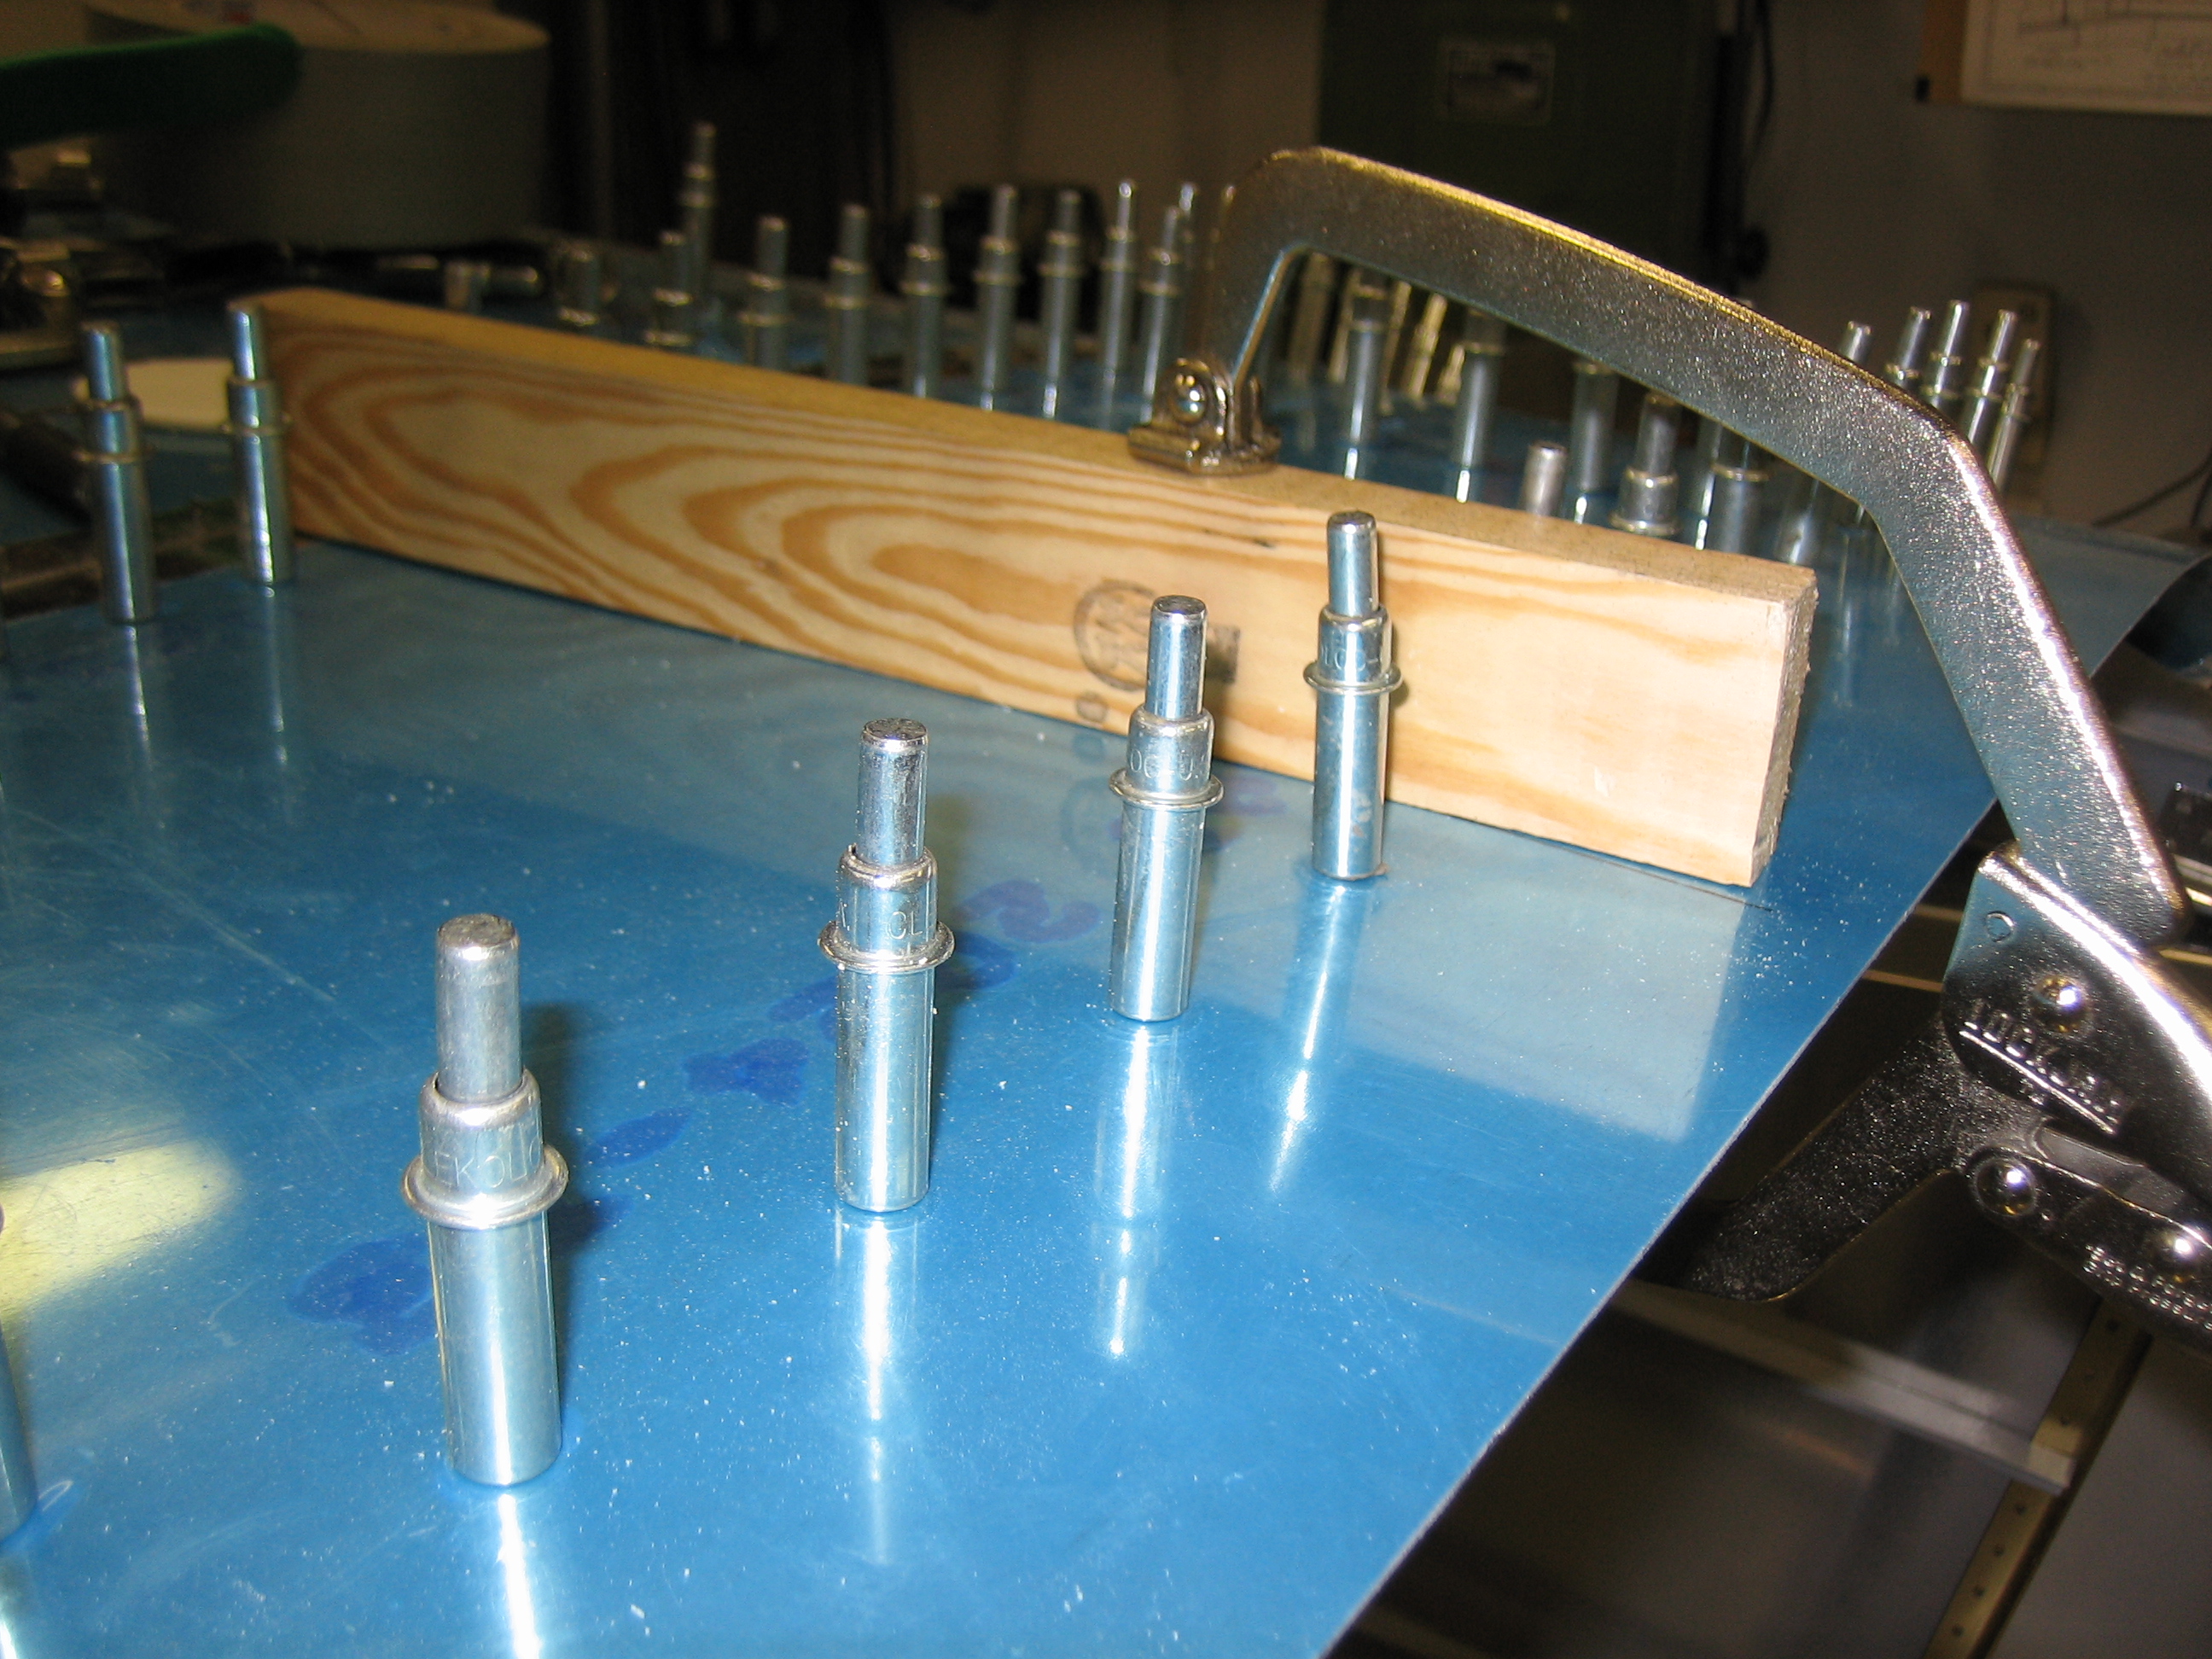
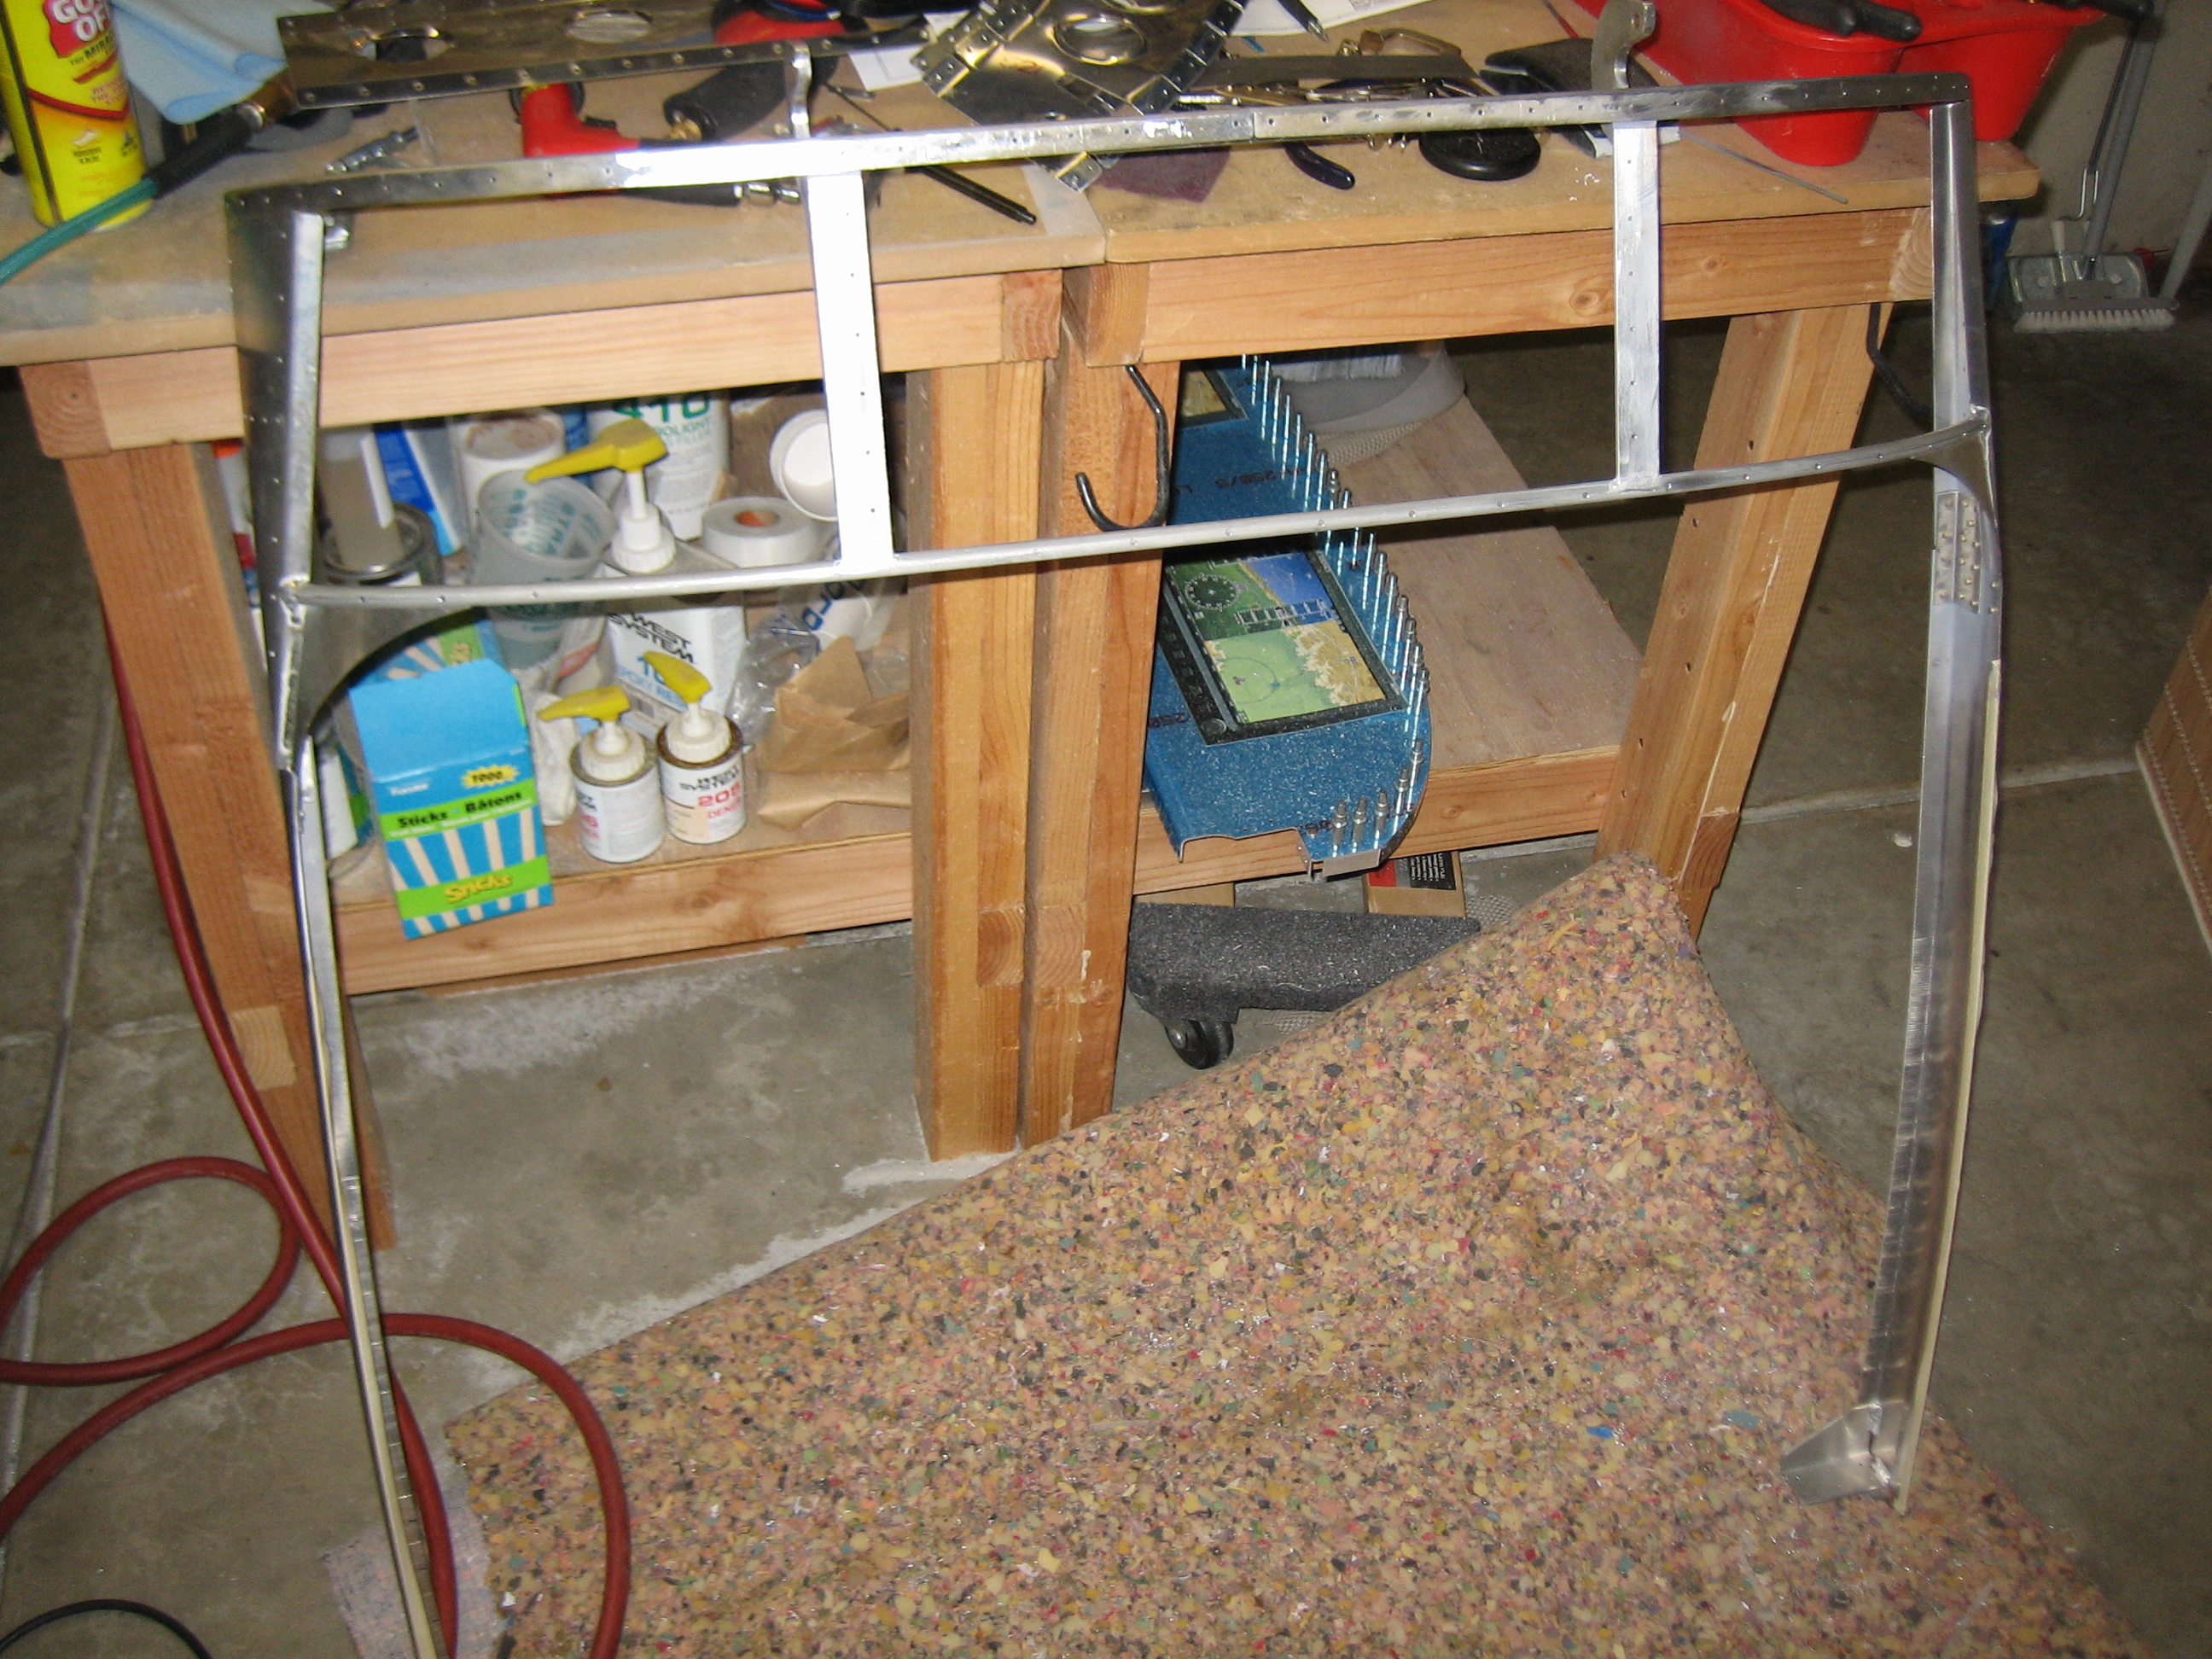
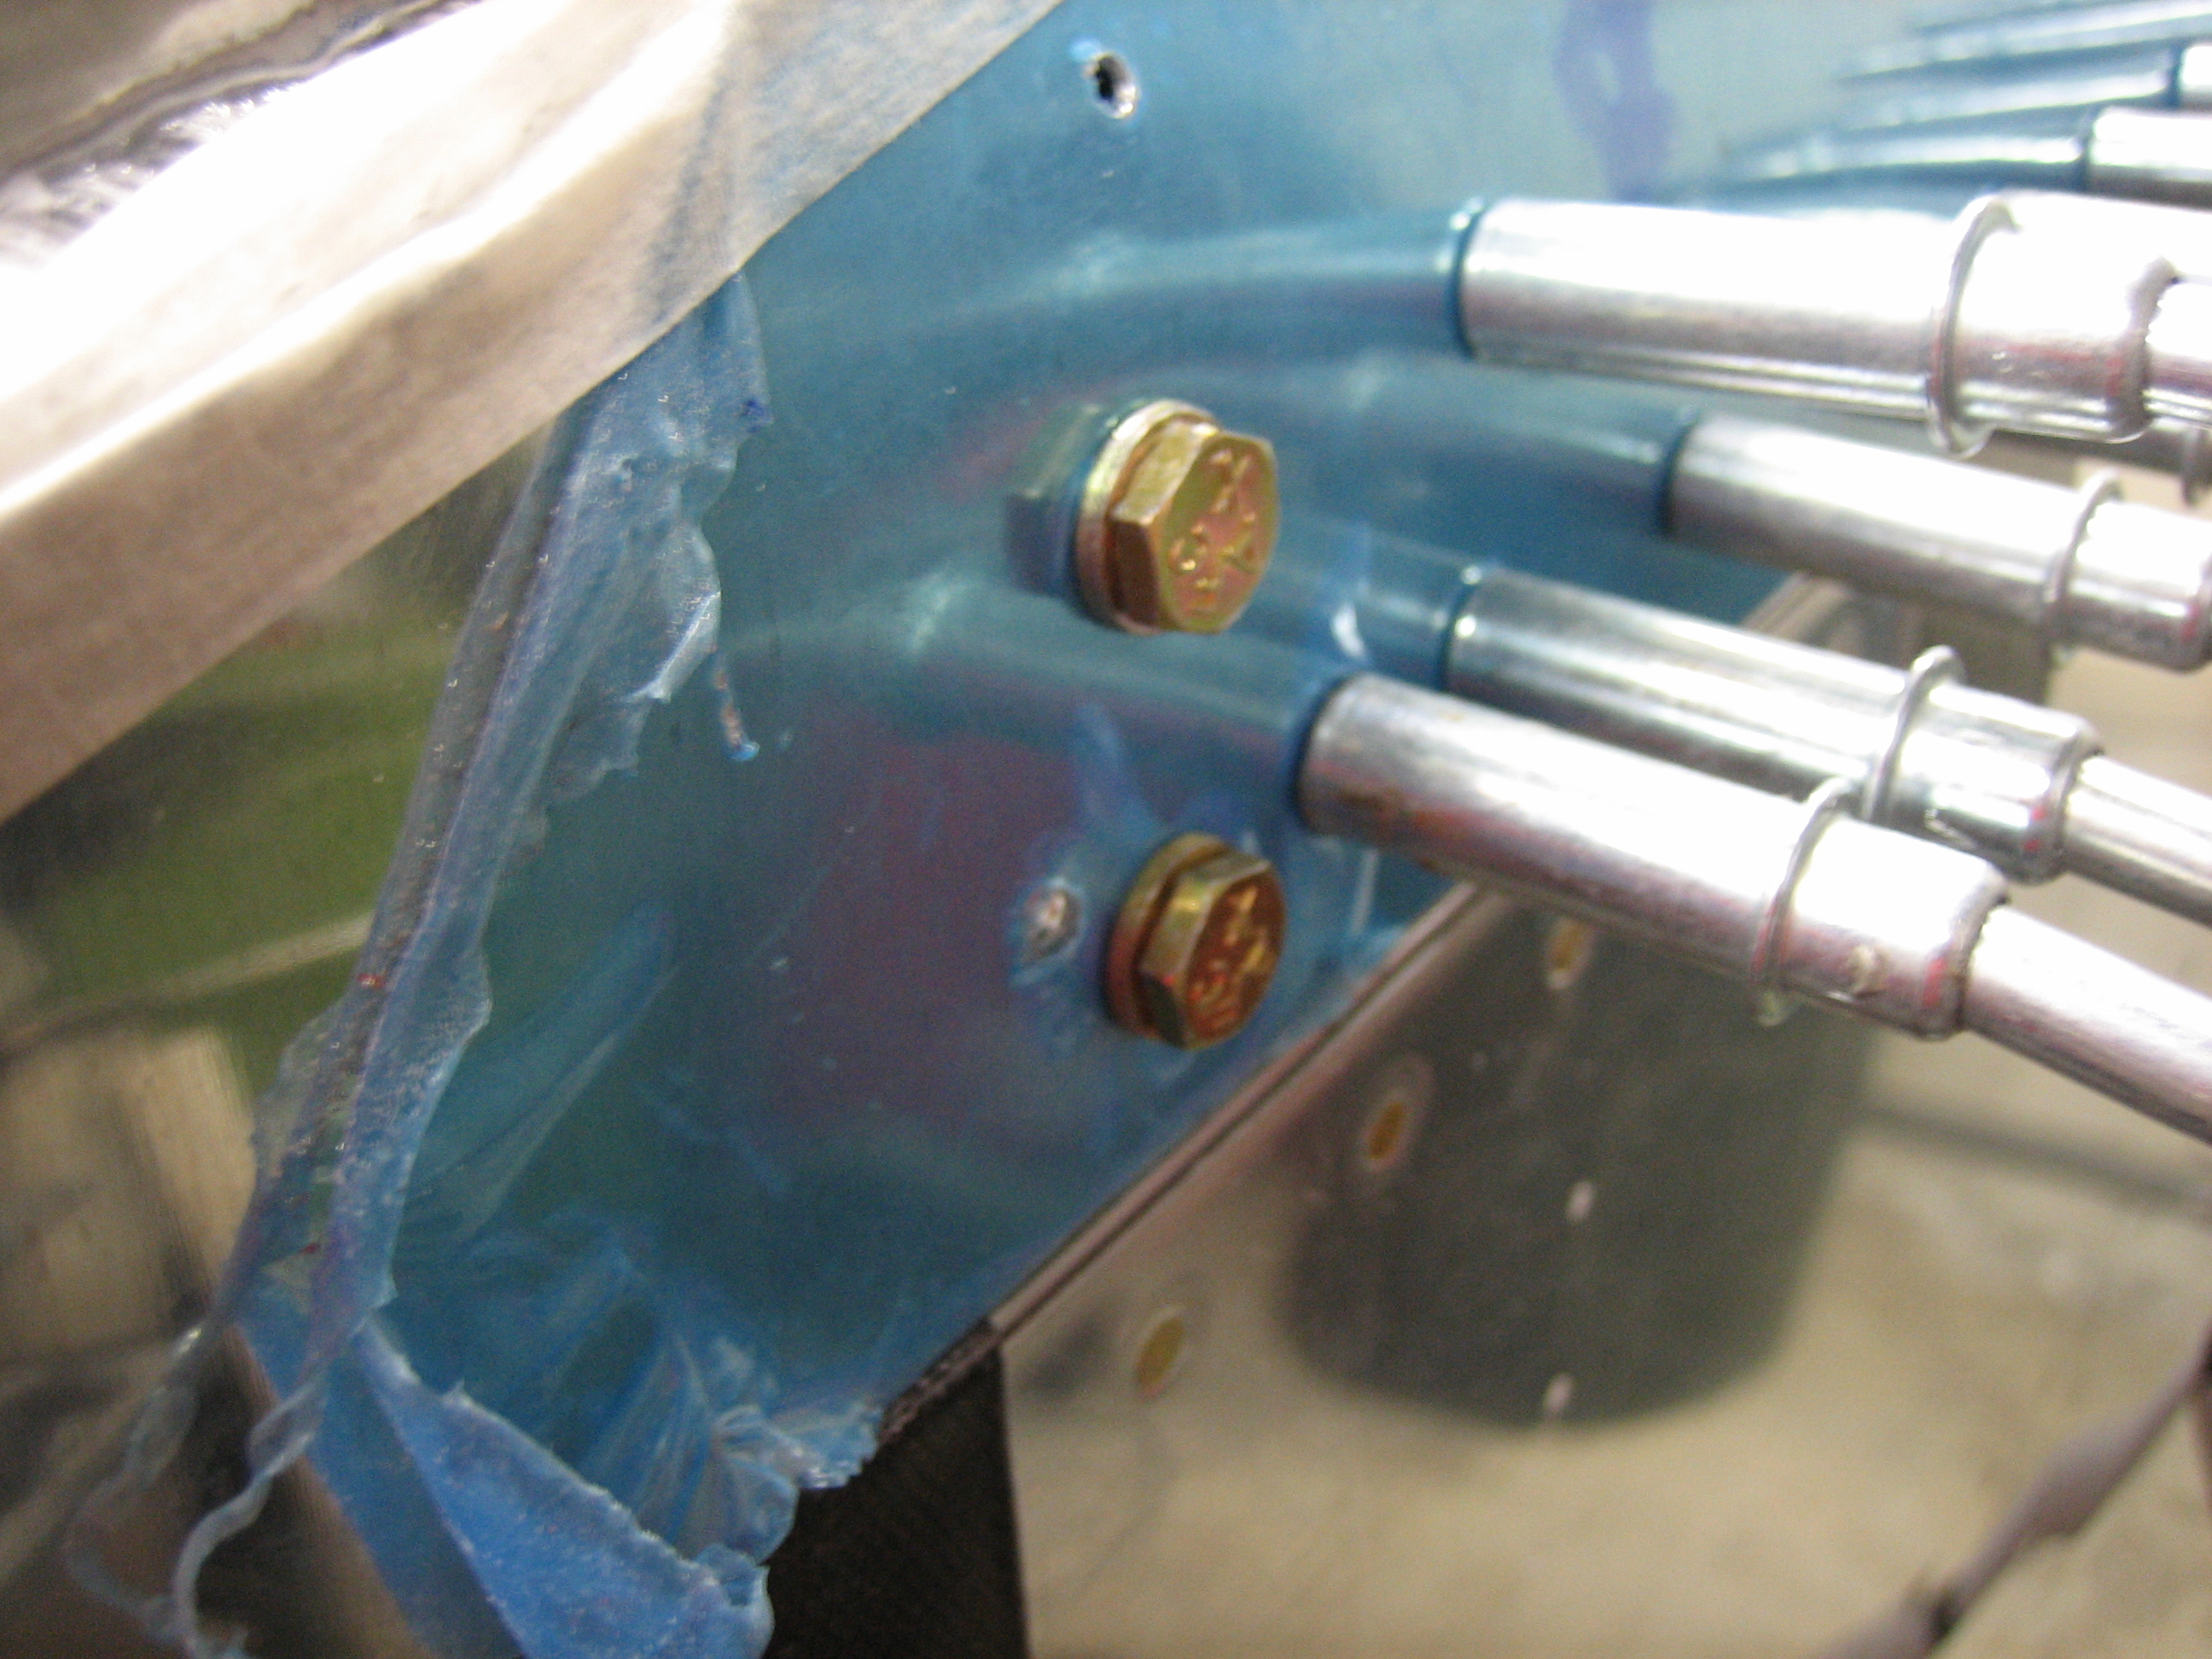
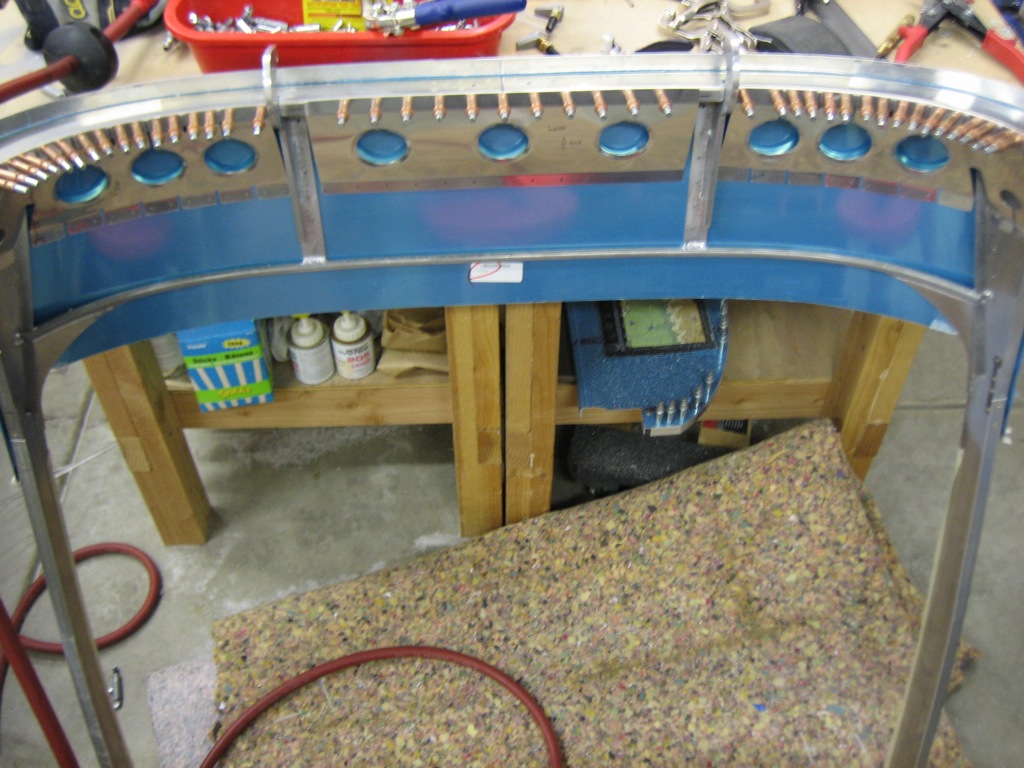
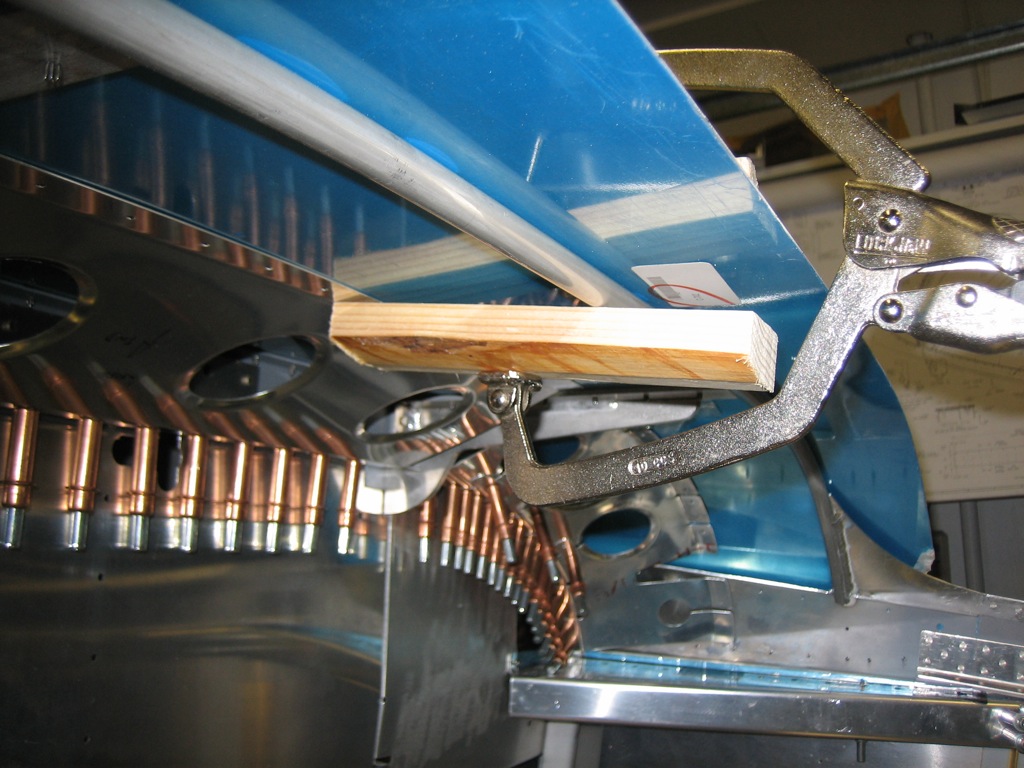
I put the canopy frame back on the fuselage so that it’s locked in its final position. I then clamped a piece of scrap wood across the top skin to keep it flat while drilling the aft flanges of the reinforcements.

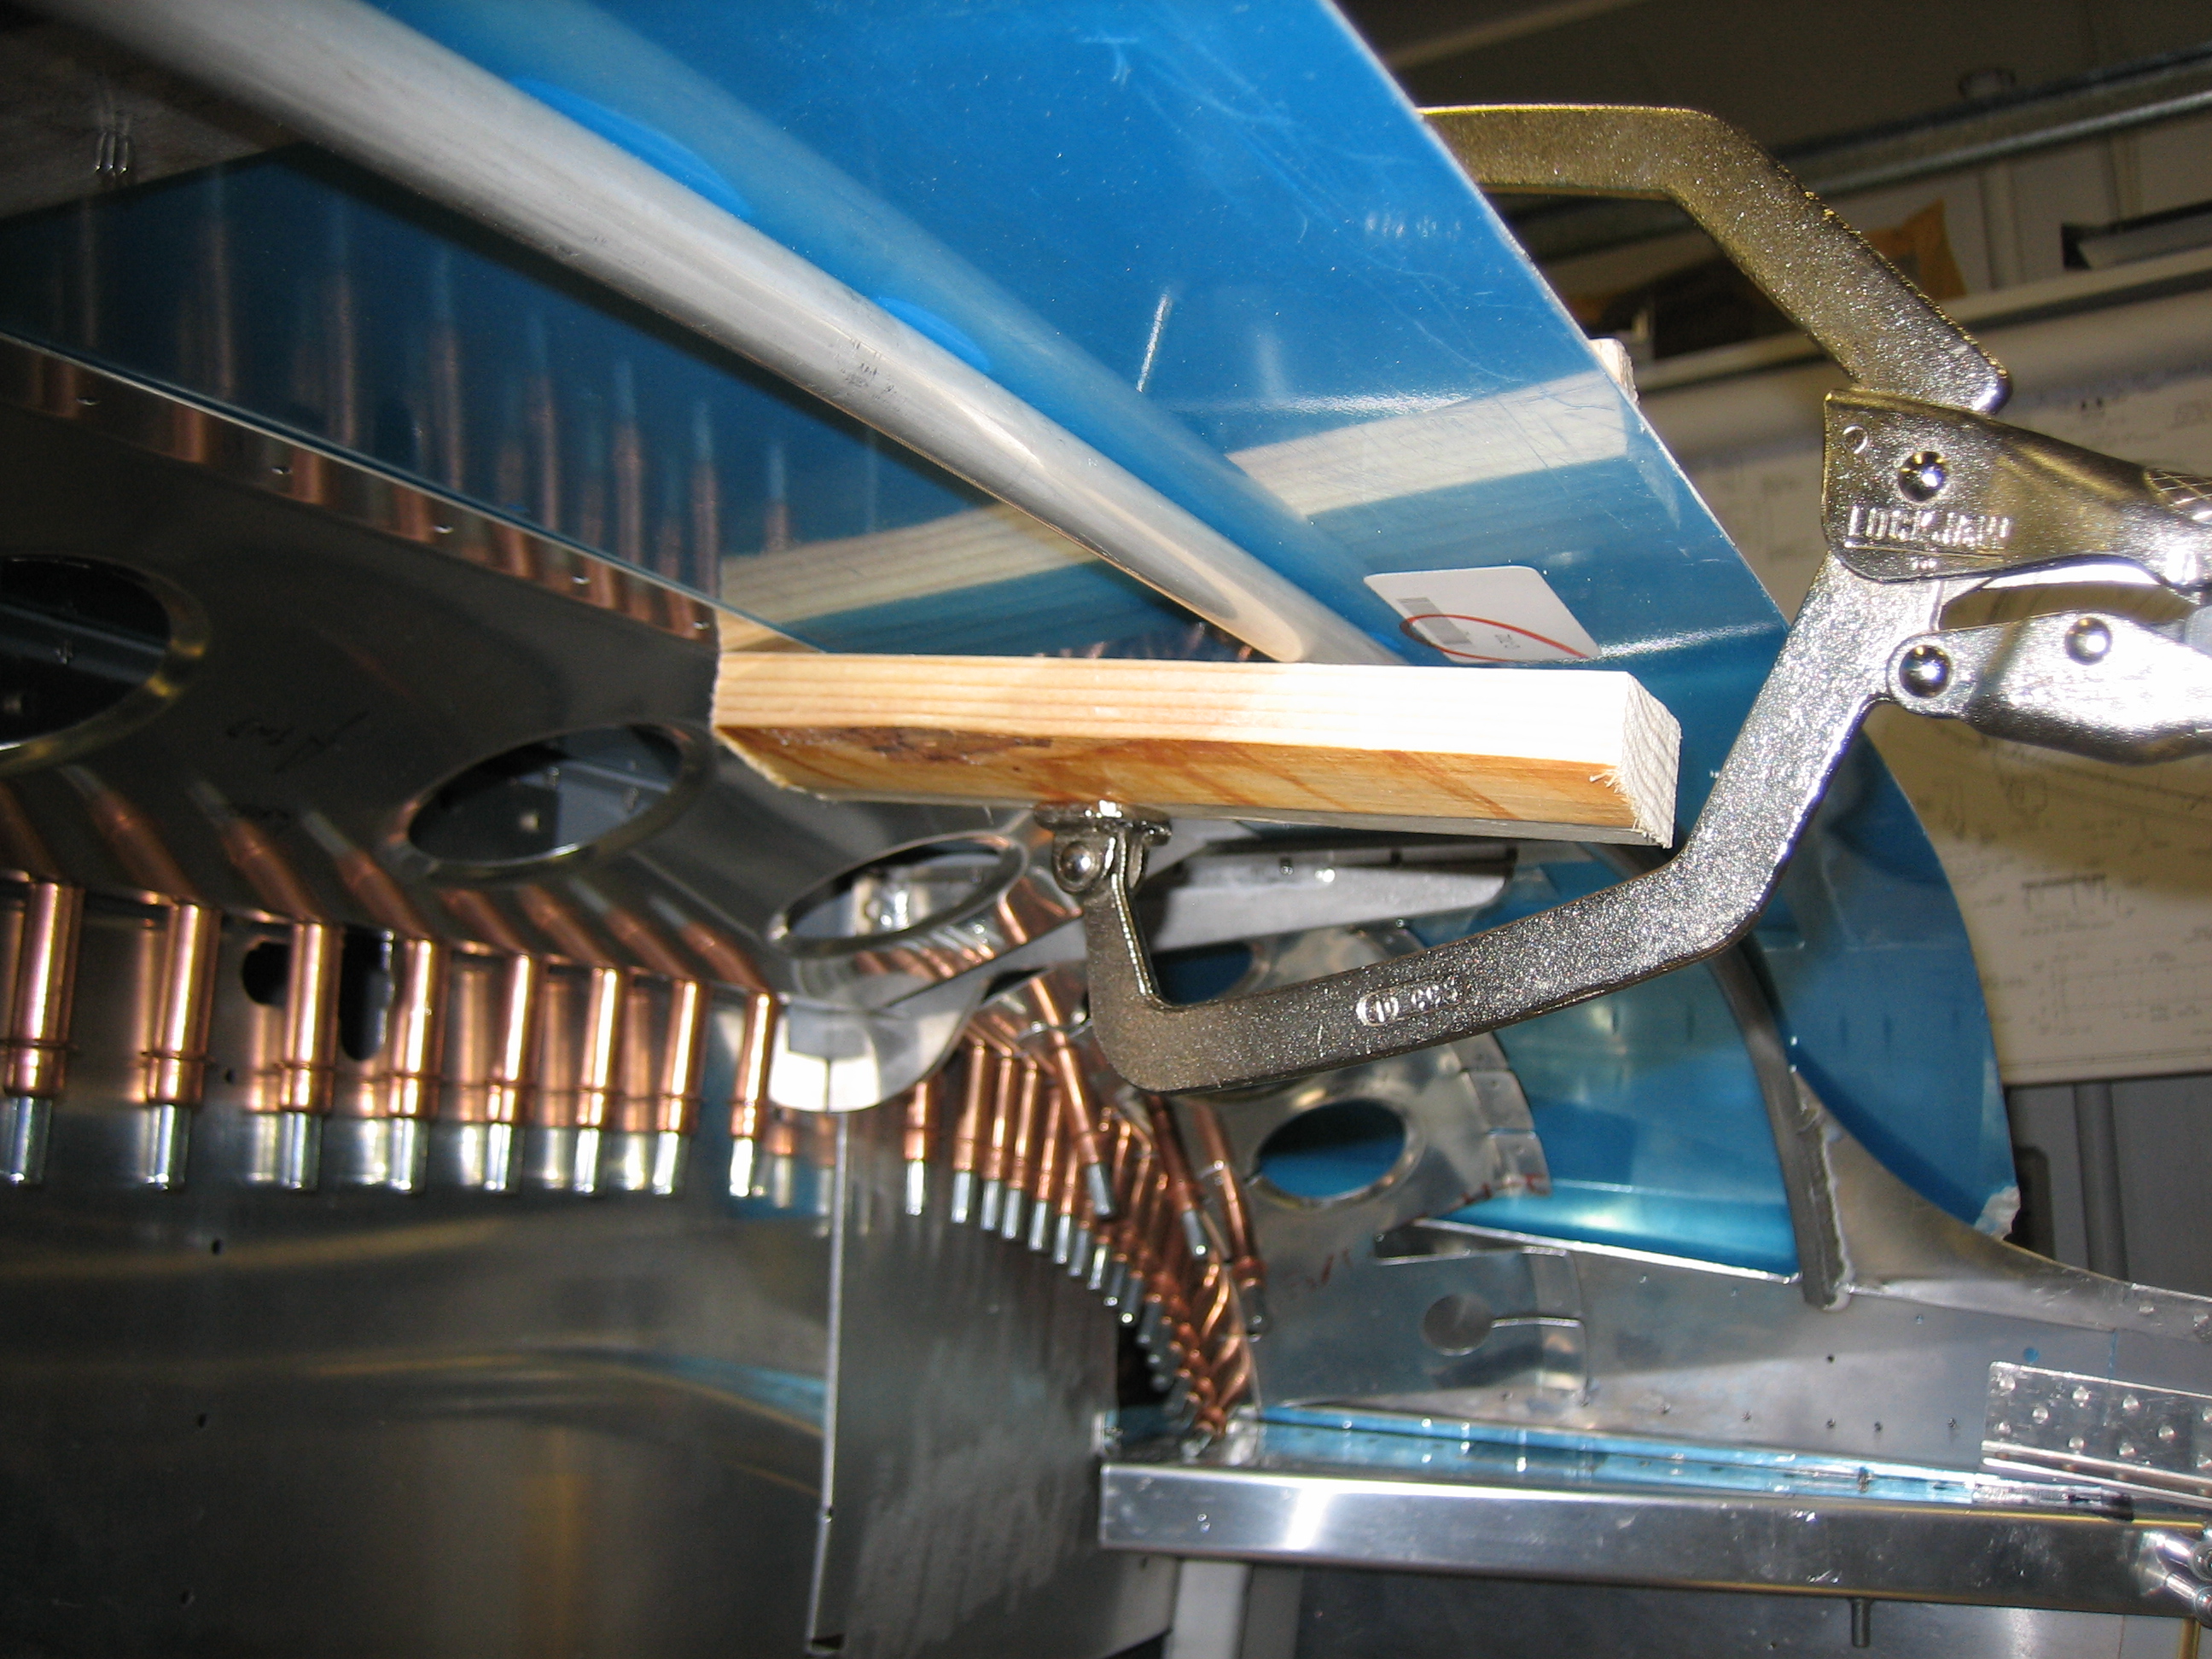
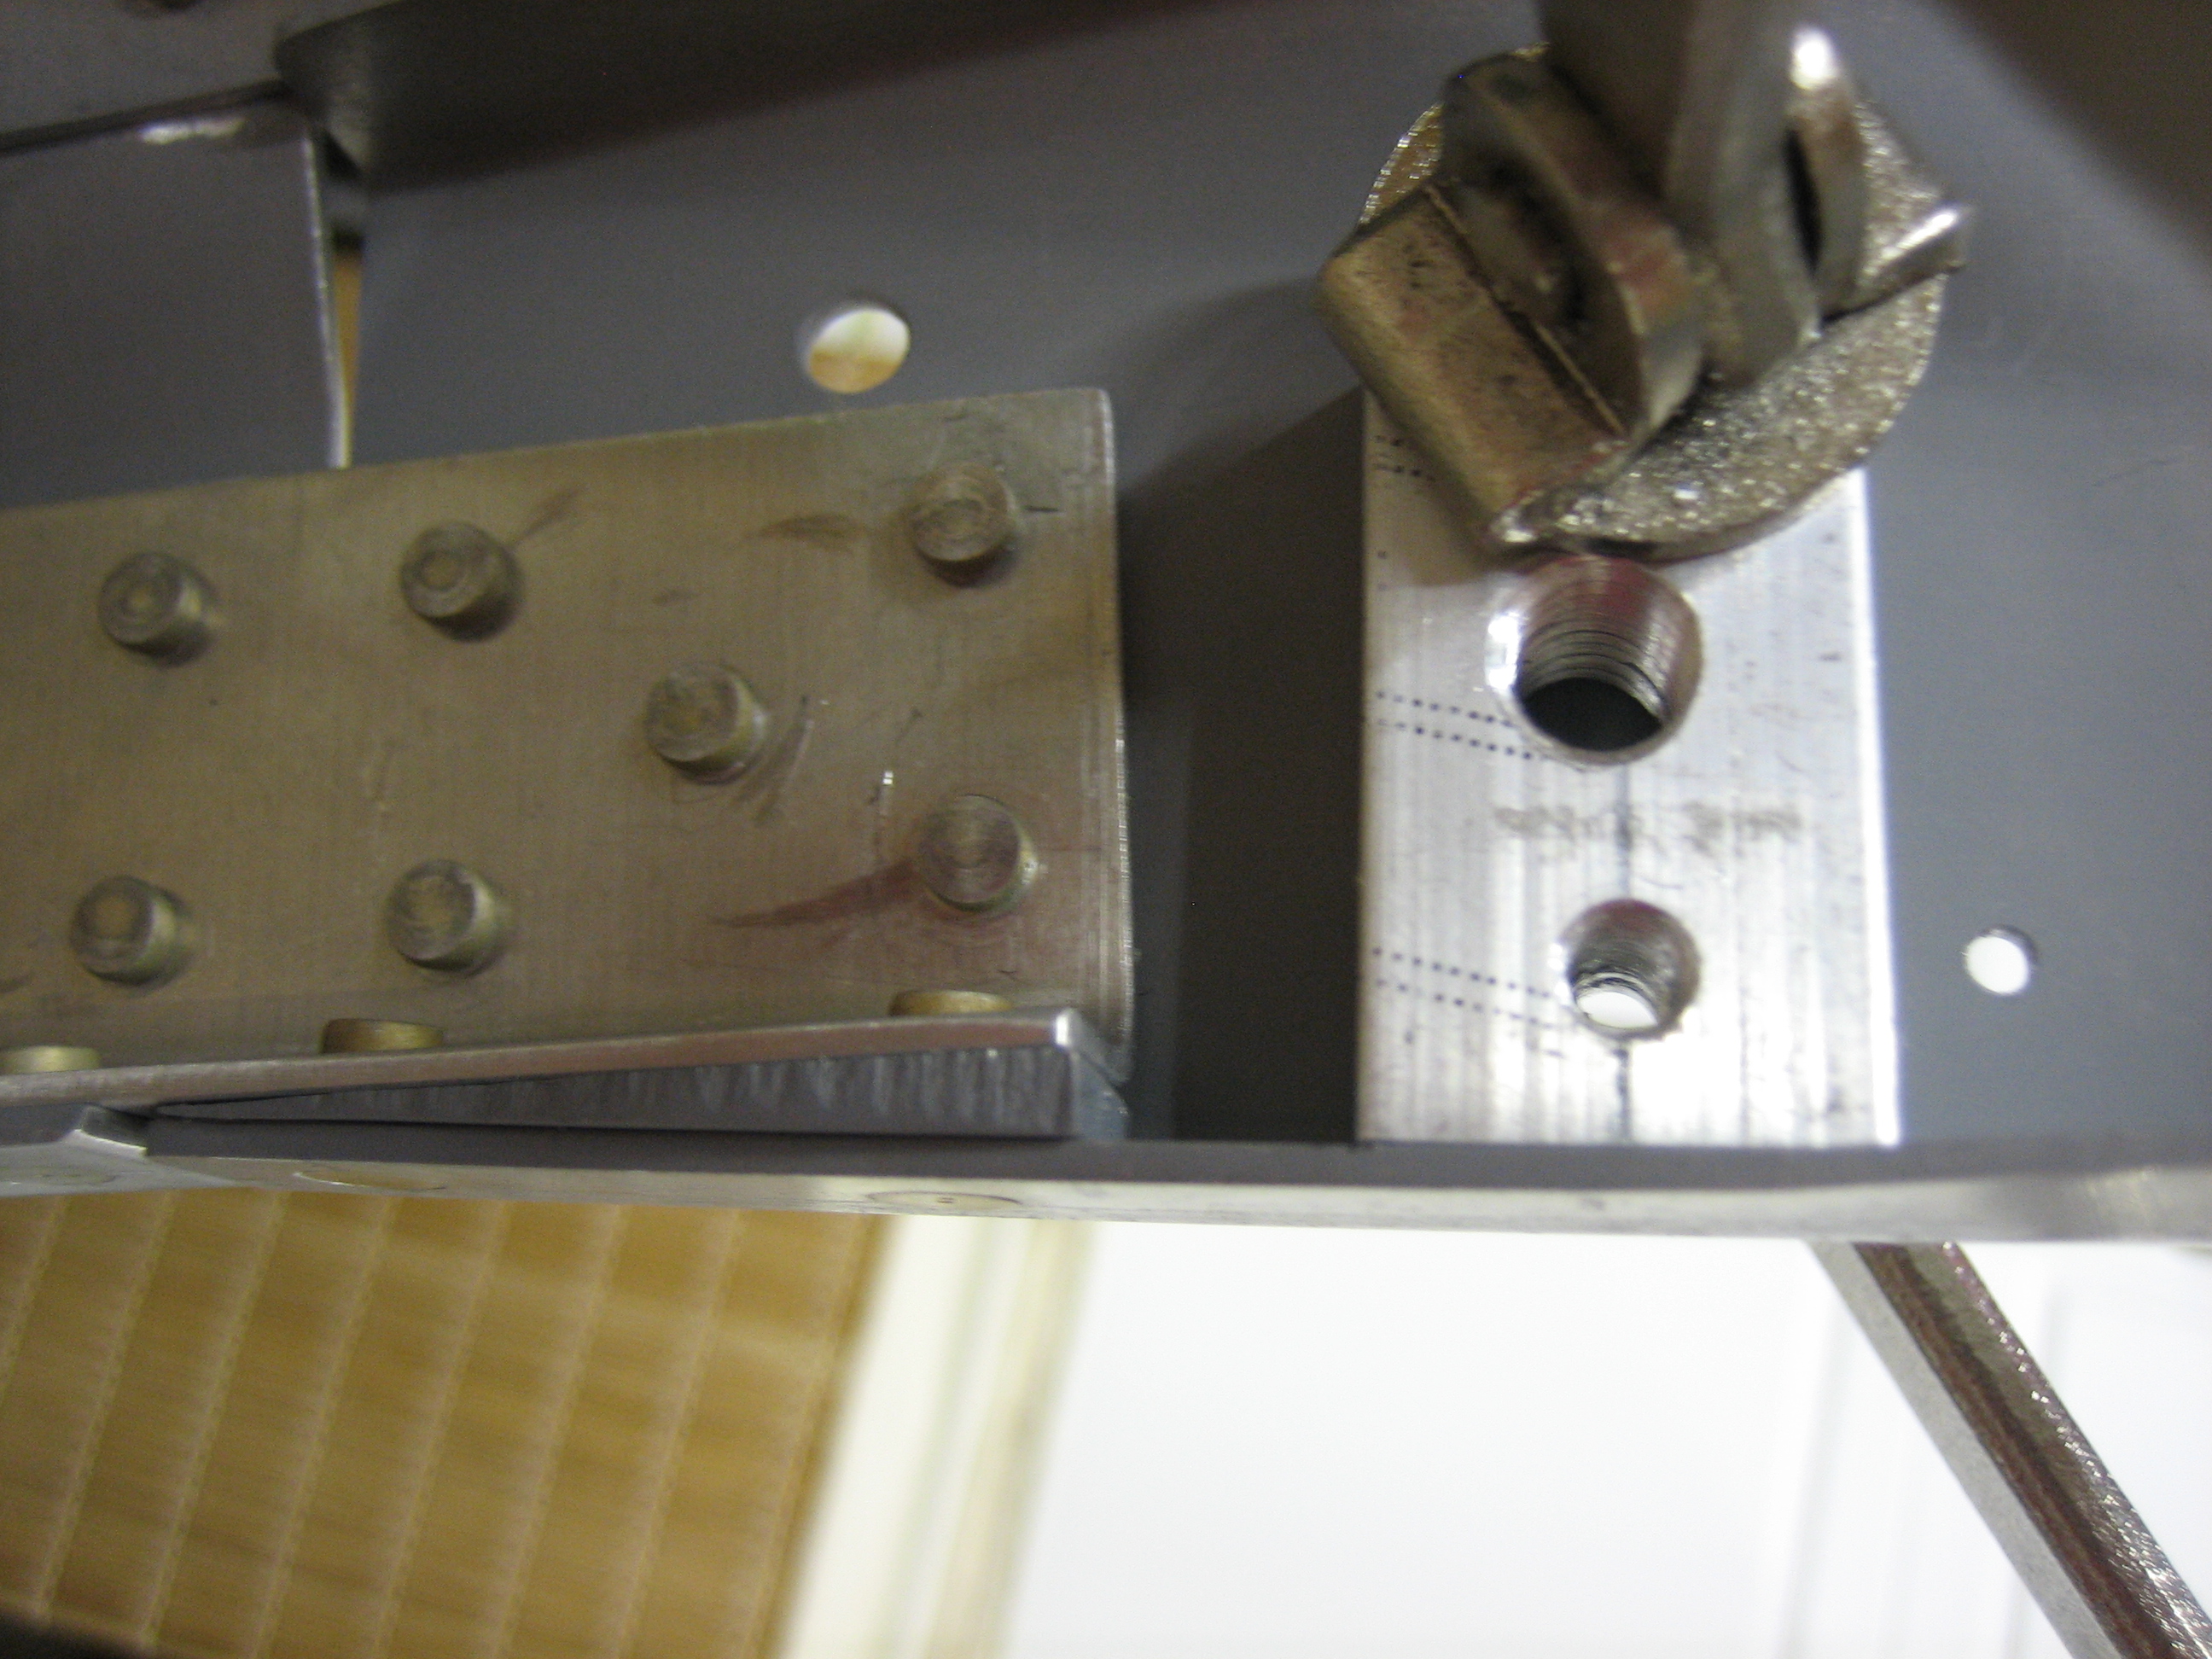
Here you can see that the other side of the clamp is holding another piece of scrap wood that is keeping the center reinforcement piece tight against the skin. Without this clamped, it’s hard to know how hard to push up on the reinforcement while drilling. Too hard, and the top skin will bow upward.
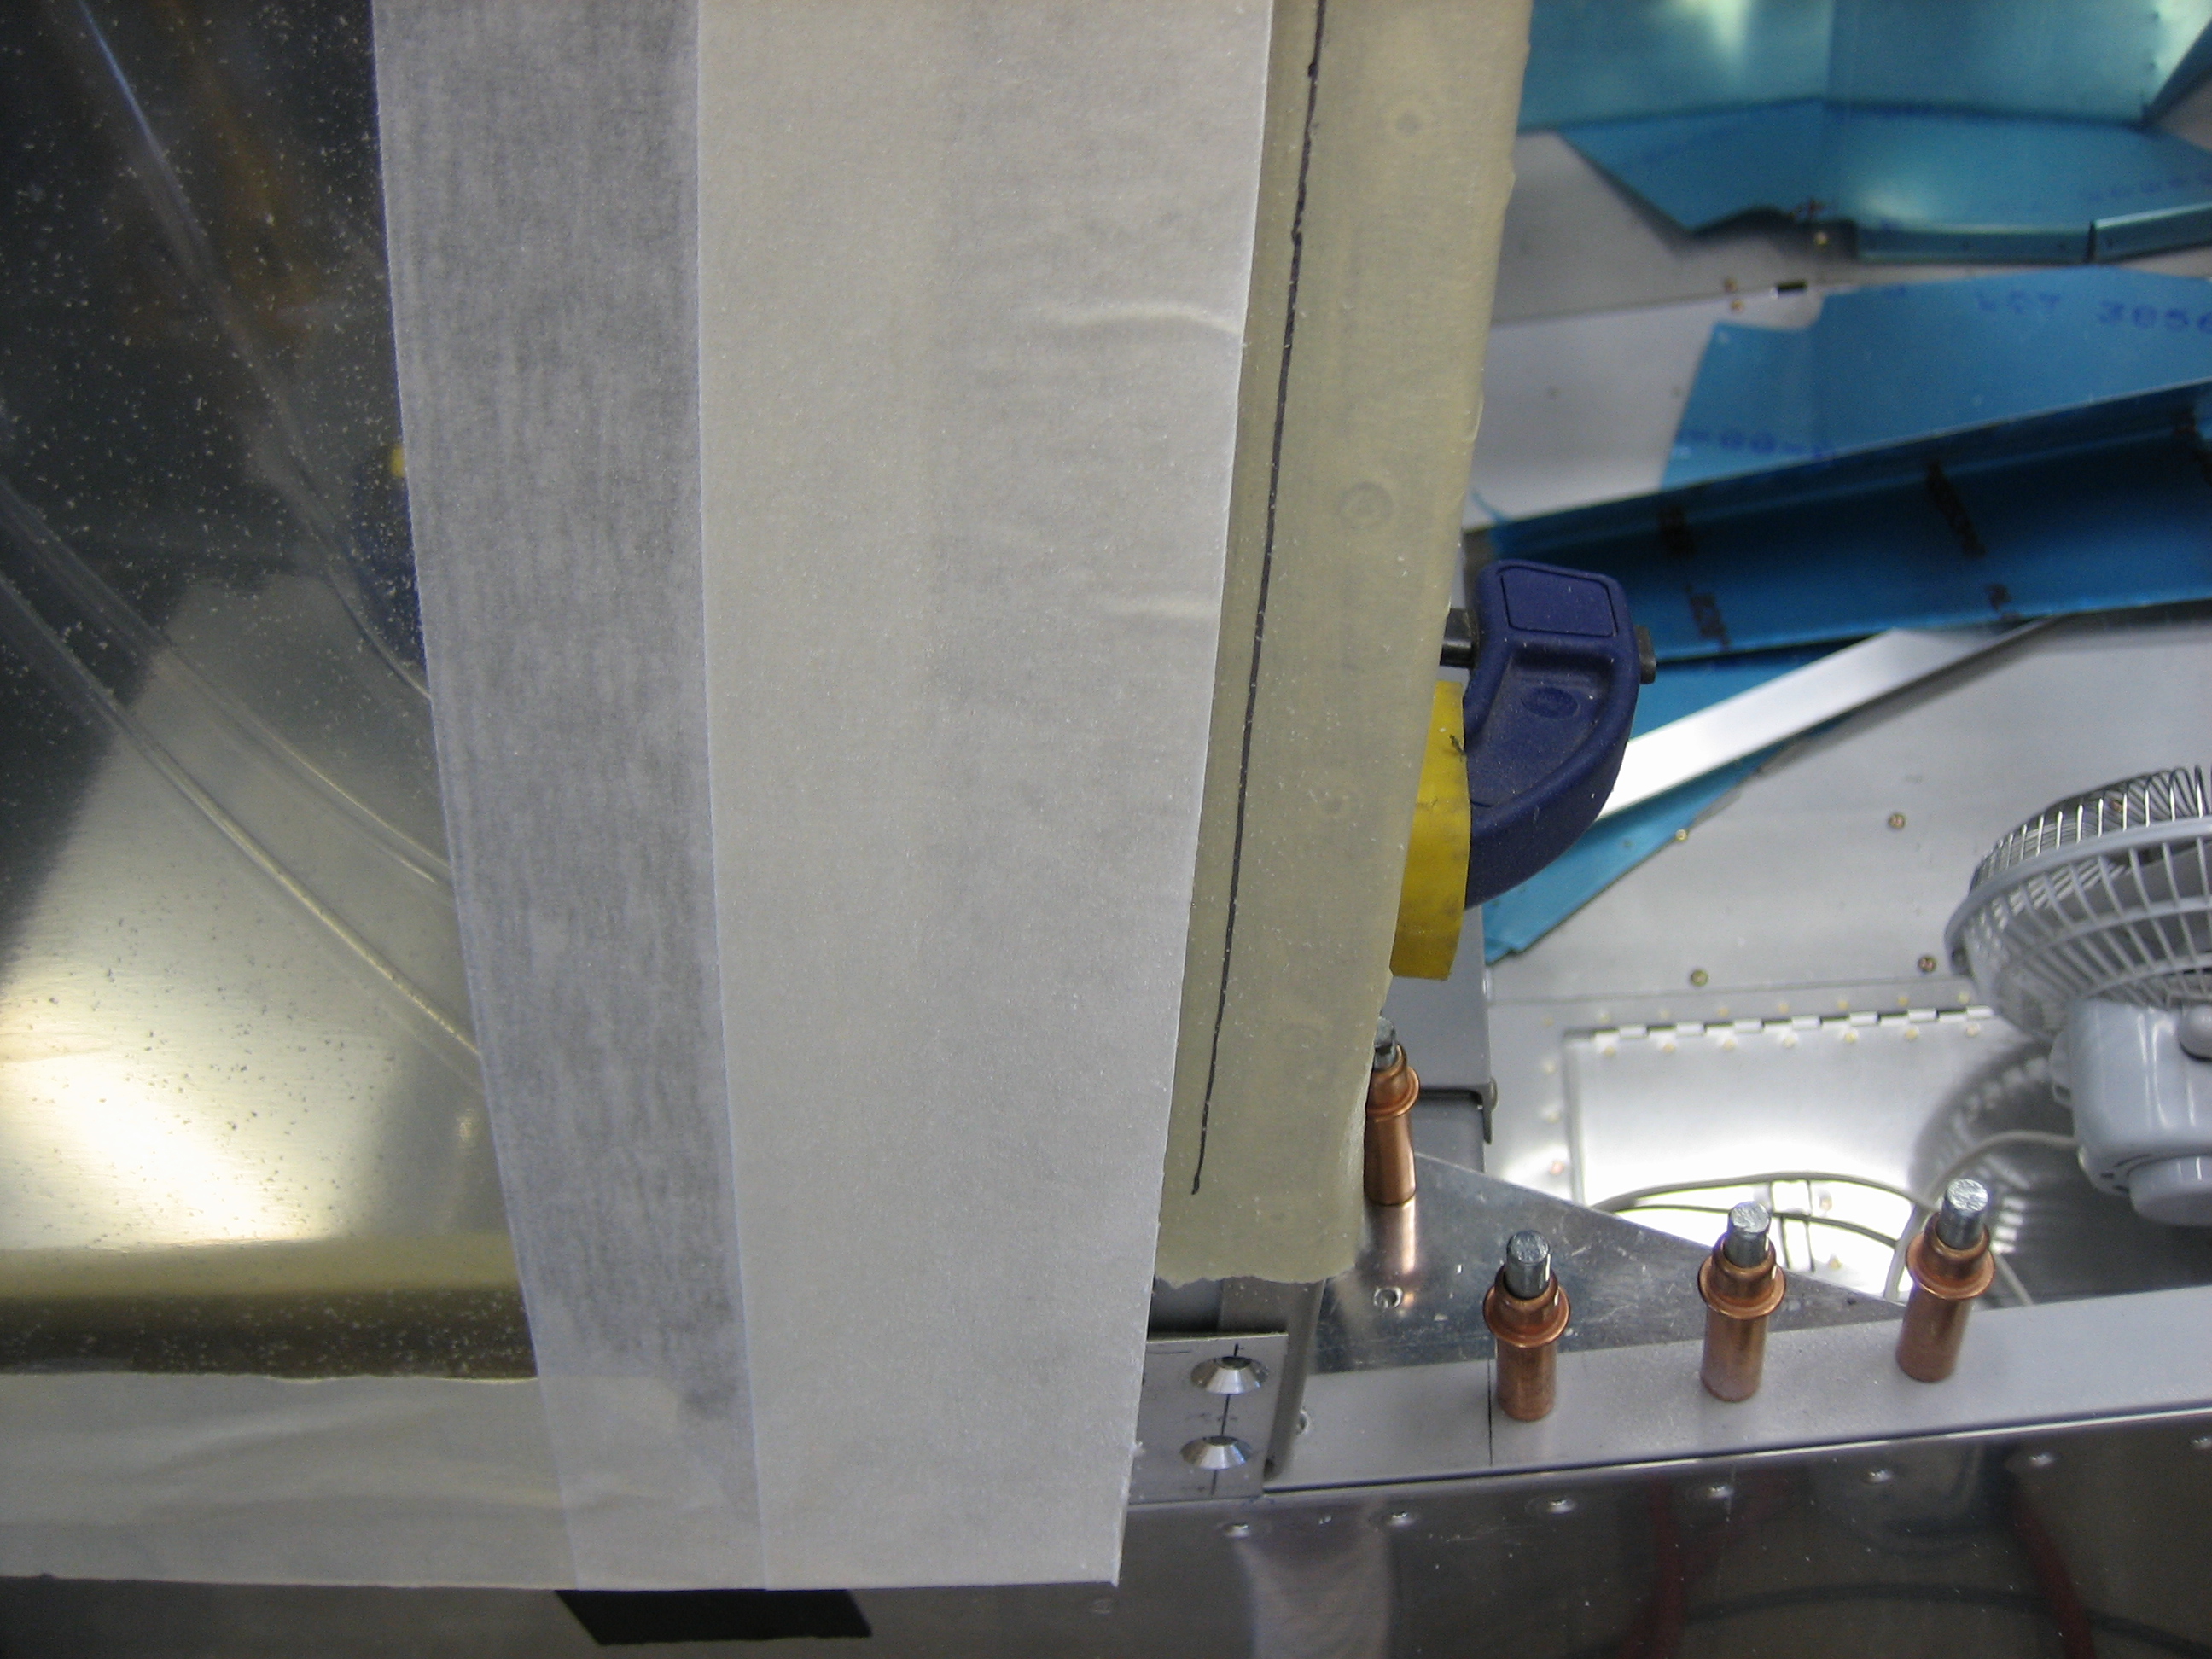
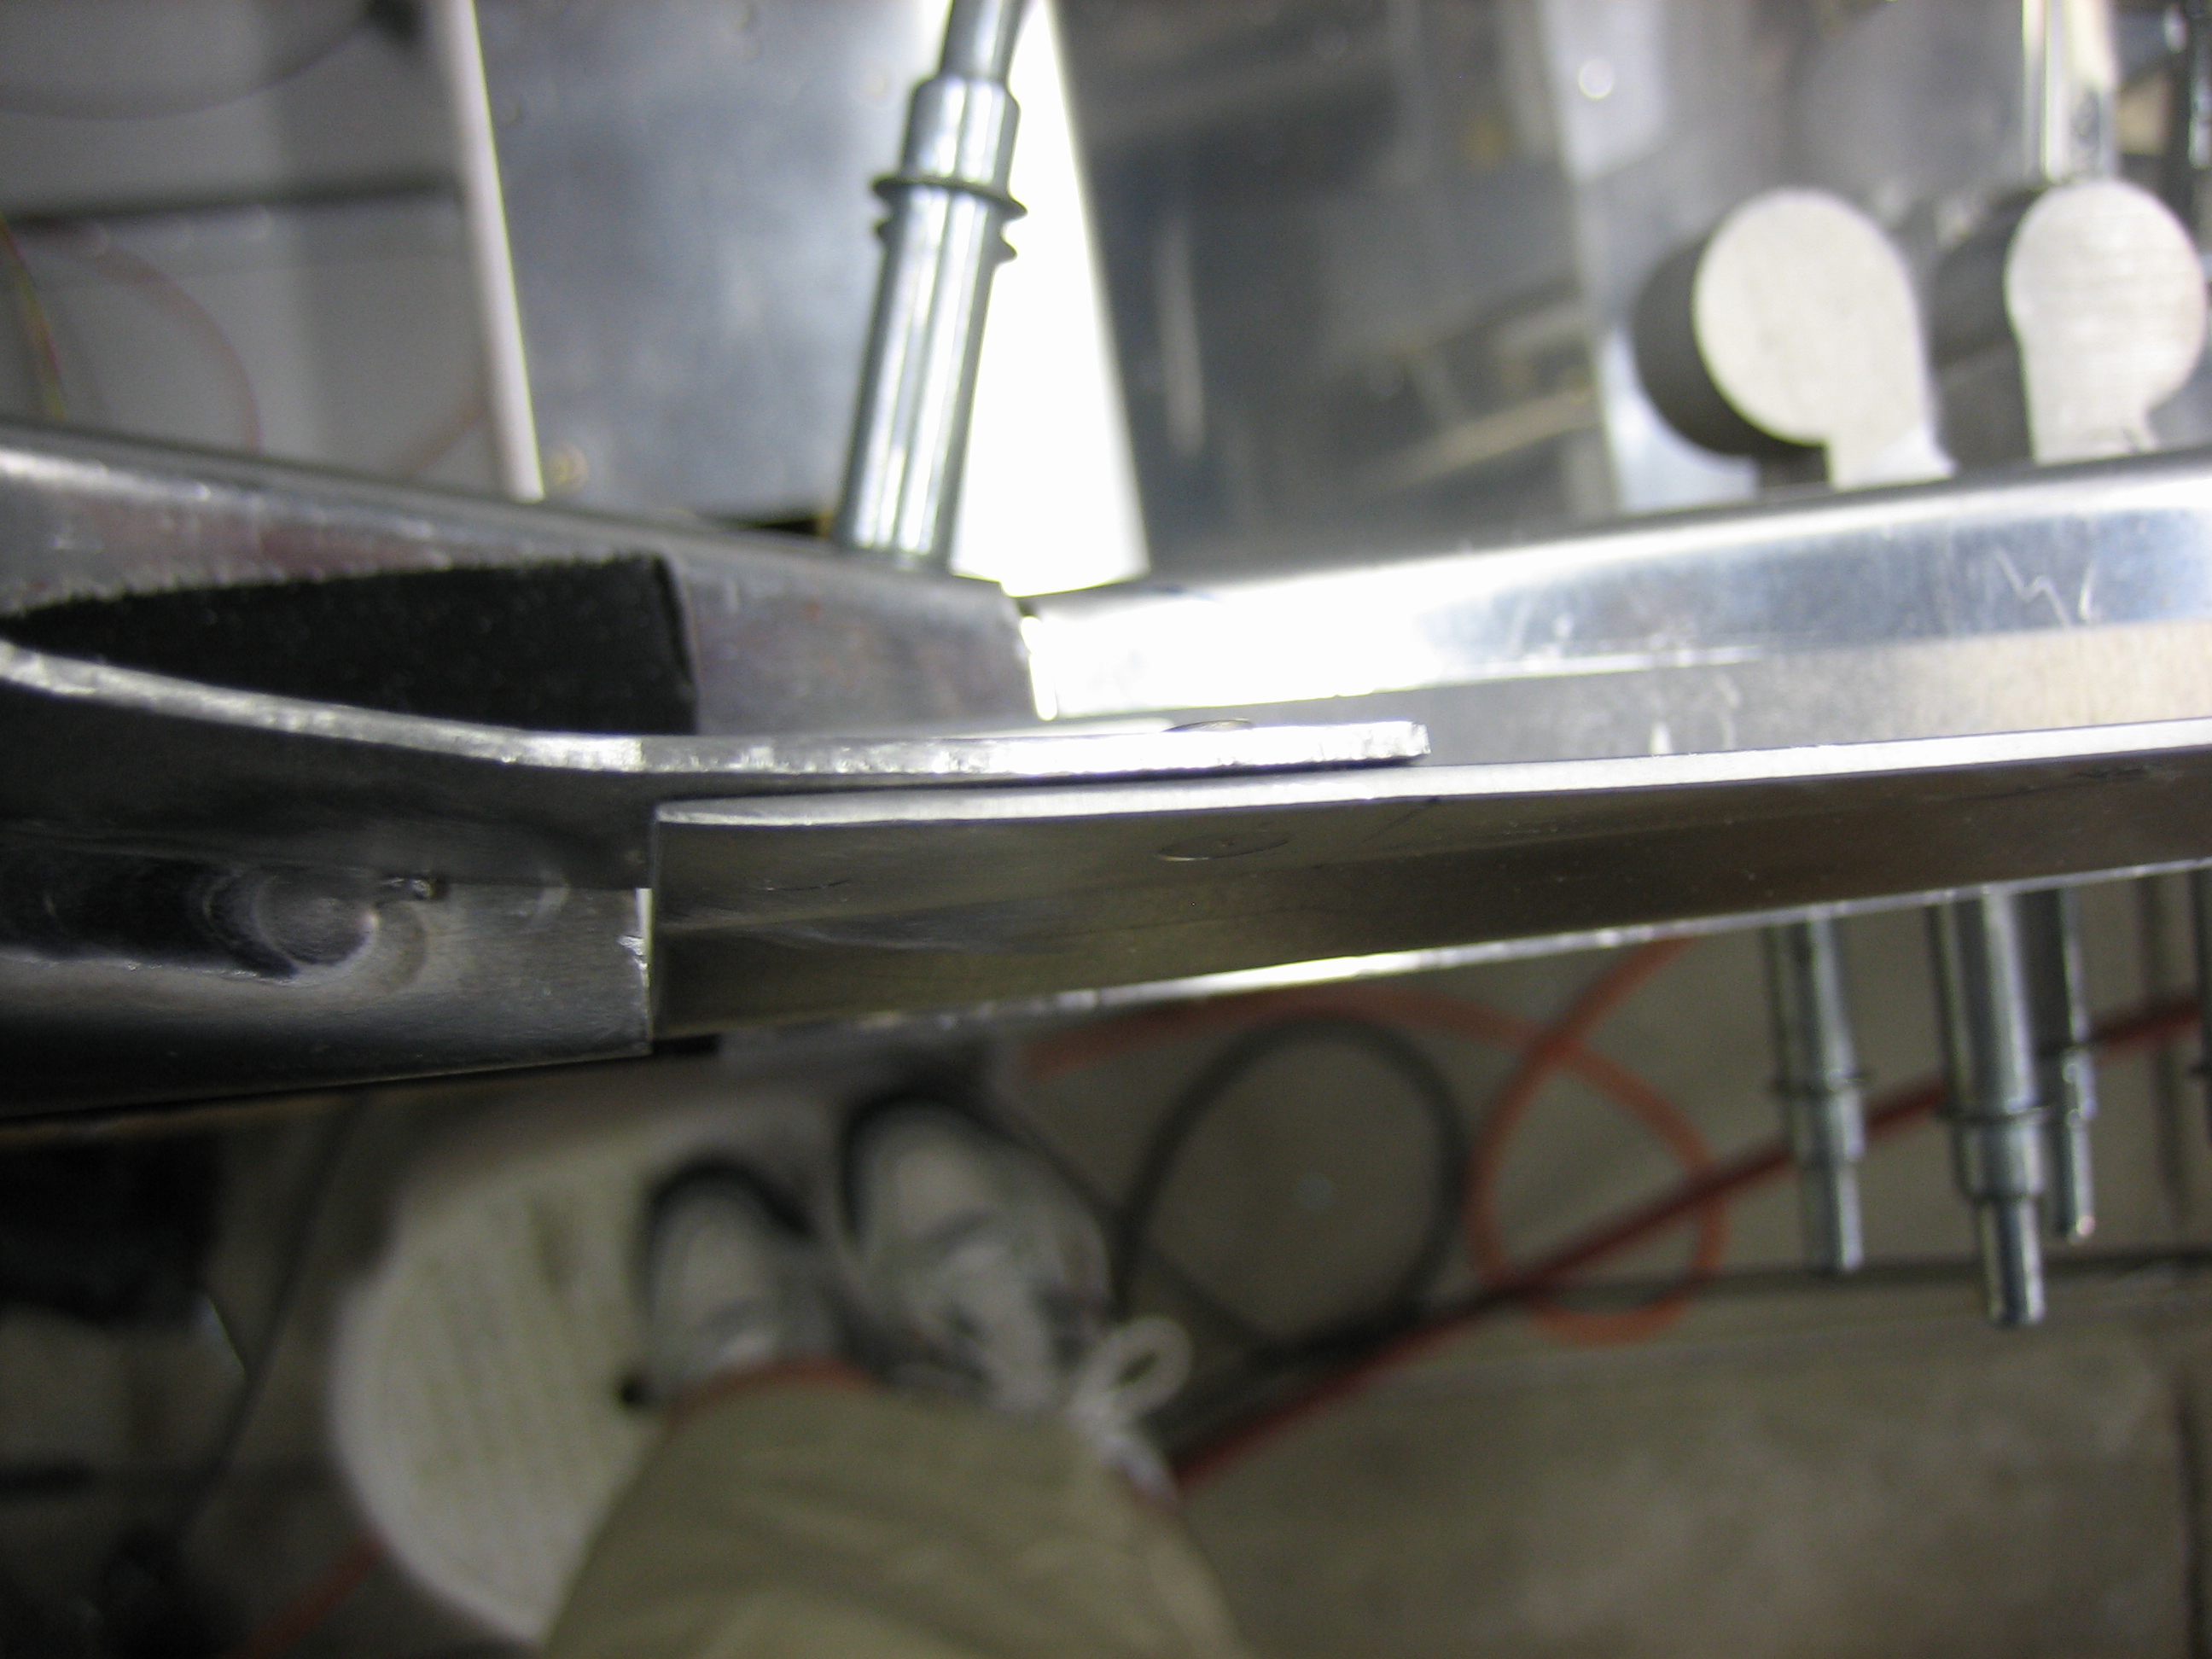
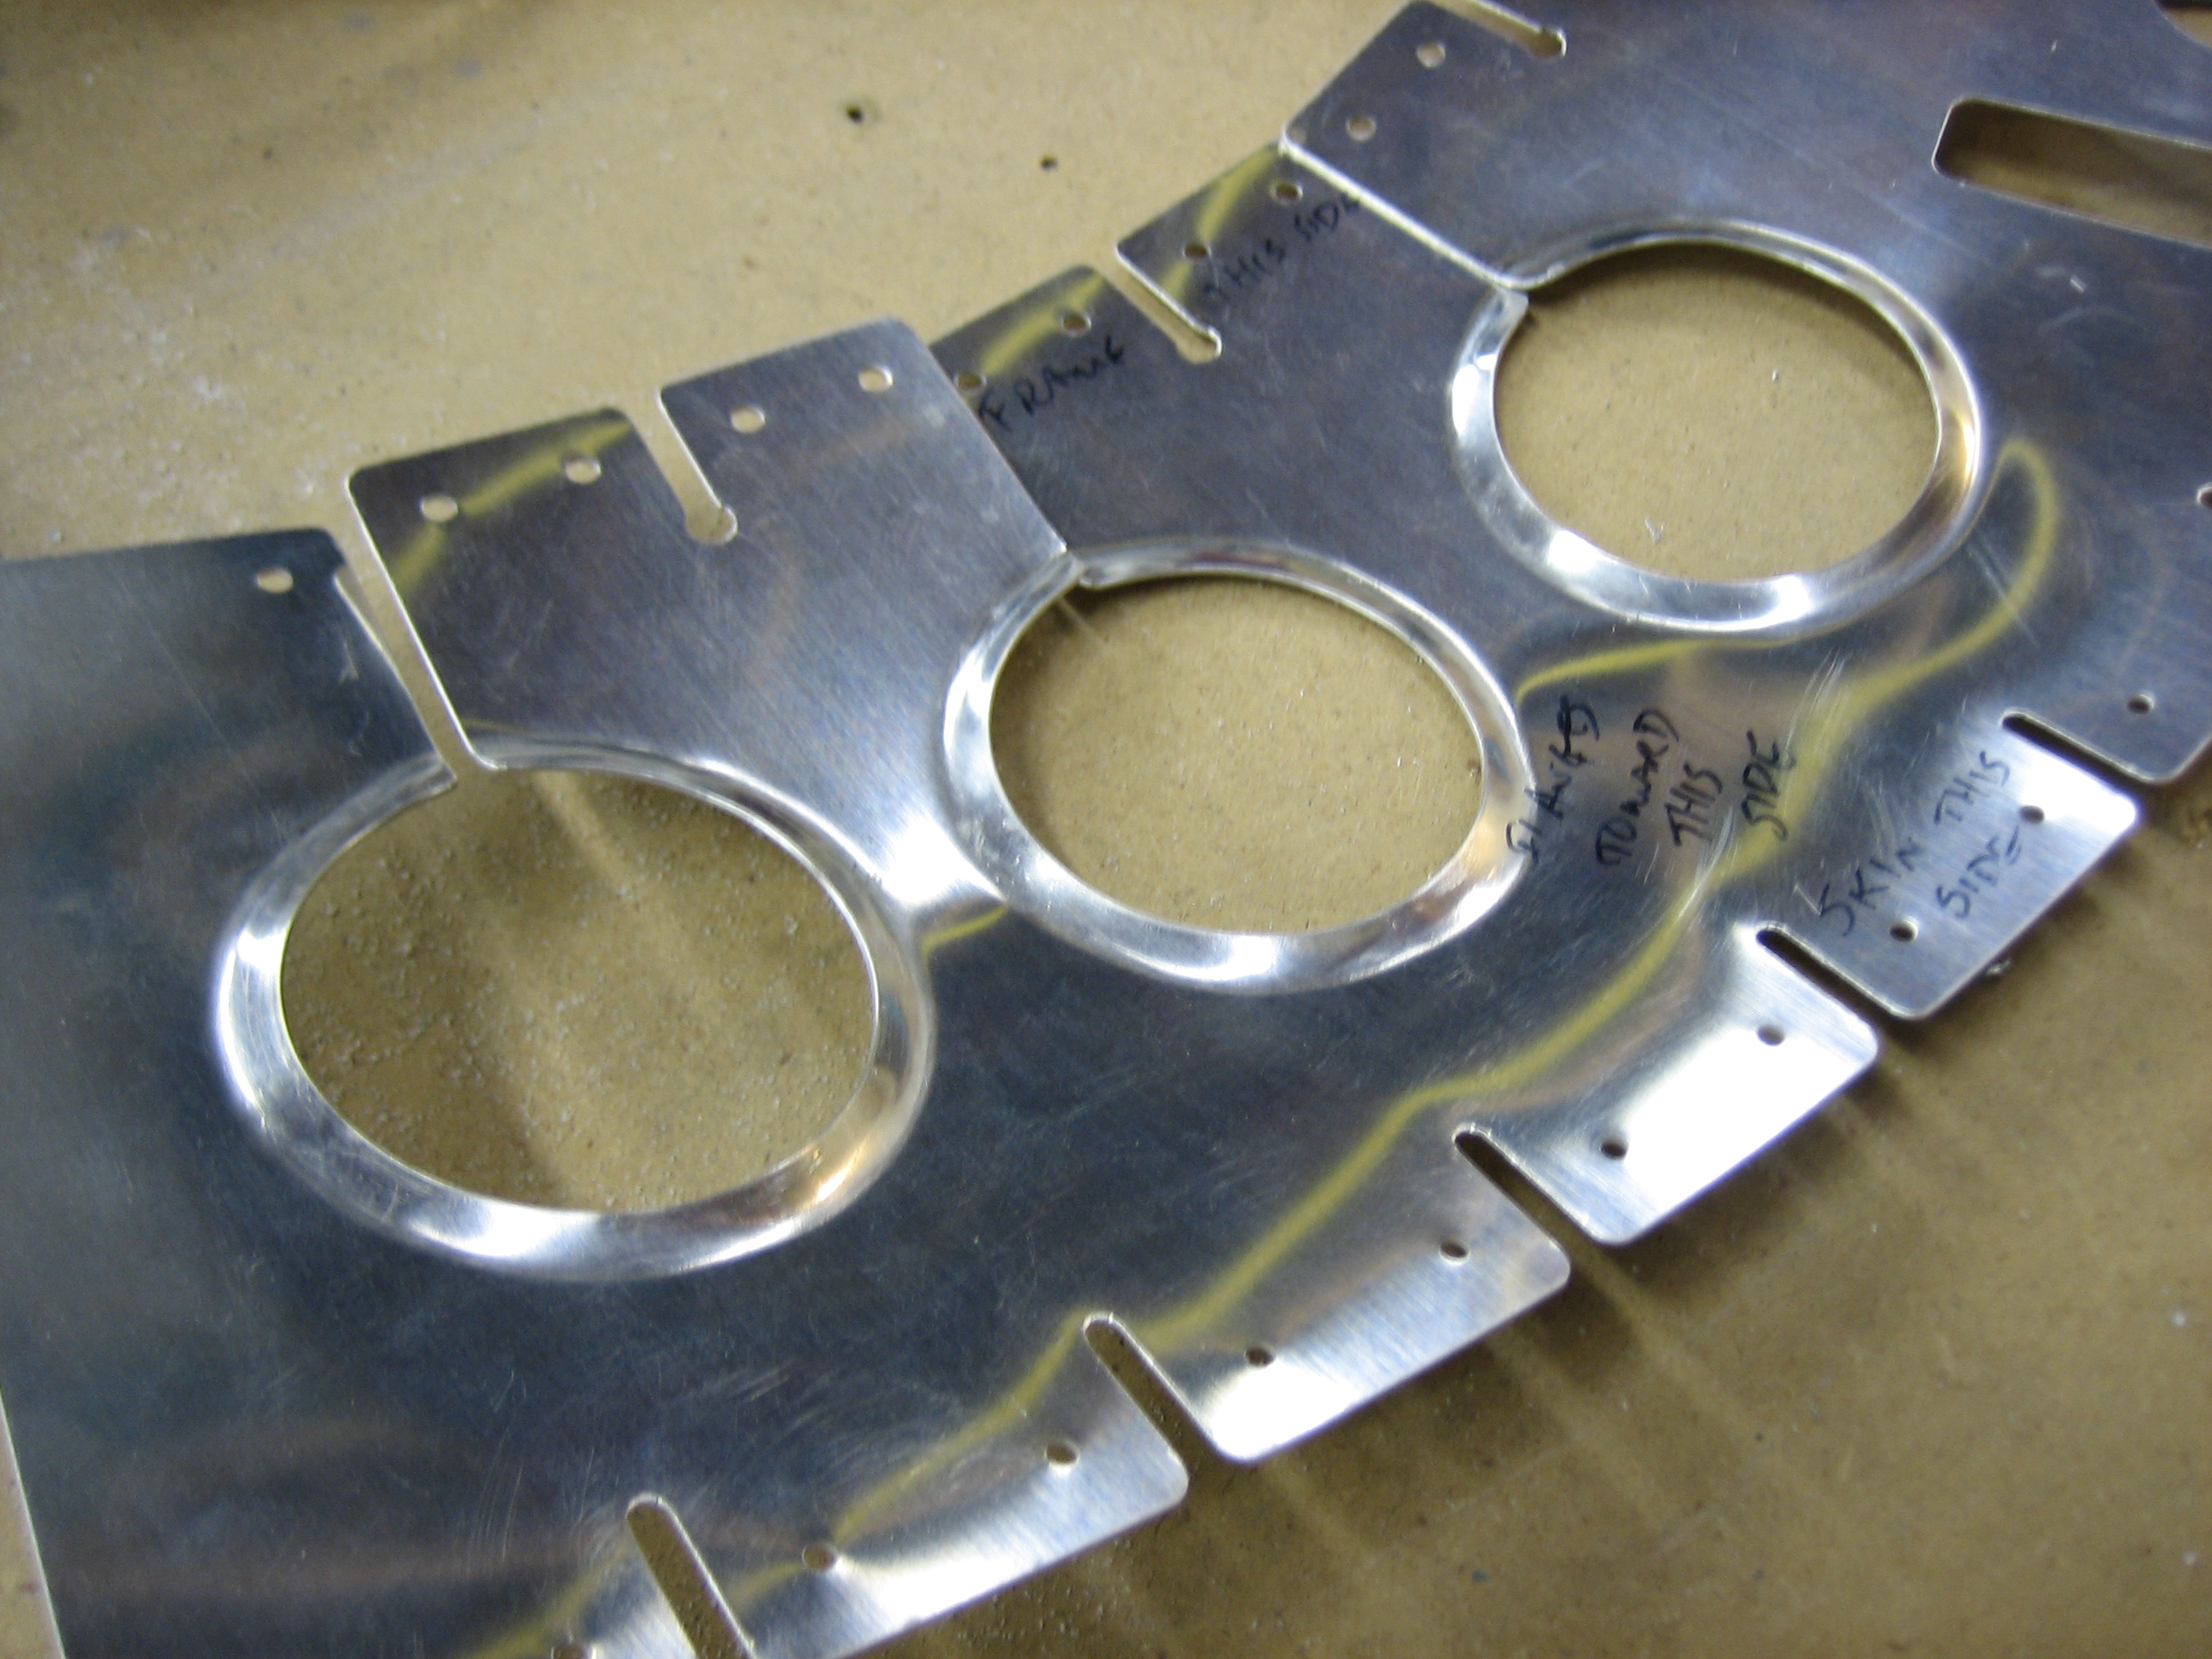
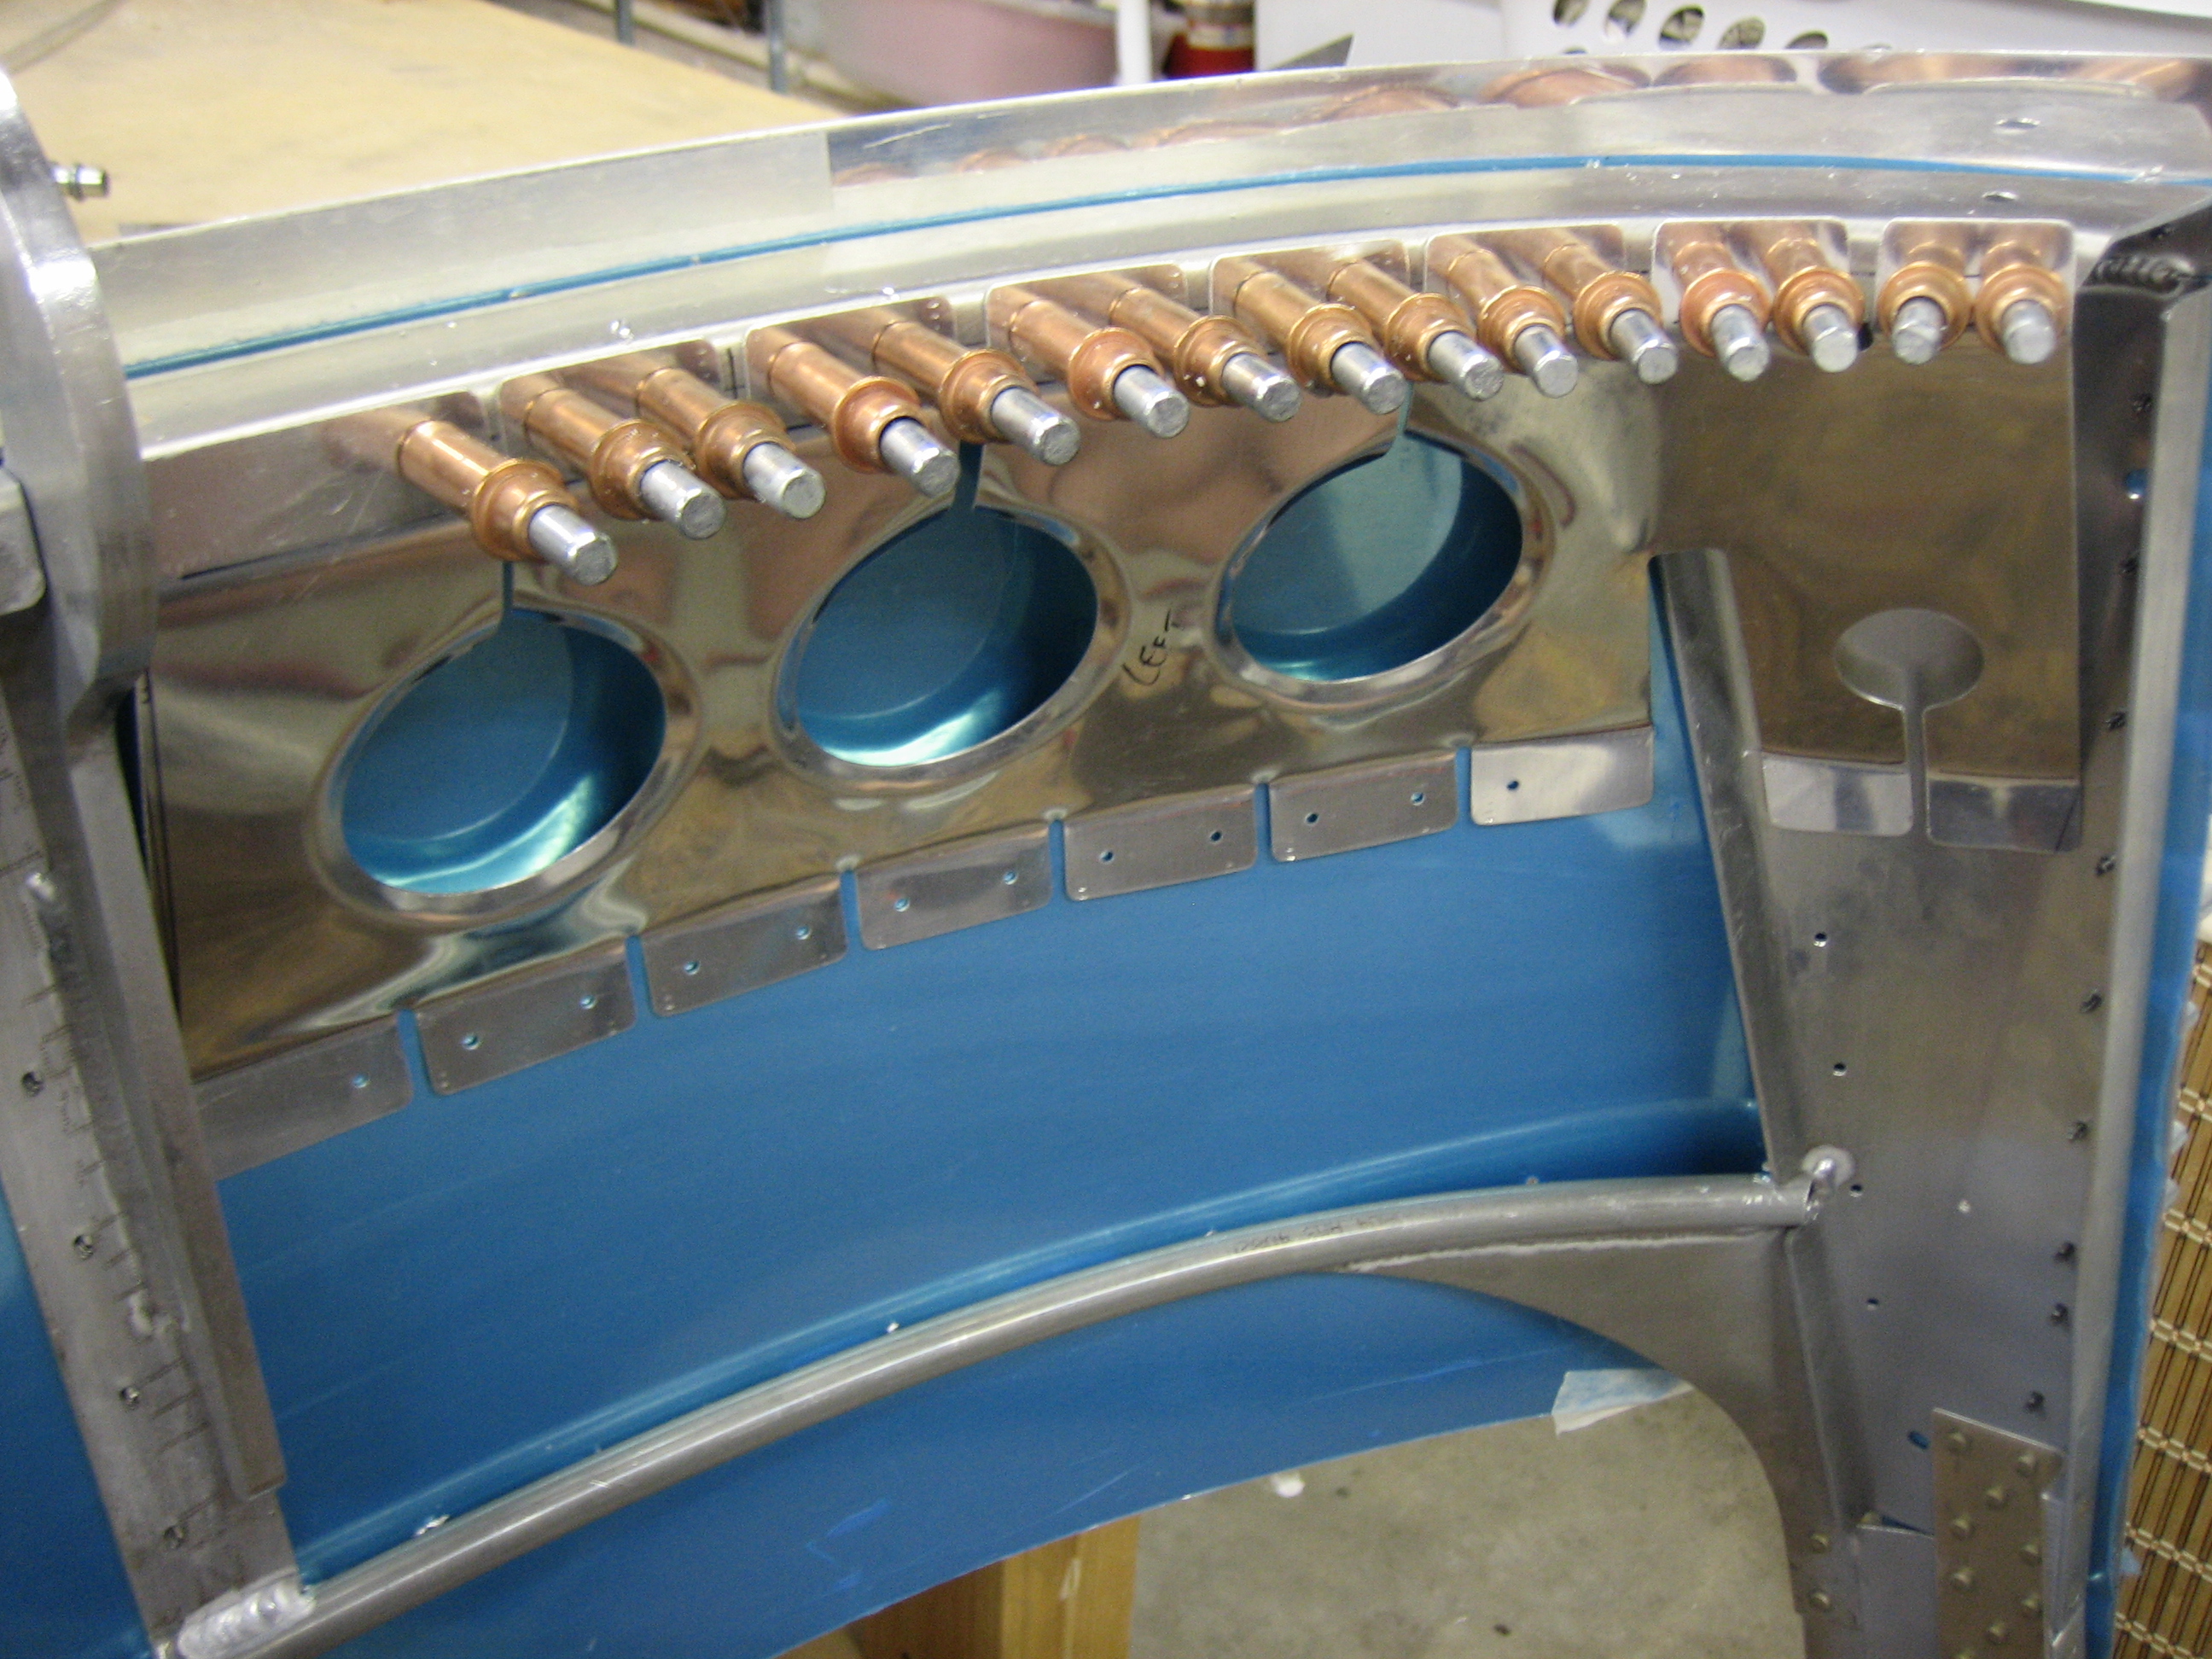
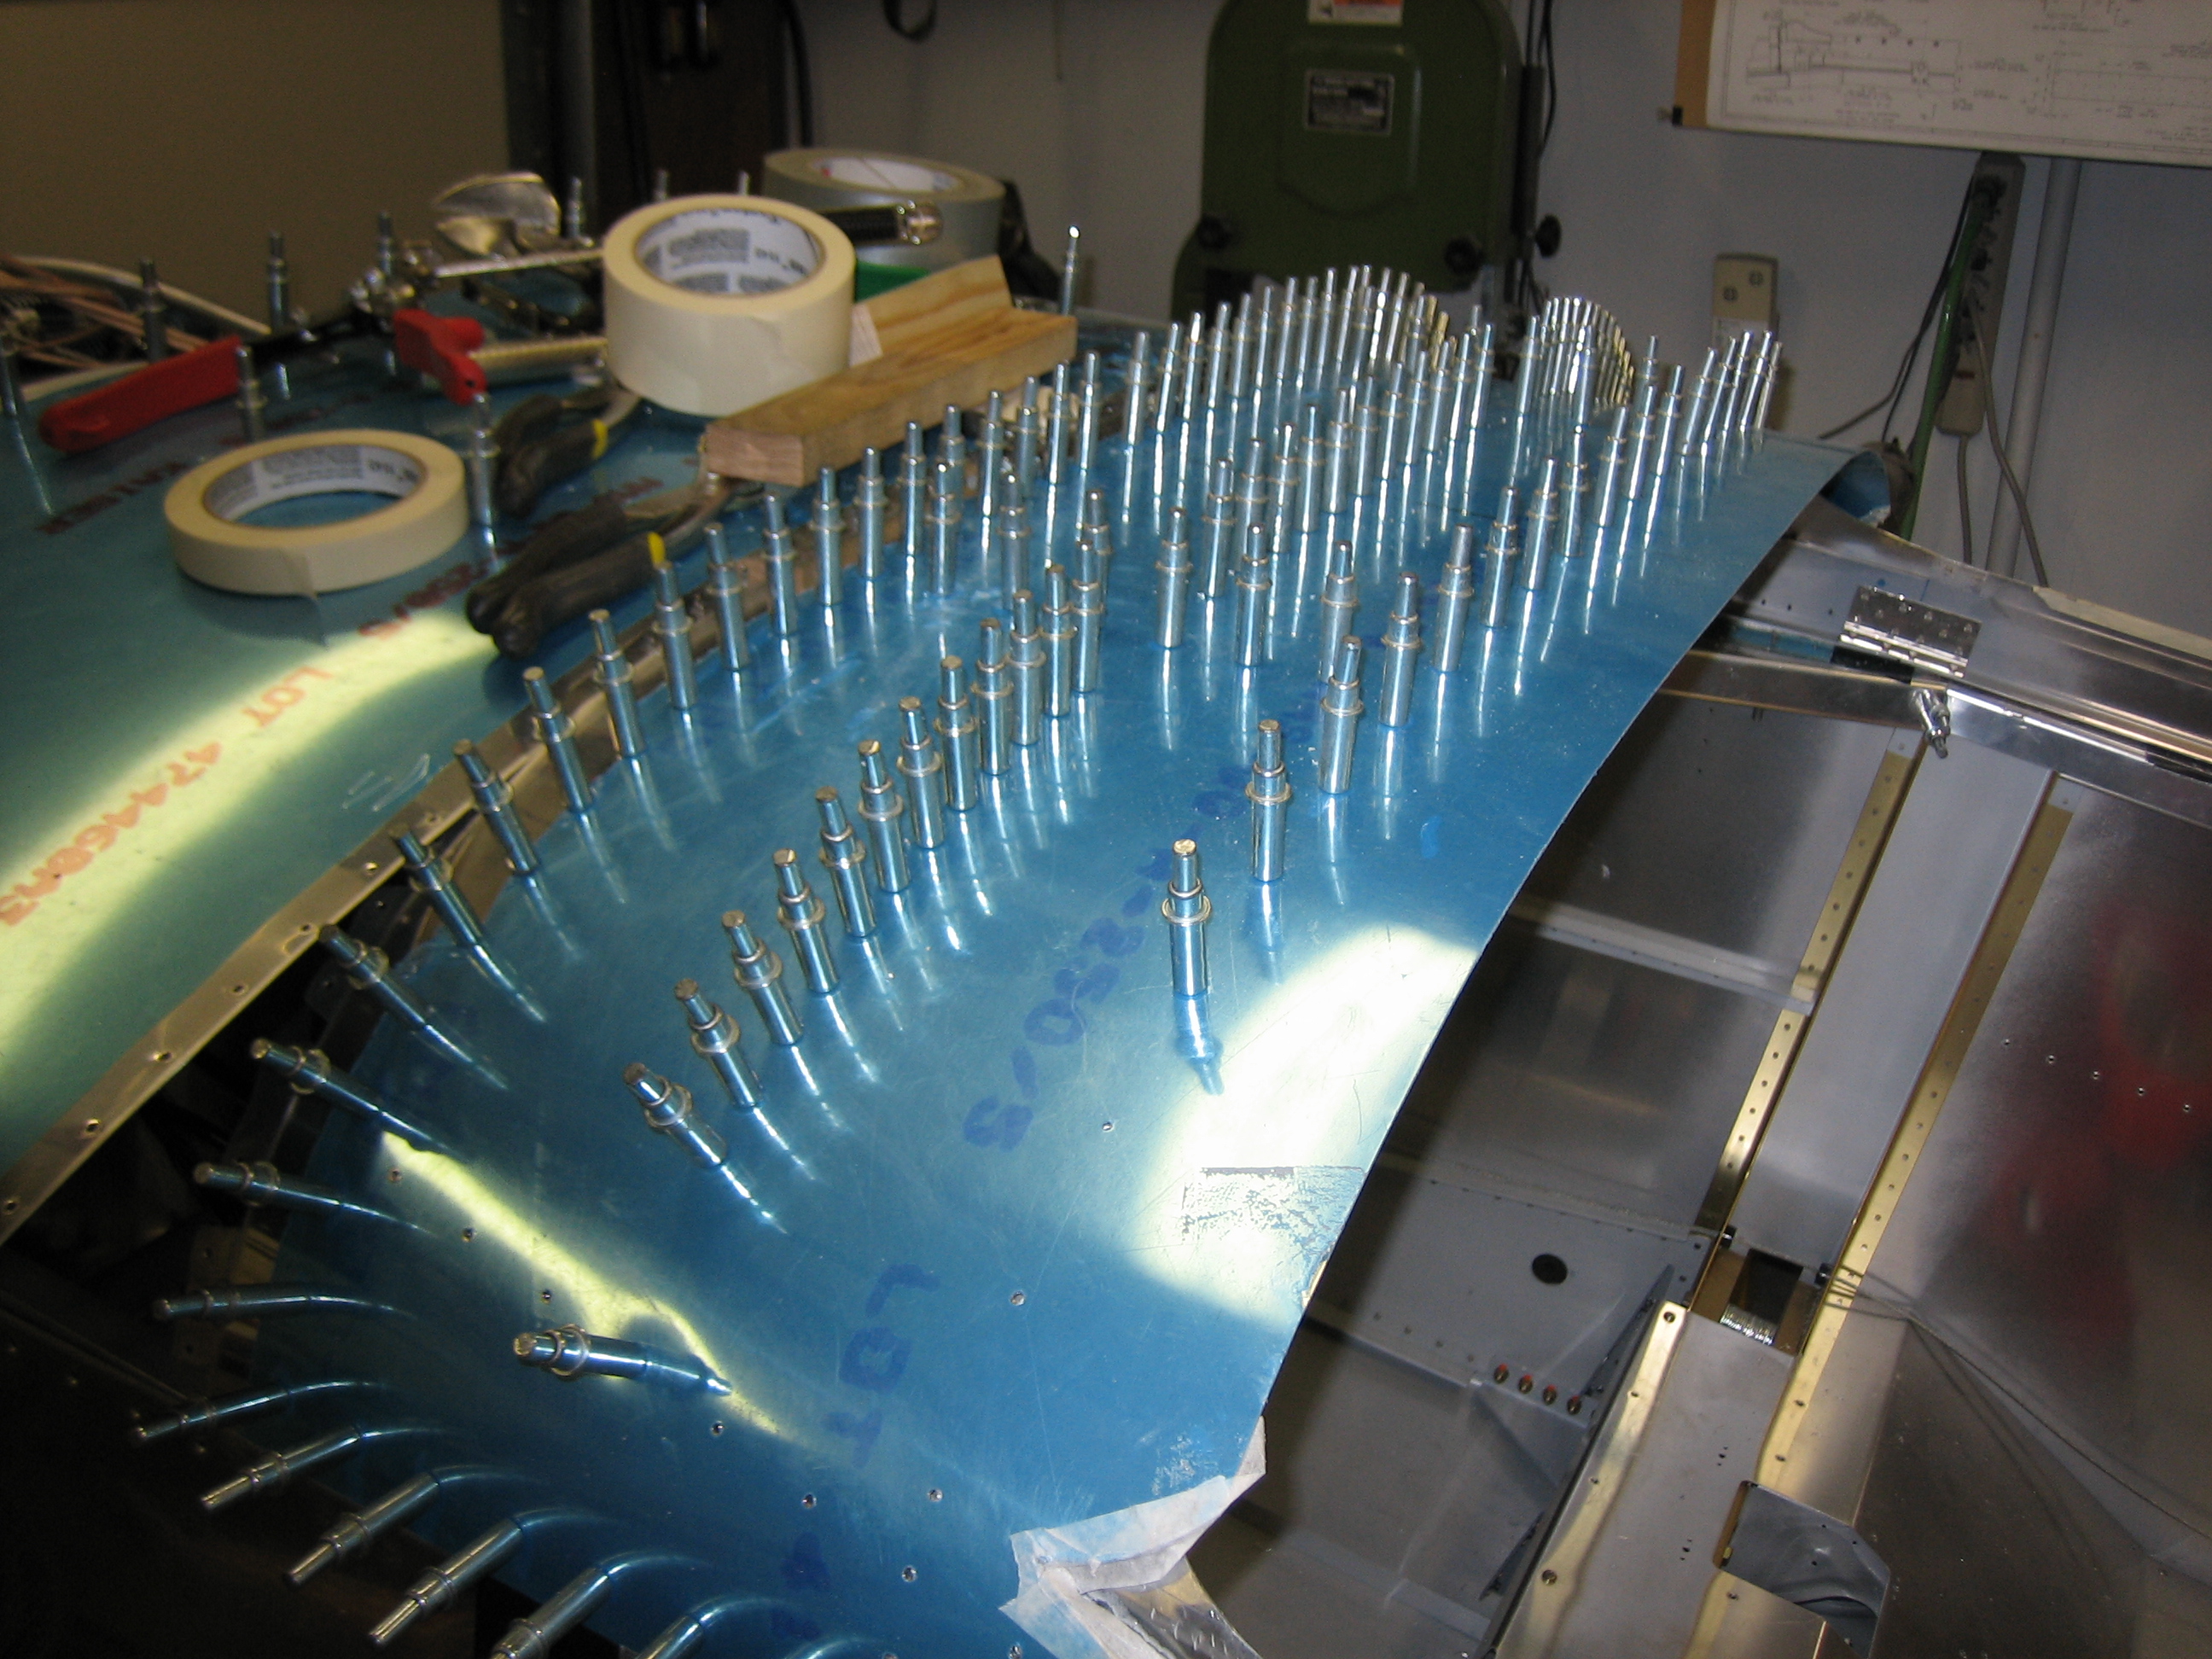
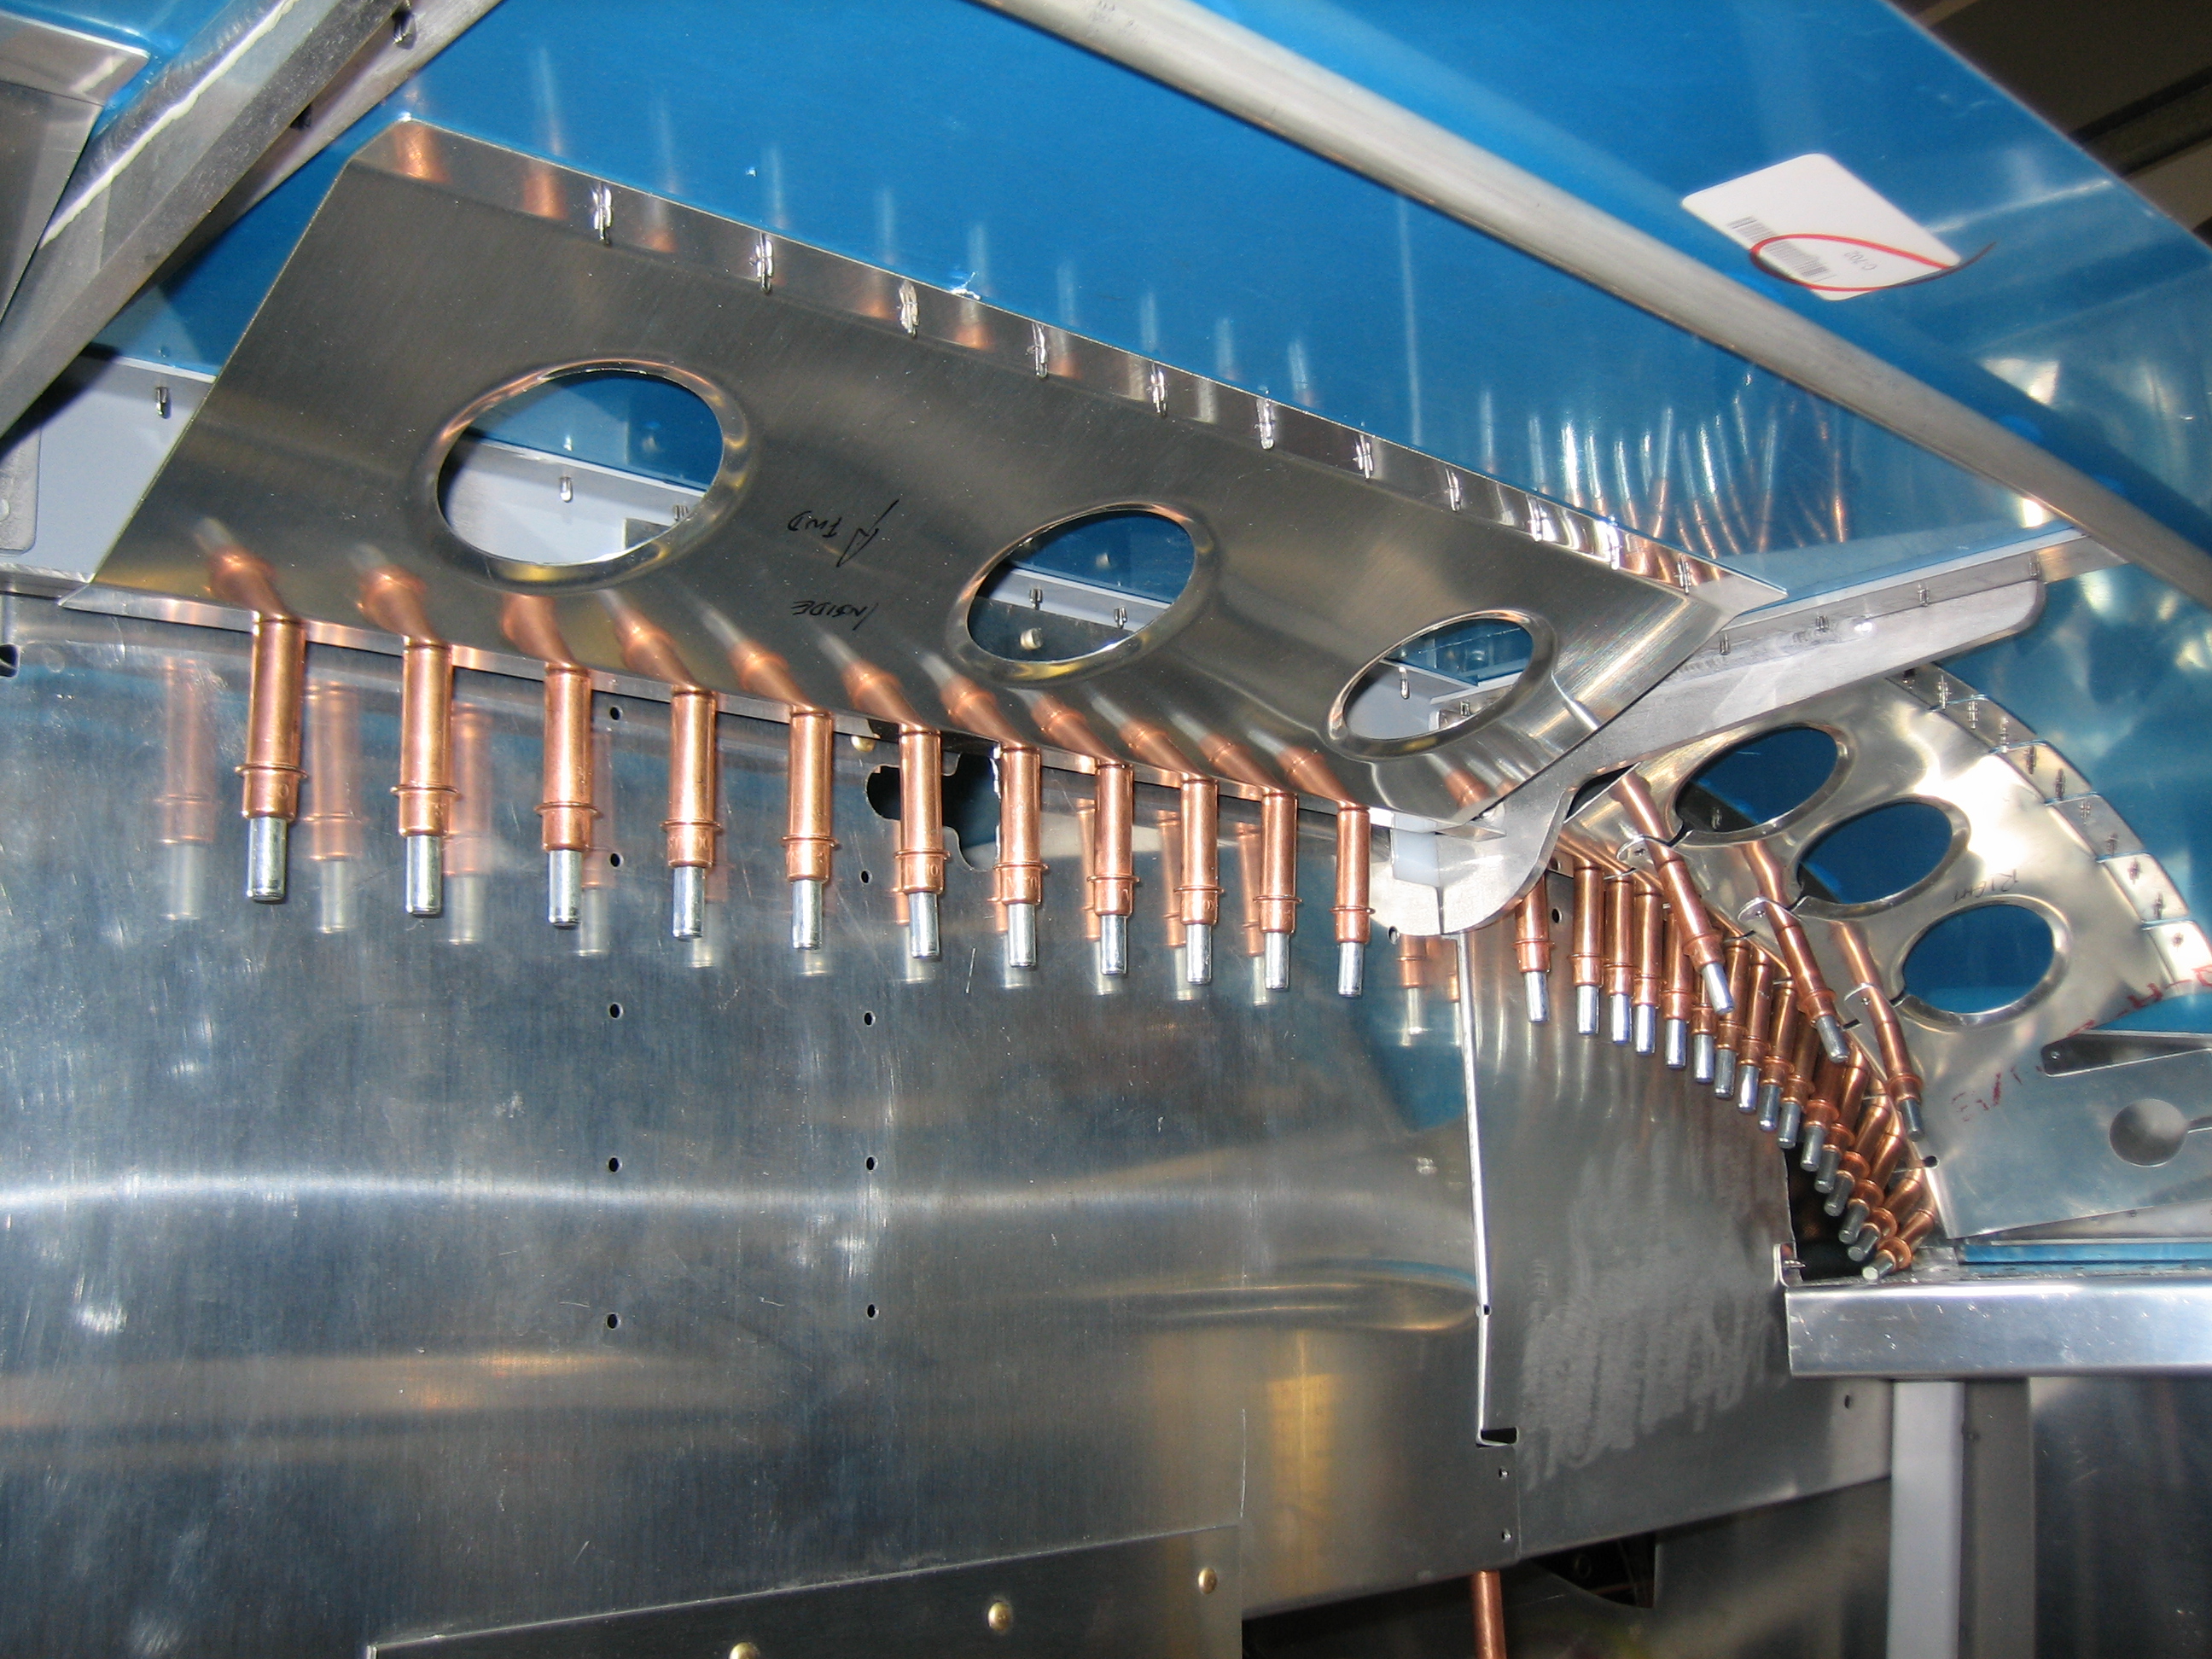
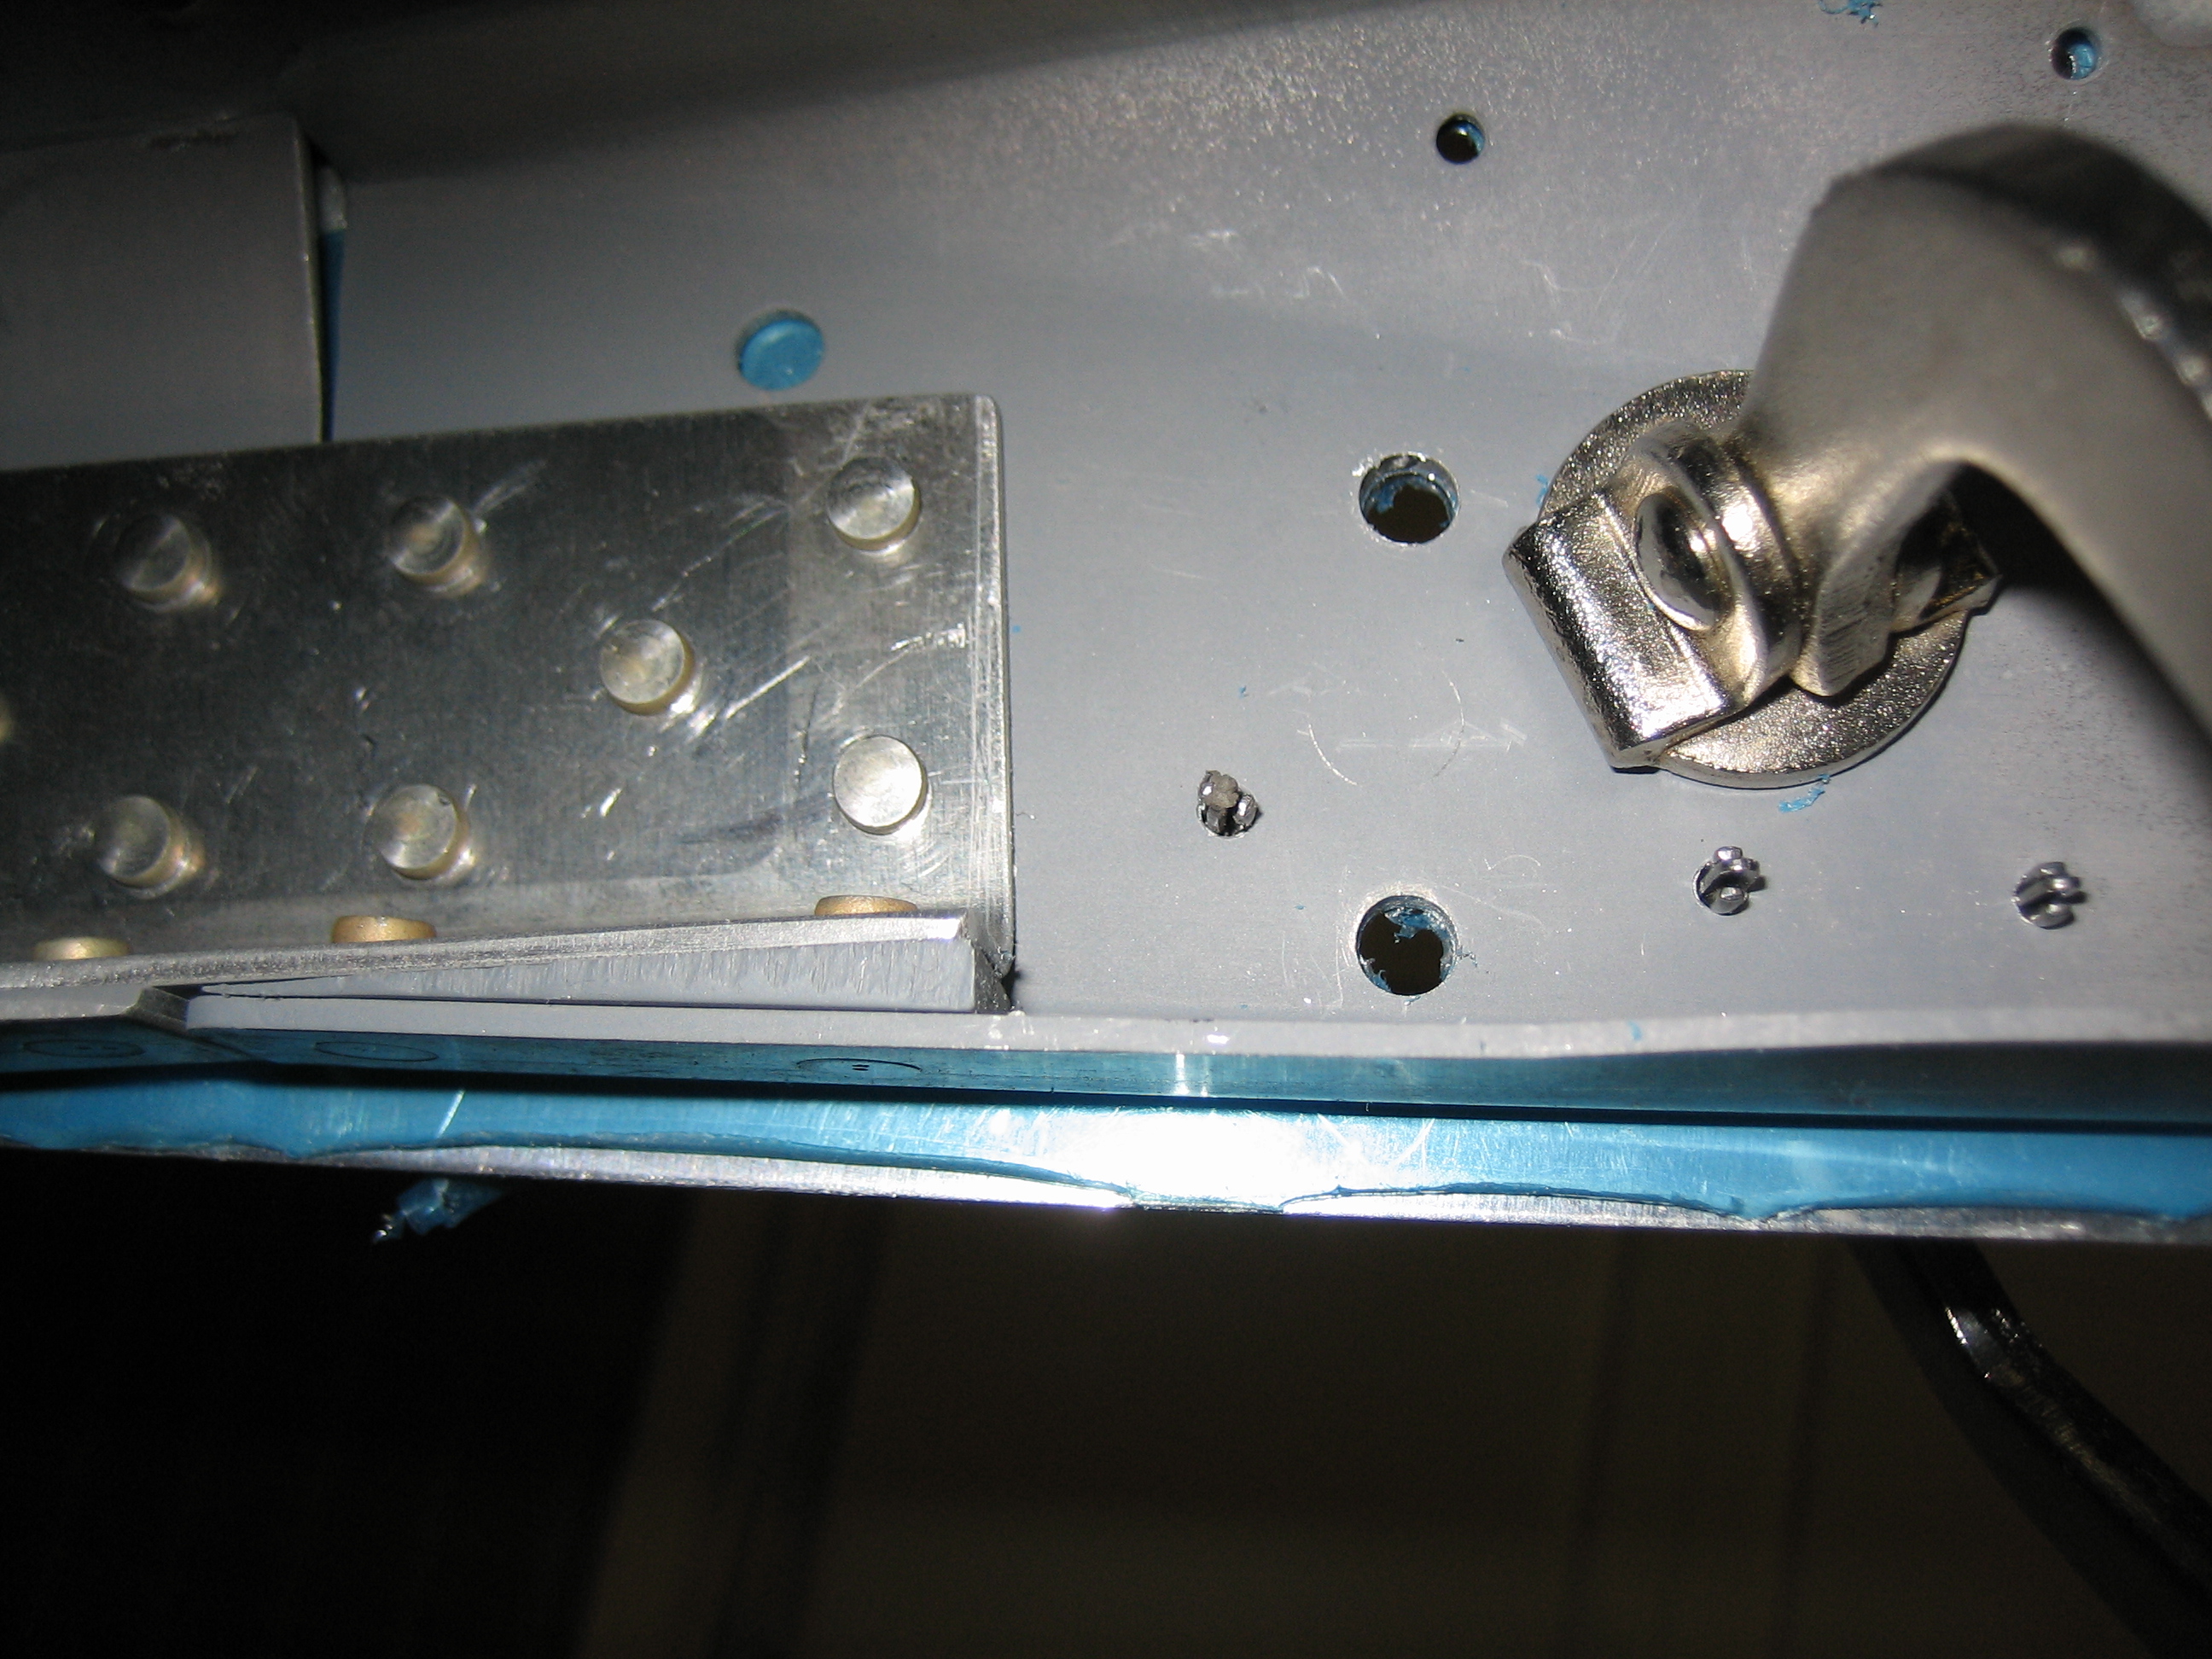
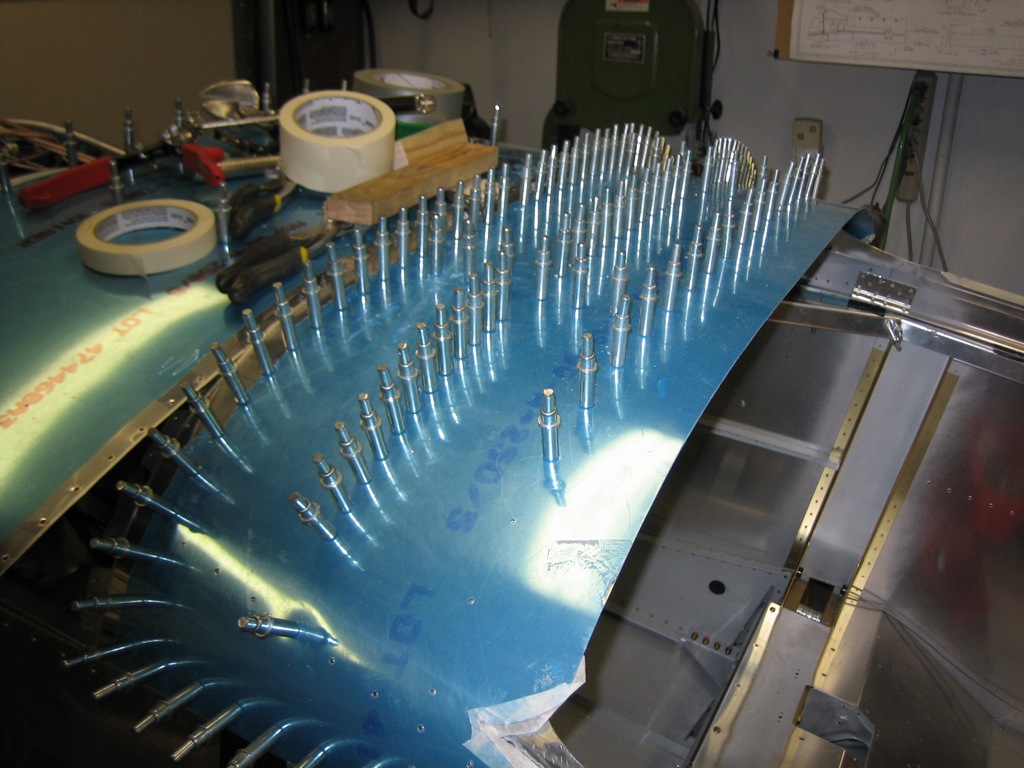
Here you can see that the entire aft flange of the reinforcement pieces have been drilled (the center lateral row of clecoes. The only thing left is a couple of the end flanges that still only have one hole.
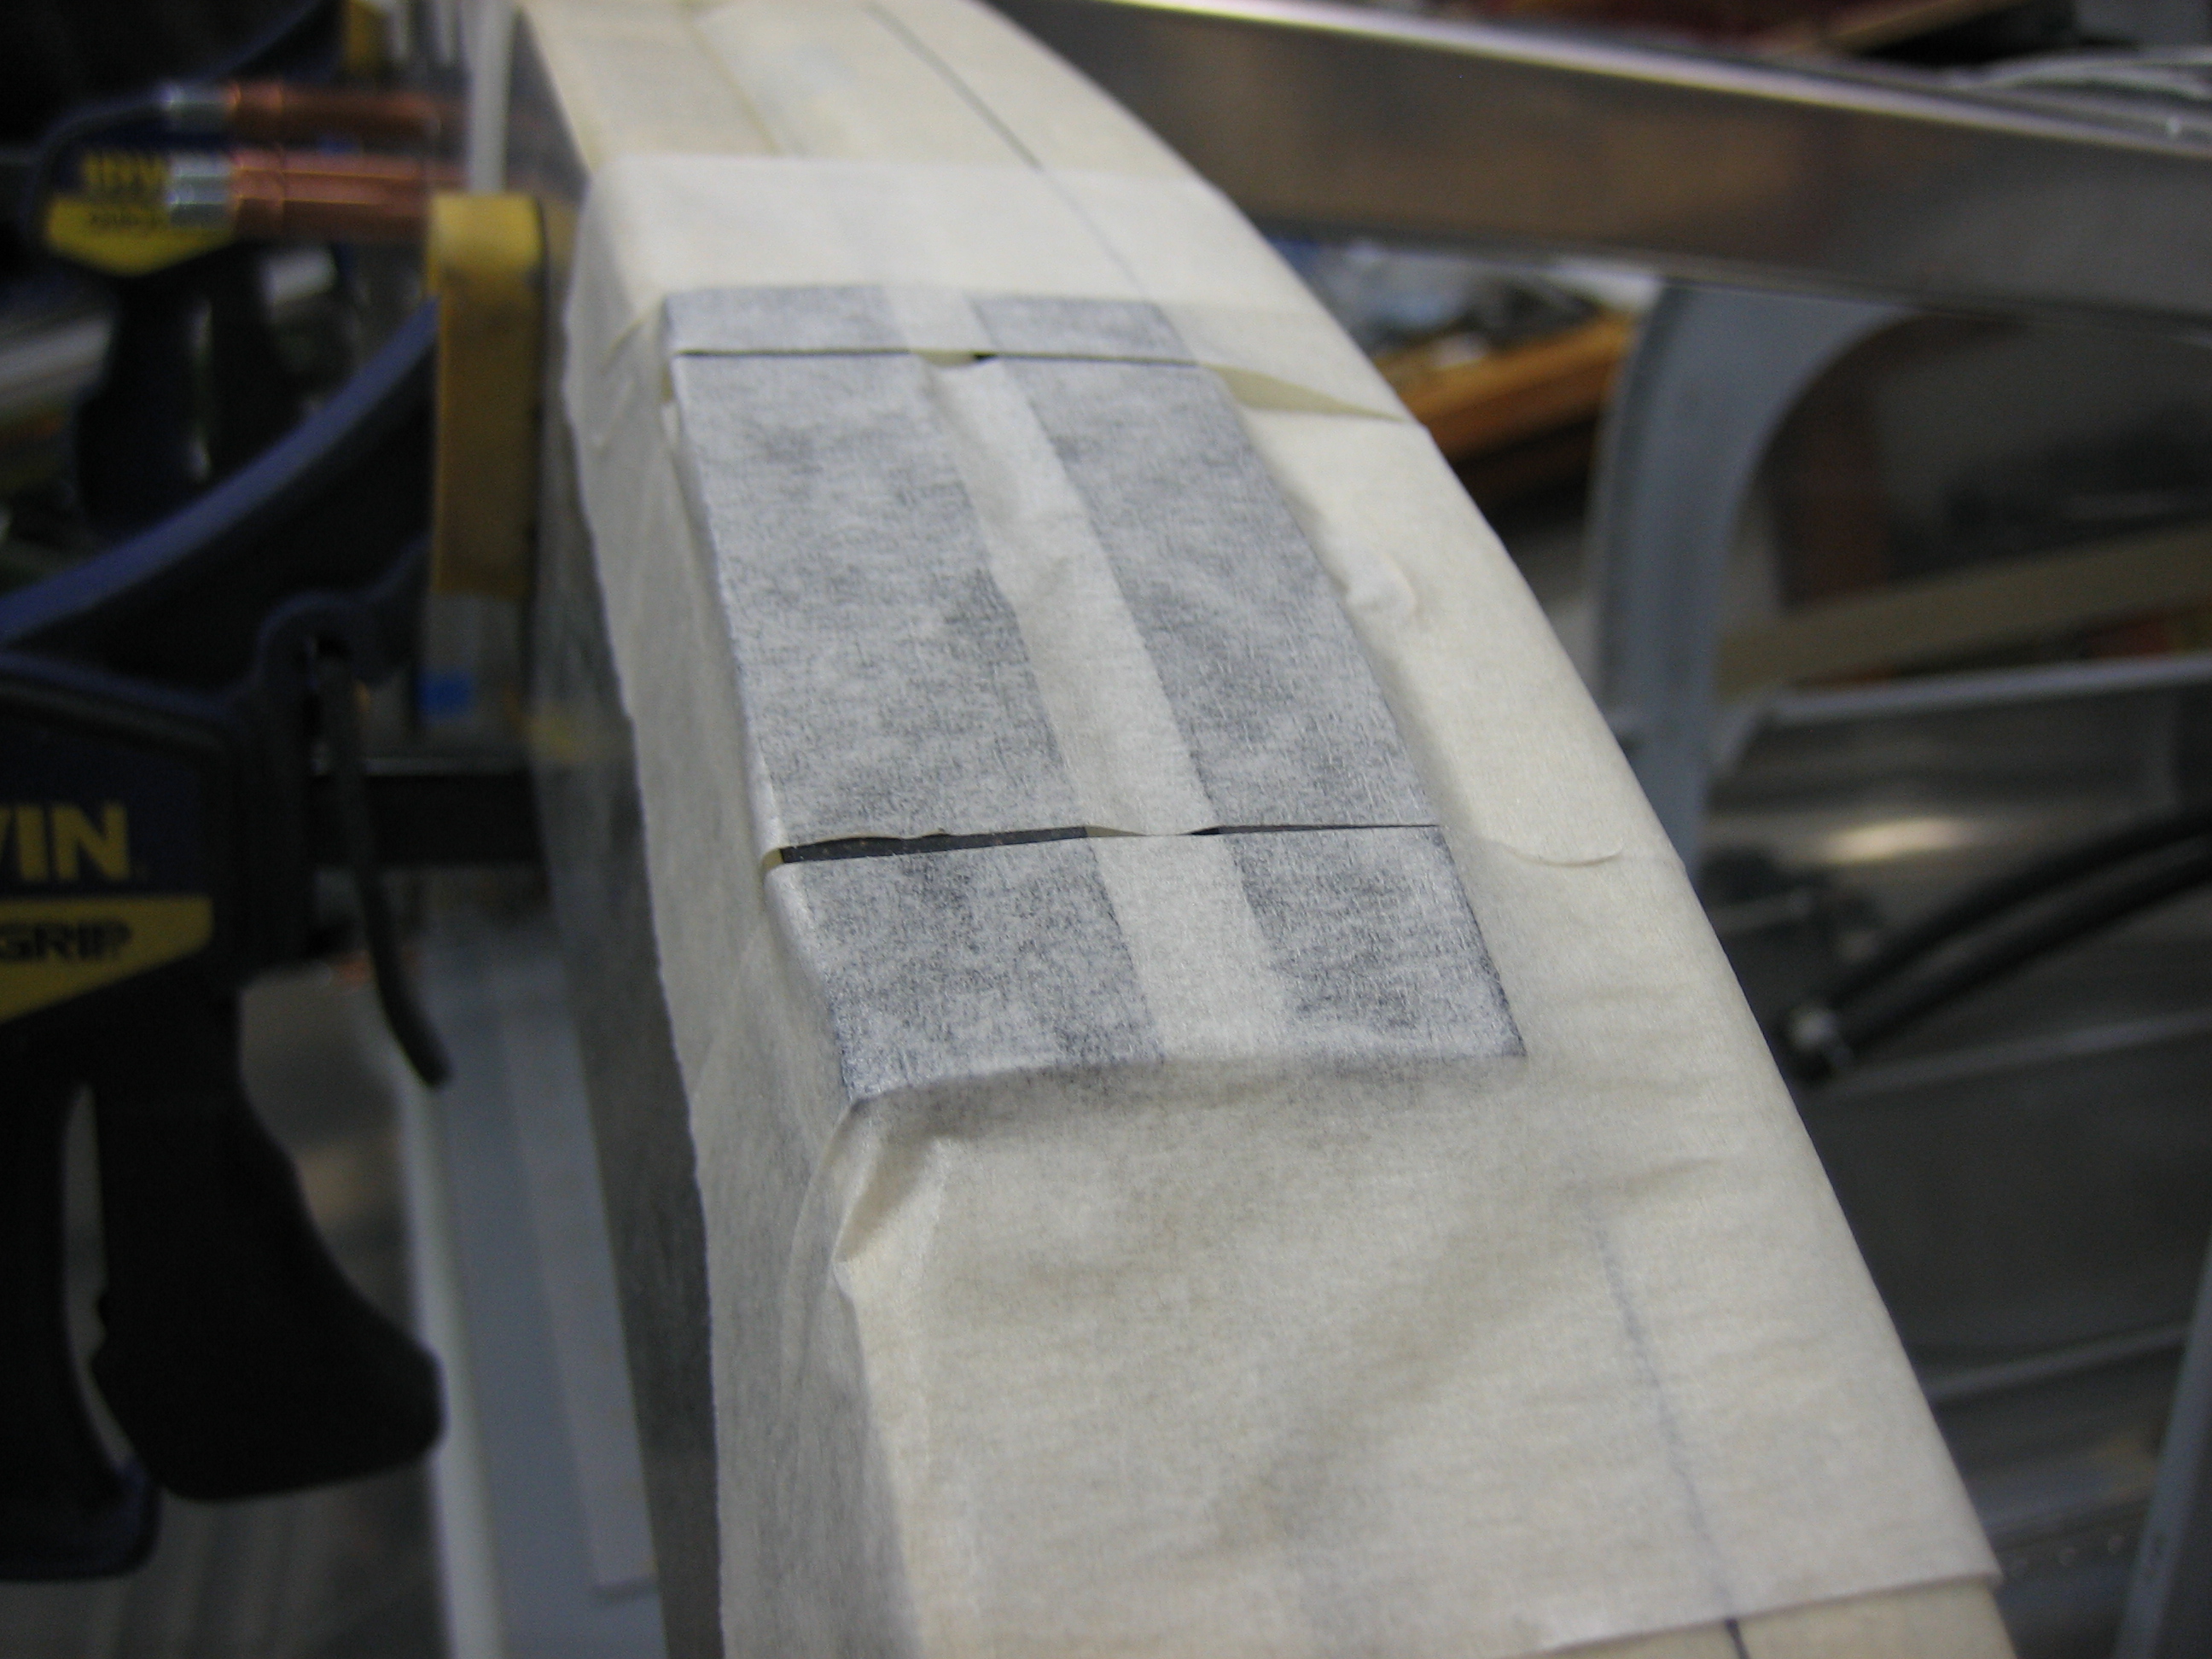
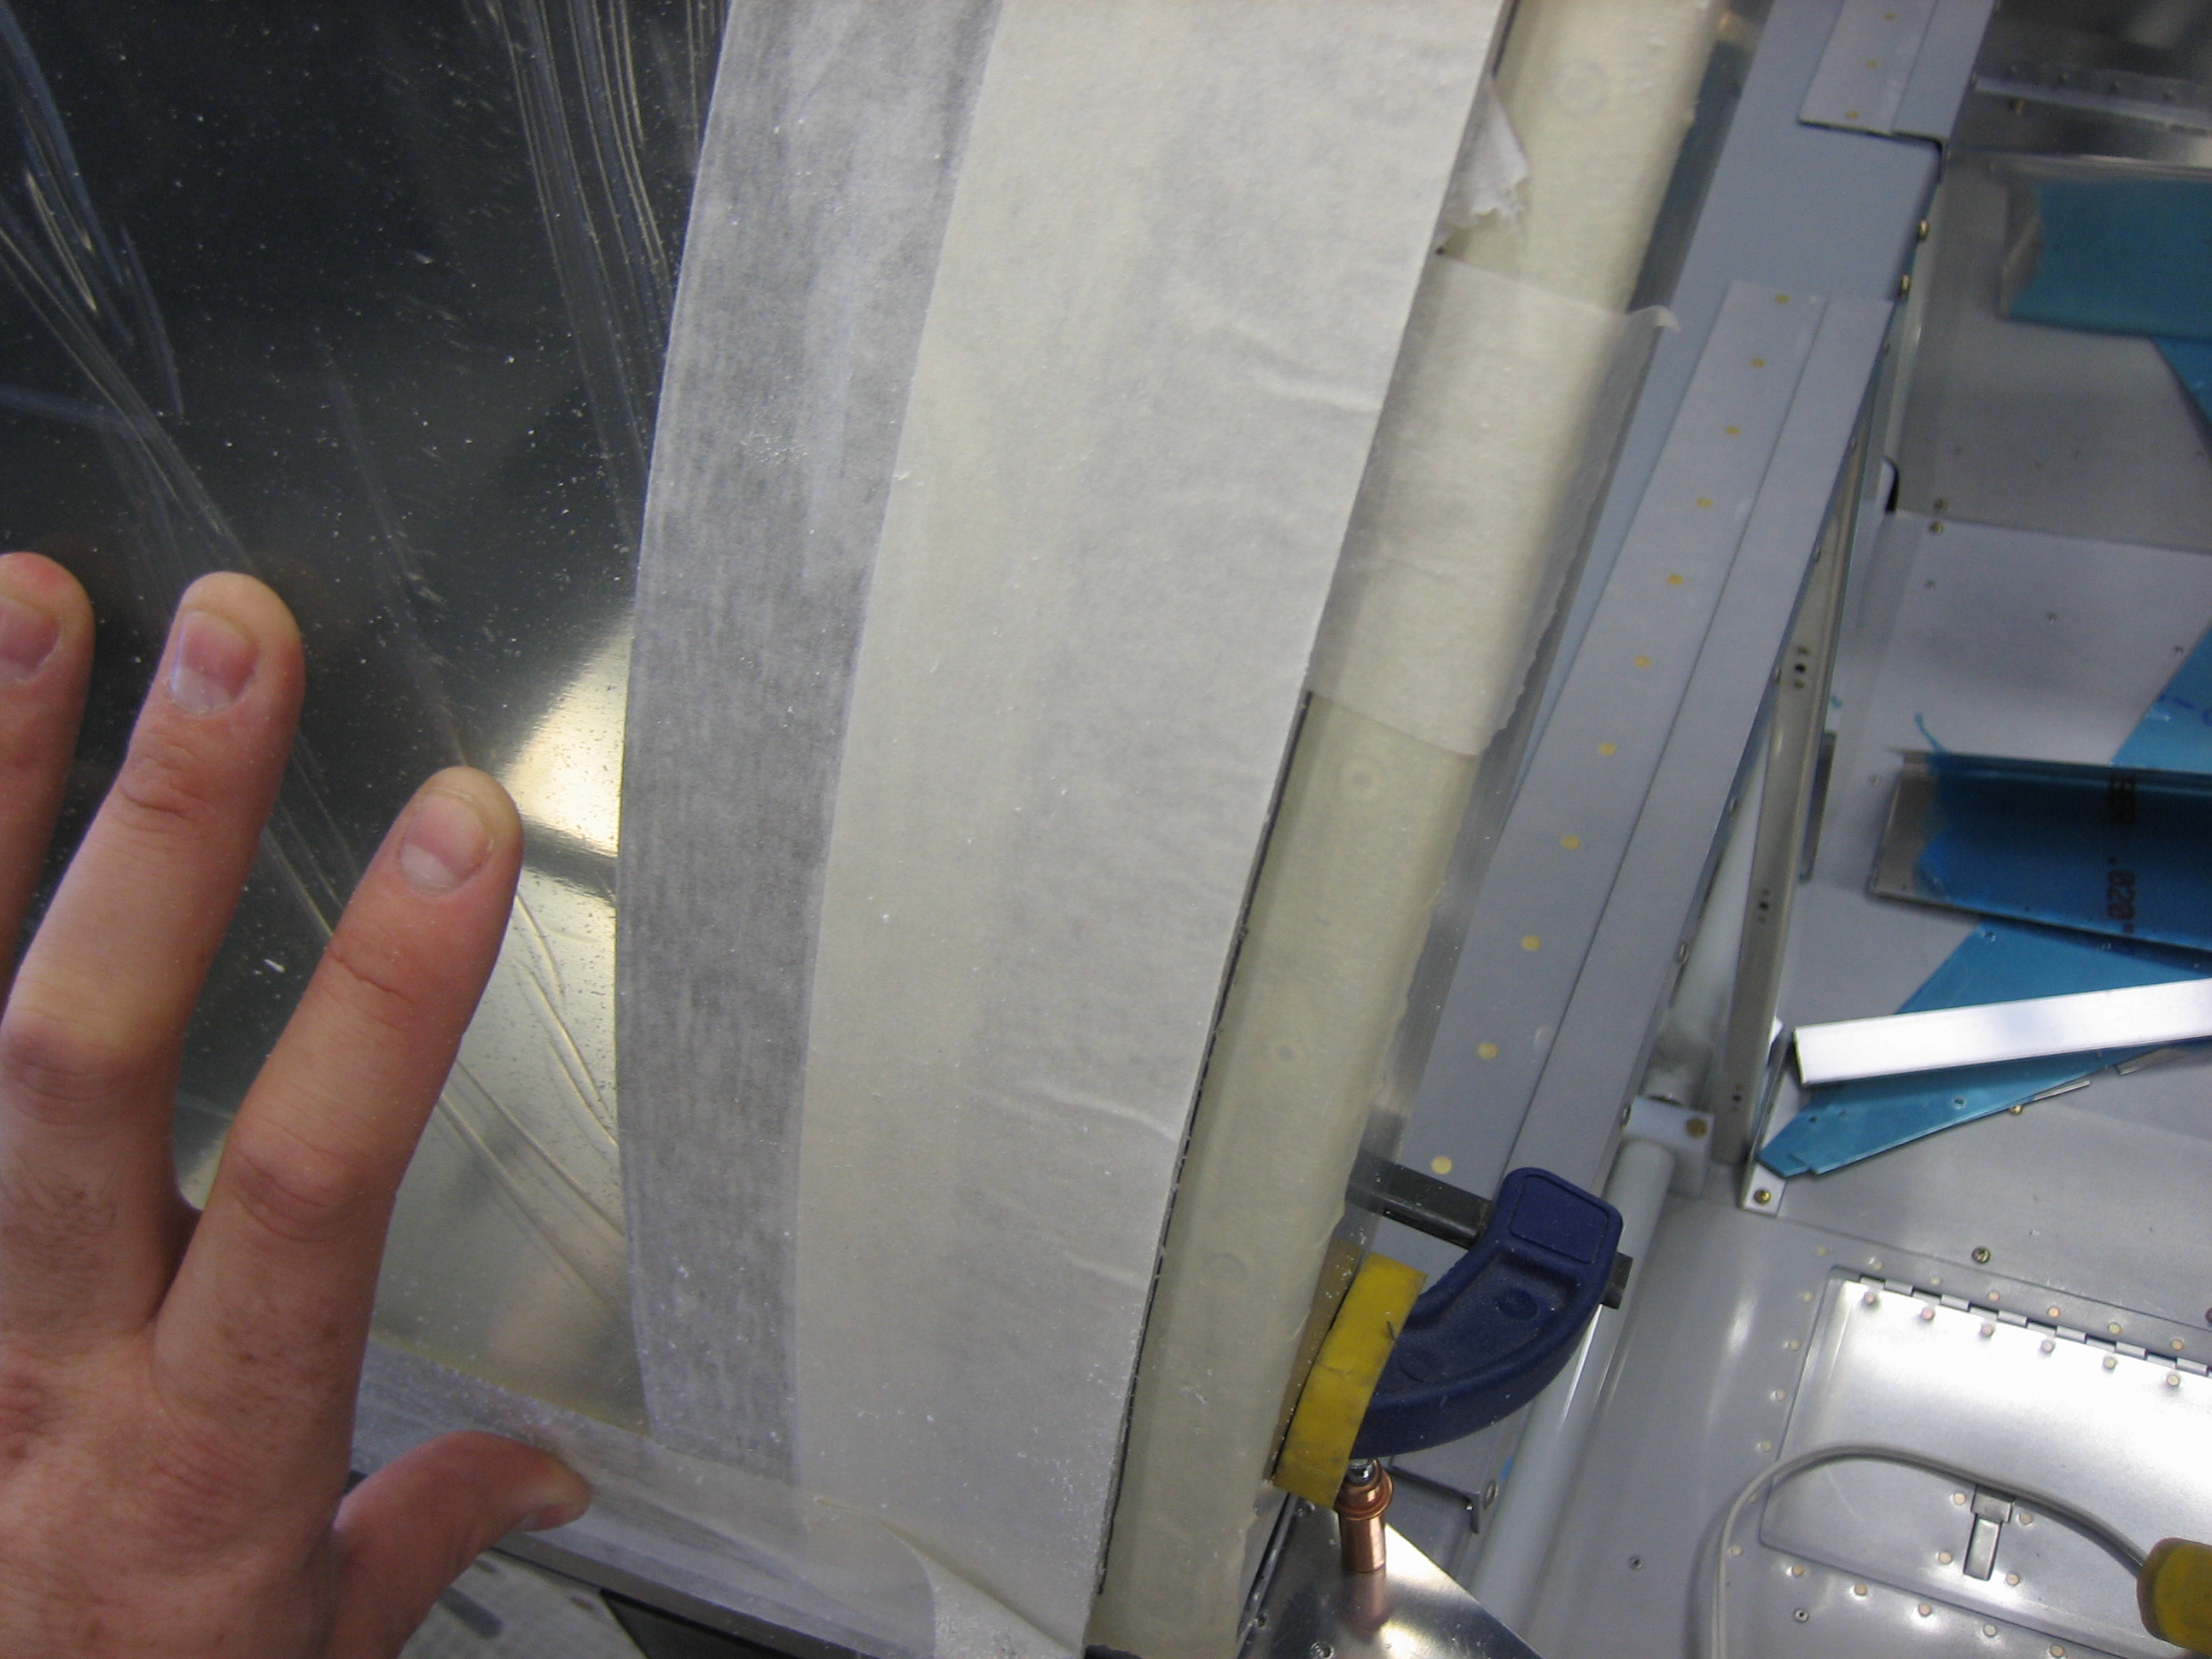
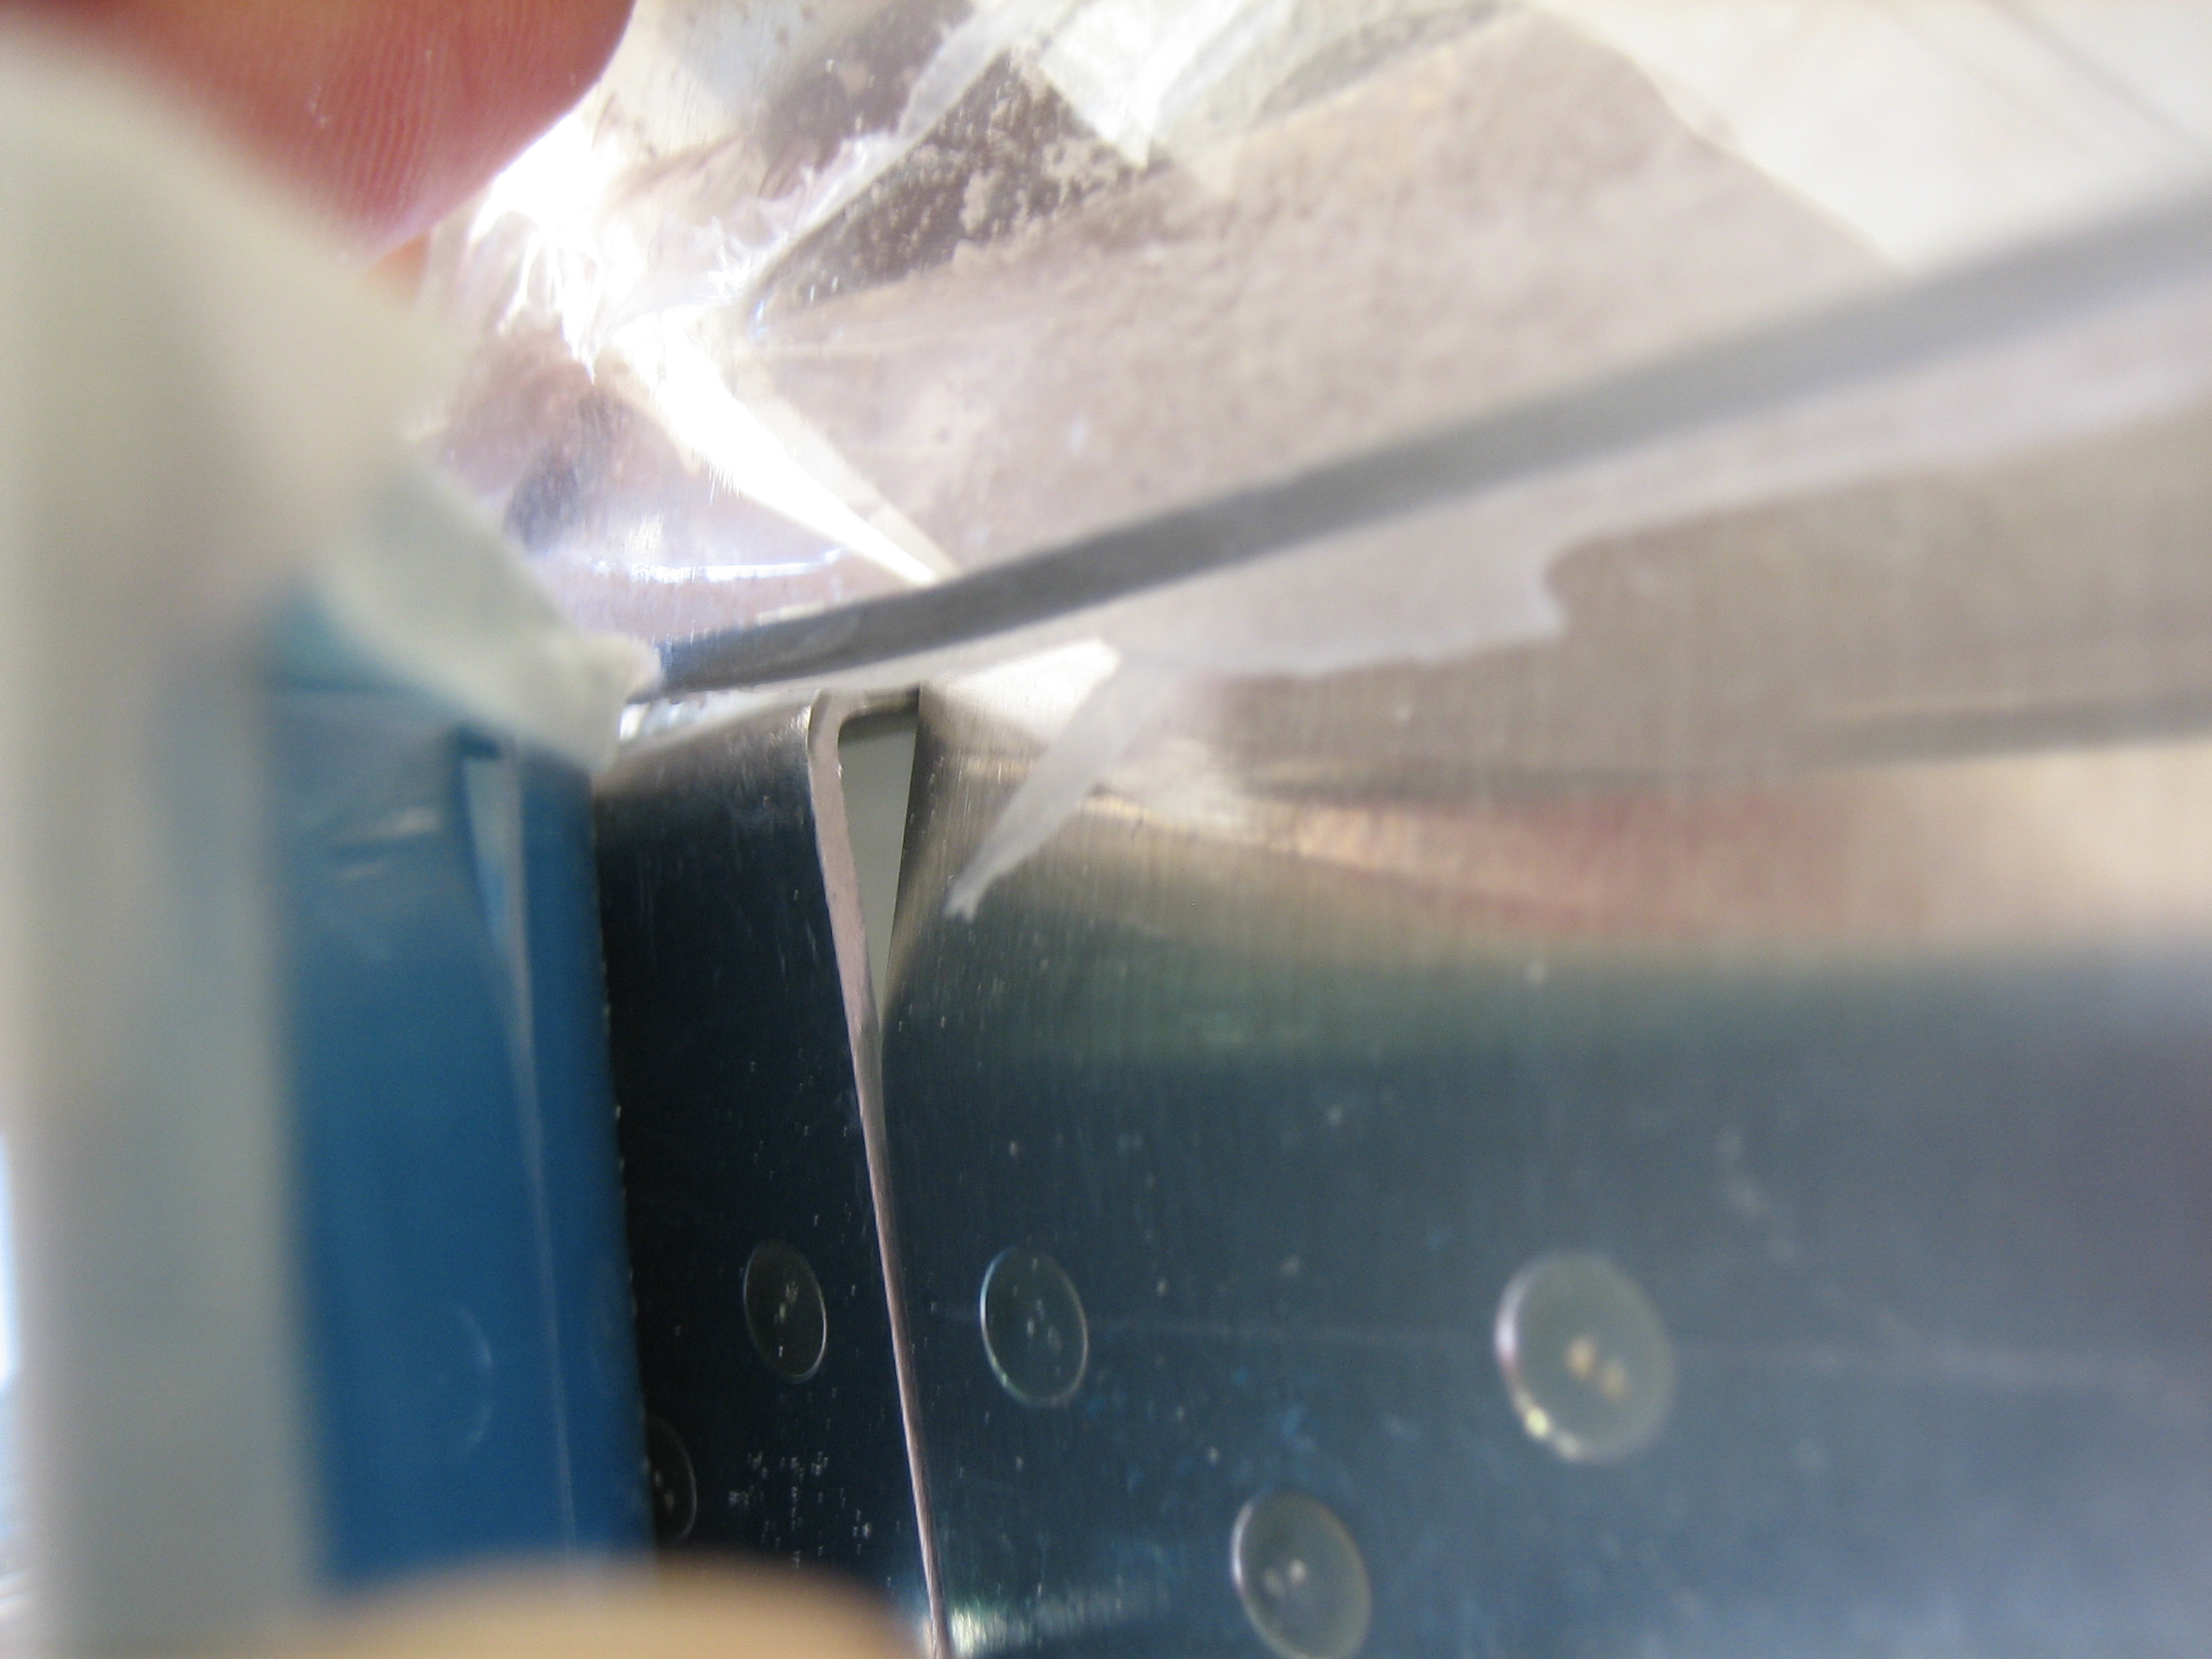
I’m not sure why I took this, but here’s the inside.