Fuselage Ship Date

I received my letter from Van’s today with the fuselage ship date.  It will ship during the week of 11/2, giving me about 5 weeks to finish up the wings.  The second wing will come off the jig this weekend, so the remaining tasks are to finish up the ailerons, build the flaps and control push rods, install the autopilot servo, pitot tube, bottom skins, and wing tips.

Fuselage has Shipped!

My fuselage was scheduled to ship next week some time, but on a fluke I checked my credit card online today and noticed I had been charged for the fuselage.  I called Van’s to see if I could get an estimate on when it would ship and was told it had shipped yesterday.  I called FedEx freight and they told me that it will be here tomorrow!  Holy lack of notice Batman!  If I hadn’t checked, I wonder when I would have found out.

I didn’t do any work on the plane tonight, but I did spend a couple of hours cleaning up the garage and making room for the fuselage crate.  The crate is pretty big (about 8′ long, 3.5′ wide and 1.5′ thick and it weighs over 300 lbs), so once I get it into the garage, I still need room to get around it and unpack it.

Received Fuselage, Started Inventory

My fuselage kit showed up today.  I wasn’t home when the driver showed up, but Jenn opened the garage door and the driver placed the kit inside.

My buddy Andre stopped by tonight and we cracked the crate open.

Van’s does a great job of packing these crates so there’s no wasted space.  About the only empty space in the whole crate was inside the rolled up skins on the left here.

We unwrapped all of the parts and stacked them around the garage.  My workbenches are completely covered now.

A bunch more parts are stacked on my other workbench.

And parts are leaned up against the wings.

…or set on the floor.

The pile of paper and cardboard is pretty substantial.  My son Matthew thought the empty crate was a great thing to play in.

Here is the inventory.  10 sheets with probably 30 items each.

I made it through all of the larger parts and placed them up on my shelves.  I still have to inventory all of the small bags, but that can wait until tomorrow.  So far I’ve only found a couple of items that were supposed to be in one subkit but weren’t.  I’ll see if they happened to be placed in one of the bags, but otherwise I’ll have to call Van’s about them.  There were also a couple of backordered items, so I’ll need another shipment from them anyway.

Finished Inventory

I was up until 3 AM finishing the fuselage inventory.  I found the two parts I thought I was missing.  I only found one mistake where Van’s sent me some of the wrong kind of screws.  I’ll give them a call on Monday to get this corrected.

I still need to reorganize my storage bins to get everything put away, but that can wait until tomorrow; I’m beat.

Started Assembling Firewall

Even though there is work left to do on the wings, I was excited to get started on the fuselage.  First up is to fabricate the firewall.  There are several parts that have to be fabricated from rough stock.  These are fabricated from some beefy 0.187″ thick angle stock.

This stiffener is fabricated from some 0.063″ angle stock.

These attach angles tie together the lower firewall stiffener, two upper firewall stiffeners and later the forward floor stiffeners of the fuselage.  These need to be spaced 3/32″ from the flange of the lower stiffener.  The easiest way to do this is to use a #40 drill bit to position the angle.  Behind the angle are a couple of shims that are scotch taped in place so that all of these can be drilled together to the firewall.

Using plenty of boelube, these are match drilled using the firewall as a guide.

After fabricating a couple of additional stiffeners, I clecoed all of the stiffeners and weldments to the firewall.  The four gray brackets in each corner are powder coated steel weldments that will eventually tie the fuselage longerons directly to the engine mount through some beefy bolts.

Received Reservoir Dog

I’ve been out sick the last couple of days, so I haven’t been able to do anything on the plane, but my order from Peterson Innovation showed up today.  They make a slick little product called the Reservoir Dog that fits on your brake fluid reservoir to keep brake fluid from spilling out when you’re inverted.  As you can see in the picture below, it fits between the aluminum reservoir and the breather cap that comes from Van’s.  It contains a check valve that allows air into the reservoir when you’re upright, but seals tight when inverted.

Disassembled Firewall

I fabricated the F-601TD brake reinforcement doubler and match drilled it to the fuselage.  I also laid out and drilled the 7/16″ holes through this and the firewall.  Drilling stainless is pretty hard on cutting tools, but I used some foam that is a tapping lubricant and that seemed to work really well.

Here are all of the components that came off of the firewall.  I deburred all of these except for the steel brackets at the top.  There’s still a lot of work to do here as the firewall side of most of these pieces needs to be machine countersunk to receive the dimples in the firewall.

The plans don’t make any mention of it, but the F-601Z aux fuel firewall doubler isn’t required if you’re using a fuel injected engine as I will be.  Leaving this out means a lot fewer unnecessary holes in the firewall.

Prepped Firewall for Riveting

My mom is in town, so I got her help dimpling the firewall.  I was a little worried that the DRDT-2 dimpler wouldn’t make as crisp of a dimple in the stainless (though I didn’t even try to see if this fear was warranted).  My buddy Andre has a couple of the traditional Avery style dimplers, so I borrowed one to dimple the firewall.

As you can see, the dimples are perfectly crisp and the material around the dimple is perfectly flat.

I also machine countersunk about half of the holes in the stiffeners before having to call it a day.  Hopefully I can finish these up, prime them and rivet the firewall together in the next couple of days.

Riveted Firewall

My step-father Curtis was in town and gave me a hand prepping the firewall components for priming and helped me back-rivet everything in place.  We had a little problem with one of the corners because the firewall wasn’t sitting flat on the back rivet plate.  I drilled the problem rivets out though and everything looks great now.  Like many other builders, I had to go up in length on some of the rivets to get a sufficiently large shop head (though I don’t think it would have mattered to just use the size called out for in the plans).

Started on Center Section

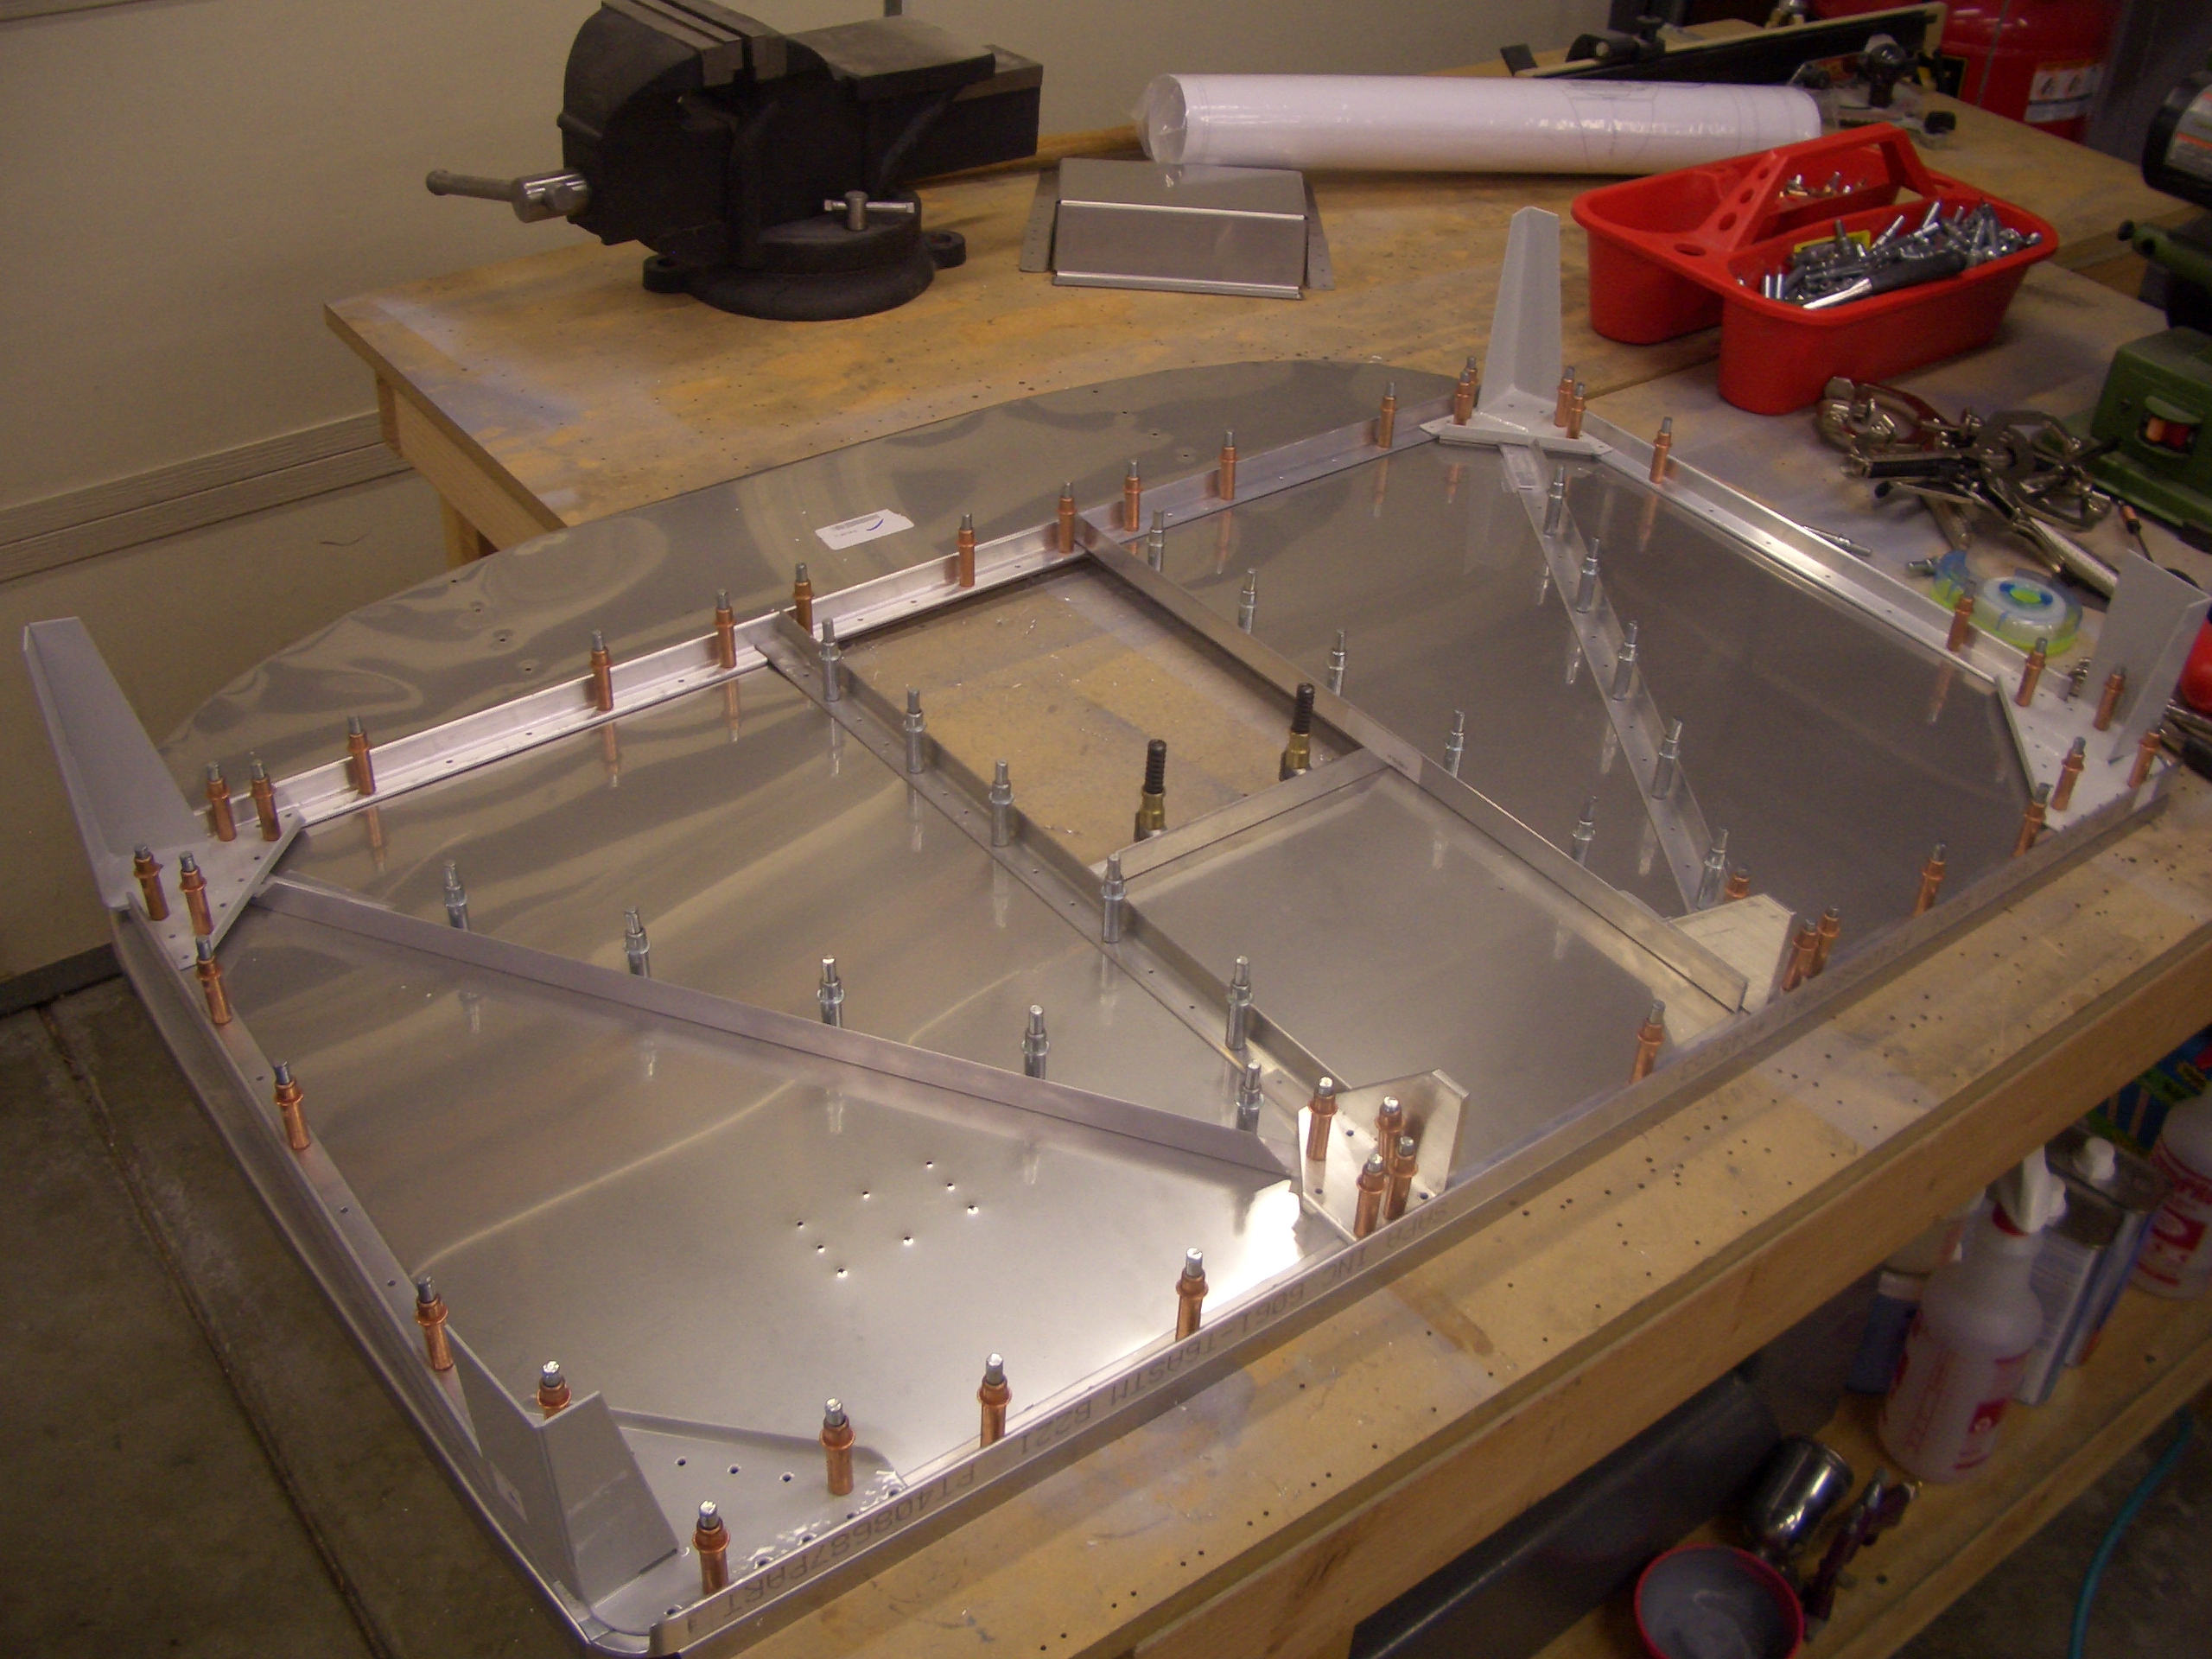
Now that the firewall is out of the way, I got started on the center section.  First up is to enlarge the holes in the side supports to allow the rudder cables to pass through.  These are drilled out to 5/8″ for an SB625-7 snap bushing.

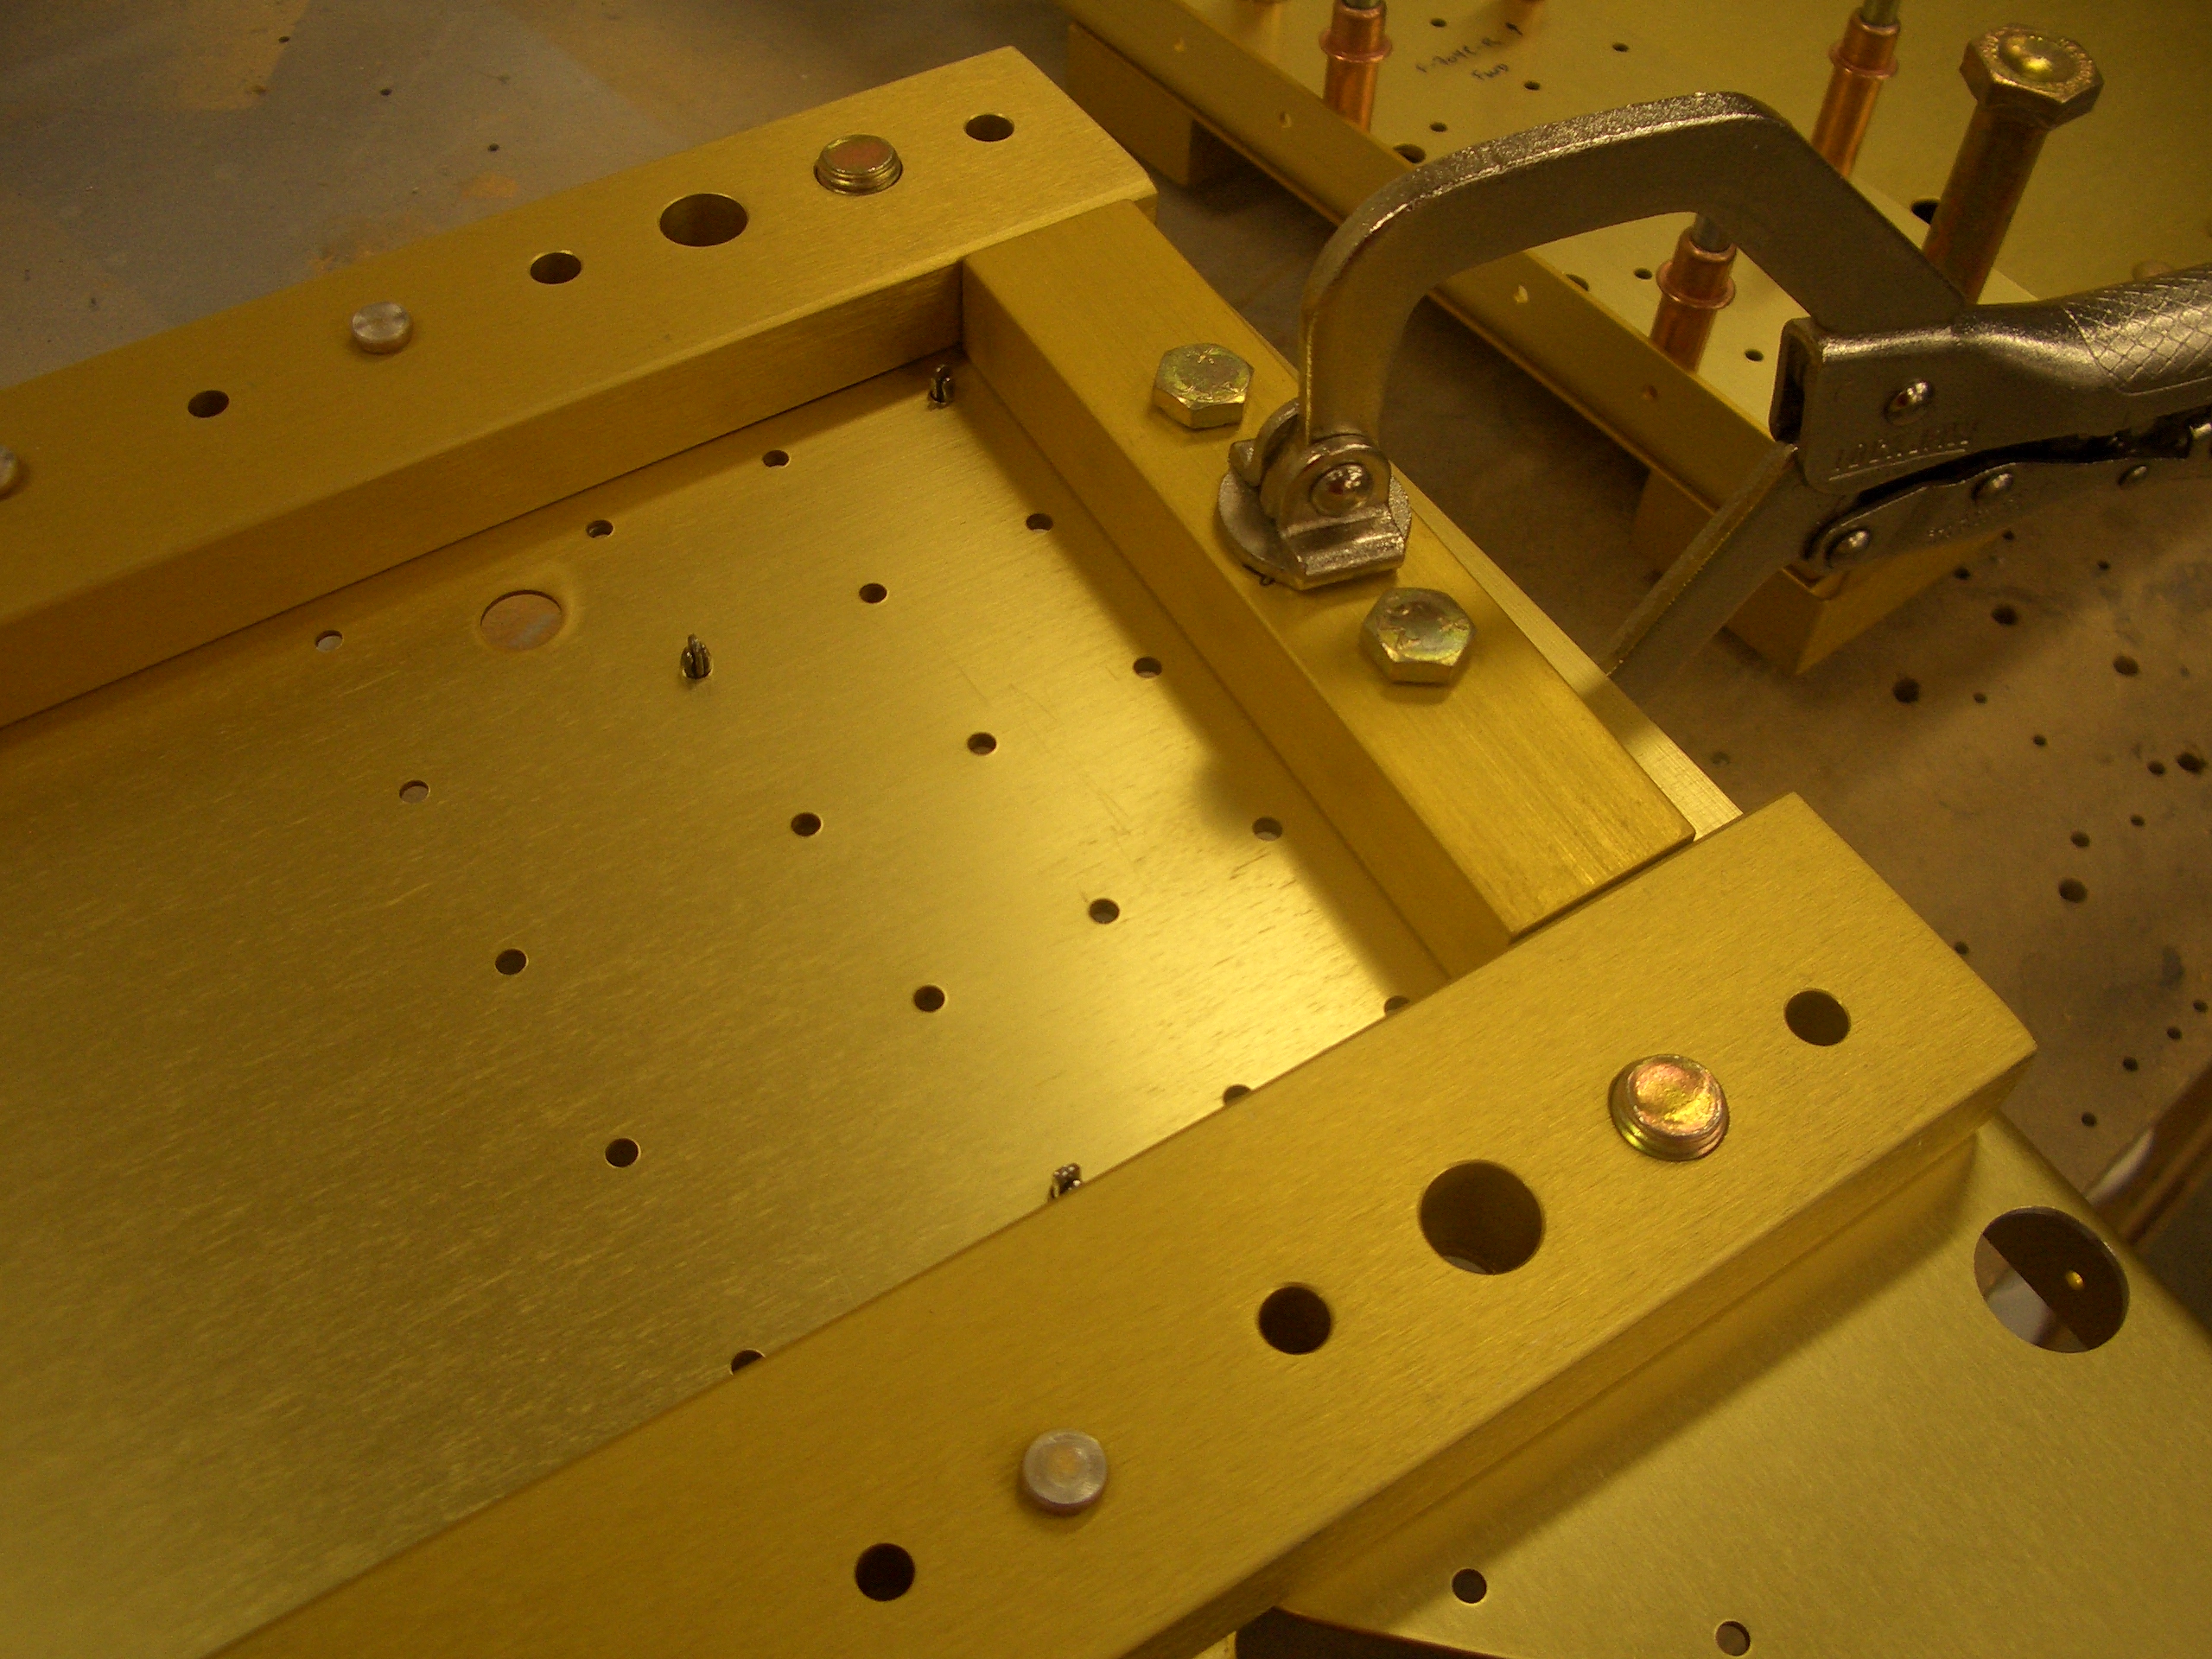
The side supports are then positioned using a couple of close tolerance bolts so that the rivet holes can be precisely match drilled.  These bolts are seriously snug.  Even with some lubricating oil, I had to push these rather firmly to get them through the holes.

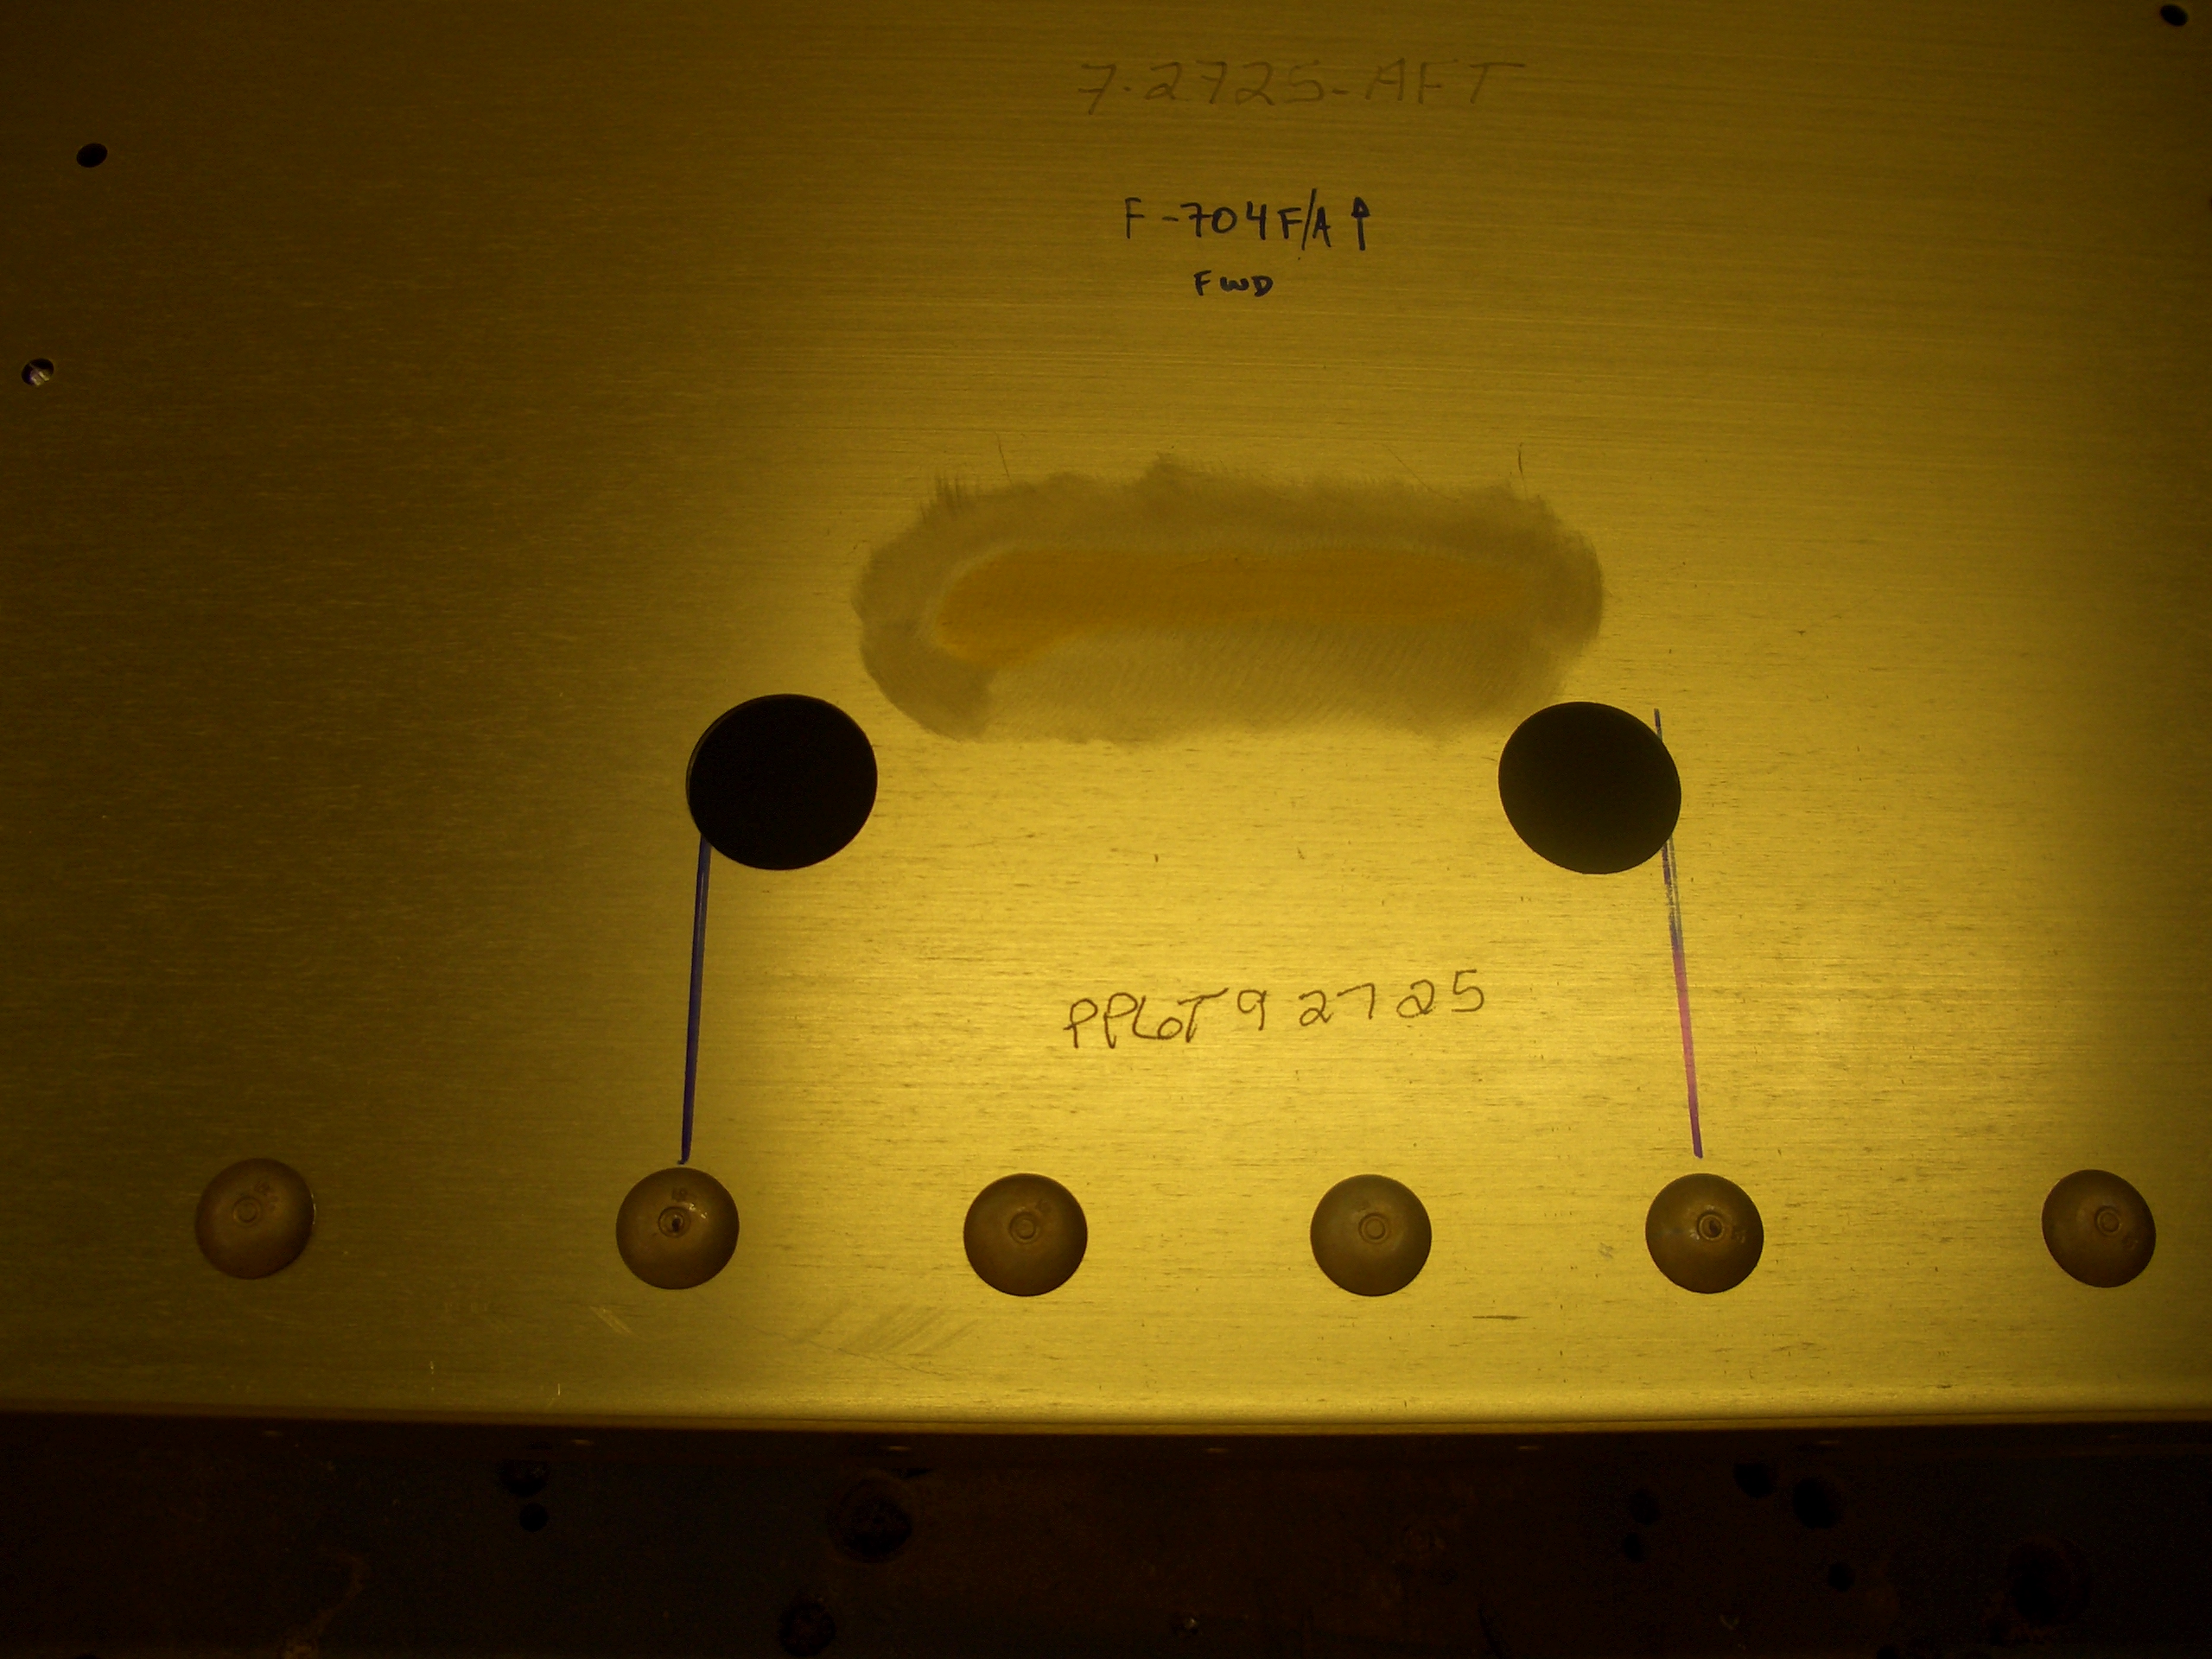
I also noticed something odd when laying out all of the pieces.  Van’s apparently mismarked the forward and after center sections (the aft section was marked fwd and vice versa).  This may have just been a marking error, but if the center section was flipped end for end when the wing spars were match drilled, then the close tolerance bolt holes may not line up precisely when the wings are mated.  I’ll call Van’s on Monday to see if they think this is an issue.  Hopefully their drilling jig won’t let this sort of mistake happen.

Update: I spoke with Ken at Van’s and he’s about 99% sure this is simply a marking mistake.  He didn’t know if their drilling jig would let them drill the center section backward, but said that if I wanted to be 100% sure, I could simply install the center section onto each wing using the close tolerance bolts to see if the holes lined up.

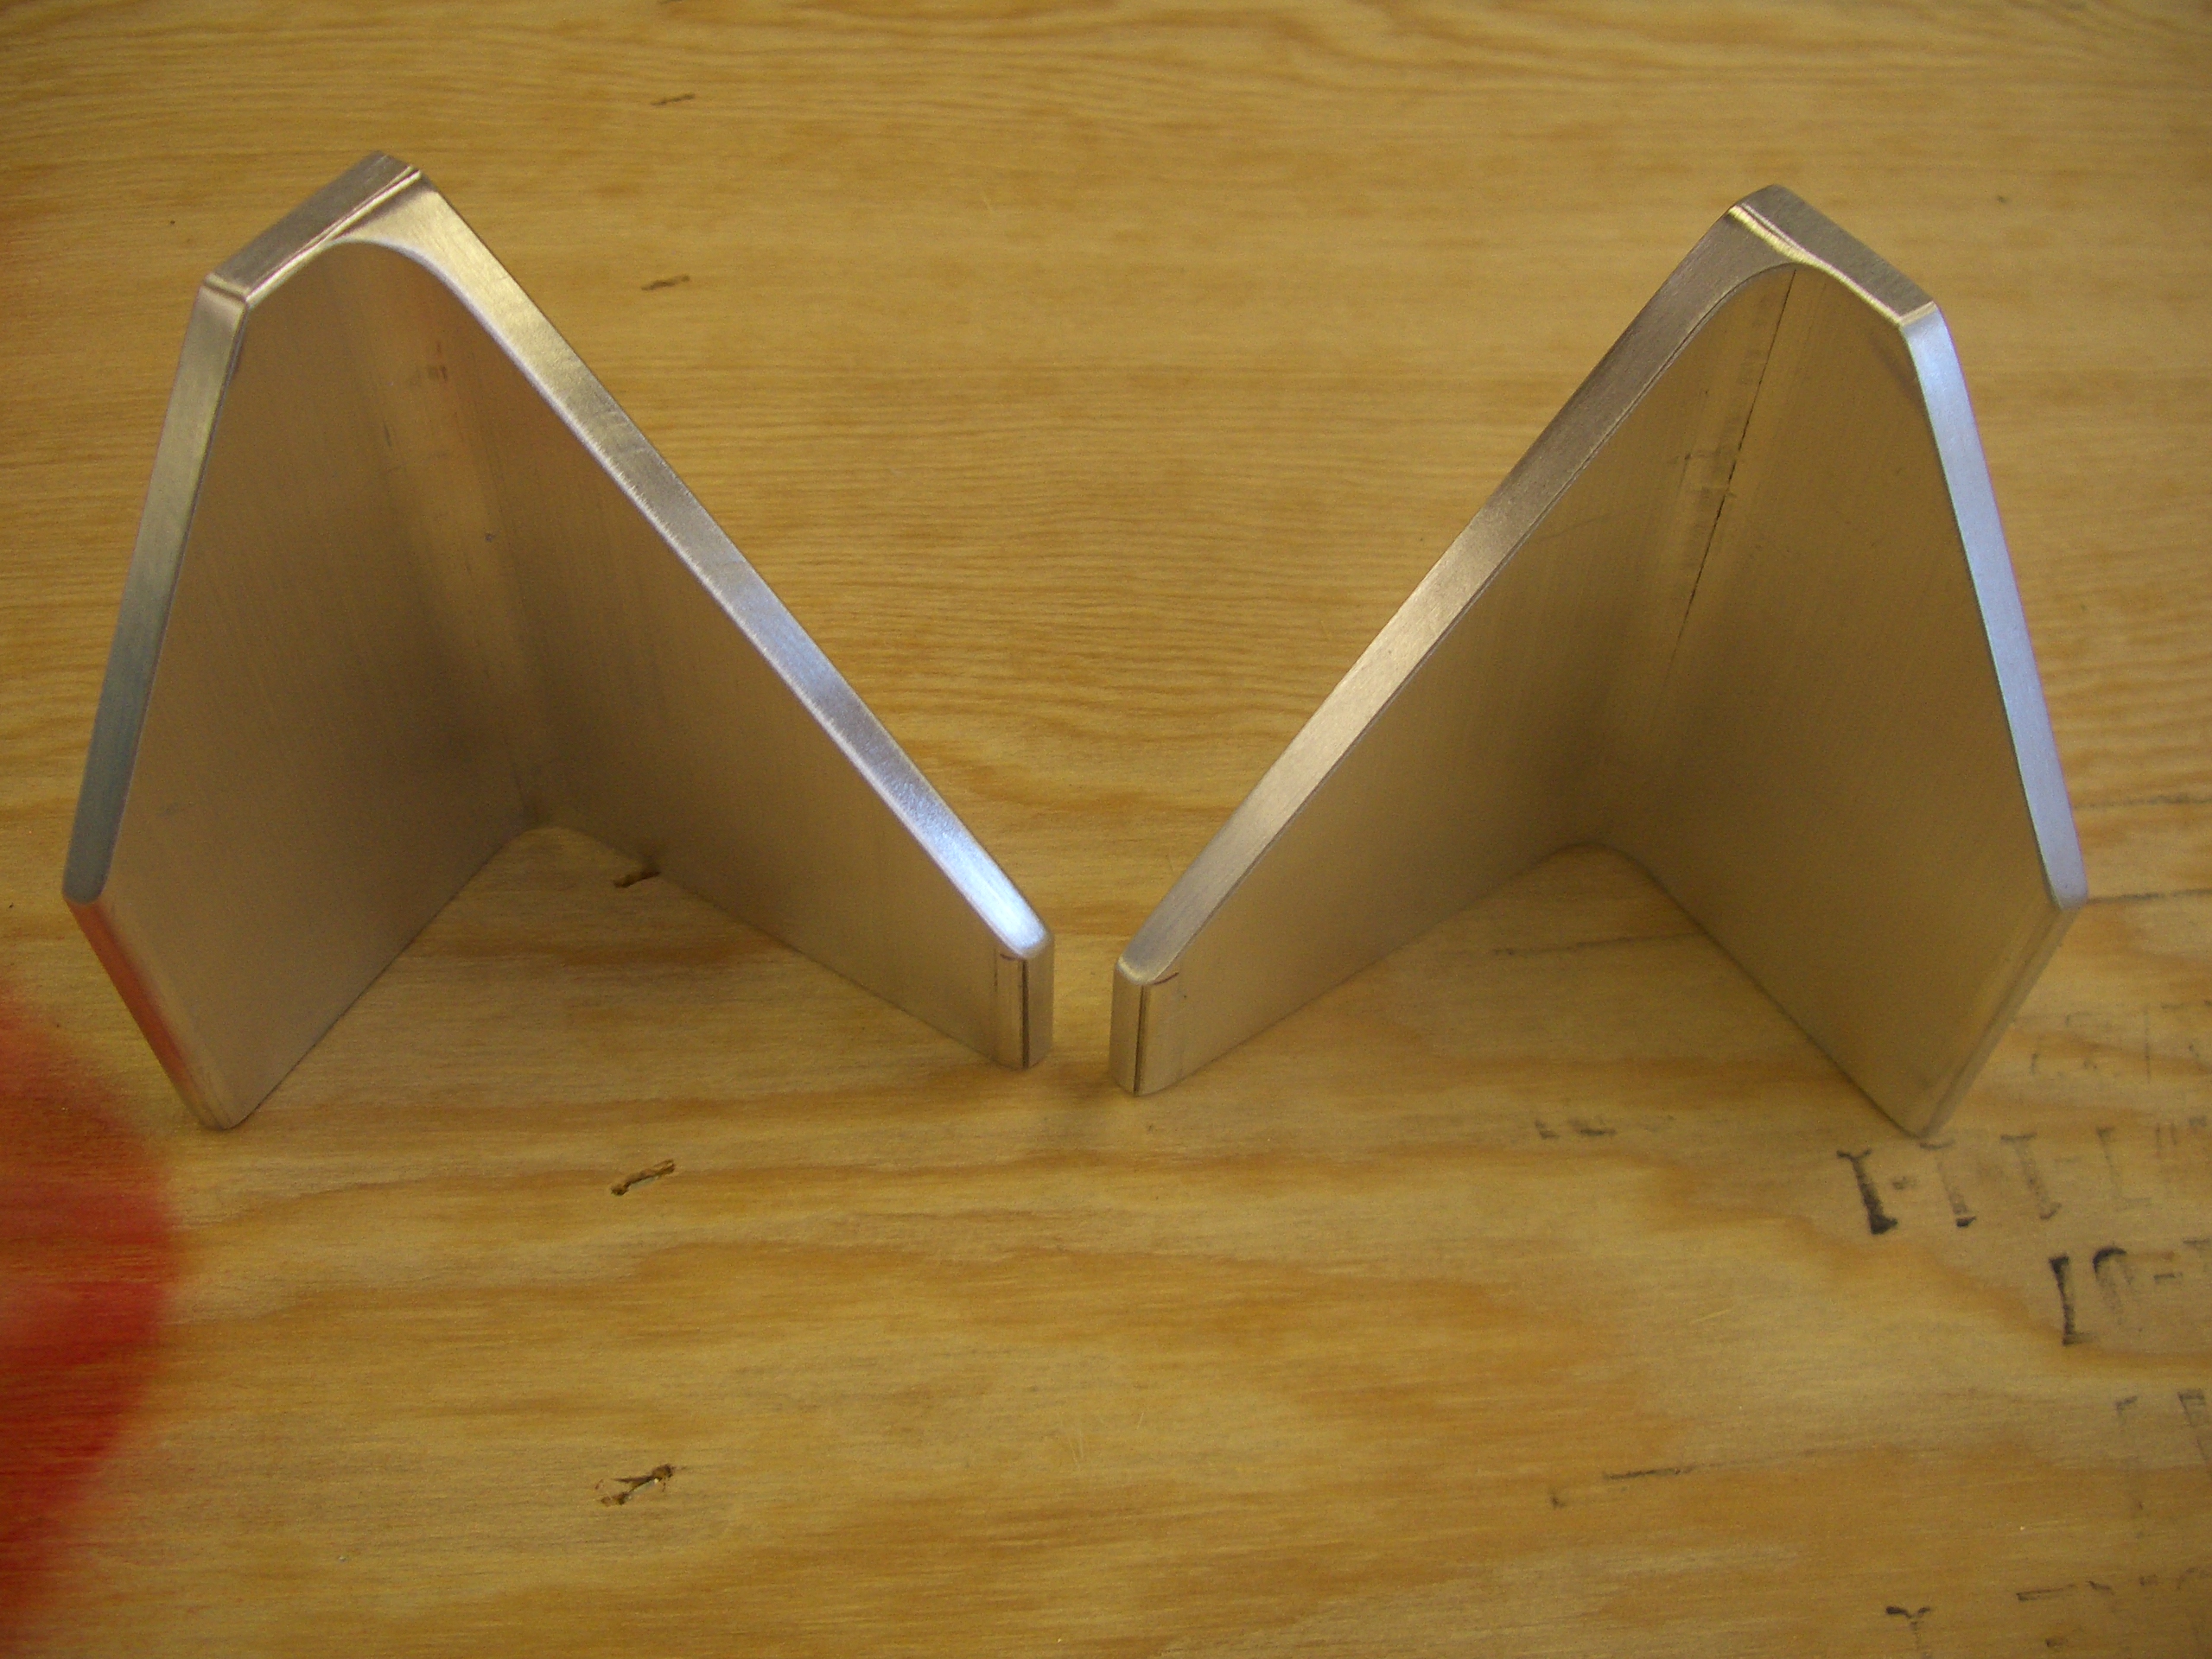
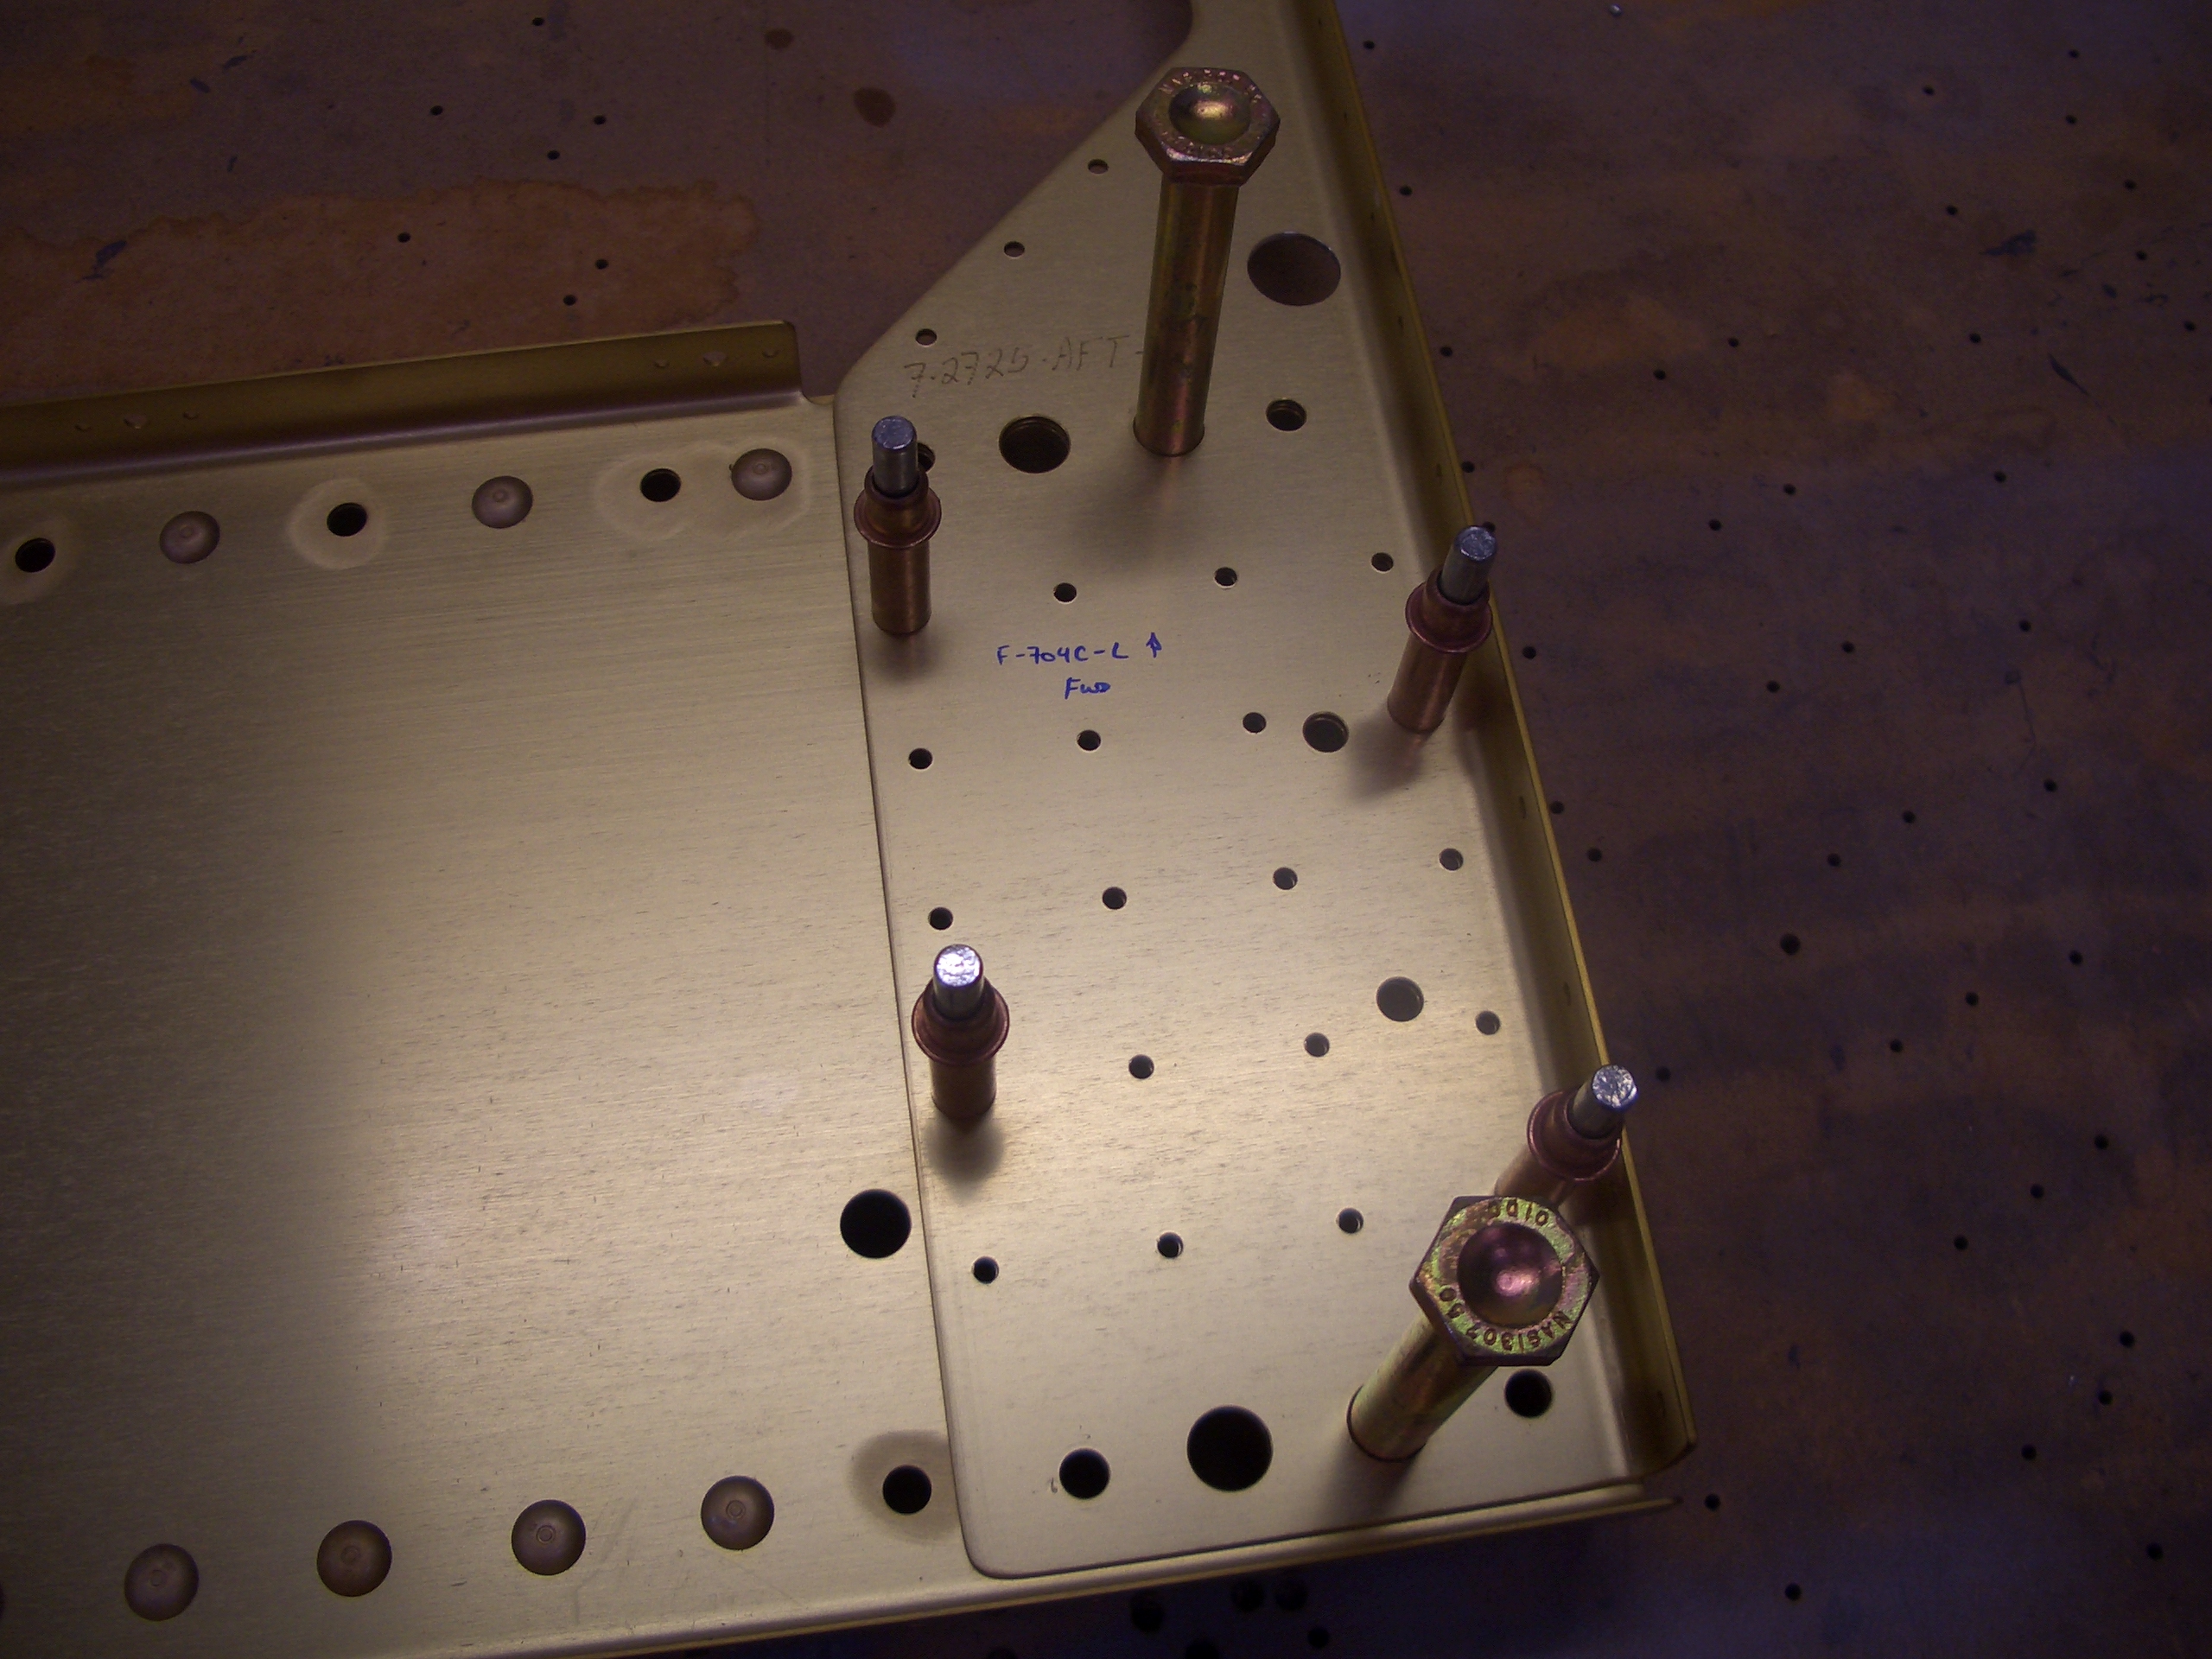
The aft center section needs some spacer bars match drilled to the spar web.  Using some AN4 bolts, I positioned and clamped the spacer in place.

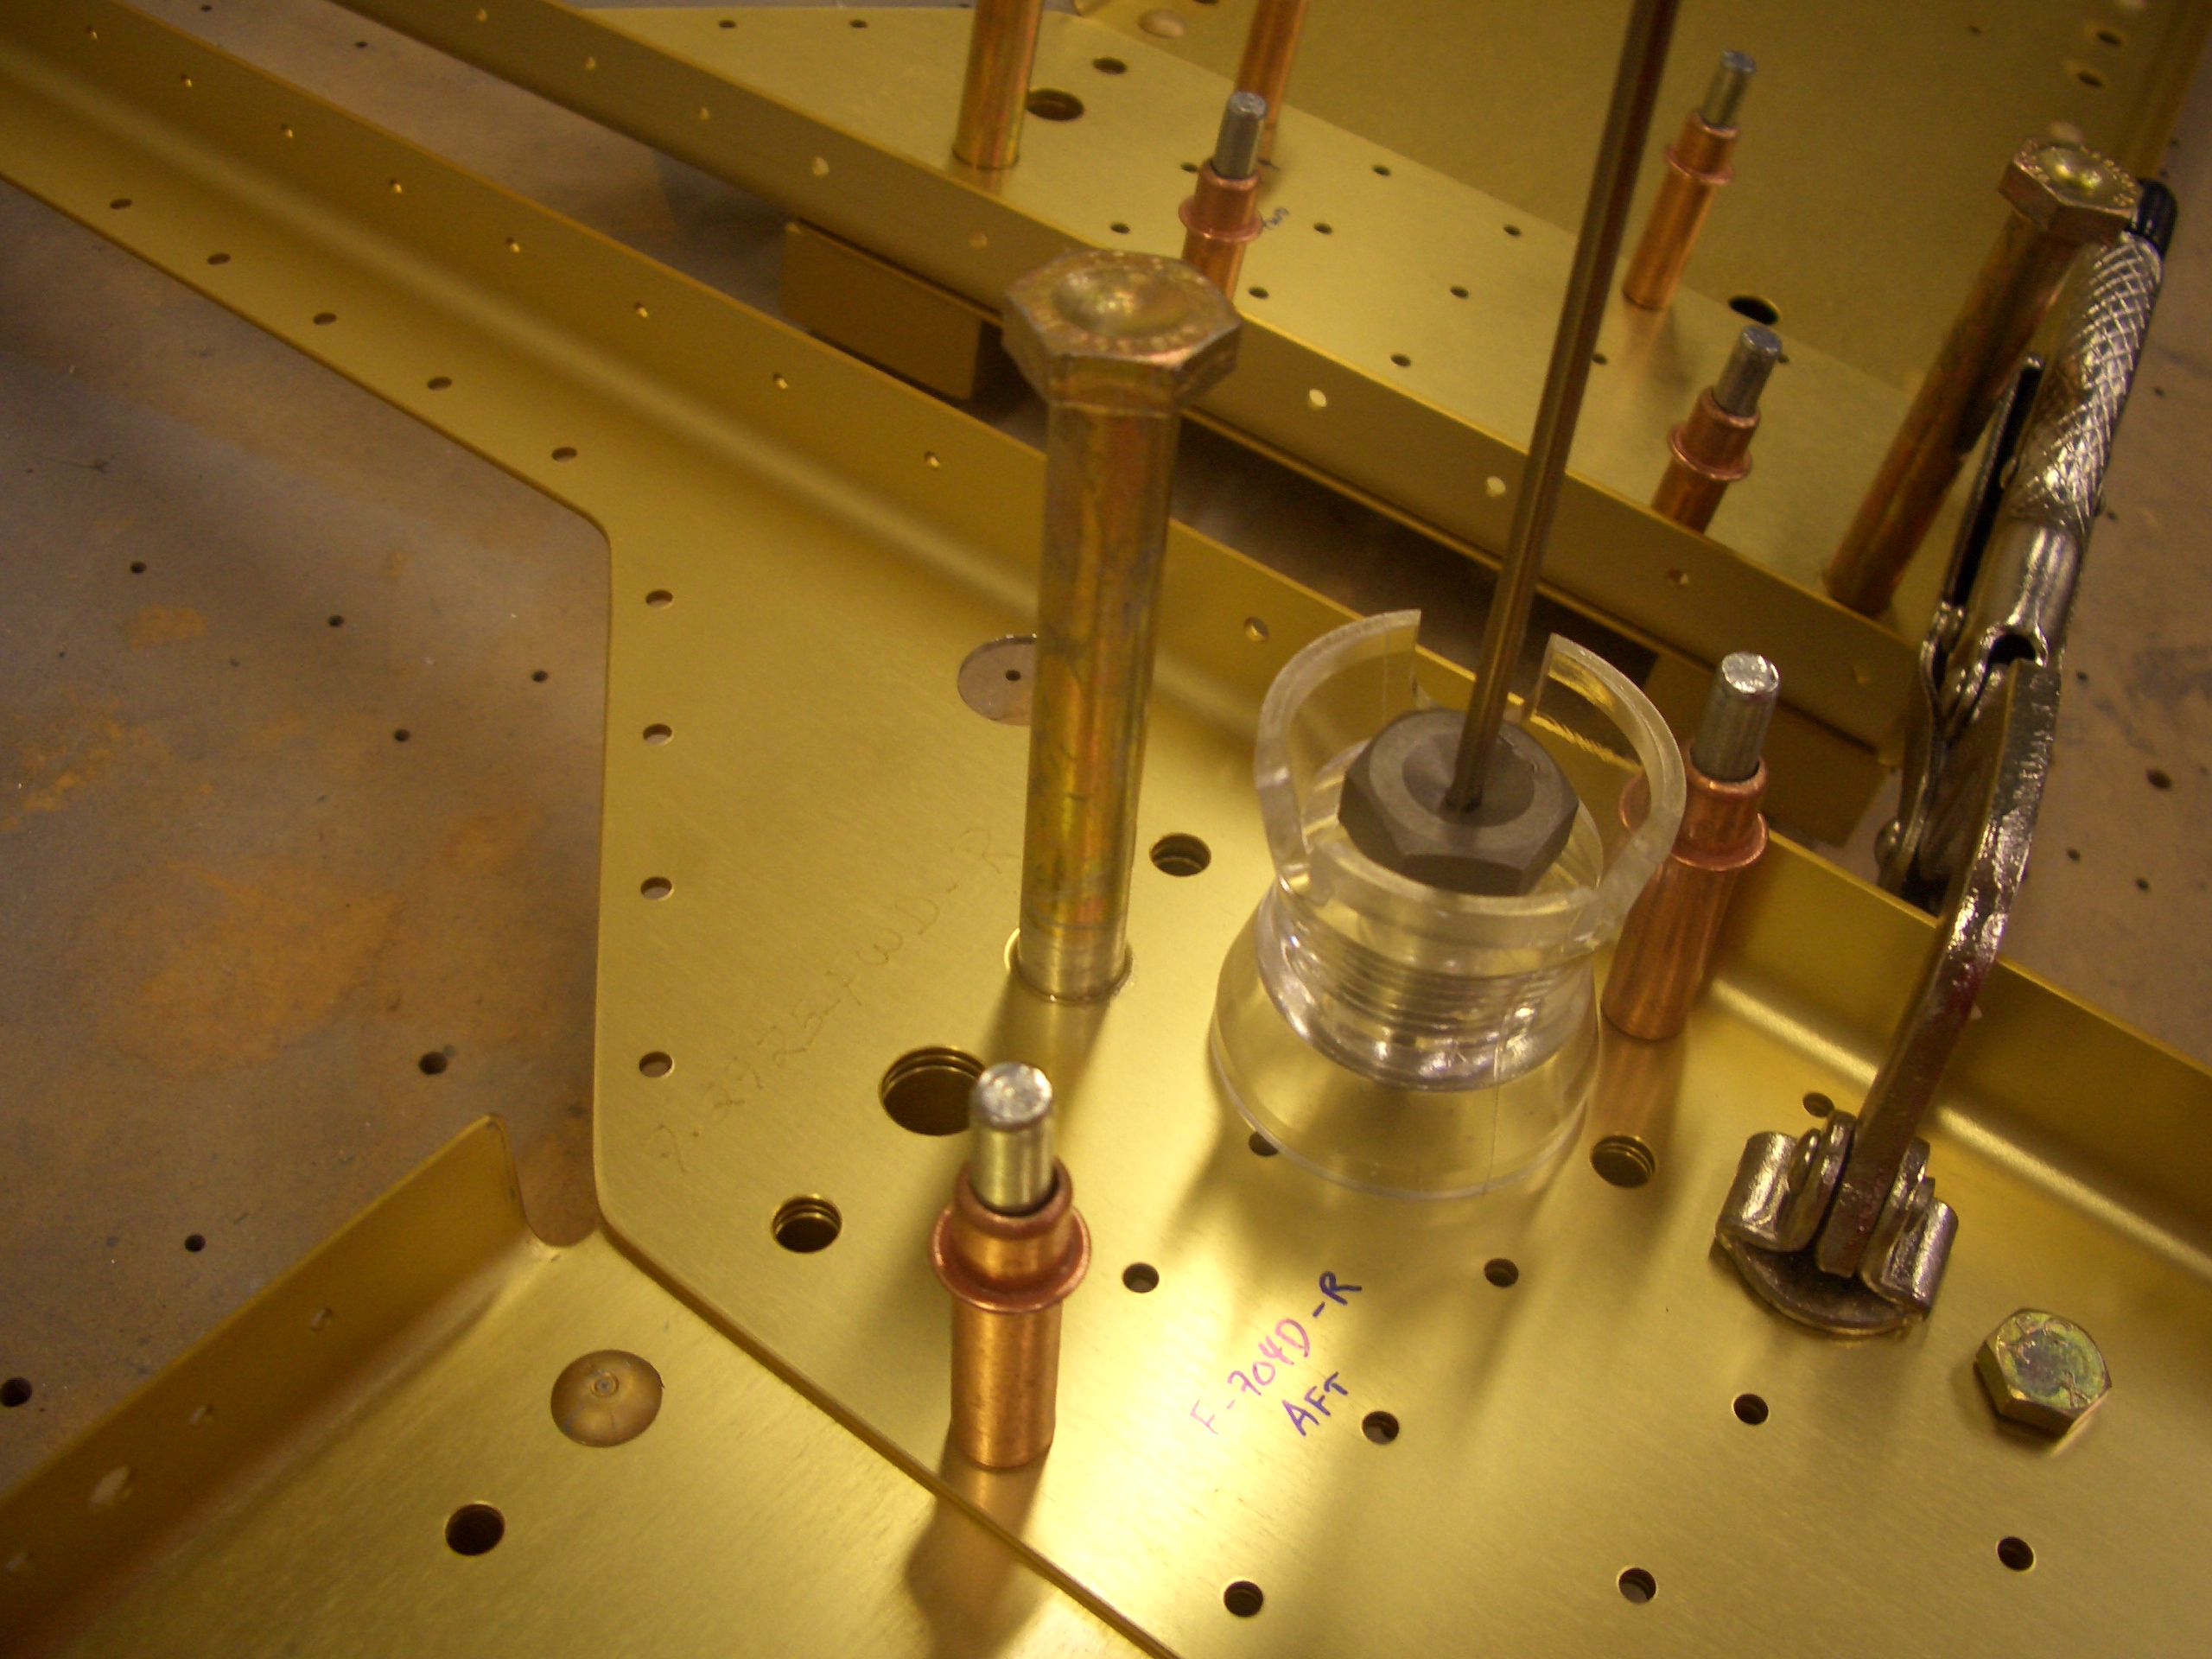
There is a pilot hole in the spar web and side support, but then you need to drill through the 5/8″ spacer.  Since it would be easy to get this hole slightly off of perpendicular to the surface, I broke out my drill cups to ensure that these holes are exactly perpendicular.

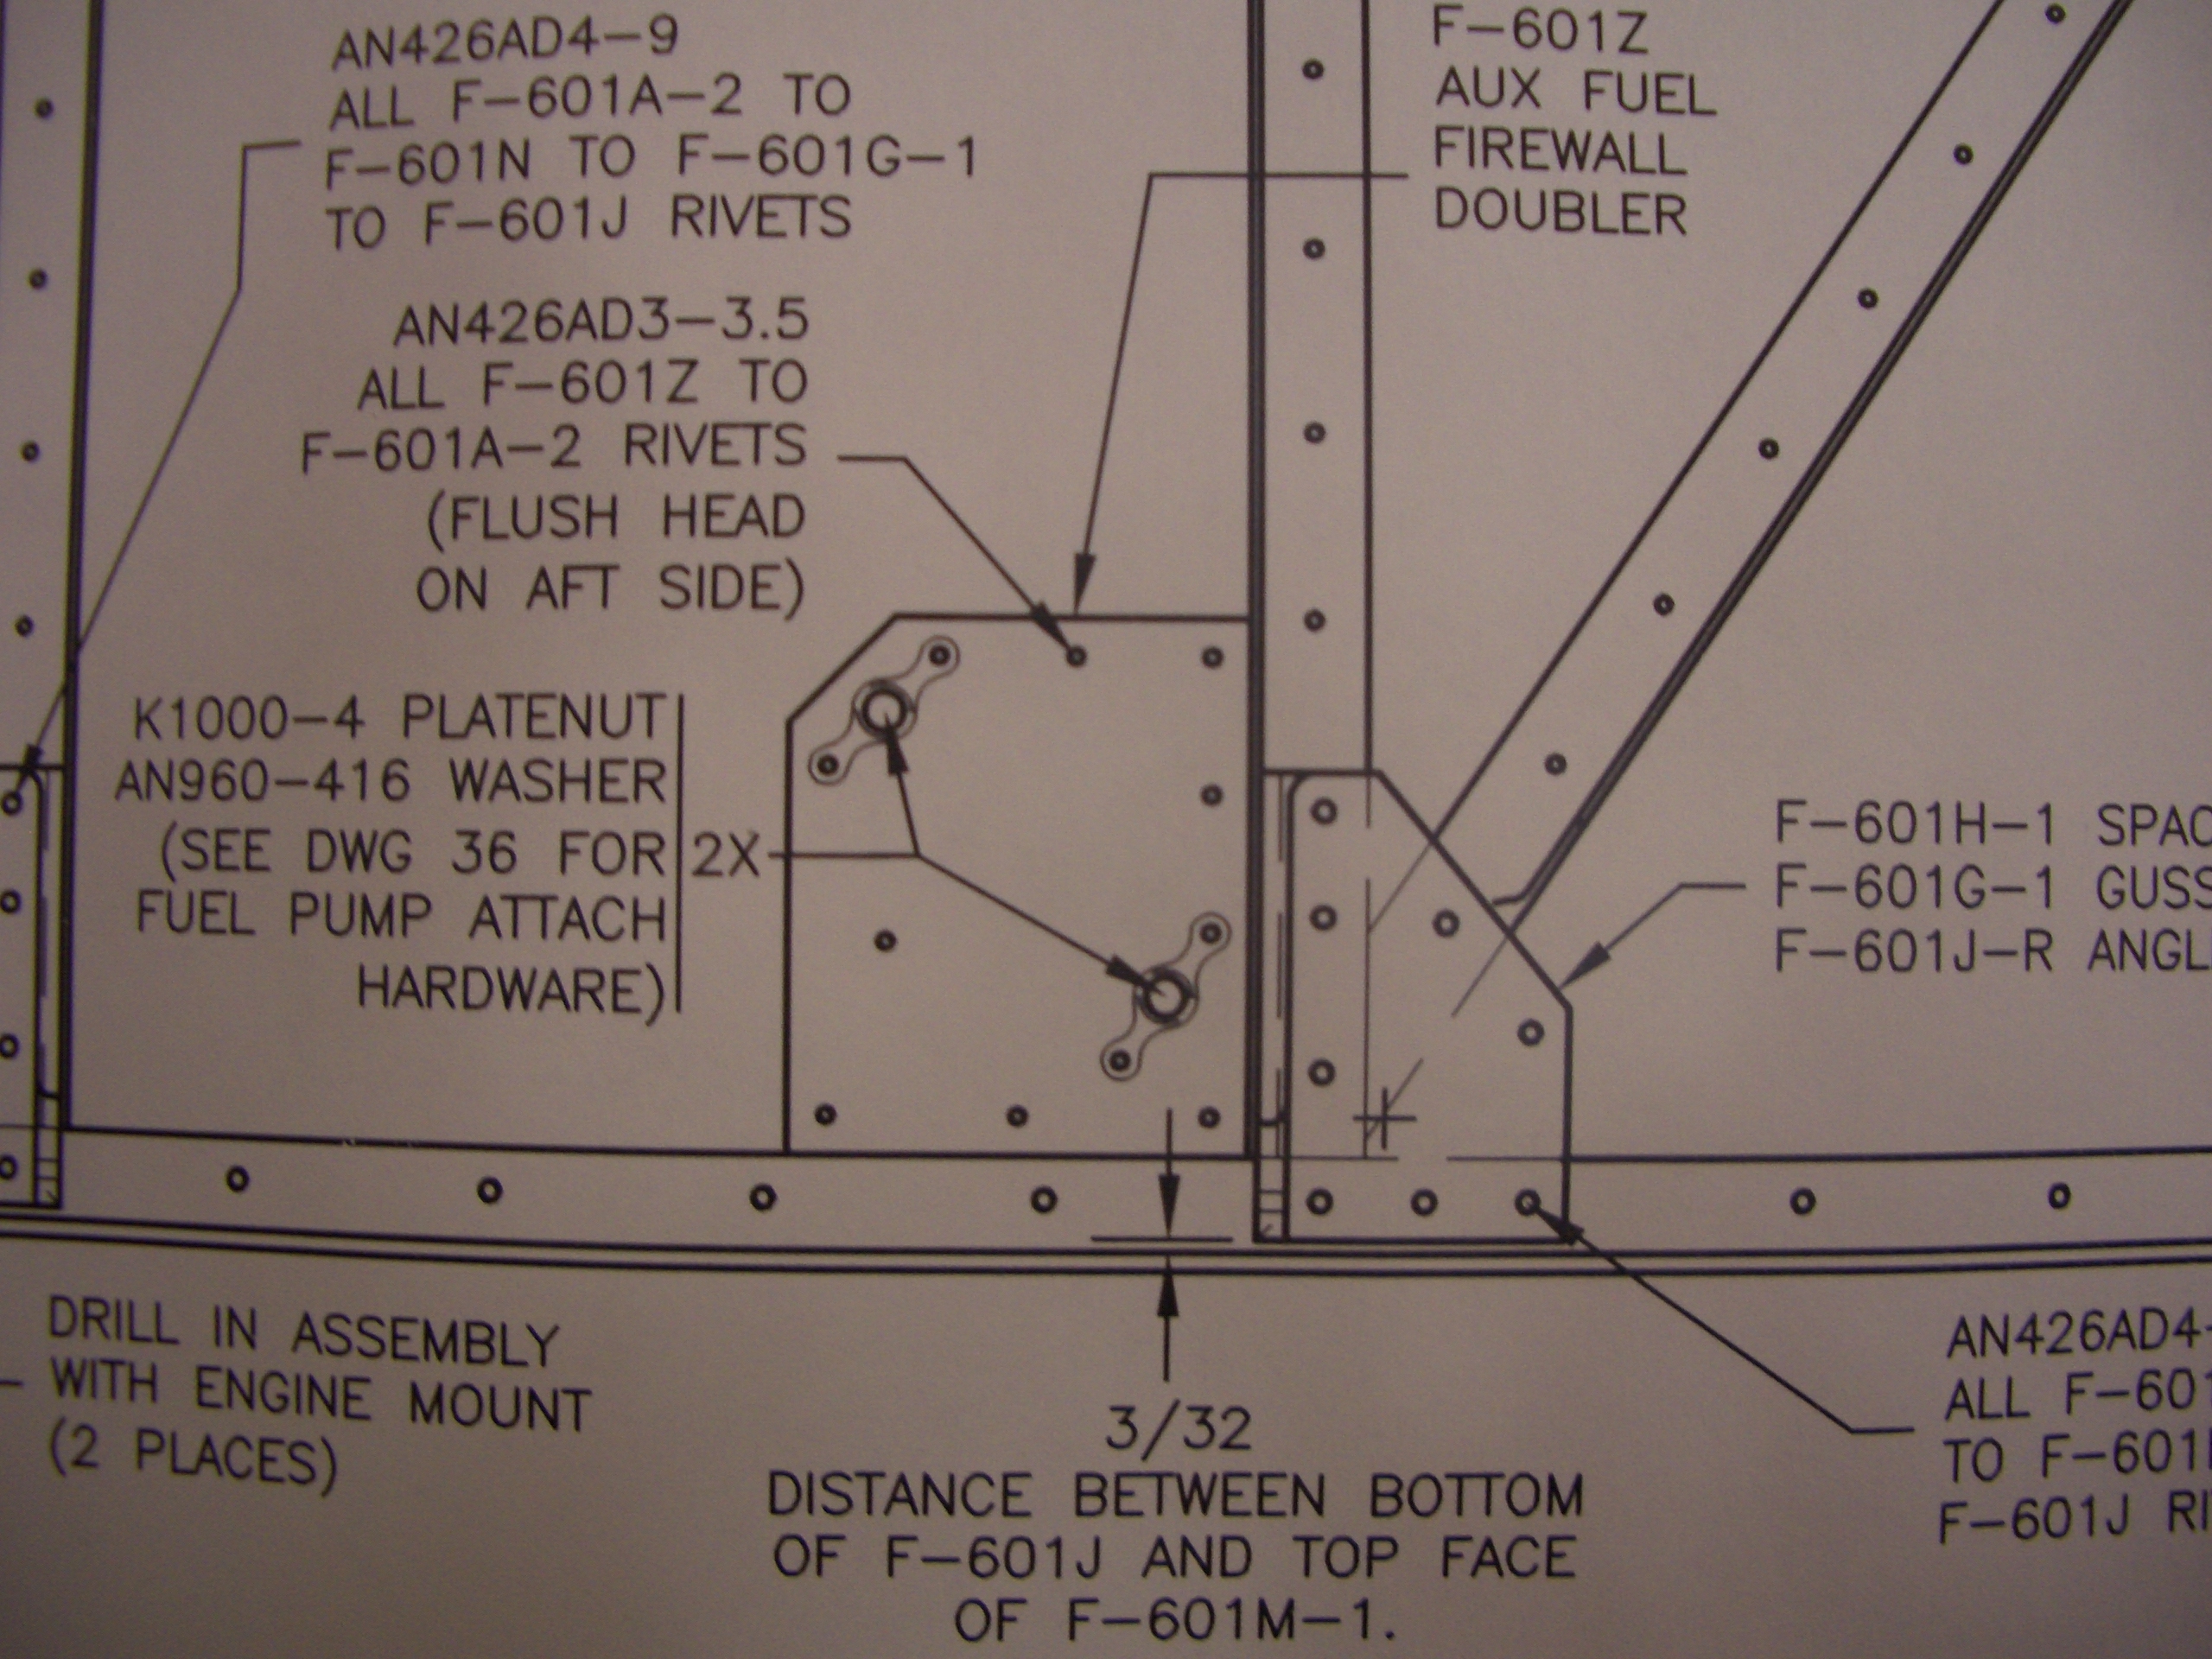
There are a few more 5/8″ holes that need to be drilled in the forward and after center section spar webs for snap bushings that will allow for wiring runs to penetrate the center section.  Here are the two in the forward center section.  The plans call for SB625-7, but I ordered extra SB625-8 snap bushing to give myself a little more room for wire runs.

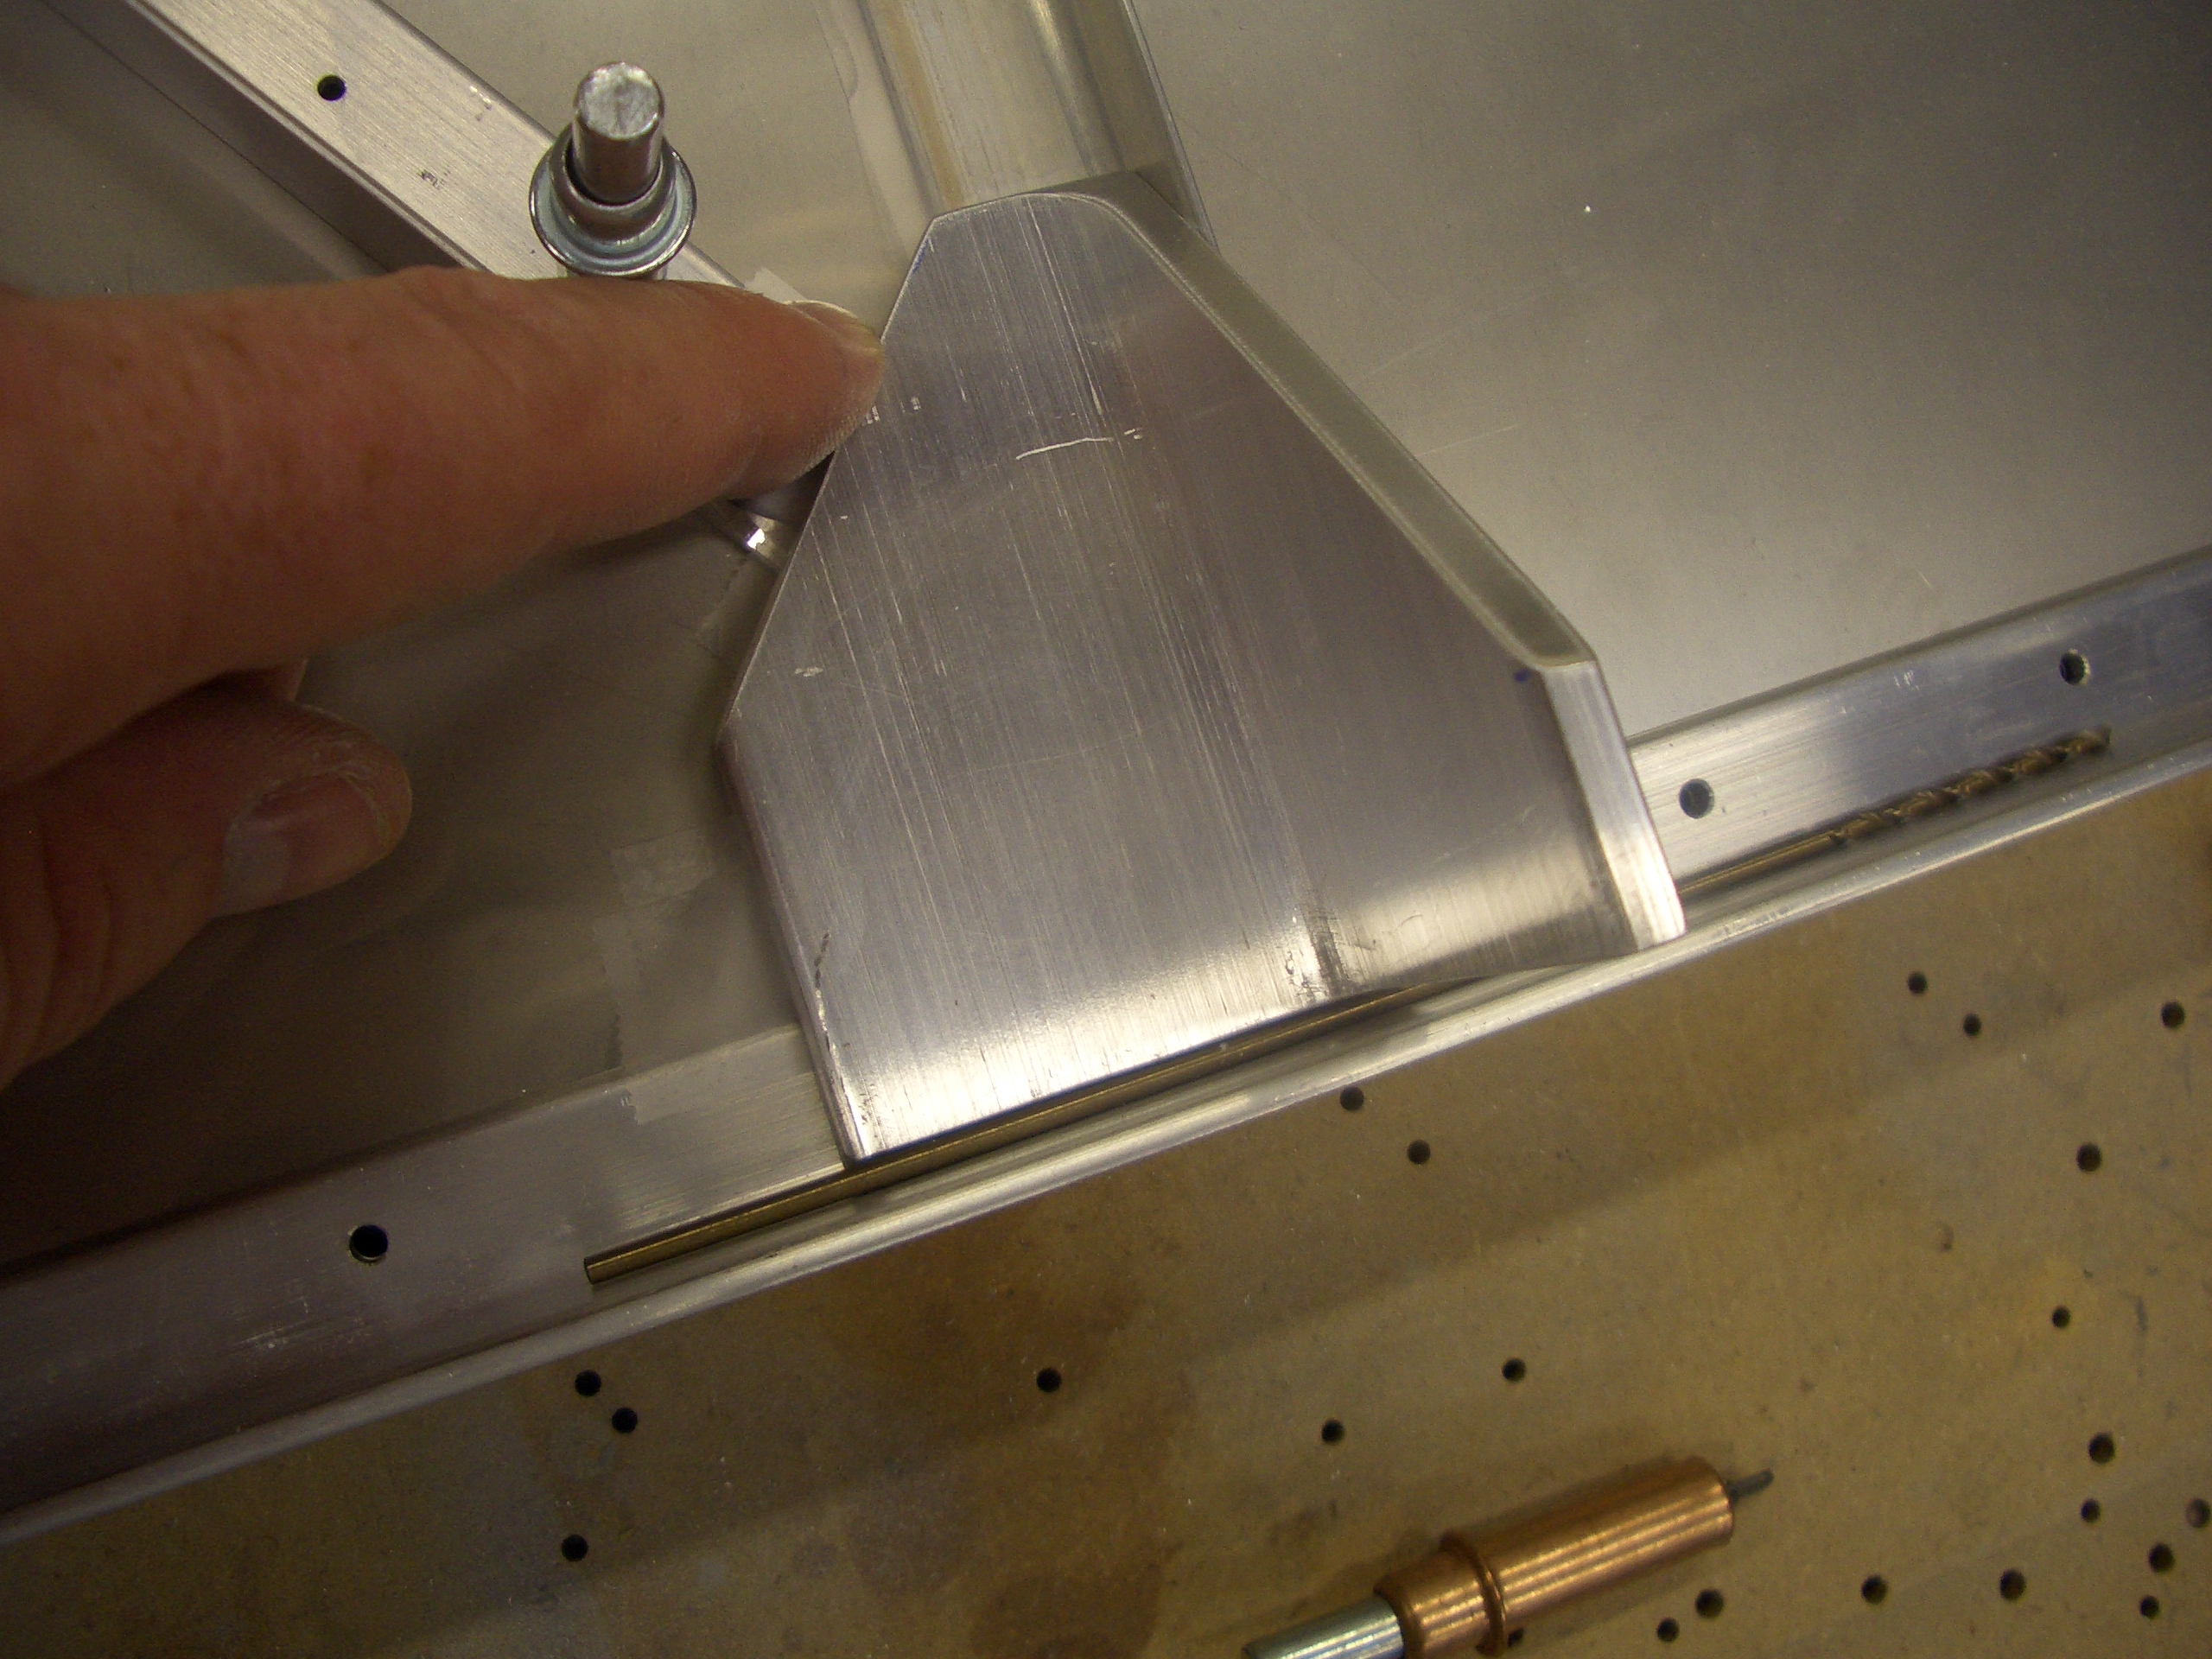
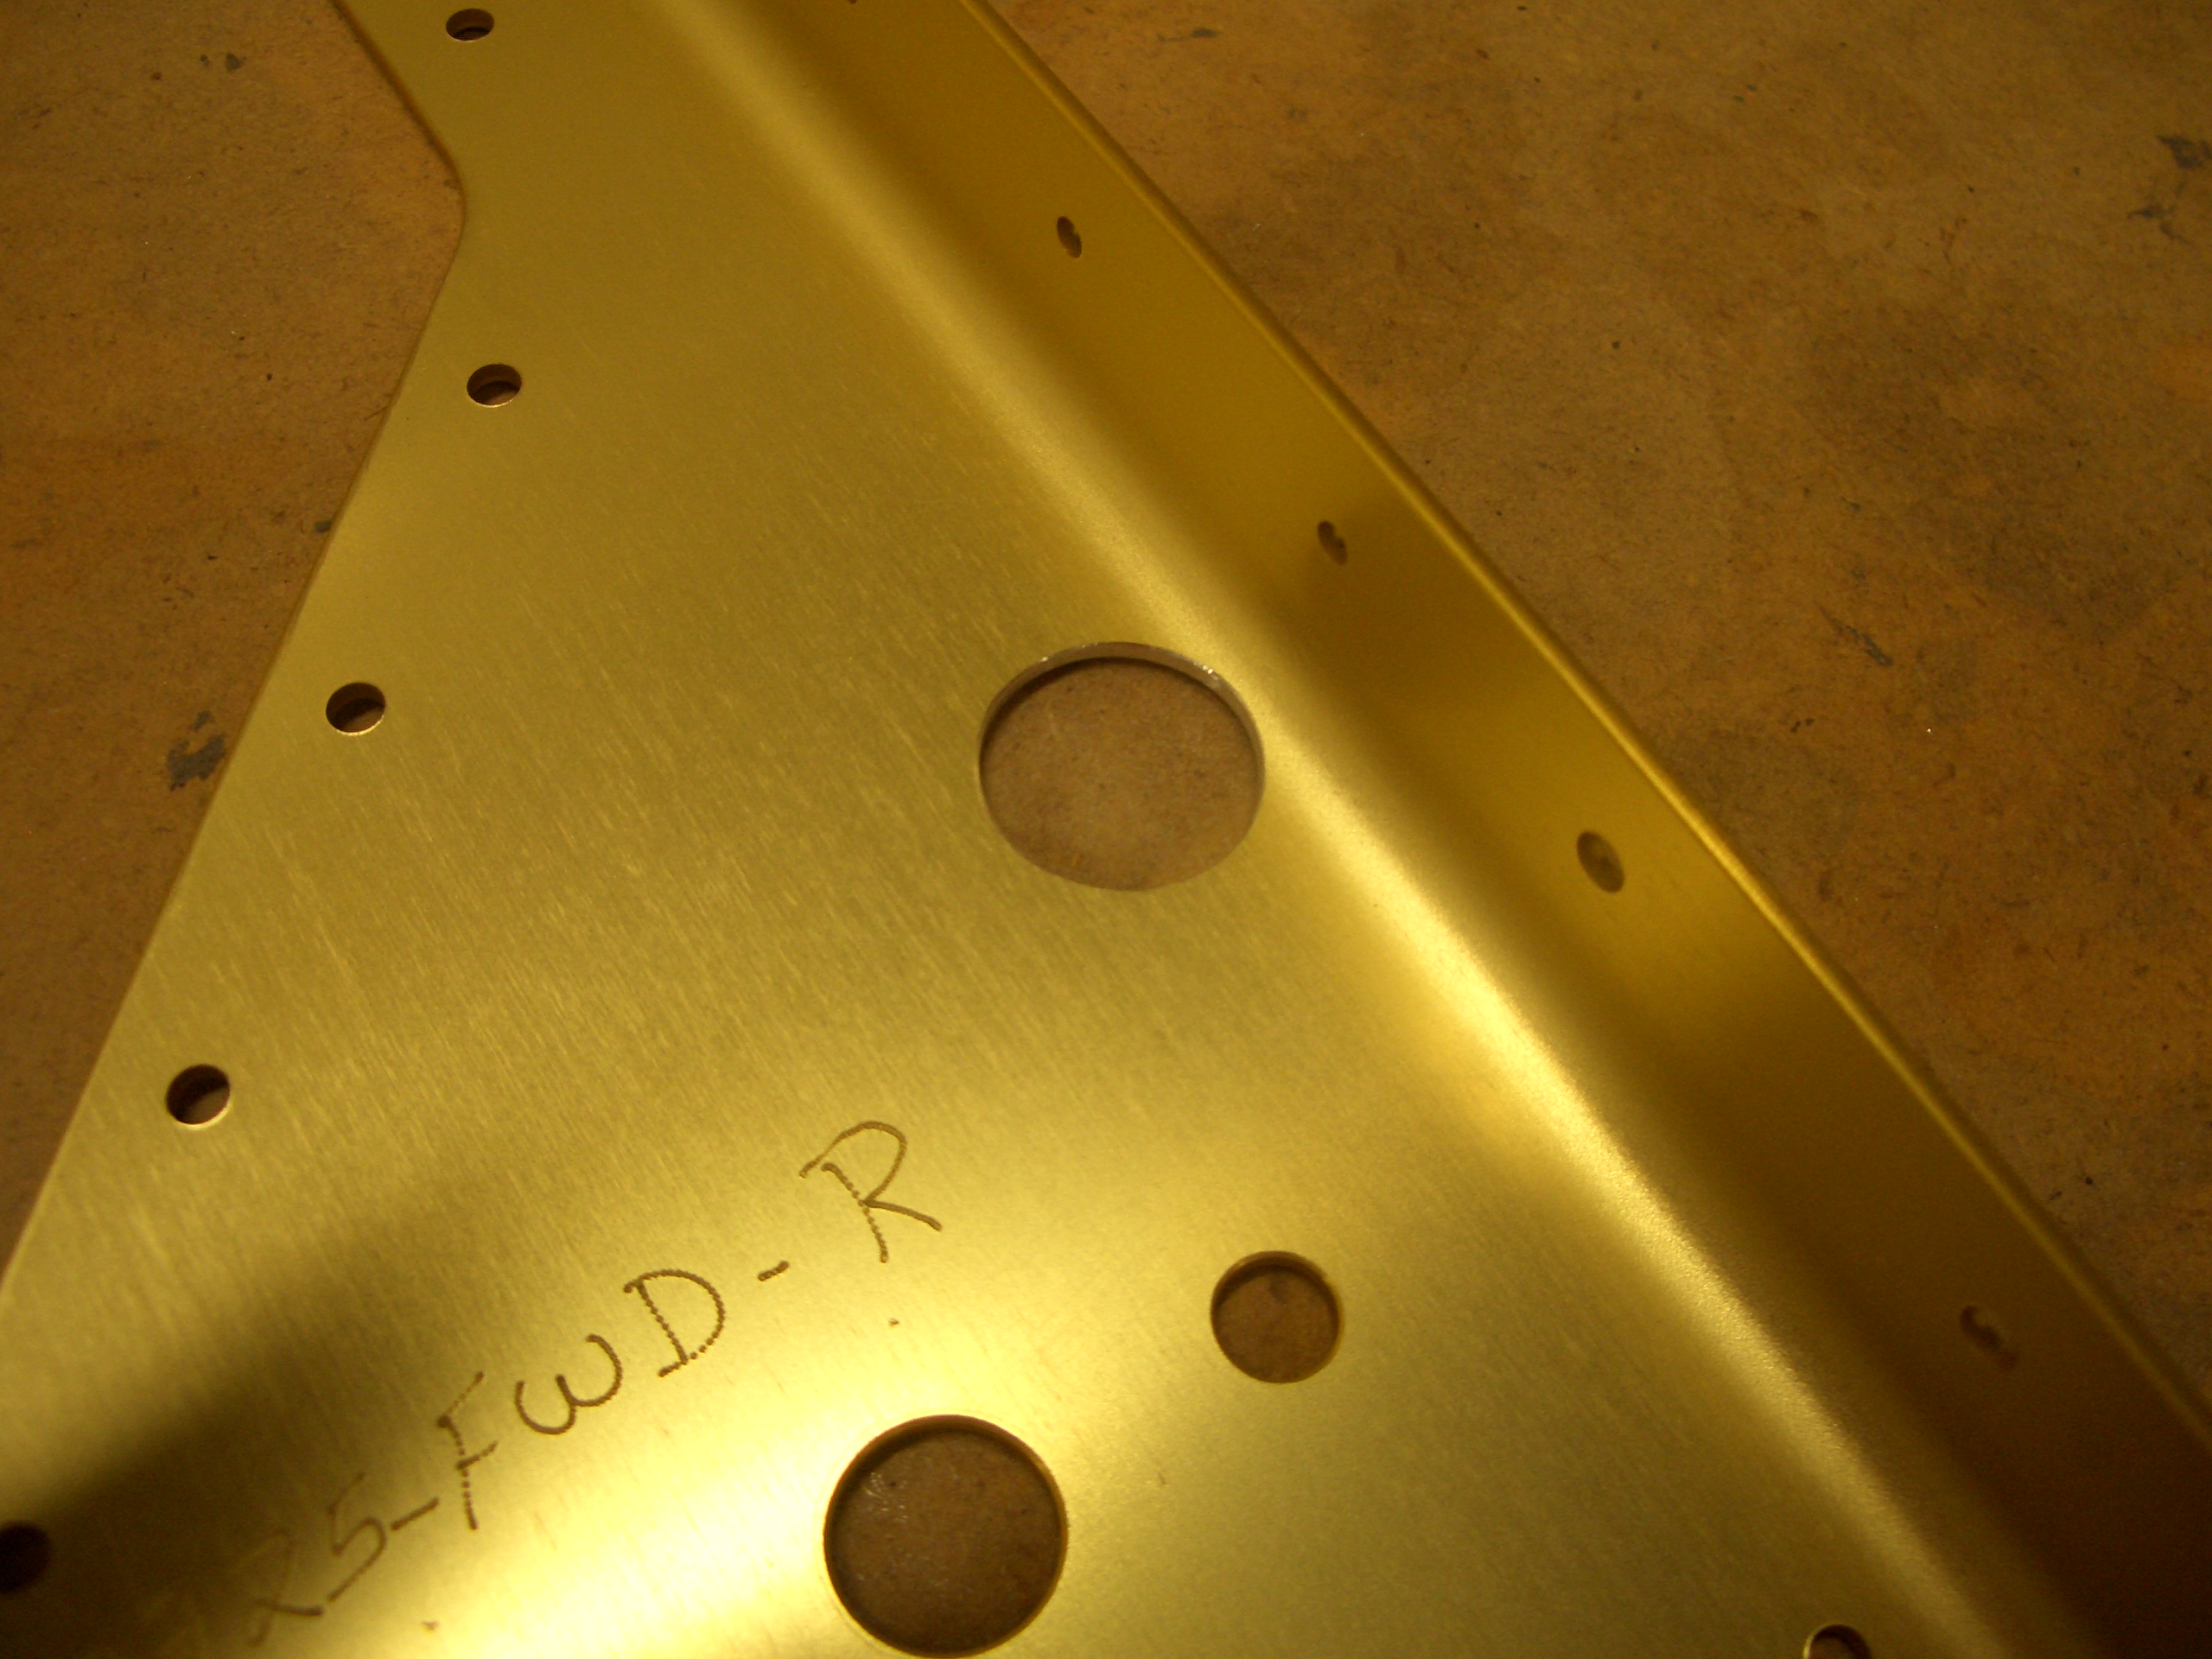
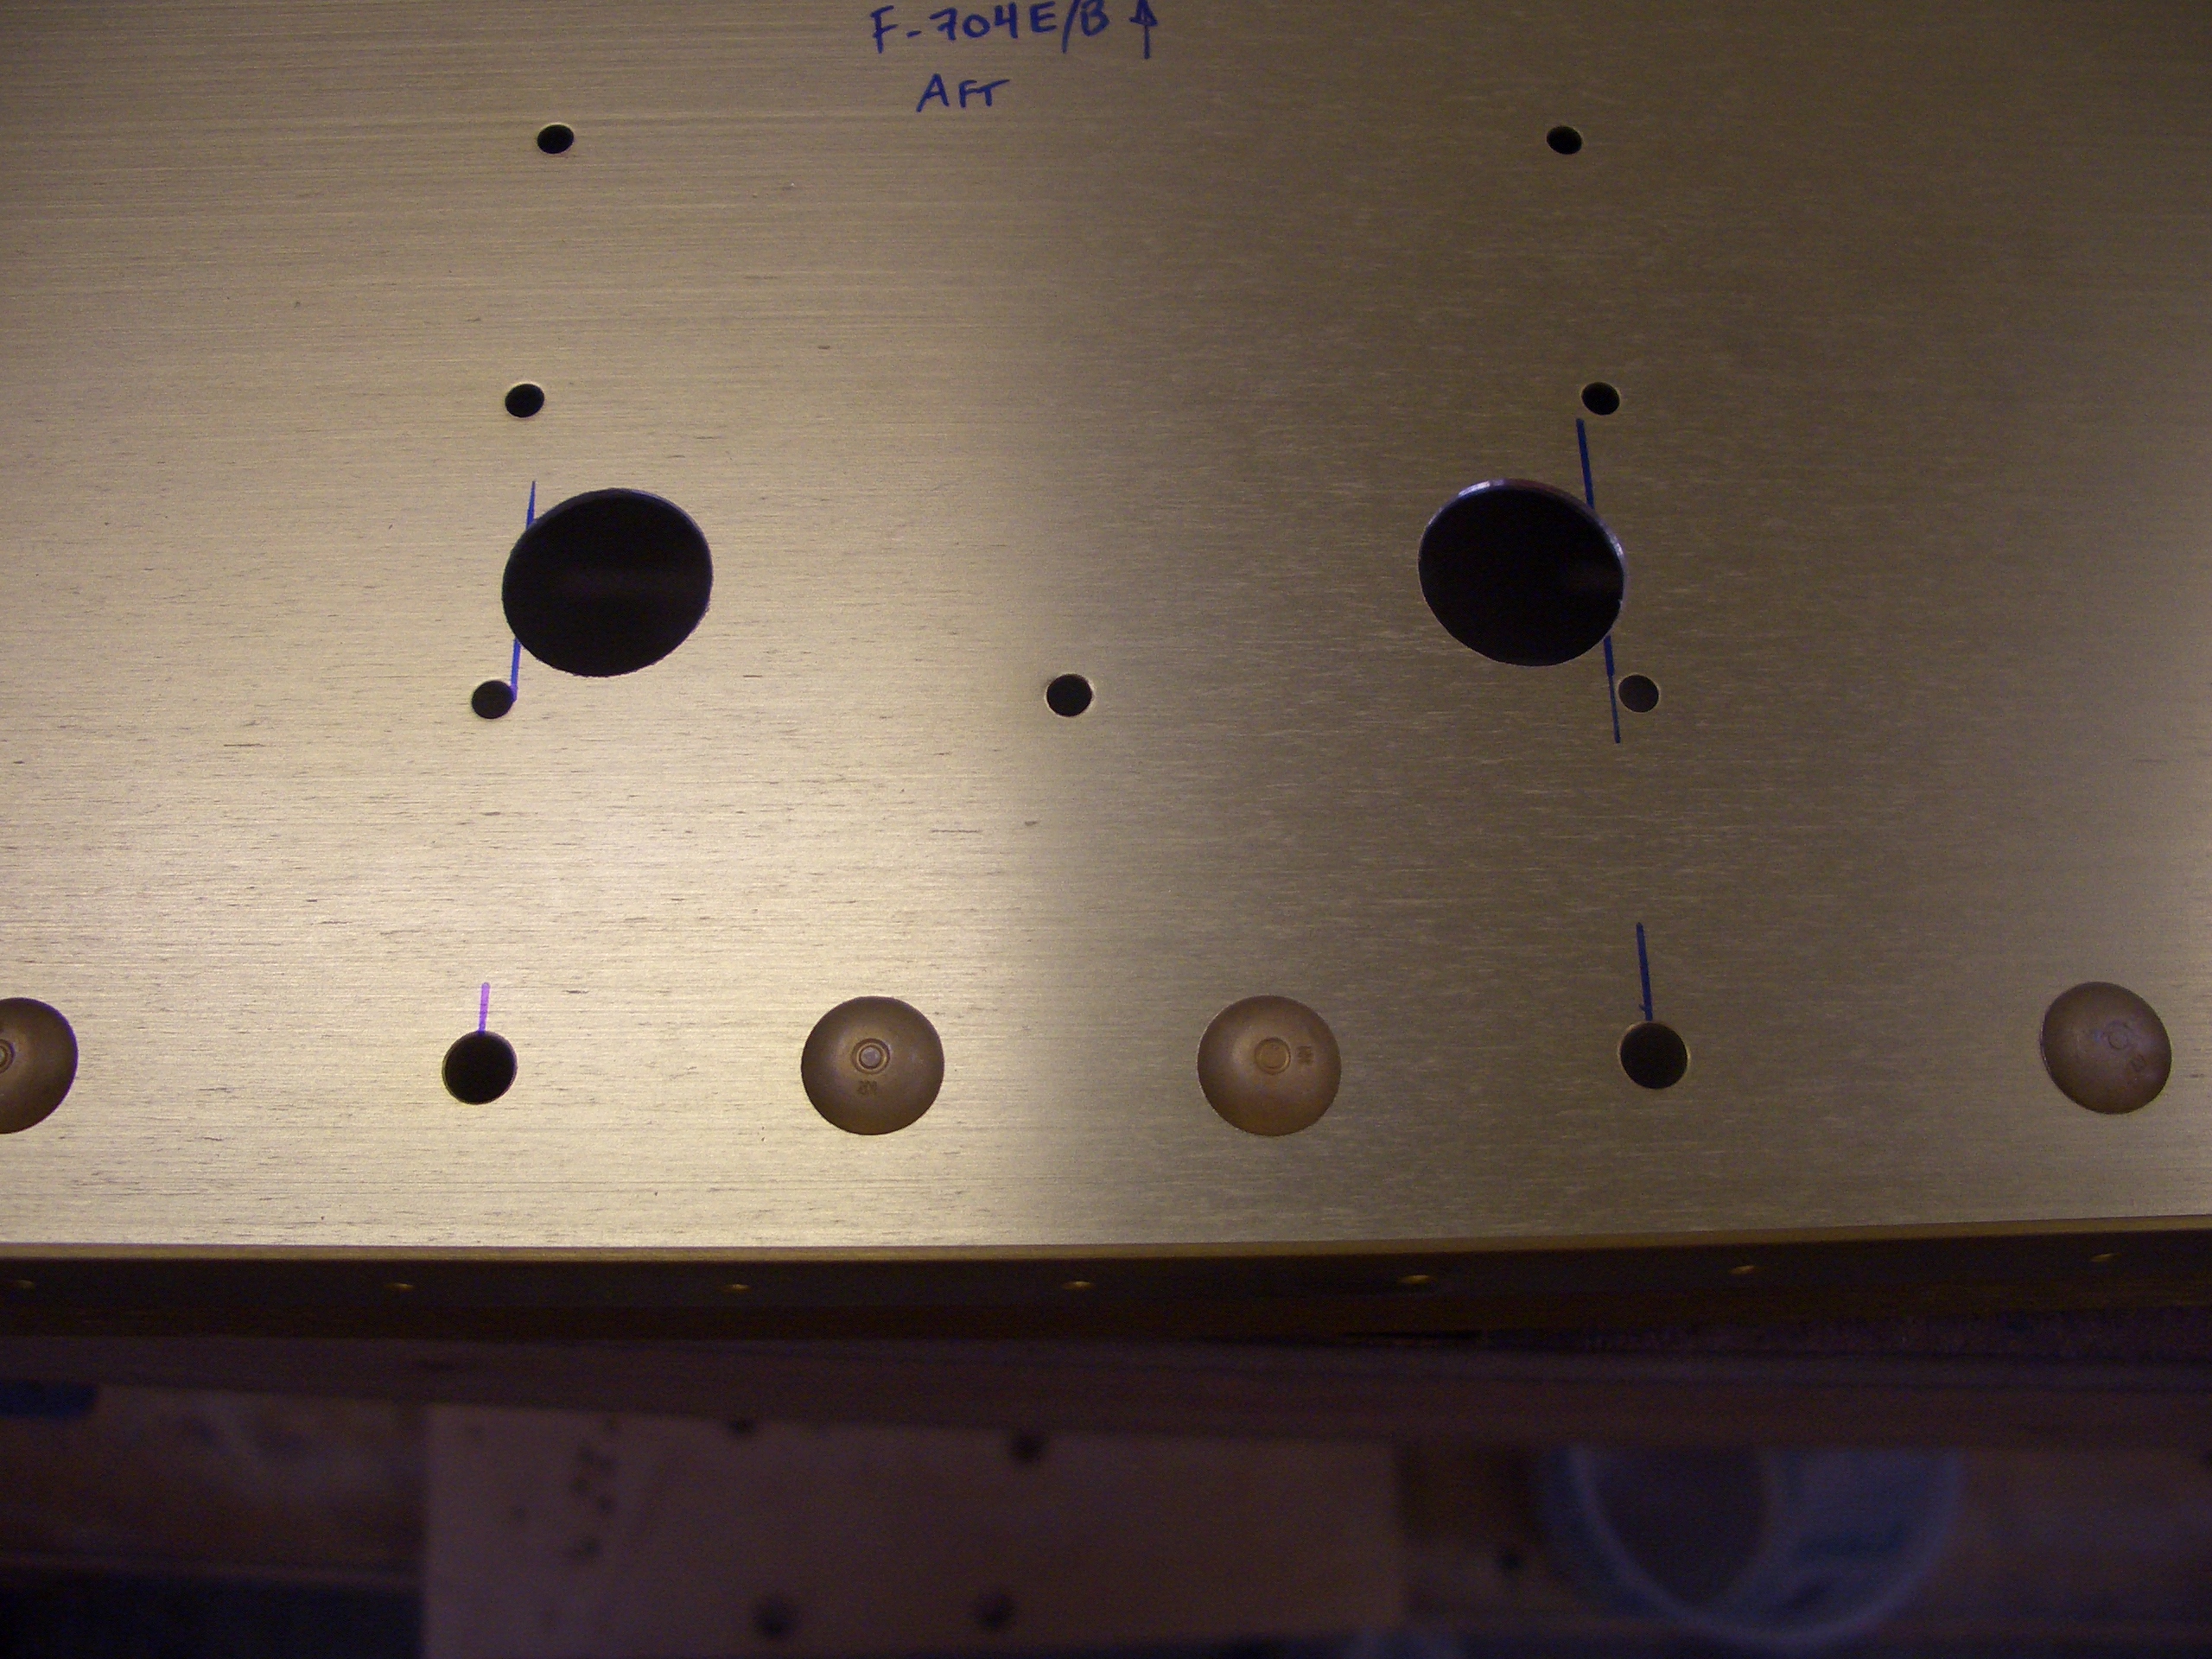
Here are the corresponding holes in the aft center section.  The seat ribs rivet here which is why there are two vertical rows of rivets.  Like most builders, I wonder why they didn’t just move these over a half inch or so so that they wouldn’t interfere with the rib.  As it is, I’ll have to cut away part of the rib flange to make room for the snap bushing.  I also ended up with the minimum edge distance on one of these holes (3/16″).  Nothing to worry about, but it would have been a non-issue if they have simply moved their holes inboard a bit.

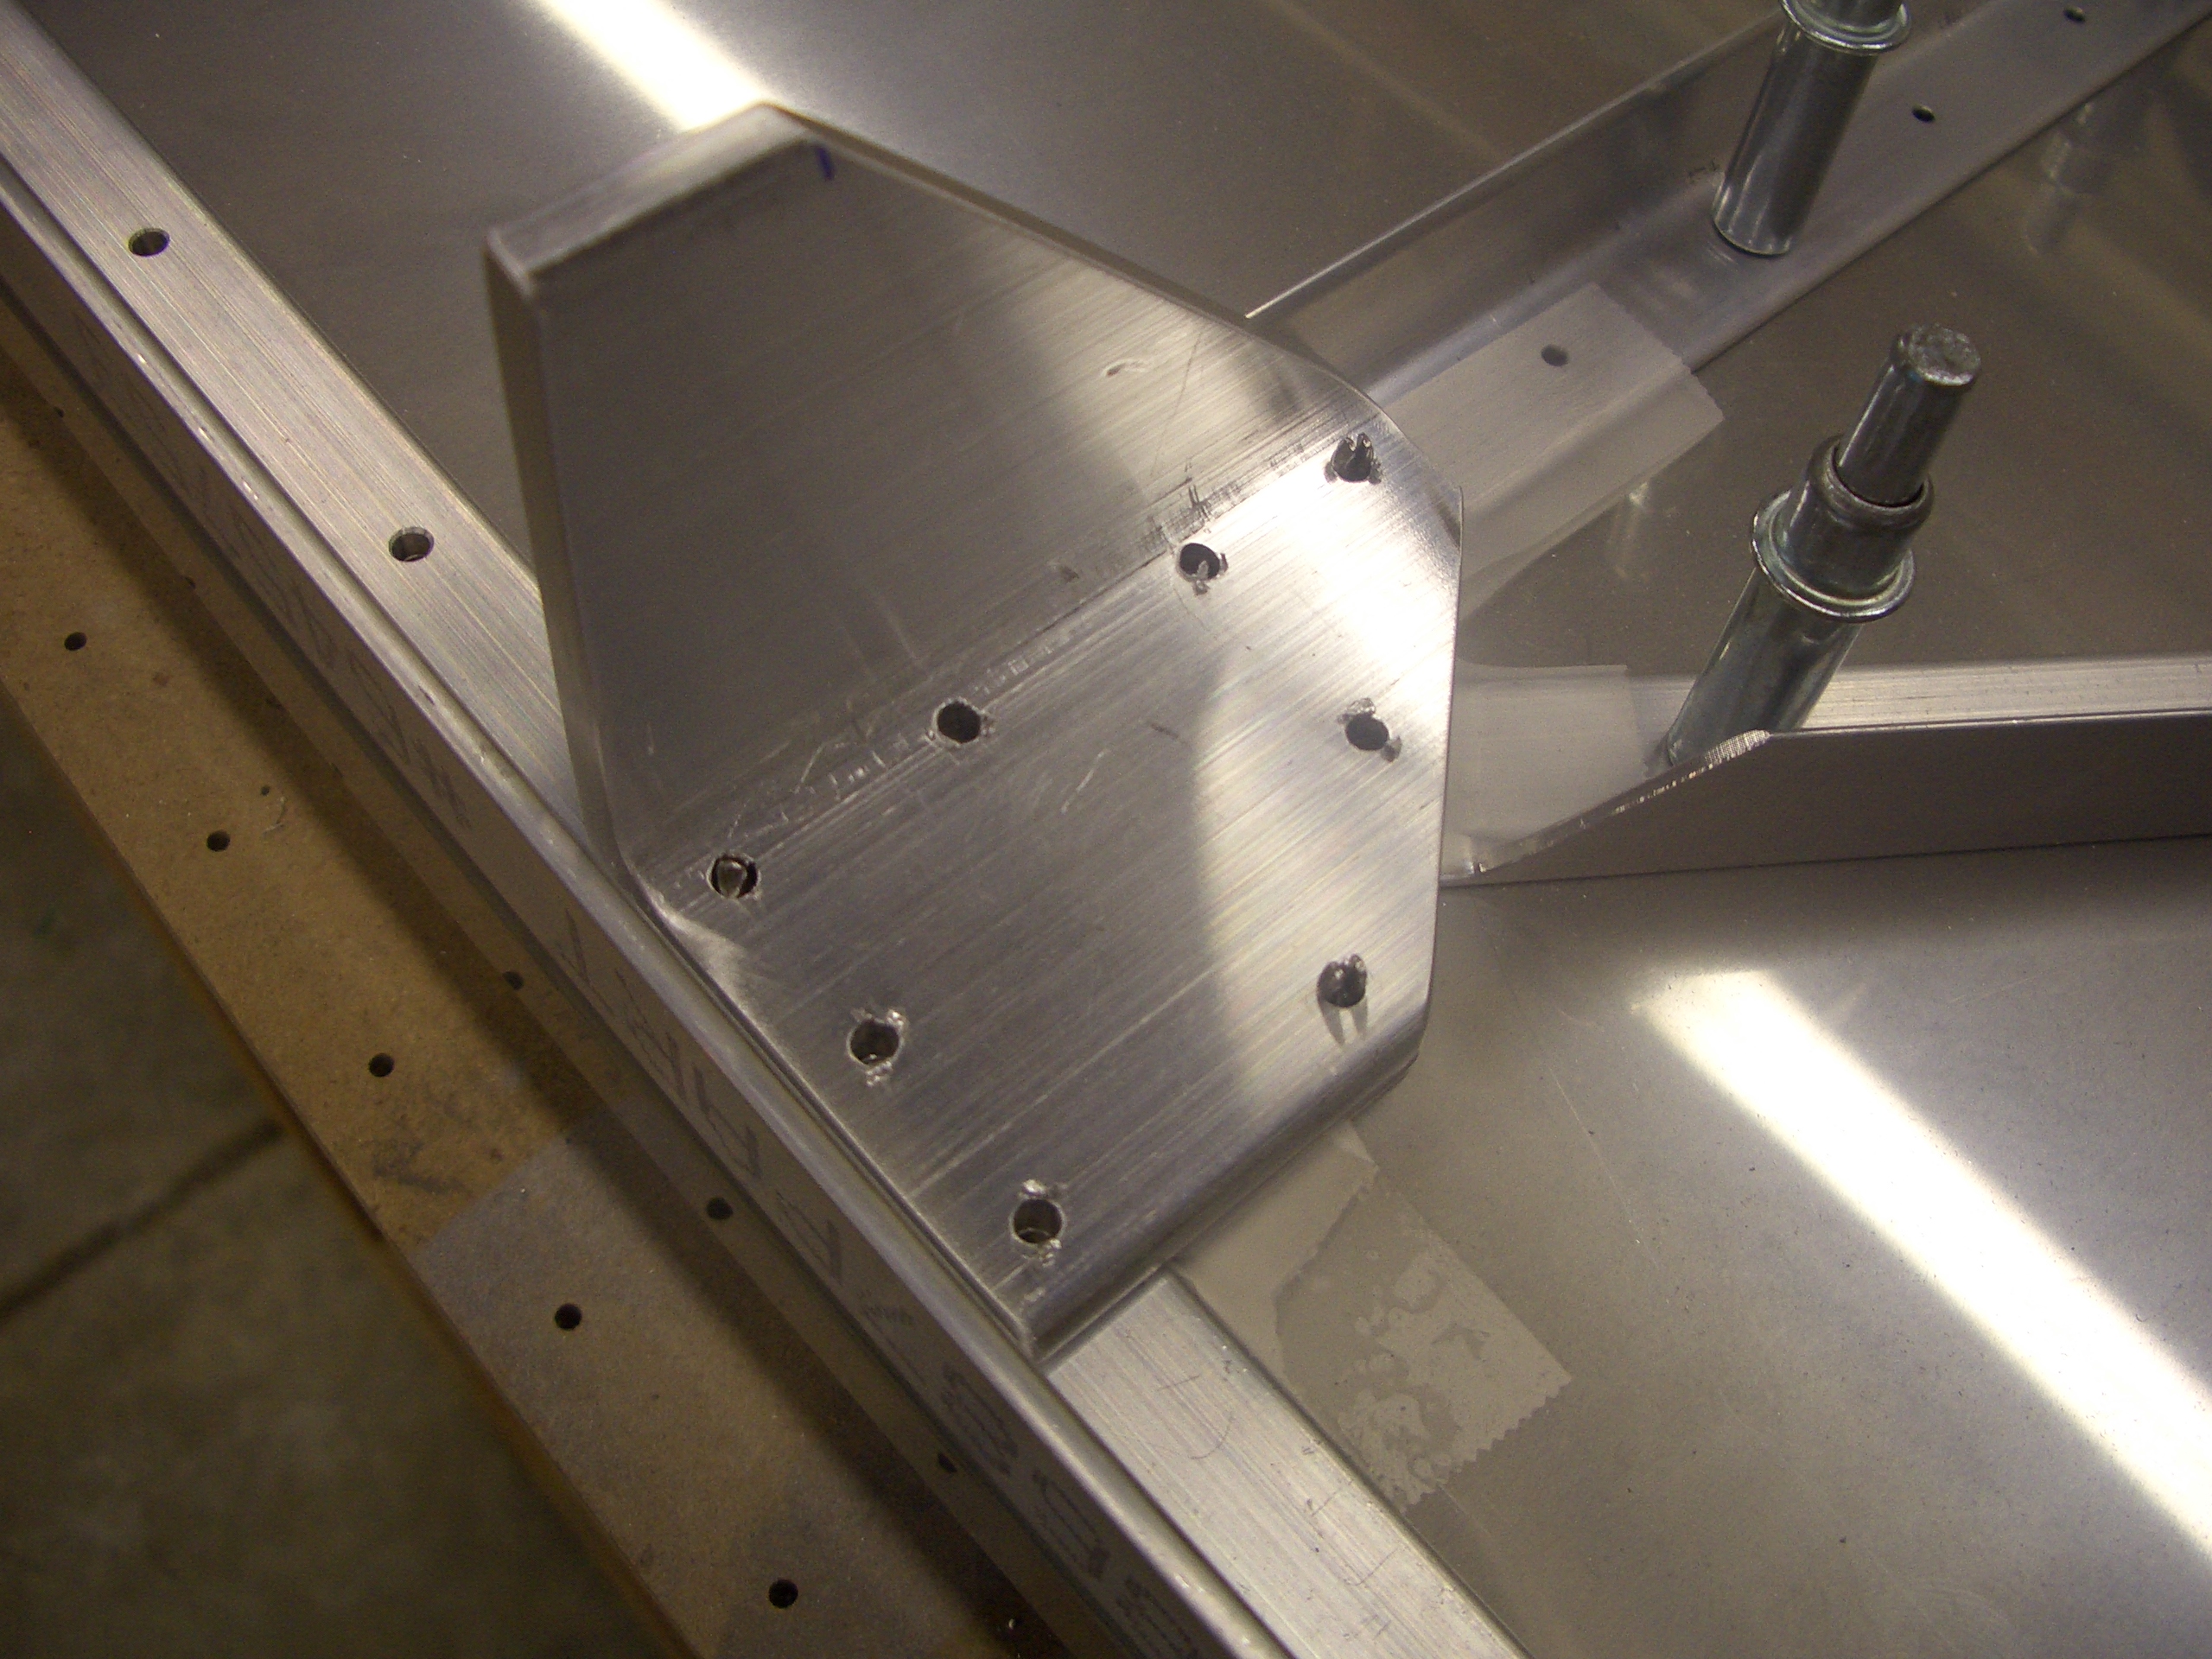
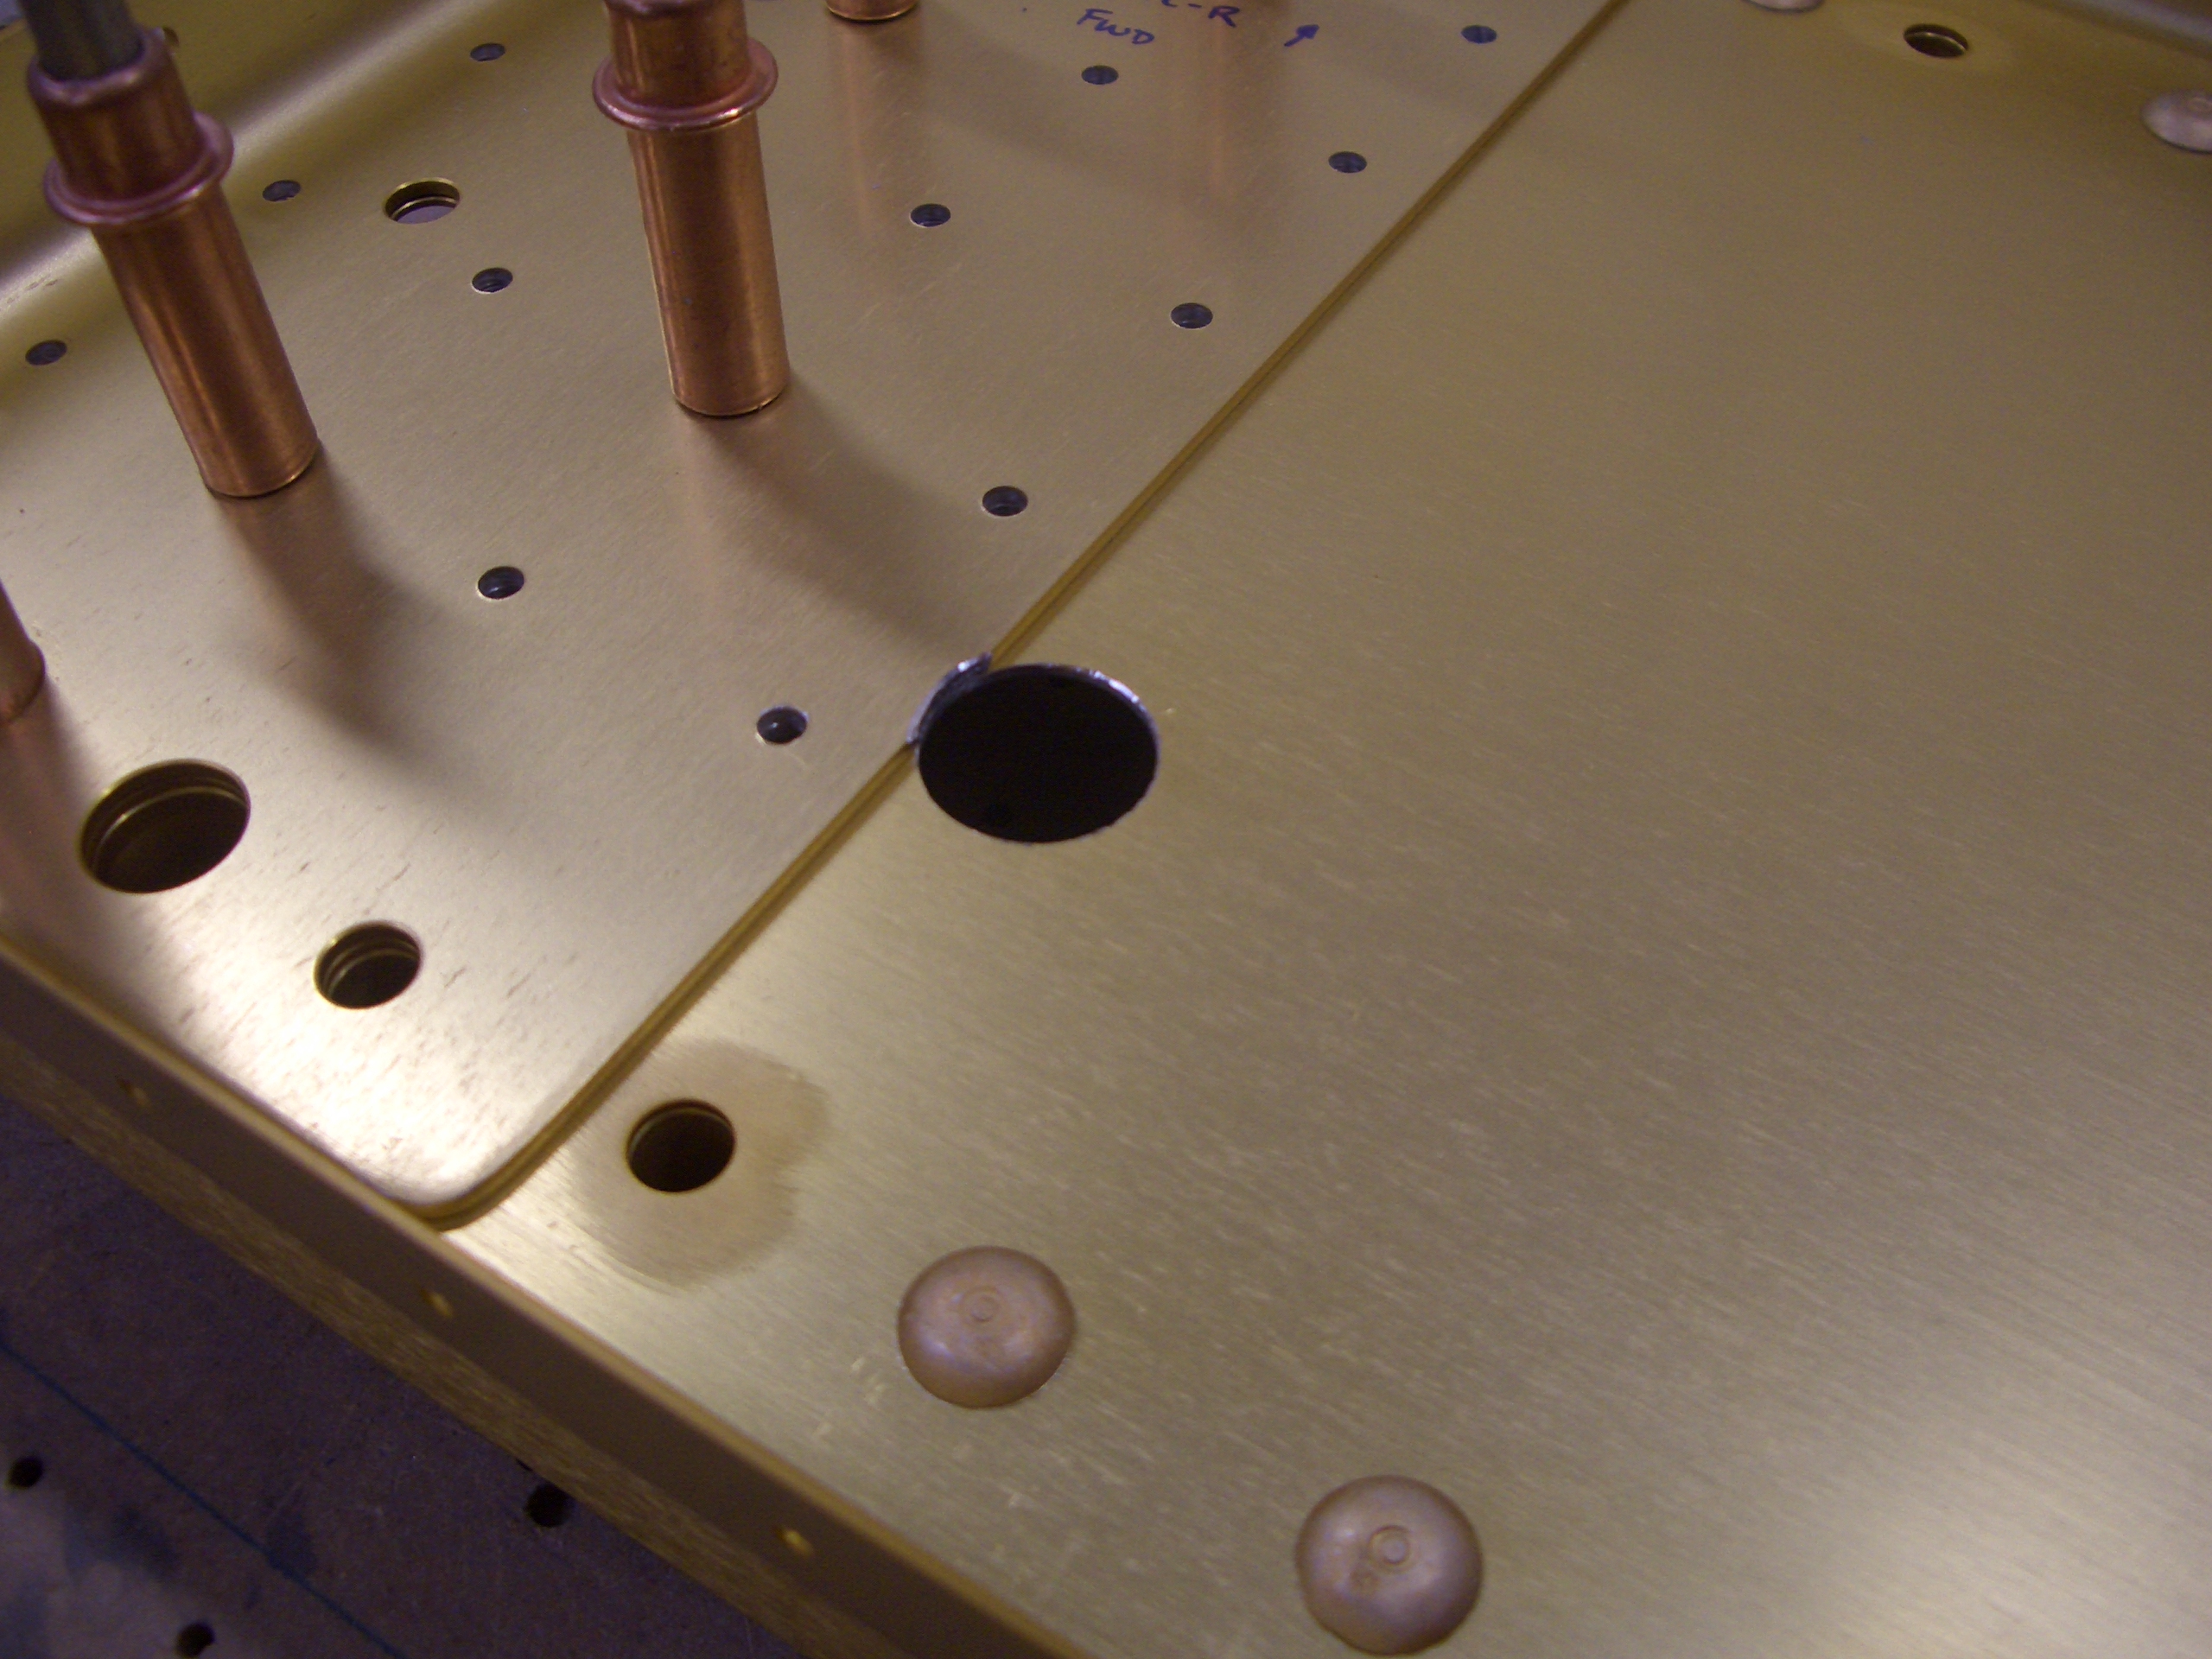
There are also outboard holes in both center sections for snap bushings.  If you zoom in on the picture, you can see that the hole slightly cuts into the side support.  Again it seems odd that they didn’t move these holes inboard a tiny amount to eliminate this interference.