I got my replacement fuel pump from Andair, so I ran down to the hangar tonight to install it. I pulled the old pump out and removed the fuel filter. Since I’ve pulled fuel from both tanks, I wanted to clean the filter to remove any debris that might have made its way into the tank or fuel lines during construction.

Despite my best efforts to keep the tanks clean and sealed and clean the fuel lines before installation, there was a surprising amount of junk in the fuel filter. I rinsed everything in a few ounces of gasoline. It looked like mostly dust and small sandy particles, but there were a couple of small metal particles mixed in. It’s good to get all of this out of the fuel filter before the first flight.

I lubricated the o-ring, safety wired the filter and reinstalled it on the pump.

Here’s the completed pump assembly with wires cut to length and a molex connector installed.

Finally, I reinstalled it in the plane and re-torqued all of the fittings.

Next, I installed the wingtip so I could get an idea how the light was aimed. It looks pretty high, but I’ll need to level the plane to be sure. I’m pretty happy with how bright this is. Here’s the hangar across the way with the light on.

And here it is with the light off.

To get a better idea how the light is aimed, I pulled the plane out into the taxiway and put the tail up on my chair to get the fuselage level and then turned the light on.

I adjusted the light until the beam was roughly level. You can see it does a pretty good job of lighting up the taxiway.

I walked to the far end of the taxiway to get an idea how much light was making it down there. The picture doesn’t really capture it well, but it was uncomfortable to look directly at the light, even from this far away.

This picture of the shadows cast by my legs gives a pretty good idea how well the far end of the taxiway is lit up.

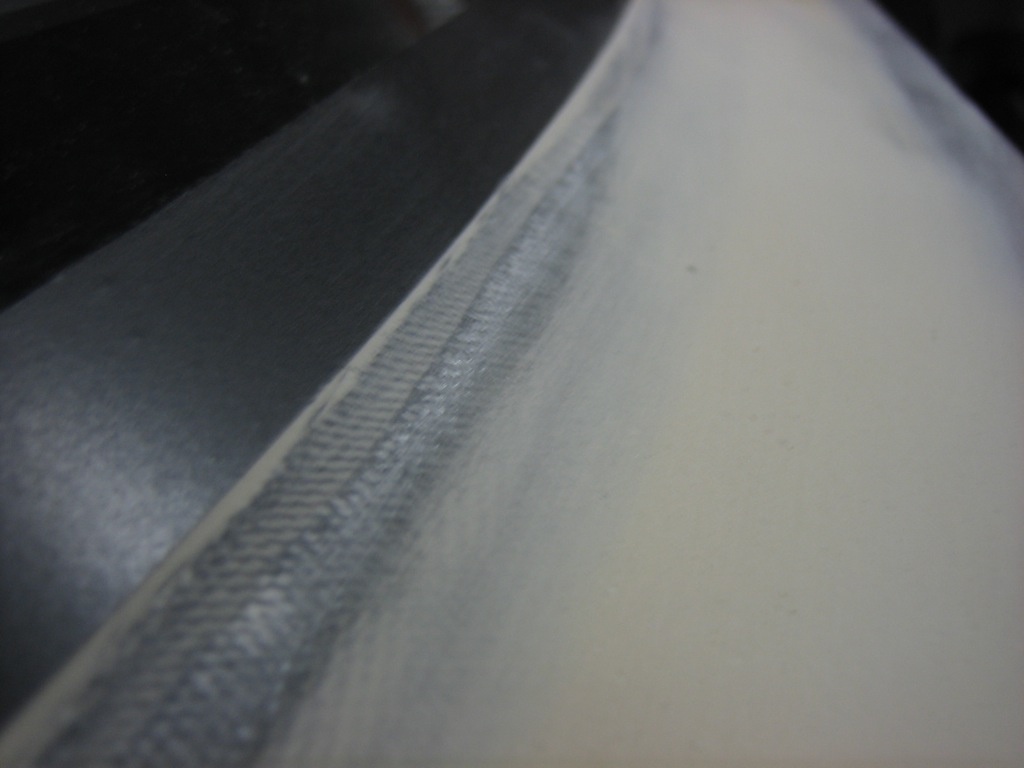
Finally, I resumed work on the canopy fairing. I started with sanding the fairing down to be flush with the two layers of electrical tape and got the overall shape where I wanted it. Next, I removed the upper layer of tape and sanded the fairing down again to be flush with the remaining tape.

After taping over the exposed parts of the canopy bubble, I mixed up some epoxy with black pigment and applied a sealer coat on the fairing. After this cures, I’ll sand it down and apply a coat of primer.

