My buddy Andre stopped by the hangar this morning to help me remove the canopy one last time.
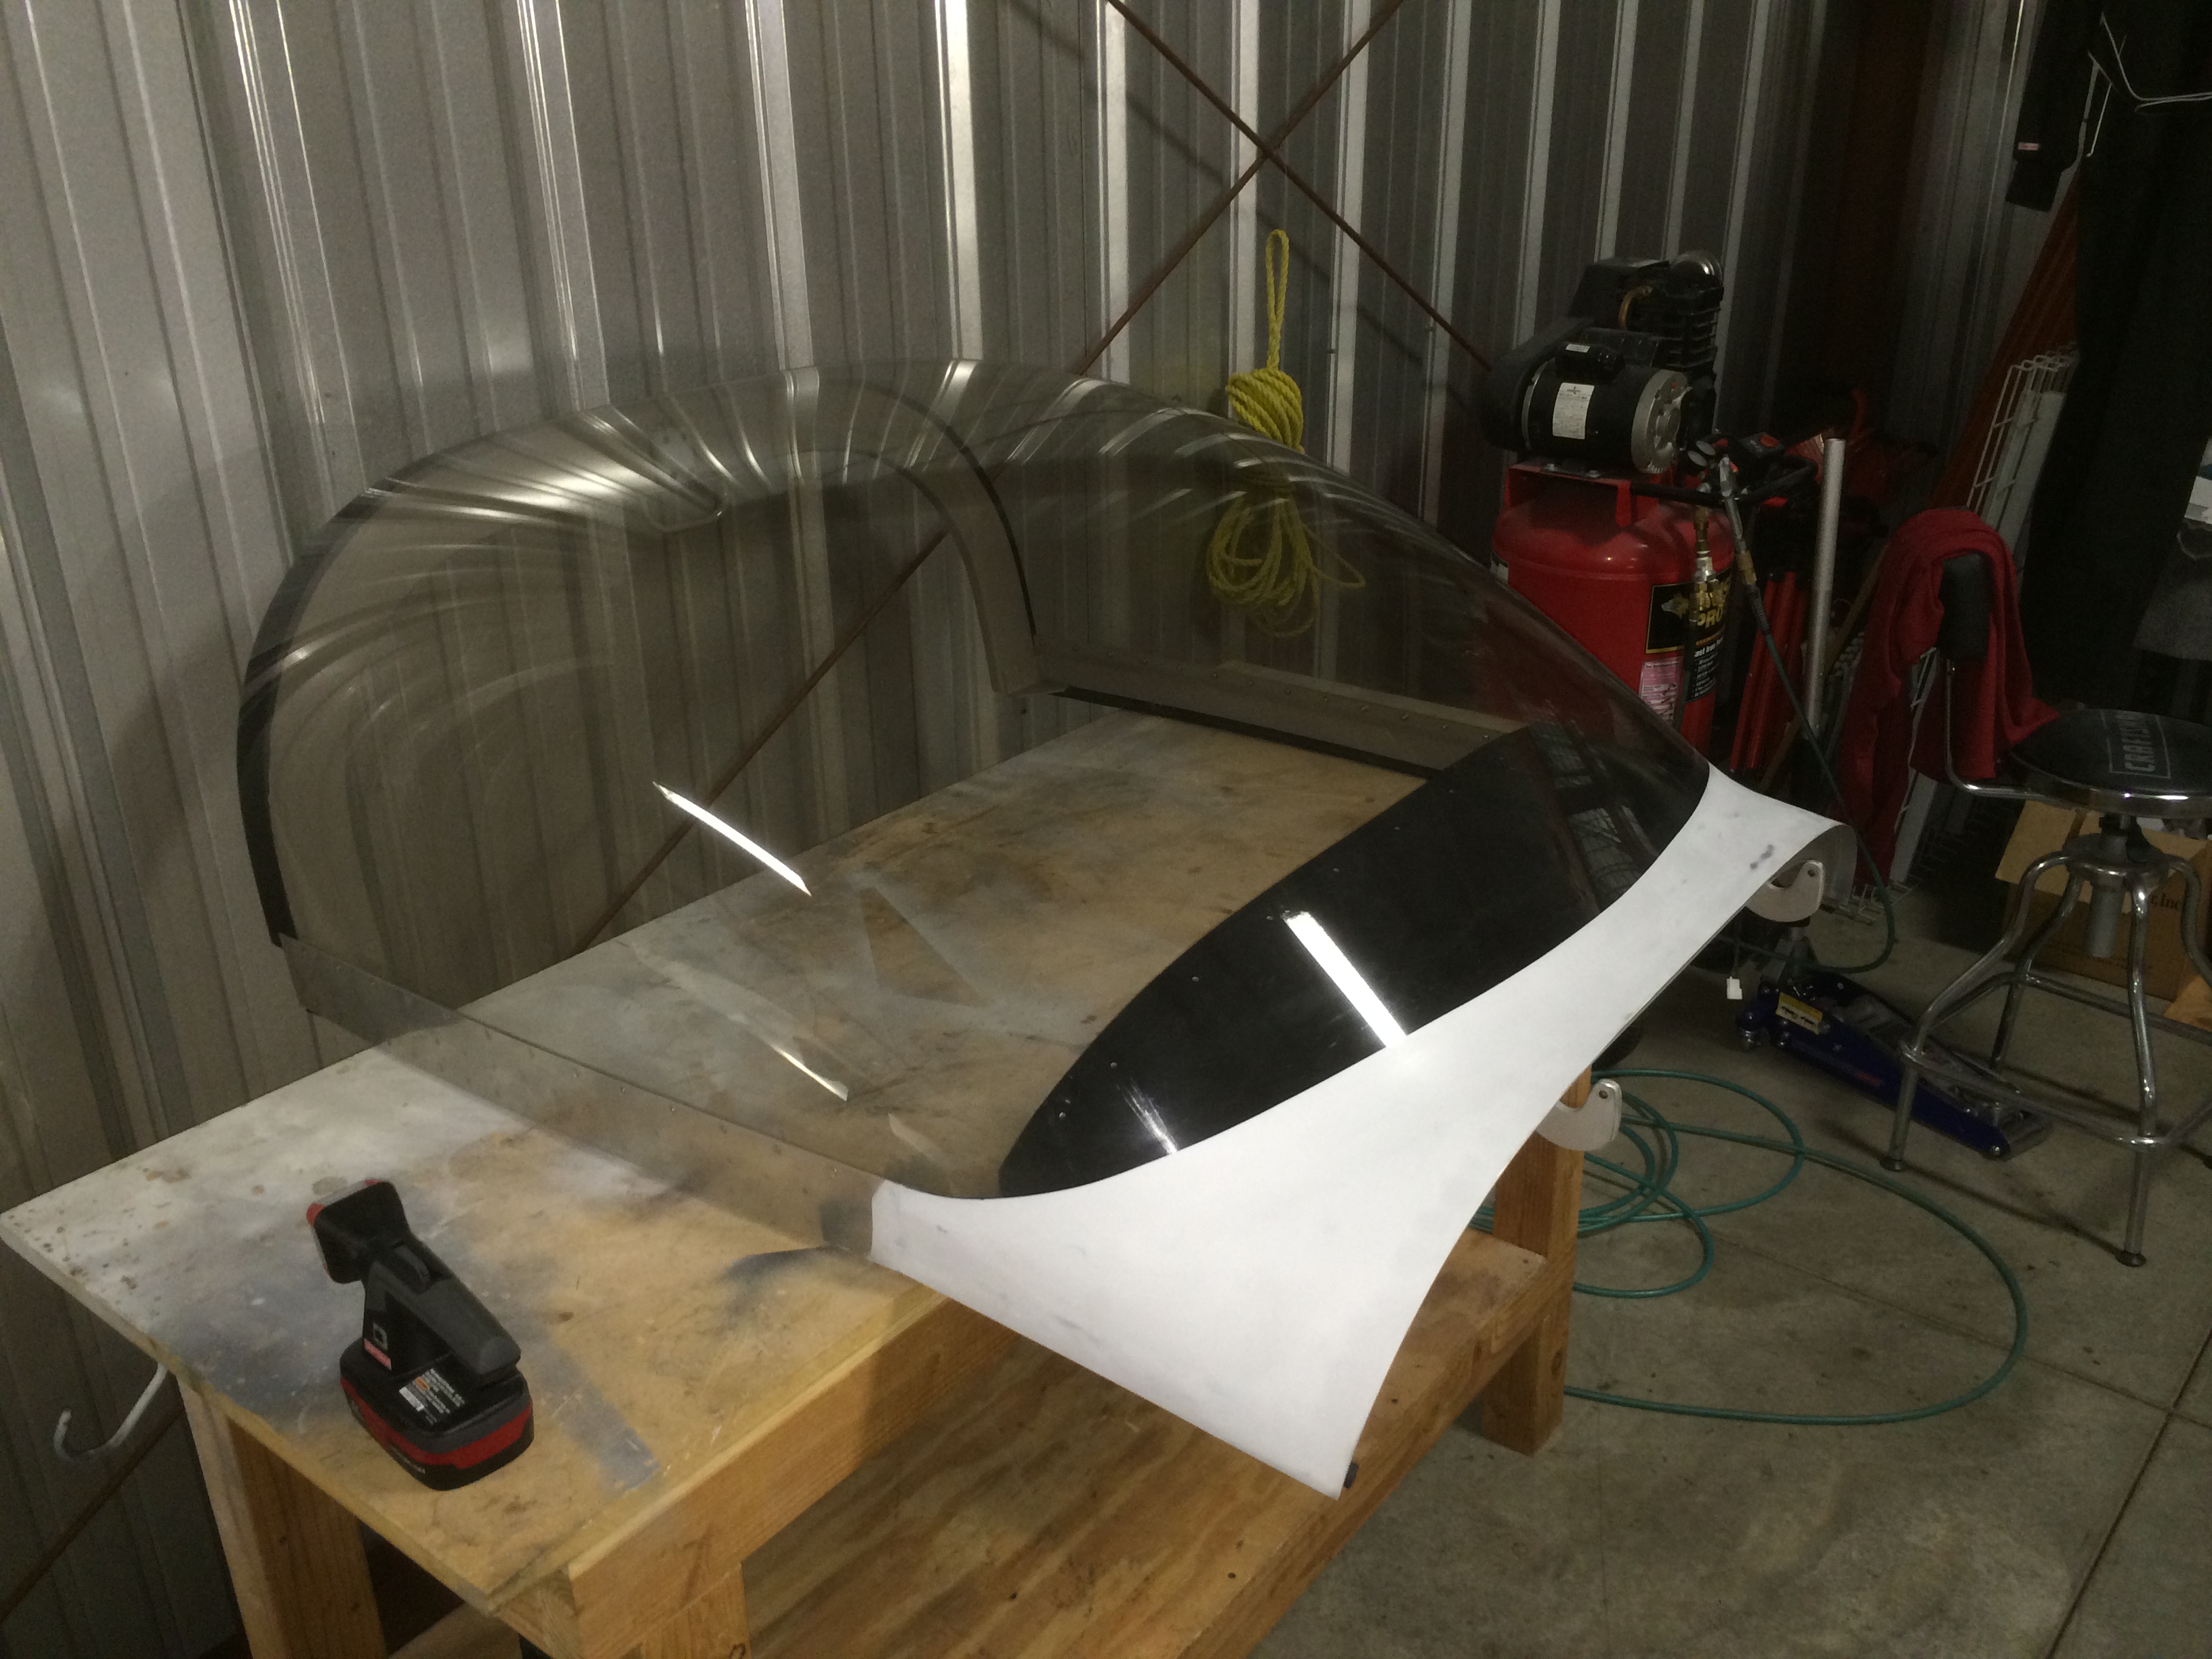
I inadvertently used the wrong weatherstripping on the flange at the forward edge. It was too thick, and the canopy skin kept catching on it and was tearing it off. After Jenn and I reinstalled the canopy the last time, I found the correct weatherstripping in a box, so I decided to swap it before first flight. Unfortunately, after Andre and I removed the canopy, I could no longer find it, so I have some new weatherstripping on order.
I didn’t get any pictures of it, but I lubricated all of the bearings on the plane. There are nearly three dozen of them, and many are exposed to the elements. I’m using a product called DriSlide. It wicks into the bearing and dries, leaving behind a film of molybdenum disulfide. This film is extremely slippery, but because it’s dry, it doesn’t attract dust or dirt, is highly resistant to water, and prevents rust and corrosion. I’m also using it on the sliding pins in the brake calipers to keep dirt from sticking to them.
After wrapping that up, I installed the wingtips. I used some DriSlide on the hinge pins and they slipped in effortlessly.

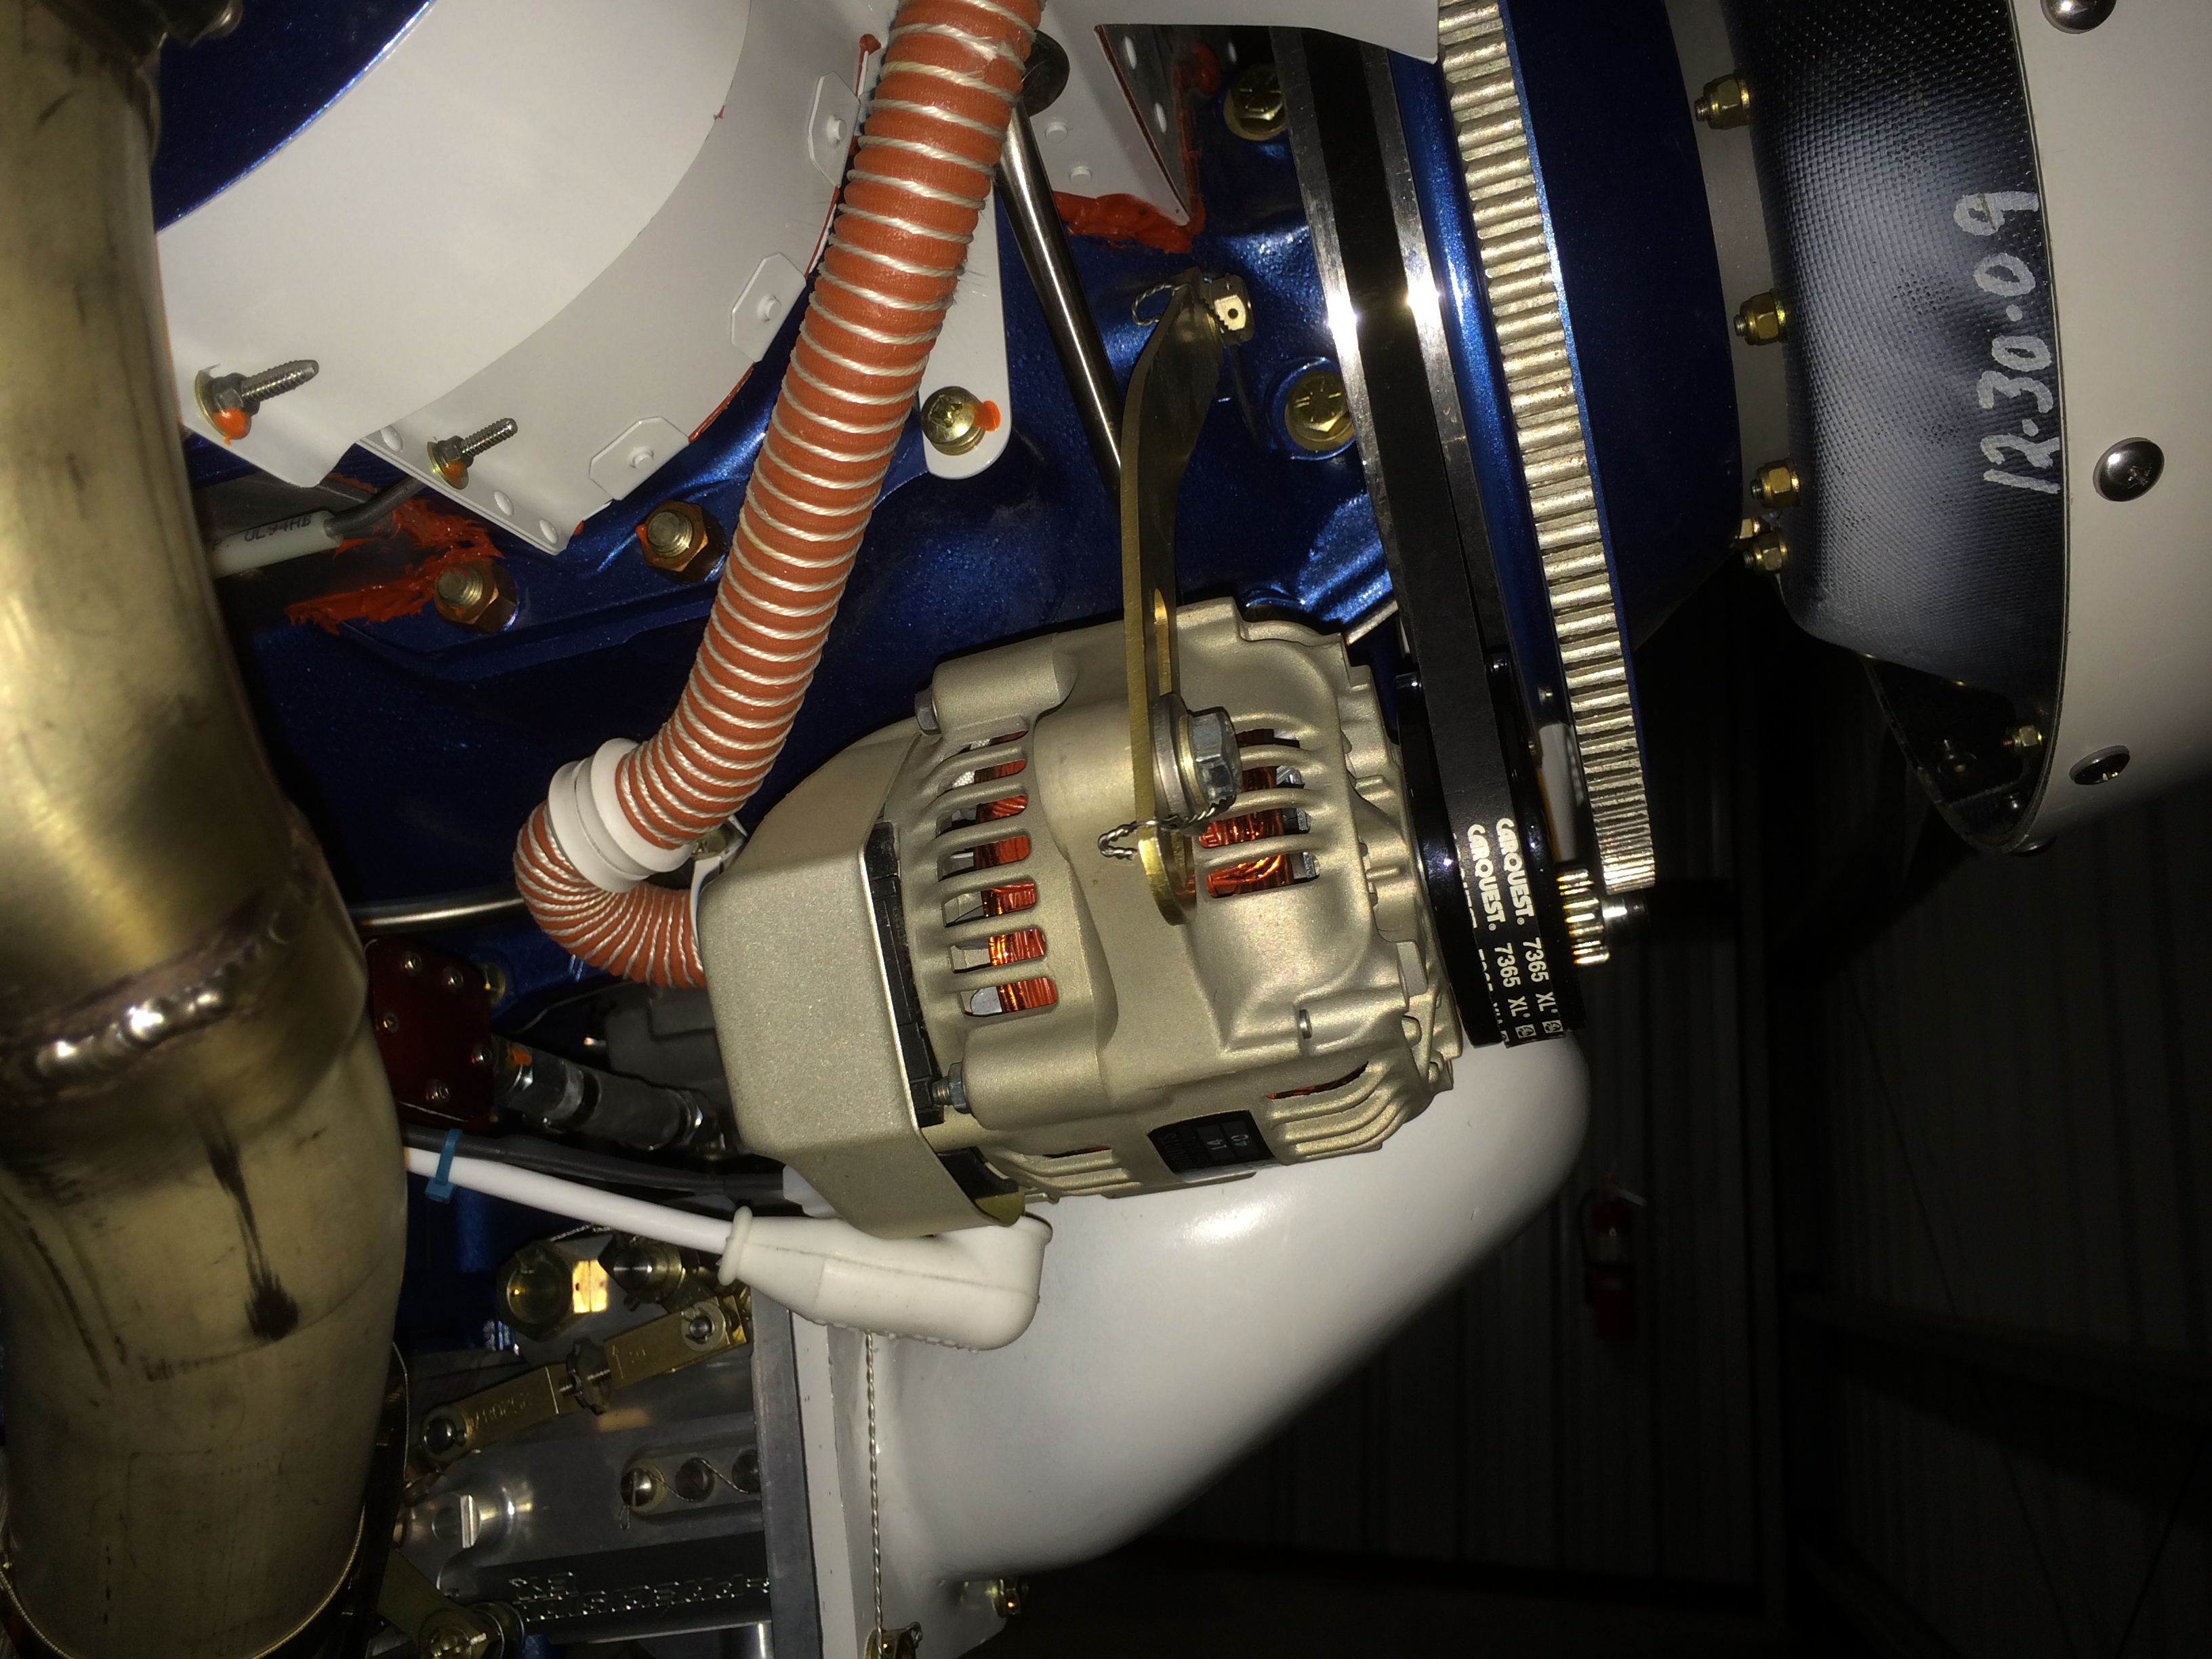
I reinstalled the alternator with the washers in front of the pivot shaft. I checked the alignment, and it looks perfect. I adjusted the tension so that I could turn the alternator pulley with 13 ft-lbs of torque (with the pulley slipping on the belt), but couldn’t turn the pulley with 11 ft-lbs of torque.
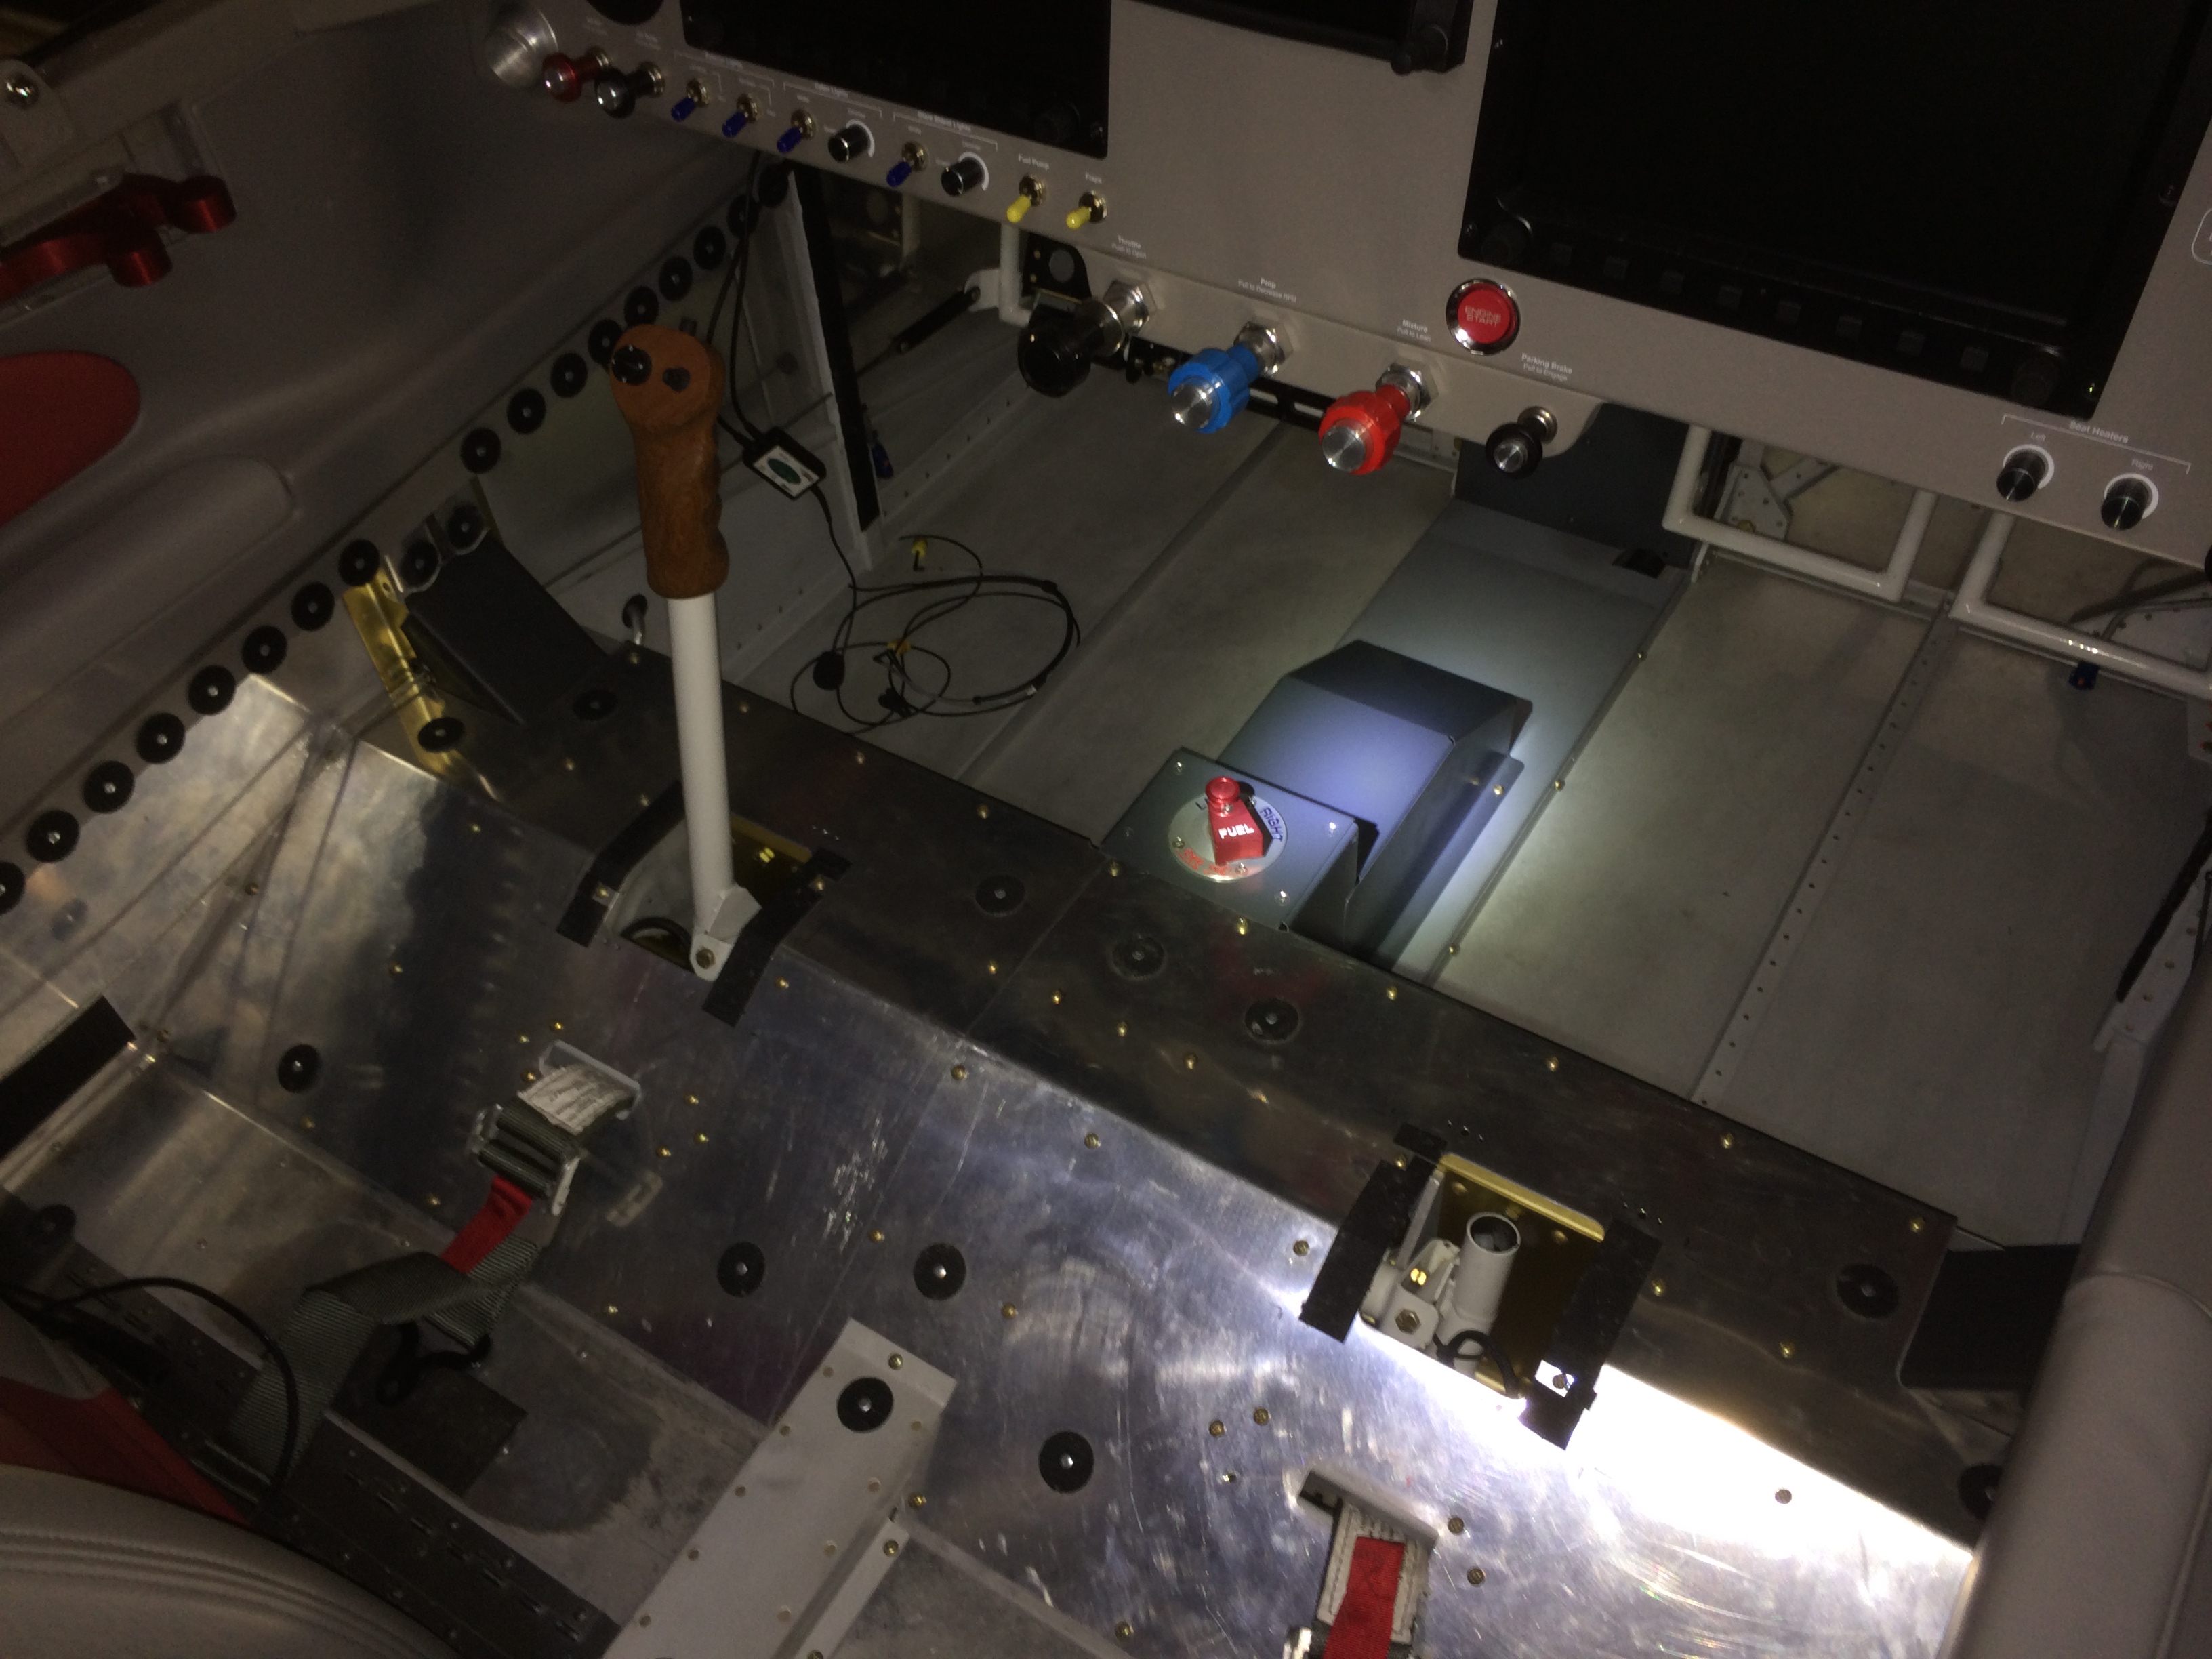
After fully inspecting all of the controls under the seats, I installed the forward center section cover, fuel pump cover, spar covers, seat pans and tunnel cover and screwed everything down.
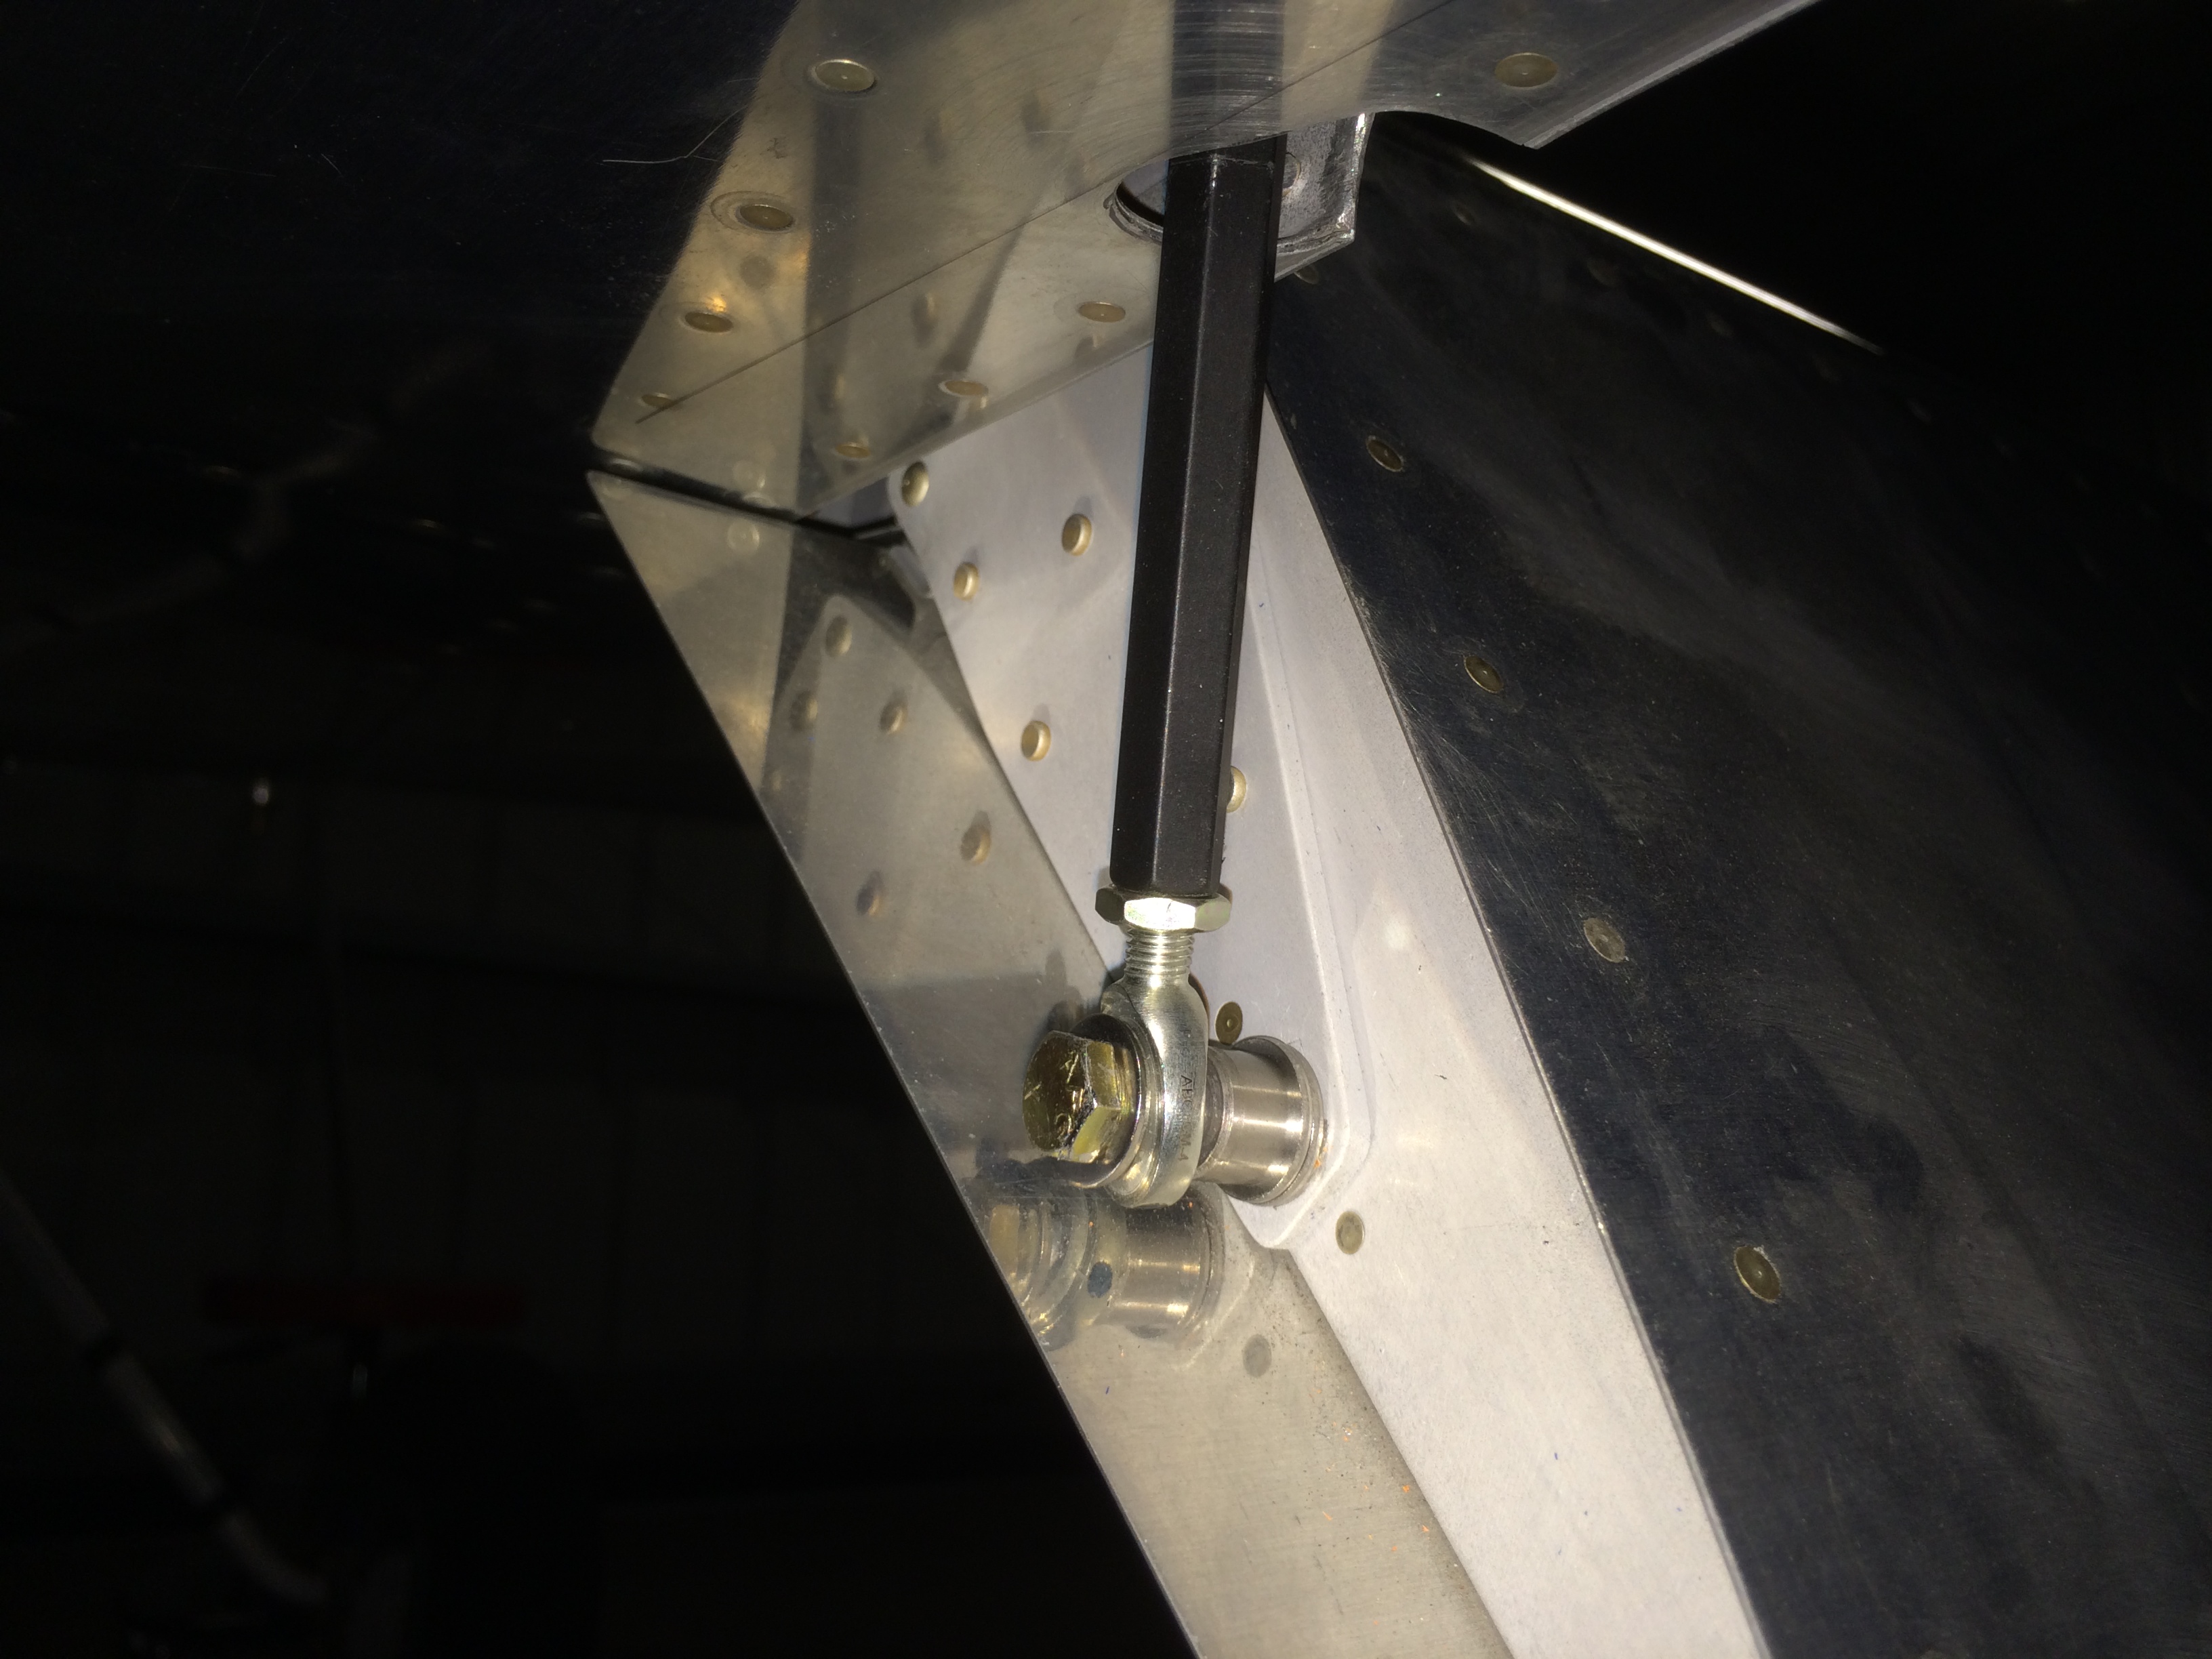
The DAR mentioned that he doesn’t like Van’s design for the flap pushrod attachment since the rod could come off if the rod end fails. Every other rod end on the plane is either captured by the surrounding attach point or has an AN970 washer to keep the rod end together in case of bearing failure. The failure of a rod end can be a catastrophic failure since a split flap condition can cause a violent rolling motion. Since full flaps are usually used on final approach when low and slow, a failure here could be fatal. By switching to a regular rod end from the ball joint linkage supplied in the kit, you can prevent the joint from ever coming apart.
Fortunately, my friend Greg had already warned me that the DAR would like the see these parts upgraded, so I had the parts in hand. I also upgraded the pushrod from the one I made to the one sold by Avery Tools. I still need to adjust the pushrod length to get the flaps back into alignment with the ailerons, but I’m much happier with this arrangement.
Since my CG ended up farther back than I was hoping, I’ve been looking for ways to move it forward. I purchased the Bell tailwheel fork a long time ago since I really dislike the Van’s design. I didn’t realize at the time how much heavier it was though. While researching other options, I found that the tailwheel fork sold by JDAir was even lighter than Van’s. I haven’t measured for myself yet, but they told me that I should save about 1 pound from the Bell fork. This doesn’t sound like much, but with an arm of over 249″, this change alone will move the CG forward by over 0.15″. The fork comes plain or powder coated in either gloss white or gloss black, but I previously powder coated all of my tailwheel components in matte black, so I ordered it plain so that I could match the finish. I stopped by the TechShop earlier today and smoothed out all of the edges and then sandblasted the areas that will be powder coated. That produces a nice textured finish that the powder coat will stick to nicely.
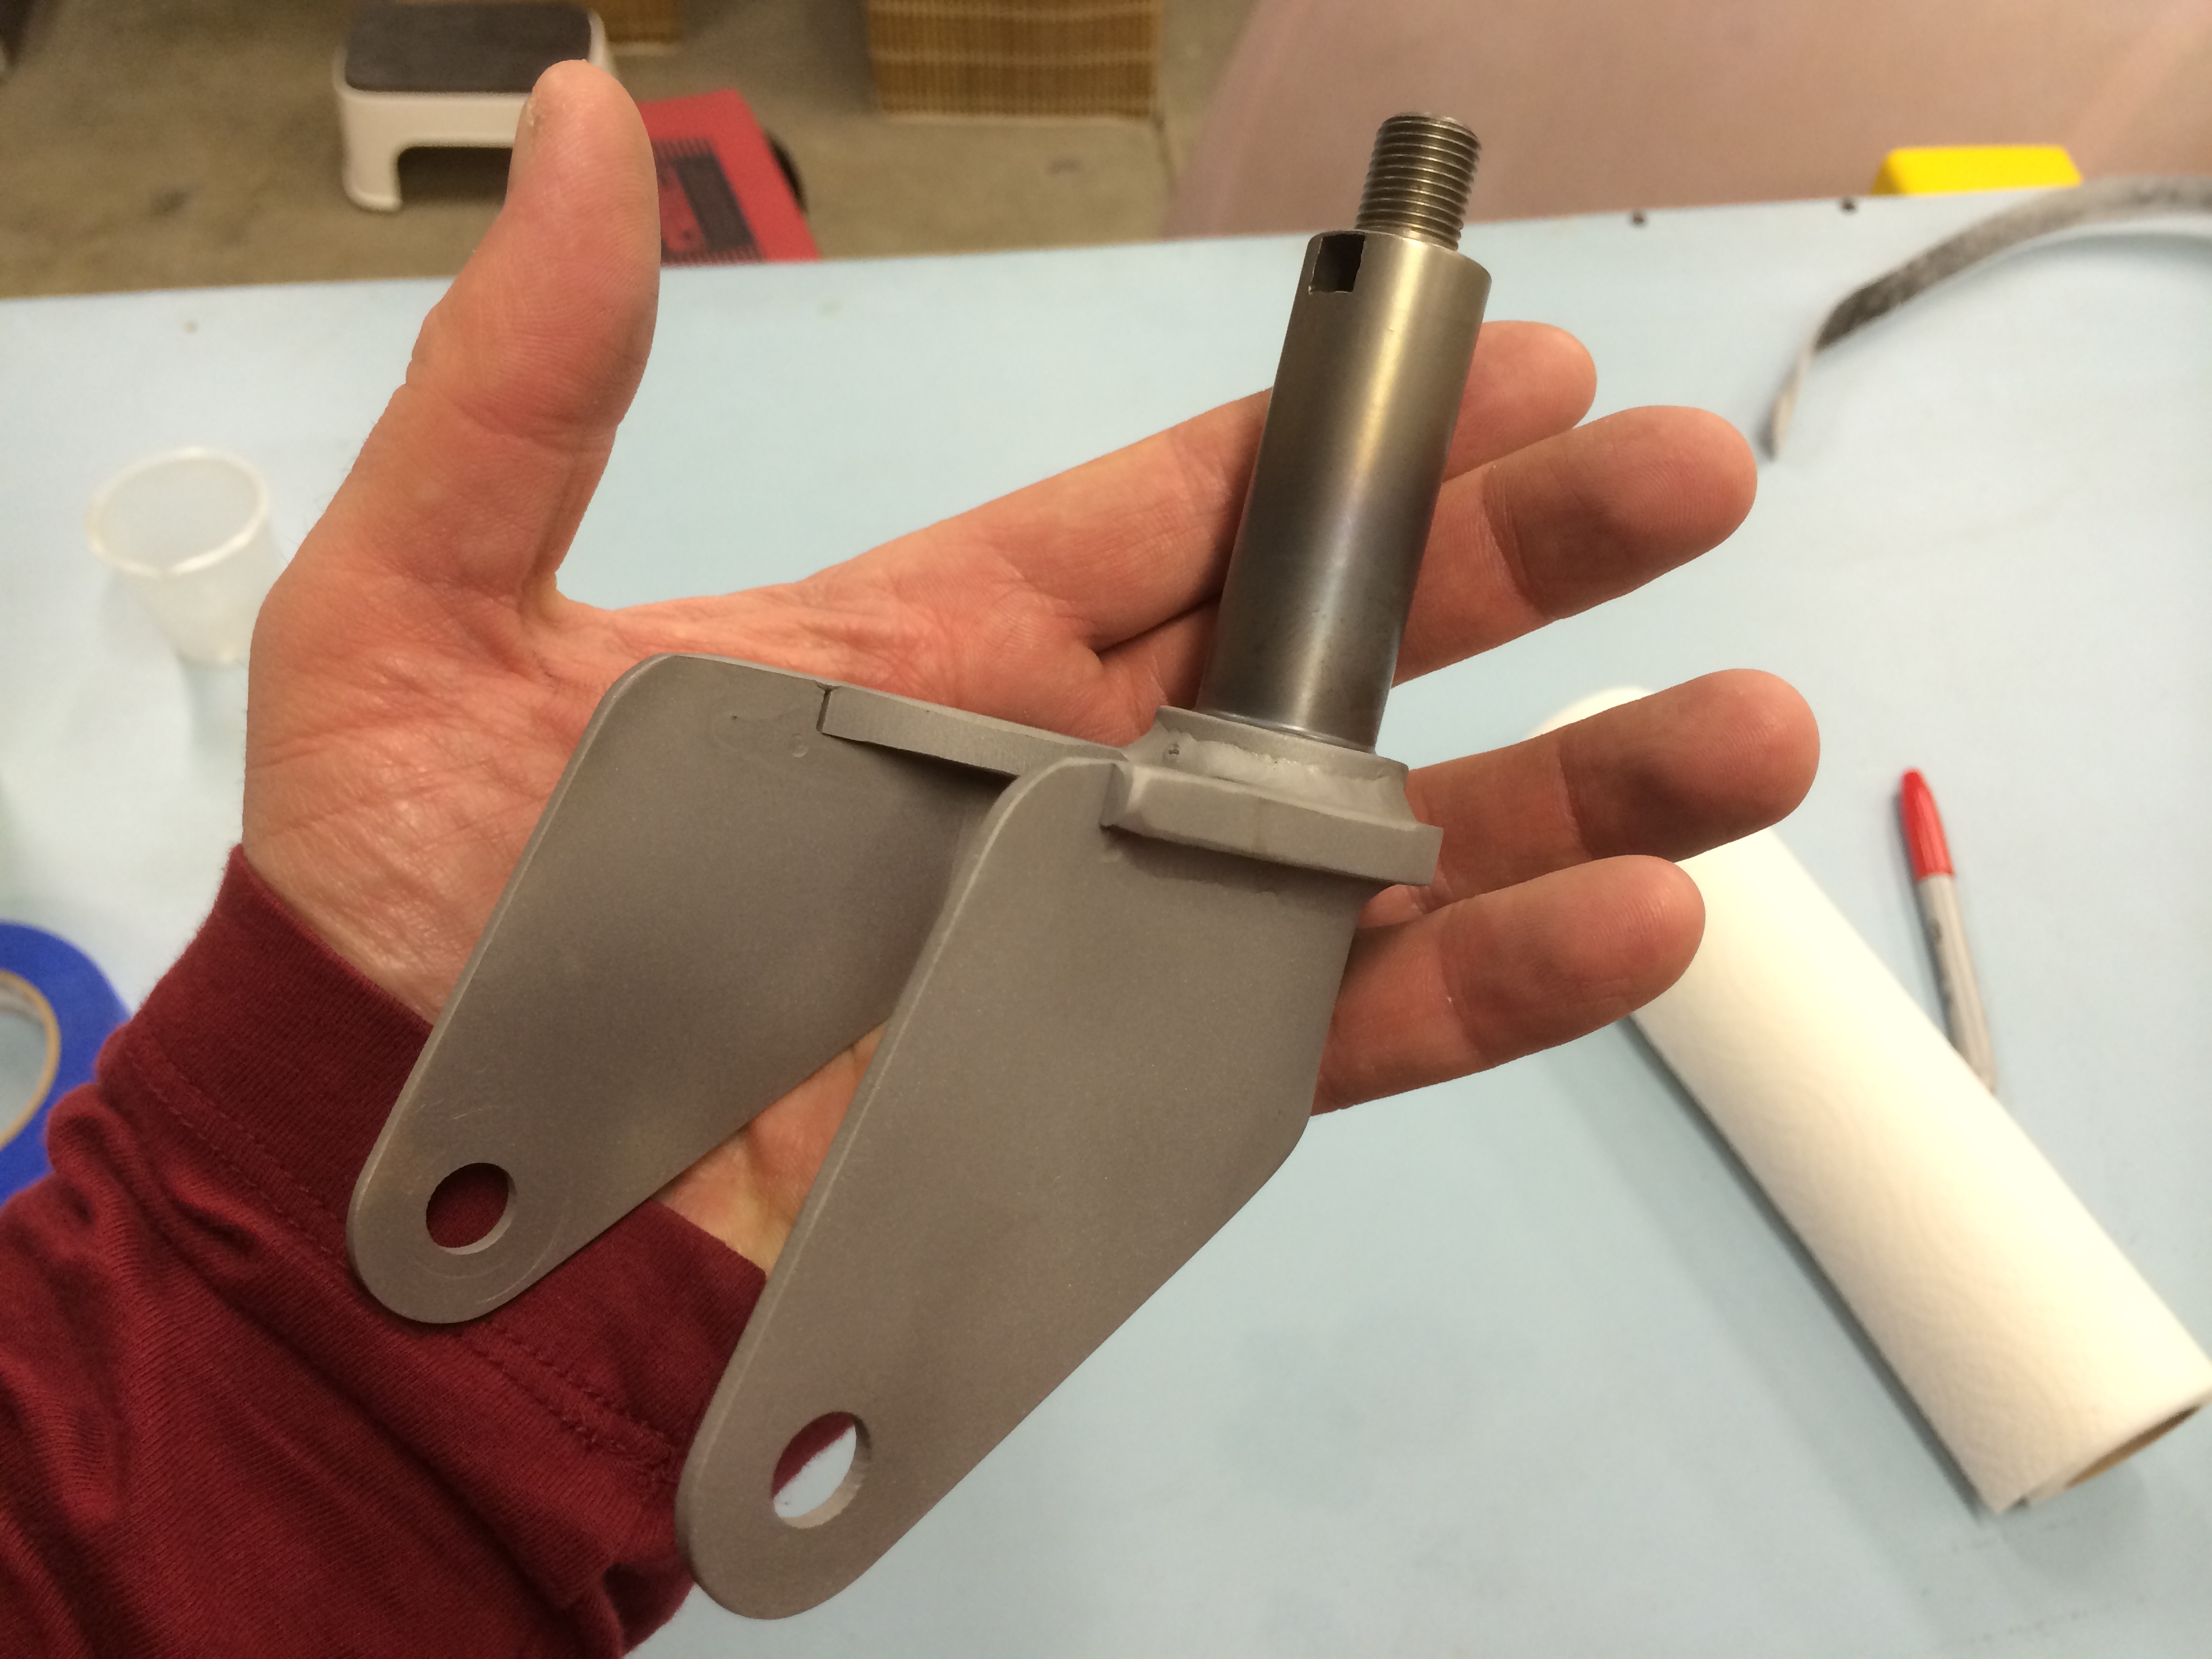
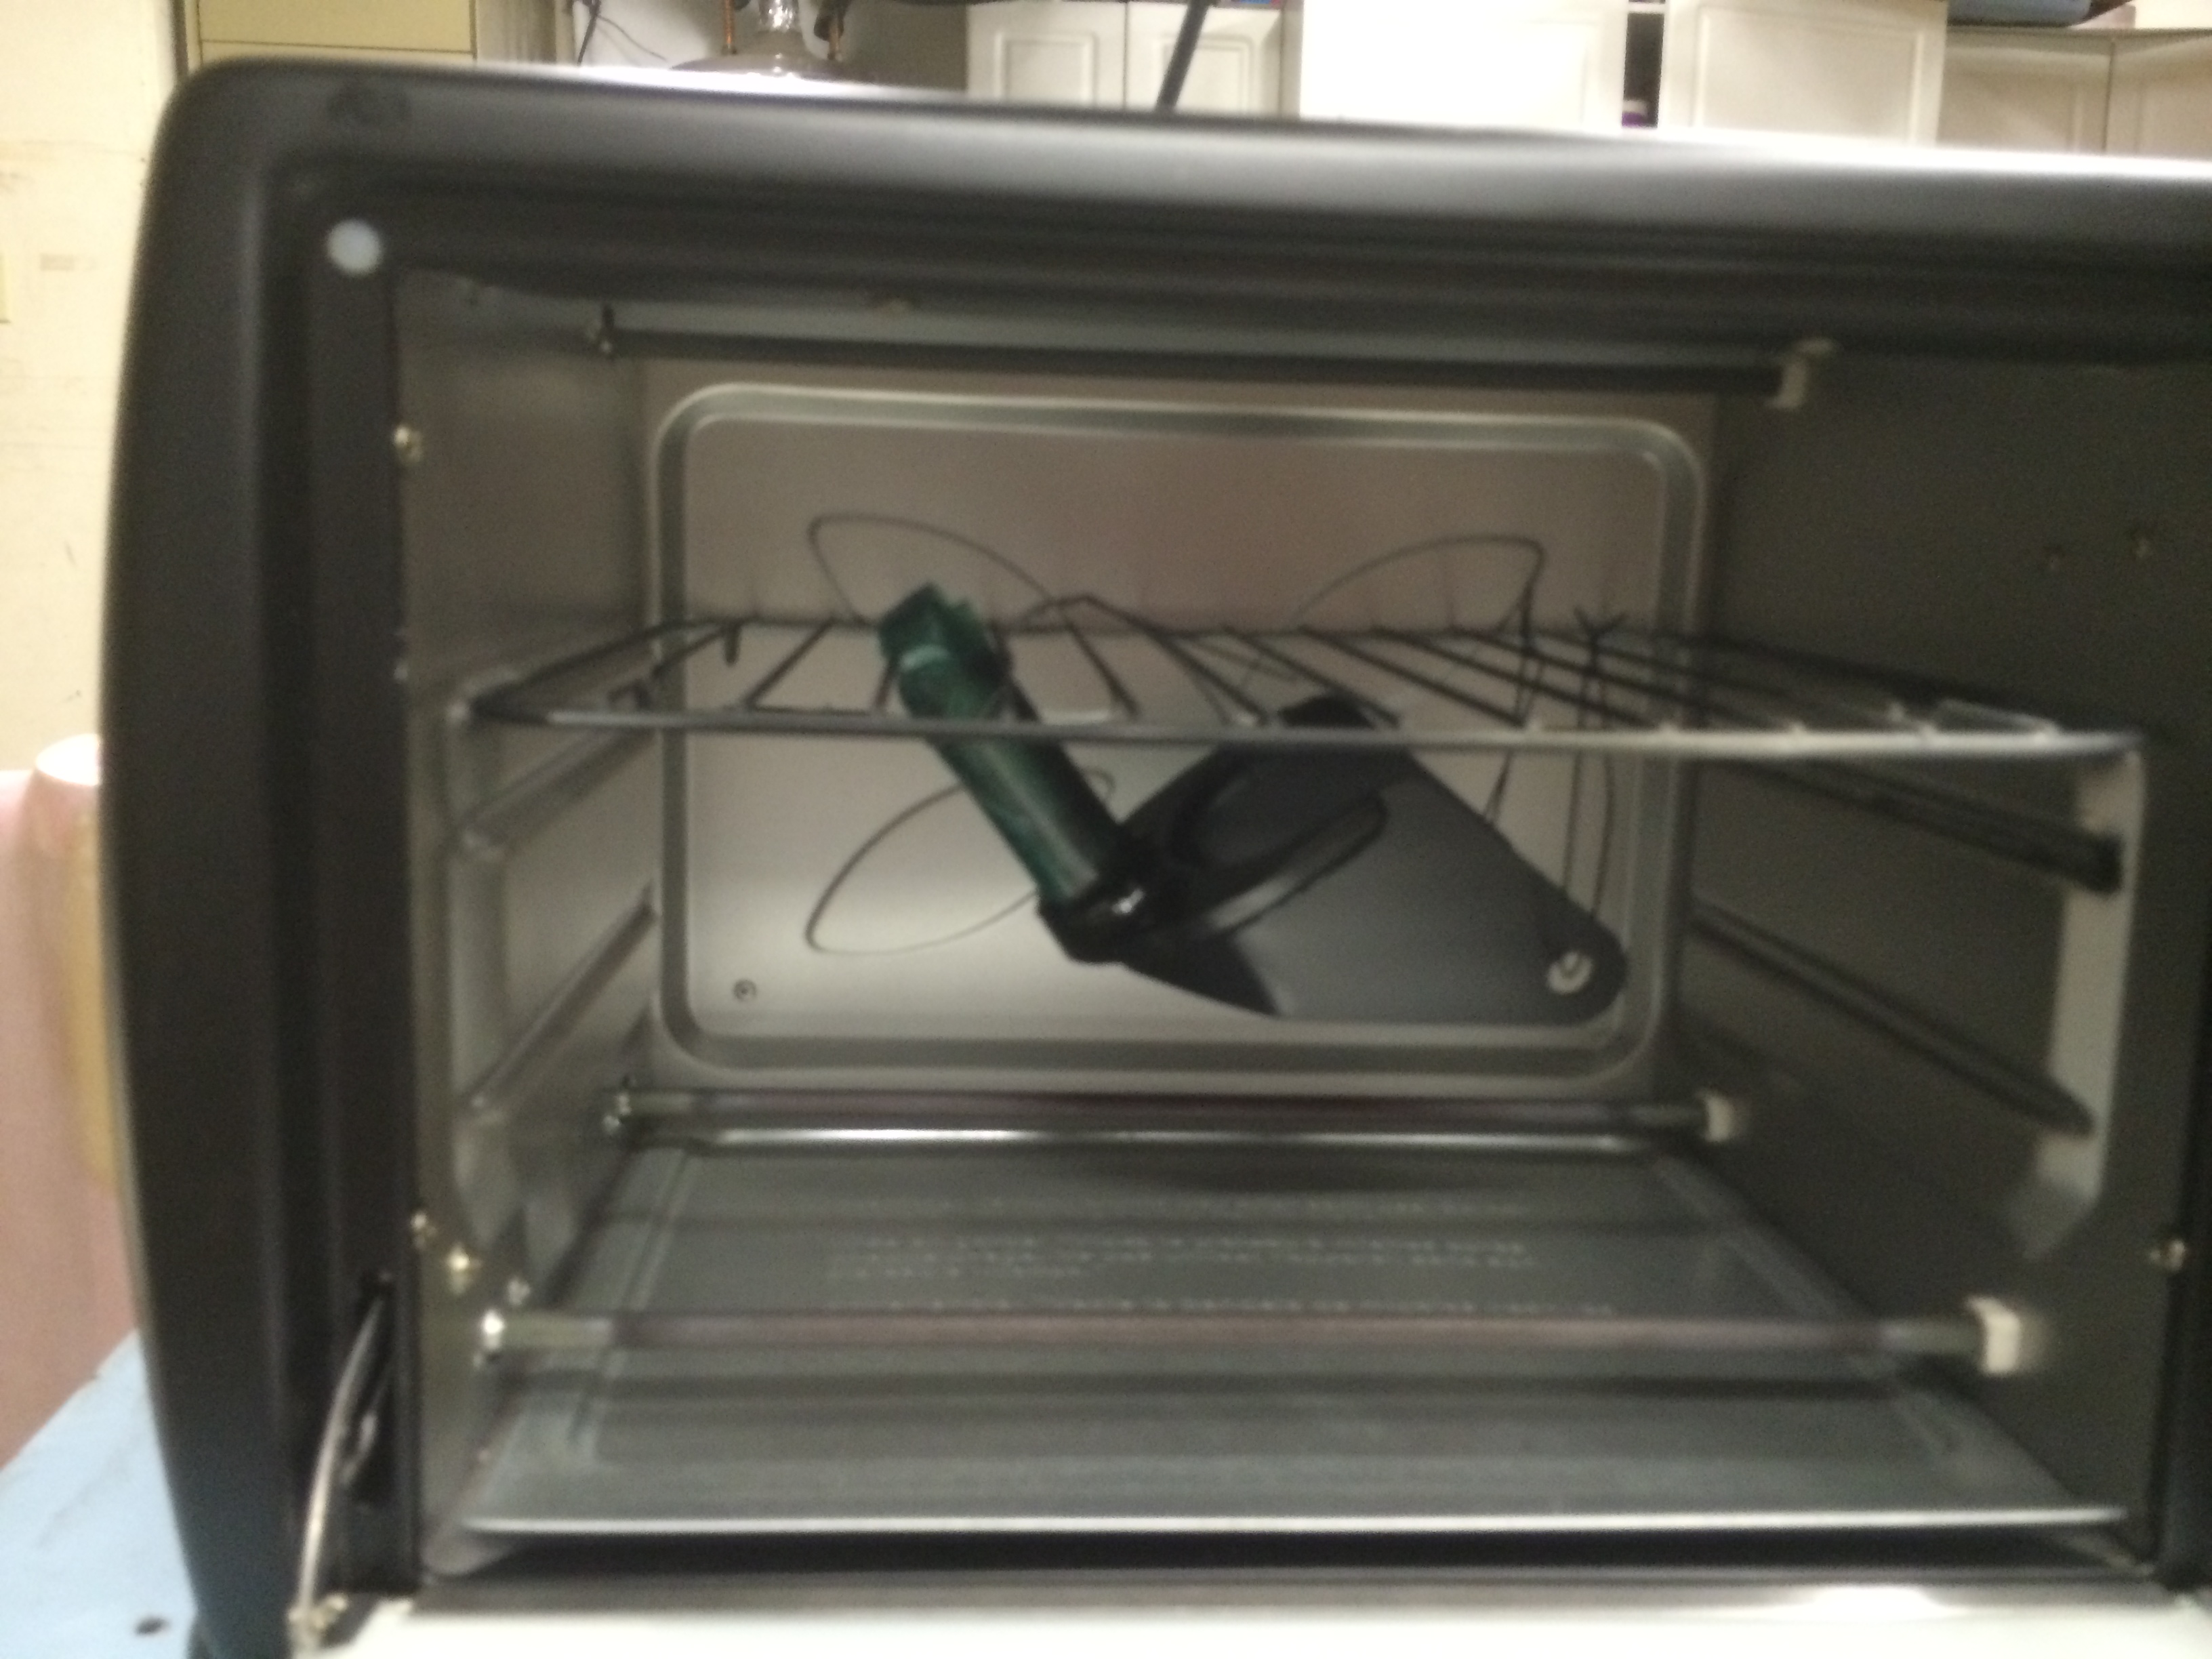
I applied the powder coat and then baked it in the oven for about 20 minutes at 350º.