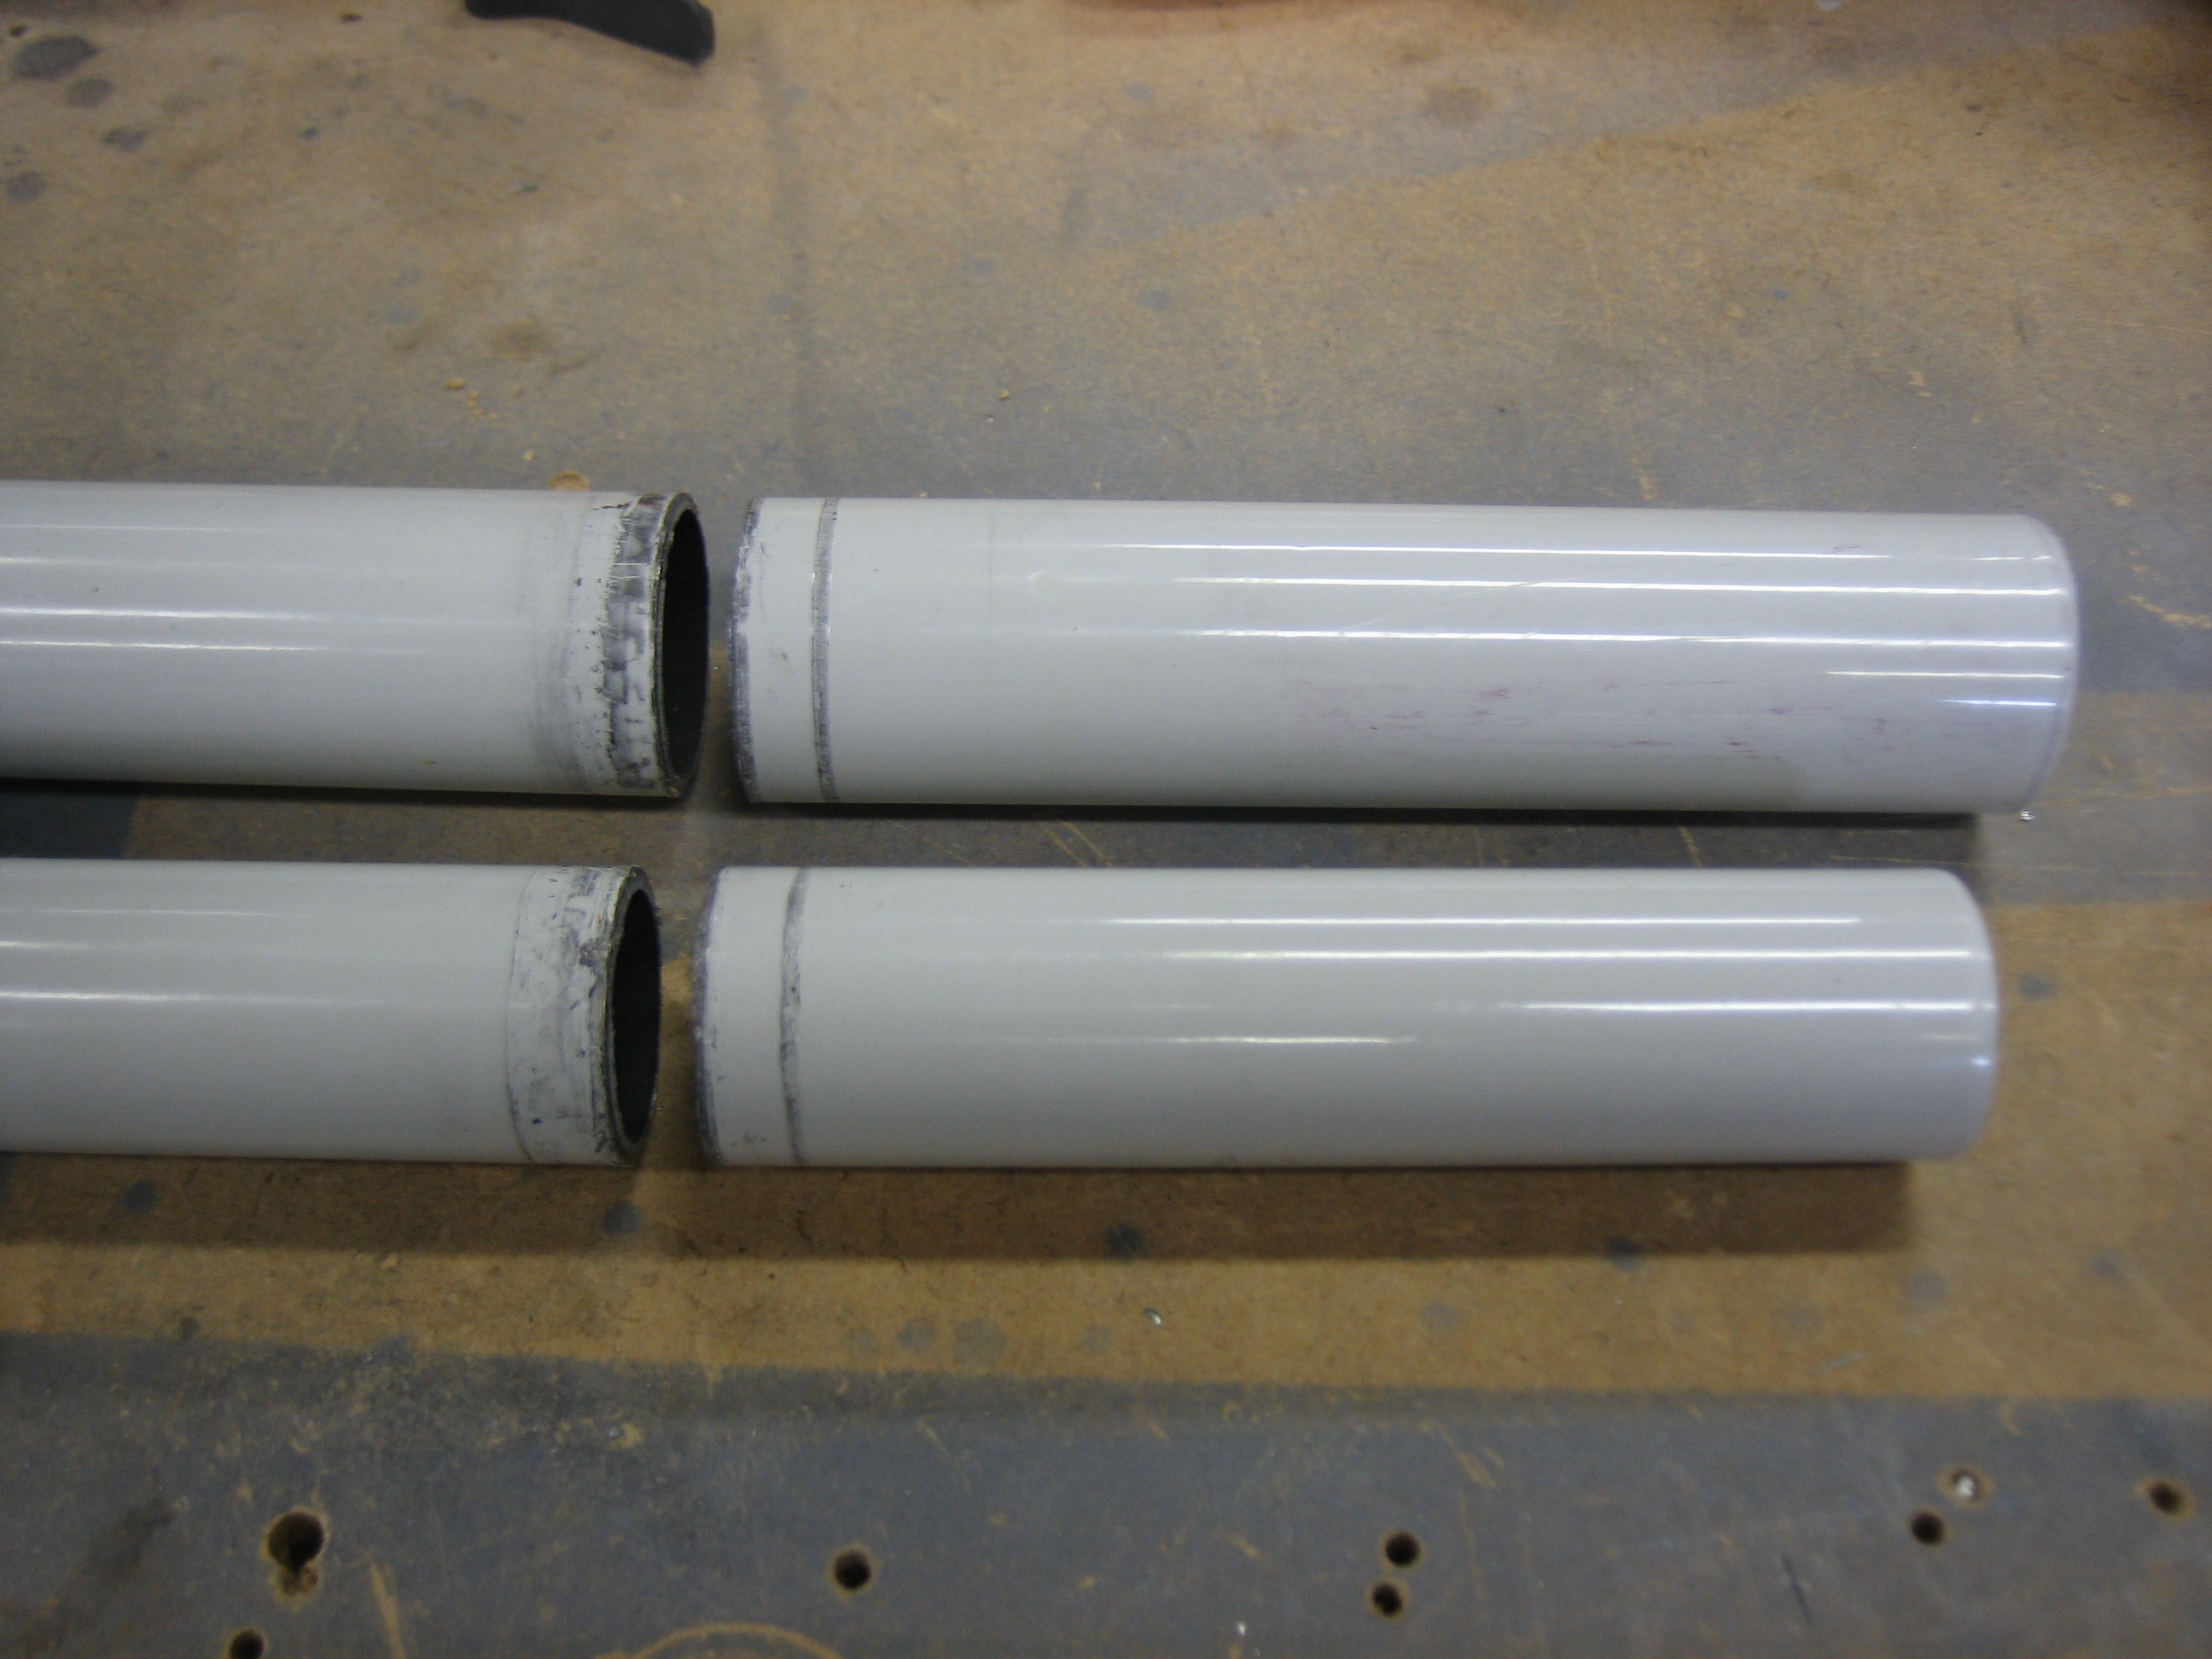
With the engine controls in their final location, I marked both sticks and cut them off. I’m using the teak grips, so they extend the sticks a couple of inches or so. For reference, I cut 4 1/4″ off the pilot’s stick and 3 11/16″ off of the co-pilot’s stick. This puts the bottom of the grips (and therefore the hand) the same distance from the pivot point for either stick.
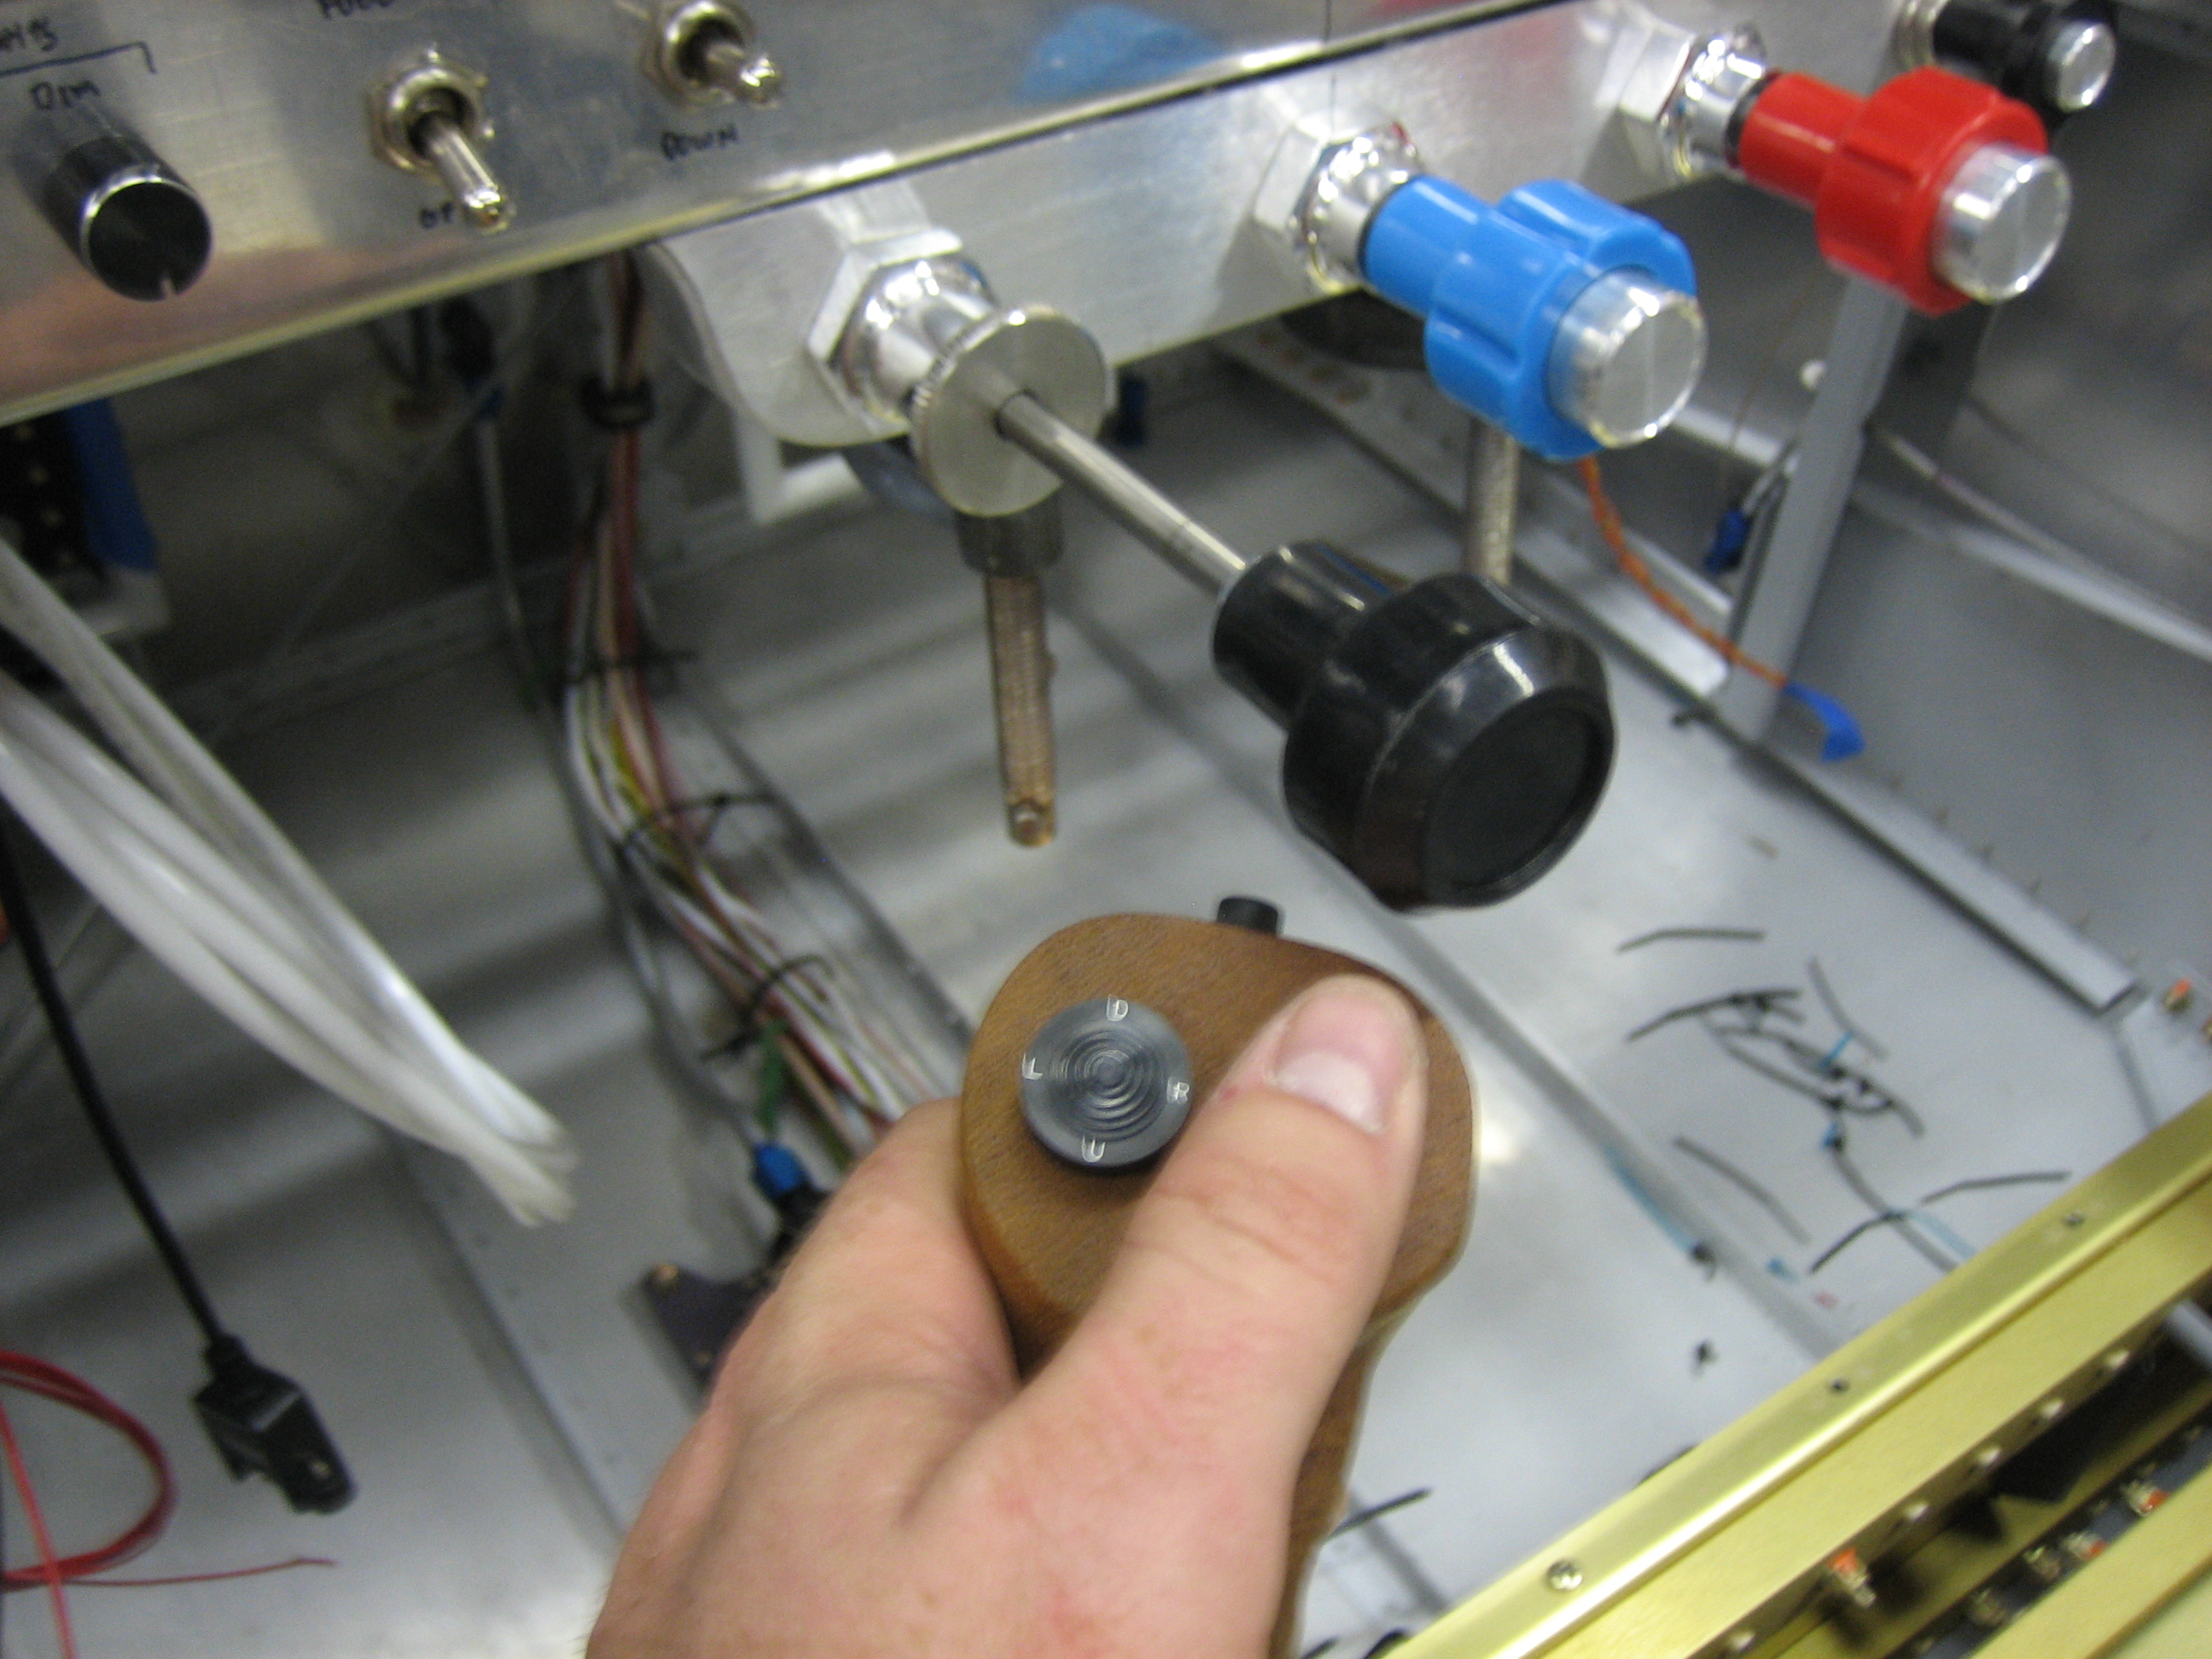
I needed to cut this much off to ensure the grip clears the throttle when at idle. This gives me a comfortable clearance even with my finger on top of the grip. It might be a little tight if my hand is resting on the throttle at the same time, but I don’t want to cut off any more than I need to.
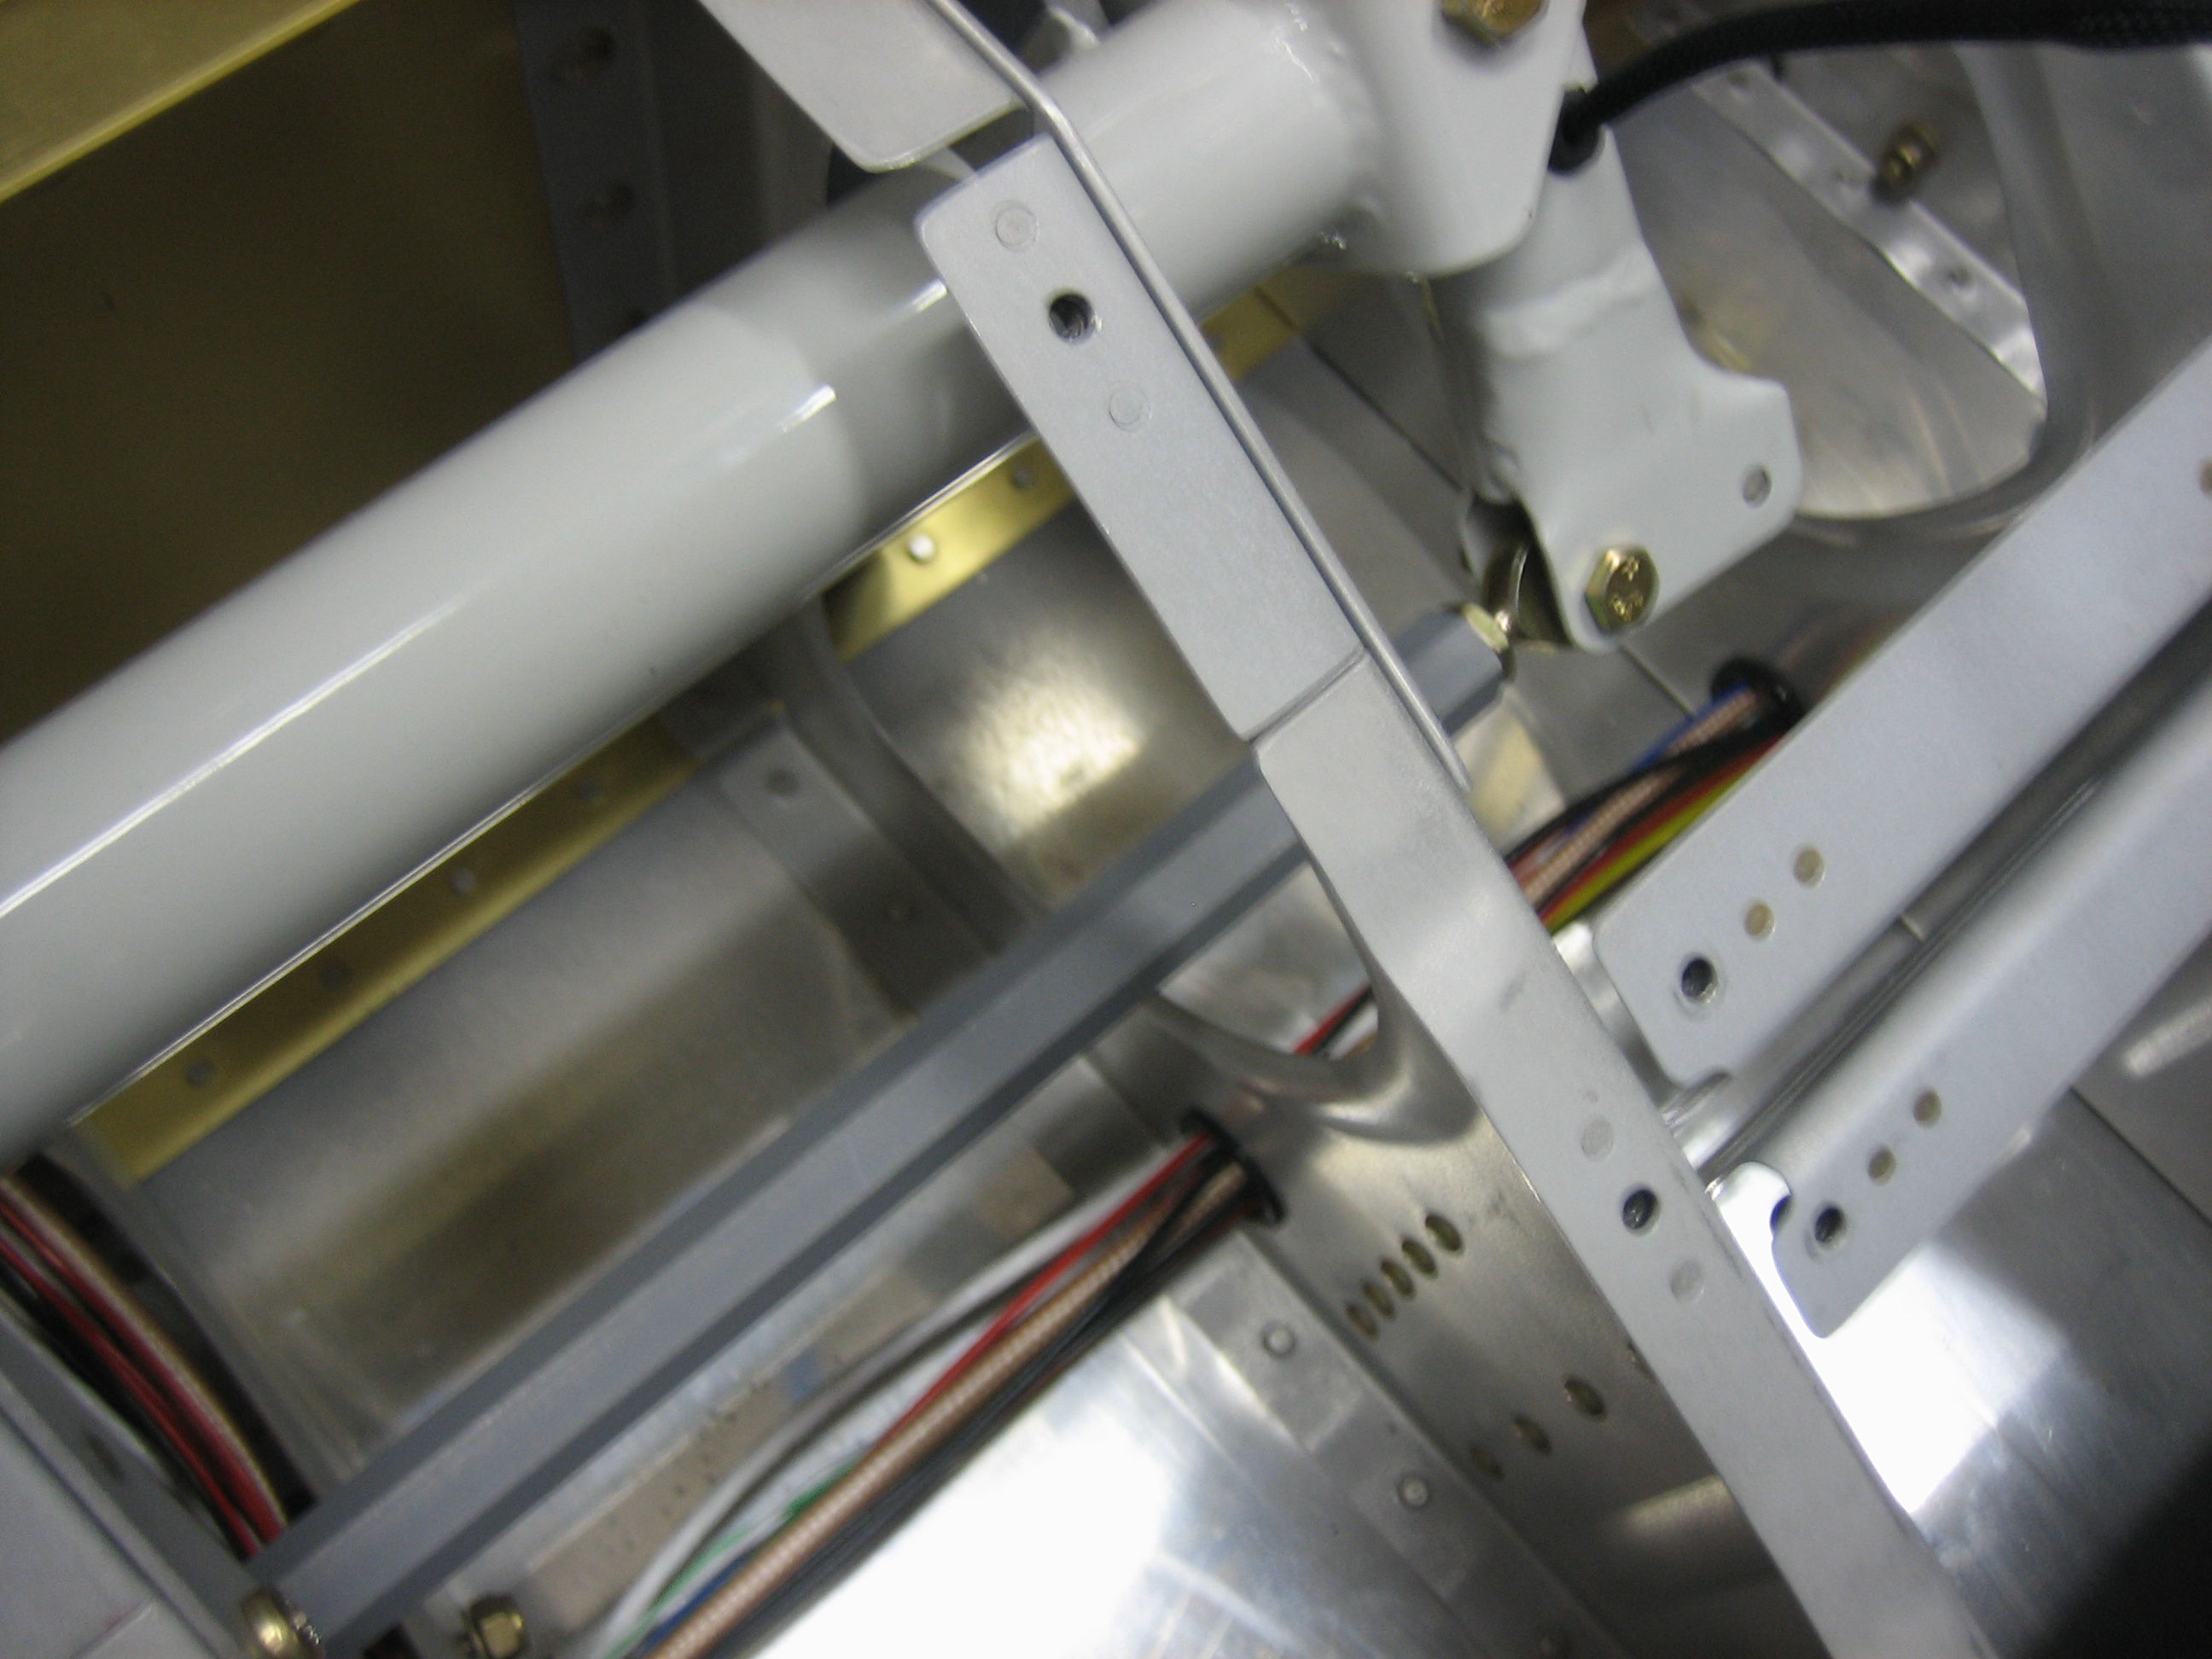
I installed both sticks and the push-rod that connects them.
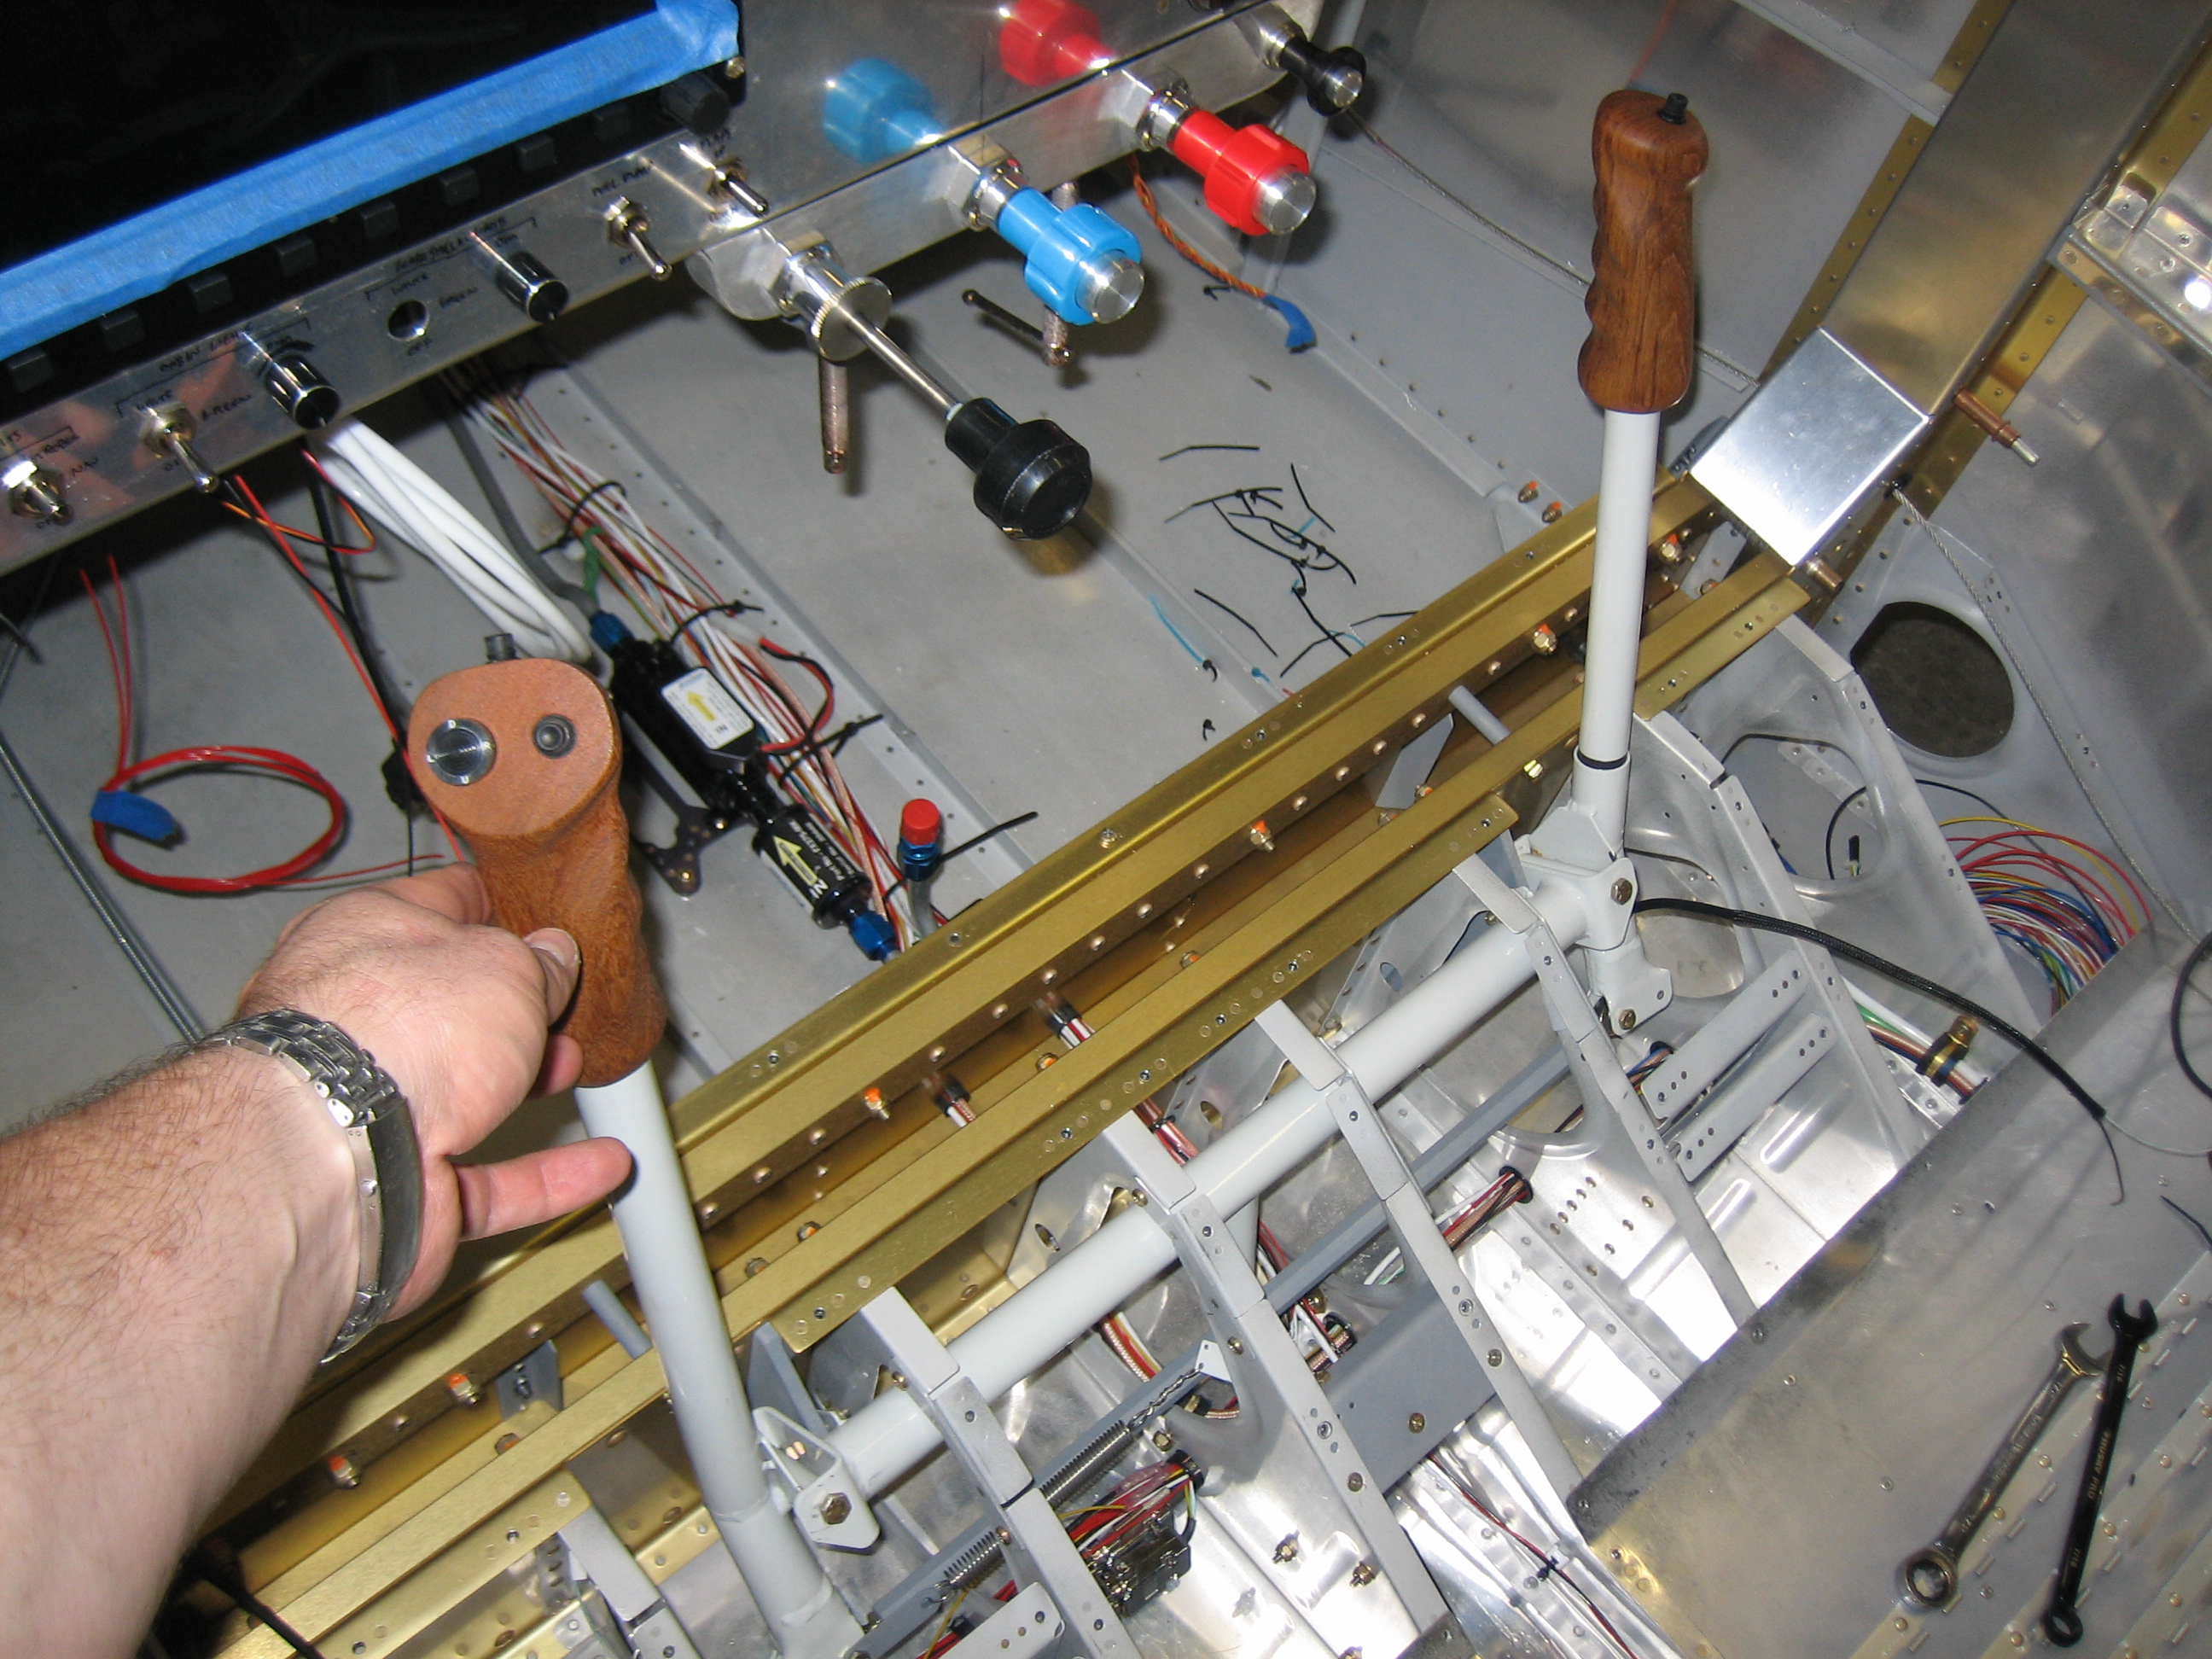
The pushrod transfers the aileron control between the sticks and between the wings. I did forget to install the aileron trim clips the first time I installed the pushrod.
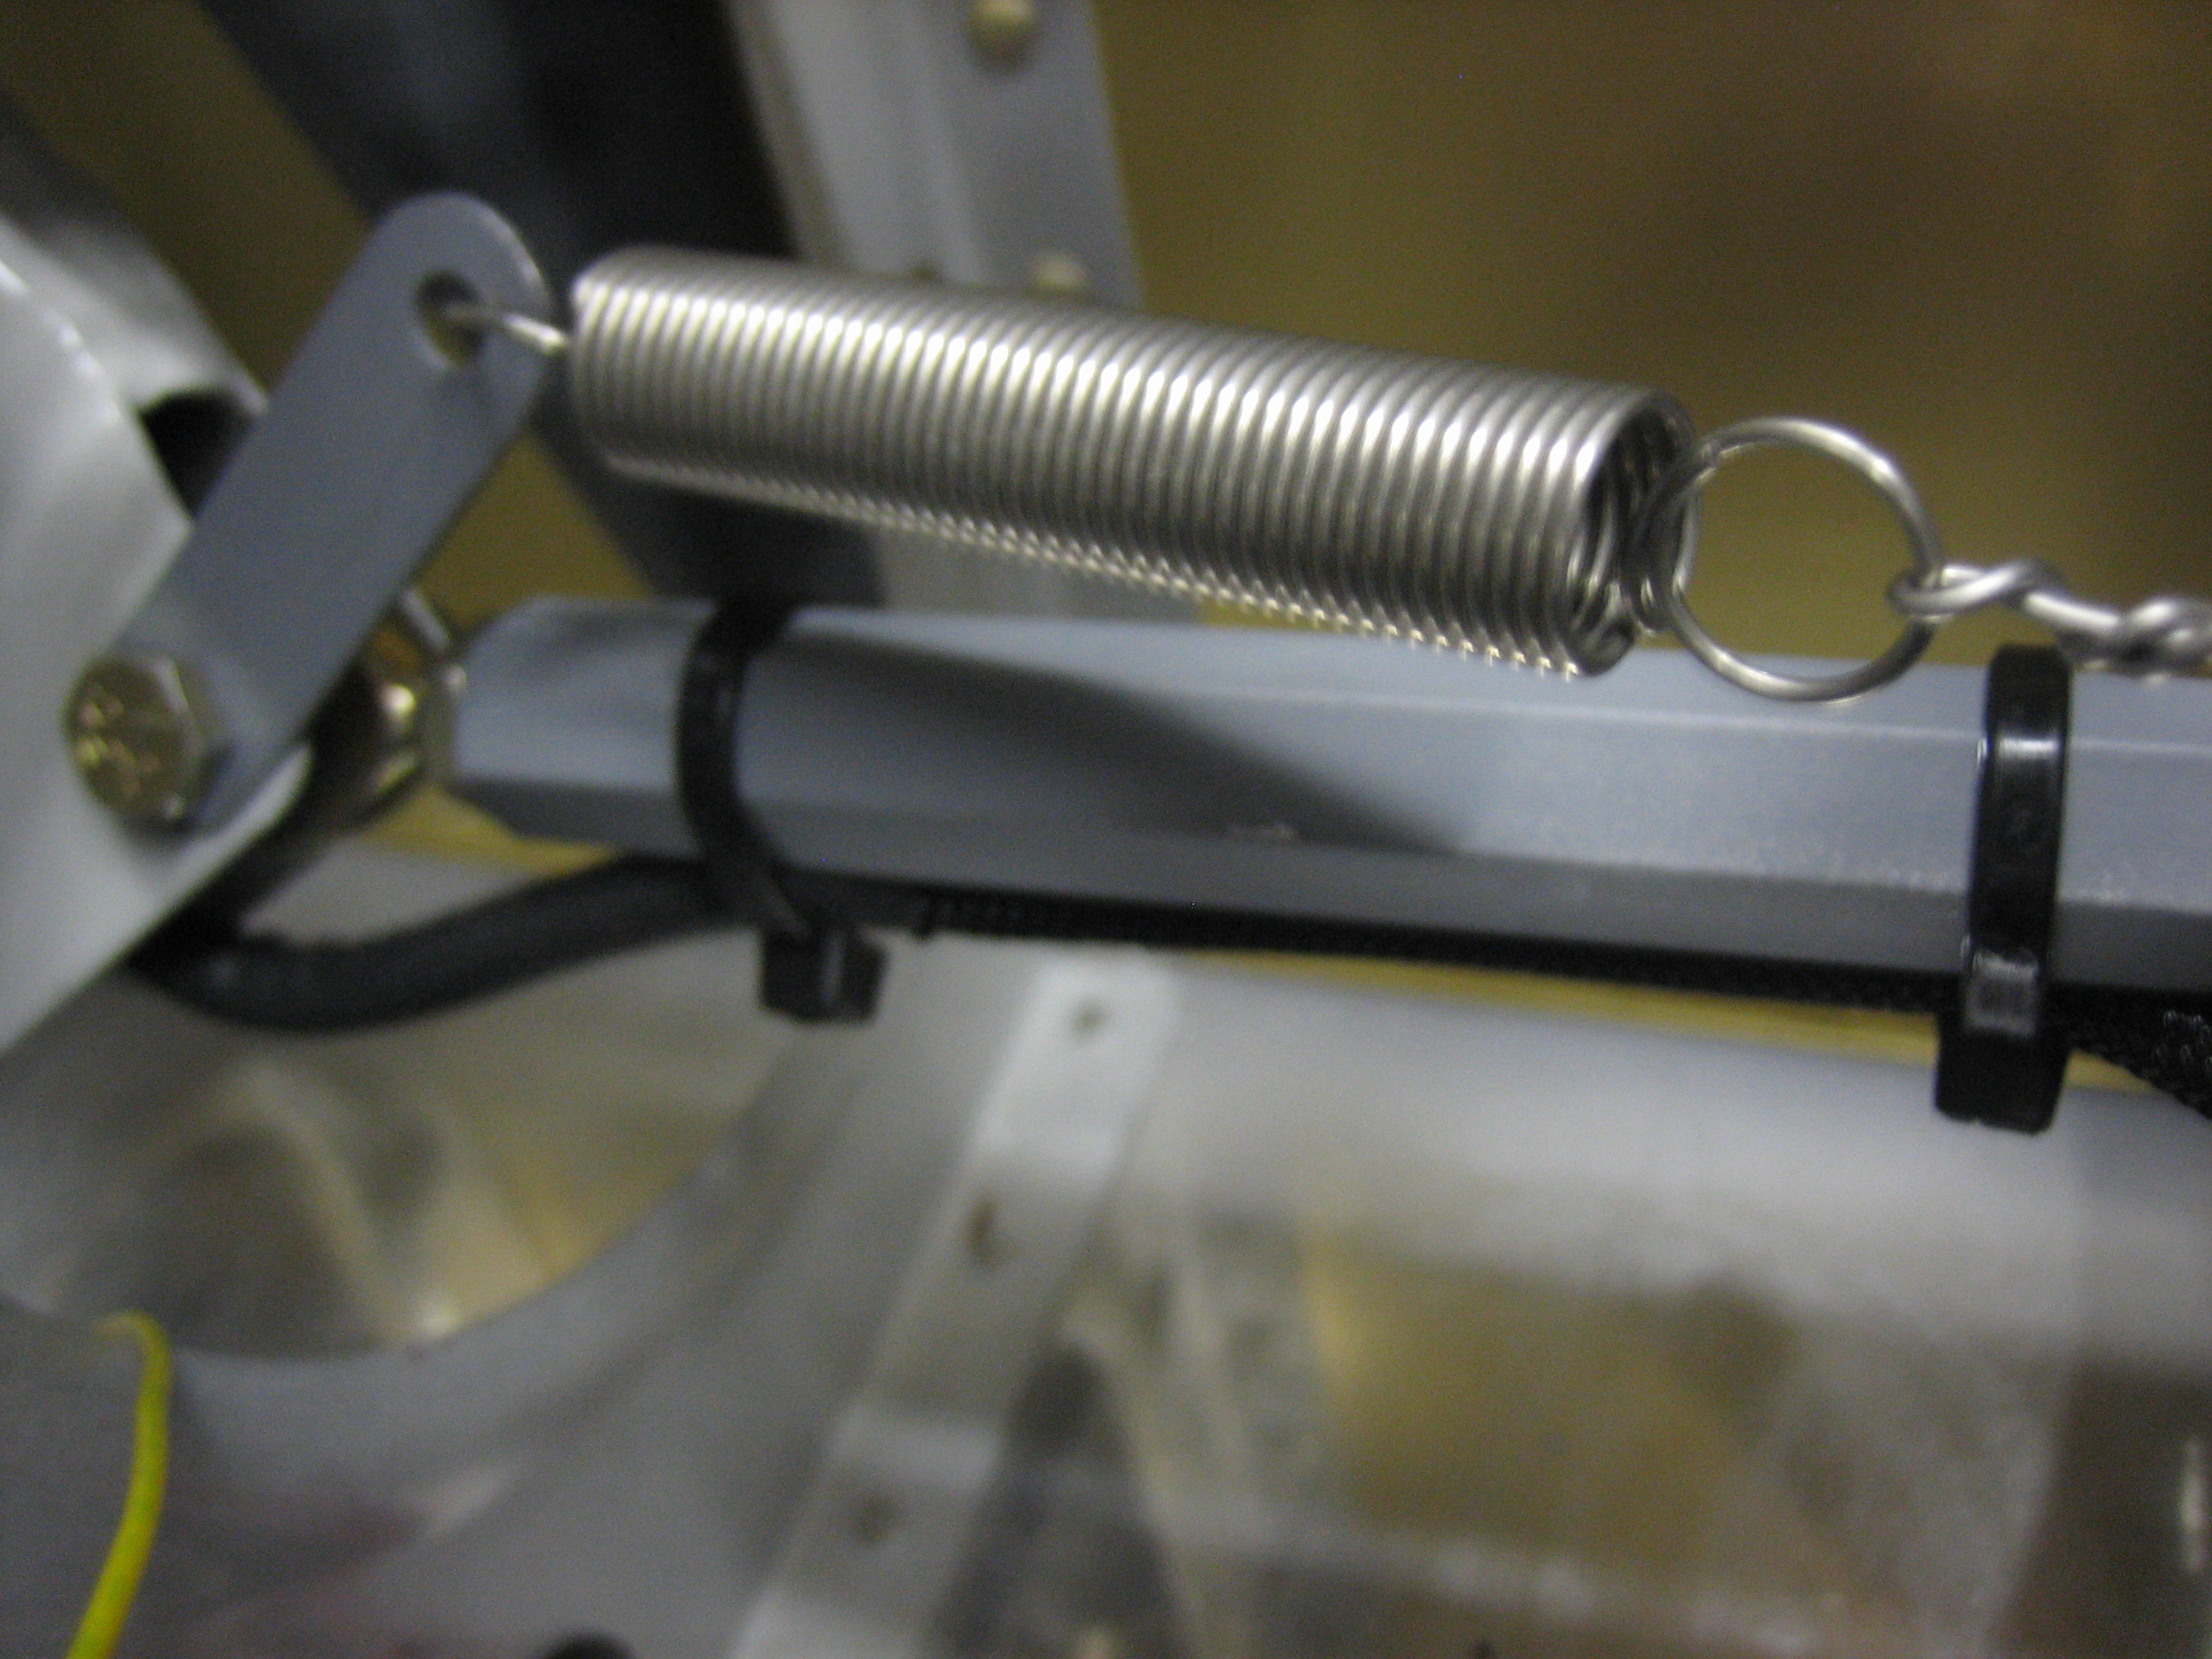
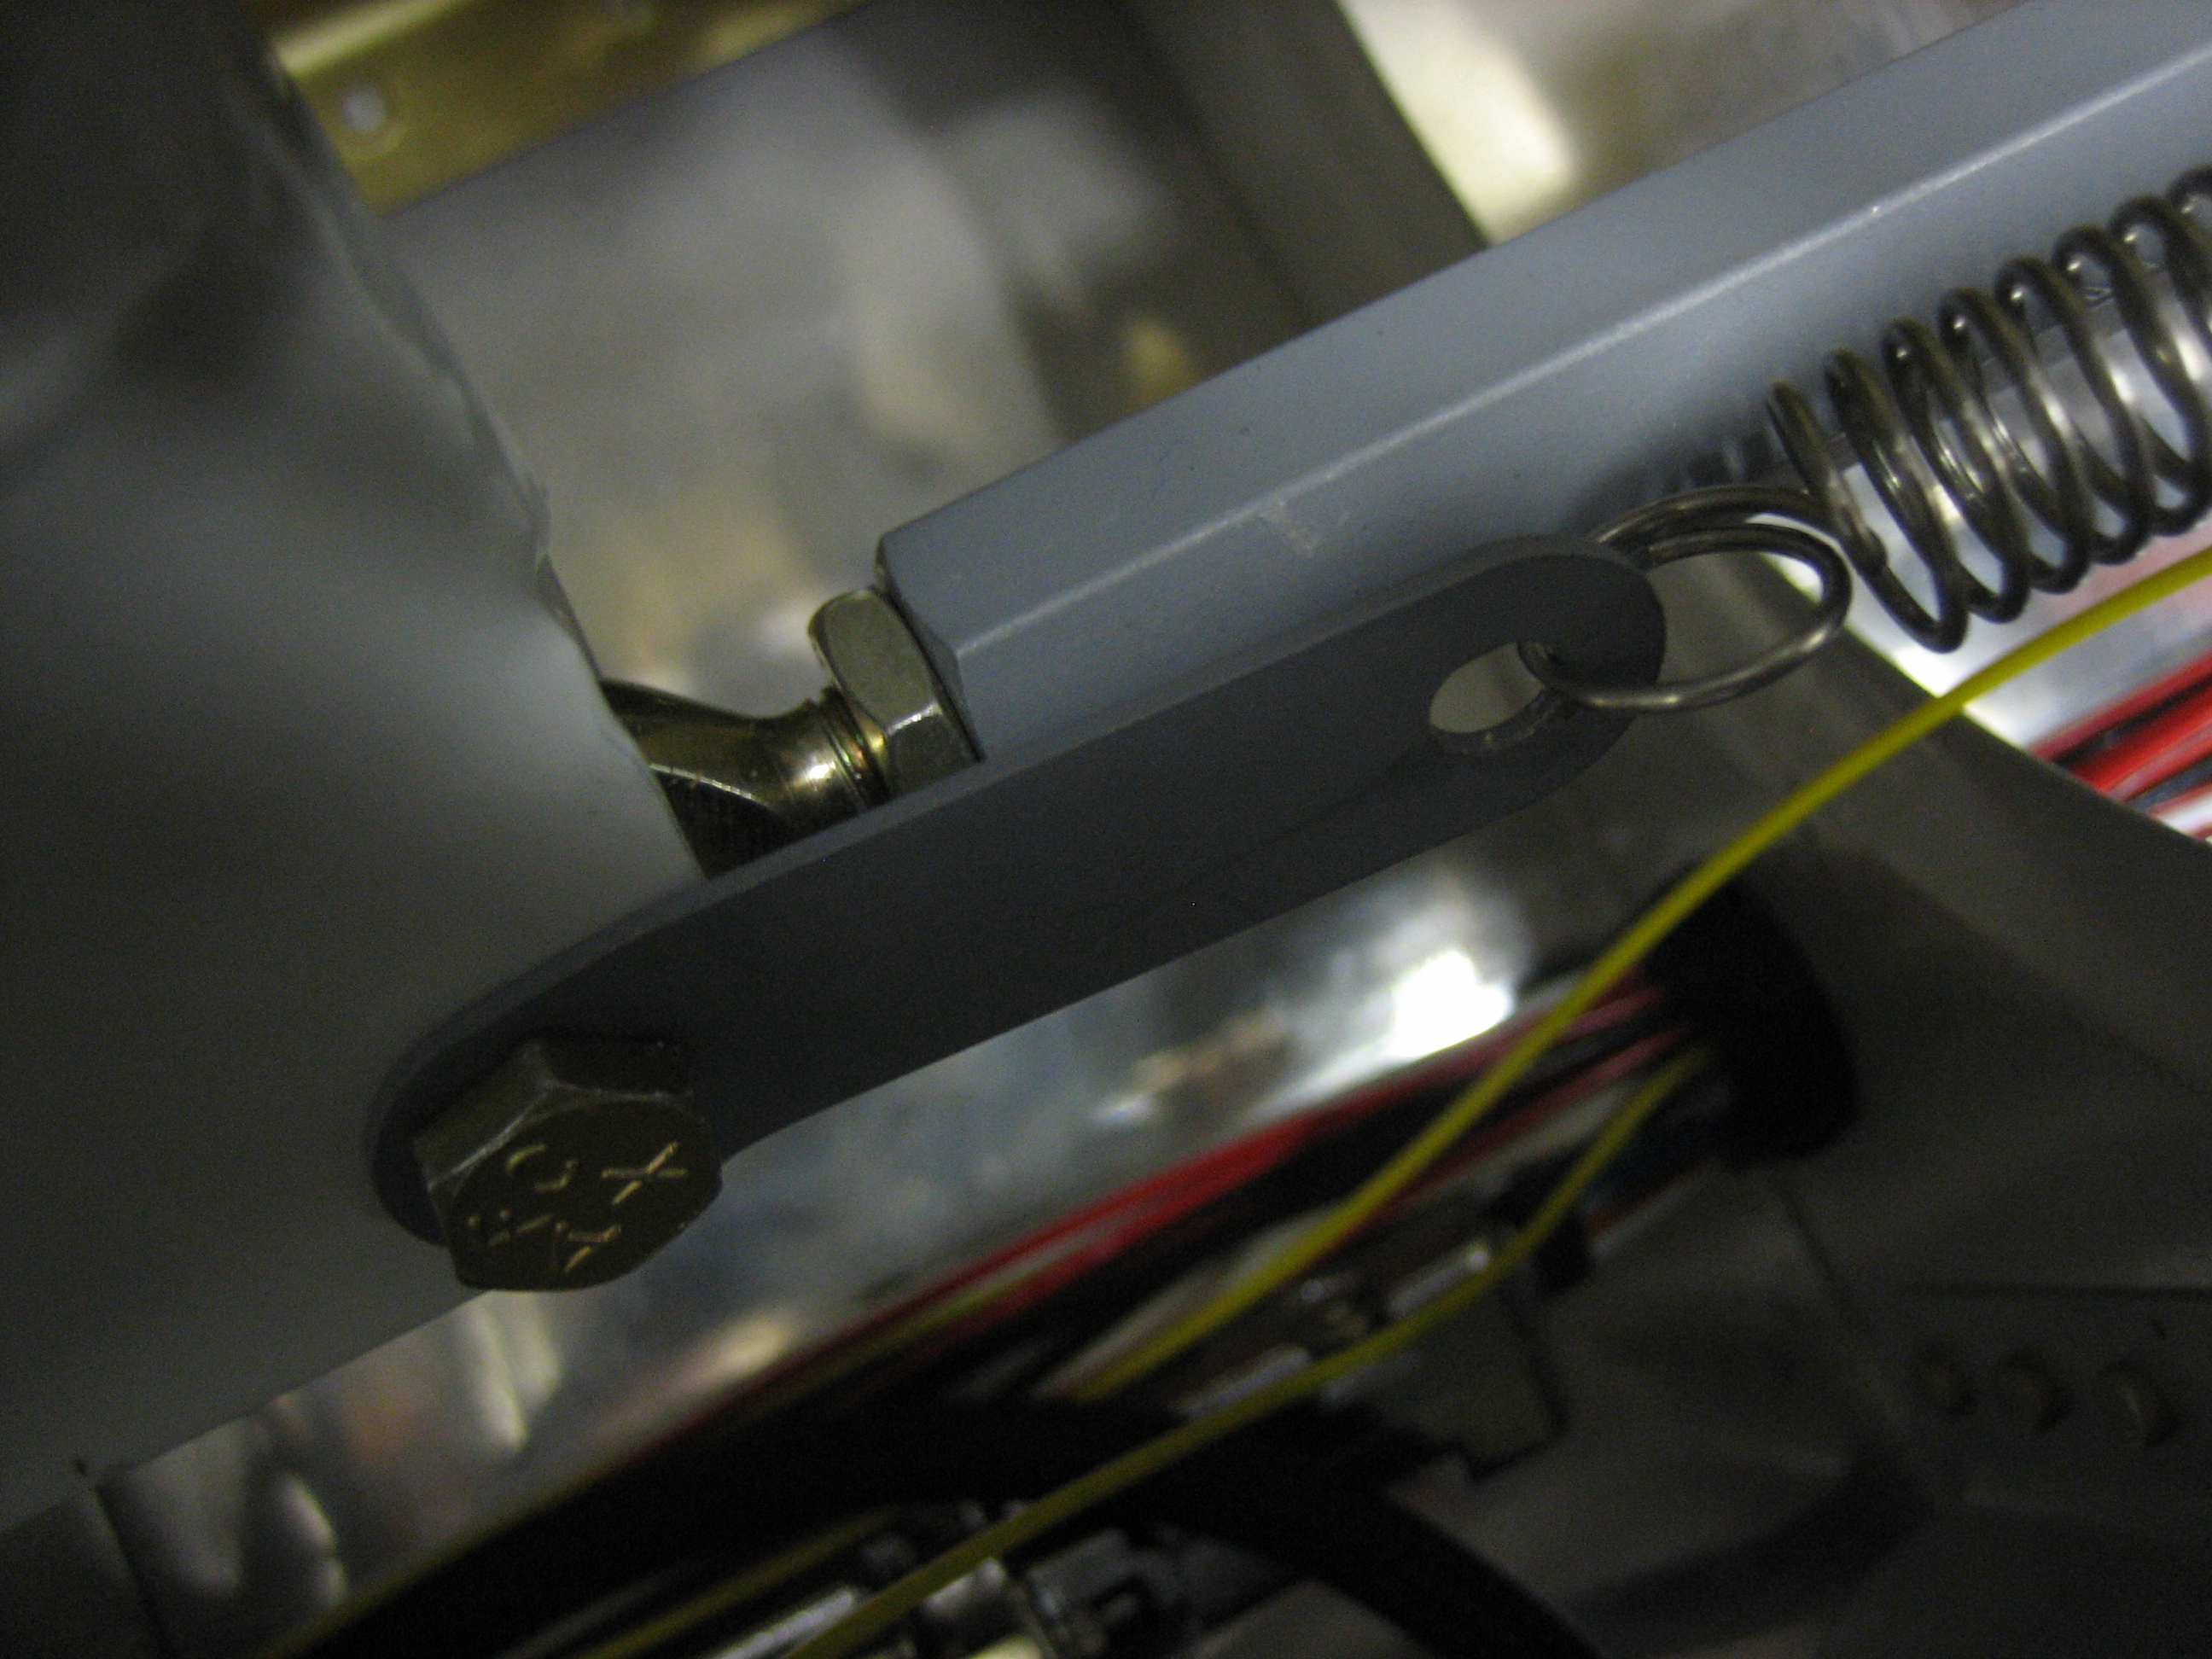
Here’s where the clip should be installed. When the ailerons are in the neutral position, the clip points at the end of the trim servo arm. The clip is bent out away from the pushrod just enough that the trim spring doesn’t touch the pushrod.
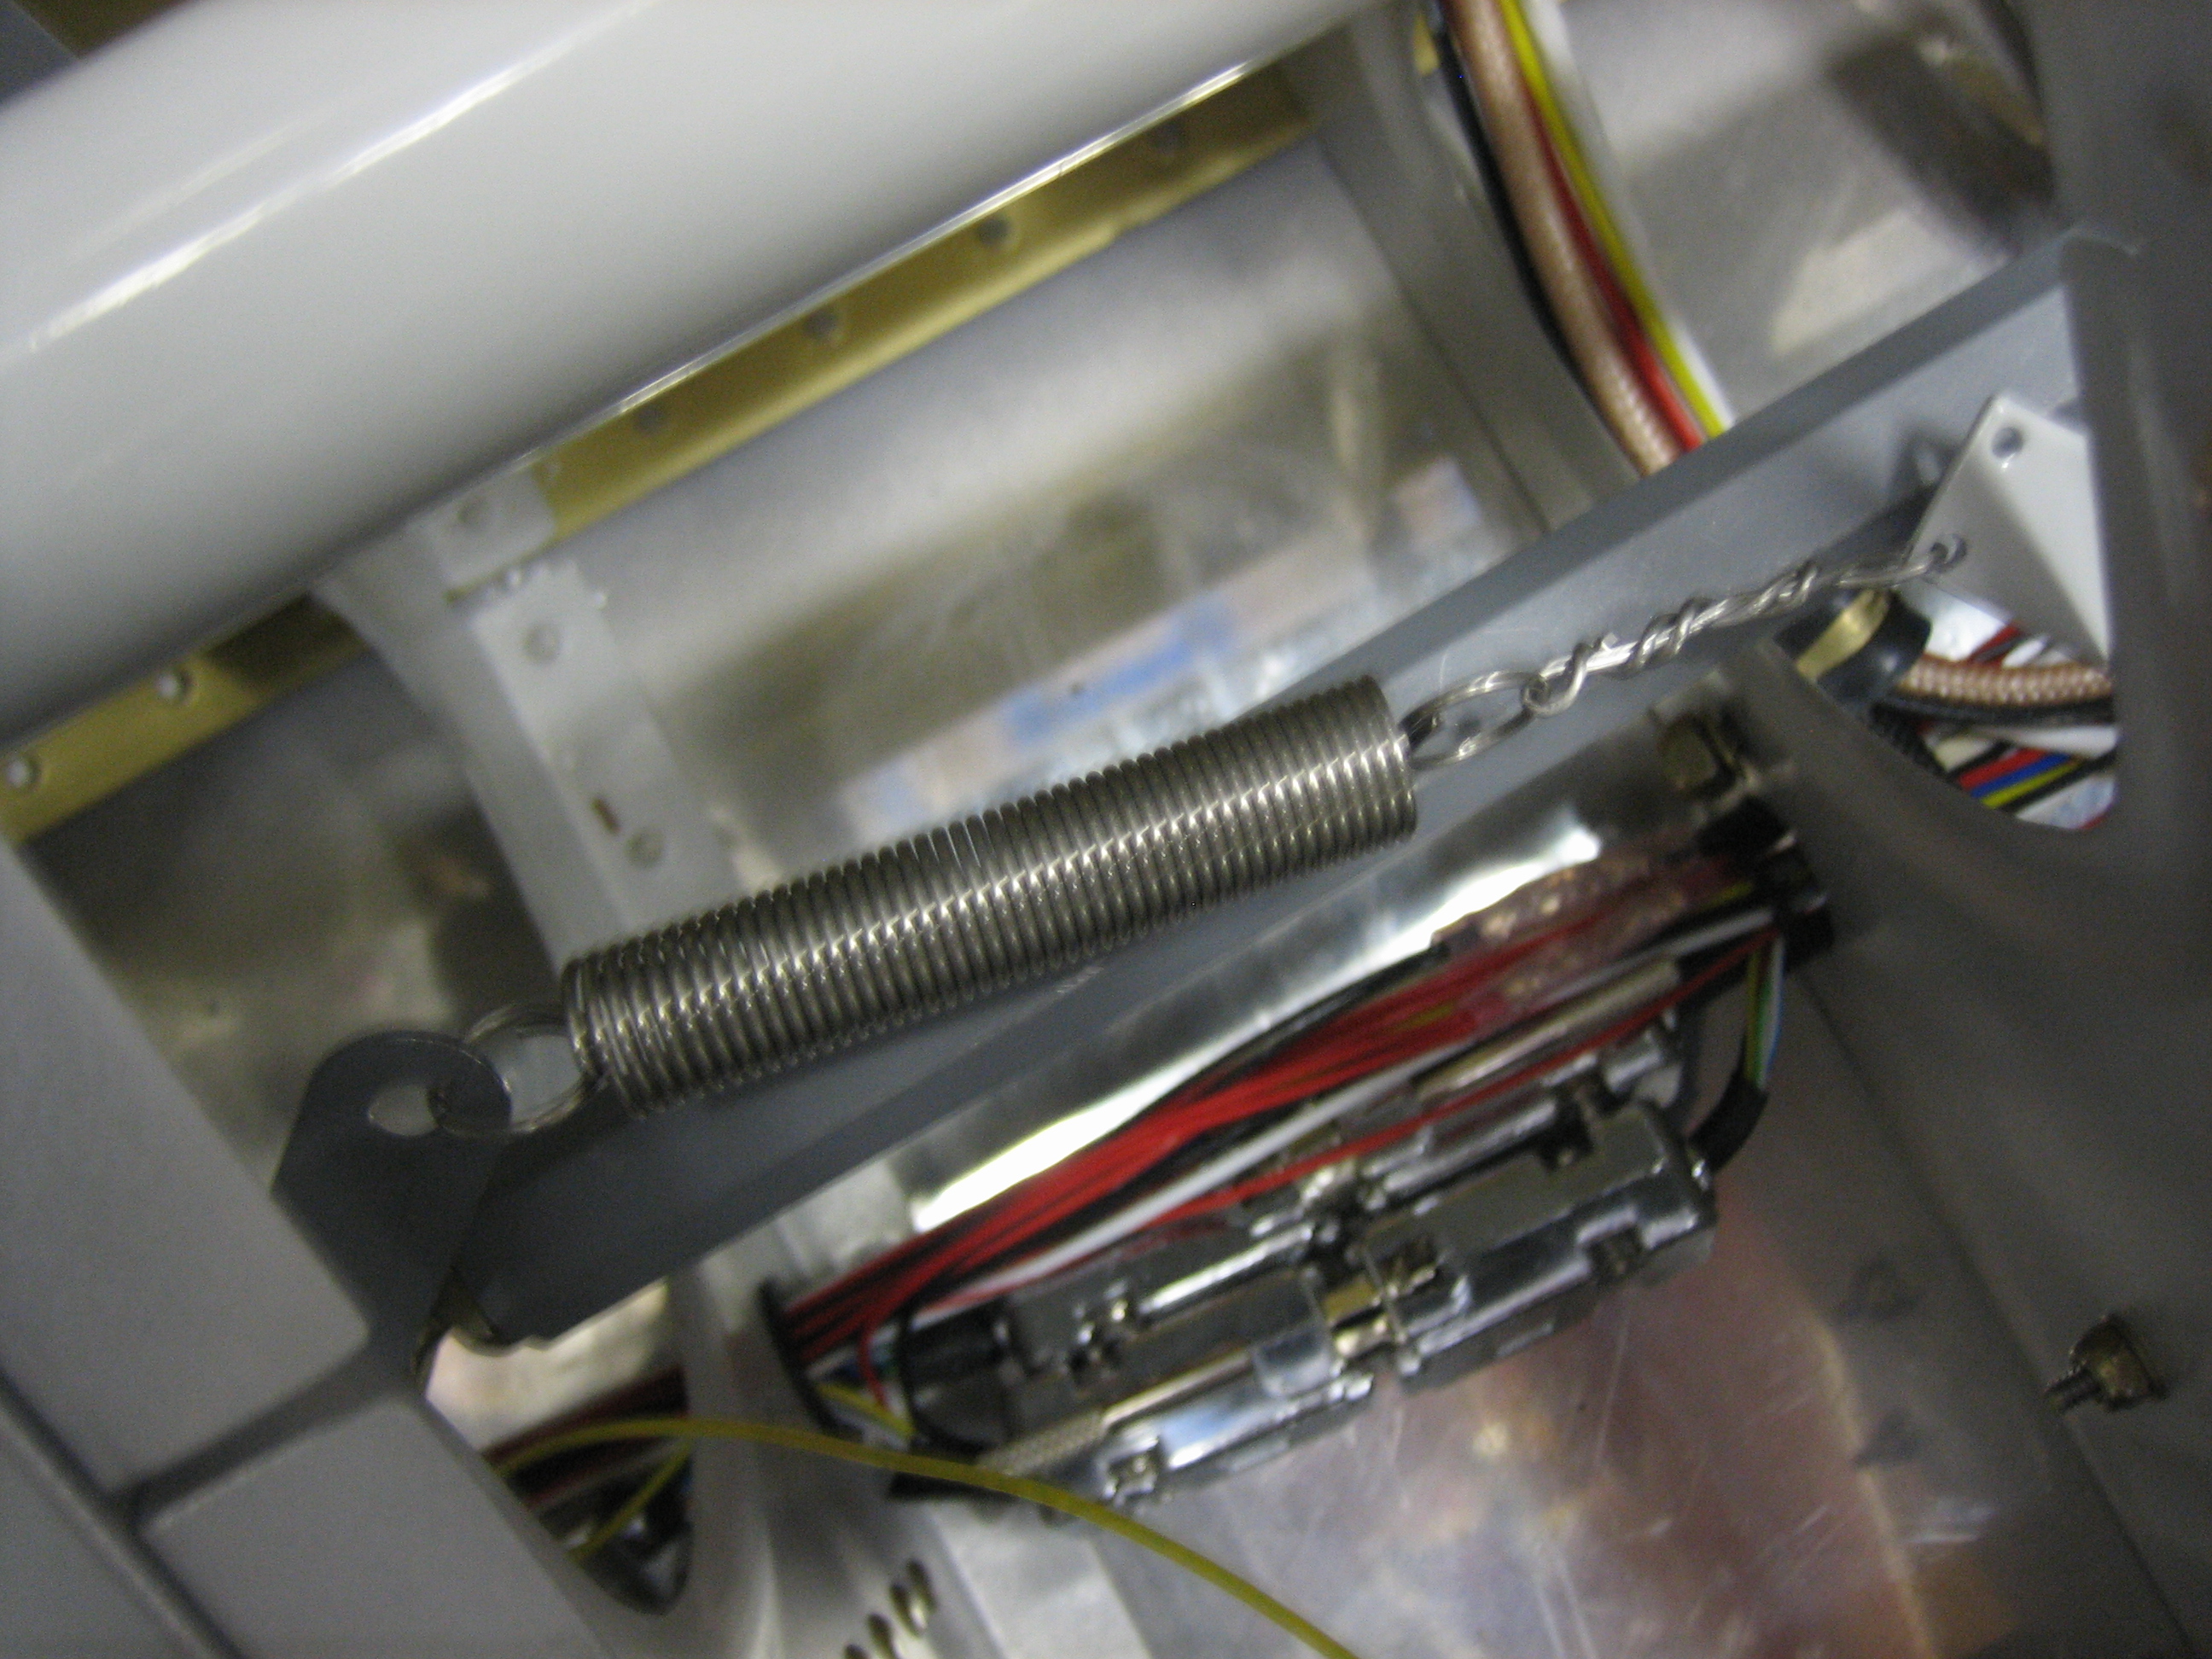
When the stick is in the full forward and left position, the spring is attached to the trim servo arm so that the spring is very slightly extended. This prevents the spring from ever going slack regardless of the position of the controls. There will be another spring tying the co-pilot’s stick to the other hole in the trim servo arm.
The bundle of wires from the pilot’s stick exits through the bottom (between the bearings) and is tied to the connecting pushrod in a couple of spots to prevent interference with the trim spring and the adjacent rib. The bay just inboard of the stick will provide room for the wire bundle to flex as the stick is moved.