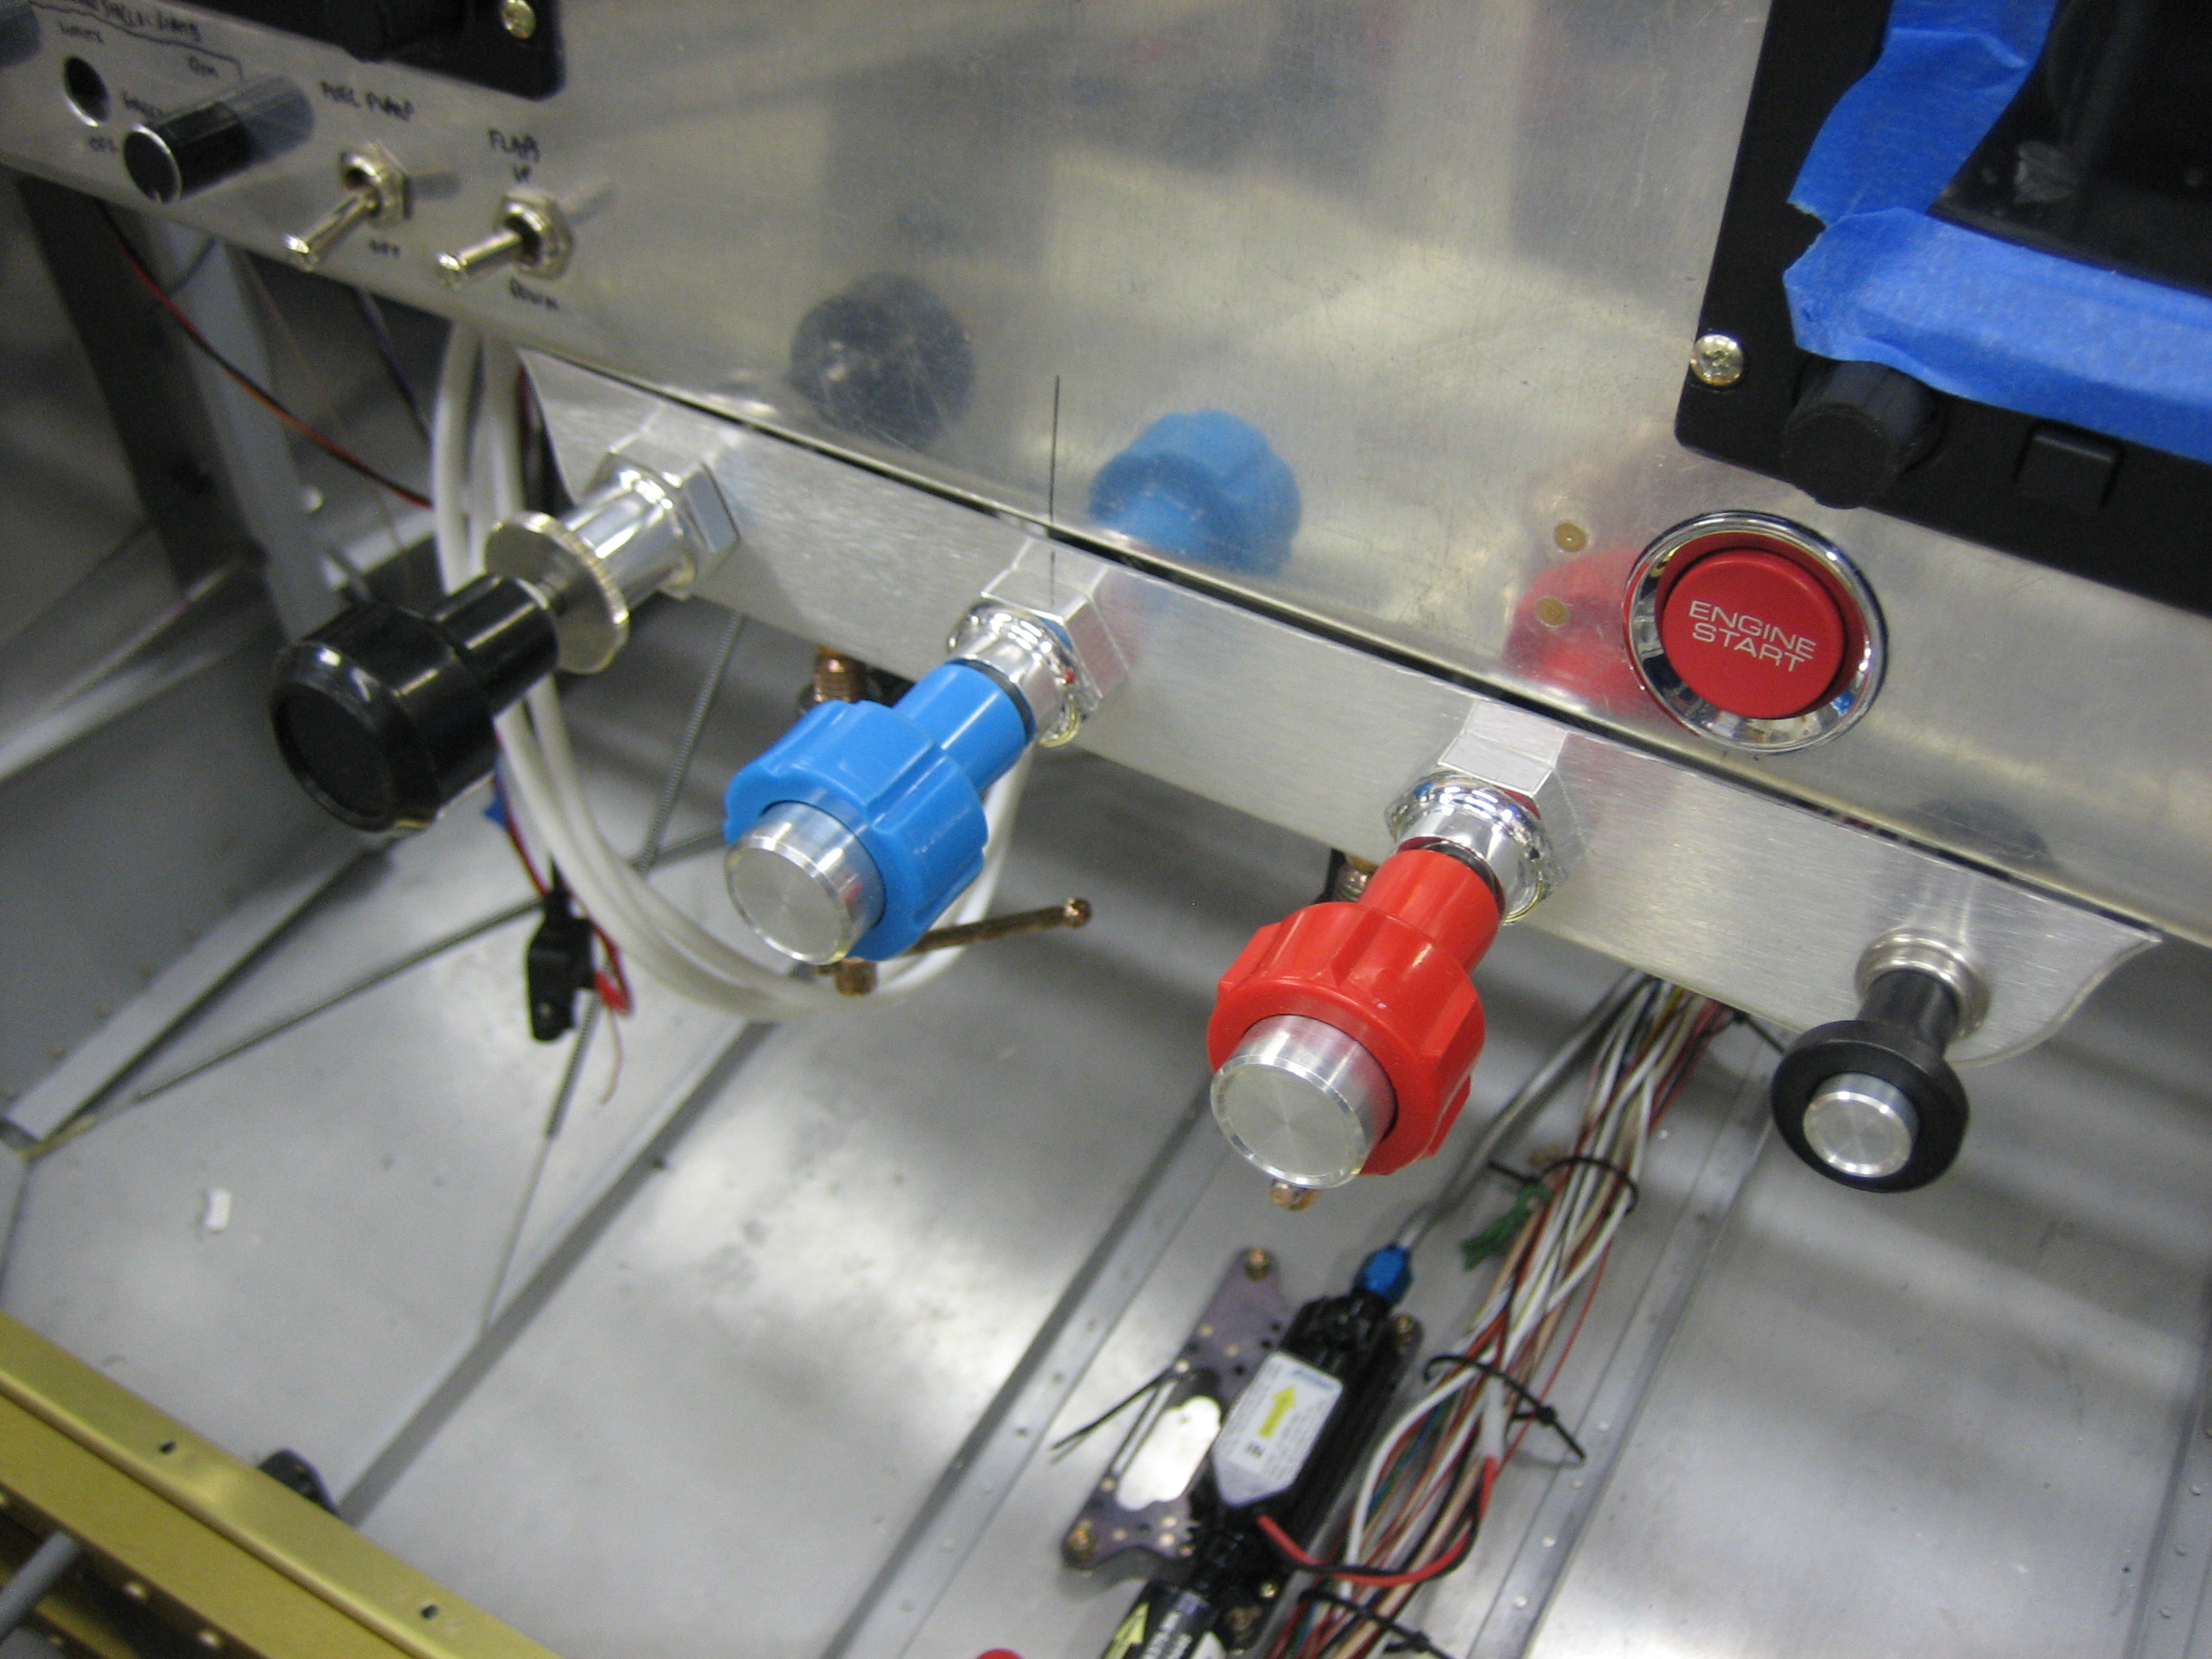
I installed the control cables in the bracket and clamped it to the panel with a couple of c-clamps. You can see that I offset the bracket to the right so that the three engine controls are centered on the panel. I did this to give myself more knee room. It will be very rare that I fly with someone as tall as me (6′ 4″), and no one will ever take off or land from the right seat, so their knee room isn’t as important. The small knob on the right is the parking brake.
The throttle cable comes through the hole below the cabin heat box. I haven’t installed the eyeballs in the firewall yet since I’m just trying to make sure the cable lengths are correct and determine where they will run.
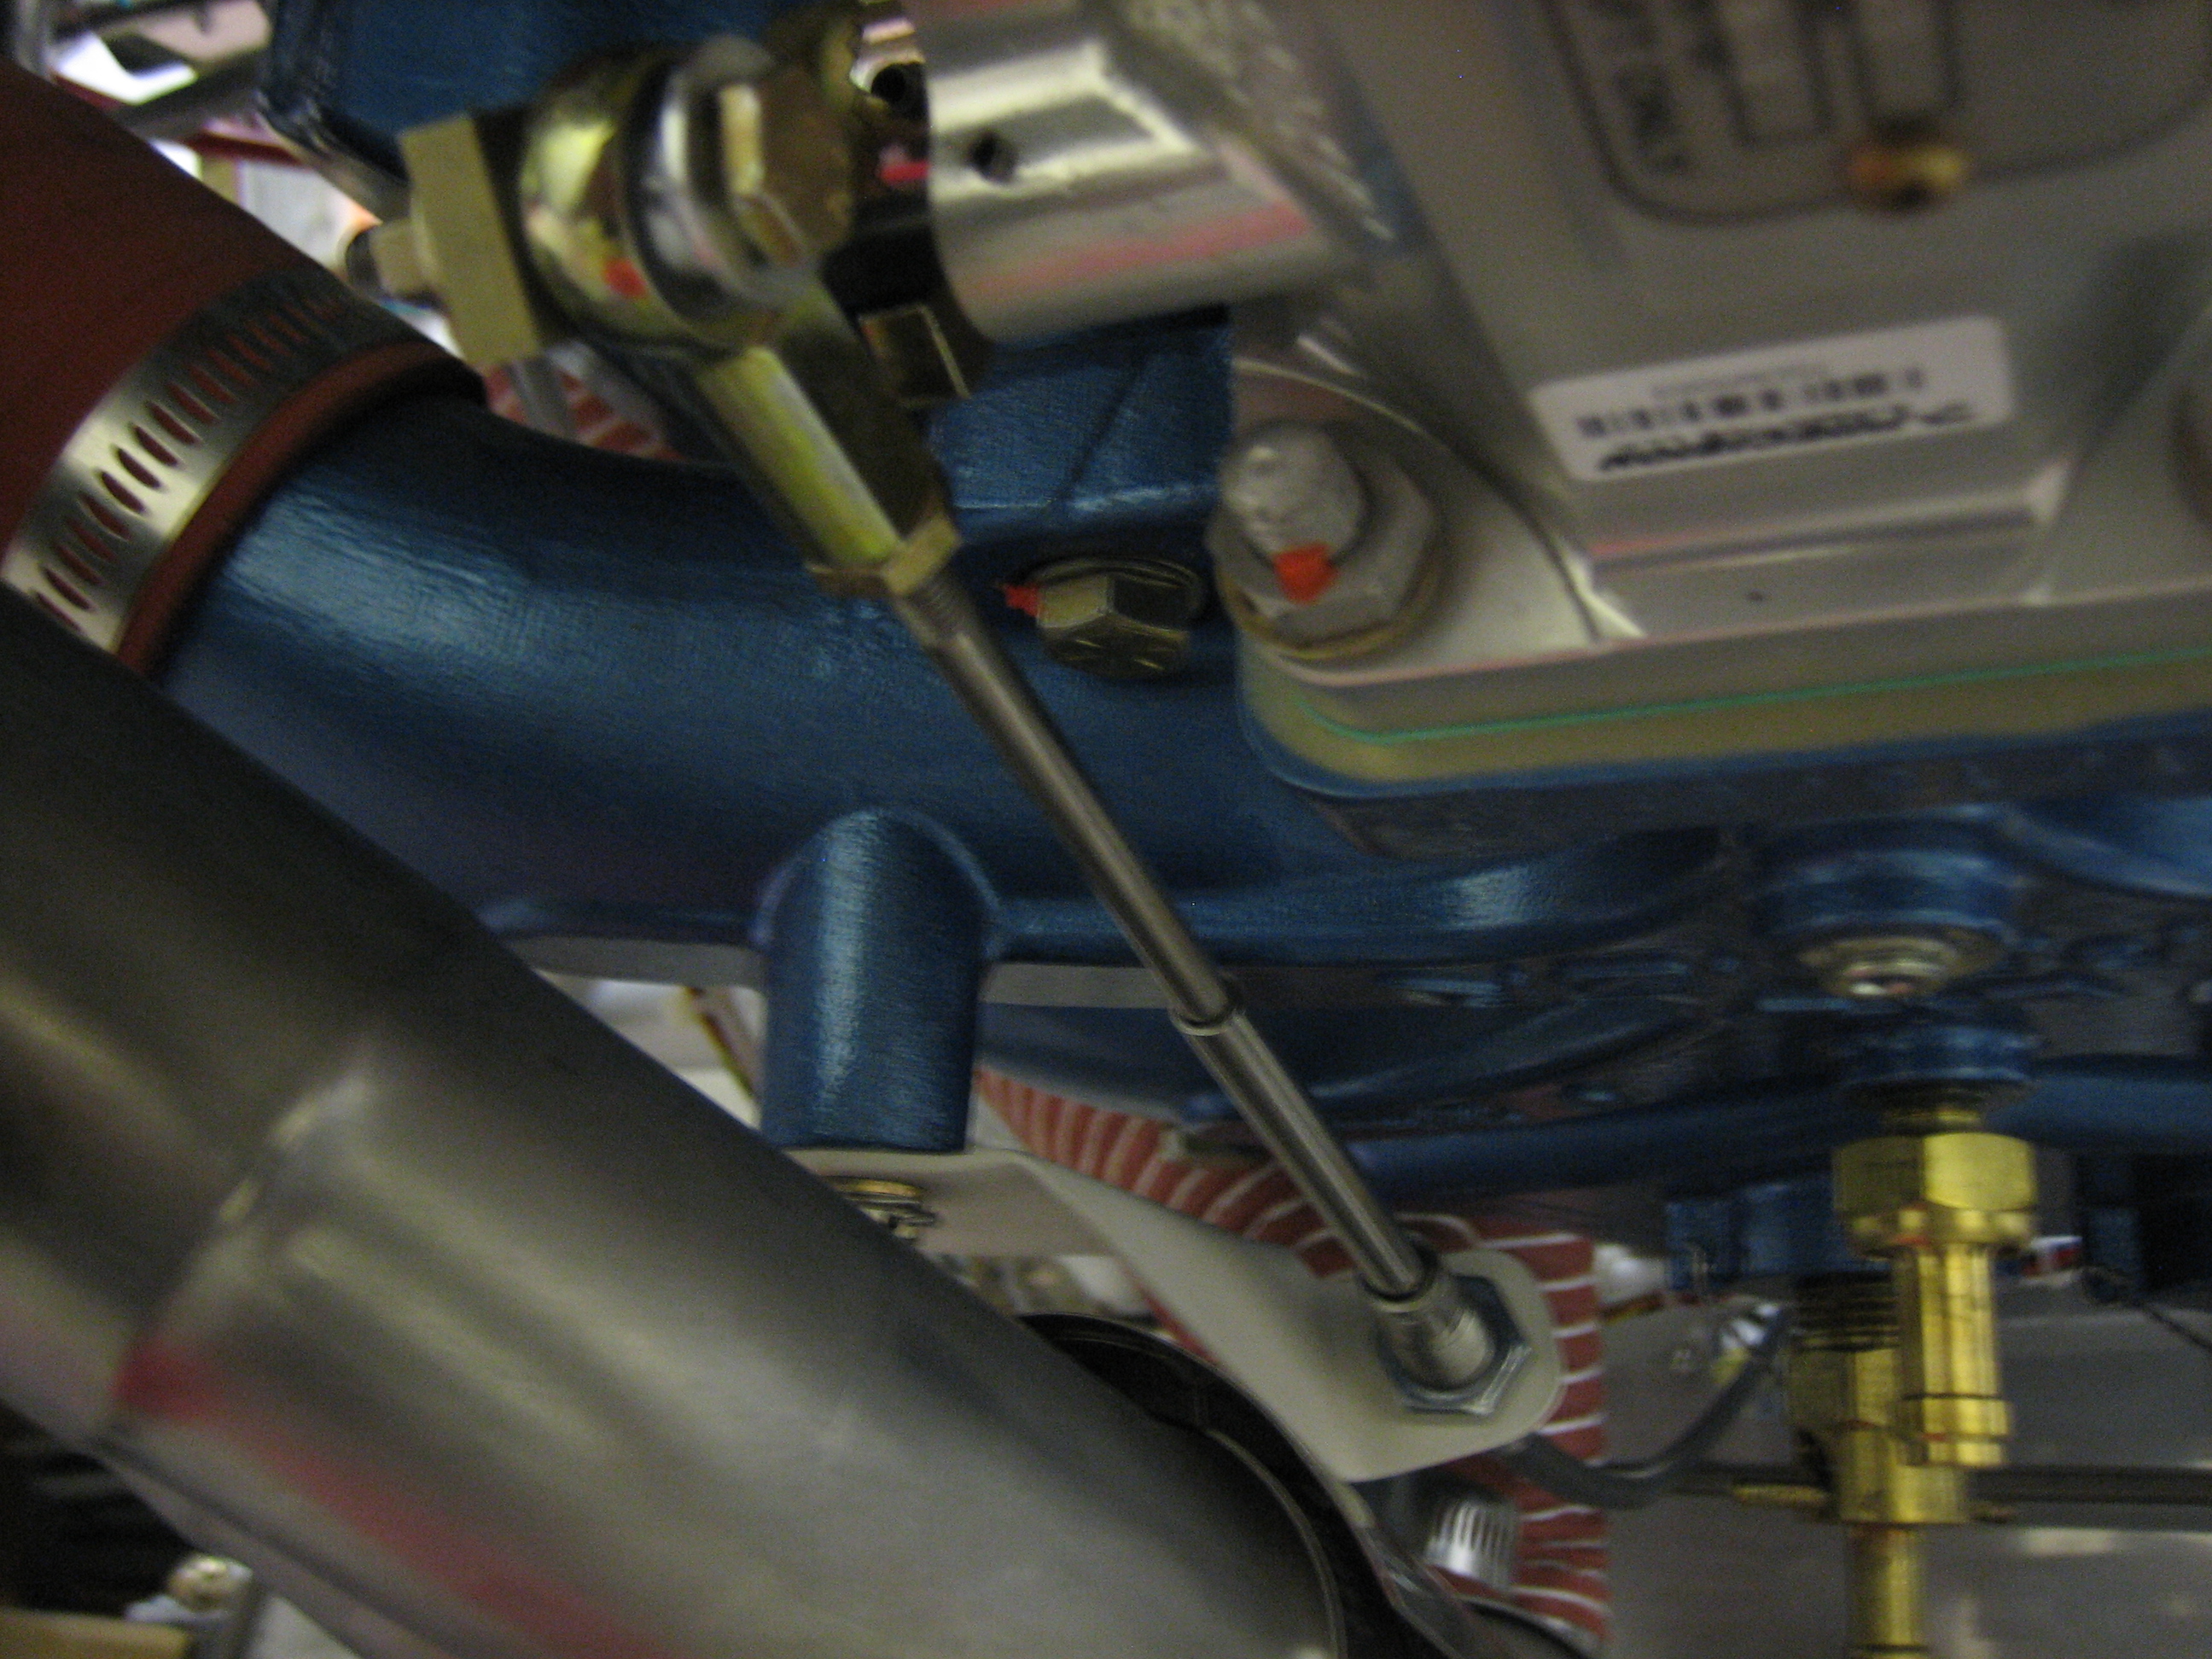
The throttle cable attaches to the custom bracket I made and then to the throttle arm. The length and fit of the parts is perfect. I can easily adjust the throw so that the knob is sticking out about 1/8″ when the throttle bracket hits the stop (you do this so that you know you’re hitting the control arm stop and not just the cable stop). I’m going to replace this all-metal stop nut (which is acceptable) with a drilled bolt, castle nut and cotter pin (which is preferred).
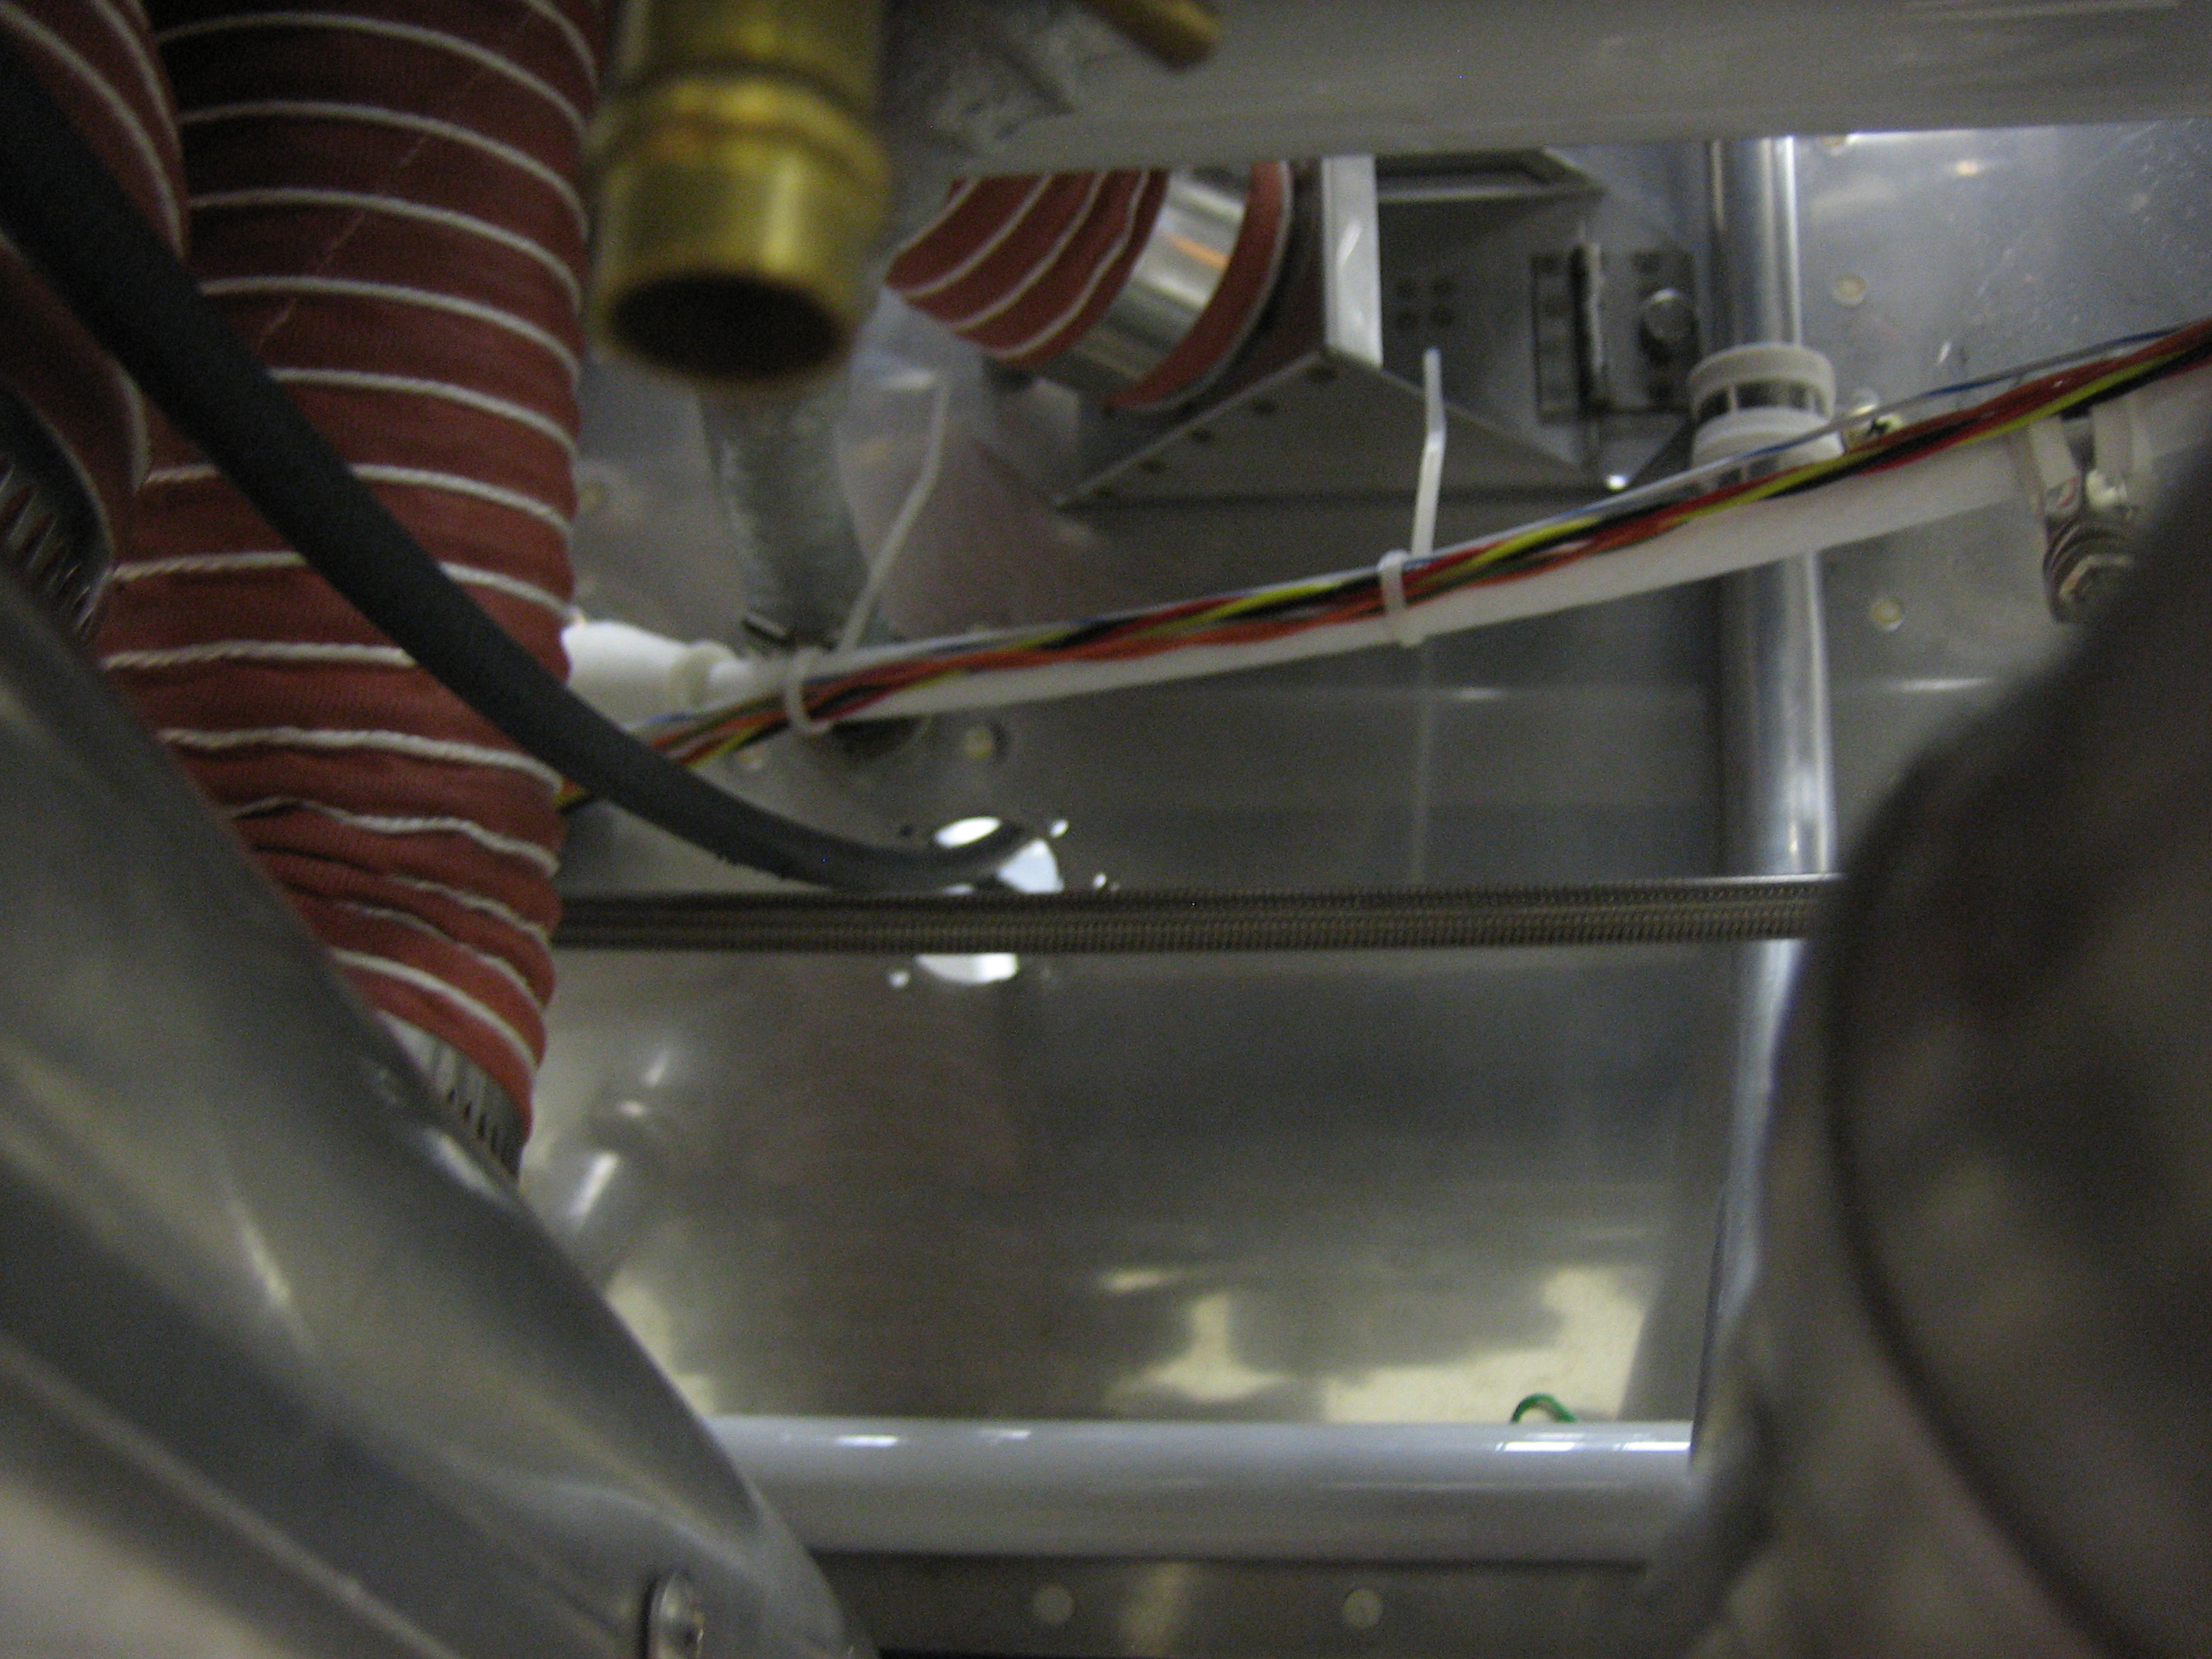
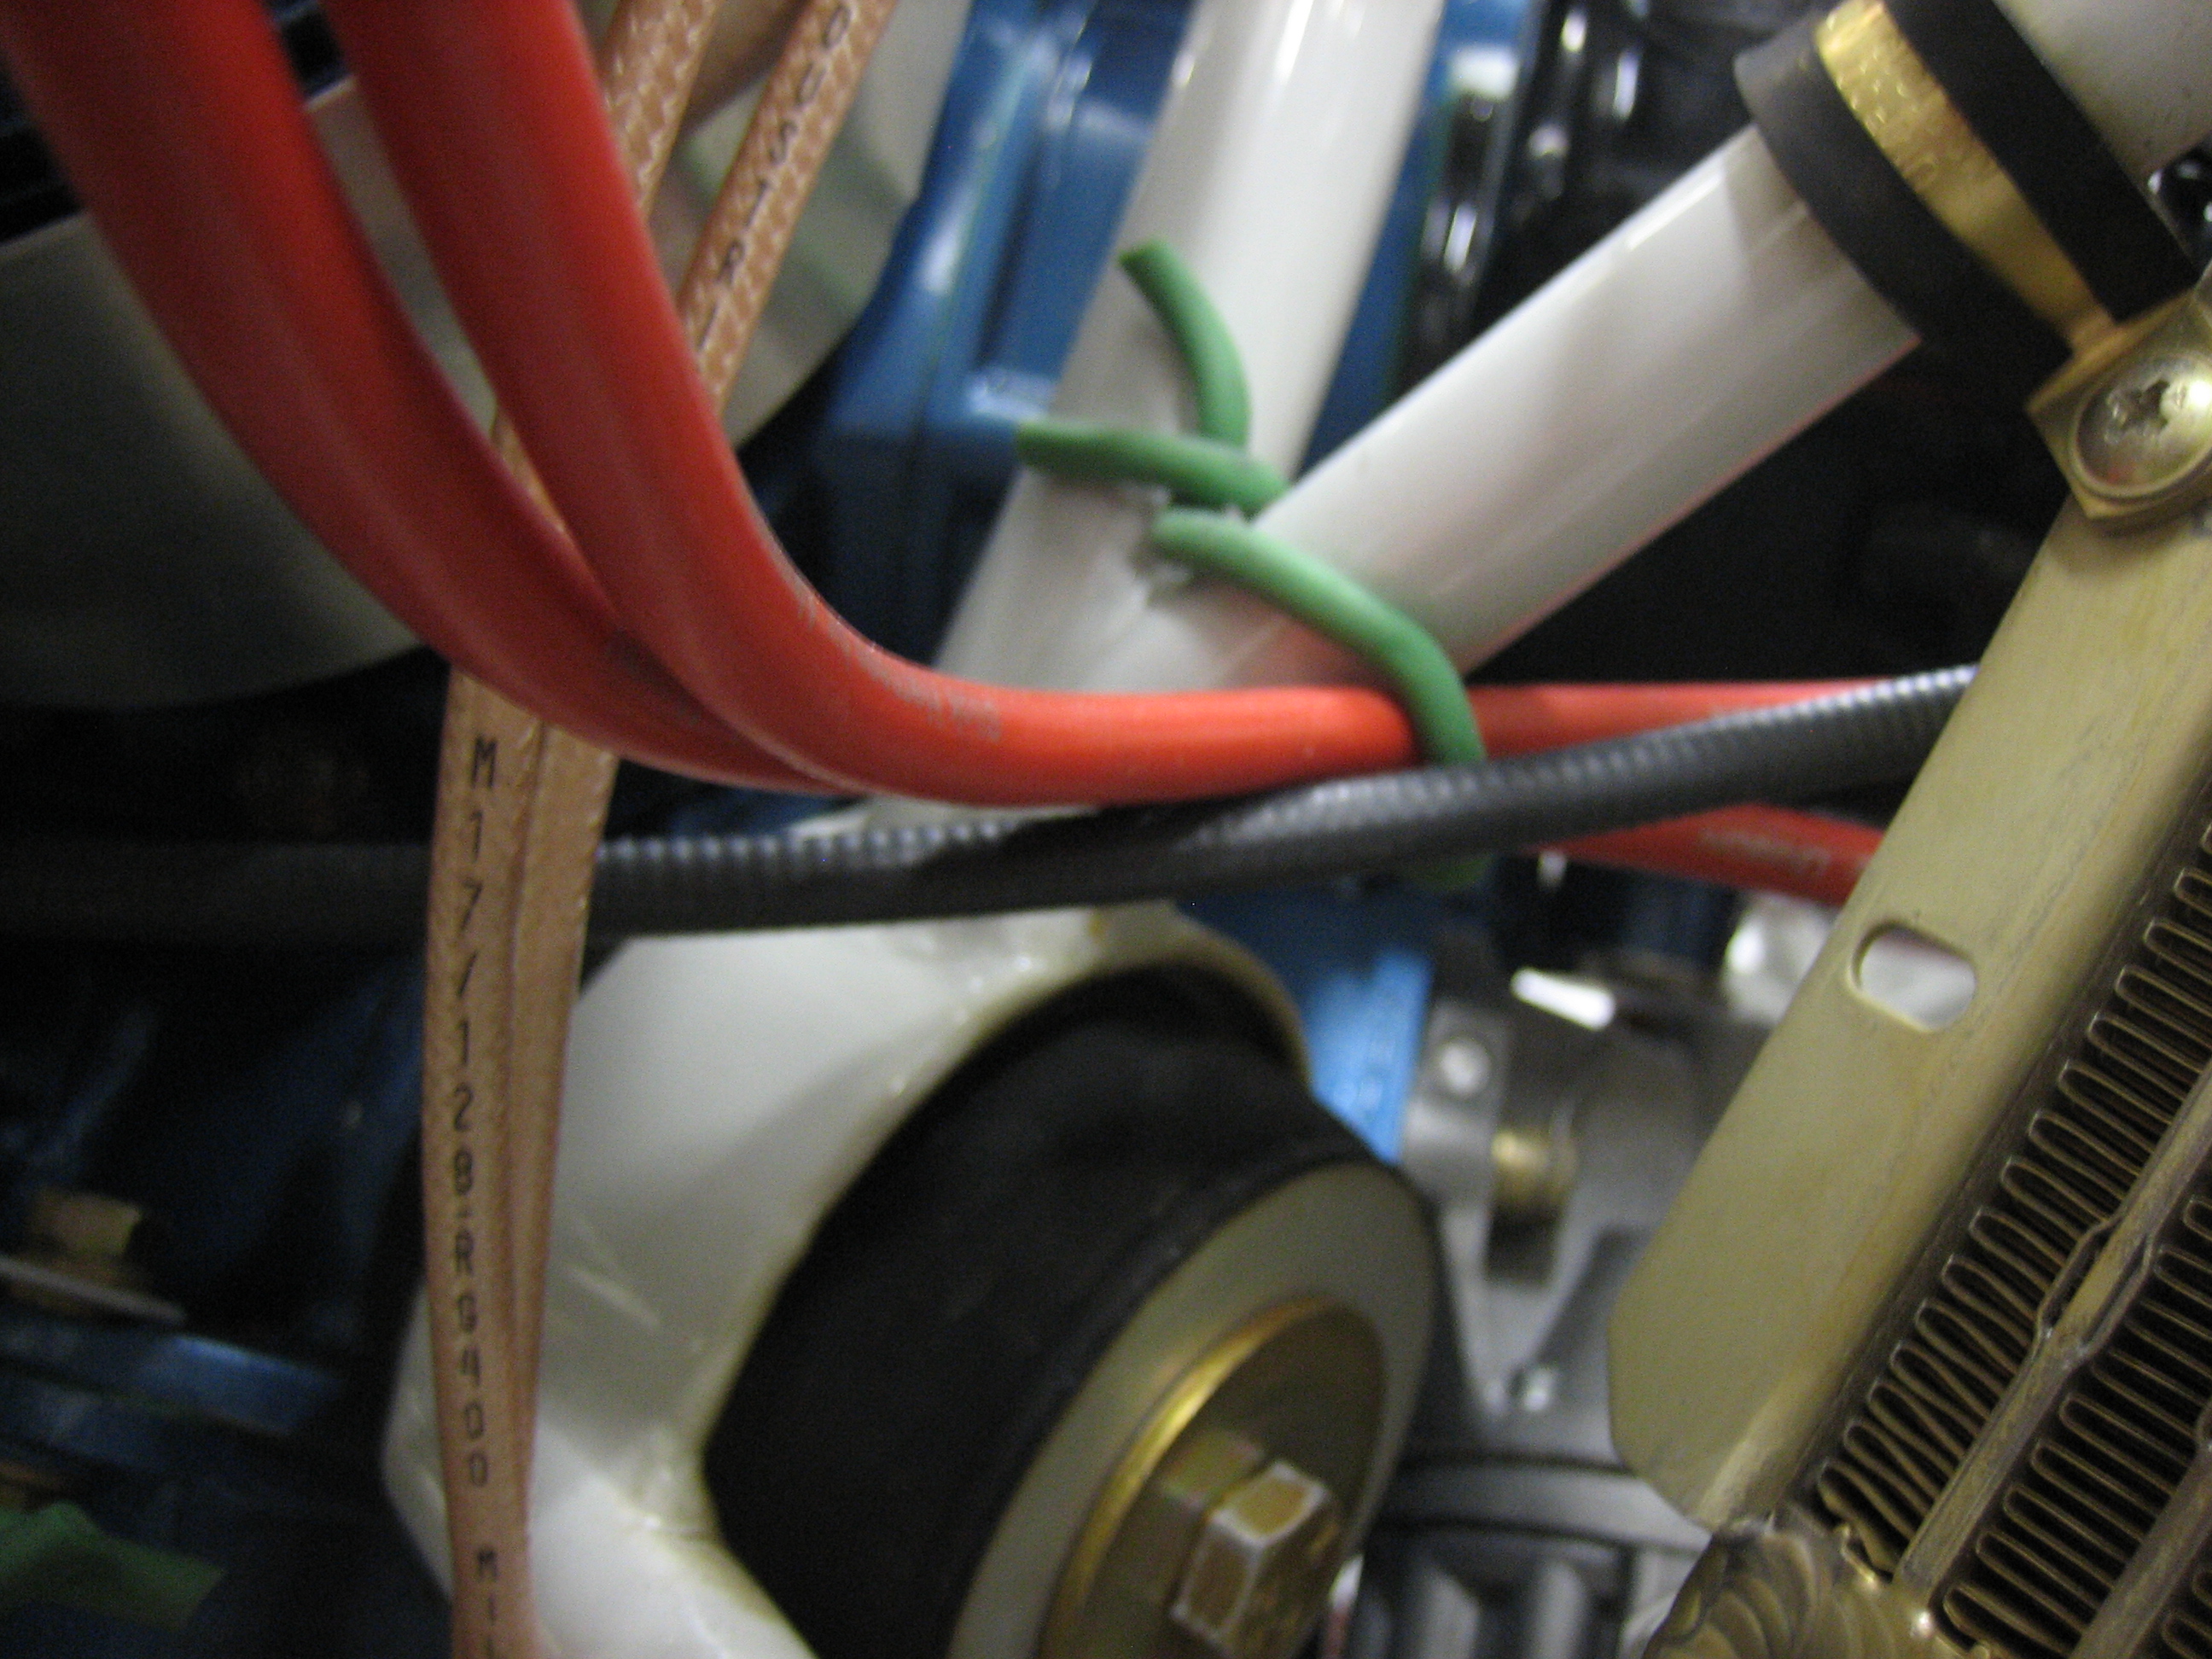
The mixture cable penetrates the hole just under the manifold and runs just above where the oil cooler will be mounted. I’ll use some adel clamps to keep everything from rubbing on the oil cooler flange.
The cable then drops below the engine mount tube holding the oil cooler and on up to the mounting bracket.
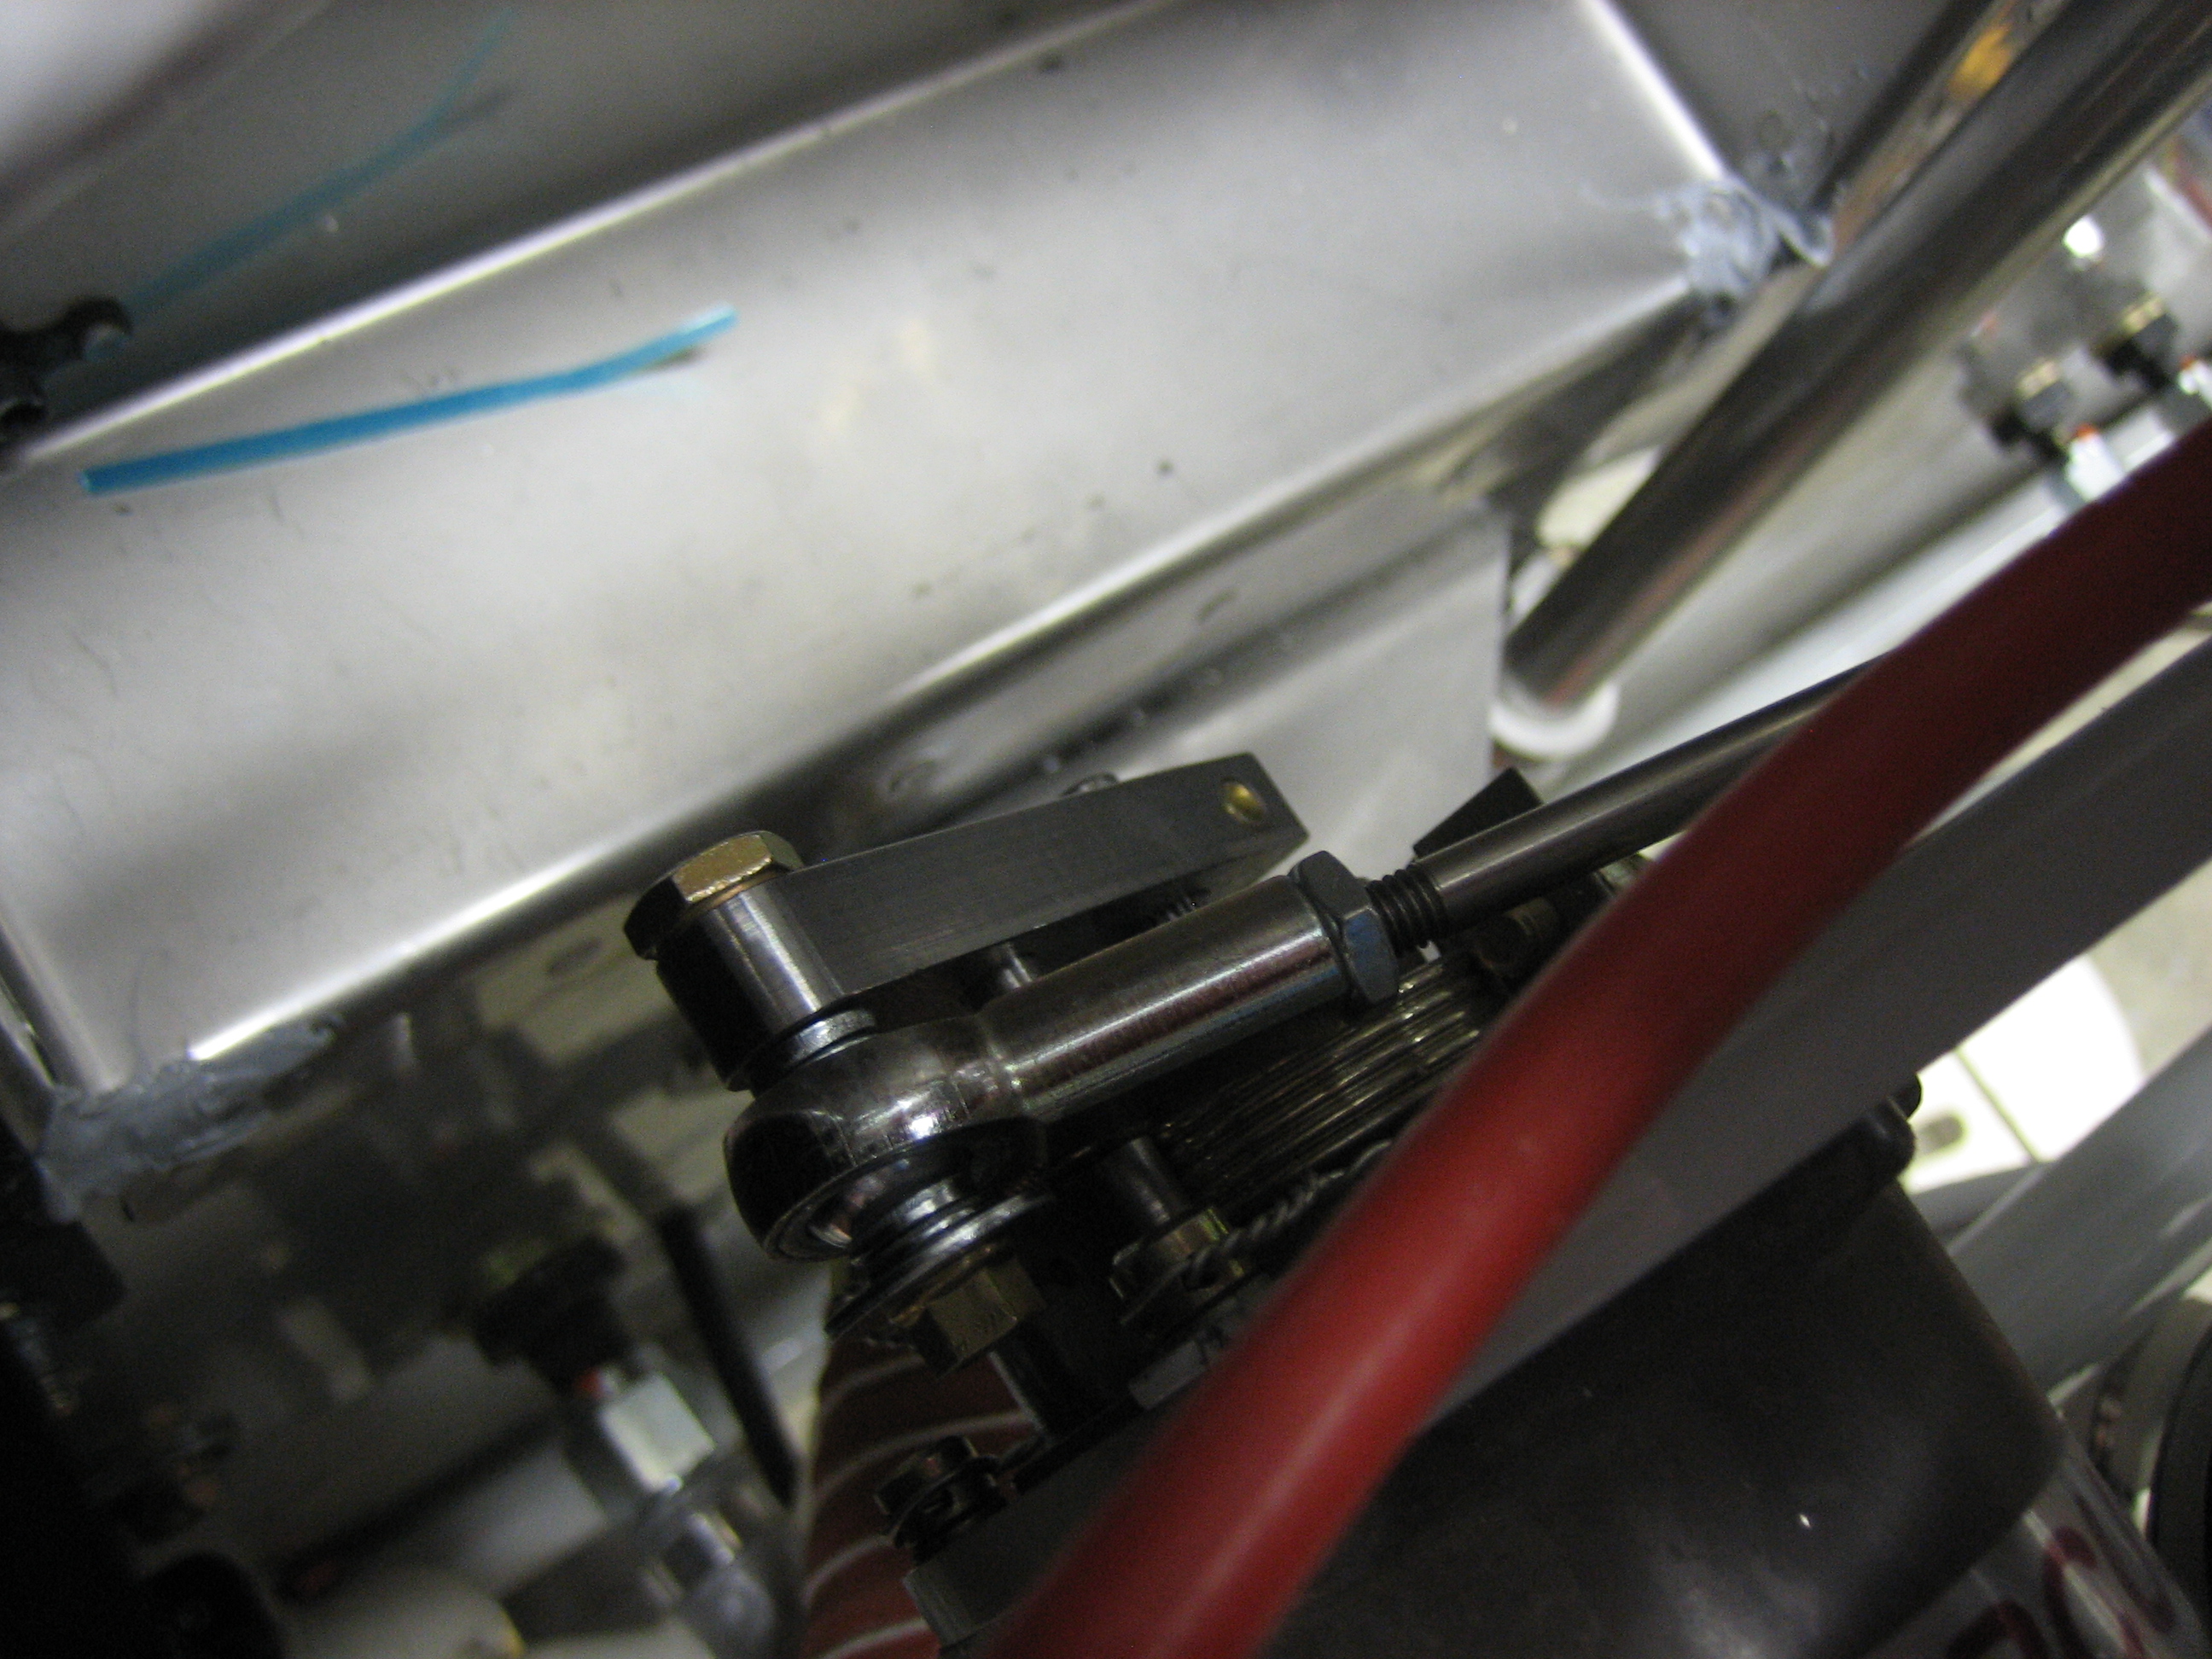
The forward end of the cable connects to the mixture idler arm. I had to lengthen the small pushrod at the other end of the idler arm to get the mixture control arm to contact the stop, but in the end, it works beautifully.
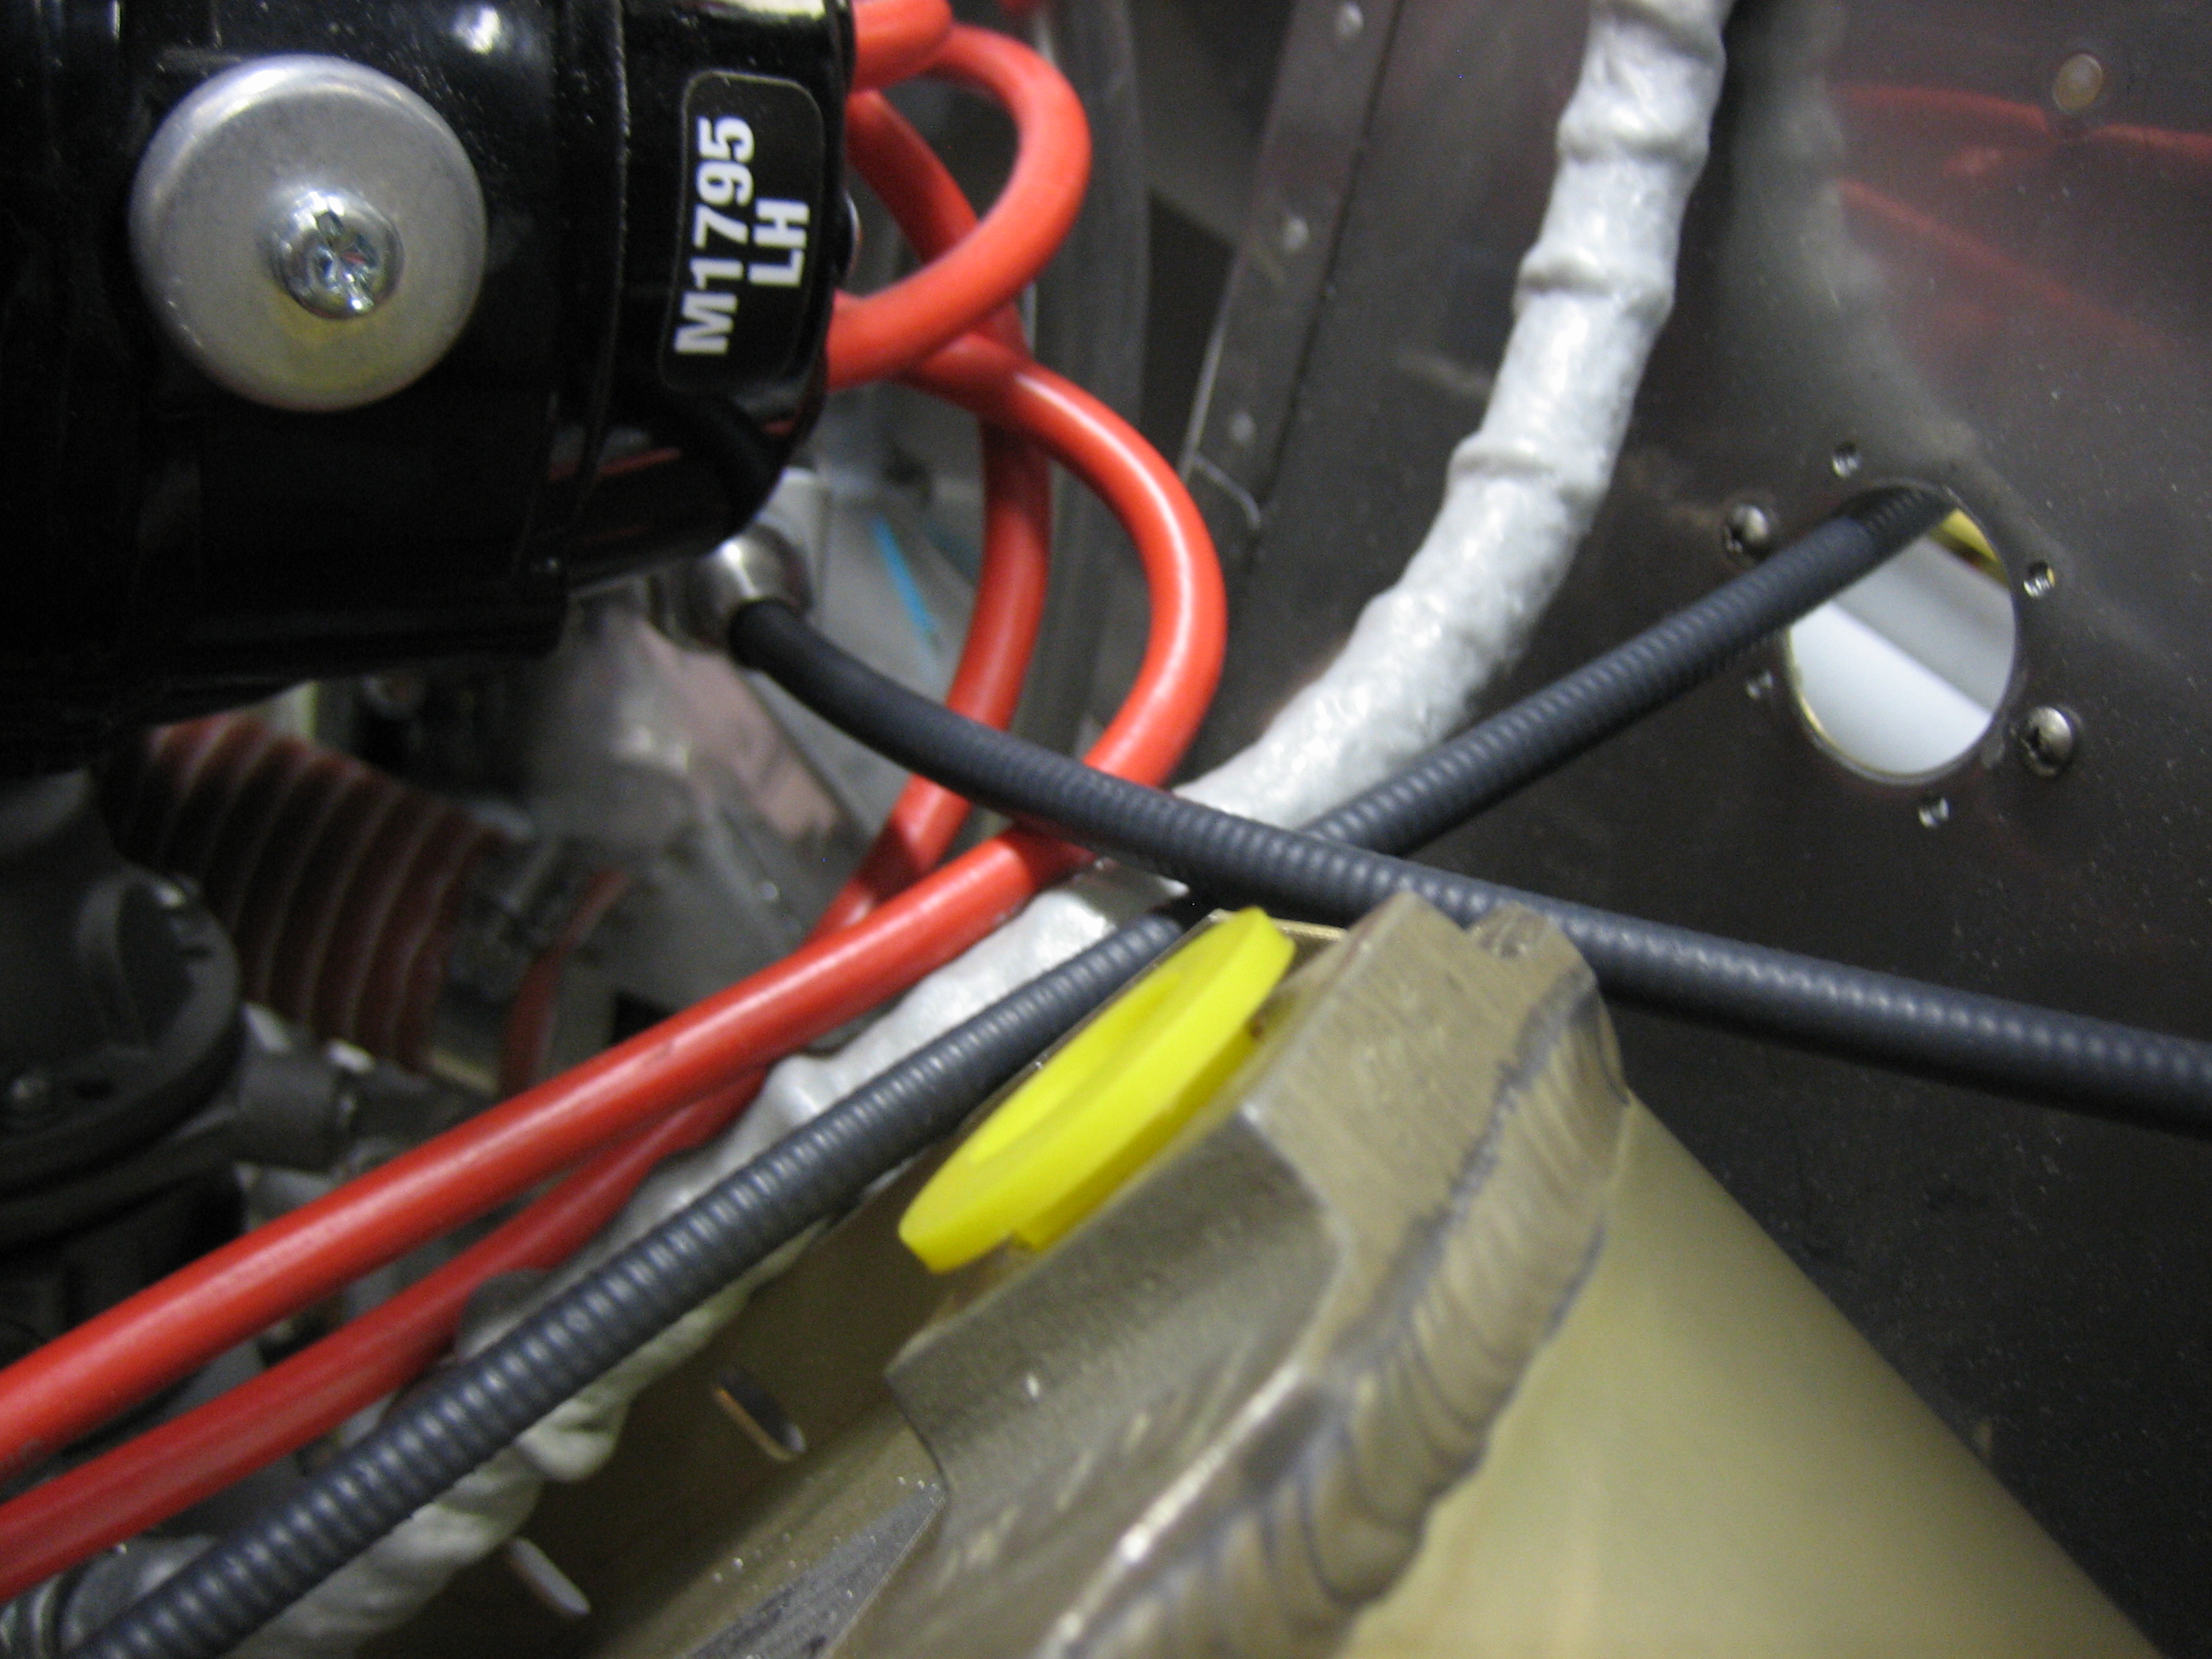
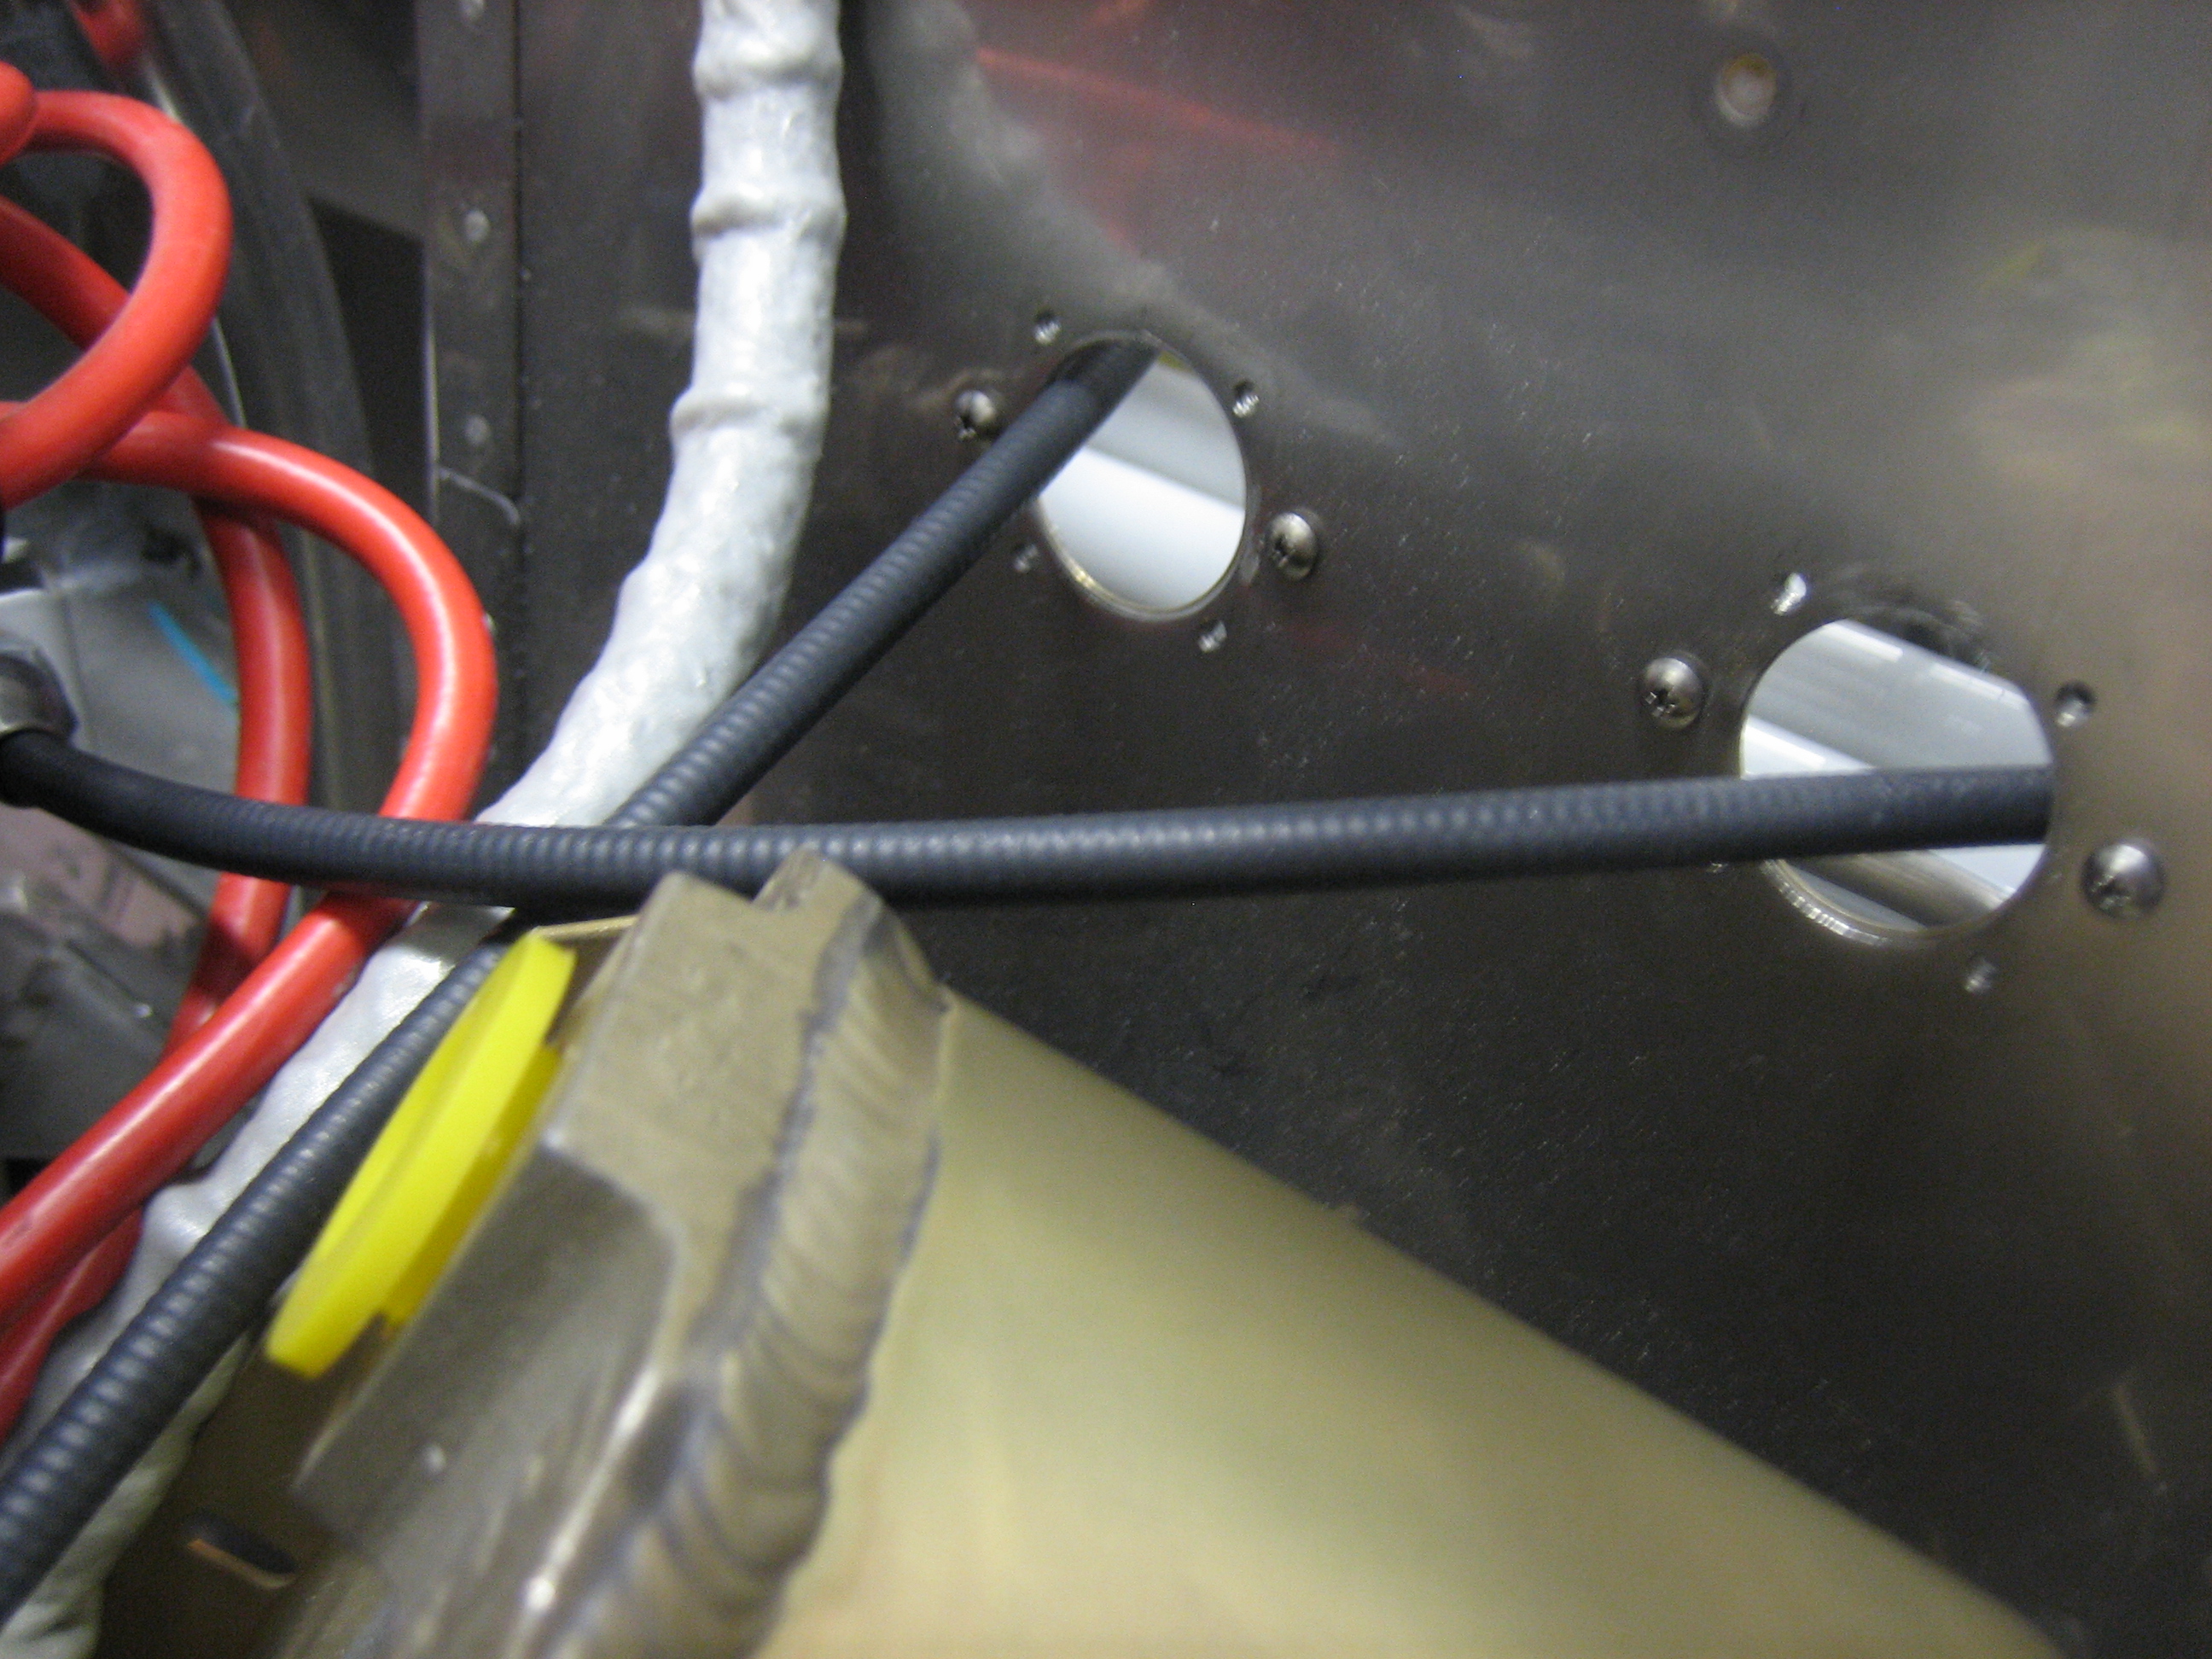
The prop cable penetrates the far left hole (right in this picture since we’re looking aft) at a pretty severe angle since it needs to mount to the governor on the back of the engine.
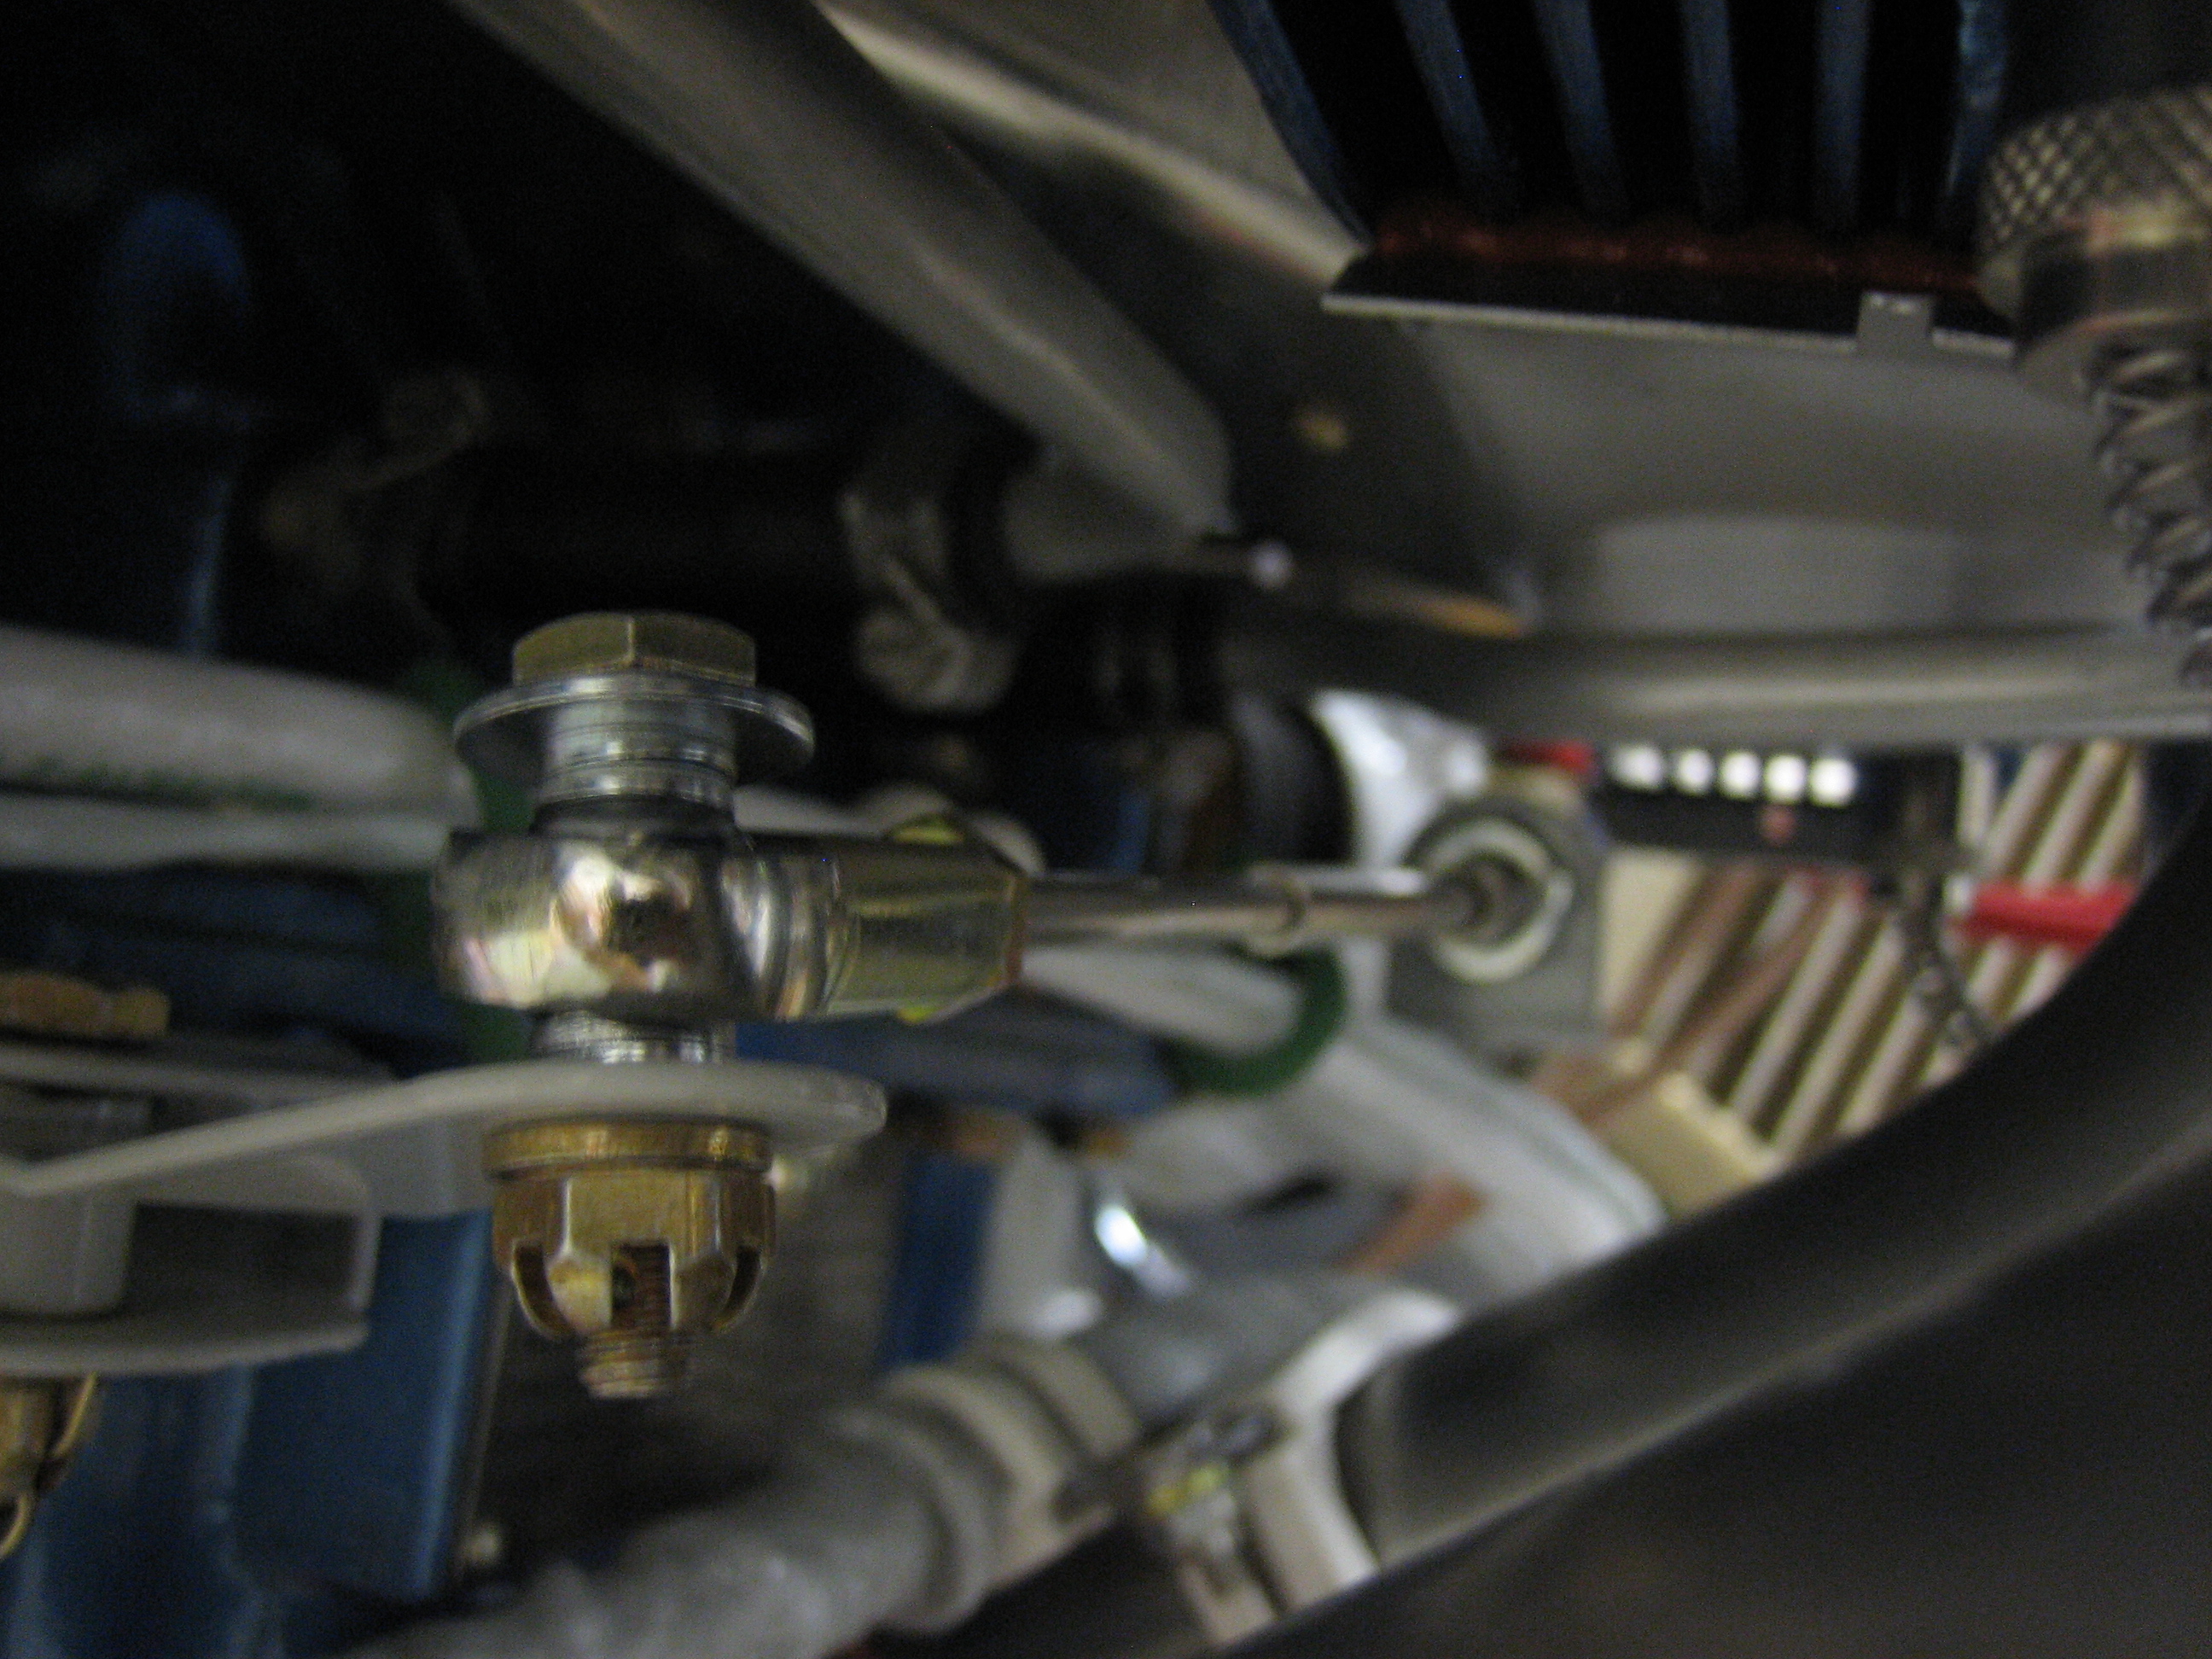
The end of the cable attaches to the governor control arm. After some adjusting, the throw on the prop governor is perfect as well. I do need to replace this bolt though. It’s too short and I want to use a castle nut and cotter pin just like the other control cables. I did have to reverse the bolt from the orientation specified in the plans since it’s just about impossible to insert/remove the bolt the other way since there is not enough space between the control arm and back end of the governor.