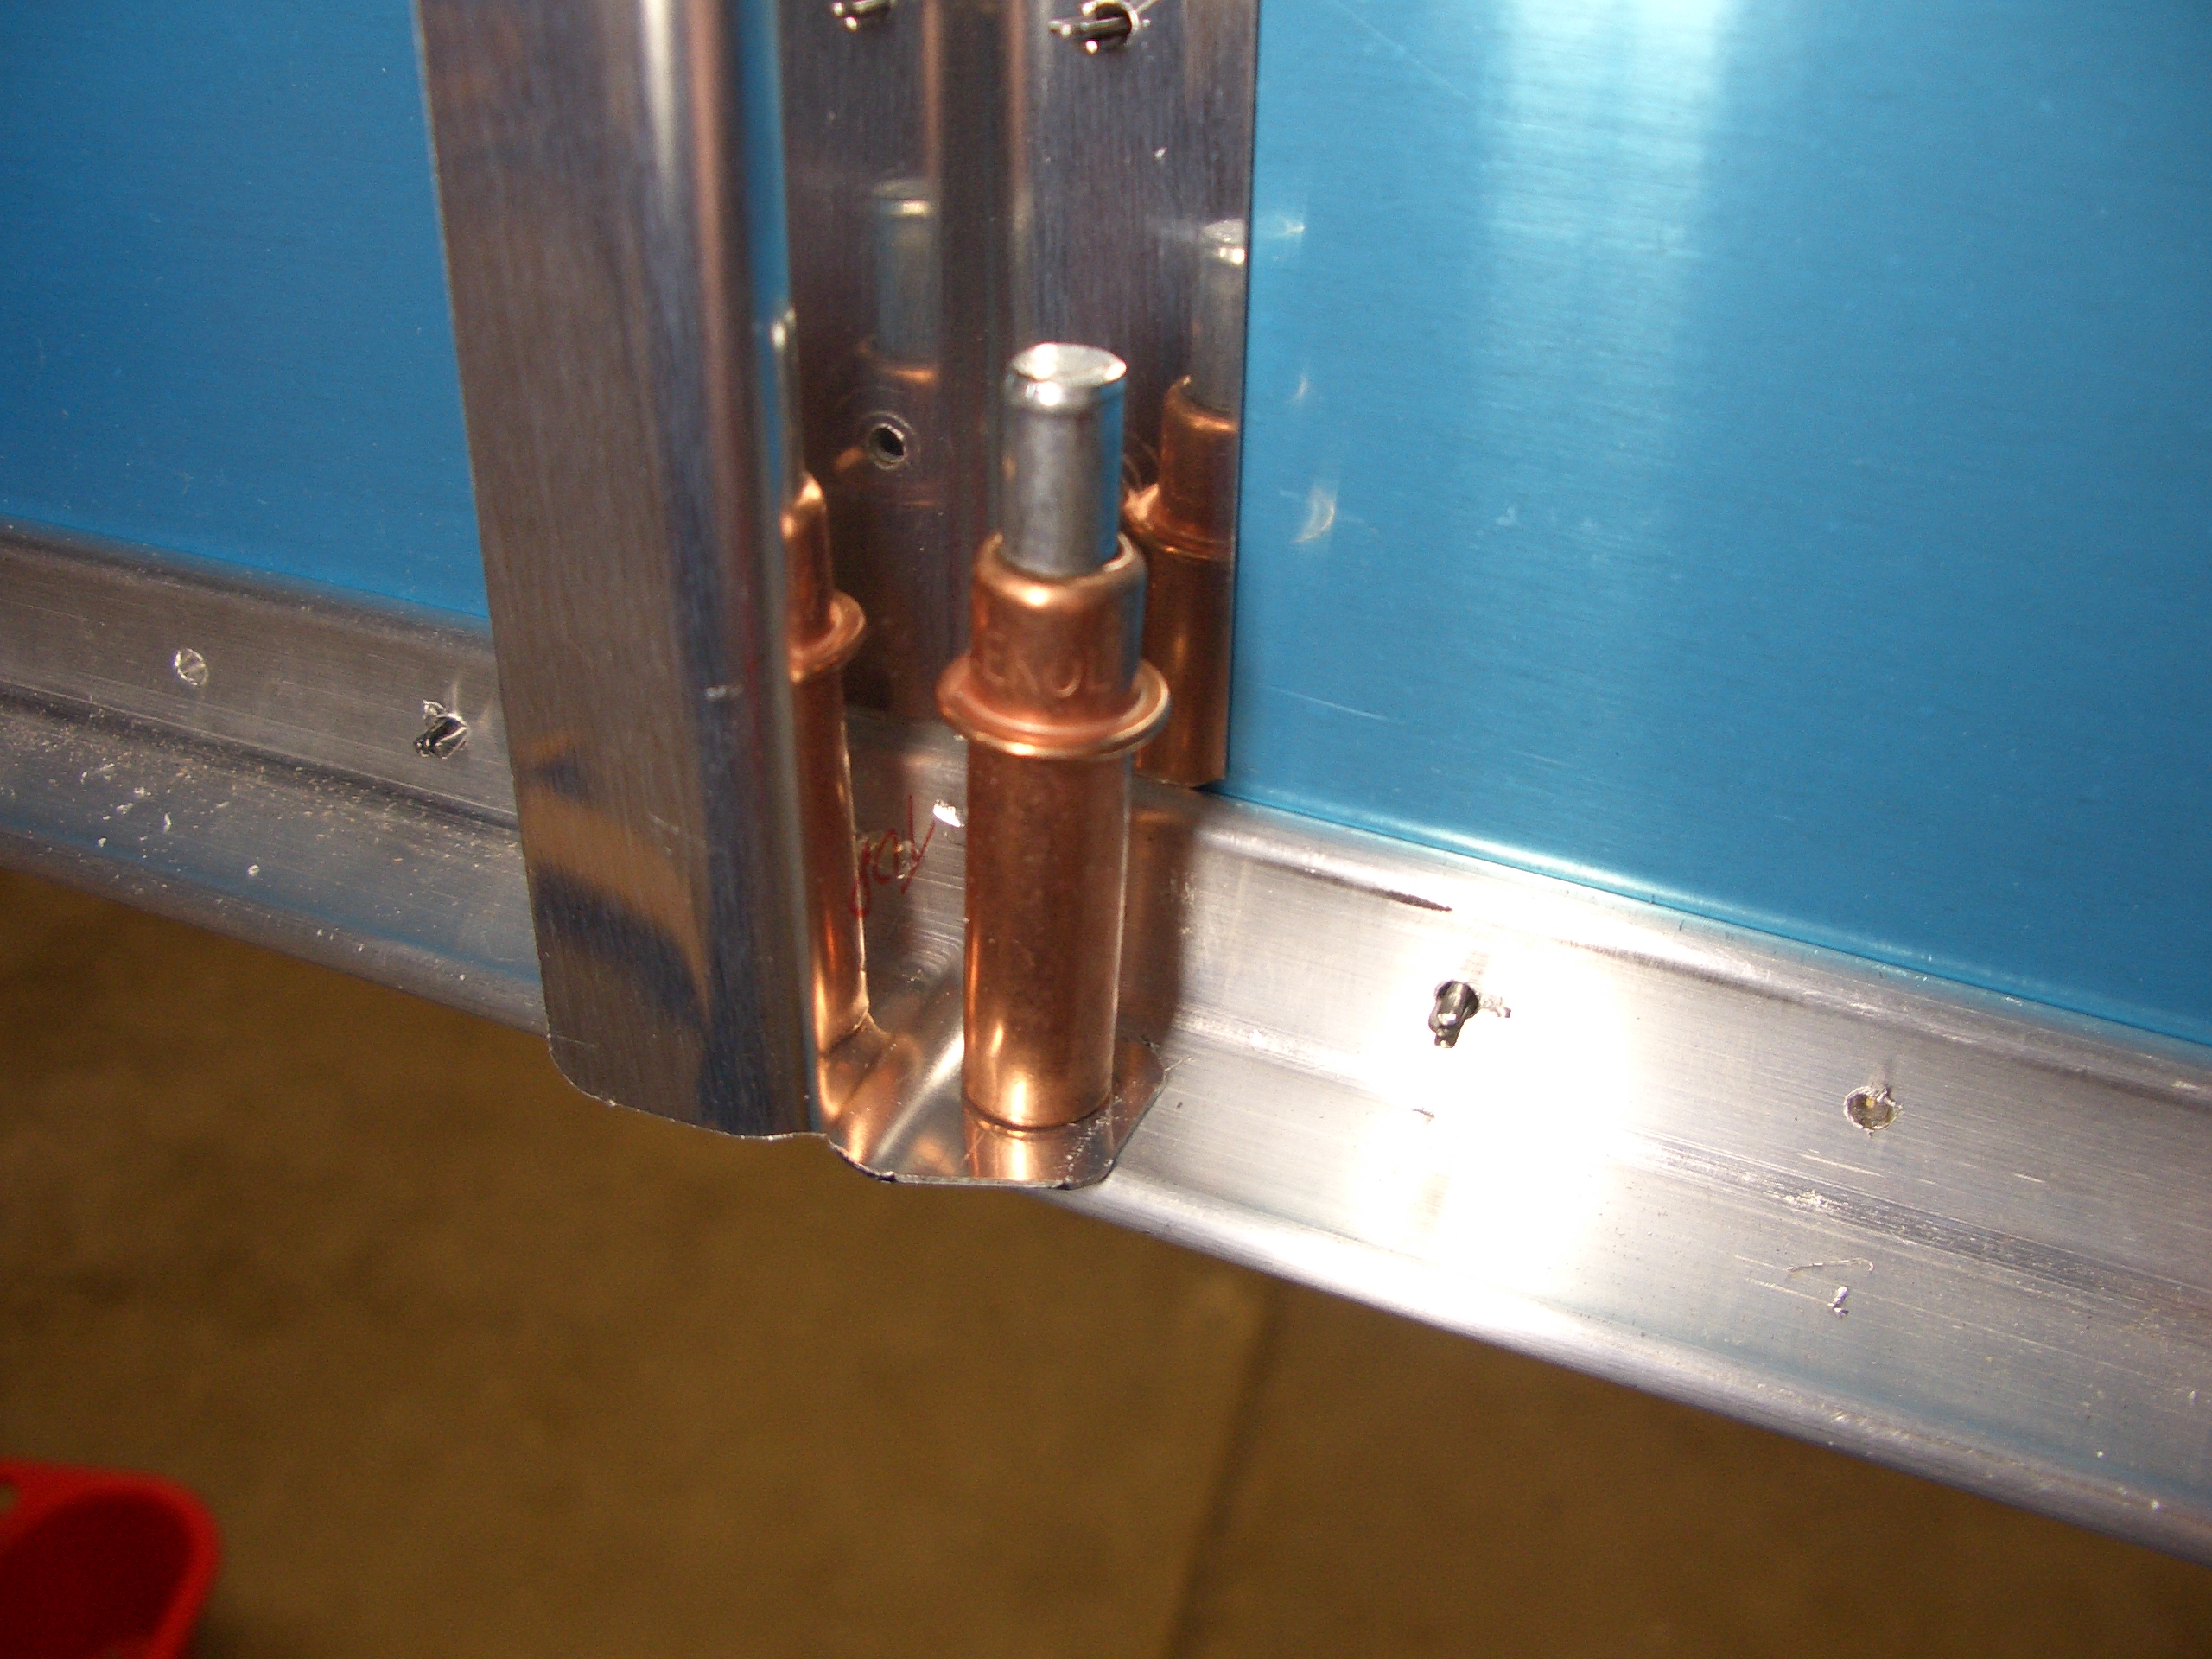
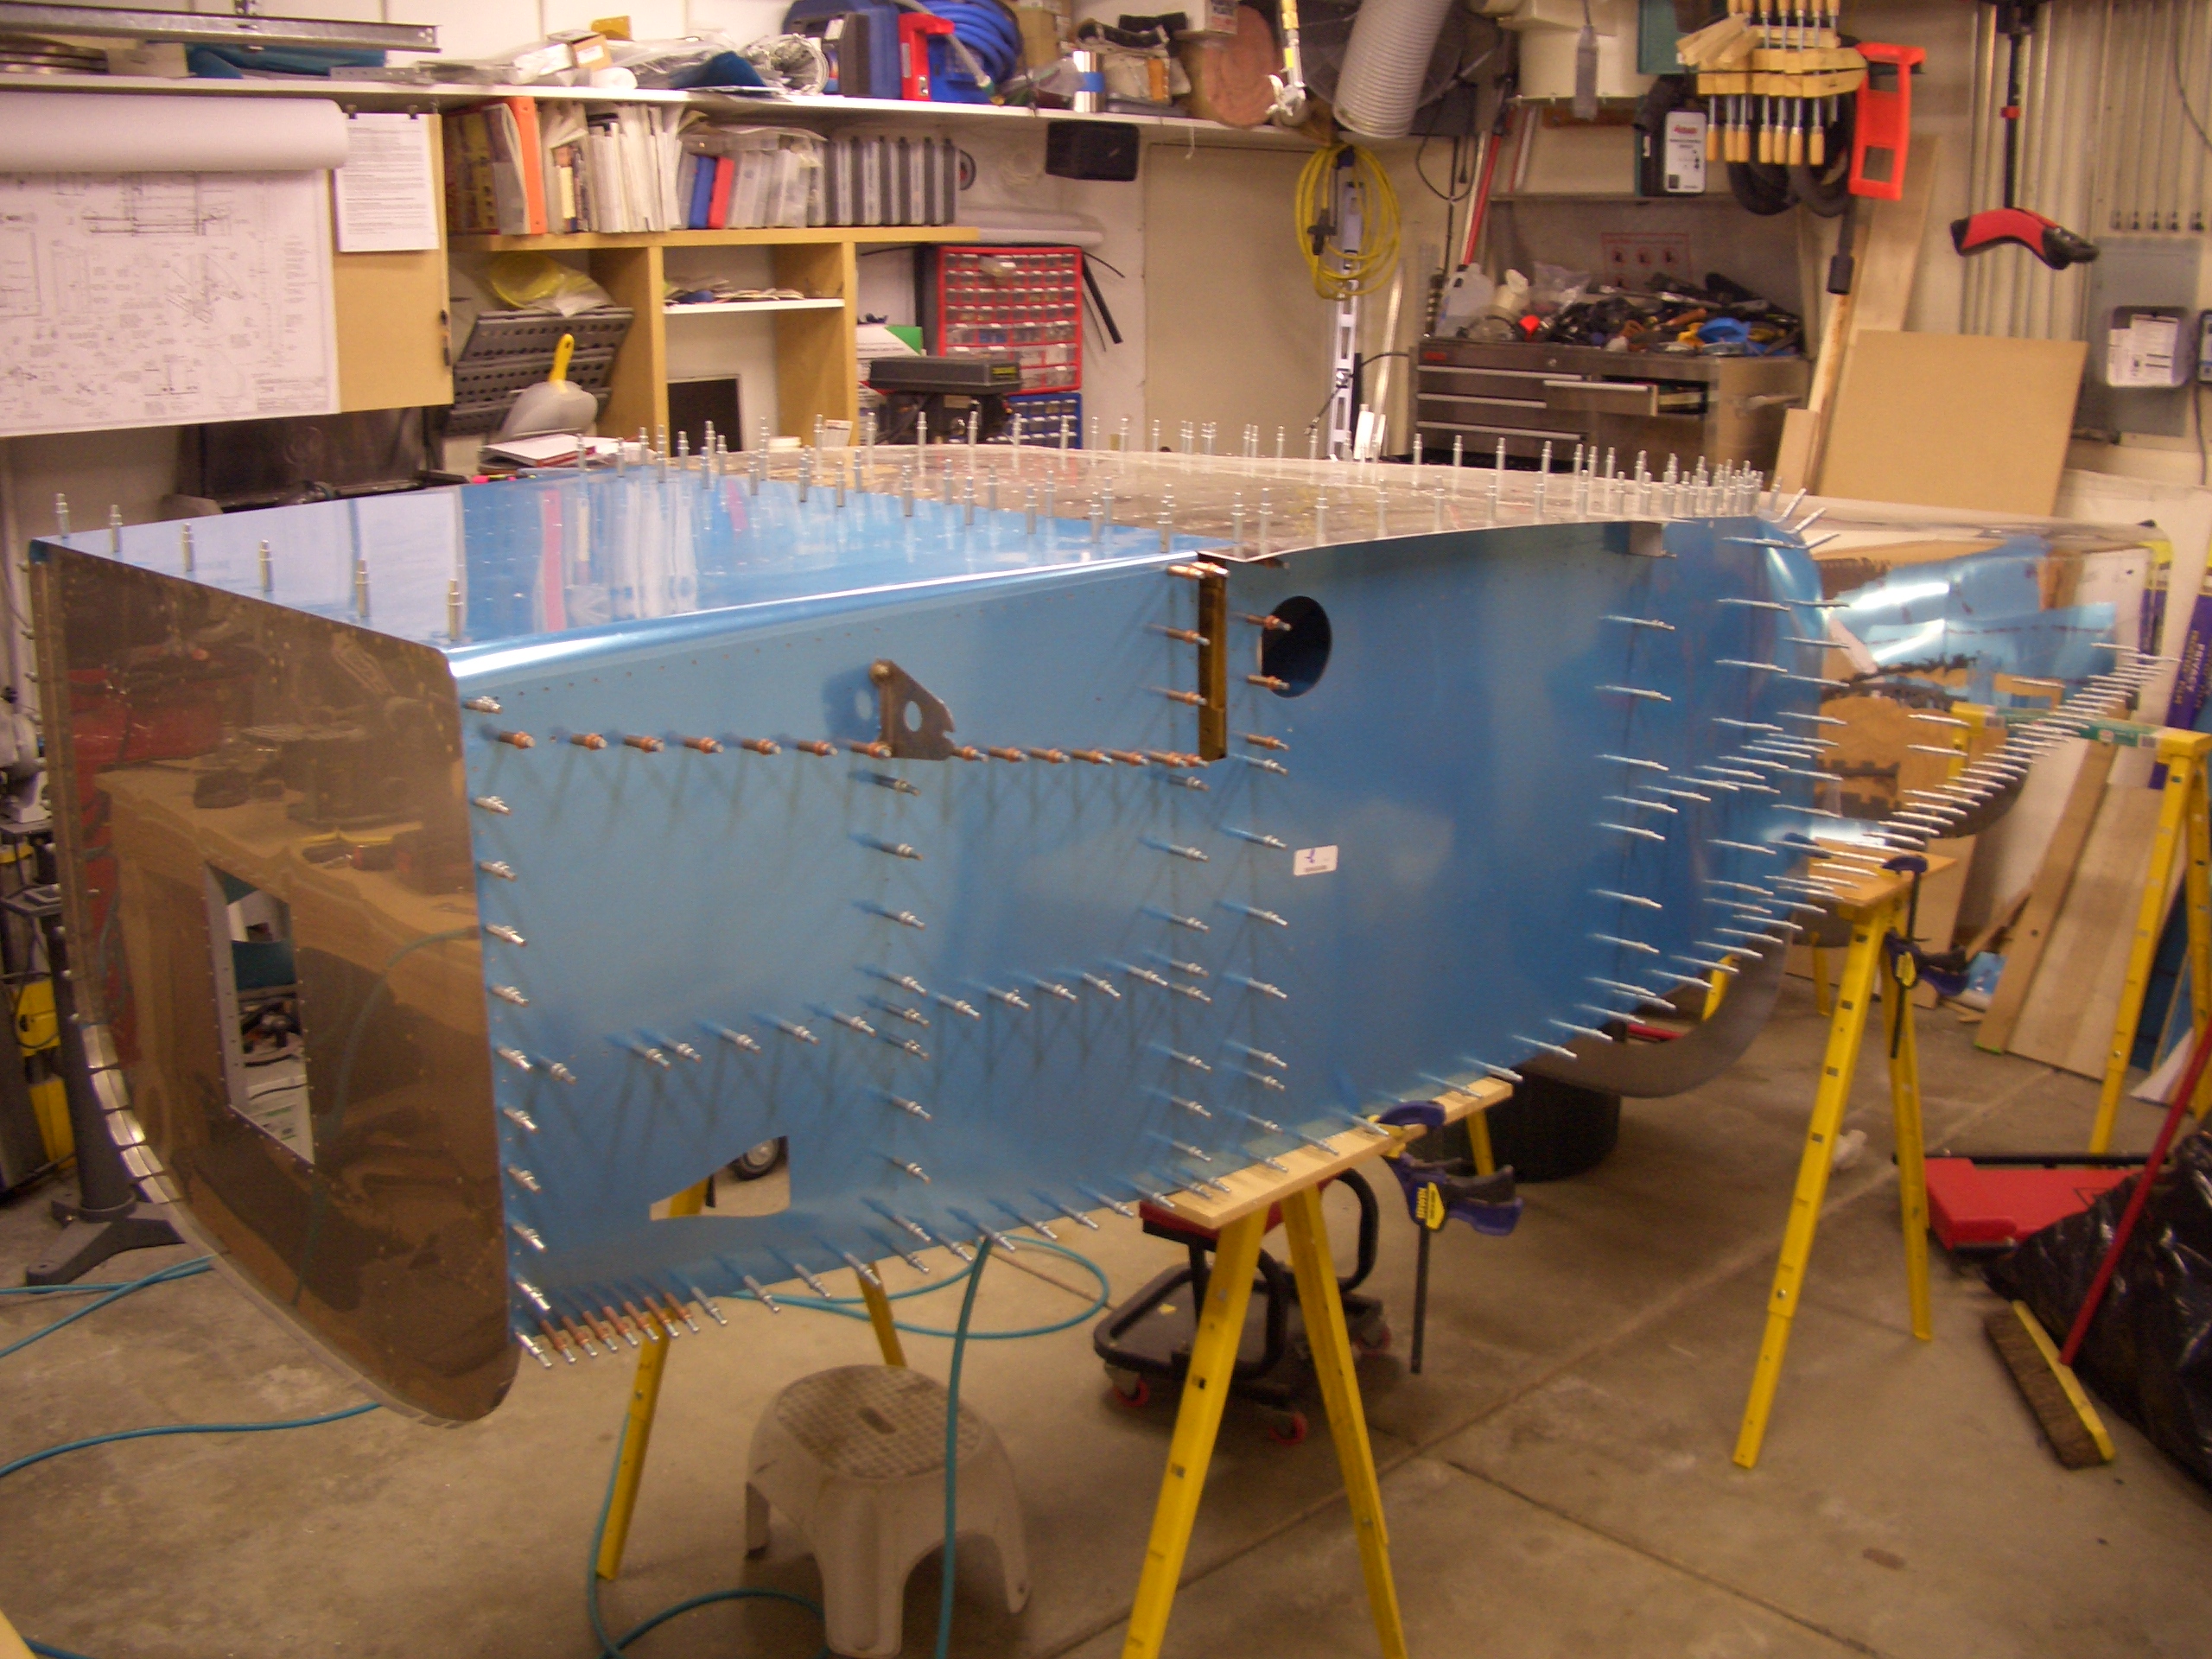
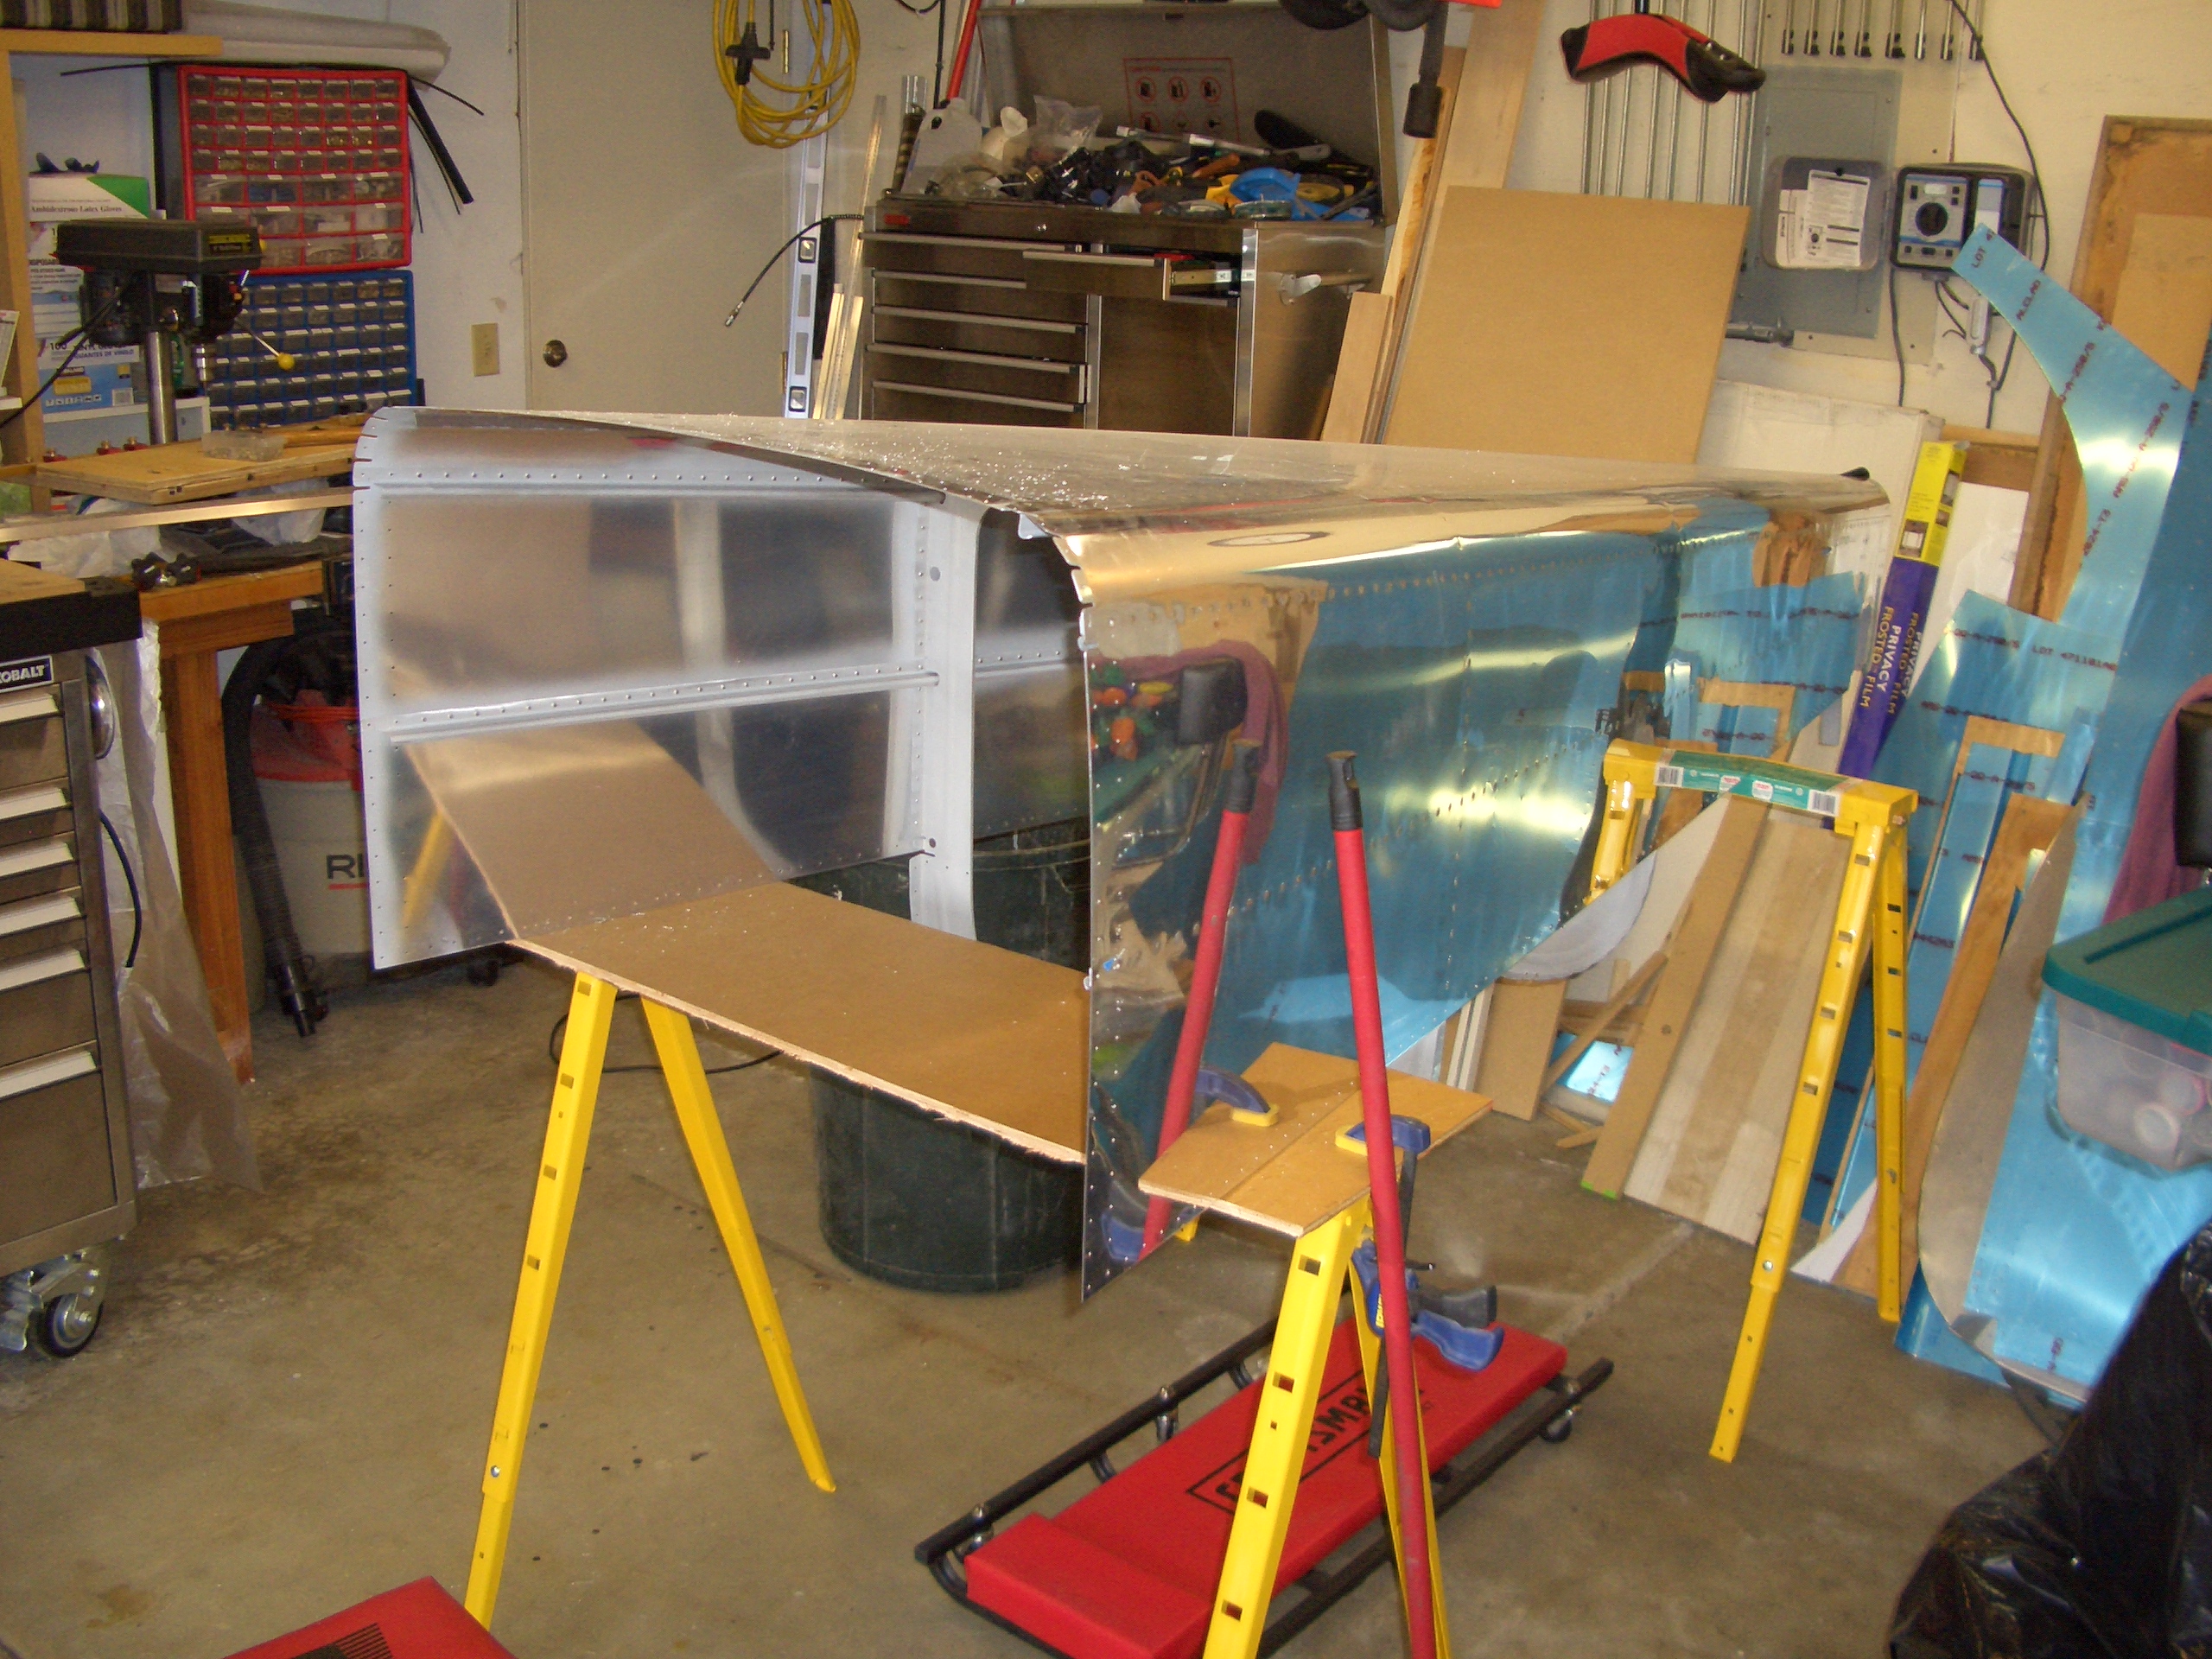
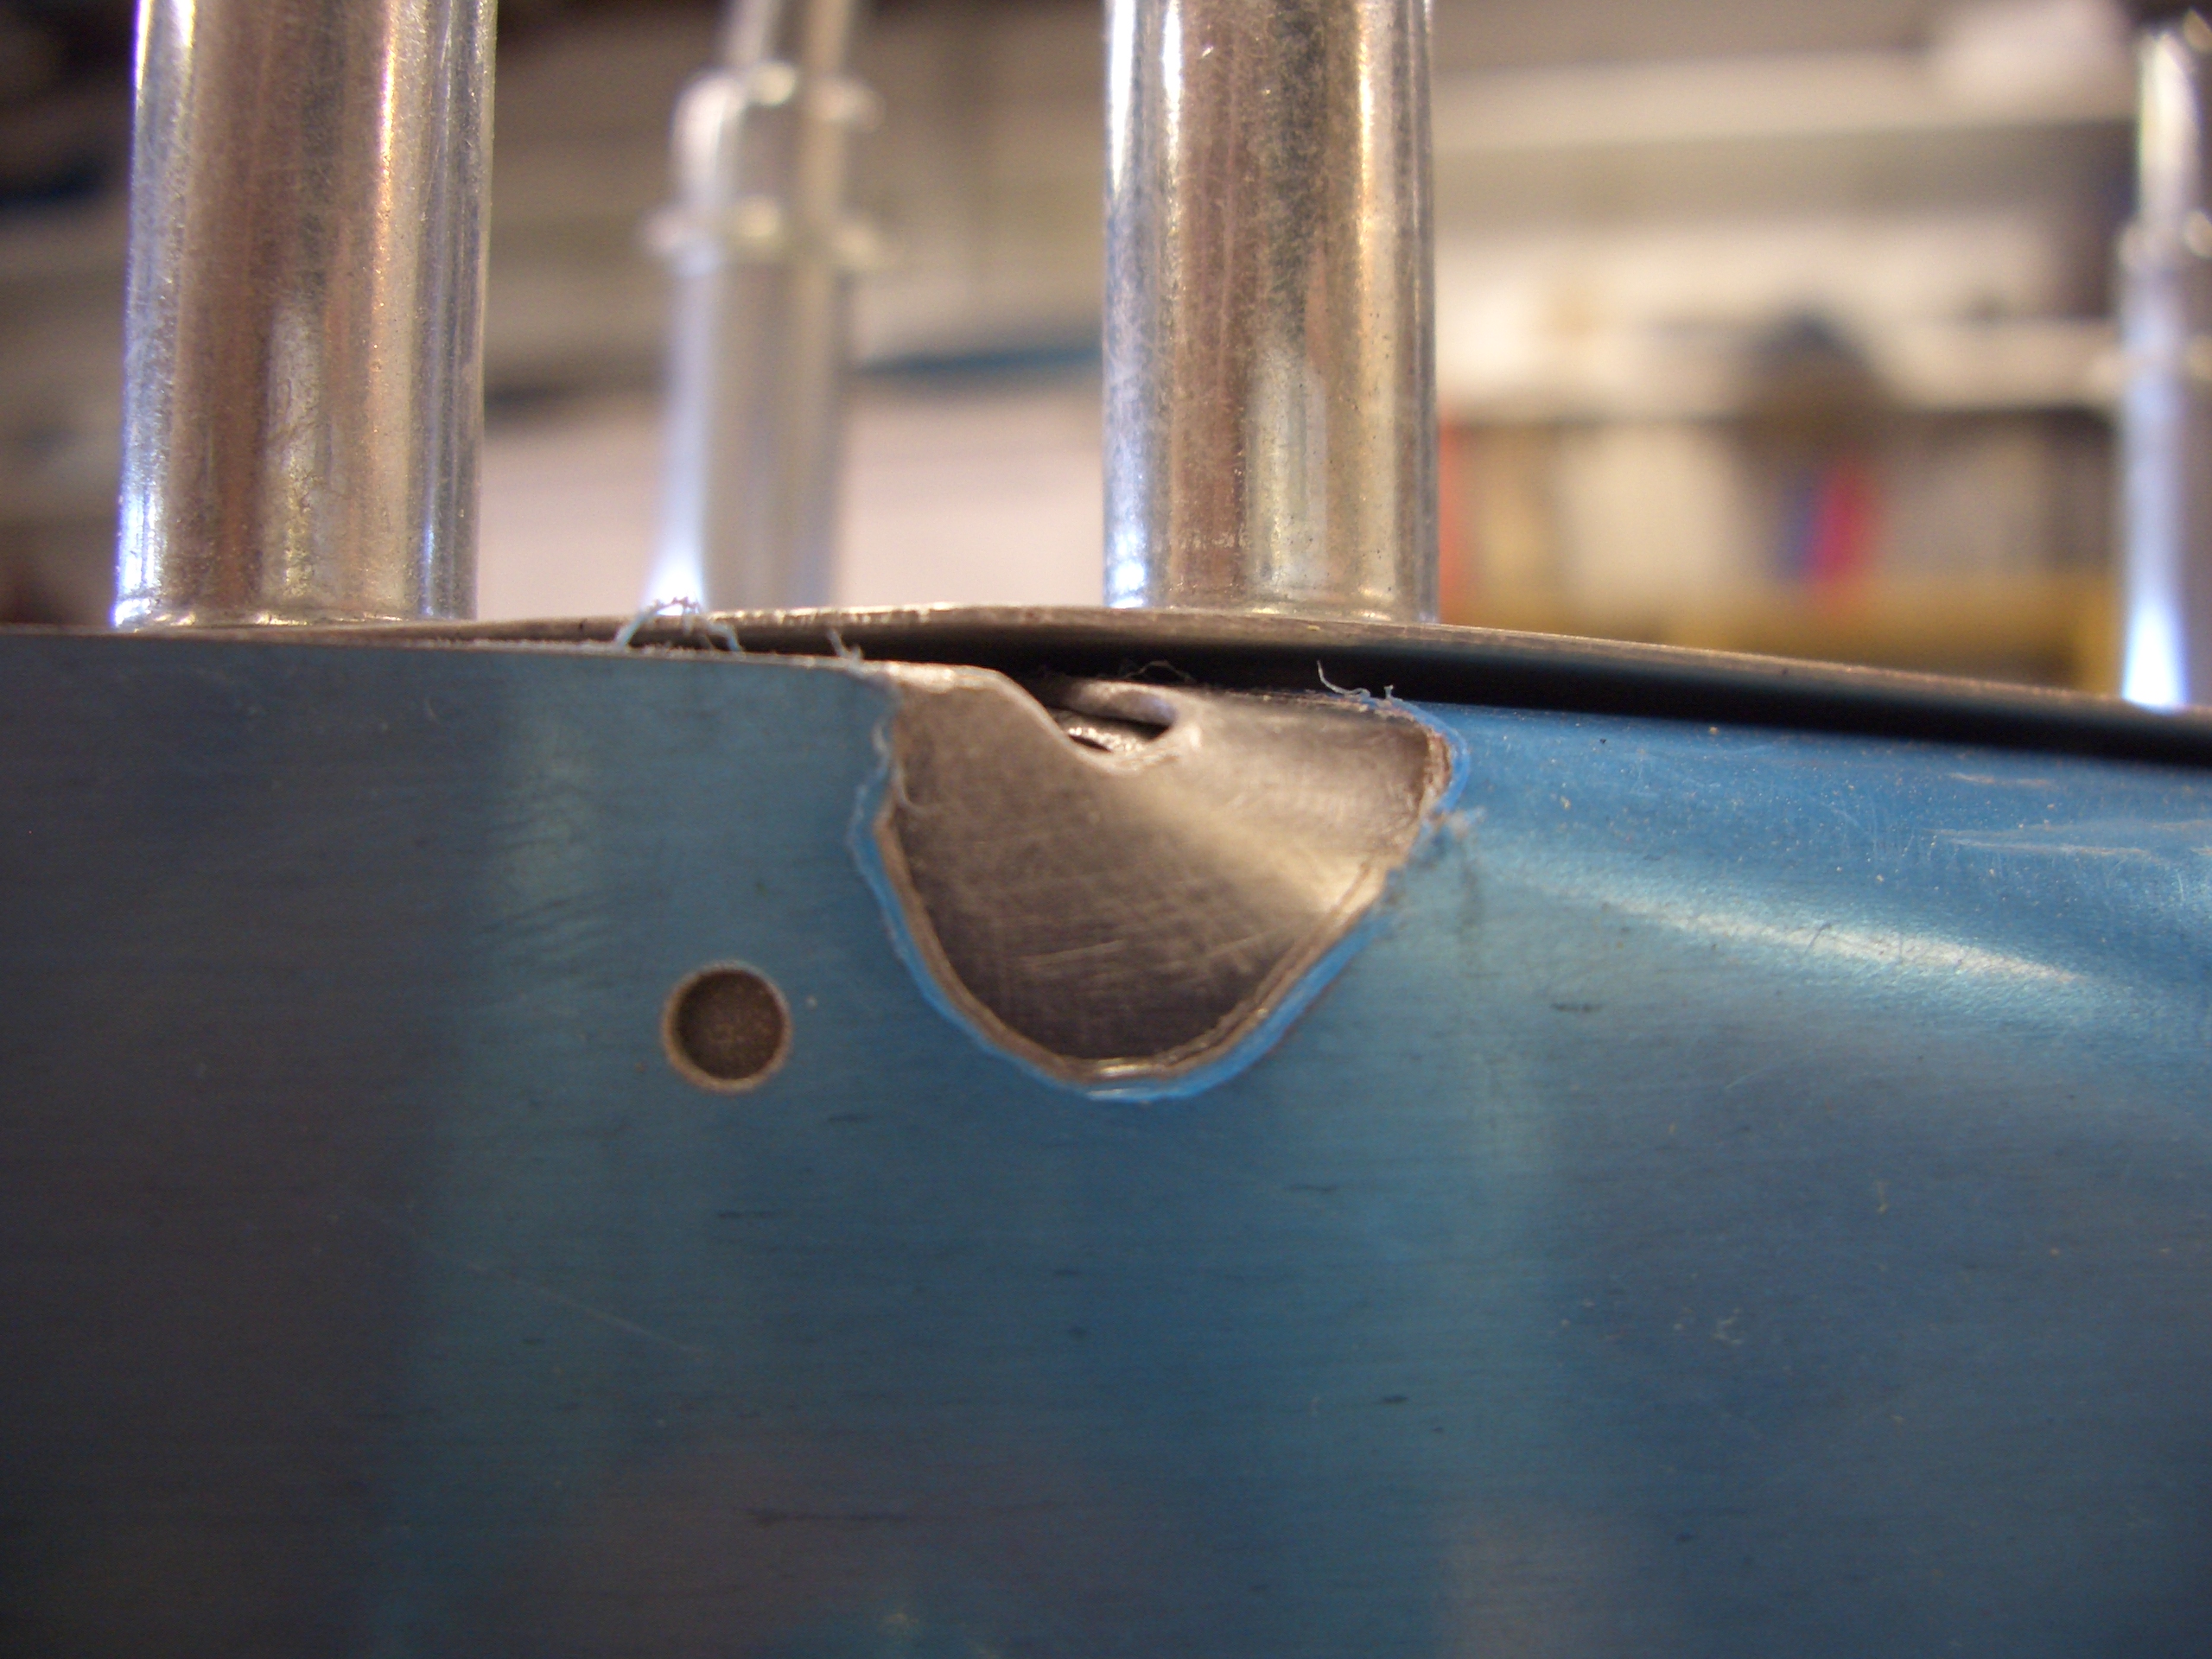
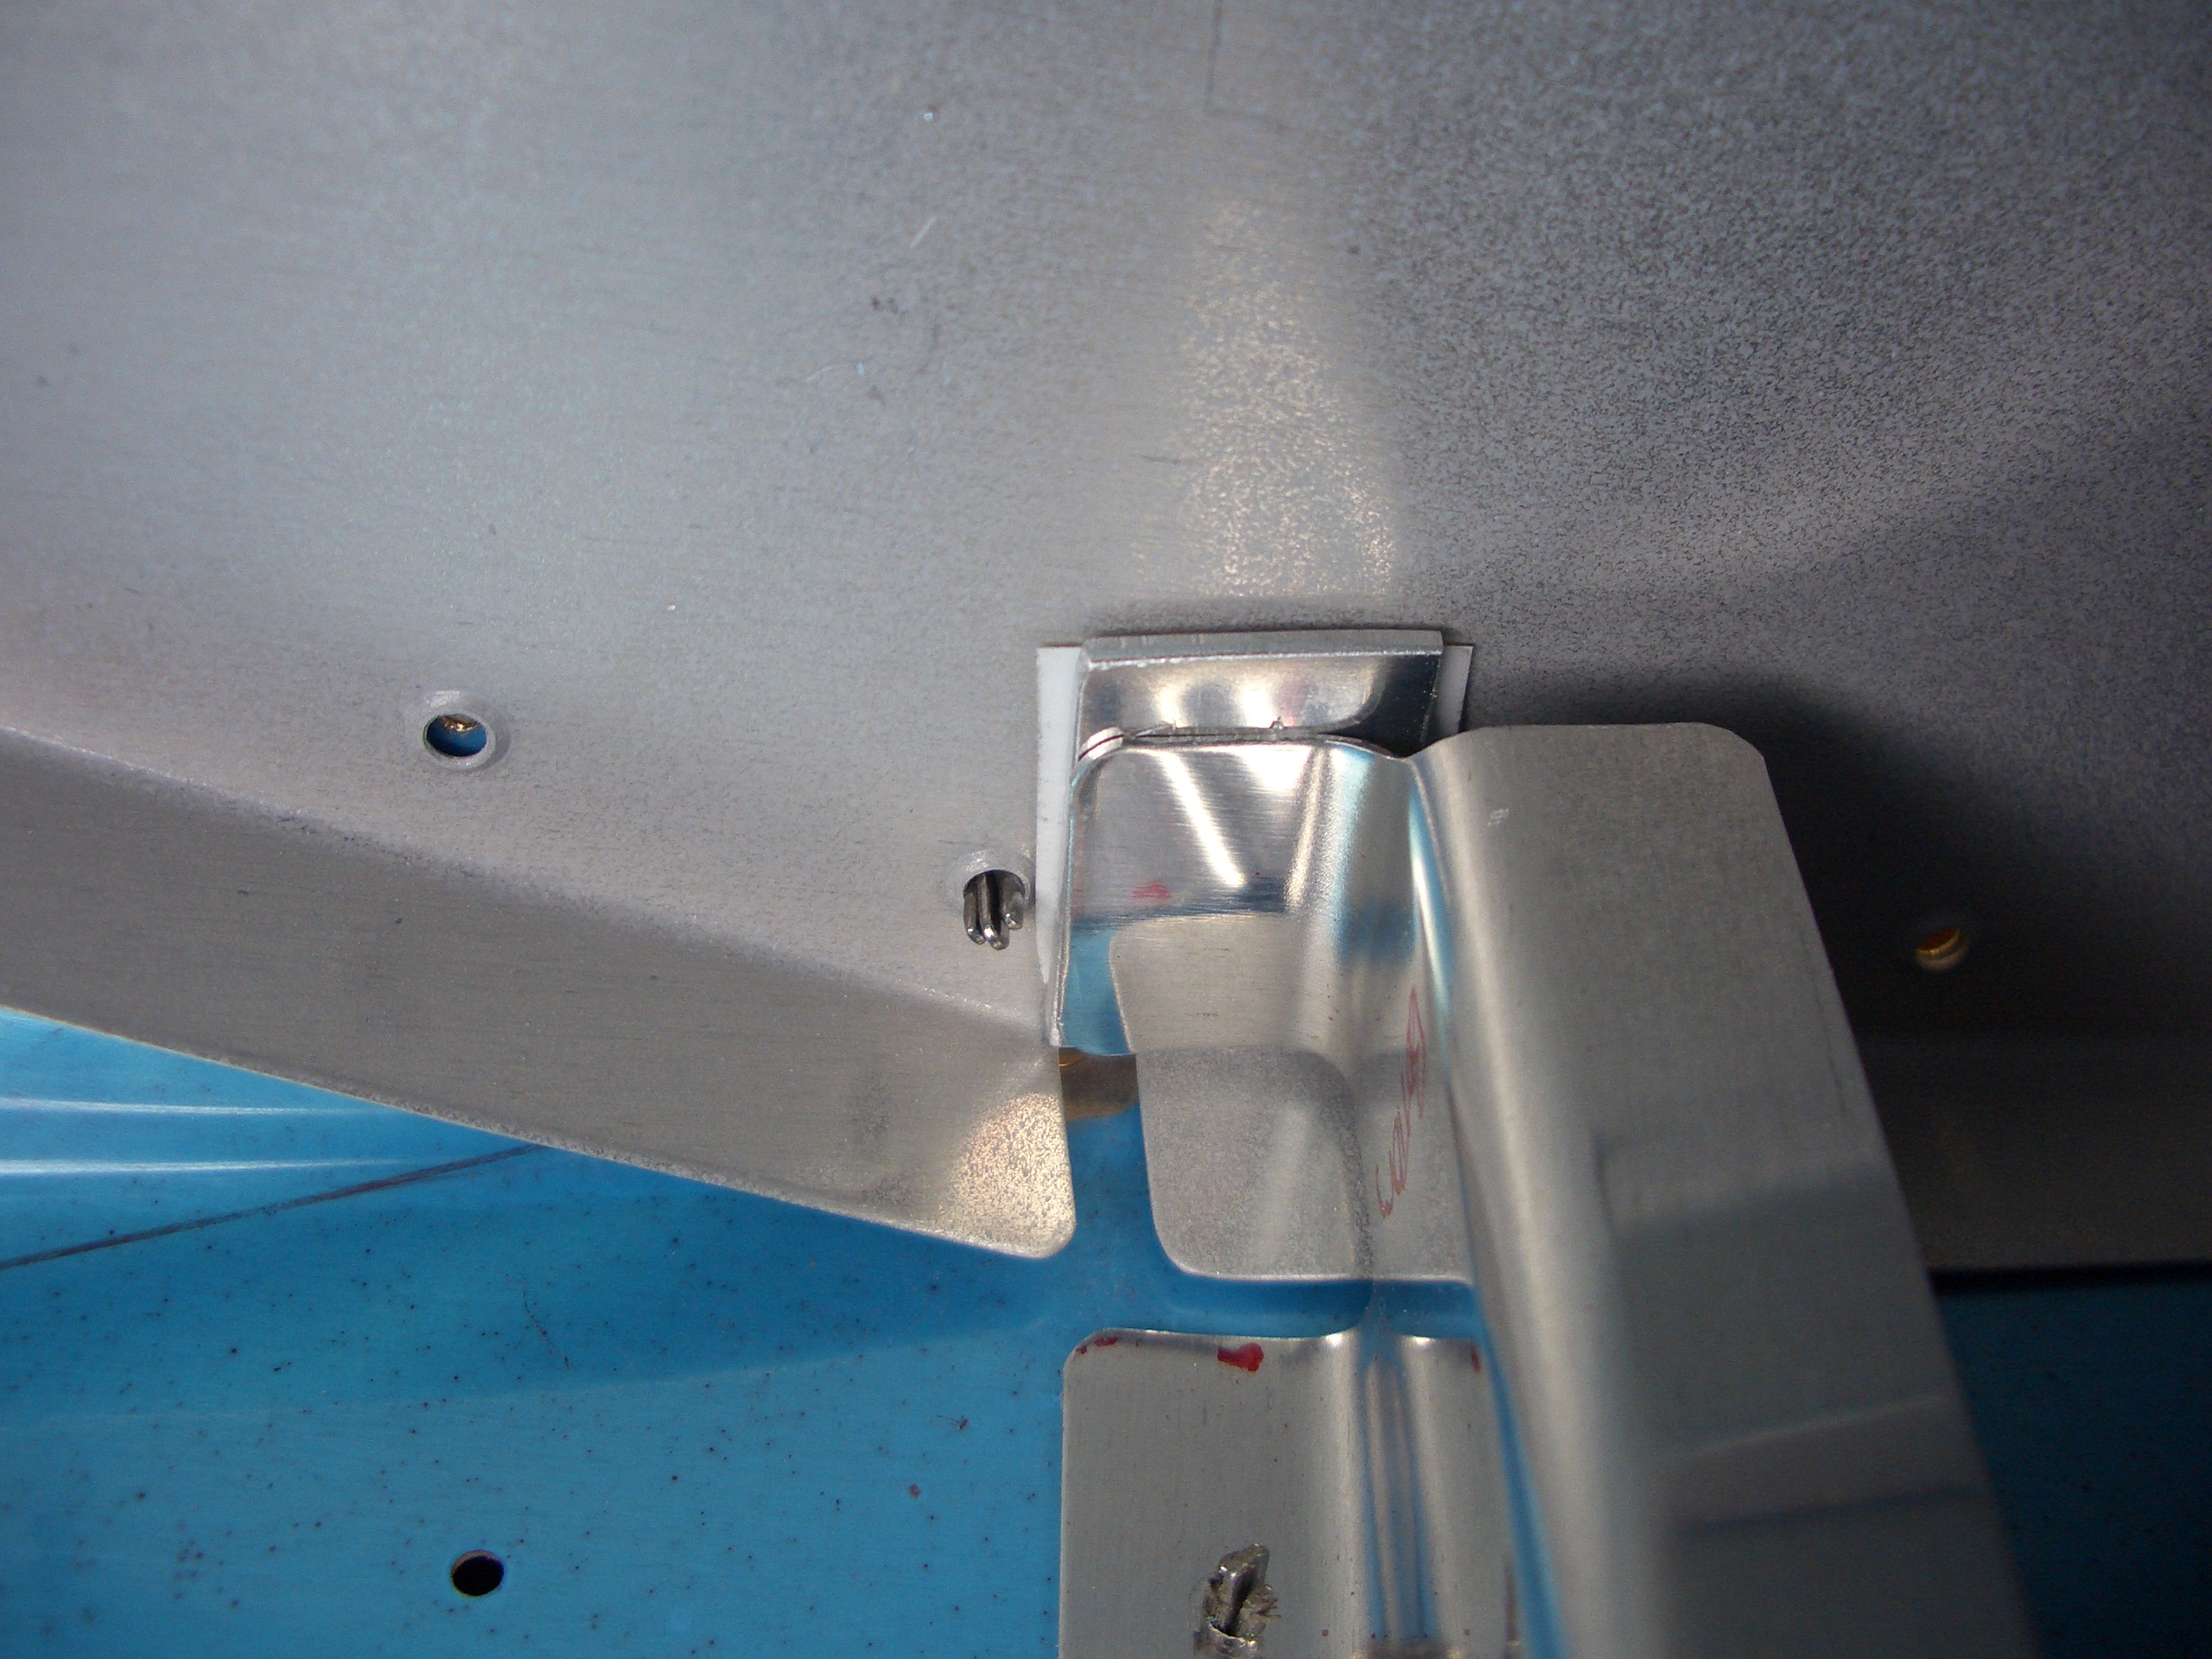
I fit the baggage bulkheads and ribs. Just like Mike Bullock ran into, I have a gap between the end flange of the baggage bulkhead and the side baggage floor rib.

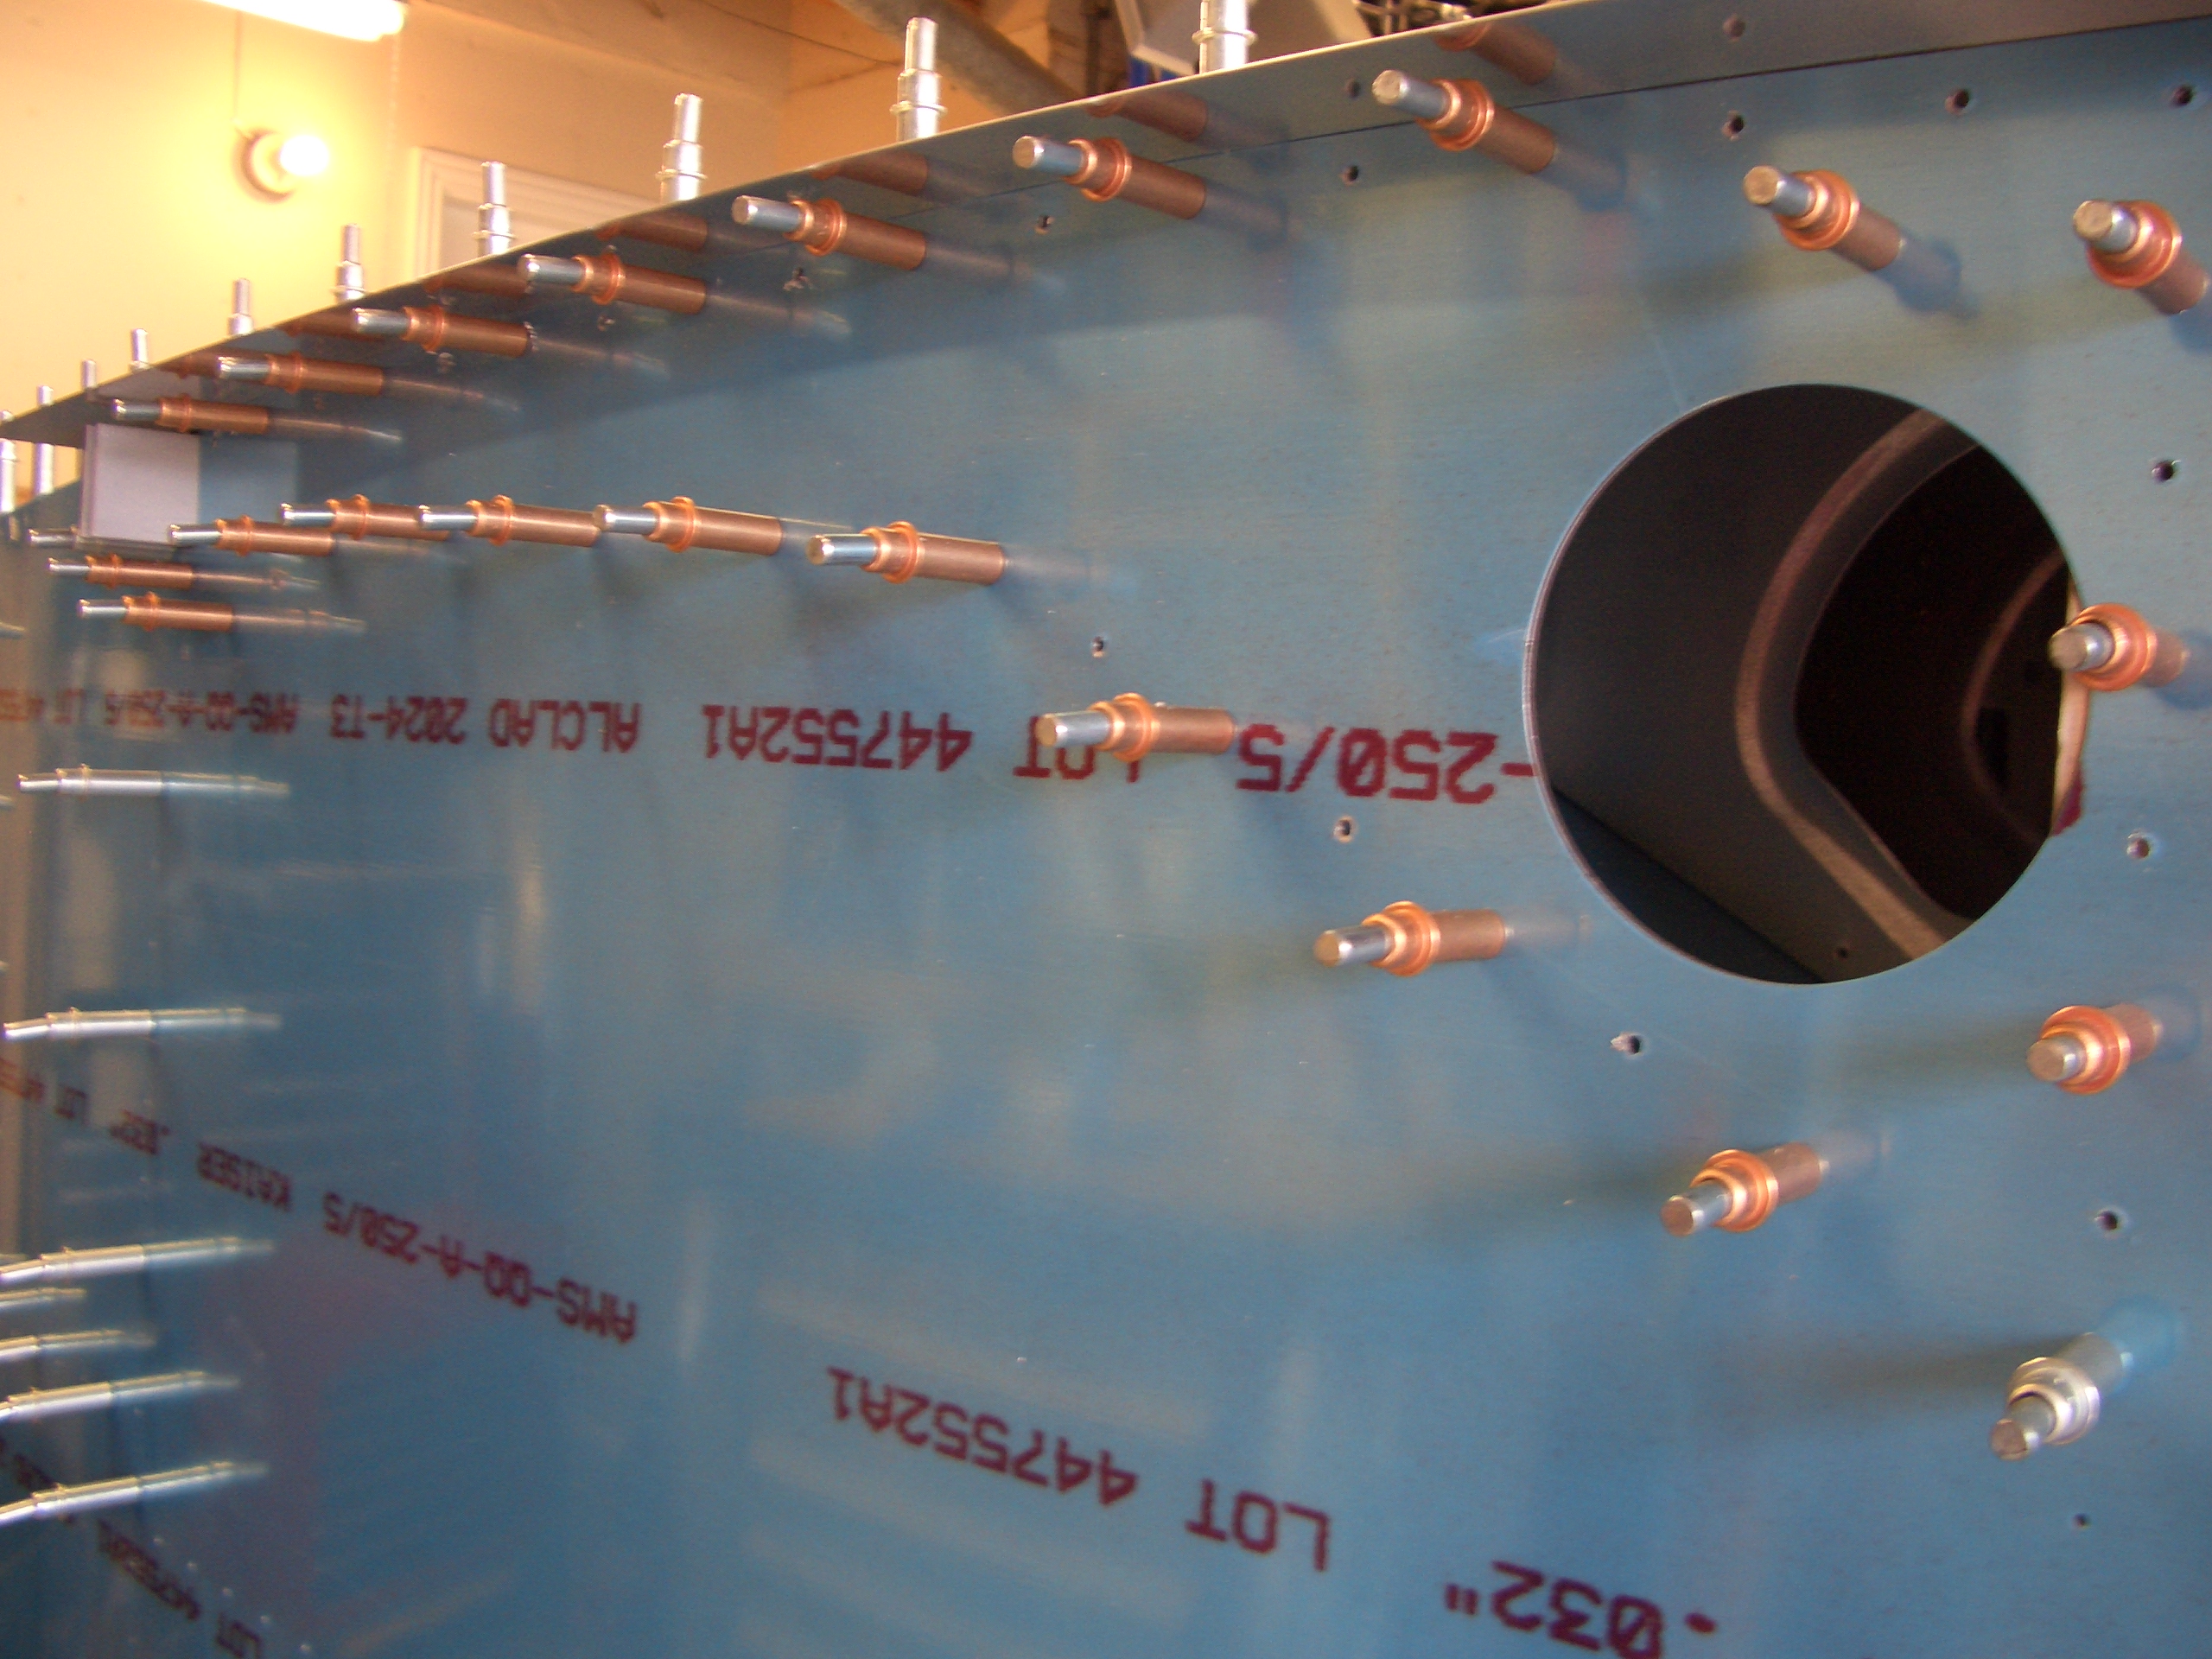
However, unlike him, my bend wasn’t the cause. As you can see, the bend ended up perfectly flush with the side skin. Ignore the gap between the side skin and the bottom skin. That is just due to the dimples that are already in the bottom skin.
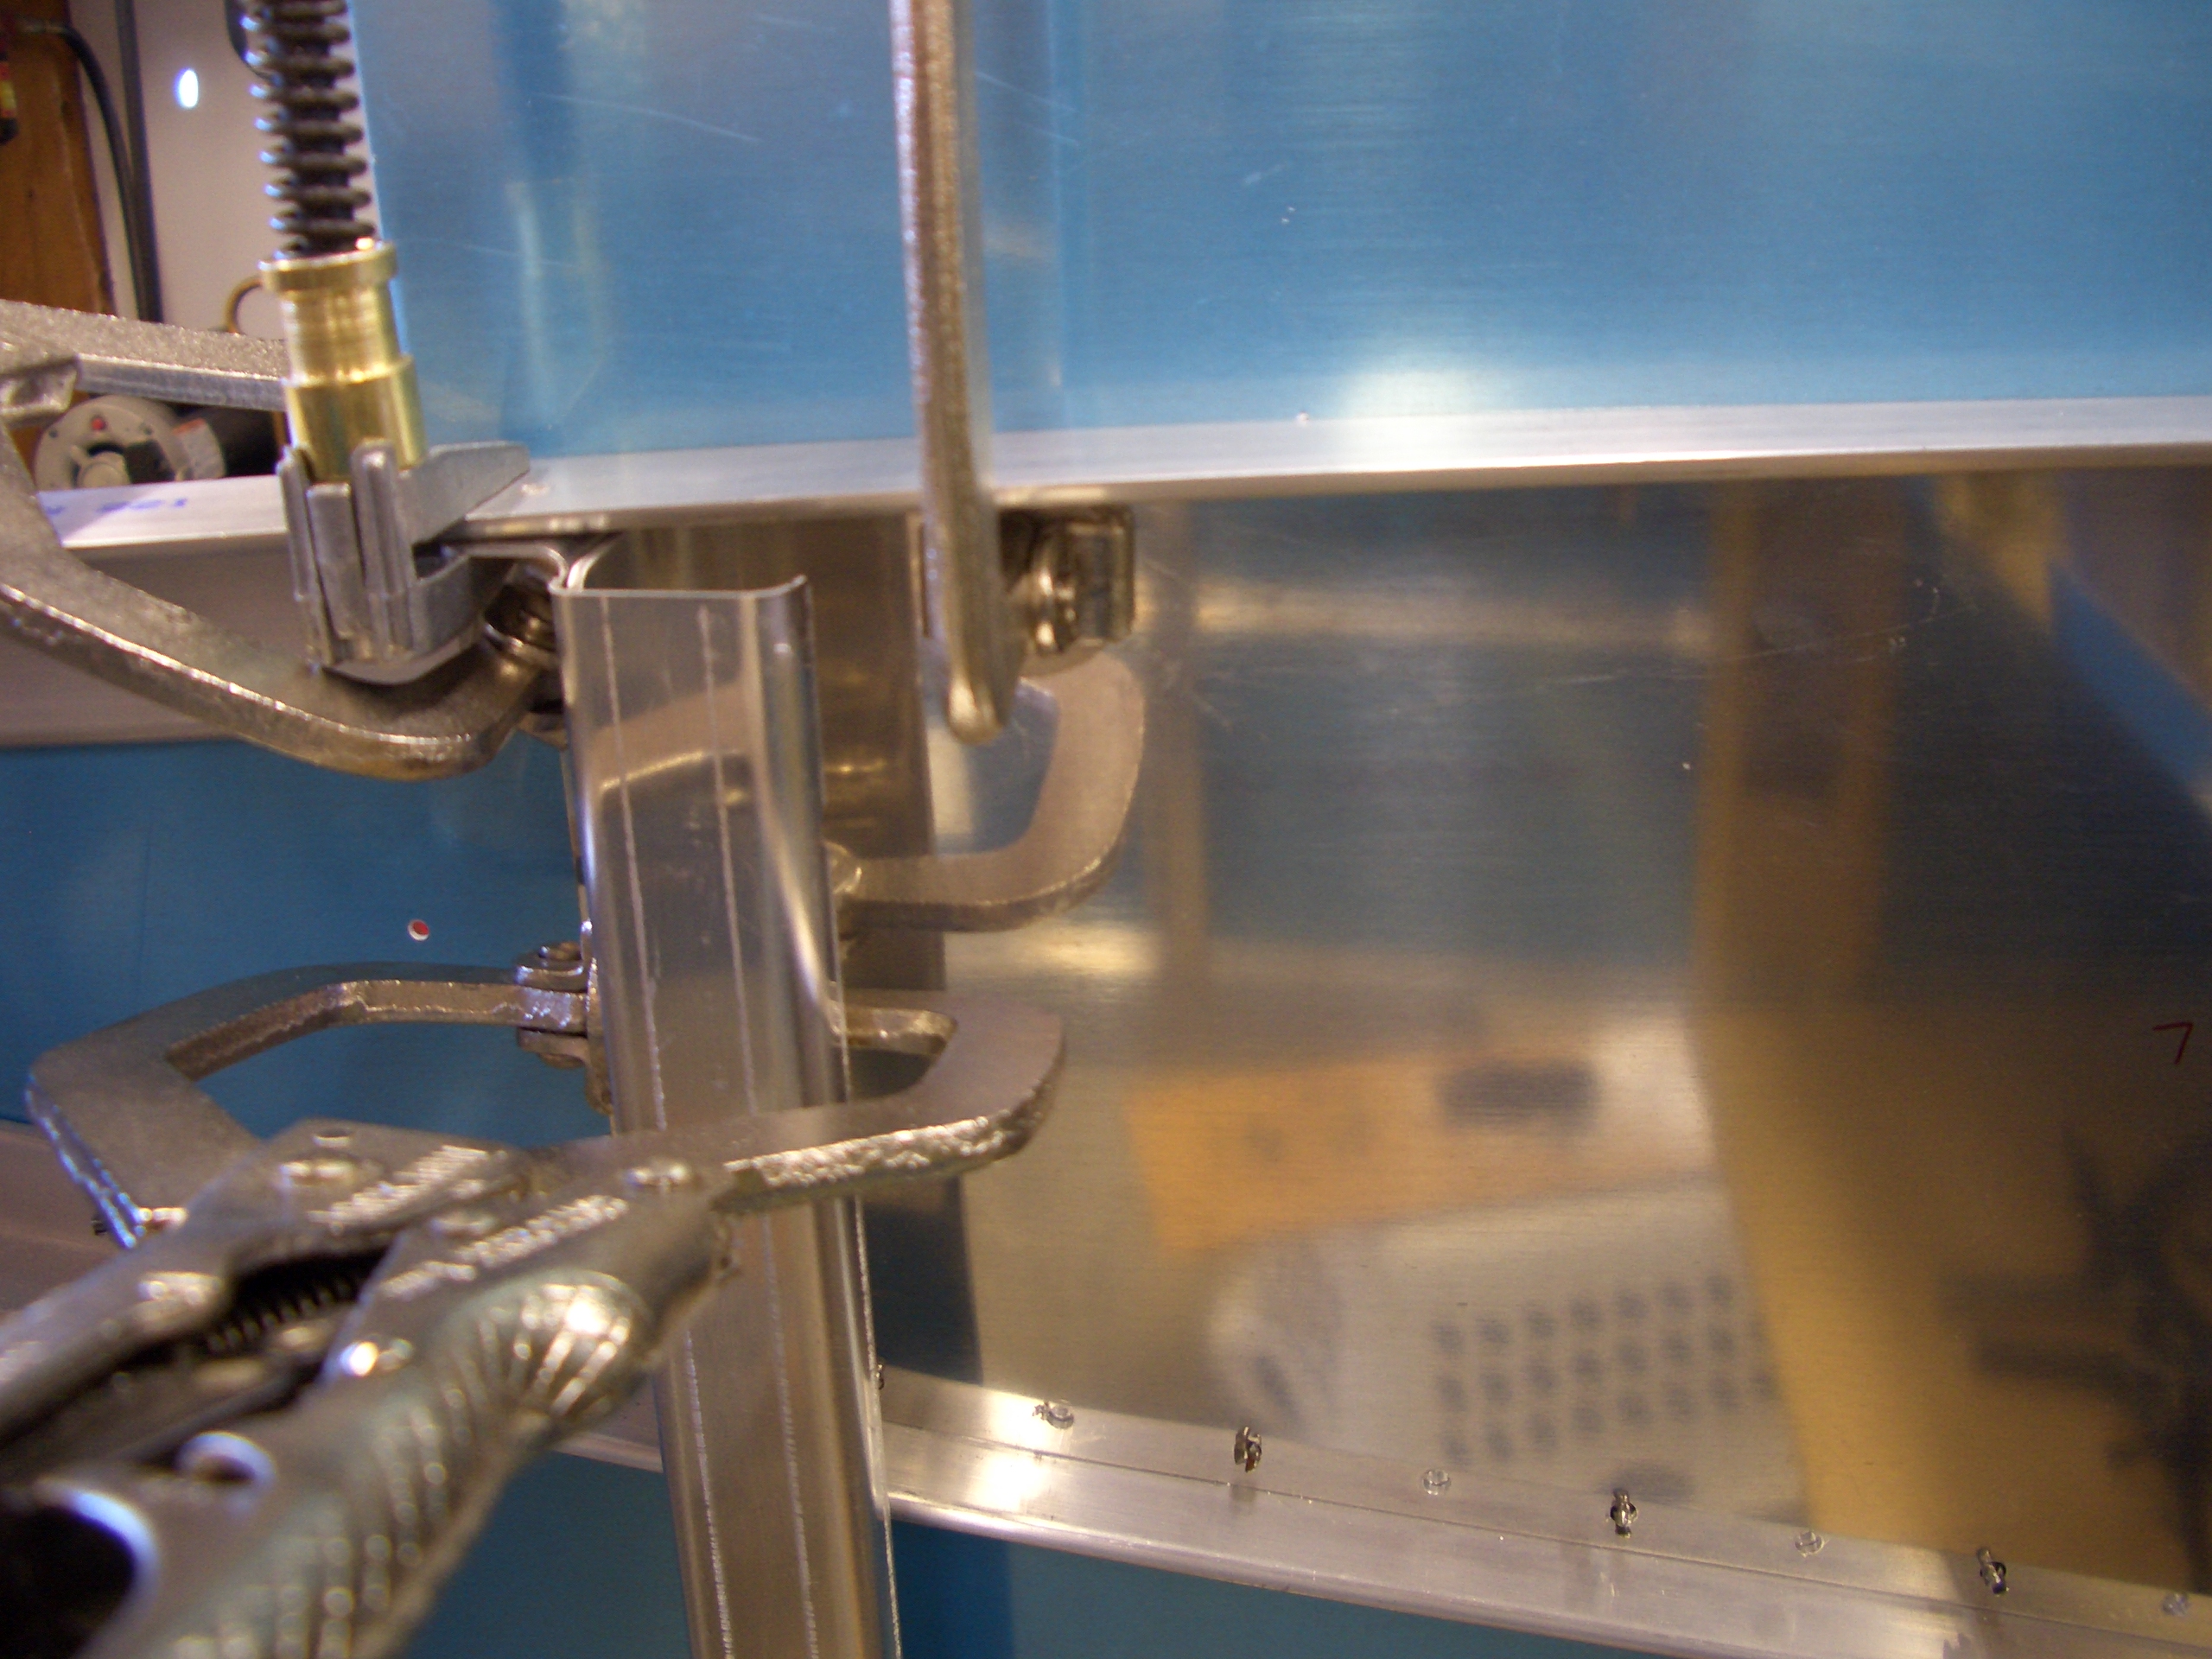
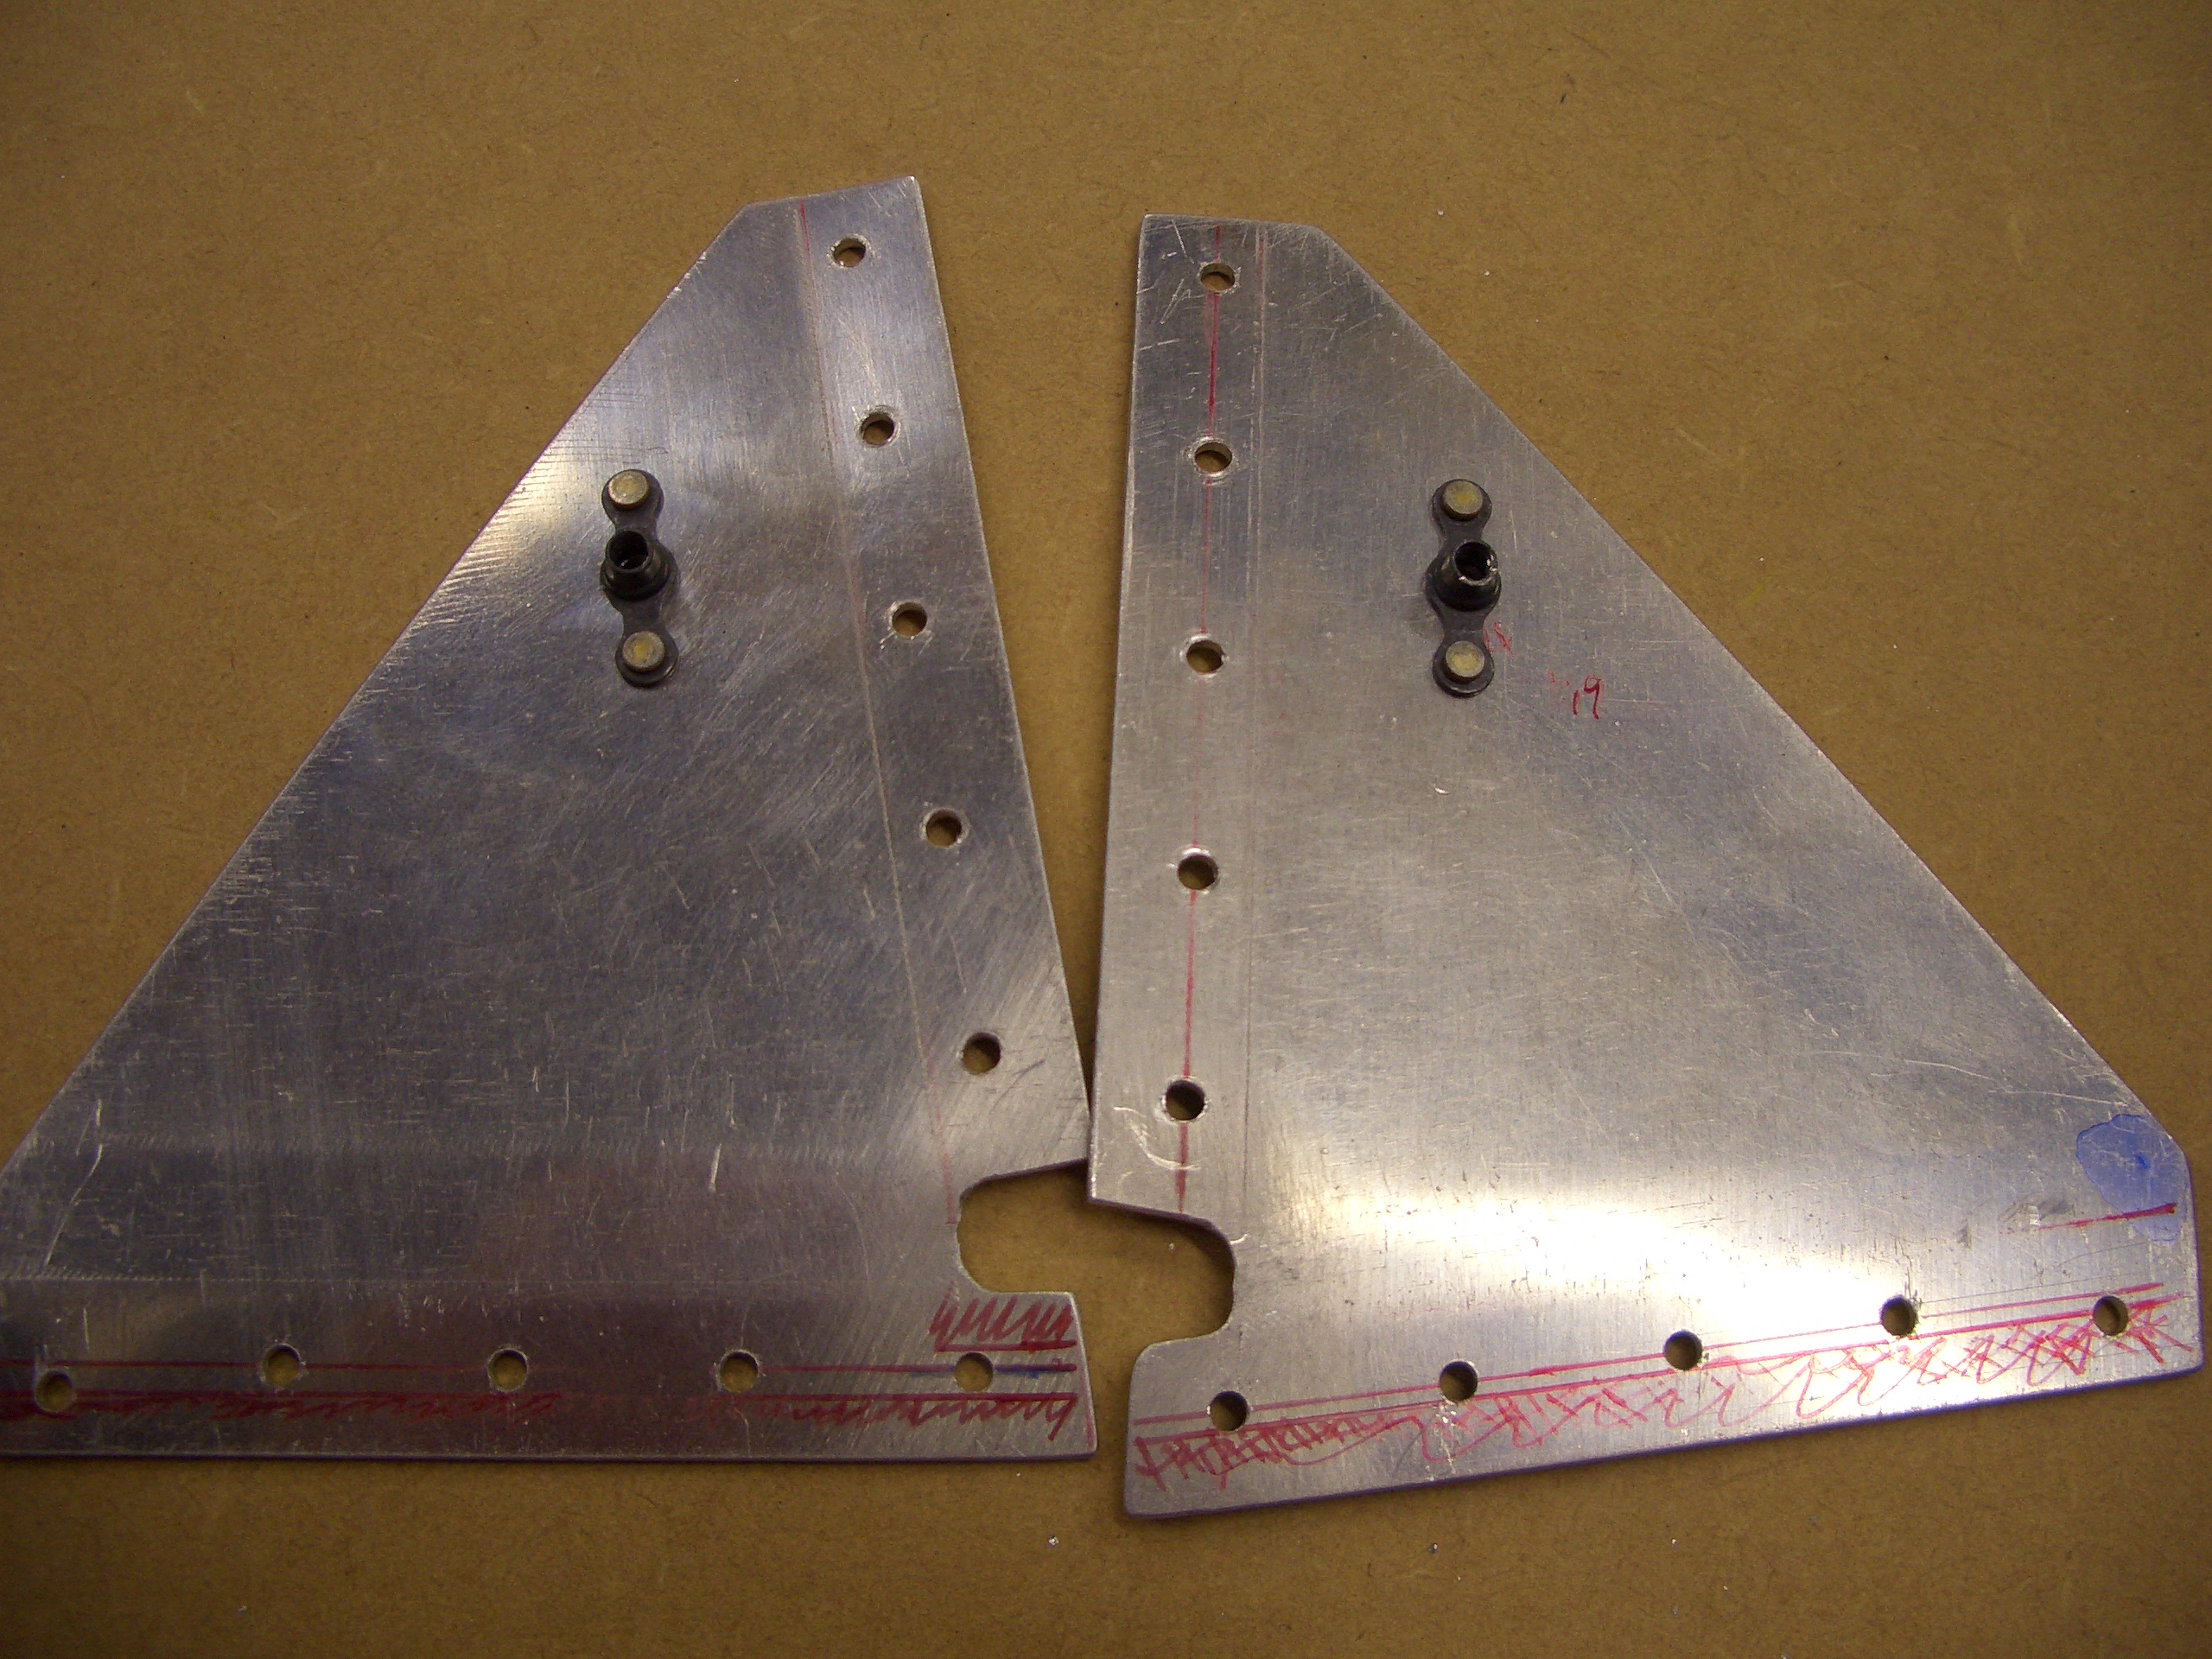
Since I didn’t have anything I could adjust to close this gap, I just cut some scrap 0.063″ sheet stock to make a shim. I intentionally made the shim oversize so that I didn’t have to get it precisely aligned to ensure adequate edge distance. After removing it, I’ll simply sand down the shim so that it’s no larger than the flange of the side bulkhead.
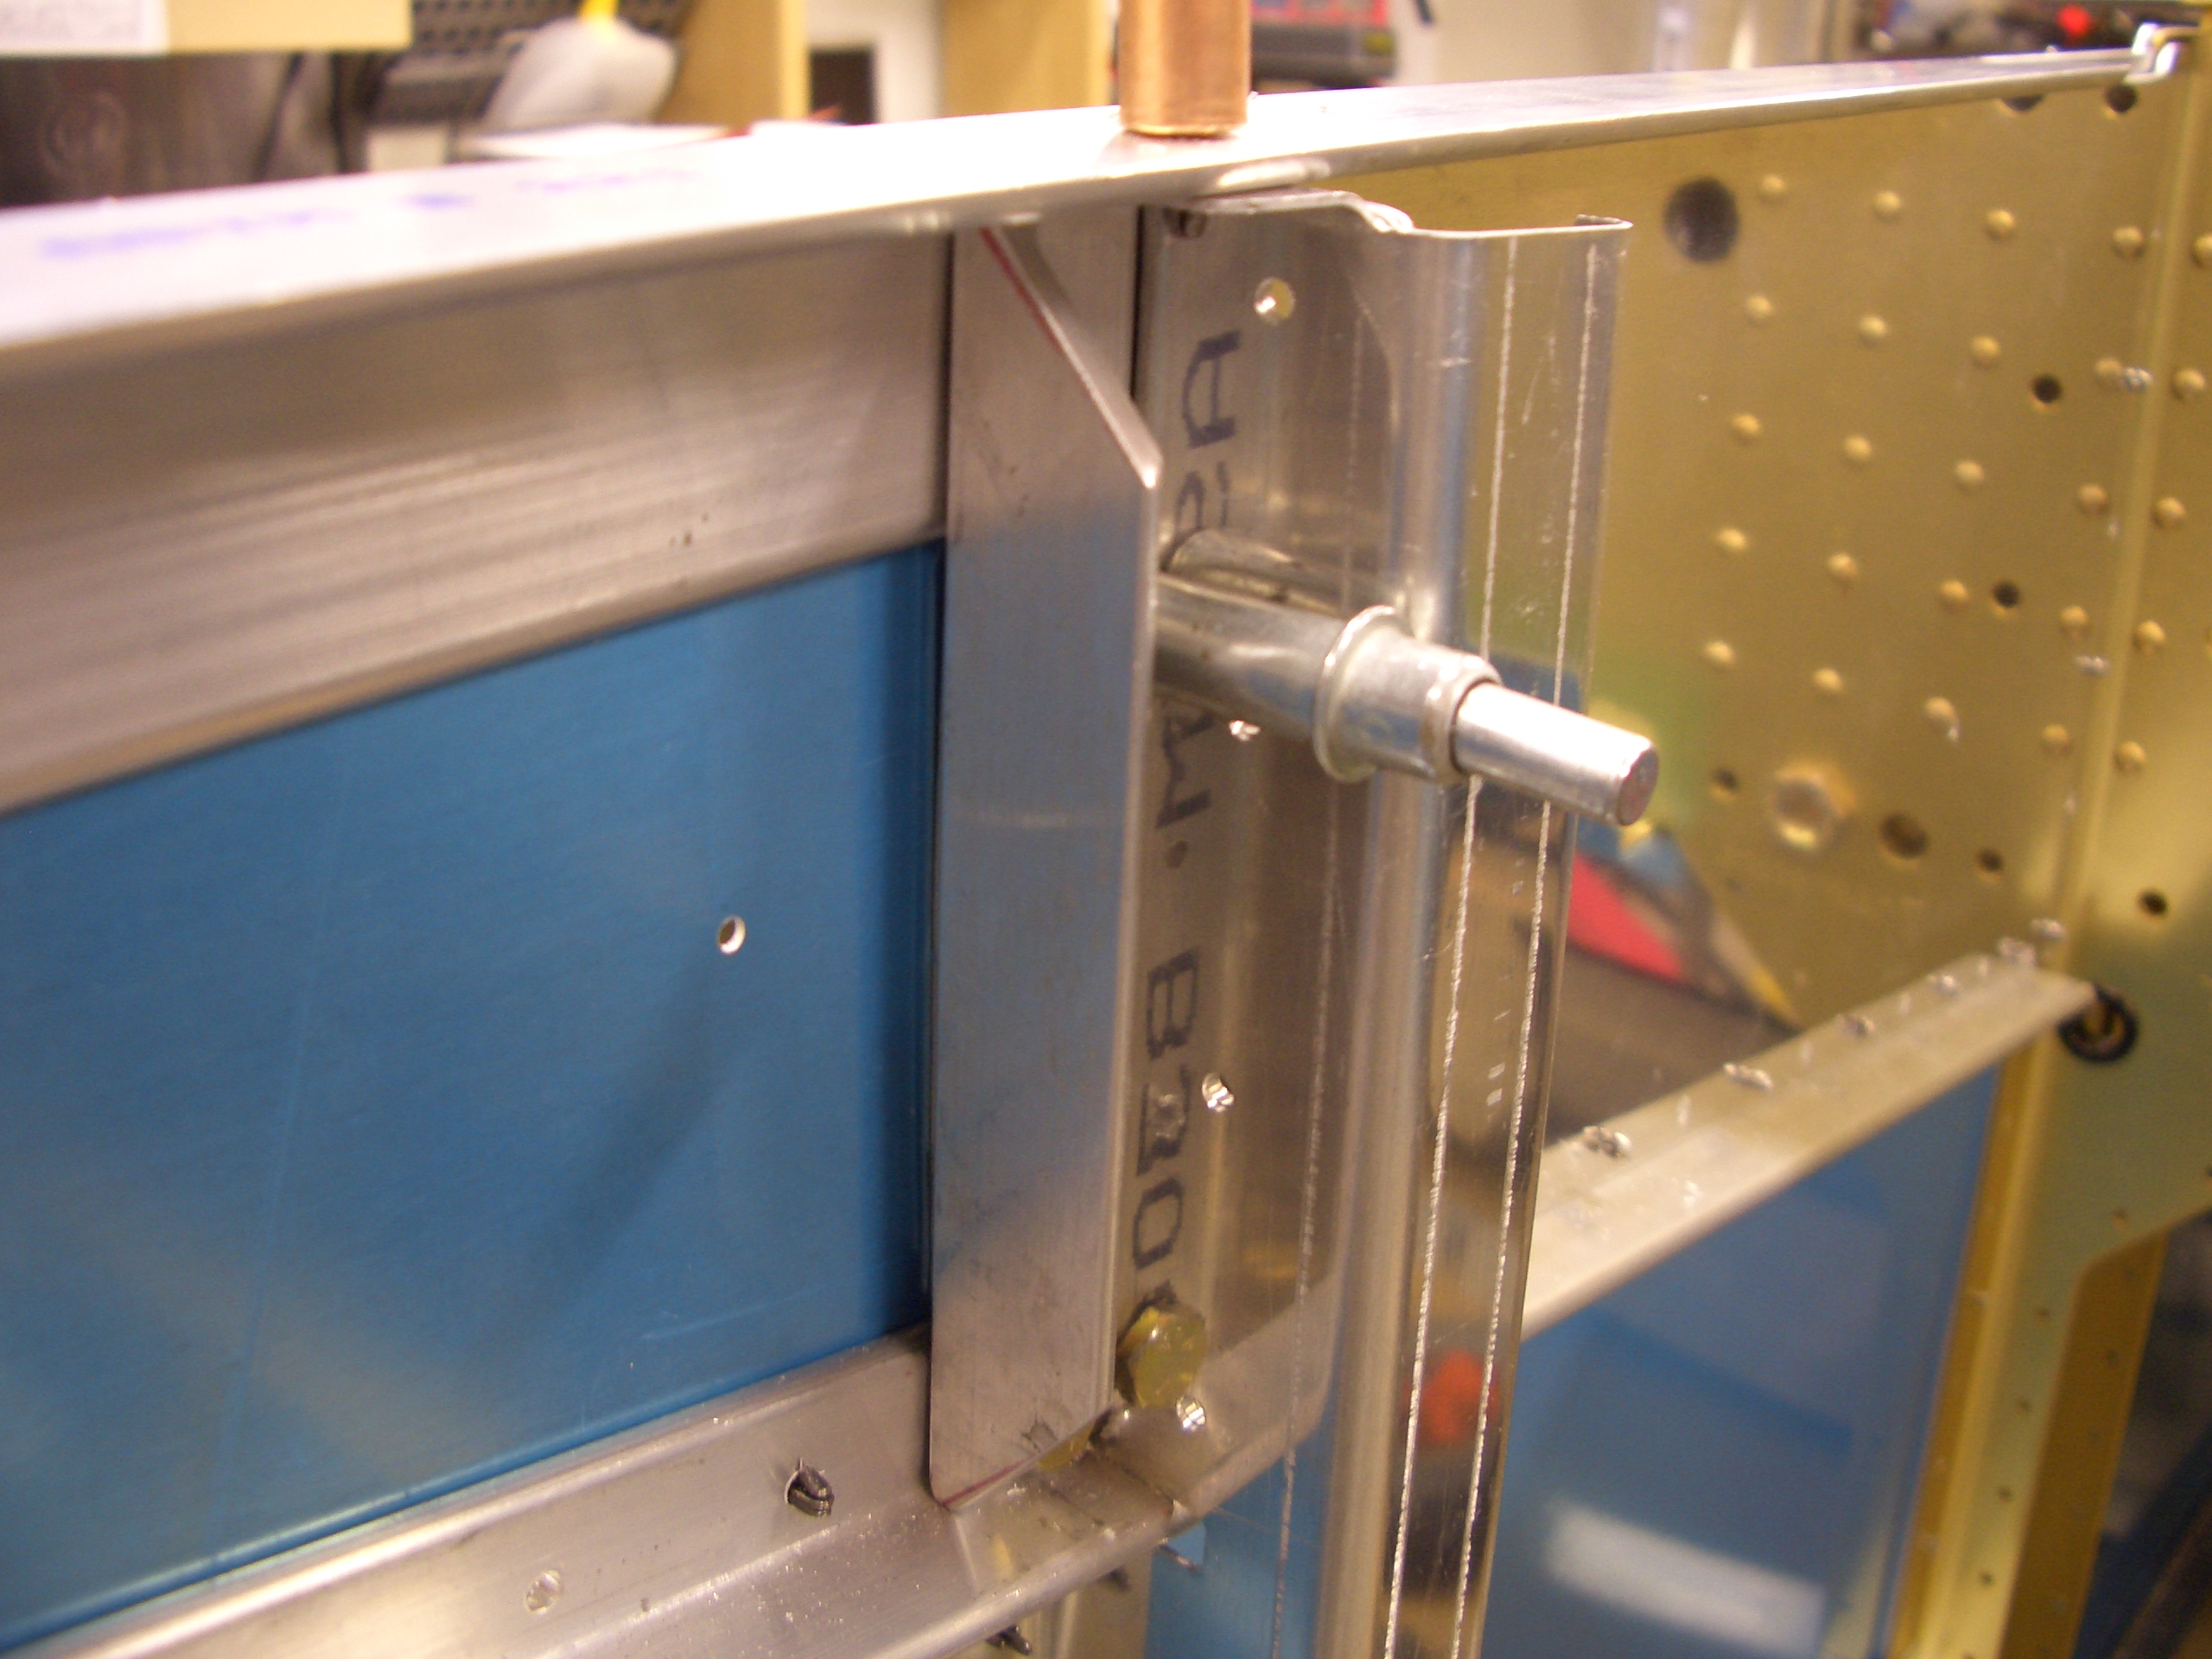
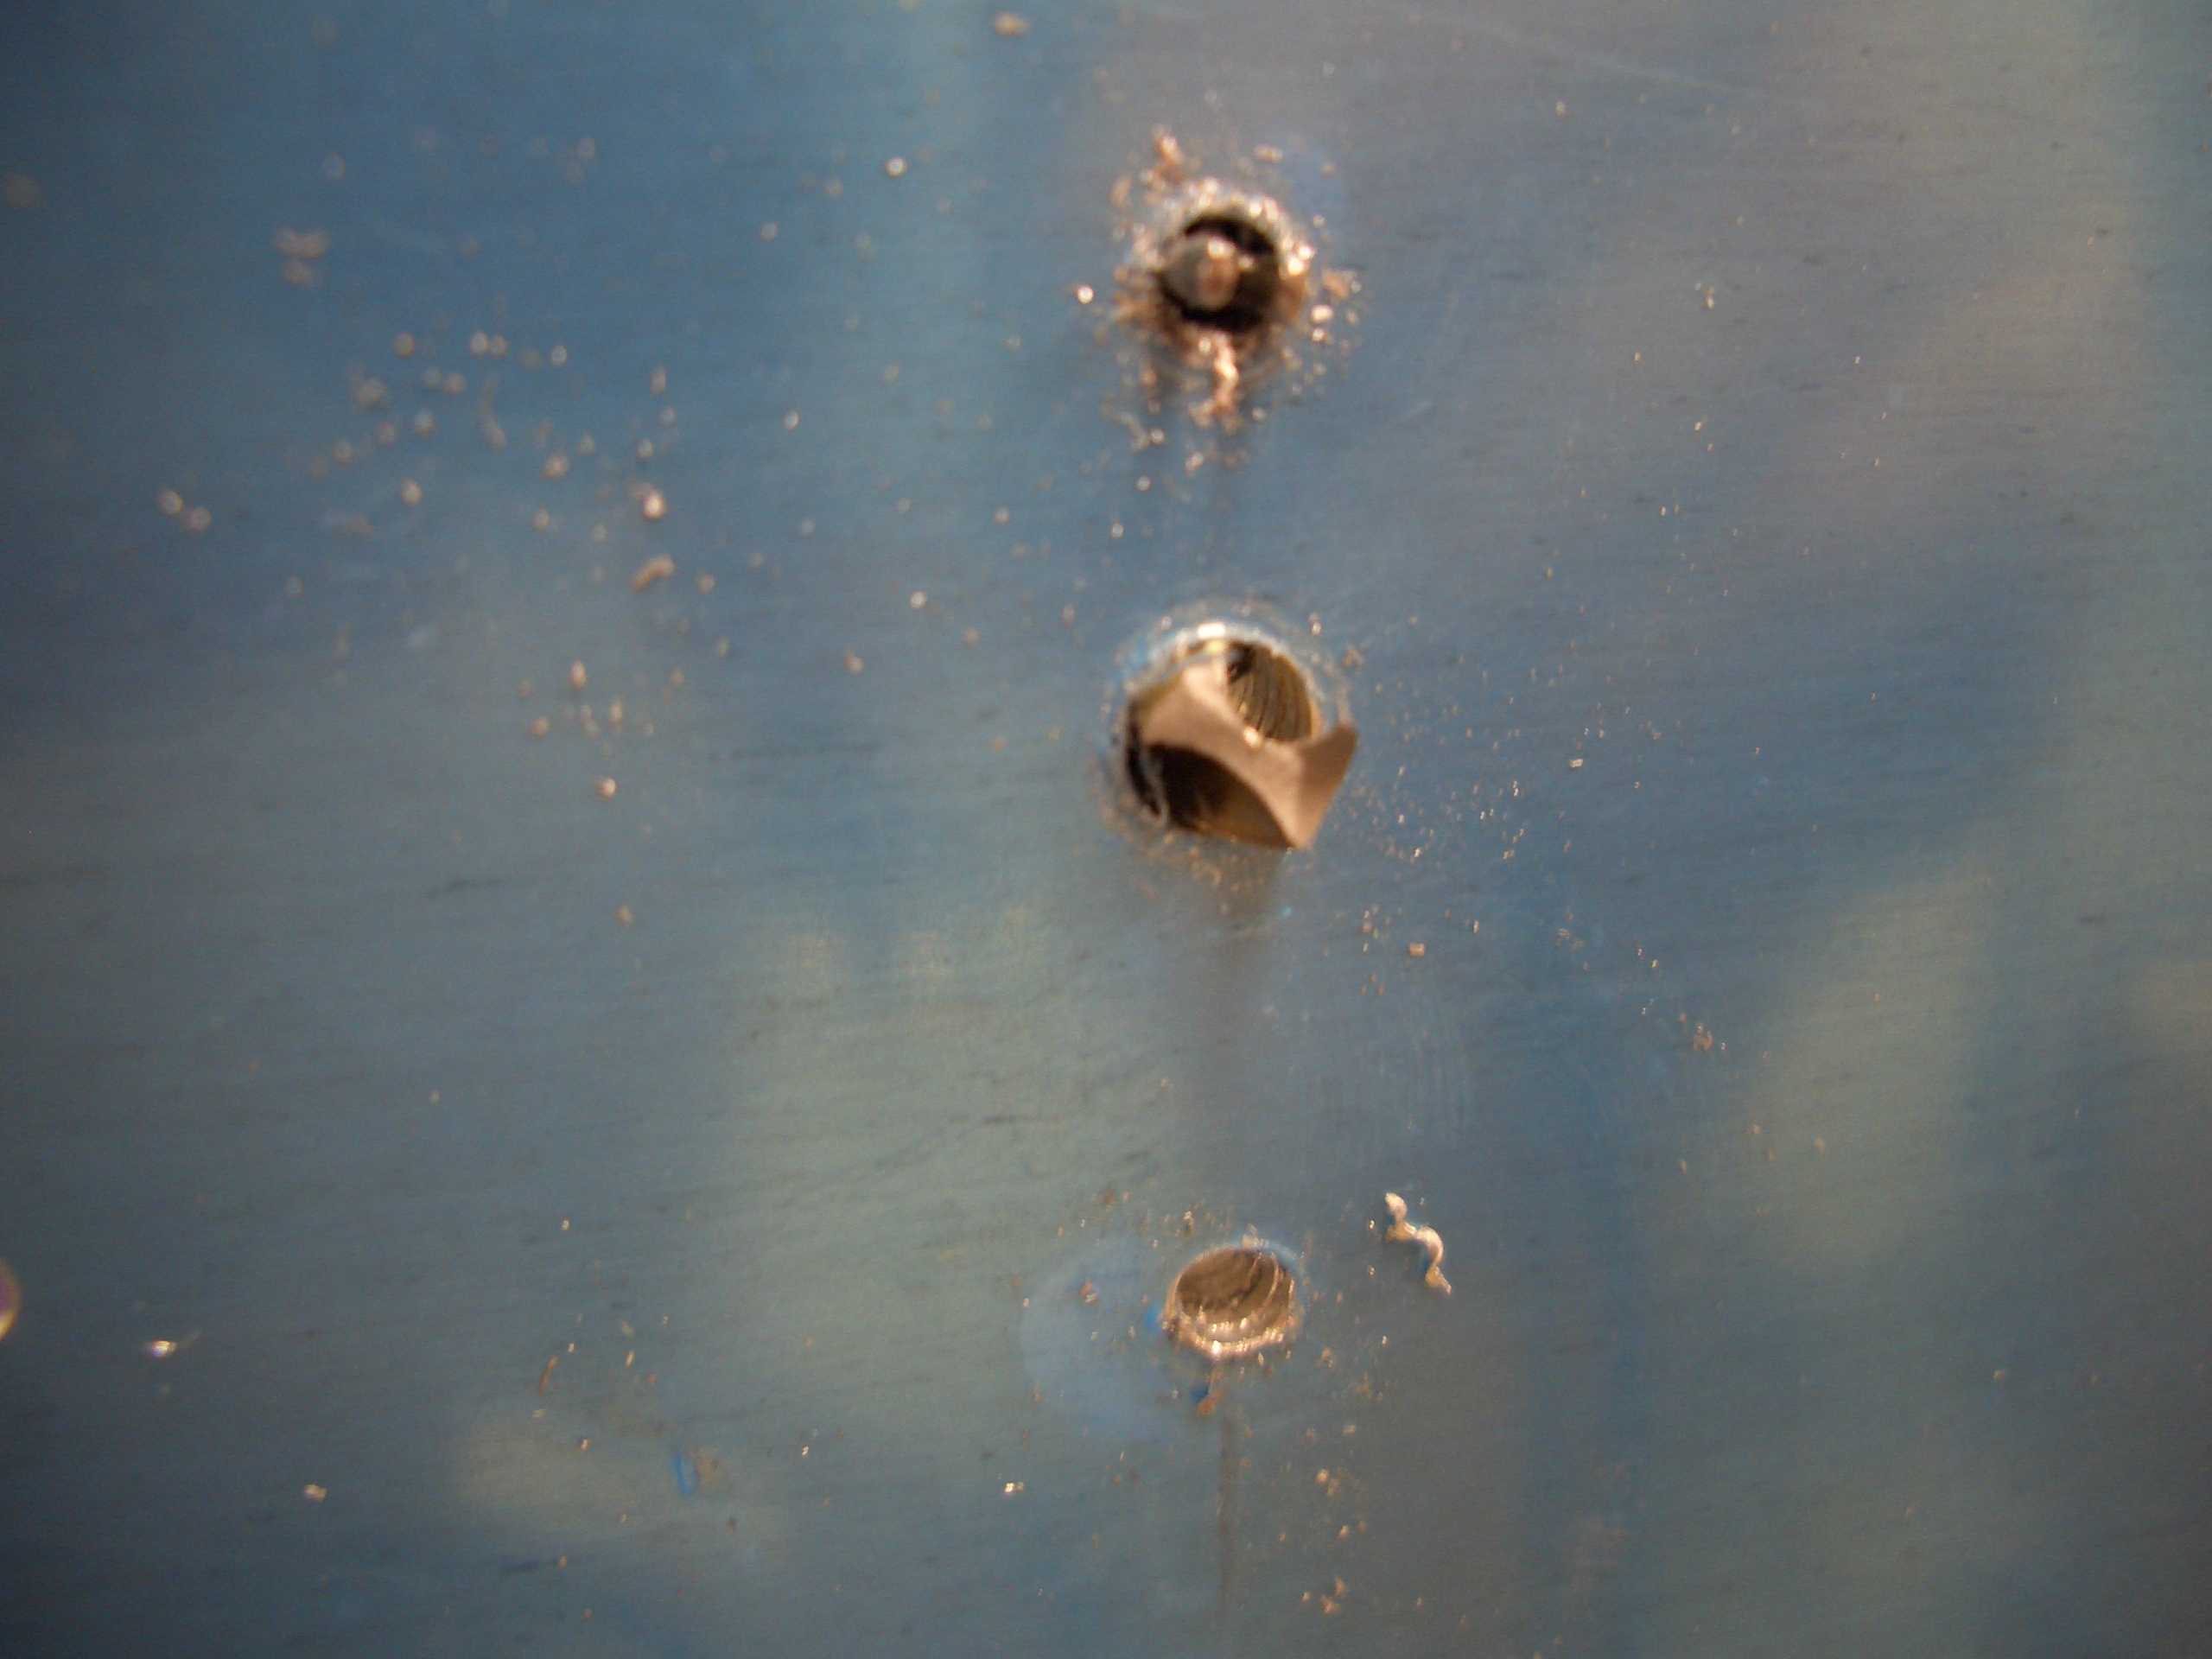
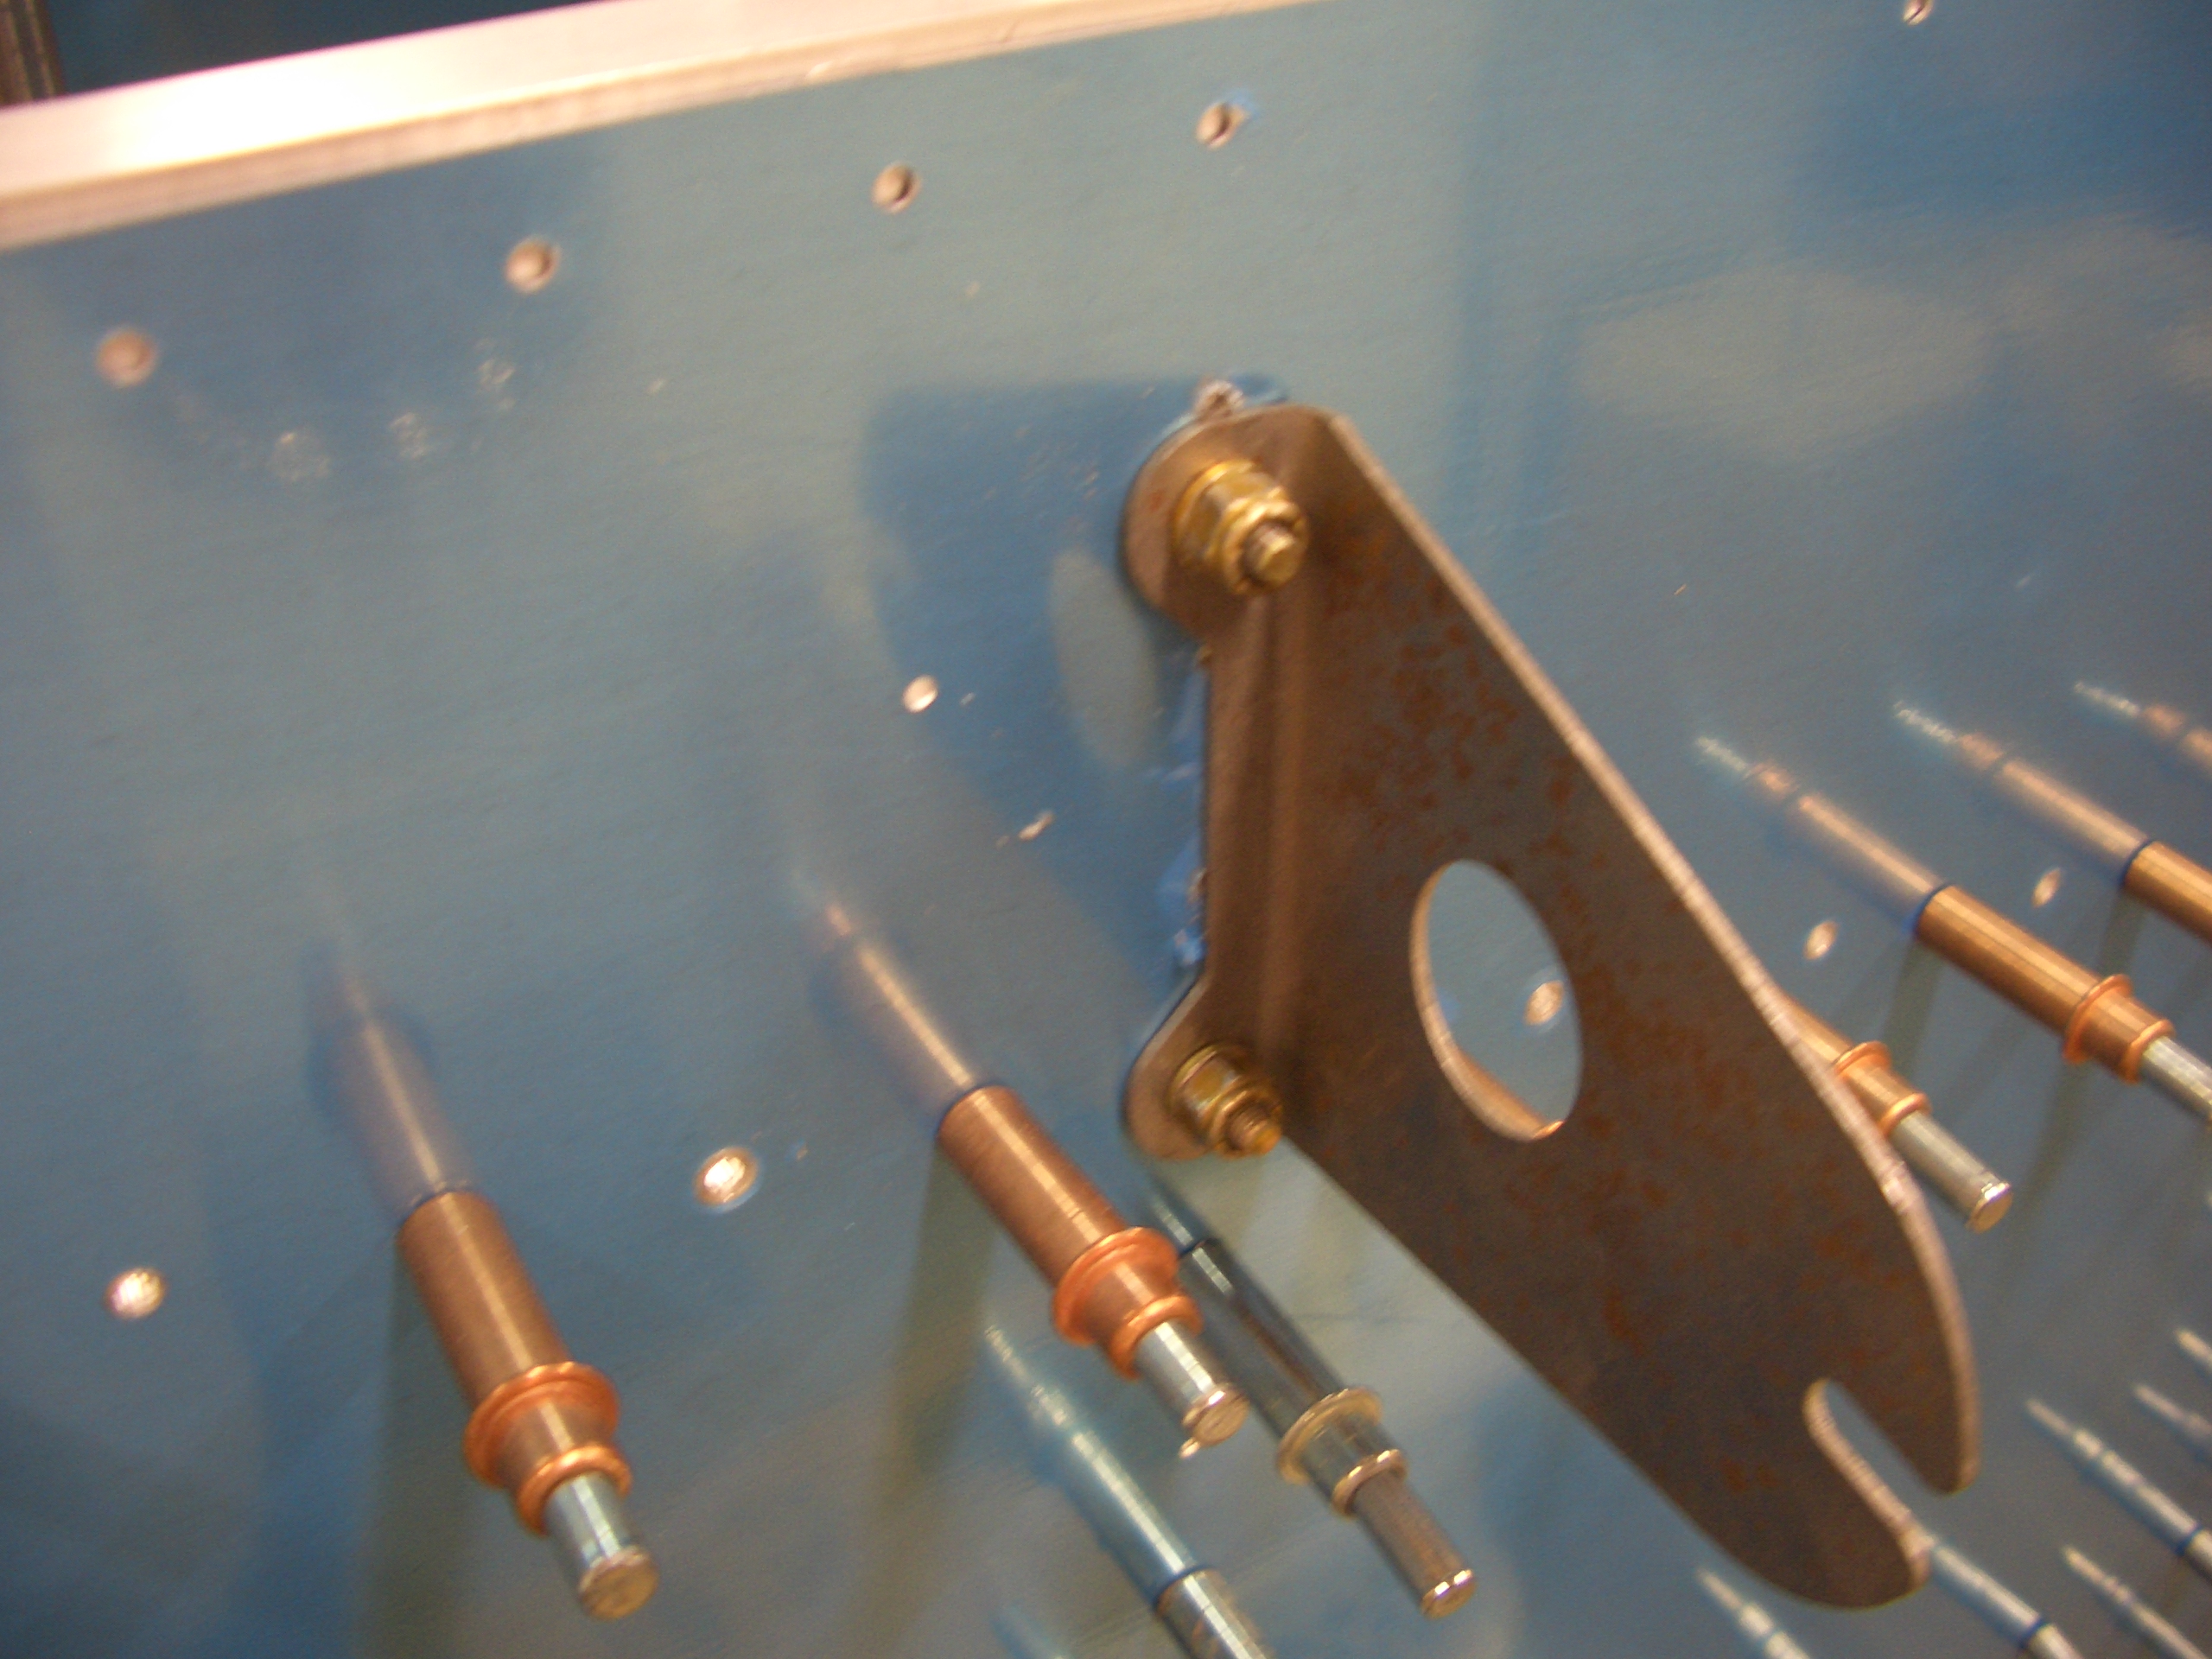
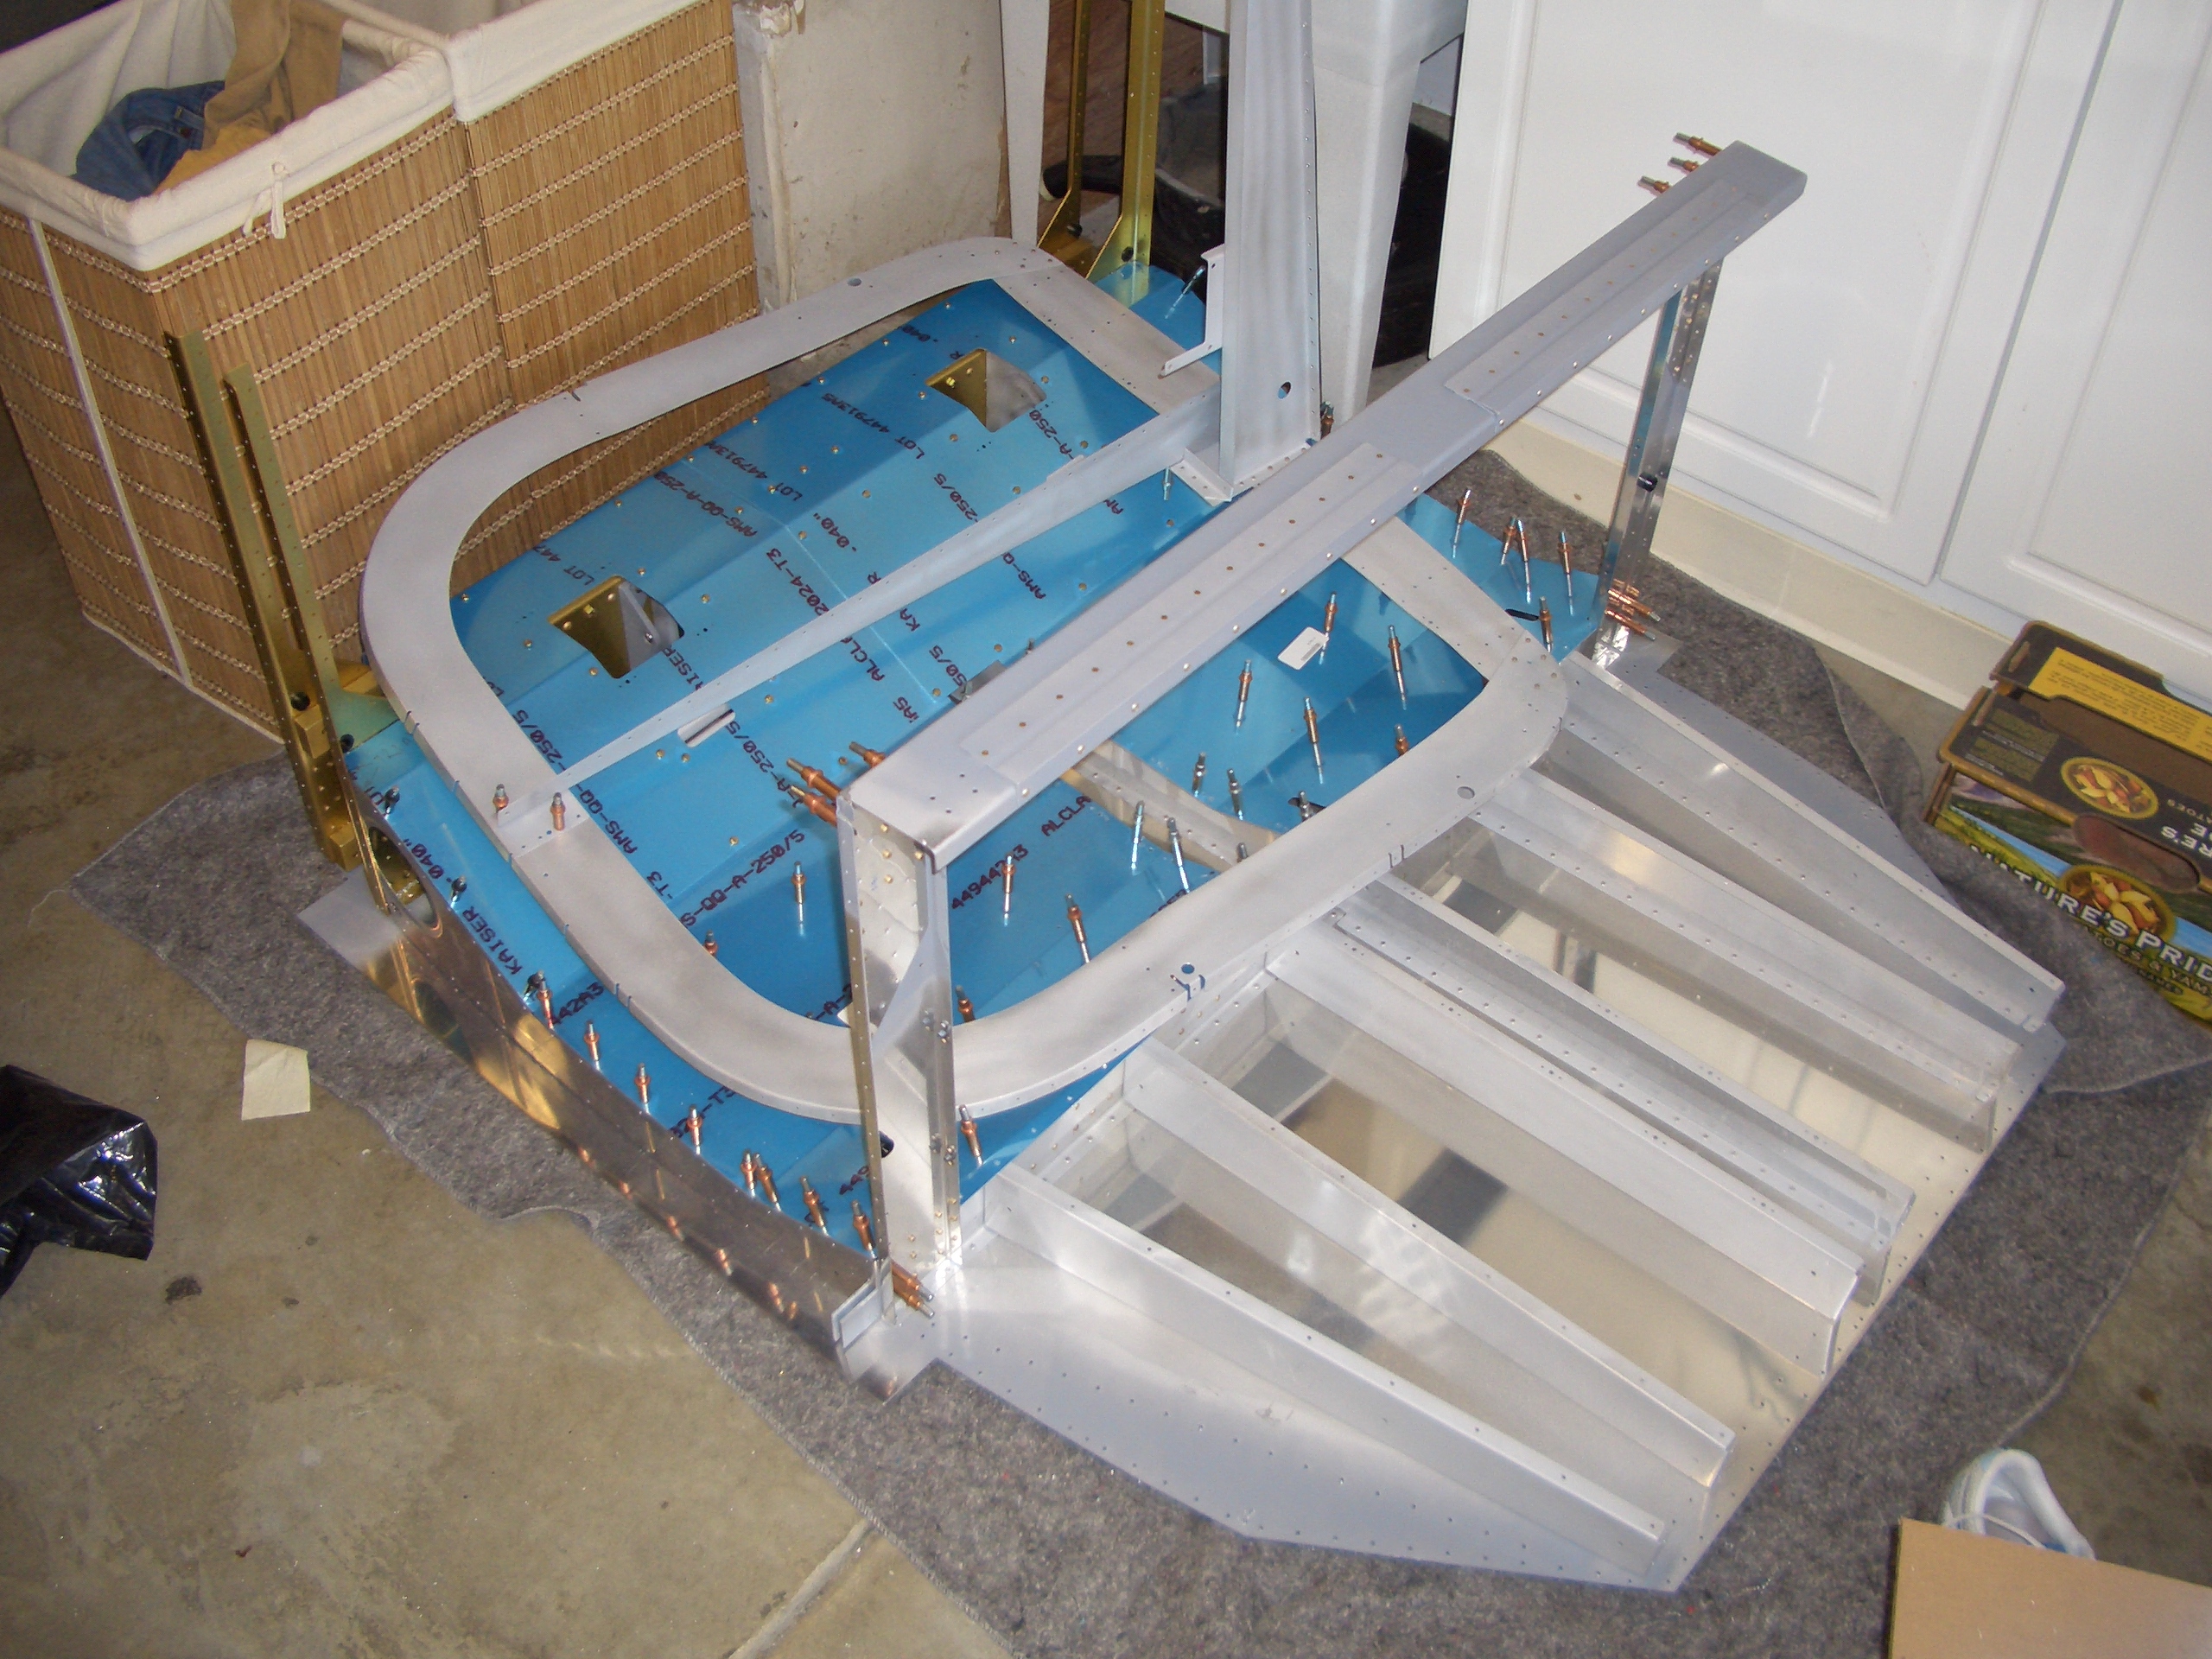
Ond of the baggage side walls needs to be clecoed in place to ensure the end flanges are positioned correctly before drilling. I then drilled the bulkhead to the side baggage floor rib. I ended up with only 1.5d on one of the rivets, but I’ve read that this is a common problem and most have even less edge distance.
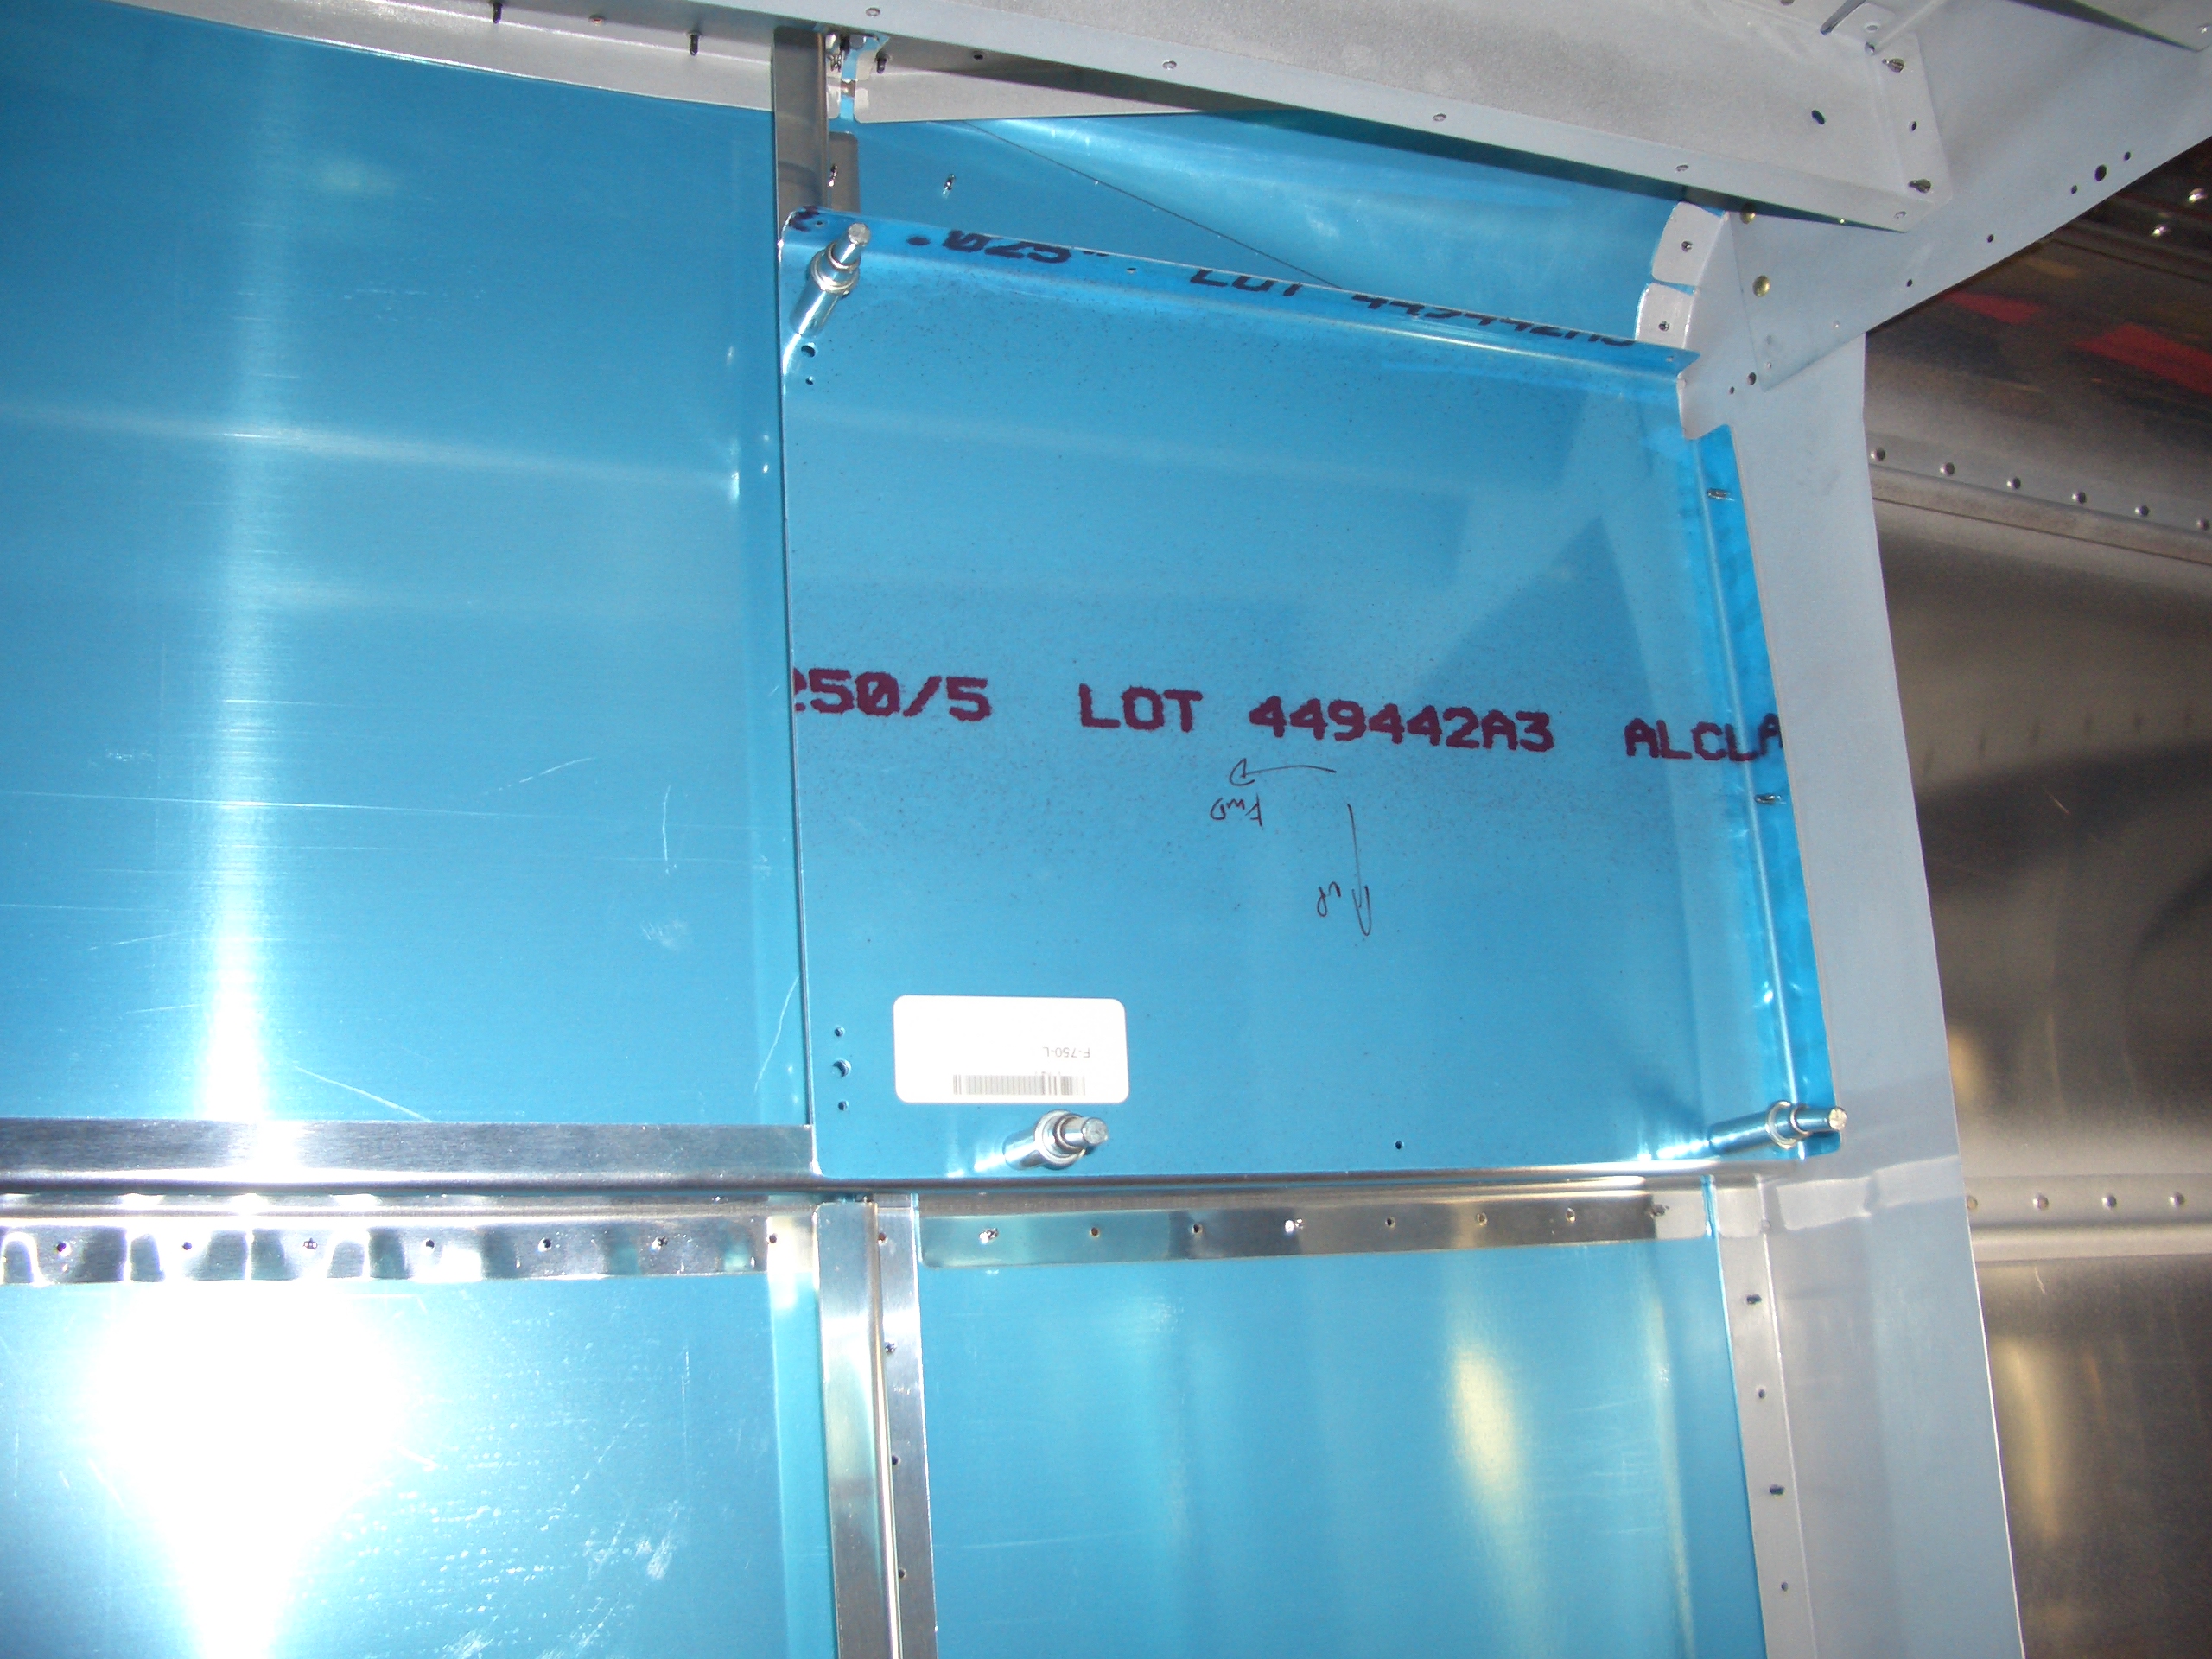
I also drilled the other end of the baggage bulkhead to the longeron. This is another area in which I’ve seen other builders run into edge distance issues, but I ended up with 2d all around.