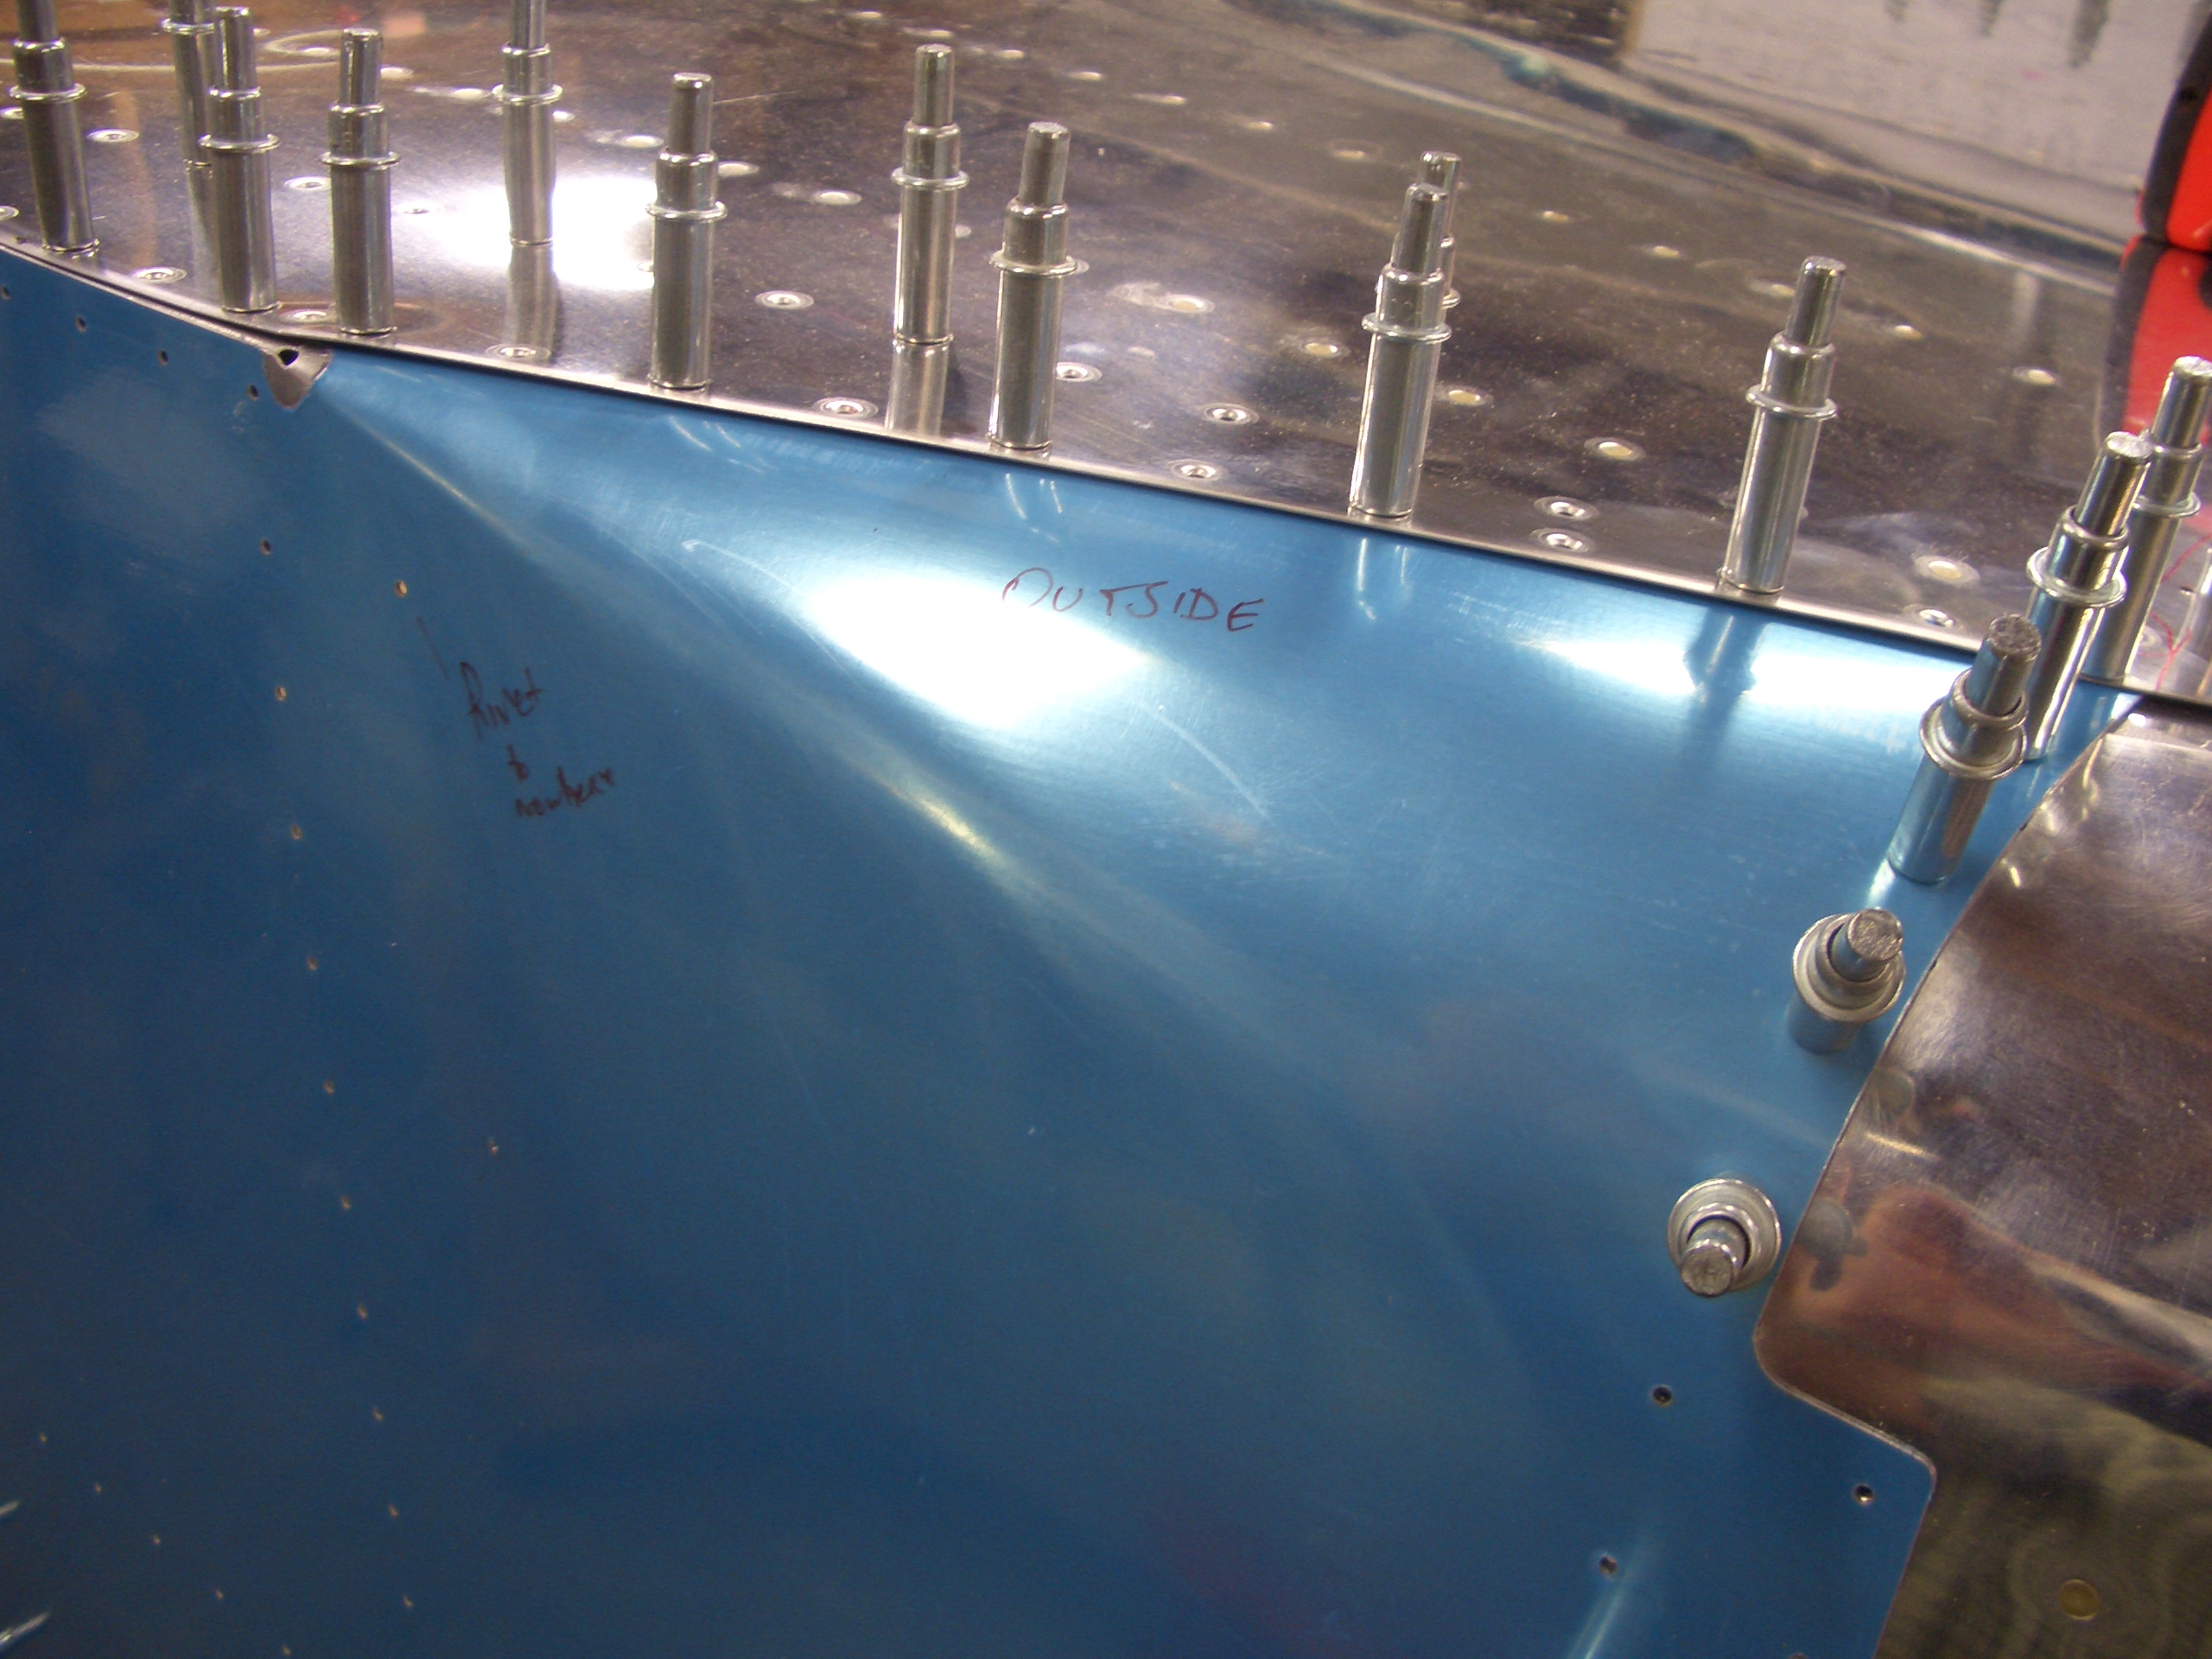
I made the conical bend on the right skin and it came out even better than the one of the left. I know that it looks like there is a gap between the side skin and the bottom skin, but that’s just because for some reason I already dimpled the bottom skin, and that’s holding the bottom skin away from the side skin. After the side skin is dimpled and everything is riveted, it will pull together nice and tight.
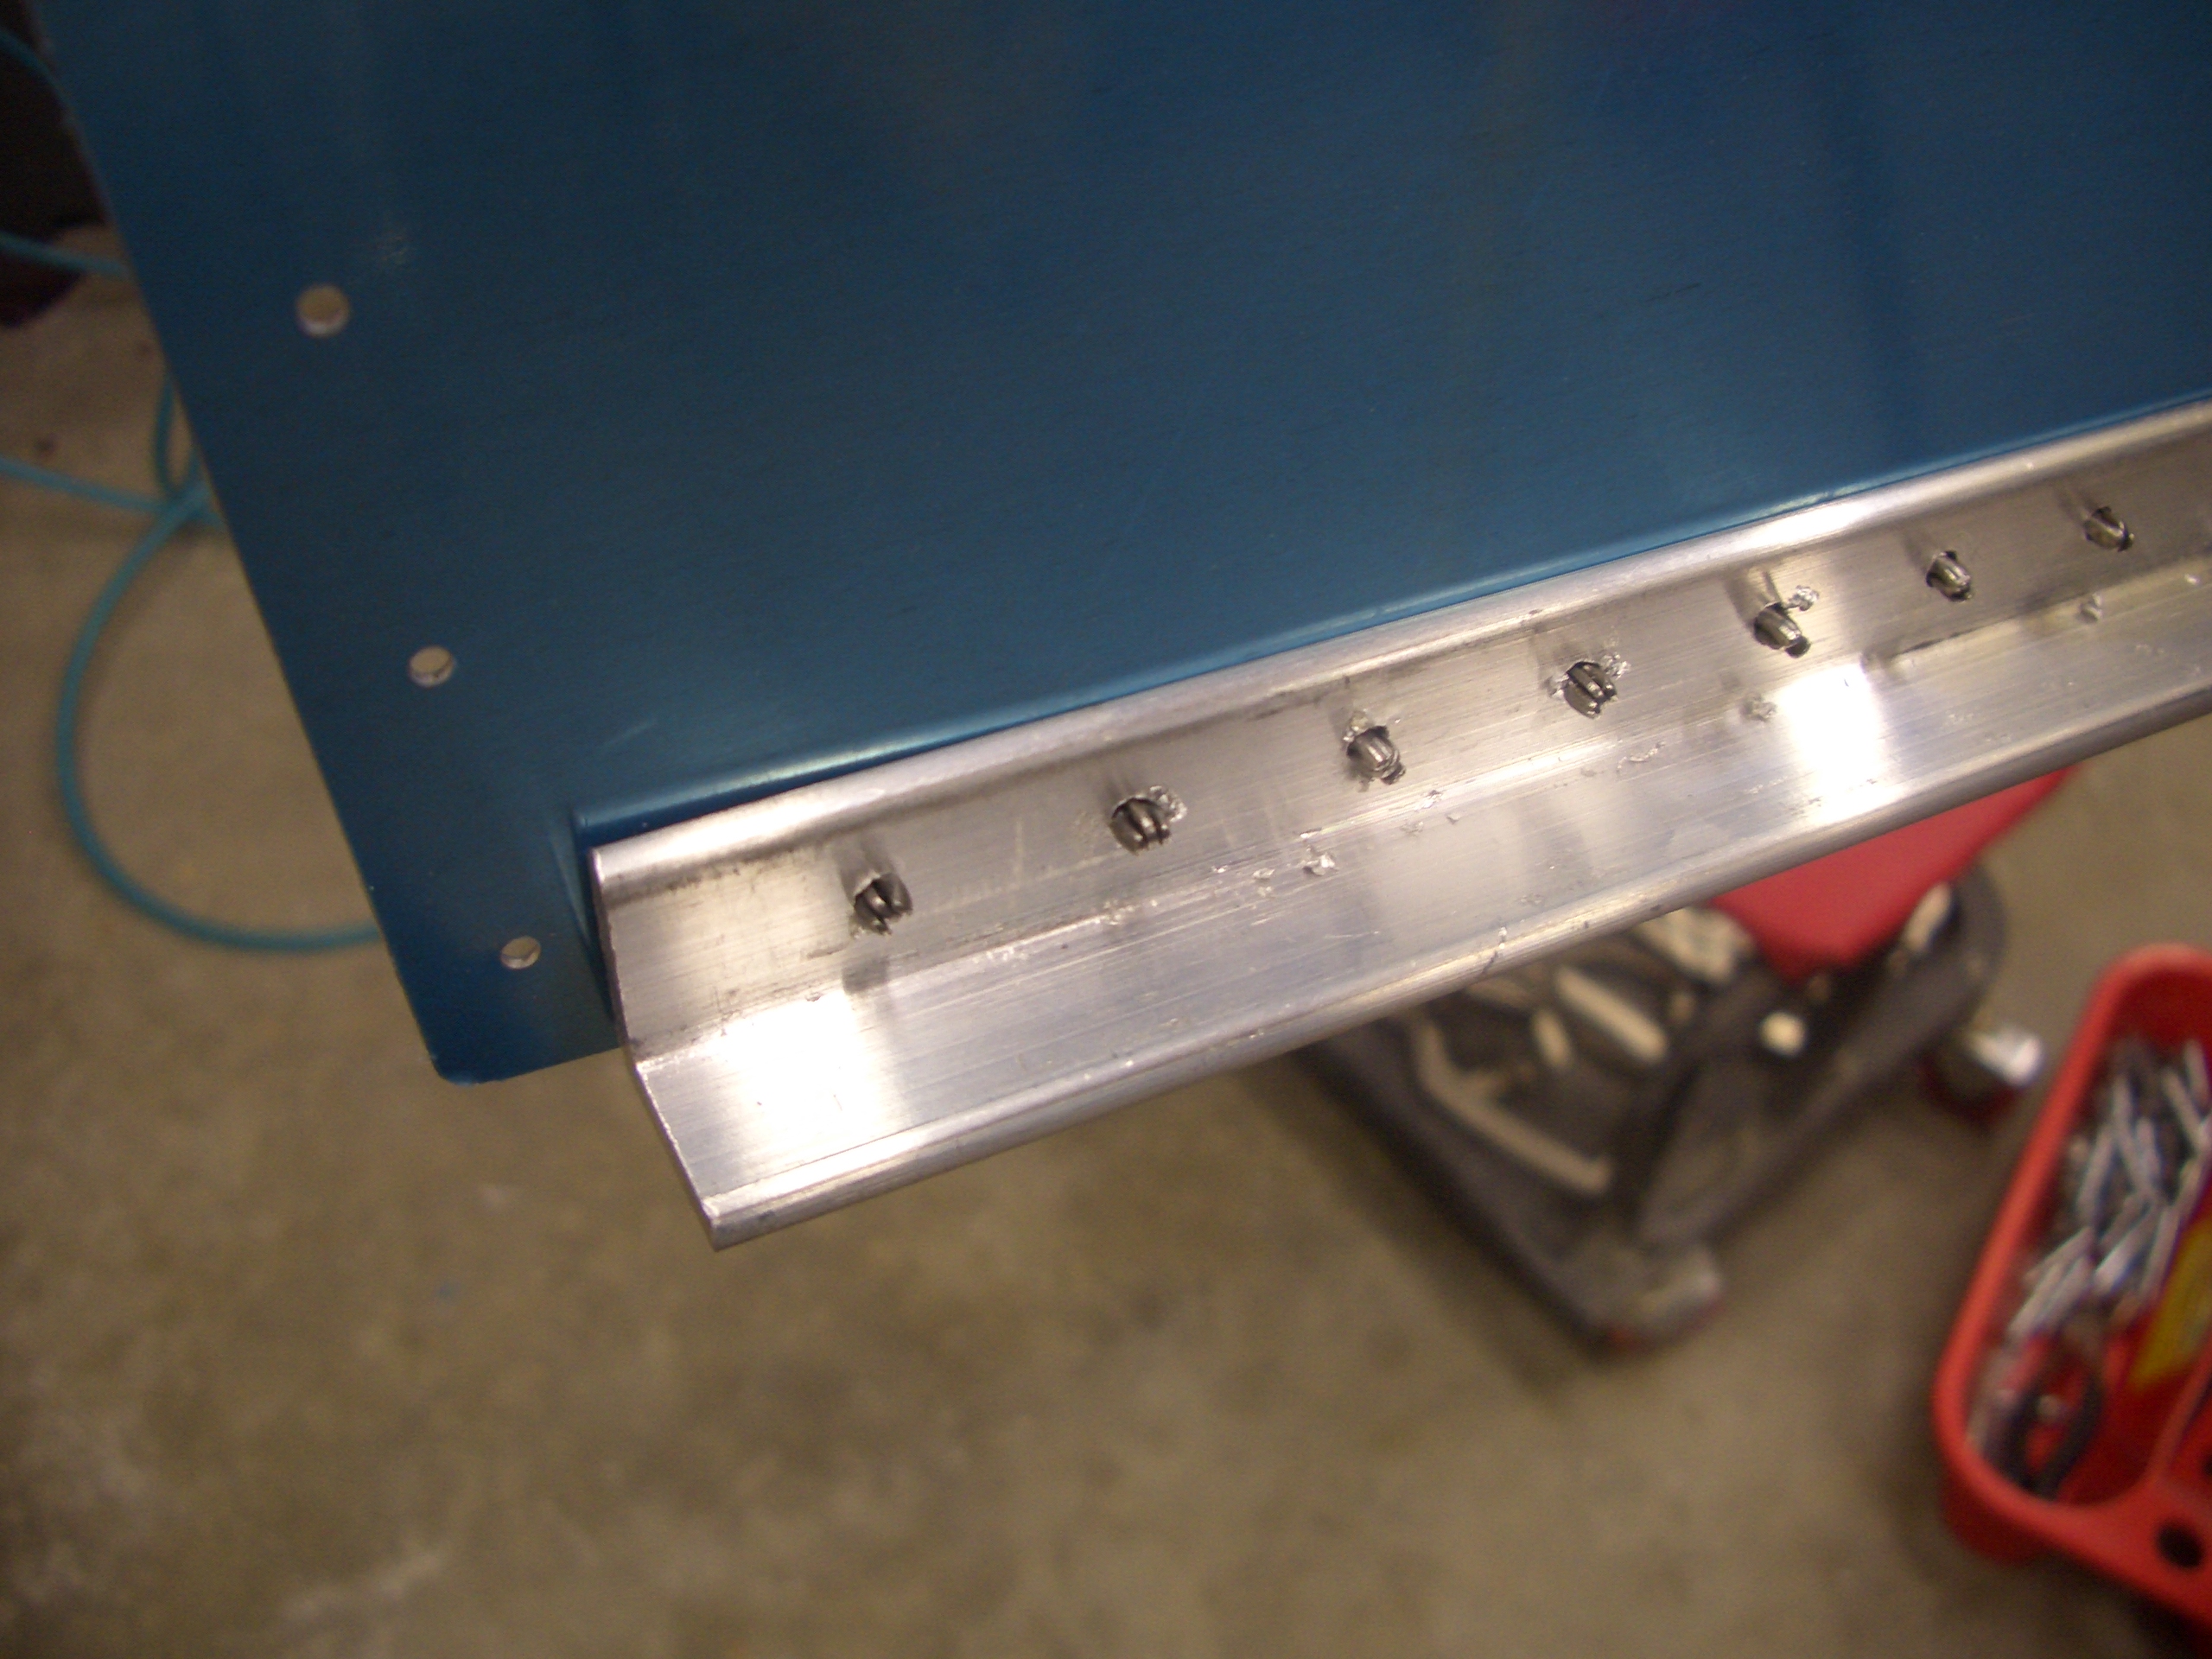
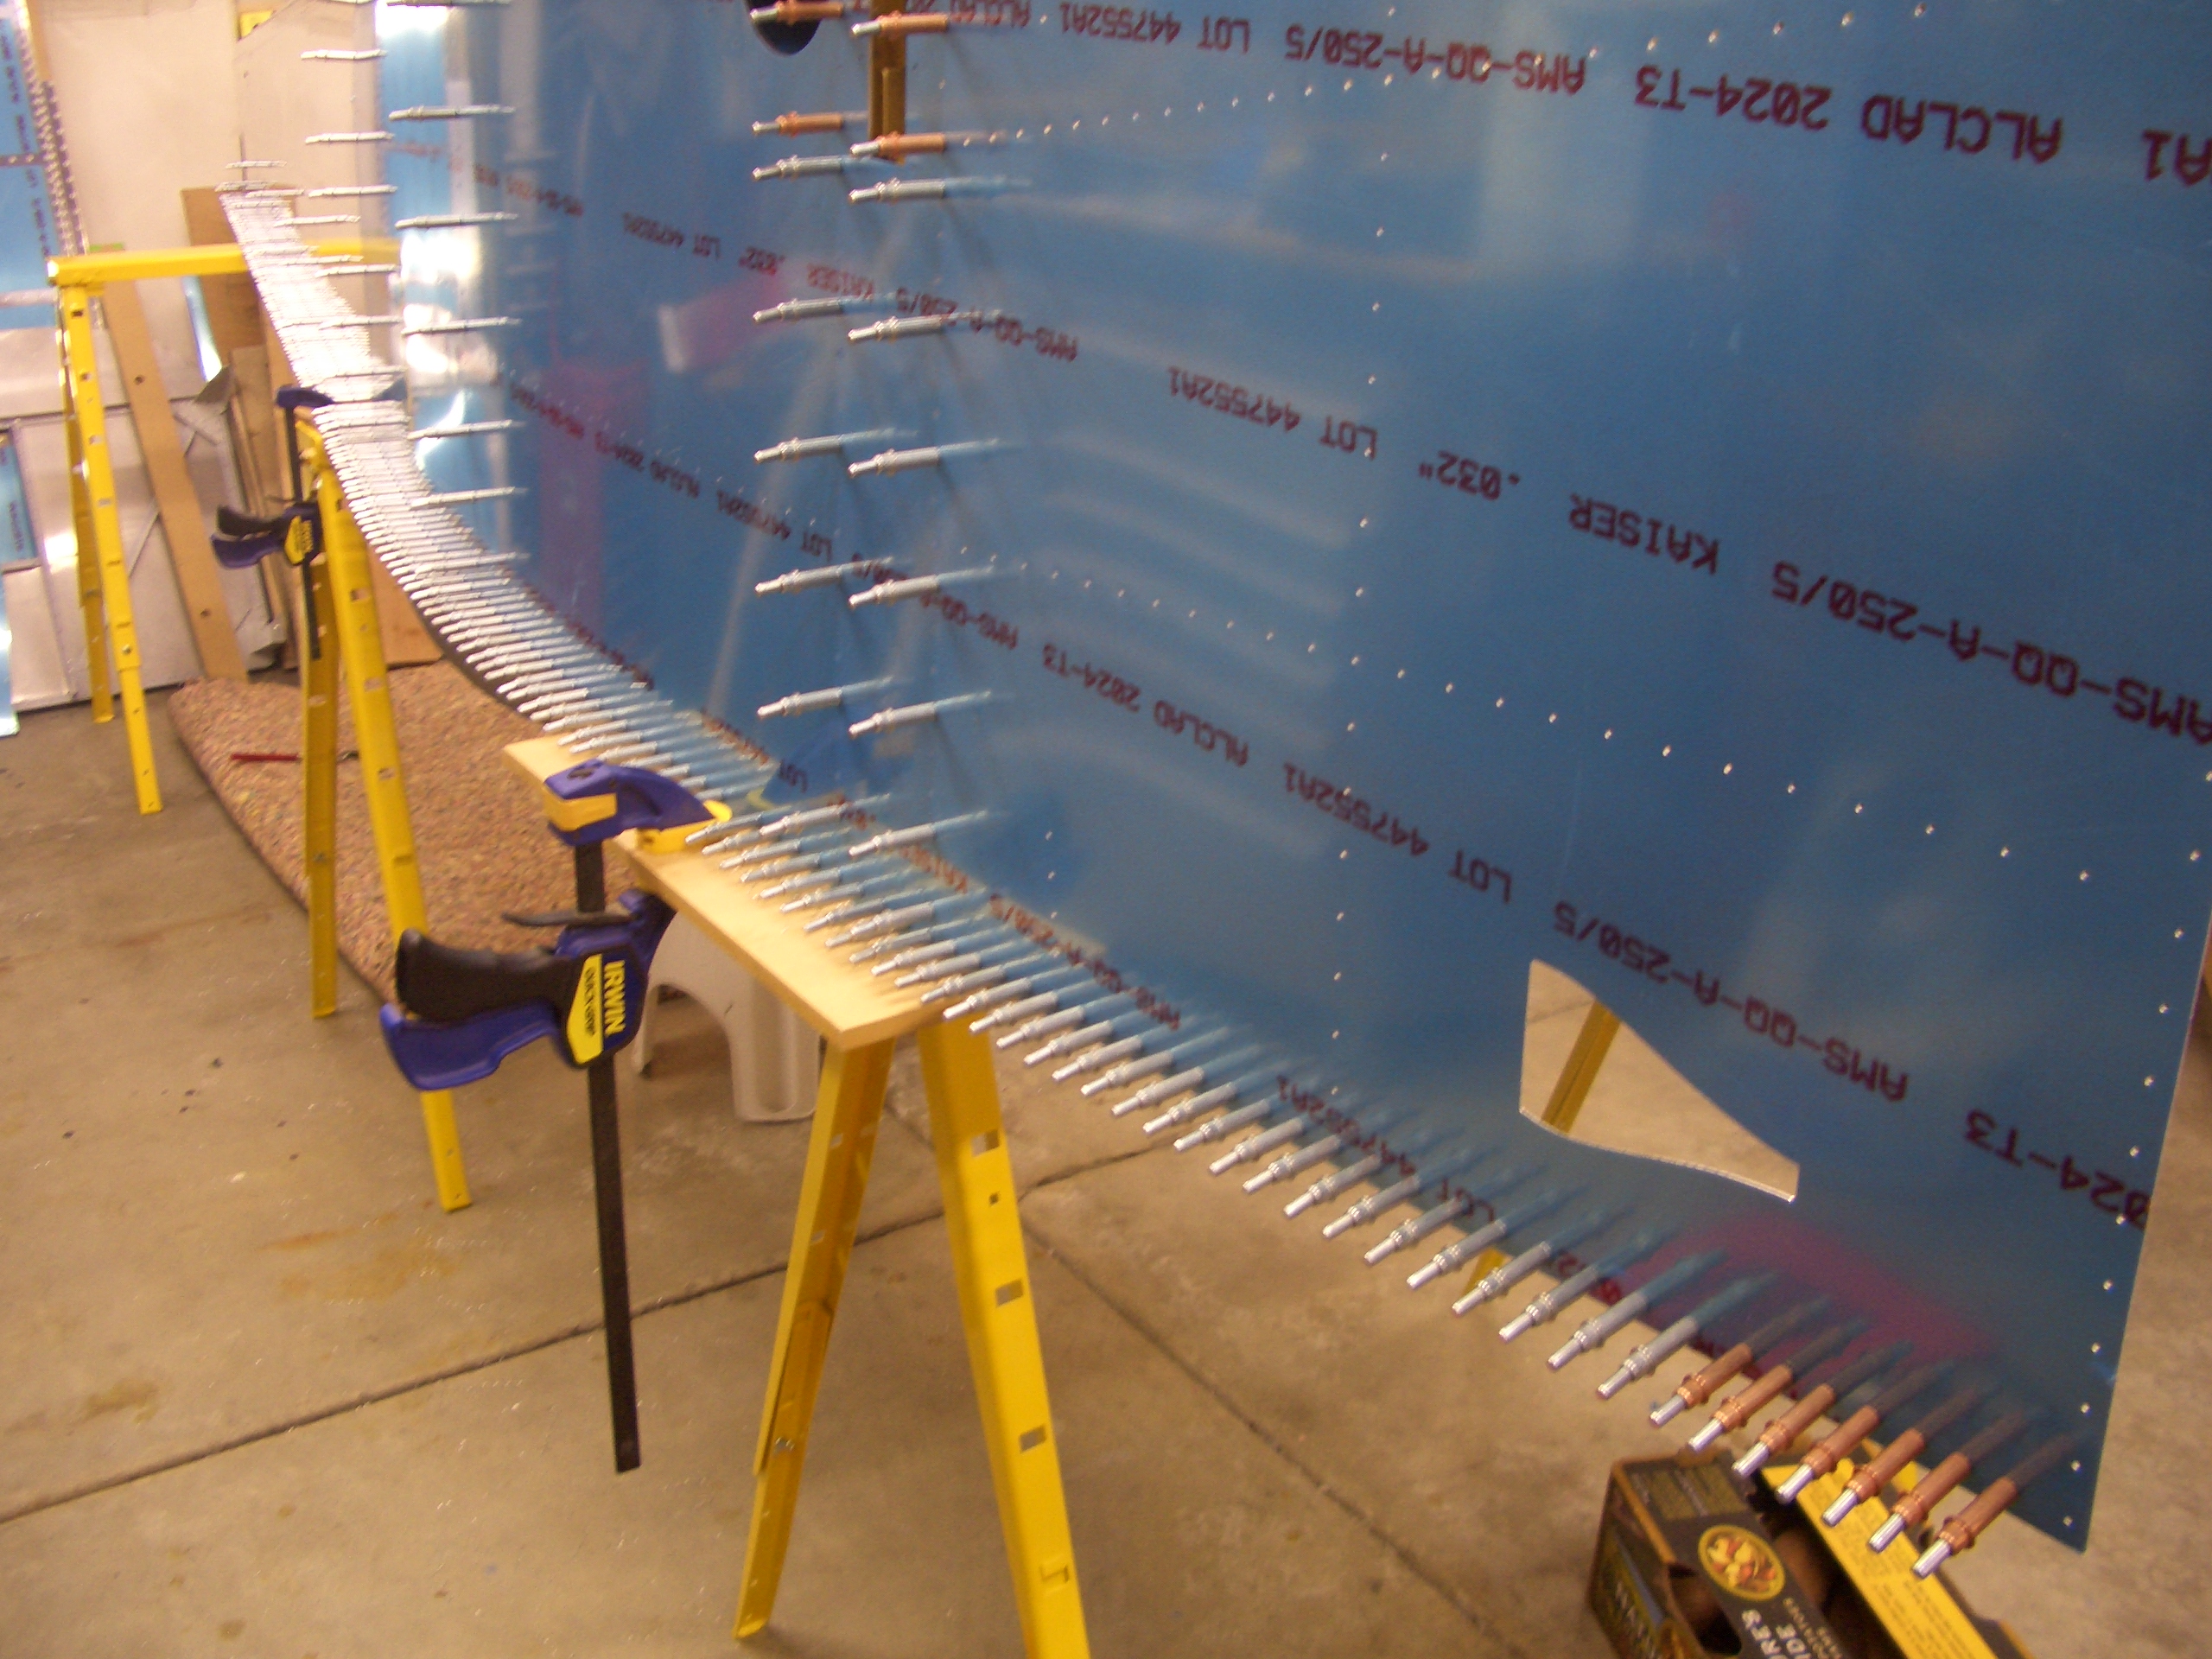
Next, I clamped the left longeron to the side skin (ensuring that the apex of the angle was flush with the edge of the skin), and match drilled it to the skin. There are 180 holes here, and since there were no holes in the longerons to start, the holes take much longer to drill. This was about 1.5 hours to do these holes. I would do the other side, but that would keep me up until 2 a.m. and I’m already starting to come down with a cold, so I should get some rest.
Notice that the frontmost (lower right in this picture) seven clecos are copper colored. Those are 1/8″ holes where the skin and longeron attach to the upper engine mount.
Here is the inside of that section. The instructions specify that the end of the longeron needs to be cut back 3/4″ from the forward end of the skin. It’s odd that the prior instructions give such precise dimensions, and then this step has you cut it even shorter. Furthermore, the instructions specify that if you are a little short not to worry about it.
I intentionally left this long now so that I can ensure that I leave sufficient edge distance on the frontmost rivet.