Trimmed Flanges and Applied Filler

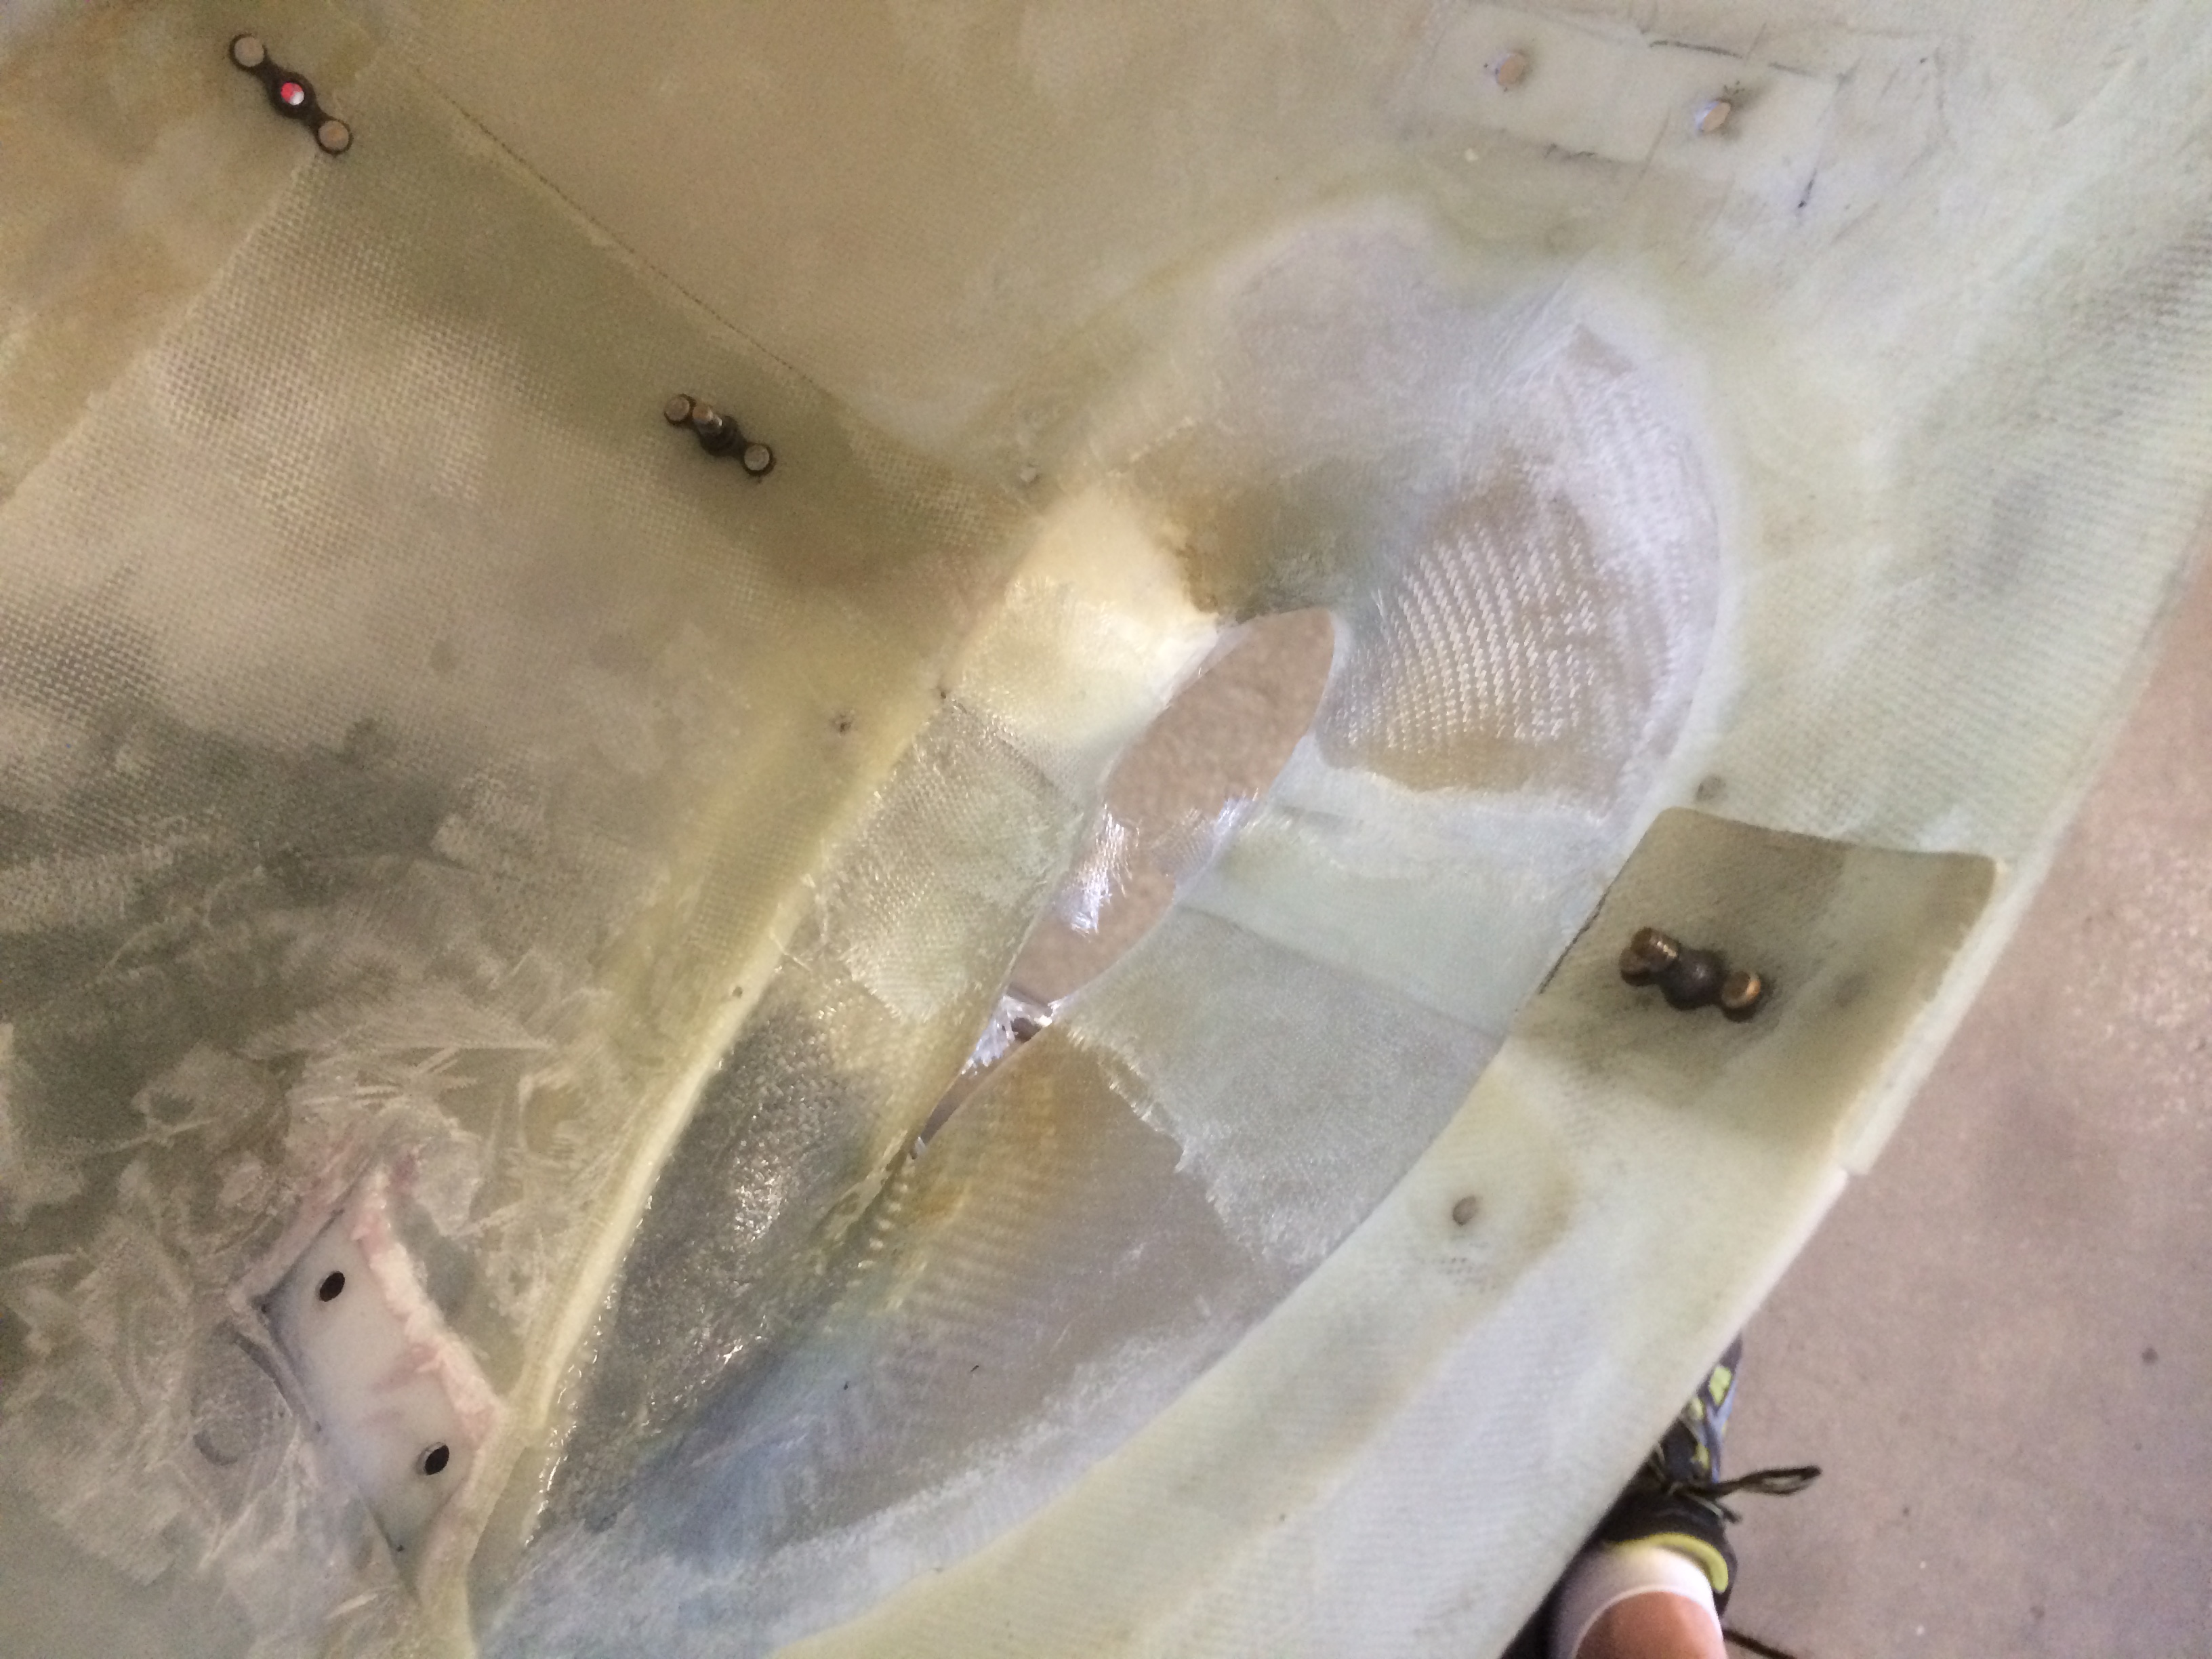
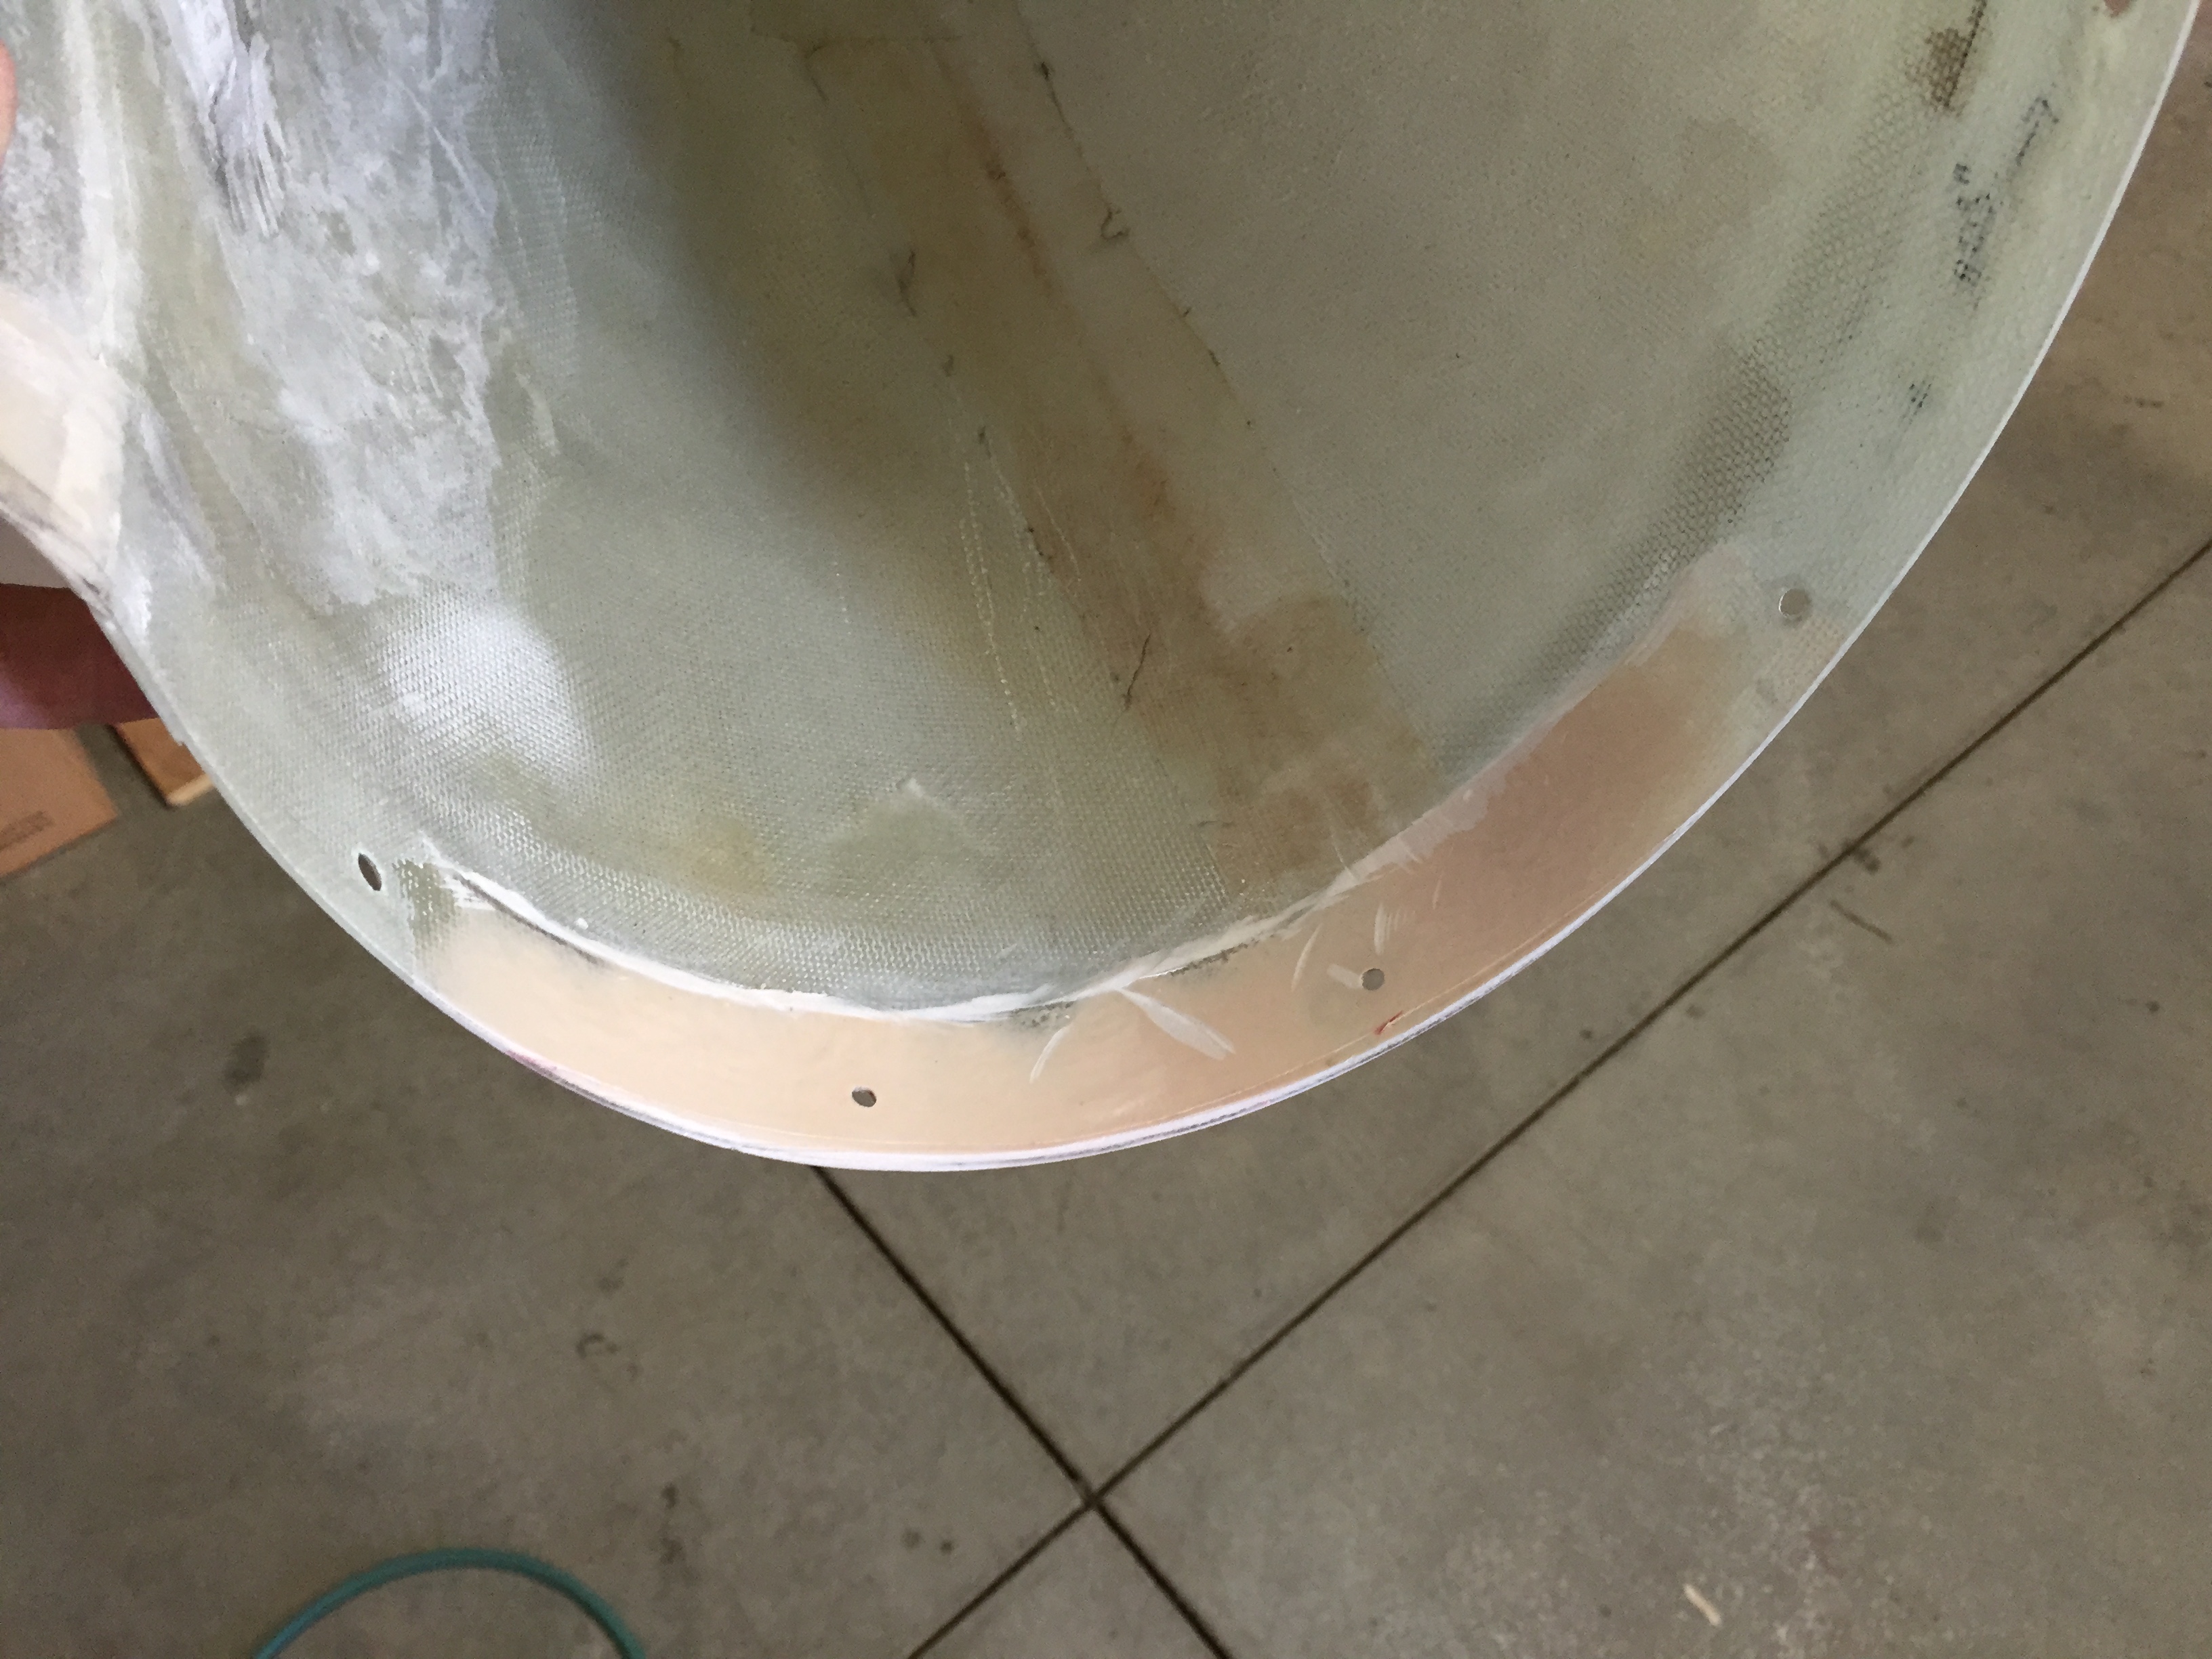
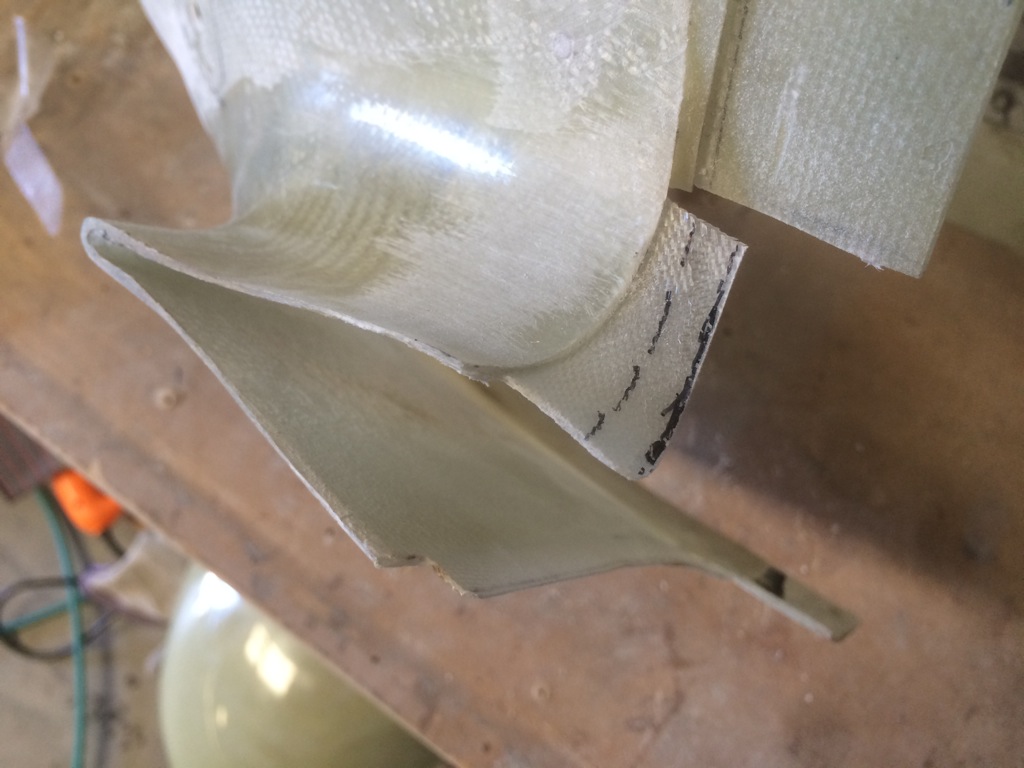
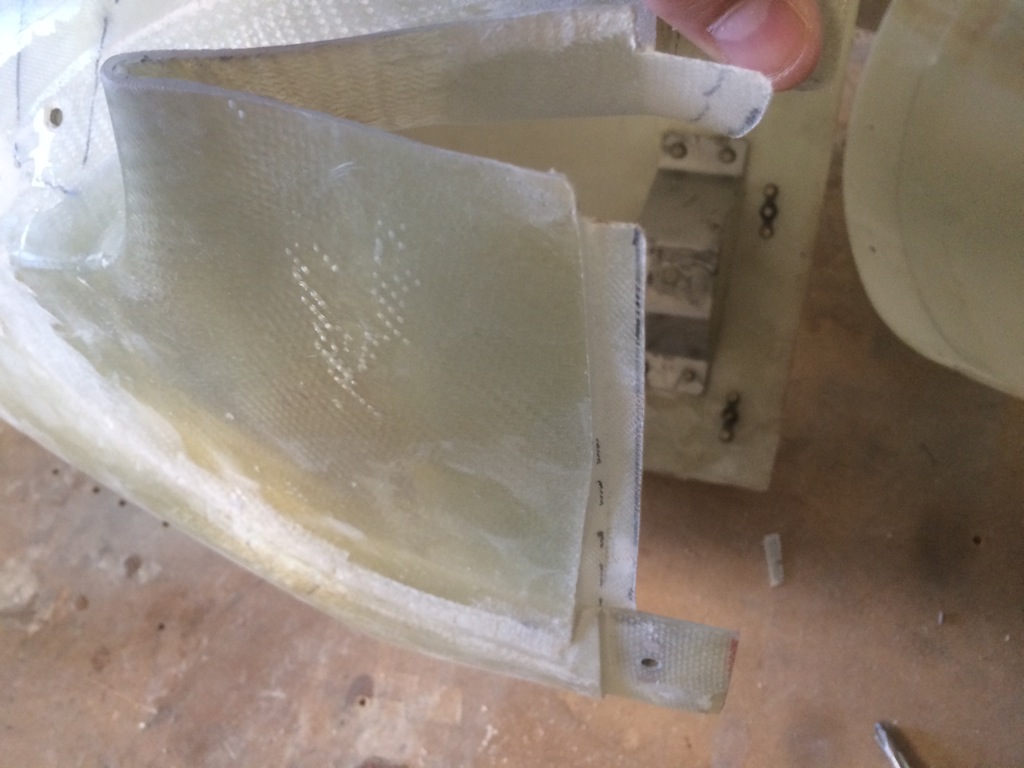
I trimmed the flanges so that there is only 1/4″ of underlap on the aft half of the fairing.

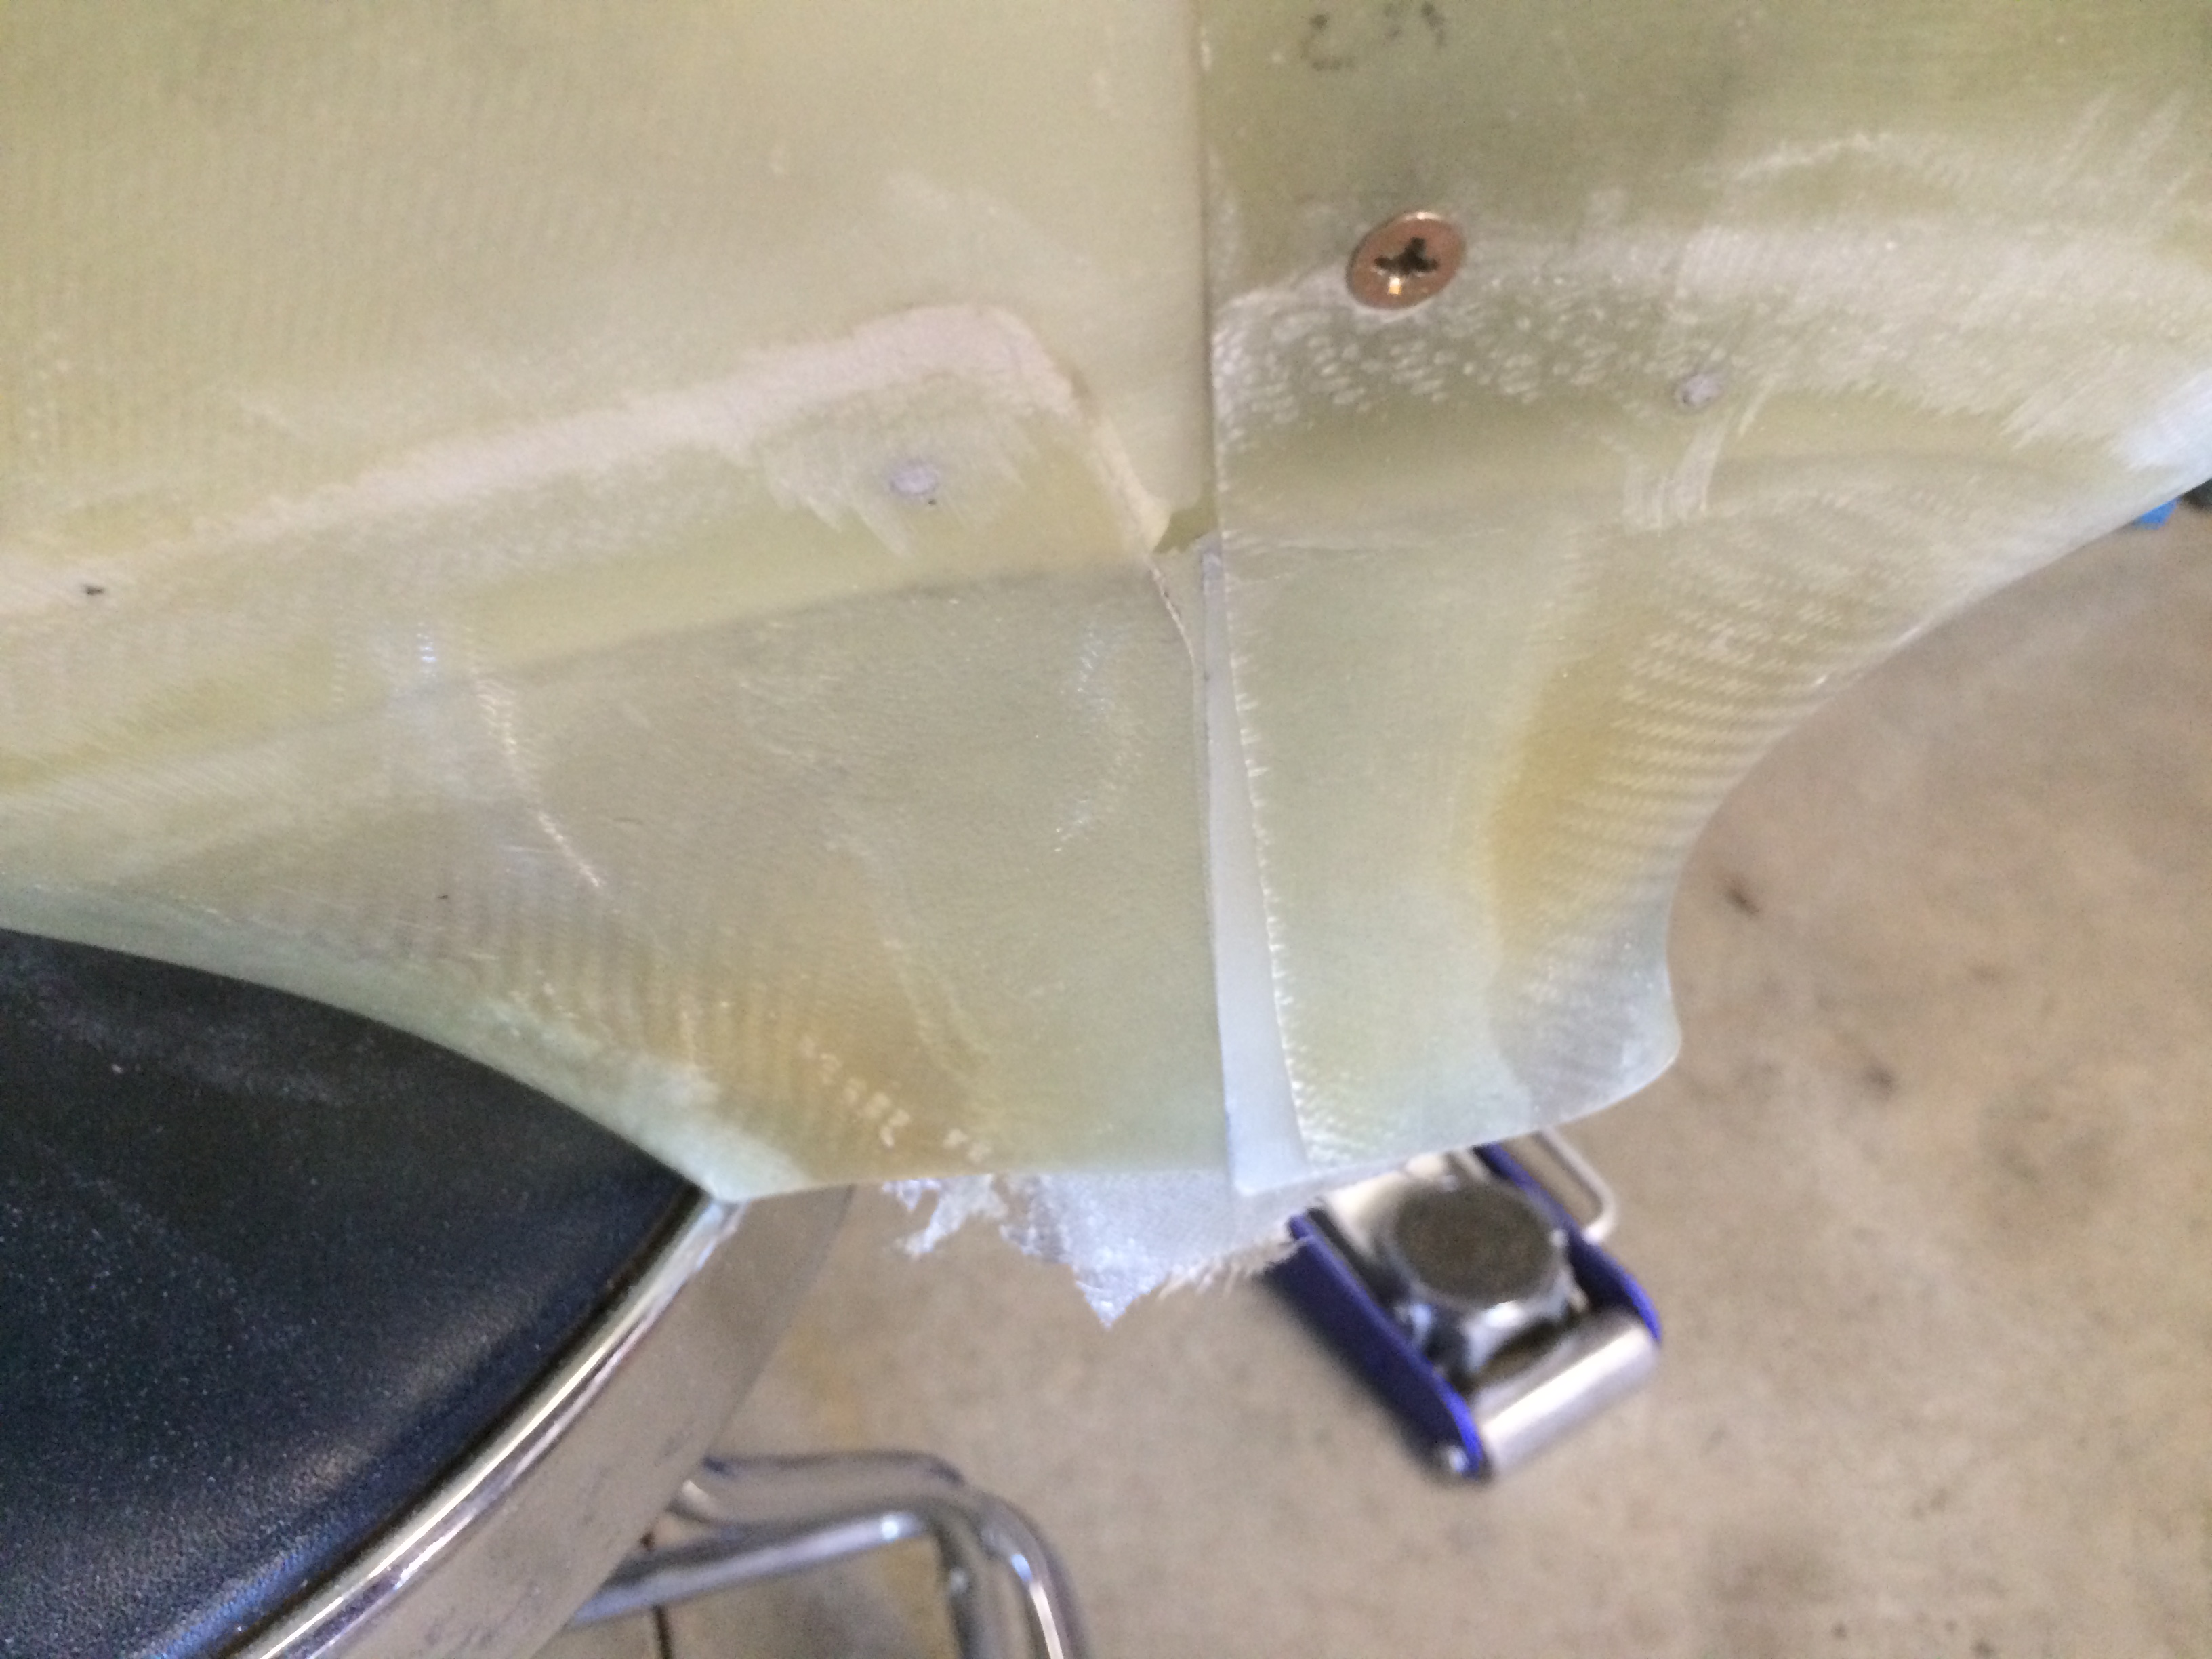
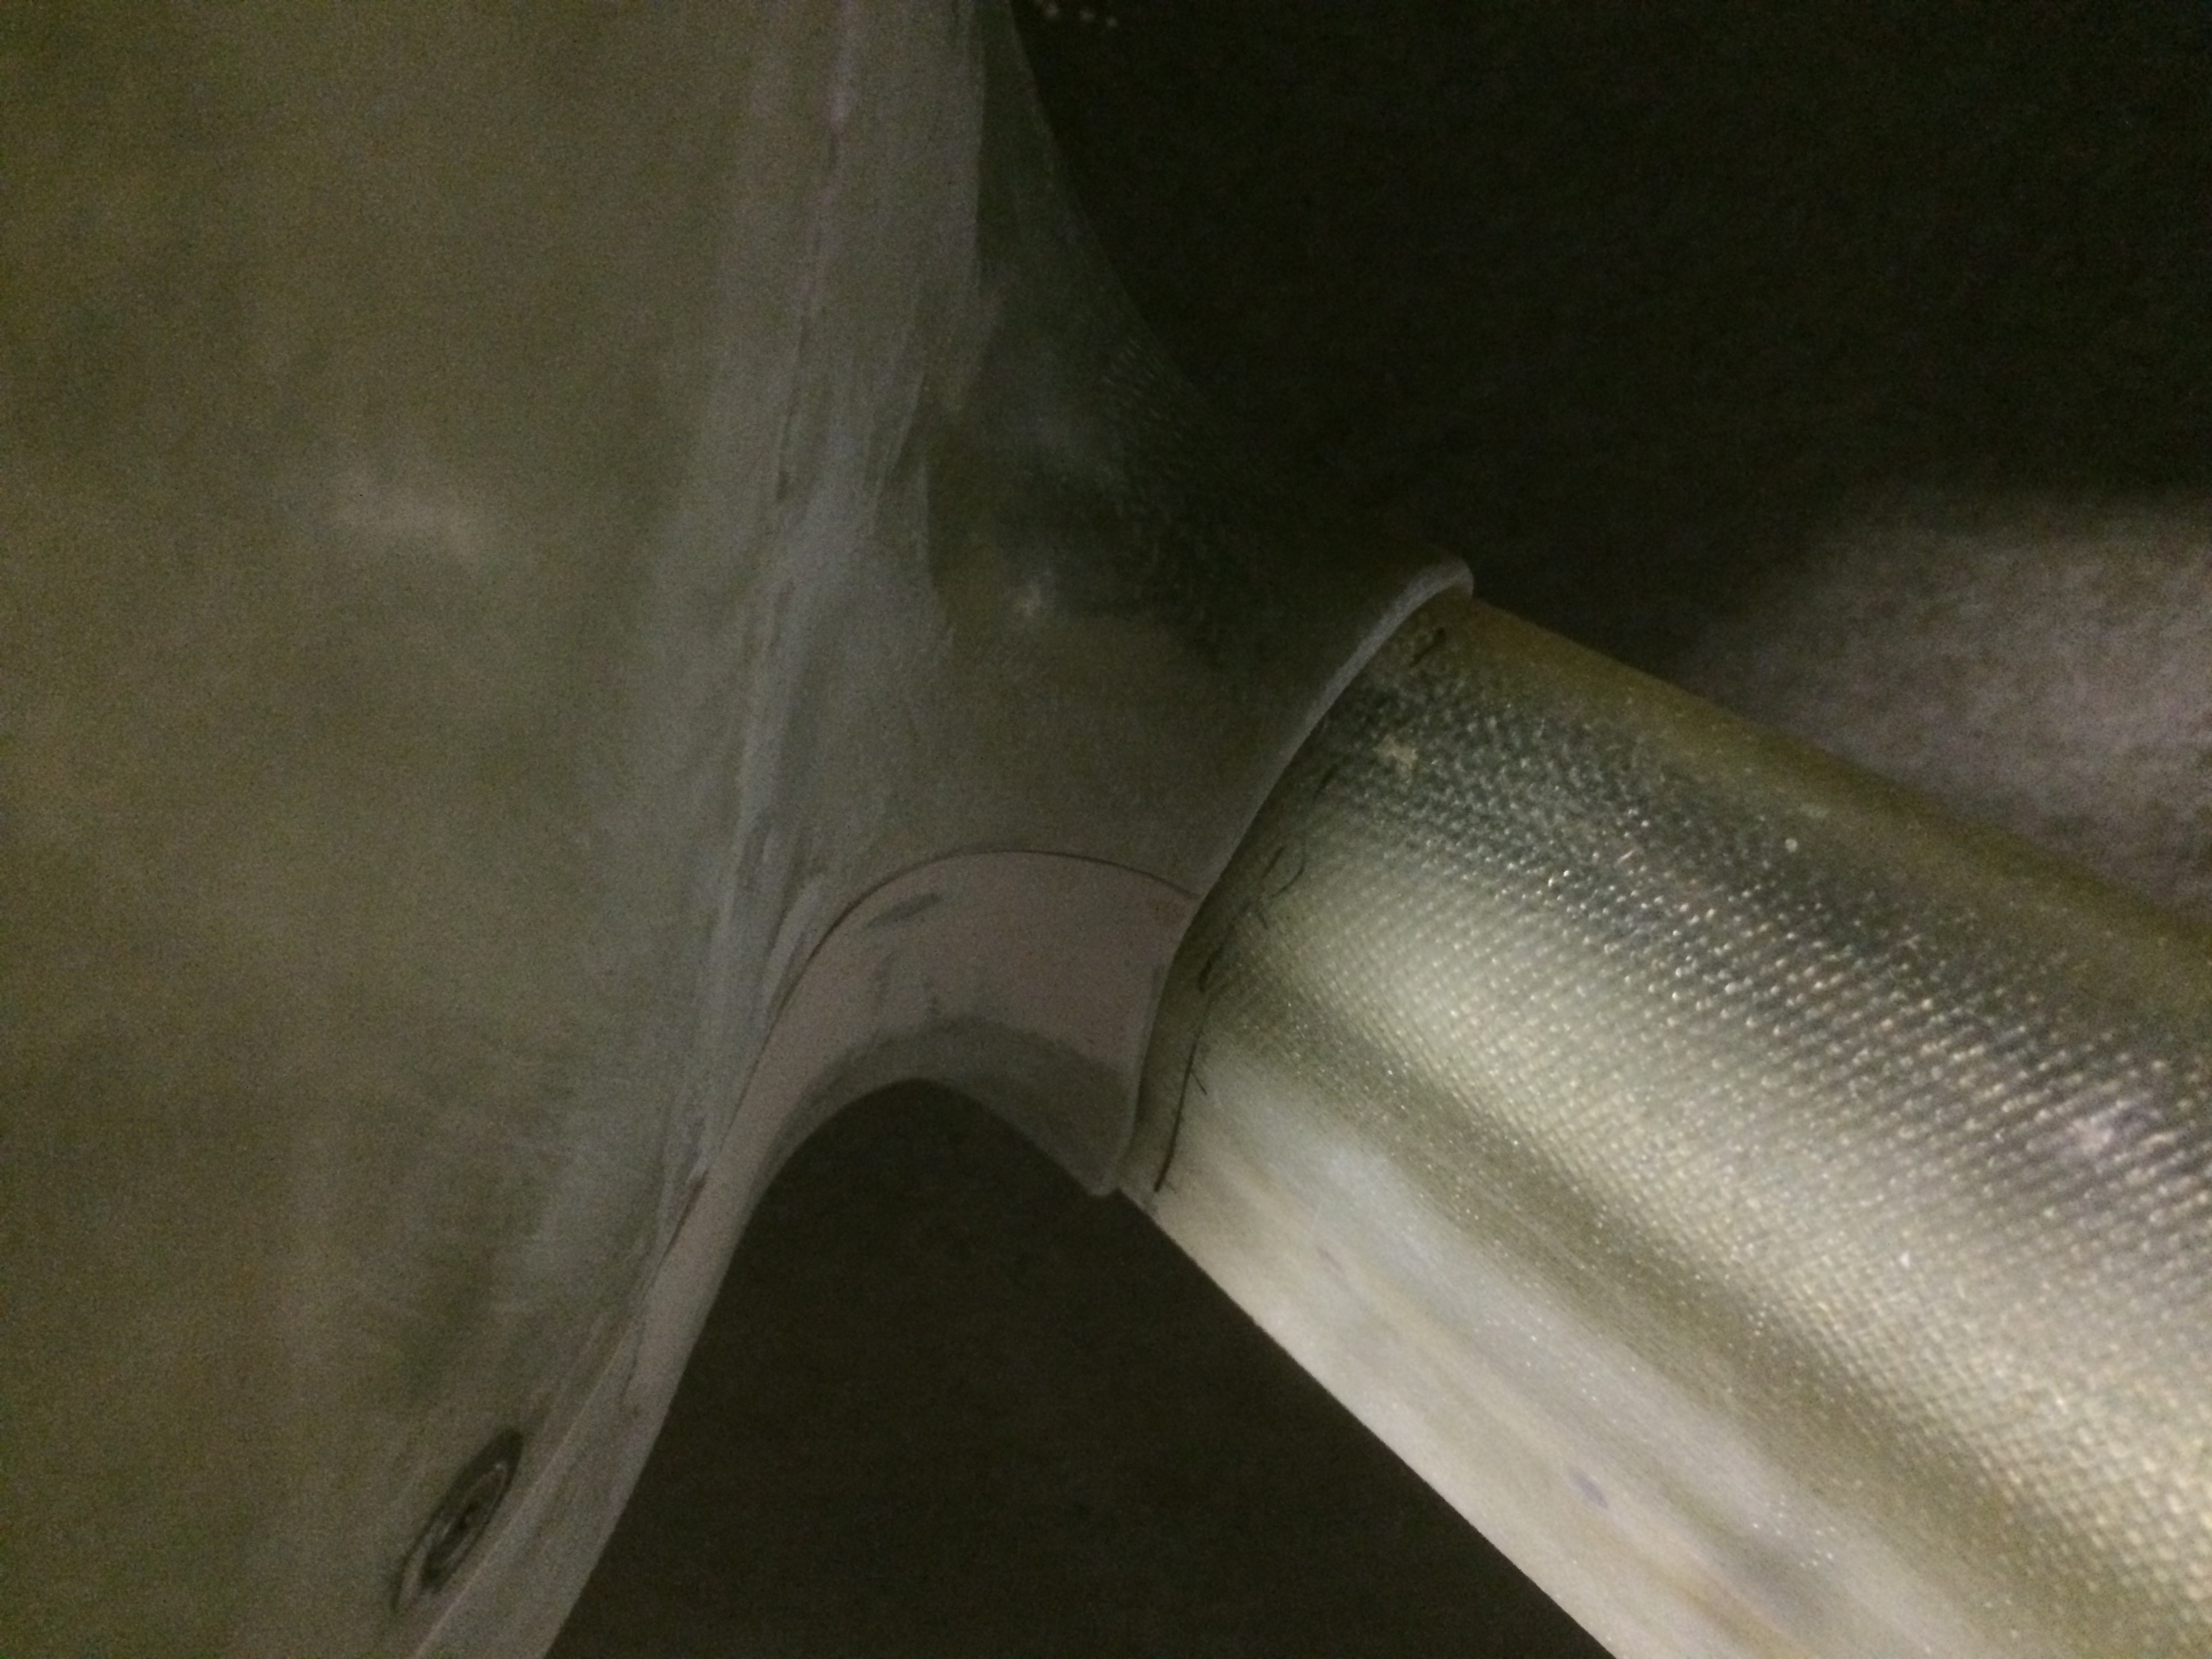
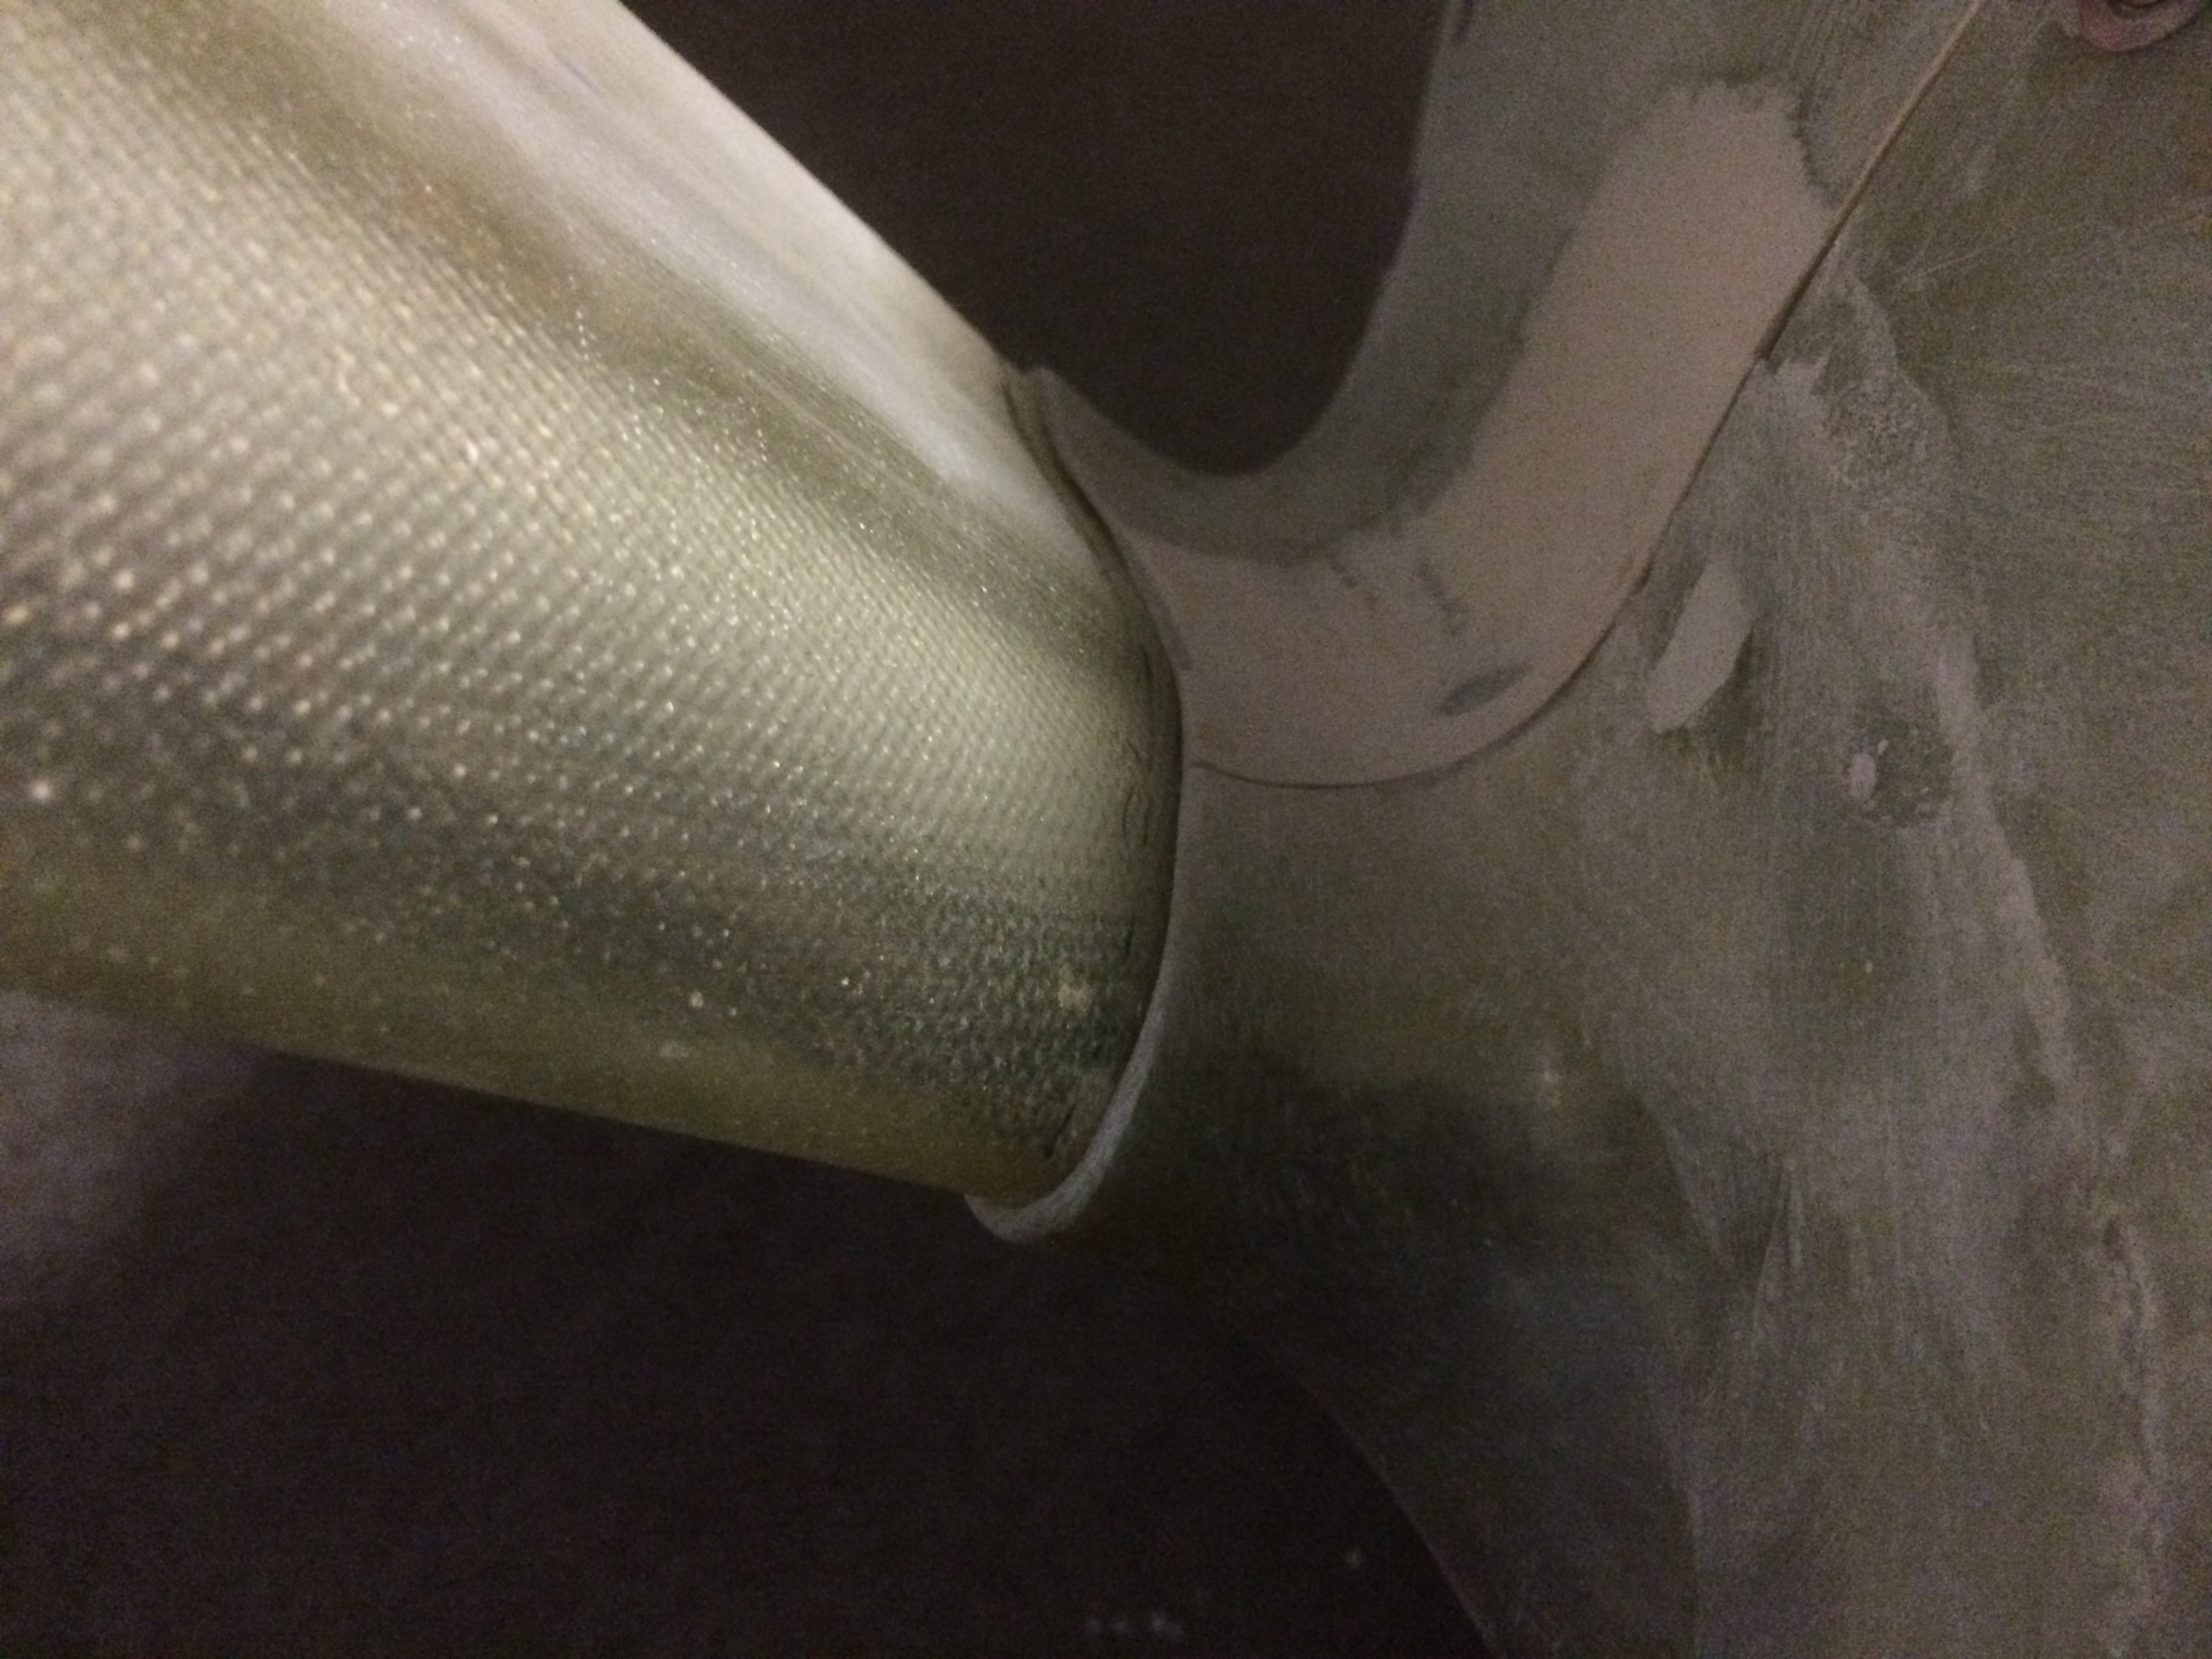
You can see in this picture and the one above that the aft intersection fairing doesn’t extend far enough forward in some spots.  I’ll take care of that with some filler.

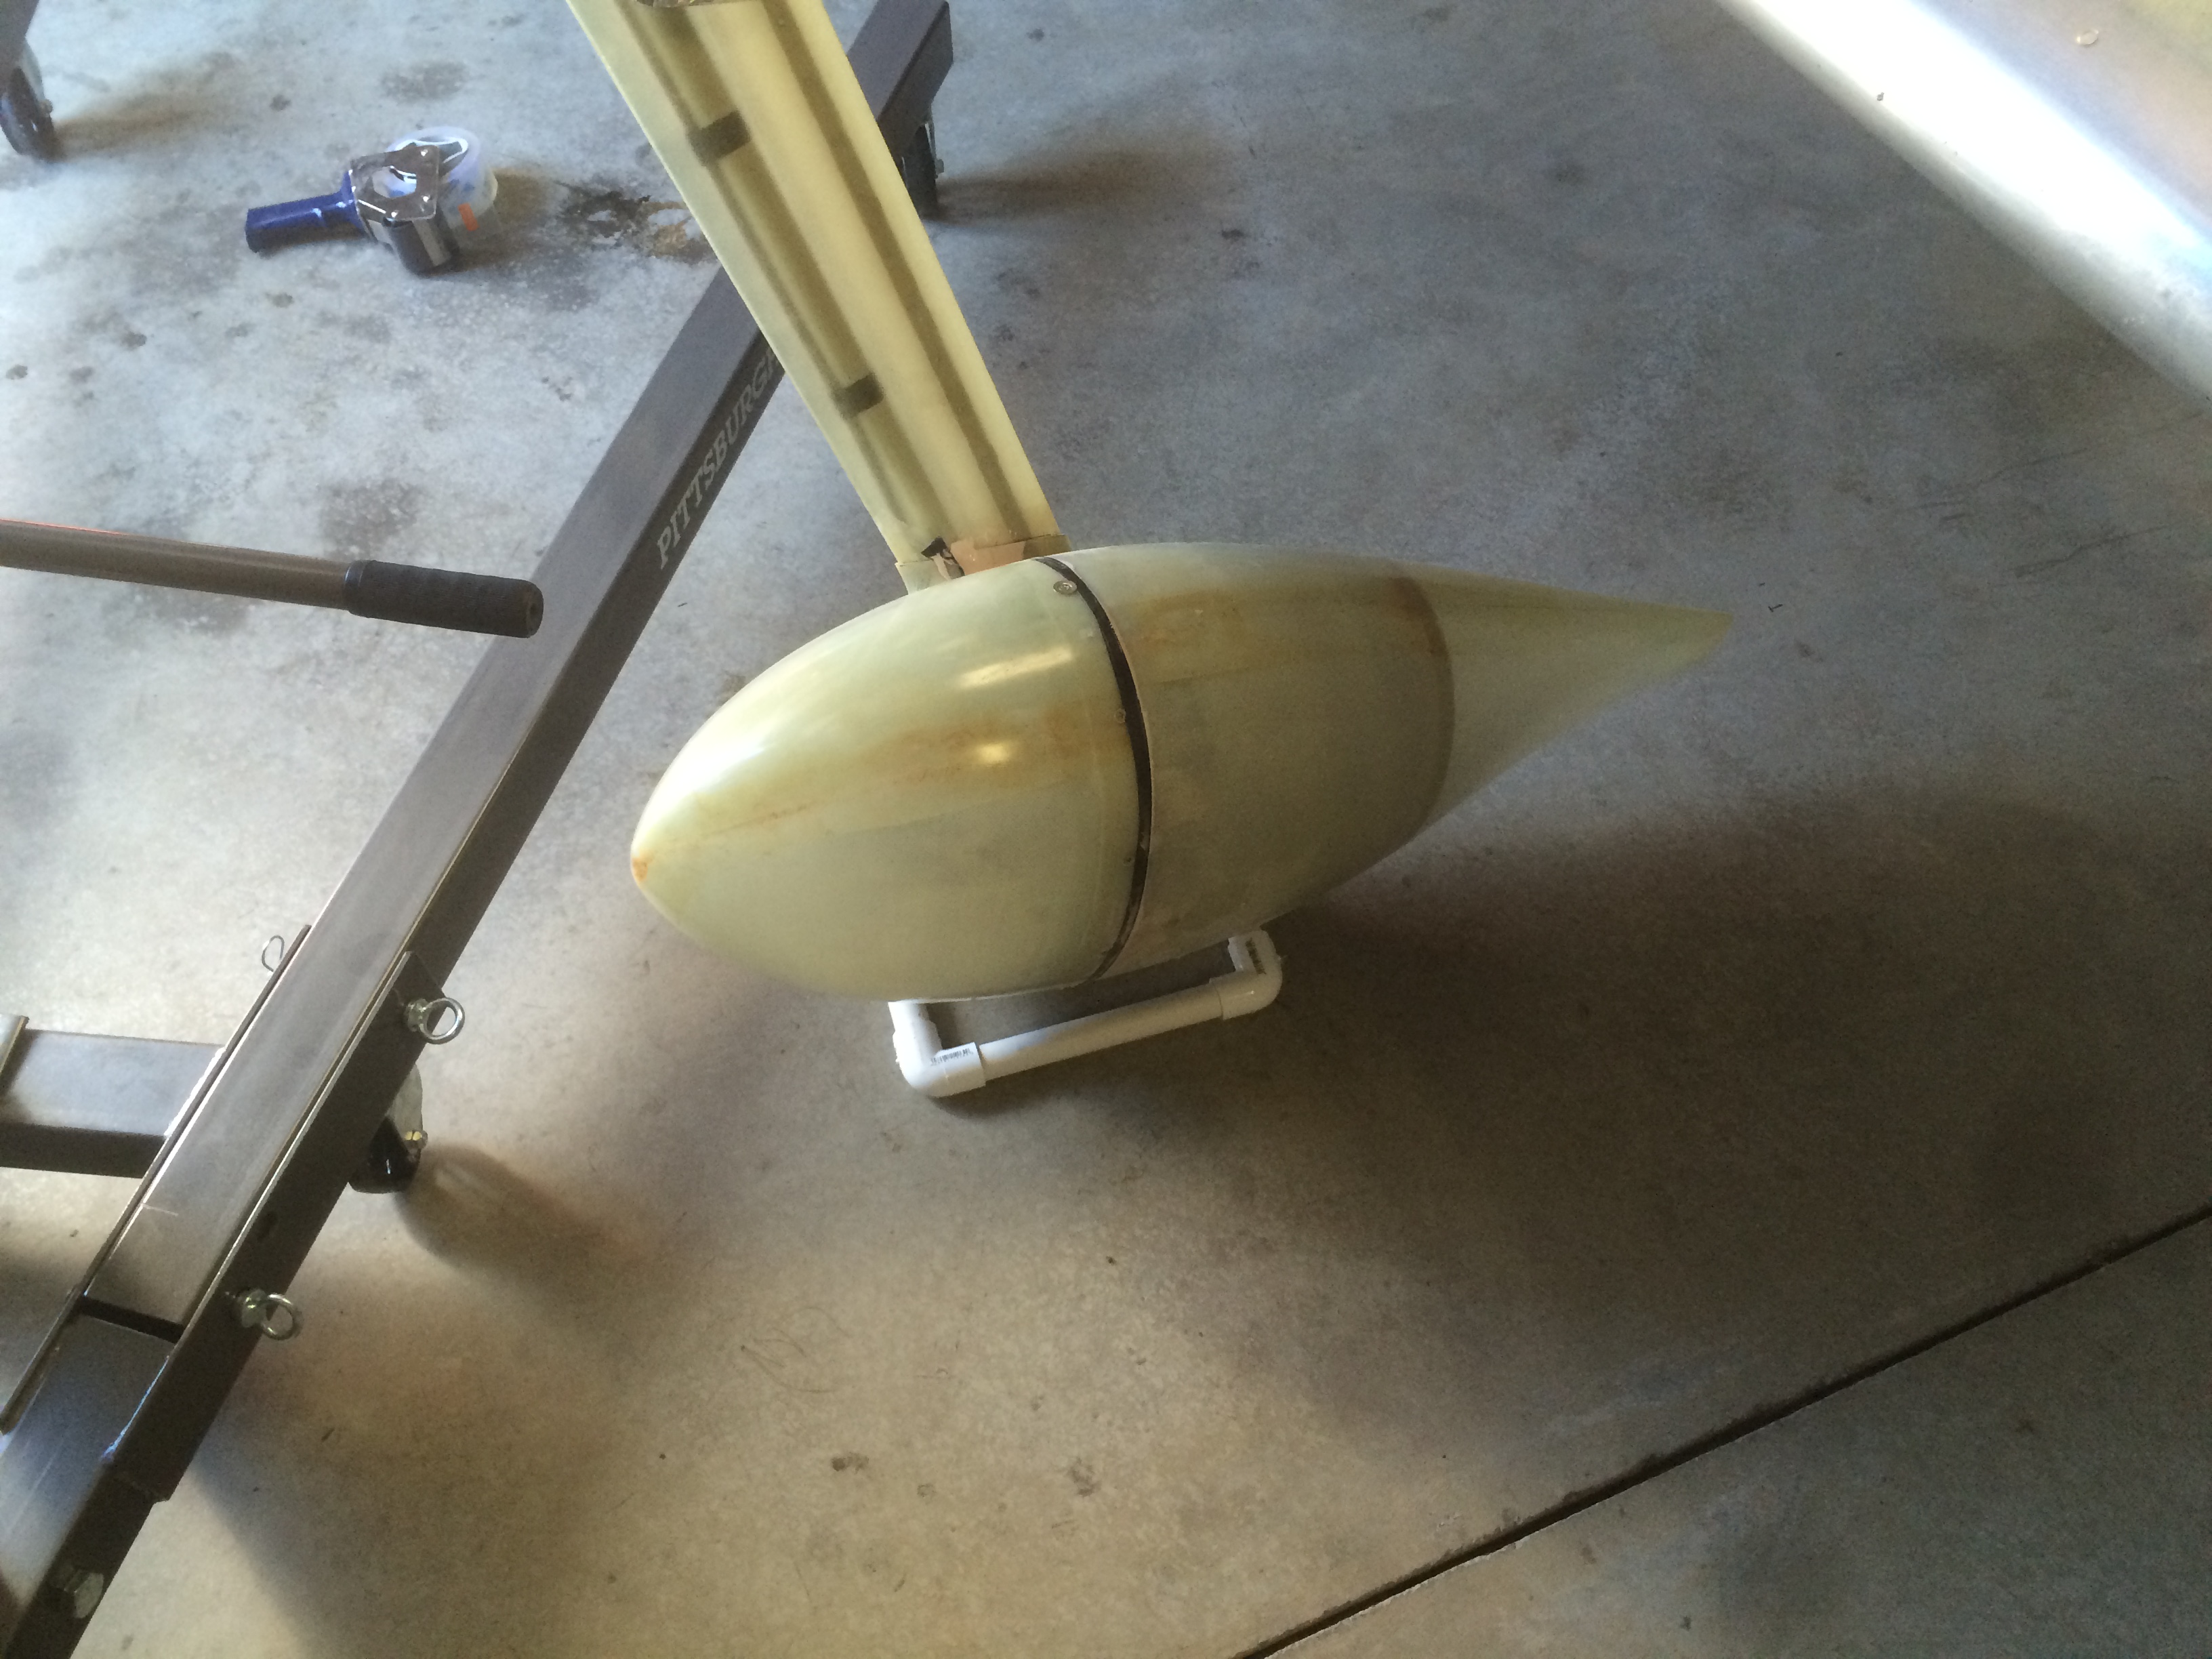
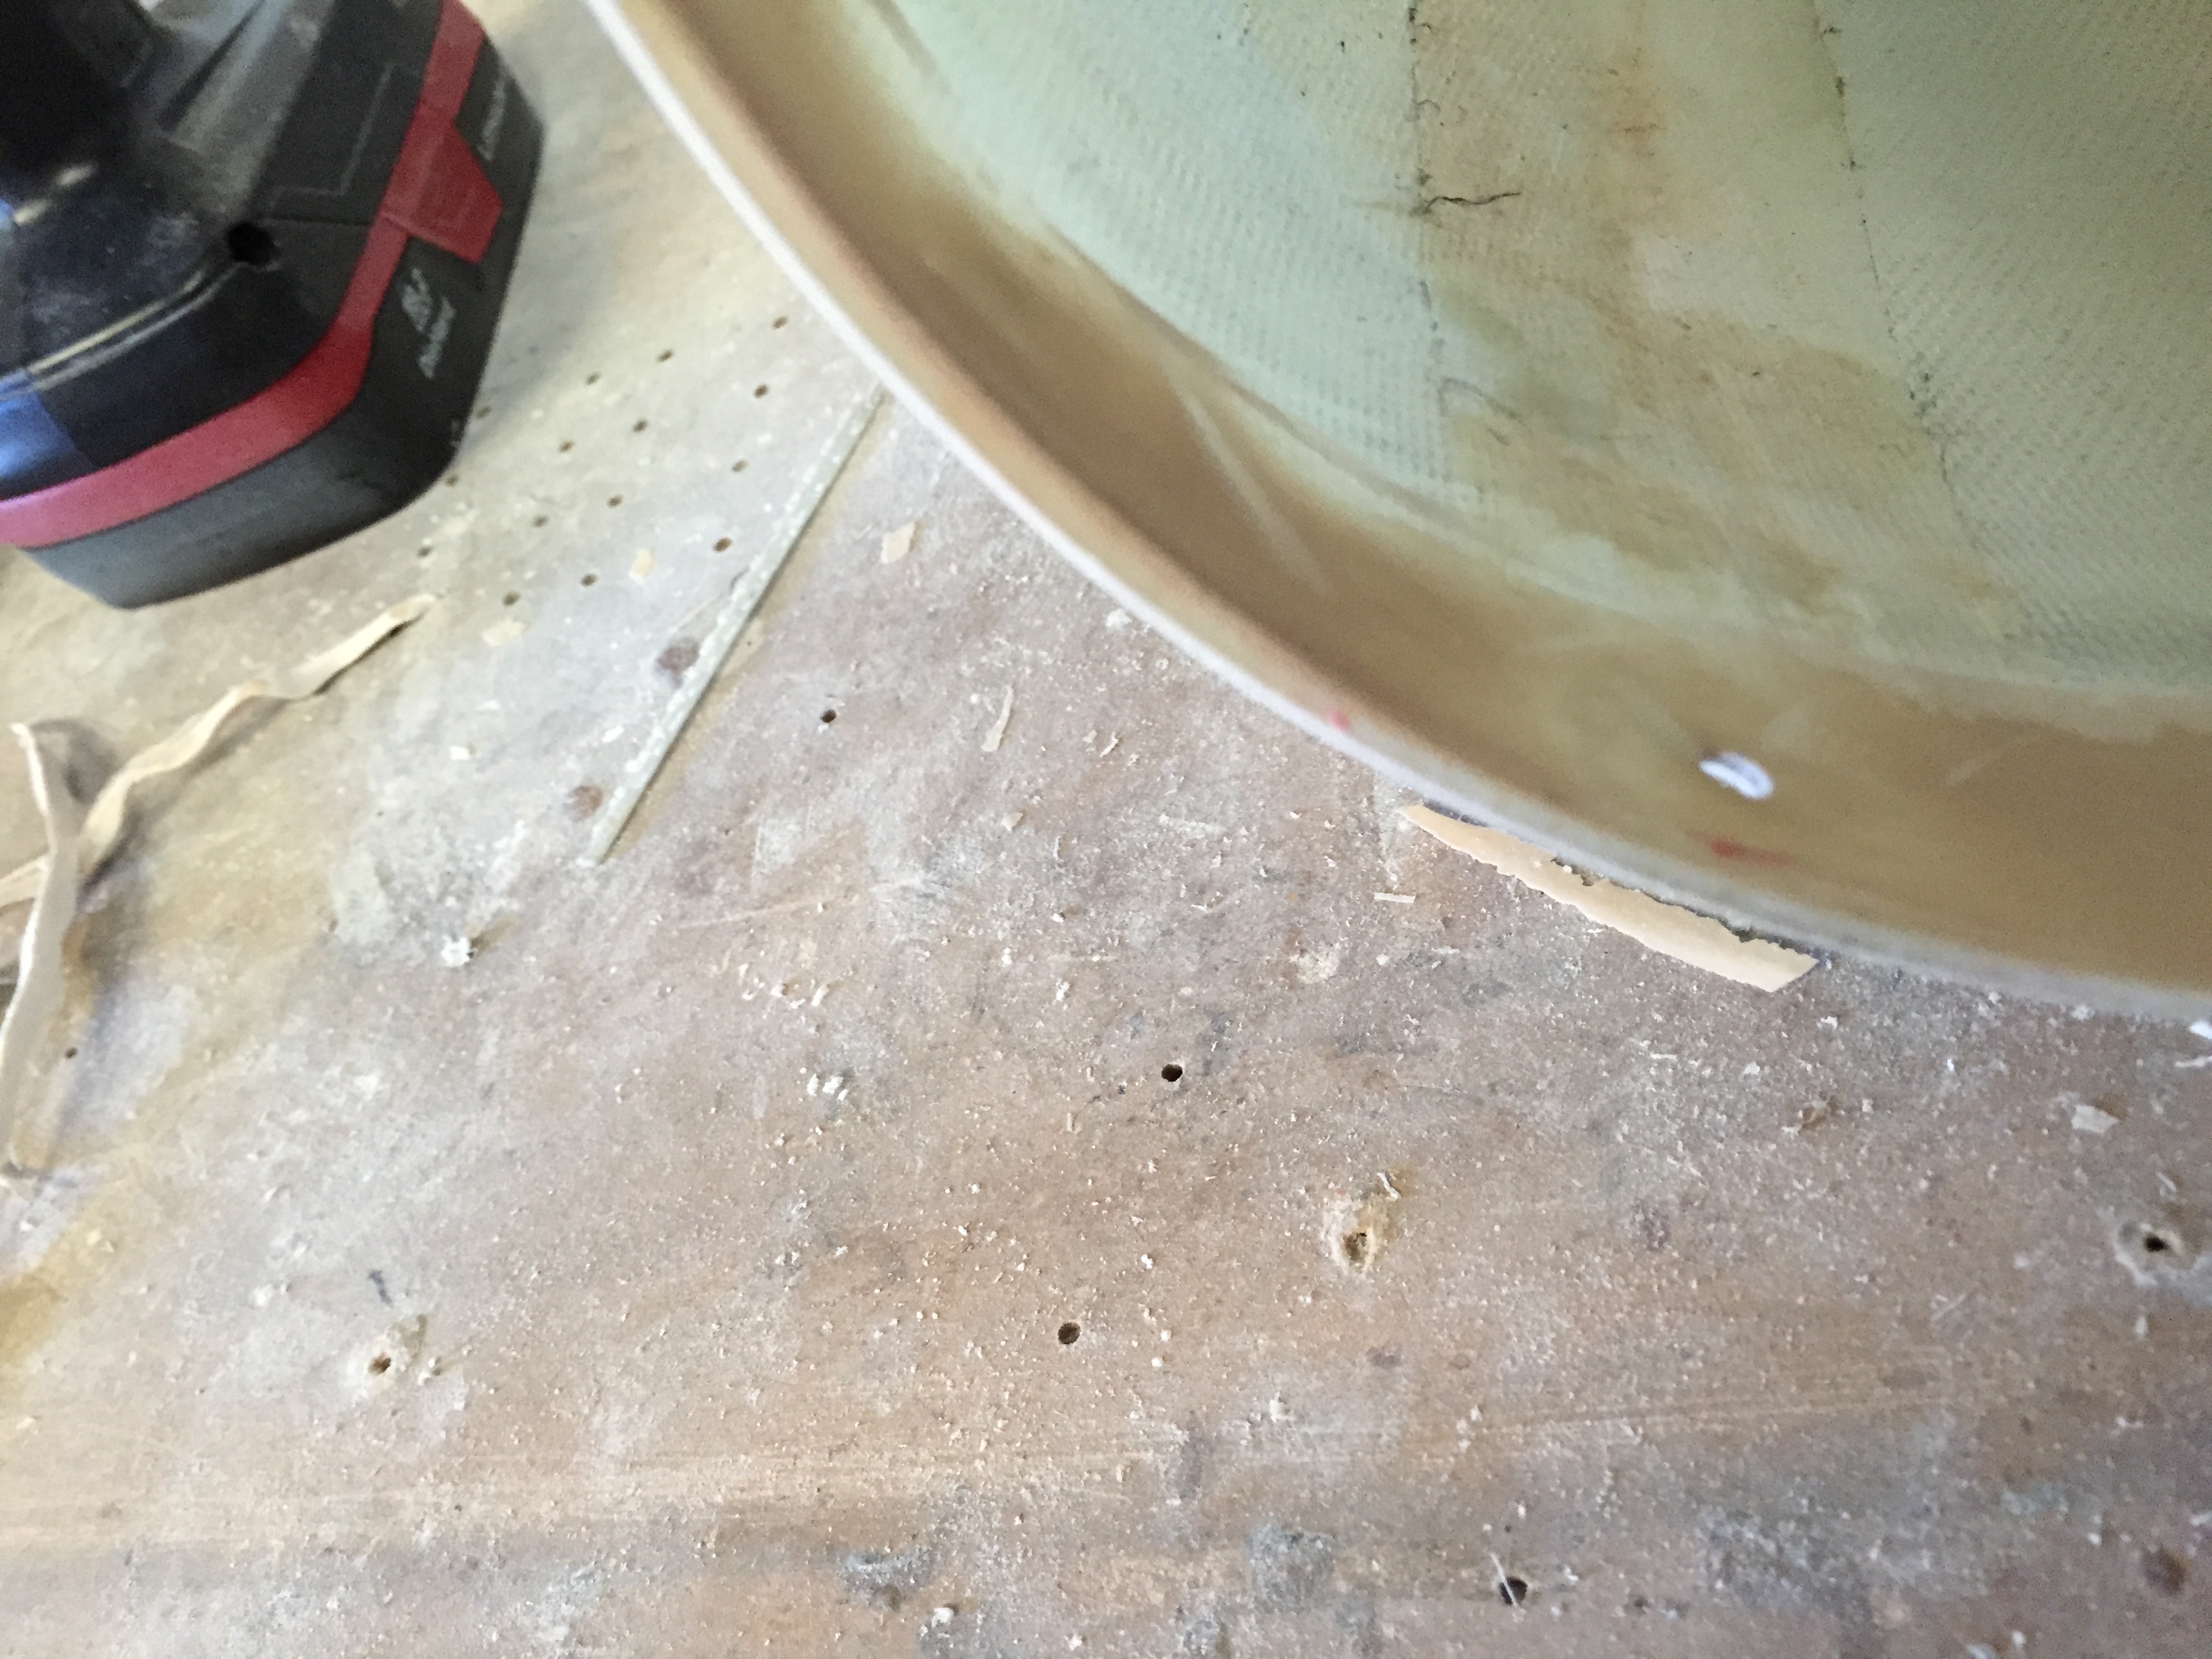
I applied a couple of layers of electrical tape to the aft edge of the forward half of the wheel pant and then installed everything to lock it into position.

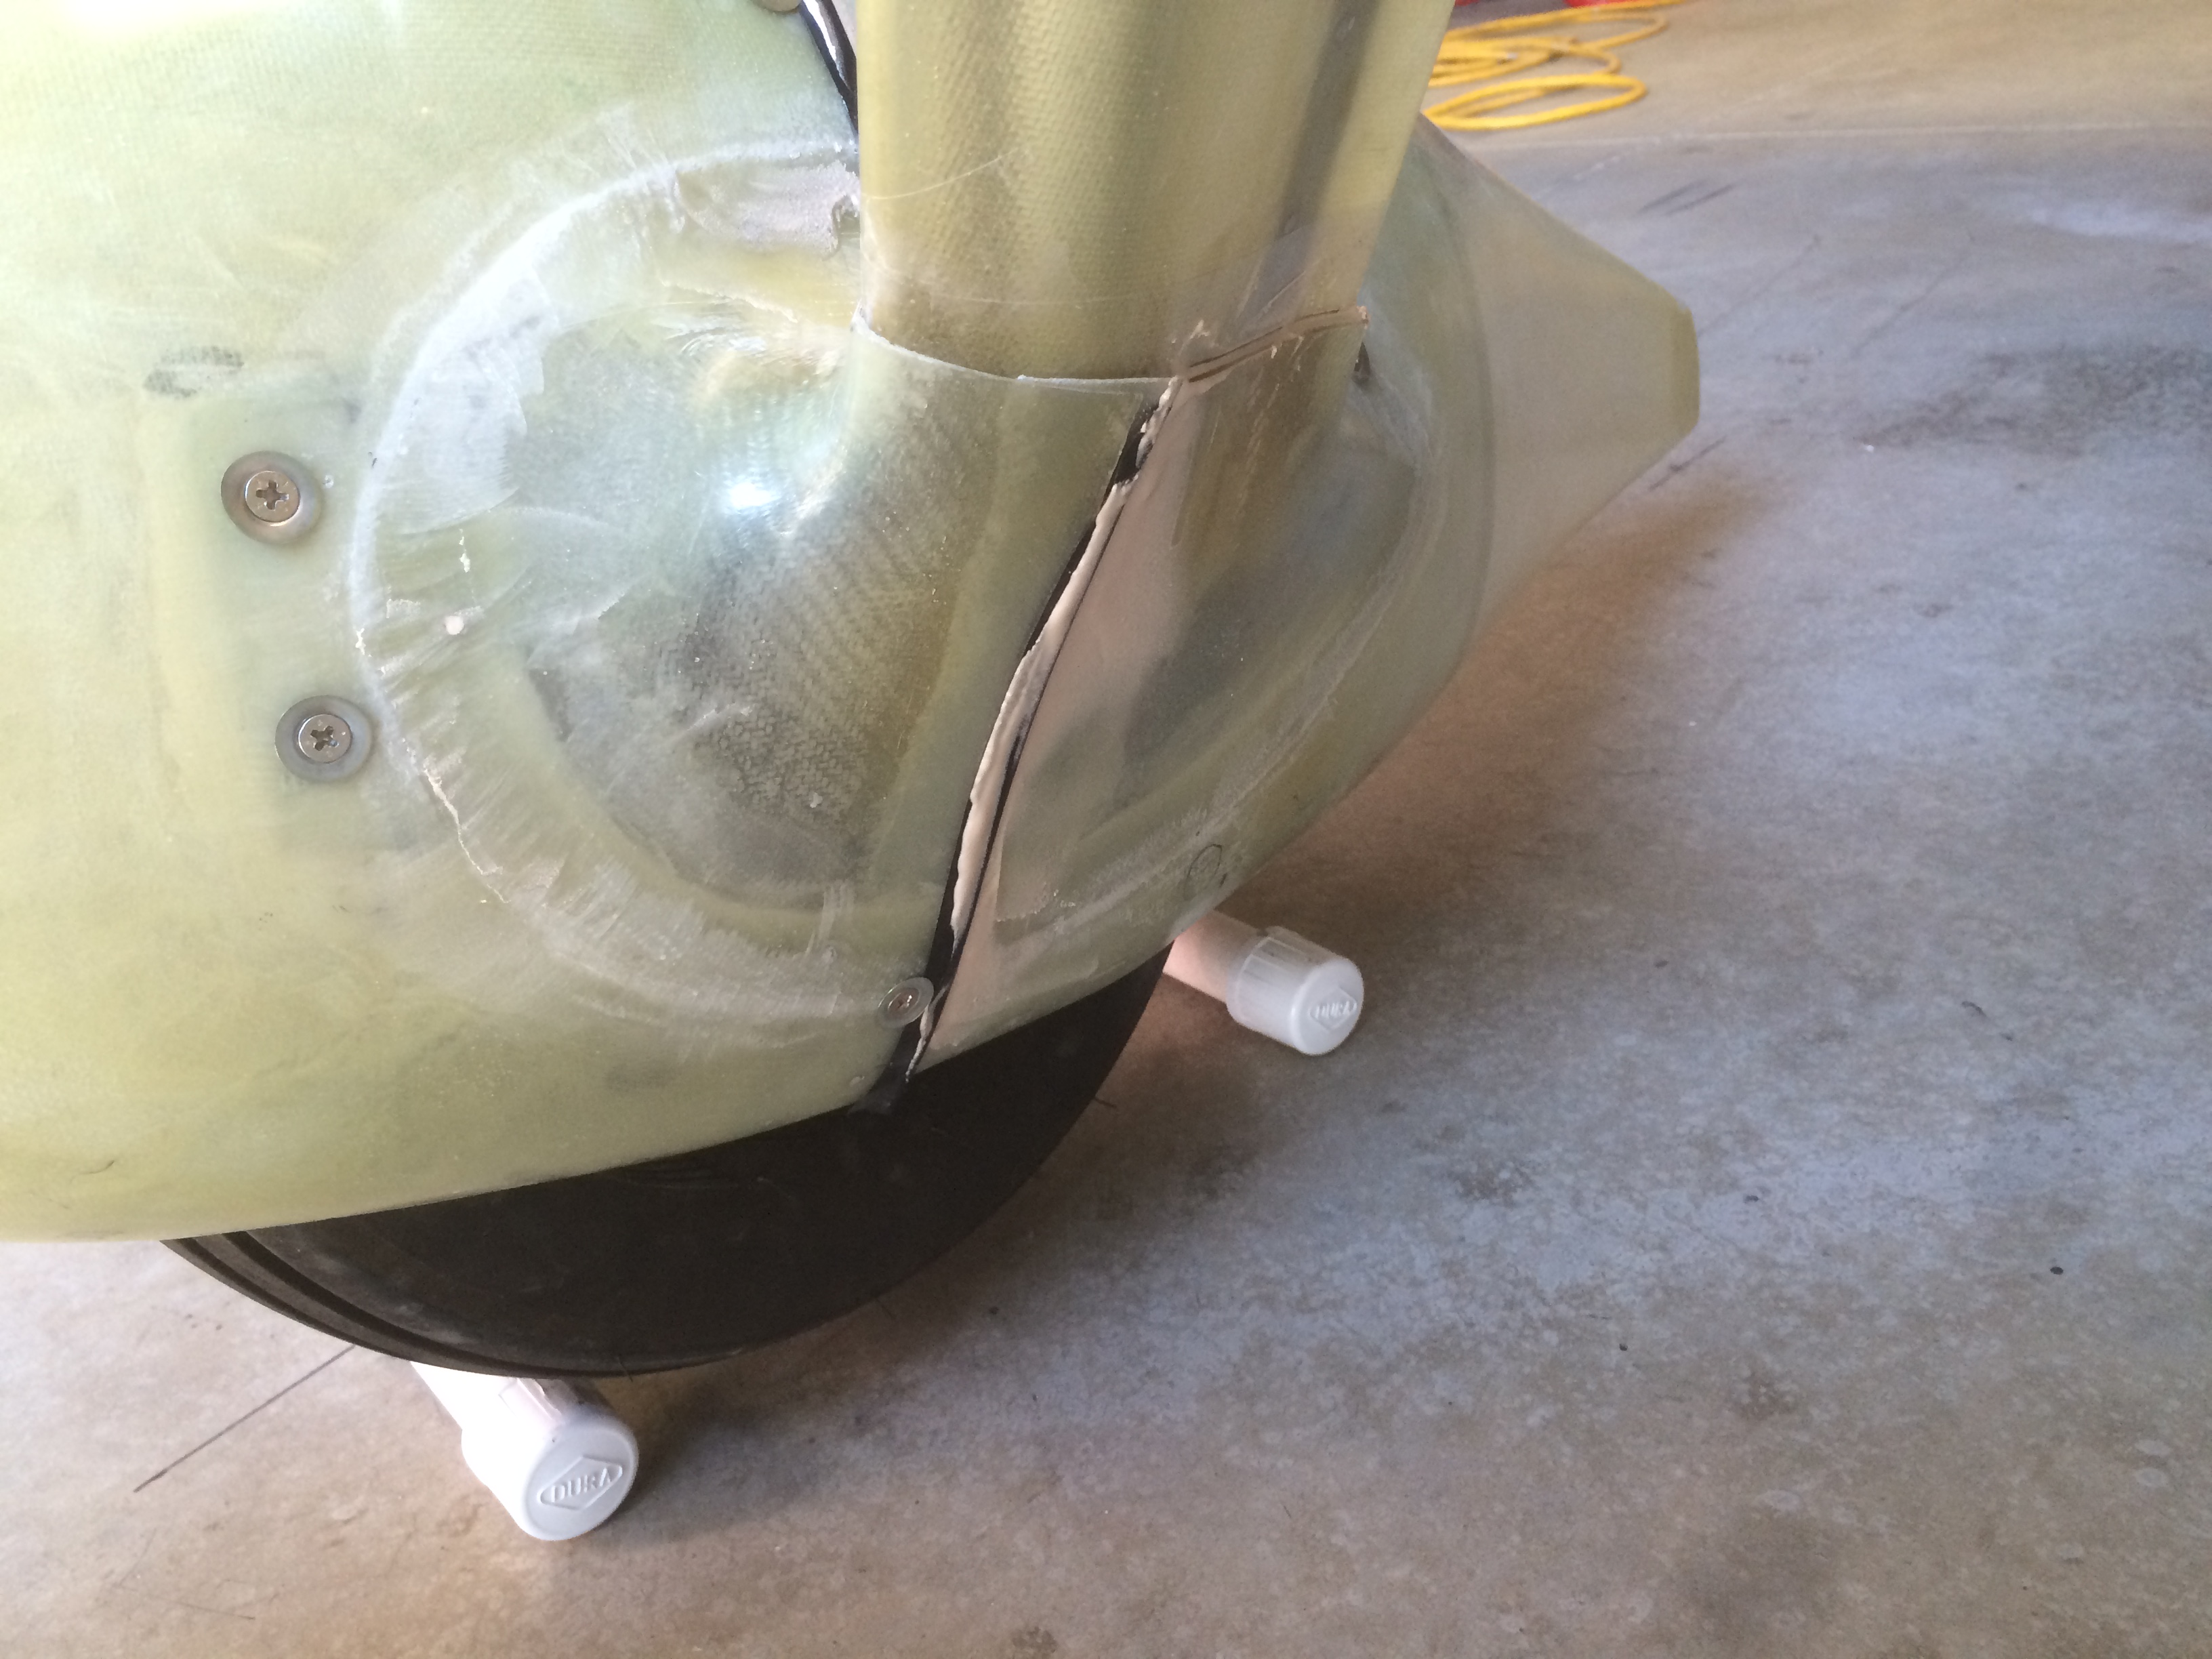
I mixed up some lightweight filler with flox for strength and filled in the low spots.

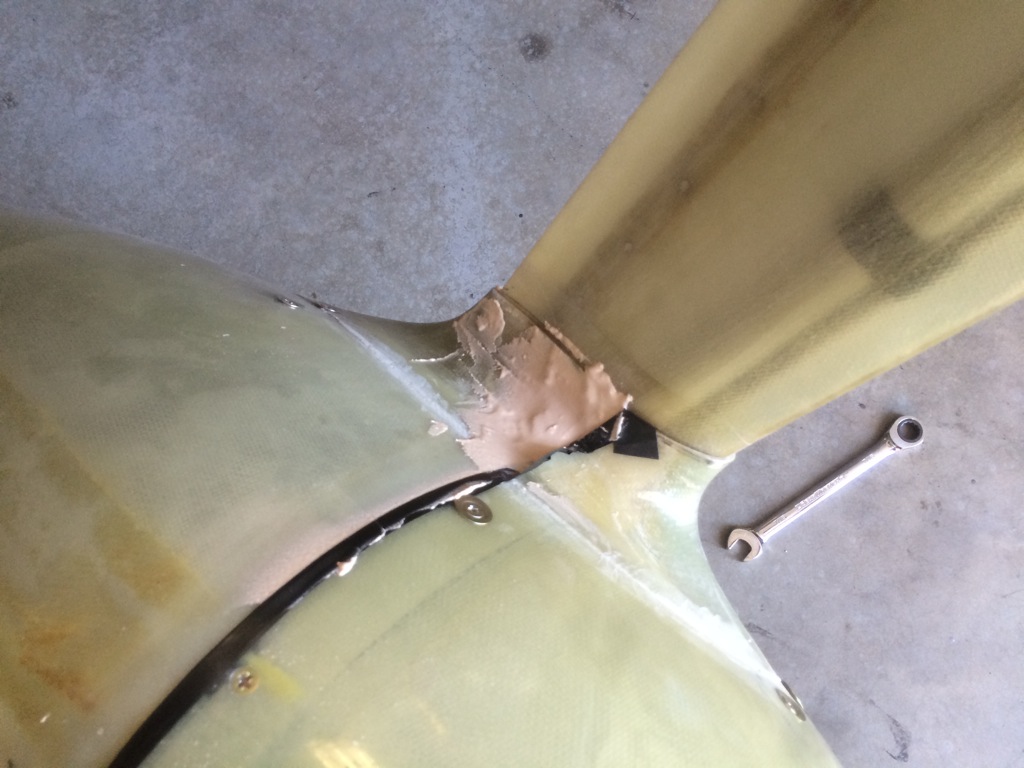
I squeezed some into the gap on the underside since the gap was uneven.

Floxed Flange on Wheel Pants

The flange on the forward half of the wheel pants had gotten pretty thin over the top due to sanding to try and line up the surface with the top of the aft half.  There was also a gap underneath the flange which was causing the flange to flex down when tightening the screws.  I applied a layer of packing tape to the aft flange and some electrical tap to the joint.  I then mixed up some epoxy/flox and applied it to the underside of the forward flange and installed the pants.

Cleaned up Floxed Flange

I cleaned up the layer of flox I applied to the wheel pants flange.

You can see how much thickness it added to the flange.  The flange is much stiffer now and fits really tightly over the rear half of the wheel pants.  With the screws tightened down now, the flange no longer flexes and distorts.

Replaced Upper Gear Leg Intersection Fairing Flange

The upper gear leg intersection fairing has a split in it to allow it to be flexed open and slipped over the gear leg. Once installed, a screw holds the split closed. Originally, there was a piece of fiberglass glued here with a small wood screw holding the joint closed. After repeated installation, the screw loosened up so I decided to replace it with a piece of aluminum and a nutplate. Now I can use a machine screw and there is positive locking of the screw with the nutplate. An added bonus is that the piece of aluminum forces the joint into alignment.

Here’s the other side of the joint with a torx machine screw and a countersunk washer.