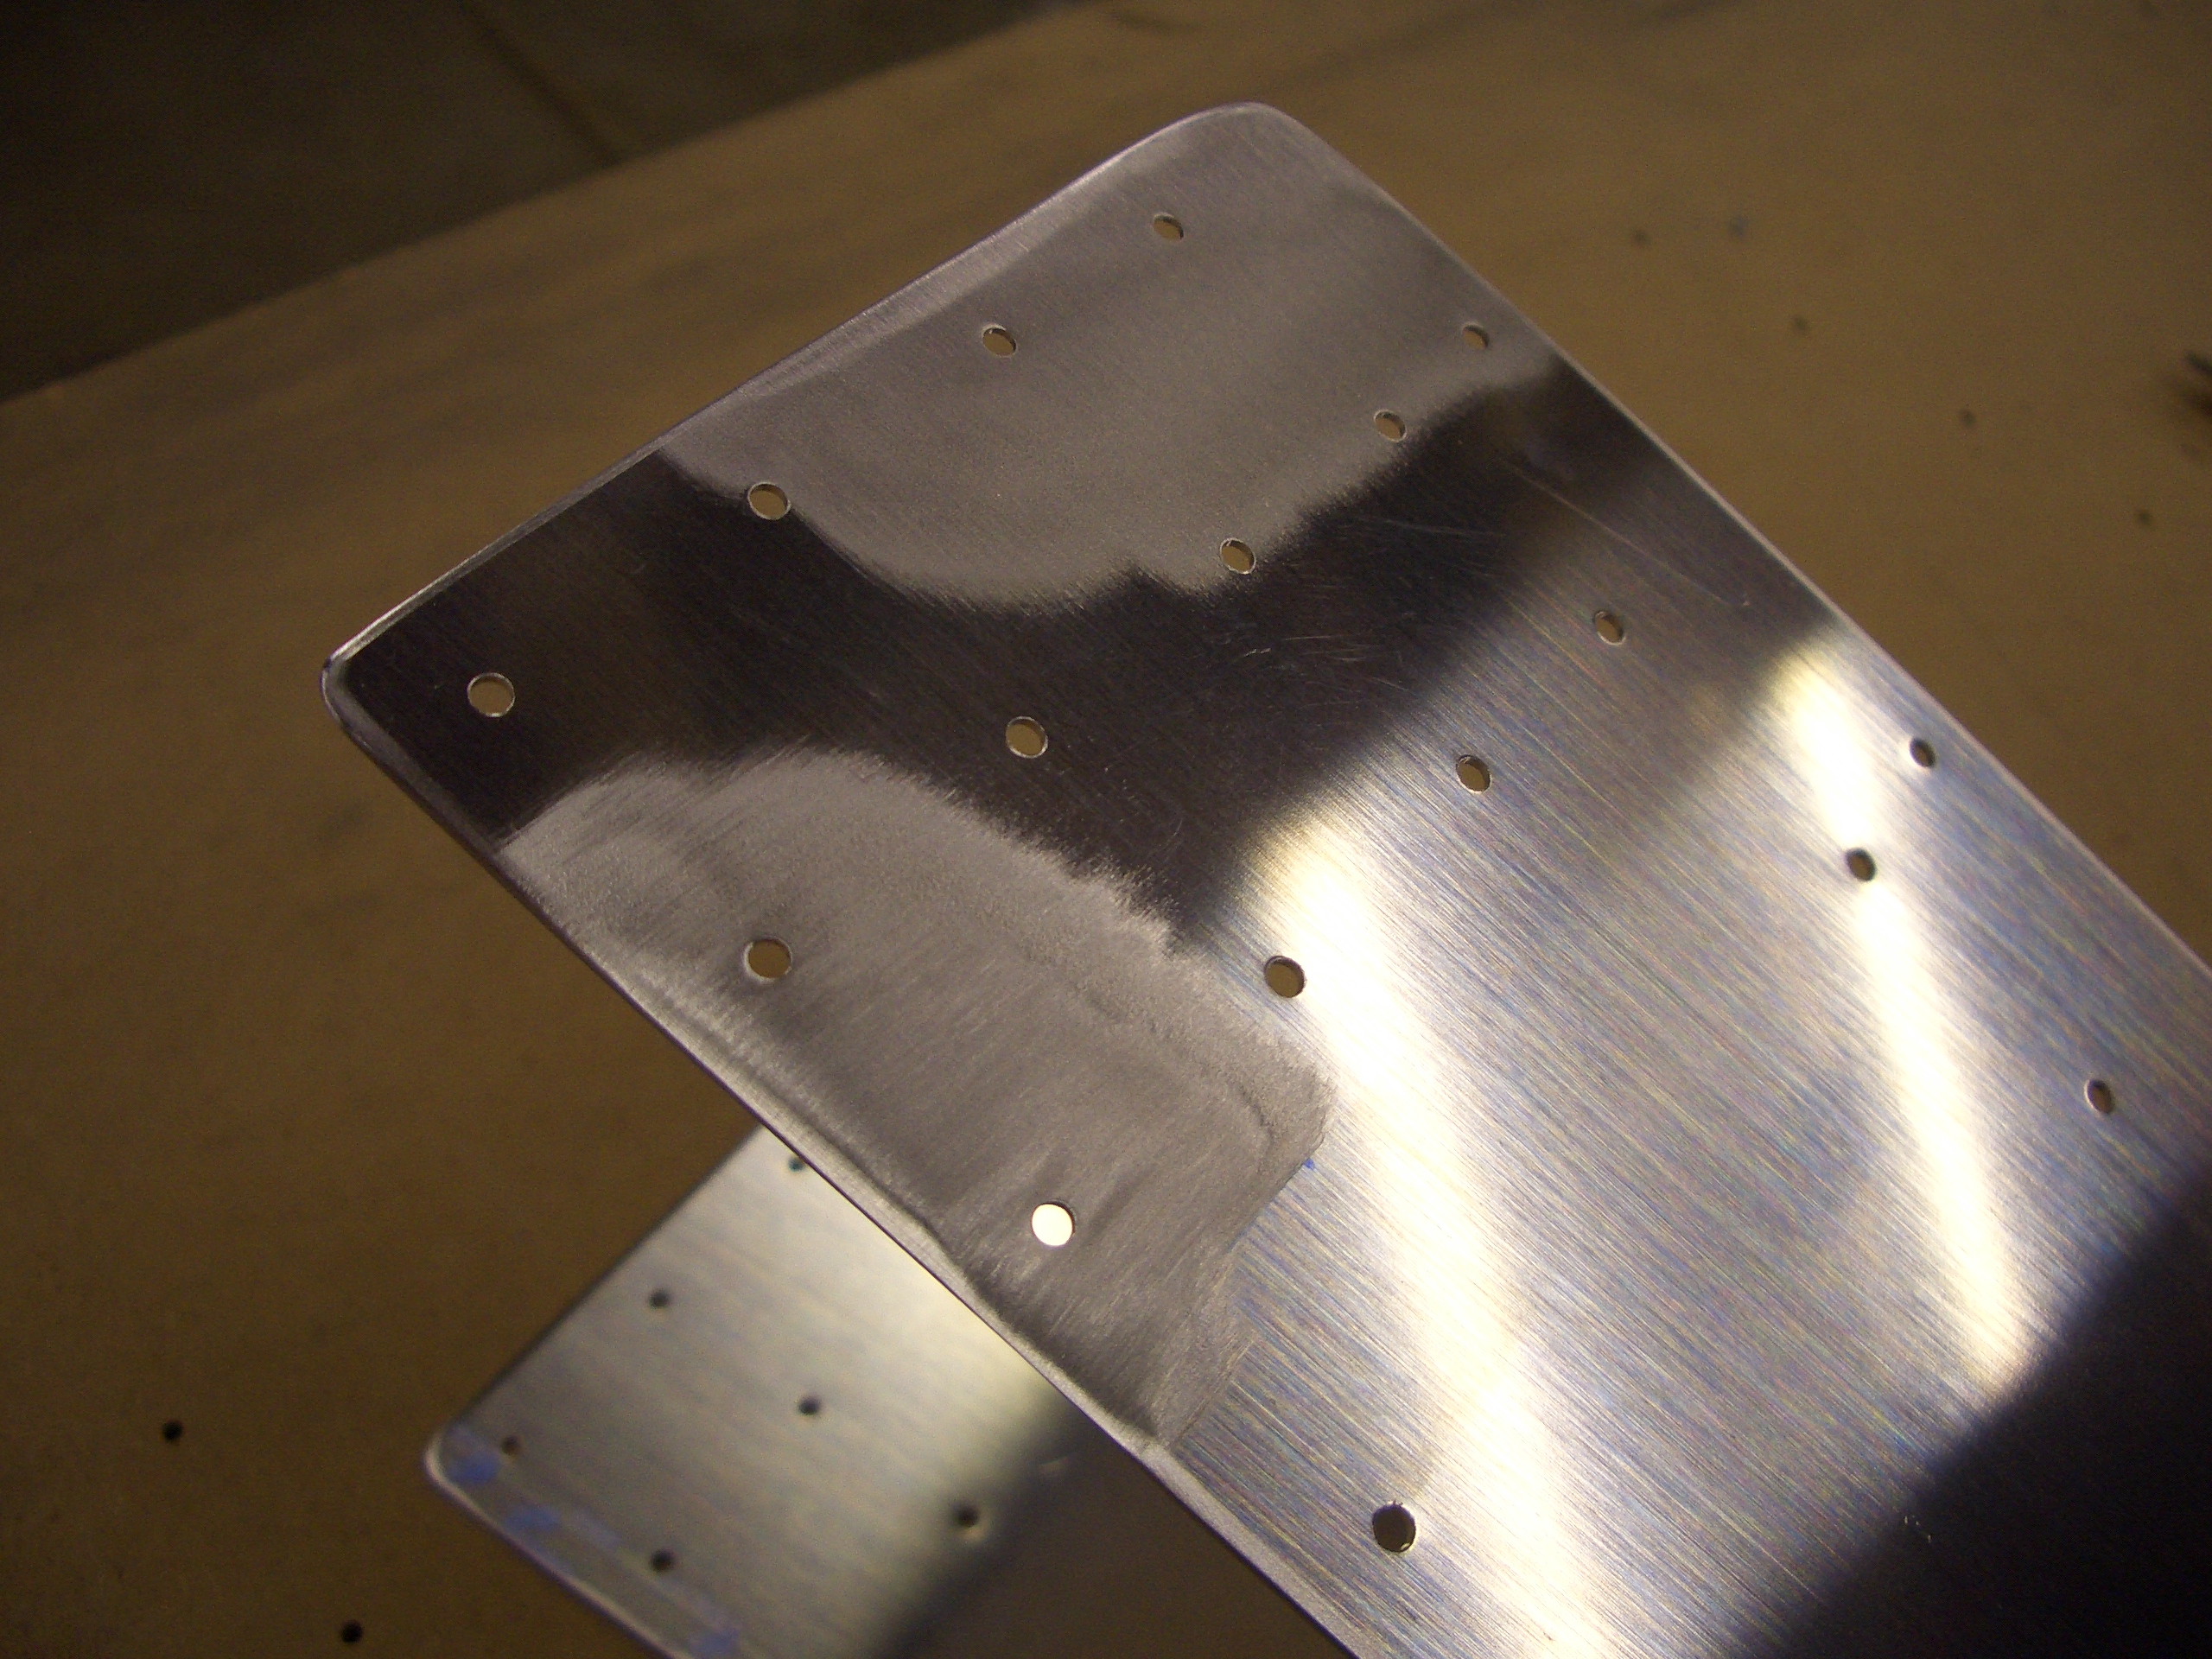
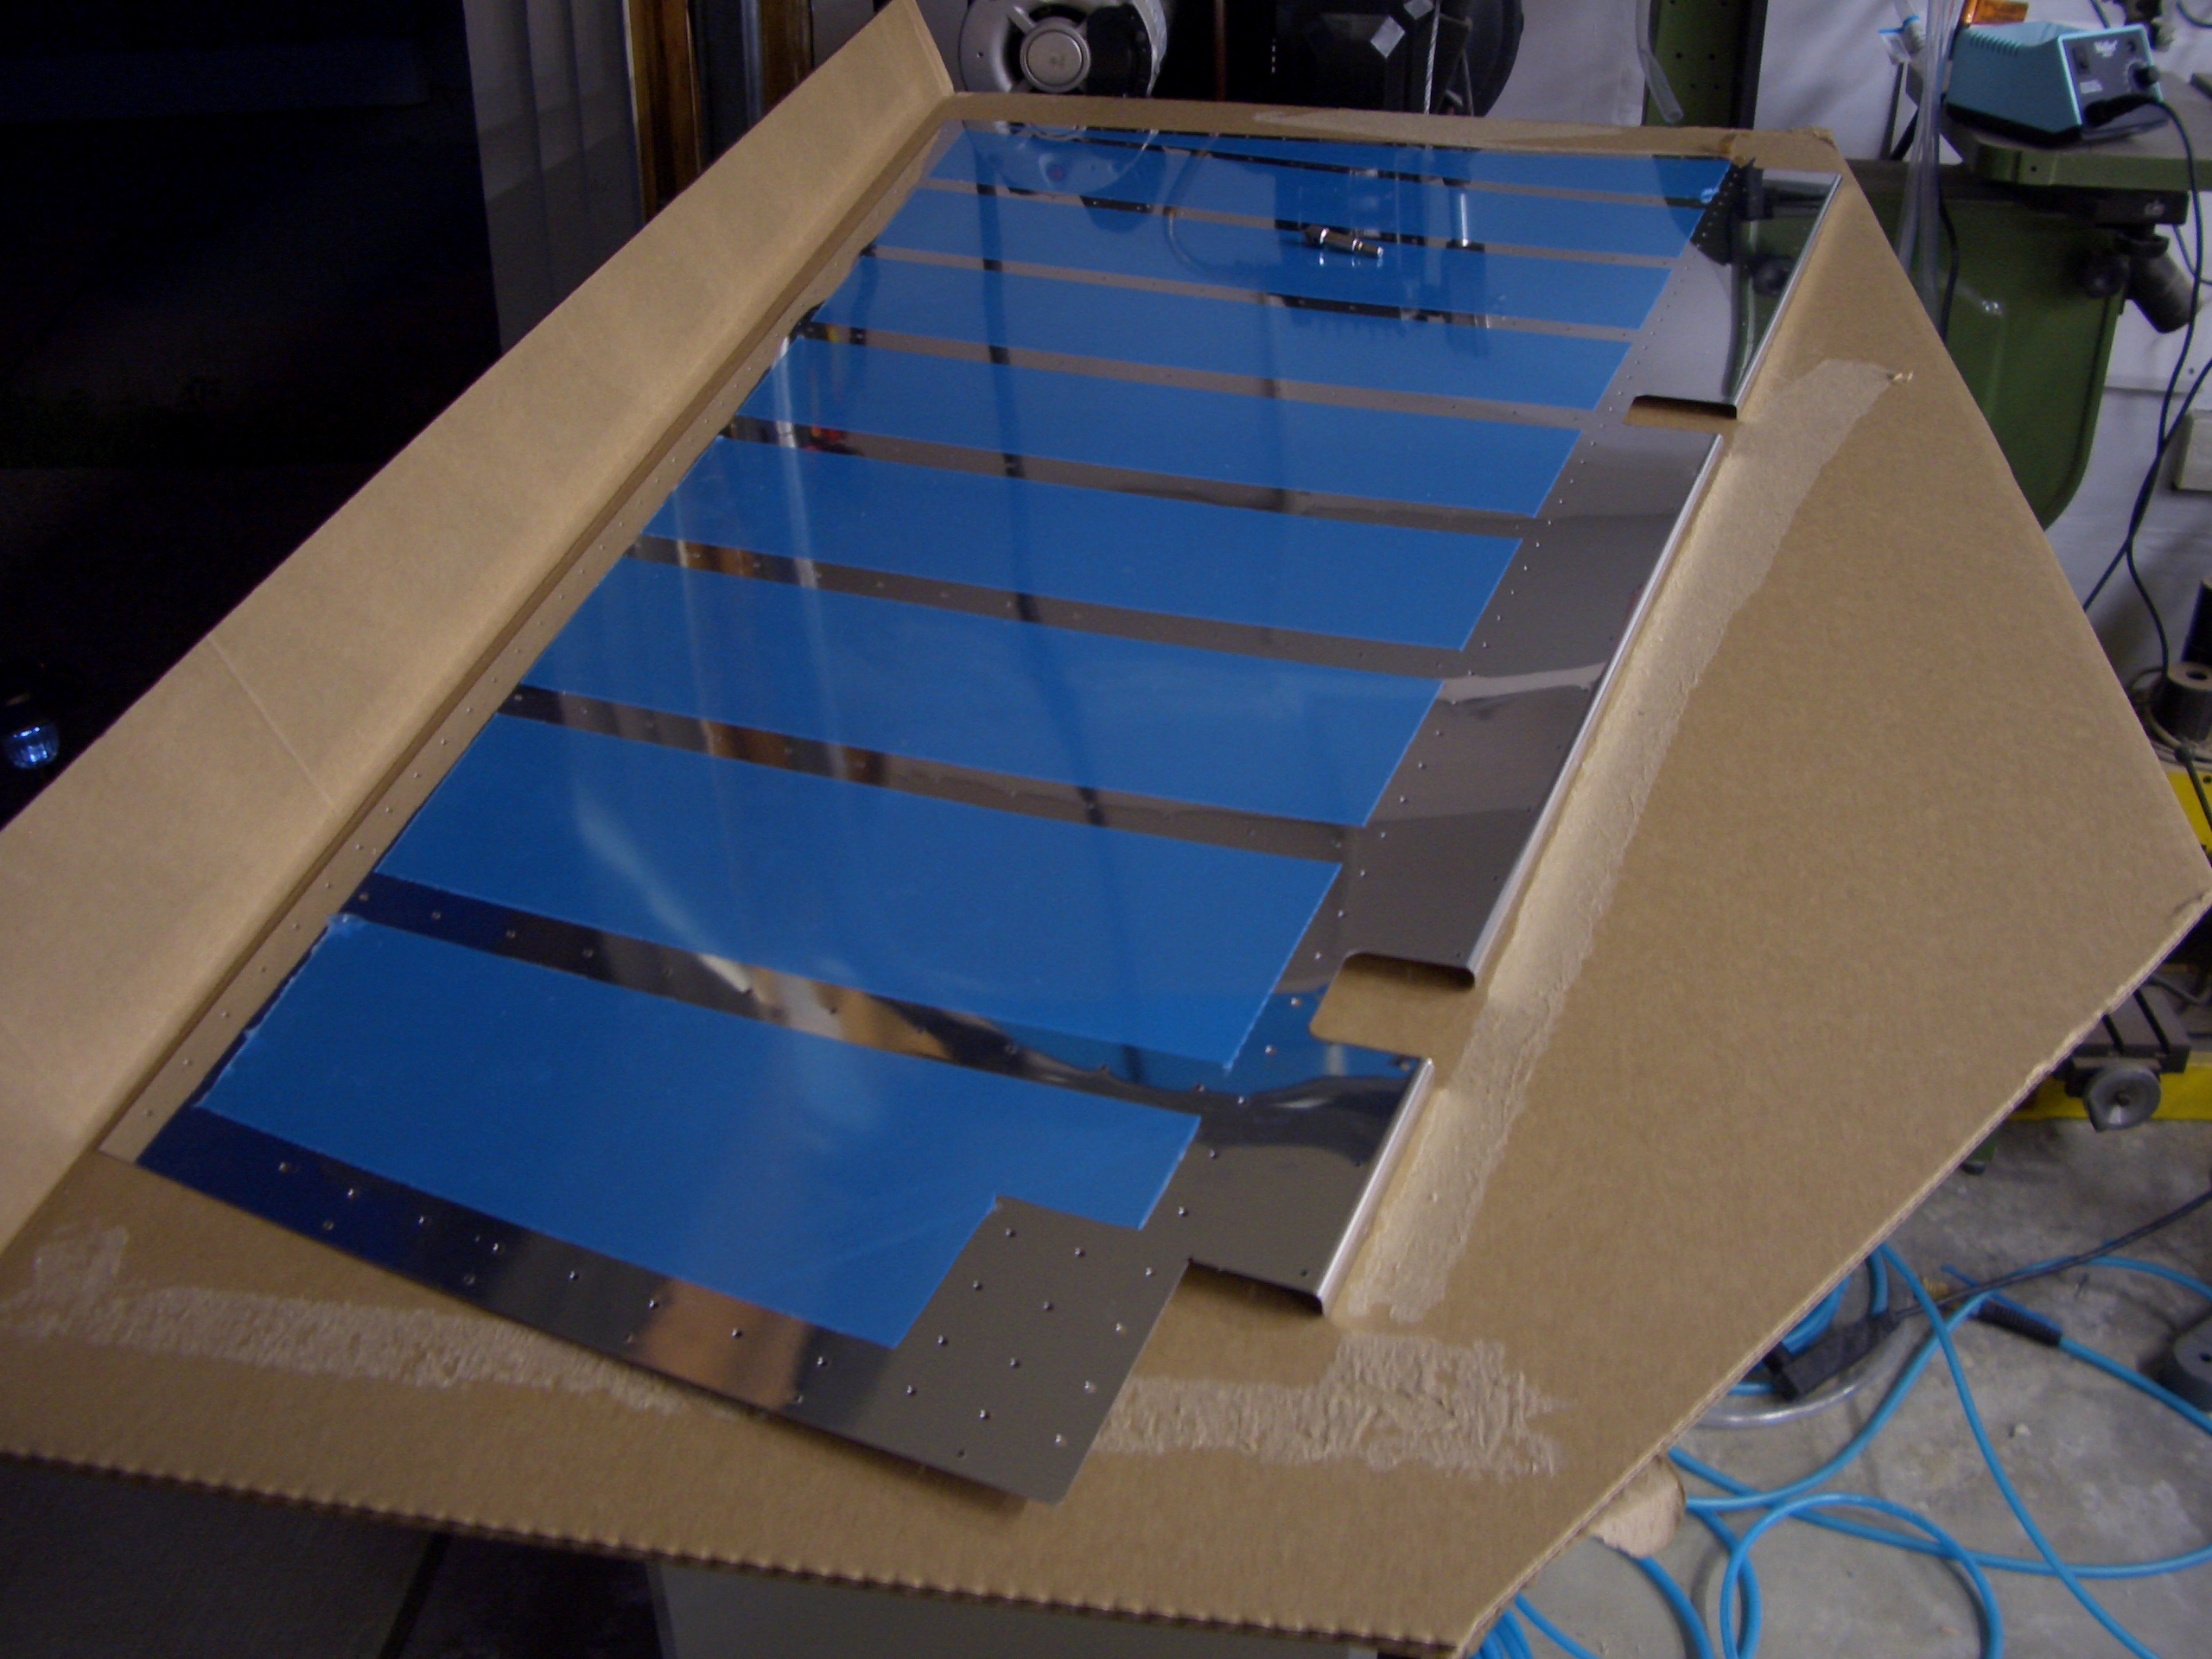
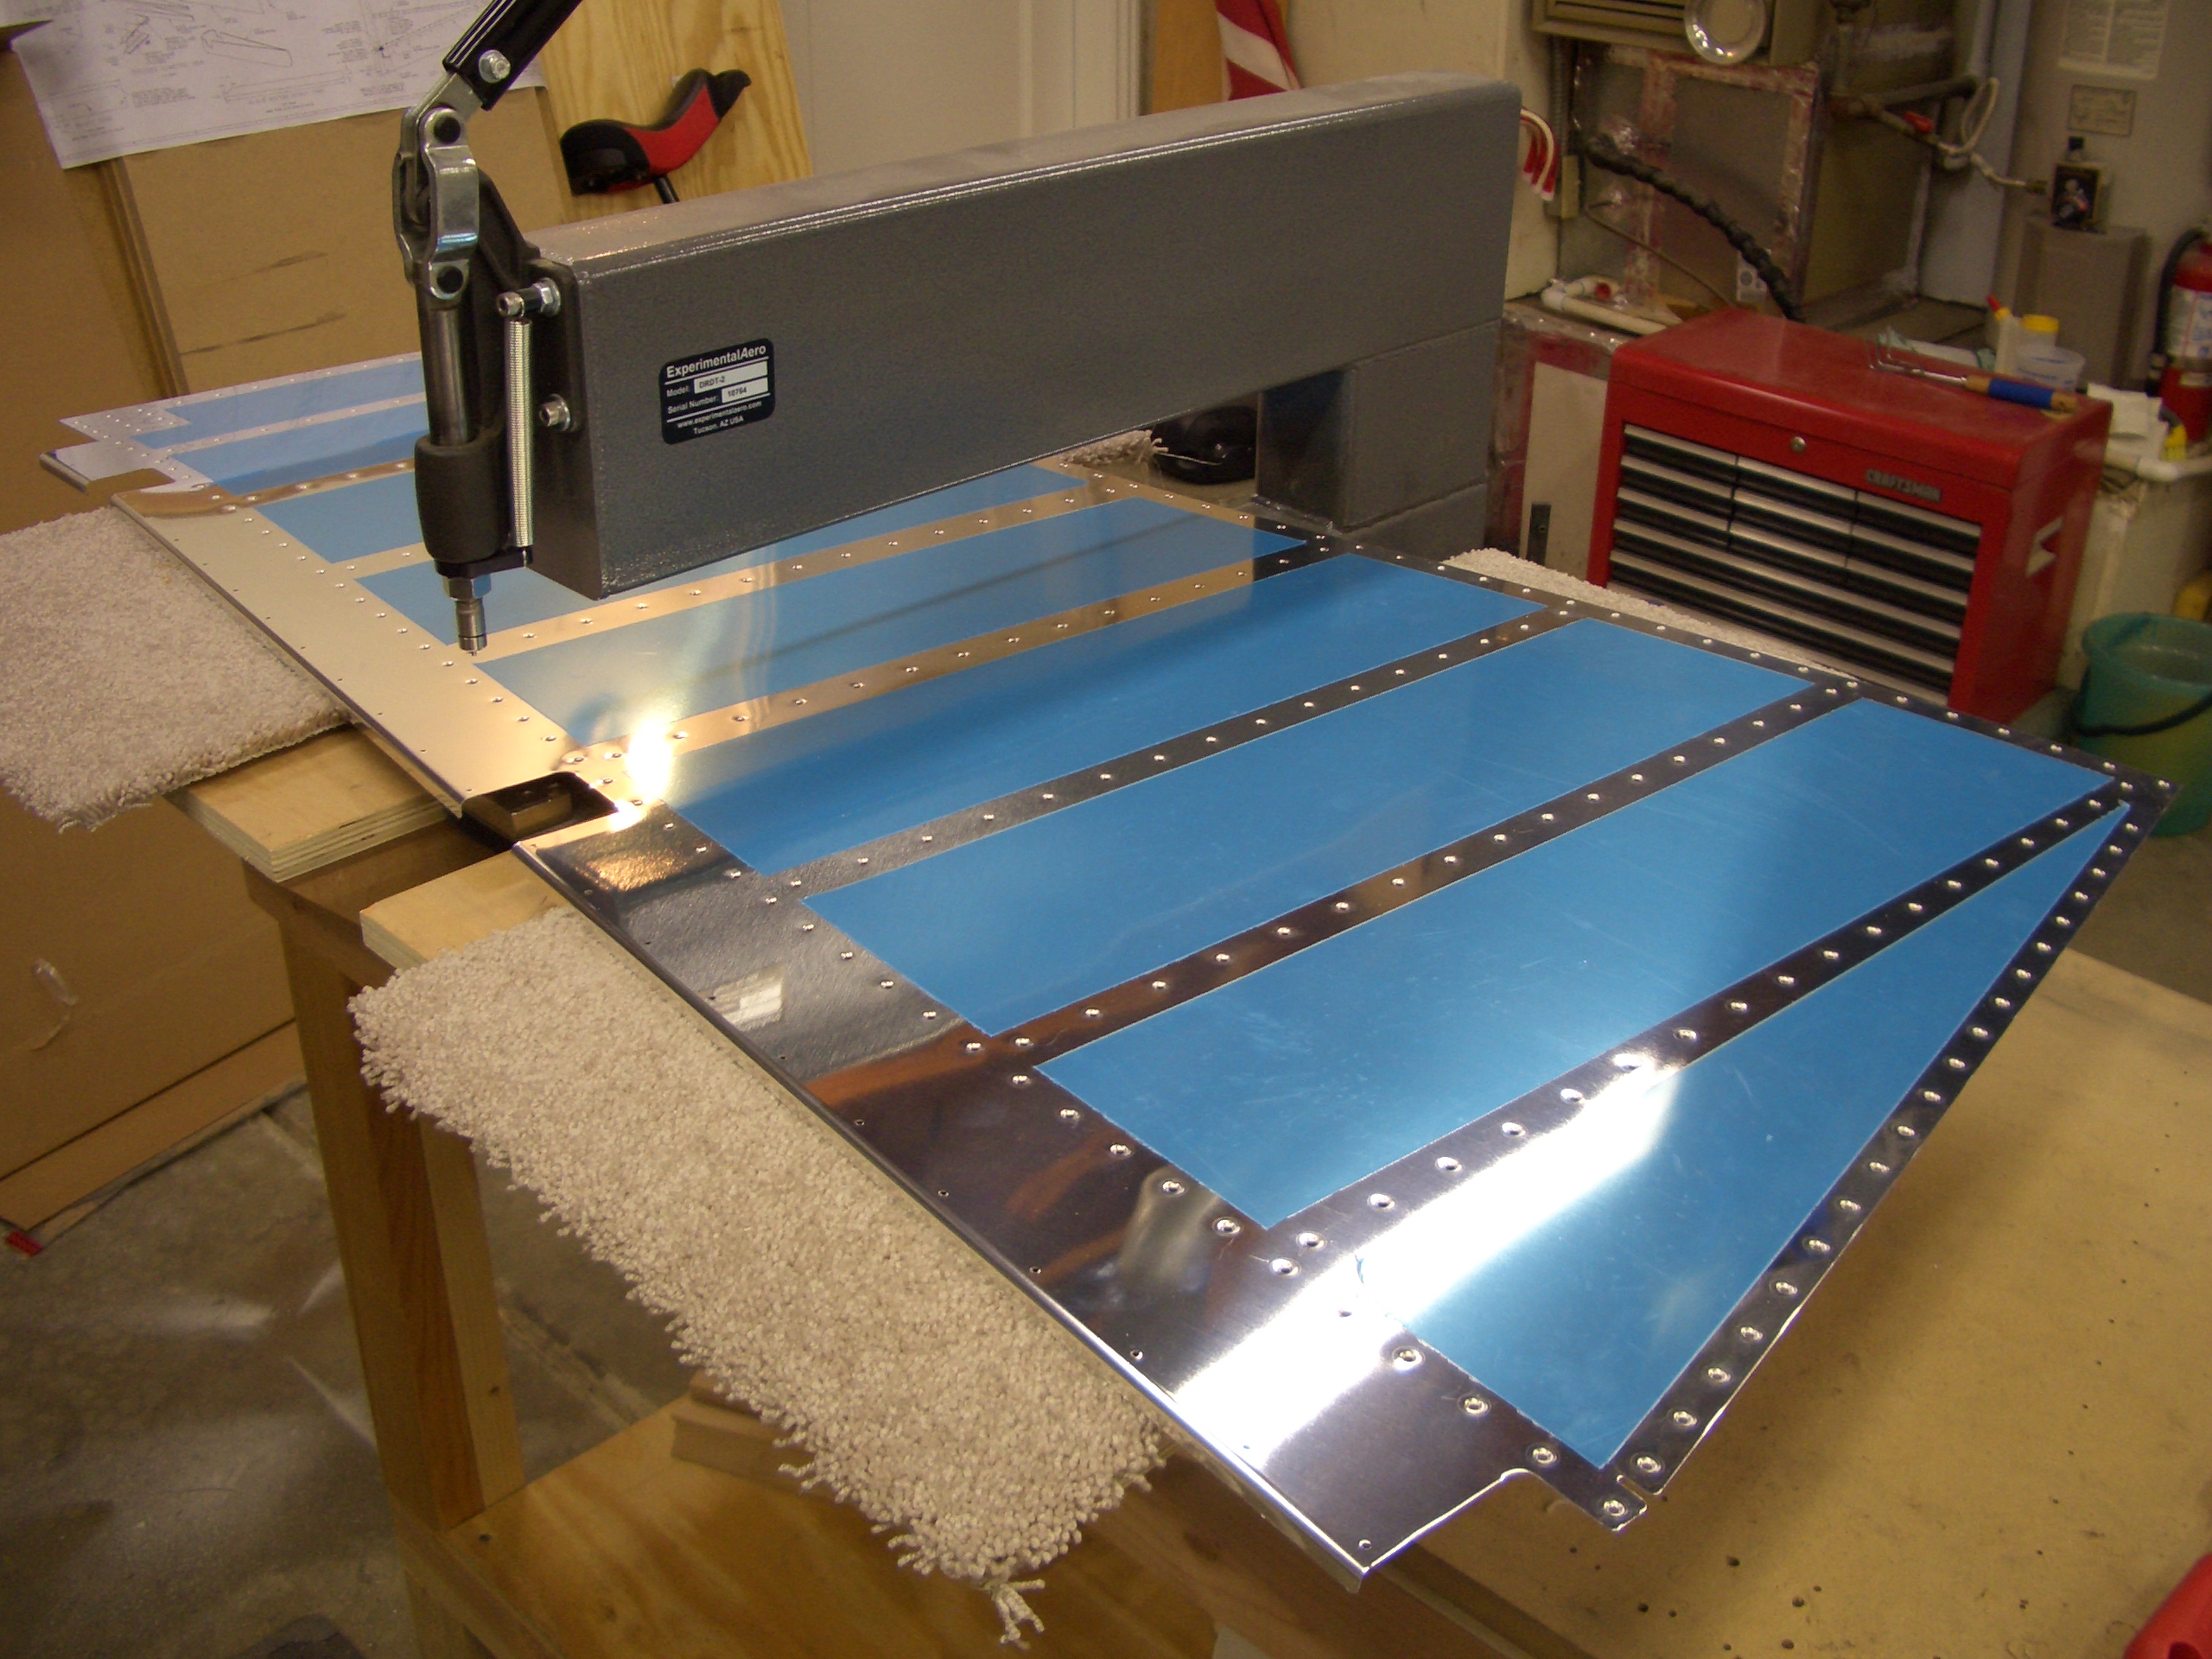
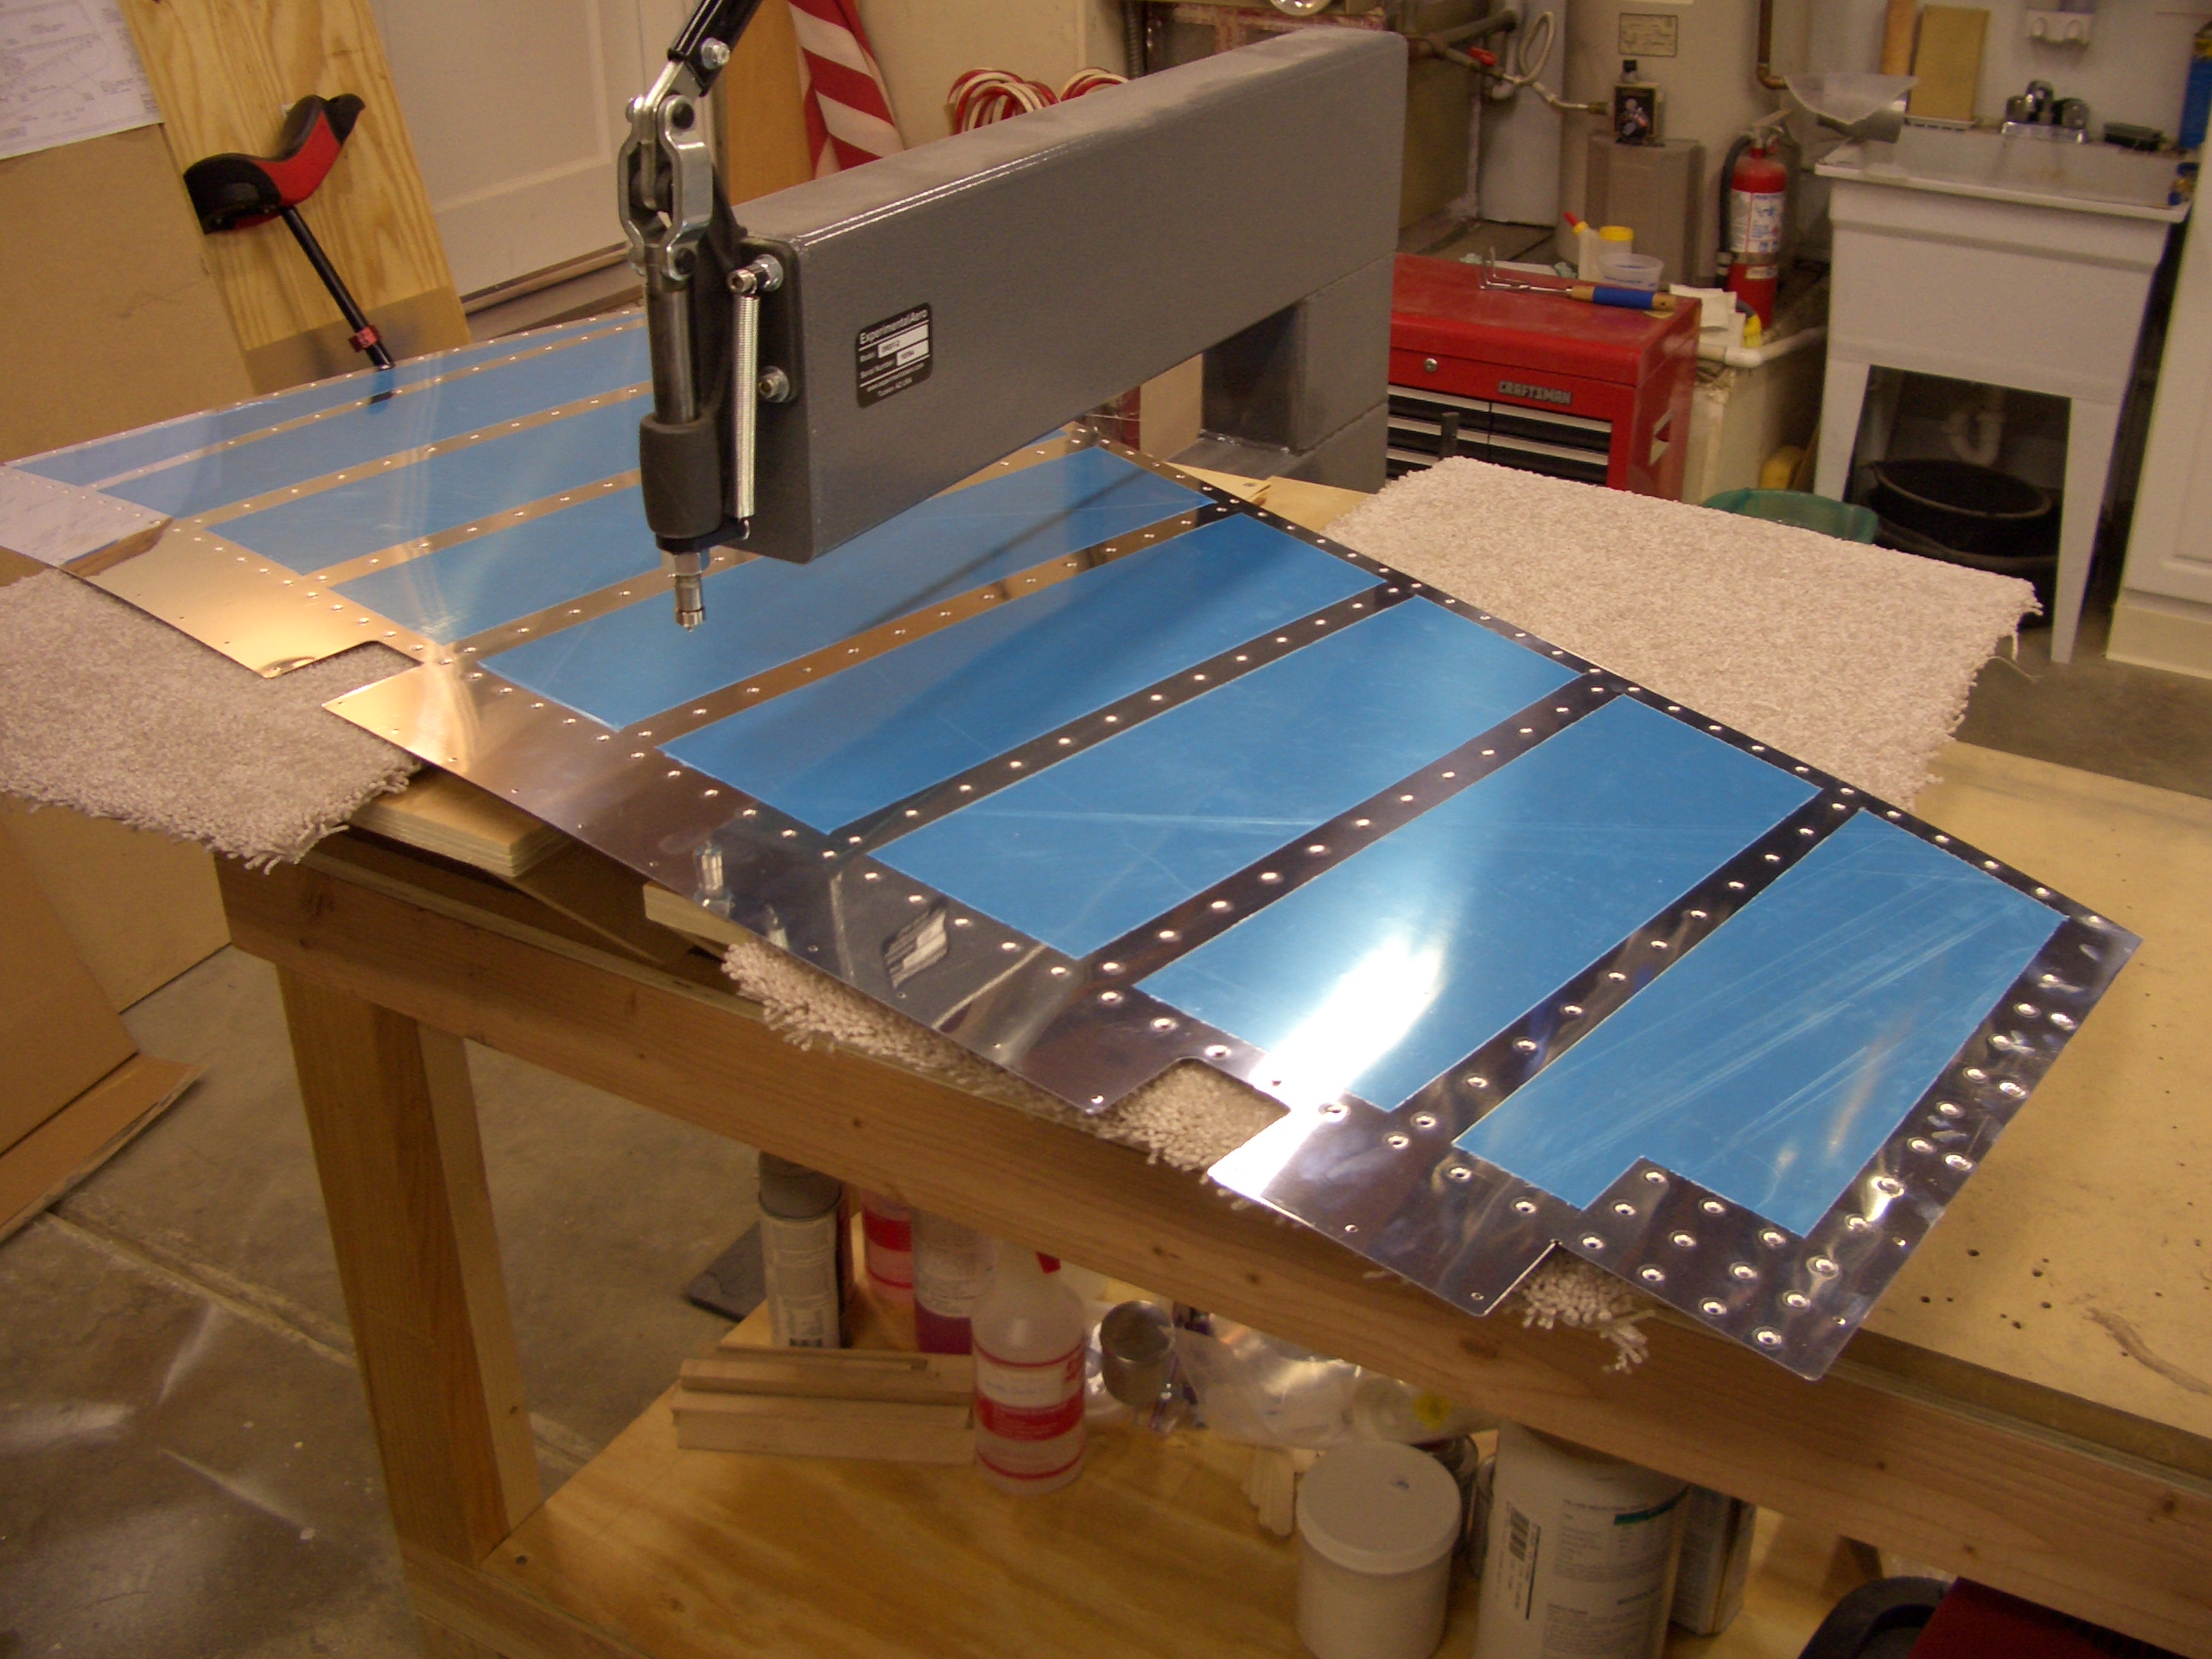
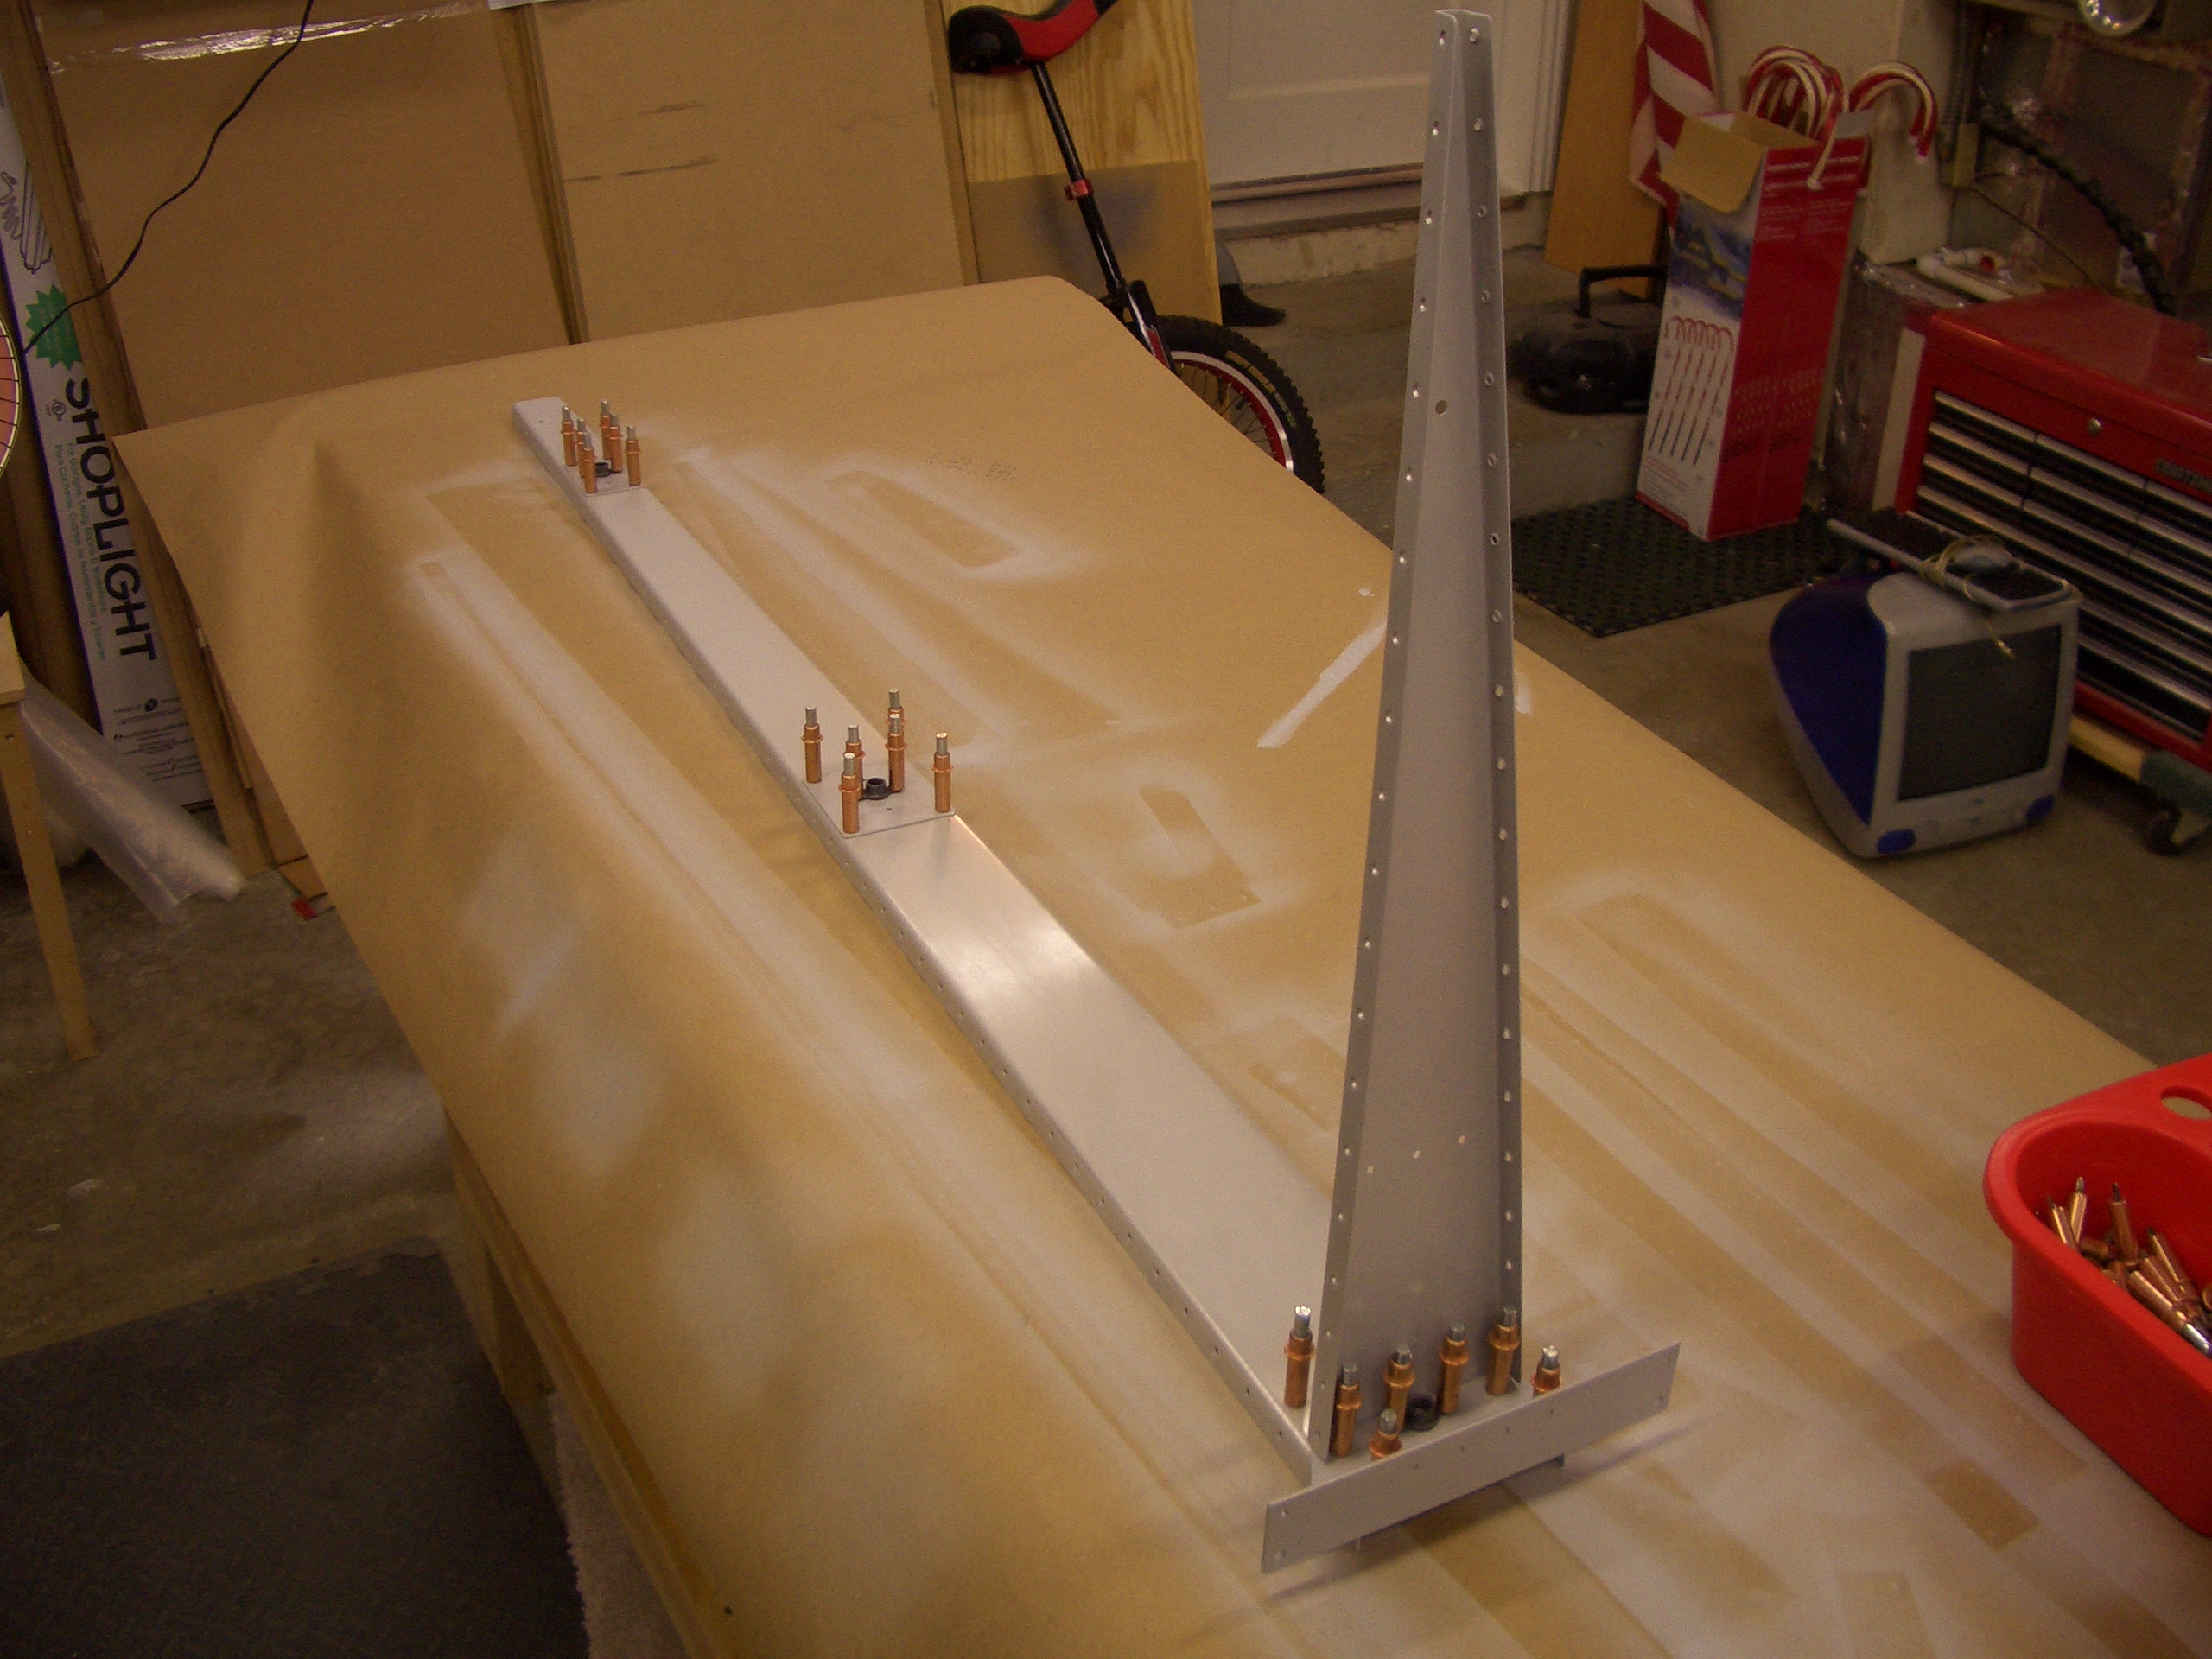
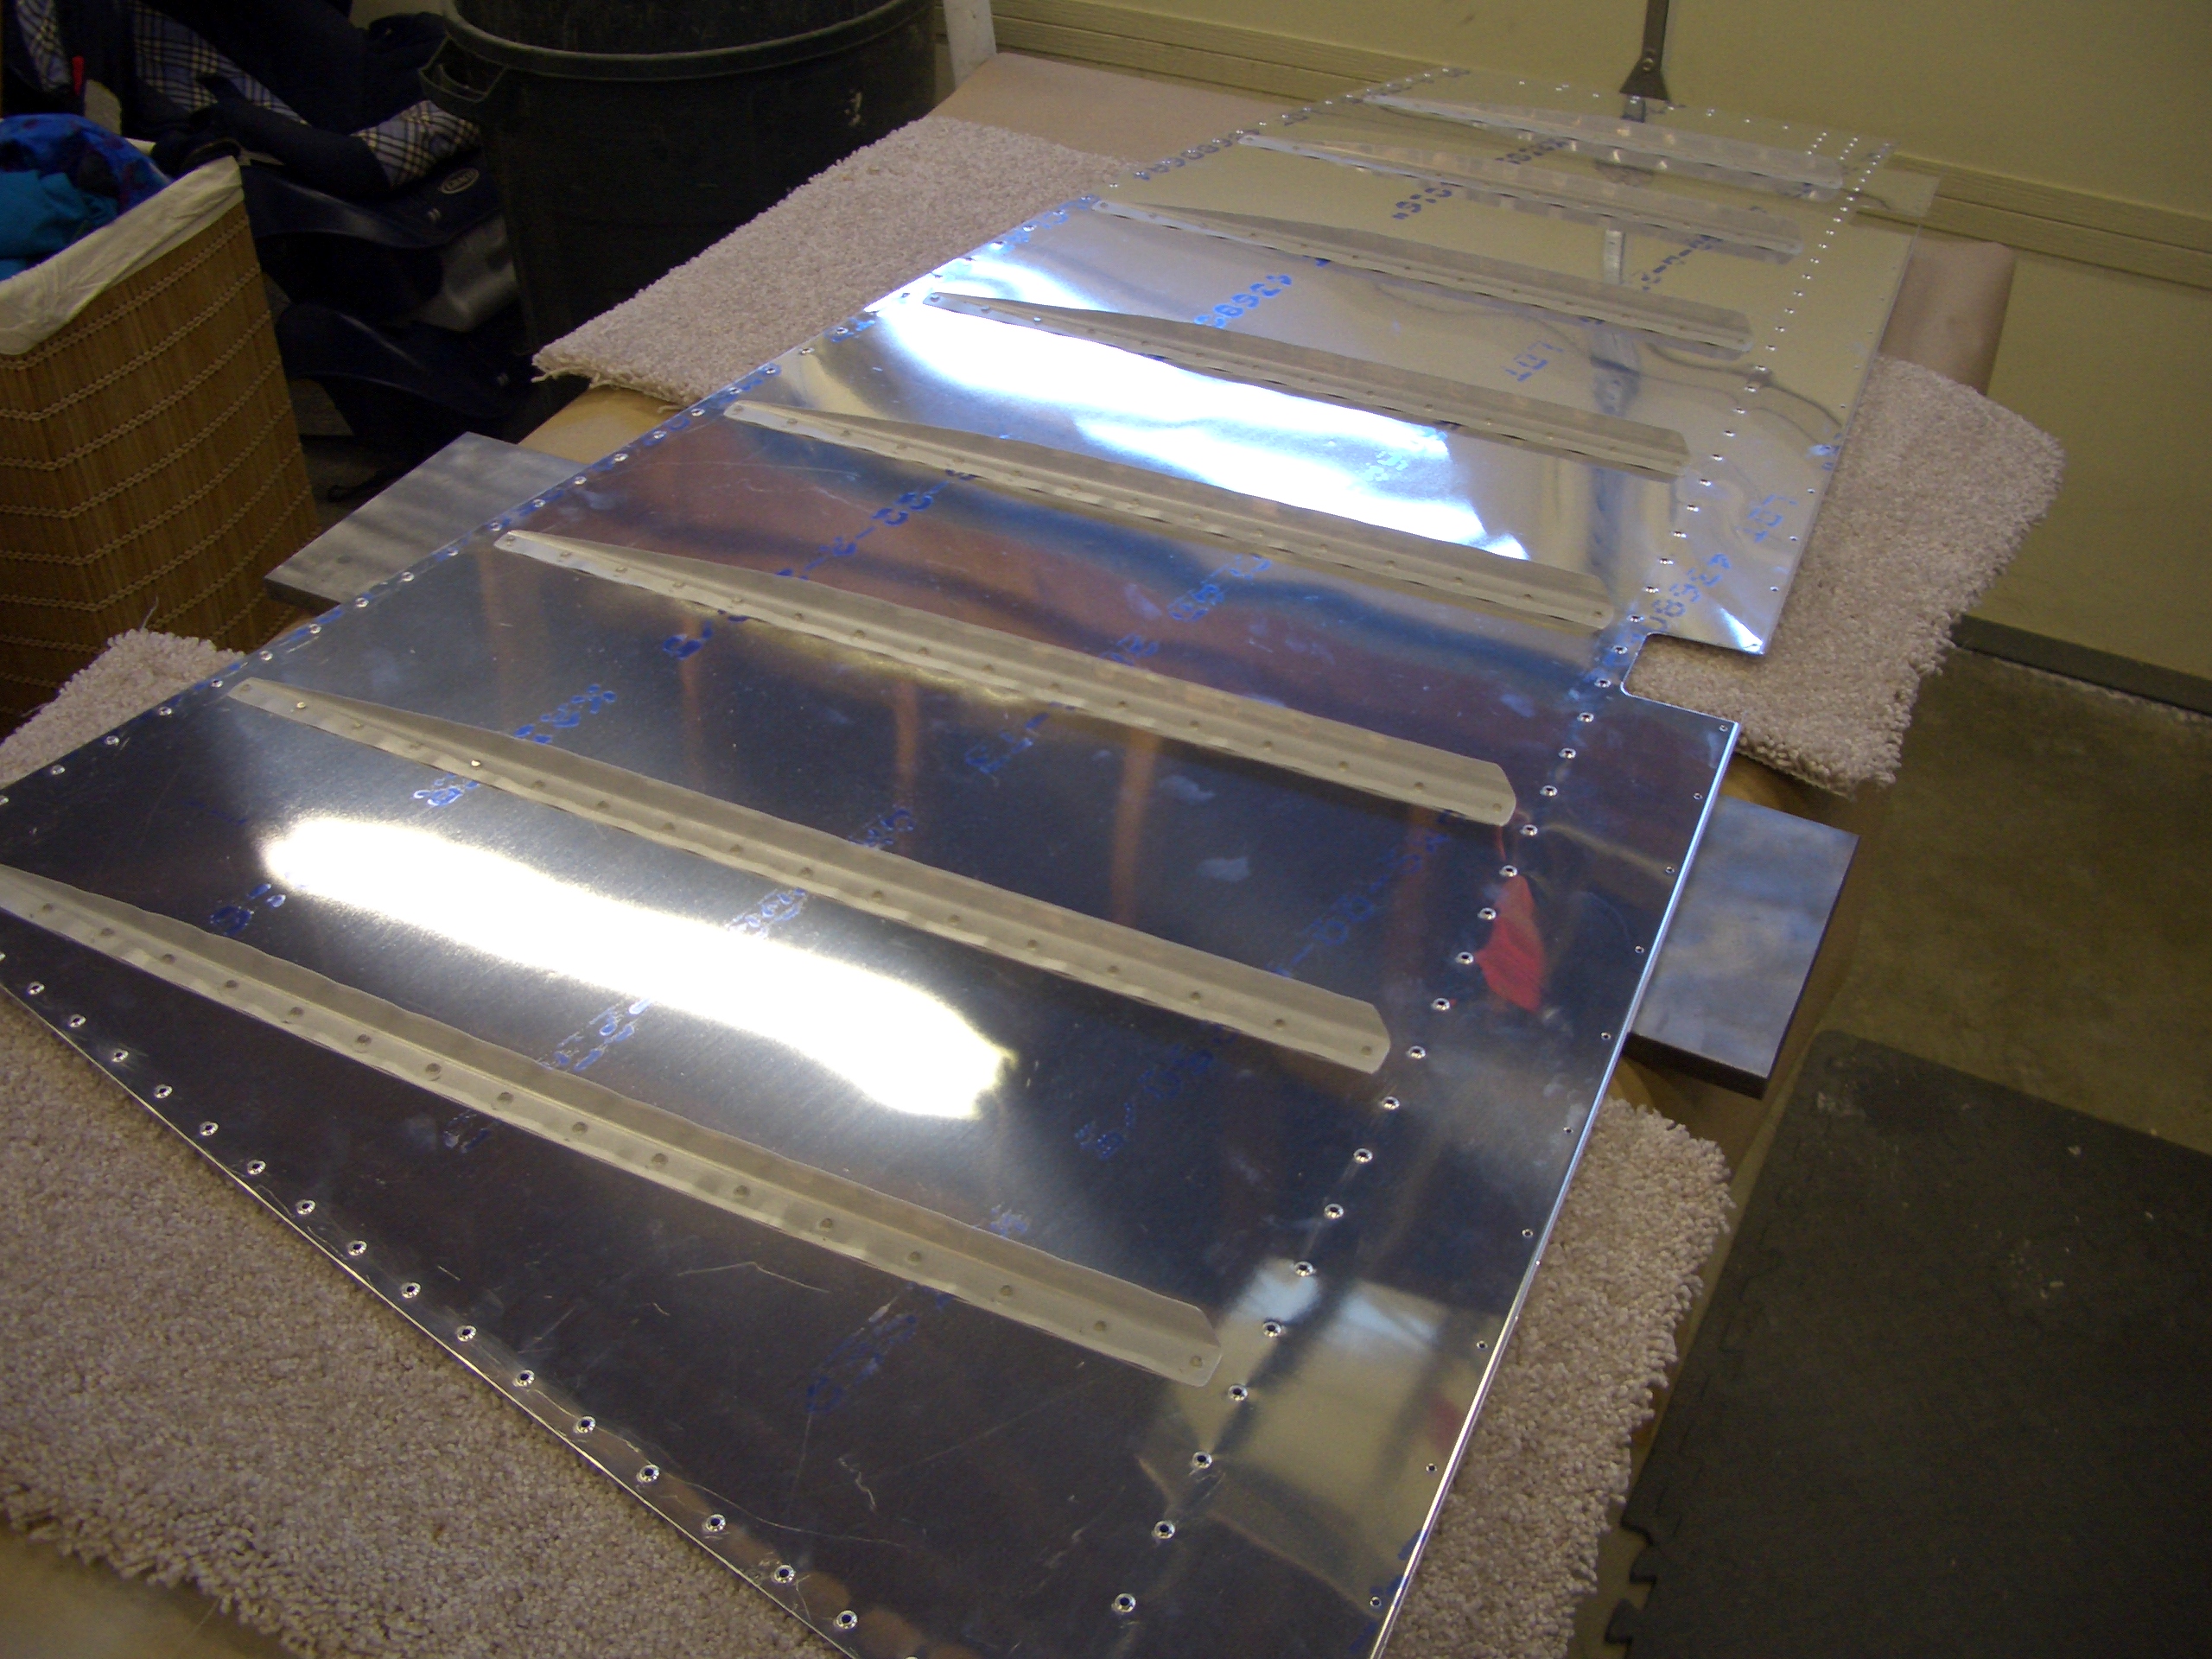
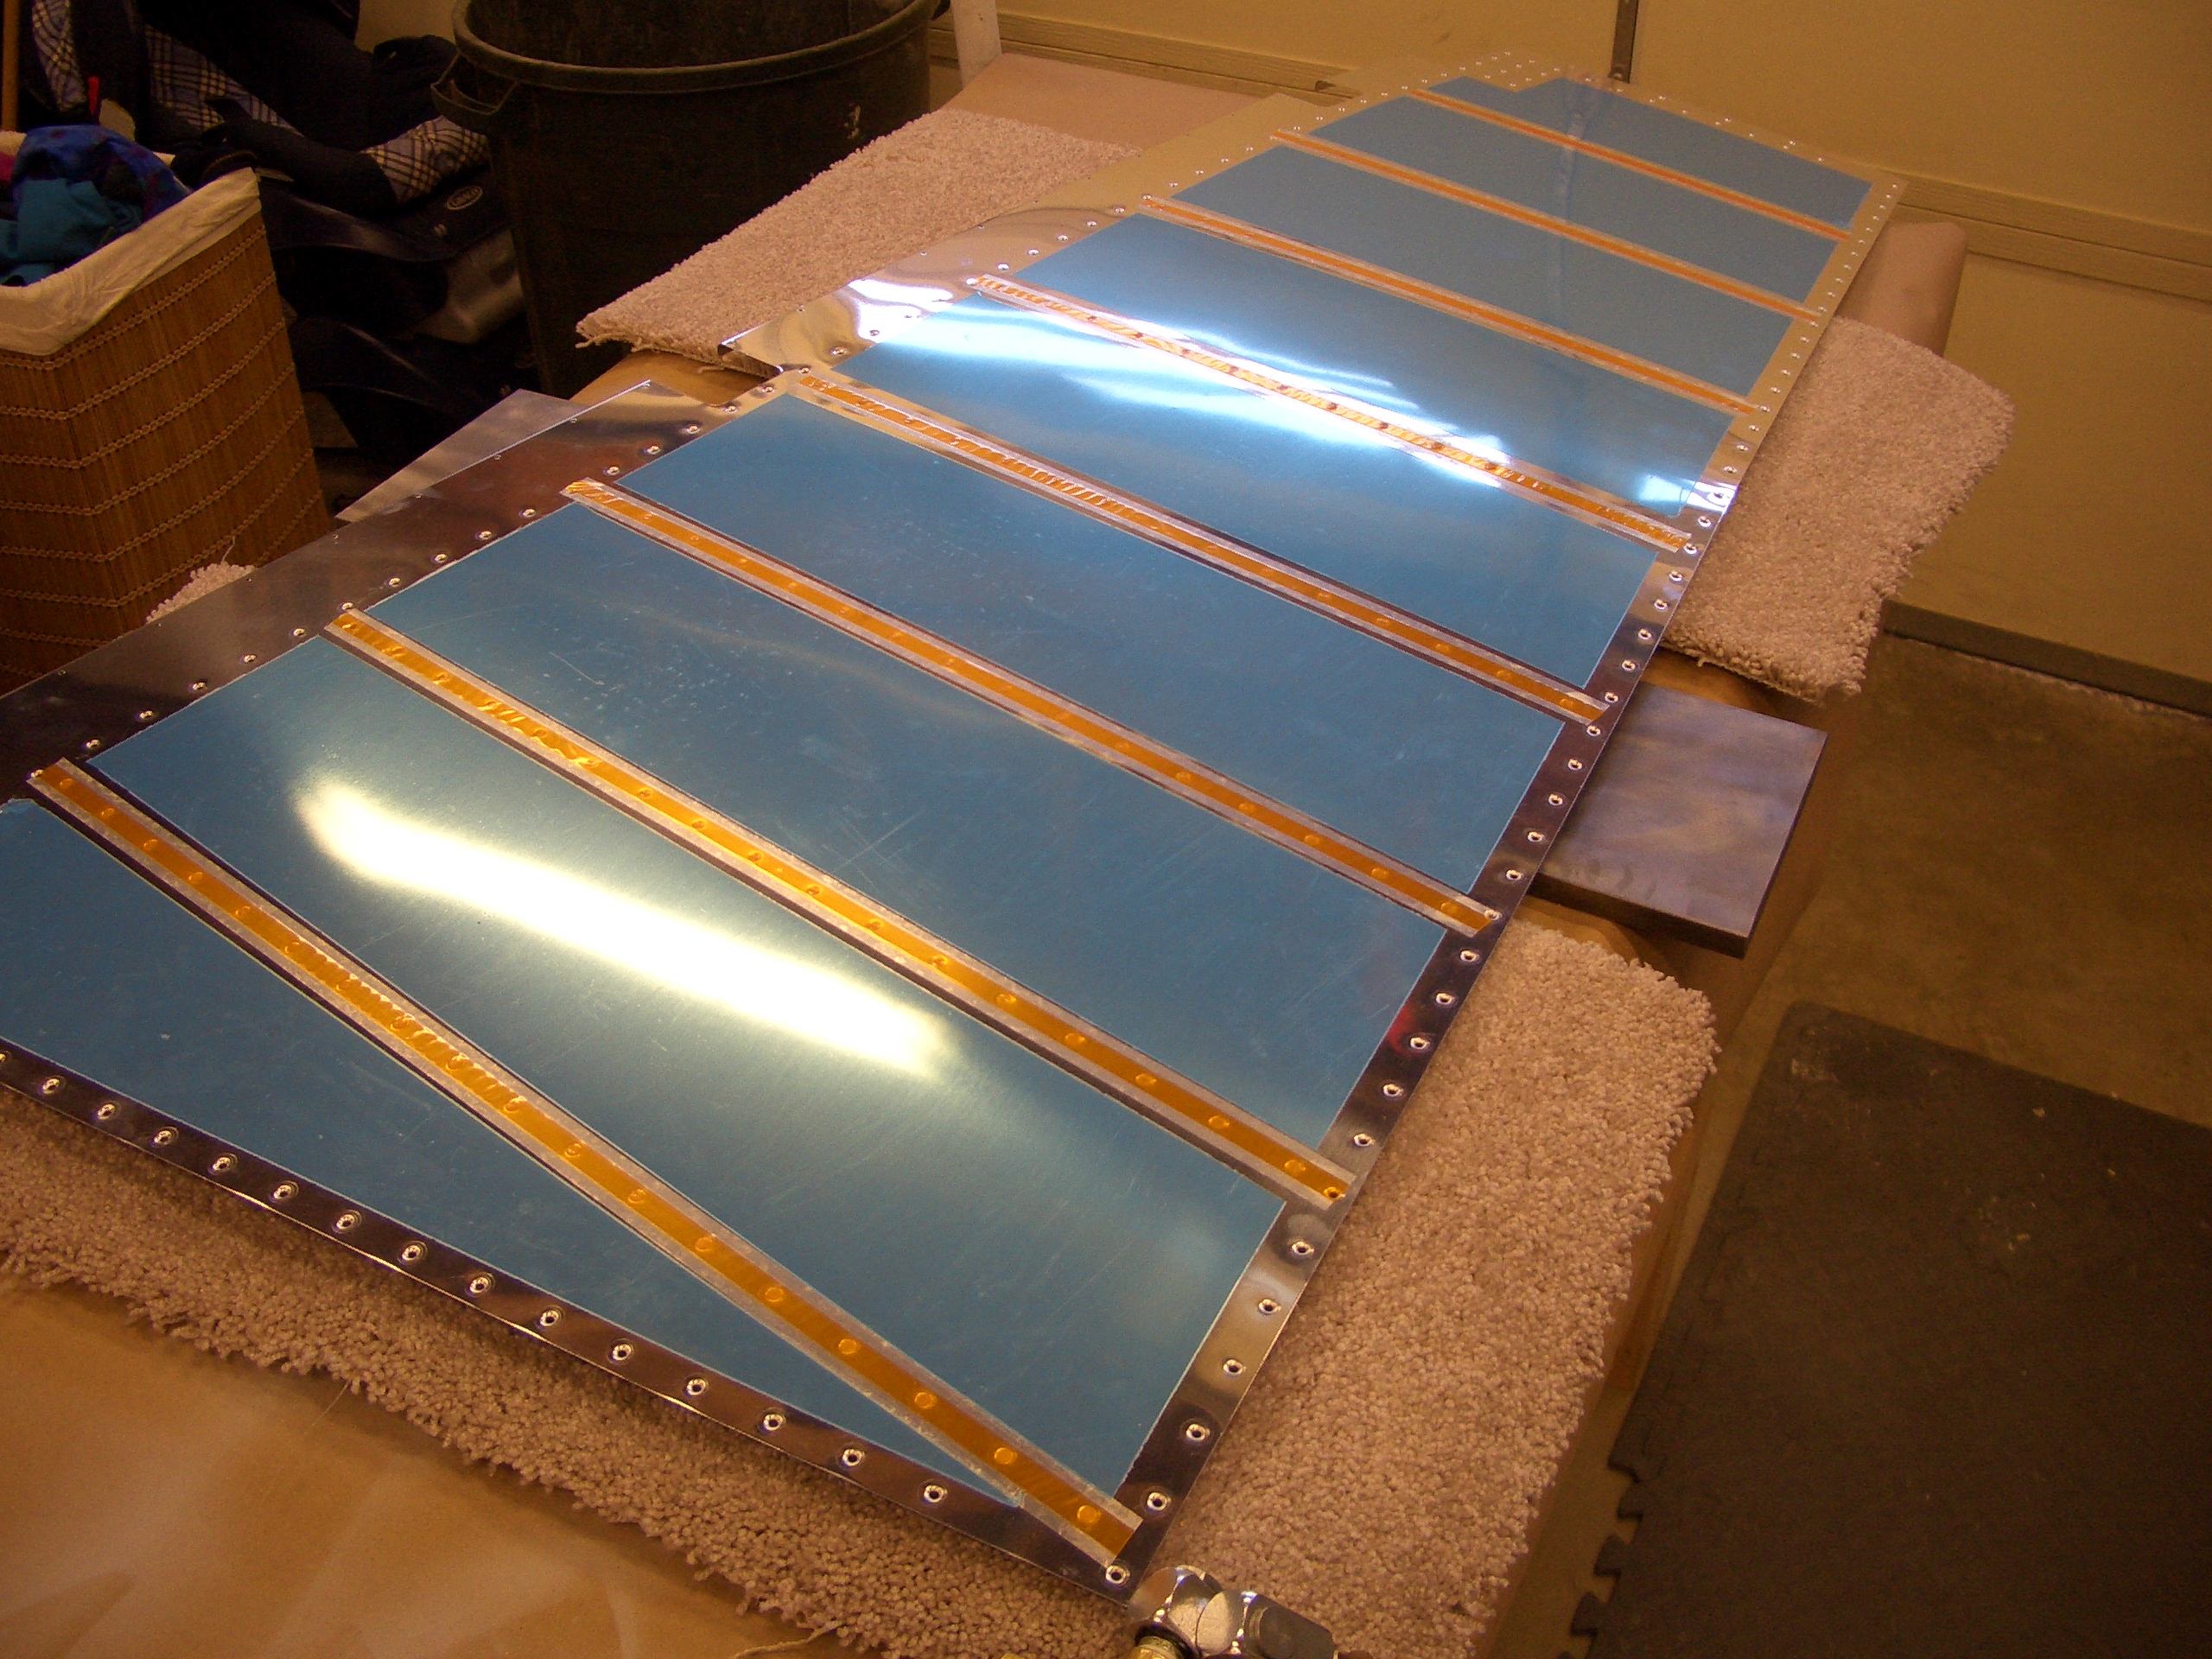
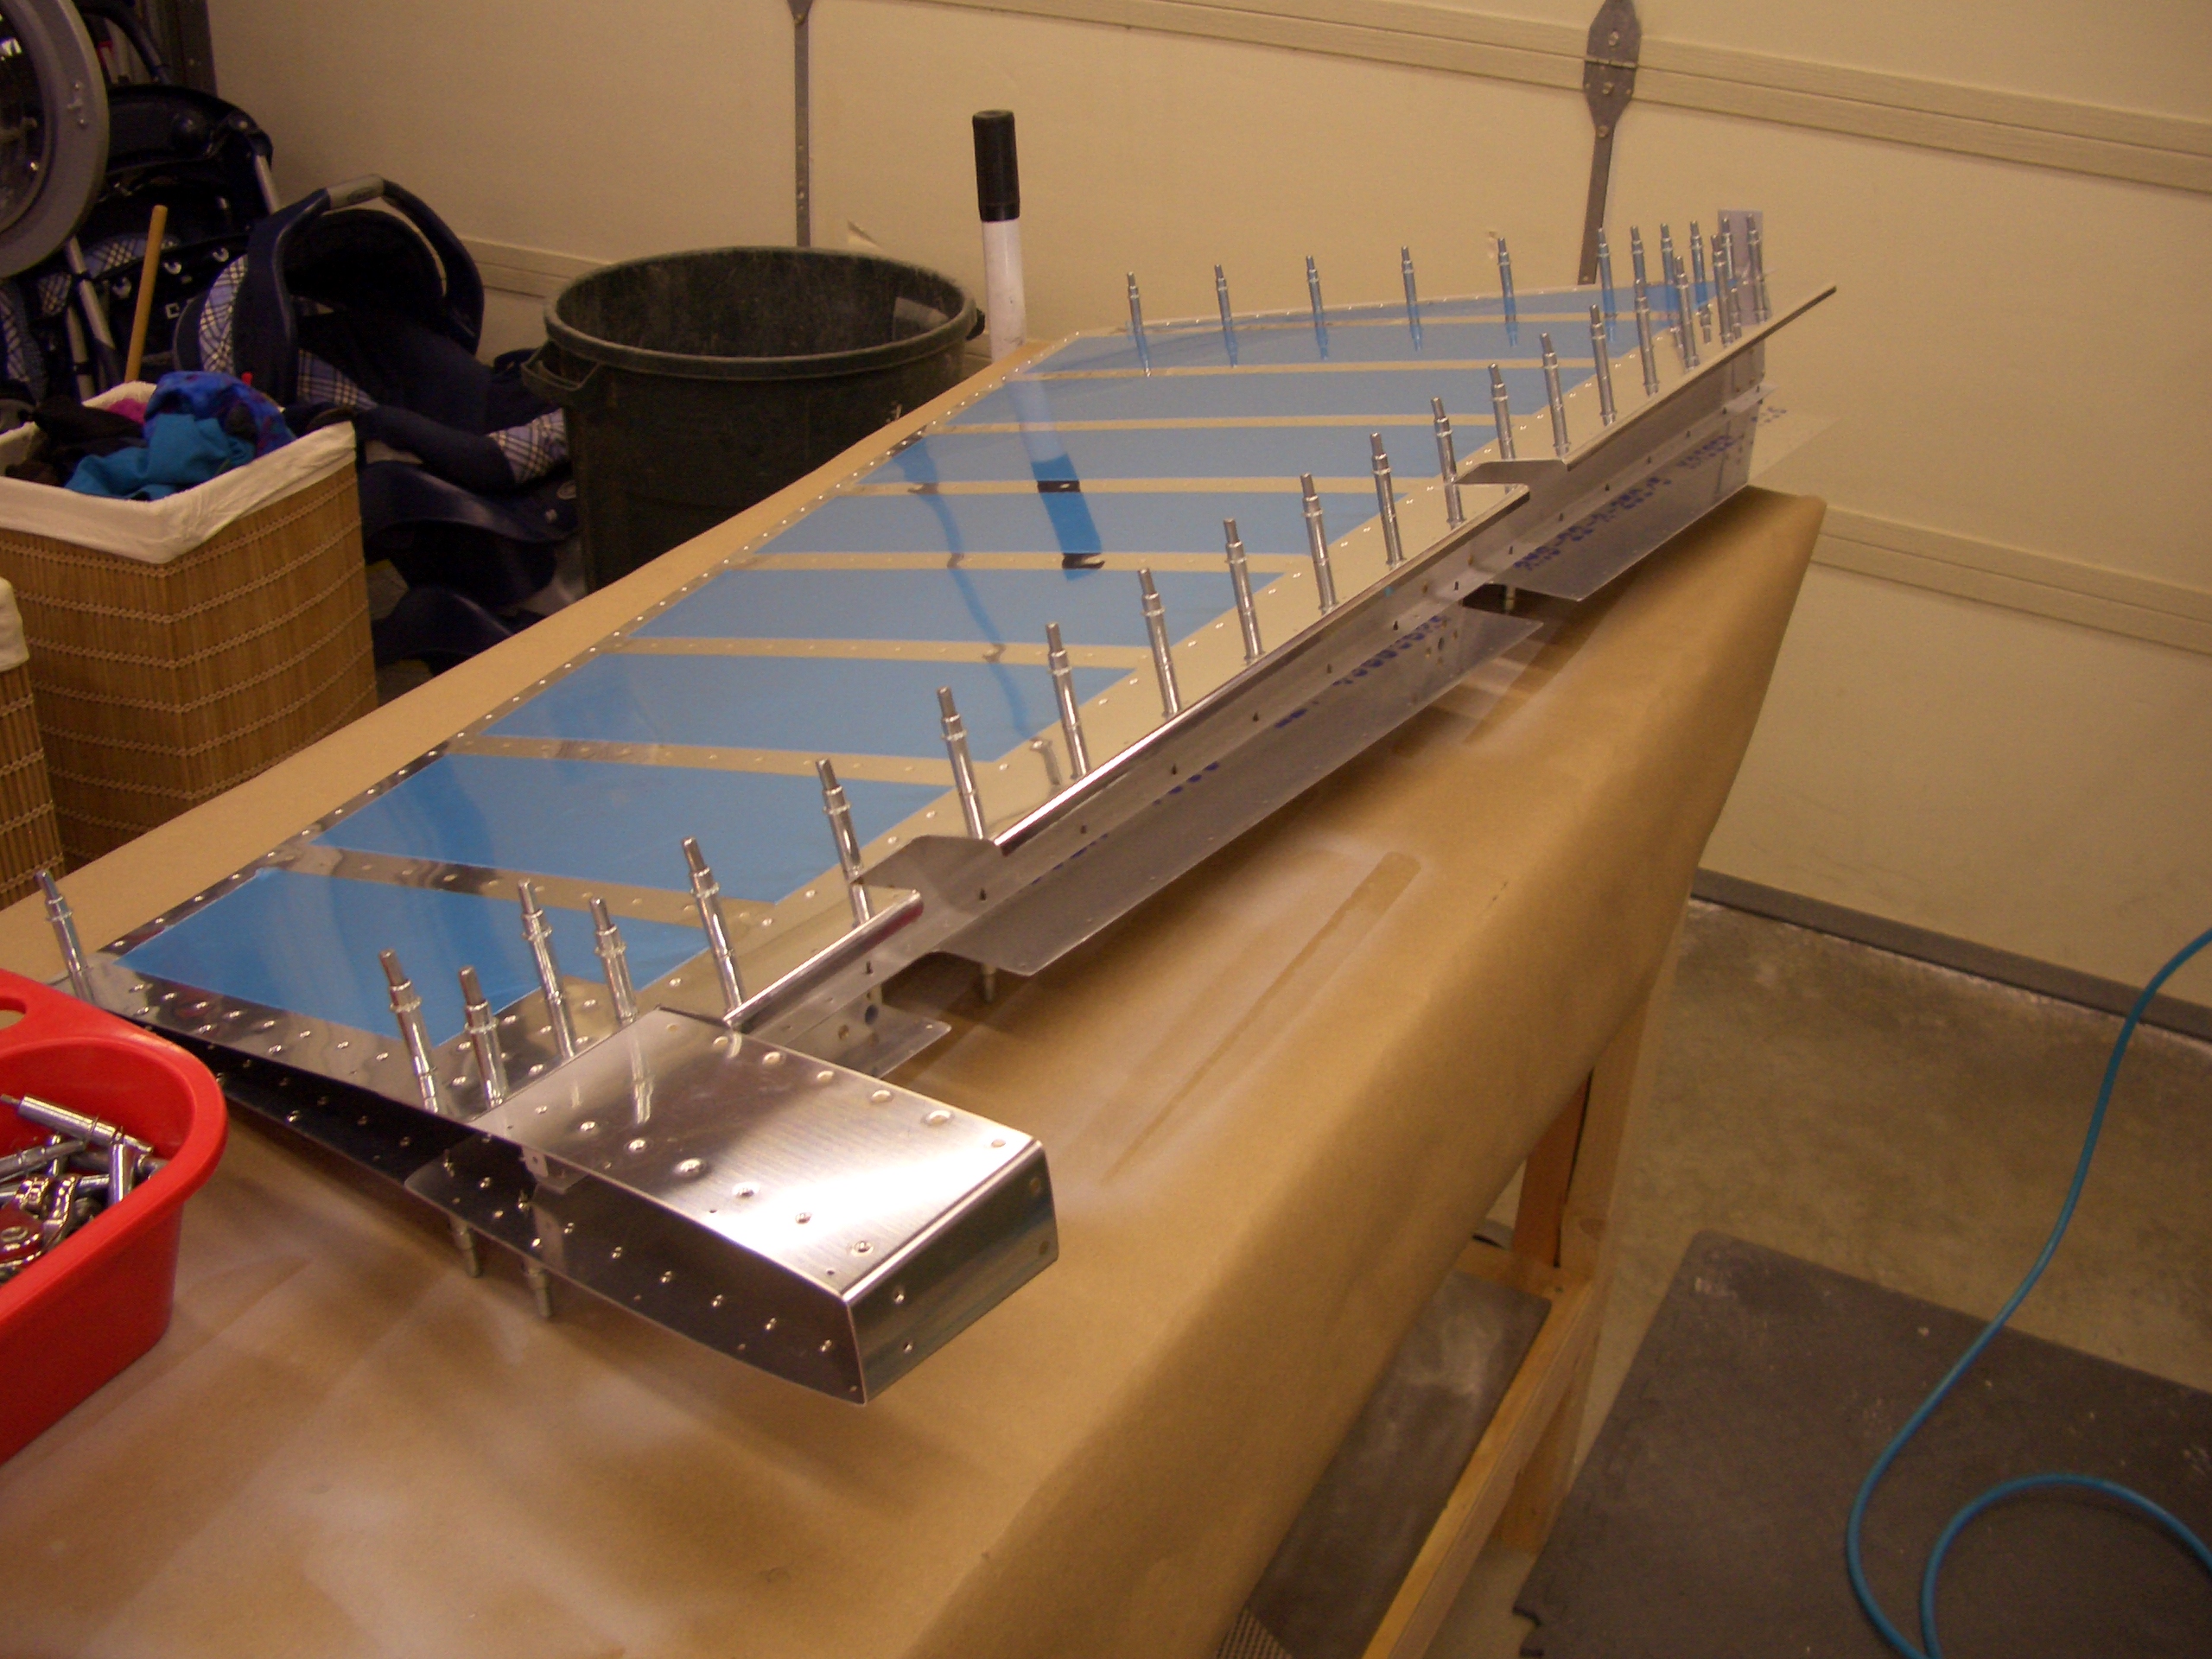
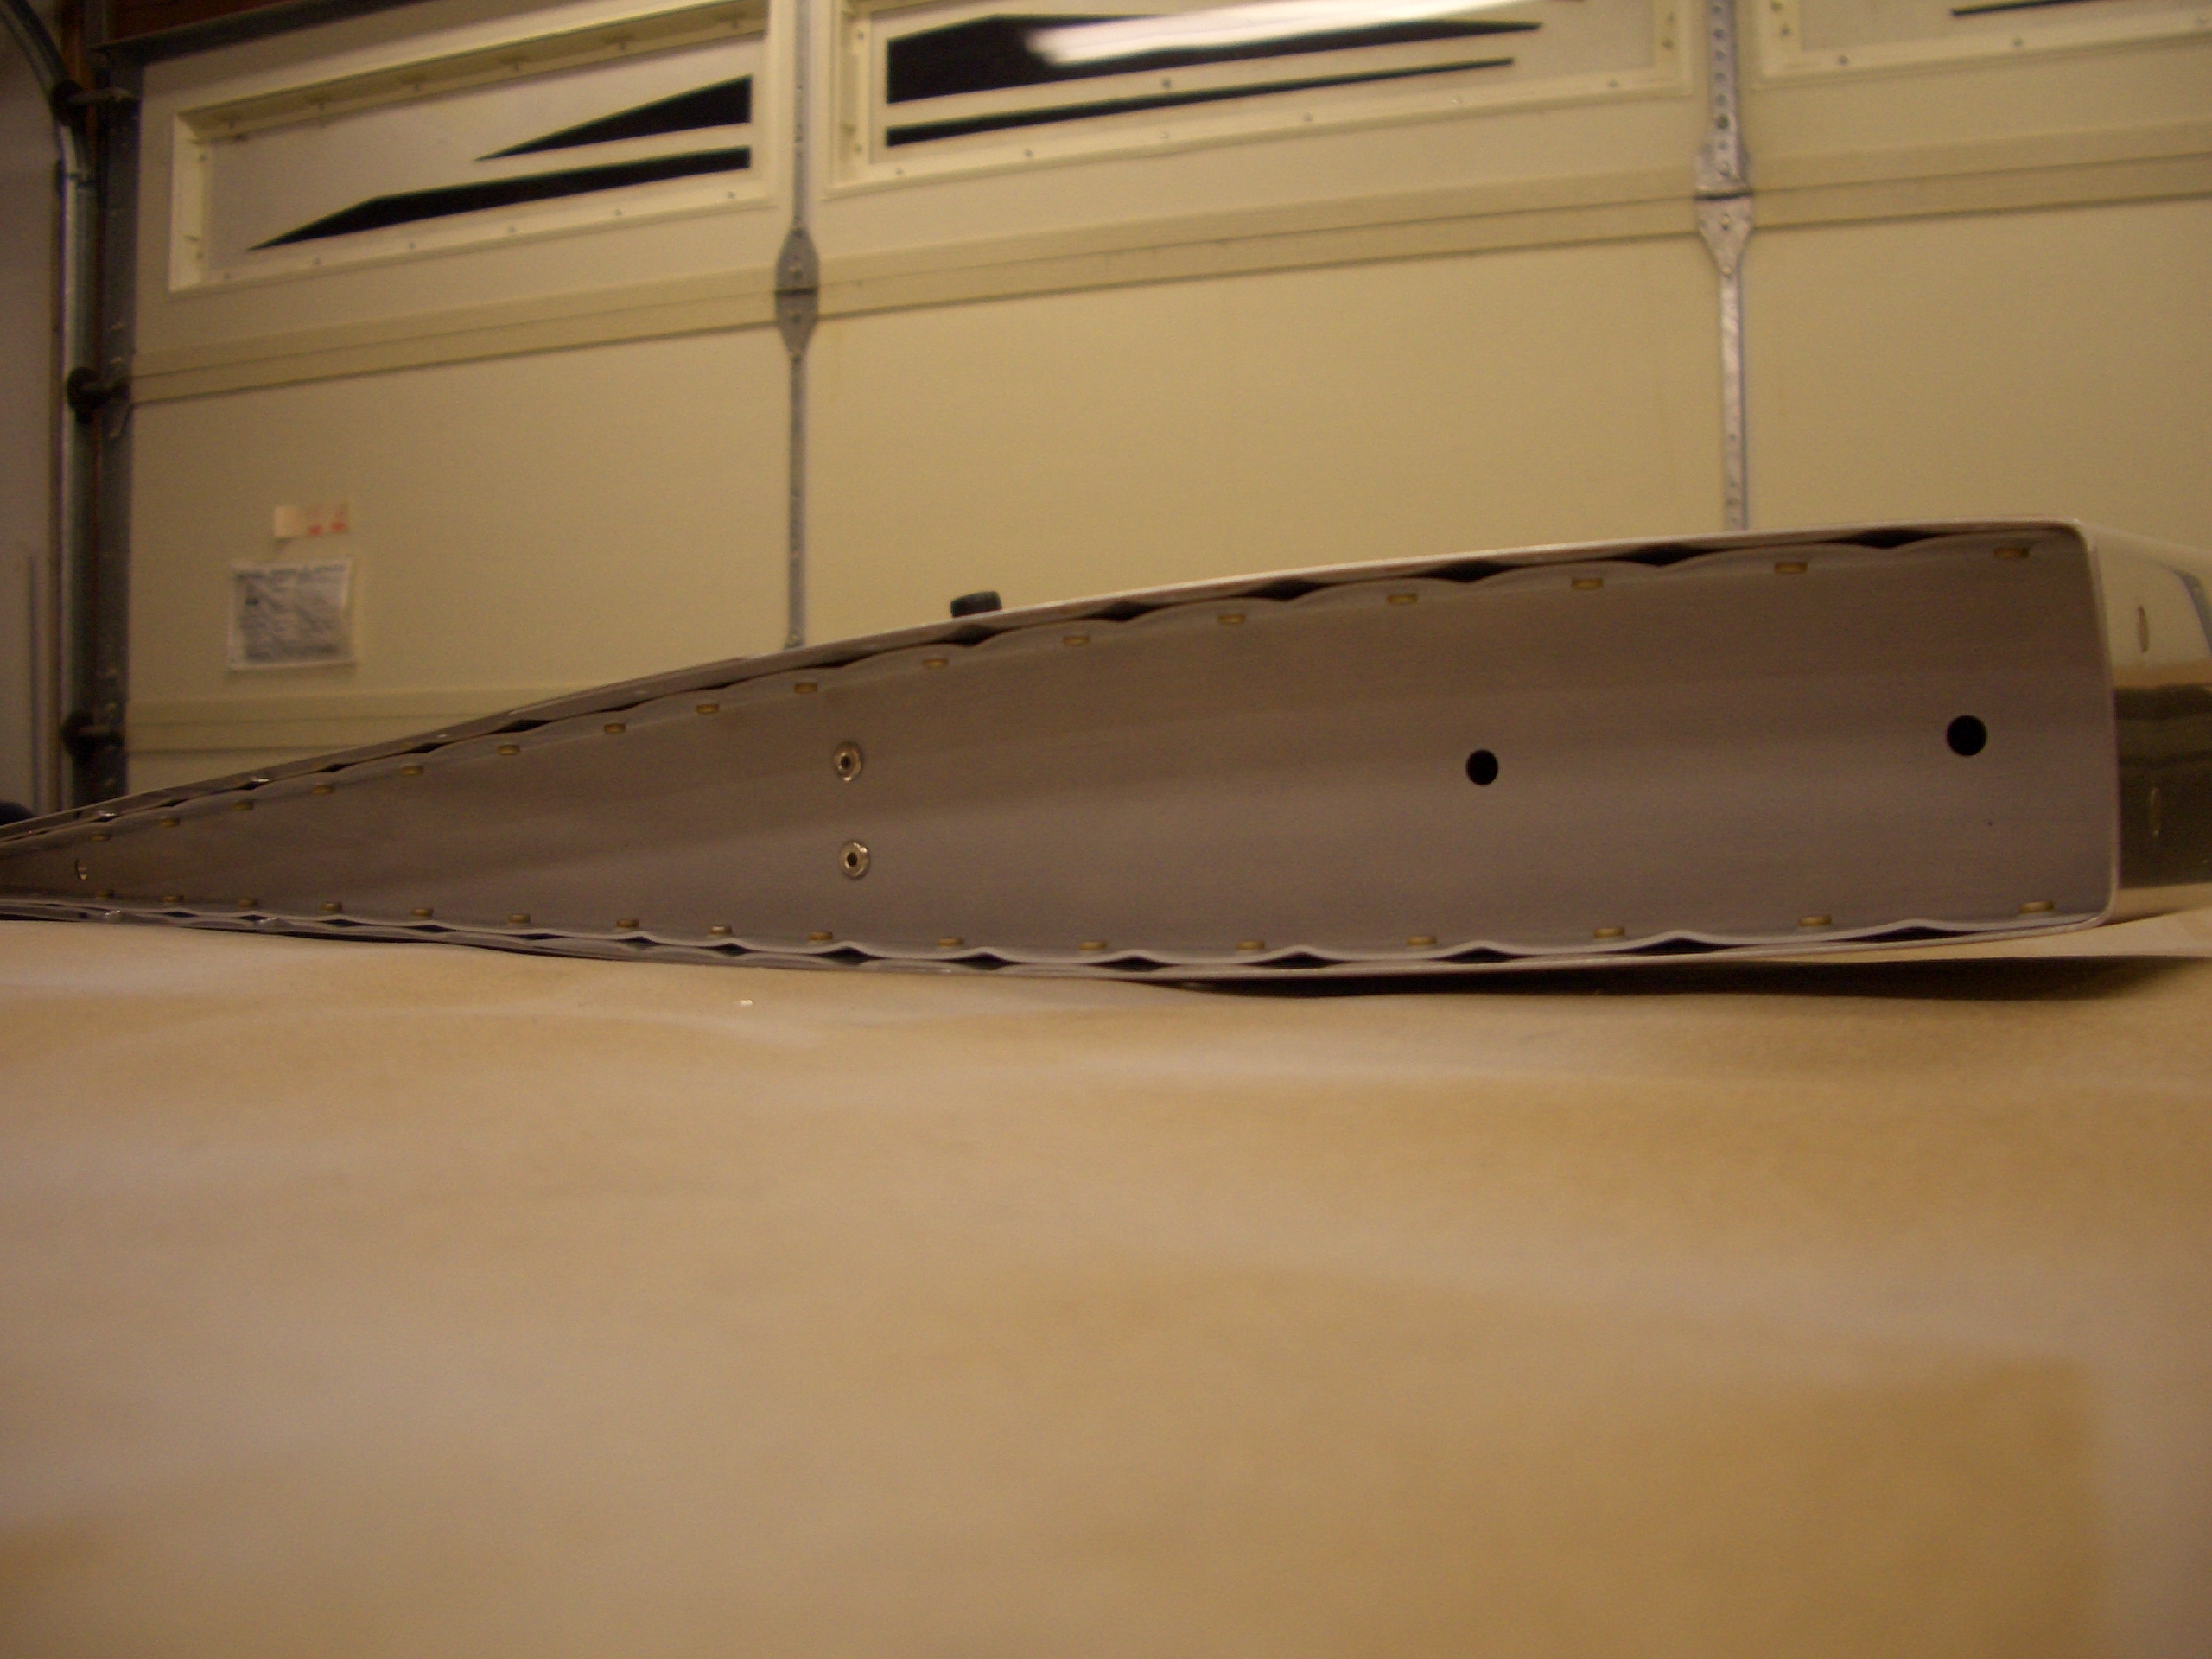
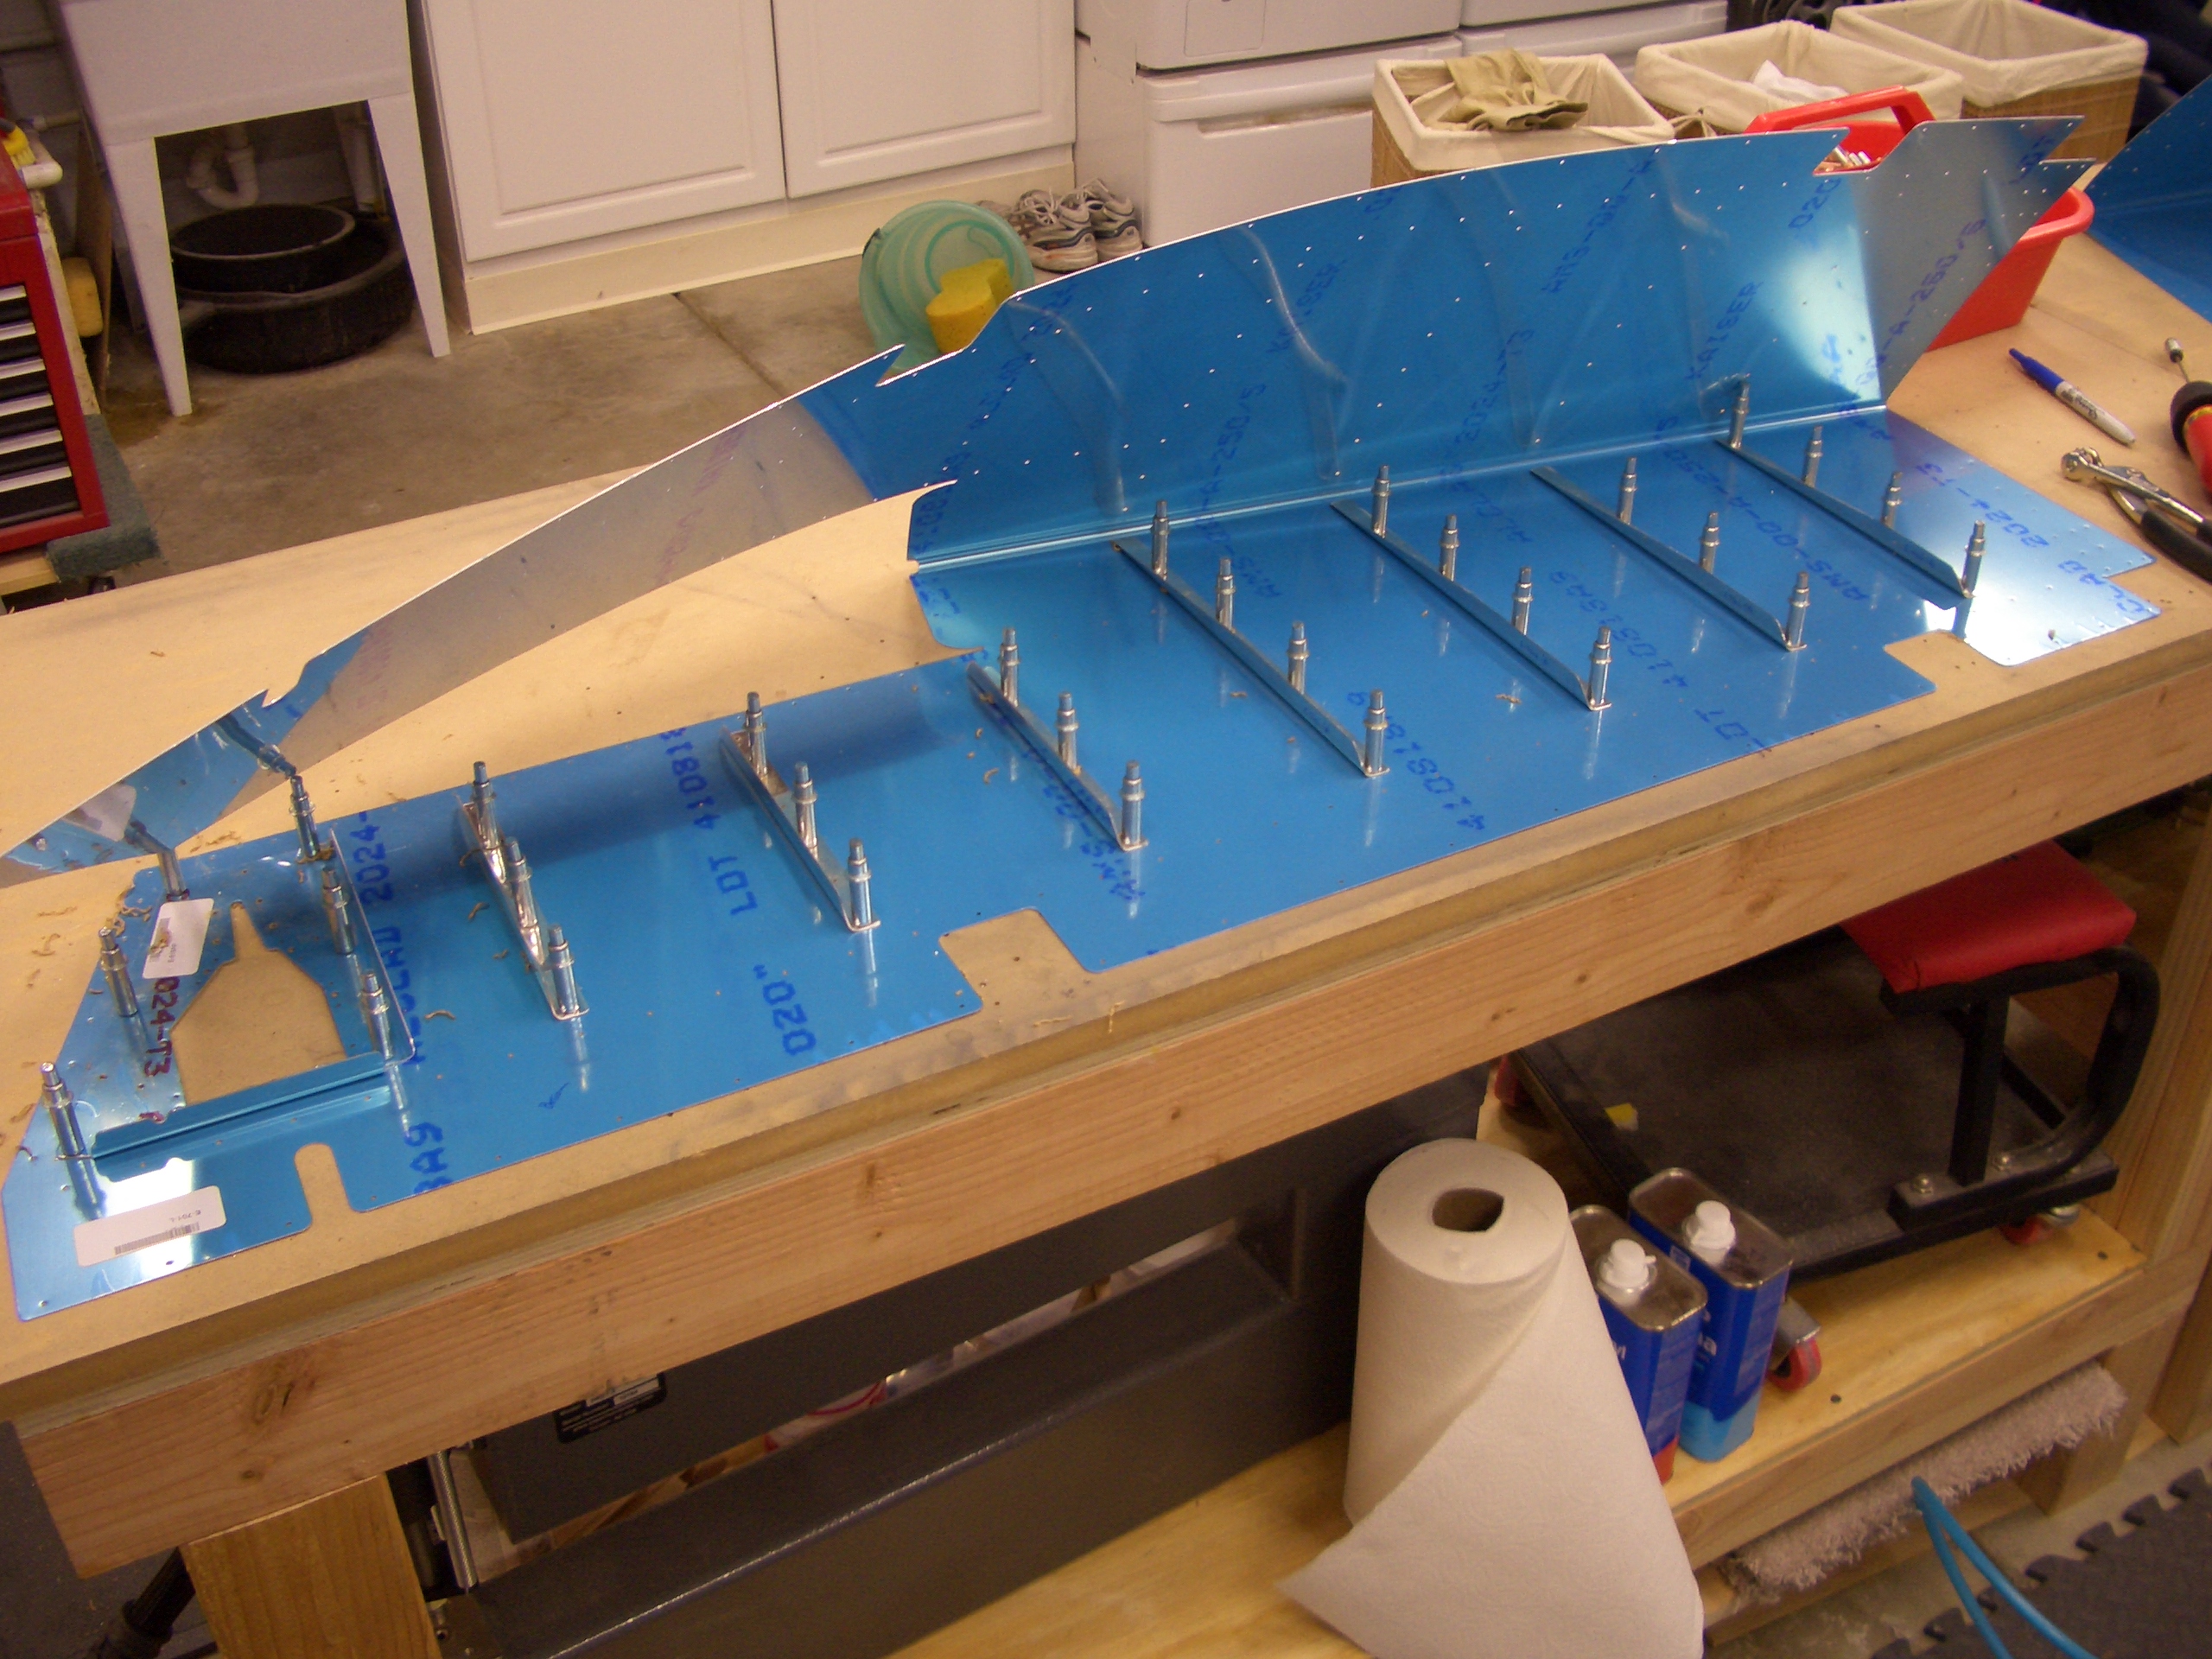
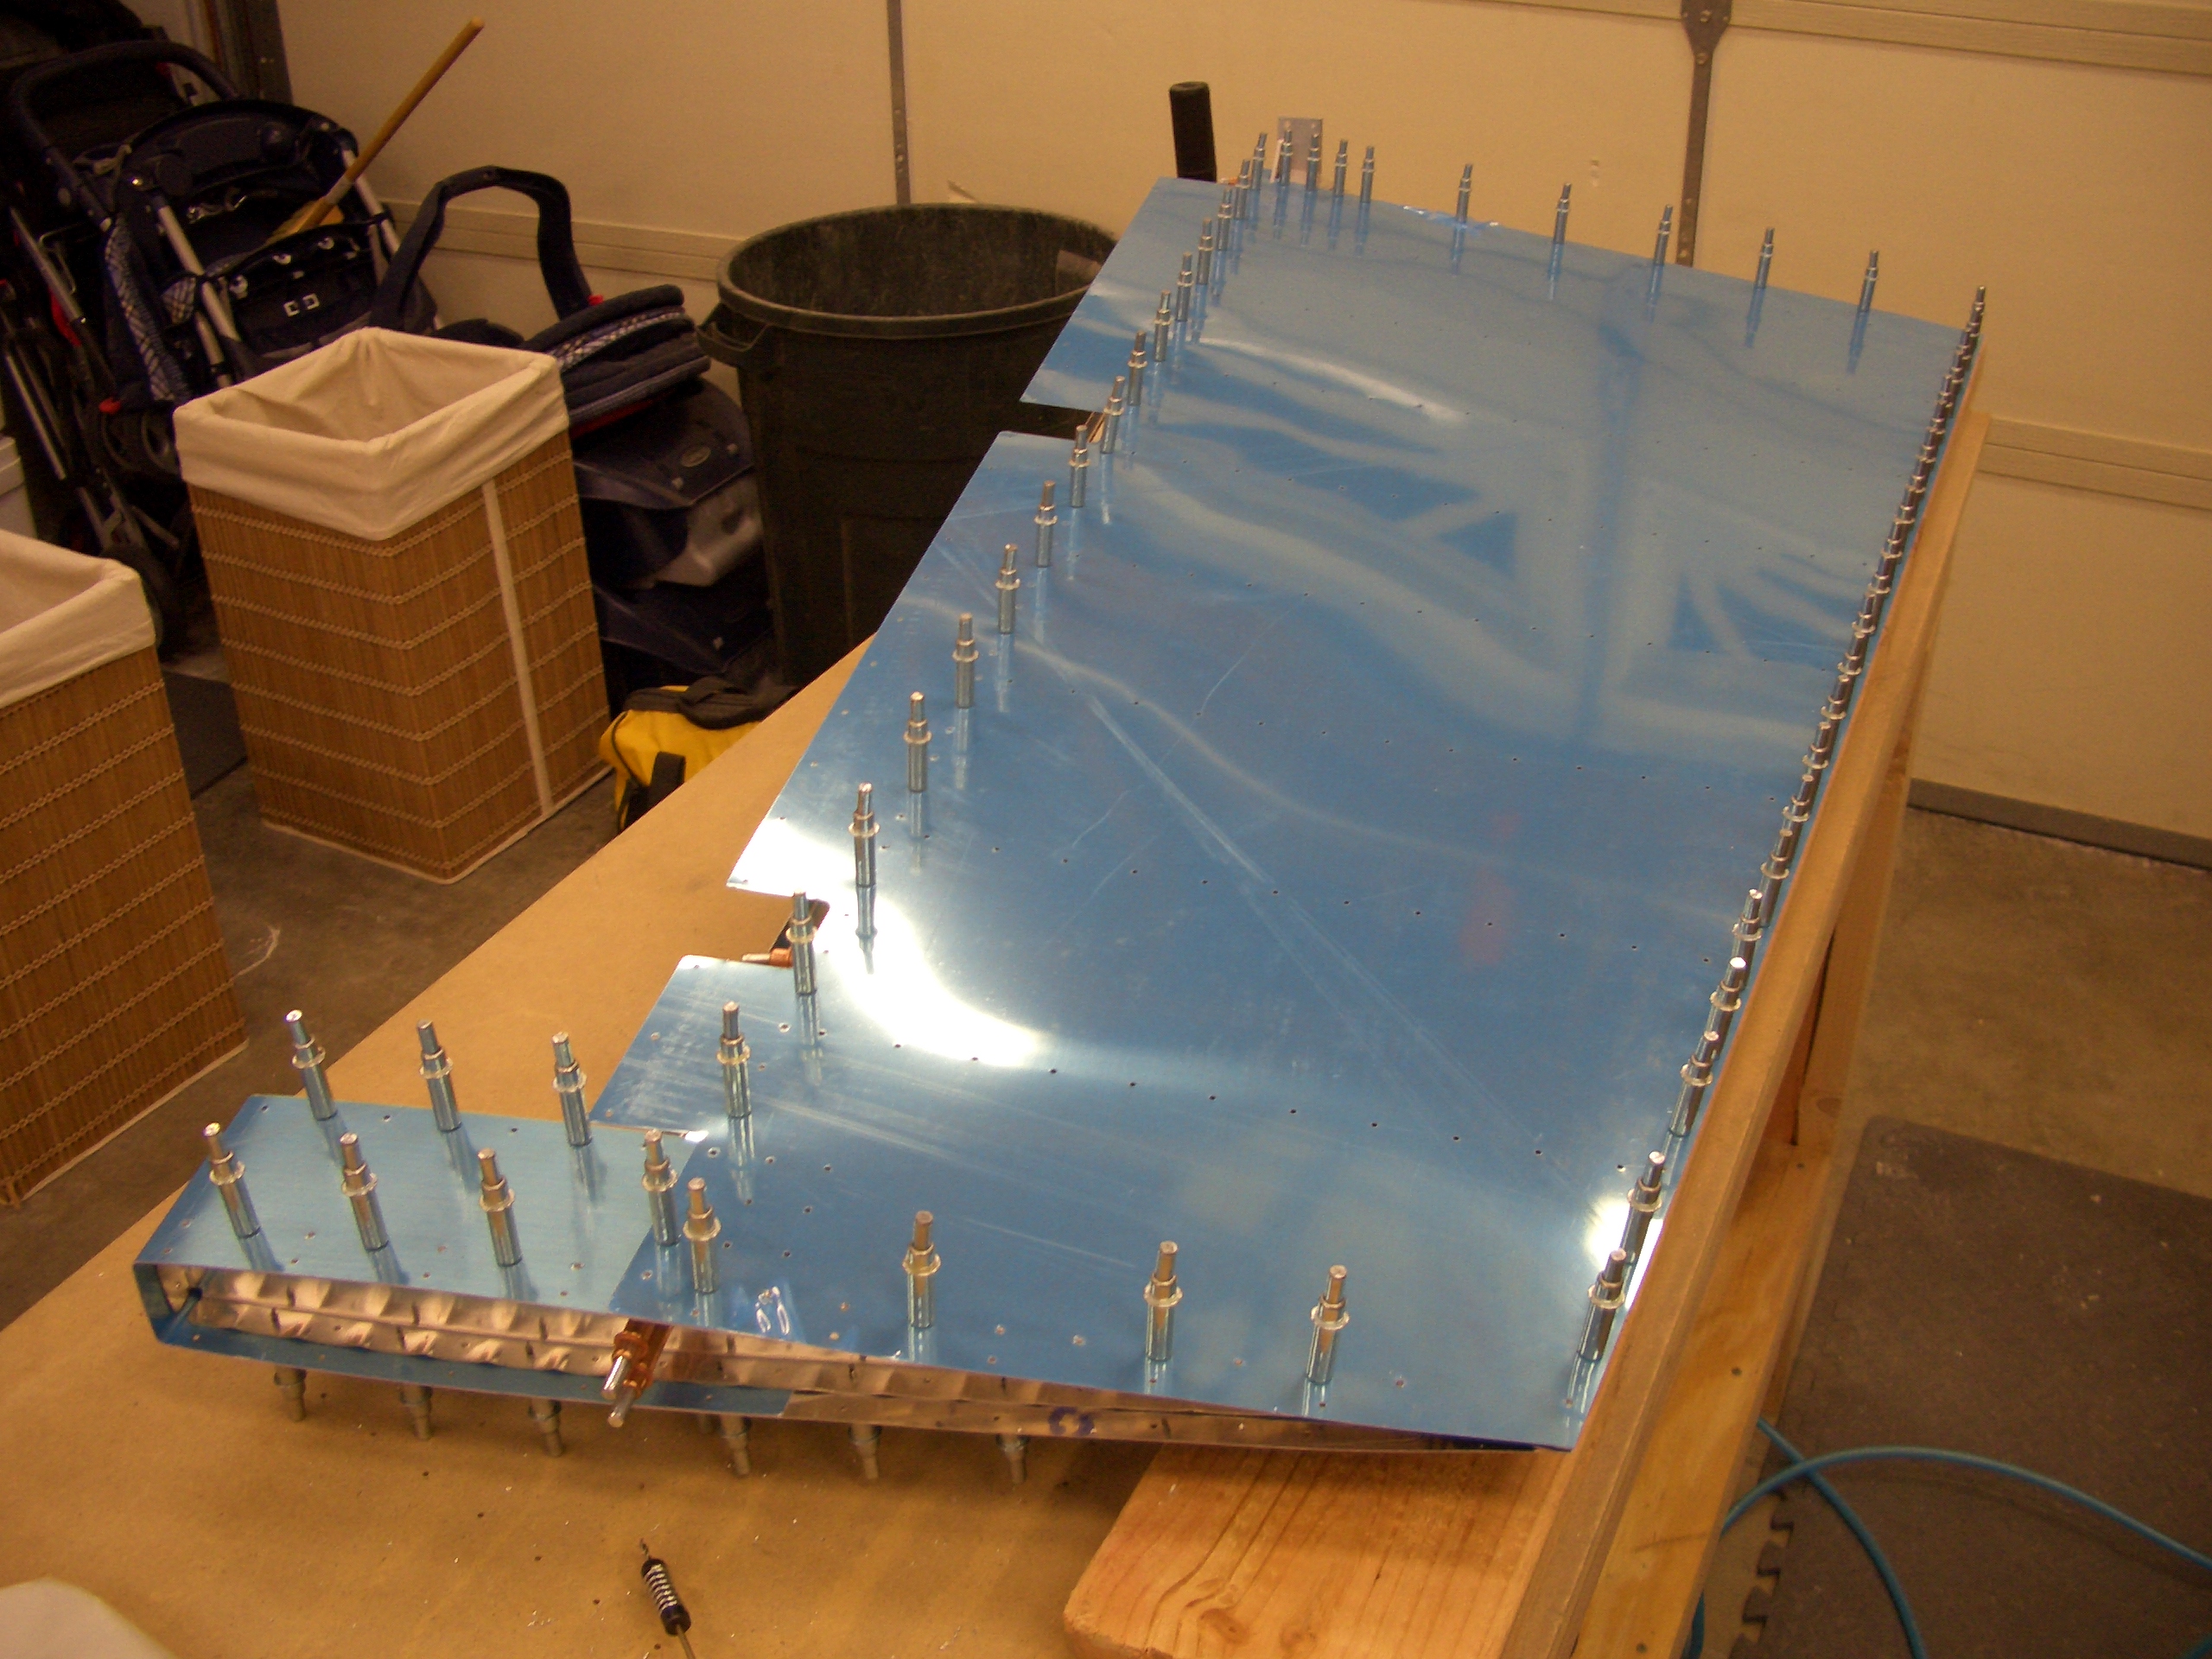
This looks a lot like the picture from yesterday, but now the rudder has been fully drilled and is ready for disassembly and prep for riveting.
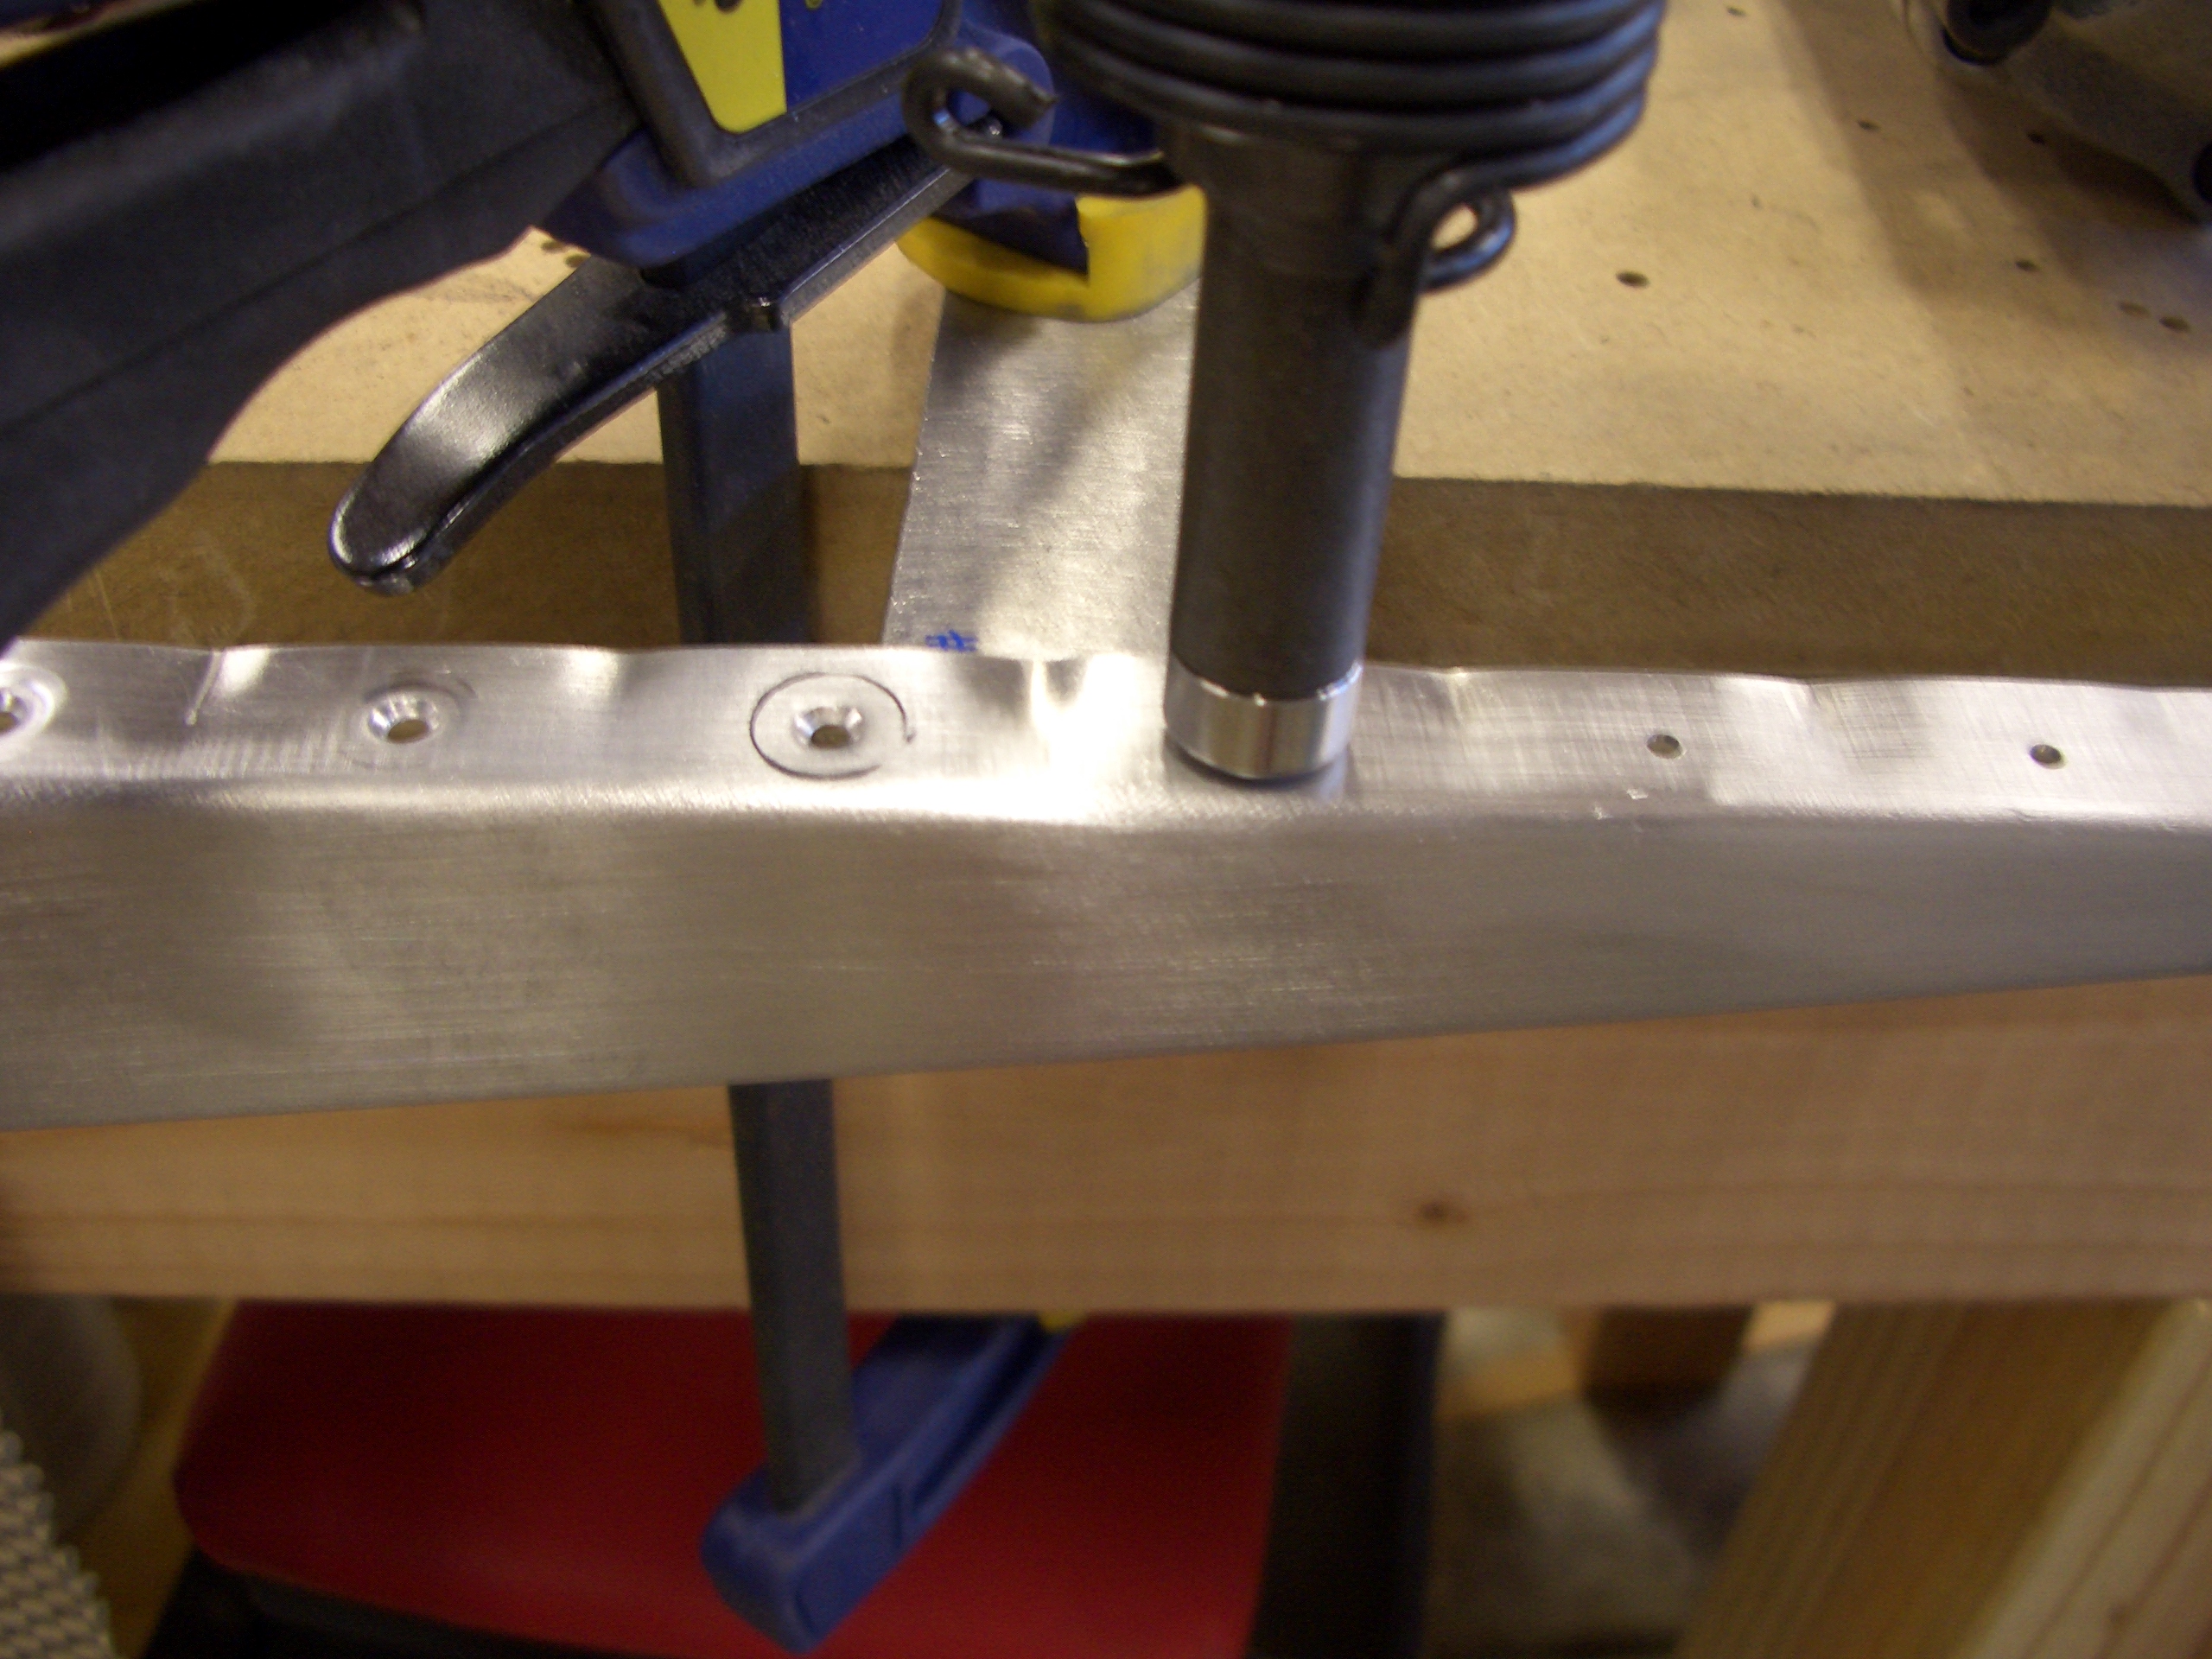
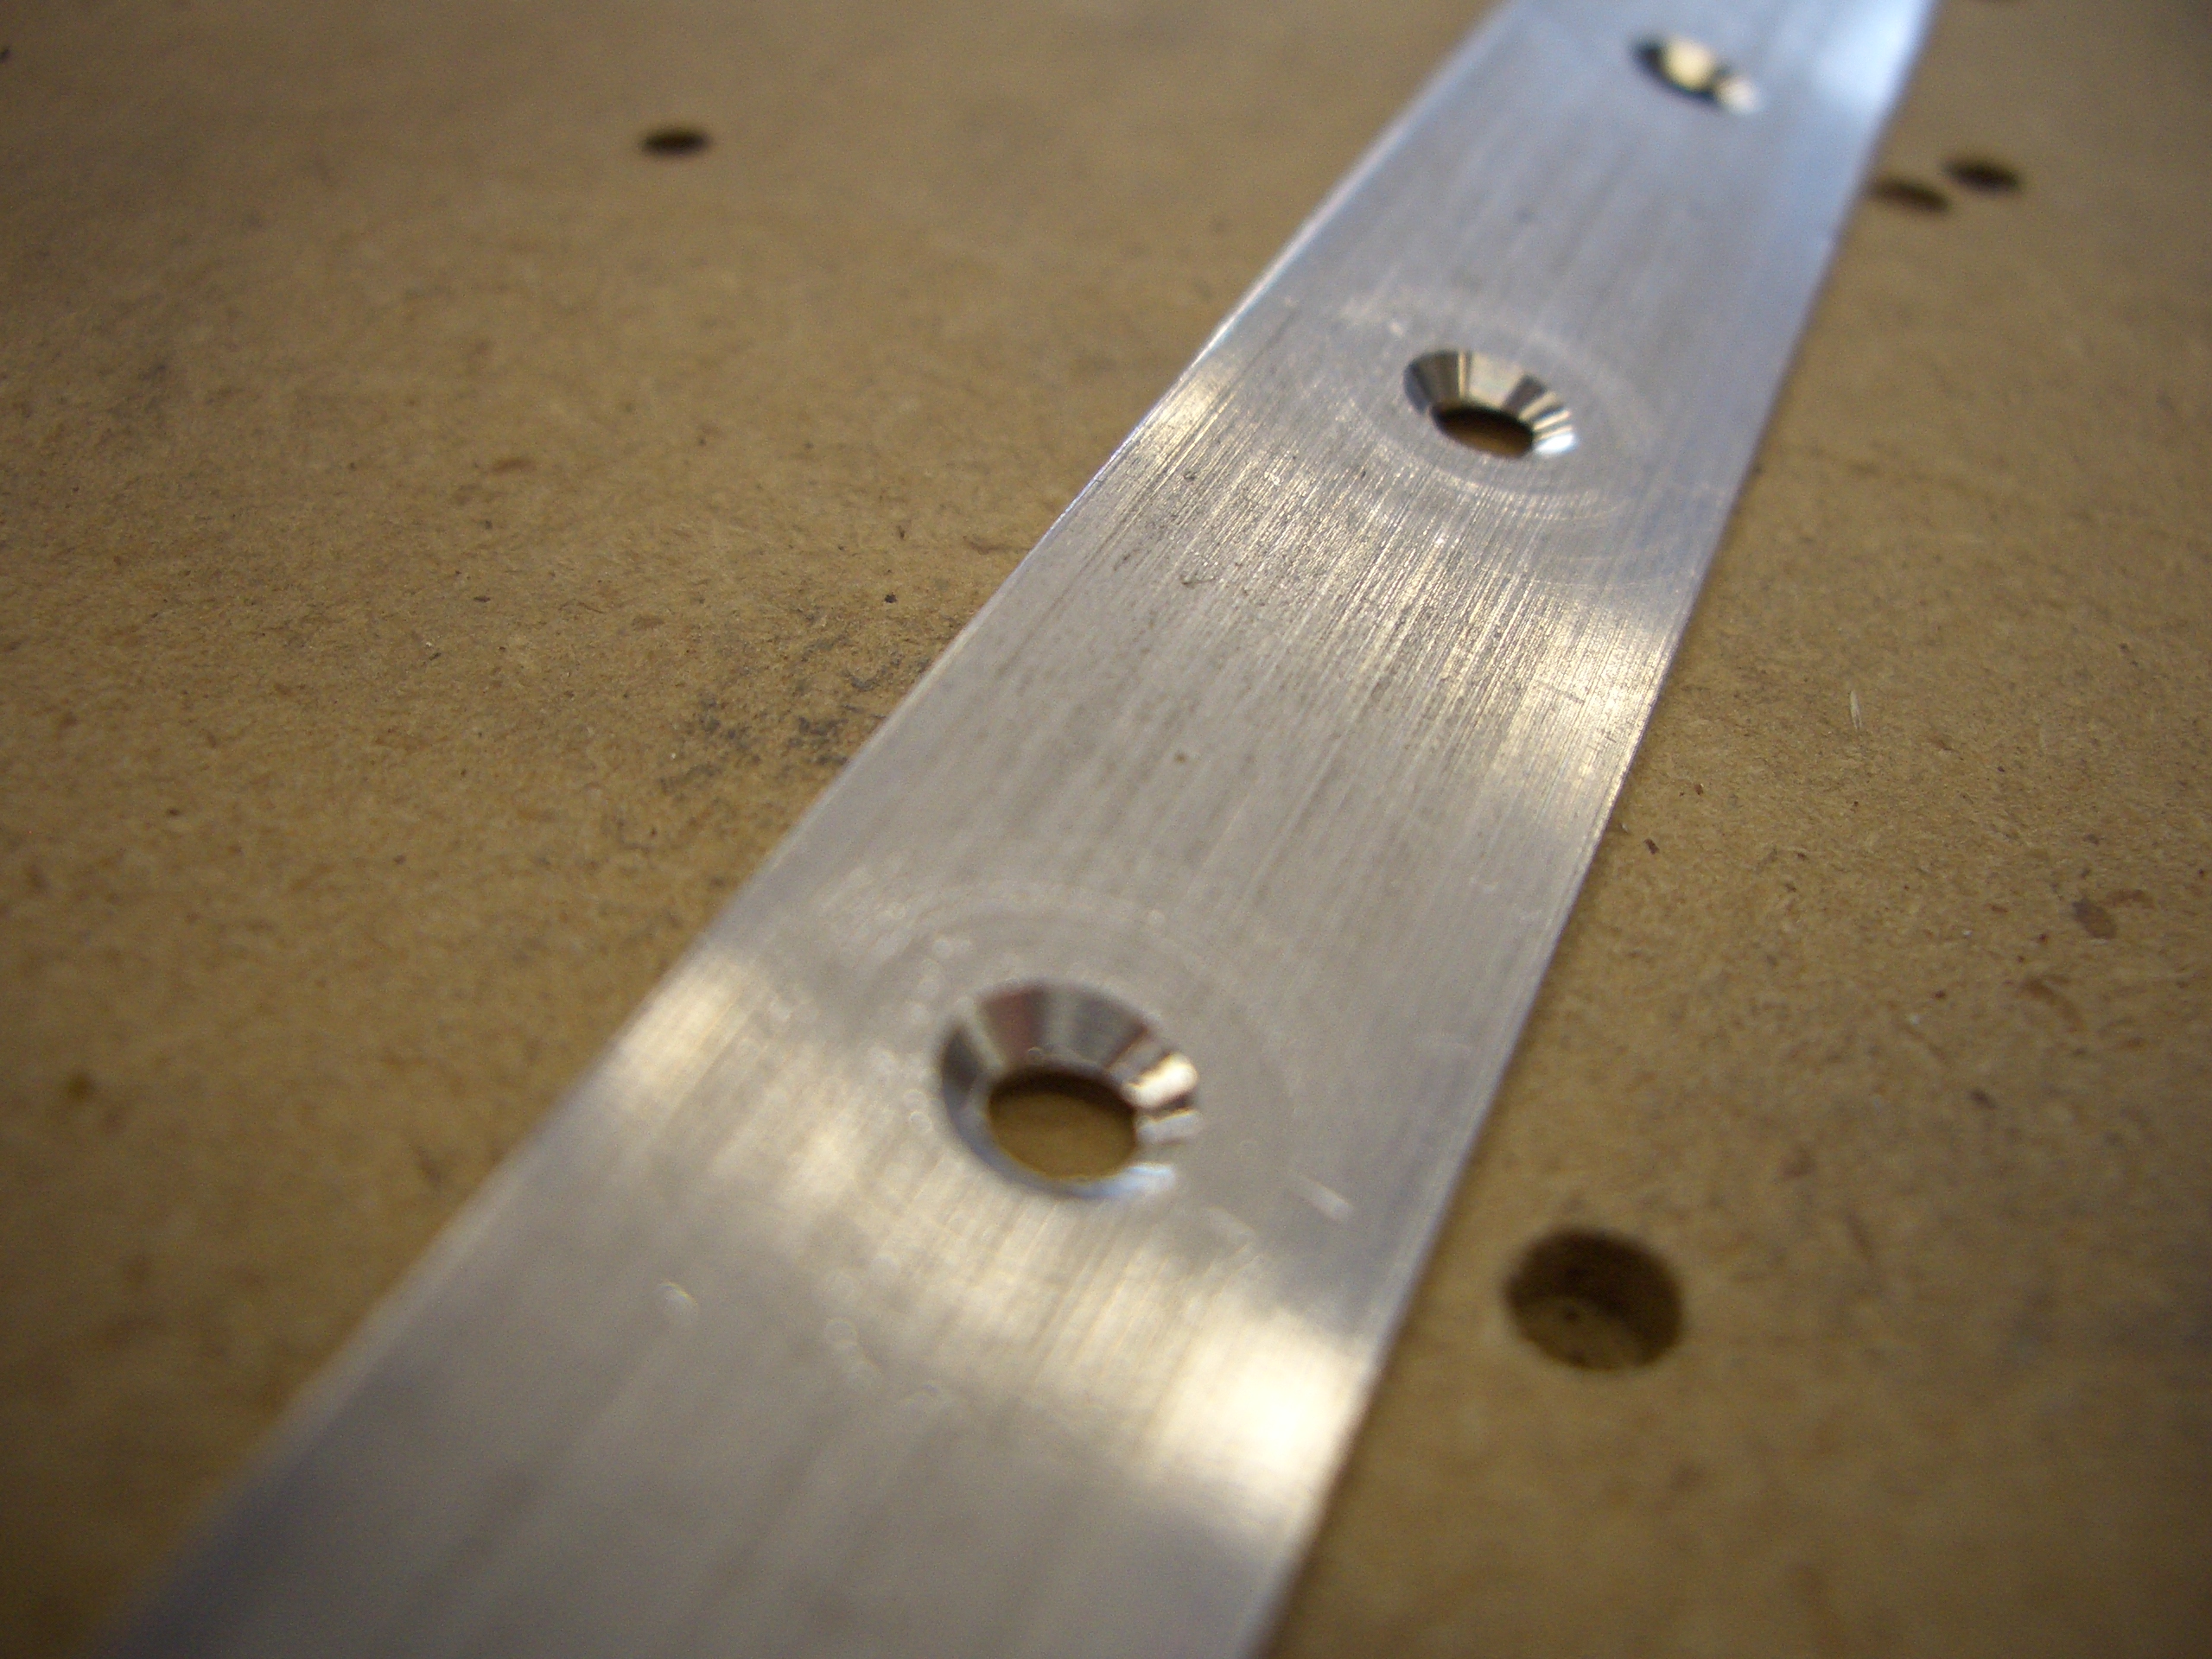
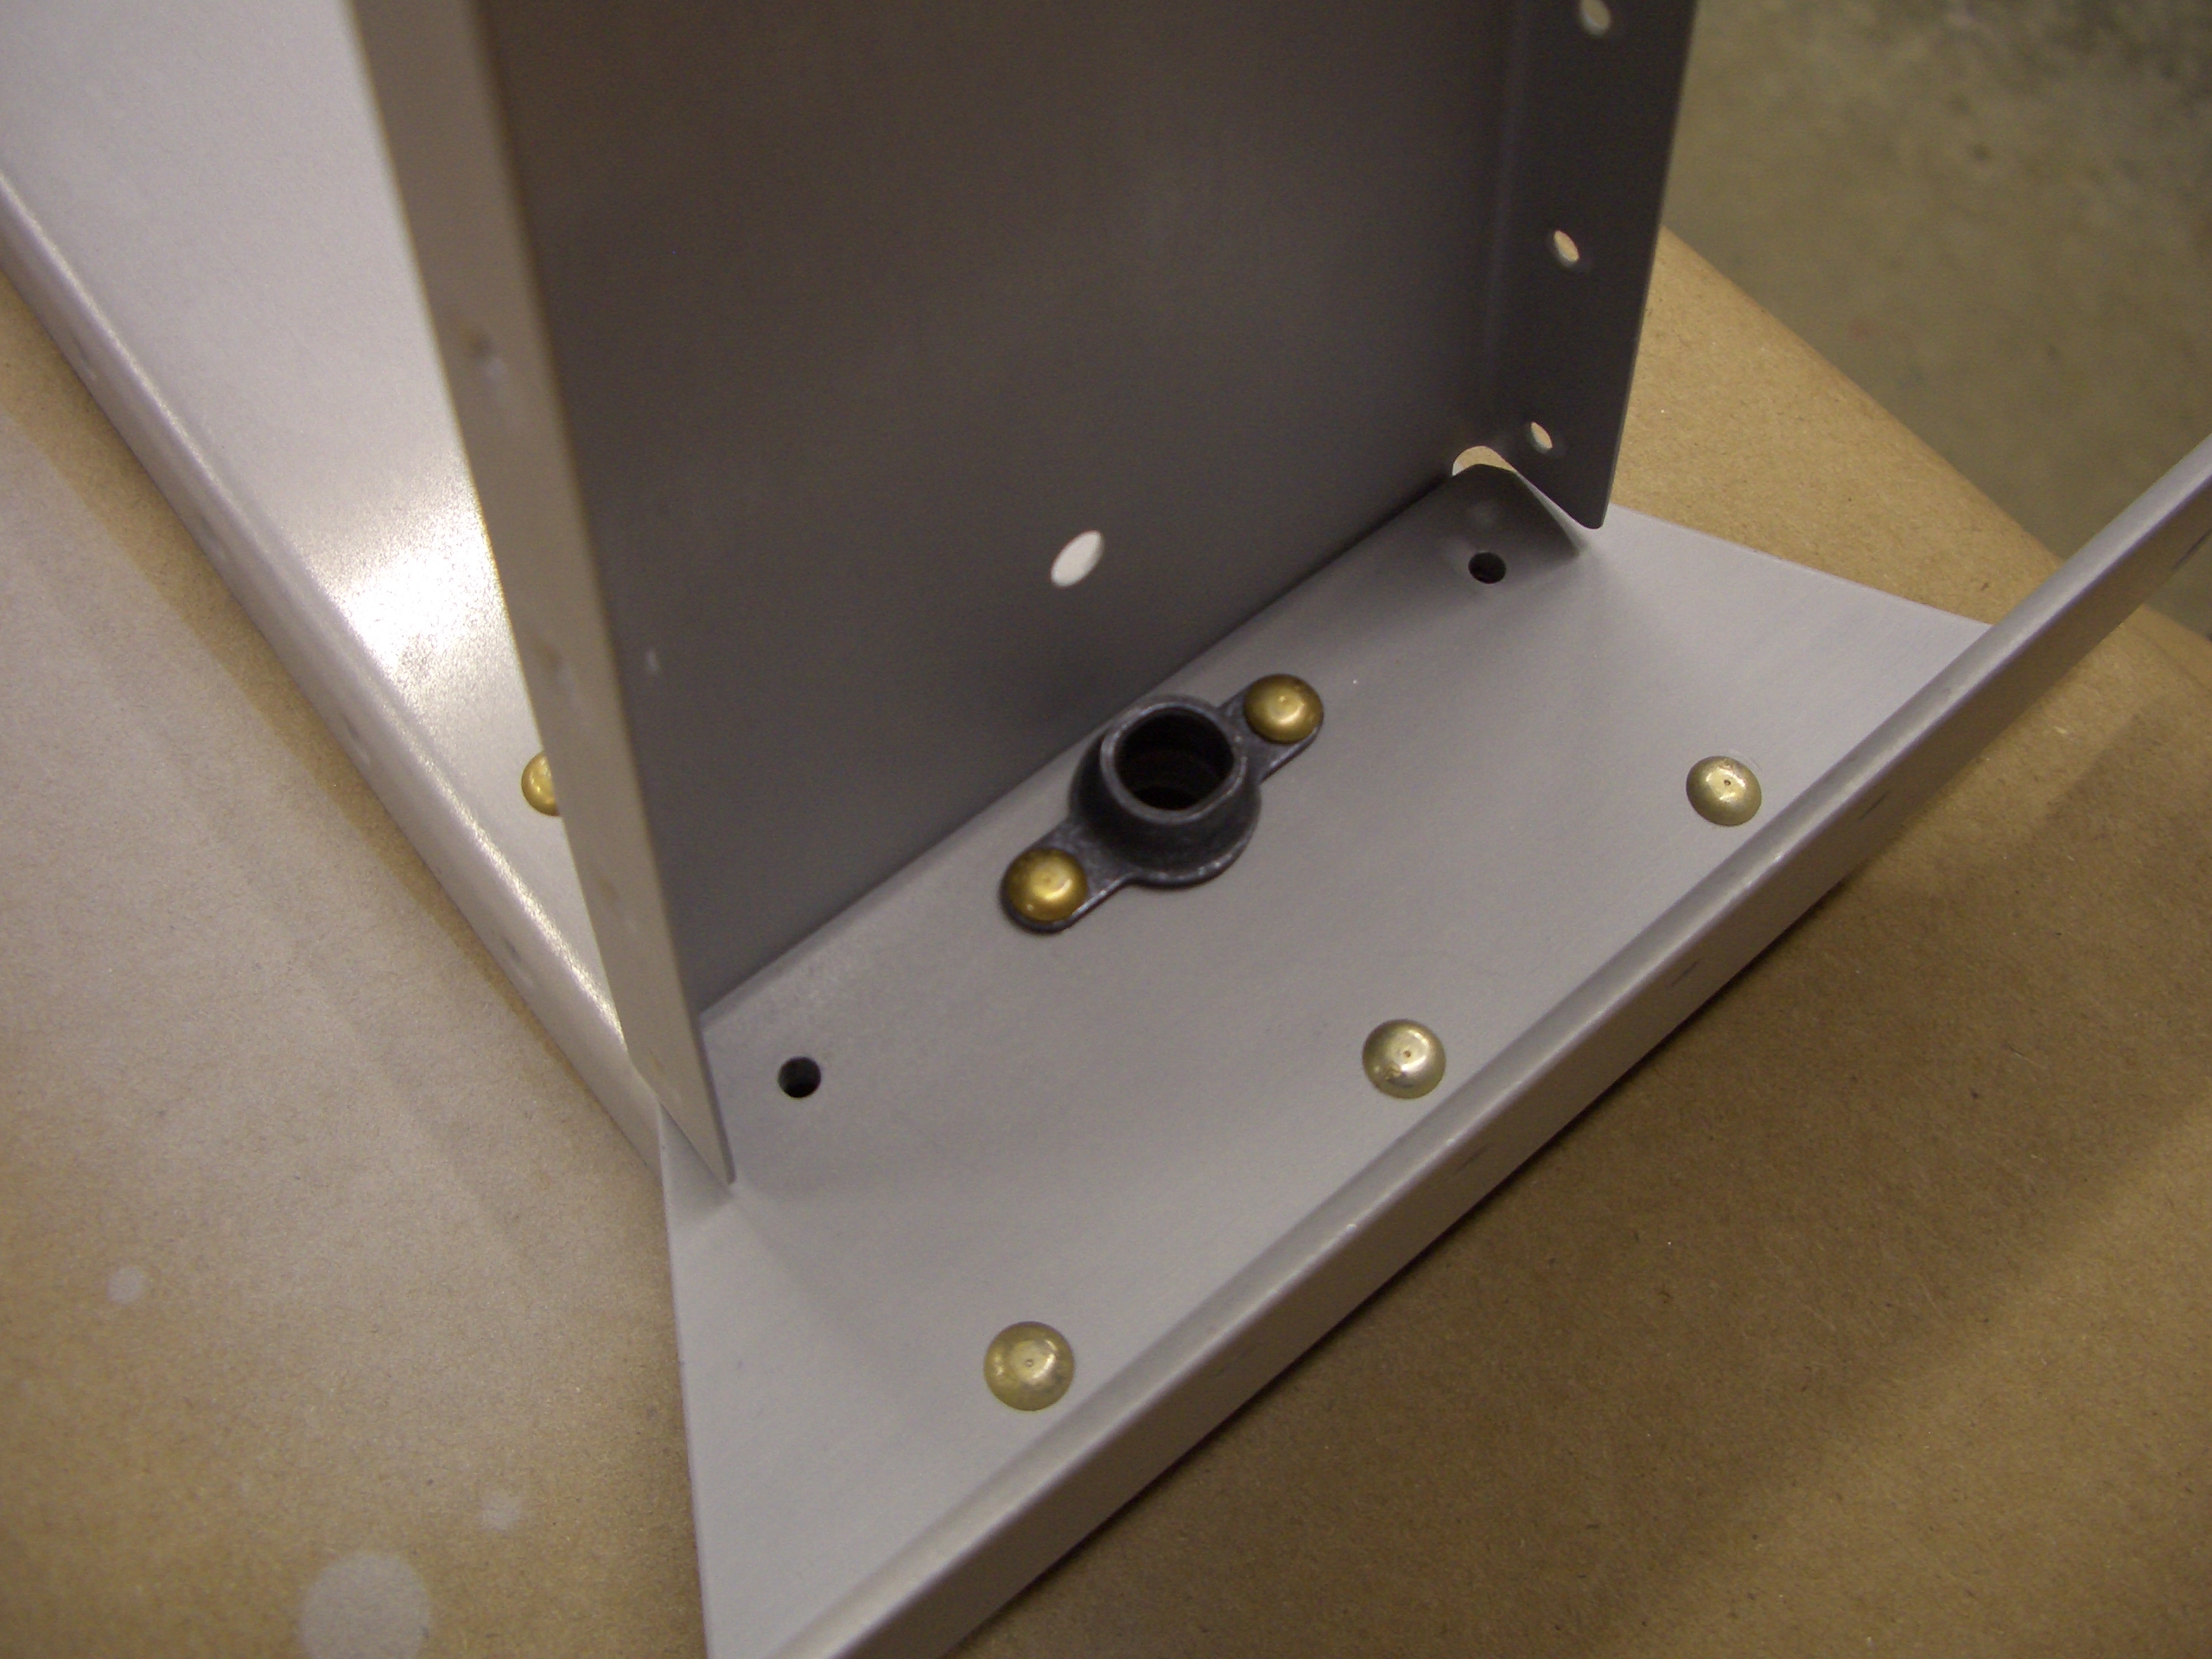
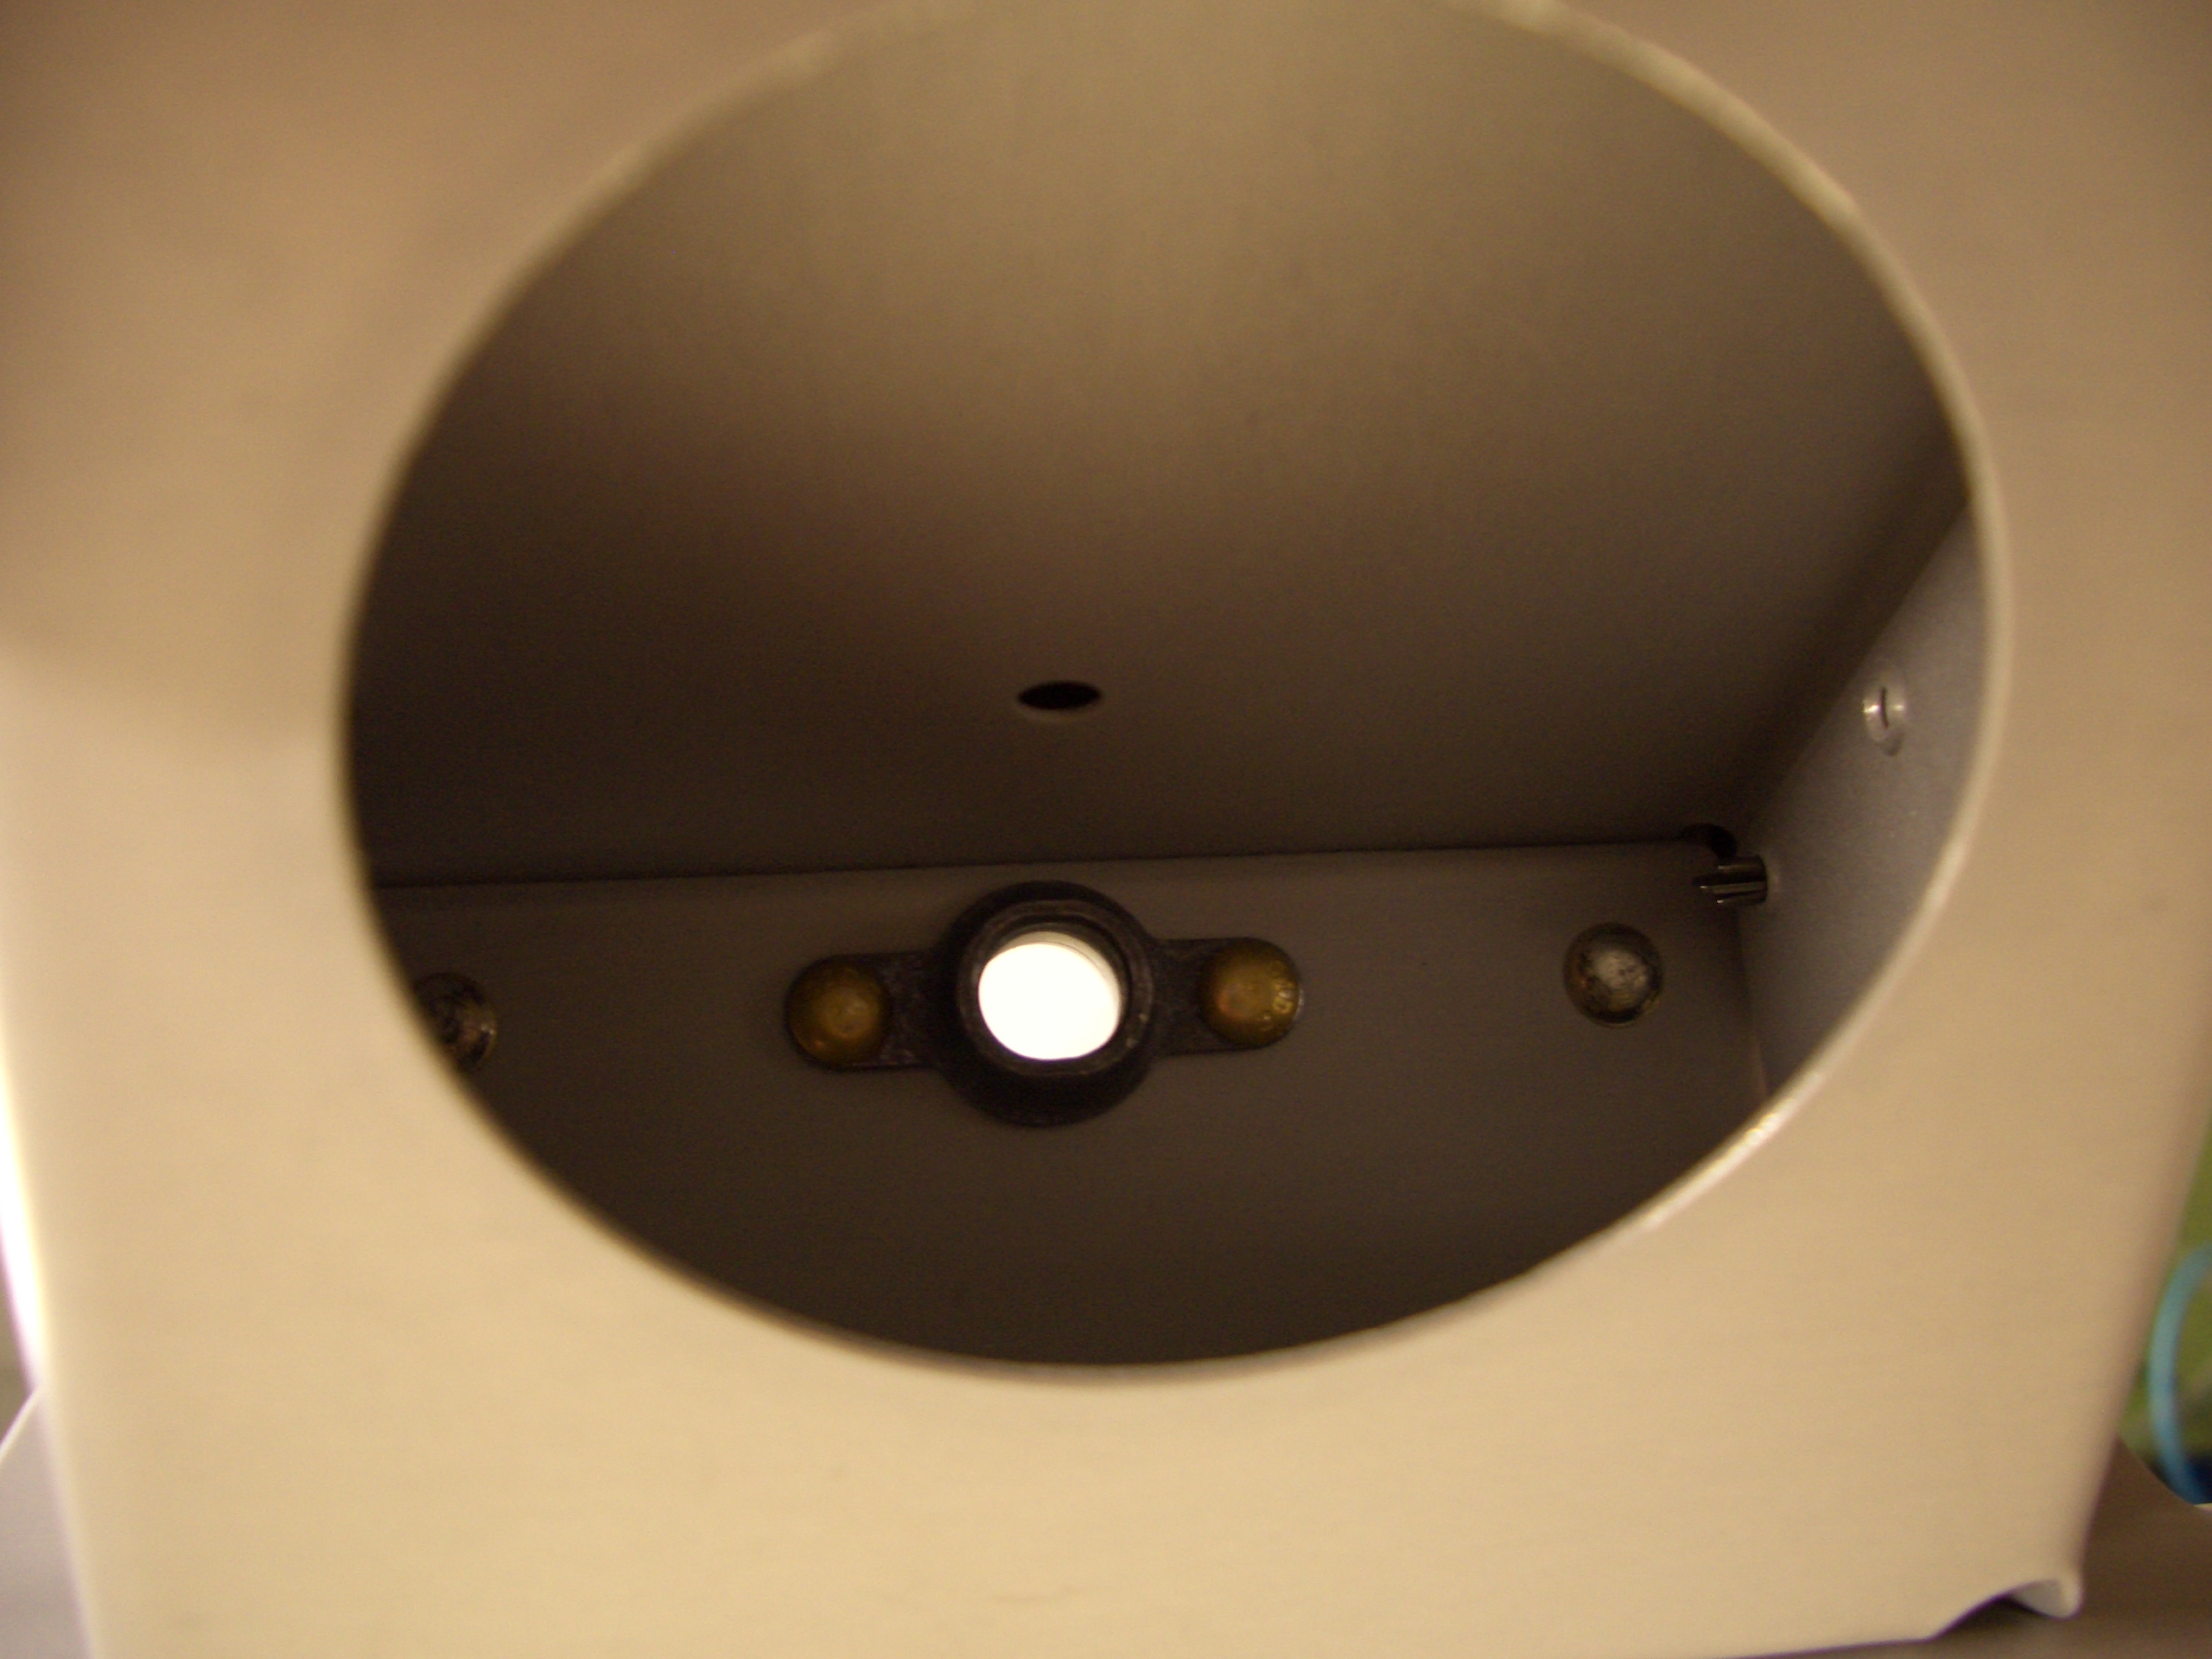
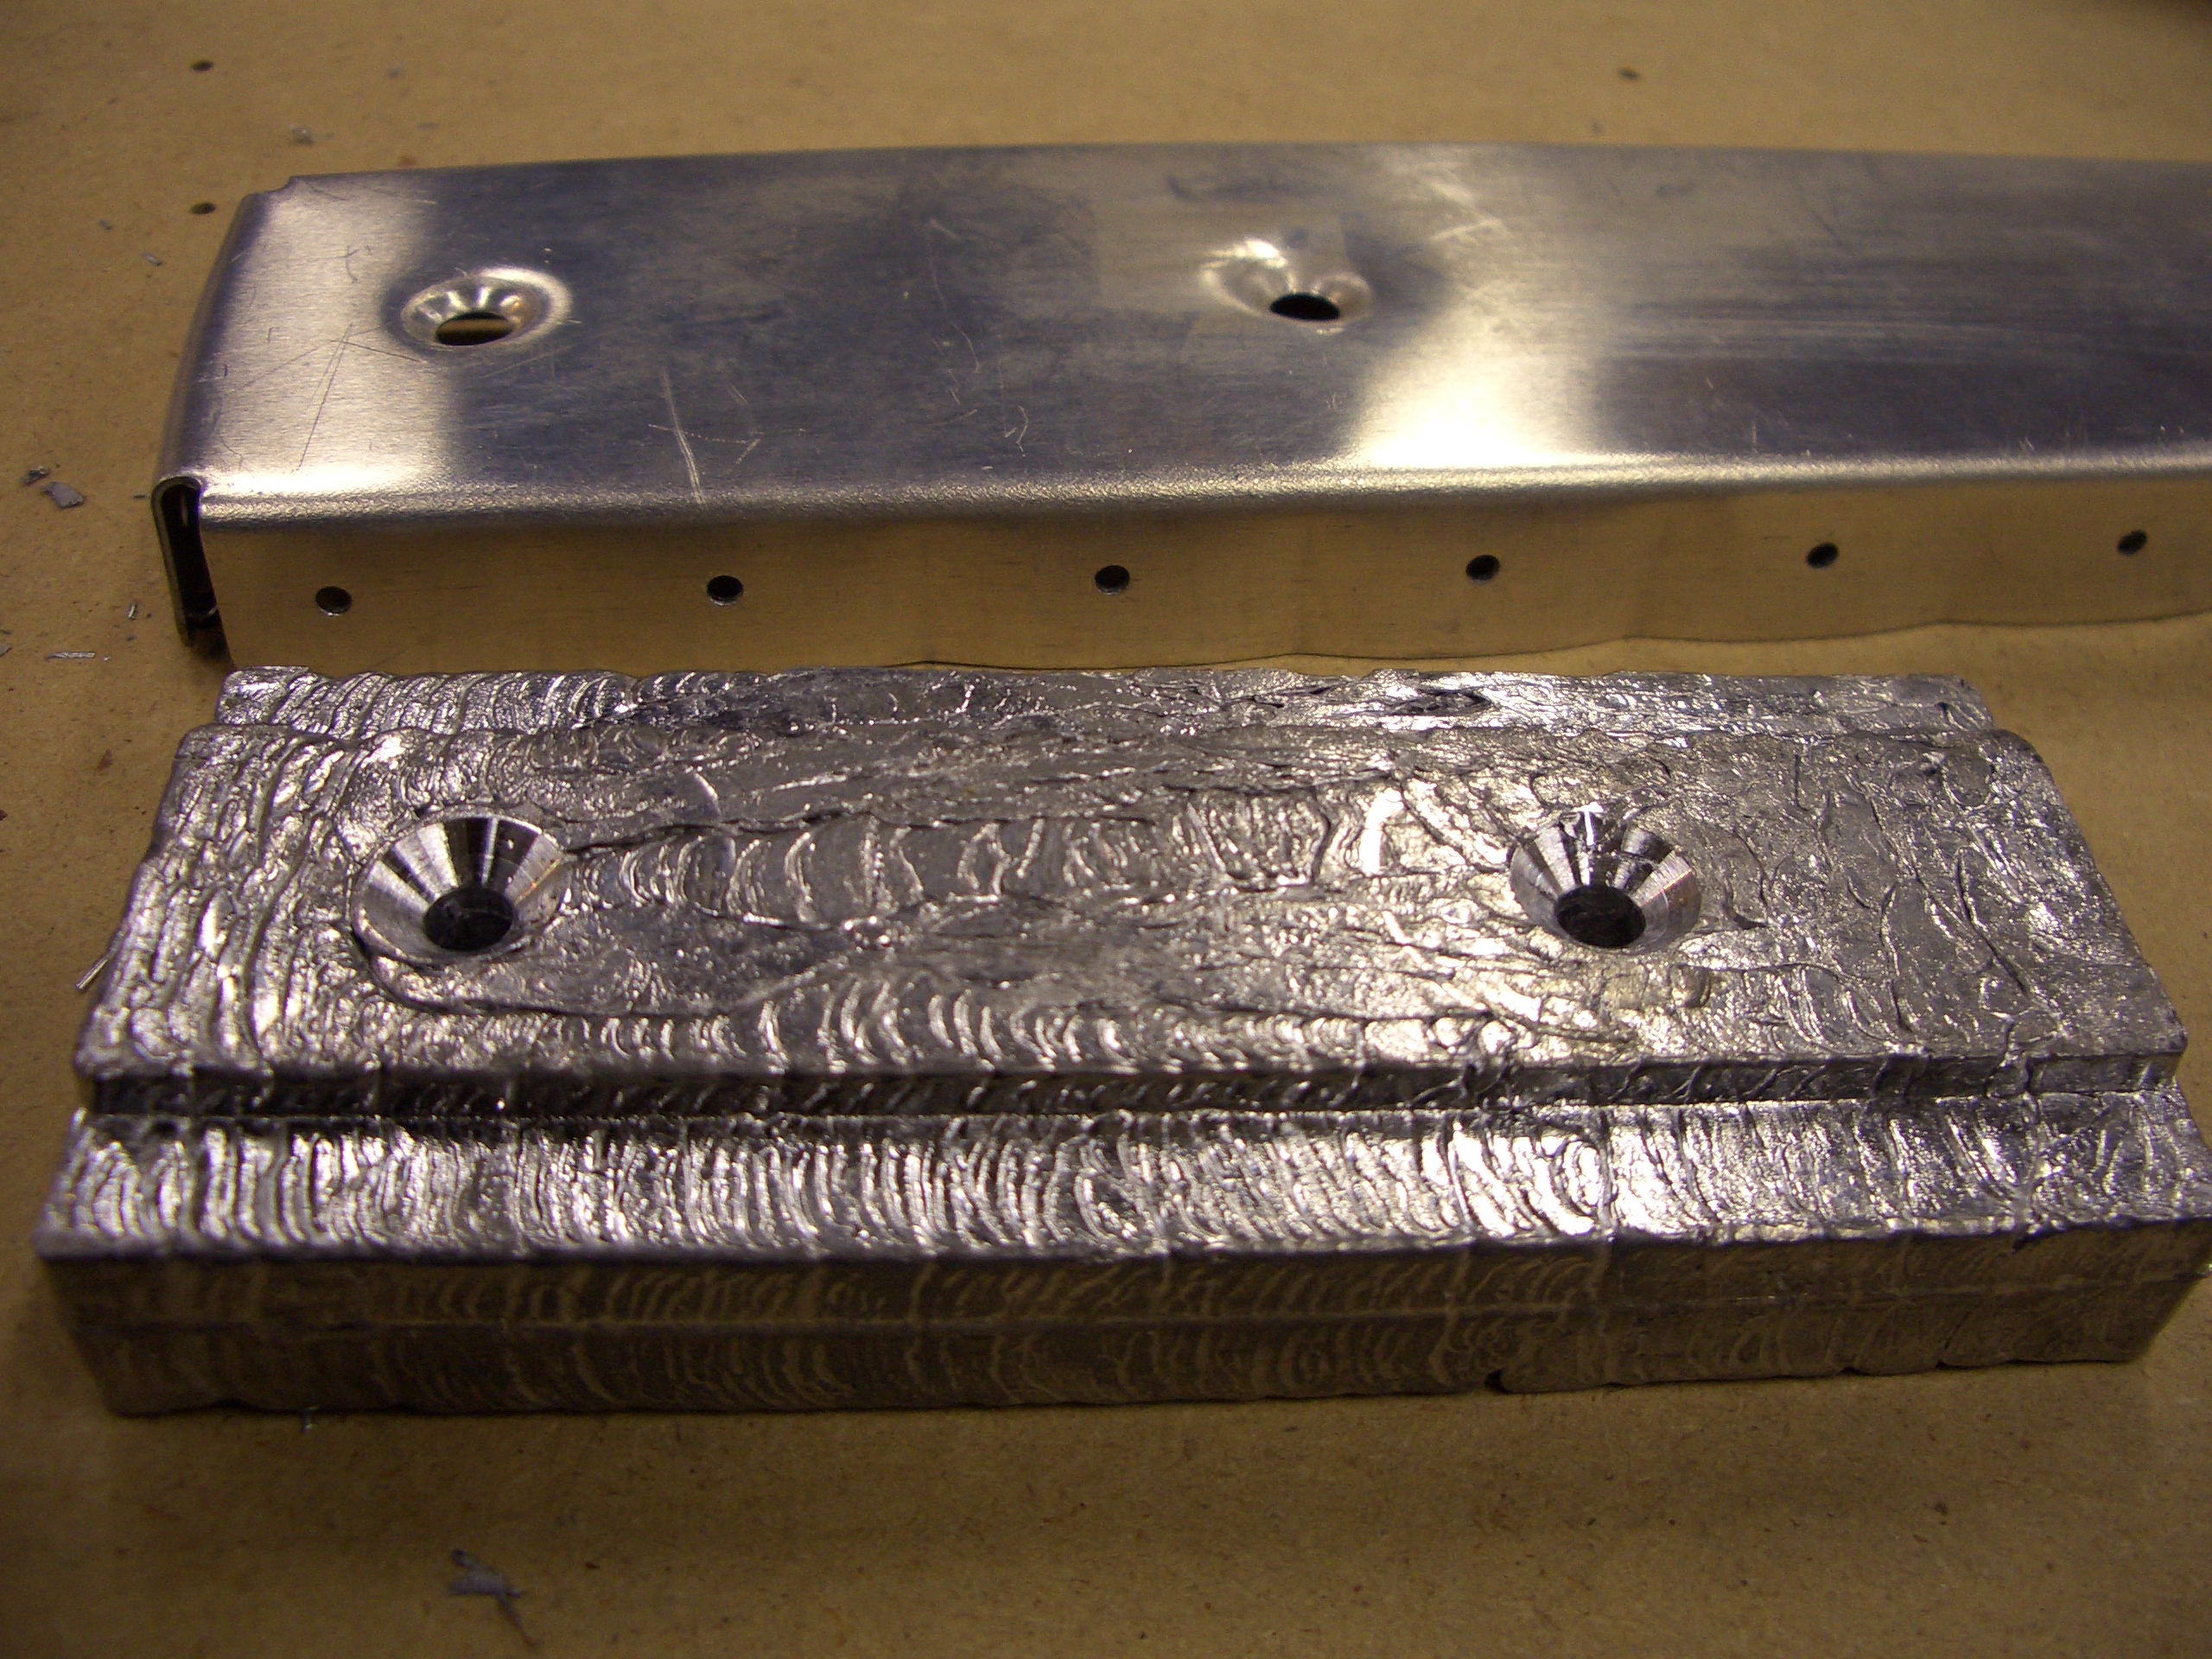
After disassembling, I drilled the rudder counterweight to the R-912 counterbalance rib, dimpled the rib and countersunk the lead weight to accommodate the dimples.
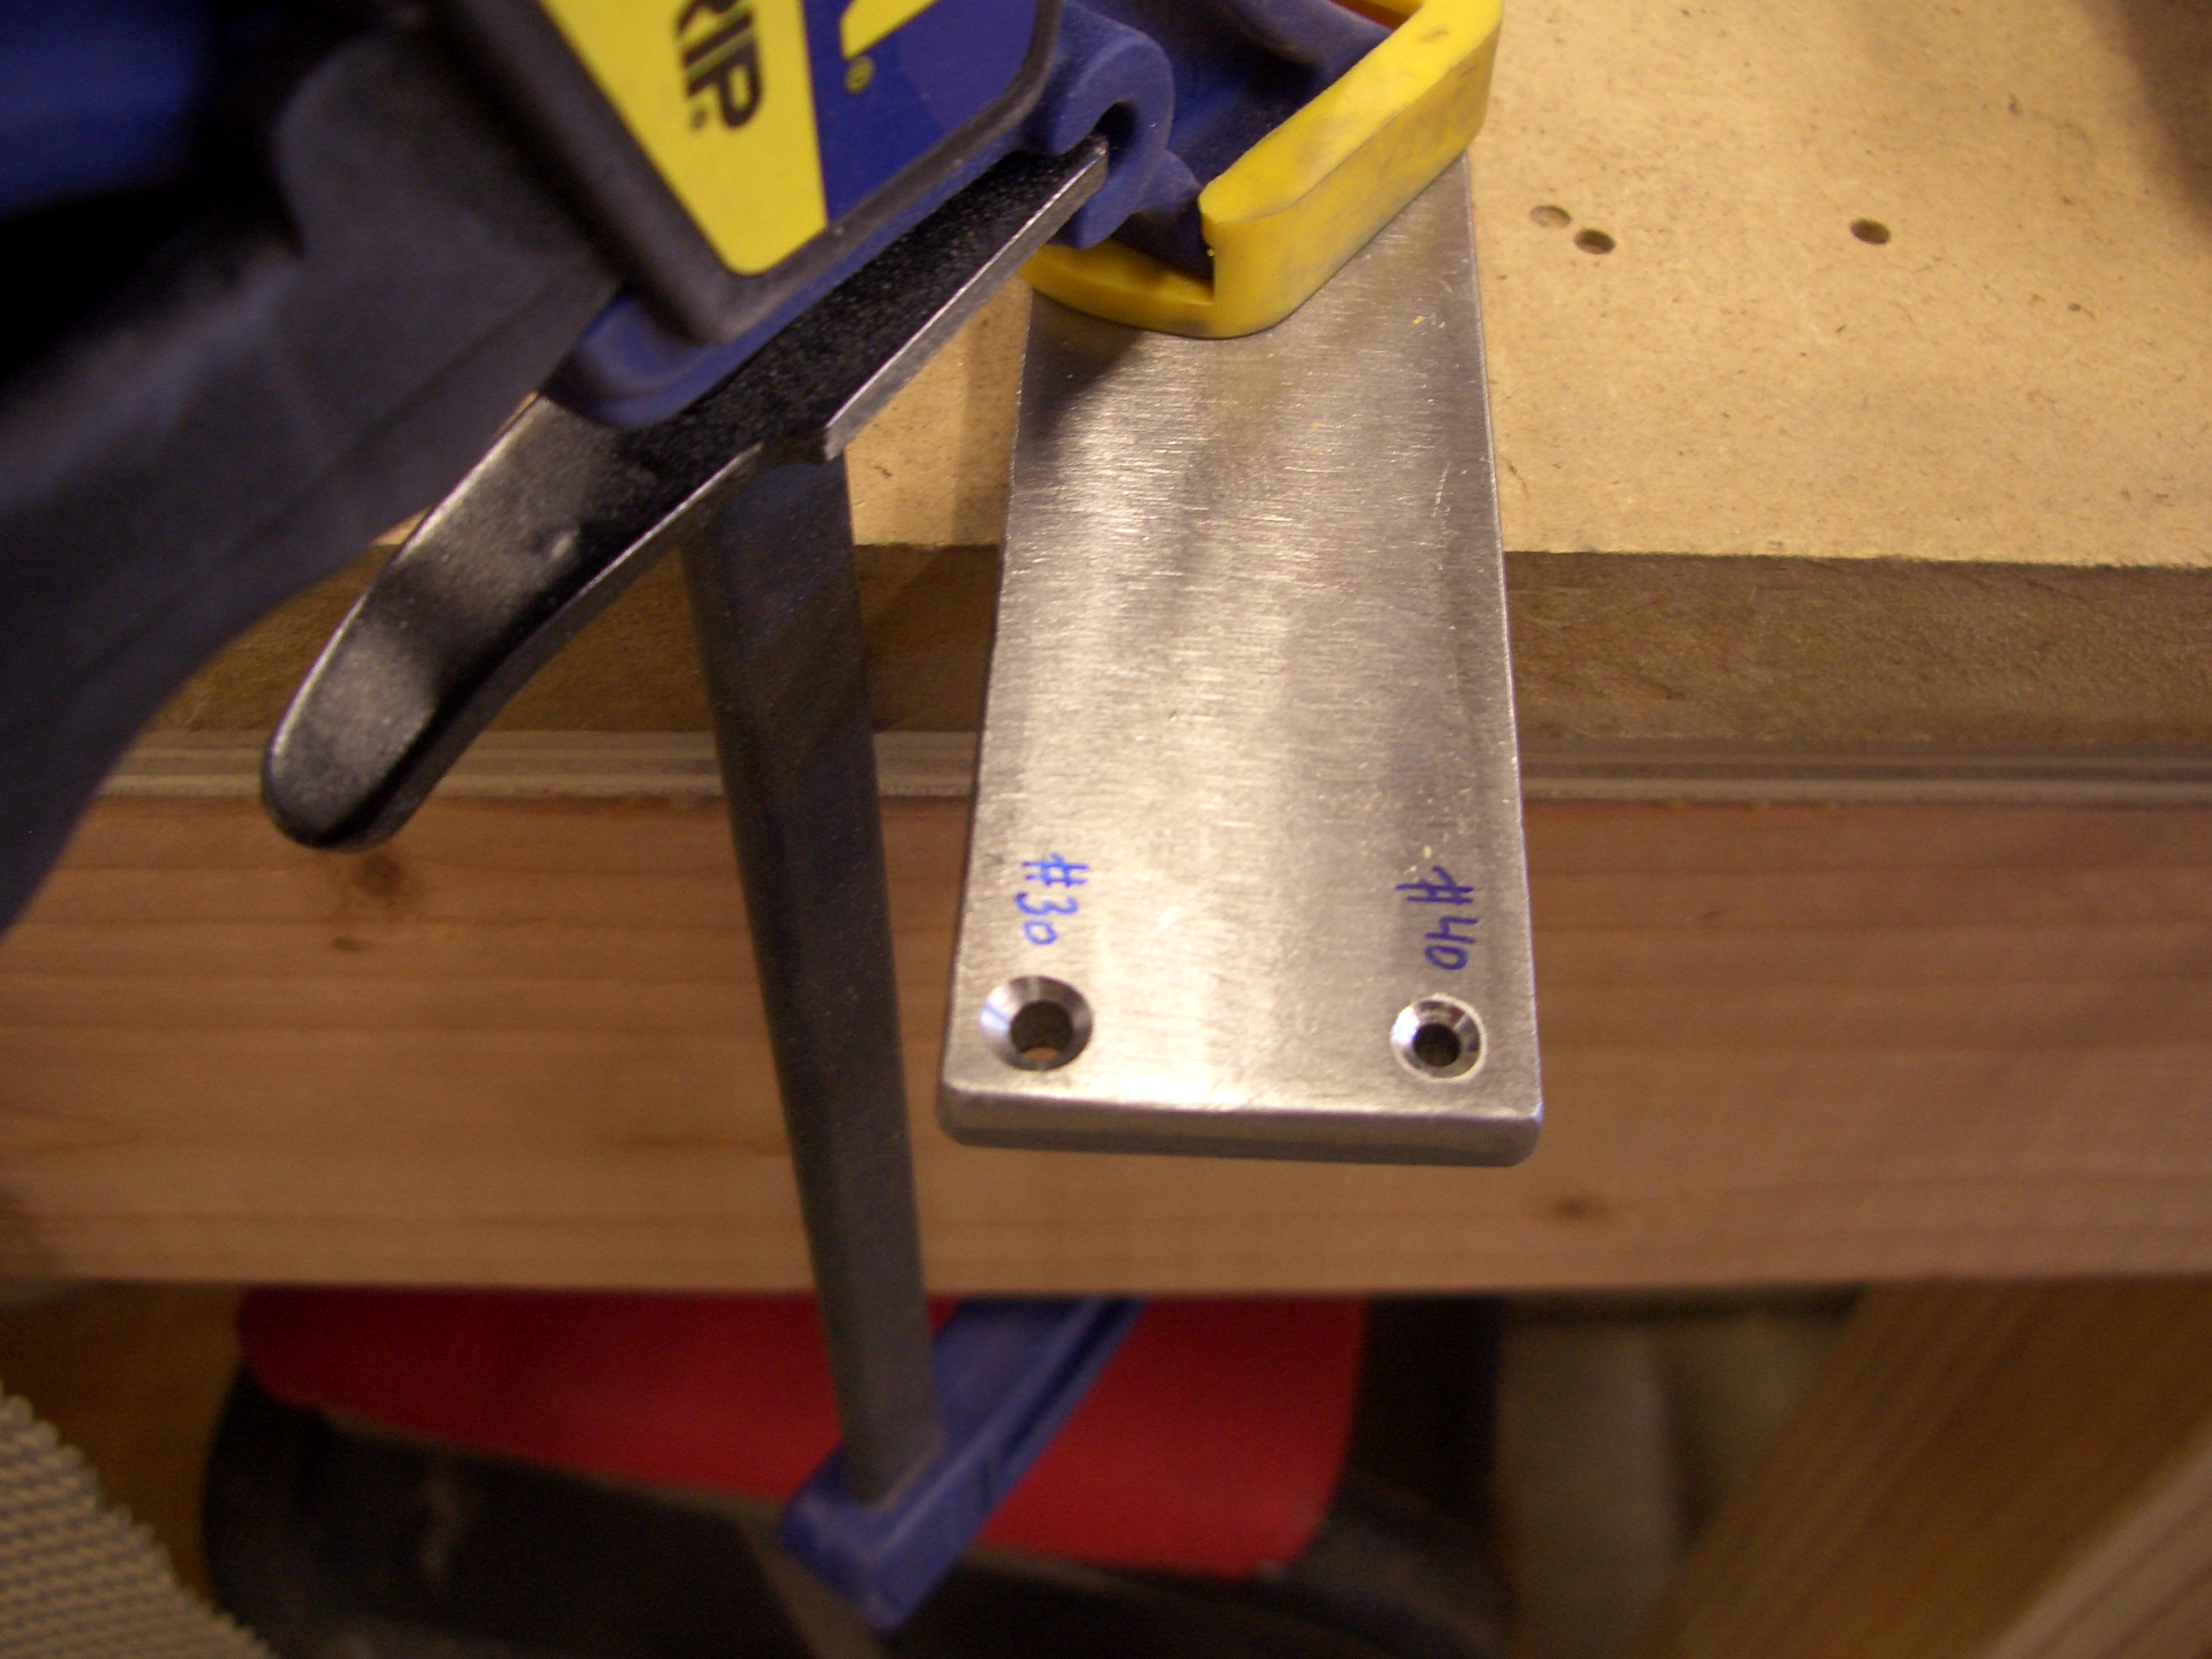
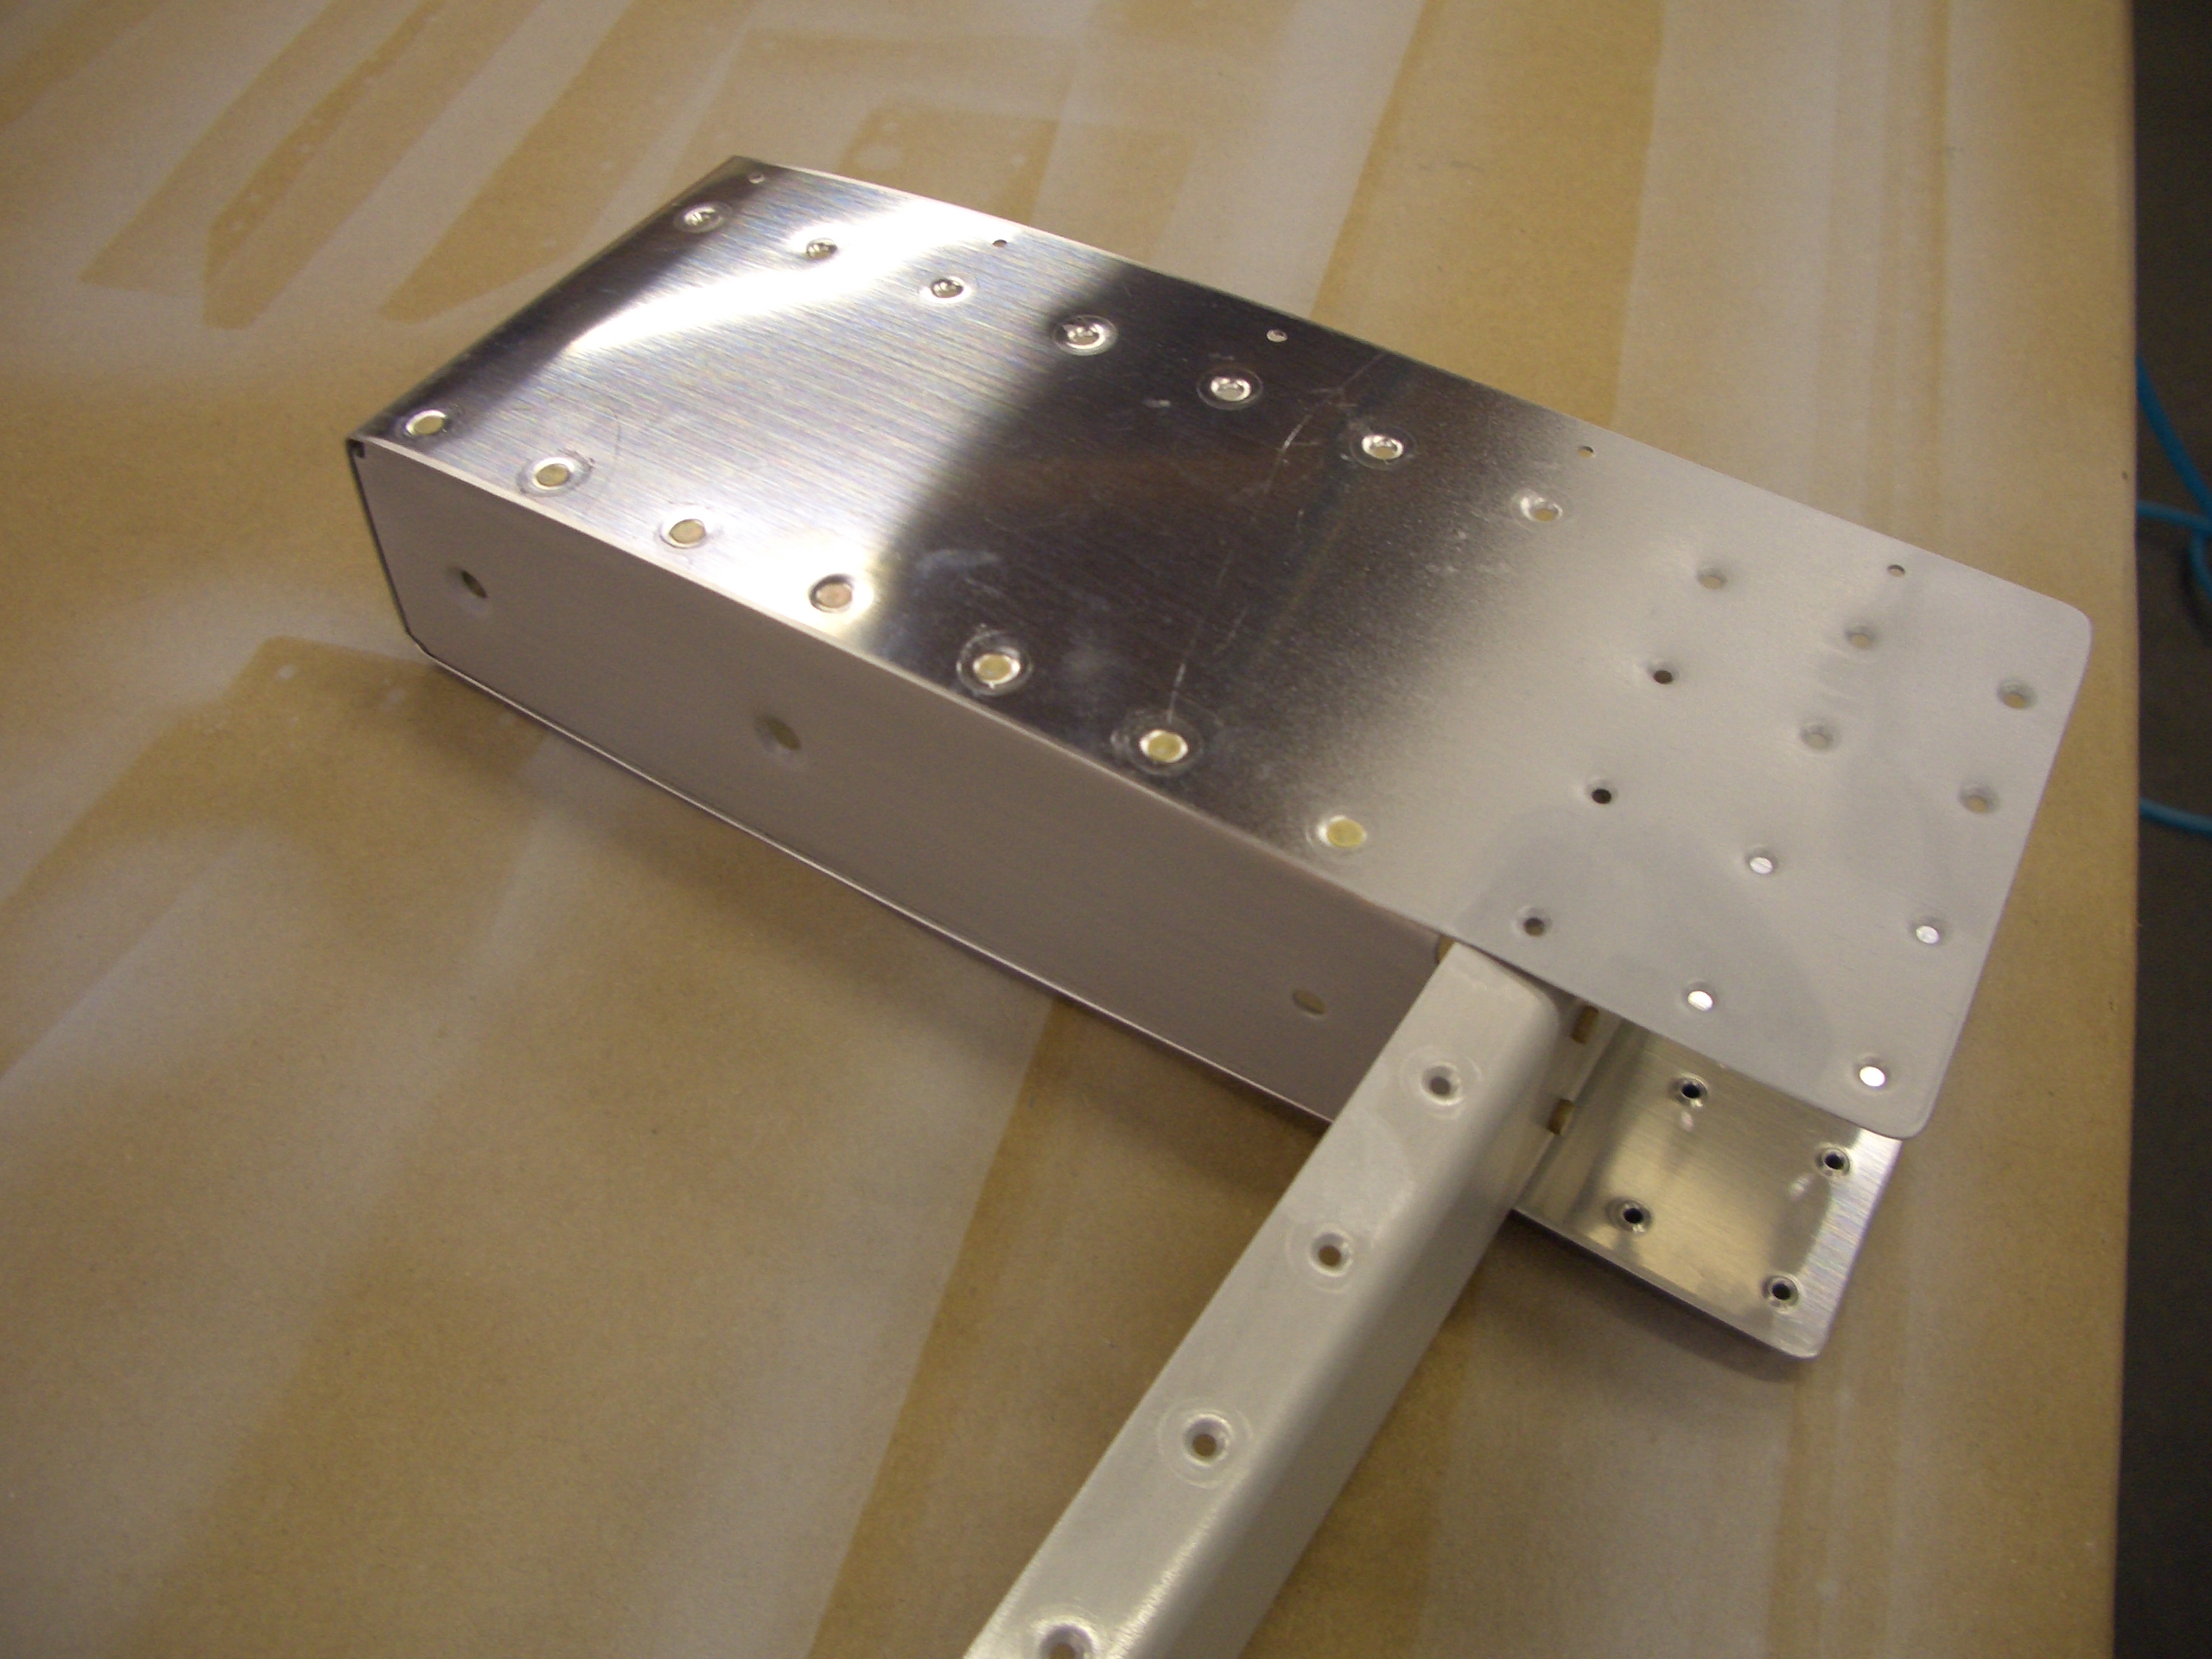
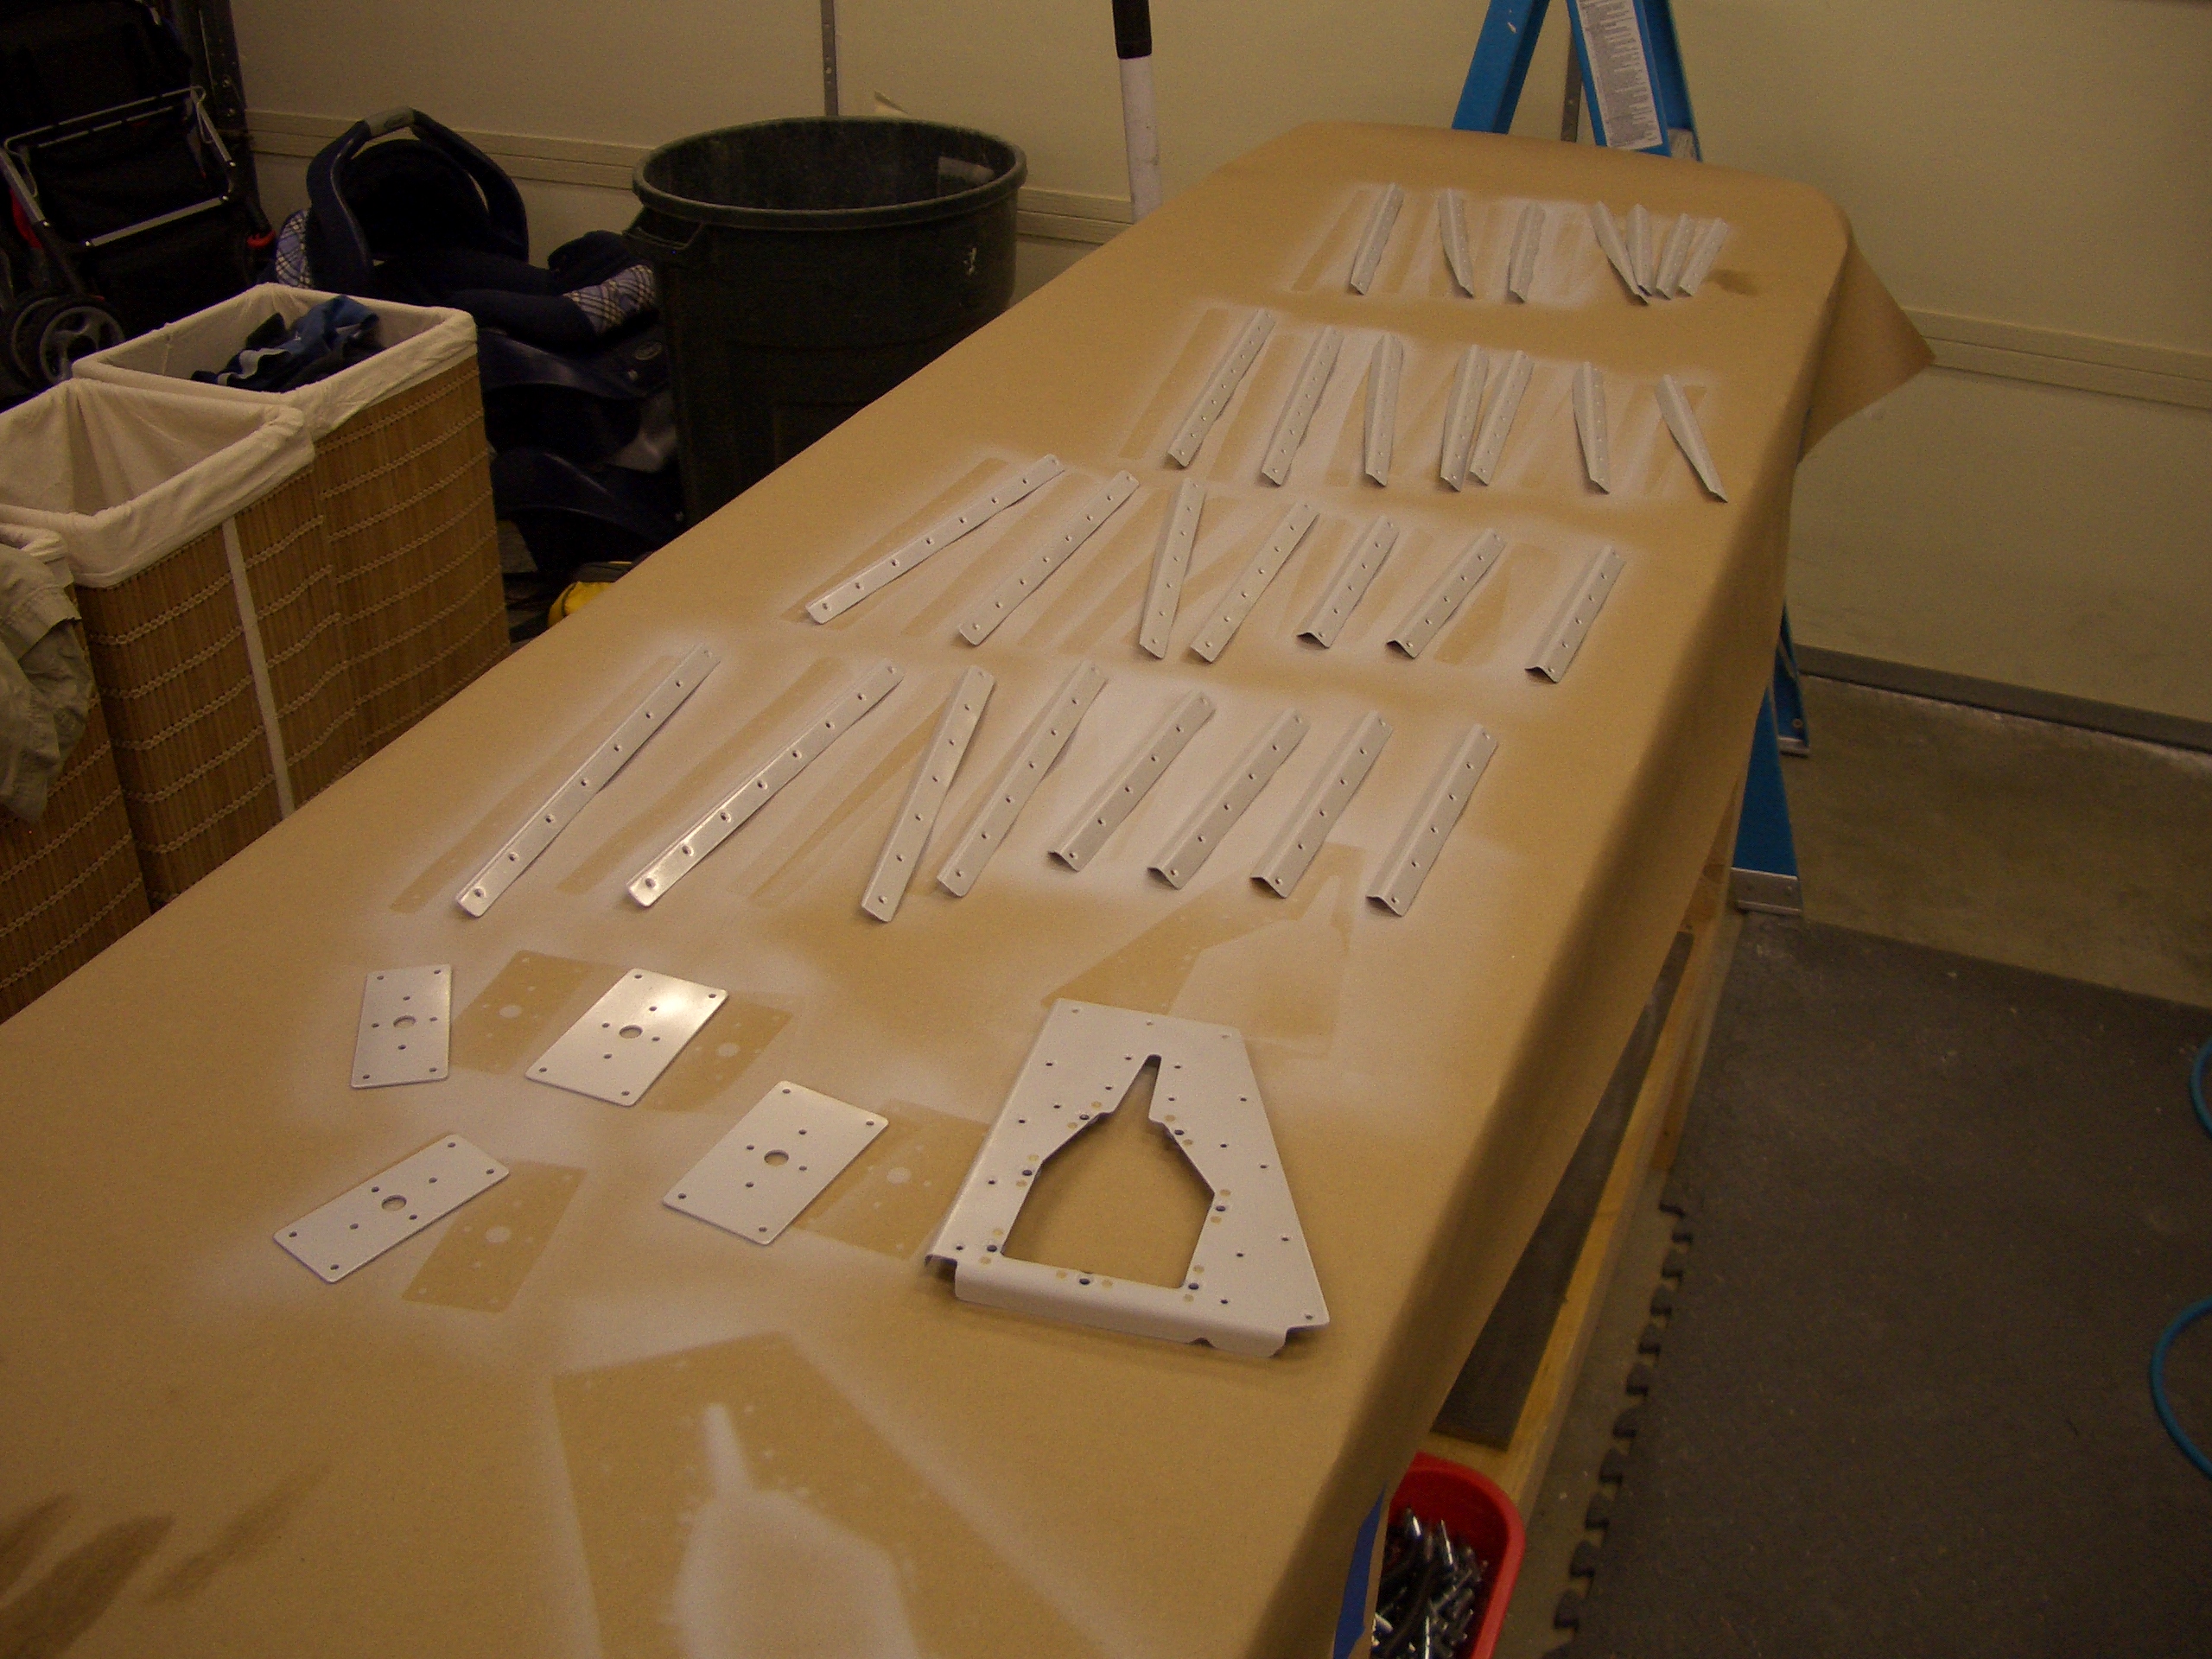
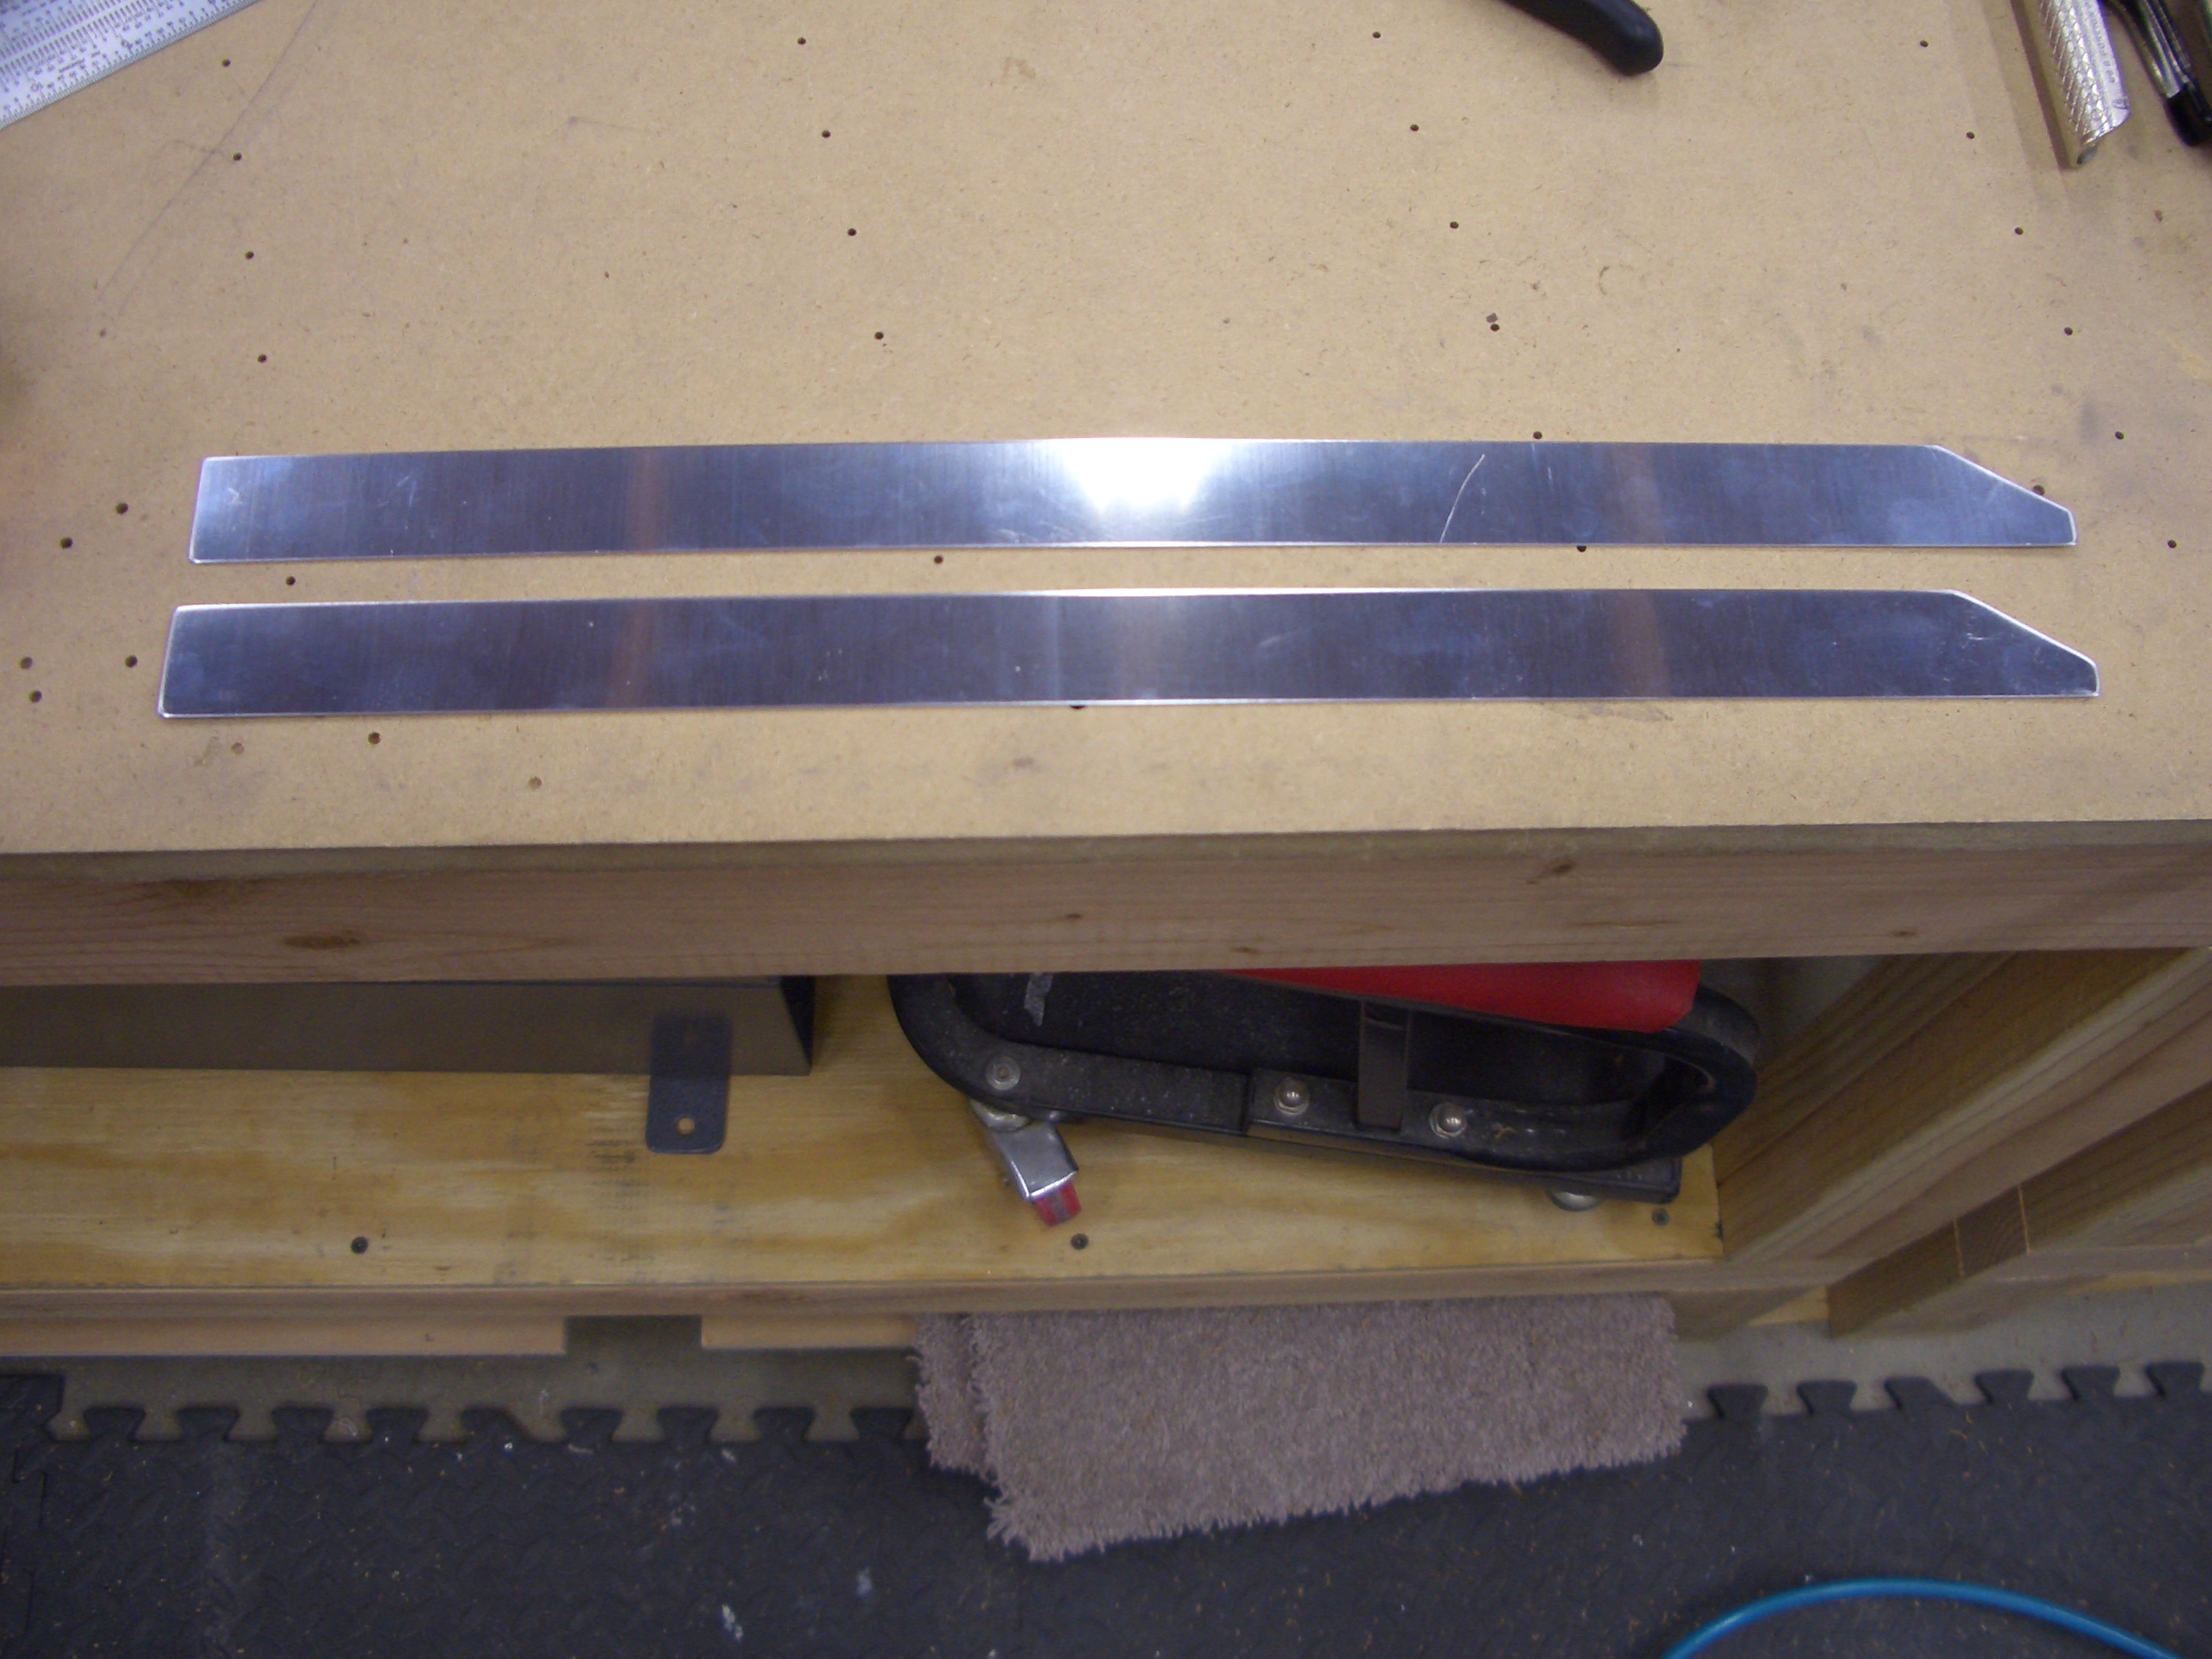
You have to make the rudder bottom attach strips from a piece of 0.032″ alclad. Basically, you just cut these to 18″ and trim the corner as specified.
Here are the strips, temporarily clamped to the R-904 bottom rib to match drill with the existing holes. Holes in the lower half of this strip will be drilled in conjunction with the fiberglass rudder bottom.

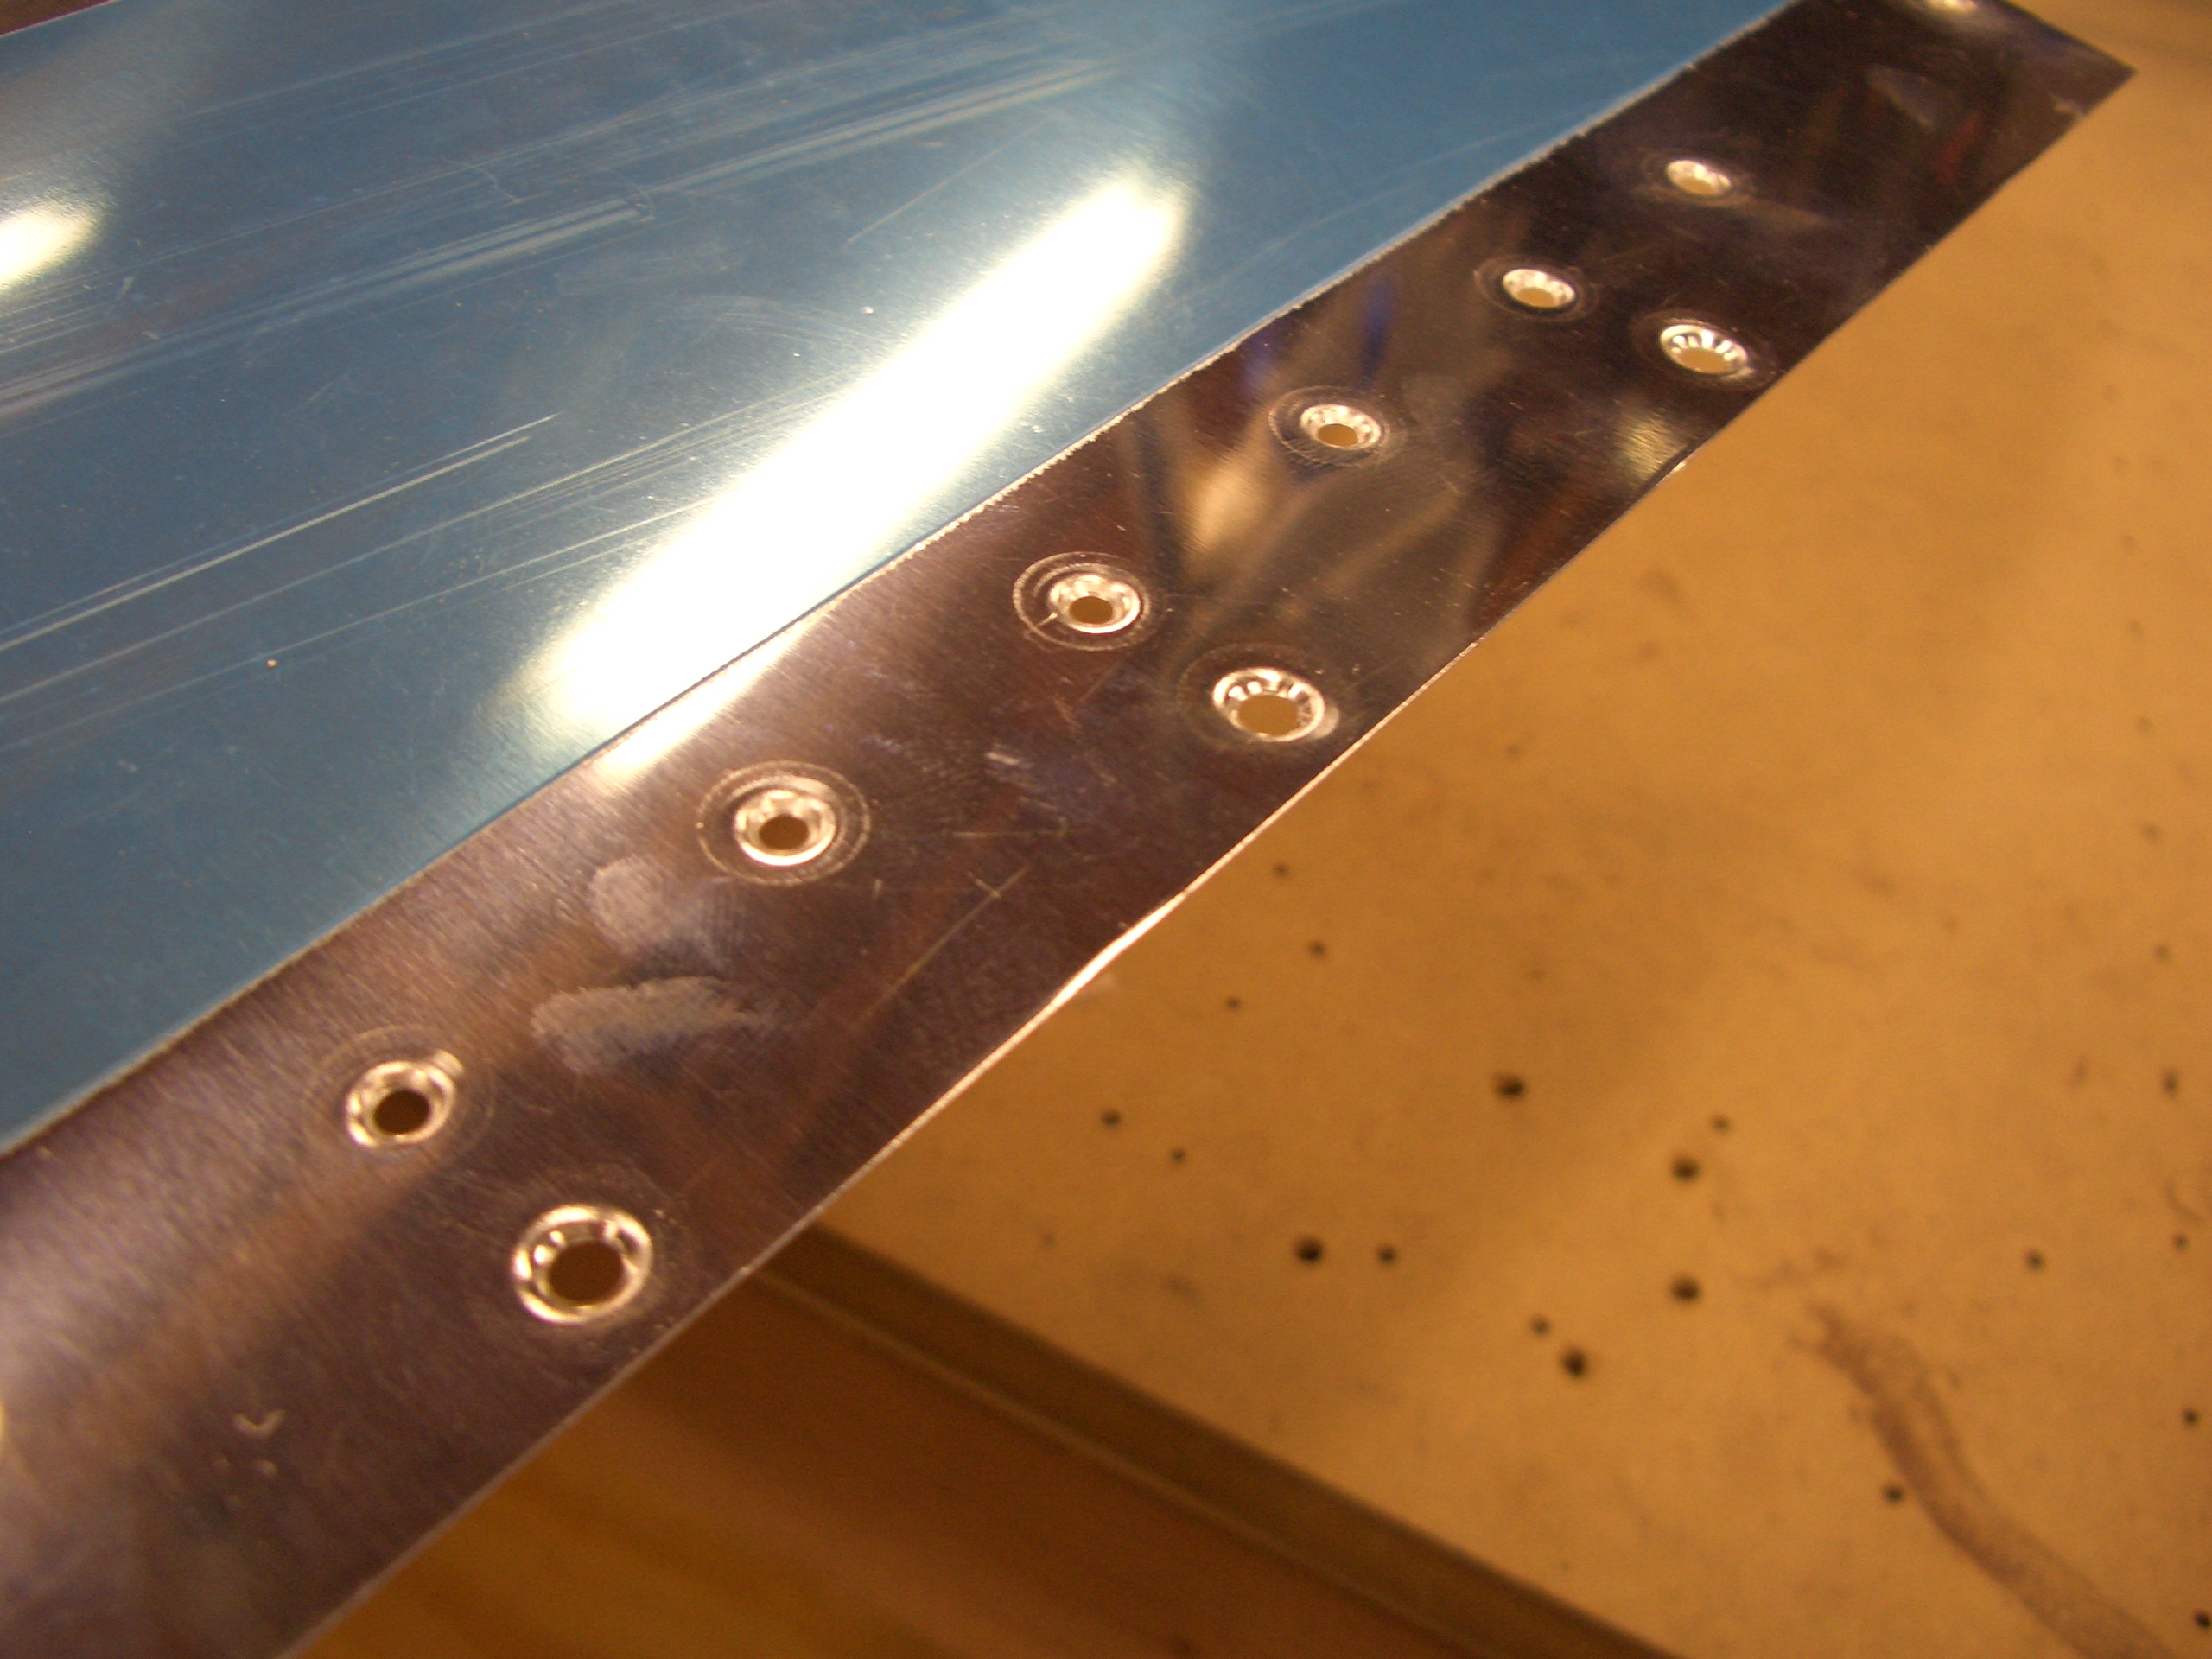
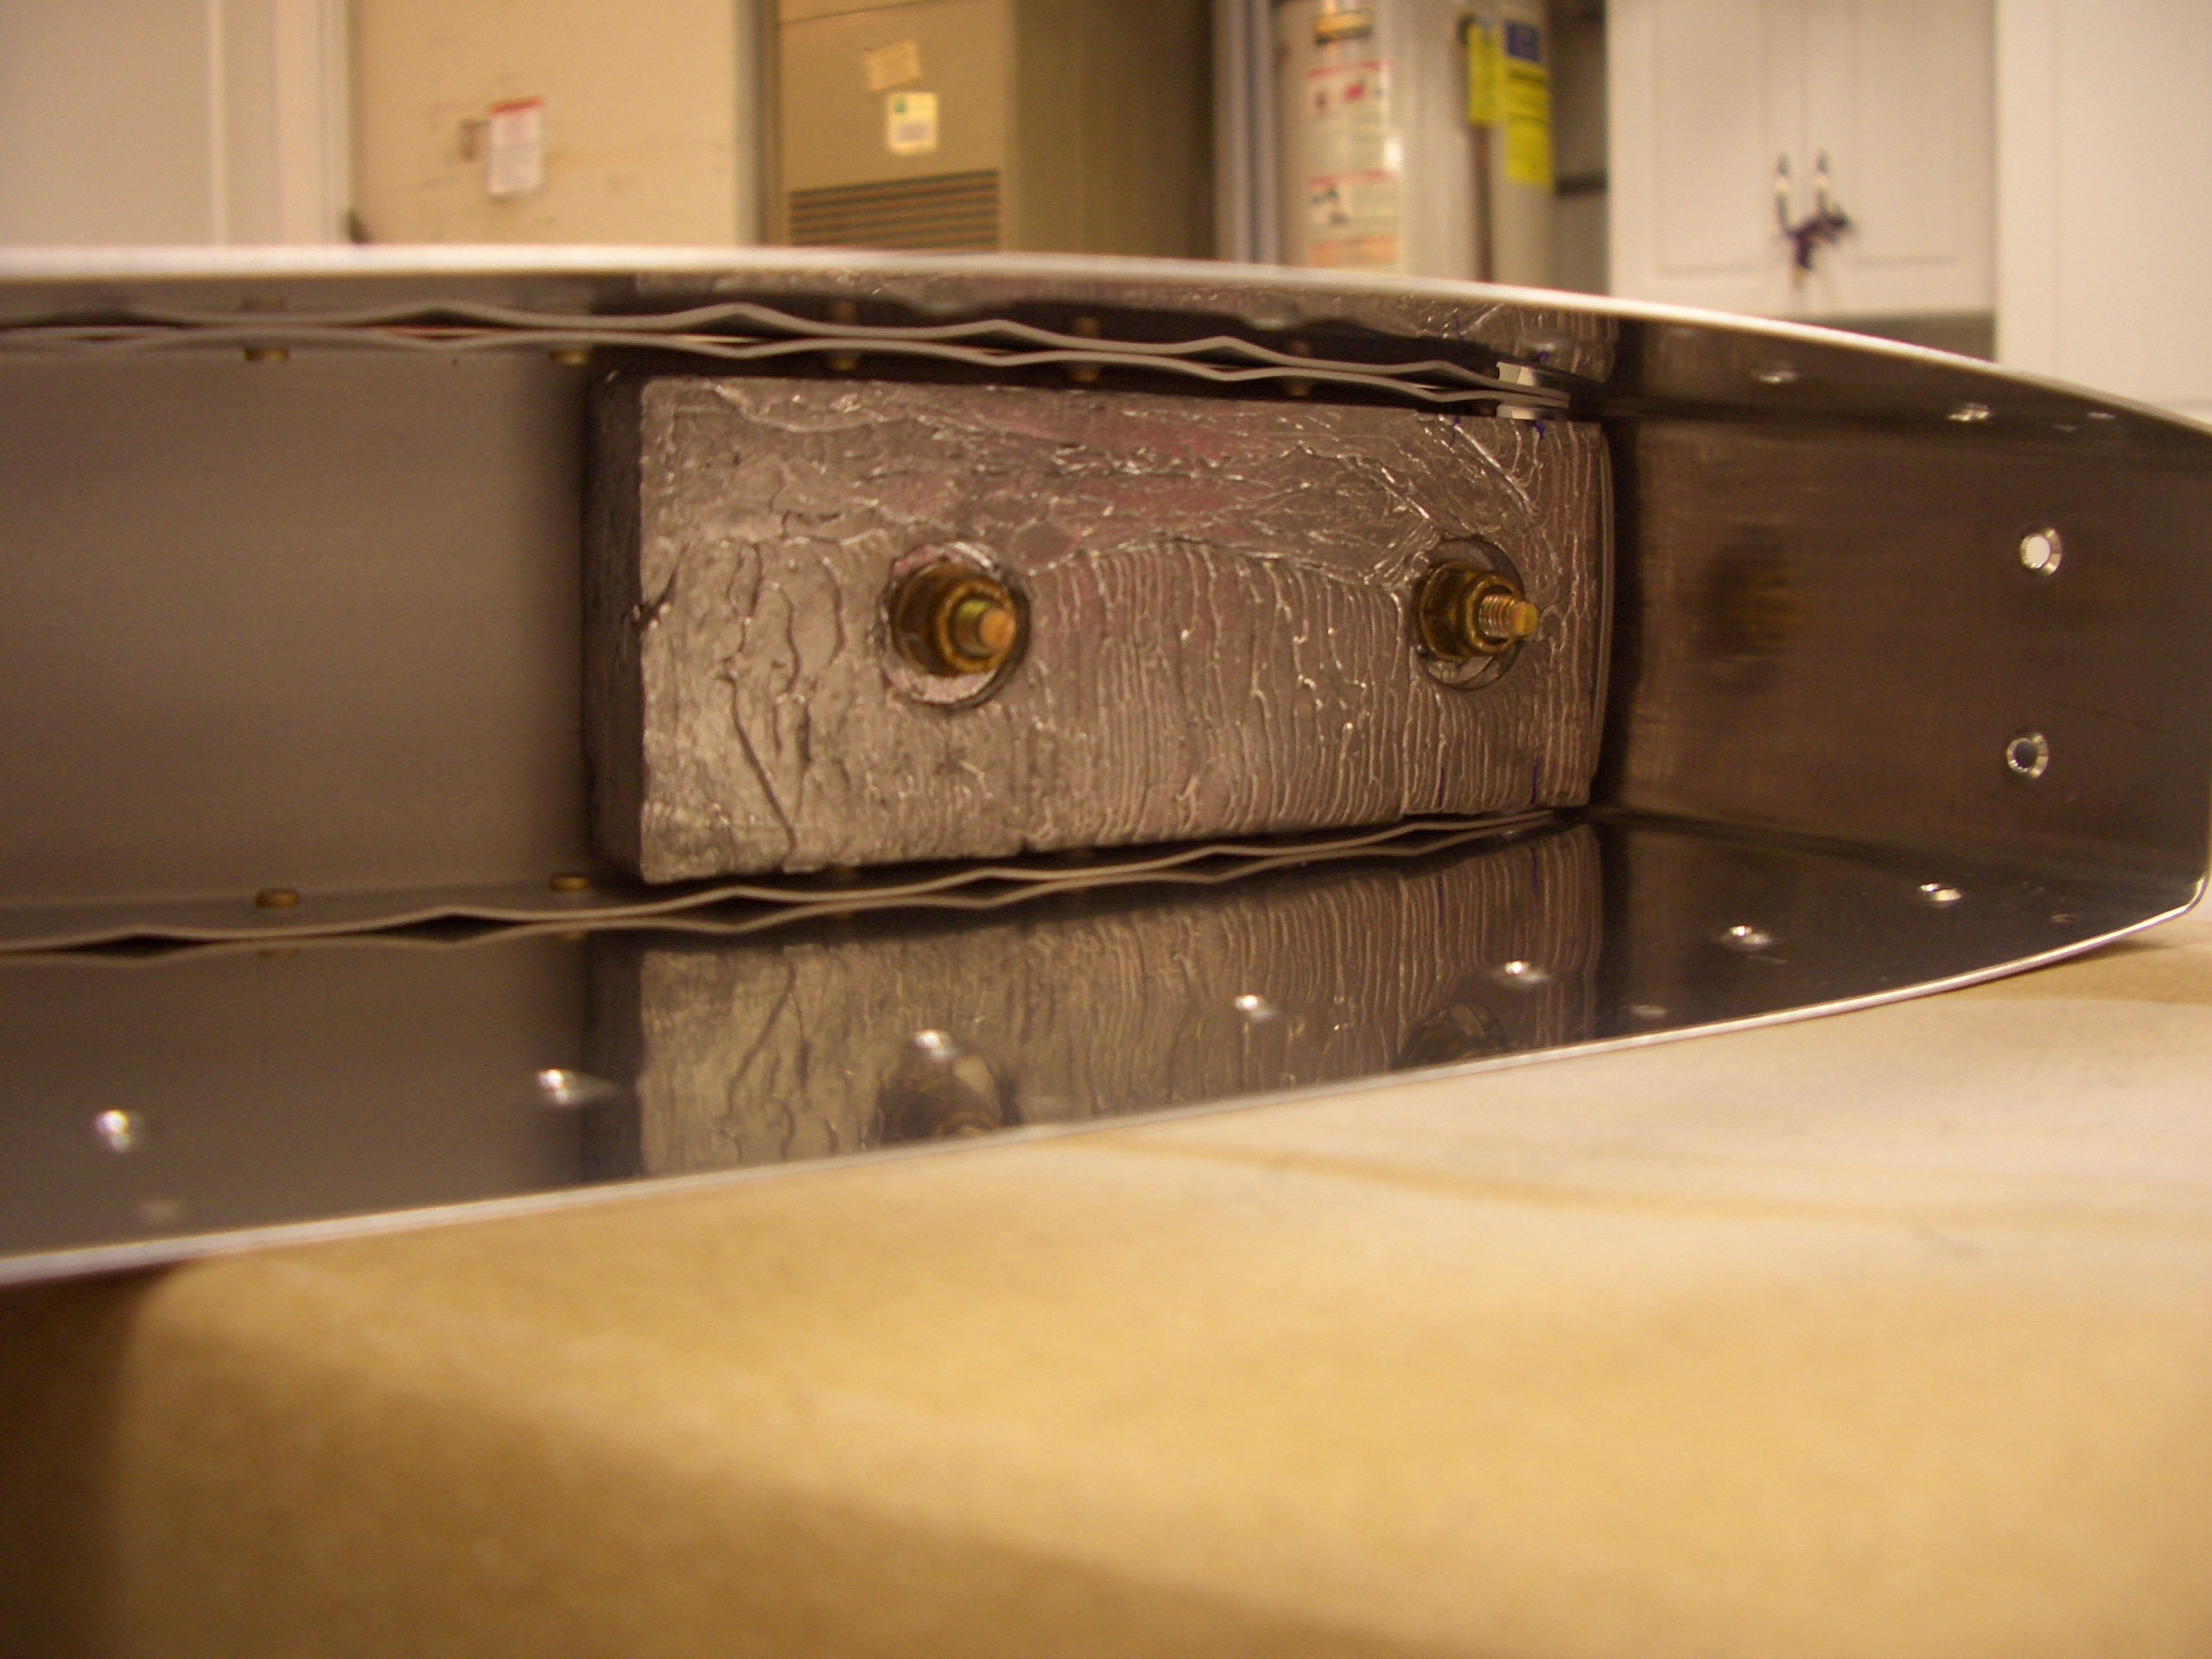
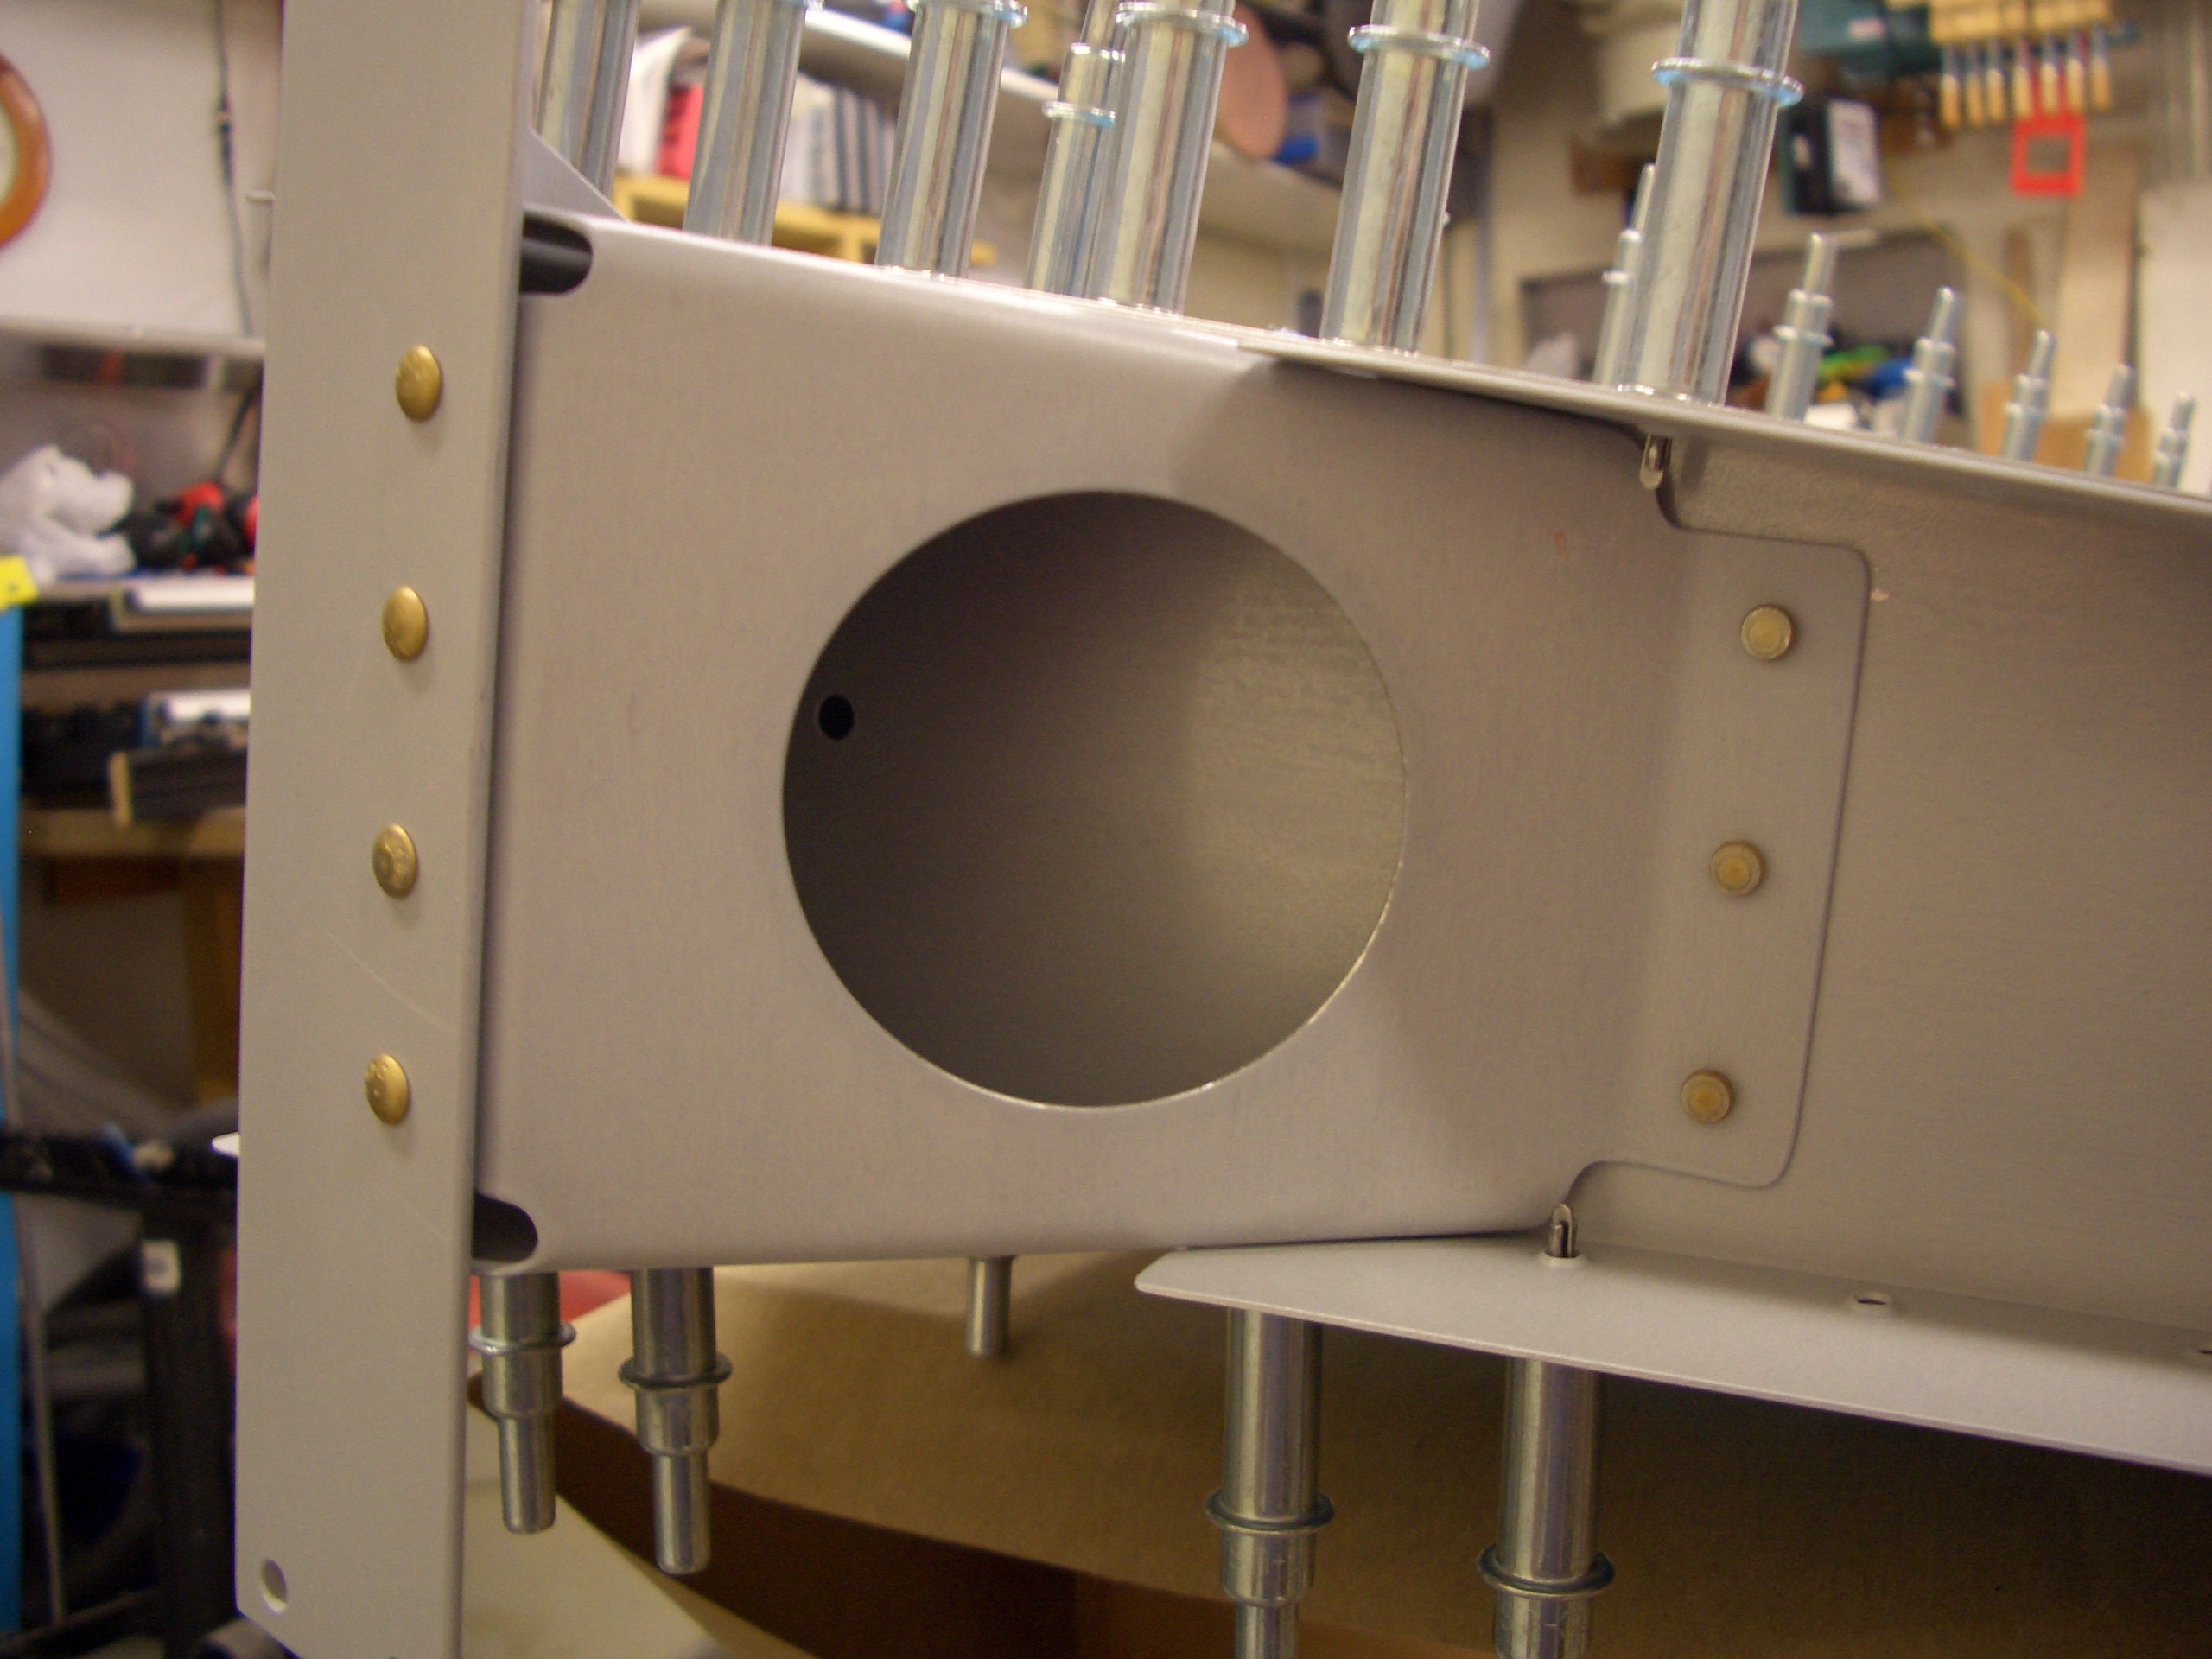
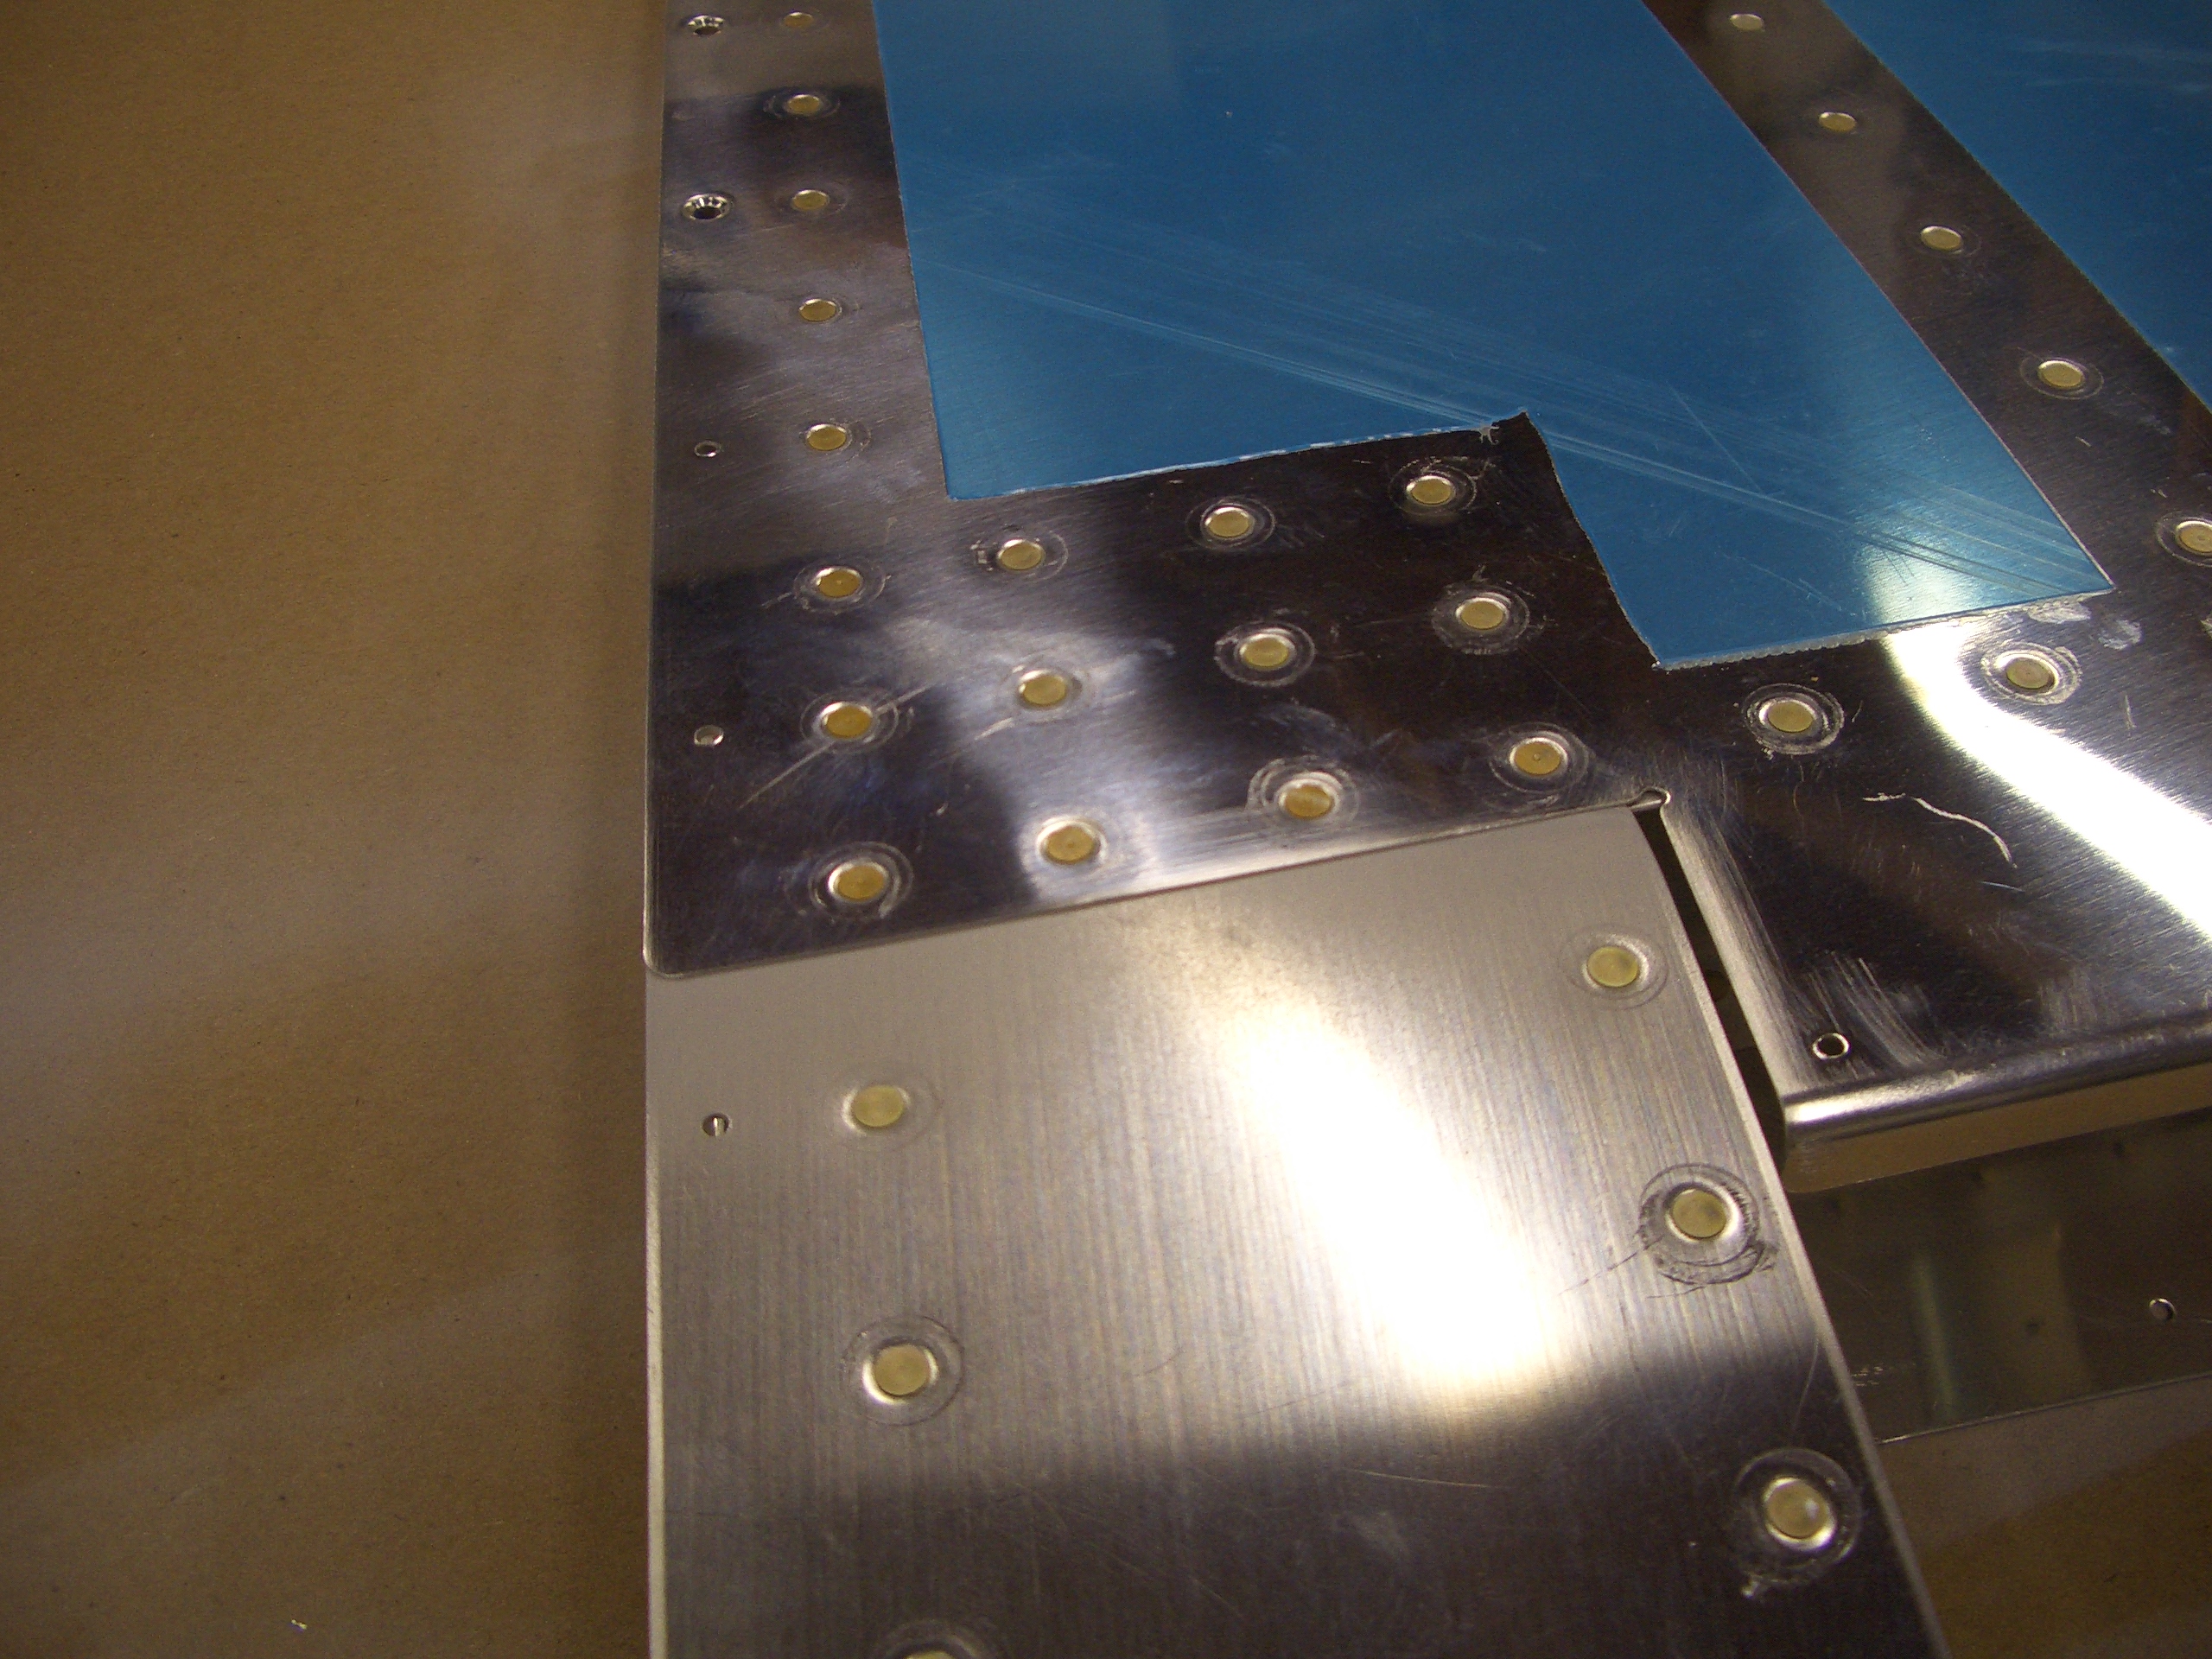
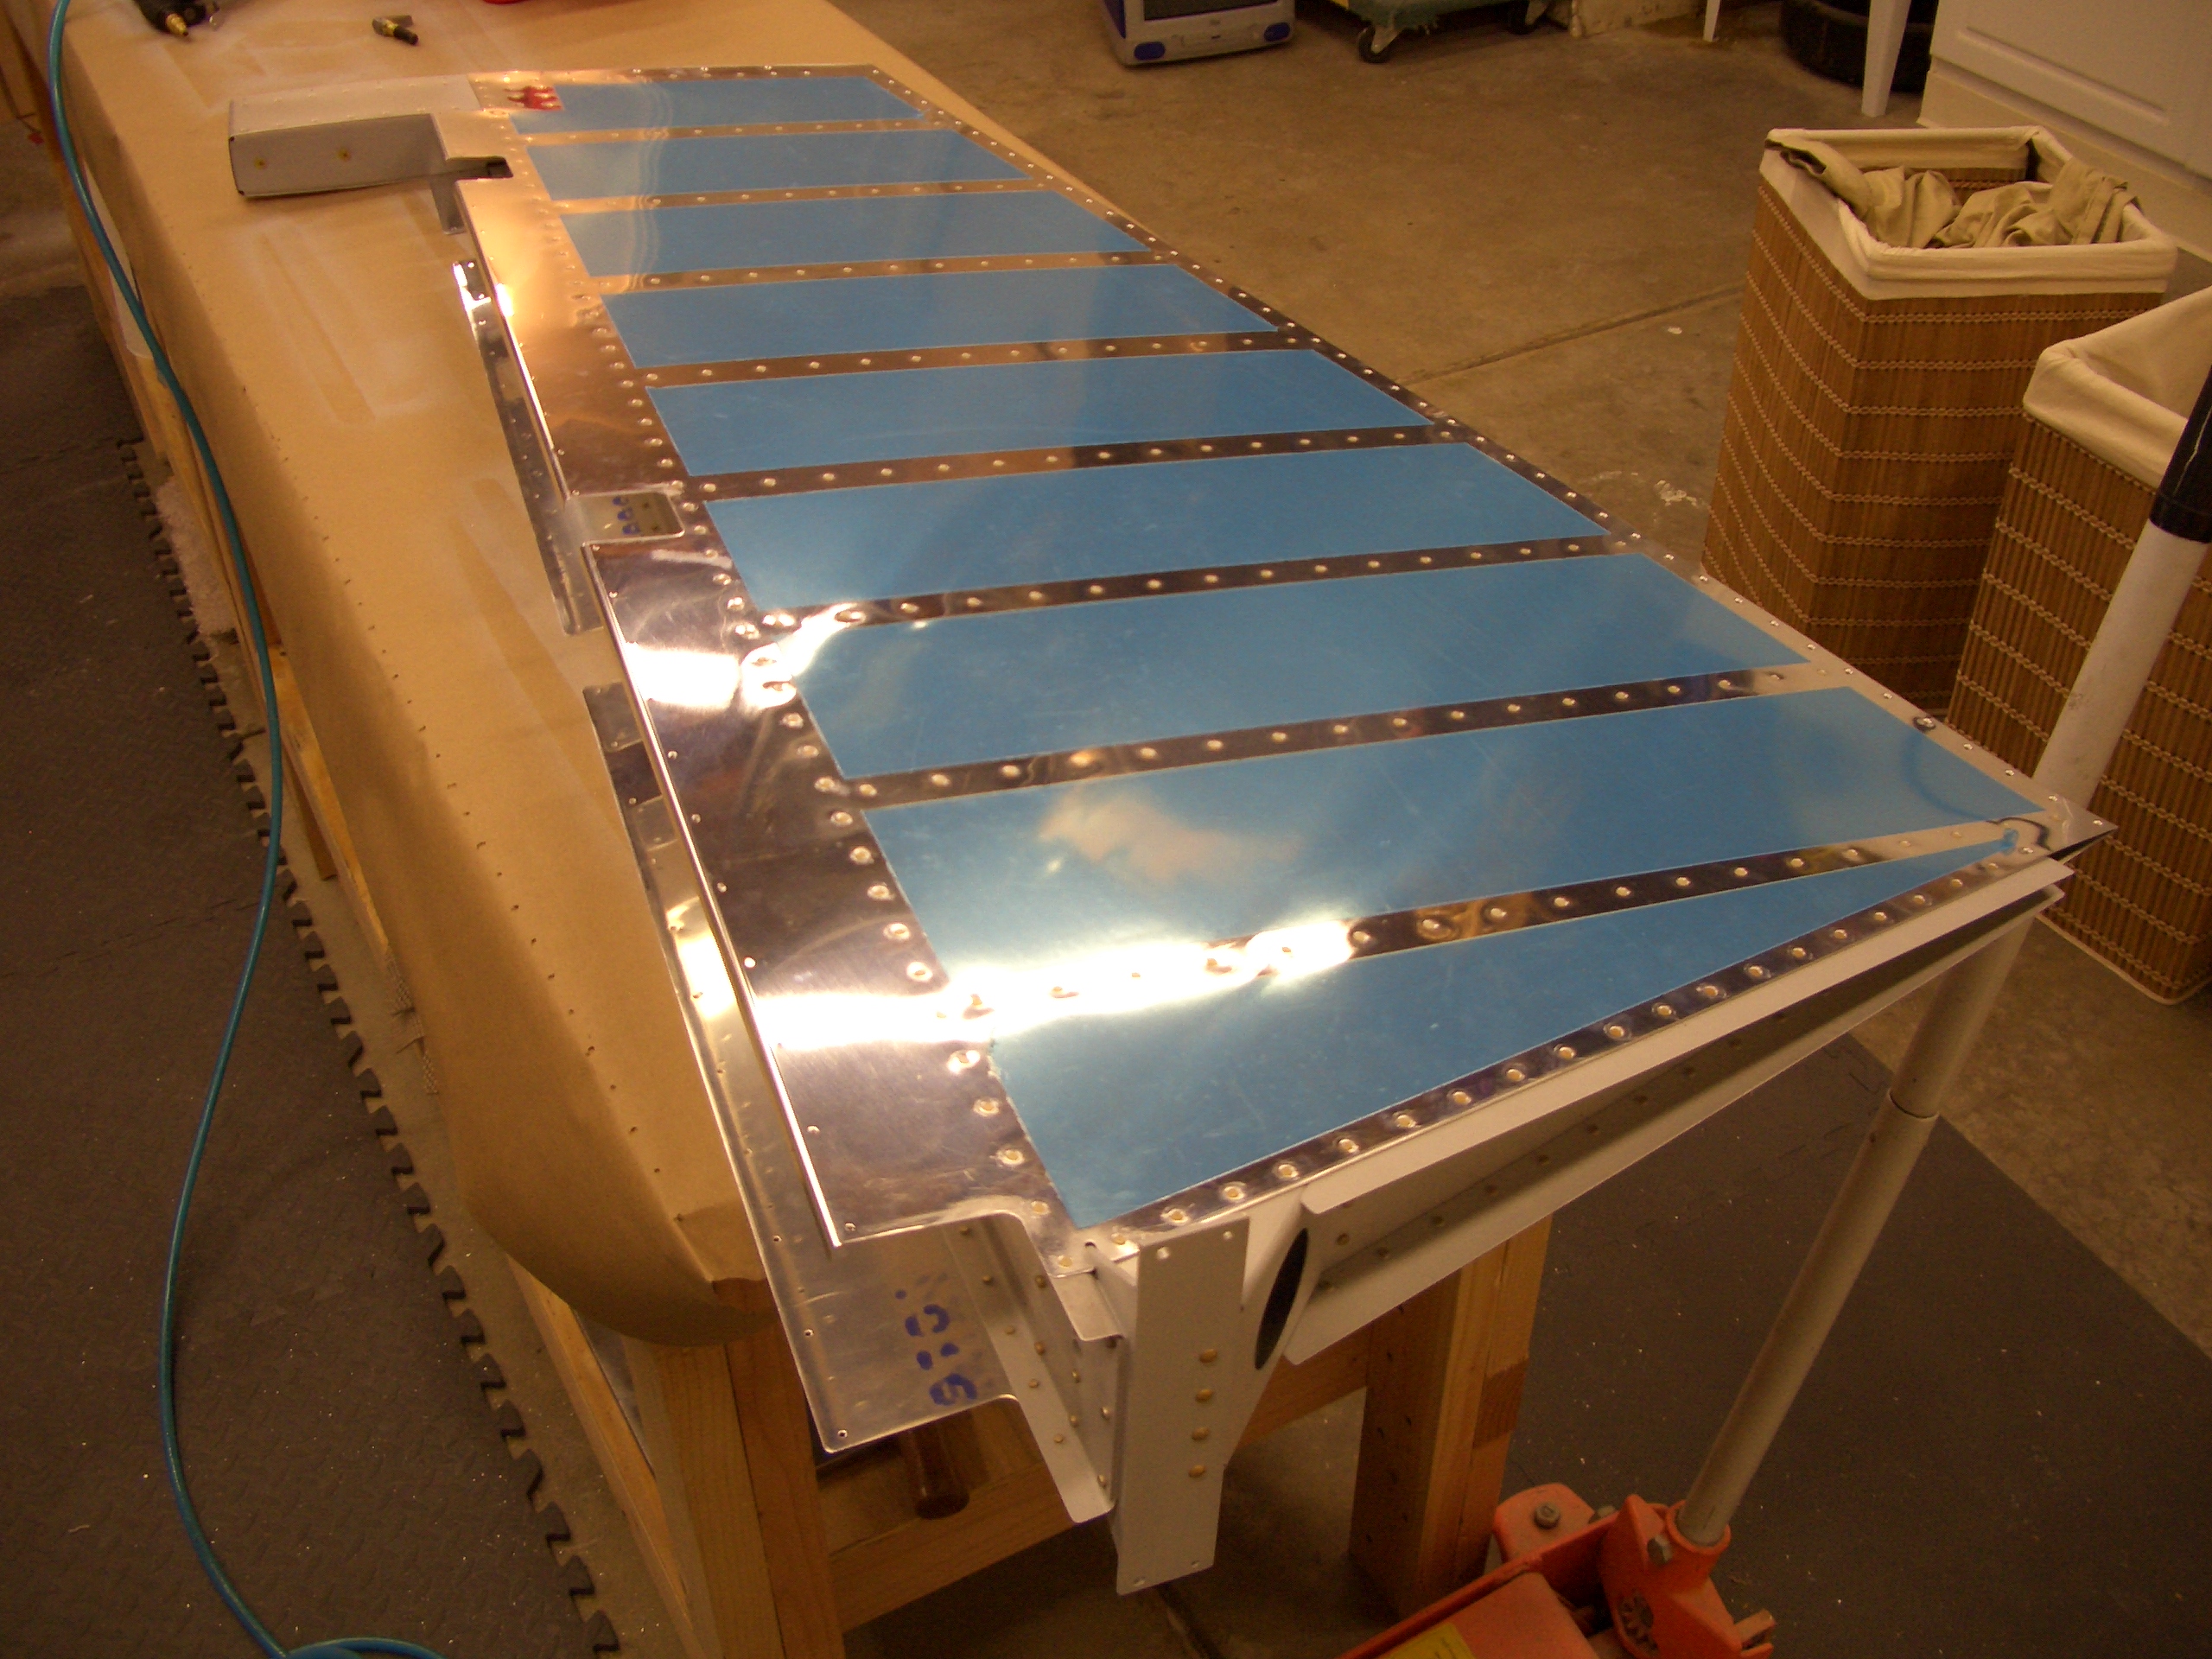
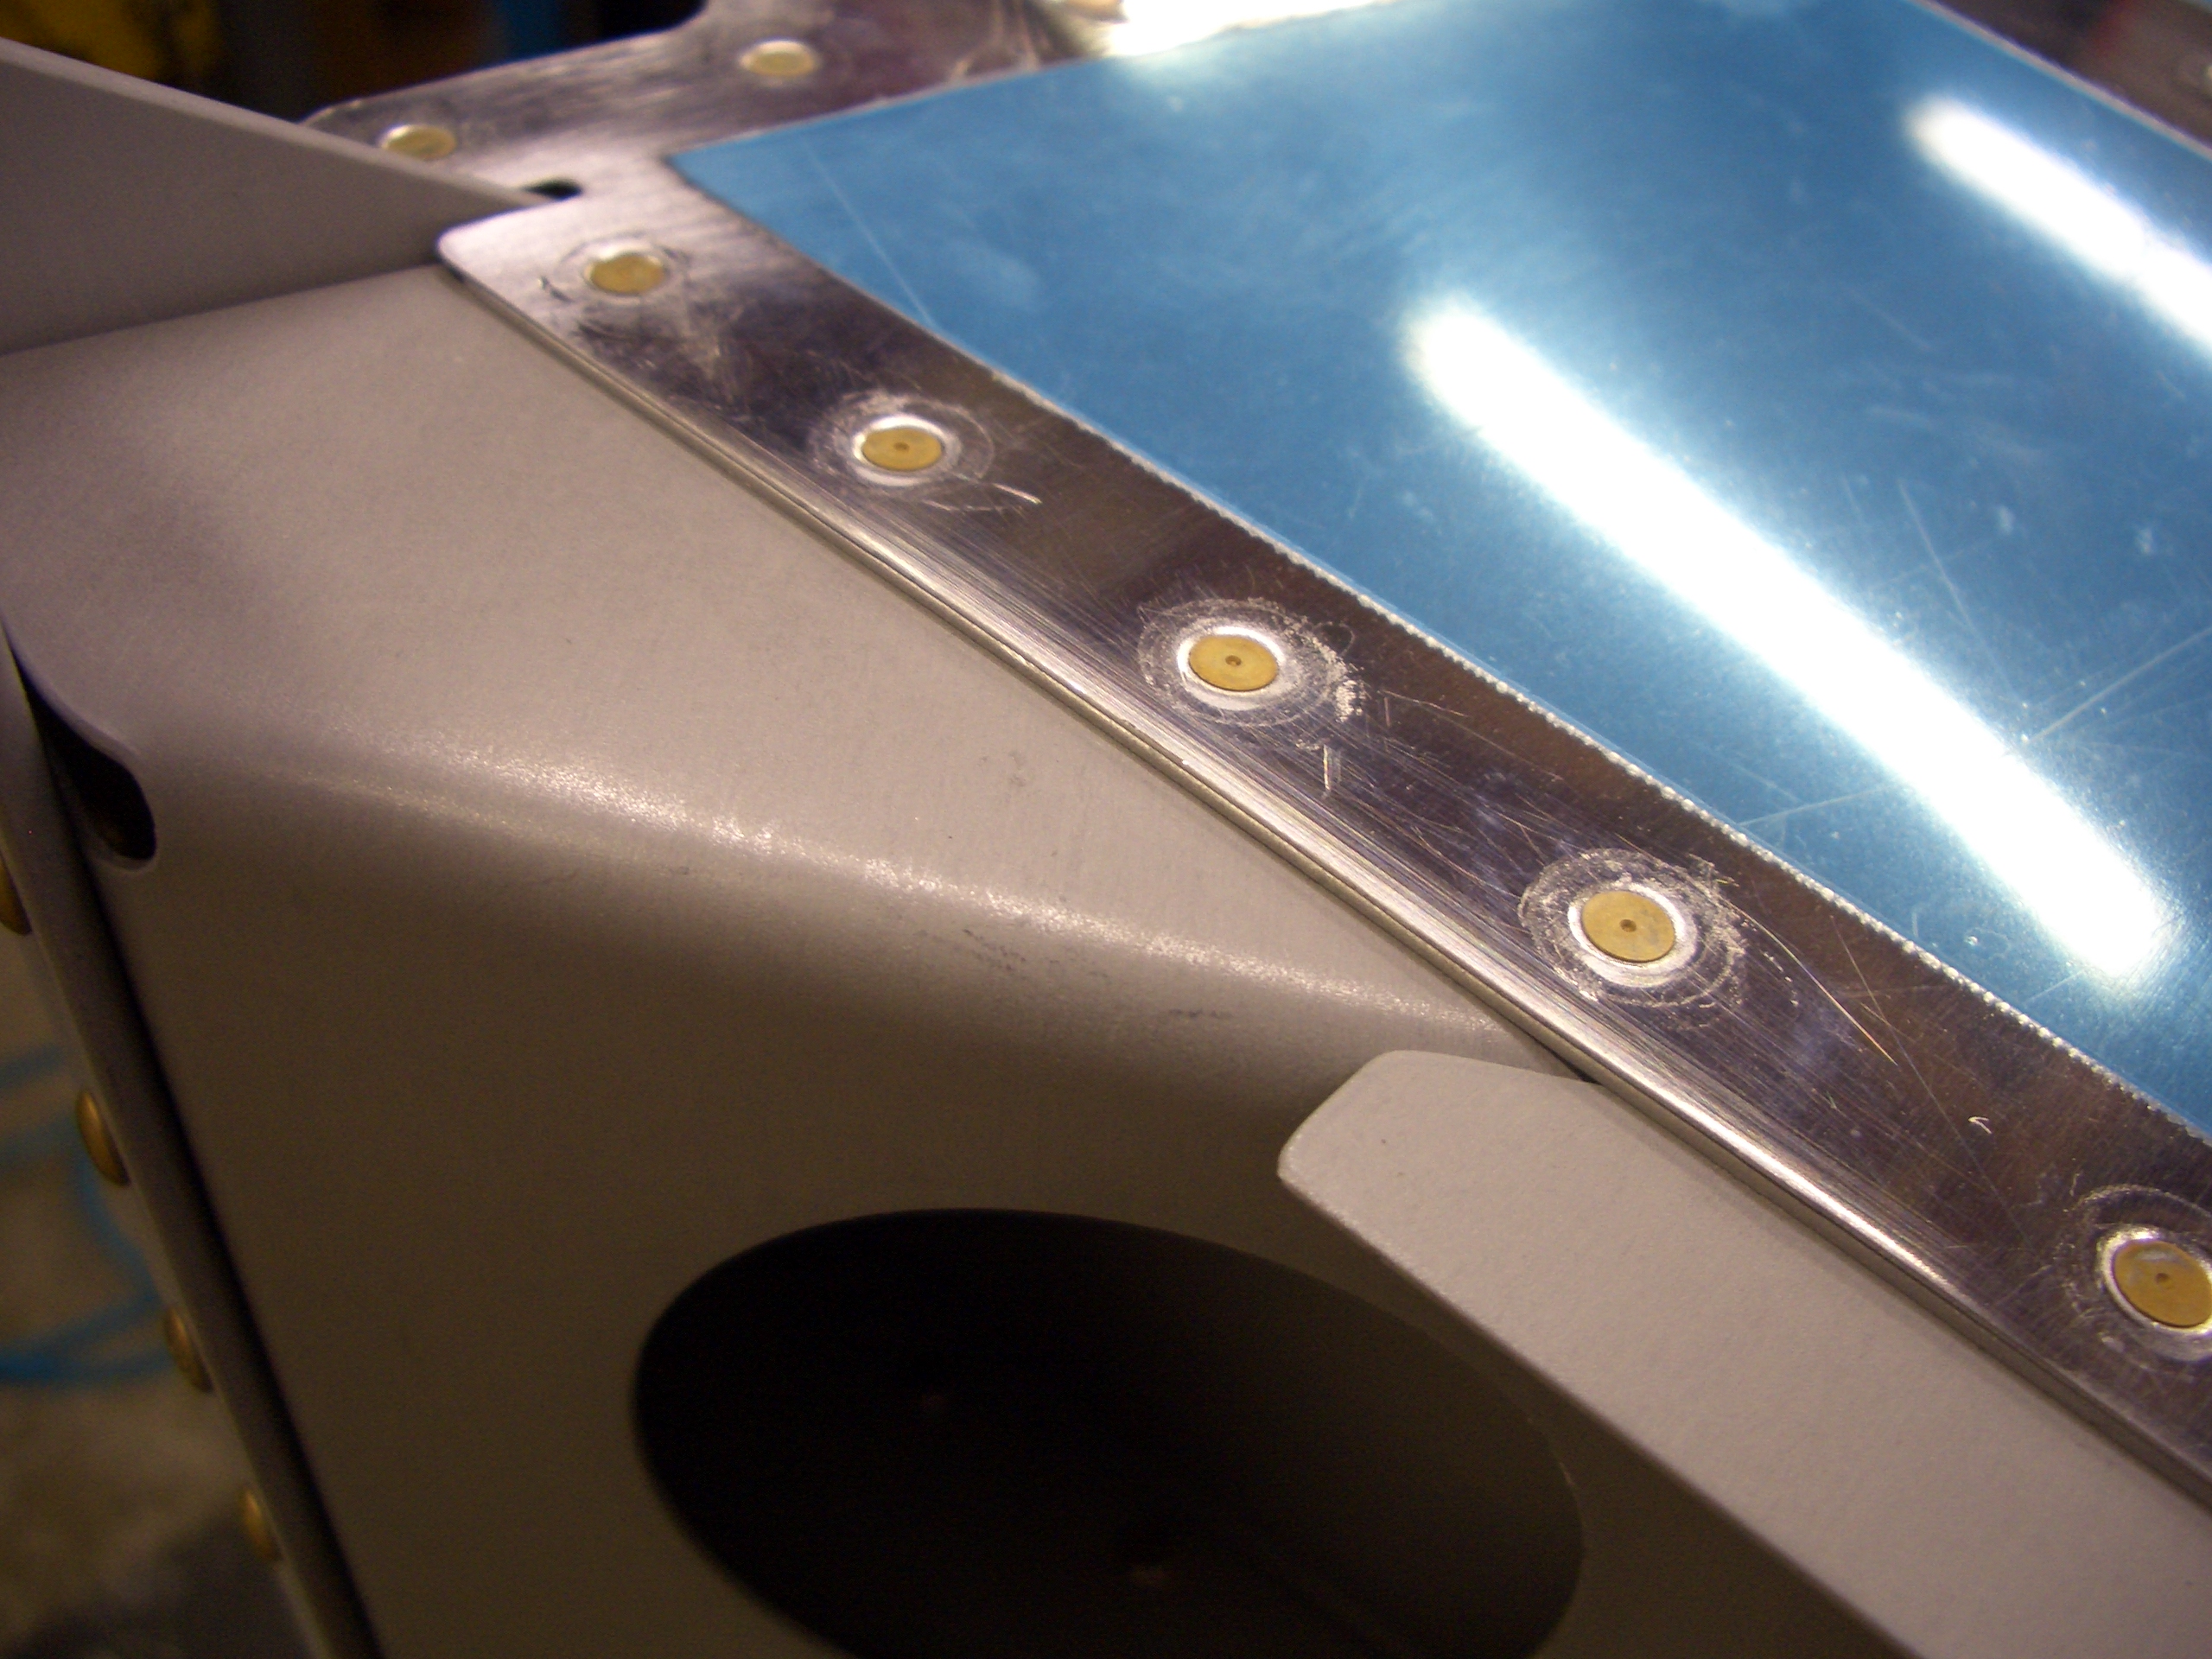
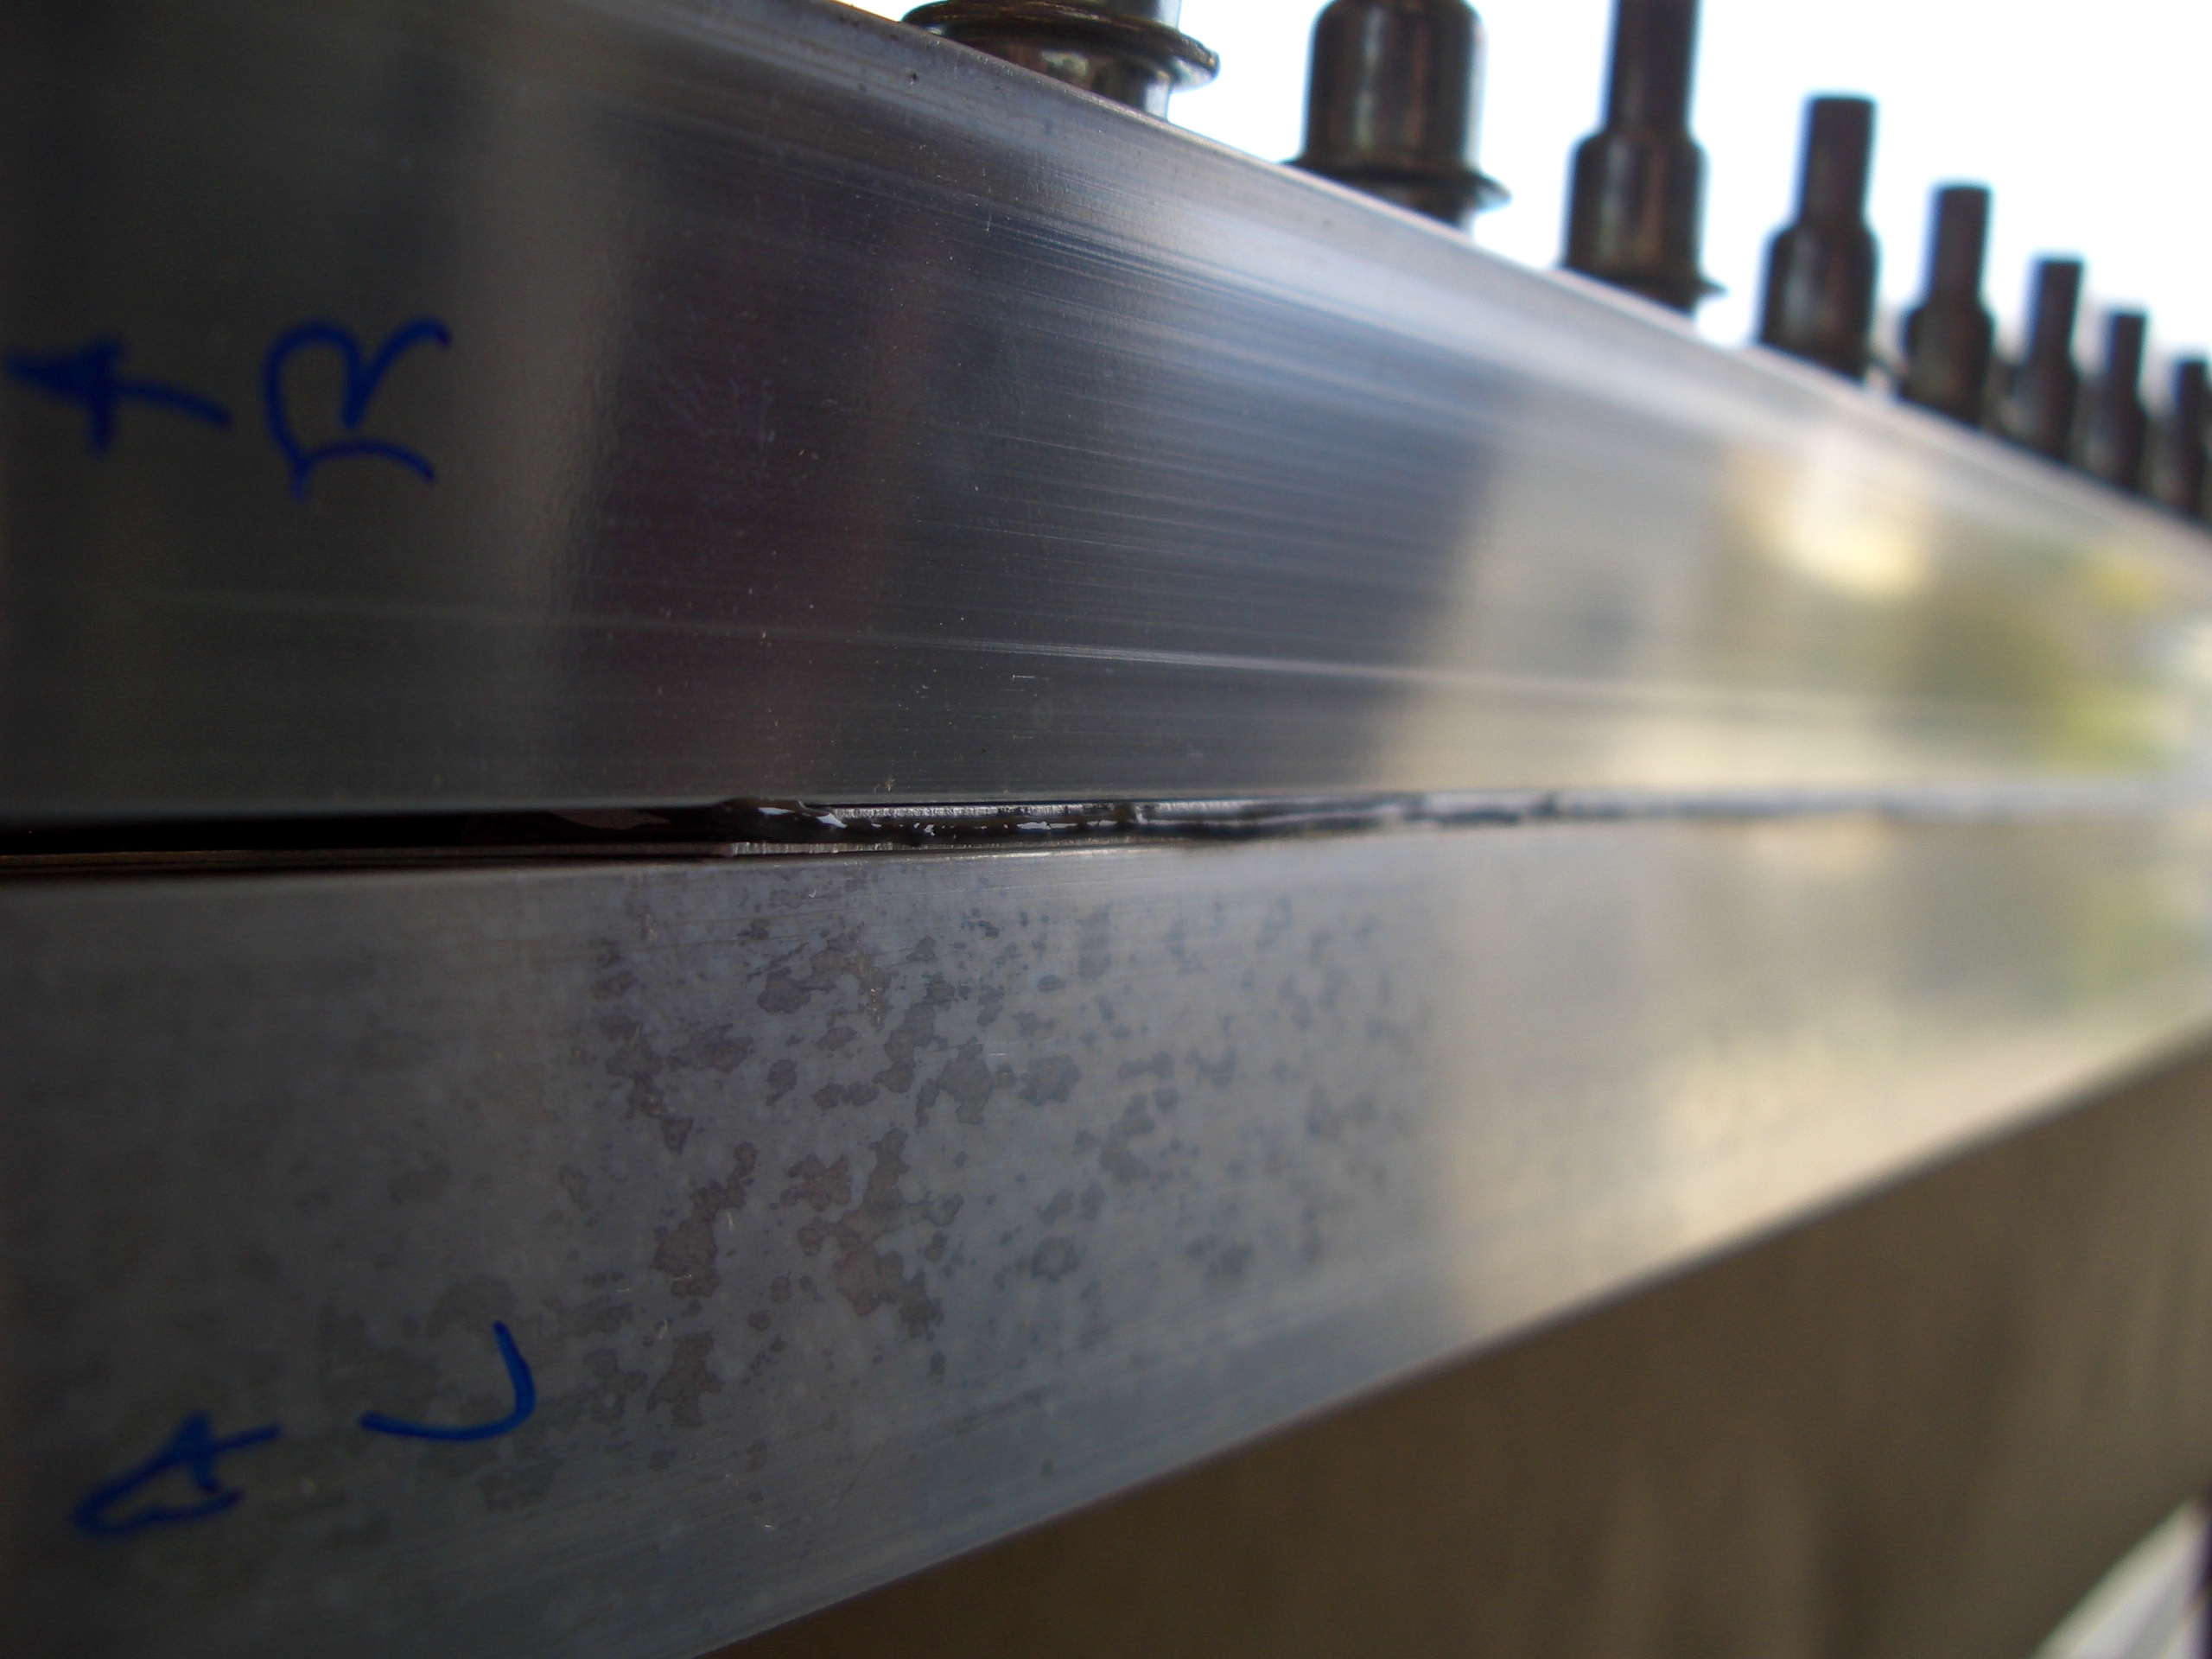
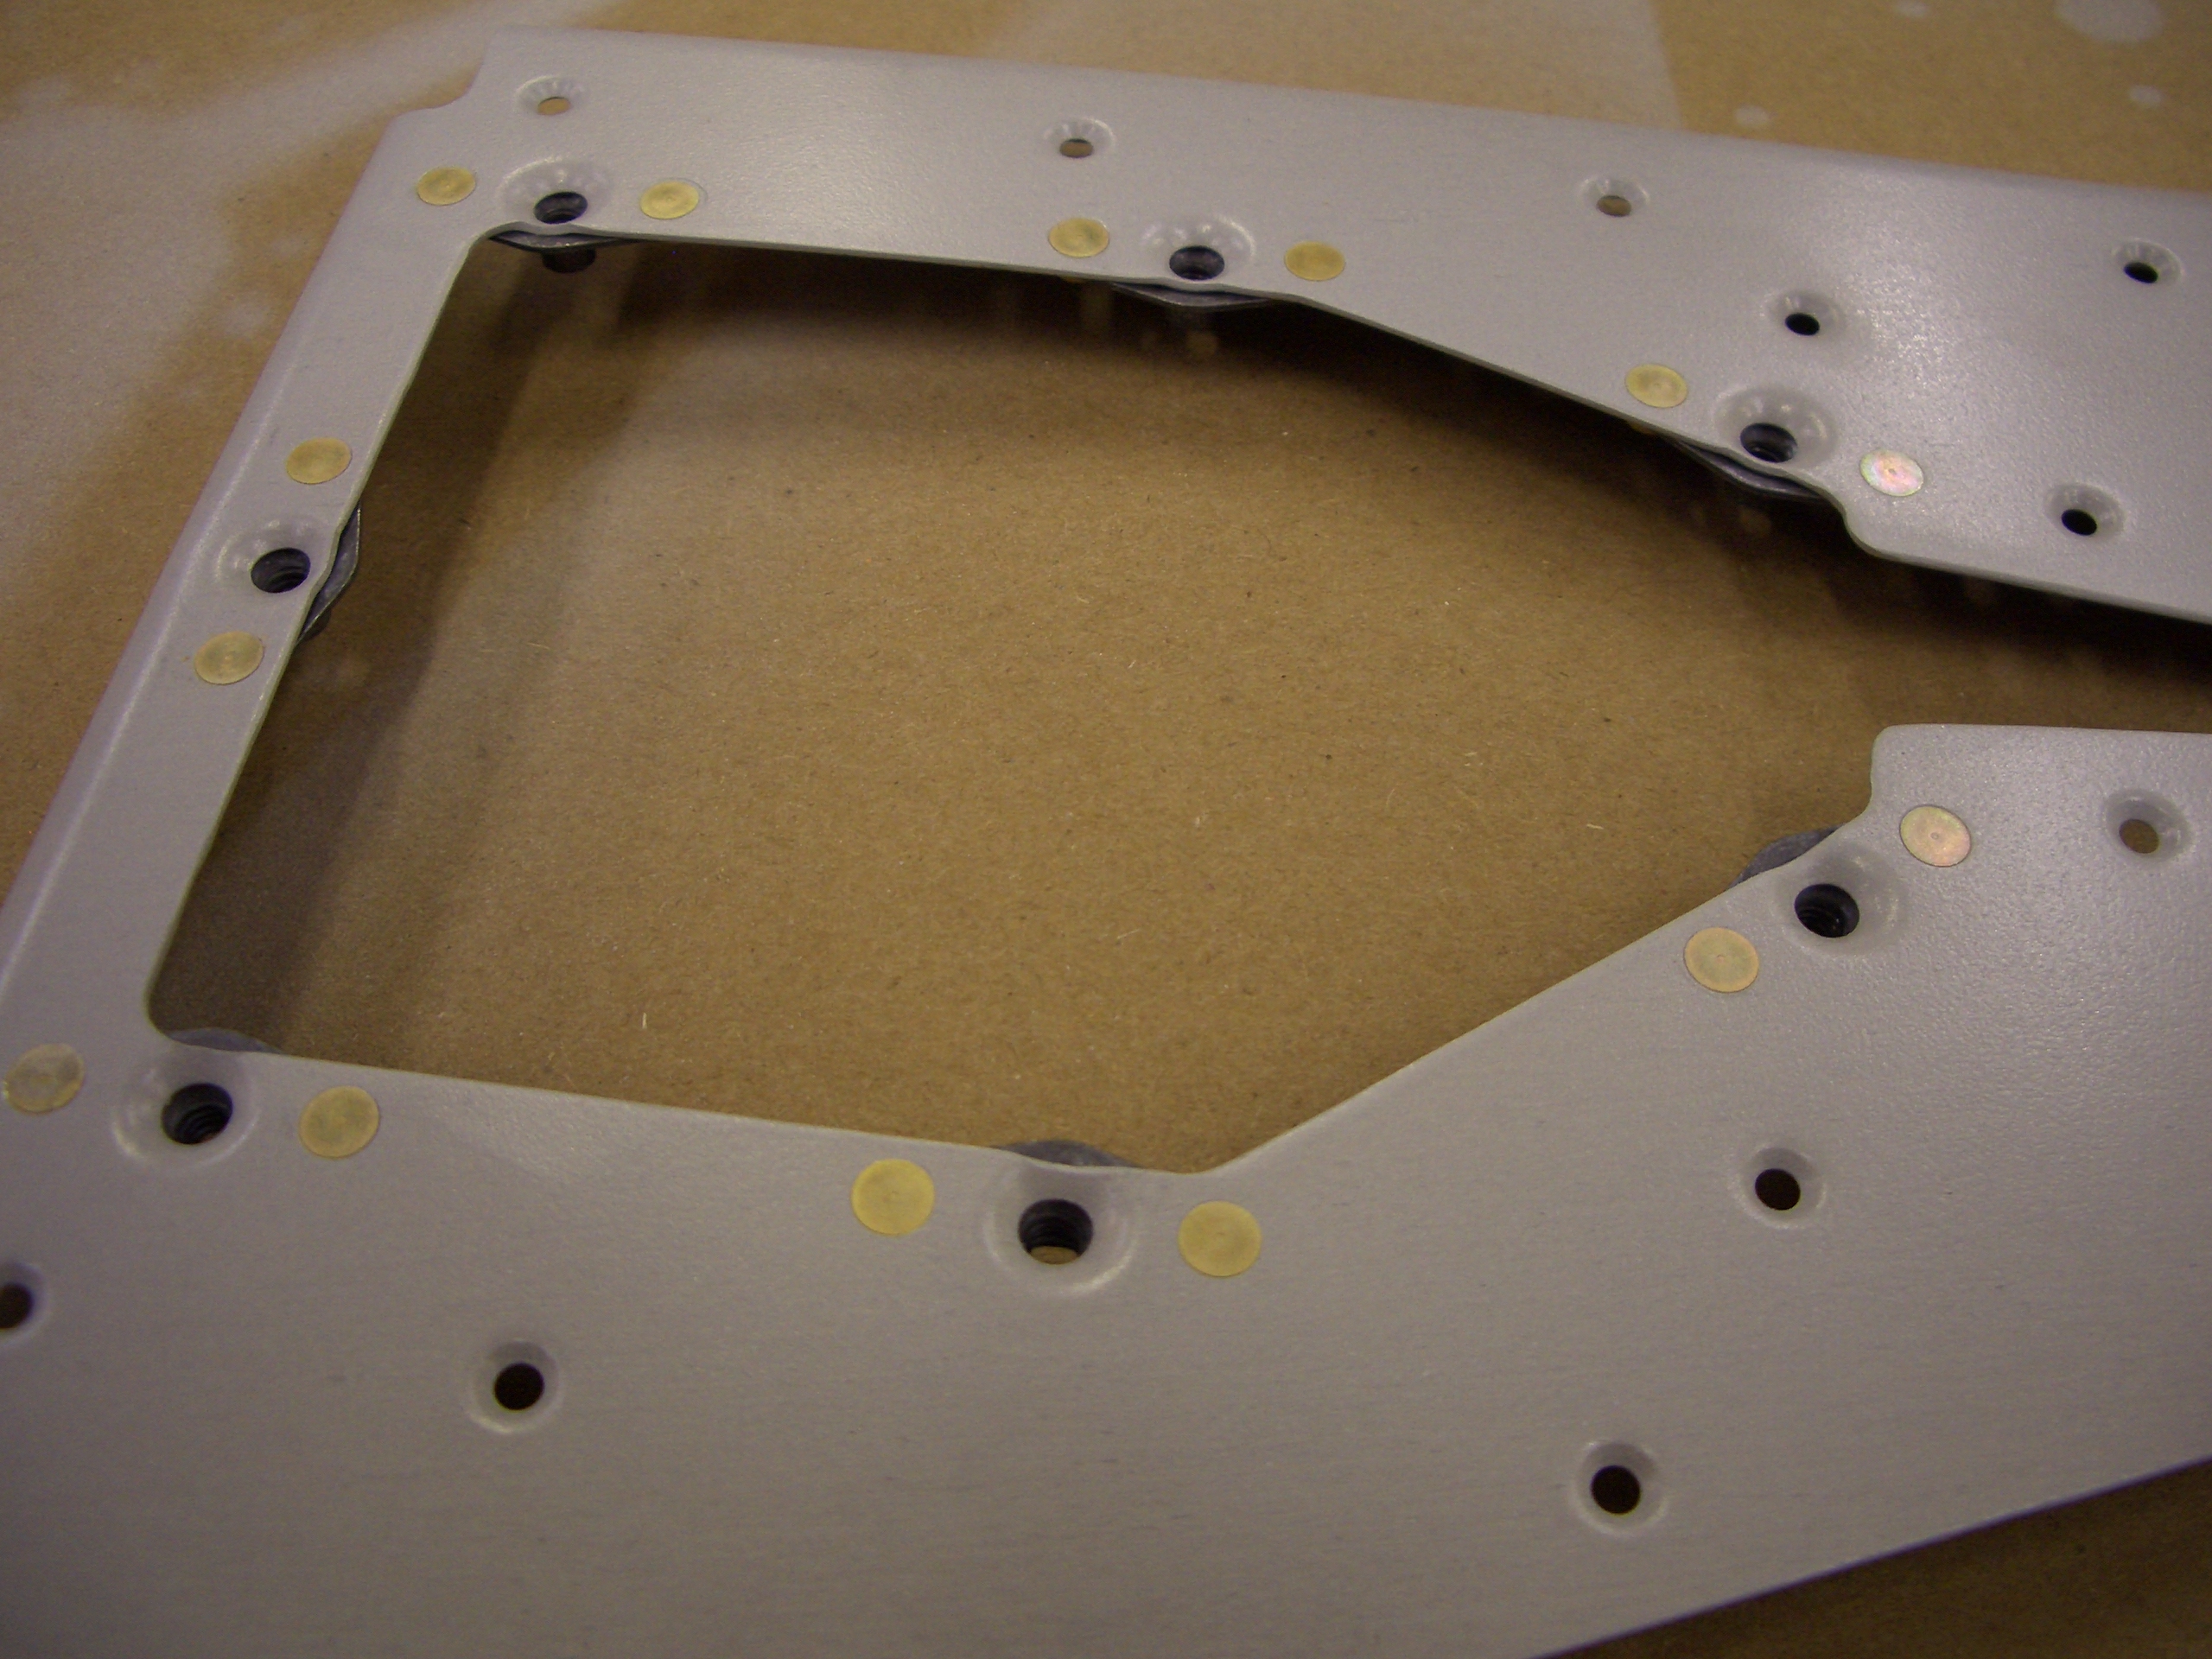
The R-913 counterbalance skin in 0.032″, and because the rudder skin is 0.016″, the overlap can cause a visible joggle in the rudder skin. Beveling the two points on each side of the counterbalance skin where these two skins overlap with the underlying structure smoothes out this transition.