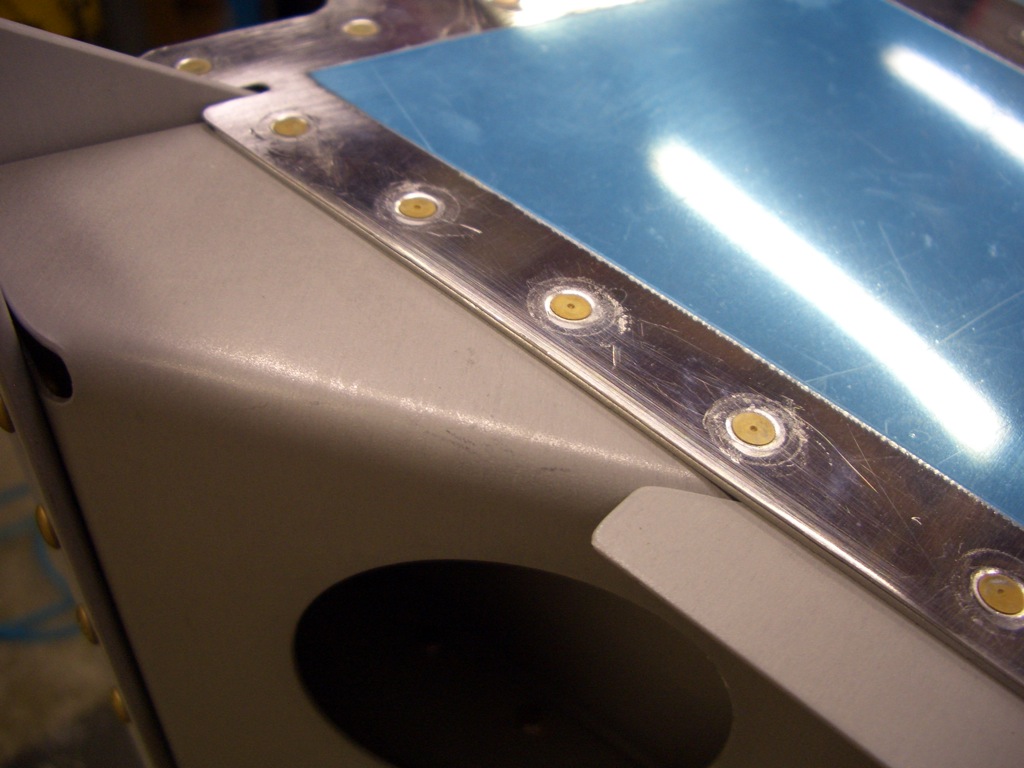
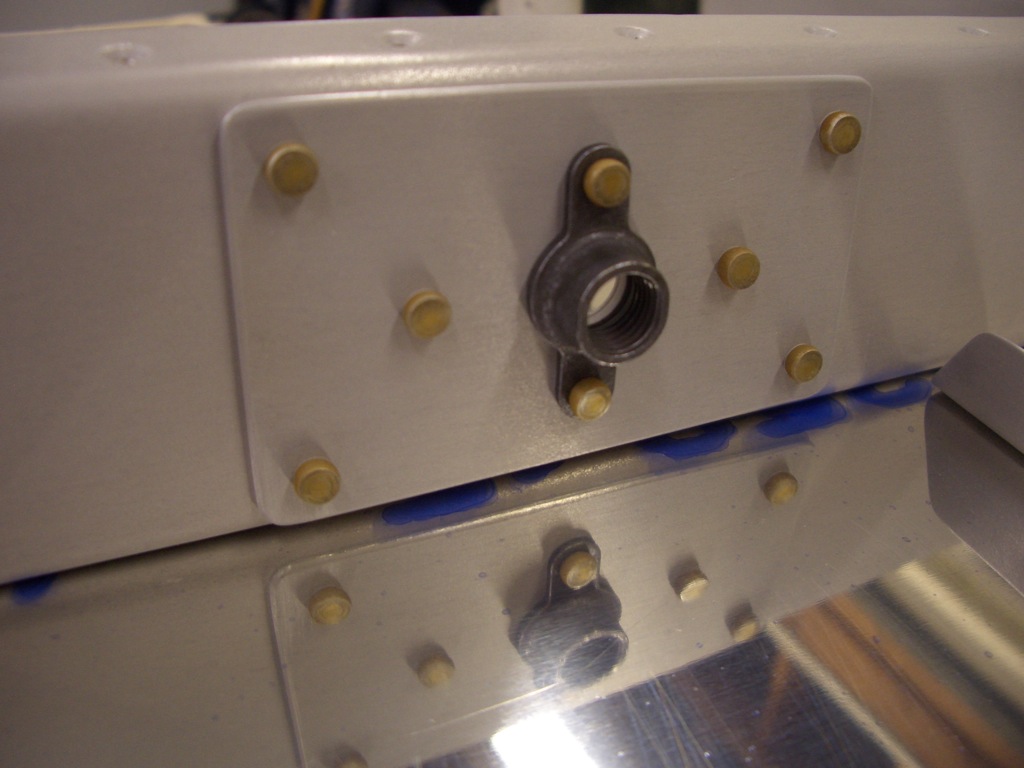
Here are a couple of pictures of the back of the rudder hinge reinforcement plates, mostly for the DAR to see that these are set correctly since there is no way to see inside the rudder once the skins are riveted on. Here’s the middle hinge reinforcement plate.
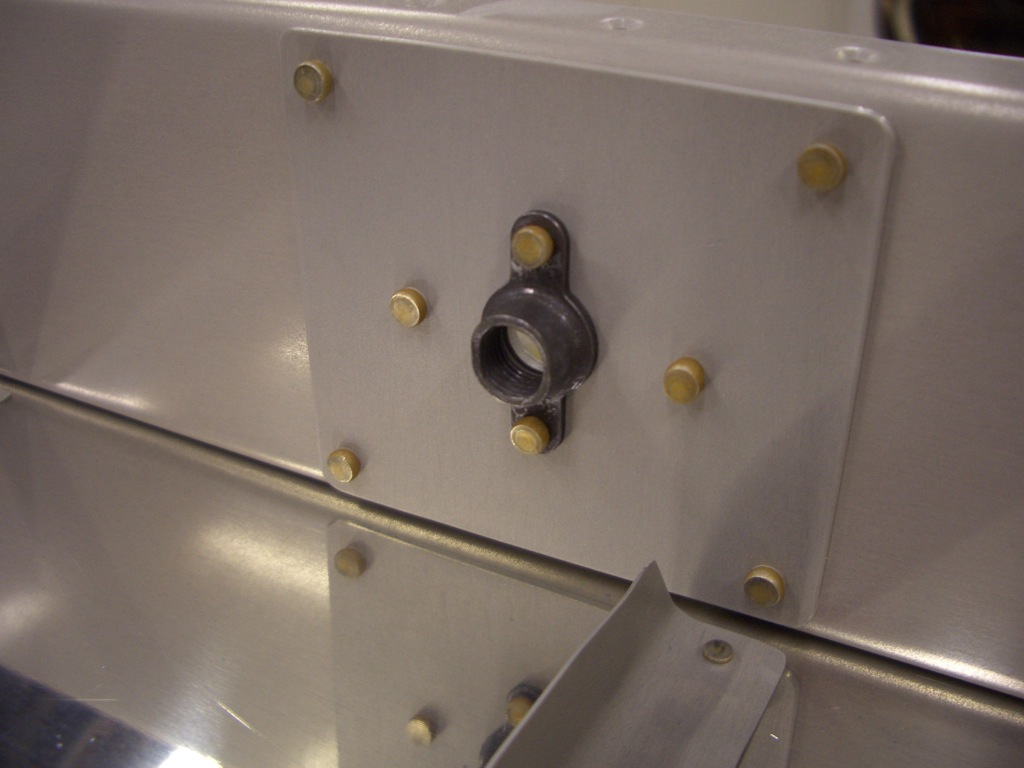
And here’s the upper hinge reinforcement plate.
I got both skins fully riveted on (except for the trailing edge). Here are the counterbalance skin to main skin rivets. You can sorta see here how the tapering I did on the counterbalance skin allows the main skin to flow smoothly down on to the spar. When you feel it, you can barely detect the joint. This will all get covered in filler most likely when I do the fiberglass work for the rudder top fairing.
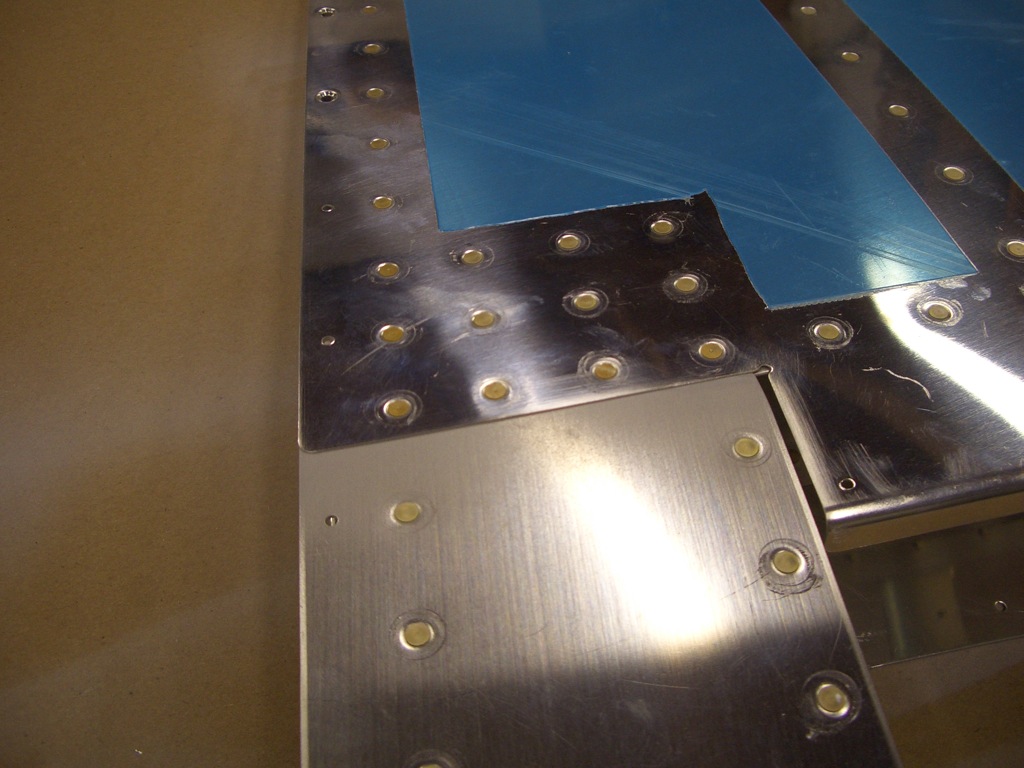
Here’s the top rib riveted on. The top rib is riveted to the spar with pop rivets since the other side of this joint is inaccessible (or nearly so). The only thing to remember here is to switch from AN426AD3-3.5 to AN426AD3-4 rivets where the skins overlap since there’s a little more material the rivet is going through.
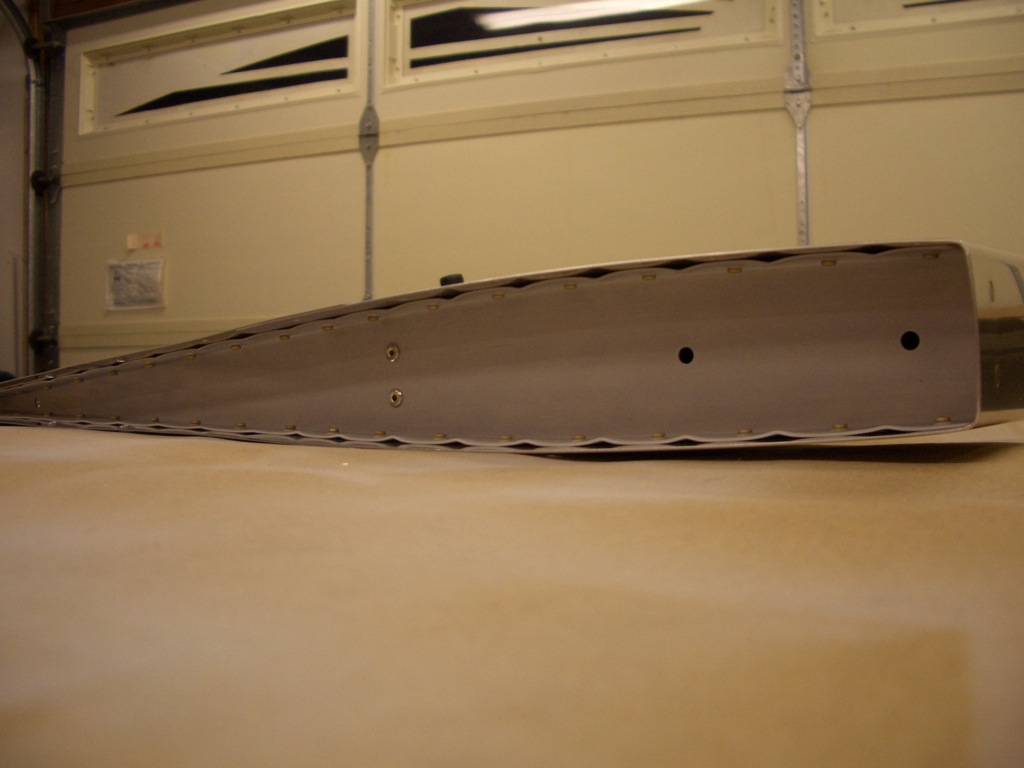
Here’s the completed rudder structure (again excluding the trailing edge. I’ve already drilled two aluminum angles that I picked up at Home Depot, so all I need to do is clean this, apply the sealant and cleco it together.
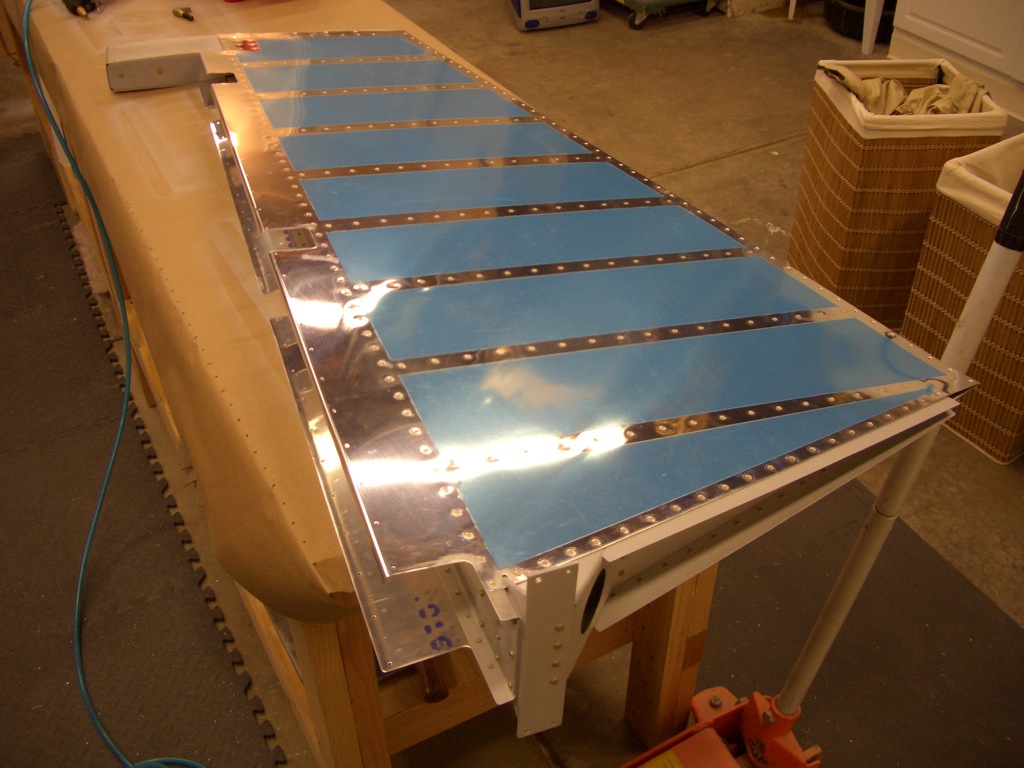
I managed to get all solid rivets where the skins and bottom rib join the horn brace. The longeron yoke got the rear three, but the hinge nutplate interfered with the yoke when I tried to do the front rivet. The three-inch yoke with a 1/2″ flush set cleared fine. I hand squeezed all of these so that I could easily back off if I felt interference. The pneumatic squeezer has so much power that it would easily bend any interfering parts before you could stop it.
