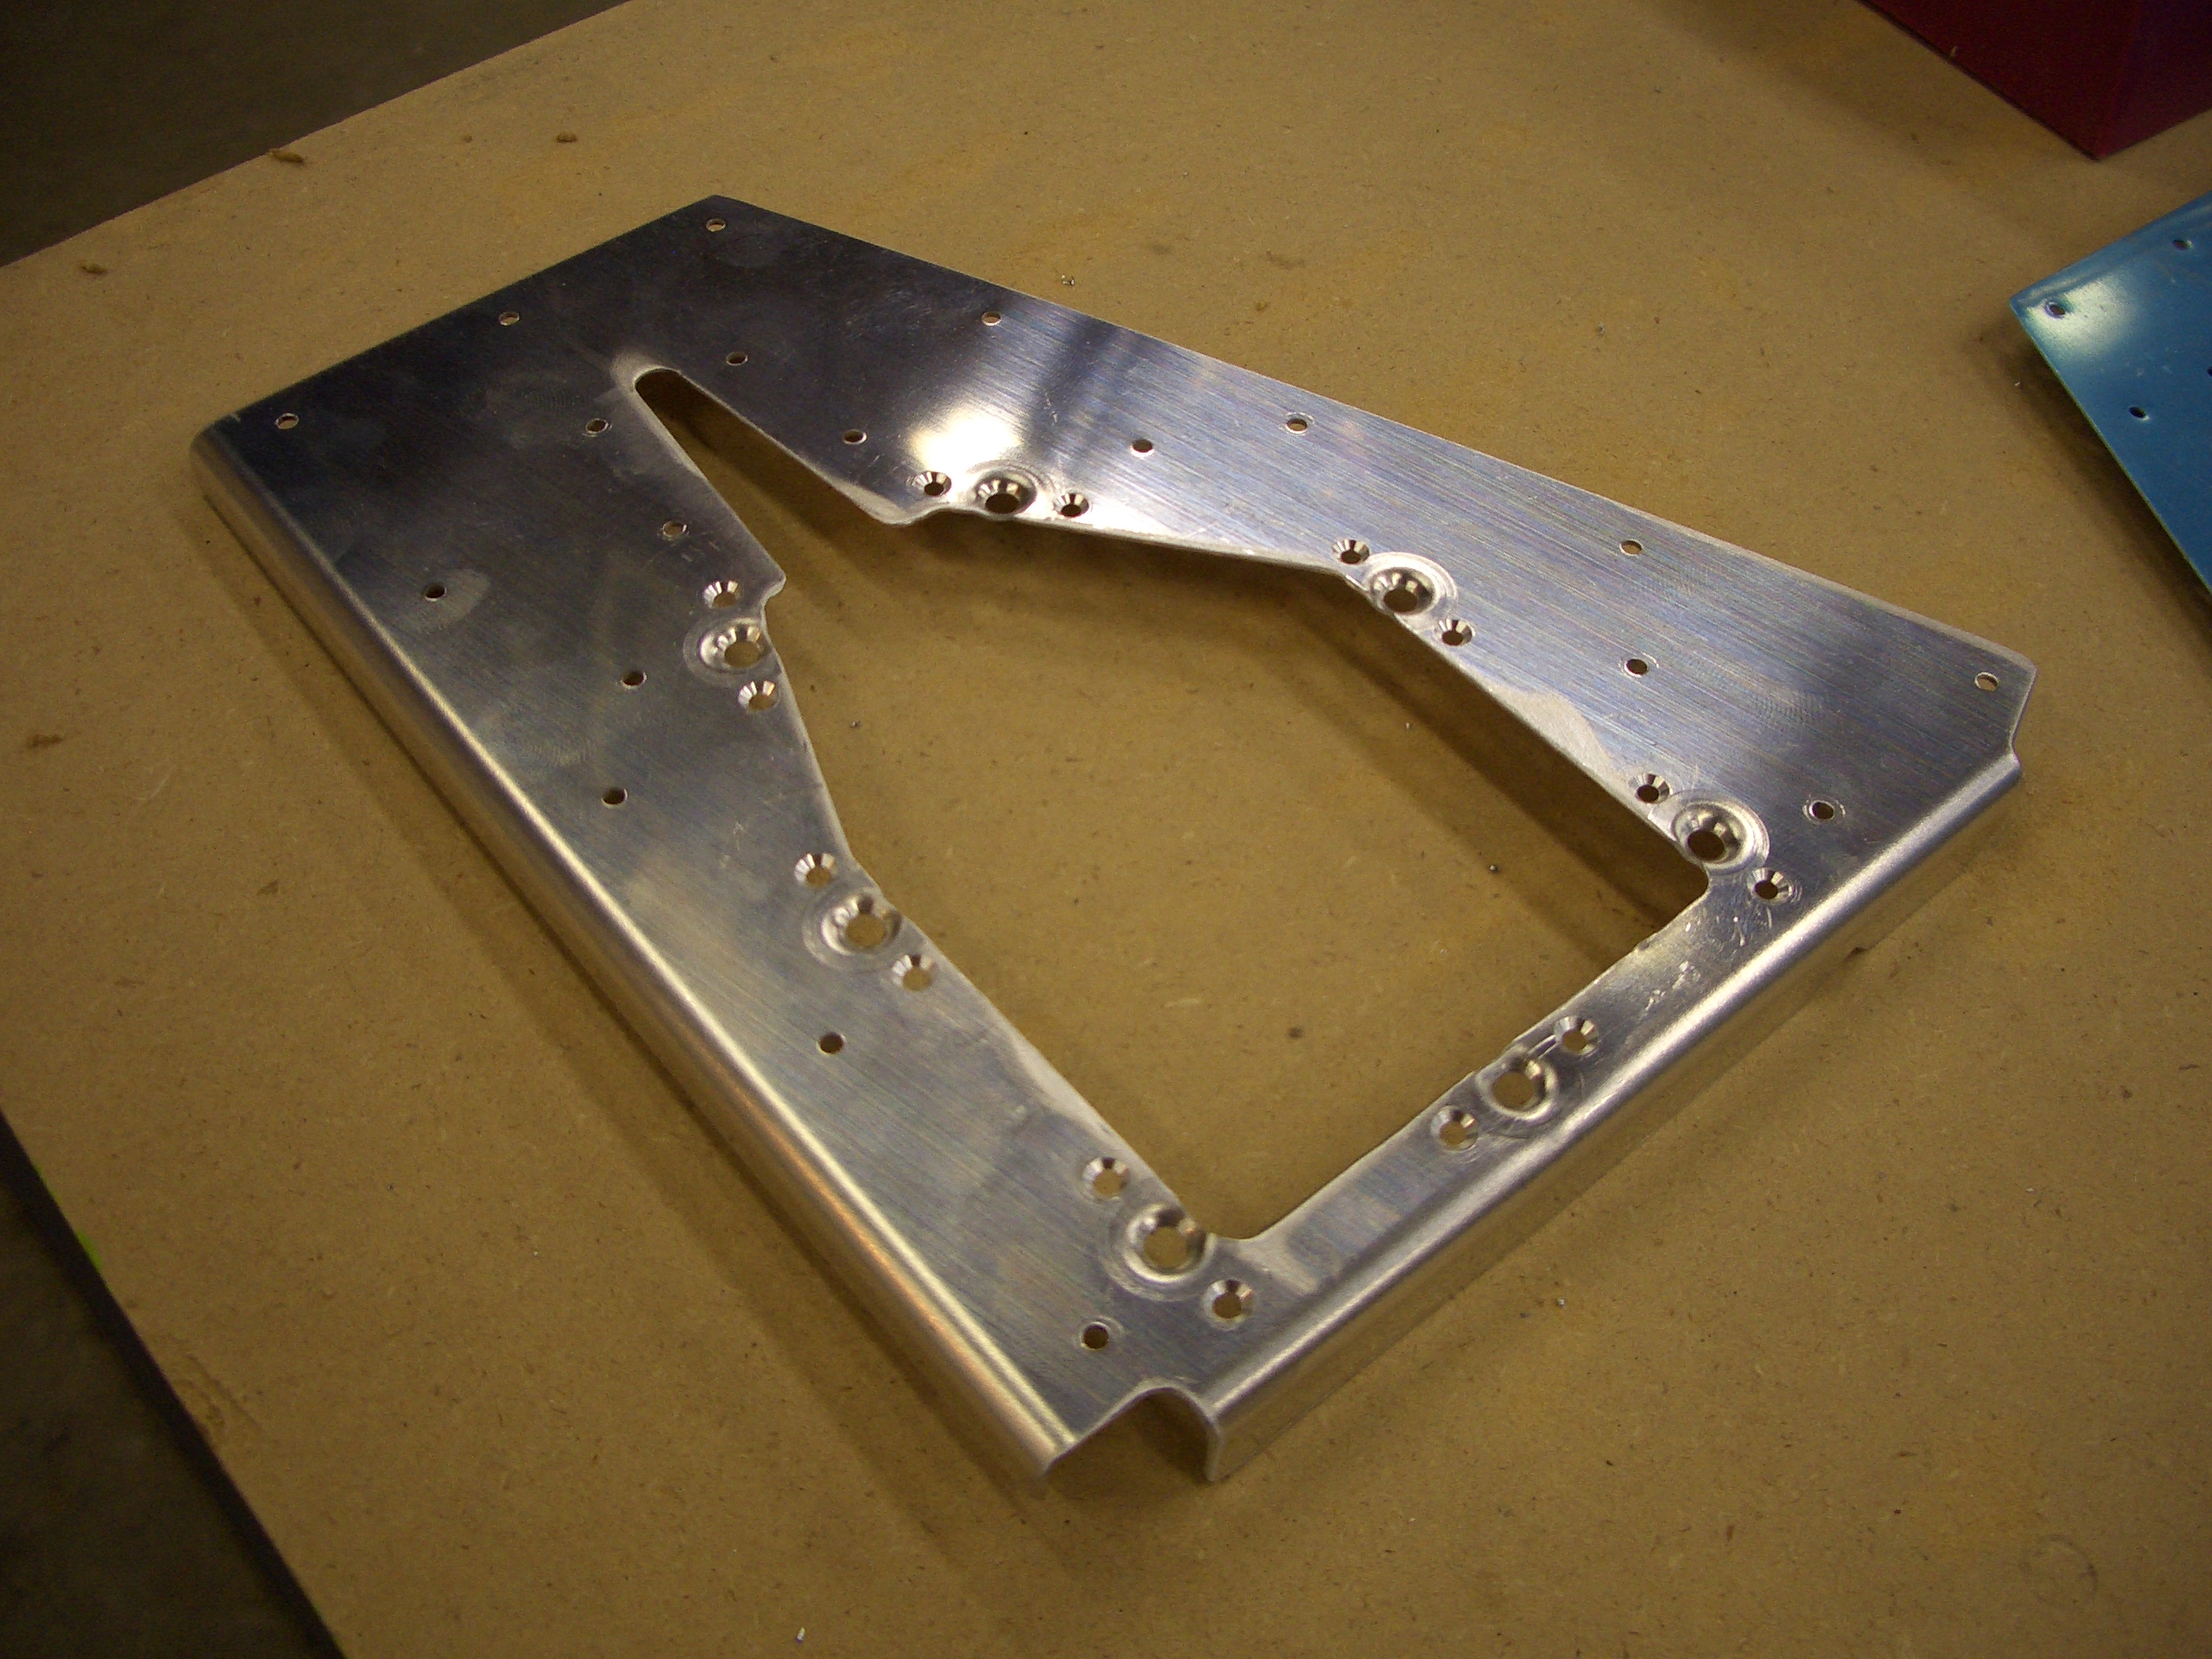
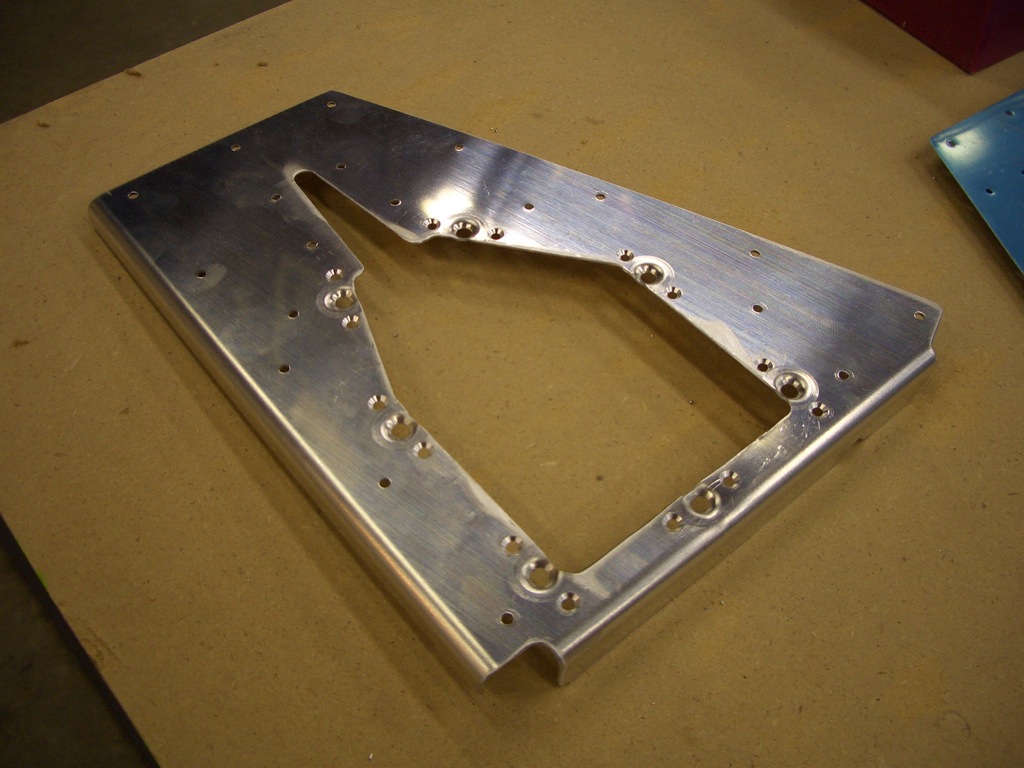
Since I’m waiting for the sealant on the trailing edge of the rudder to cure, I went ahead and started on the elevators. Here’s the left skin drilled. The missing section of the trailing edge on the left is for the elevator trim tab.
Here’s the trim access reinforcement plate drilled to the skin.
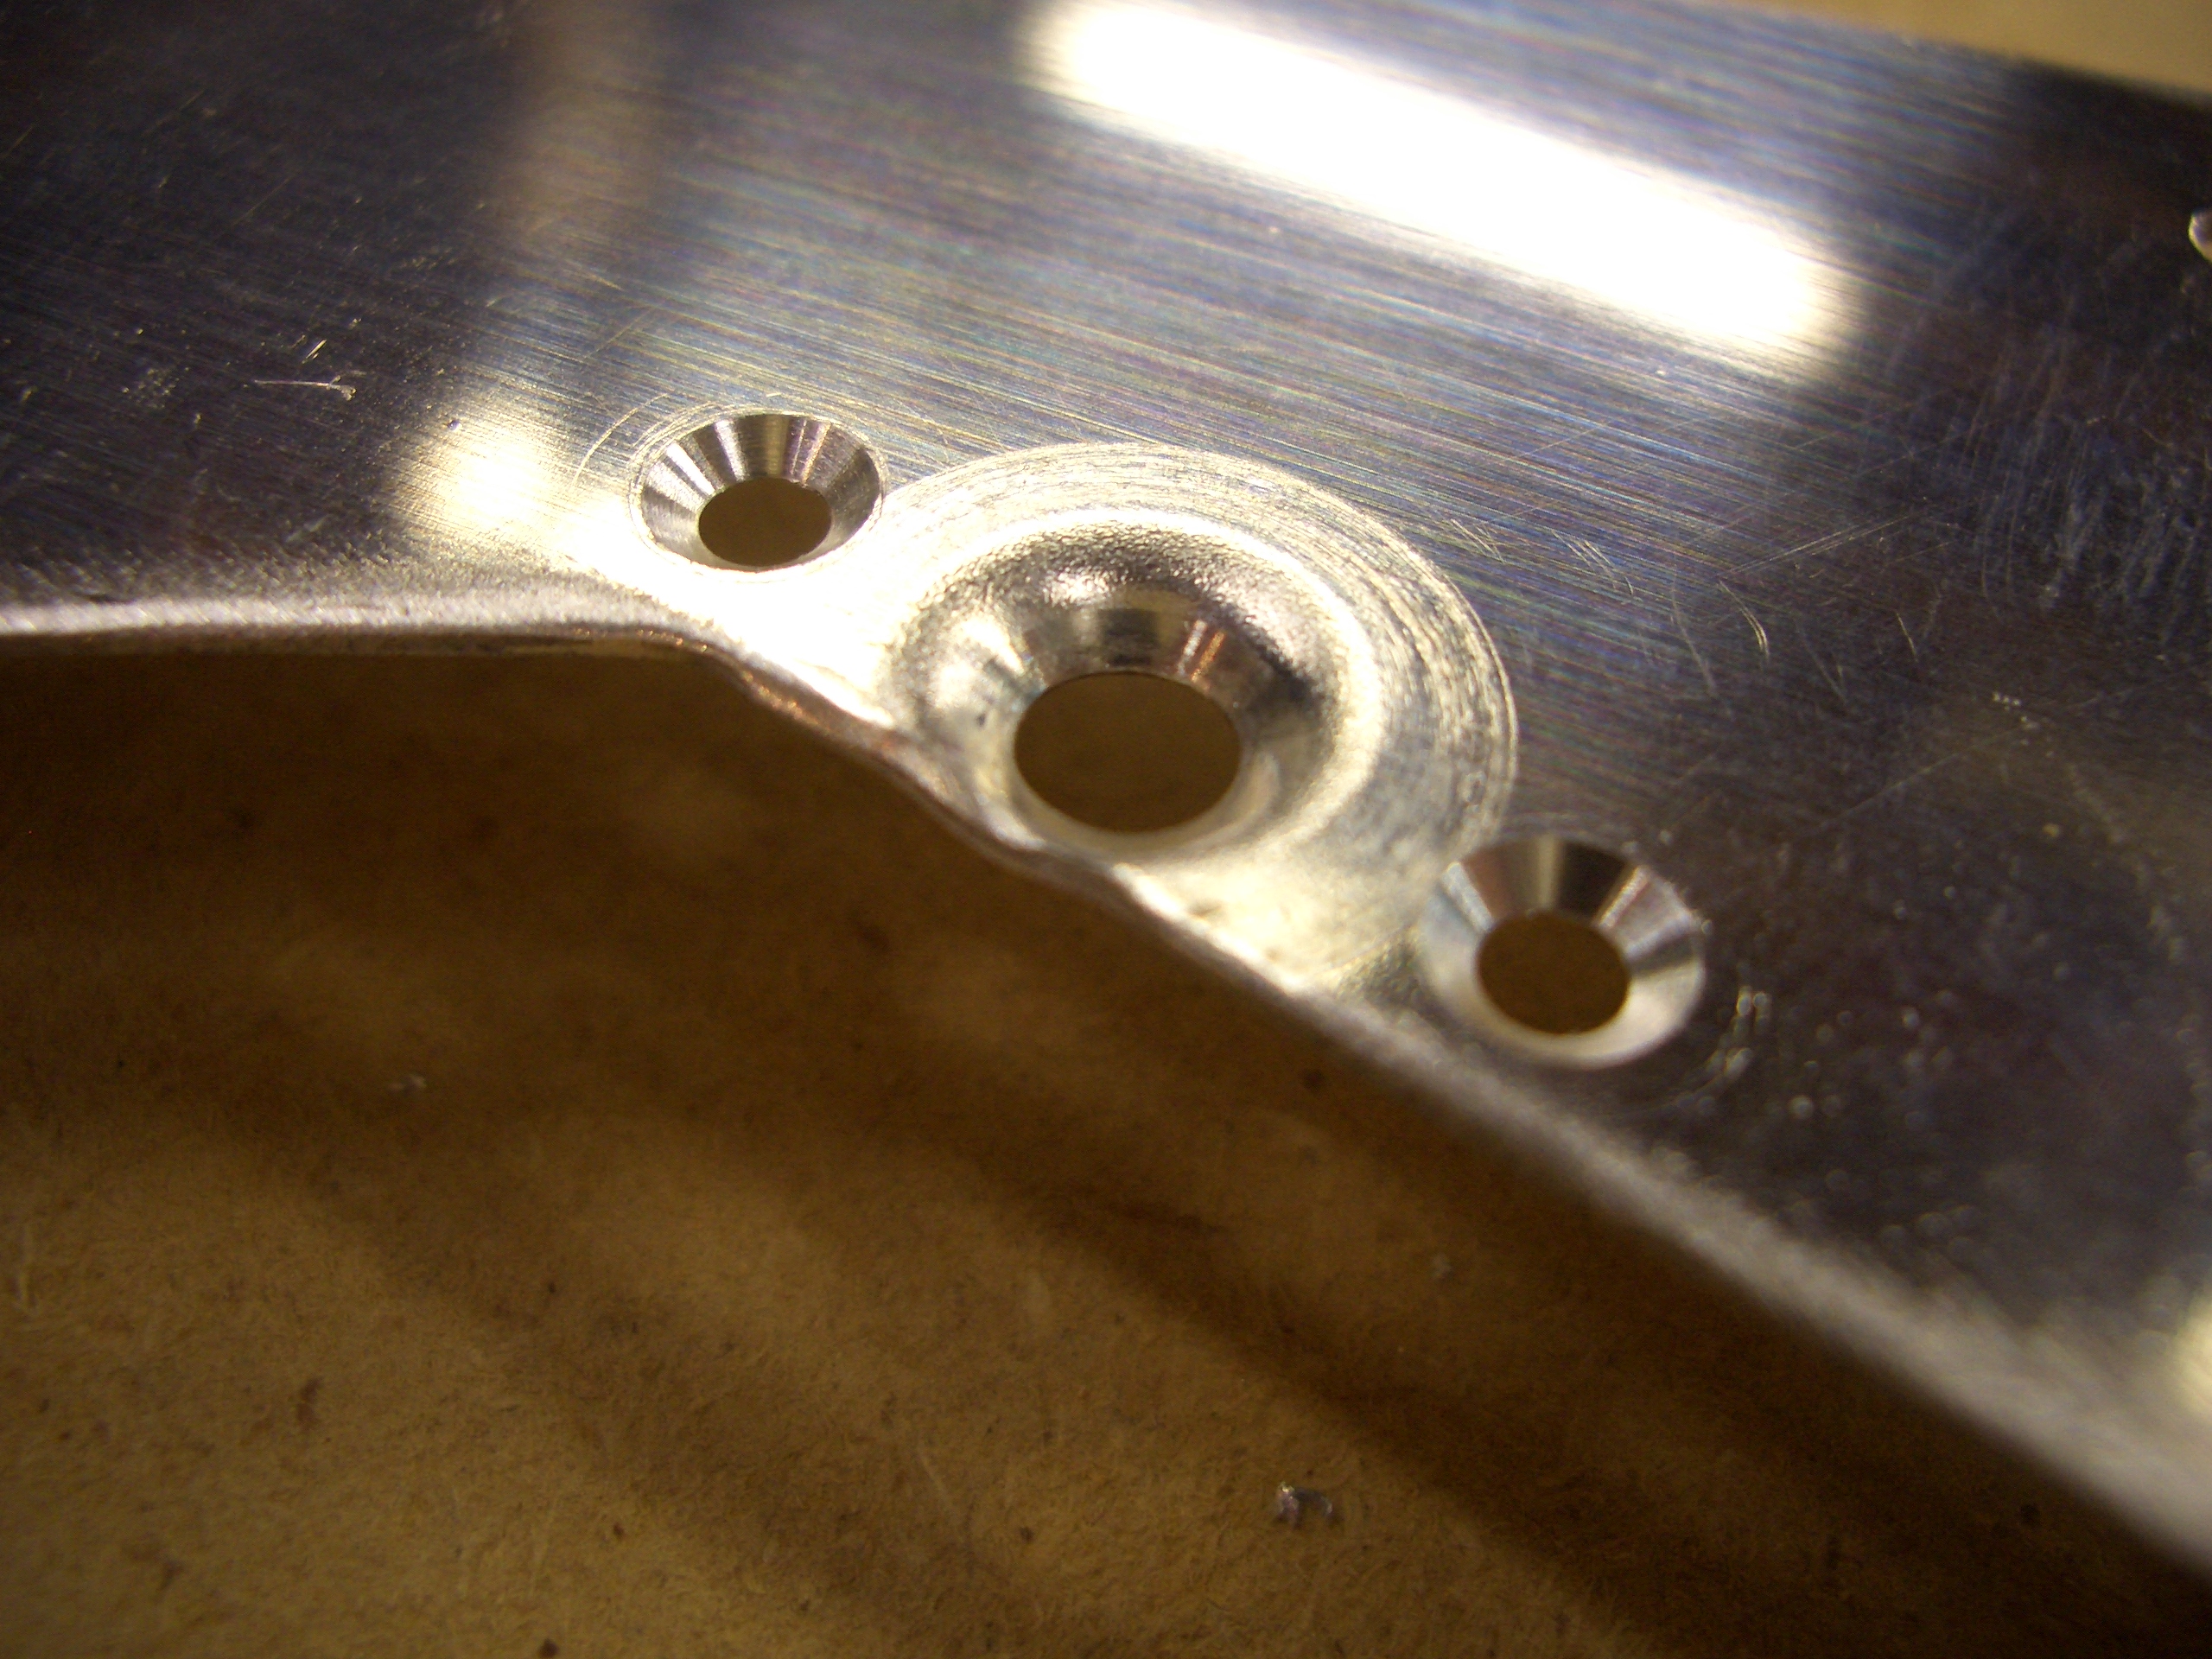
Nutplates mount around the inside edge of the access plate to provide a place for the screws that hold the access cover to attach. Van’s doesn’t provide any guidance about how to attach these, but you’re expected to know enough by this point to do it. The nutplates are held on with AN426AD3-3.5 rivets and the access plate is 0.032″. AD3 rivets are 3/32″, and AC 43.13 (google it if you’re really interested) specifies that you must dimple material thinner than 0.032″ and countersink material thicker than 0.040″. For 0.032″ material, you can do either. If I had dimpled the access plate, it would require either dimpling the nutplate mounting ears (which would have necessitated grinding down the edge of my female #40 dimple die). Countersinking eliminates the need to do that. It’s a little tricky countersinking 0.032″ material for an AD3 rivet since just as you countersink deep enough, the countersink penetrates the back side of the material and the countersink cutter loses its center reference. To avoid this, I clamped a piece of scrap to the back of this plate and match drilled through it and then countersunk through the pair. This provided an extended center reference for the countersink cutter.
I also dimpled the plate for #6 screw to receive the dimples from the cover plate. Here, you can see a closeup of one of the dimples and the countersinks on either side to attach the nutplate.