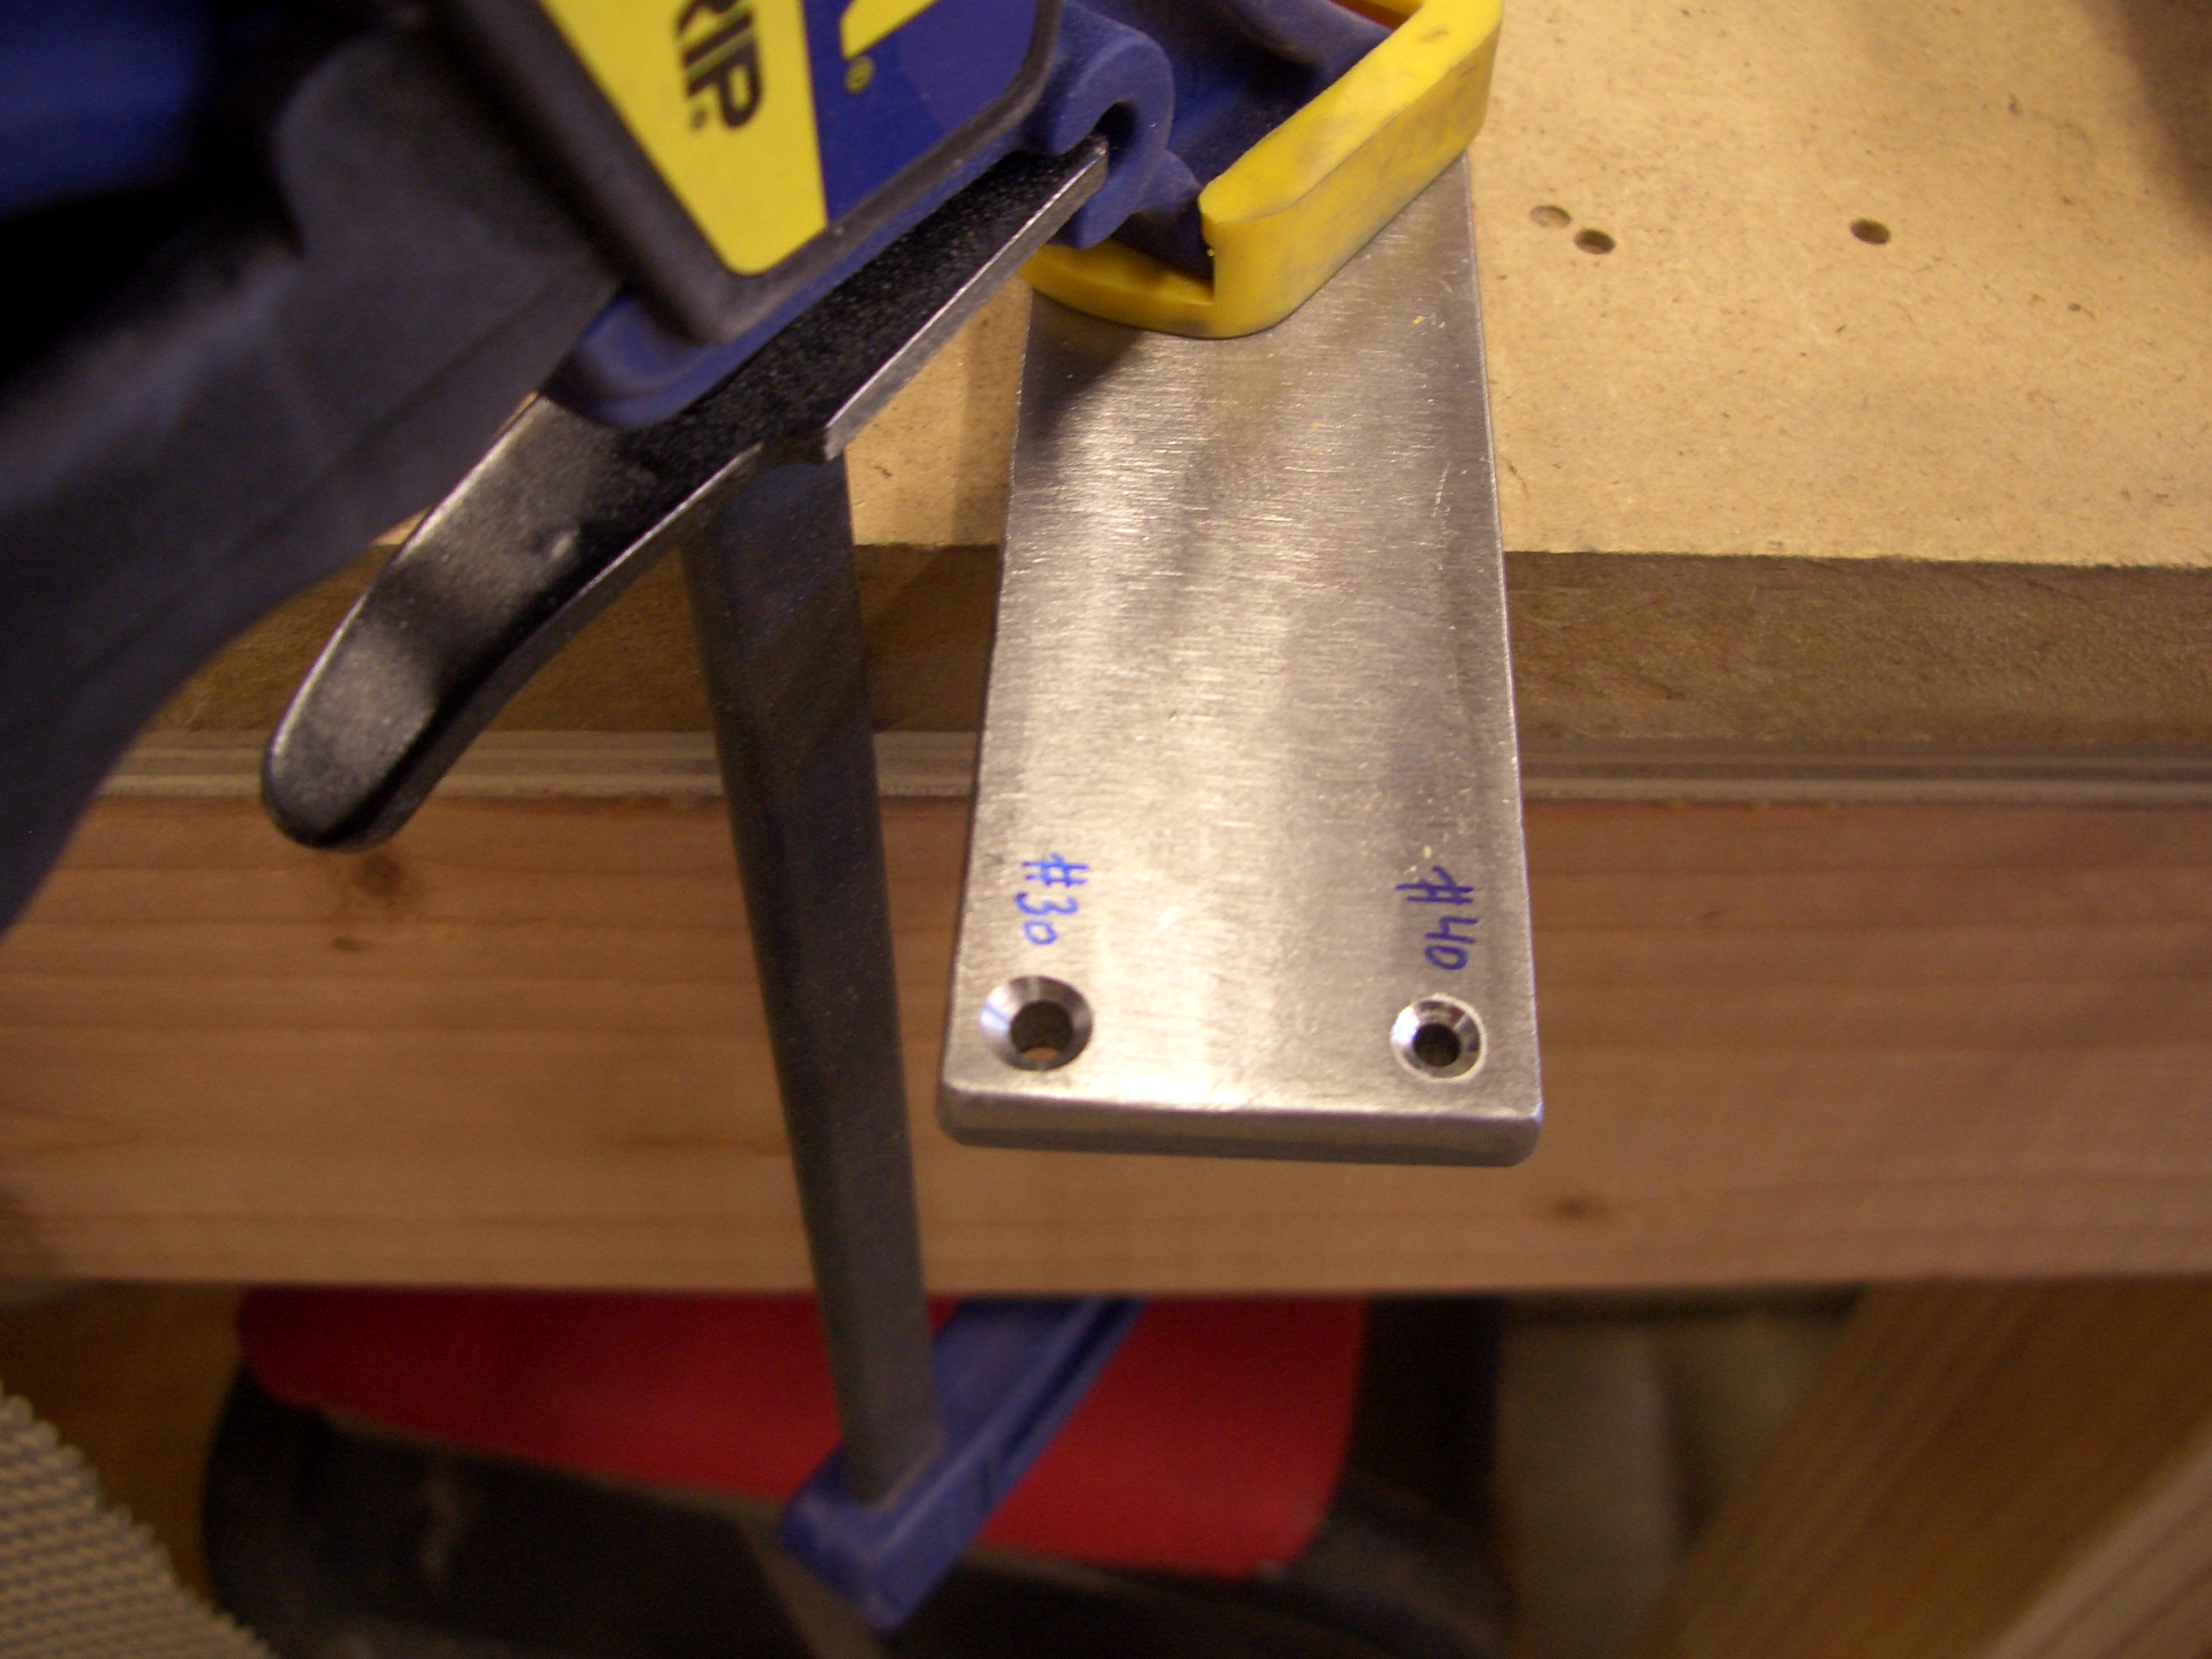
In order to dimple the rearmost holes on R-903 and R-904 (top and bottom ribs respectively), I broke out a tool I made while building the practice control surface from Van’s. It’s basically just a small piece of steel that’s been drilled and countersunk for #30 and #40 drills.
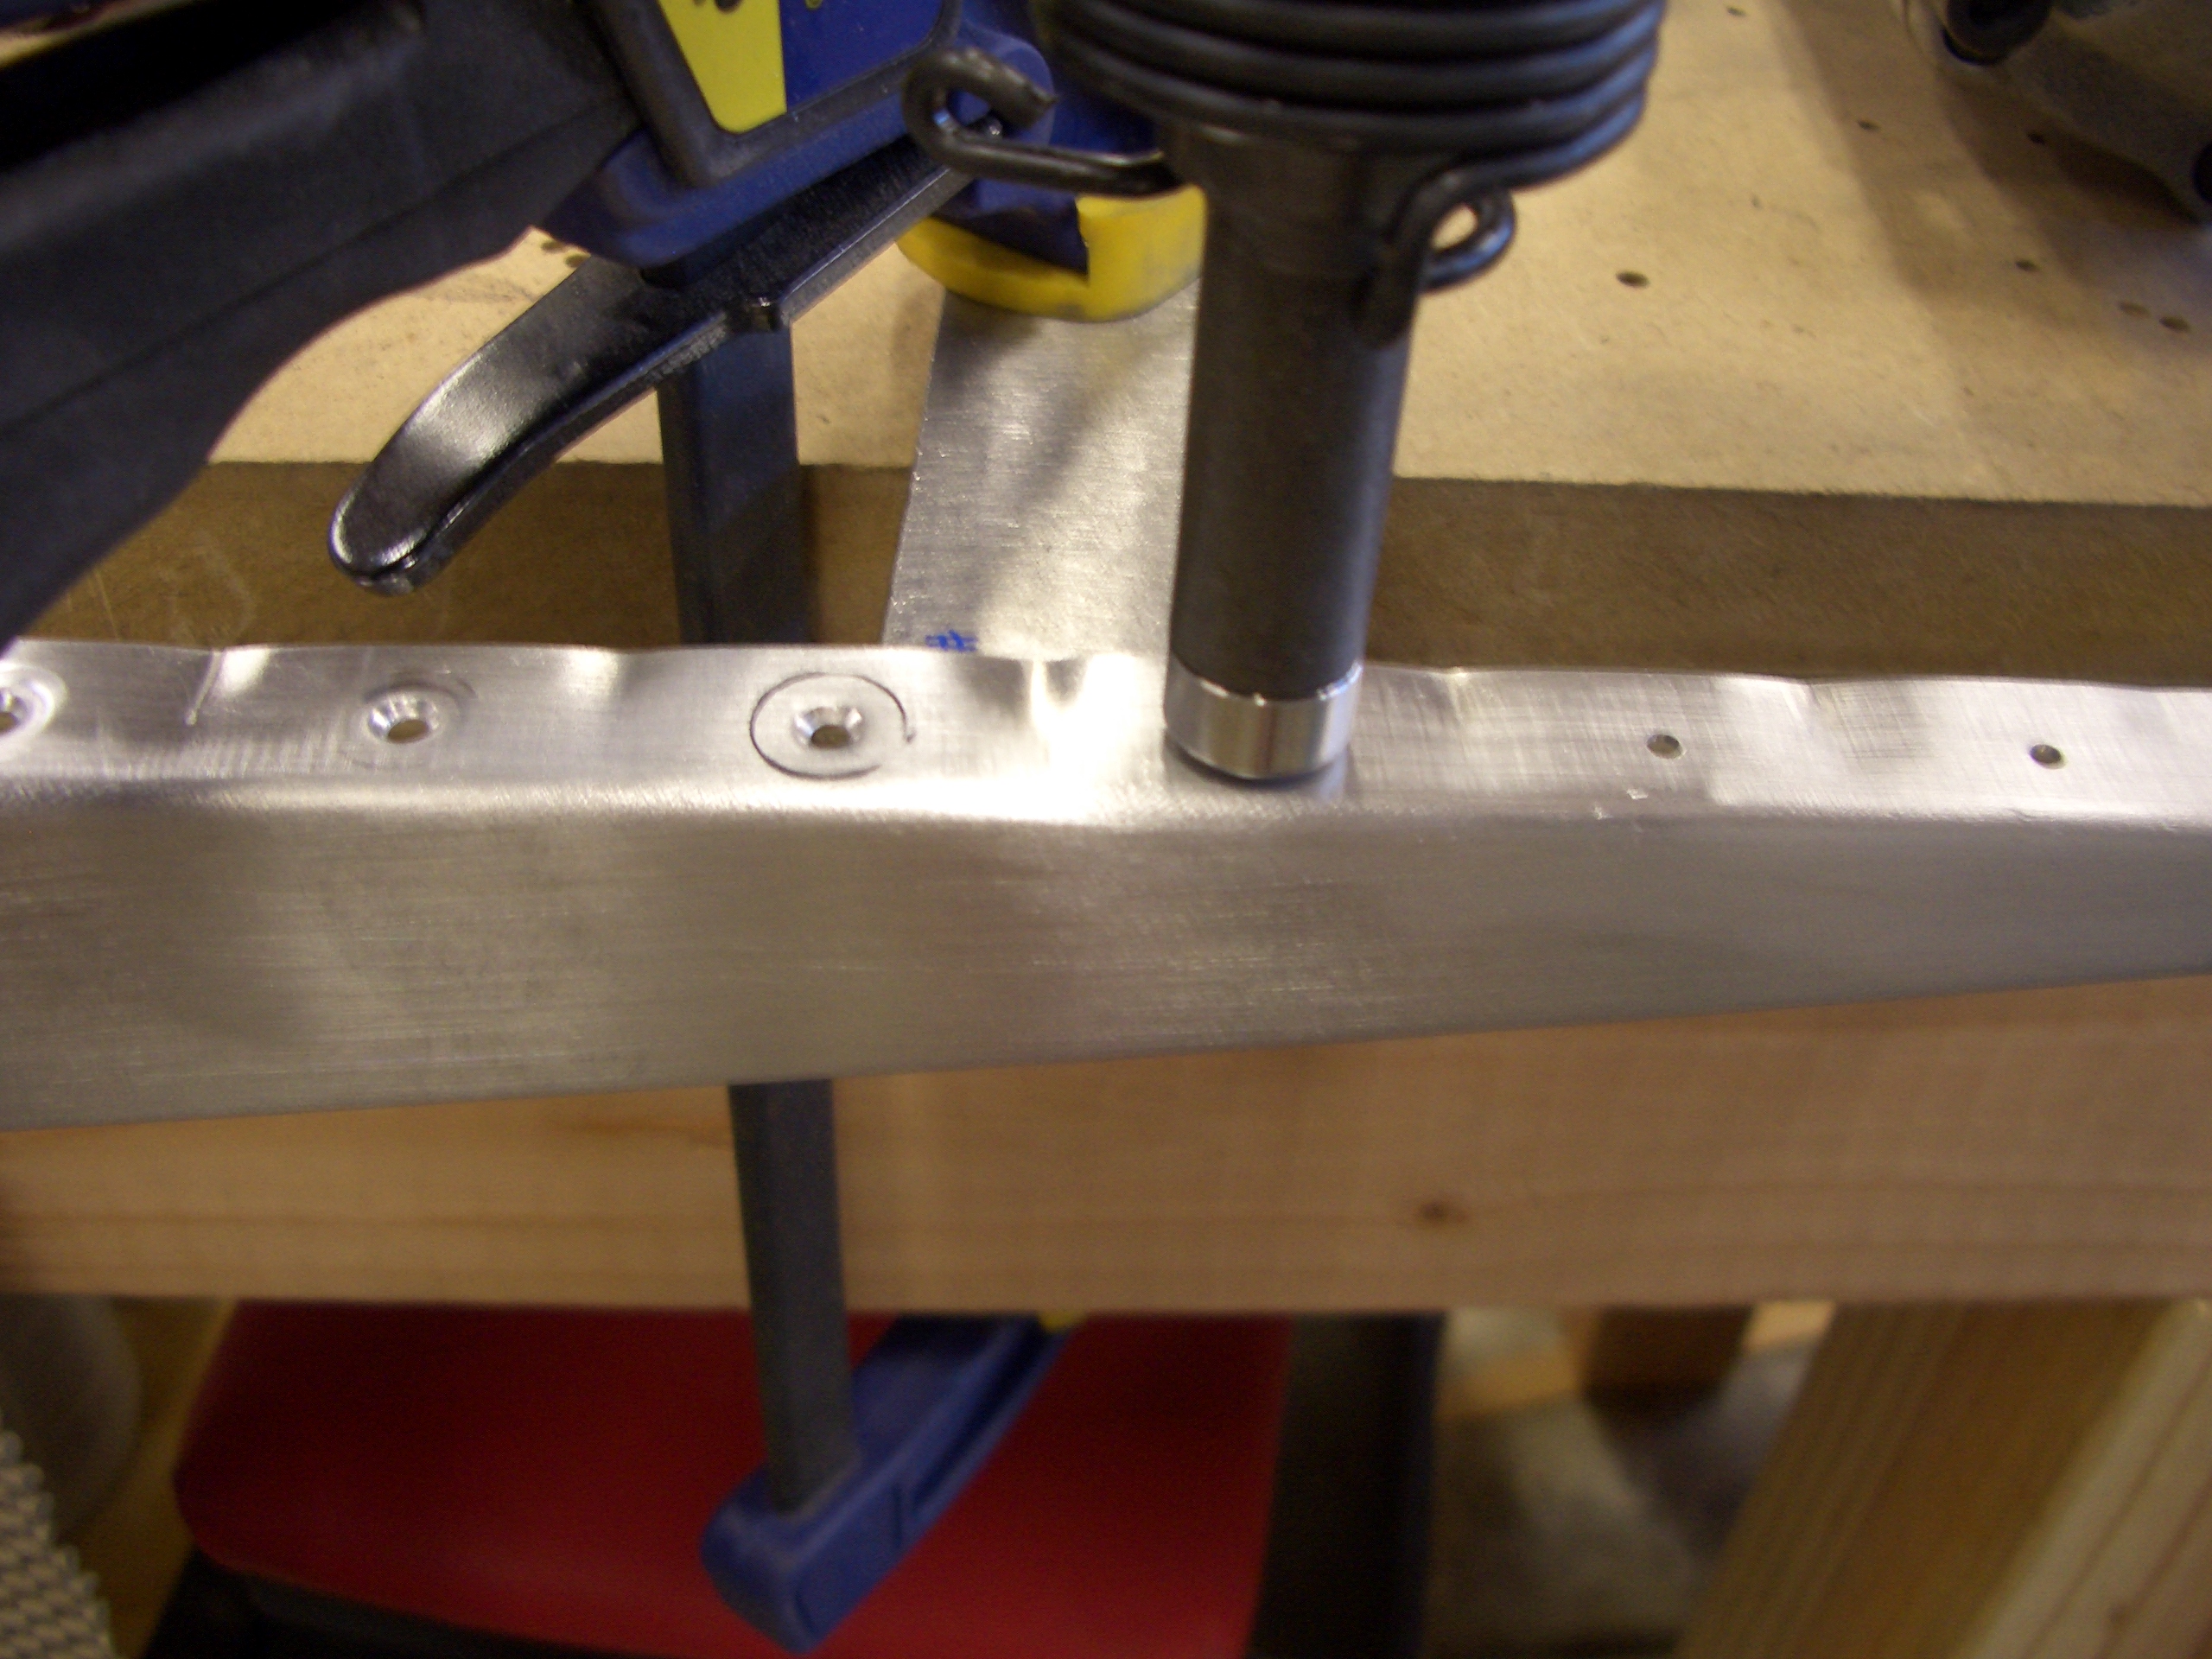
Here you can see how it’s used. The rib is slipped over it and the rivet gun is set up with a special rivet set that holds any type of squeezer set. Here it’s holding the #40 male dimple set. A few hits with the rivet gun and this creates a nice dimple.
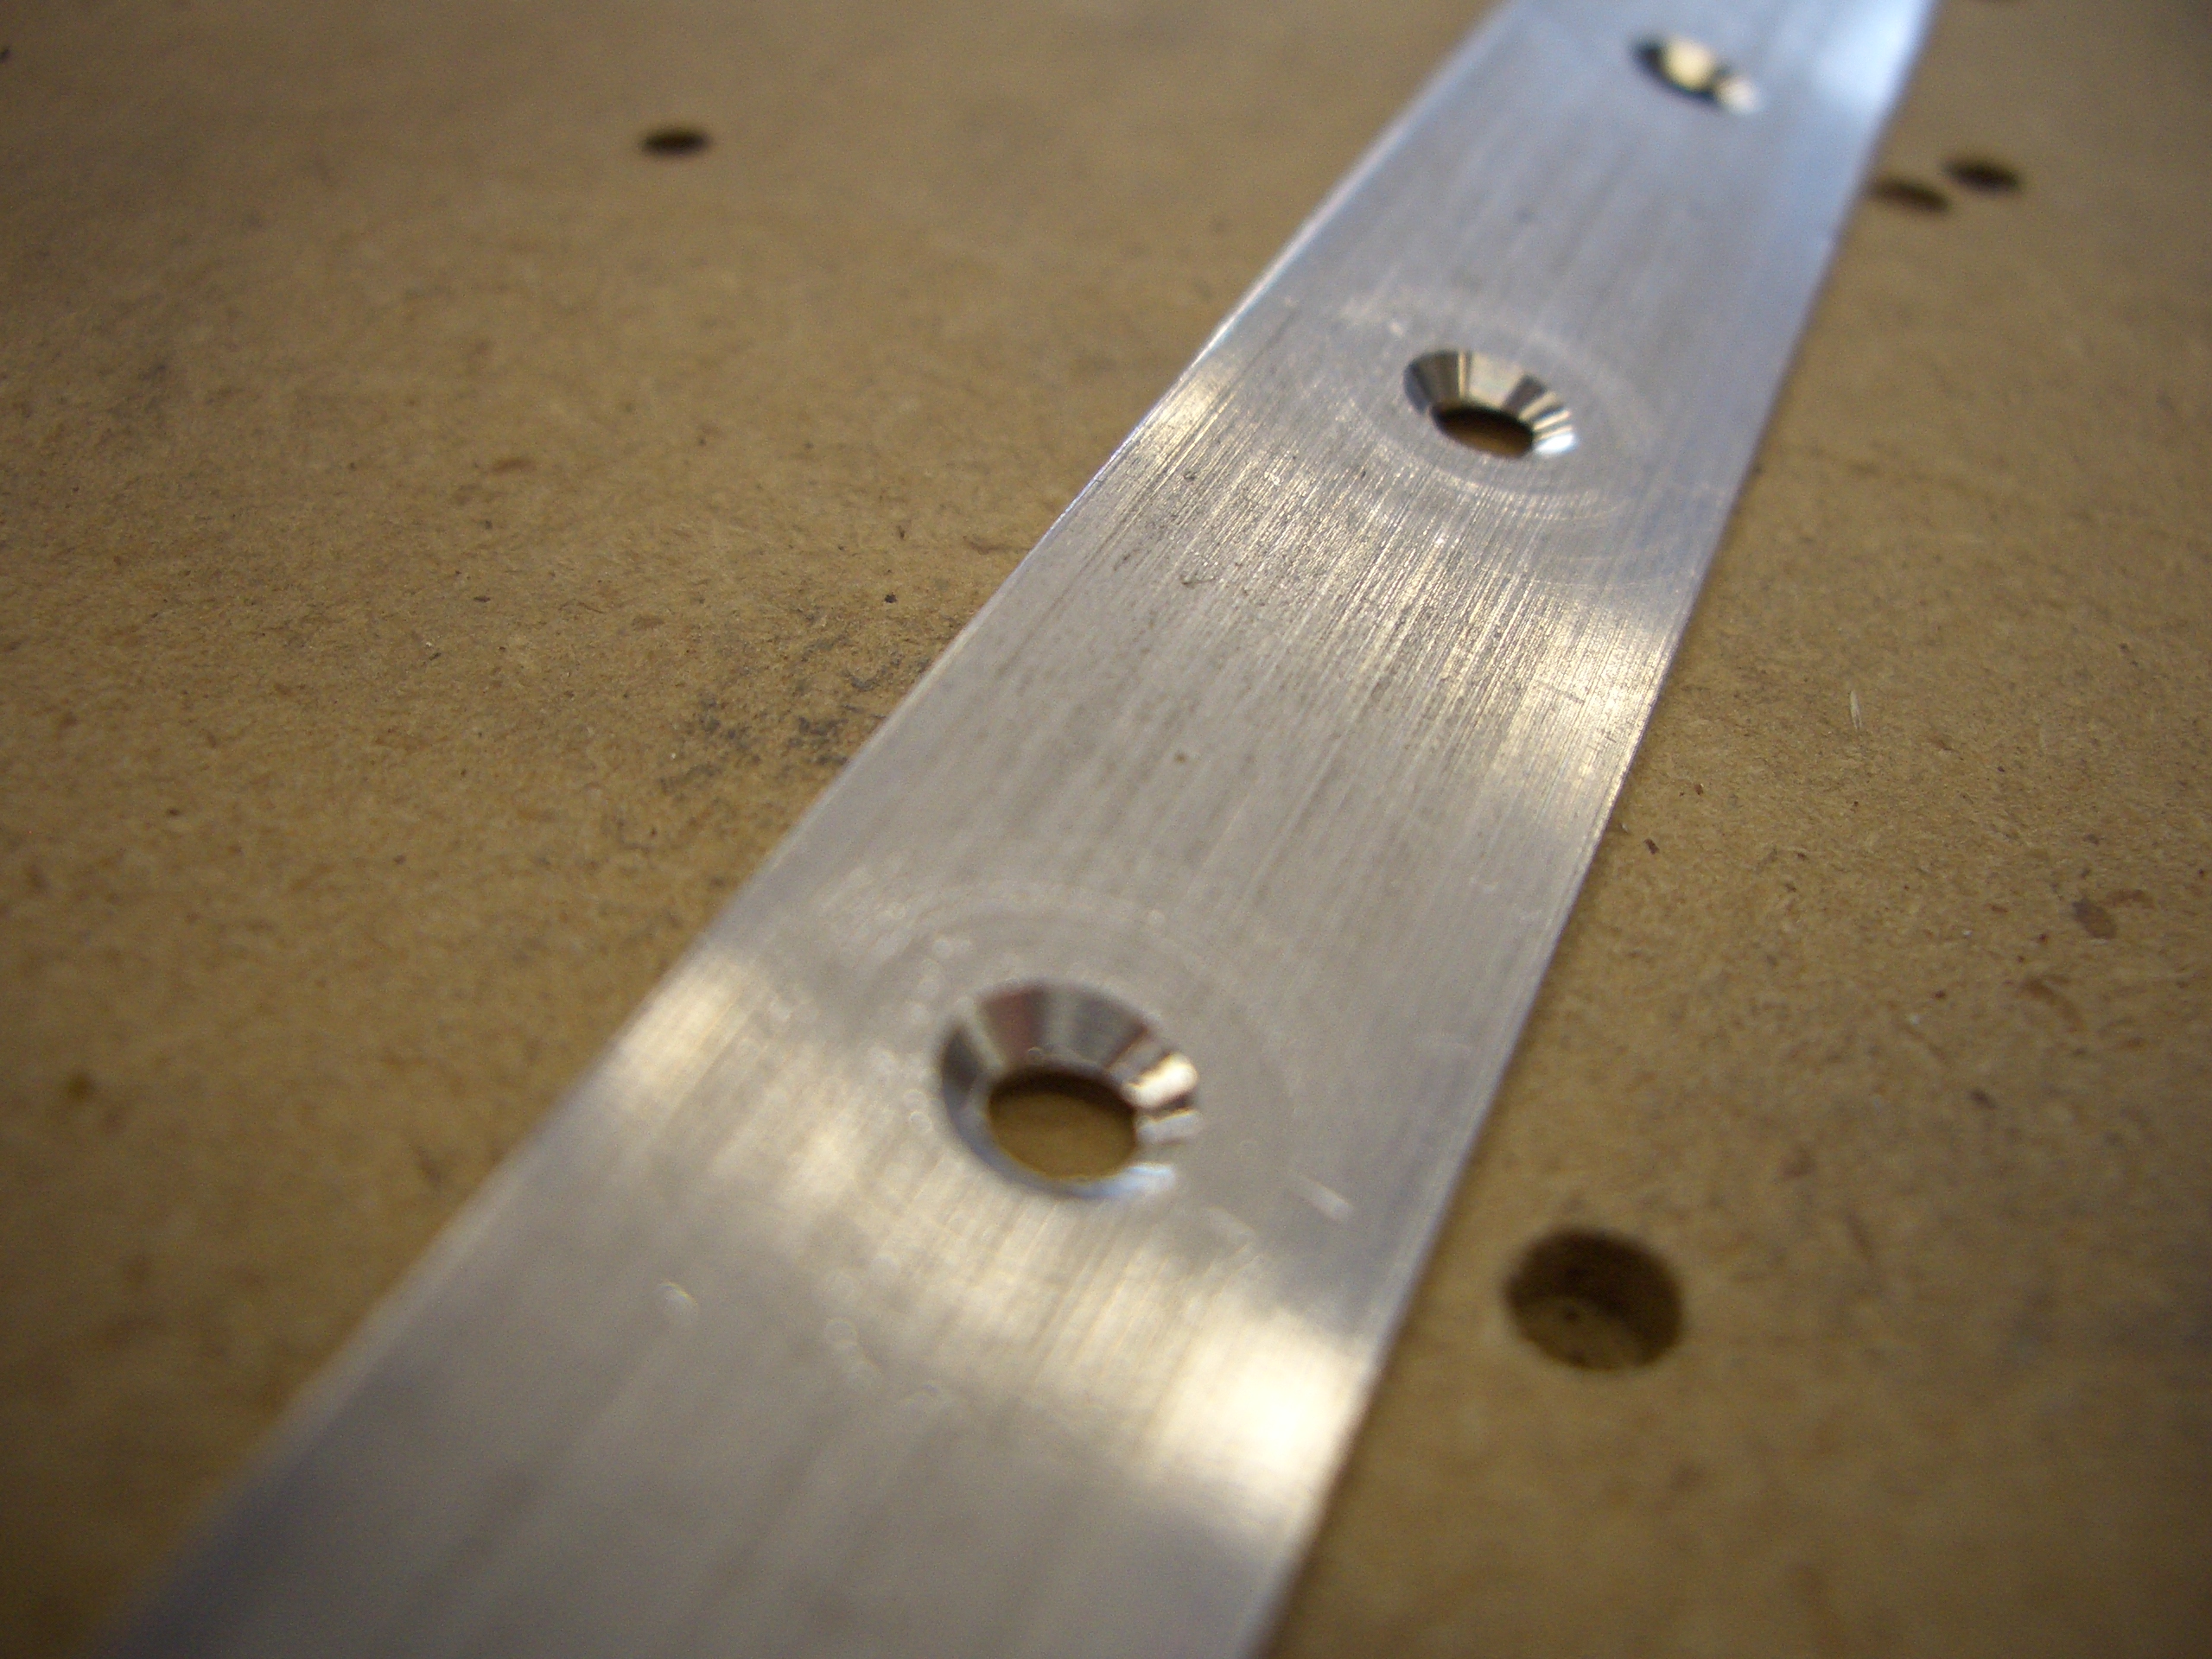
Next up was to countersink the trailing edge wedge. Unlike the other control surfaces on the RV-7 which use a folded trailing edge, the rudder uses two separate skins that are joined at the trailing edge with this wedge. This is countersunk from both sides to receive the dimples from the skins. A rivet is then set against a back rivet set such that it fills the dimples on both sides of the rudder.
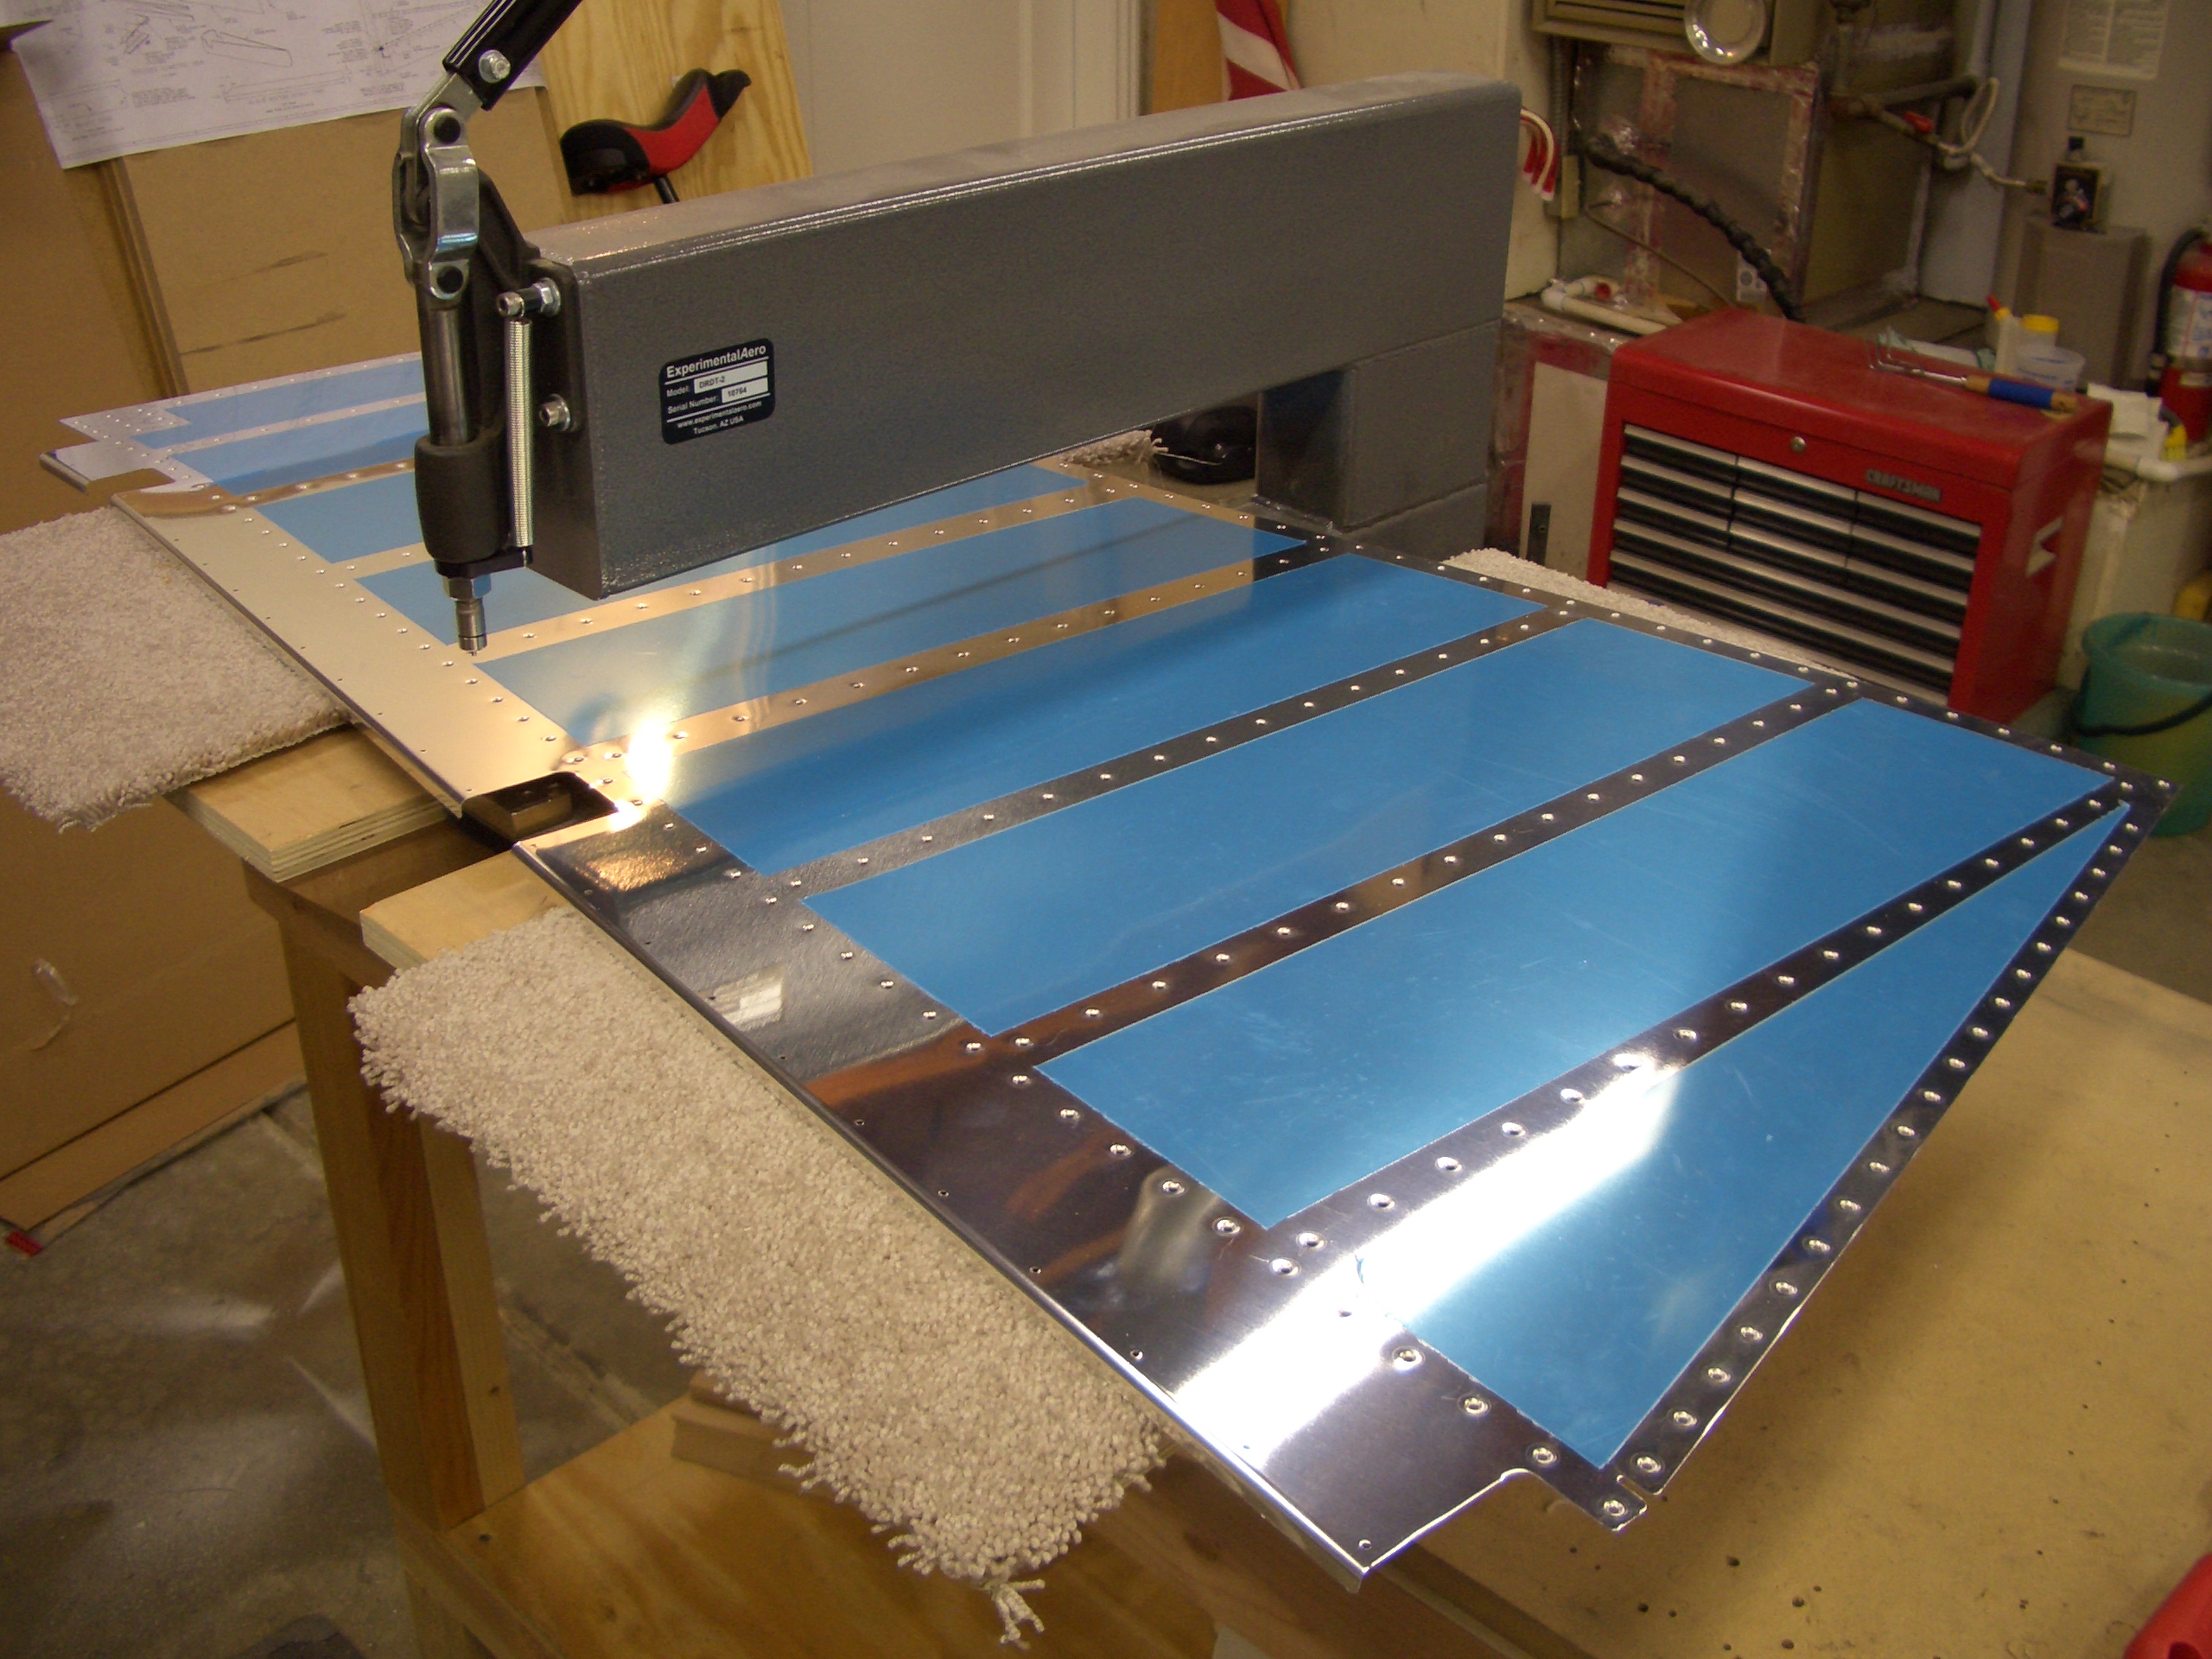
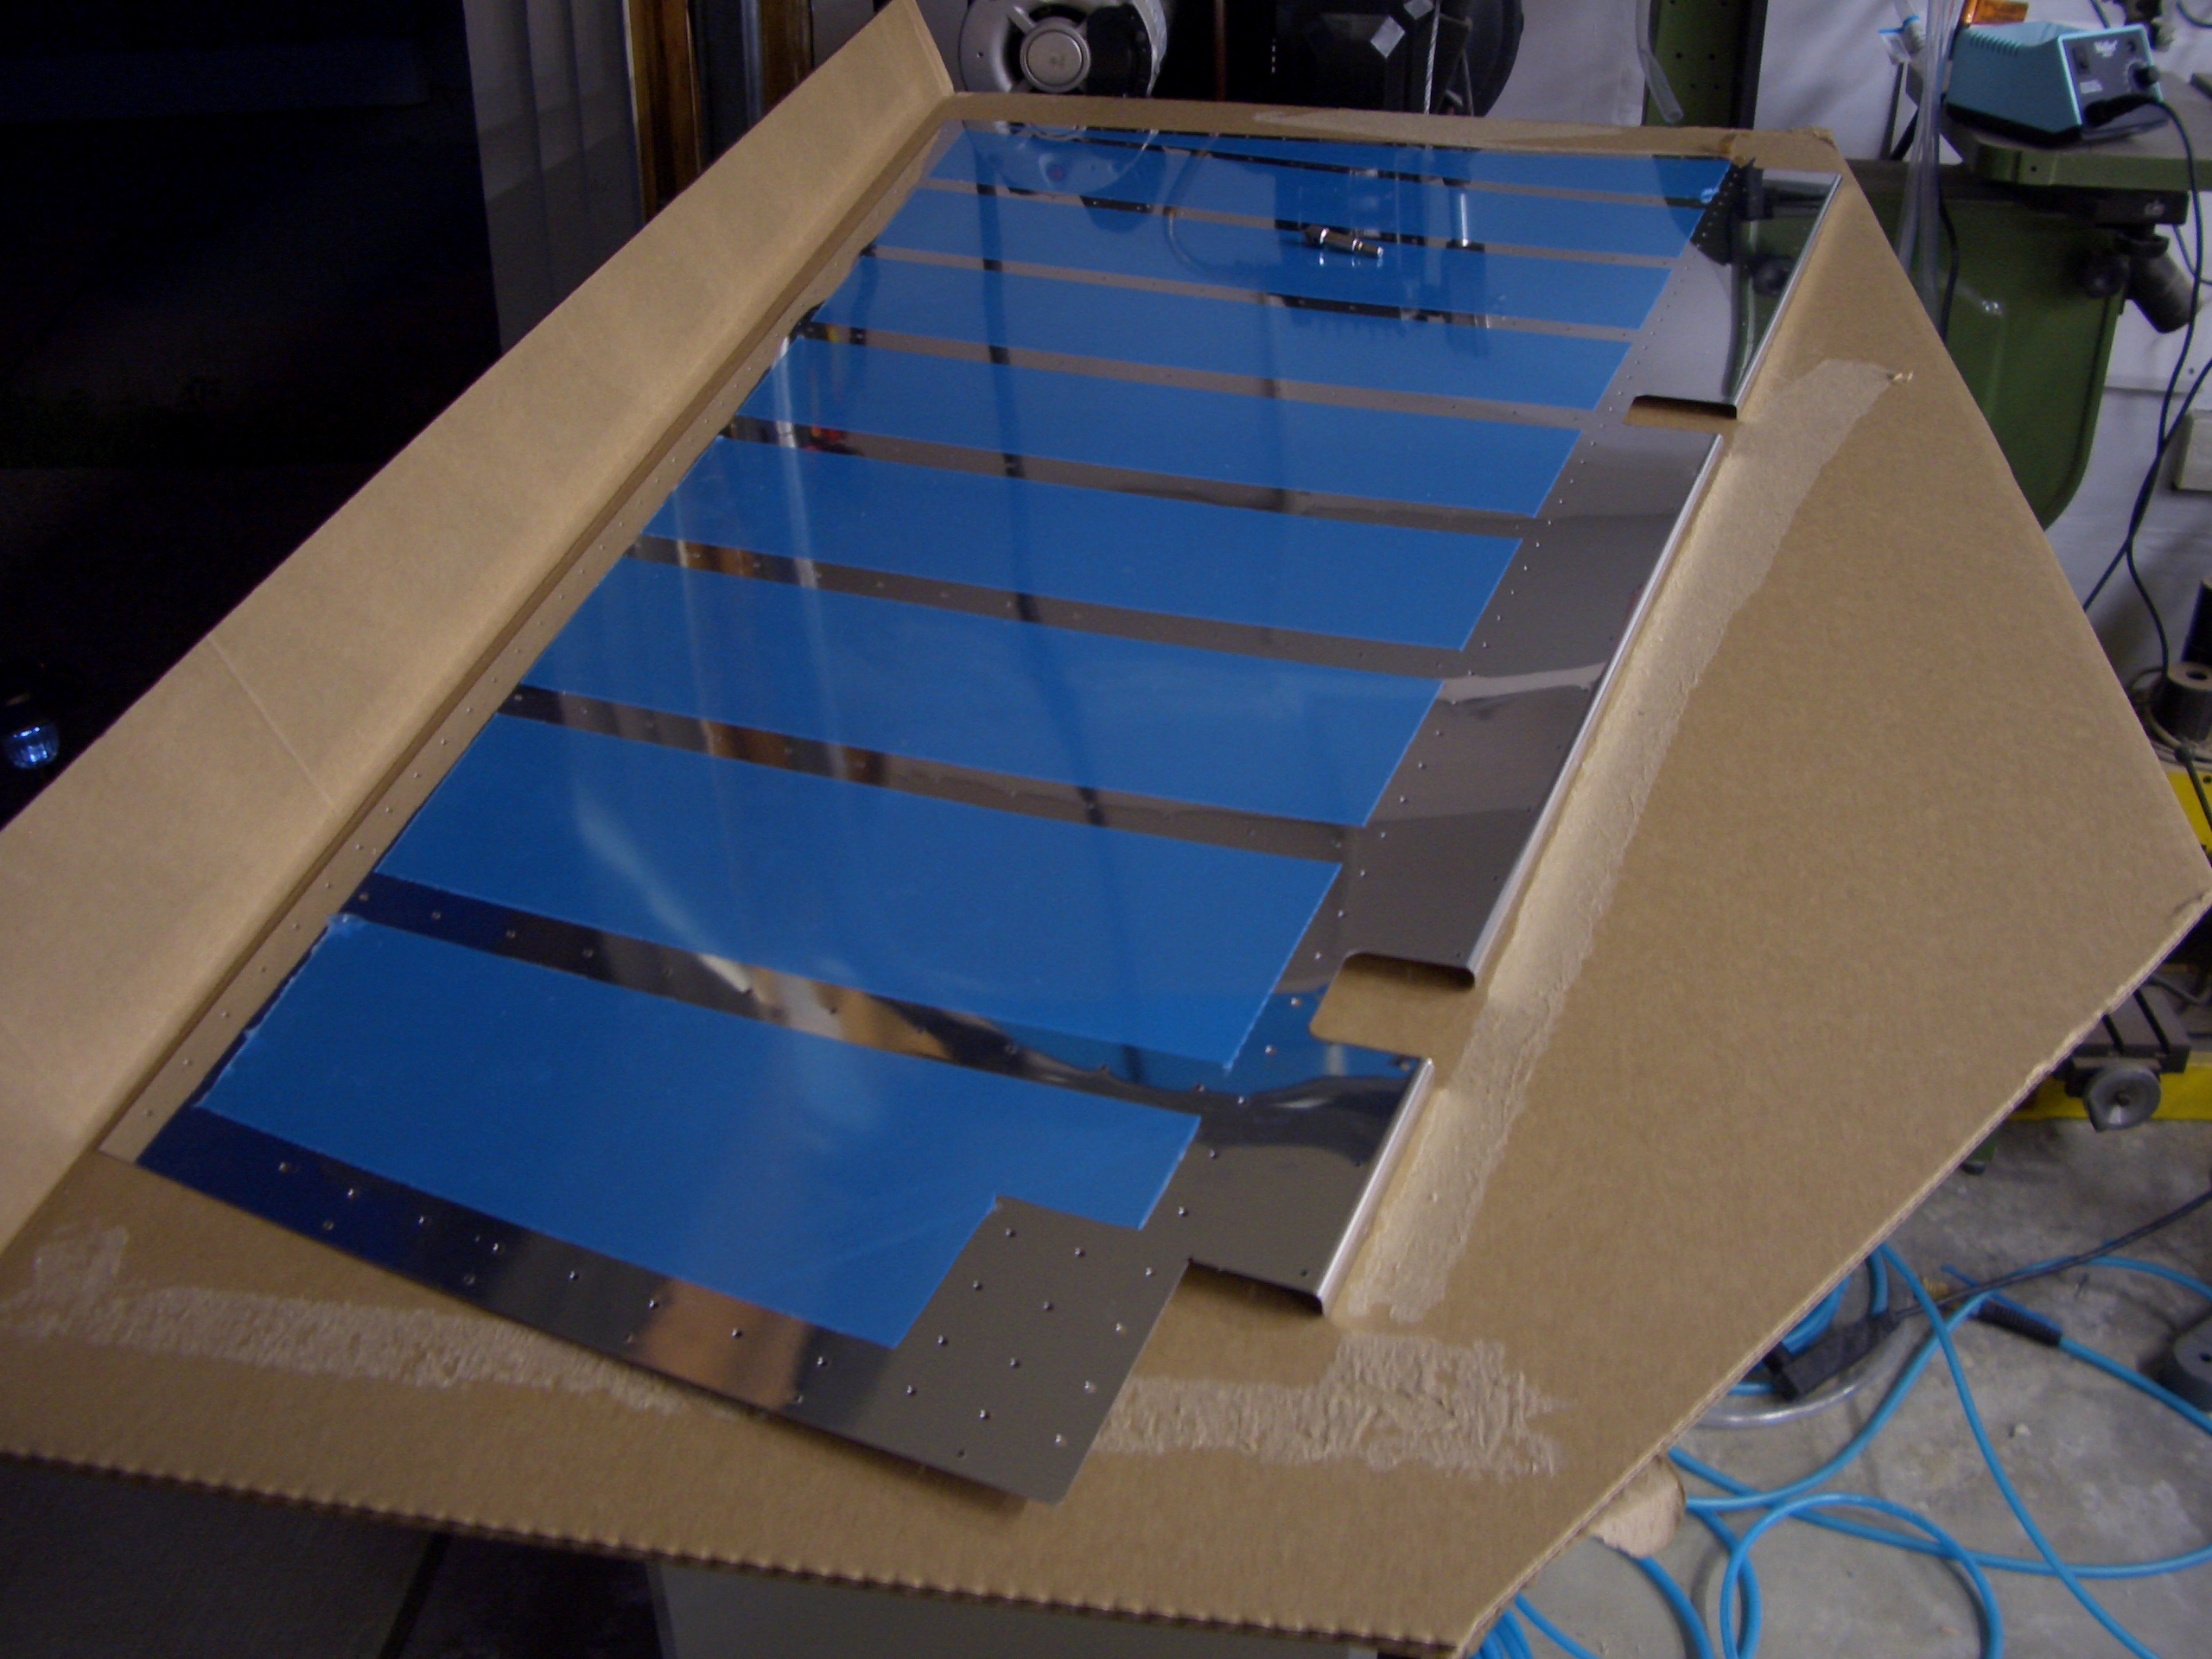
One skin fully deburred on both sides. The RV-7 rudder uses very thin 0.016″ skins, so you have to be very careful when deburring to avoid removing so much material that the inside of the hole has a knife edge.
Here’s the same skin fully dimpled. I only need to prep the other skin, prep and prime the internal components, and the rudder will be ready to assemble.