Continued Reassembly

My buddy Andre stopped by the hangar this morning to help me remove the canopy one last time.

I inadvertently used the wrong weatherstripping on the flange at the forward edge.  It was too thick, and the canopy skin kept catching on it and was tearing it off.  After Jenn and I reinstalled the canopy the last time, I found the correct weatherstripping in a box, so I decided to swap it before first flight.  Unfortunately, after Andre and I removed the canopy, I could no longer find it, so I have some new weatherstripping on order.

I didn’t get any pictures of it, but I lubricated all of the bearings on the plane.  There are nearly three dozen of them, and many are exposed to the elements.  I’m using a product called DriSlide.  It wicks into the bearing and dries, leaving behind a film of molybdenum disulfide.  This film is extremely slippery, but because it’s dry, it doesn’t attract dust or dirt, is highly resistant to water, and prevents rust and corrosion.  I’m also using it on the sliding pins in the brake calipers to keep dirt from sticking to them.

After wrapping that up, I installed the wingtips.  I used some DriSlide on the hinge pins and they slipped in effortlessly.

I reinstalled the alternator with the washers in front of the pivot shaft.  I checked the alignment, and it looks perfect.  I adjusted the tension so that I could turn the alternator pulley with 13 ft-lbs of torque (with the pulley slipping on the belt), but couldn’t turn the pulley with 11 ft-lbs of torque.

After fully inspecting all of the controls under the seats, I installed the forward center section cover, fuel pump cover, spar covers, seat pans and tunnel cover and screwed everything down.

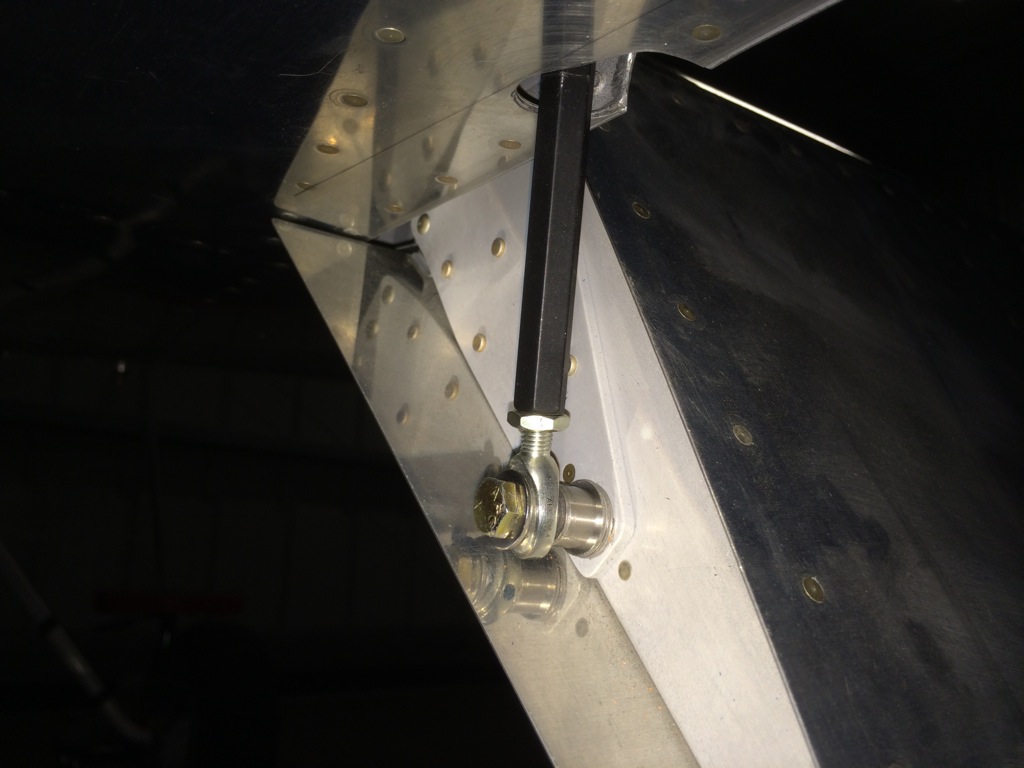
The DAR mentioned that he doesn’t like Van’s design for the flap pushrod attachment since the rod could come off if the rod end fails.  Every other rod end on the plane is either captured by the surrounding attach point or has an AN970 washer to keep the rod end together in case of bearing failure.  The failure of a rod end can be a catastrophic failure since a split flap condition can cause a violent rolling motion.  Since full flaps are usually used on final approach when low and slow, a failure here could be fatal.  By switching to a regular rod end from the ball joint linkage supplied in the kit, you can prevent the joint from ever coming apart.

Fortunately, my friend Greg had already warned me that the DAR would like the see these parts upgraded, so I had the parts in hand.  I also upgraded the pushrod from the one I made to the one sold by Avery Tools.  I still need to adjust the pushrod length to get the flaps back into alignment with the ailerons, but I’m much happier with this arrangement.
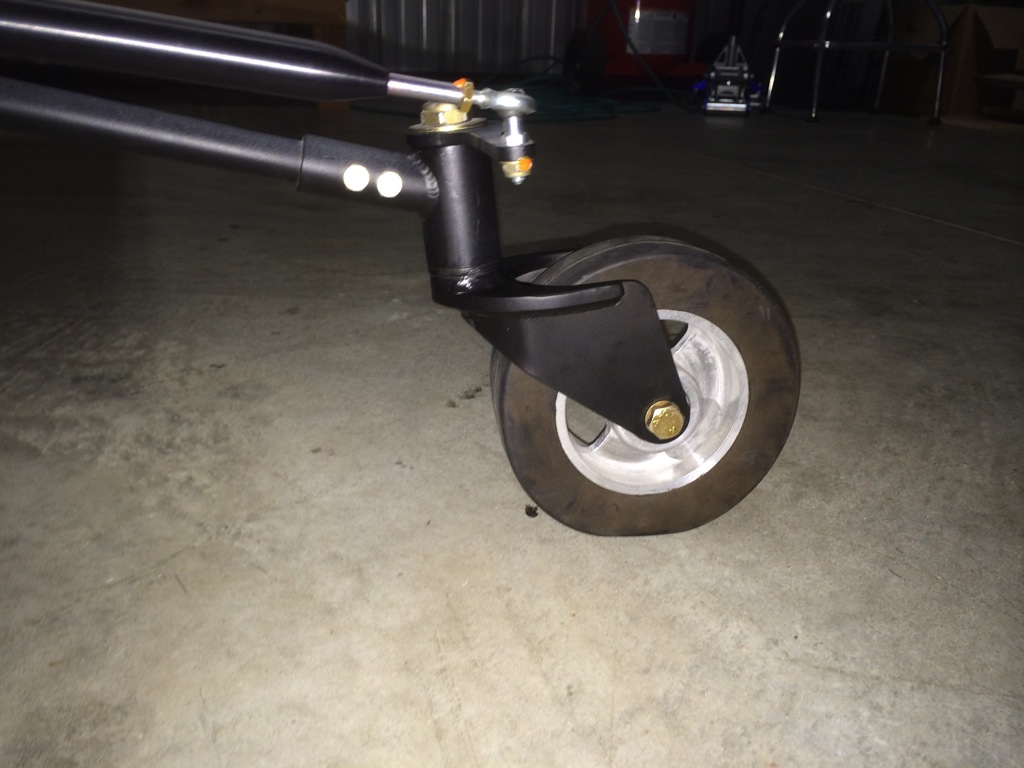
Since my CG ended up farther back than I was hoping, I’ve been looking for ways to move it forward.  I purchased the Bell tailwheel fork a long time ago since I really dislike the Van’s design.  I didn’t realize at the time how much heavier it was though.  While researching other options, I found that the tailwheel fork sold by JDAir was even lighter than Van’s.  I haven’t measured for myself yet, but they told me that I should save about 1 pound from the Bell fork.  This doesn’t sound like much, but with an arm of over 249″, this change alone will move the CG forward by over 0.15″.  The fork comes plain or powder coated in either gloss white or gloss black, but I previously powder coated all of my tailwheel components in matte black, so I ordered it plain so that I could match the finish.  I stopped by the TechShop earlier today and smoothed out all of the edges and then sandblasted the areas that will be powder coated.  That produces a nice textured finish that the powder coat will stick to nicely.

I applied the powder coat and then baked it in the oven for about 20 minutes at 350º.

More Reassembly and New Tailwheel Fork

I finished adjusting the flap pushrods and final torqued them.  I had to open up the holes a bit more to make room for the bolt head when the flap is just about fully up.  I taped the ailerons to the wingtips and the elevator in the neutral position to use as a reference and then adjusted the flap pushrods so that the flaps align with the ailerons.  Finally, I lubricated these rod end bearings.

I swapped out my tailwheel fork for the one from JDAir.  The person I spoke with there claimed I would save about a pound over the Bell fork I had, but the savings was just over 1/2 pound.  I’m still glad I made the switch, but disappointed that the savings wasn’t what they claimed.

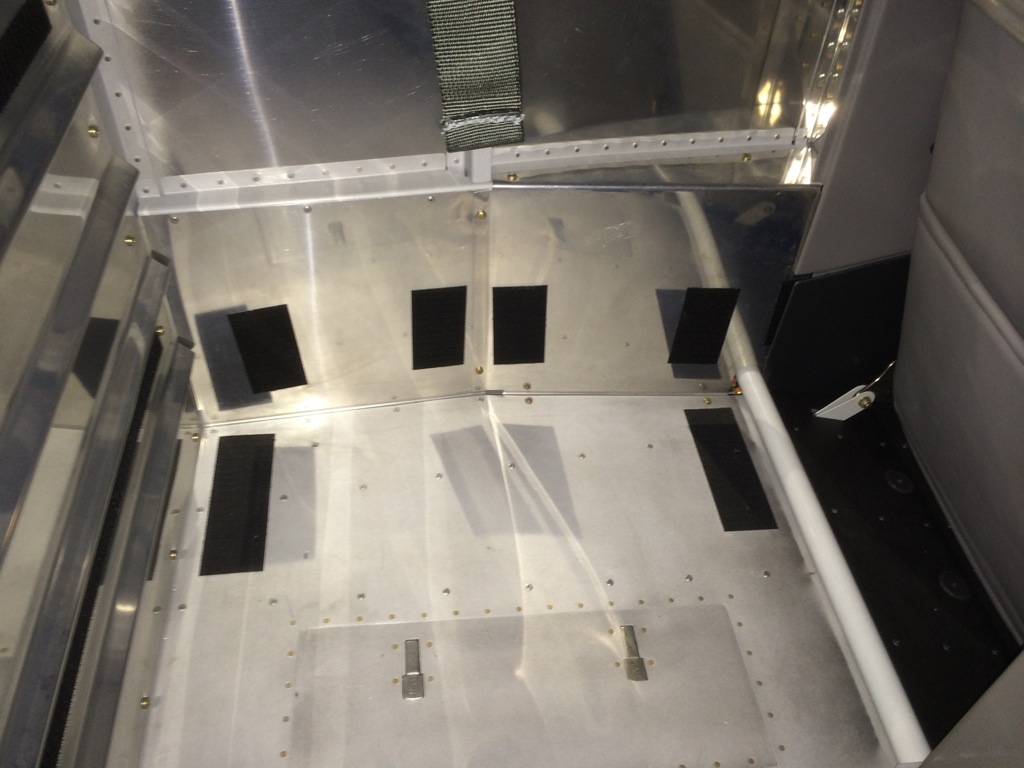
I installed the baggage wall and then taped up a ziploc bag as the temporary holder for my registration, airworthiness certificate and phase 1 operating limitations.

With the flaps adjusted, I could now install the flap covers.

Finally, I vacuumed out the inside of the plane and installed all of the forward interior components.  I’m not going to bother installing the interior pieces in the baggage area for phase one (except for the final weight and balance).

Full Power Engine Run

I didn’t get any pictures, but I did the first full power engine run today.  I’ve been having an issue with high oil pressure even though the adjustment screw is backed all the way out.  The main thing I wanted to determine was where the pressure would top out.  It turns out that with the oil pressure regulator turned all the way down, it peaked at 103 PSI at 1800 RPM and stayed there all the way up to 2700 RPM.  AeroSport power said the red line should be at 95 PSI, so it’s clearly too high.  I’ll call them tomorrow to see what I should do about this.

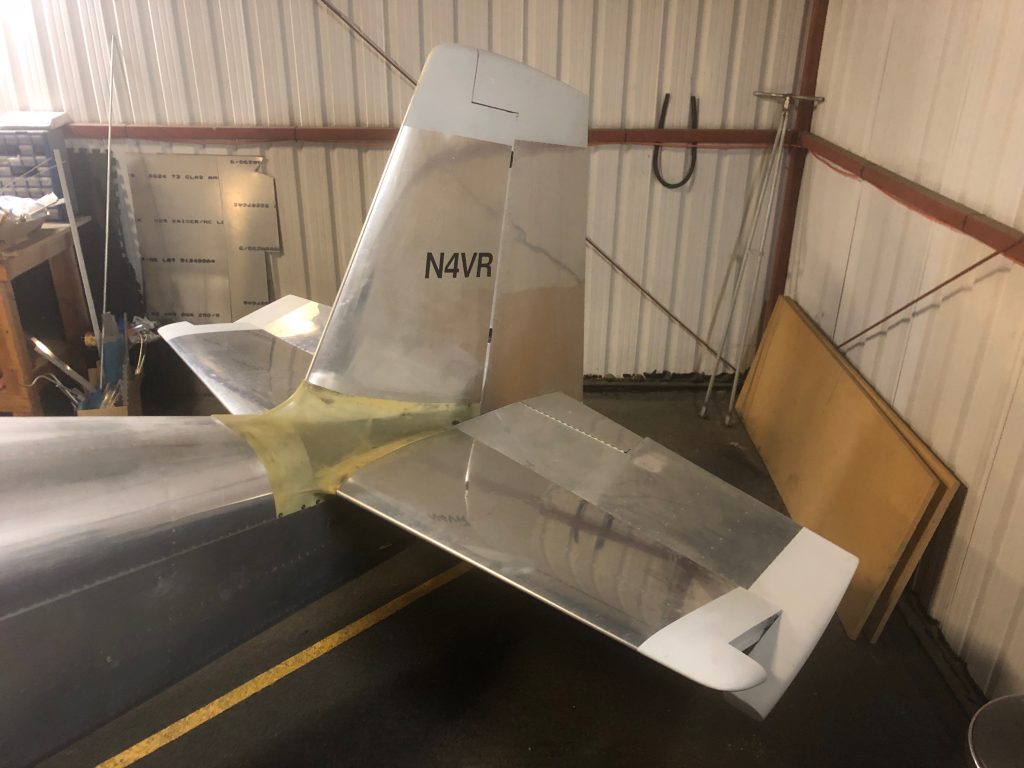
I also started adding some glass to the lower empennage fairings to make them line up with the upper fairing.  I needed to stiffen up the leading edge so that I could add some lightweight filler without it cracking due to the fairing being so flexible.

Finally, I spent some time using the MicroMesh kit on the canopy to remove a few spots of paint overspray and some minor scratches.  I worked all the way down to the 6000 grit sandpaper.  I’ll use the polish tomorrow.

Polished Canopy

I spent an hour or so polishing the canopy.  I’ll probably spend some more time on it later to get every last mark off of it, but it looks fantastic now.  I cleaned it inside and out with some Plexus, so it’s ready for flight.

I then trimmed and sanded the glasswork that I did on the lower empennage fairings.  I think they’re ready for filler, but I’m going to fly with them like they are now and deal with that later.

More Work on Empennage Fairings

I’m going to start working on my gear leg fairings and wheel pants soon, but I need to get the plane up in the air in a level flight attitude to do that.  I could use the plane jacks I made, but those jack behind the CG, so you need to hold the tail down when jacking.  Any screw up here could tip the plane onto its nose.  Instead, I picked up a shop crane from Harbor Freight so that I can lift the front of the plane by the engine mount and then jack up the aft end of the plane using one of my plane jacks.  This required some assembly, so I knocked that out tonight.

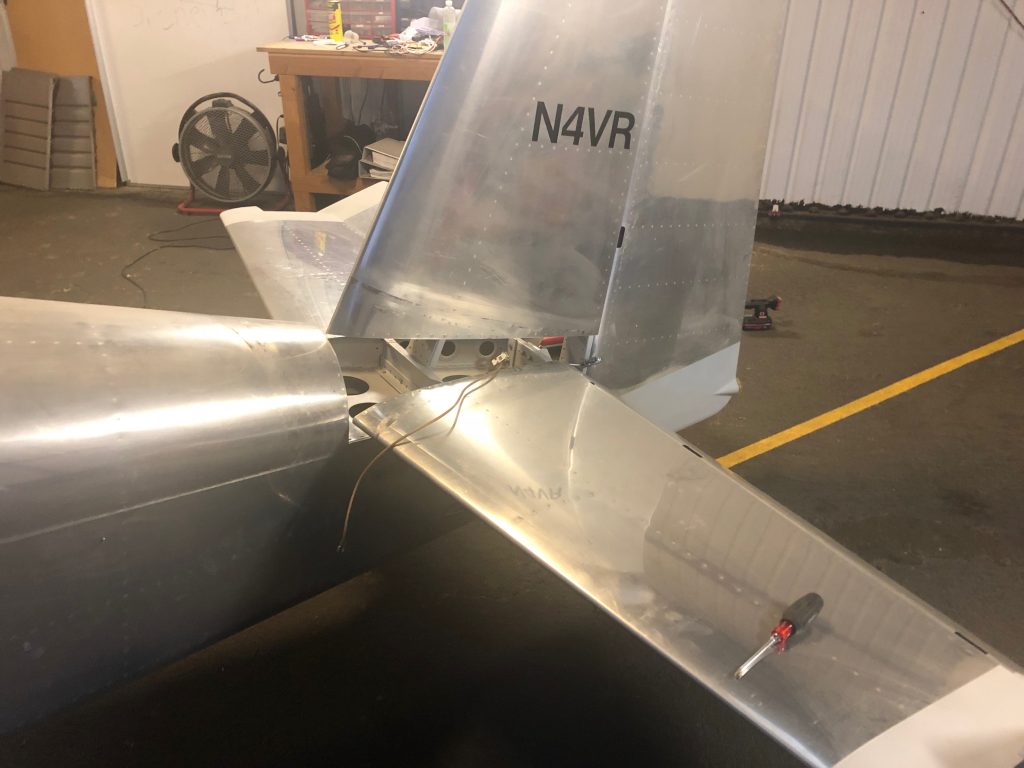
While unscrewing one of my lower empennage fairings, the Click Bond nutplate I was using popped loose from the inside of the horizontal stabilizer skin.  I managed to fish it out using the hook on the end of my inspection camera.  Unfortunately, this is not made of a ferrous metal or I could have just used a magnet.  I’m going to replace this with a rivnut which should be much more secure.

The left side lower empennage fairing was still sitting a little bit below the level of the upper fairing, so I added a bit more glass.  Once it’s really close, I’ll use some filler on both pieces to make a totally smooth joint.

Complied with SB 14-01-31

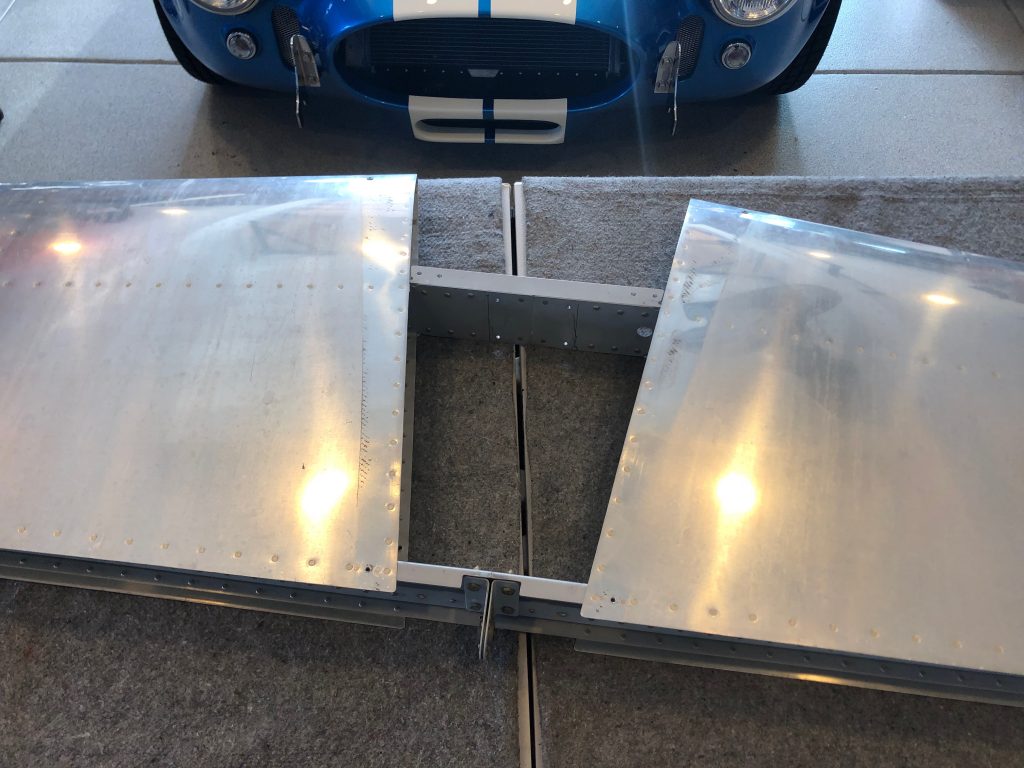
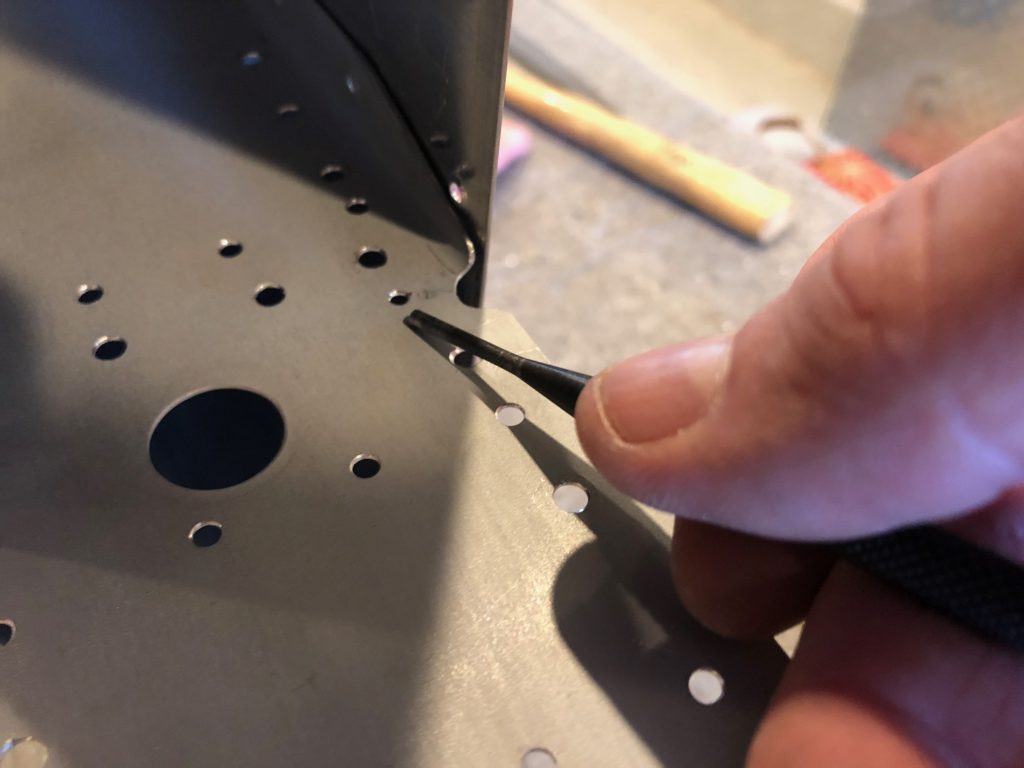
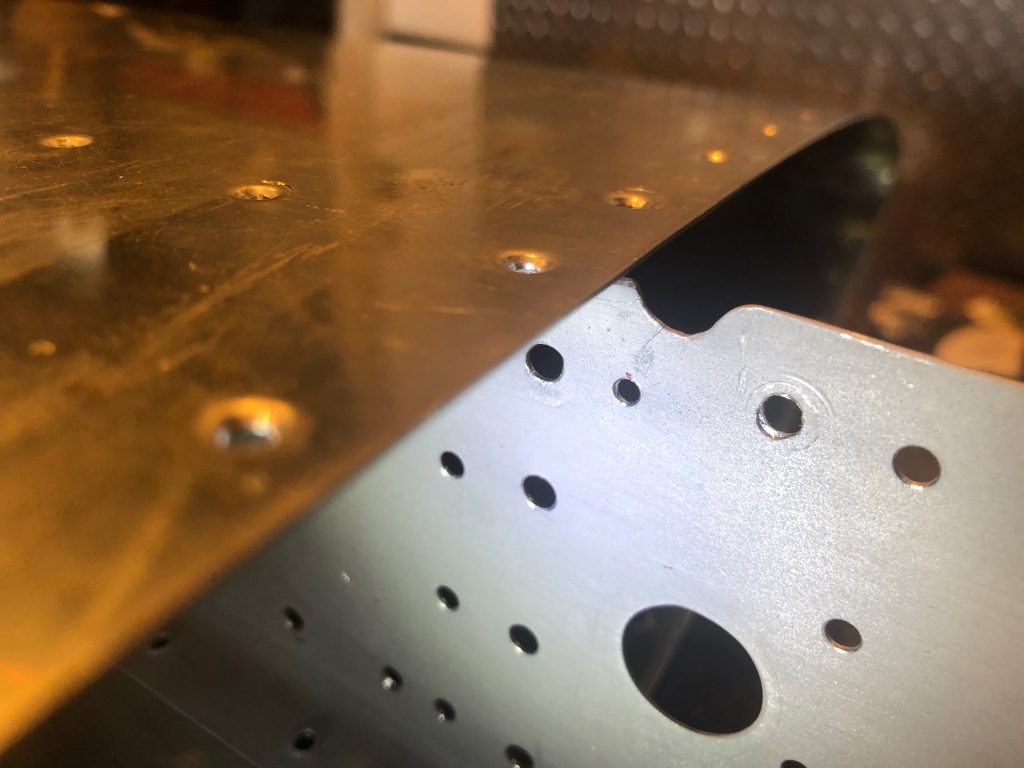
While inspecting the plane for this year’s condition inspection, I discovered the dreaded crack near the bend of the forward horizontal stabilizer spar. You can see the crack emanating from the bottom of the u-shaped notch at the top of the spar.

I came over bright and early one Saturday morning and disassembled the empennage in about 2 hours. I didn’t get any pictures of the process or the naked empennage, but you can imagine what it looks like.

I brought the horizontal stabilizer home since it will be much more convenient to work on here. My buddy Greg dropped by and helped me drill most of the structure. He brought some handy drill guides that helped us hit the center of each rivet (though we still buggered a few).

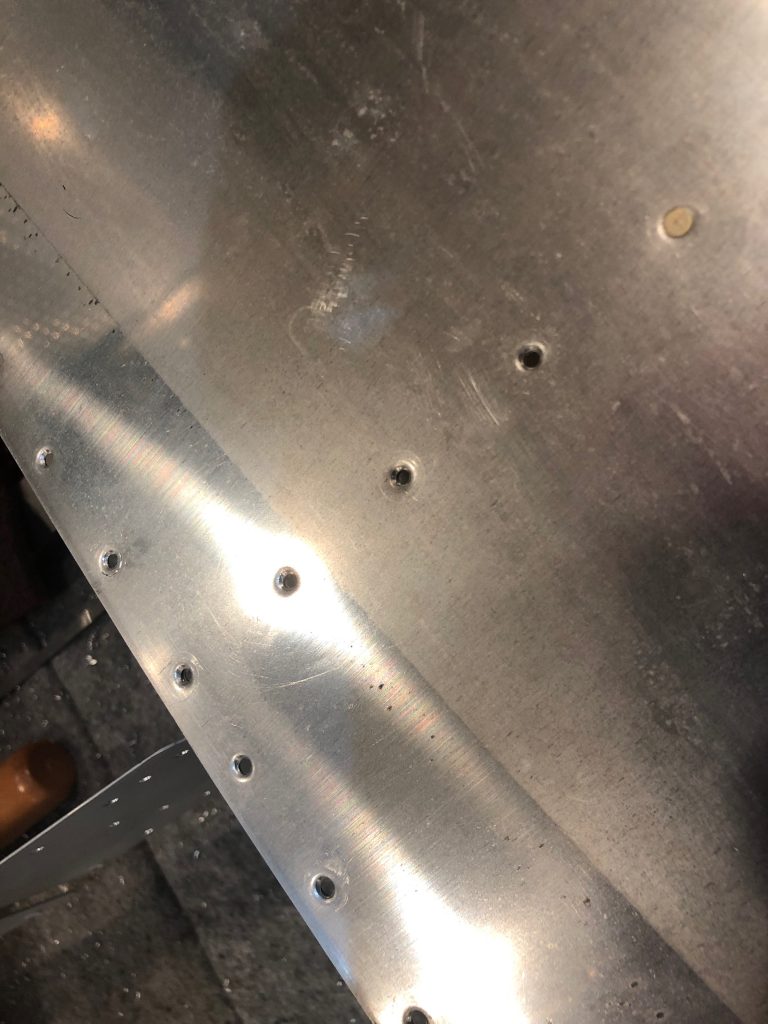
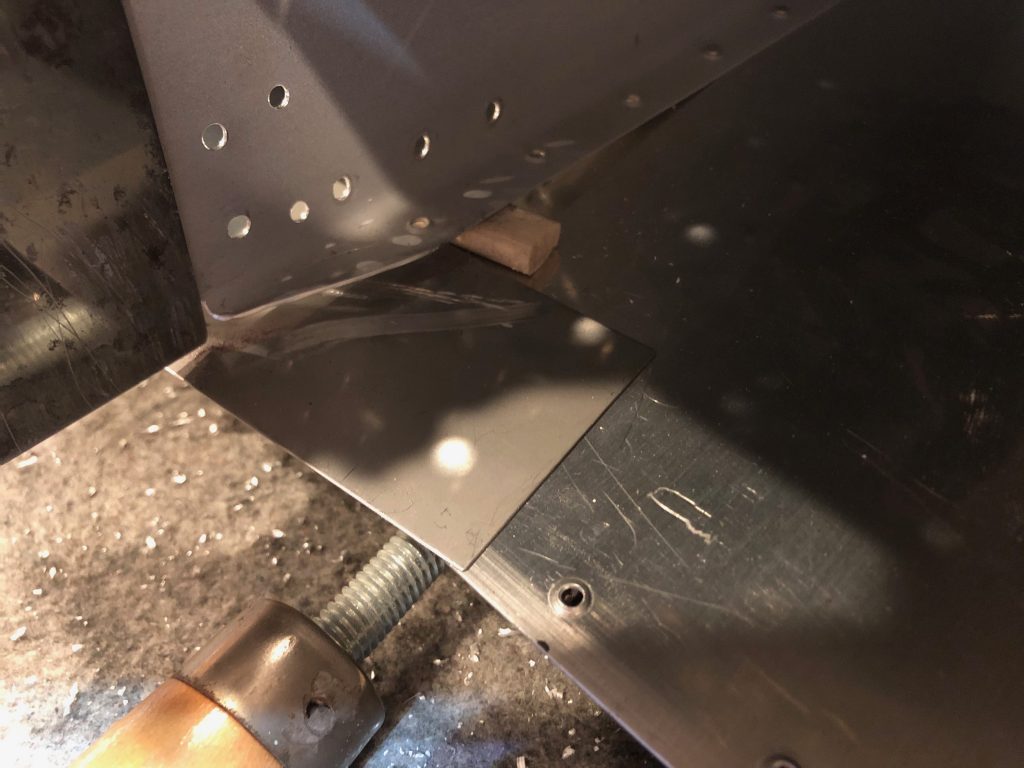
I didn’t get too many pictures during the process, but I did do a few things differently than the SB specifies. The SB asks you to drill out only the first two rivets along the forward spar so that you can slide a thin stainless steel shim between the skin and spar to protect the skin when trimming the spar. I decided to drill out a couple of additional rivets.

This allowed me to wedge in a thin (1/4″) wood piece to space the spar away from the skin. Not only does that help protect the skin, it makes it far easier to smooth out the cut after trimming the spar.

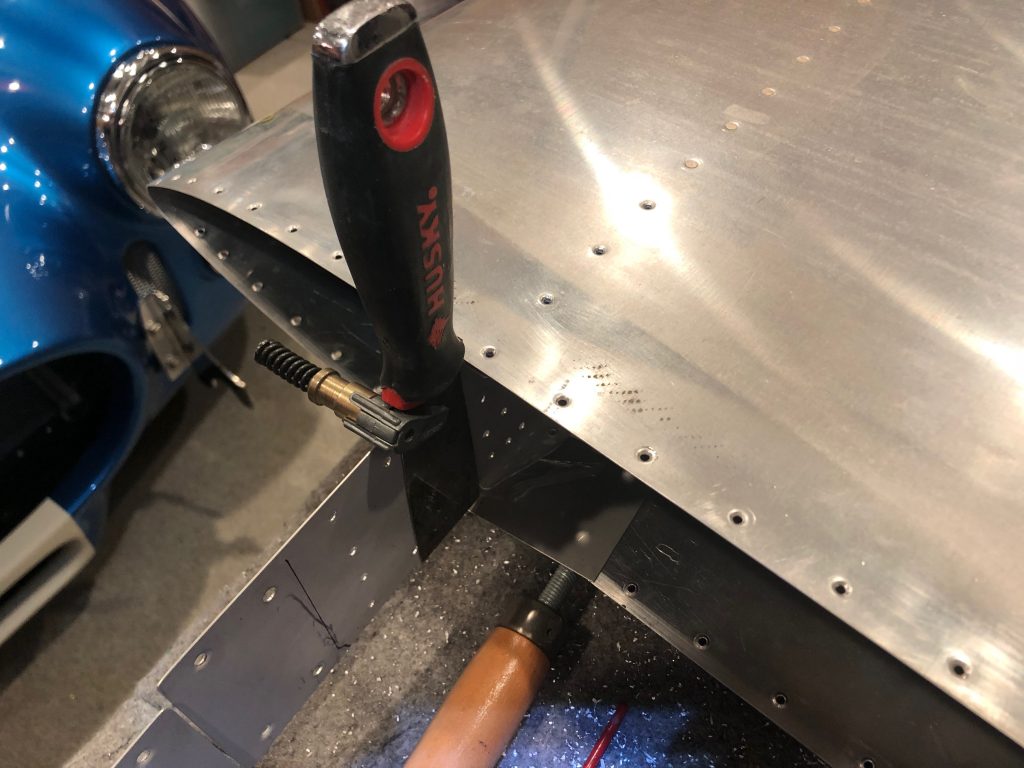
I also cleco-clamped a putty knife to the spar web at the bend to protect the spar from the Dremel wheel. I’m really glad I did this as I bumped it several times during the cut and I know I would have damaged the spar.

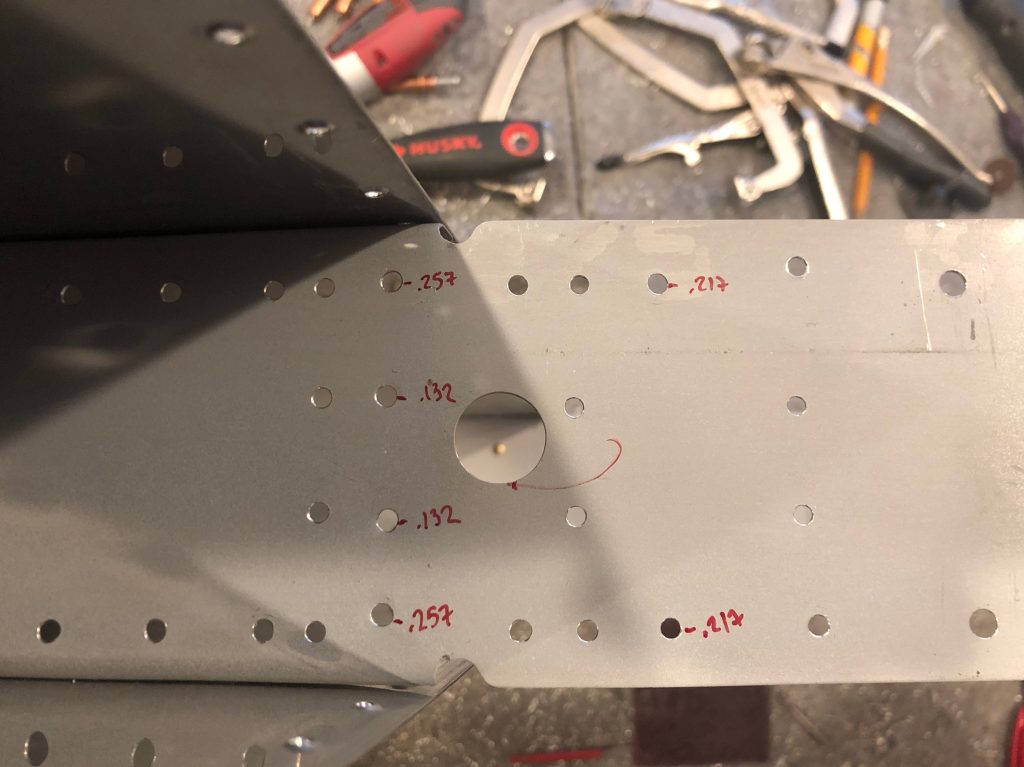
There were a handful of holes that were unfortunately elongated slightly. I decided to step these up to -5 rivets and drilled the holes out with a #20 bit. It was a slightly different set between the left and right side, so I decided to drill out some additional holes so that the -5 rivets were symmetric between each side. Fortunately, all holes turned out nice and round after doing so. I thought I might need to install cherrymax rivets in these holes, so I calculated the grip length for each hole based on the material stackup. I ended up shooting a bucking solid AN470 rivets in every holes.

After carefully finding the end of the crack, I stop drilled it with a #40 bit and deburred it.

I didn’t get a picture, but I elongated the hole toward the crack slightly and then smoothed everything out.

Greg dropped by a couple more times to help me rivet the structure and reassemble it. The plane was down for about a week, but I’m glad to have this behind me and know that it’s far more robust than it was before.