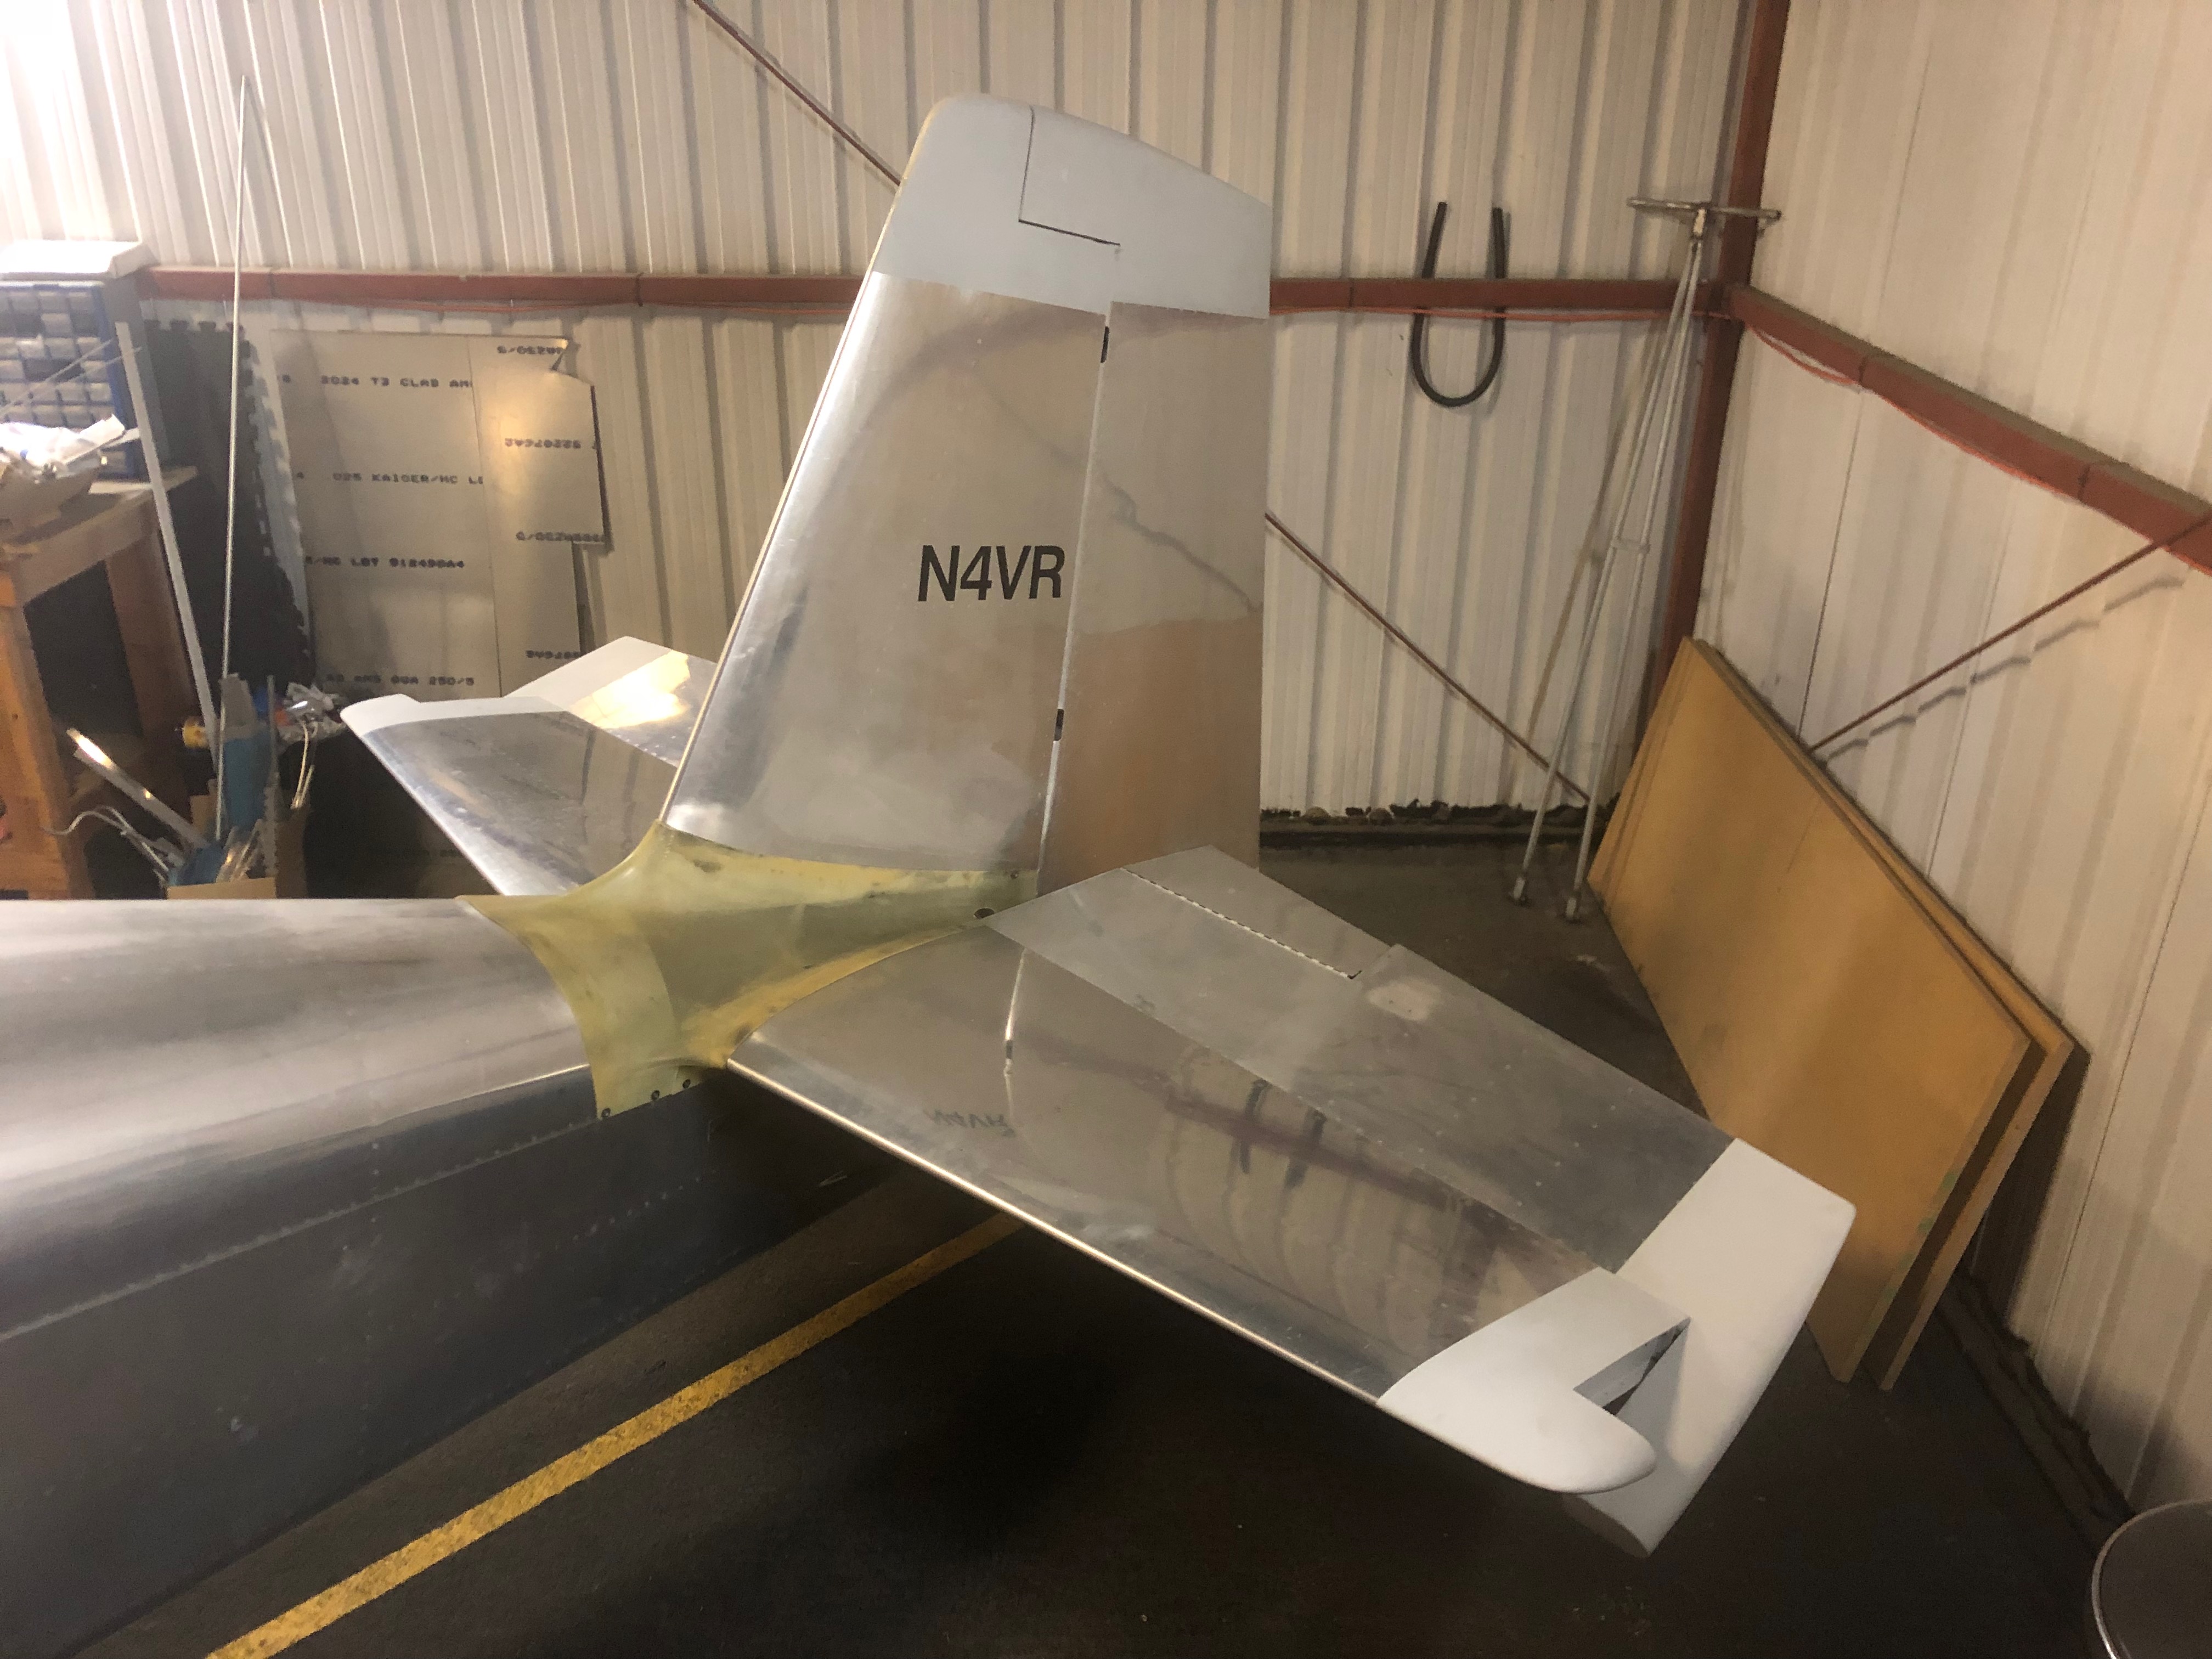
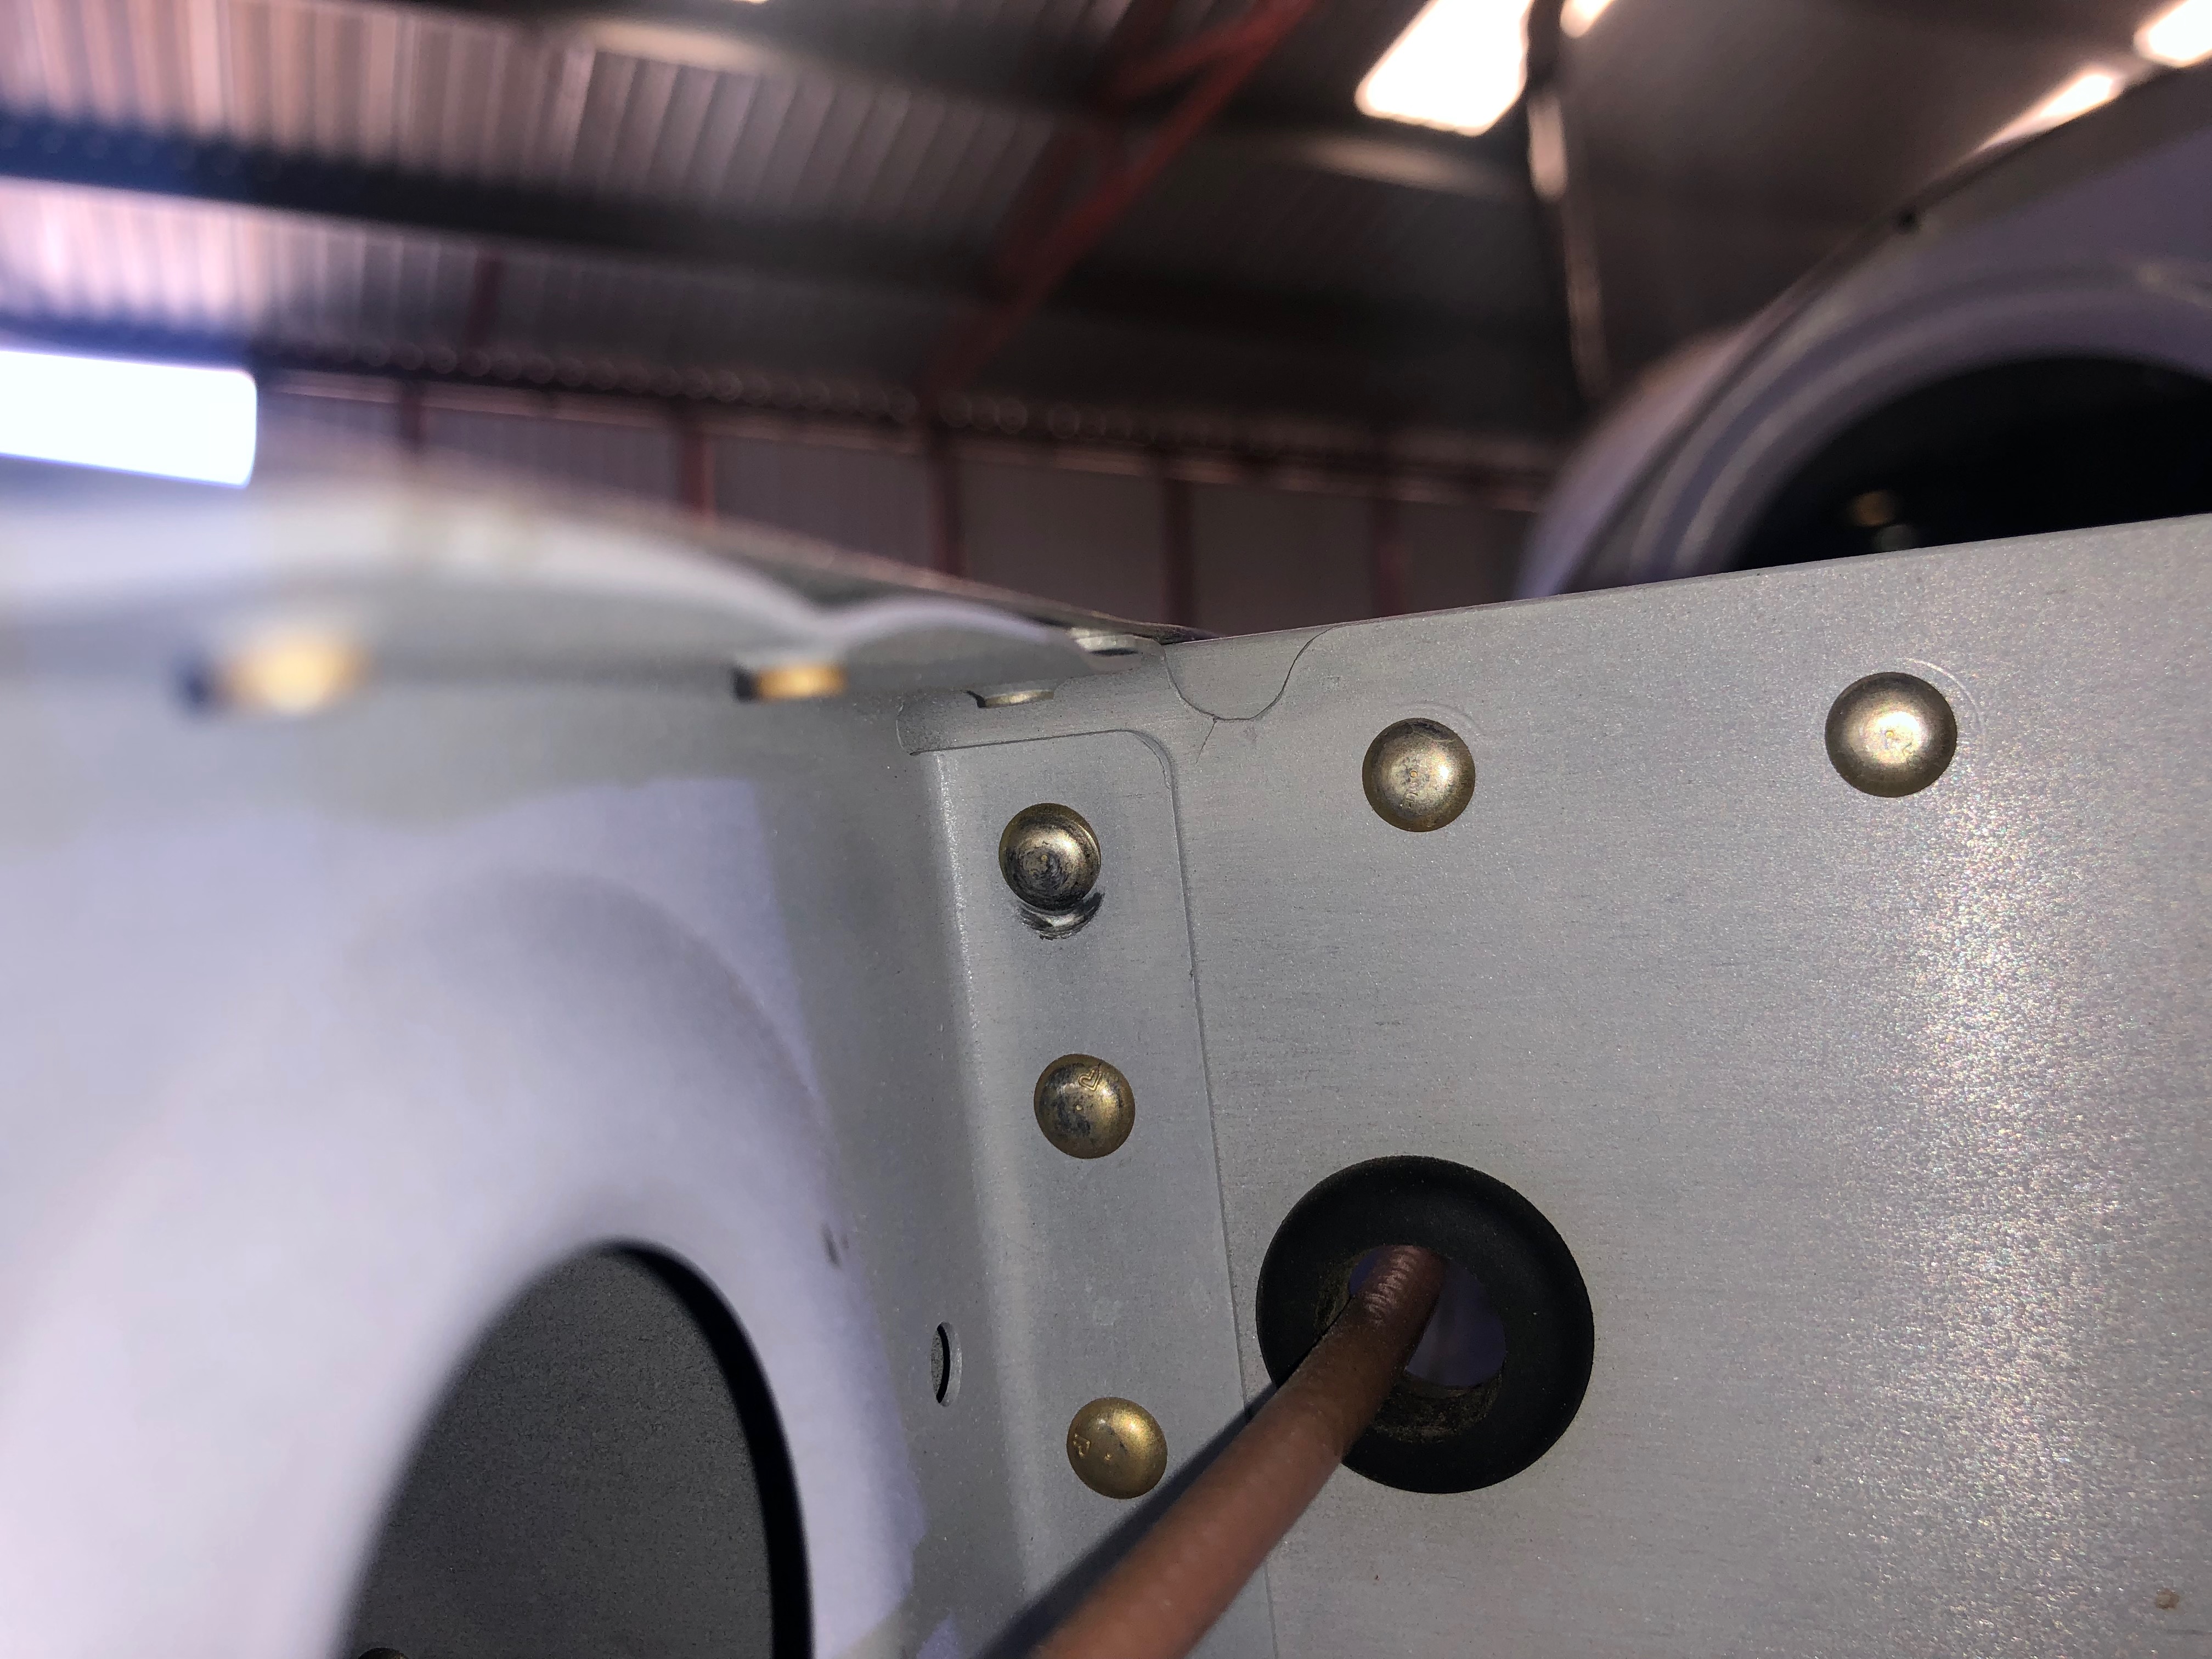
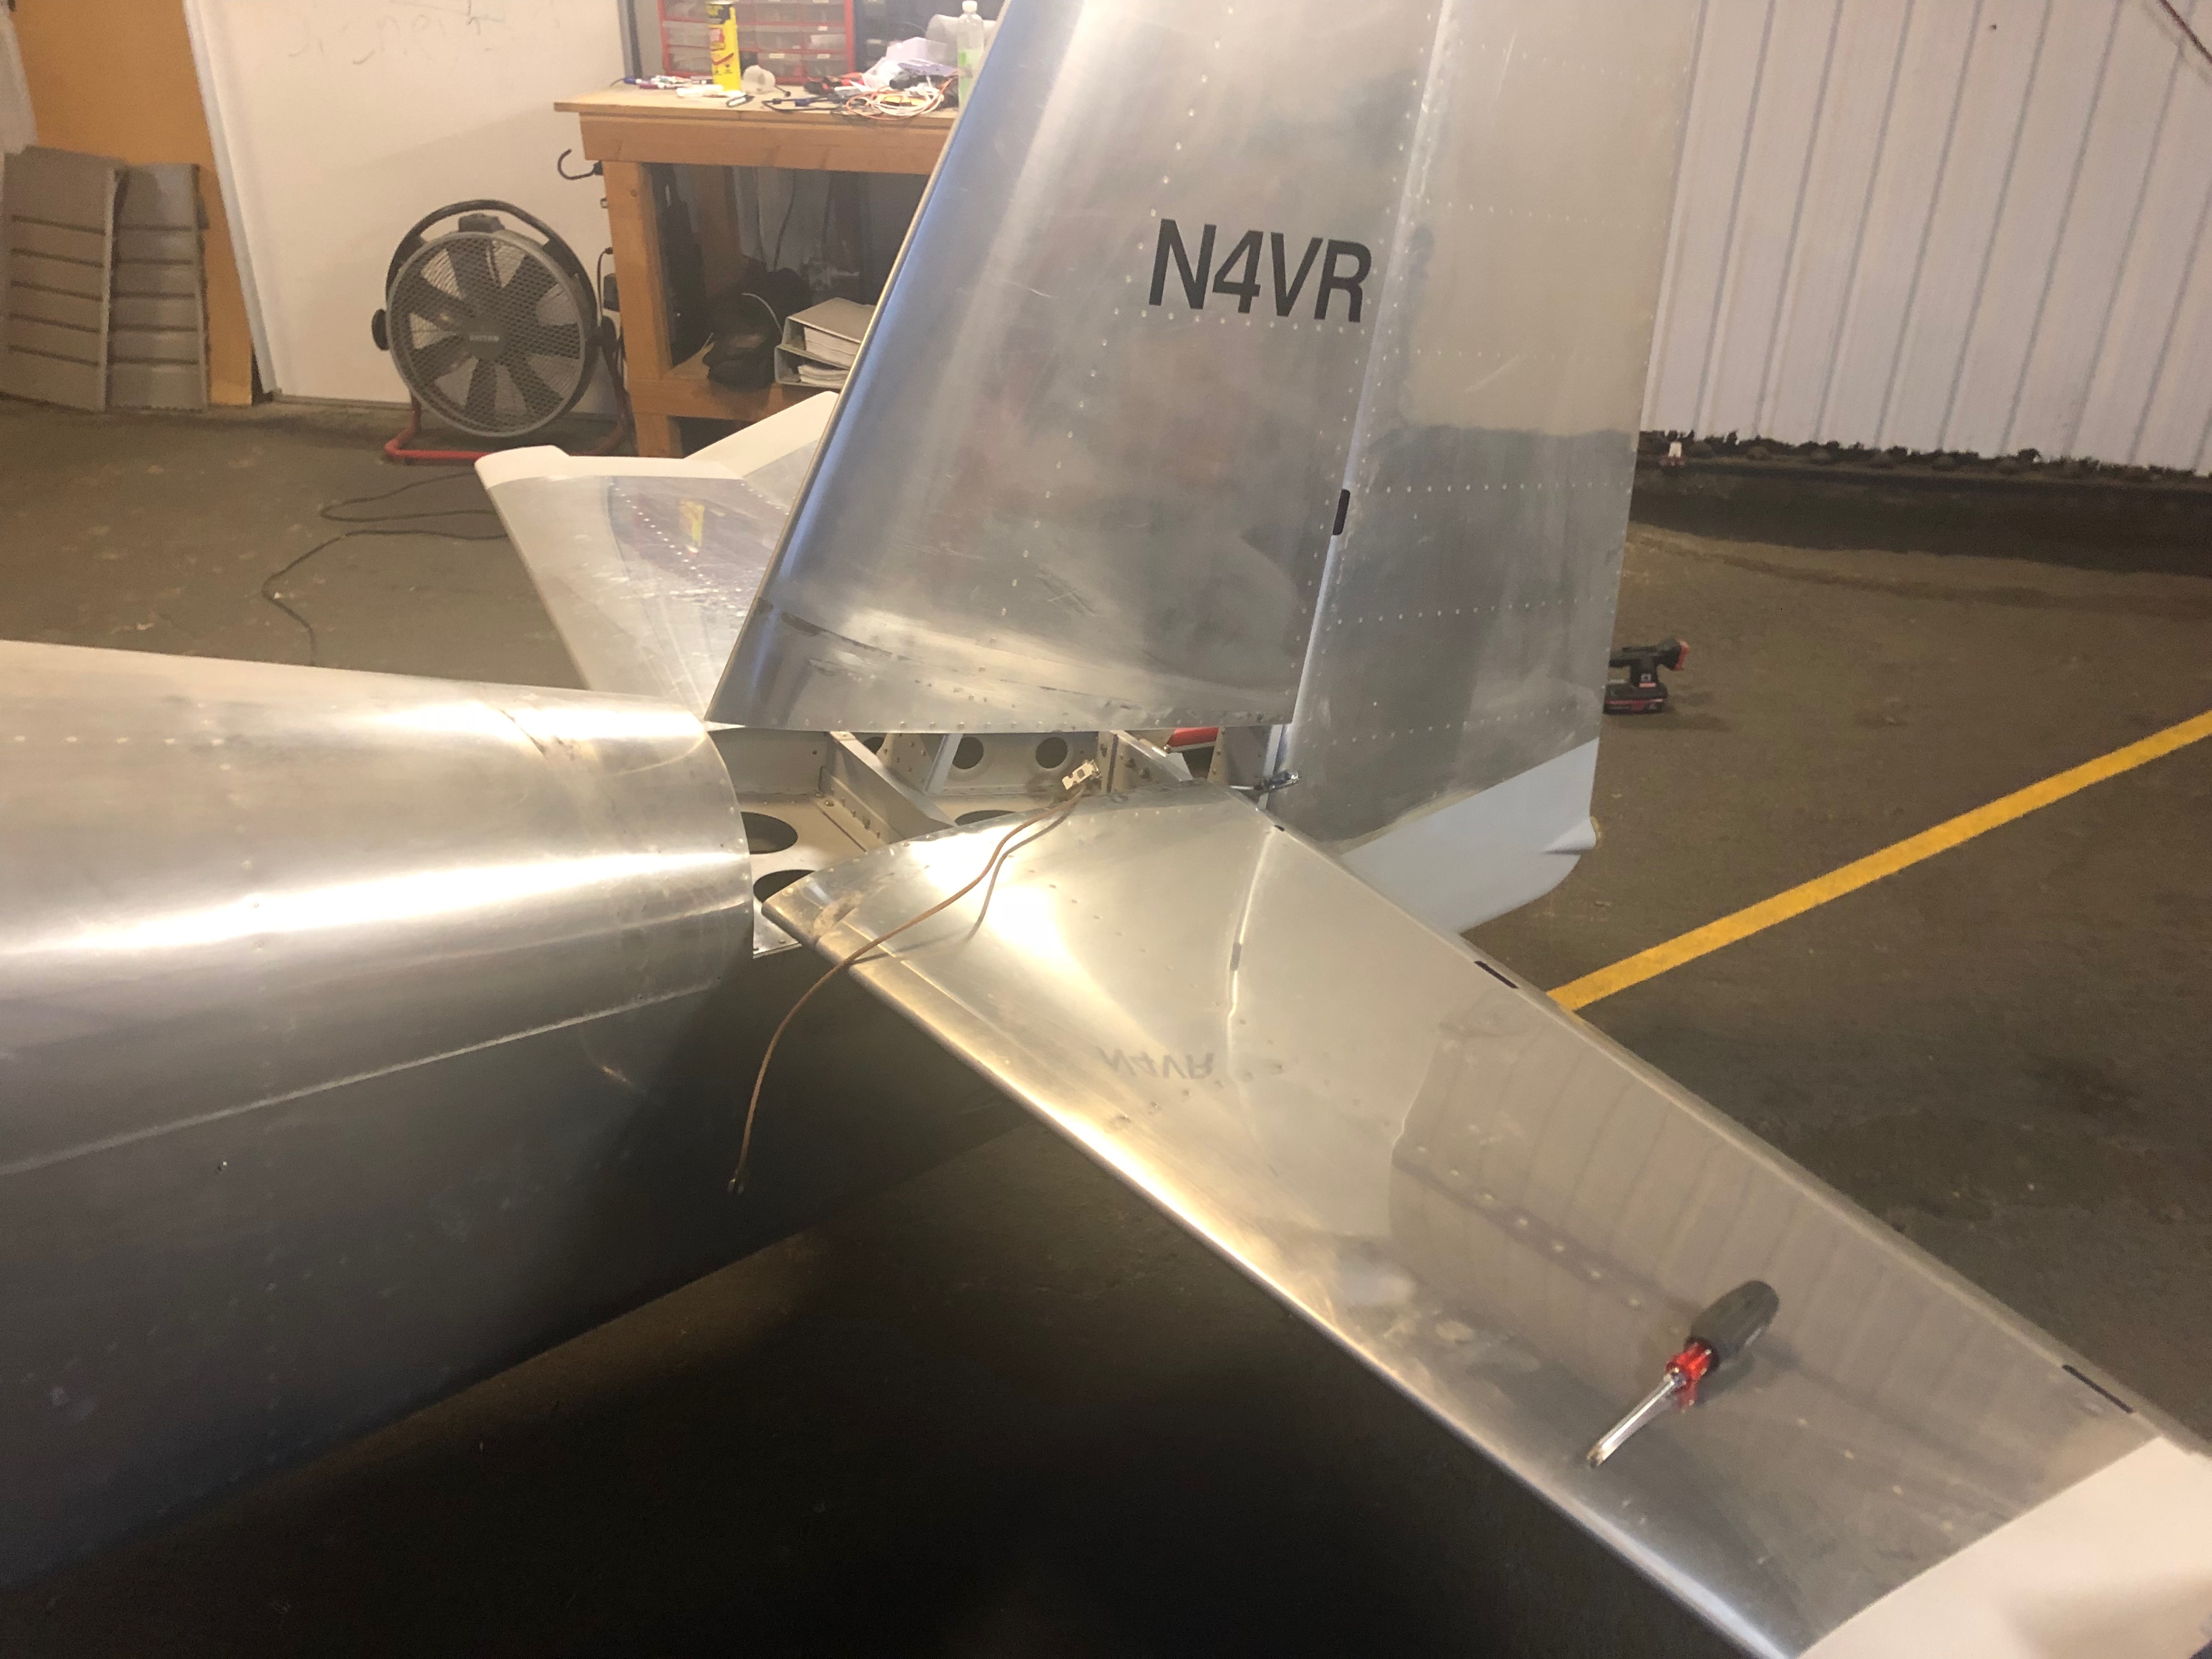
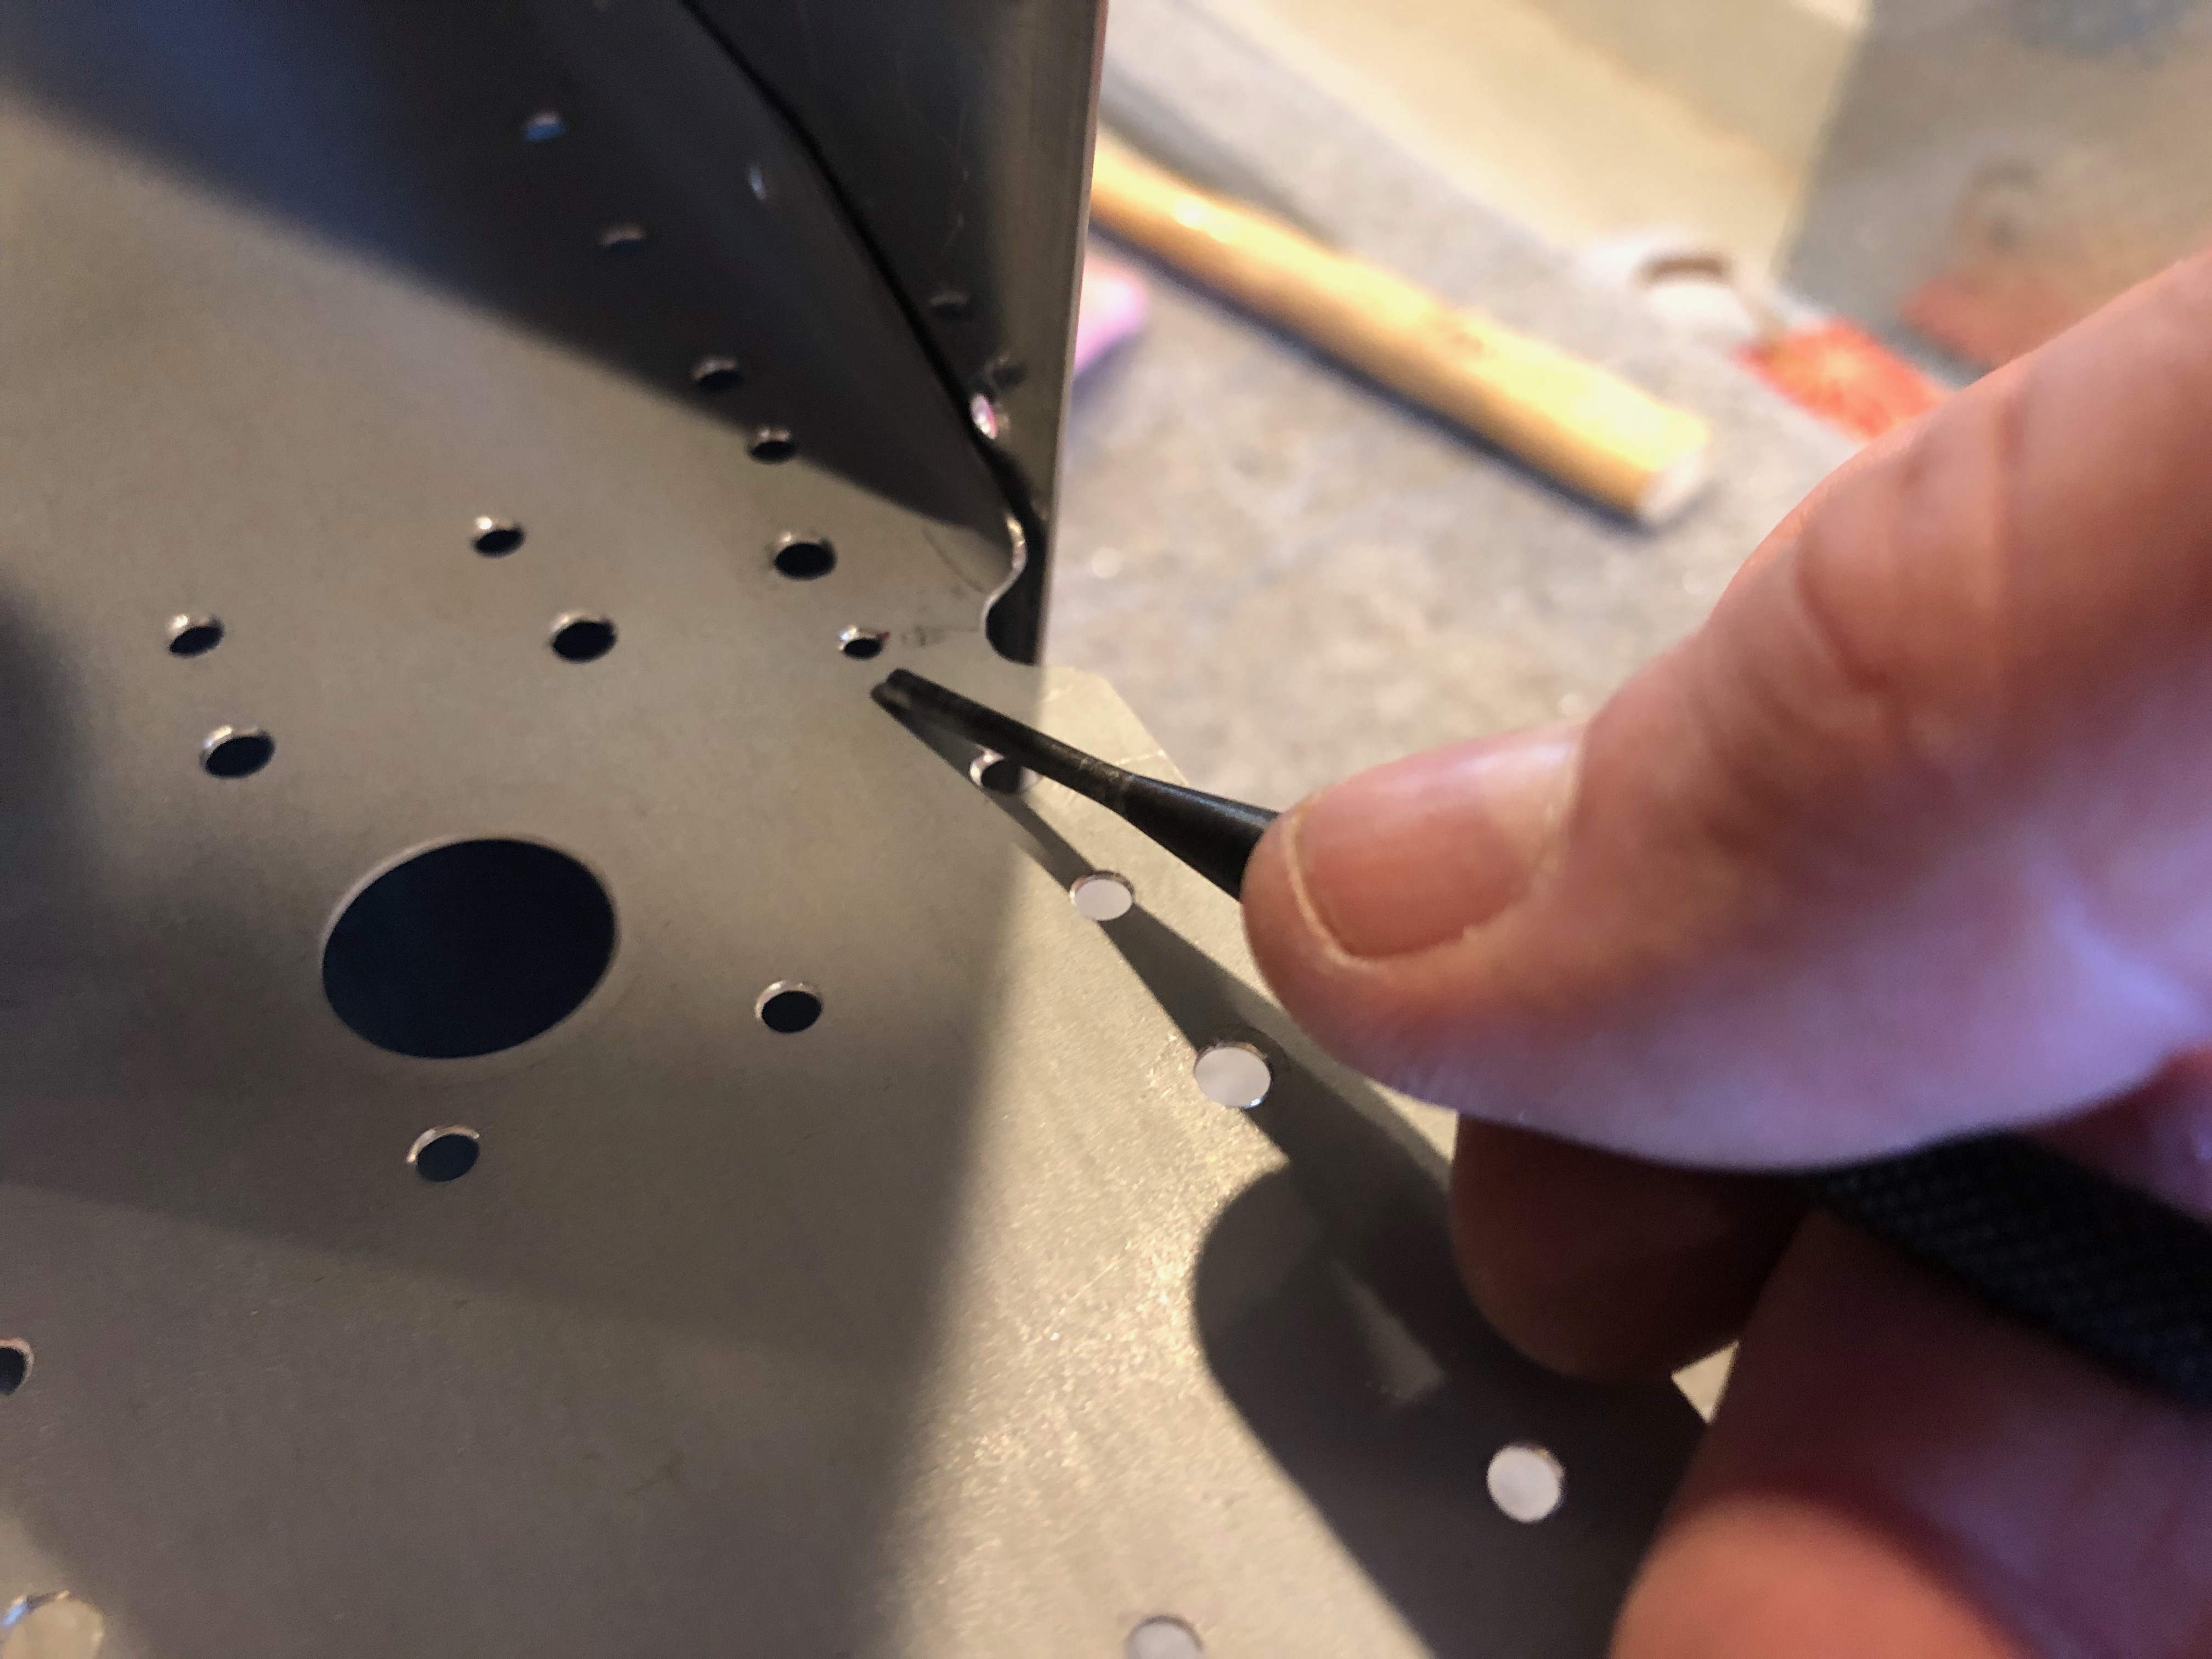
While inspecting the plane for this year’s condition inspection, I discovered the dreaded crack near the bend of the forward horizontal stabilizer spar. You can see the crack emanating from the bottom of the u-shaped notch at the top of the spar.
I came over bright and early one Saturday morning and disassembled the empennage in about 2 hours. I didn’t get any pictures of the process or the naked empennage, but you can imagine what it looks like.
I brought the horizontal stabilizer home since it will be much more convenient to work on here. My buddy Greg dropped by and helped me drill most of the structure. He brought some handy drill guides that helped us hit the center of each rivet (though we still buggered a few).
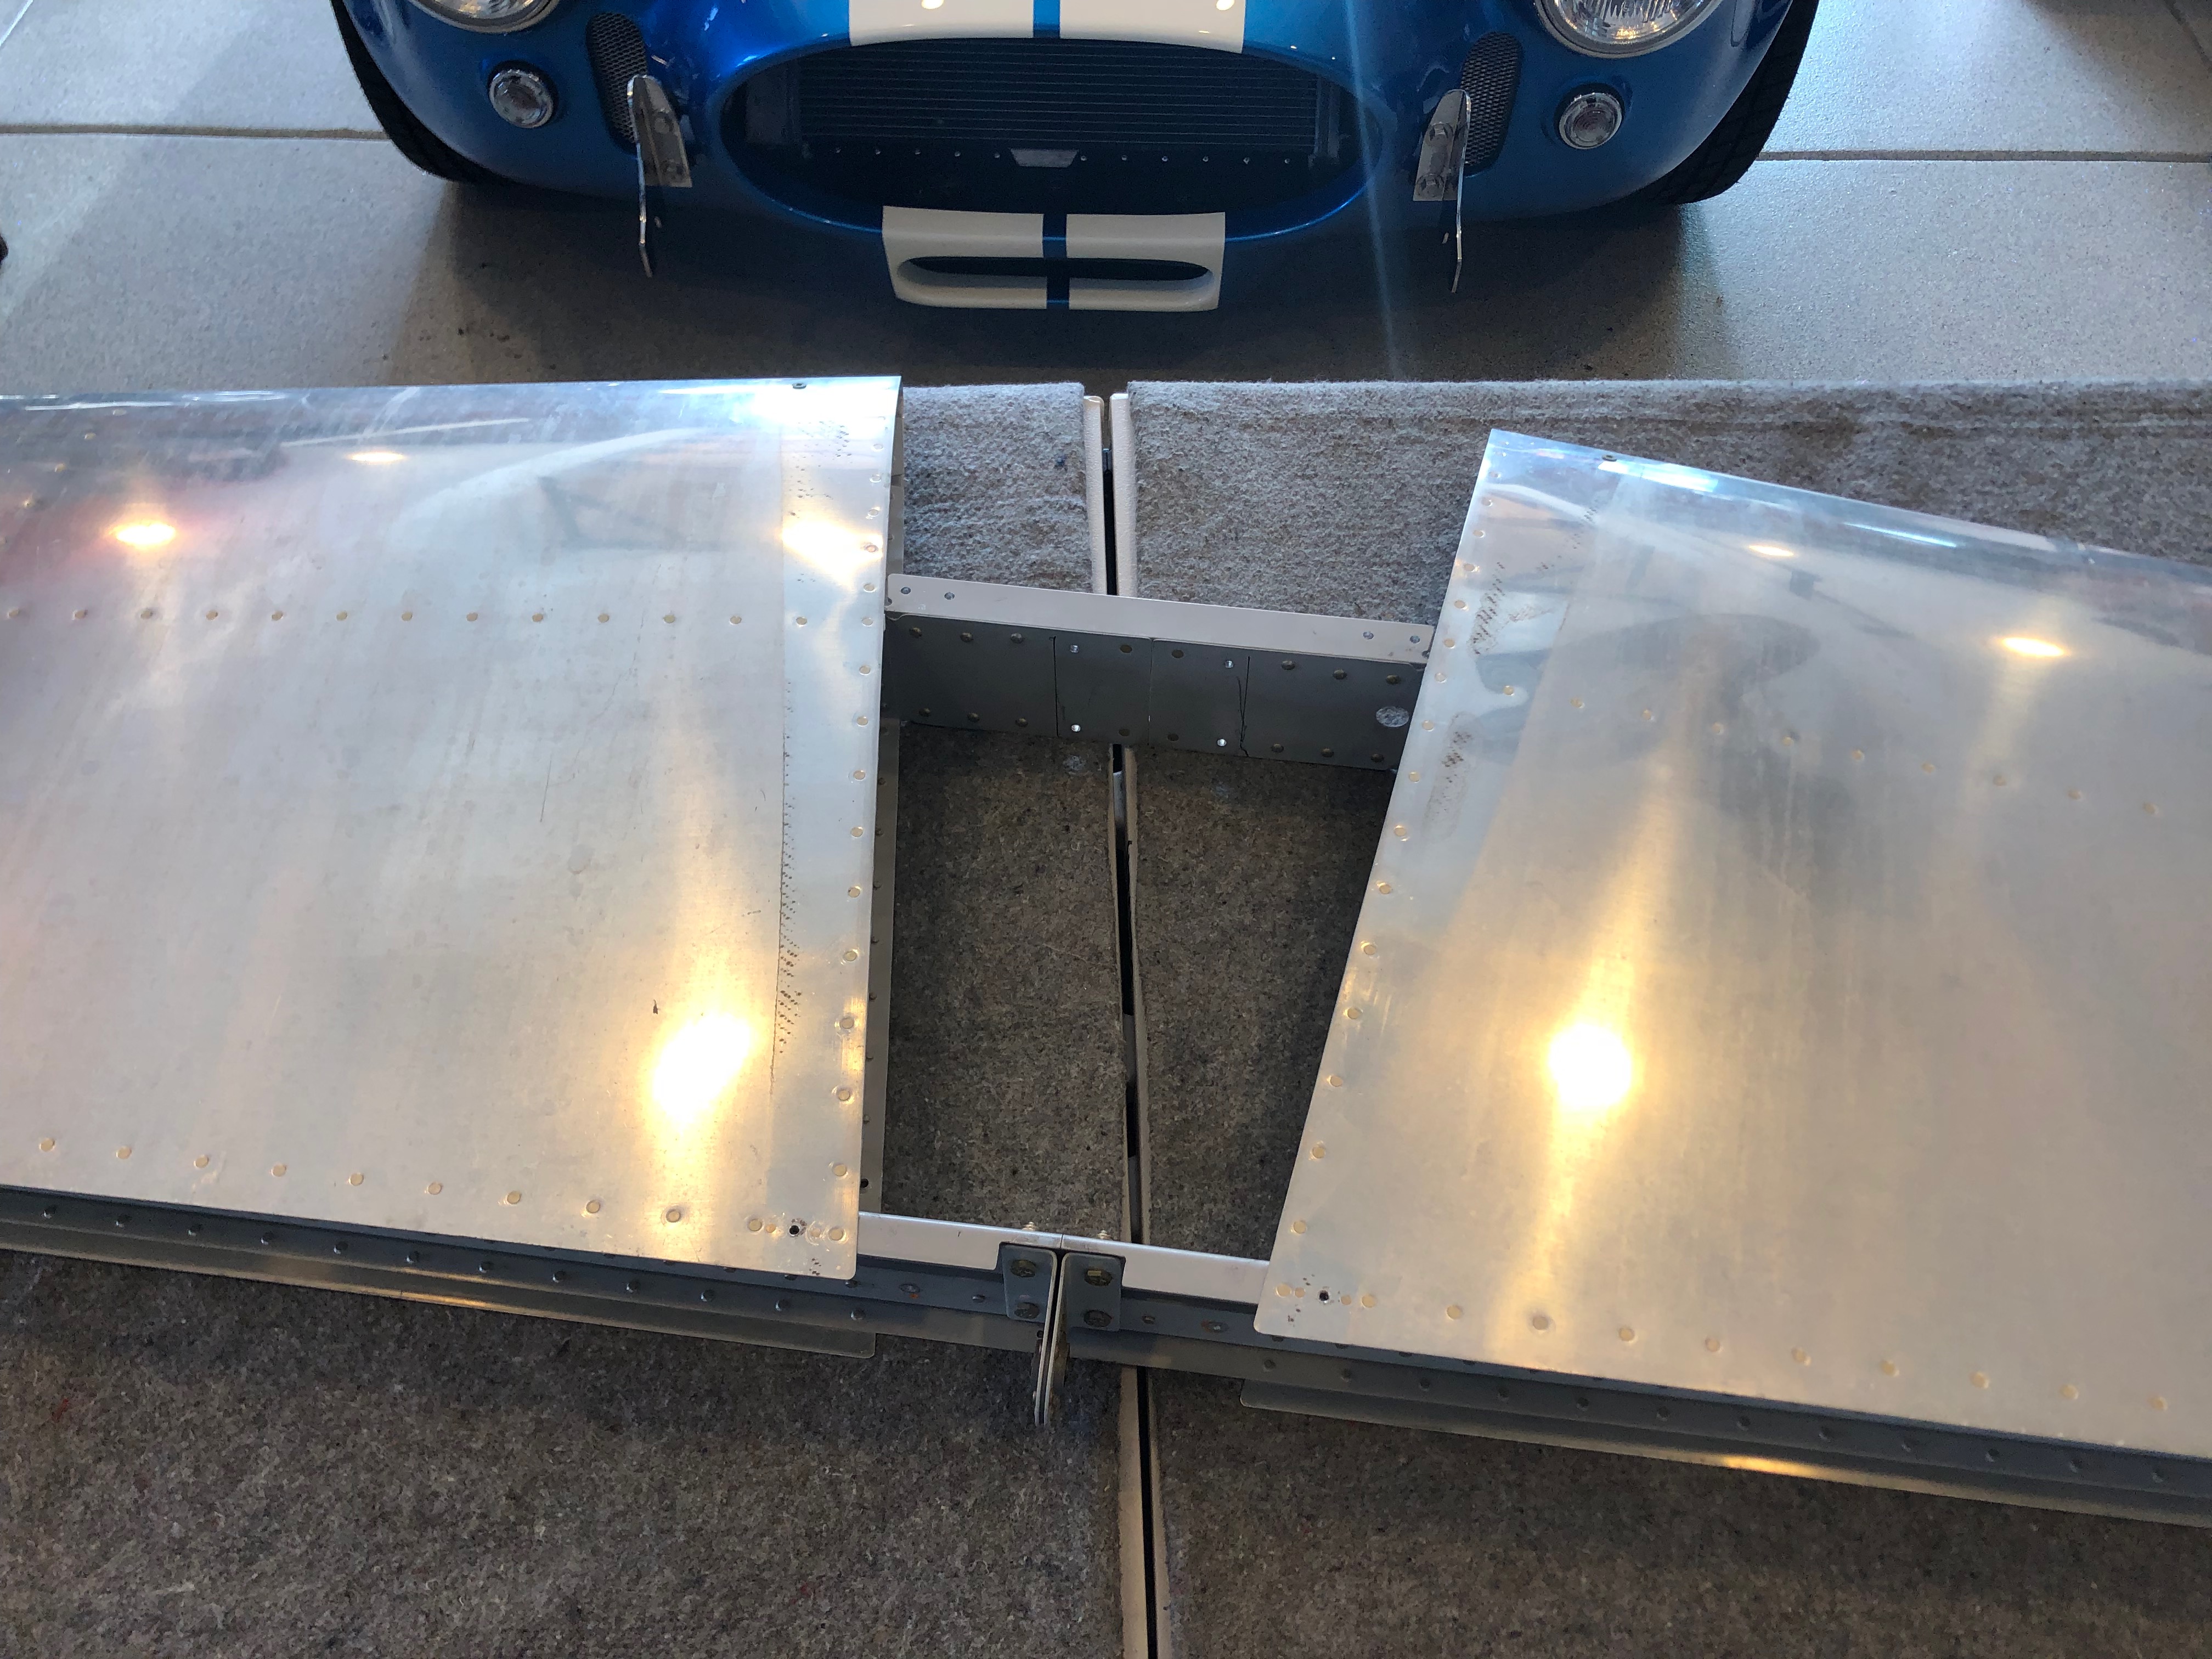
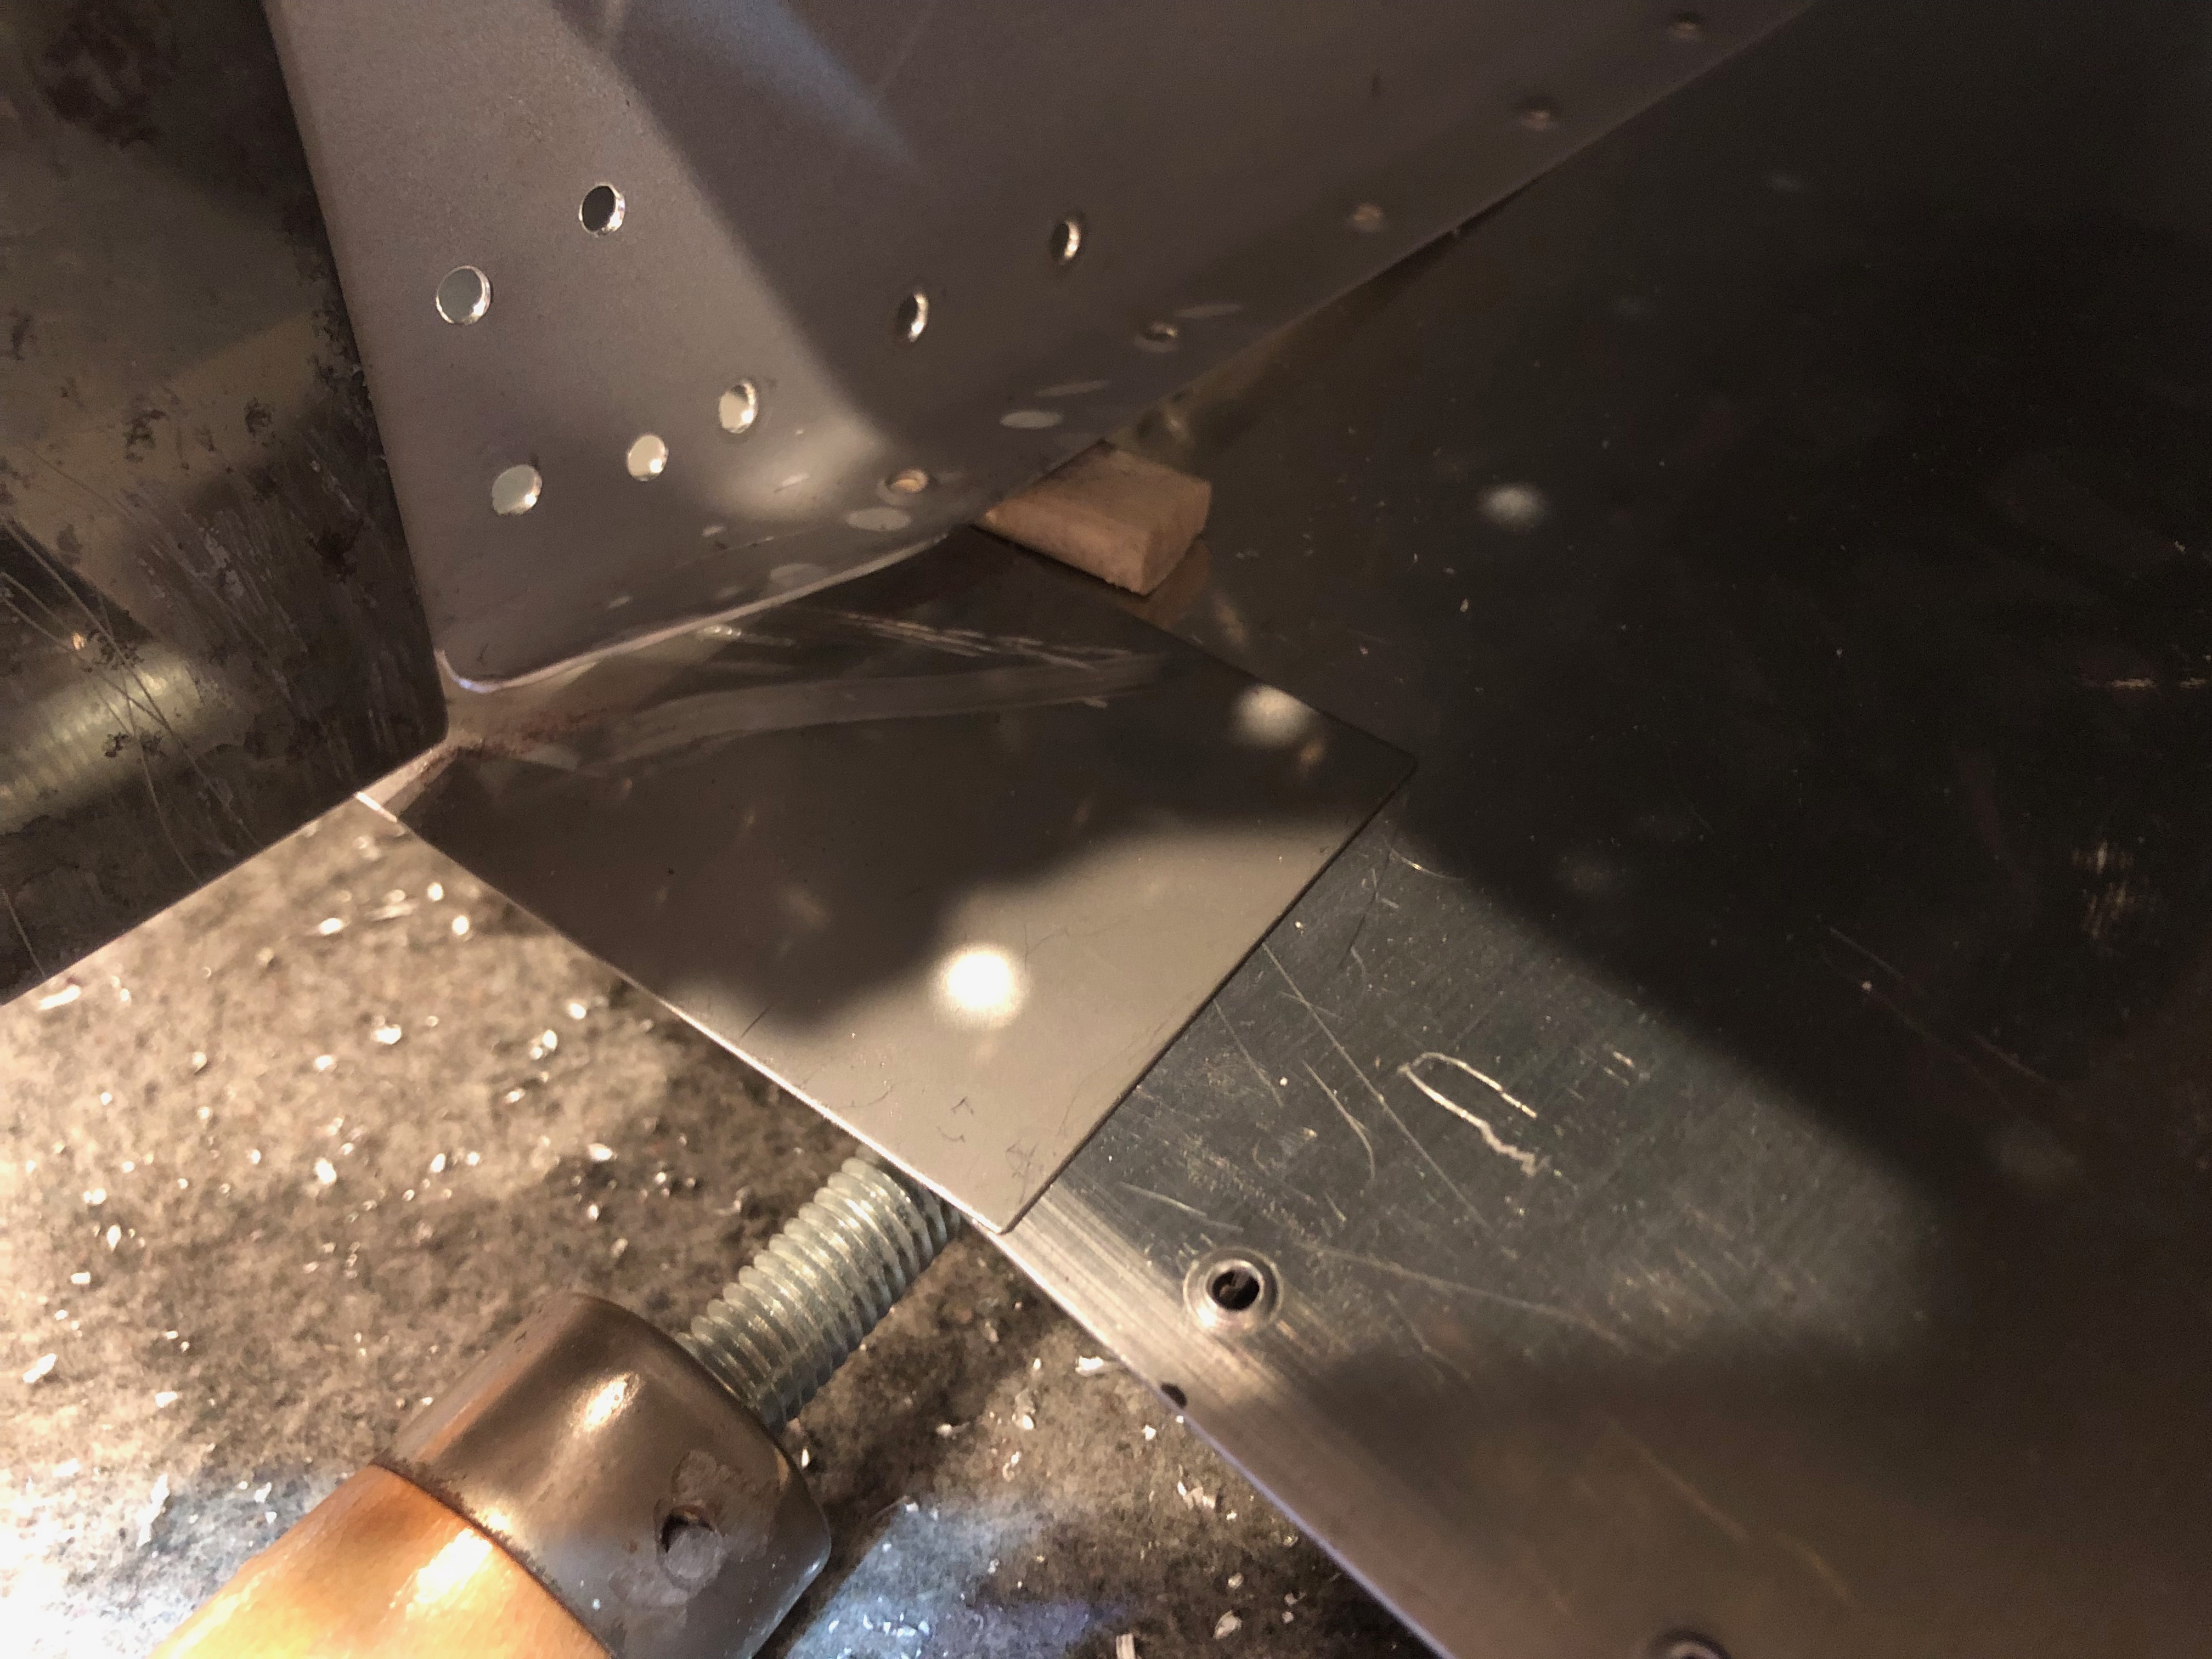
I didn’t get too many pictures during the process, but I did do a few things differently than the SB specifies. The SB asks you to drill out only the first two rivets along the forward spar so that you can slide a thin stainless steel shim between the skin and spar to protect the skin when trimming the spar. I decided to drill out a couple of additional rivets.
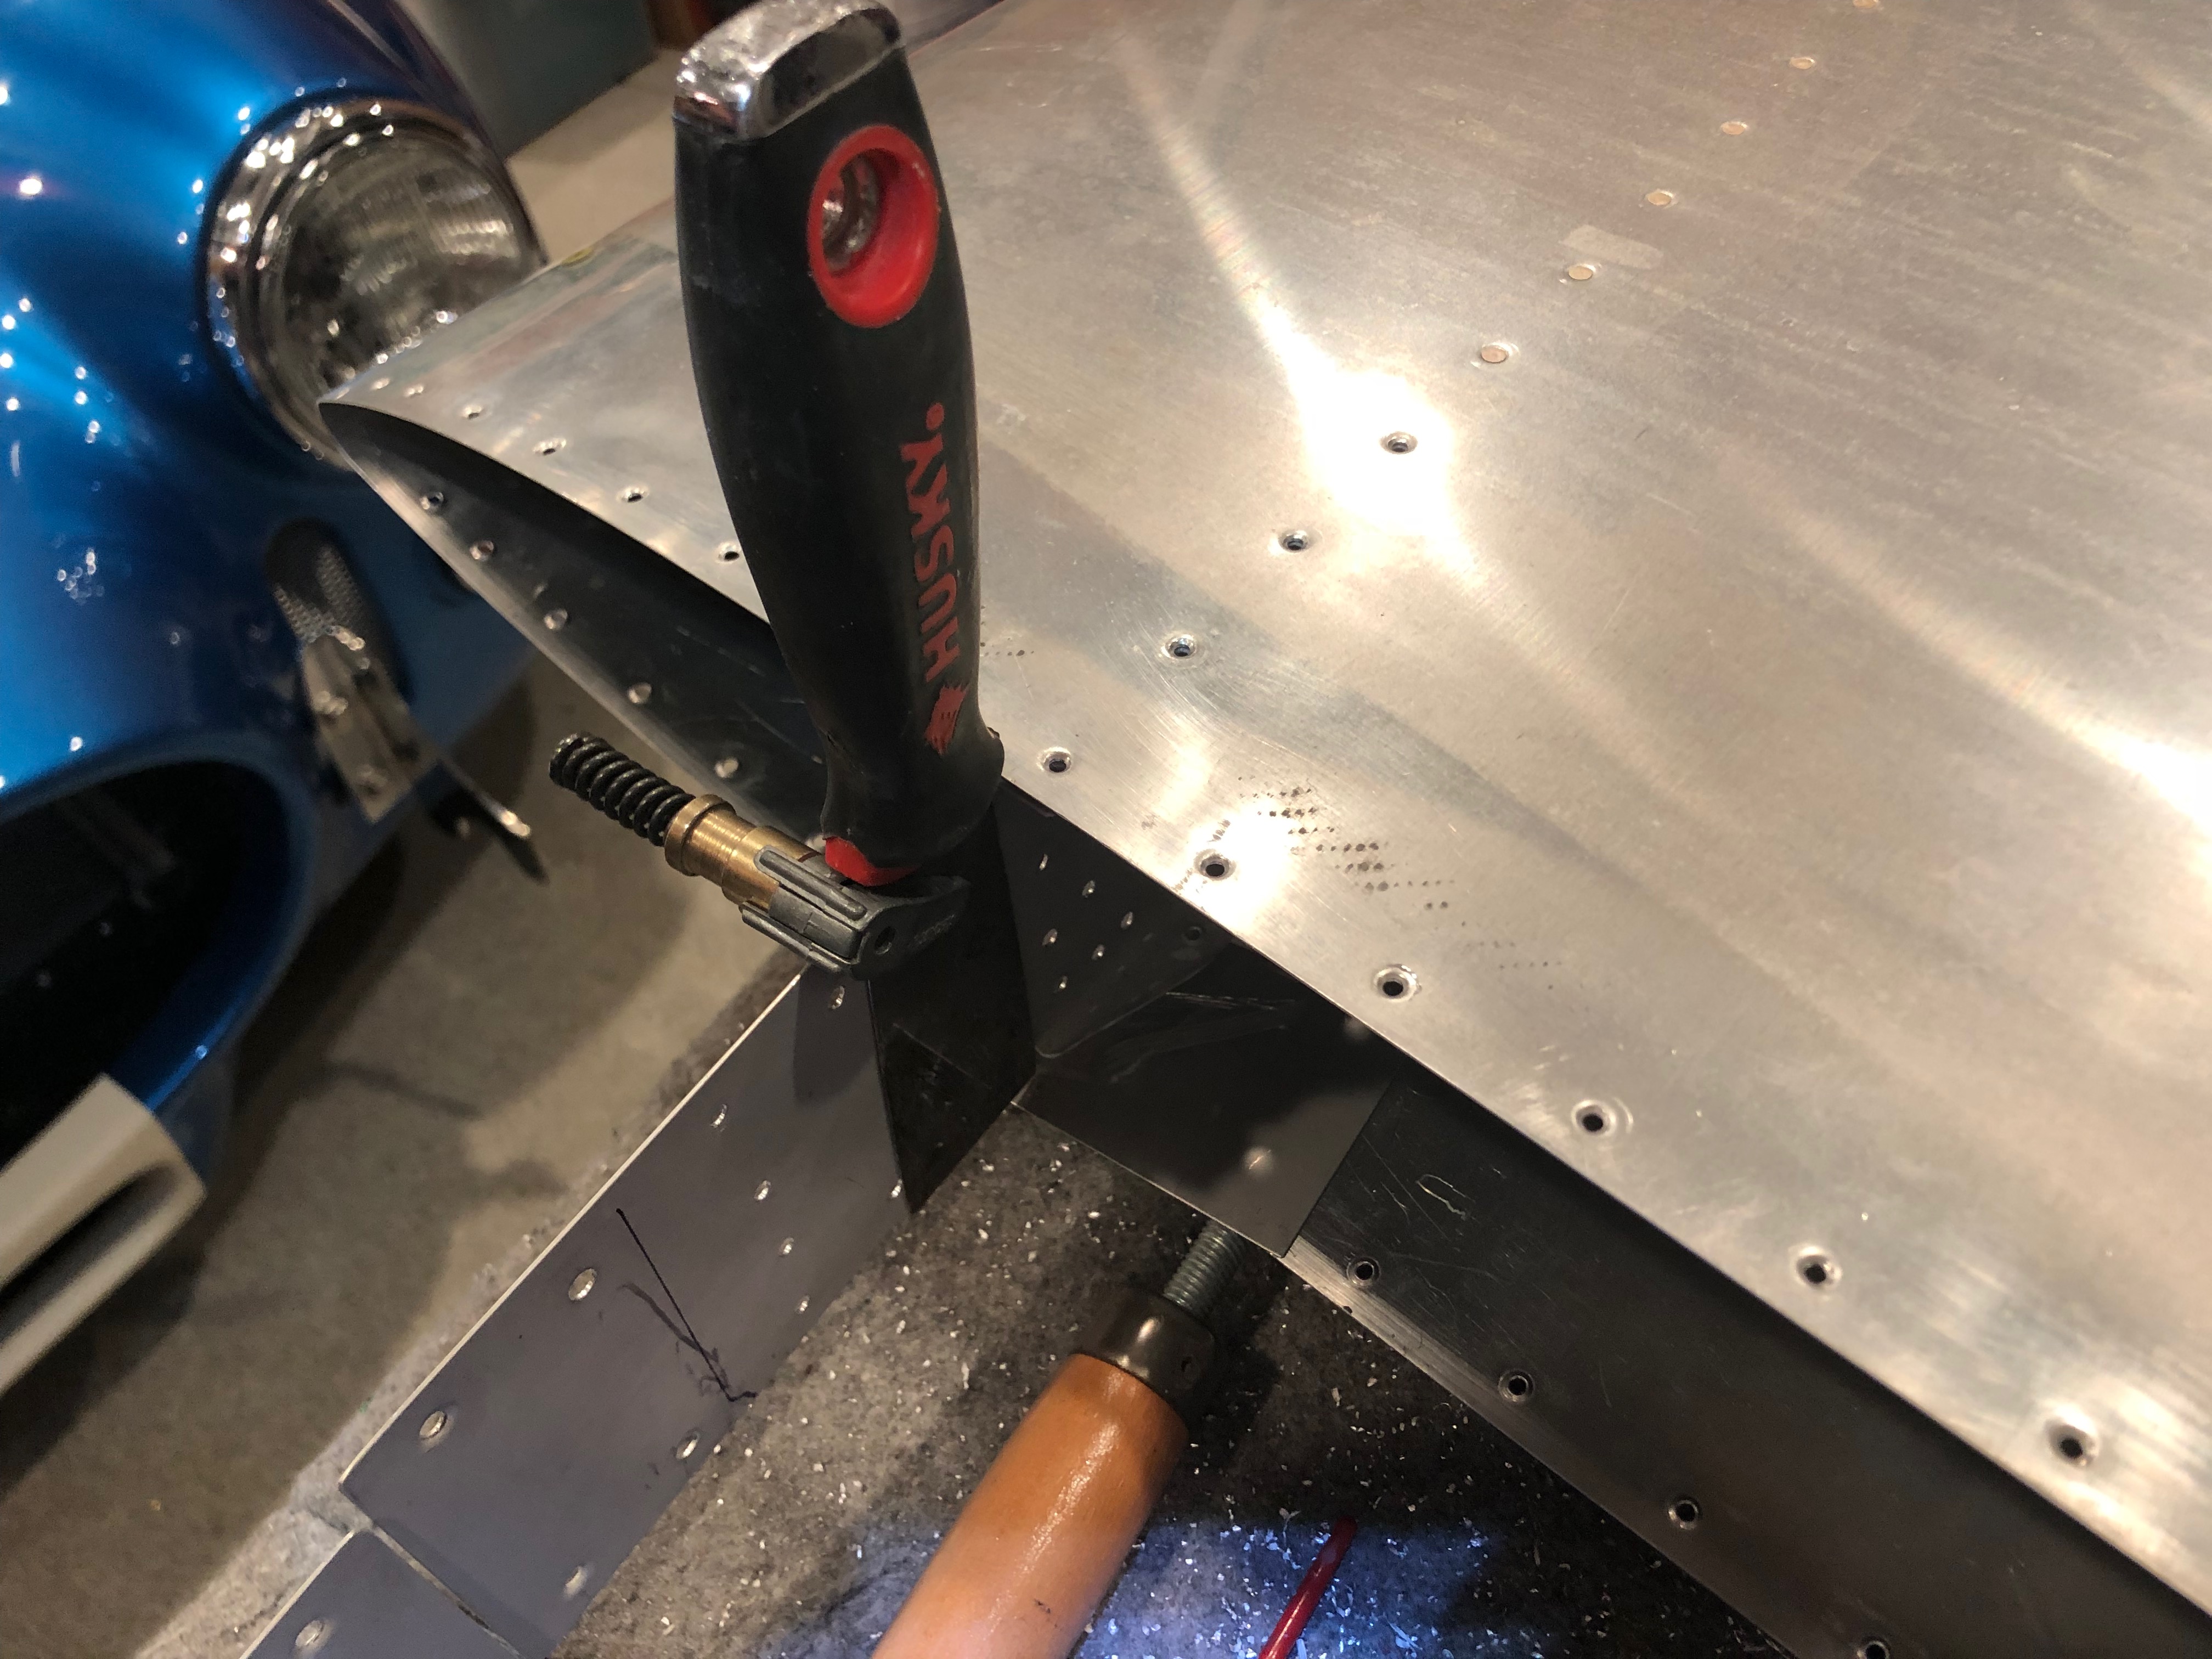
This allowed me to wedge in a thin (1/4″) wood piece to space the spar away from the skin. Not only does that help protect the skin, it makes it far easier to smooth out the cut after trimming the spar.
I also cleco-clamped a putty knife to the spar web at the bend to protect the spar from the Dremel wheel. I’m really glad I did this as I bumped it several times during the cut and I know I would have damaged the spar.
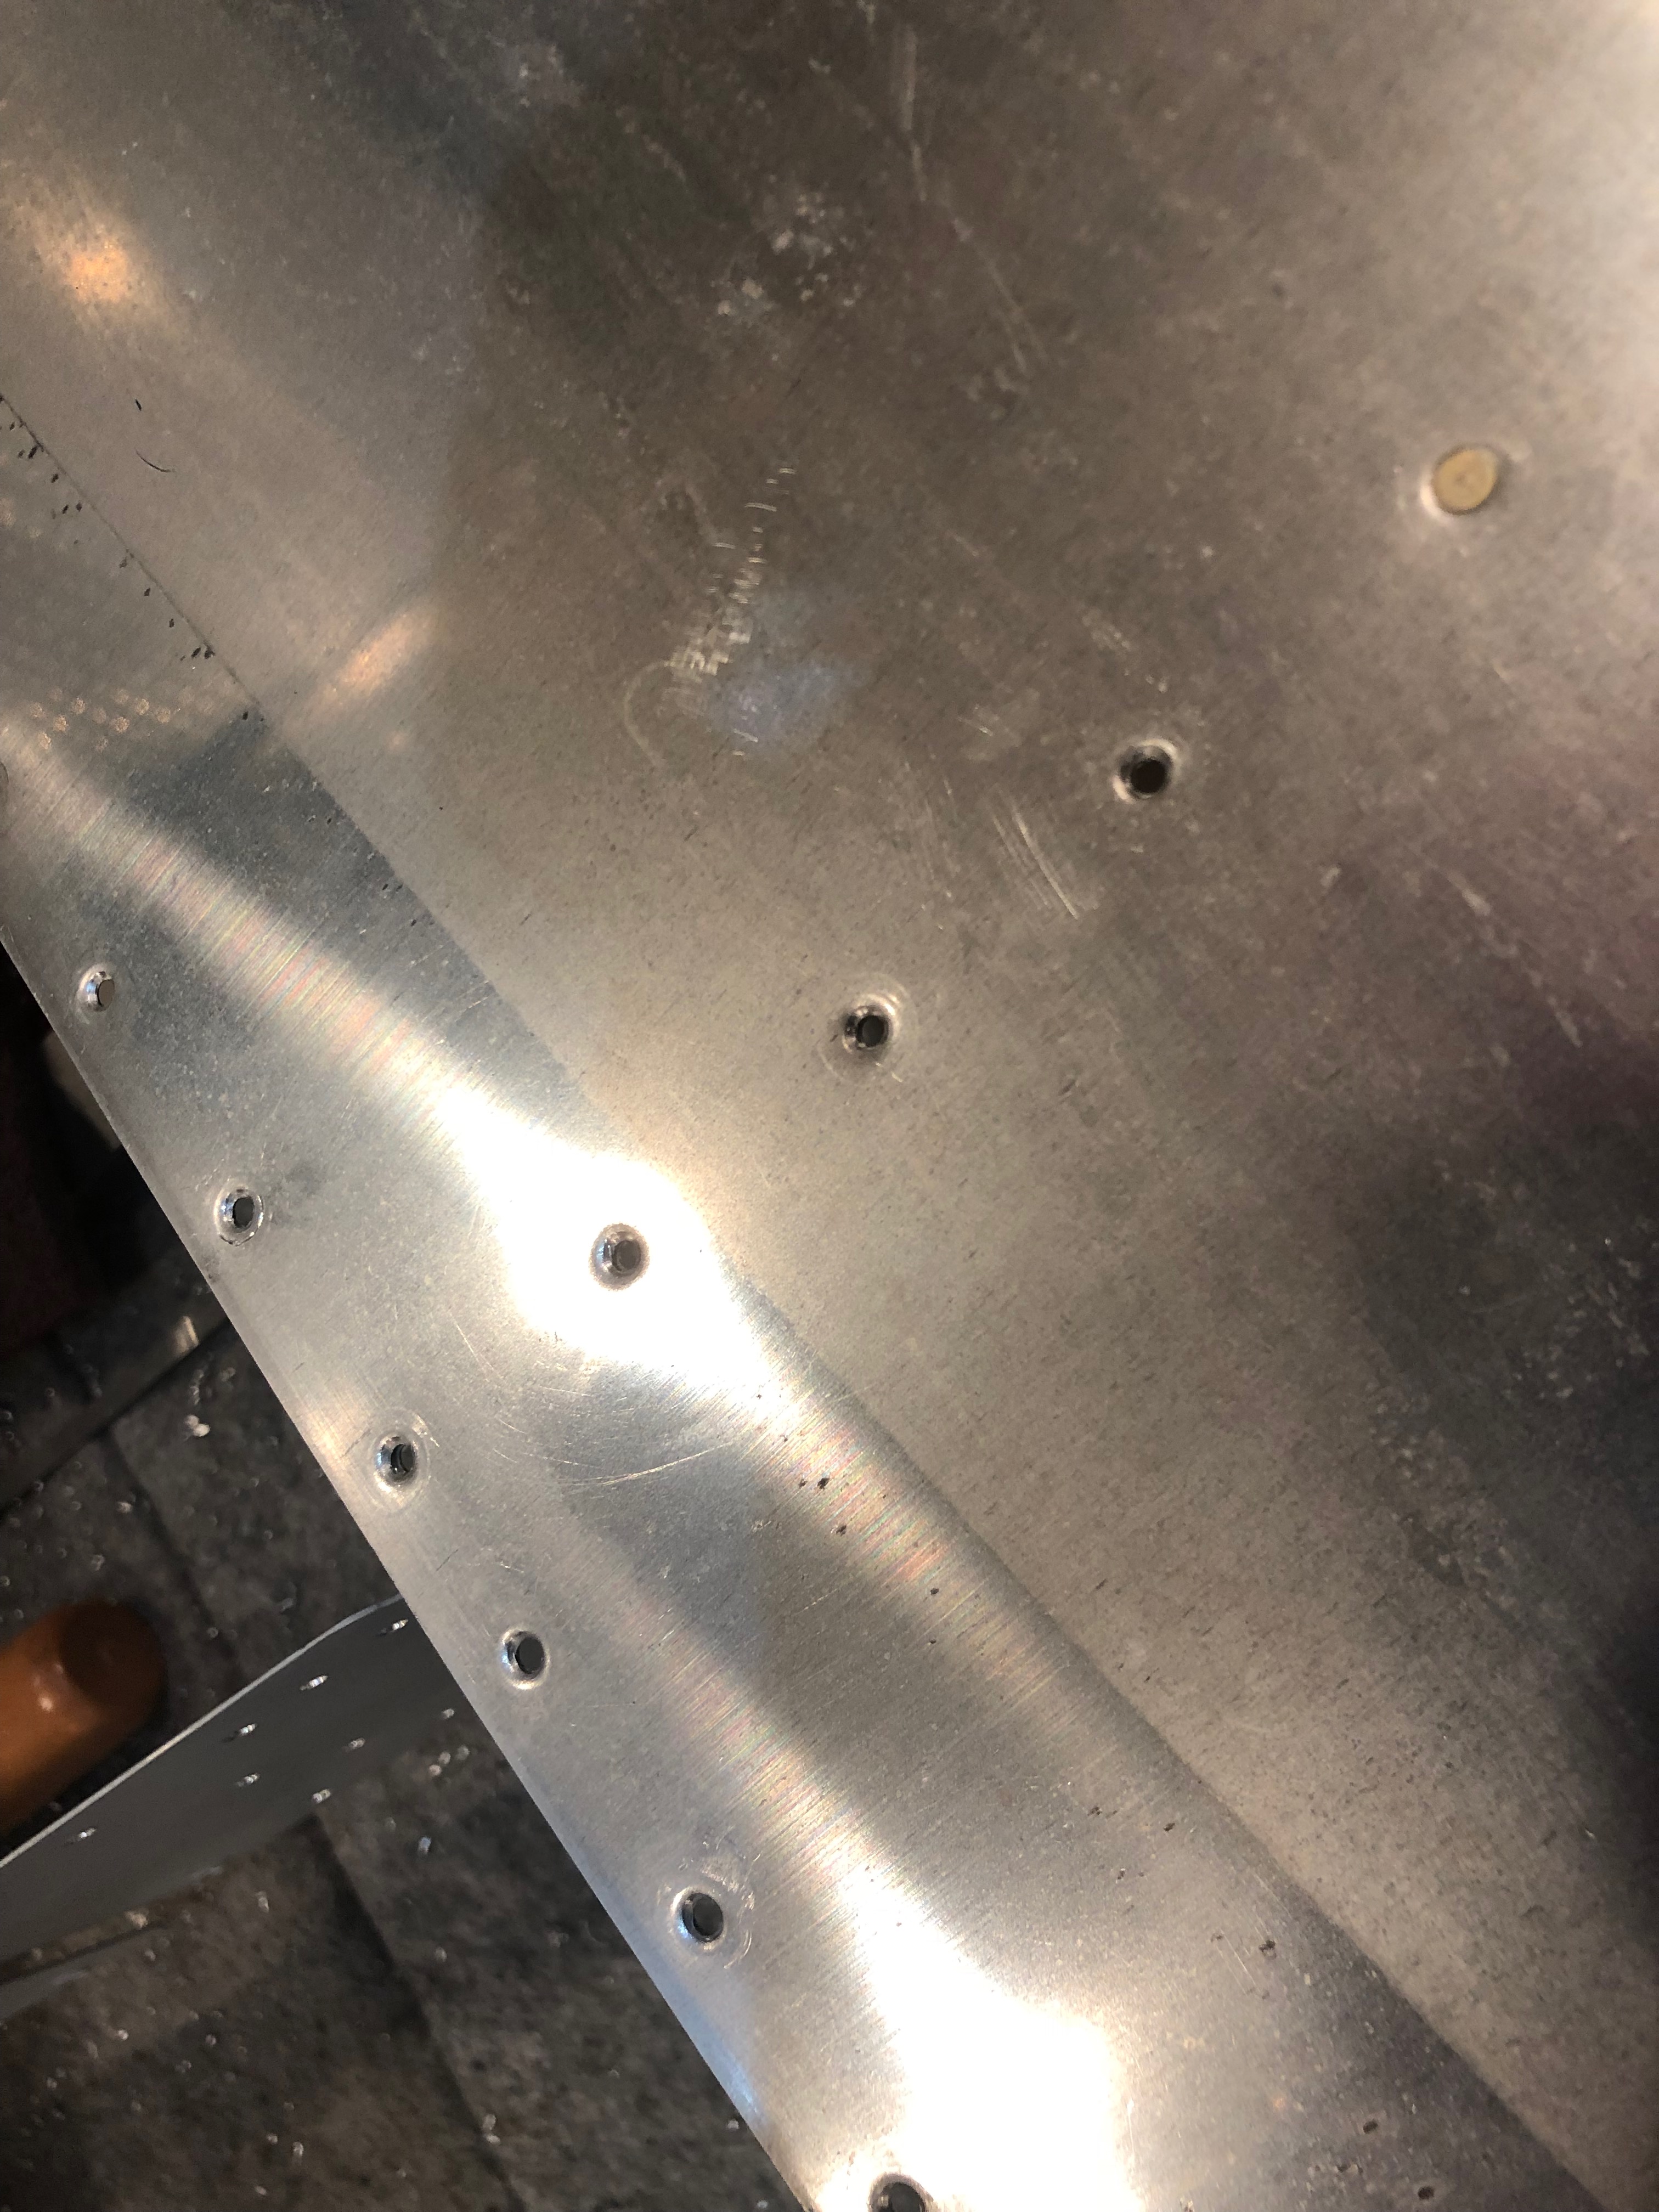
There were a handful of holes that were unfortunately elongated slightly. I decided to step these up to -5 rivets and drilled the holes out with a #20 bit. It was a slightly different set between the left and right side, so I decided to drill out some additional holes so that the -5 rivets were symmetric between each side. Fortunately, all holes turned out nice and round after doing so. I thought I might need to install cherrymax rivets in these holes, so I calculated the grip length for each hole based on the material stackup. I ended up shooting a bucking solid AN470 rivets in every holes.

After carefully finding the end of the crack, I stop drilled it with a #40 bit and deburred it.
I didn’t get a picture, but I elongated the hole toward the crack slightly and then smoothed everything out.

Greg dropped by a couple more times to help me rivet the structure and reassemble it. The plane was down for about a week, but I’m glad to have this behind me and know that it’s far more robust than it was before.