I finished taping up the inside of the cowling halves in preparation for priming.
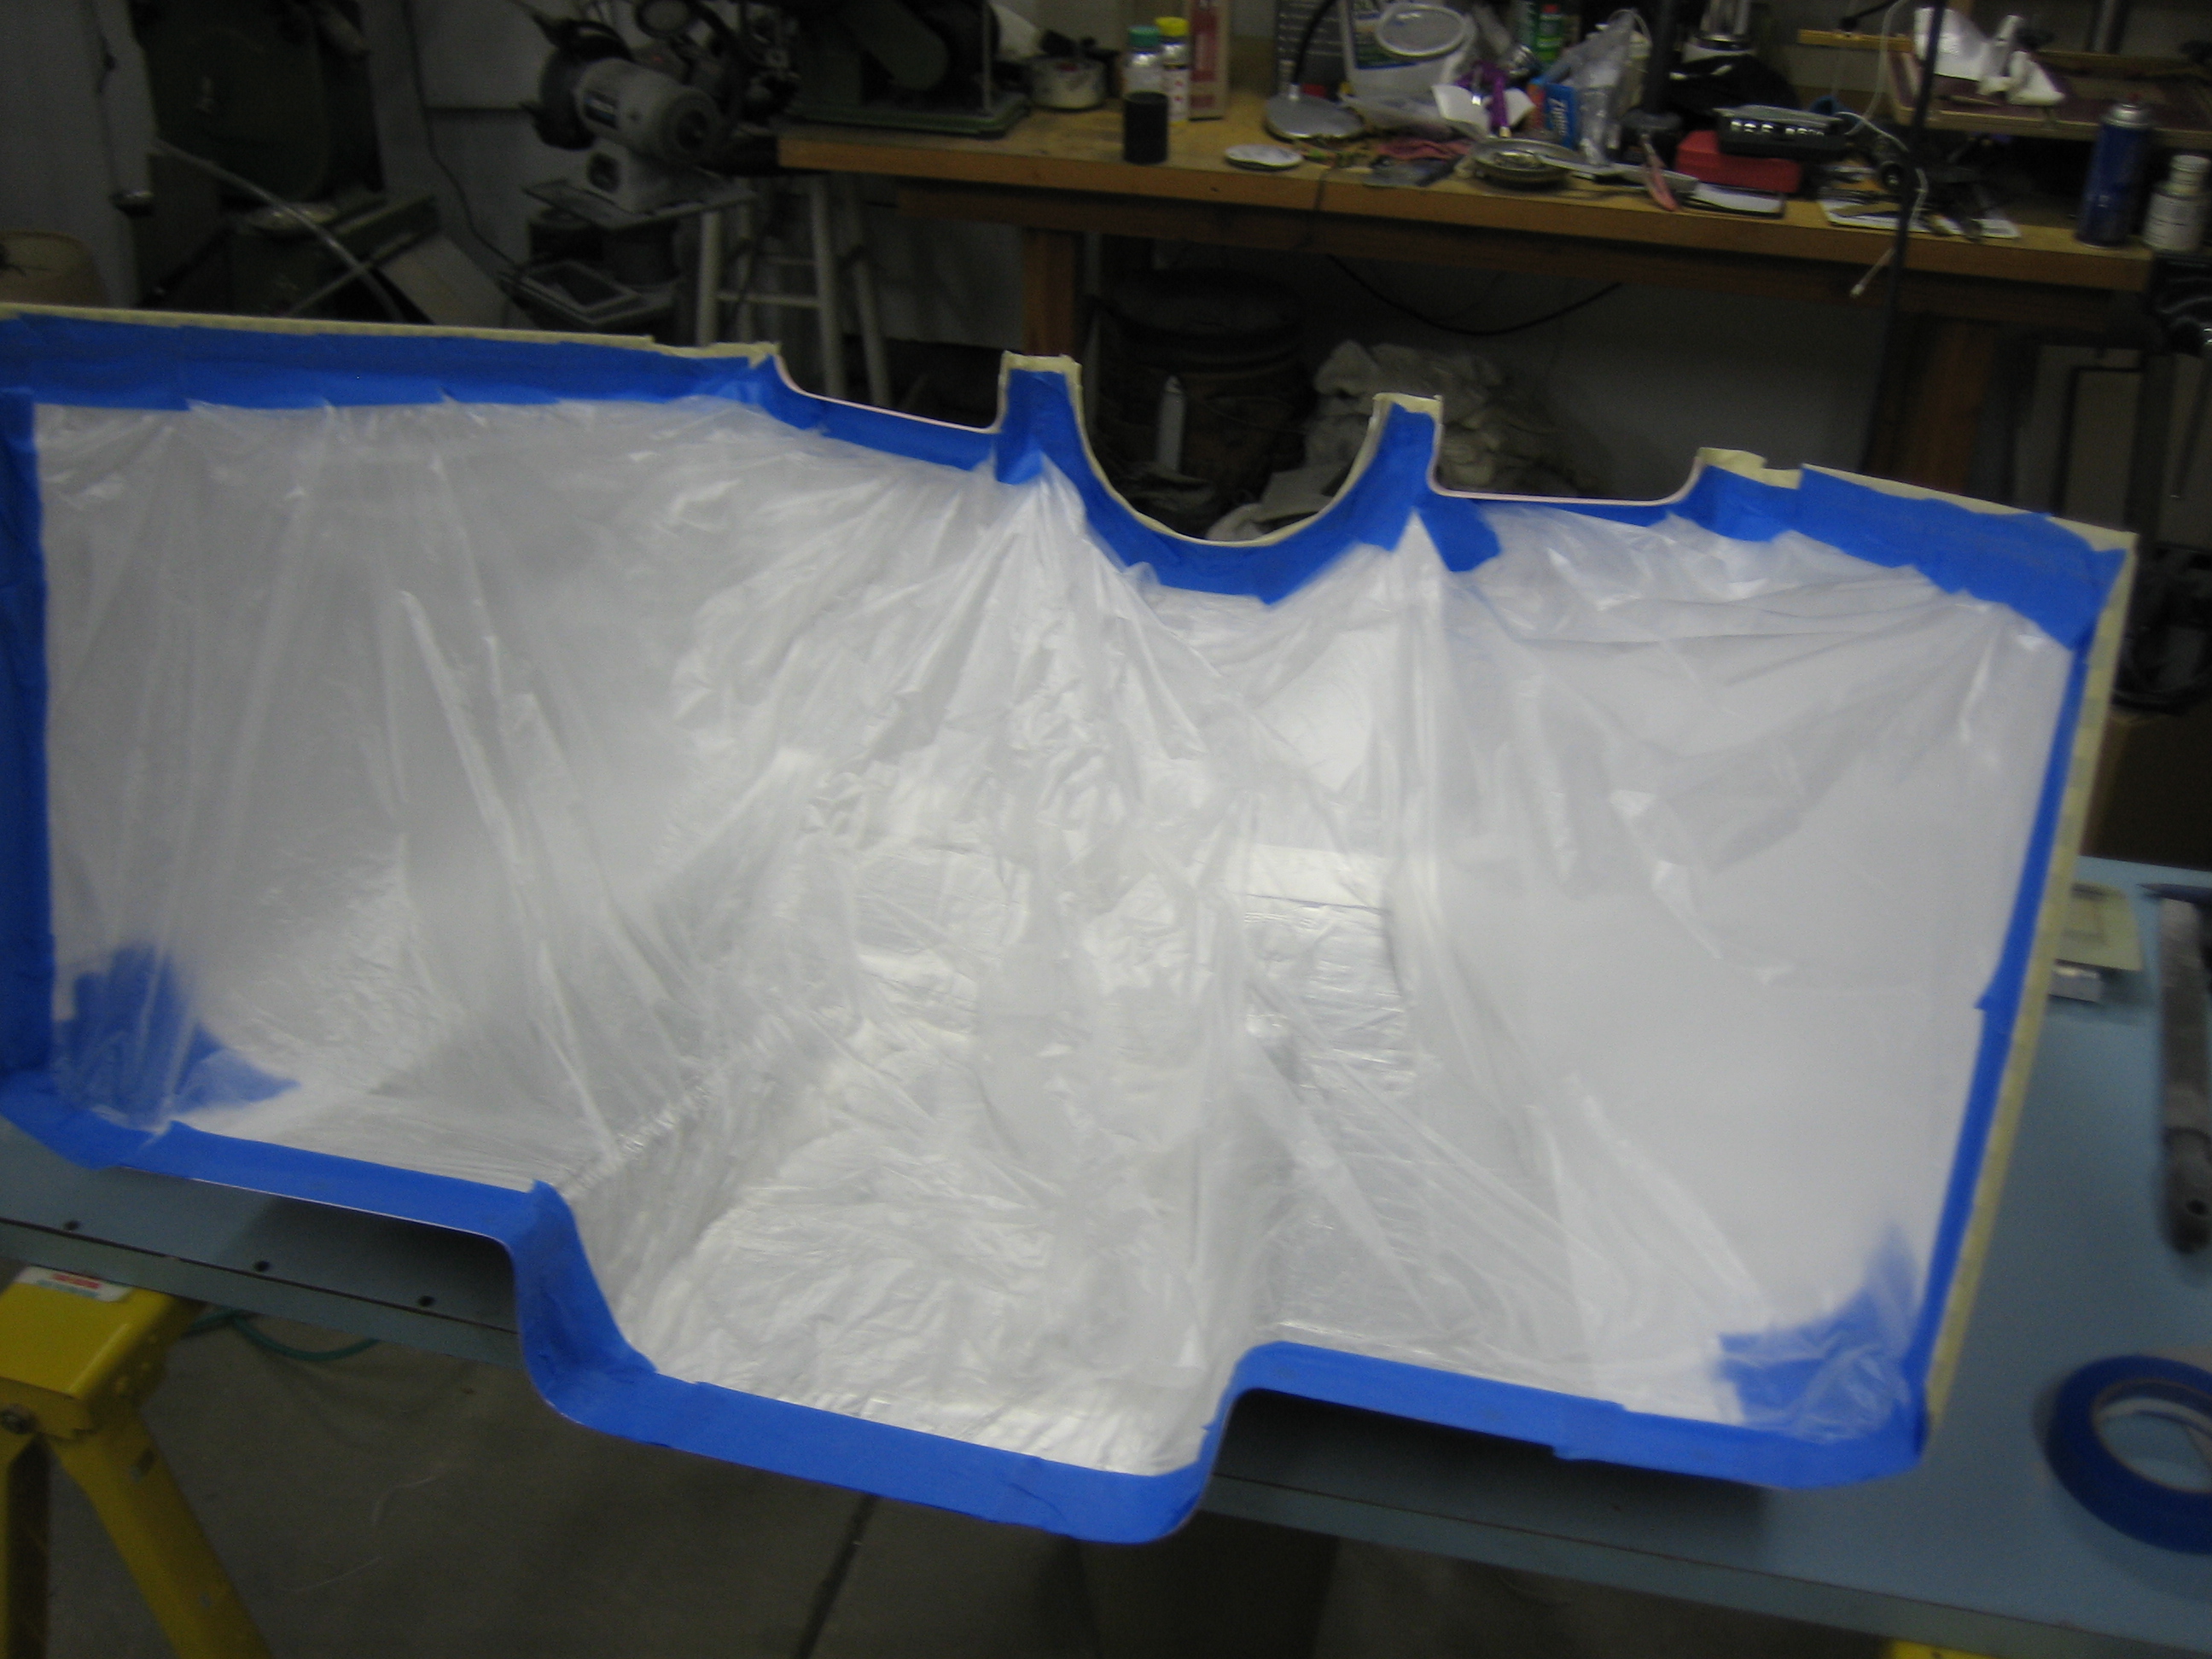
Before priming the oil door, I needed to add a little filler to the rivets since they weren’t flush with the surface.


I finished taping up the inside of the cowling halves in preparation for priming.
Before priming the oil door, I needed to add a little filler to the rivets since they weren’t flush with the surface.
I met with the DAR this morning. After he inspected the plane, we went over the paperwork I submitted and then reviewed my operating limitations. Finally, he issued my airworthiness certificate, so the plane is officially airworthy. We spent a little time afterward discussing my preparations for flight testing and covering the test plan for my initial flight.

My airframe logbook also gets an entry stating the plane is airworthy.

With the final inspection done, I started buttoning up the plane to get it ready for flight. First up, I installed the wing inspection panels (all but one which I’ll discuss below).
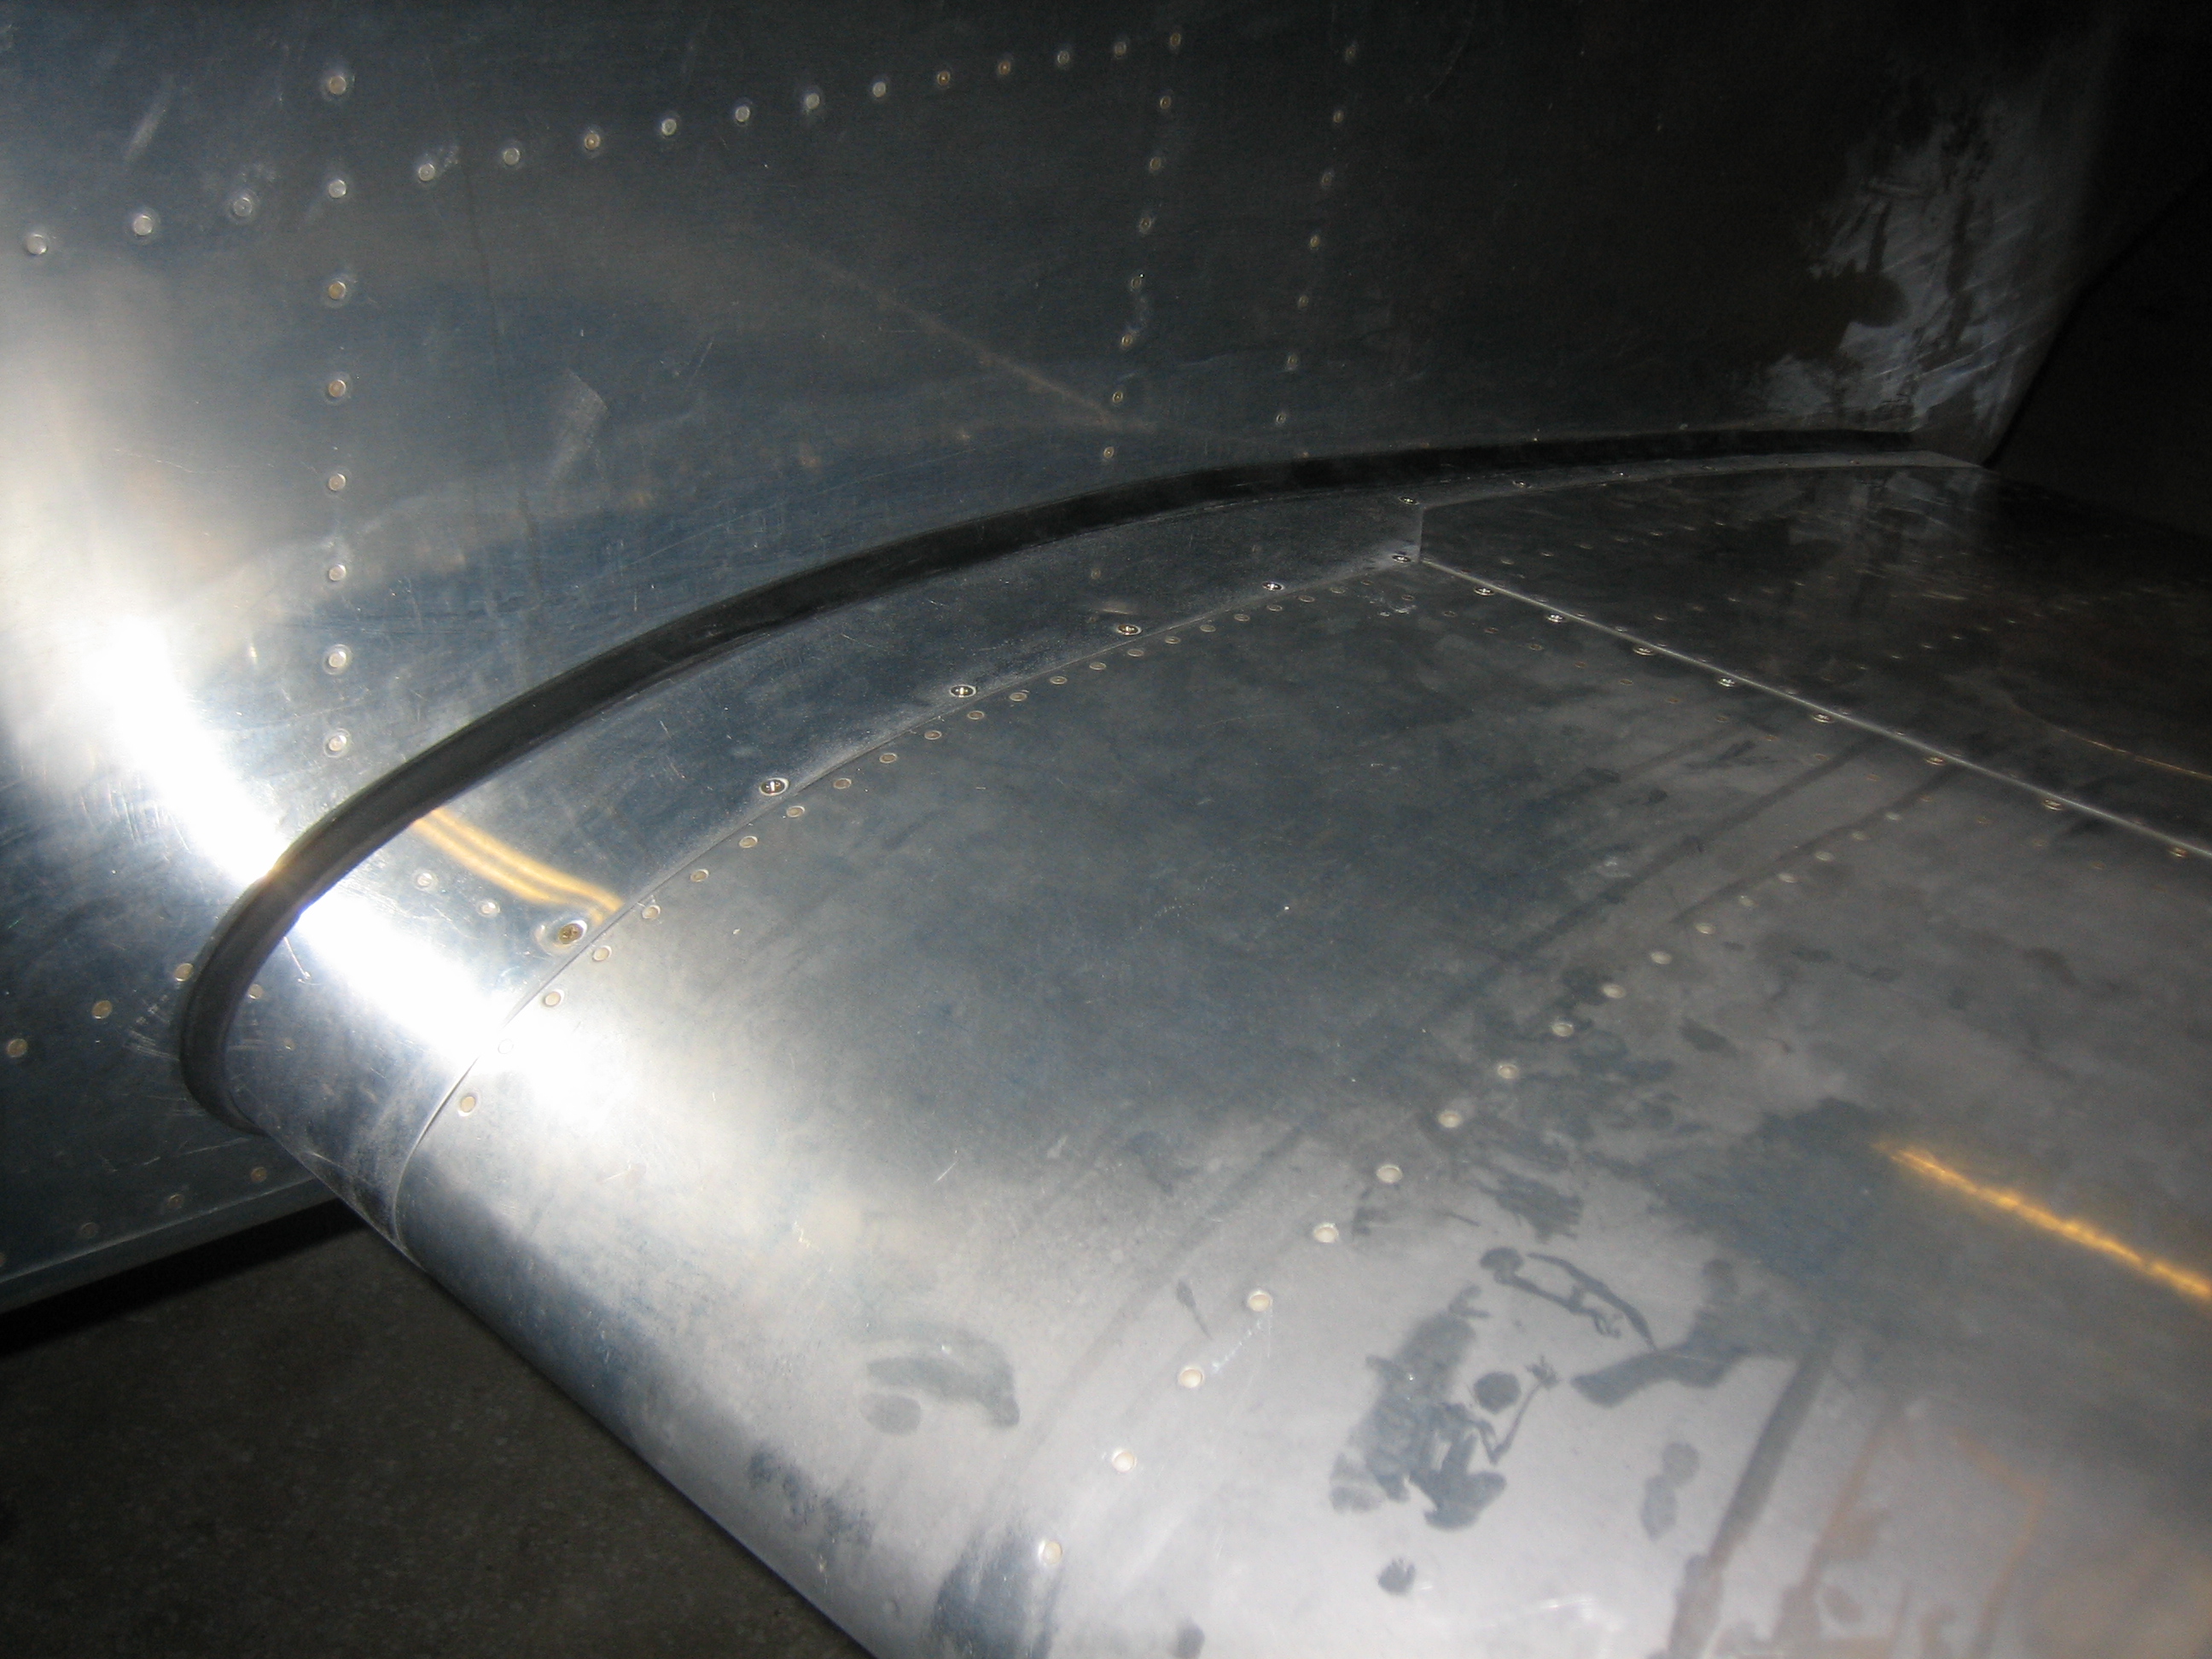
I then moved on and installed the wing root fairings. The adhesive I applied the other day seems to have worked out well.
Before installing the last wing inspection panel, I needed to install the aileron servo stop. I couldn’t get the bracket in place without enlarging the center slot a bit. After ensuring it would fit, I shot a fresh coat of paint on to keep this from rusting.

Finally, I installed it on the servo. Slipping it behind the arm and under the safety wire is a little tricky and it will only go one way. I installed an AN960-10 washer between the bracket and the servo under each mounting screw to space the bracket away from the servo by the thickness of the servo mounting bracket.
Update: I subsequently caught that the safety wire on the lower bracket bolt was reversed. This is another issue that I’m surprised wasn’t caught at the builder inspection party. There wasn’t much room to work in there, but I managed to get the wire reversed.

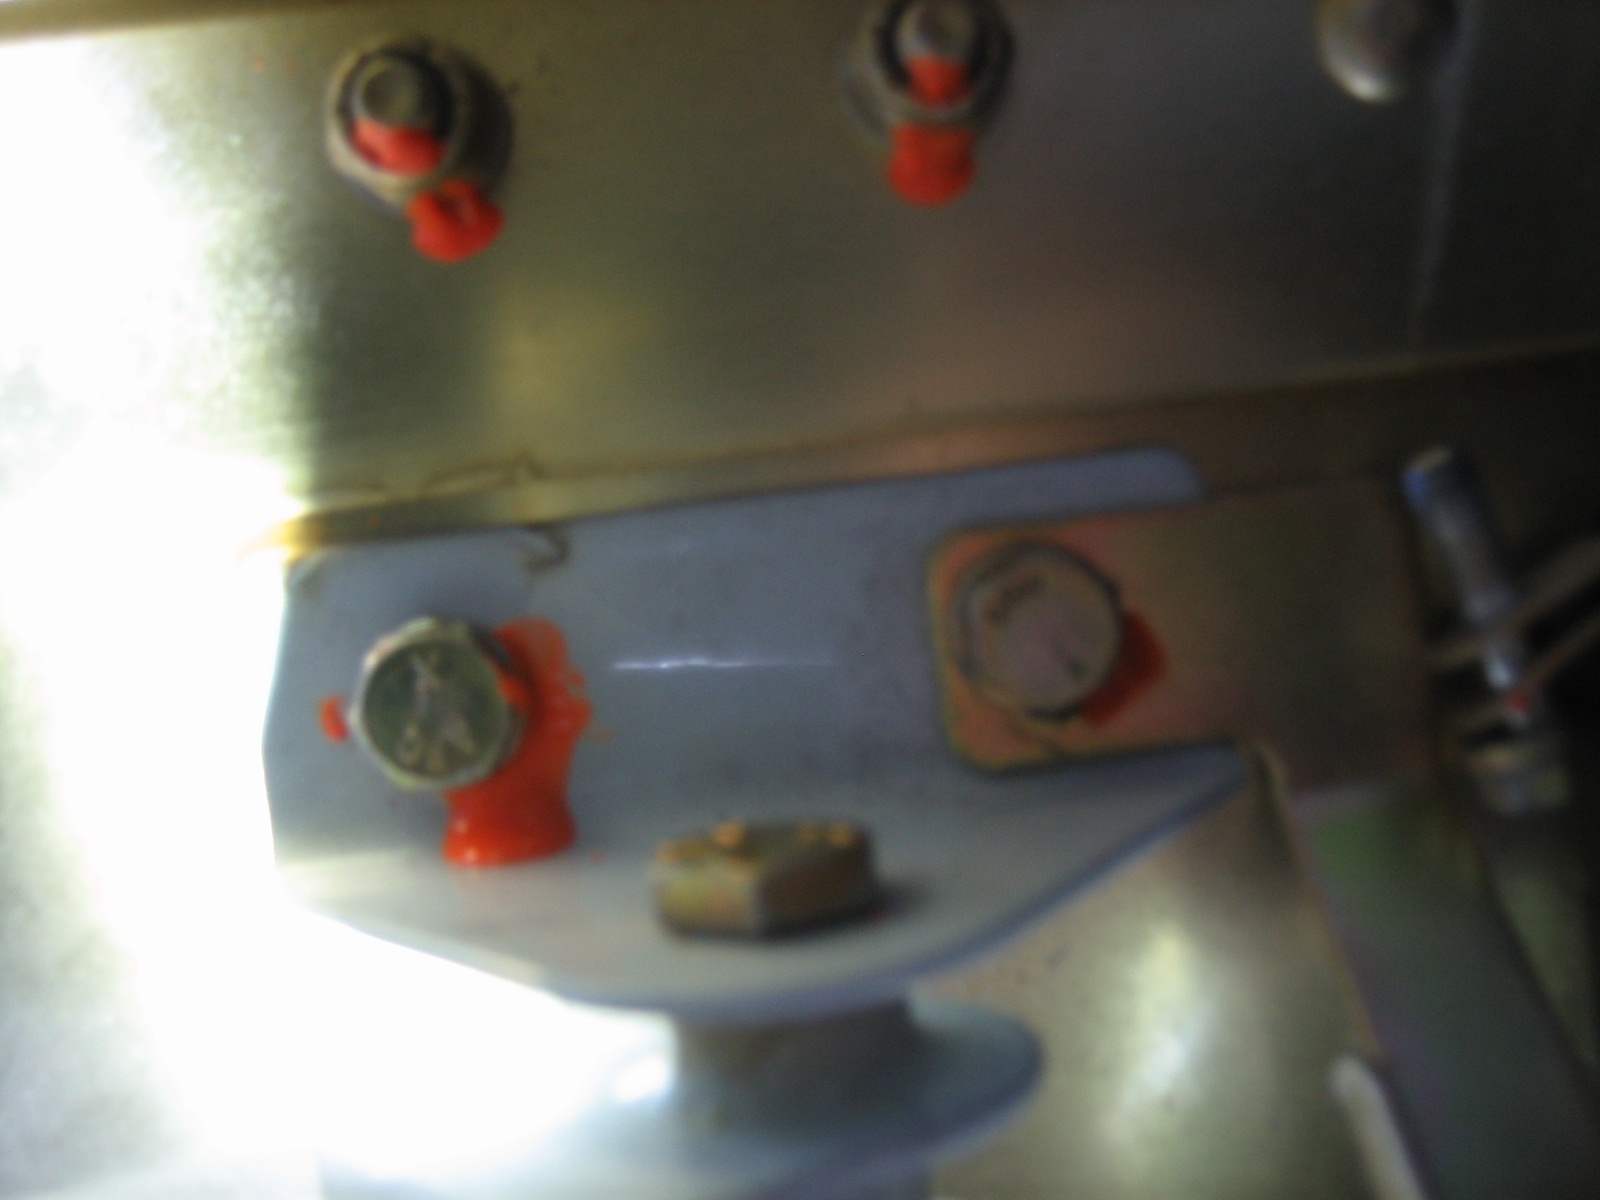
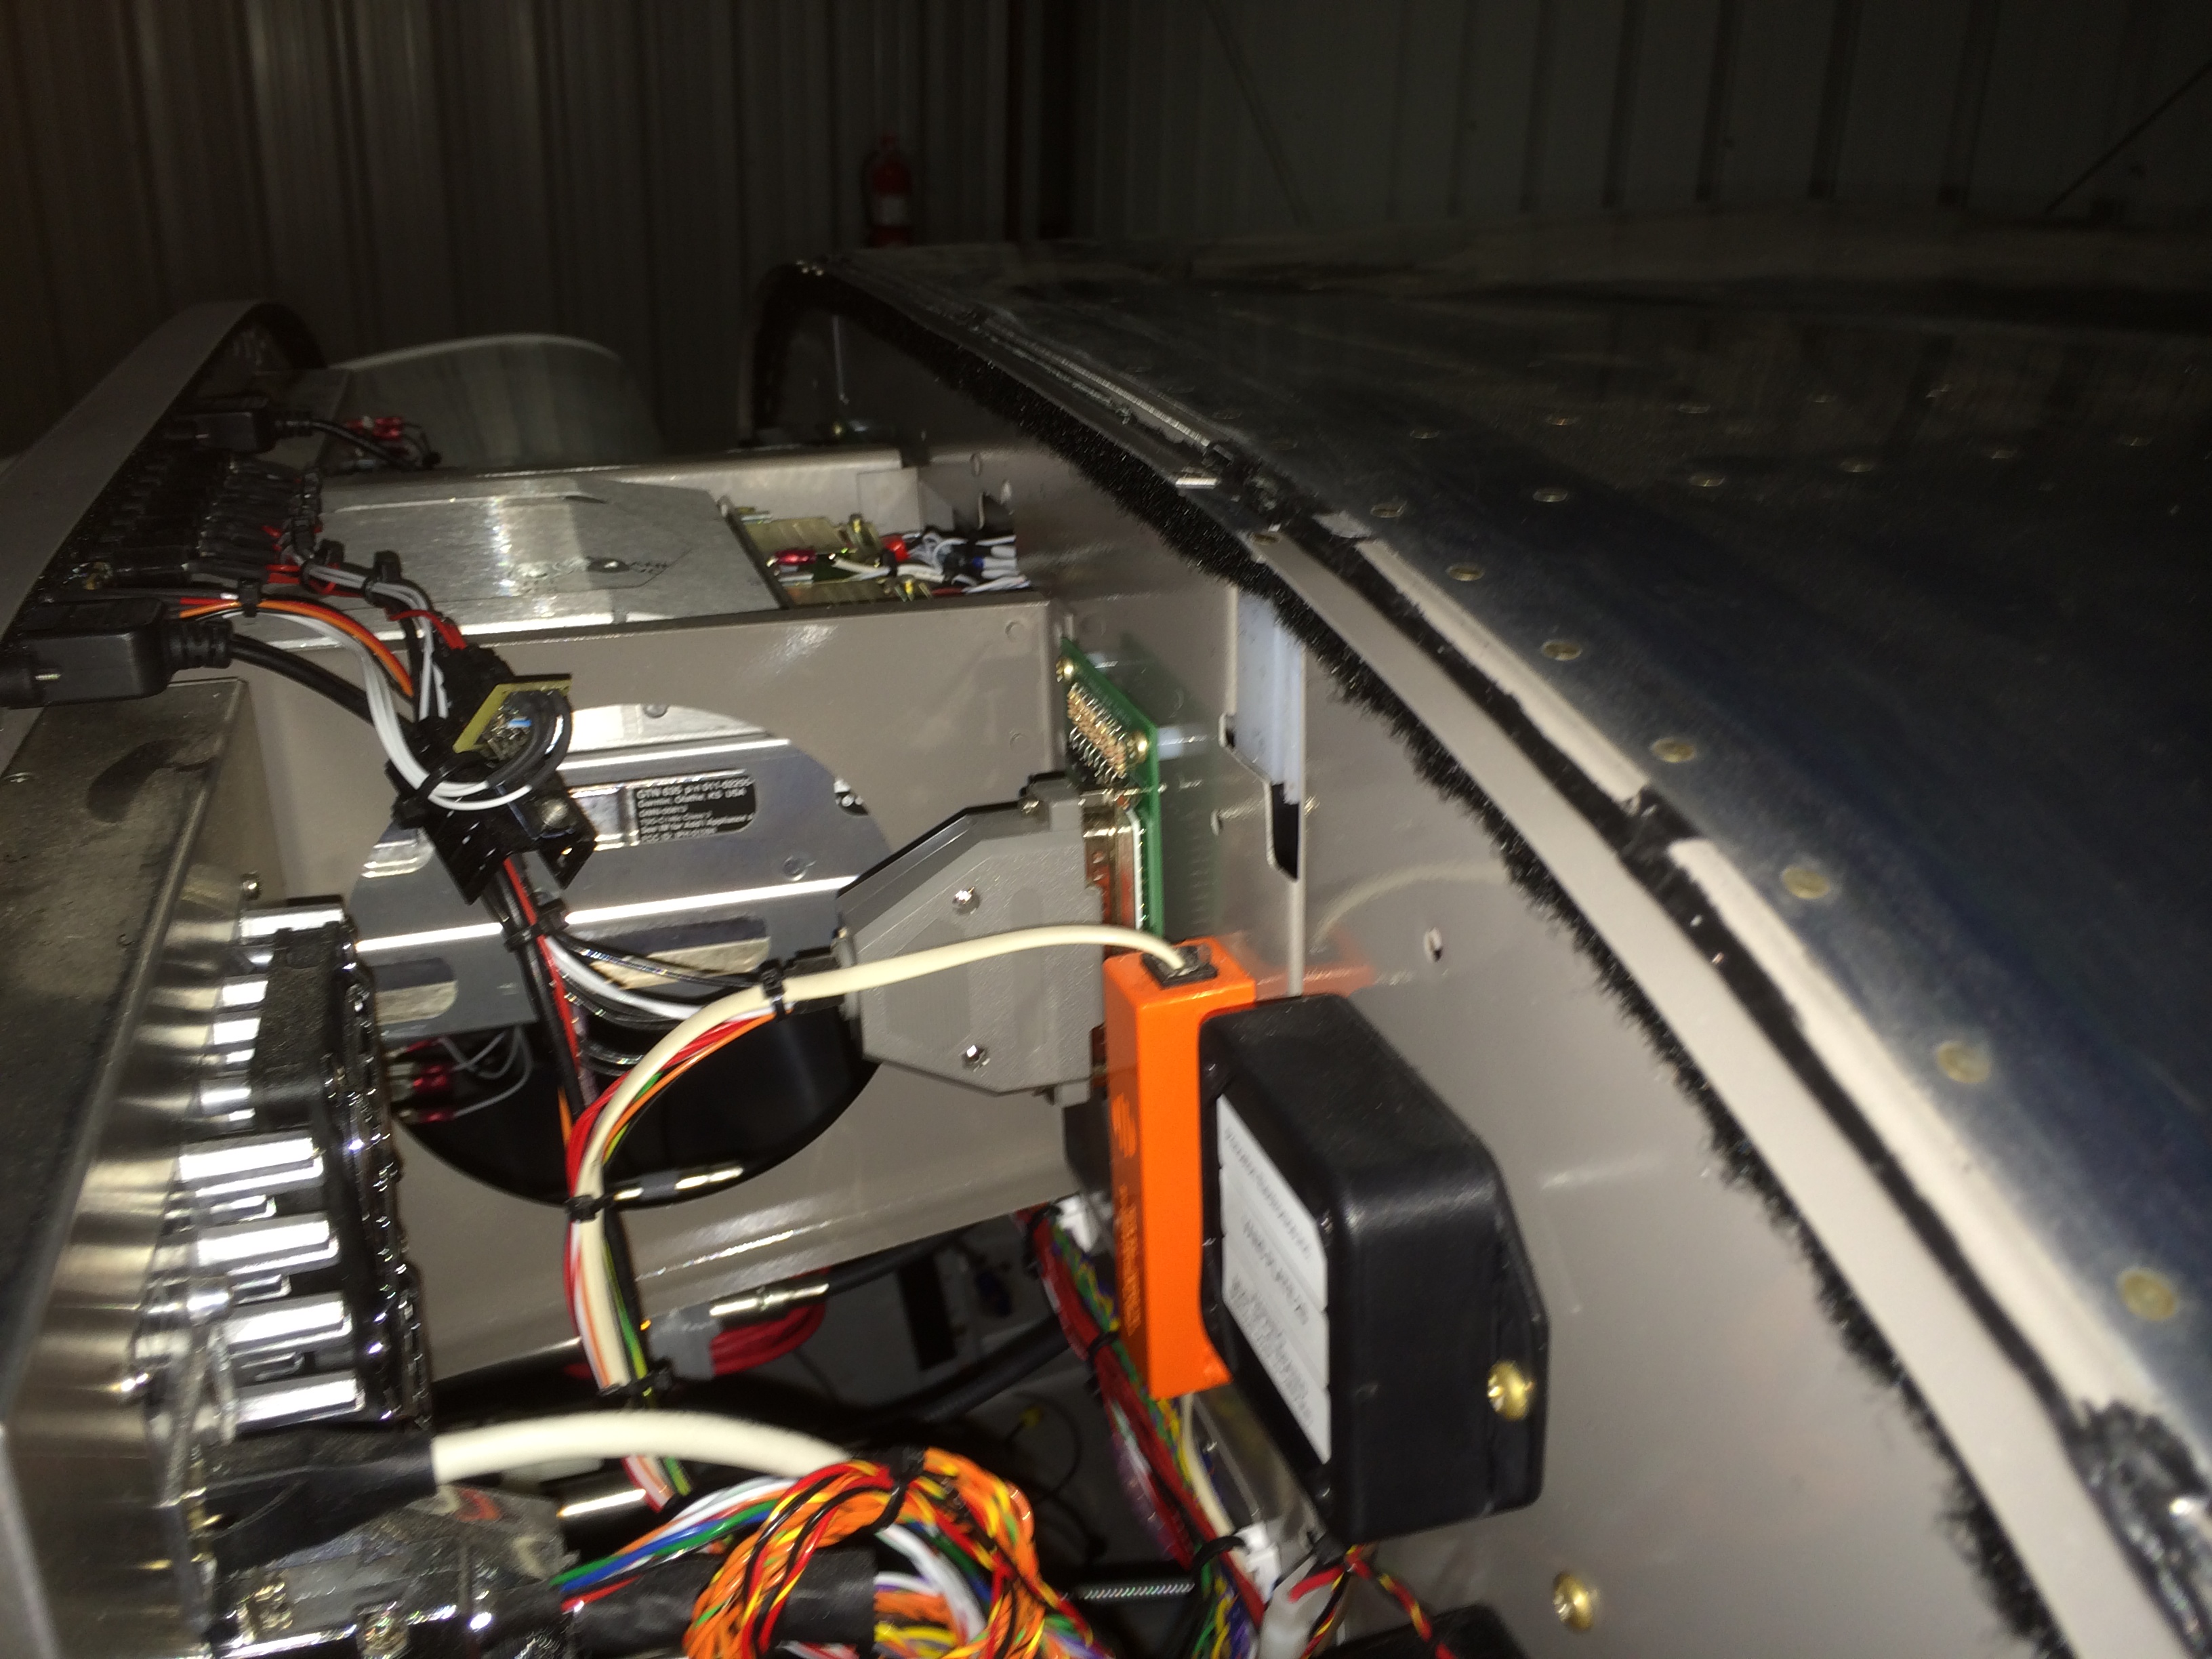
While doing a thorough pre-flight before buttoning up each panel, I found this missing bolt (you can see the bolt over on the right). I had removed this a long time ago because I was using it to hold an adel clamp for the servo wires. When I rerouted the wires, it never occurred to me to check this. I’m really surprised that this wasn’t found during my builder inspection party. There were a couple of guys that were doing a pretty thorough inspection with mirrors and flashlights. Regardless, I had always planned on doing a complete control integrity check from end to end, so I wouldn’t have made it to first flight without catching this.
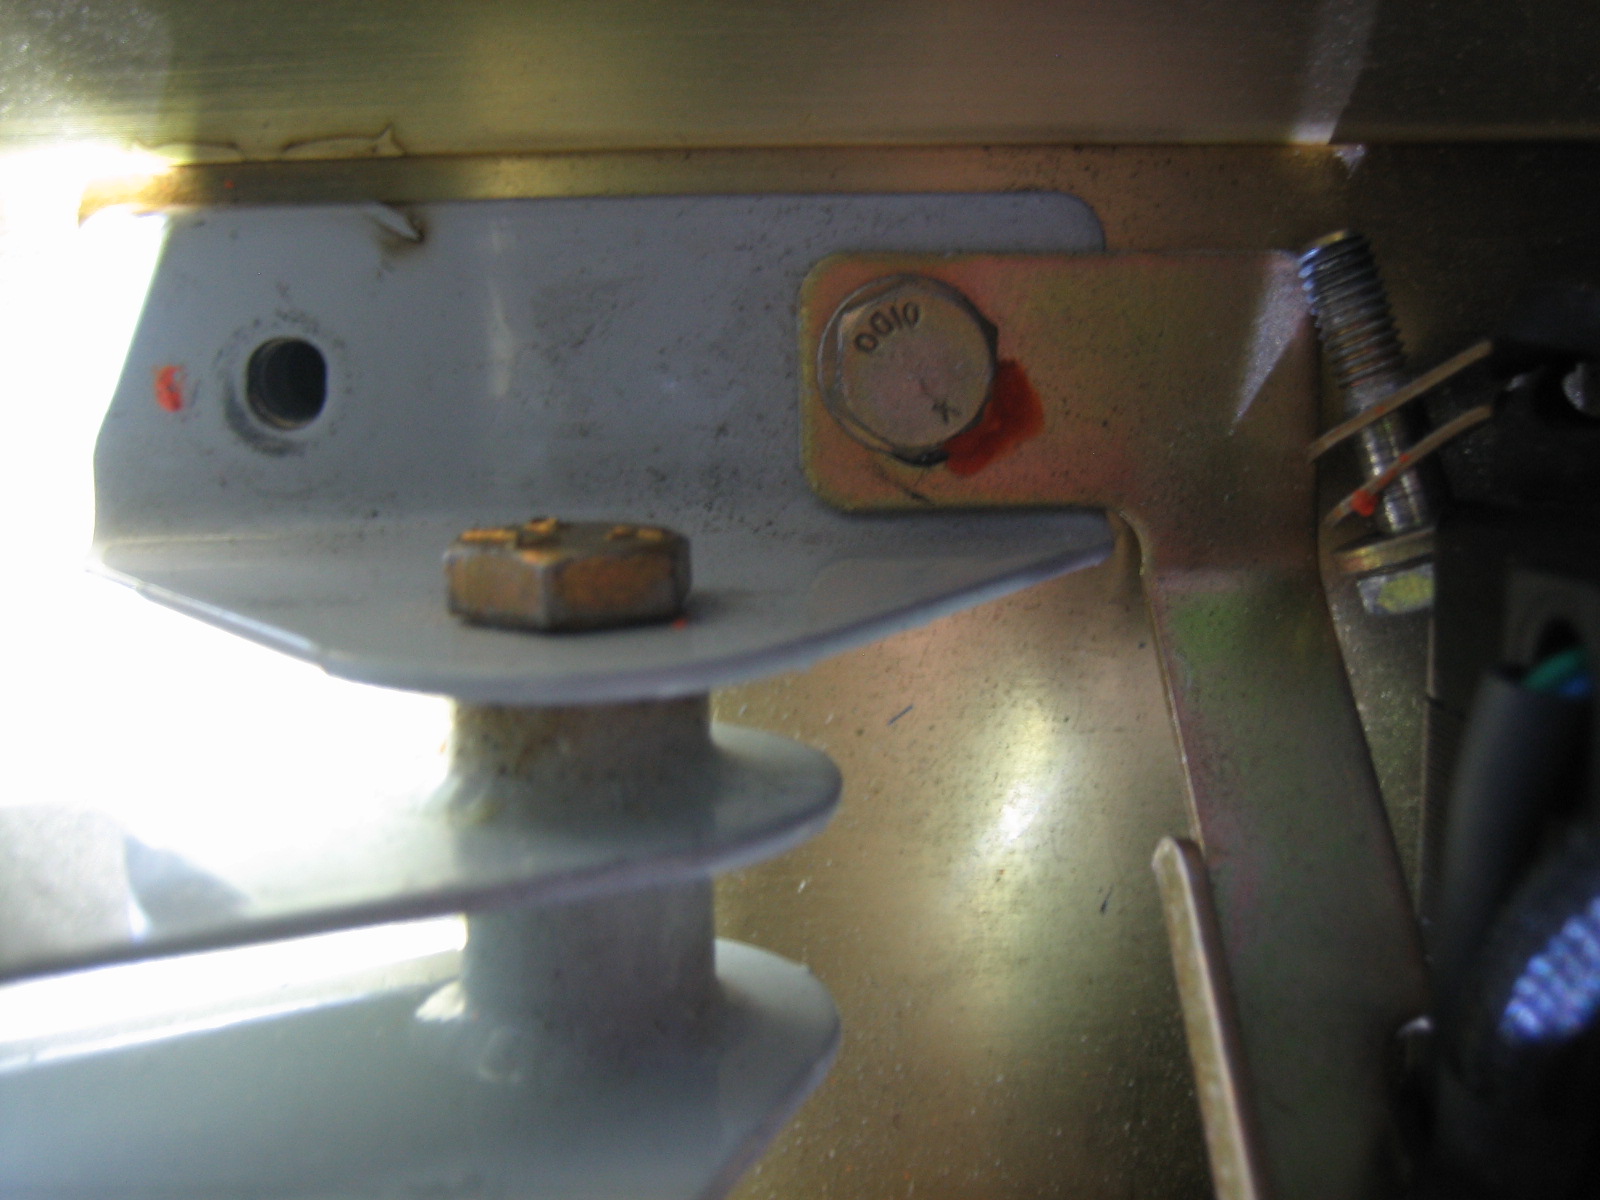
I installed a new bolt (and way too much torque seal because I couldn’t see it well).
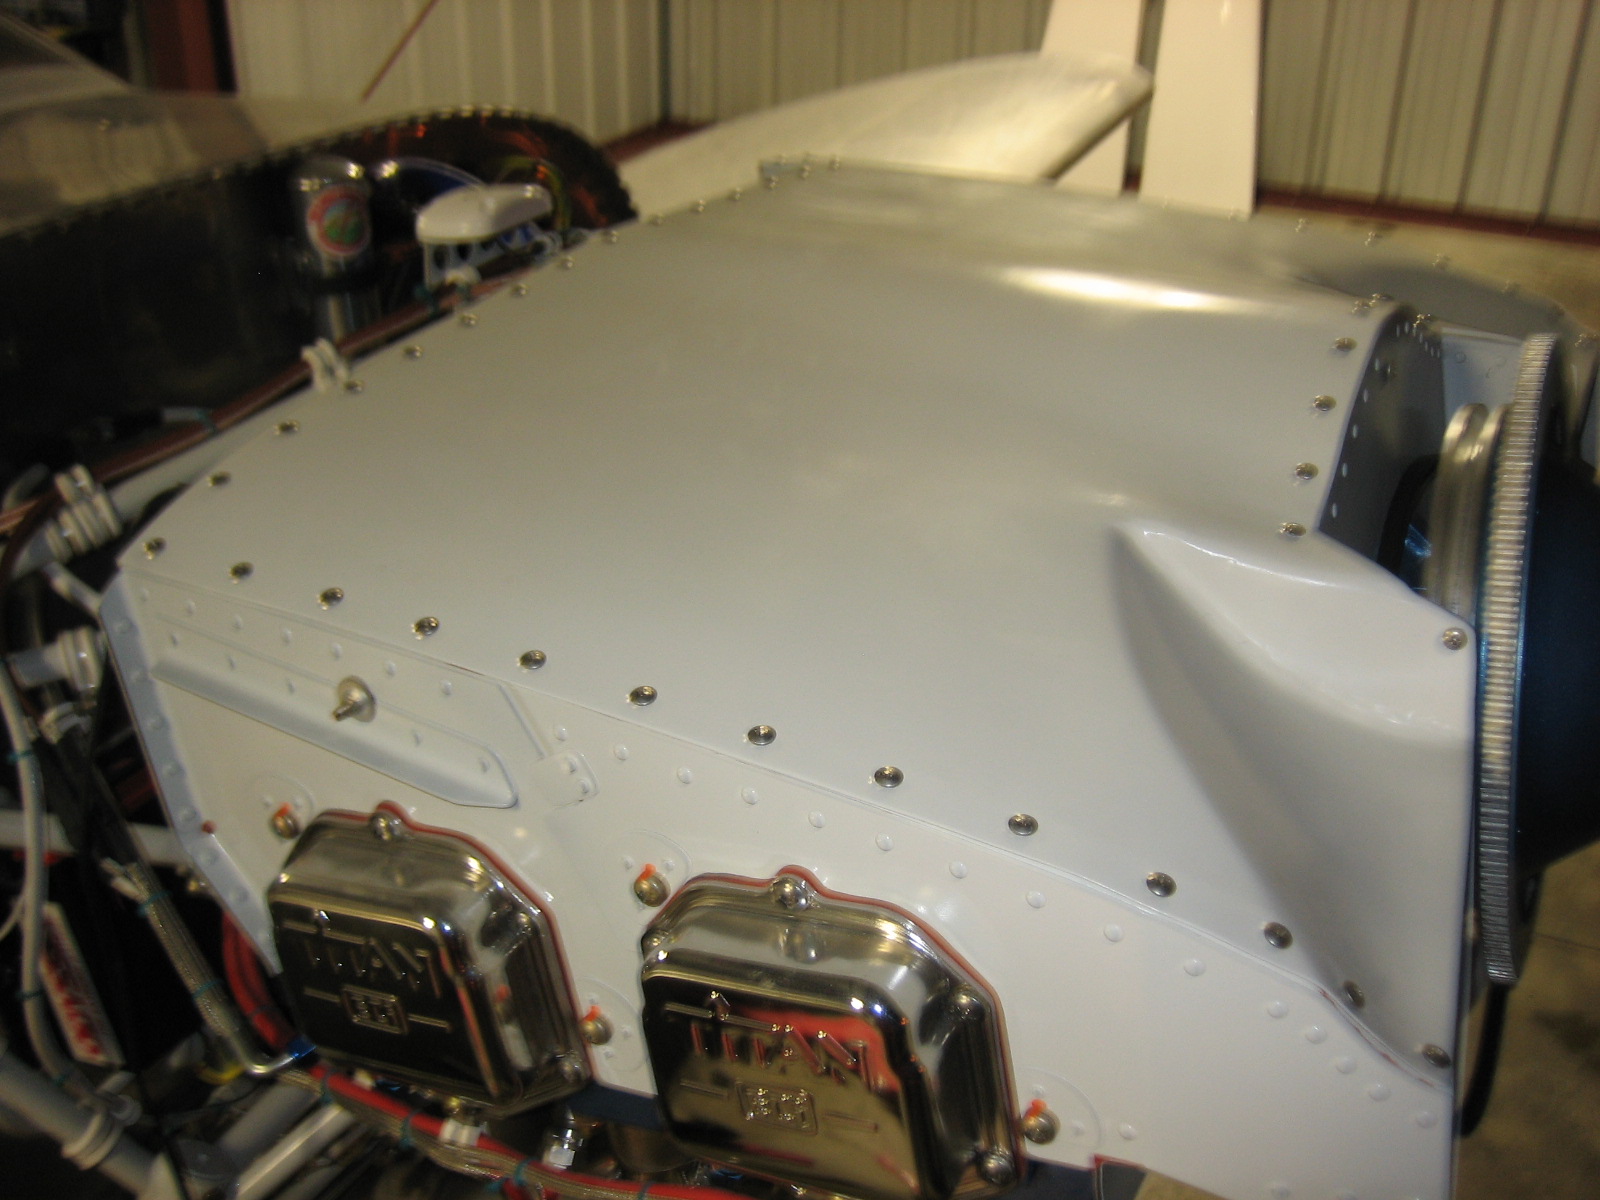
With nothing left to do on top of the engine, I installed the plenum for the last time before first flight.
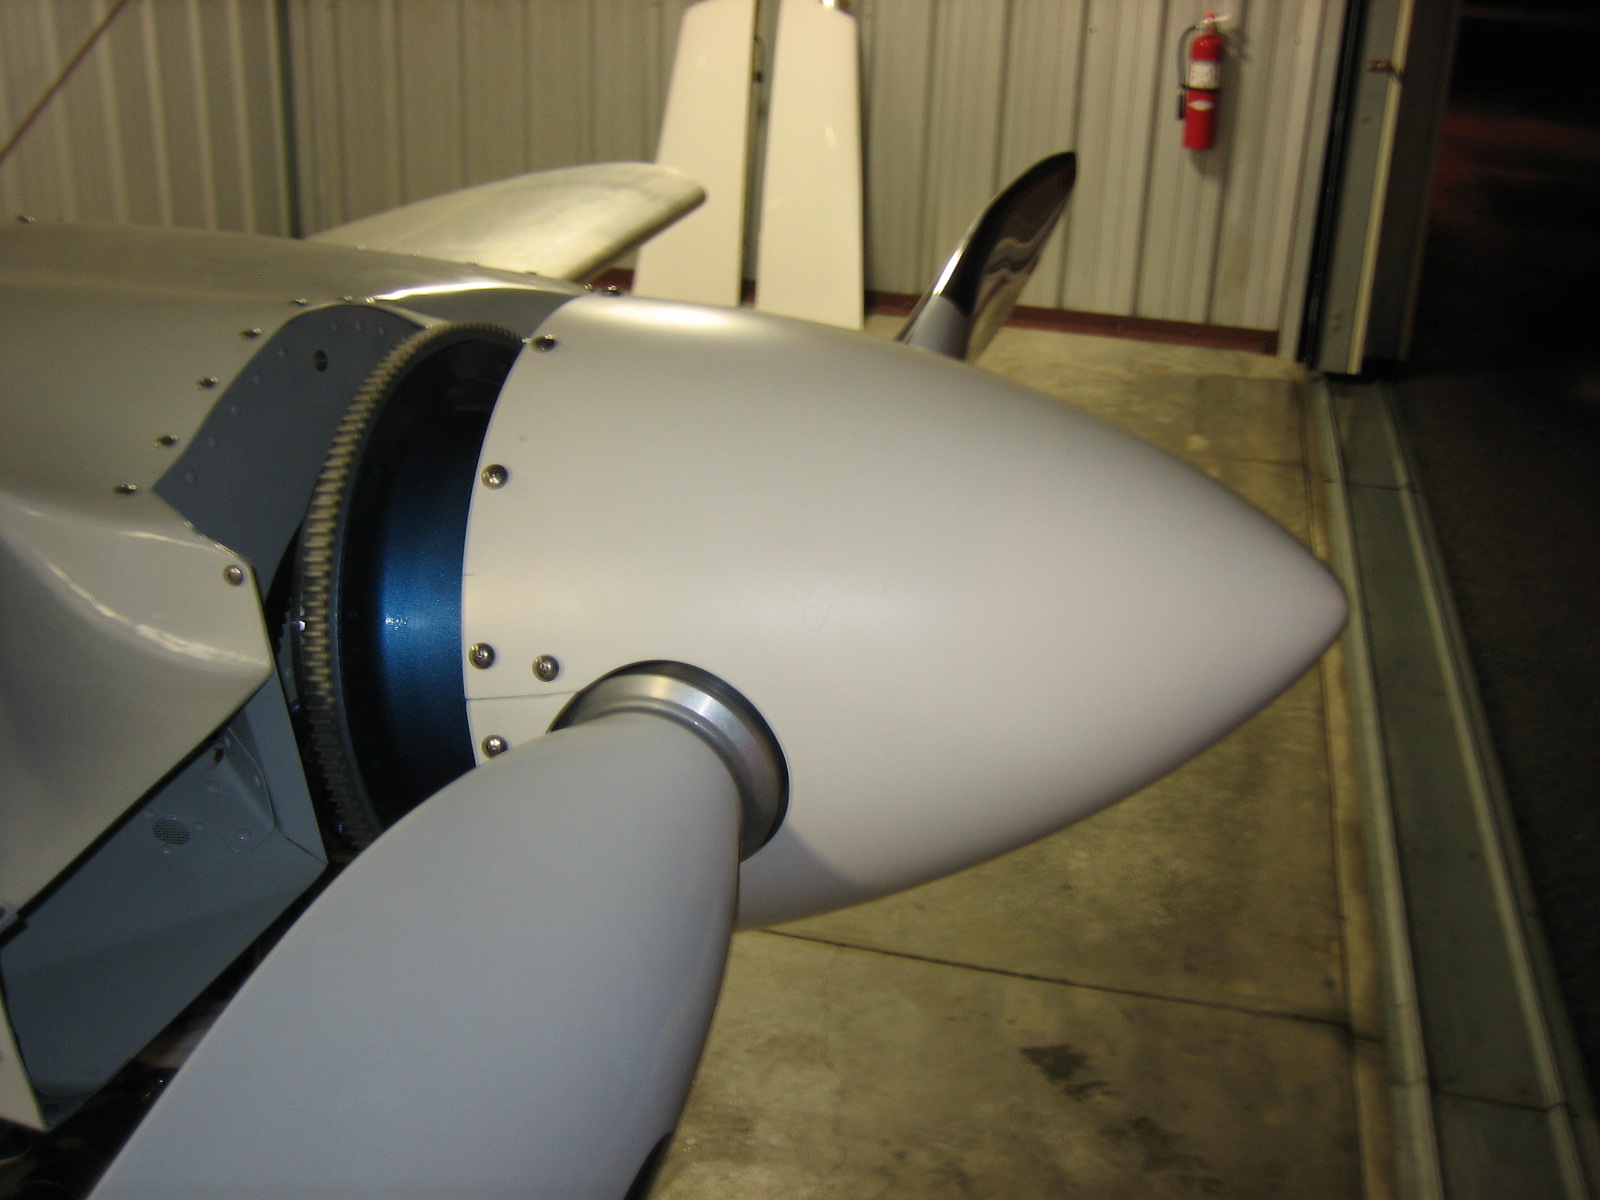
I also installed the spinner.
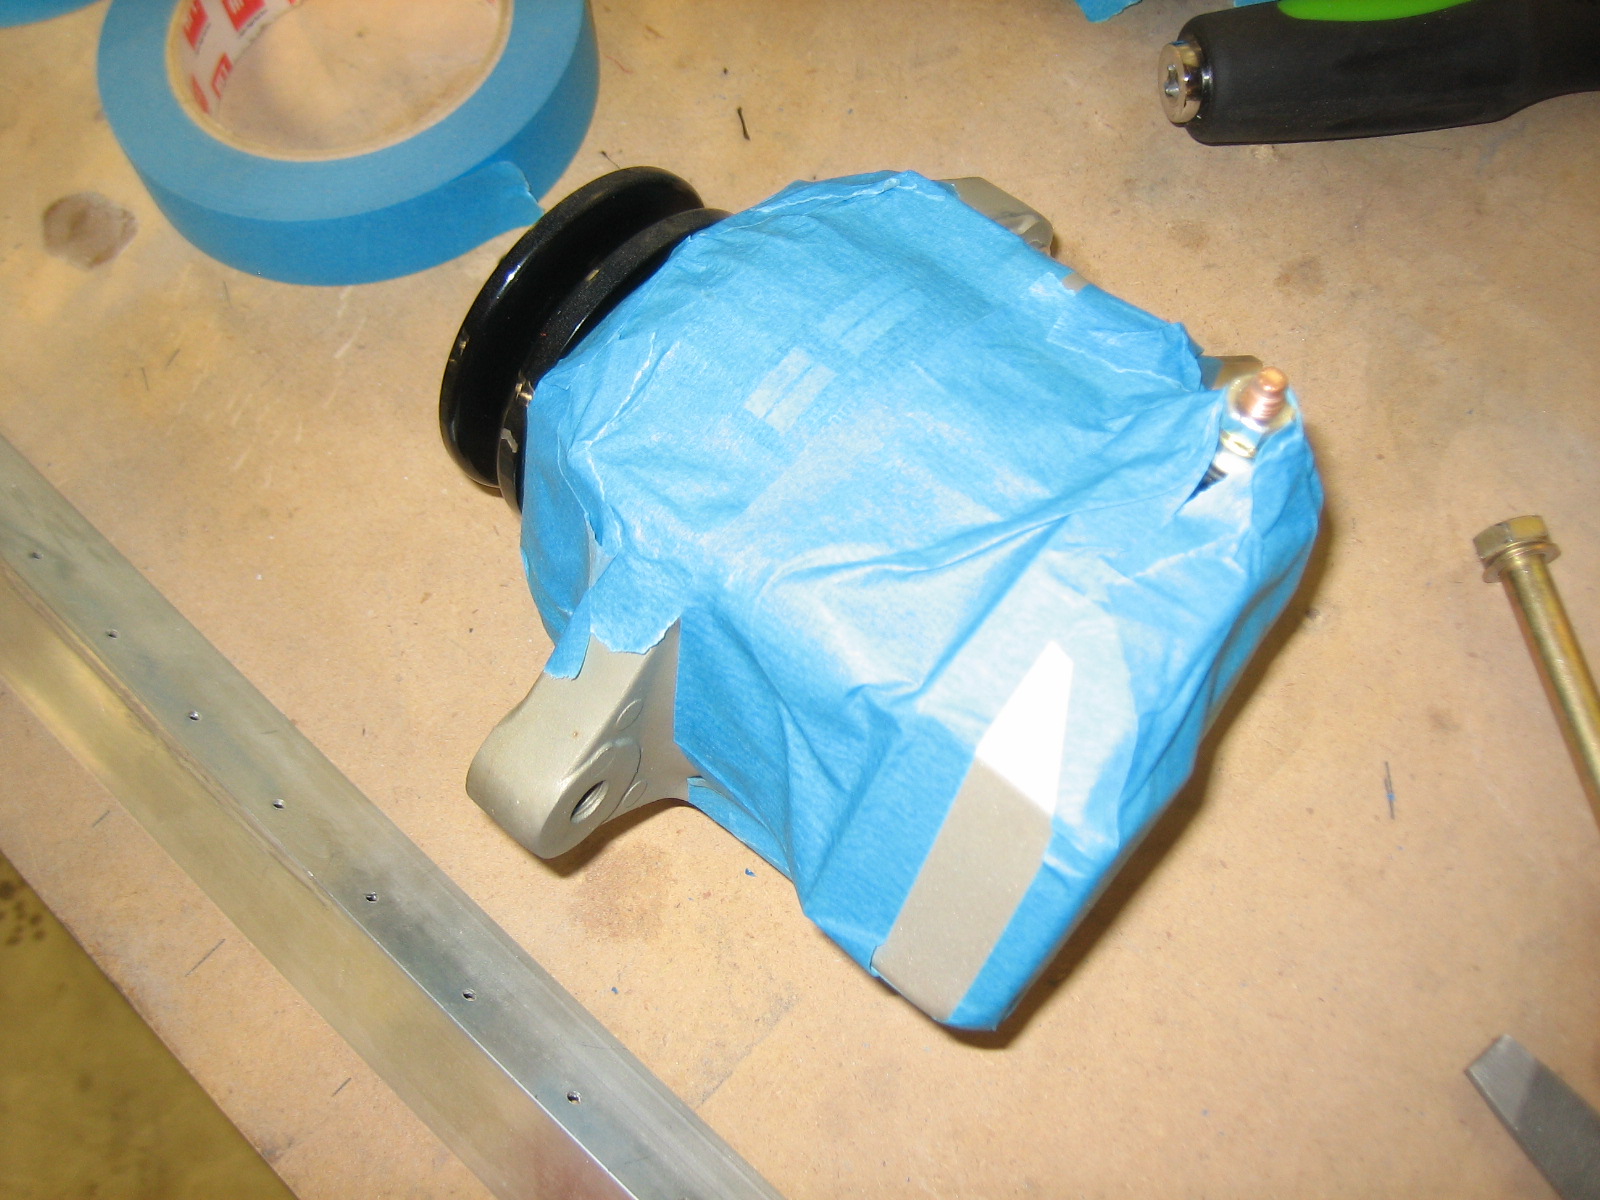
Since I need to shift the alternator back by about 3/32″, I pulled the mounting bolts and removed it.

I’ll need to file off the aft end of the pivot shaft (not visible here), I taped up the alternator to ensure no metal filings make their way inside.
This shaft is about 2.992″ long, and I need to take about 0.094 off the right end of this shaft.
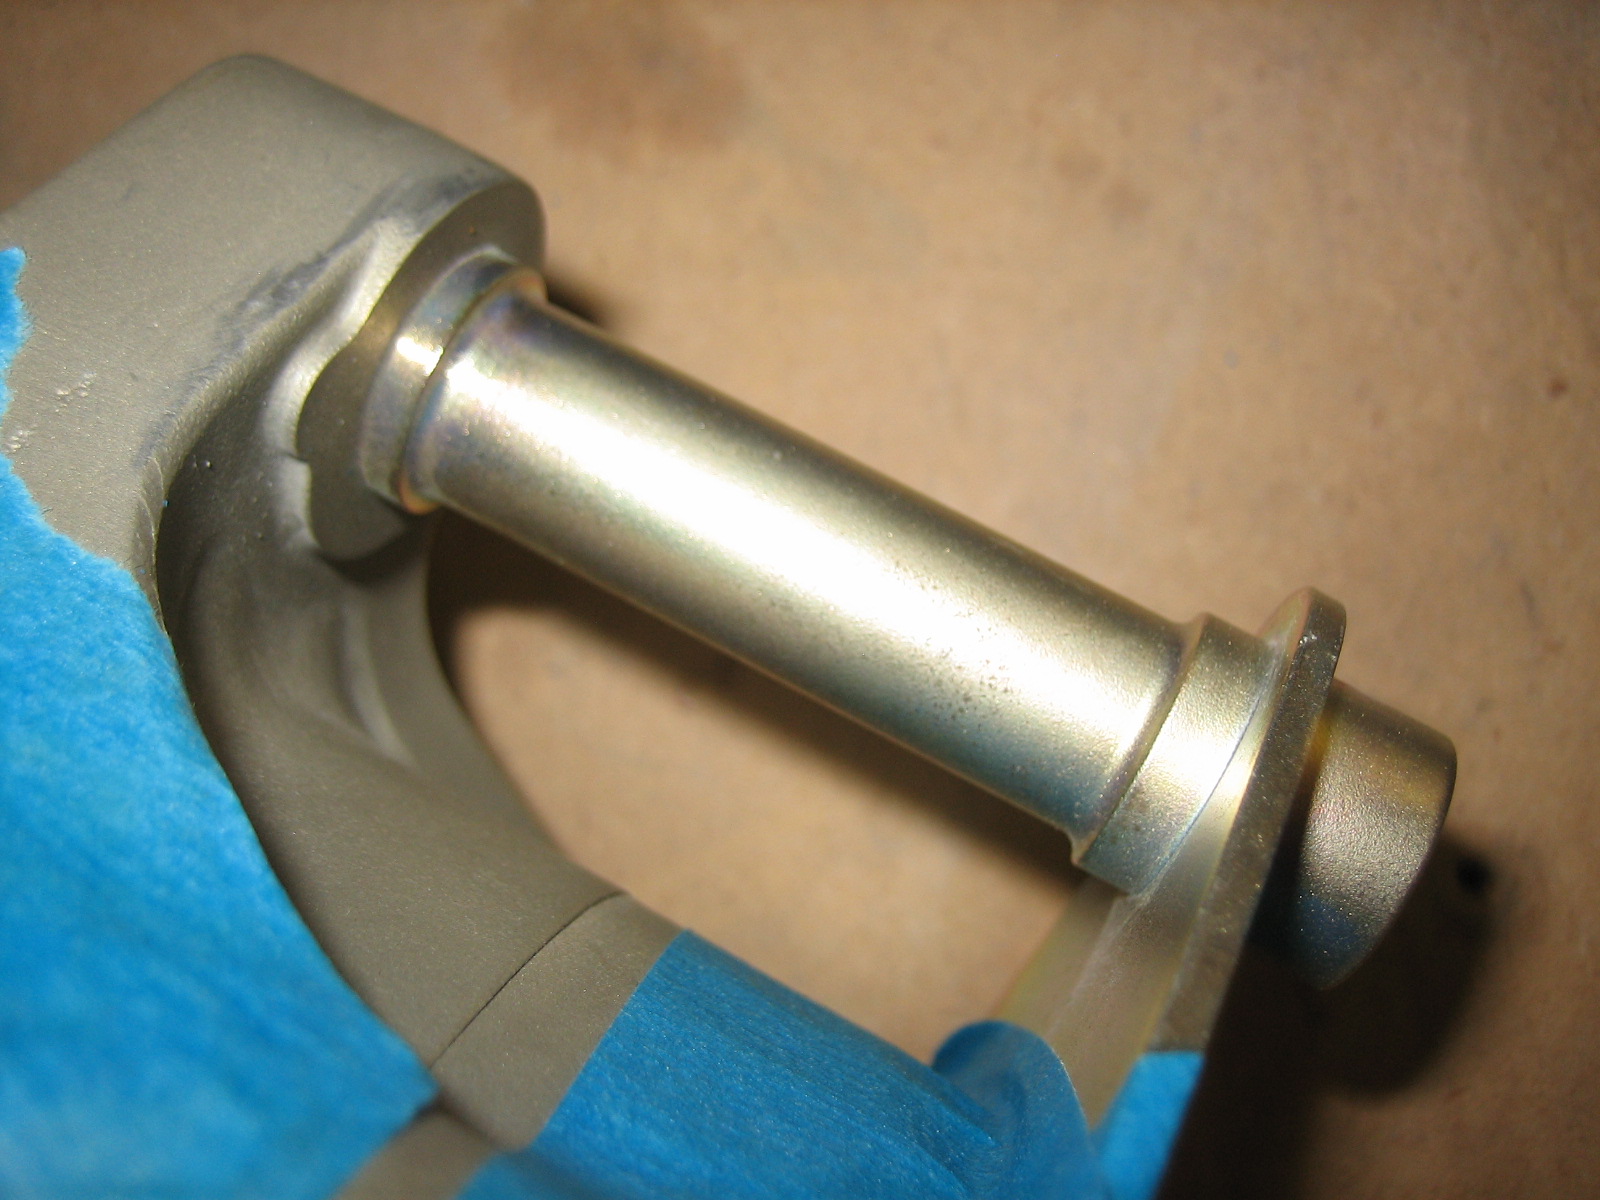
I can then use one AN960-616 and one AN960-616L washer to make up the difference.

After grinding down the shaft, you can see that I have the same length when I now include the washers. I’ll reinstall the alternator tomorrow and re-tension the belt. This ended up being way easier than I expected.

My buddy Andre stopped by the hangar this morning to help me remove the canopy one last time.
I inadvertently used the wrong weatherstripping on the flange at the forward edge. It was too thick, and the canopy skin kept catching on it and was tearing it off. After Jenn and I reinstalled the canopy the last time, I found the correct weatherstripping in a box, so I decided to swap it before first flight. Unfortunately, after Andre and I removed the canopy, I could no longer find it, so I have some new weatherstripping on order.
I didn’t get any pictures of it, but I lubricated all of the bearings on the plane. There are nearly three dozen of them, and many are exposed to the elements. I’m using a product called DriSlide. It wicks into the bearing and dries, leaving behind a film of molybdenum disulfide. This film is extremely slippery, but because it’s dry, it doesn’t attract dust or dirt, is highly resistant to water, and prevents rust and corrosion. I’m also using it on the sliding pins in the brake calipers to keep dirt from sticking to them.
After wrapping that up, I installed the wingtips. I used some DriSlide on the hinge pins and they slipped in effortlessly.

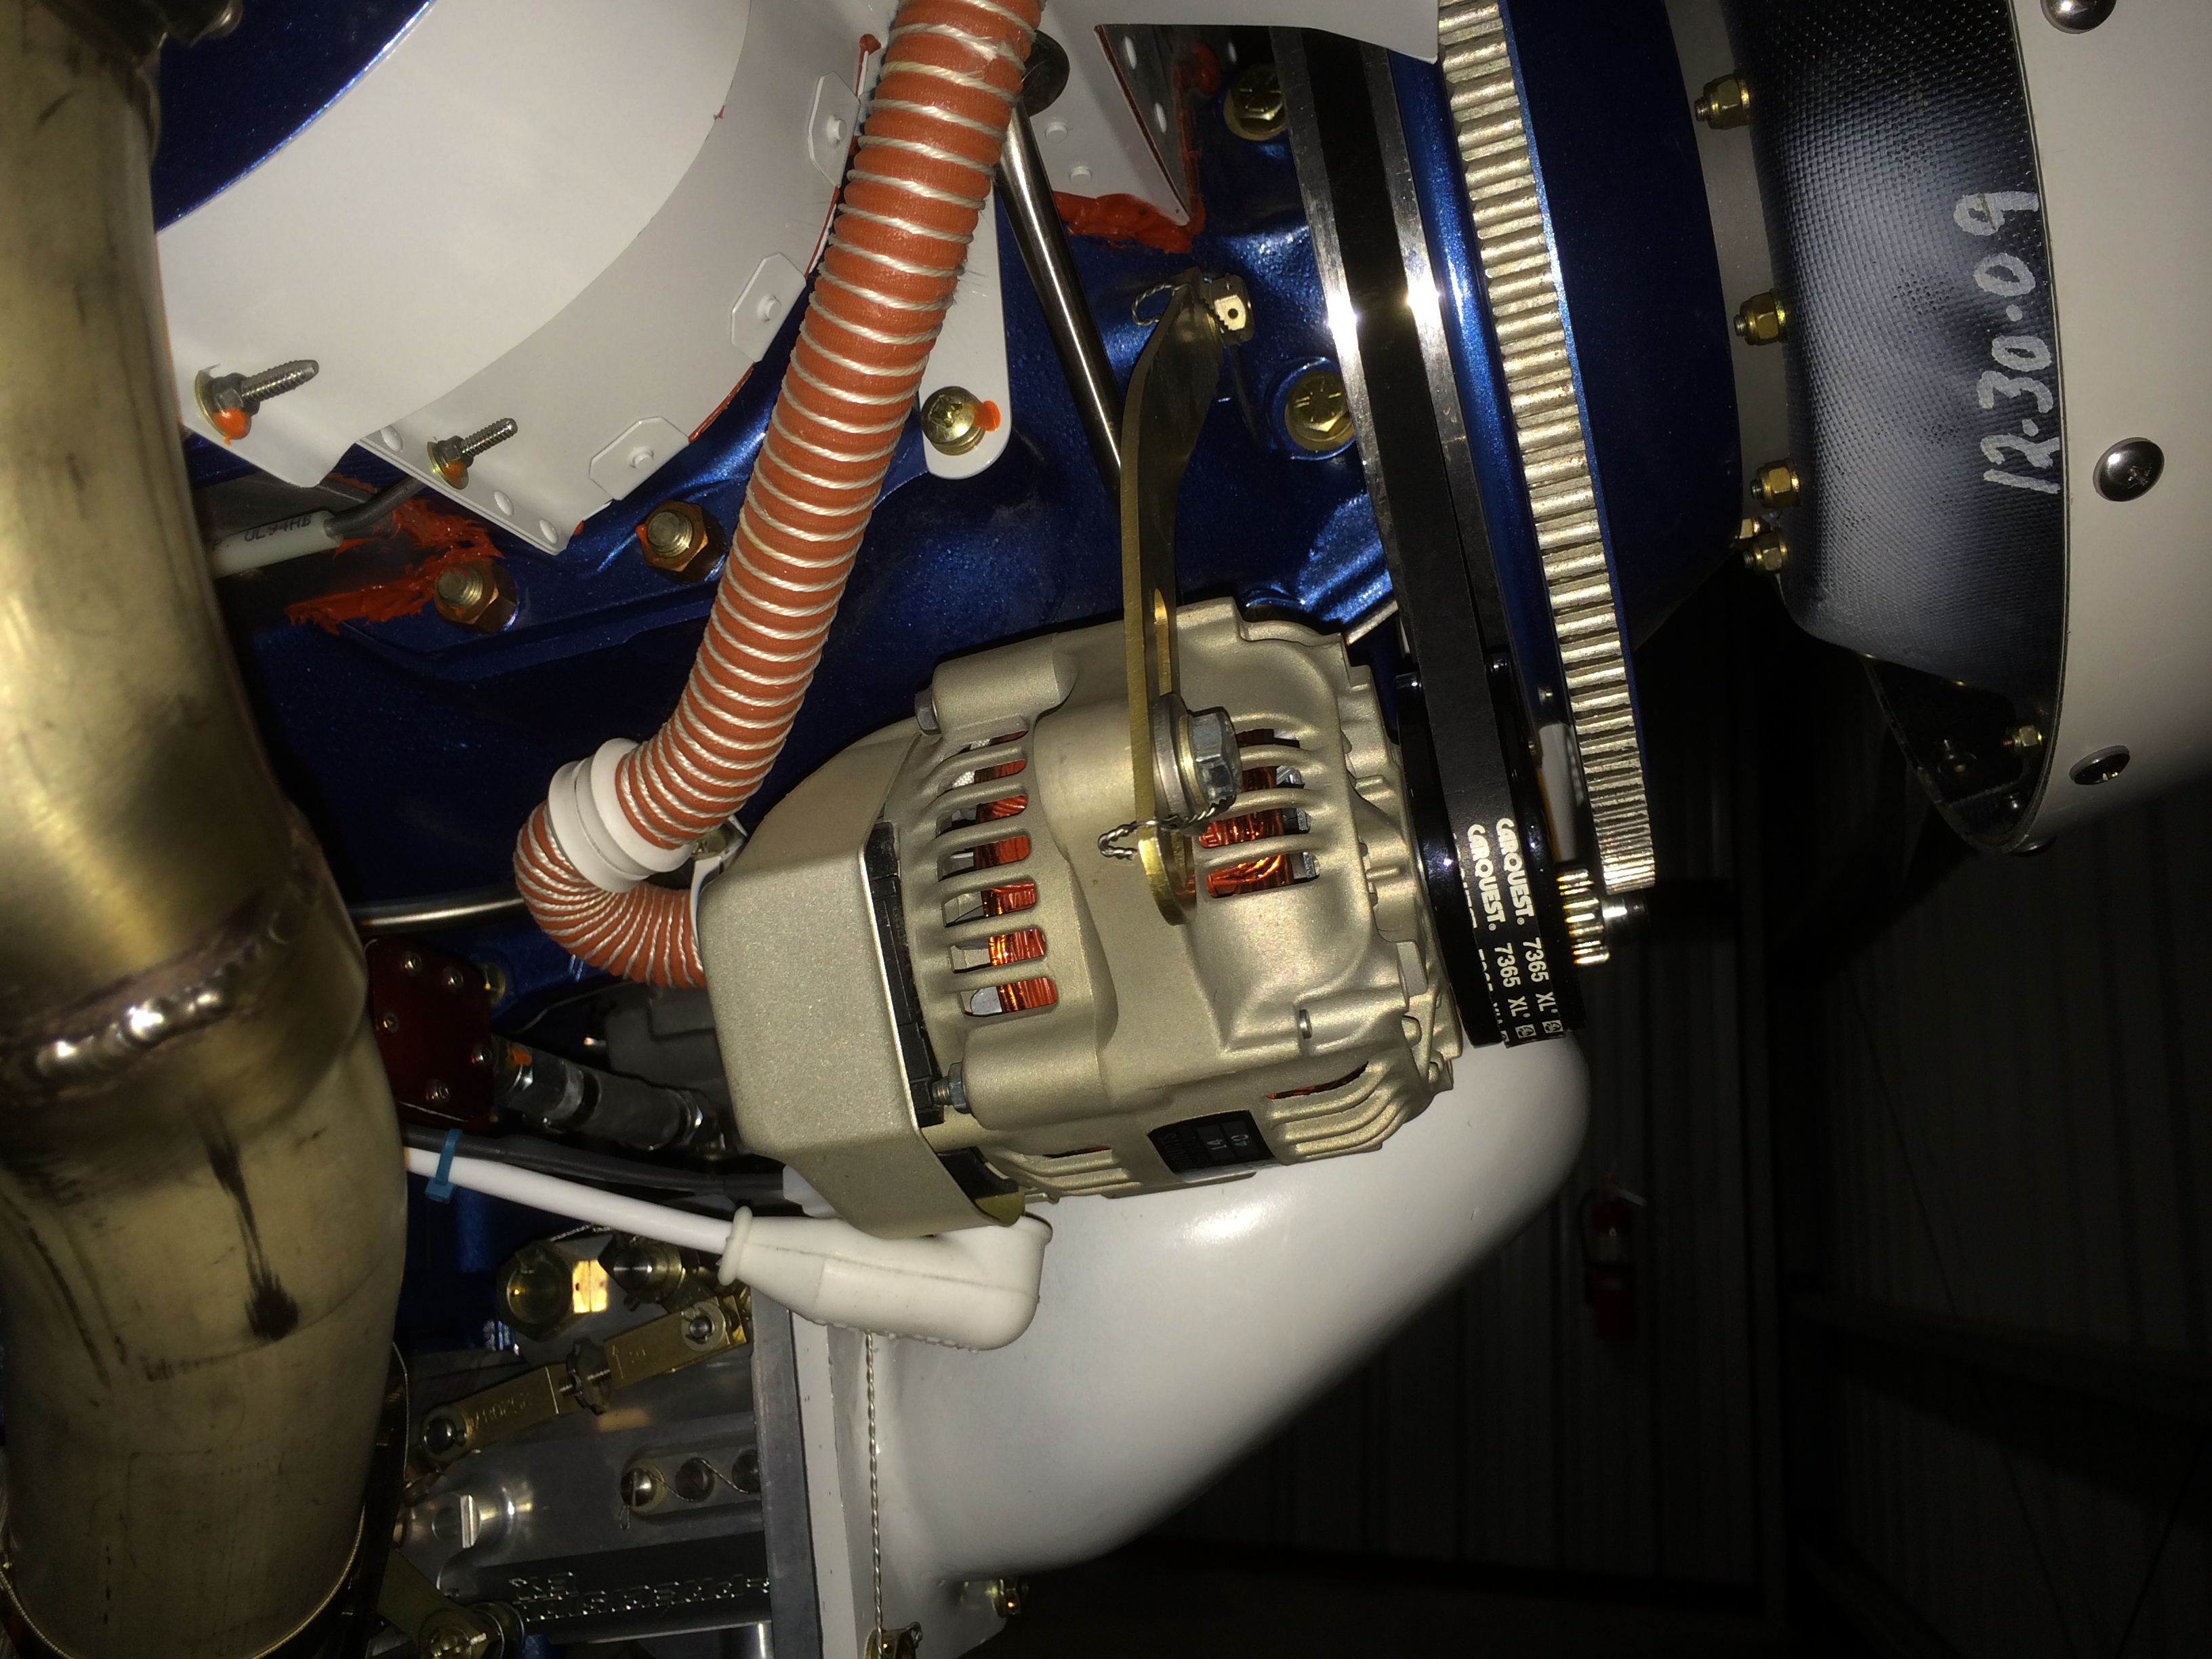
I reinstalled the alternator with the washers in front of the pivot shaft. I checked the alignment, and it looks perfect. I adjusted the tension so that I could turn the alternator pulley with 13 ft-lbs of torque (with the pulley slipping on the belt), but couldn’t turn the pulley with 11 ft-lbs of torque.
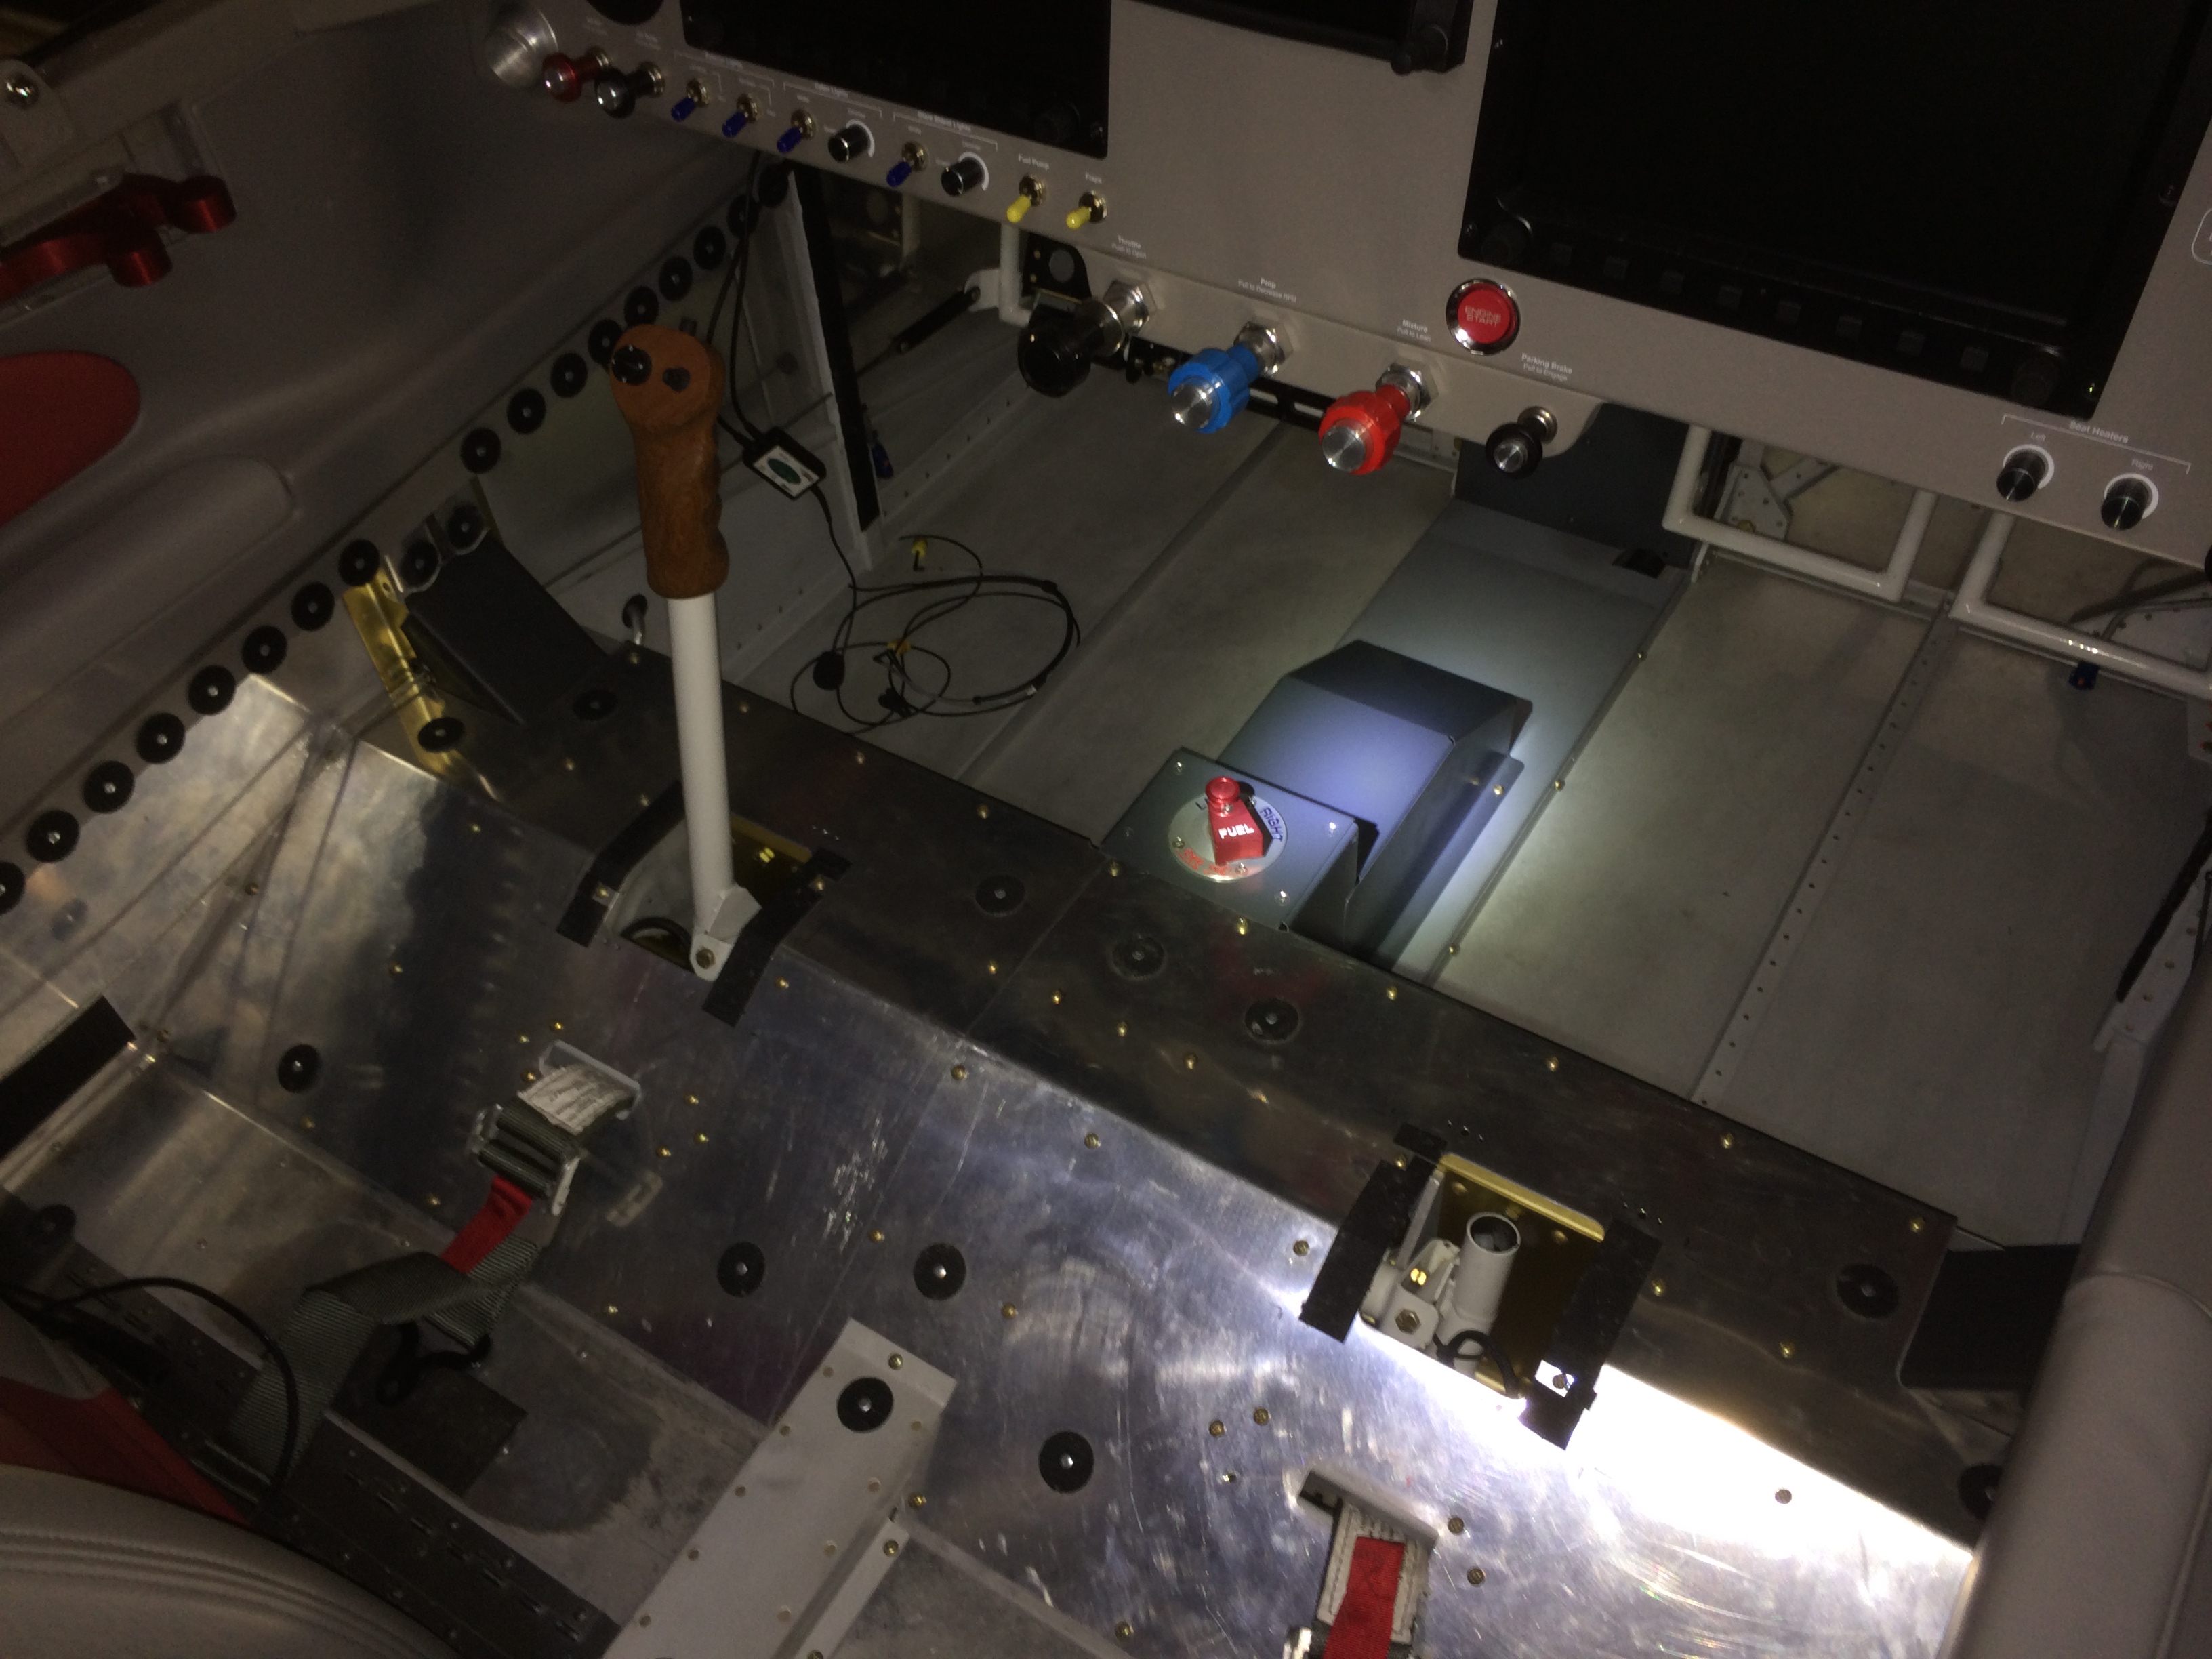
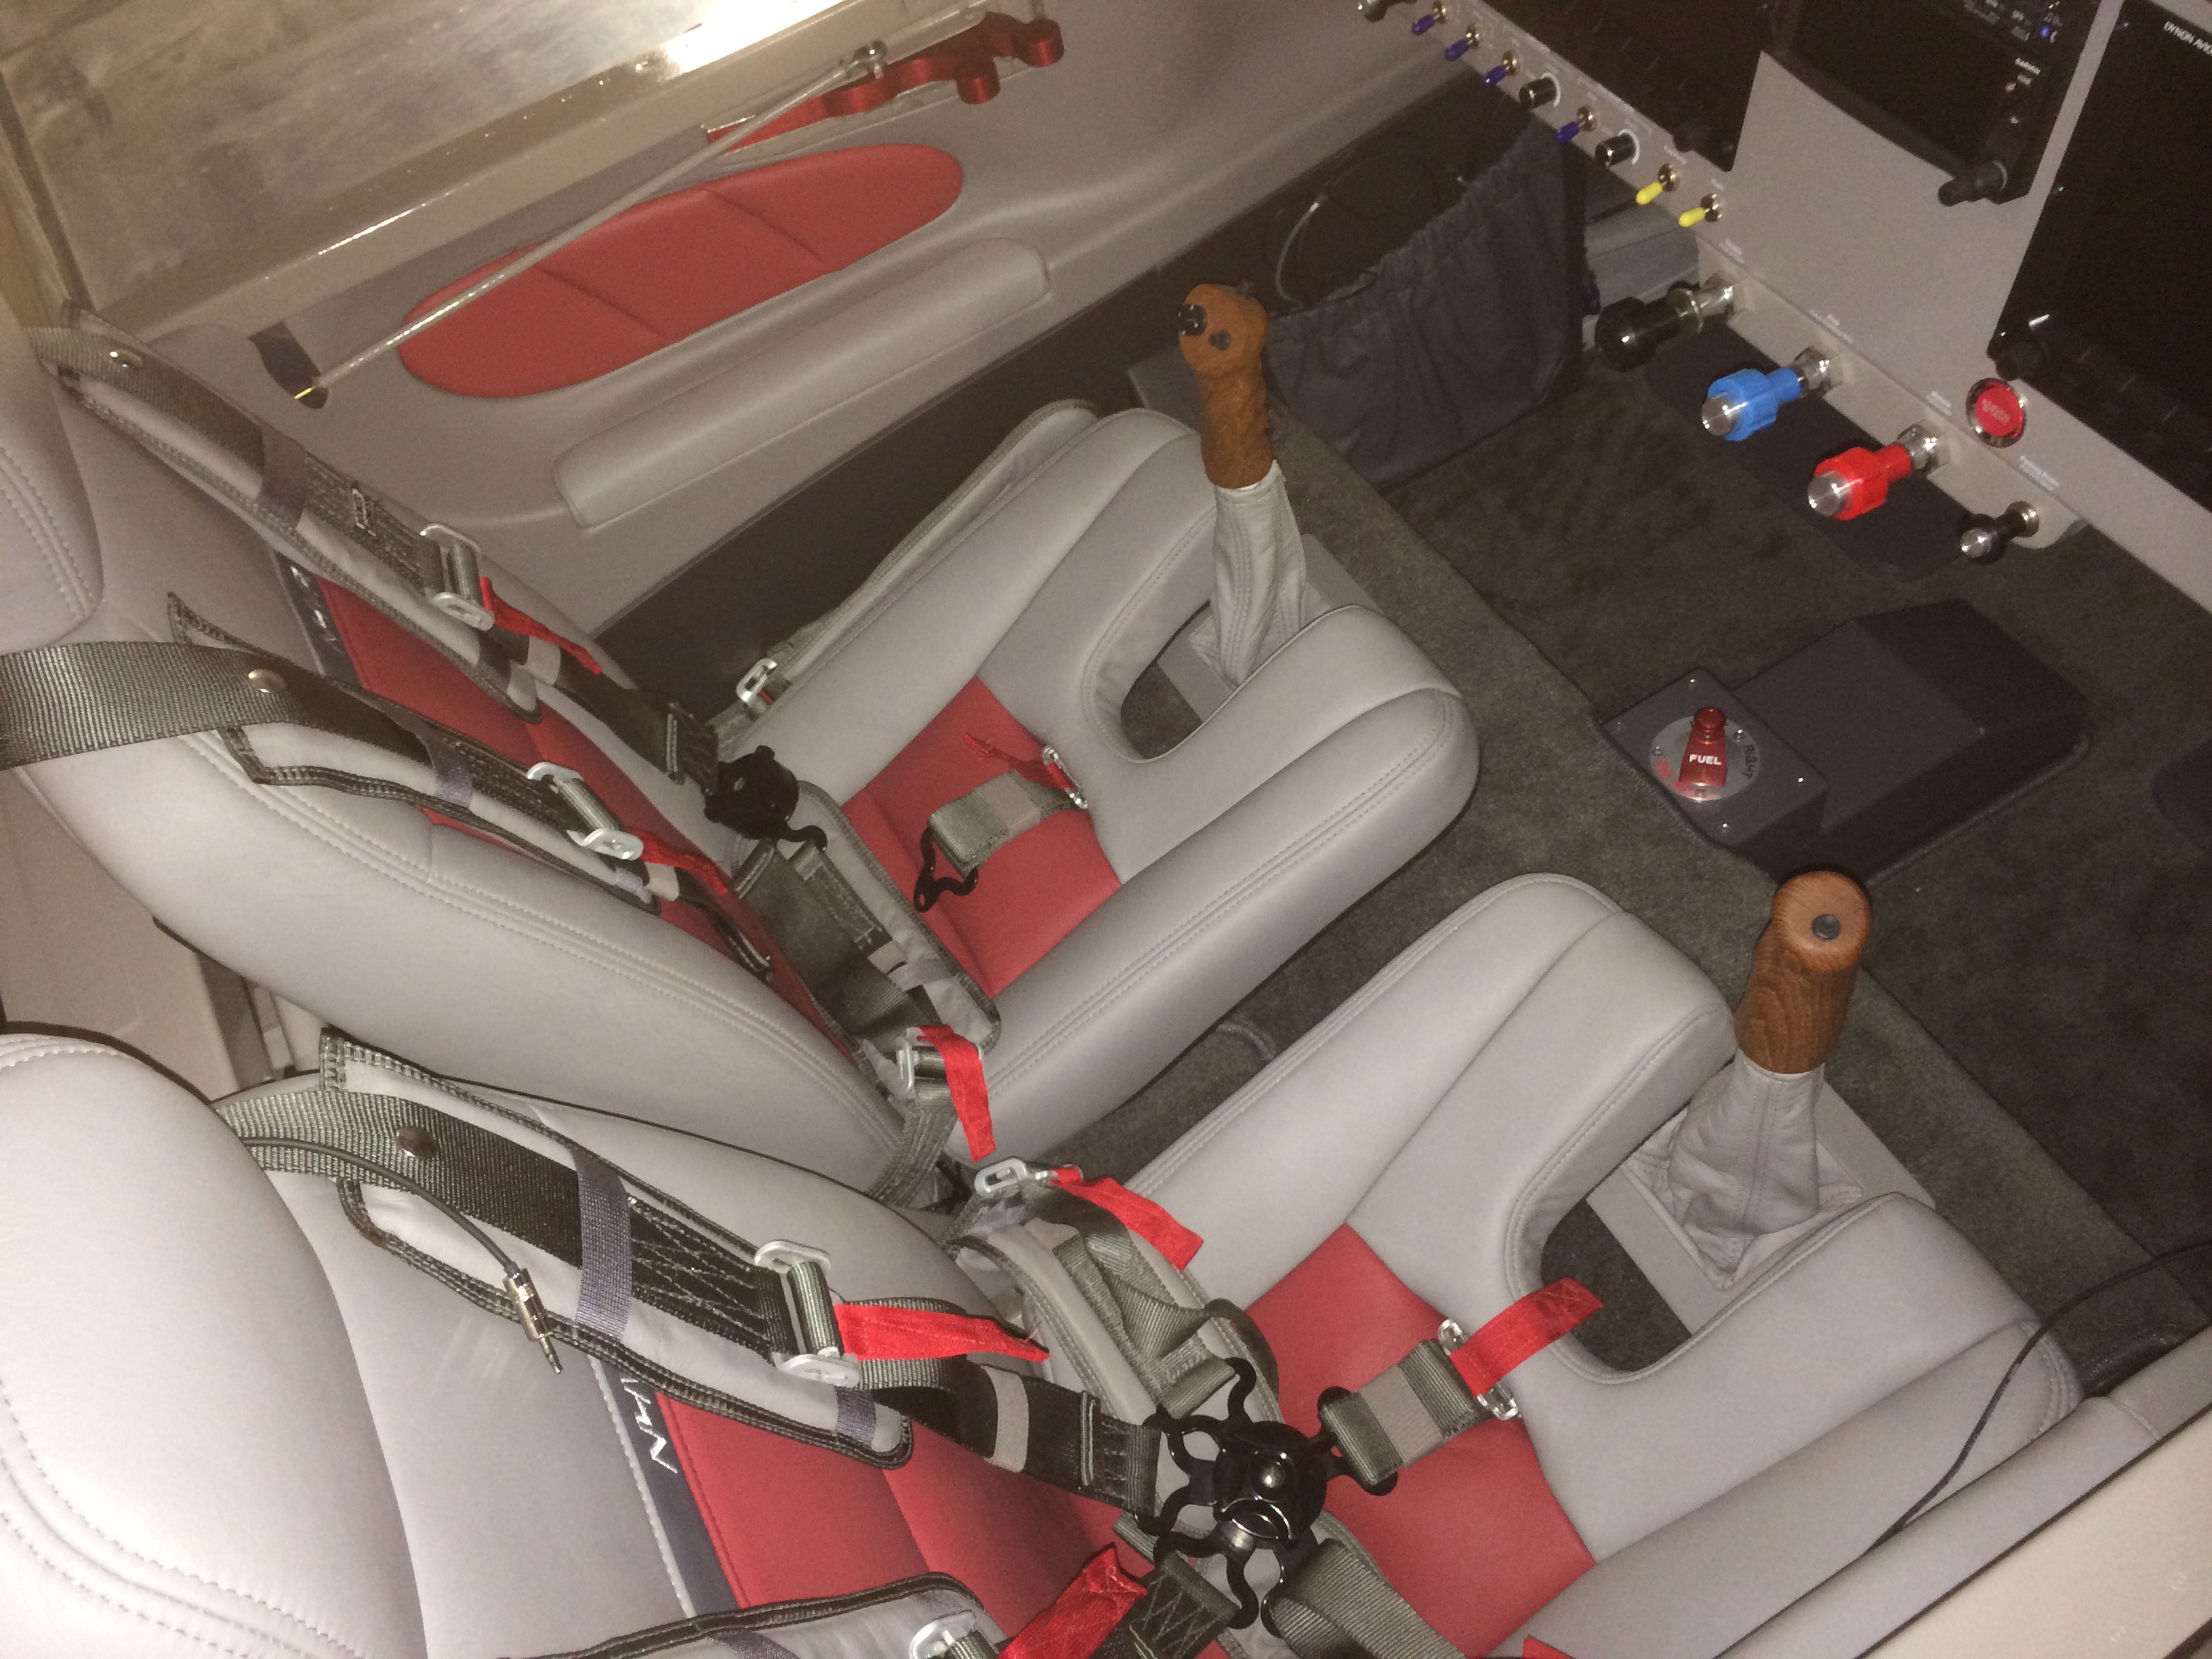
After fully inspecting all of the controls under the seats, I installed the forward center section cover, fuel pump cover, spar covers, seat pans and tunnel cover and screwed everything down.
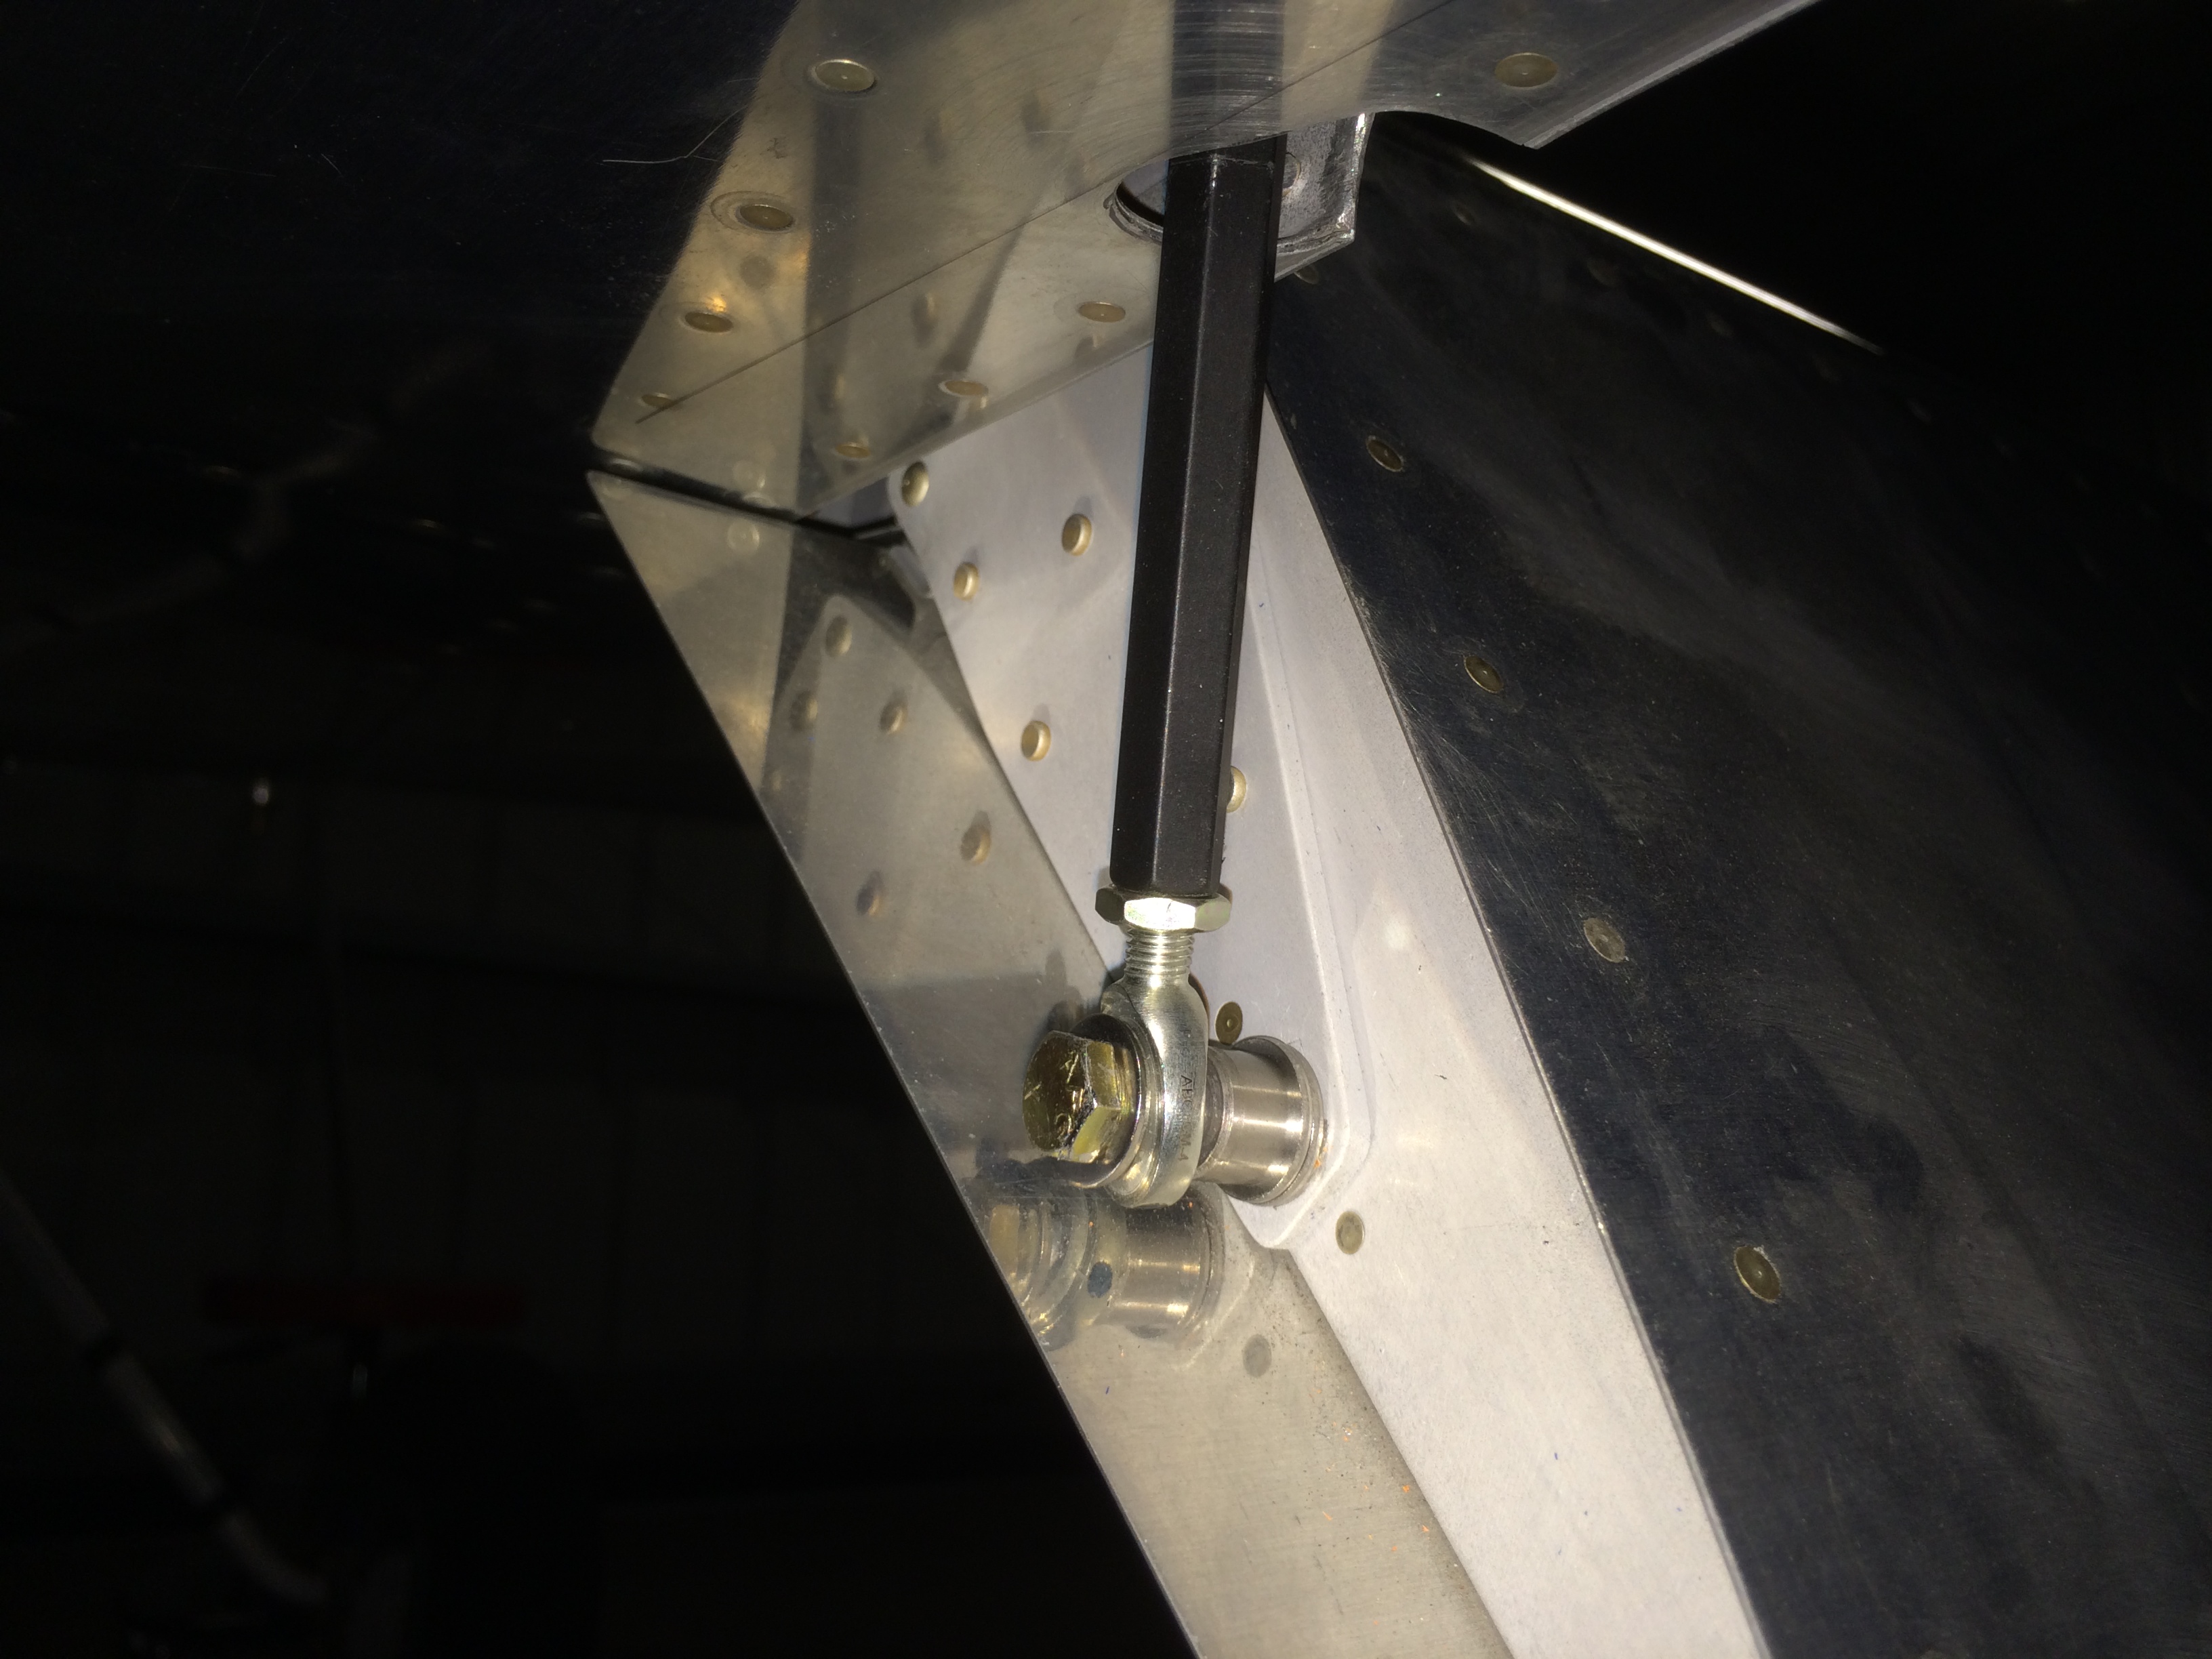
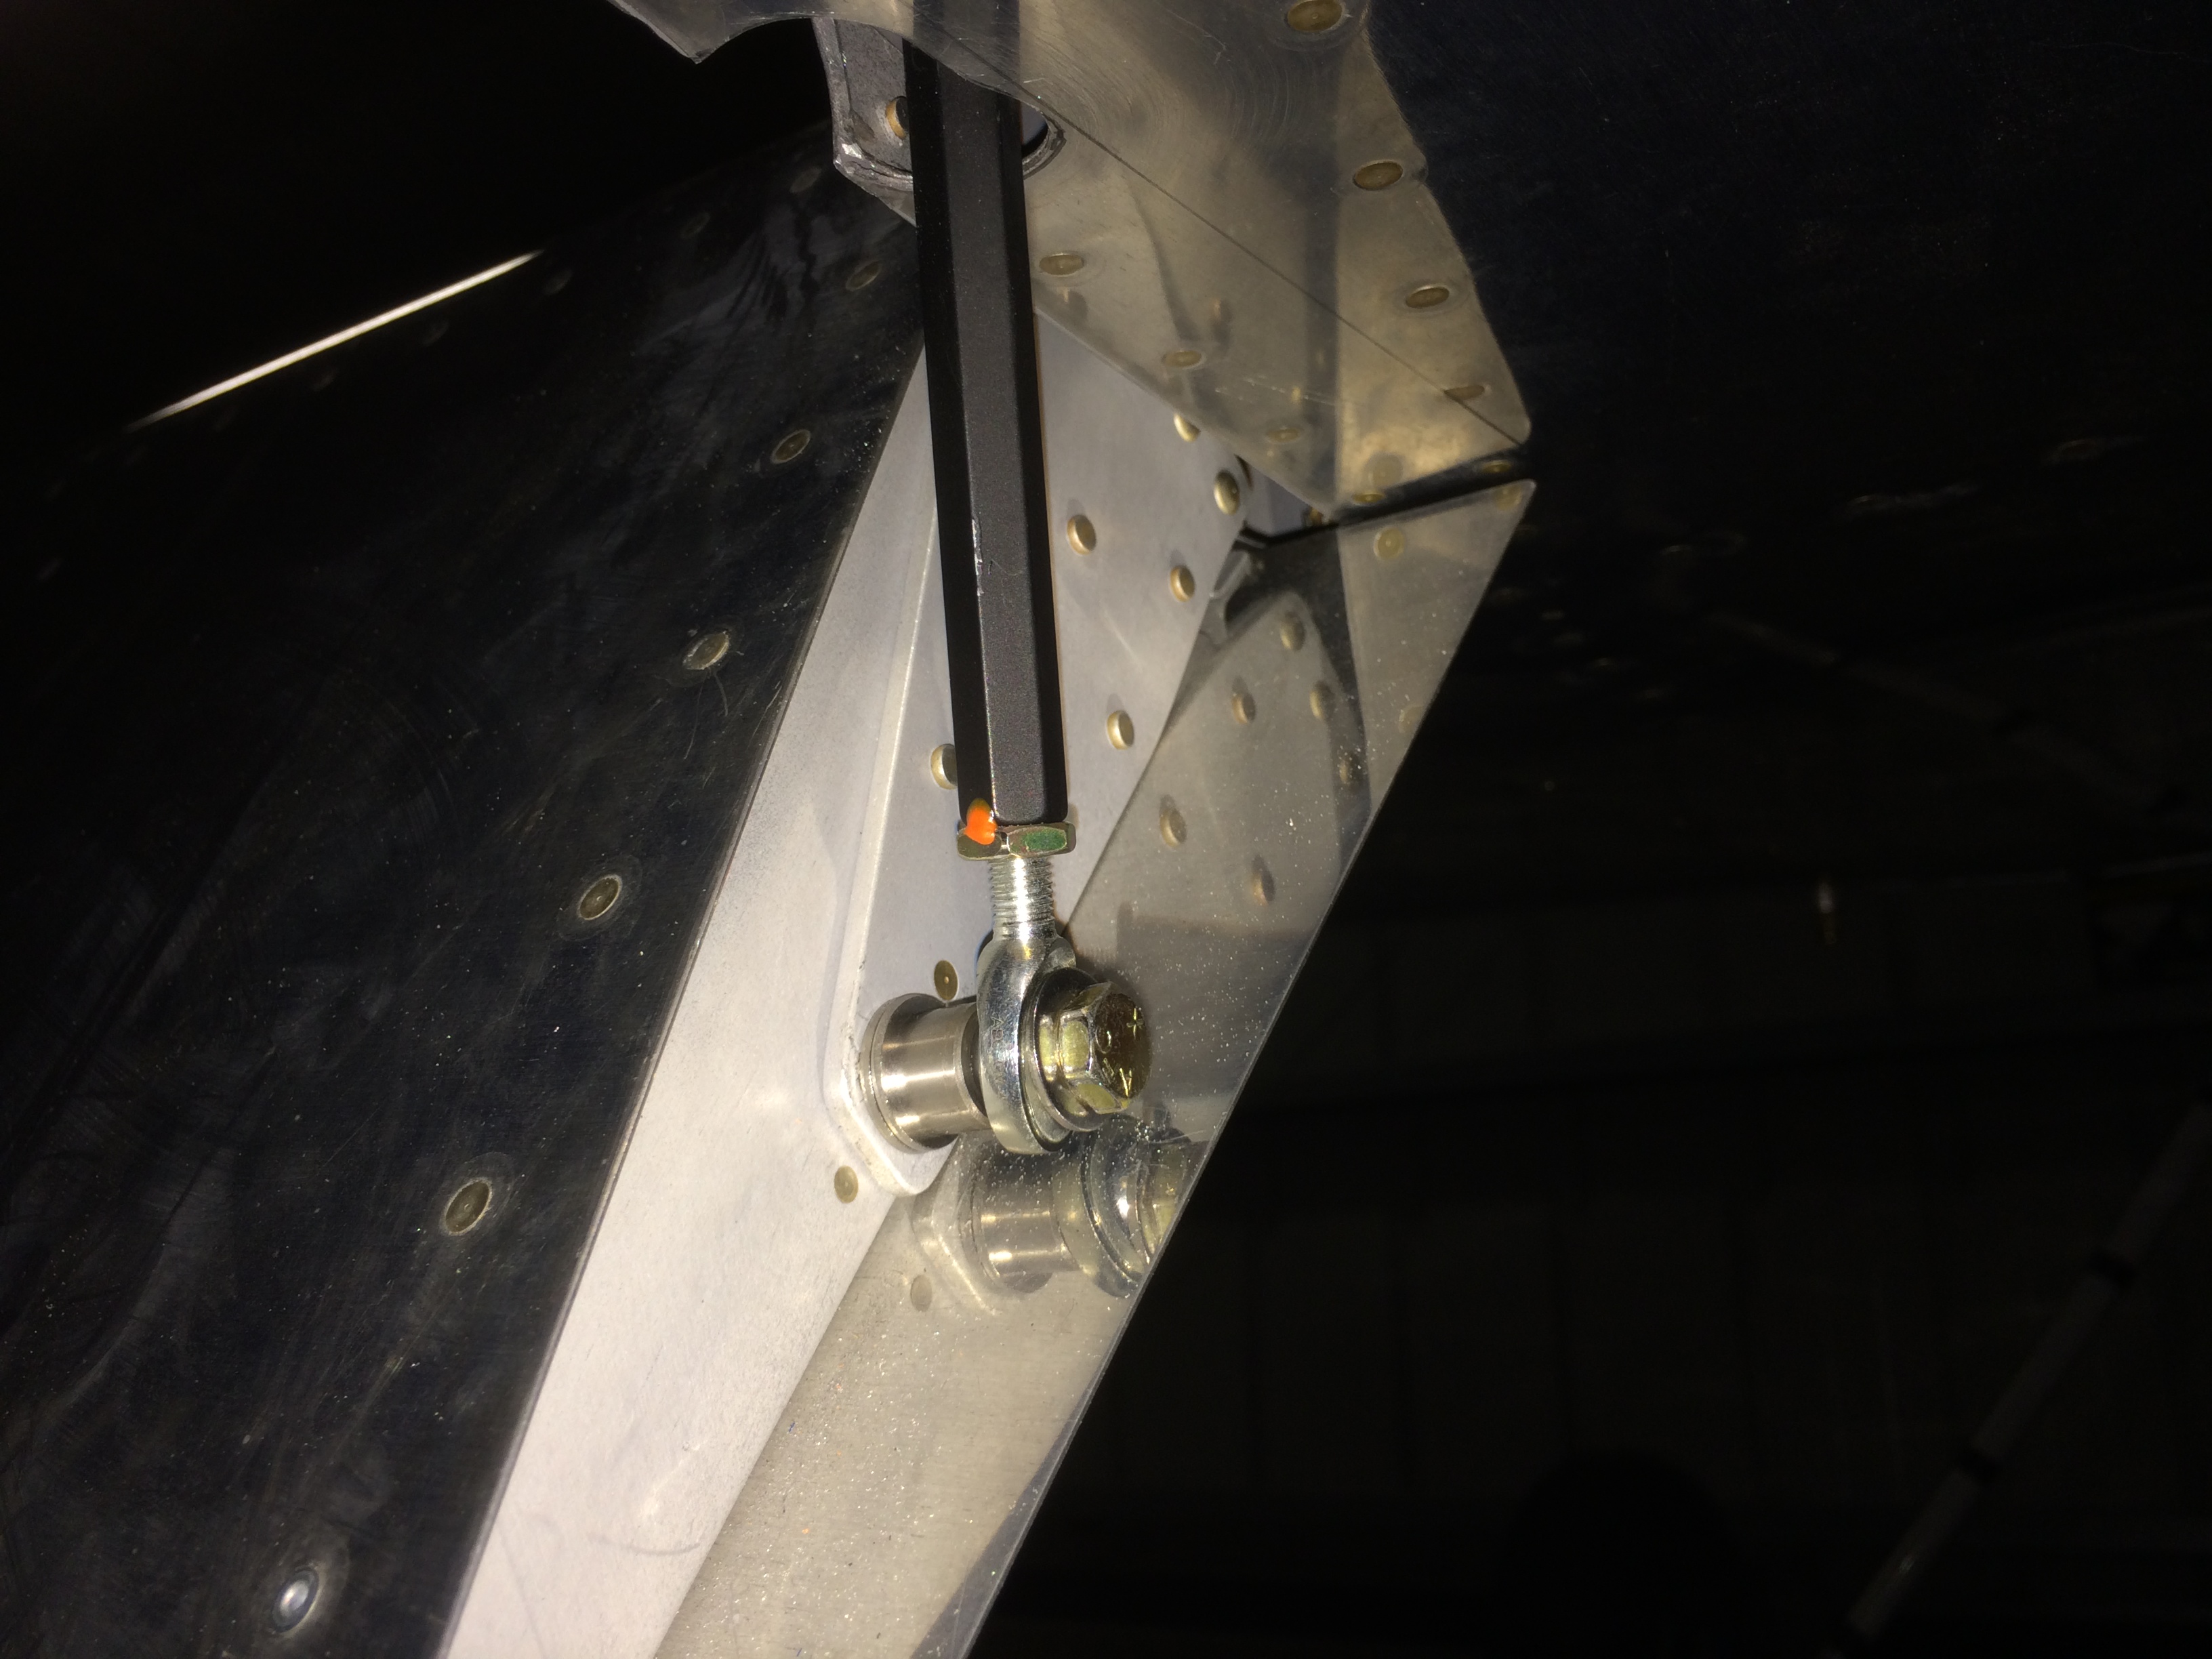
The DAR mentioned that he doesn’t like Van’s design for the flap pushrod attachment since the rod could come off if the rod end fails. Every other rod end on the plane is either captured by the surrounding attach point or has an AN970 washer to keep the rod end together in case of bearing failure. The failure of a rod end can be a catastrophic failure since a split flap condition can cause a violent rolling motion. Since full flaps are usually used on final approach when low and slow, a failure here could be fatal. By switching to a regular rod end from the ball joint linkage supplied in the kit, you can prevent the joint from ever coming apart.
Fortunately, my friend Greg had already warned me that the DAR would like the see these parts upgraded, so I had the parts in hand. I also upgraded the pushrod from the one I made to the one sold by Avery Tools. I still need to adjust the pushrod length to get the flaps back into alignment with the ailerons, but I’m much happier with this arrangement.
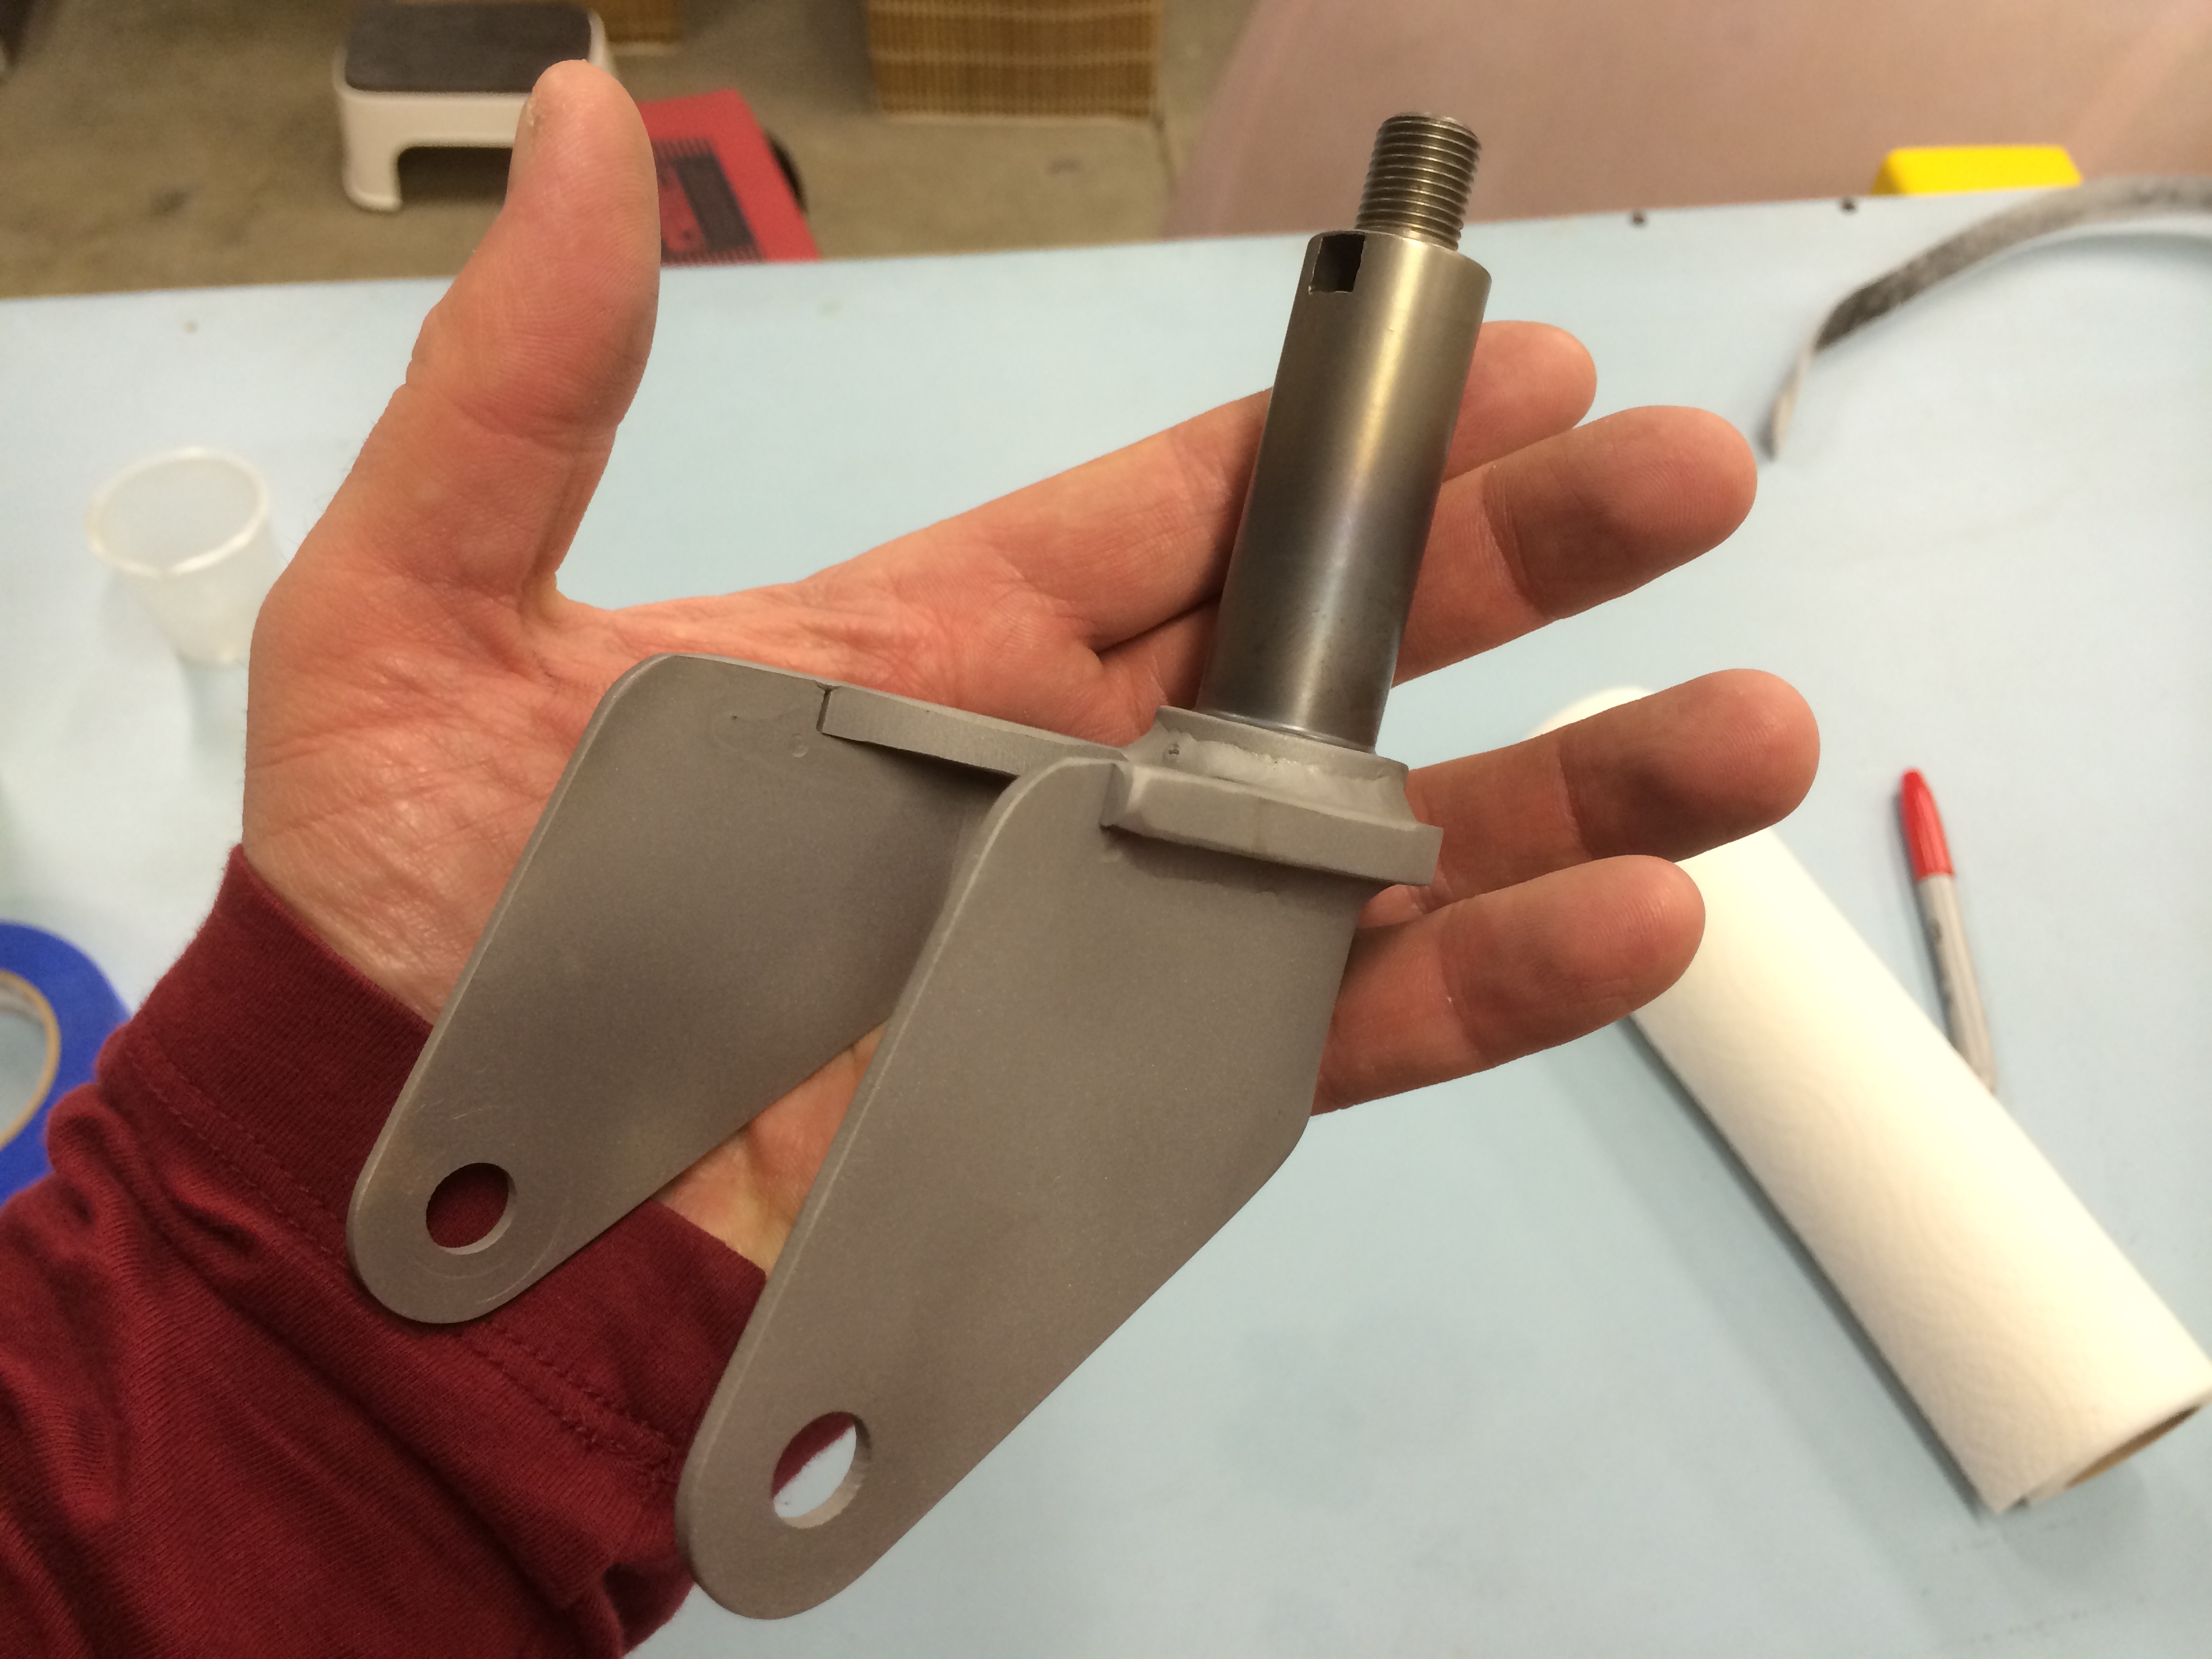
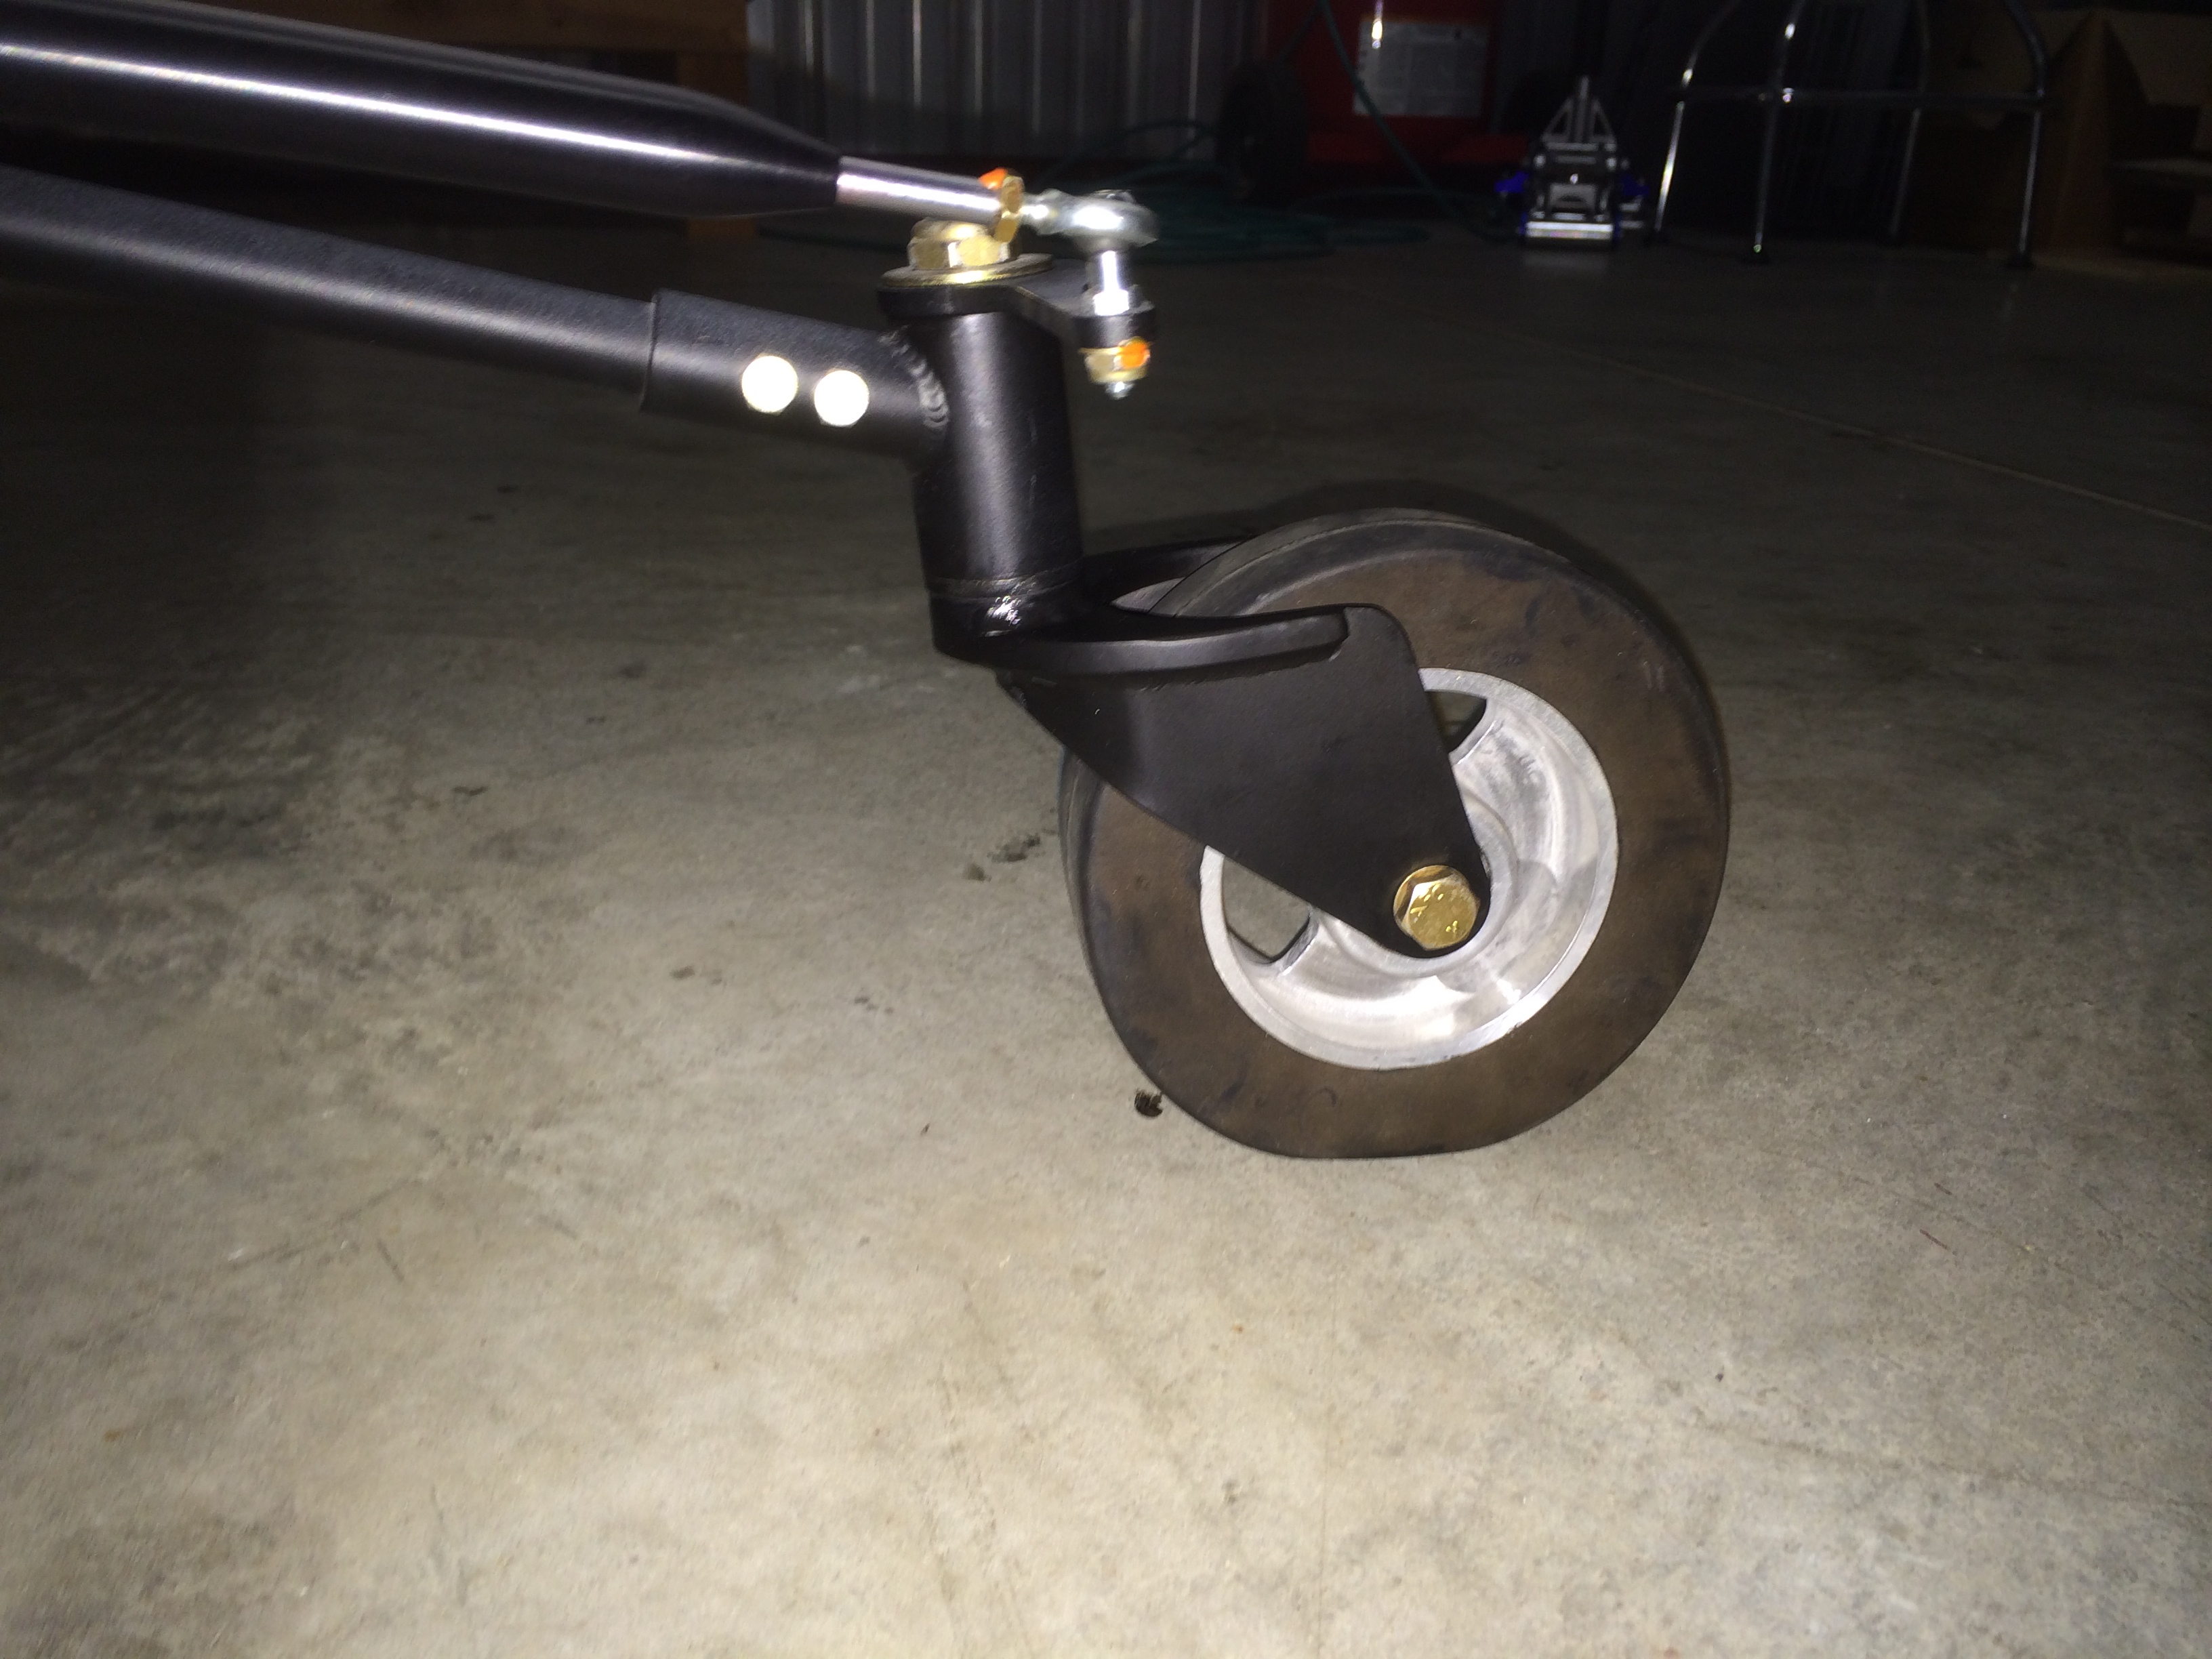
Since my CG ended up farther back than I was hoping, I’ve been looking for ways to move it forward. I purchased the Bell tailwheel fork a long time ago since I really dislike the Van’s design. I didn’t realize at the time how much heavier it was though. While researching other options, I found that the tailwheel fork sold by JDAir was even lighter than Van’s. I haven’t measured for myself yet, but they told me that I should save about 1 pound from the Bell fork. This doesn’t sound like much, but with an arm of over 249″, this change alone will move the CG forward by over 0.15″. The fork comes plain or powder coated in either gloss white or gloss black, but I previously powder coated all of my tailwheel components in matte black, so I ordered it plain so that I could match the finish. I stopped by the TechShop earlier today and smoothed out all of the edges and then sandblasted the areas that will be powder coated. That produces a nice textured finish that the powder coat will stick to nicely.
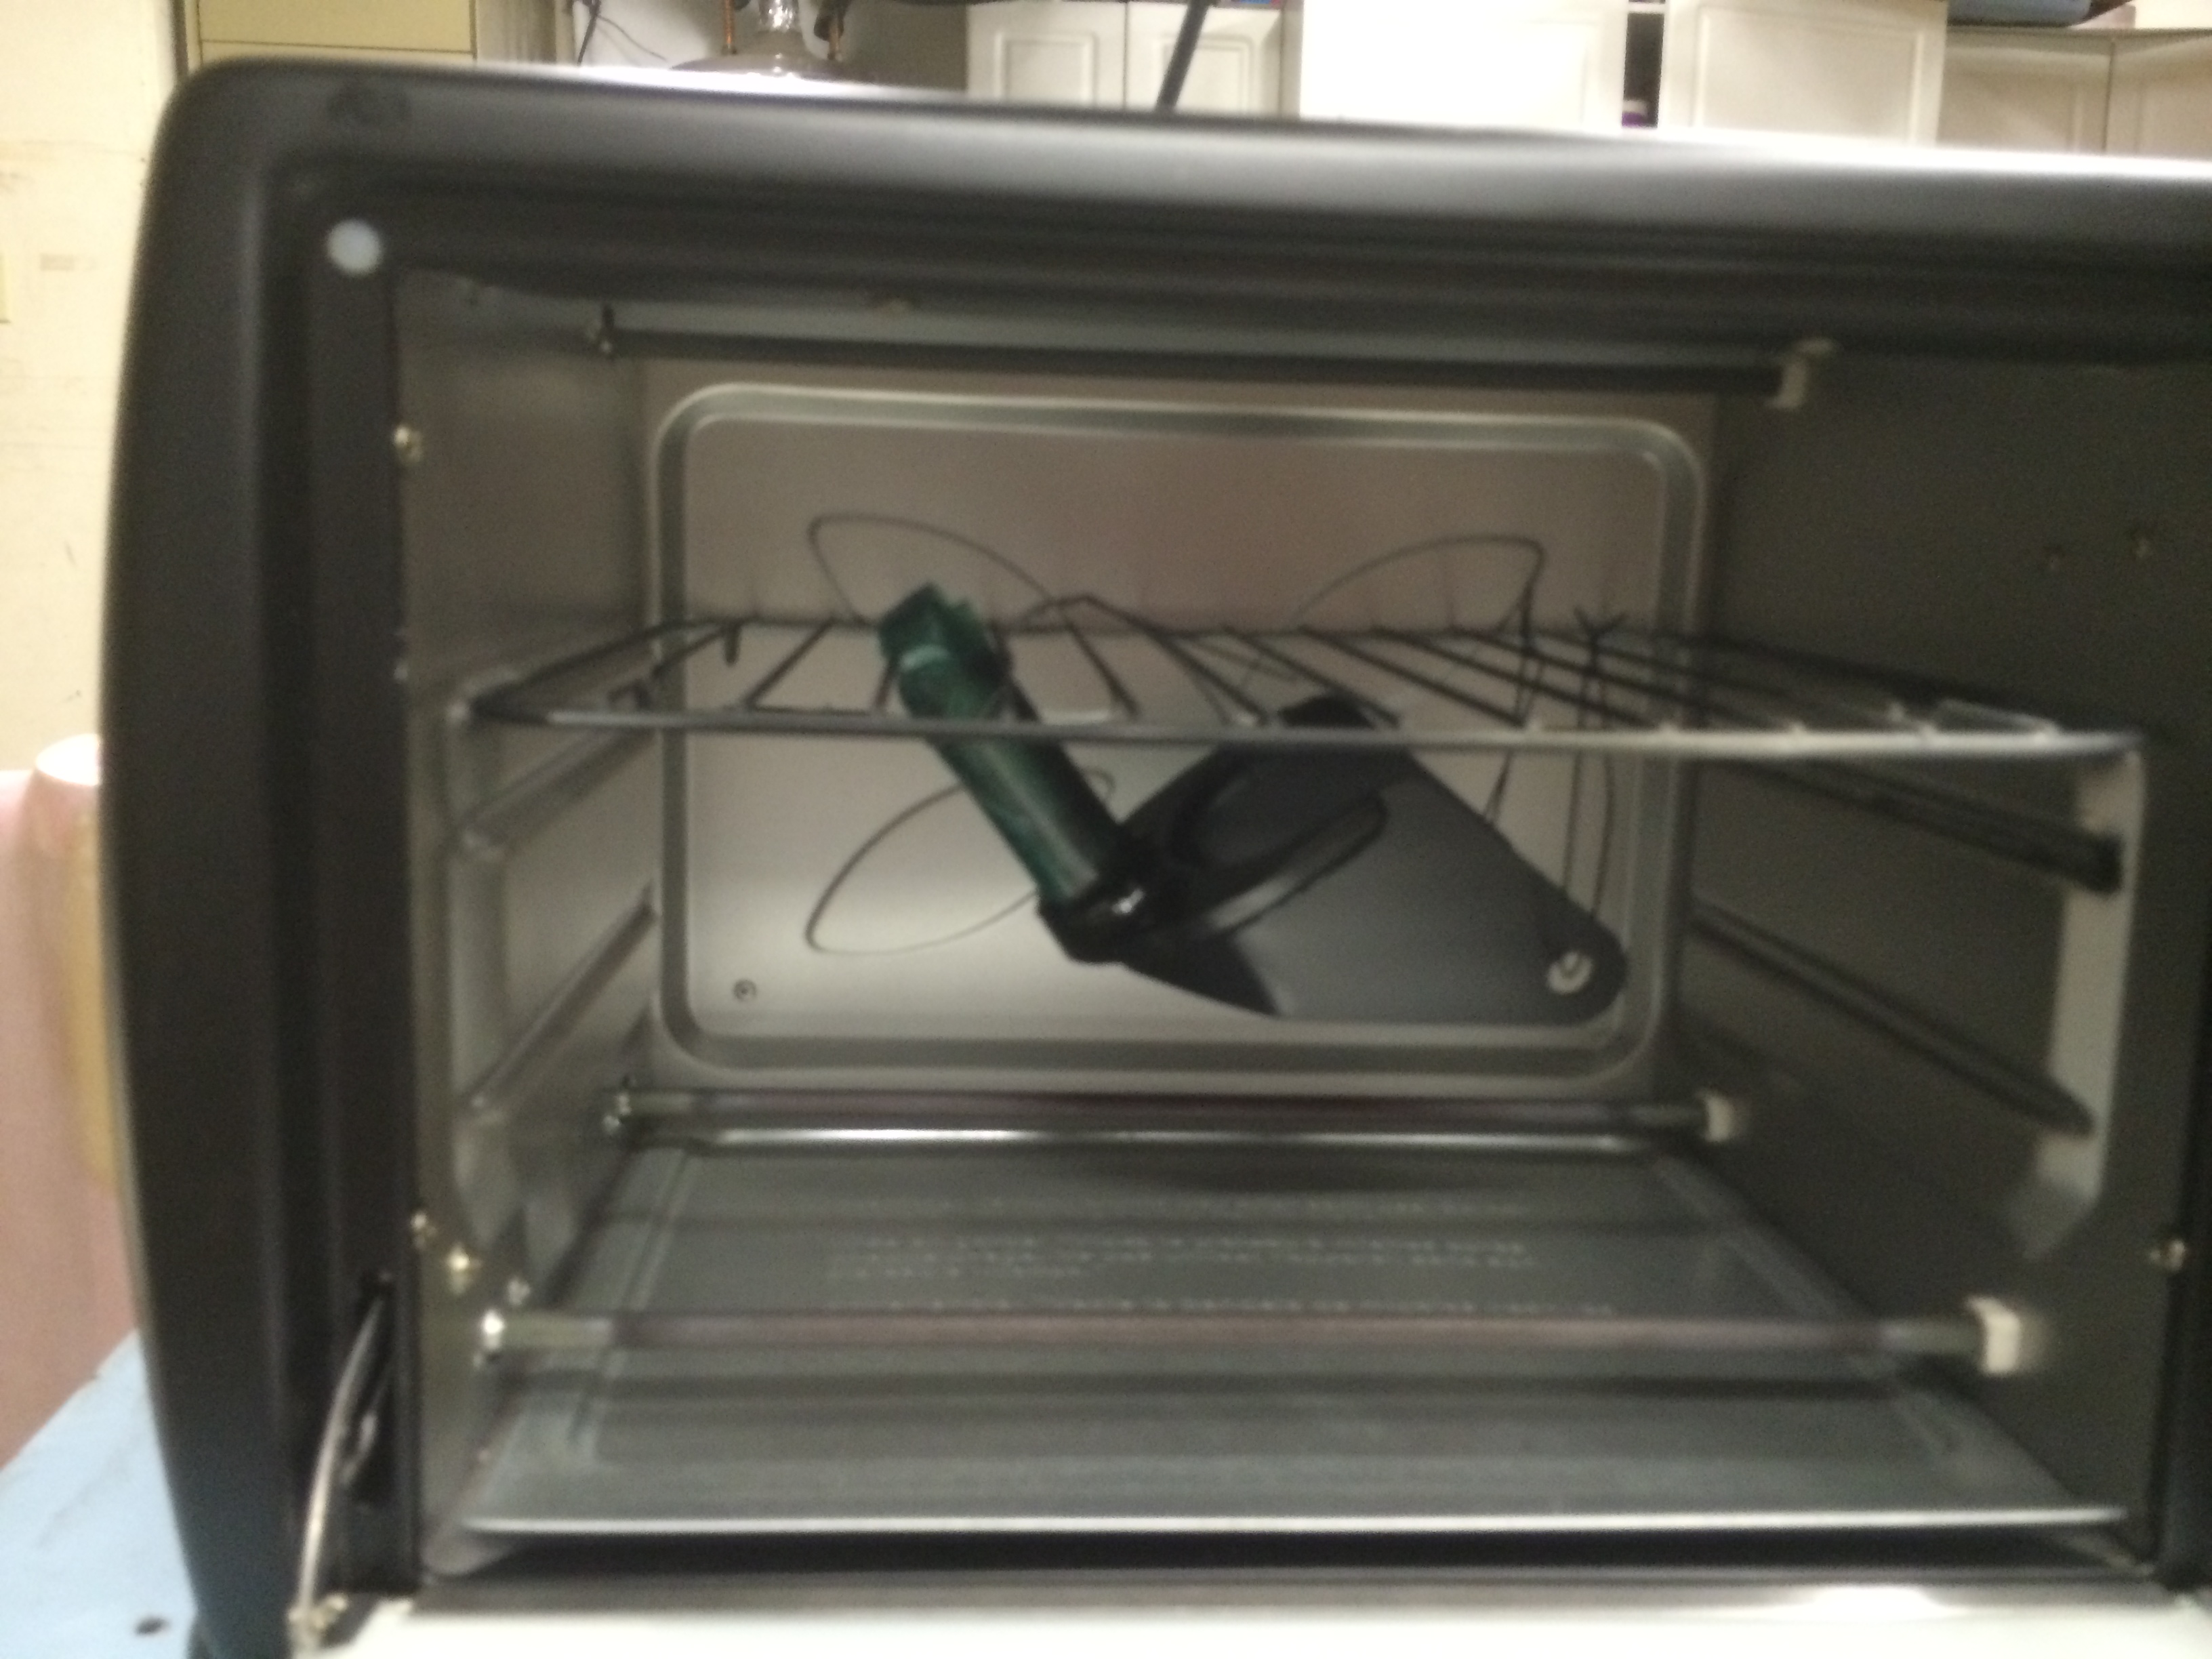
I applied the powder coat and then baked it in the oven for about 20 minutes at 350º.
I finished adjusting the flap pushrods and final torqued them. I had to open up the holes a bit more to make room for the bolt head when the flap is just about fully up. I taped the ailerons to the wingtips and the elevator in the neutral position to use as a reference and then adjusted the flap pushrods so that the flaps align with the ailerons. Finally, I lubricated these rod end bearings.
I swapped out my tailwheel fork for the one from JDAir. The person I spoke with there claimed I would save about a pound over the Bell fork I had, but the savings was just over 1/2 pound. I’m still glad I made the switch, but disappointed that the savings wasn’t what they claimed.
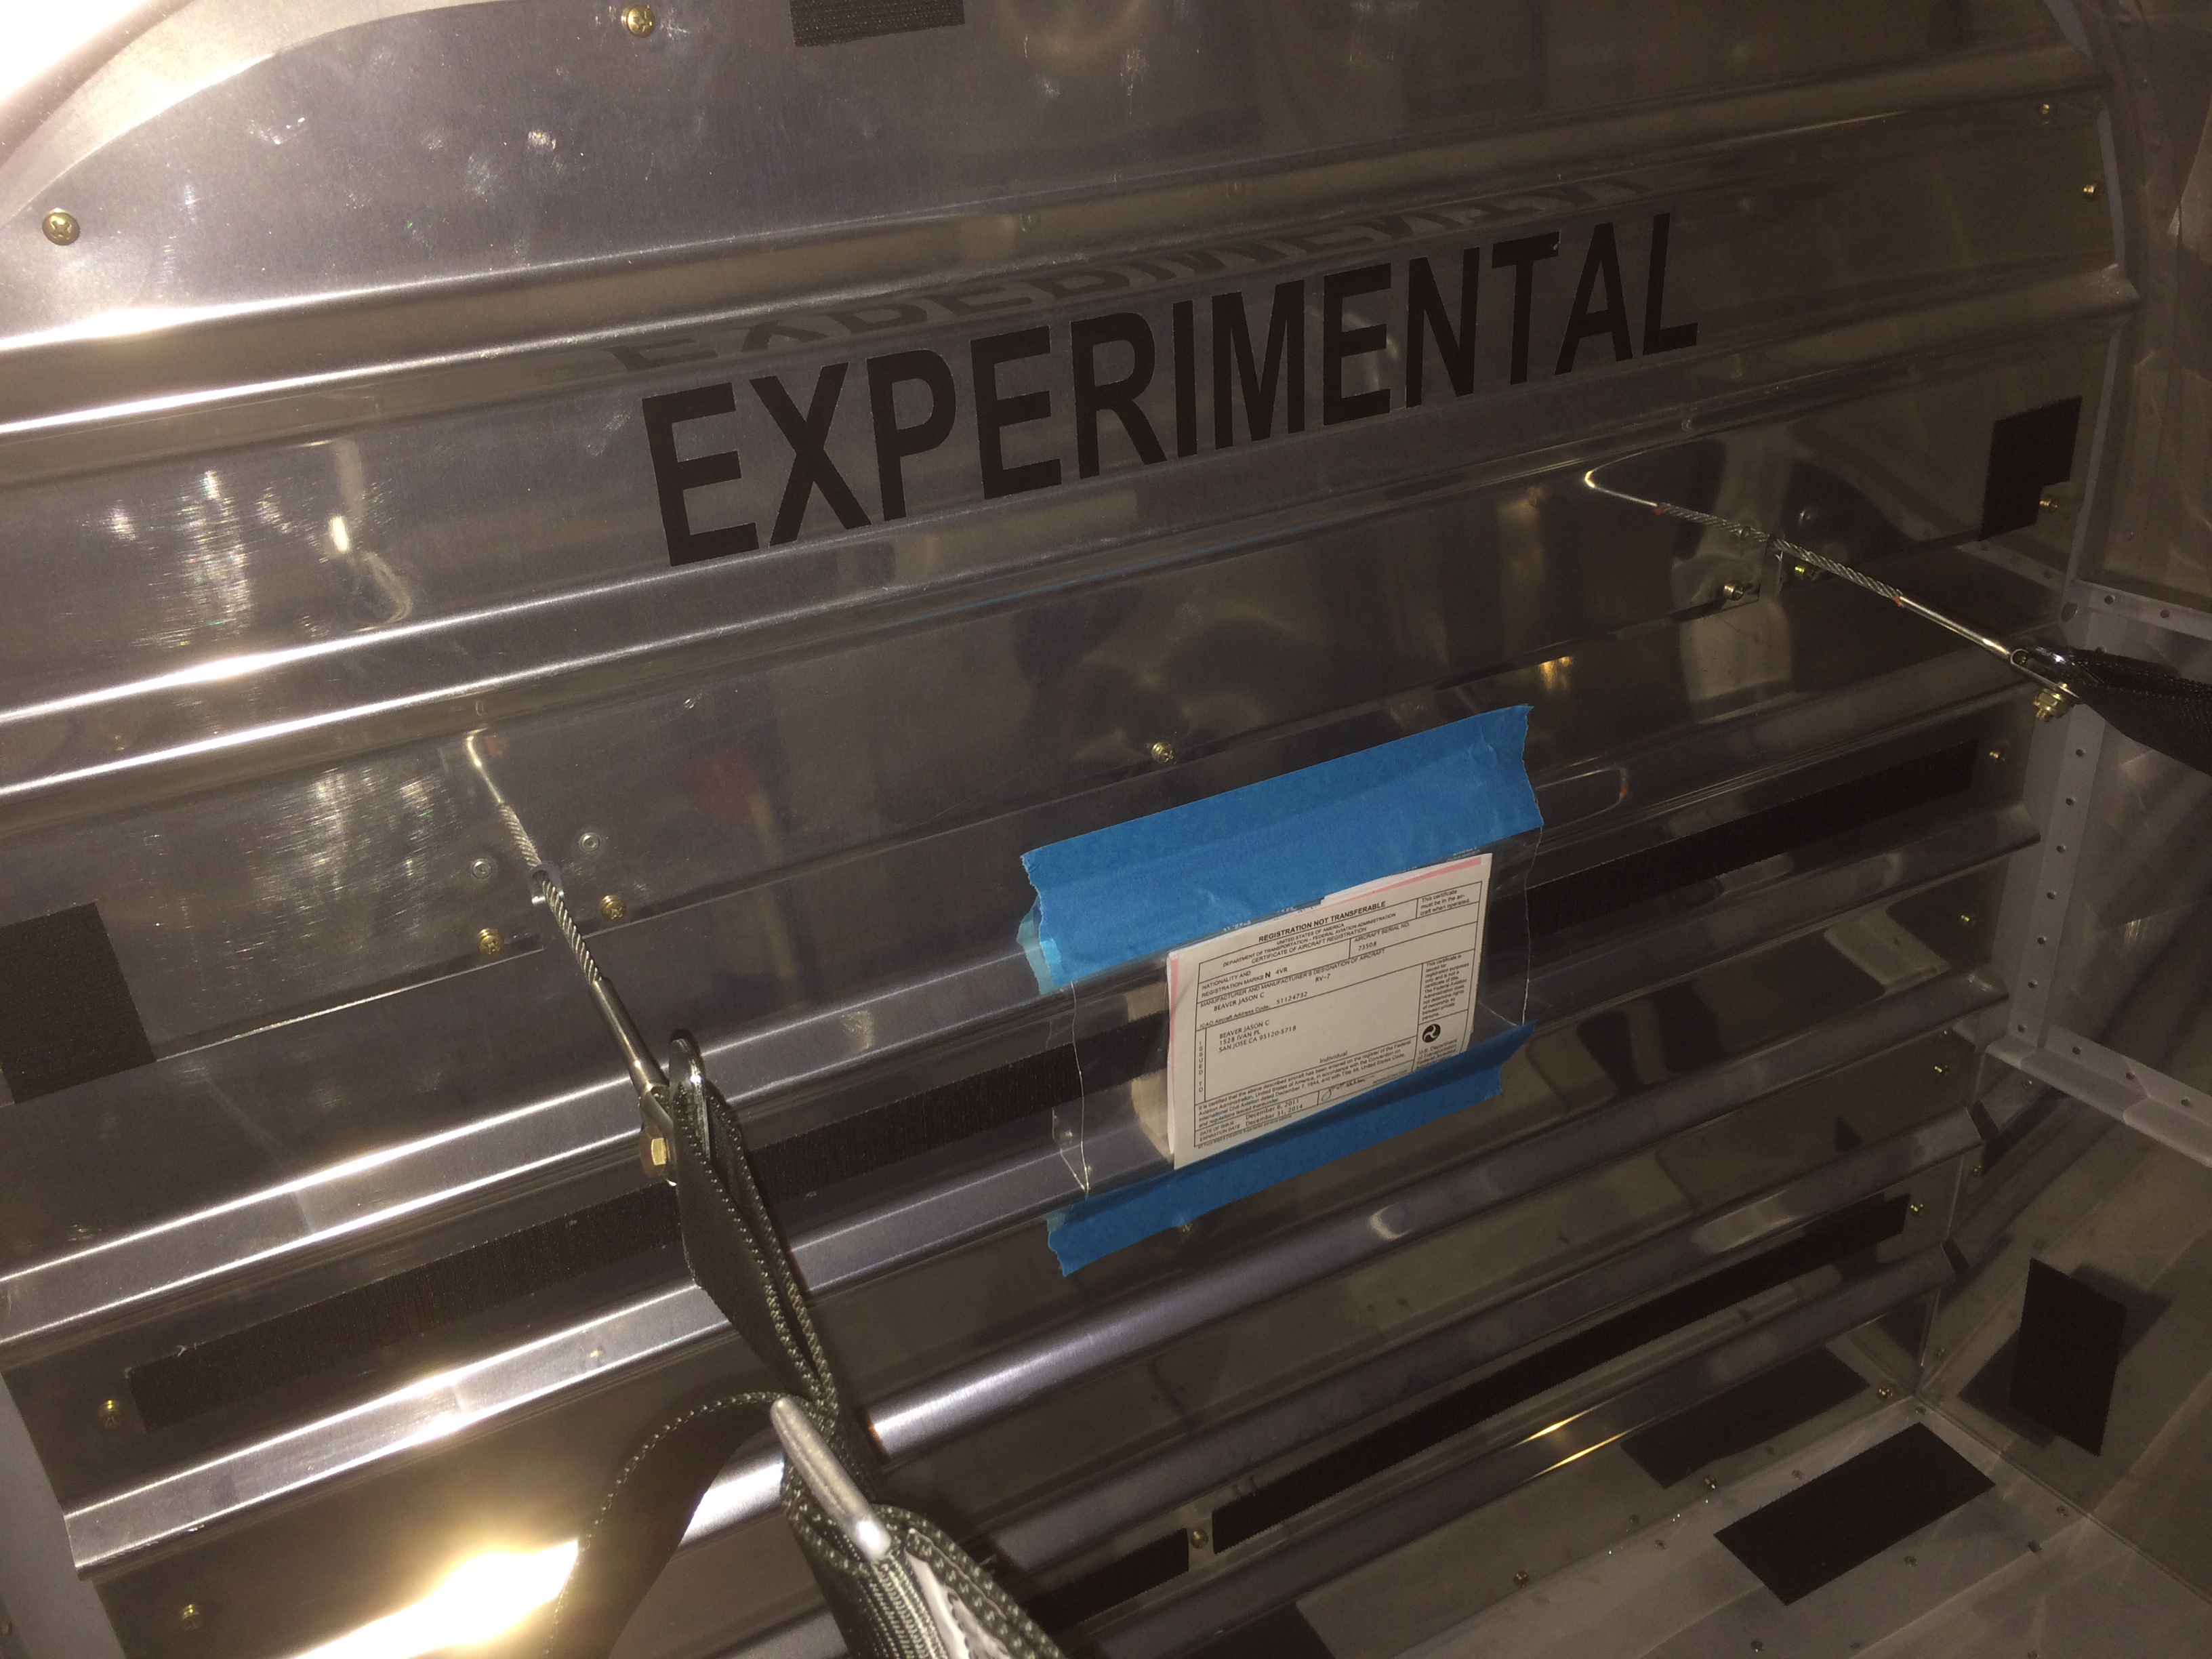
I installed the baggage wall and then taped up a ziploc bag as the temporary holder for my registration, airworthiness certificate and phase 1 operating limitations.
With the flaps adjusted, I could now install the flap covers.
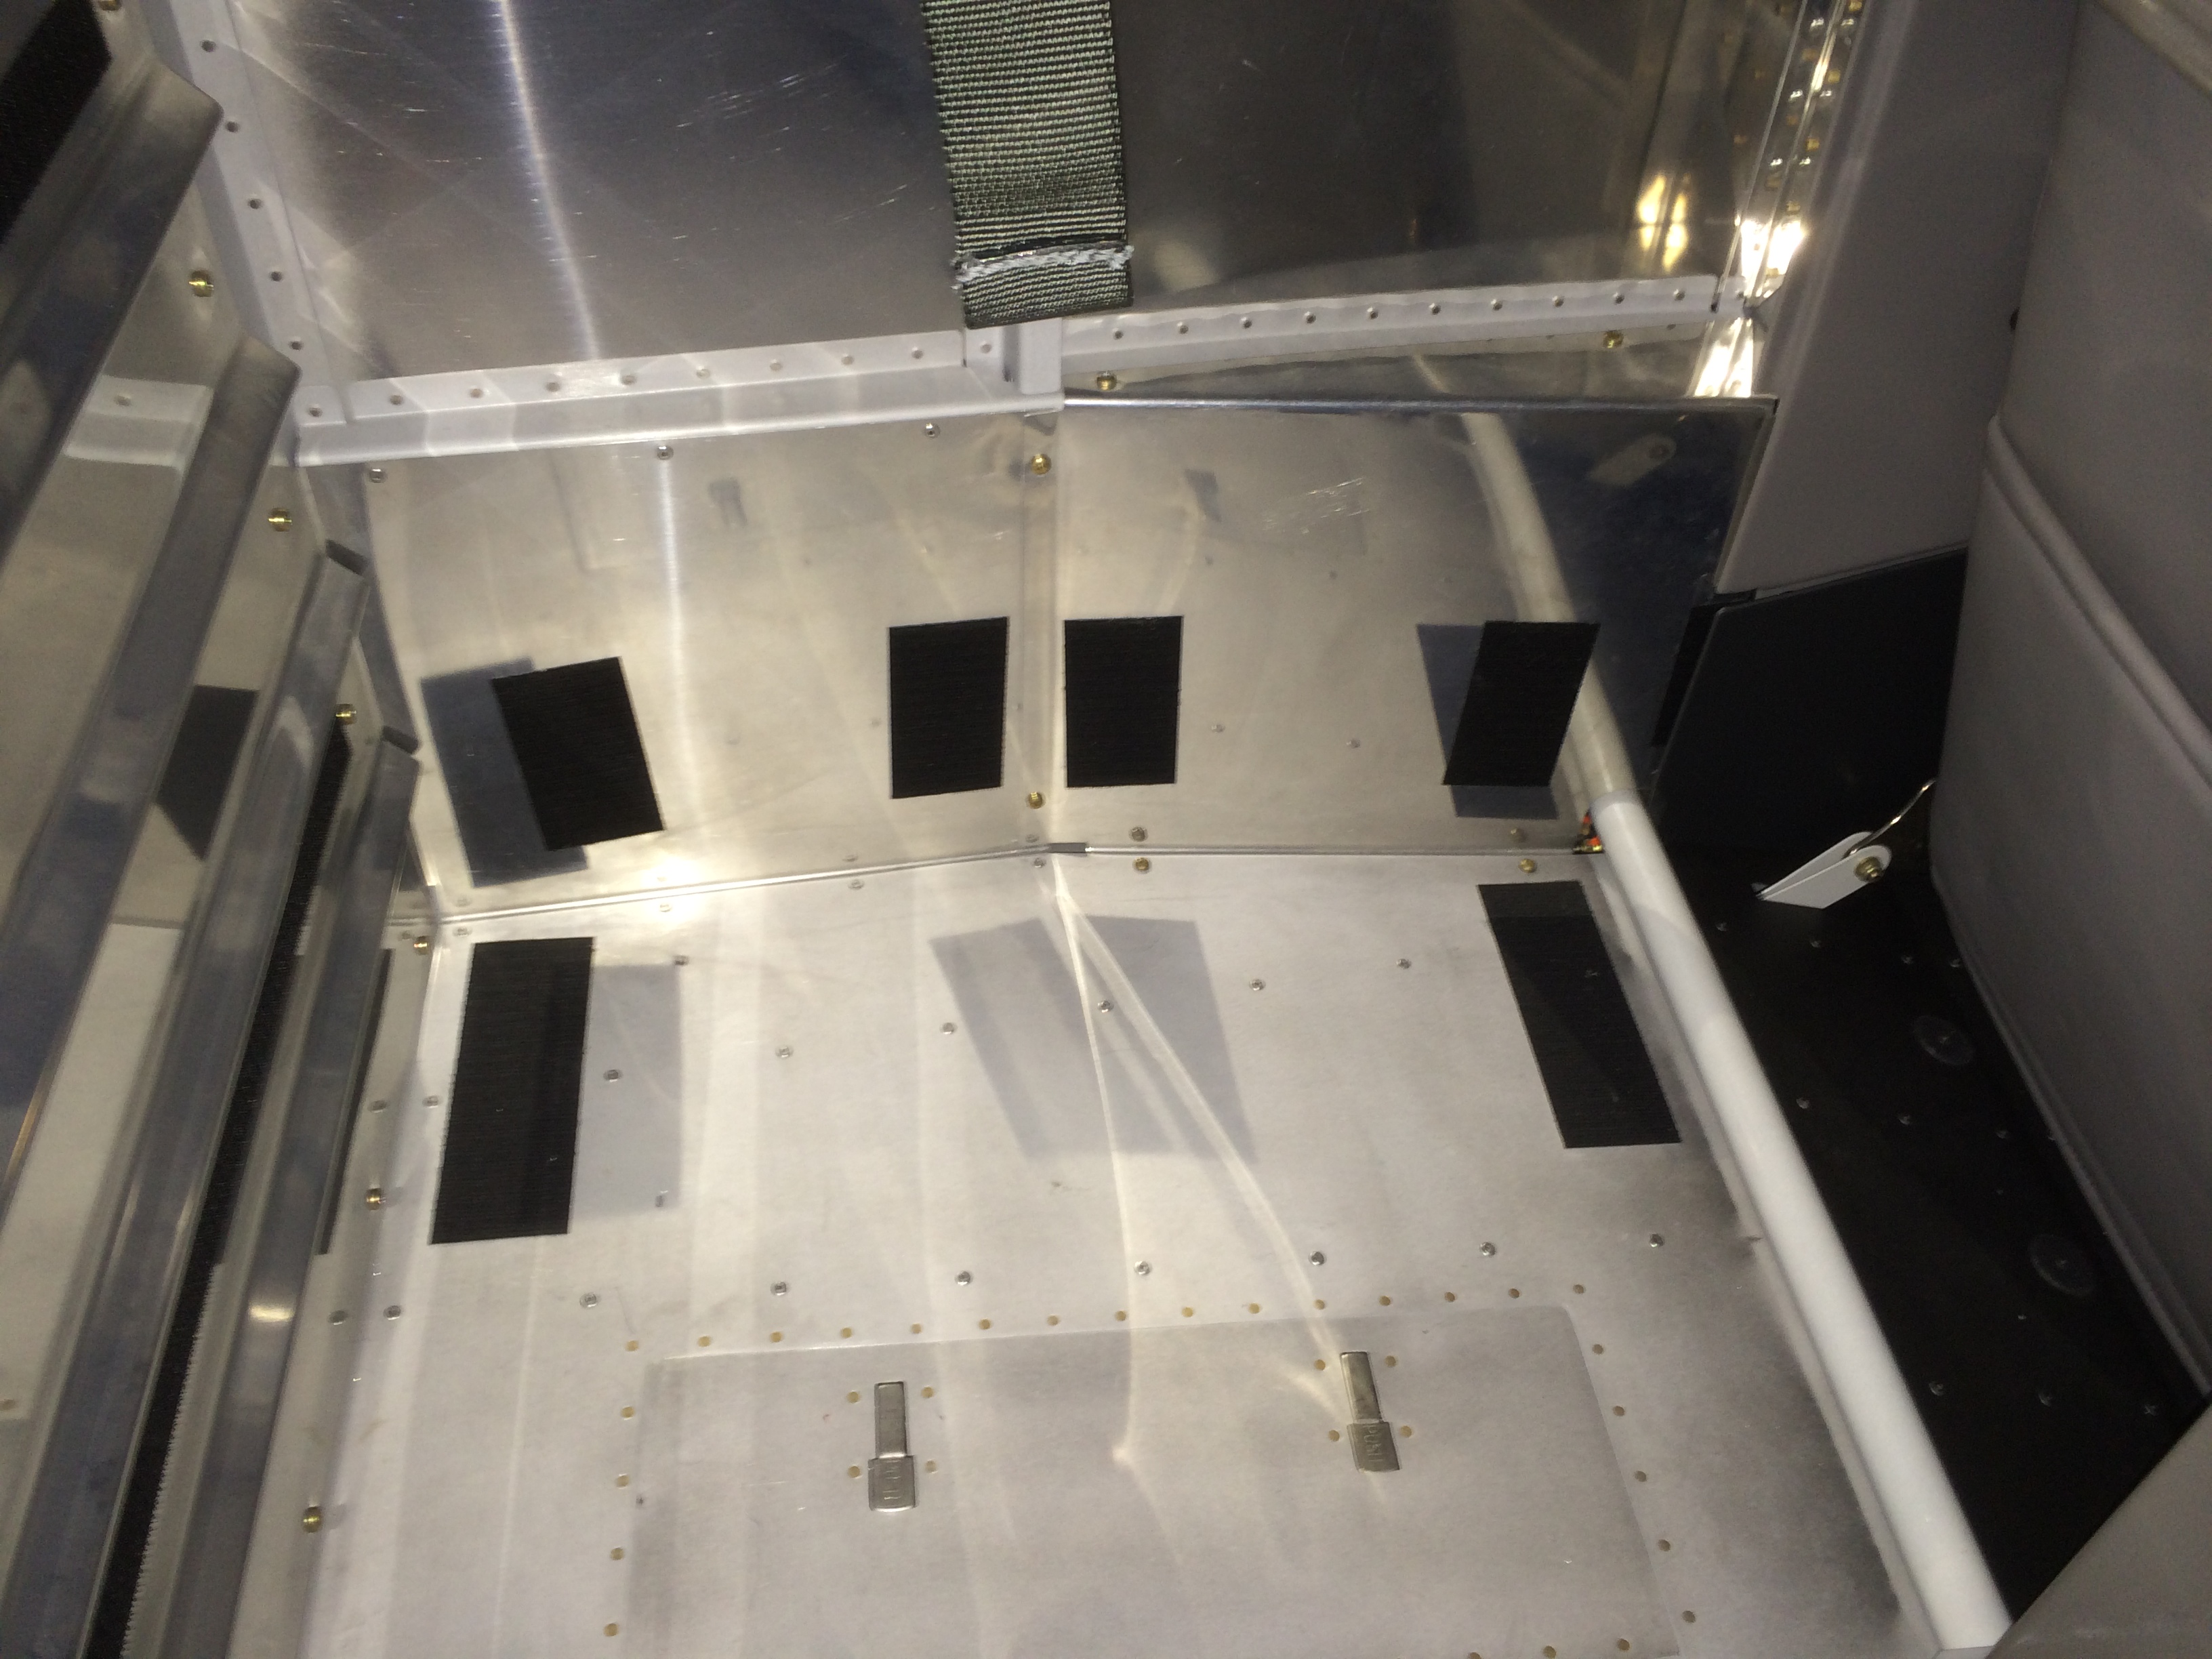
Finally, I vacuumed out the inside of the plane and installed all of the forward interior components. I’m not going to bother installing the interior pieces in the baggage area for phase one (except for the final weight and balance).
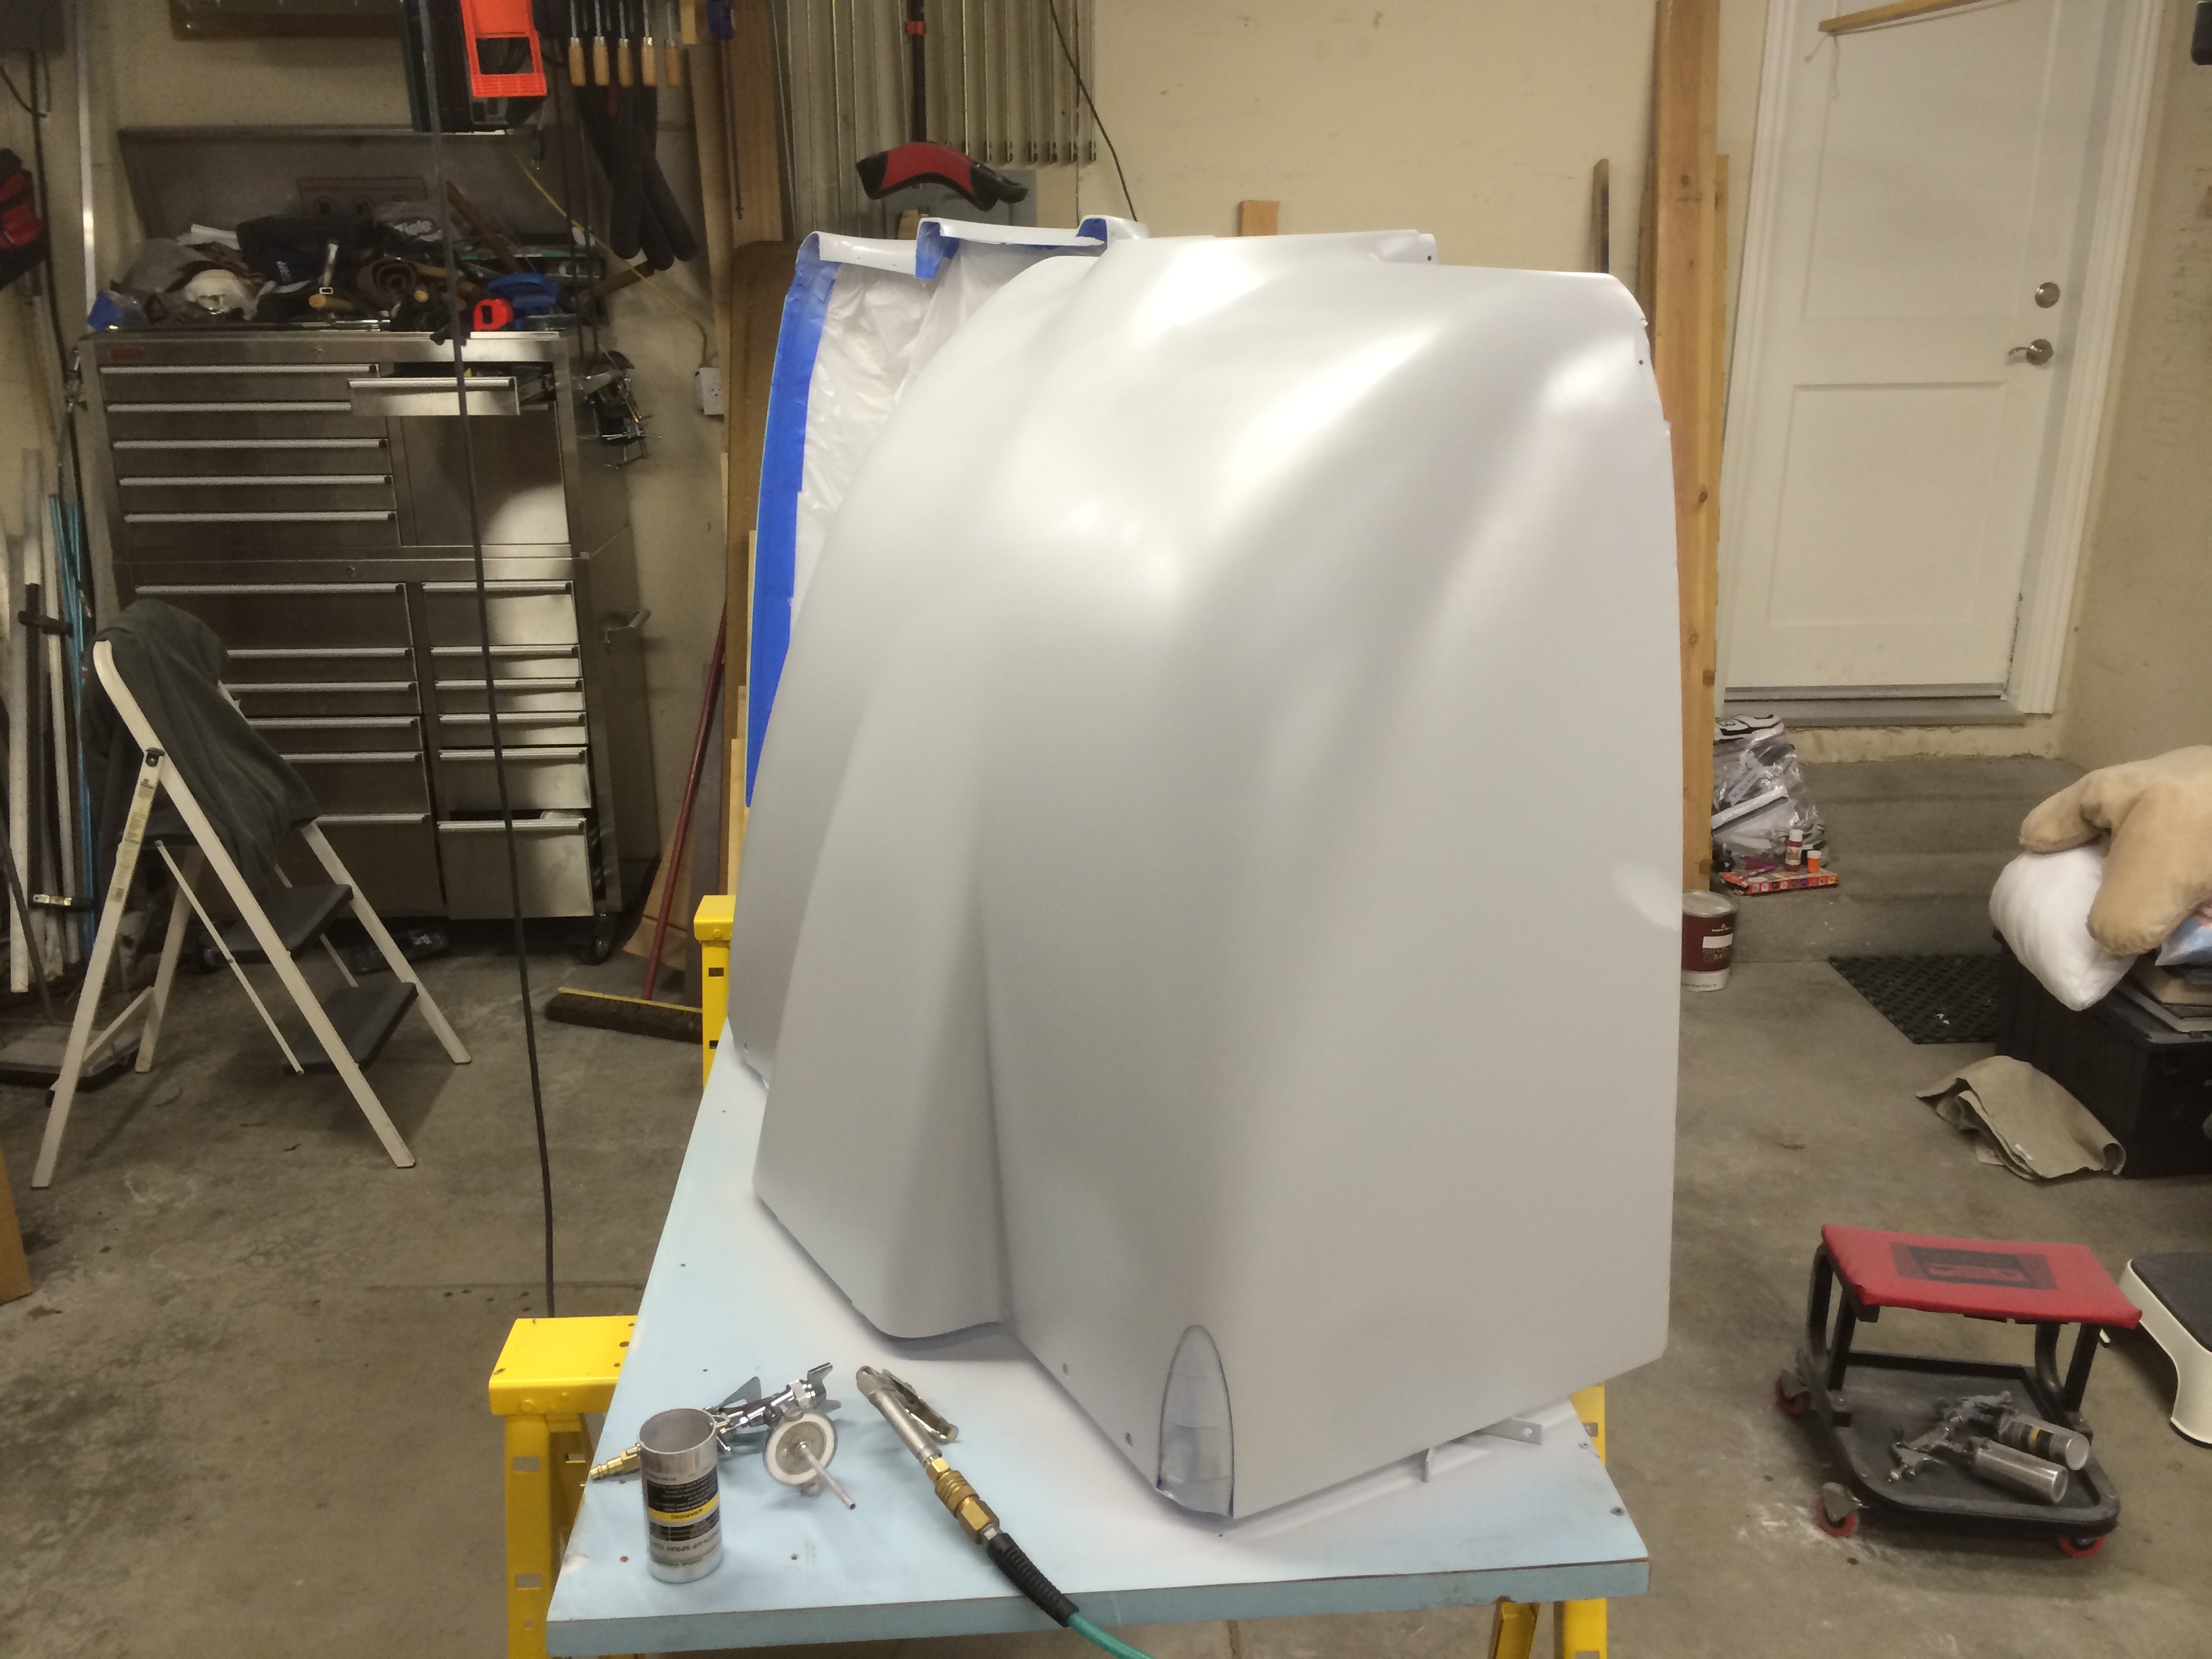
I cleaned off the cowl and shot a few coats of primer. There are a couple of runs since I was trying to go heavy to make this a fill coat. This will all get sanded down before any finish coat is applied. Here’s the upper cowl.

Here is the oil door. I elected to paint the latches; I hope that will not be a mistake.

Here’s the bottom cowl. Although I skimmed coated this with raw epoxy several times, I still have a few pinholes to deal with. It’s way better than it was when I started though.
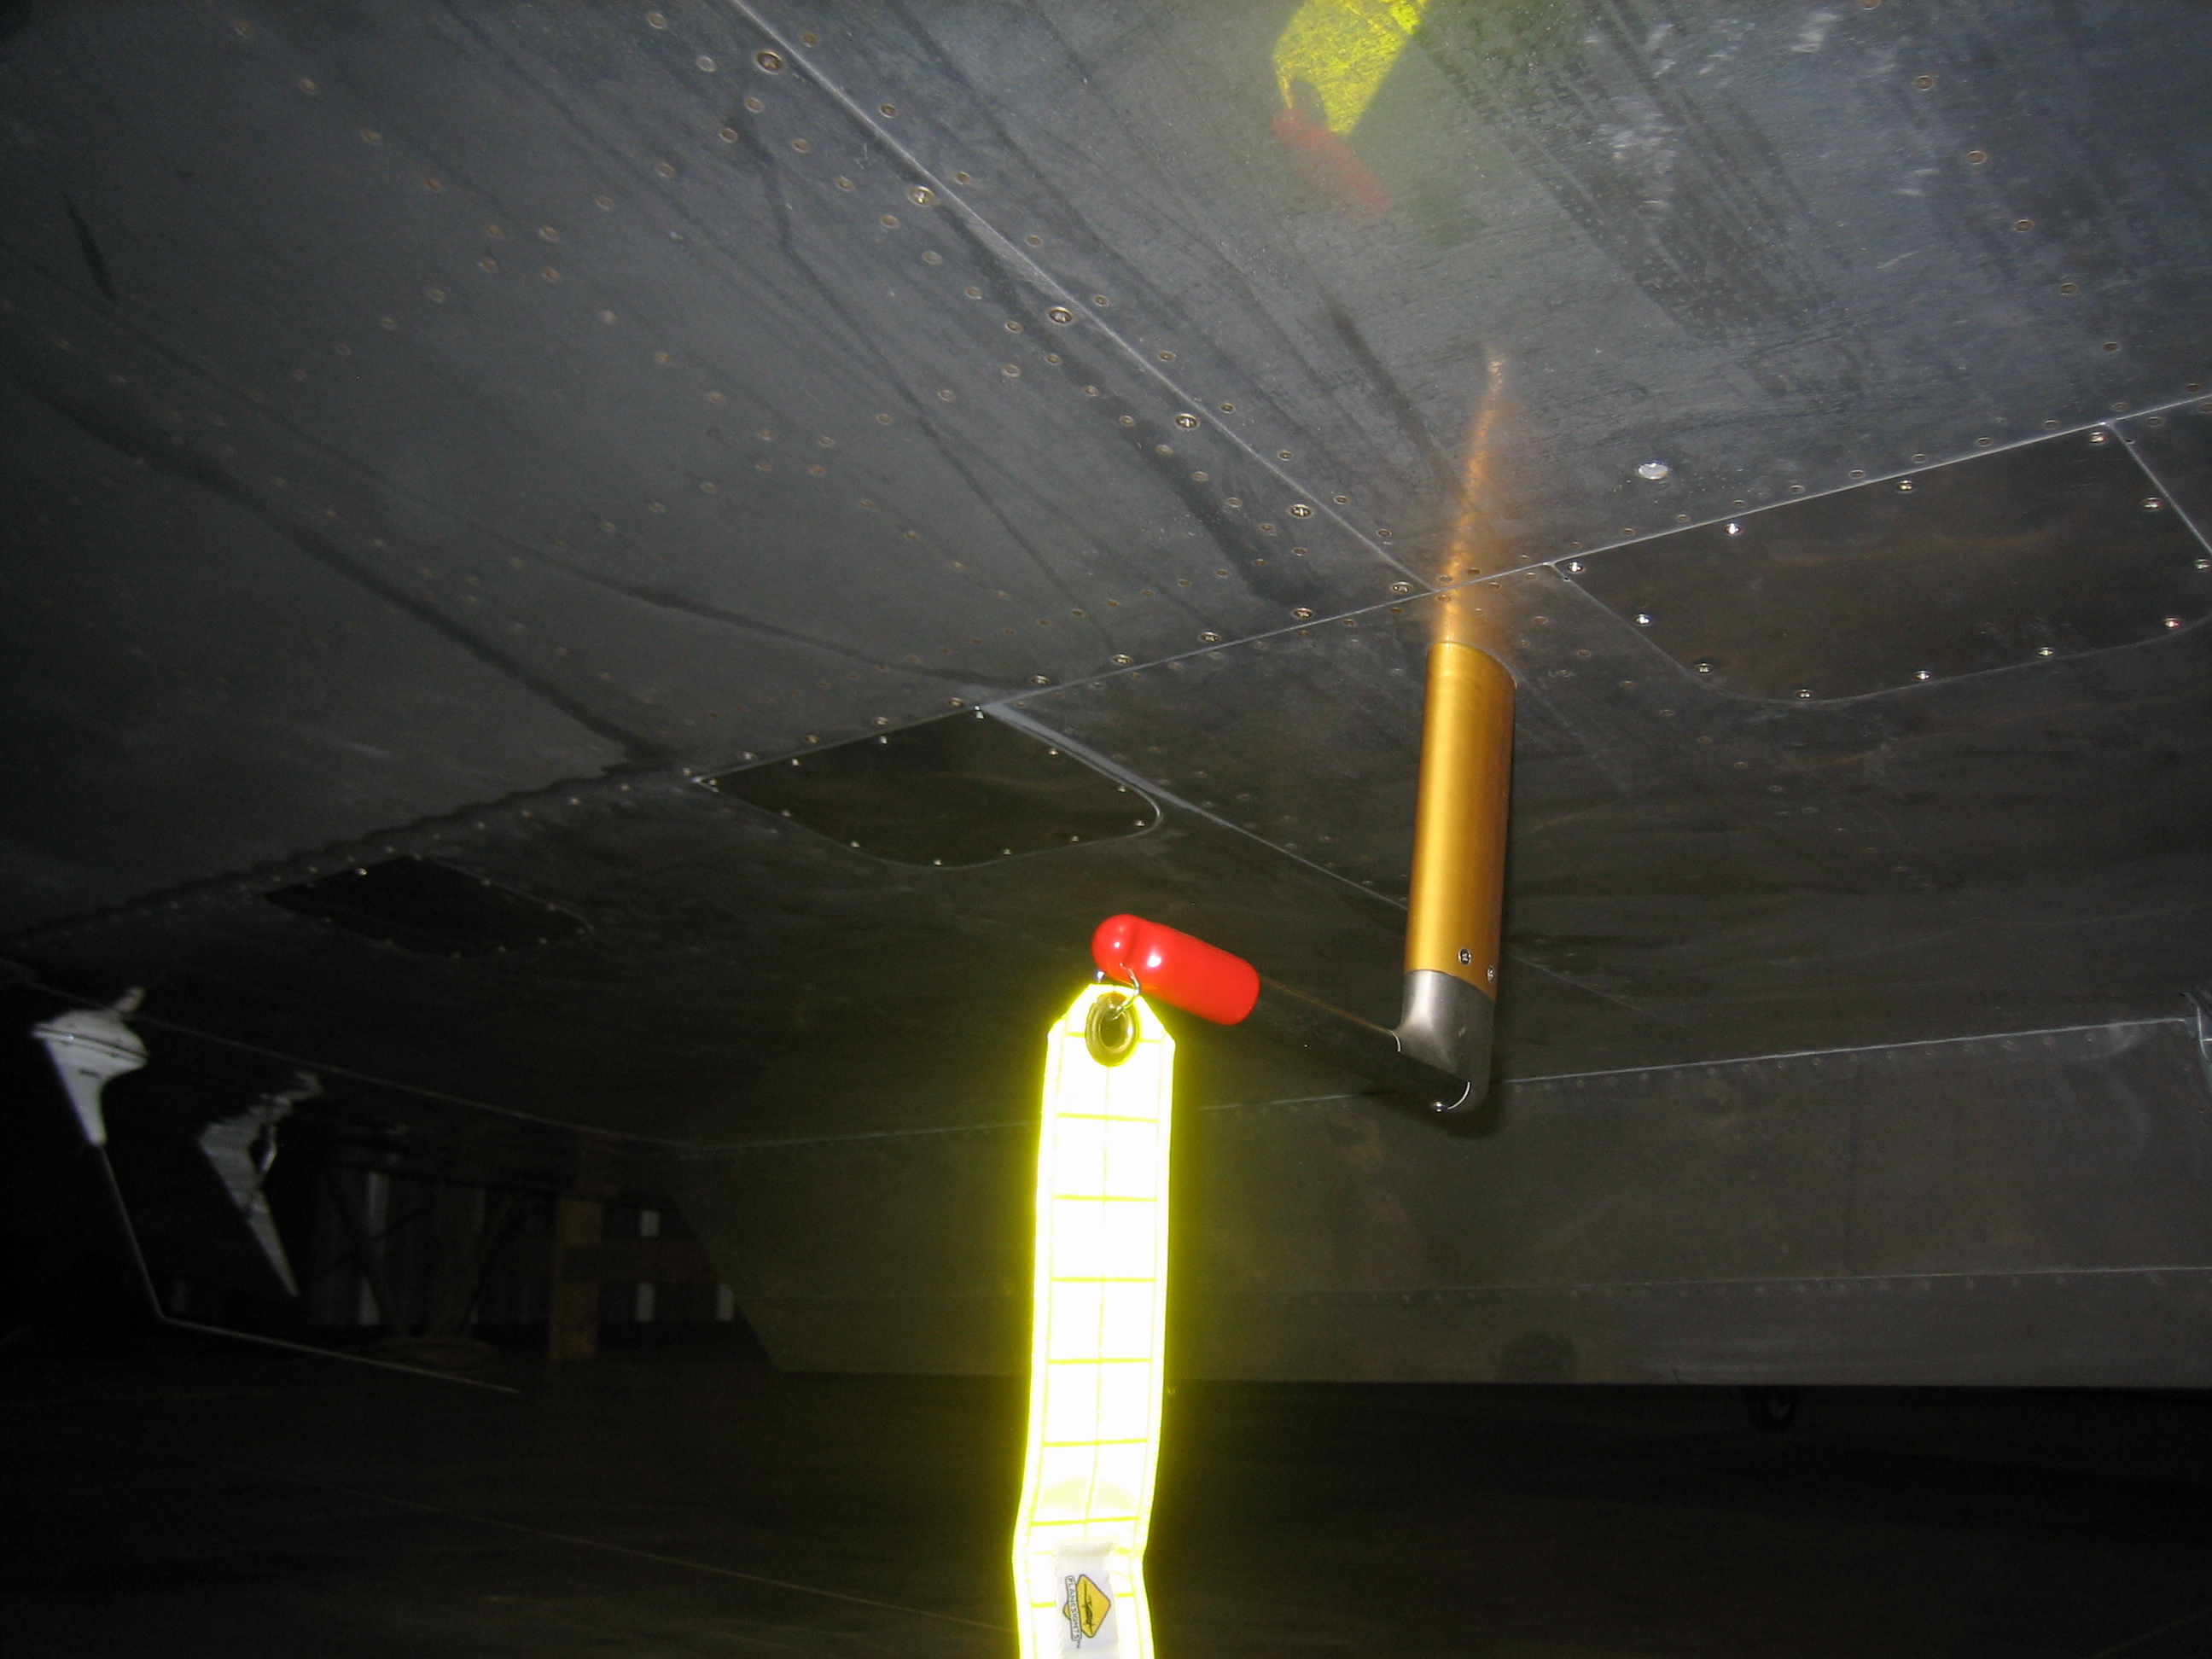
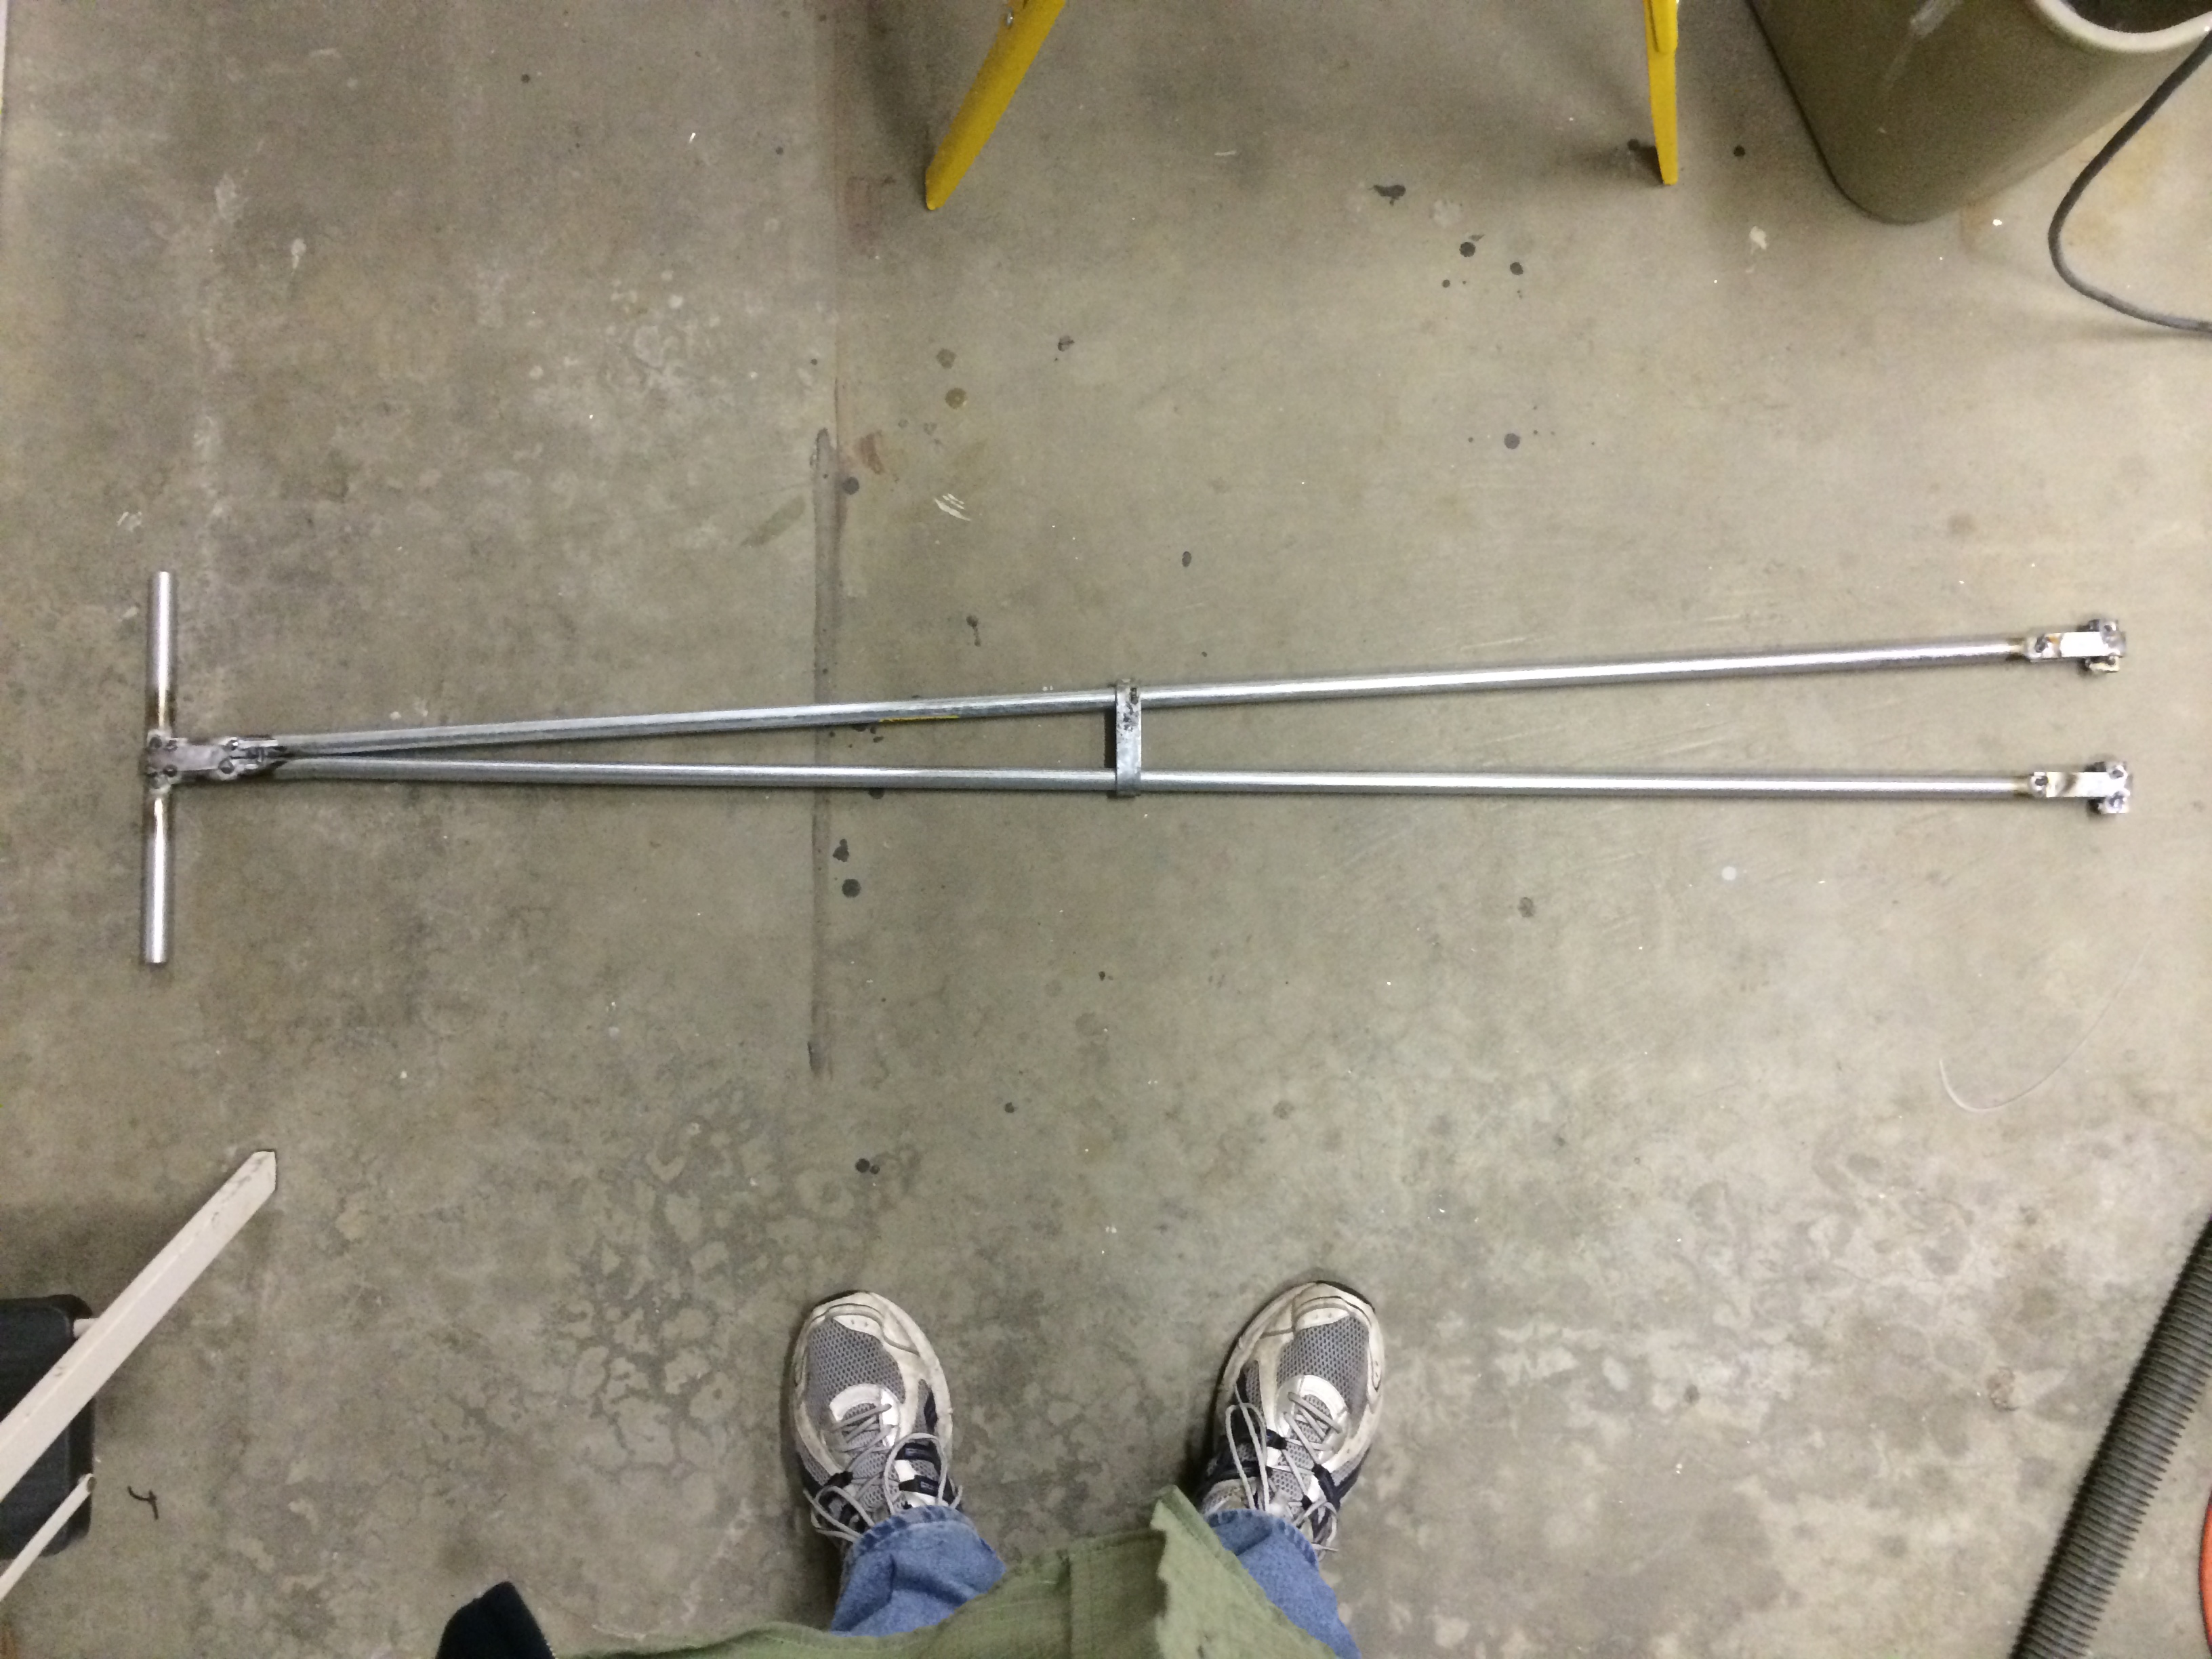
I picked about $10 worth of electrical conduit and fittings and welded up a tow bar down at the TechShop. The crosspiece that you see in the center can slide up and down the tubes to apply the clamping force that will keep the tow bar attached to the tailwheel bolt. This should be super simple to attach and remove. Basically, you just line up the fittings with the bolt and squeeze the tubes together. The crosspiece will automatically slide down the tubes and lock the tow bar in place. To release, just pull back on the cross piece and the fittings will pop off. I made the tow bar 5′ long because a shorter tow bar tends to hit the bottom of the rudder. Hopefully 5′ will be long enough to avoid that.
I didn’t get any pictures, but I did the first full power engine run today. I’ve been having an issue with high oil pressure even though the adjustment screw is backed all the way out. The main thing I wanted to determine was where the pressure would top out. It turns out that with the oil pressure regulator turned all the way down, it peaked at 103 PSI at 1800 RPM and stayed there all the way up to 2700 RPM. AeroSport power said the red line should be at 95 PSI, so it’s clearly too high. I’ll call them tomorrow to see what I should do about this.
I also started adding some glass to the lower empennage fairings to make them line up with the upper fairing. I needed to stiffen up the leading edge so that I could add some lightweight filler without it cracking due to the fairing being so flexible.
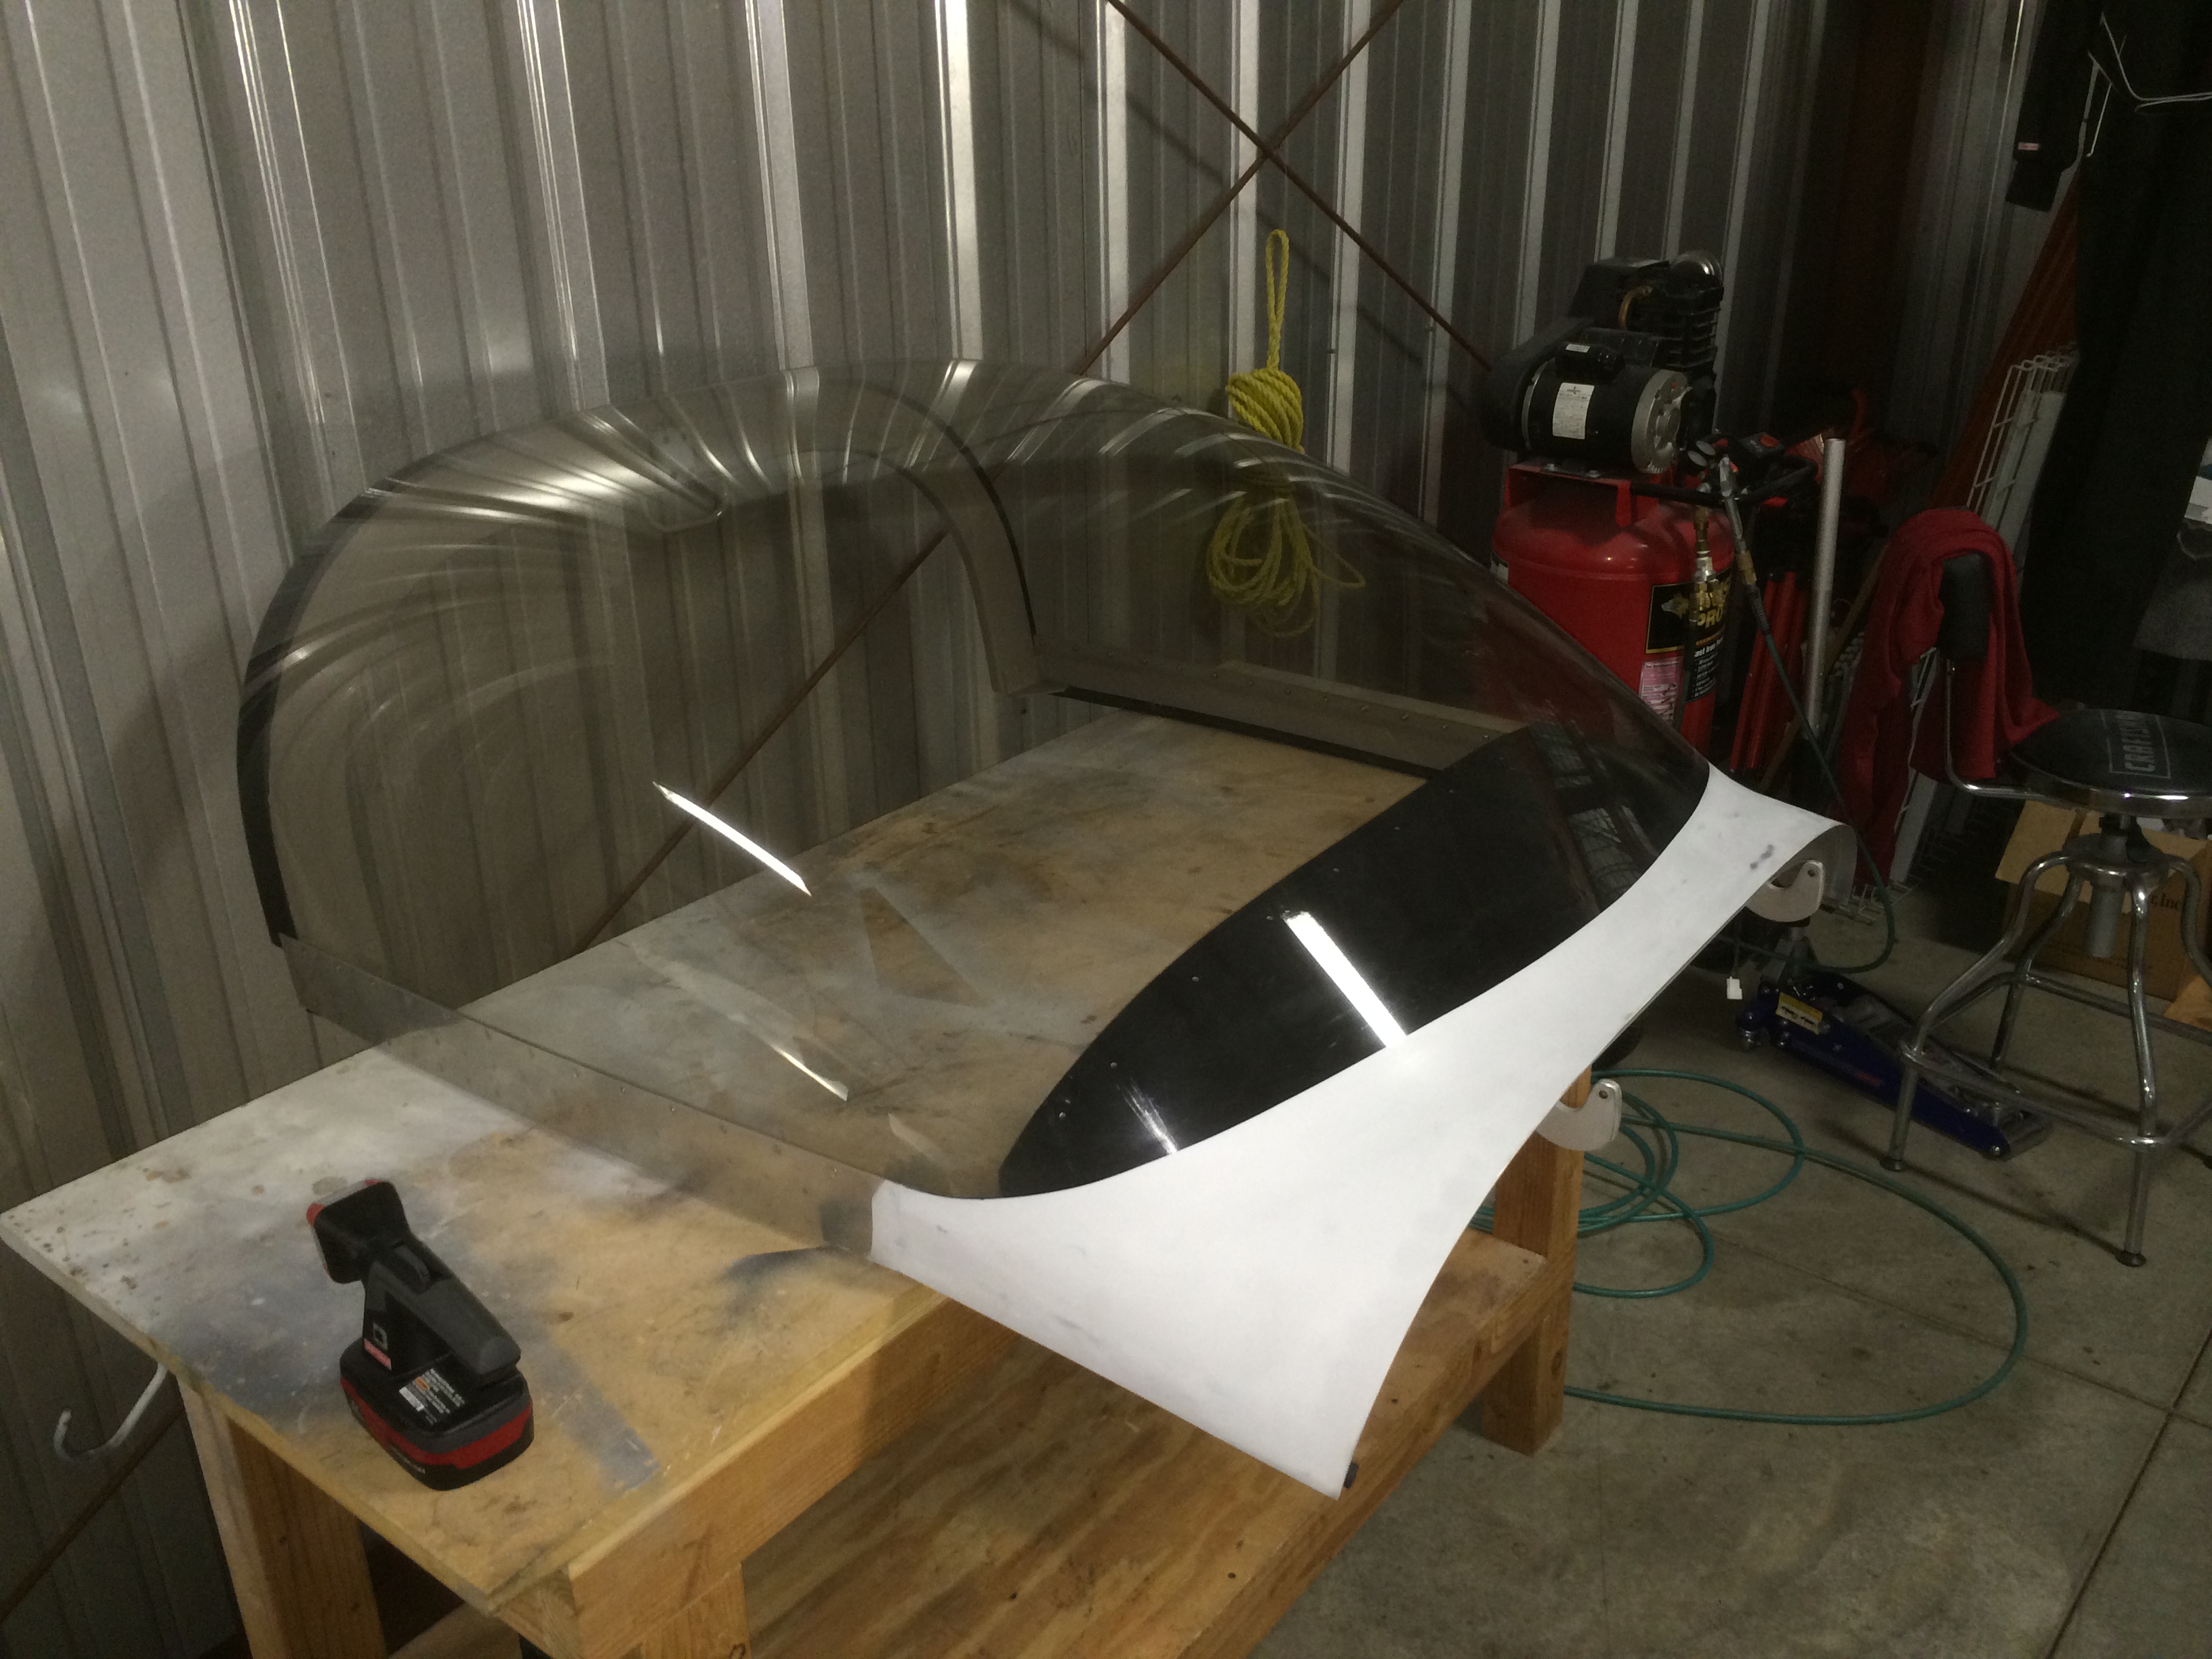
Finally, I spent some time using the MicroMesh kit on the canopy to remove a few spots of paint overspray and some minor scratches. I worked all the way down to the 6000 grit sandpaper. I’ll use the polish tomorrow.
I spent an hour or so polishing the canopy. I’ll probably spend some more time on it later to get every last mark off of it, but it looks fantastic now. I cleaned it inside and out with some Plexus, so it’s ready for flight.
I then trimmed and sanded the glasswork that I did on the lower empennage fairings. I think they’re ready for filler, but I’m going to fly with them like they are now and deal with that later.
My buddy Greg and I flew up to Portland, OR early this morning and made it over to Vernonia, OR a little after 10 am to start our transition training with Mike Seager. Here’s a little intro video about Mike:
We spent about an hour and a half going through ground instruction which covered the various V speeds for the airplane and then talked about the speeds and configs for the various parts of the traffic pattern. Many of the speeds are similar to the Bonanzas we fly, so that will make it a little easier to transition between them.Afterward, we grabbed lunch in town and then came back out to start flying.
Despite the rain and low clouds, we each got 1.8 hours of flight time in the plane. The flight started with a takeoff from his soggy grass strip and then a flight out to the practice area underneath the overcast. I got a chance to play with the controls and learn how sensitive they are. The plane is far more responsive than anything I’ve ever flown, but it’s not twitchy. You do have to be careful because it’s really easy to over control the plane.Once we got to the practice area, we slowed the plane down and did some slow flight at 80 and 70 MPH. Although the controls were mushy, there is still far more control authority even at this speed than most planes have in any configuration.
Once we finished slow flight, we moved on to power off and power on stalls. The power off stall break is rather abrupt with little warning but has little tendency to drop a wing as long as the ball is relatively close to center. The power on stalls were even more docile, but they were at a ridiculously high pitch attitude. Even at only 23 squared, the break happened at over 30º nose up. A full power stall would be at a truly extreme angle even in his 160 hp RV-7. In our nearly 200 hp RVs, the angle will be even higher.
After we wrapped up the air work, we headed over to the Scappoose airport for some pattern work. We did half a dozen stop and go landings, and I was starting to get a pretty good feel for the handling and site picture near the end. This is the first taildragger I’ve flown where I can’t see the far end of the runway over the nose in the flare. His technique is to look down the side of the cowl and sight the far left corner of the runway. I still need to practice his technique to make it more automatic. Assuming the weather holds, we’ll get a few more flights in over the next couple of days, so I should be feeling pretty solid by Friday.
Greg and I wrapped up our transition training today. We each got between 8-9 hours total, and I’m feeling pretty comfortable in the airplane.
We did a little more air work today including more slow flight and stalls. We also did some power off landings as well as short and soft field landings. The weather was substantially better than yesterday, so we were able to climb a bit higher and do some acro. Thanks to Mike’s excellent instruction, I’m ready for first flight.