
I met with the DAR this morning. After he inspected the plane, we went over the paperwork I submitted and then reviewed my operating limitations. Finally, he issued my airworthiness certificate, so the plane is officially airworthy. We spent a little time afterward discussing my preparations for flight testing and covering the test plan for my initial flight.

My airframe logbook also gets an entry stating the plane is airworthy.

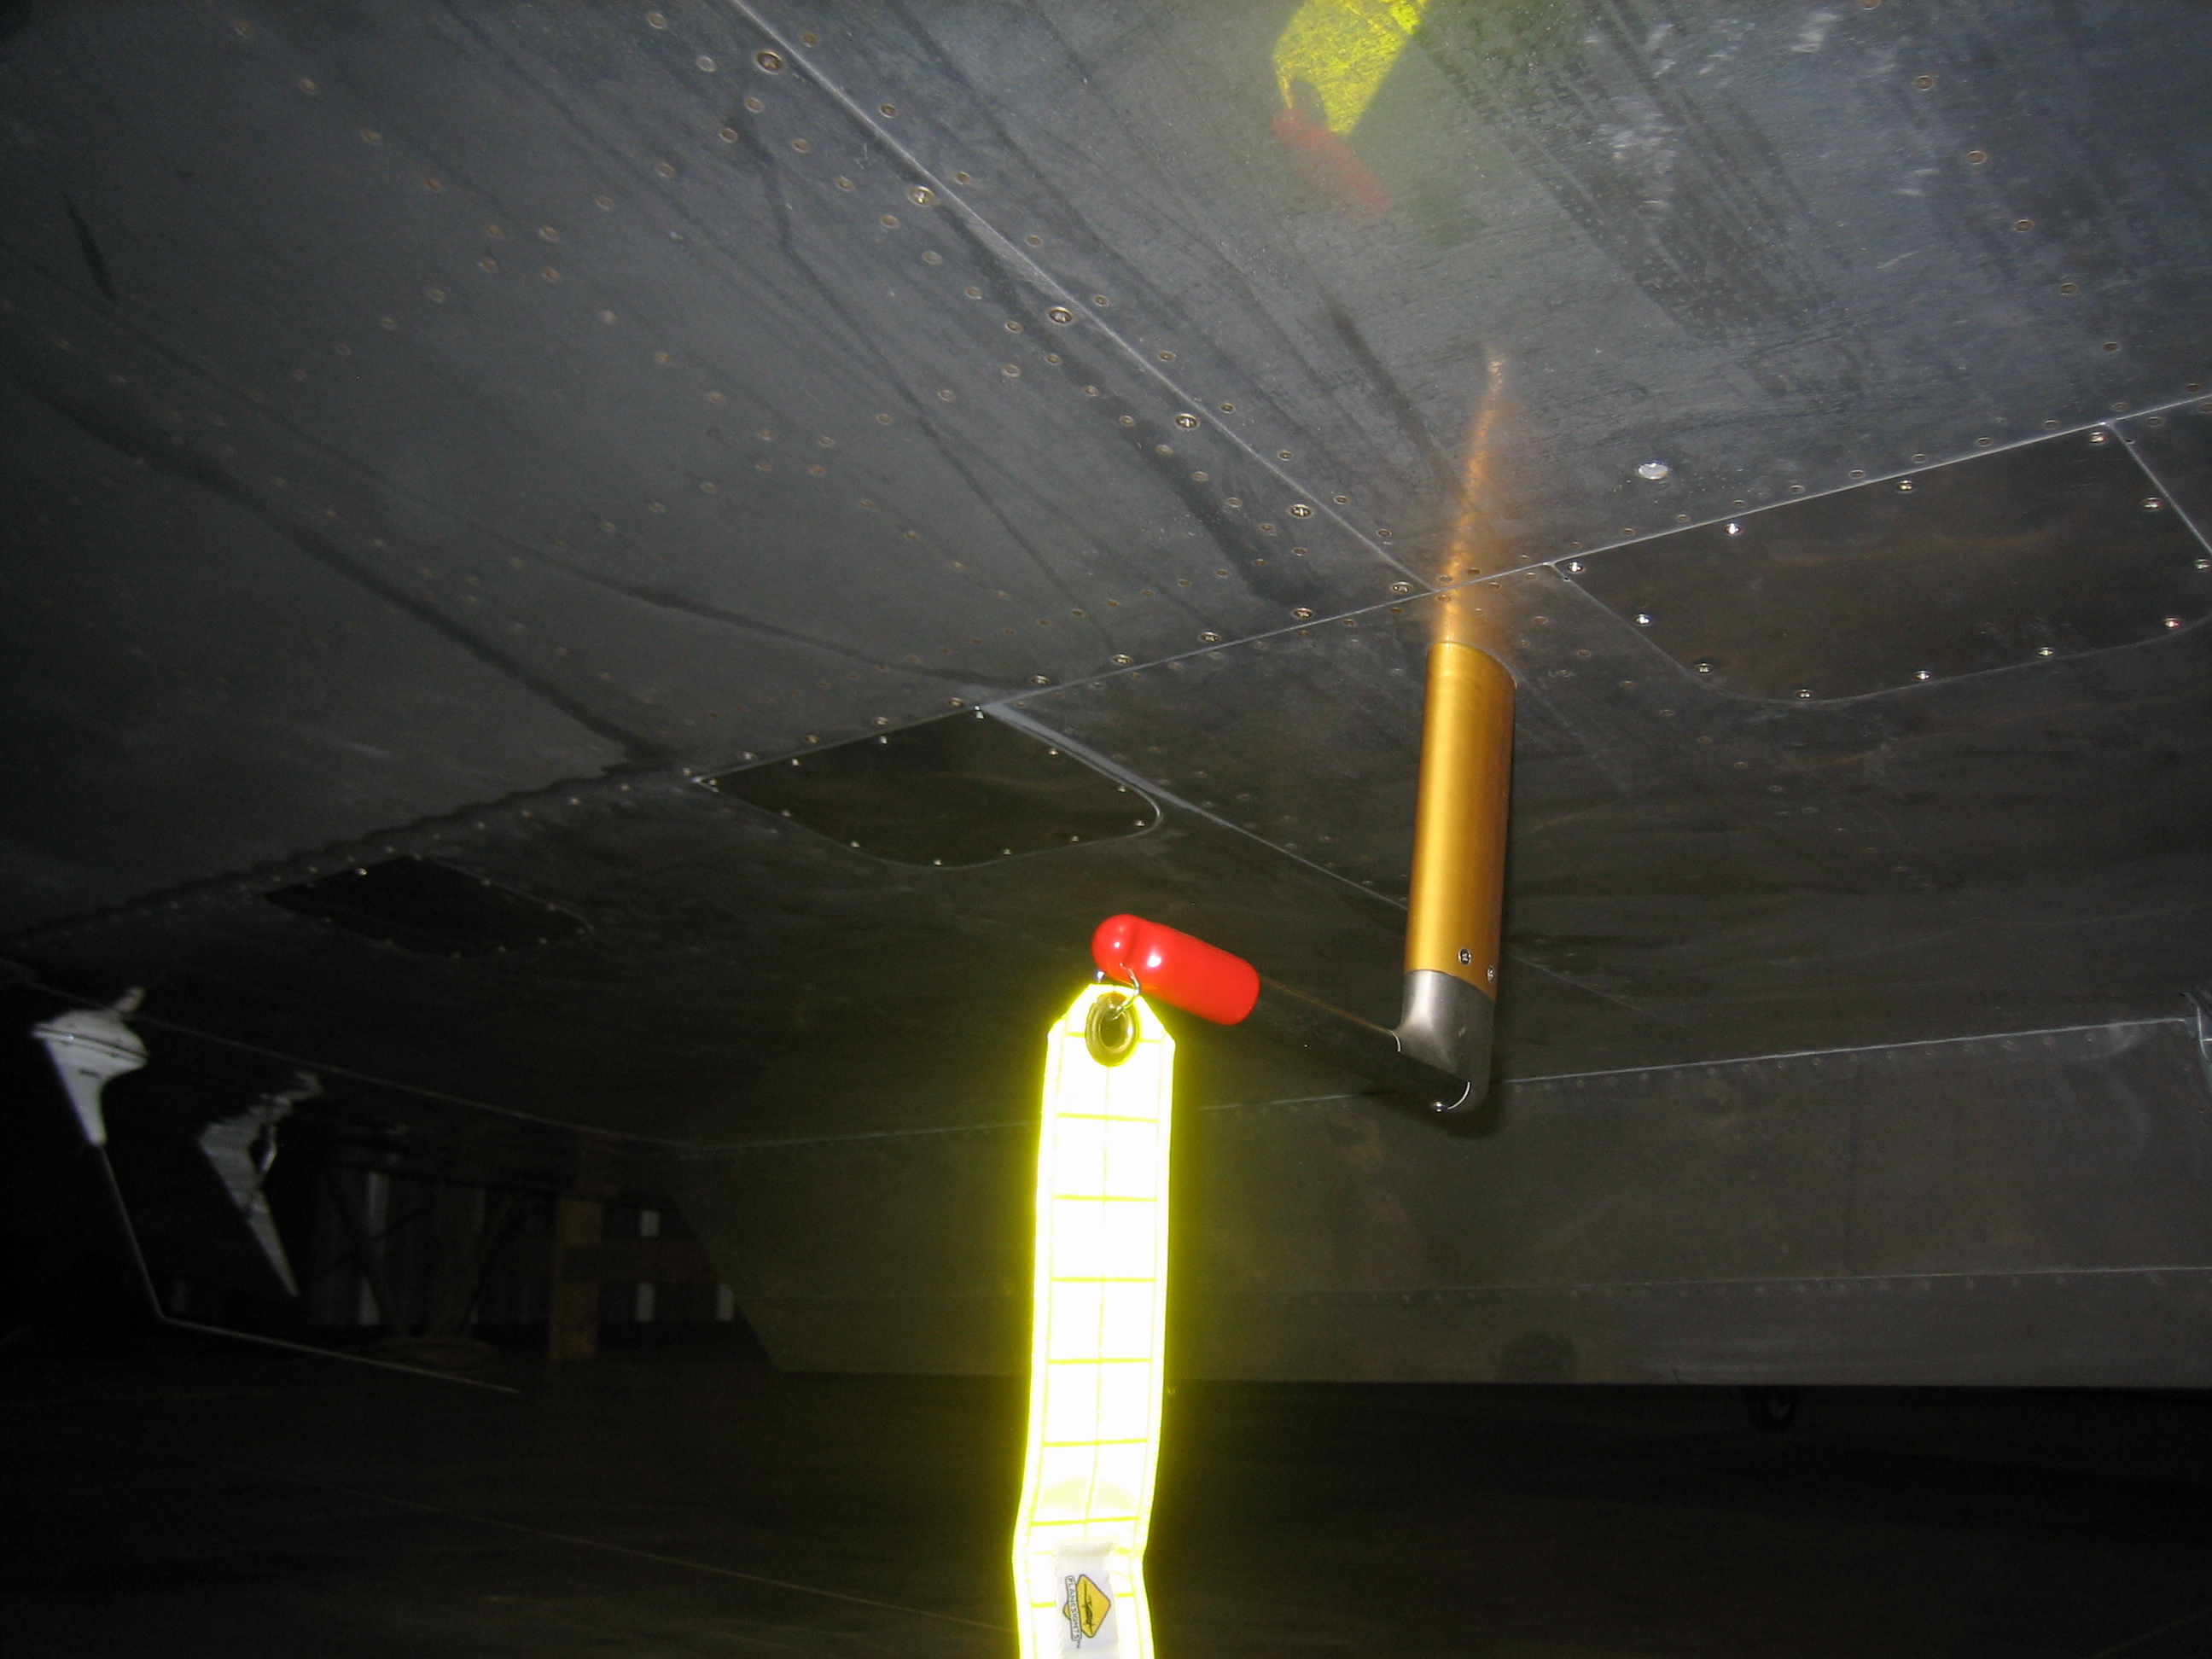
With the final inspection done, I started buttoning up the plane to get it ready for flight. First up, I installed the wing inspection panels (all but one which I’ll discuss below).
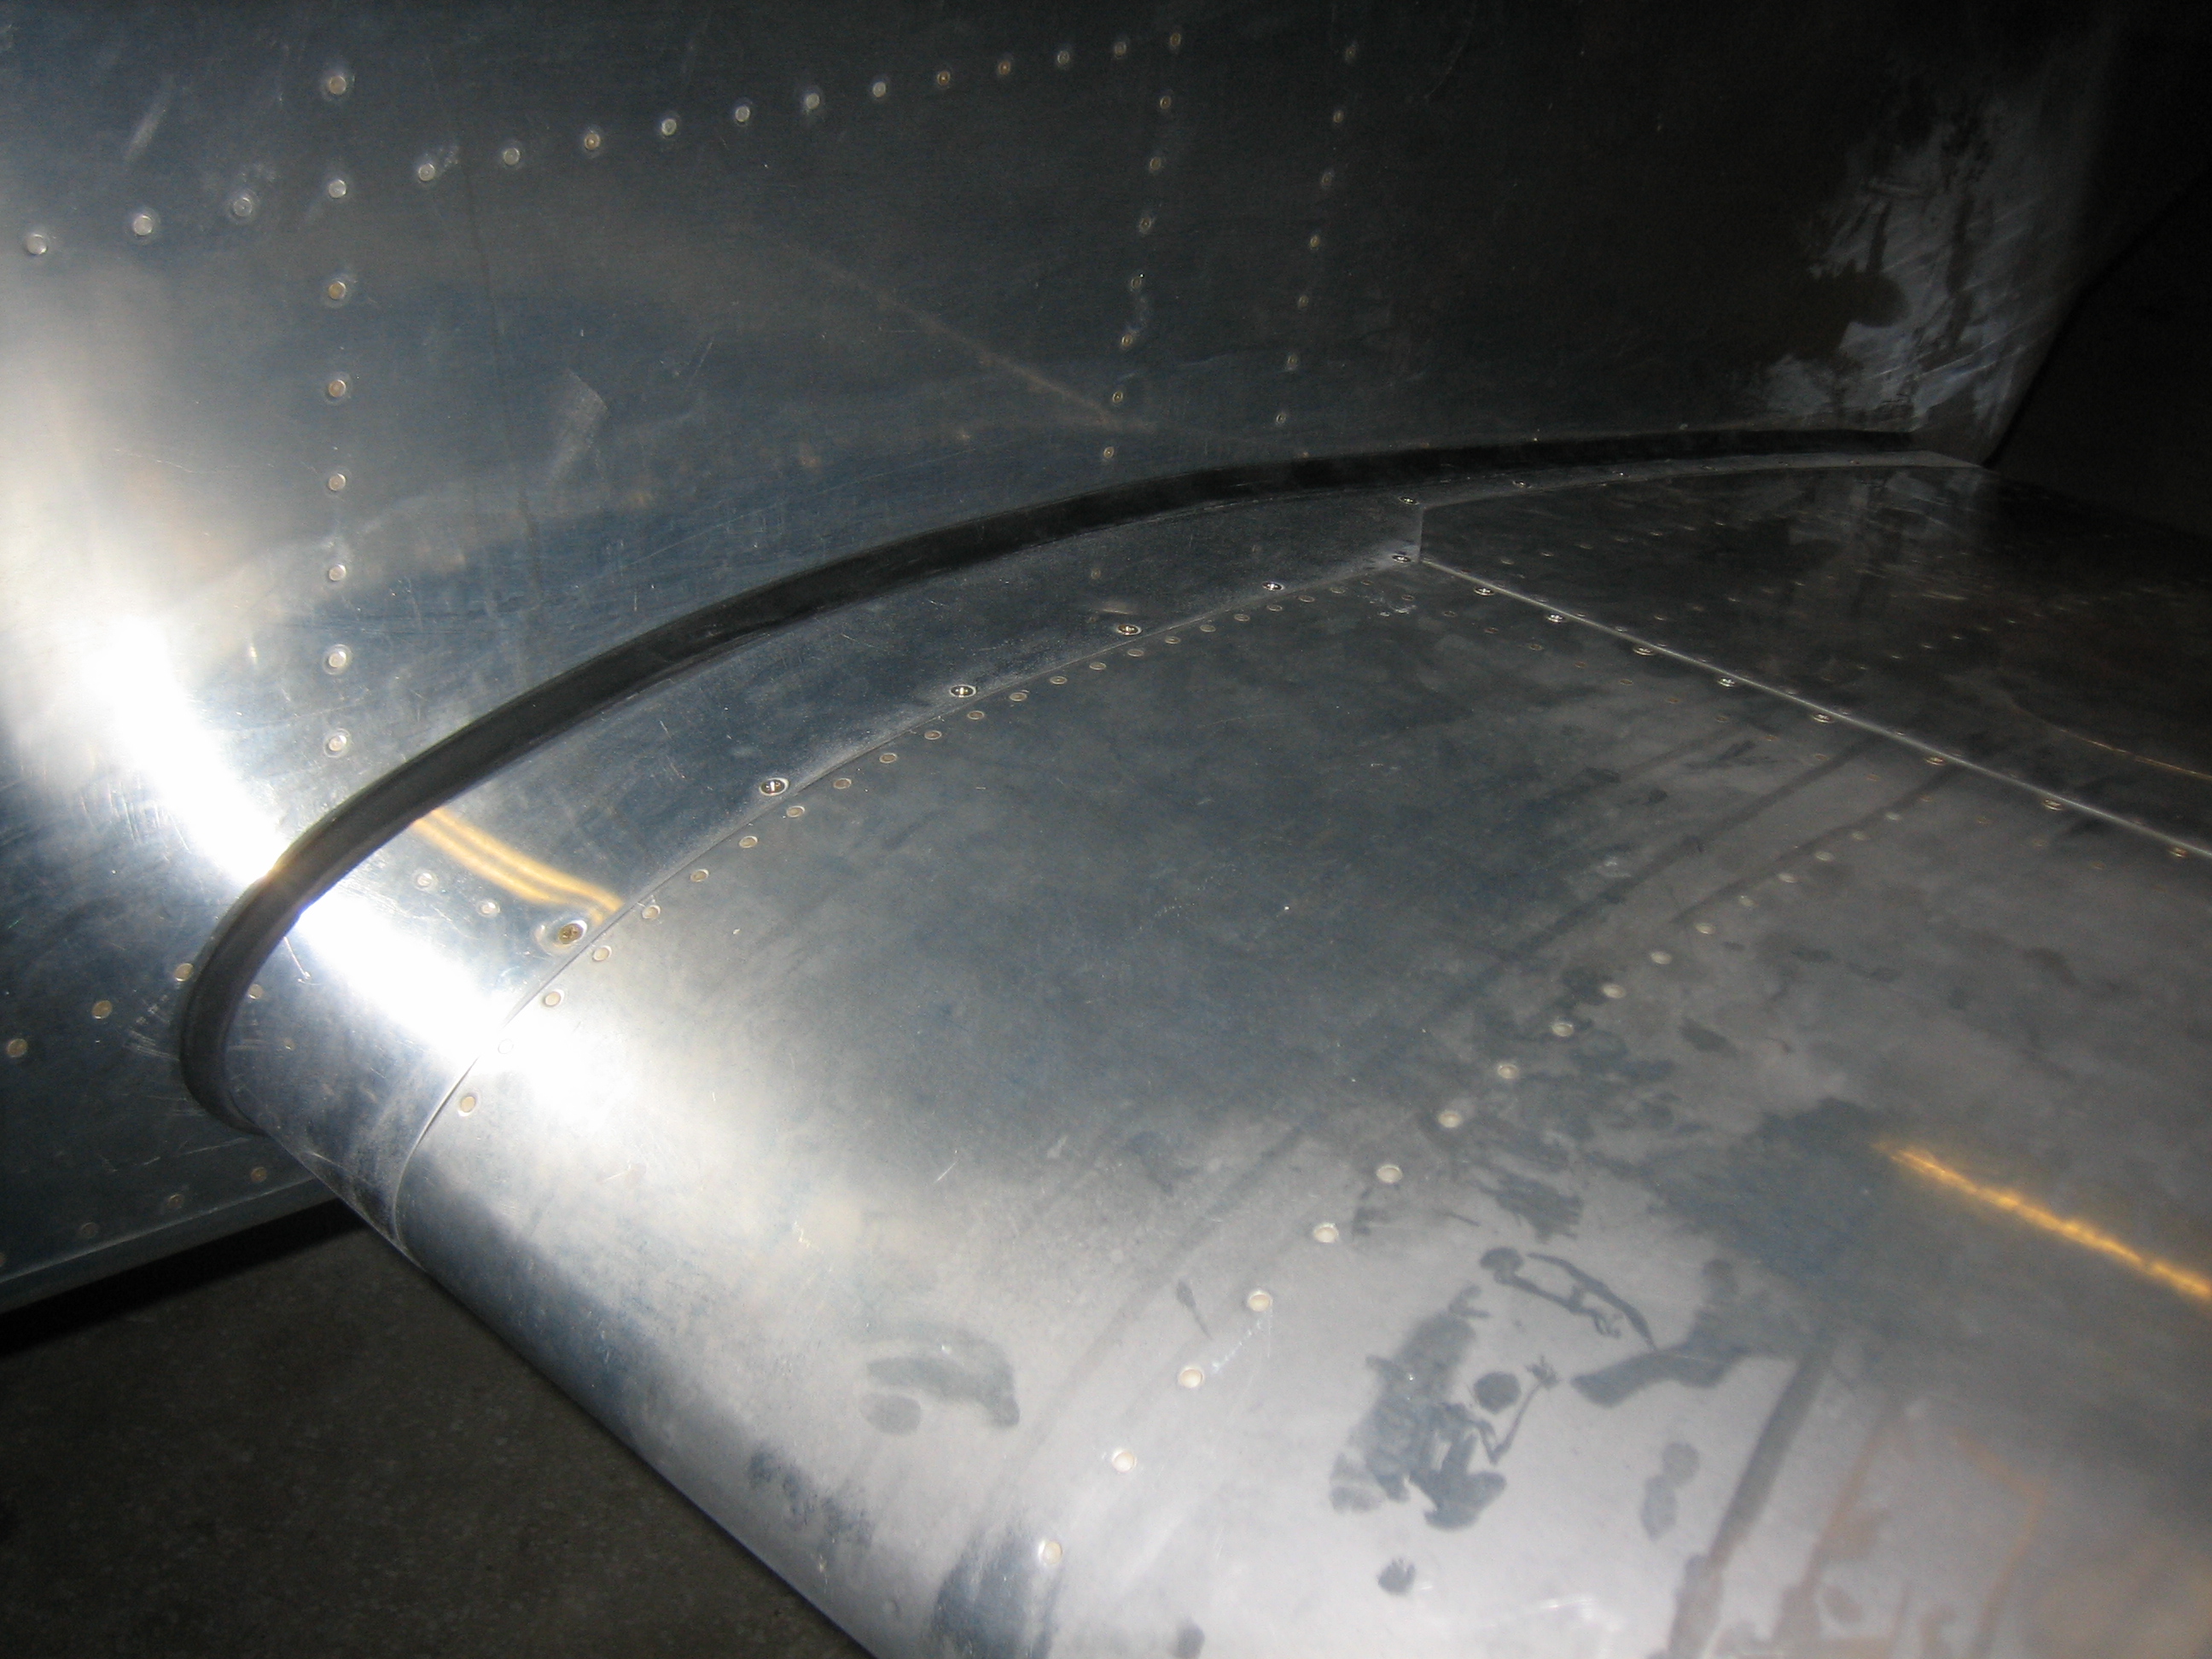
I then moved on and installed the wing root fairings. The adhesive I applied the other day seems to have worked out well.
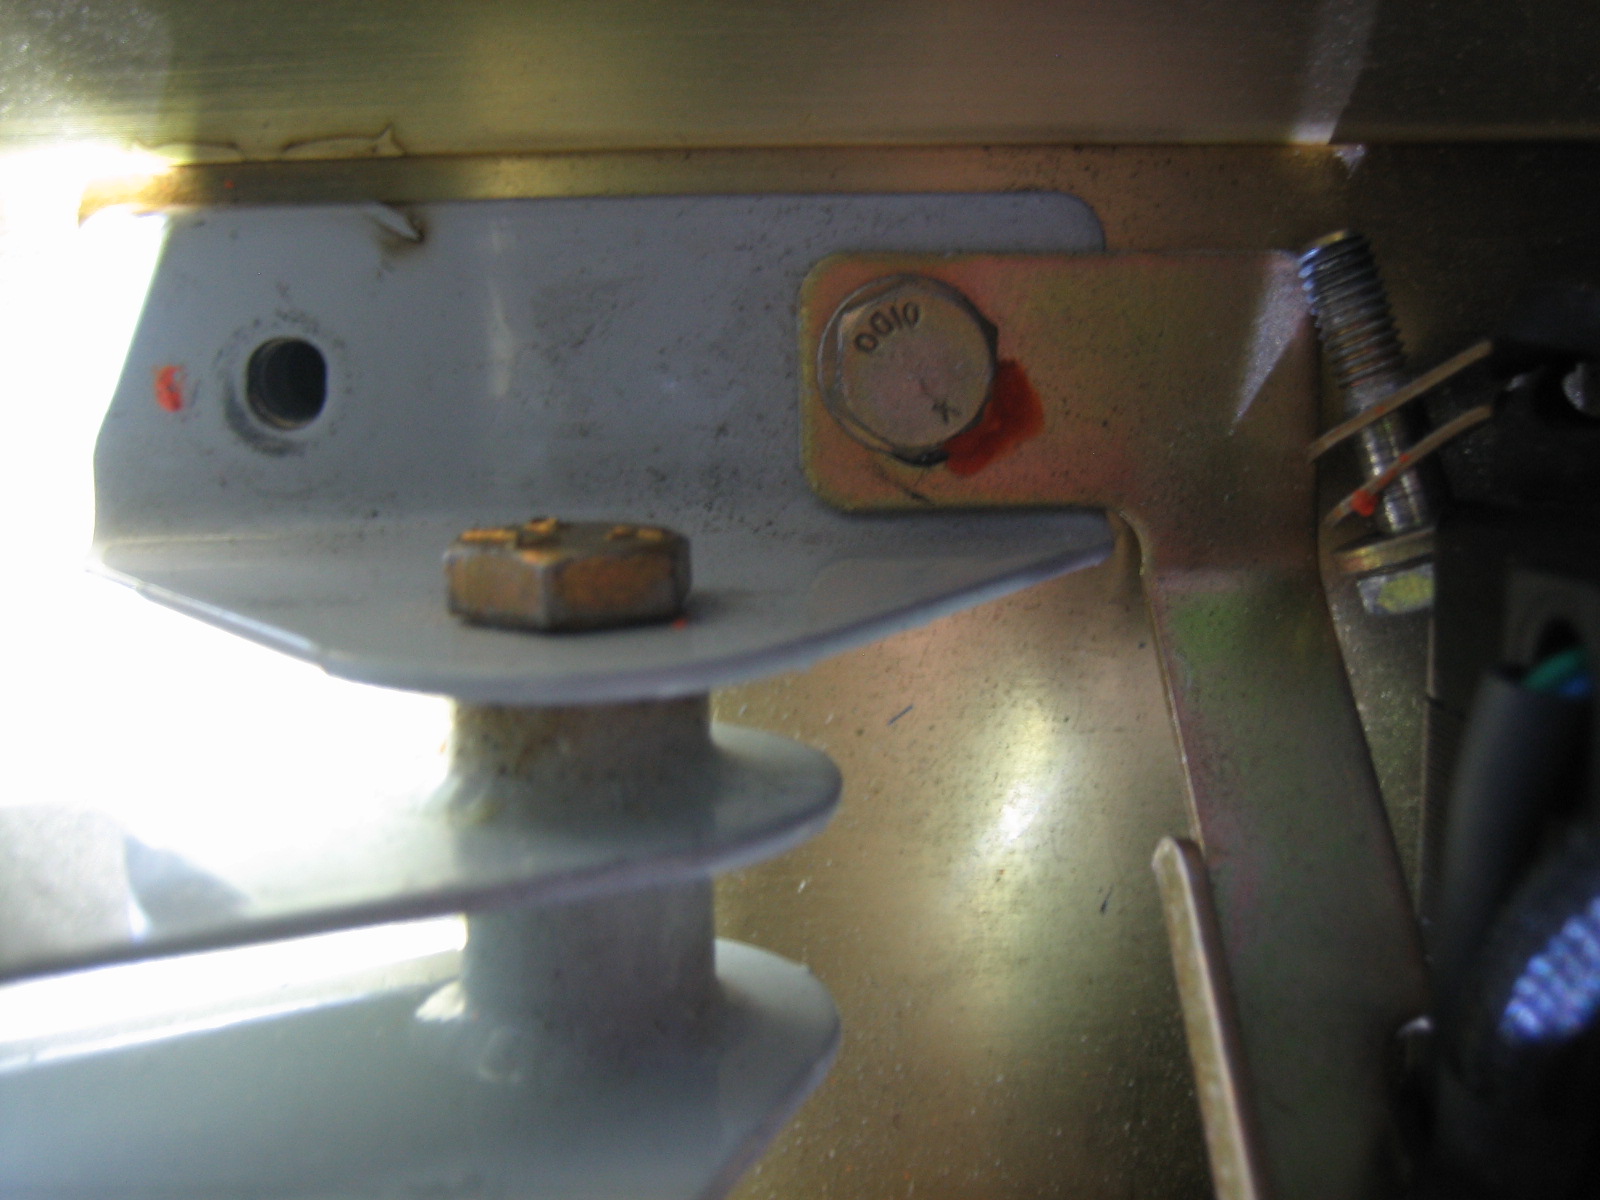
Before installing the last wing inspection panel, I needed to install the aileron servo stop. I couldn’t get the bracket in place without enlarging the center slot a bit. After ensuring it would fit, I shot a fresh coat of paint on to keep this from rusting.

Finally, I installed it on the servo. Slipping it behind the arm and under the safety wire is a little tricky and it will only go one way. I installed an AN960-10 washer between the bracket and the servo under each mounting screw to space the bracket away from the servo by the thickness of the servo mounting bracket.
Update: I subsequently caught that the safety wire on the lower bracket bolt was reversed. This is another issue that I’m surprised wasn’t caught at the builder inspection party. There wasn’t much room to work in there, but I managed to get the wire reversed.

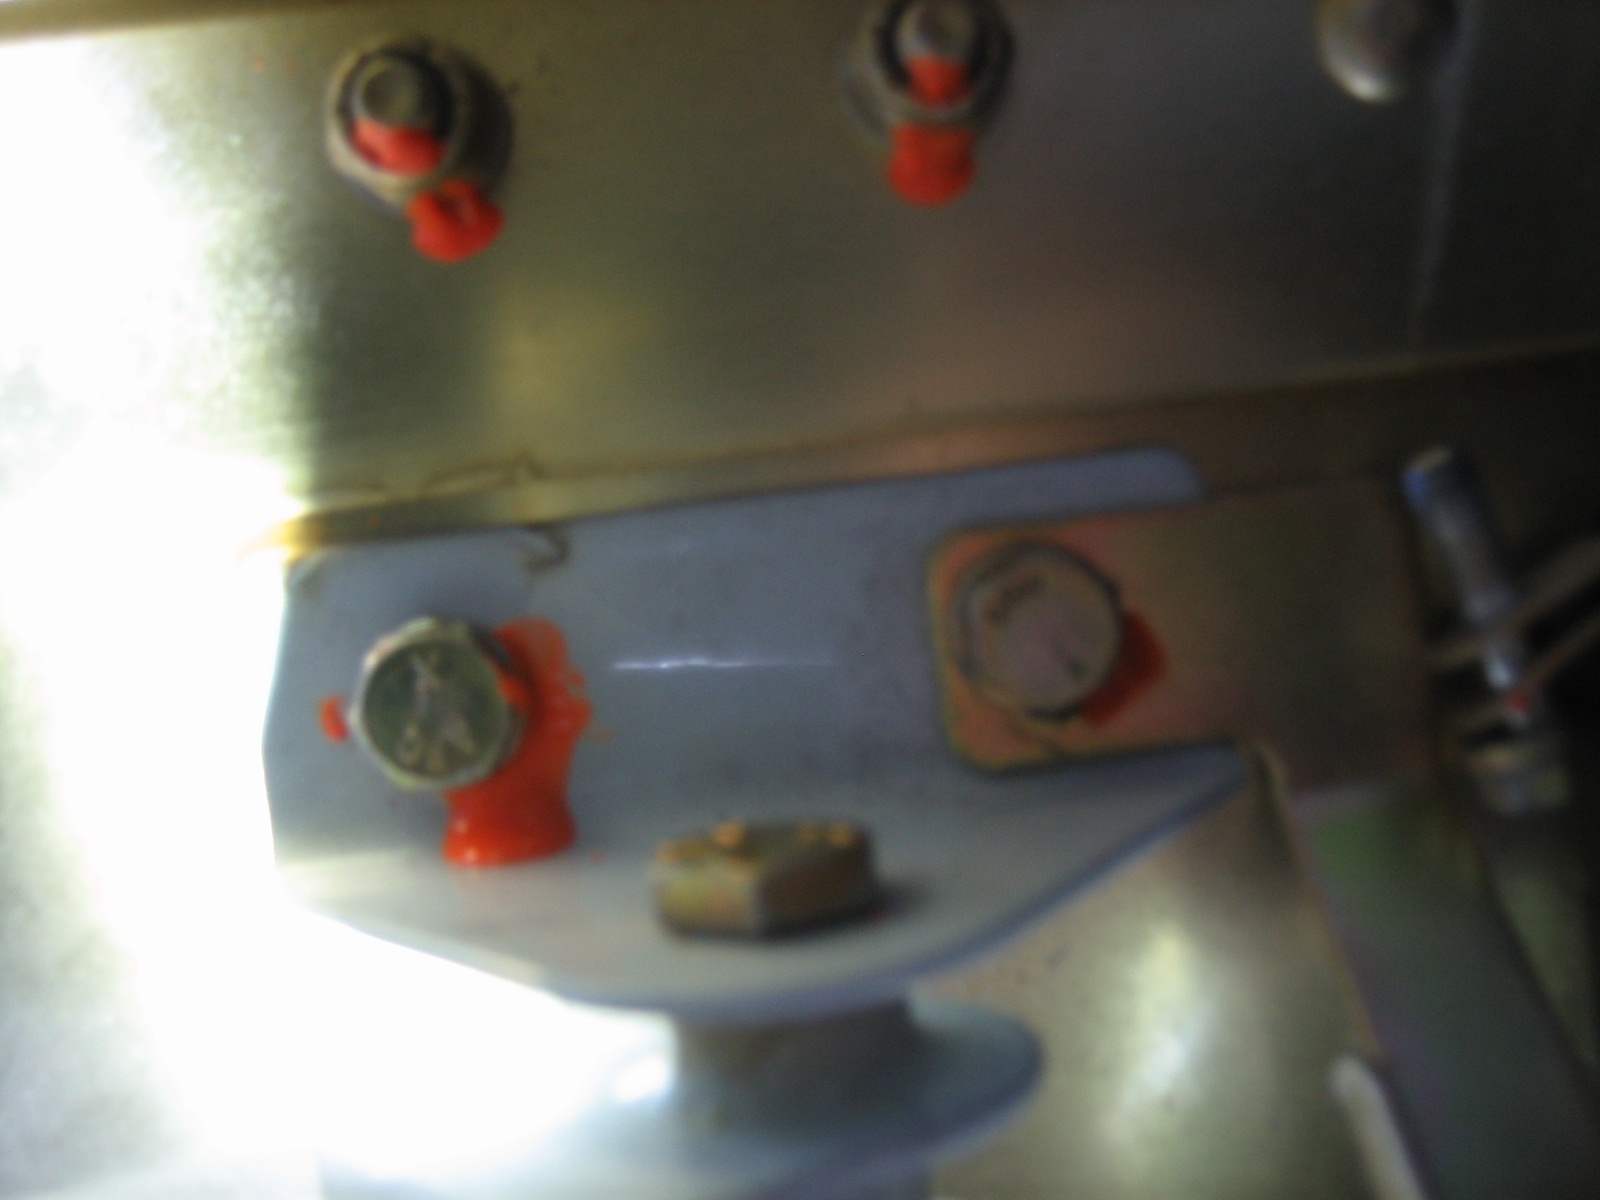
While doing a thorough pre-flight before buttoning up each panel, I found this missing bolt (you can see the bolt over on the right). I had removed this a long time ago because I was using it to hold an adel clamp for the servo wires. When I rerouted the wires, it never occurred to me to check this. I’m really surprised that this wasn’t found during my builder inspection party. There were a couple of guys that were doing a pretty thorough inspection with mirrors and flashlights. Regardless, I had always planned on doing a complete control integrity check from end to end, so I wouldn’t have made it to first flight without catching this.
I installed a new bolt (and way too much torque seal because I couldn’t see it well).
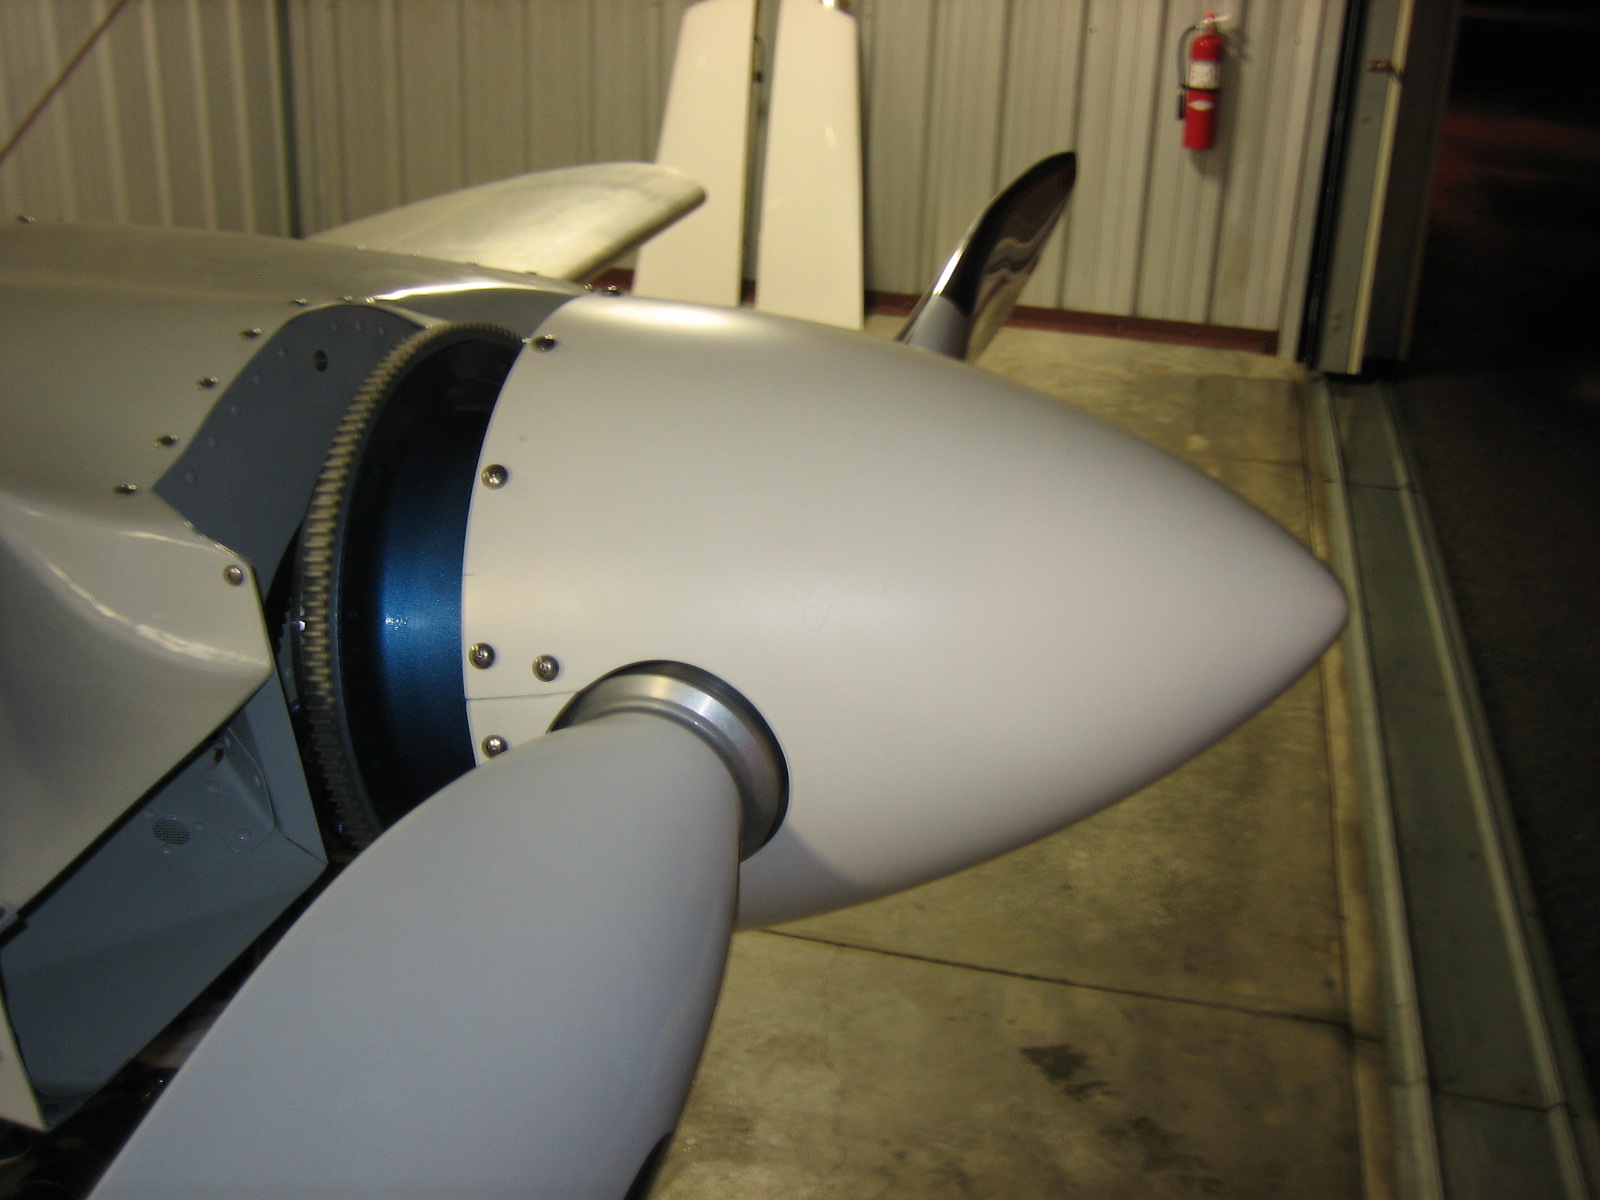
With nothing left to do on top of the engine, I installed the plenum for the last time before first flight.
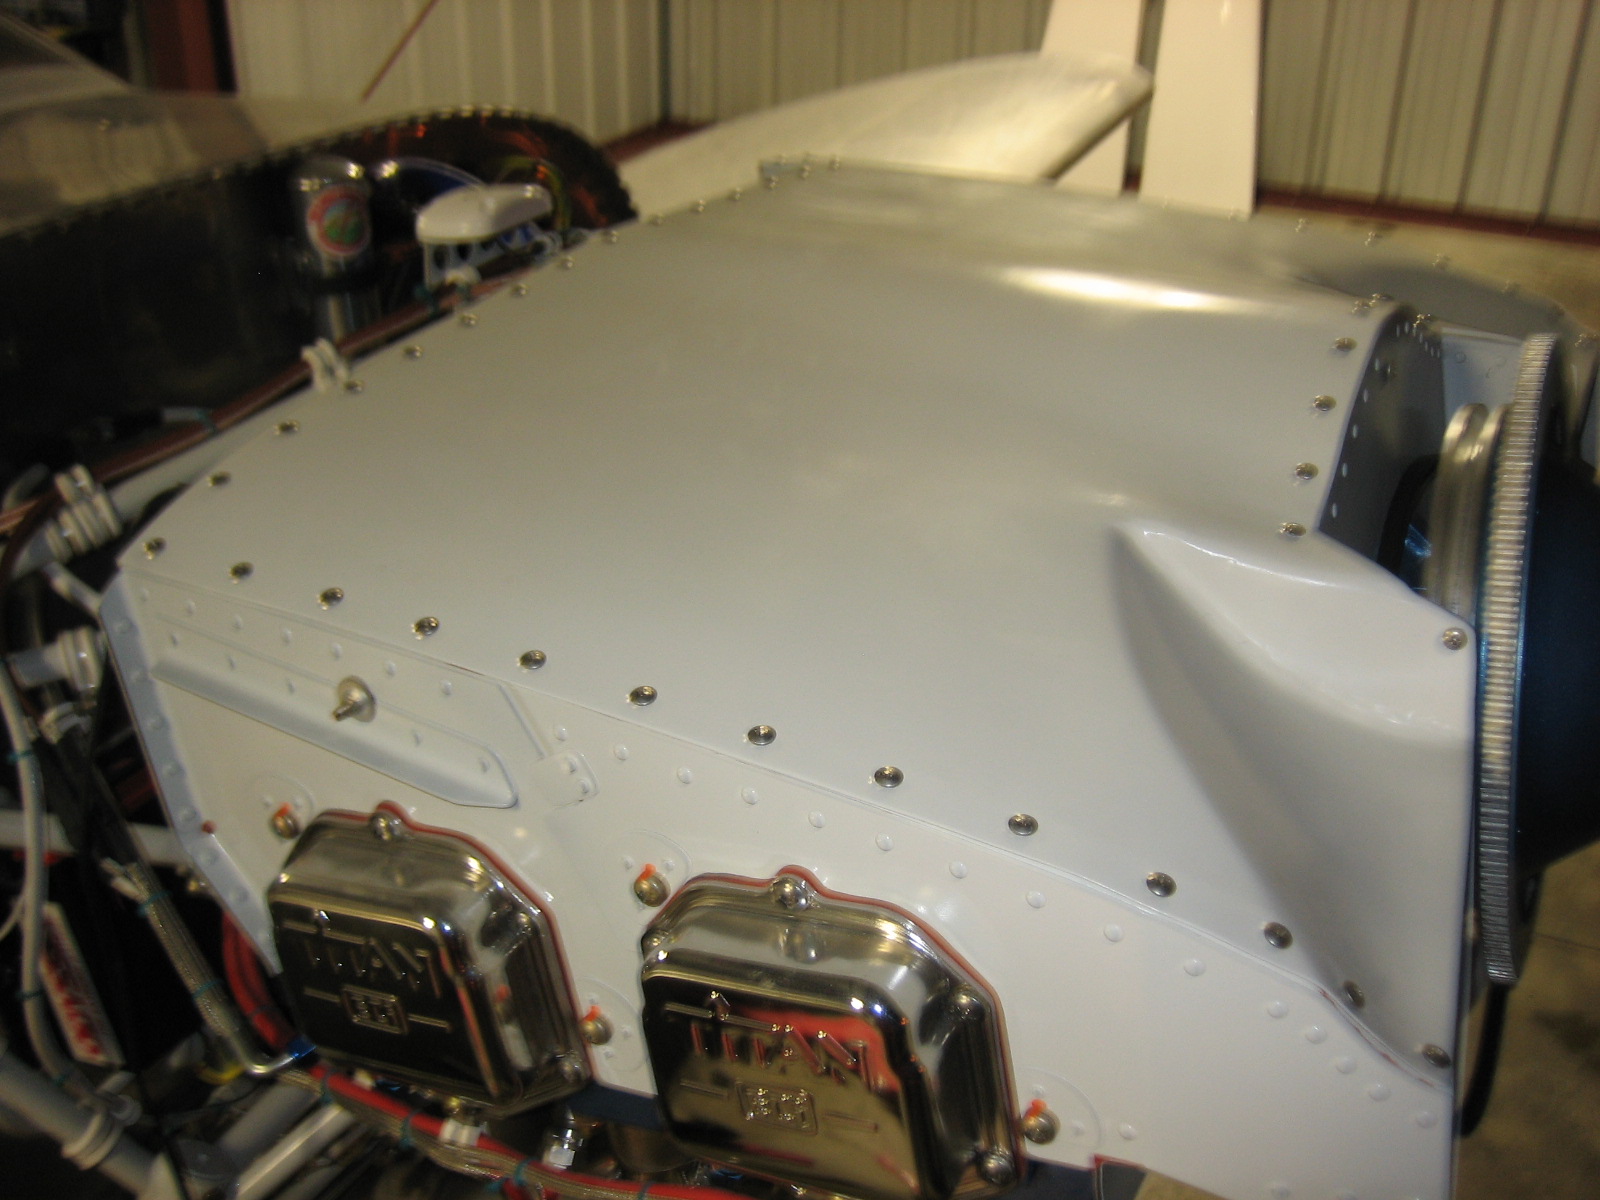
I also installed the spinner.
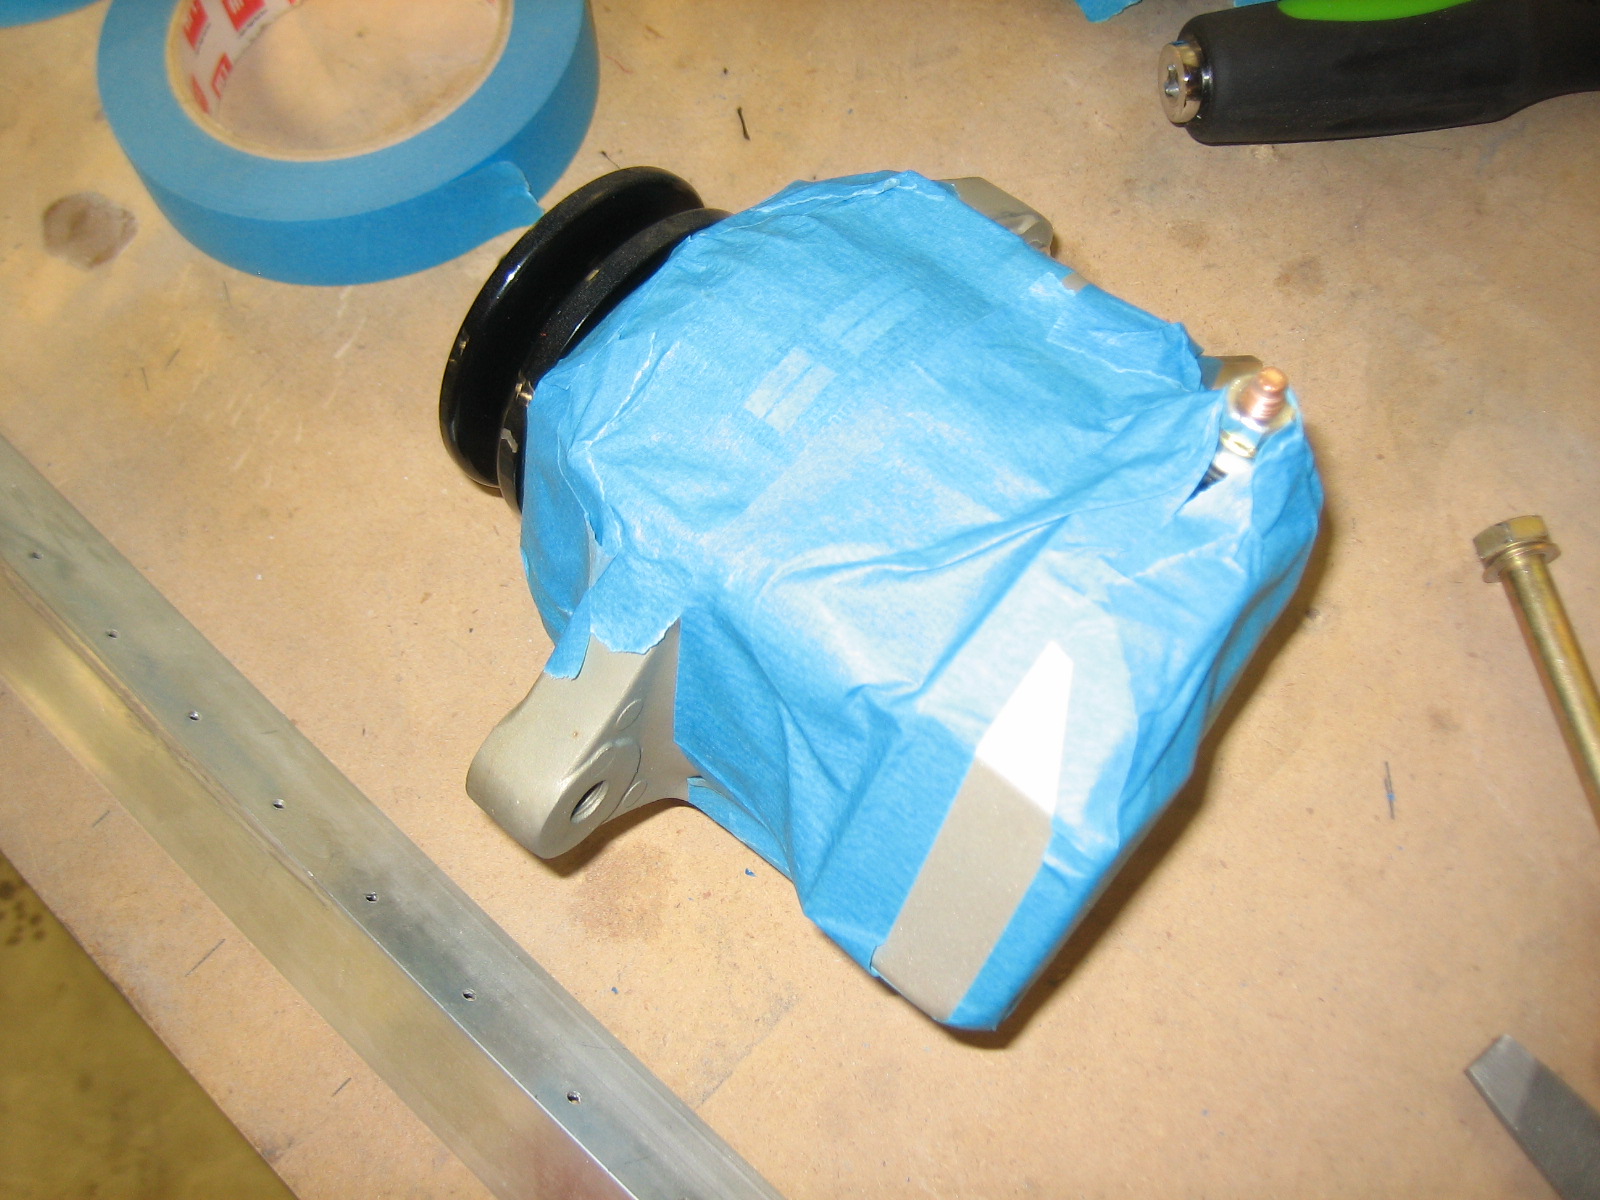
Since I need to shift the alternator back by about 3/32″, I pulled the mounting bolts and removed it.

I’ll need to file off the aft end of the pivot shaft (not visible here), I taped up the alternator to ensure no metal filings make their way inside.
This shaft is about 2.992″ long, and I need to take about 0.094 off the right end of this shaft.
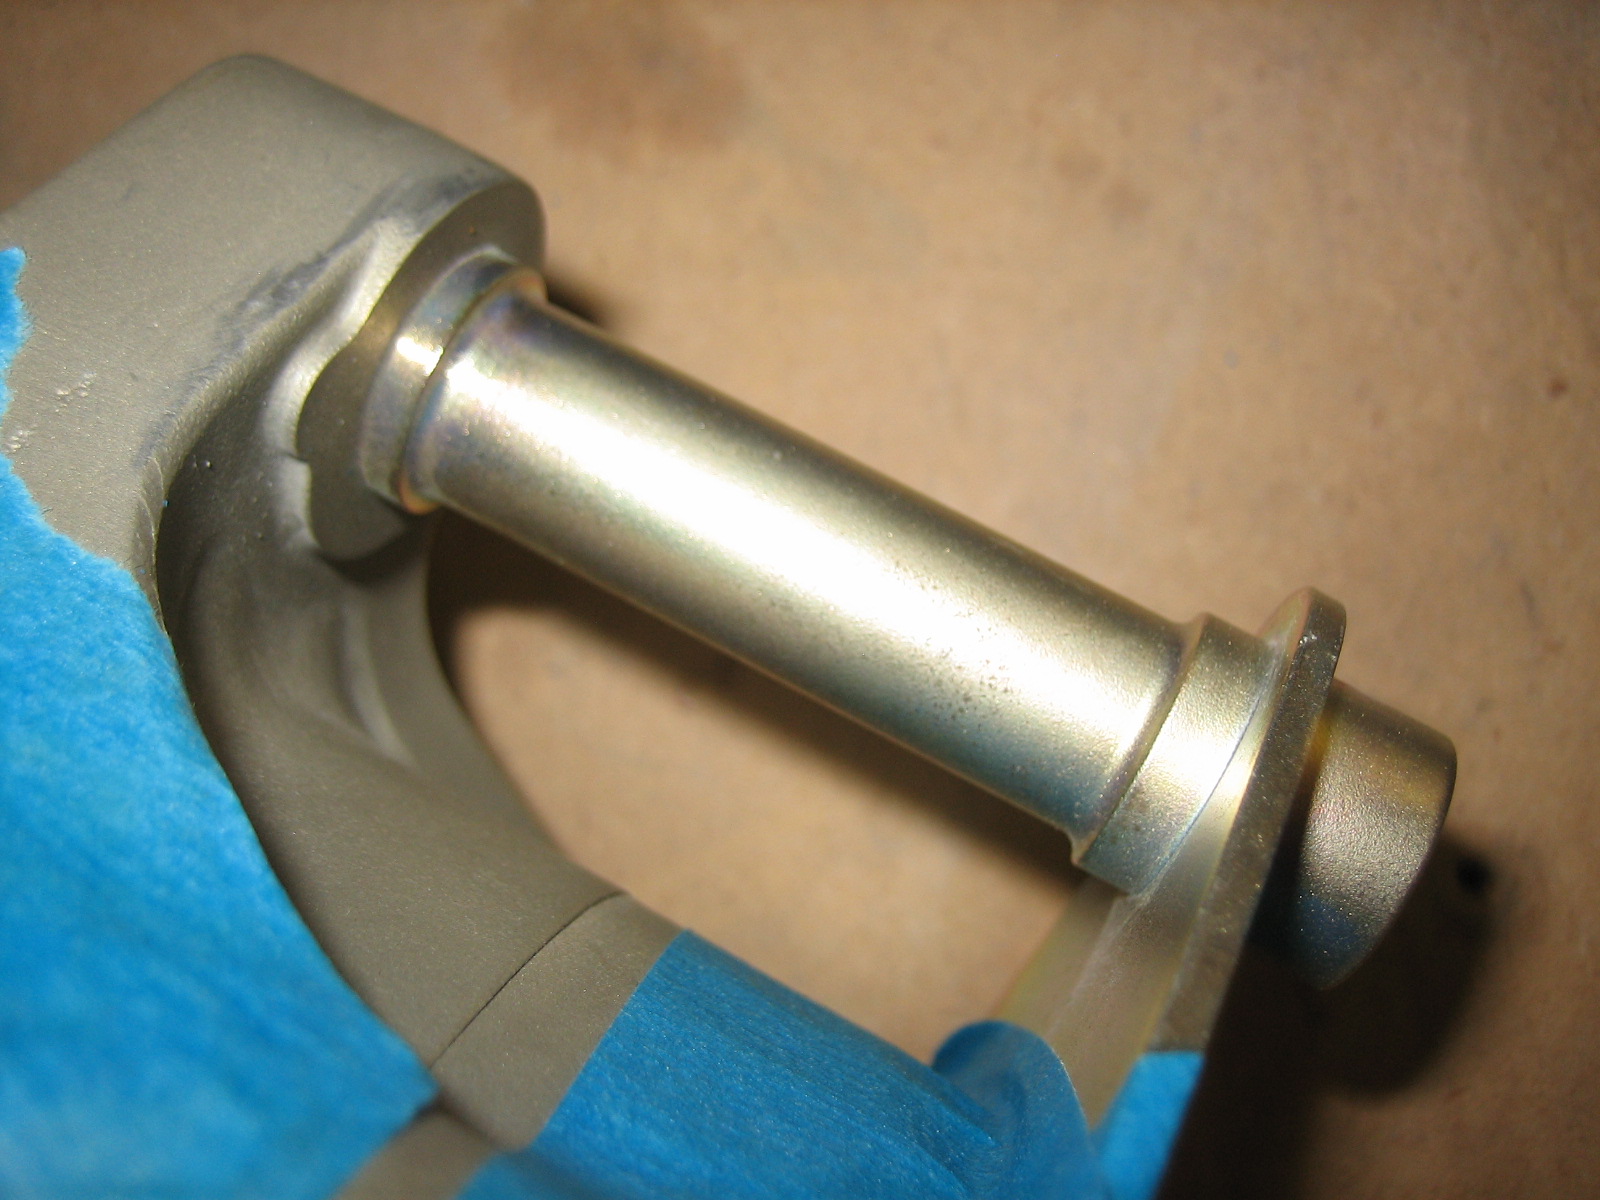
I can then use one AN960-616 and one AN960-616L washer to make up the difference.

After grinding down the shaft, you can see that I have the same length when I now include the washers. I’ll reinstall the alternator tomorrow and re-tension the belt. This ended up being way easier than I expected.
