I sanded down the micro and applied another coat around the forward and right edges.
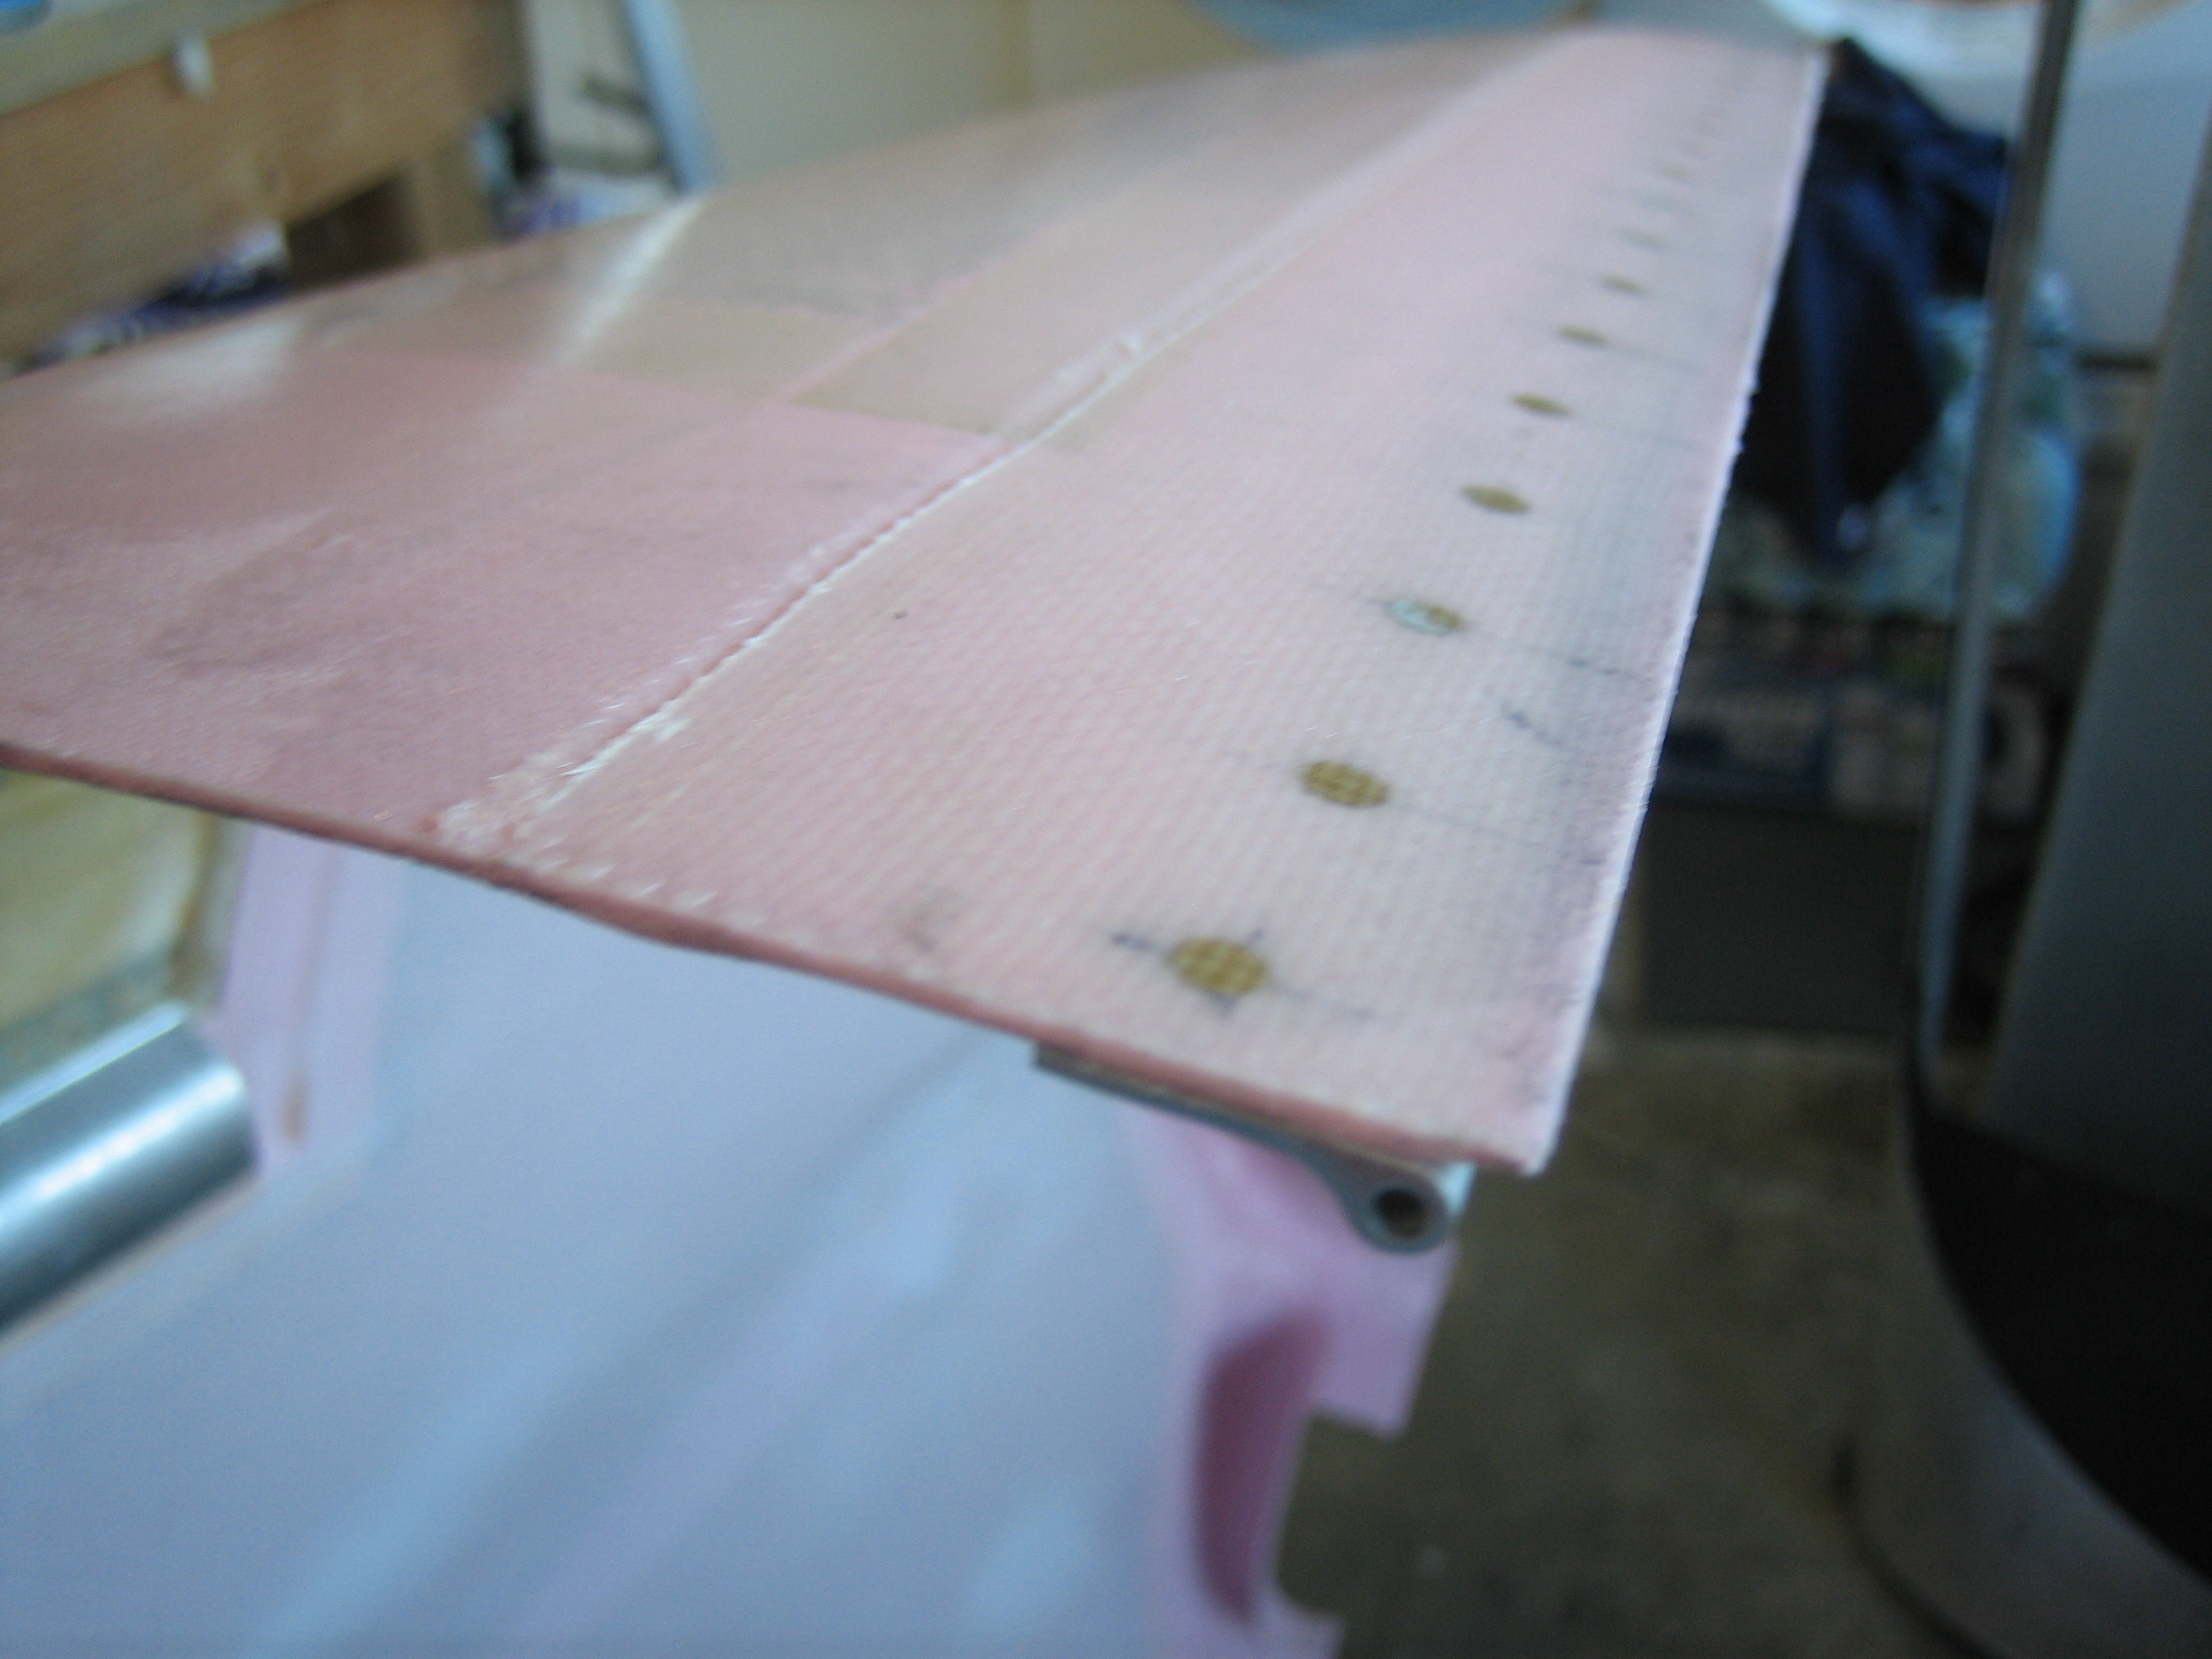
I also laid up some fiberglass tape over the rivets along one side of the upper and lower cowl to prevent these rivets from telescoping through the paint

I sanded down the micro and applied another coat around the forward and right edges.
I also laid up some fiberglass tape over the rivets along one side of the upper and lower cowl to prevent these rivets from telescoping through the paint
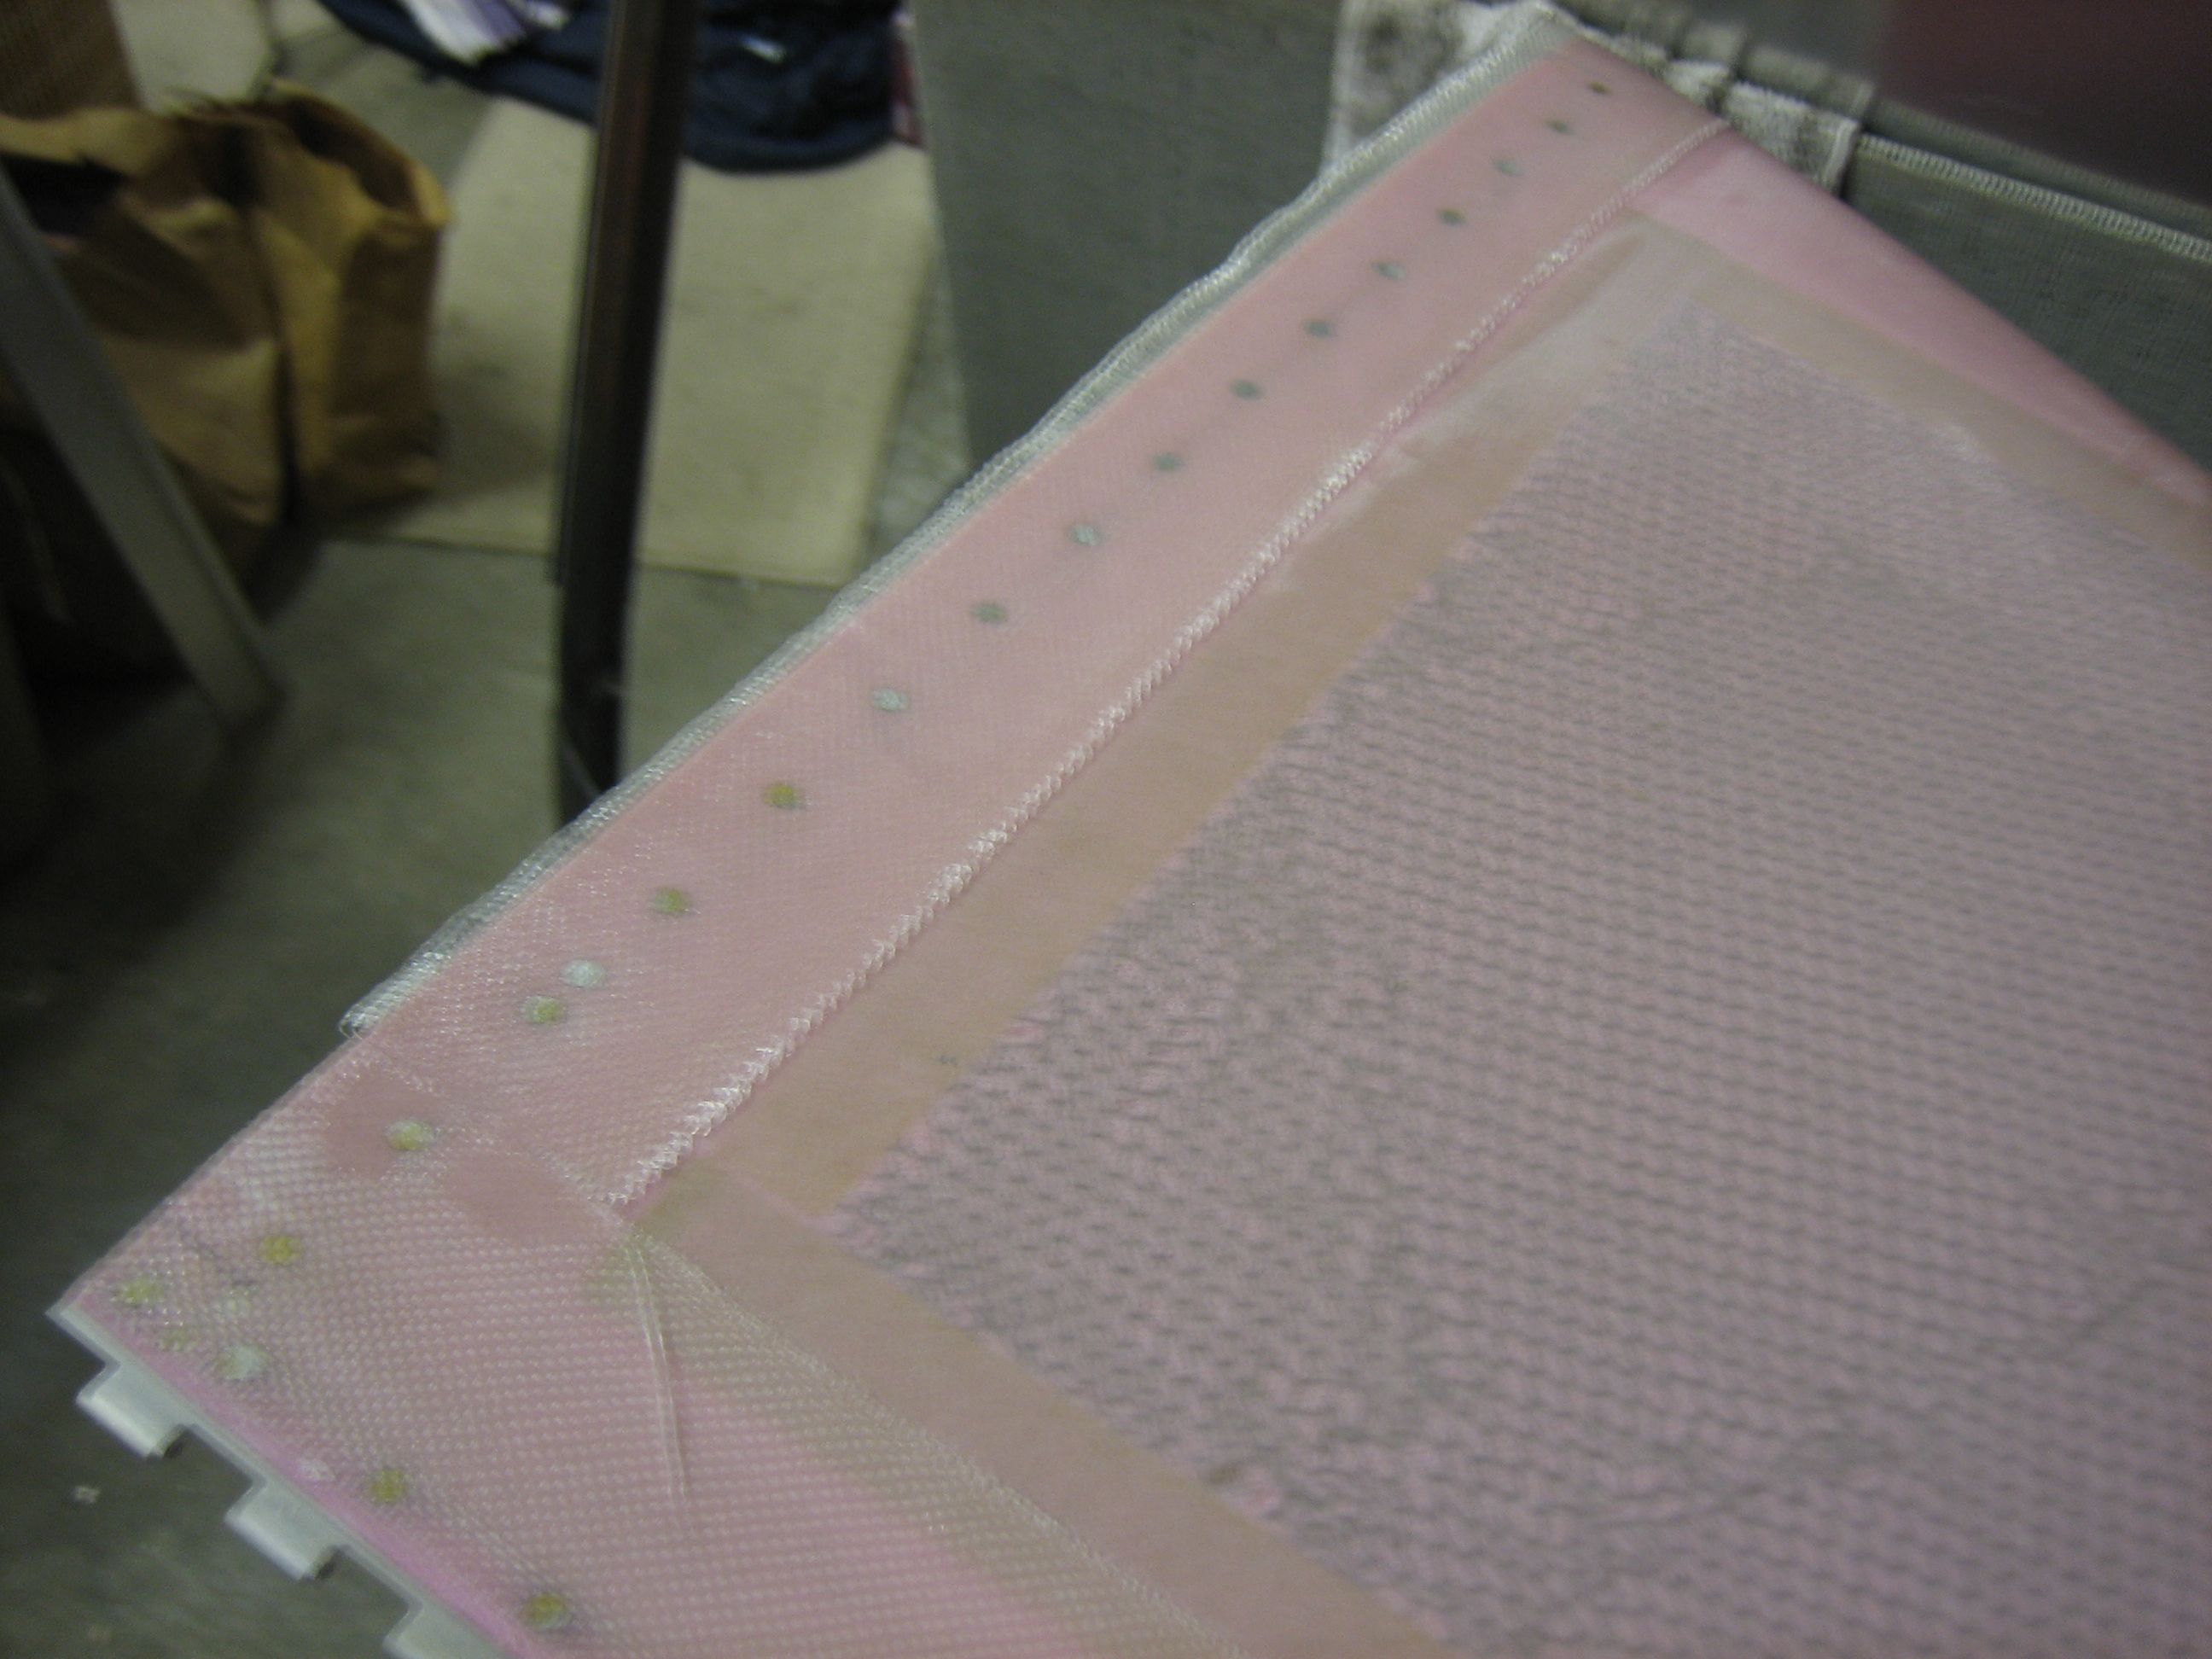
I laid up some fiberglass over the other sides of the upper and lower cowl. I really hate this fiberglass tape. The edges are thicker than the middle, so I’ve been waiting for the epoxy to kick and then slicing off the edges. That’s why I extend the tape past the edge so that I can trim it off flush.
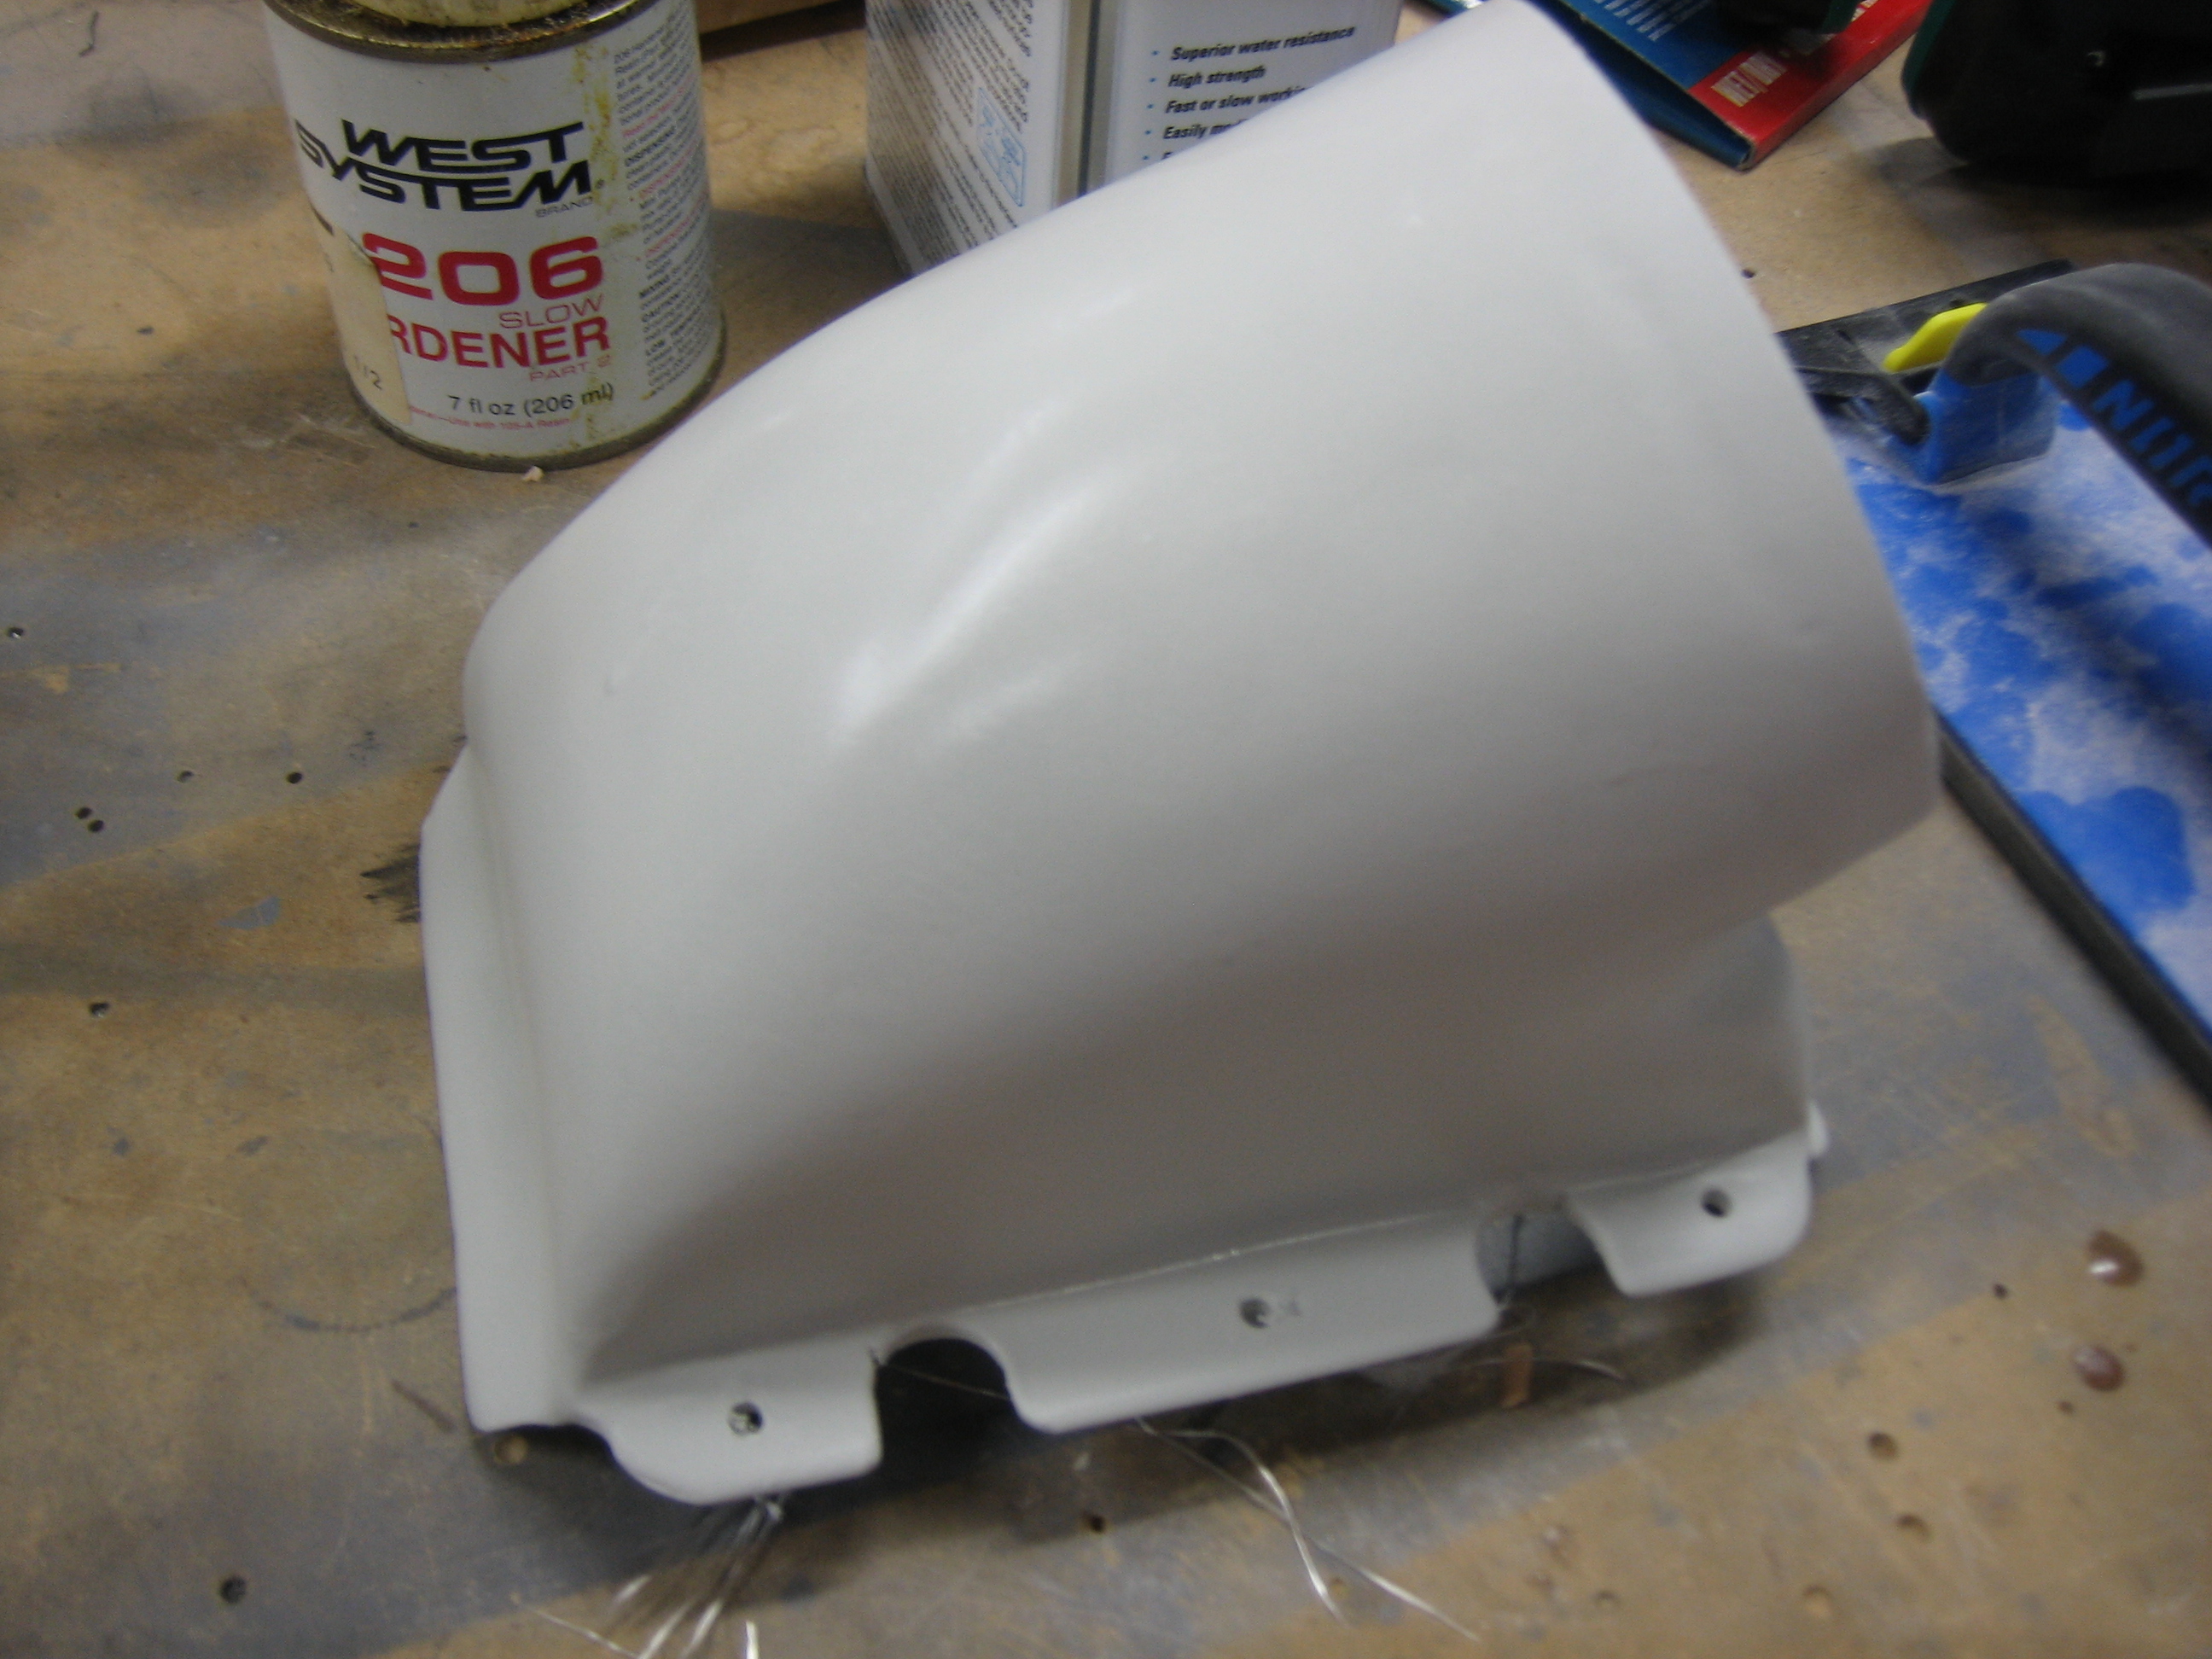
After sanding down the filler primer, I shot a few coats of the Cardinal gray that matches the Van’s powder coat.
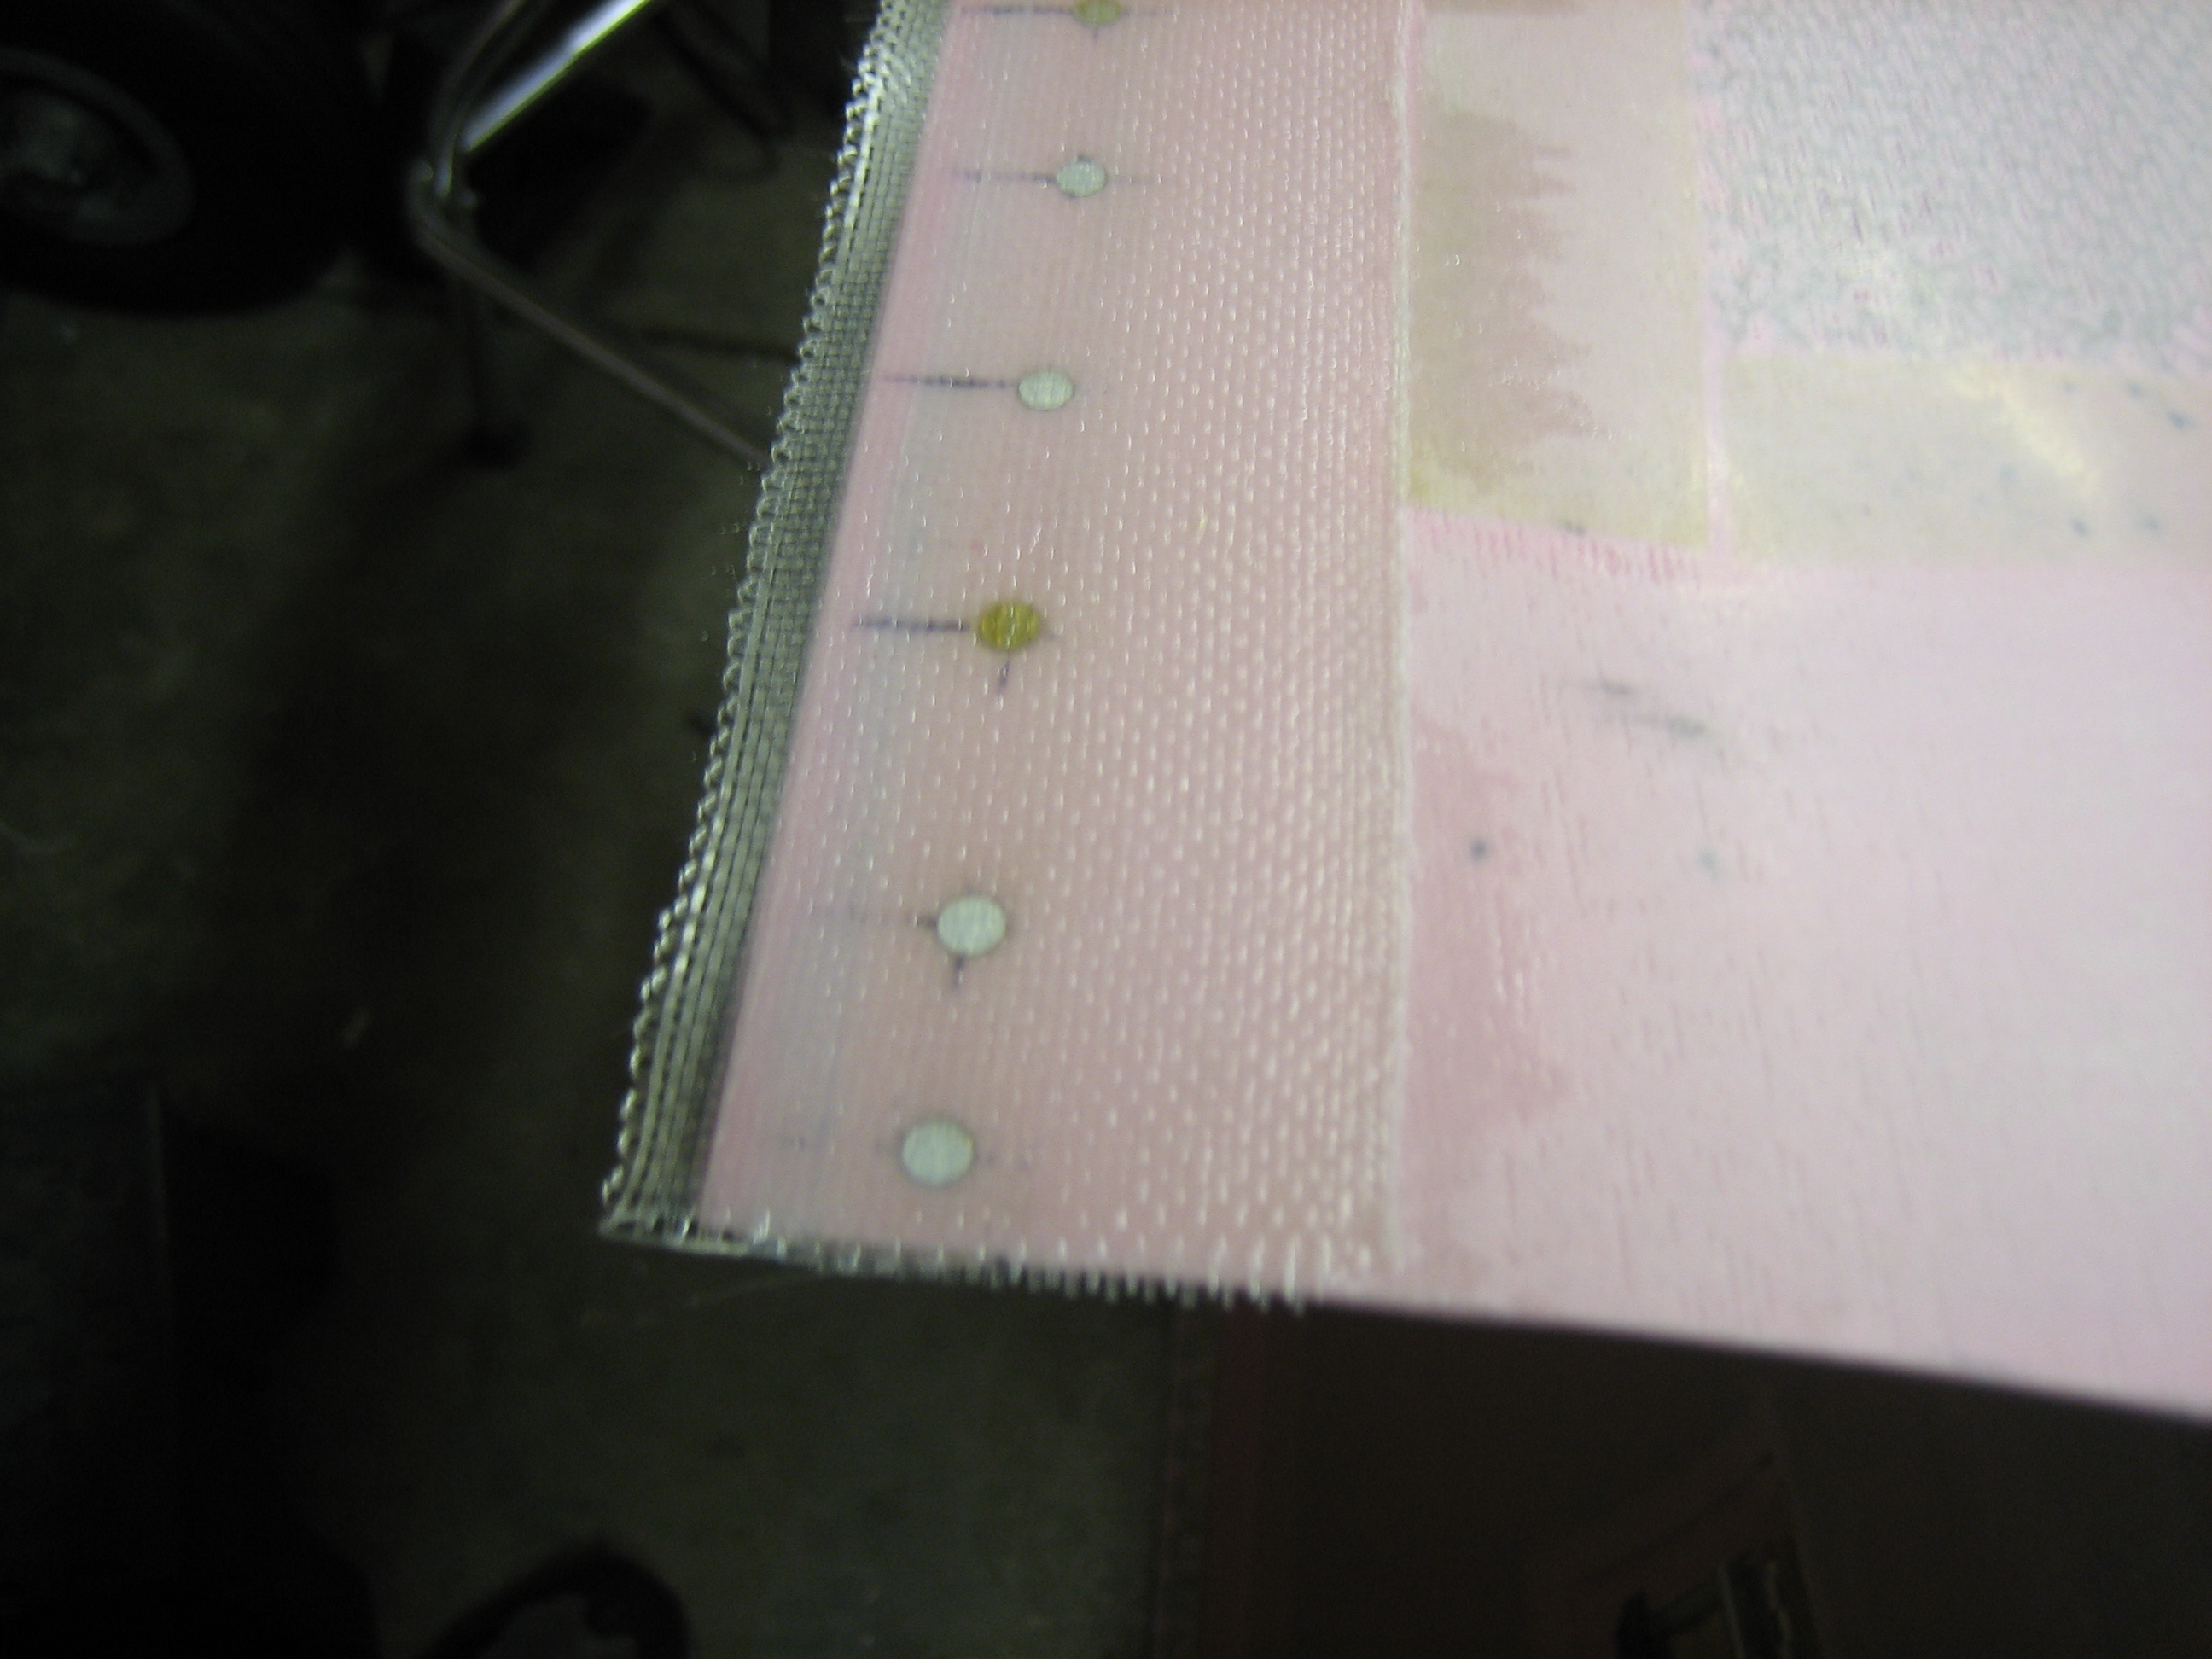
I finished fiberglassing over all of the rivet lines on the cowl tonight. Here’s the remaining row on the side of the bottom cowl.
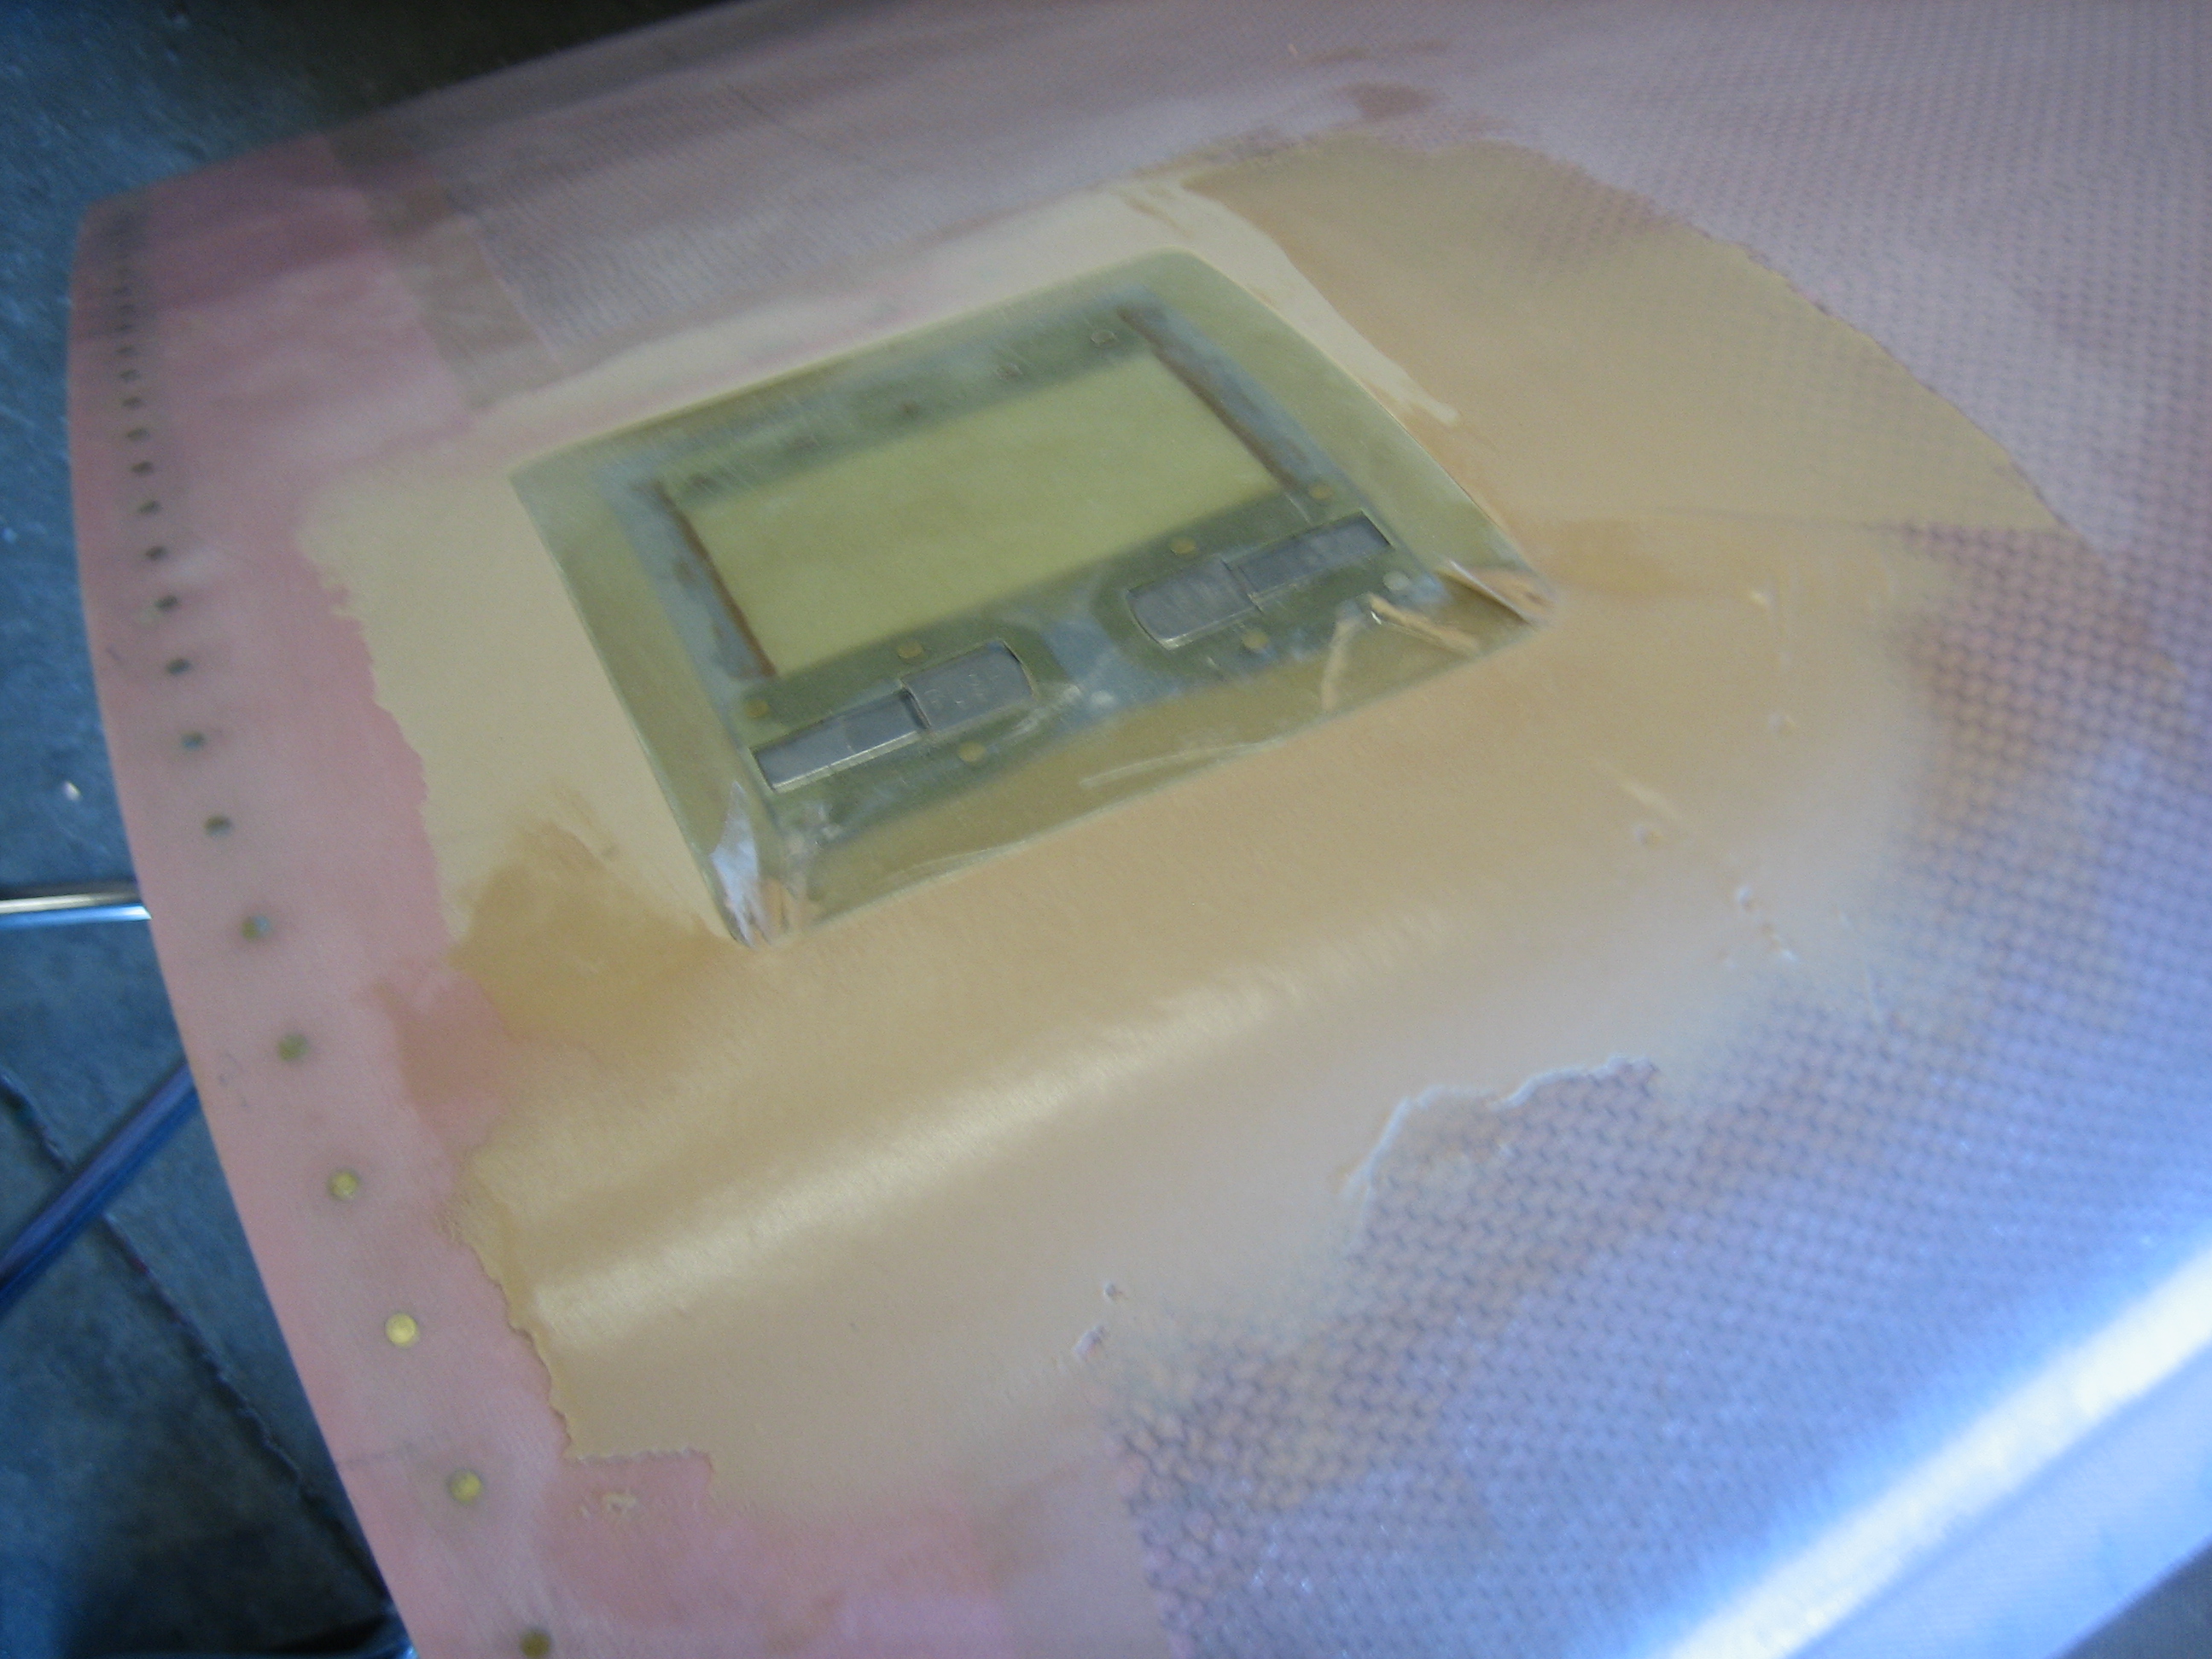
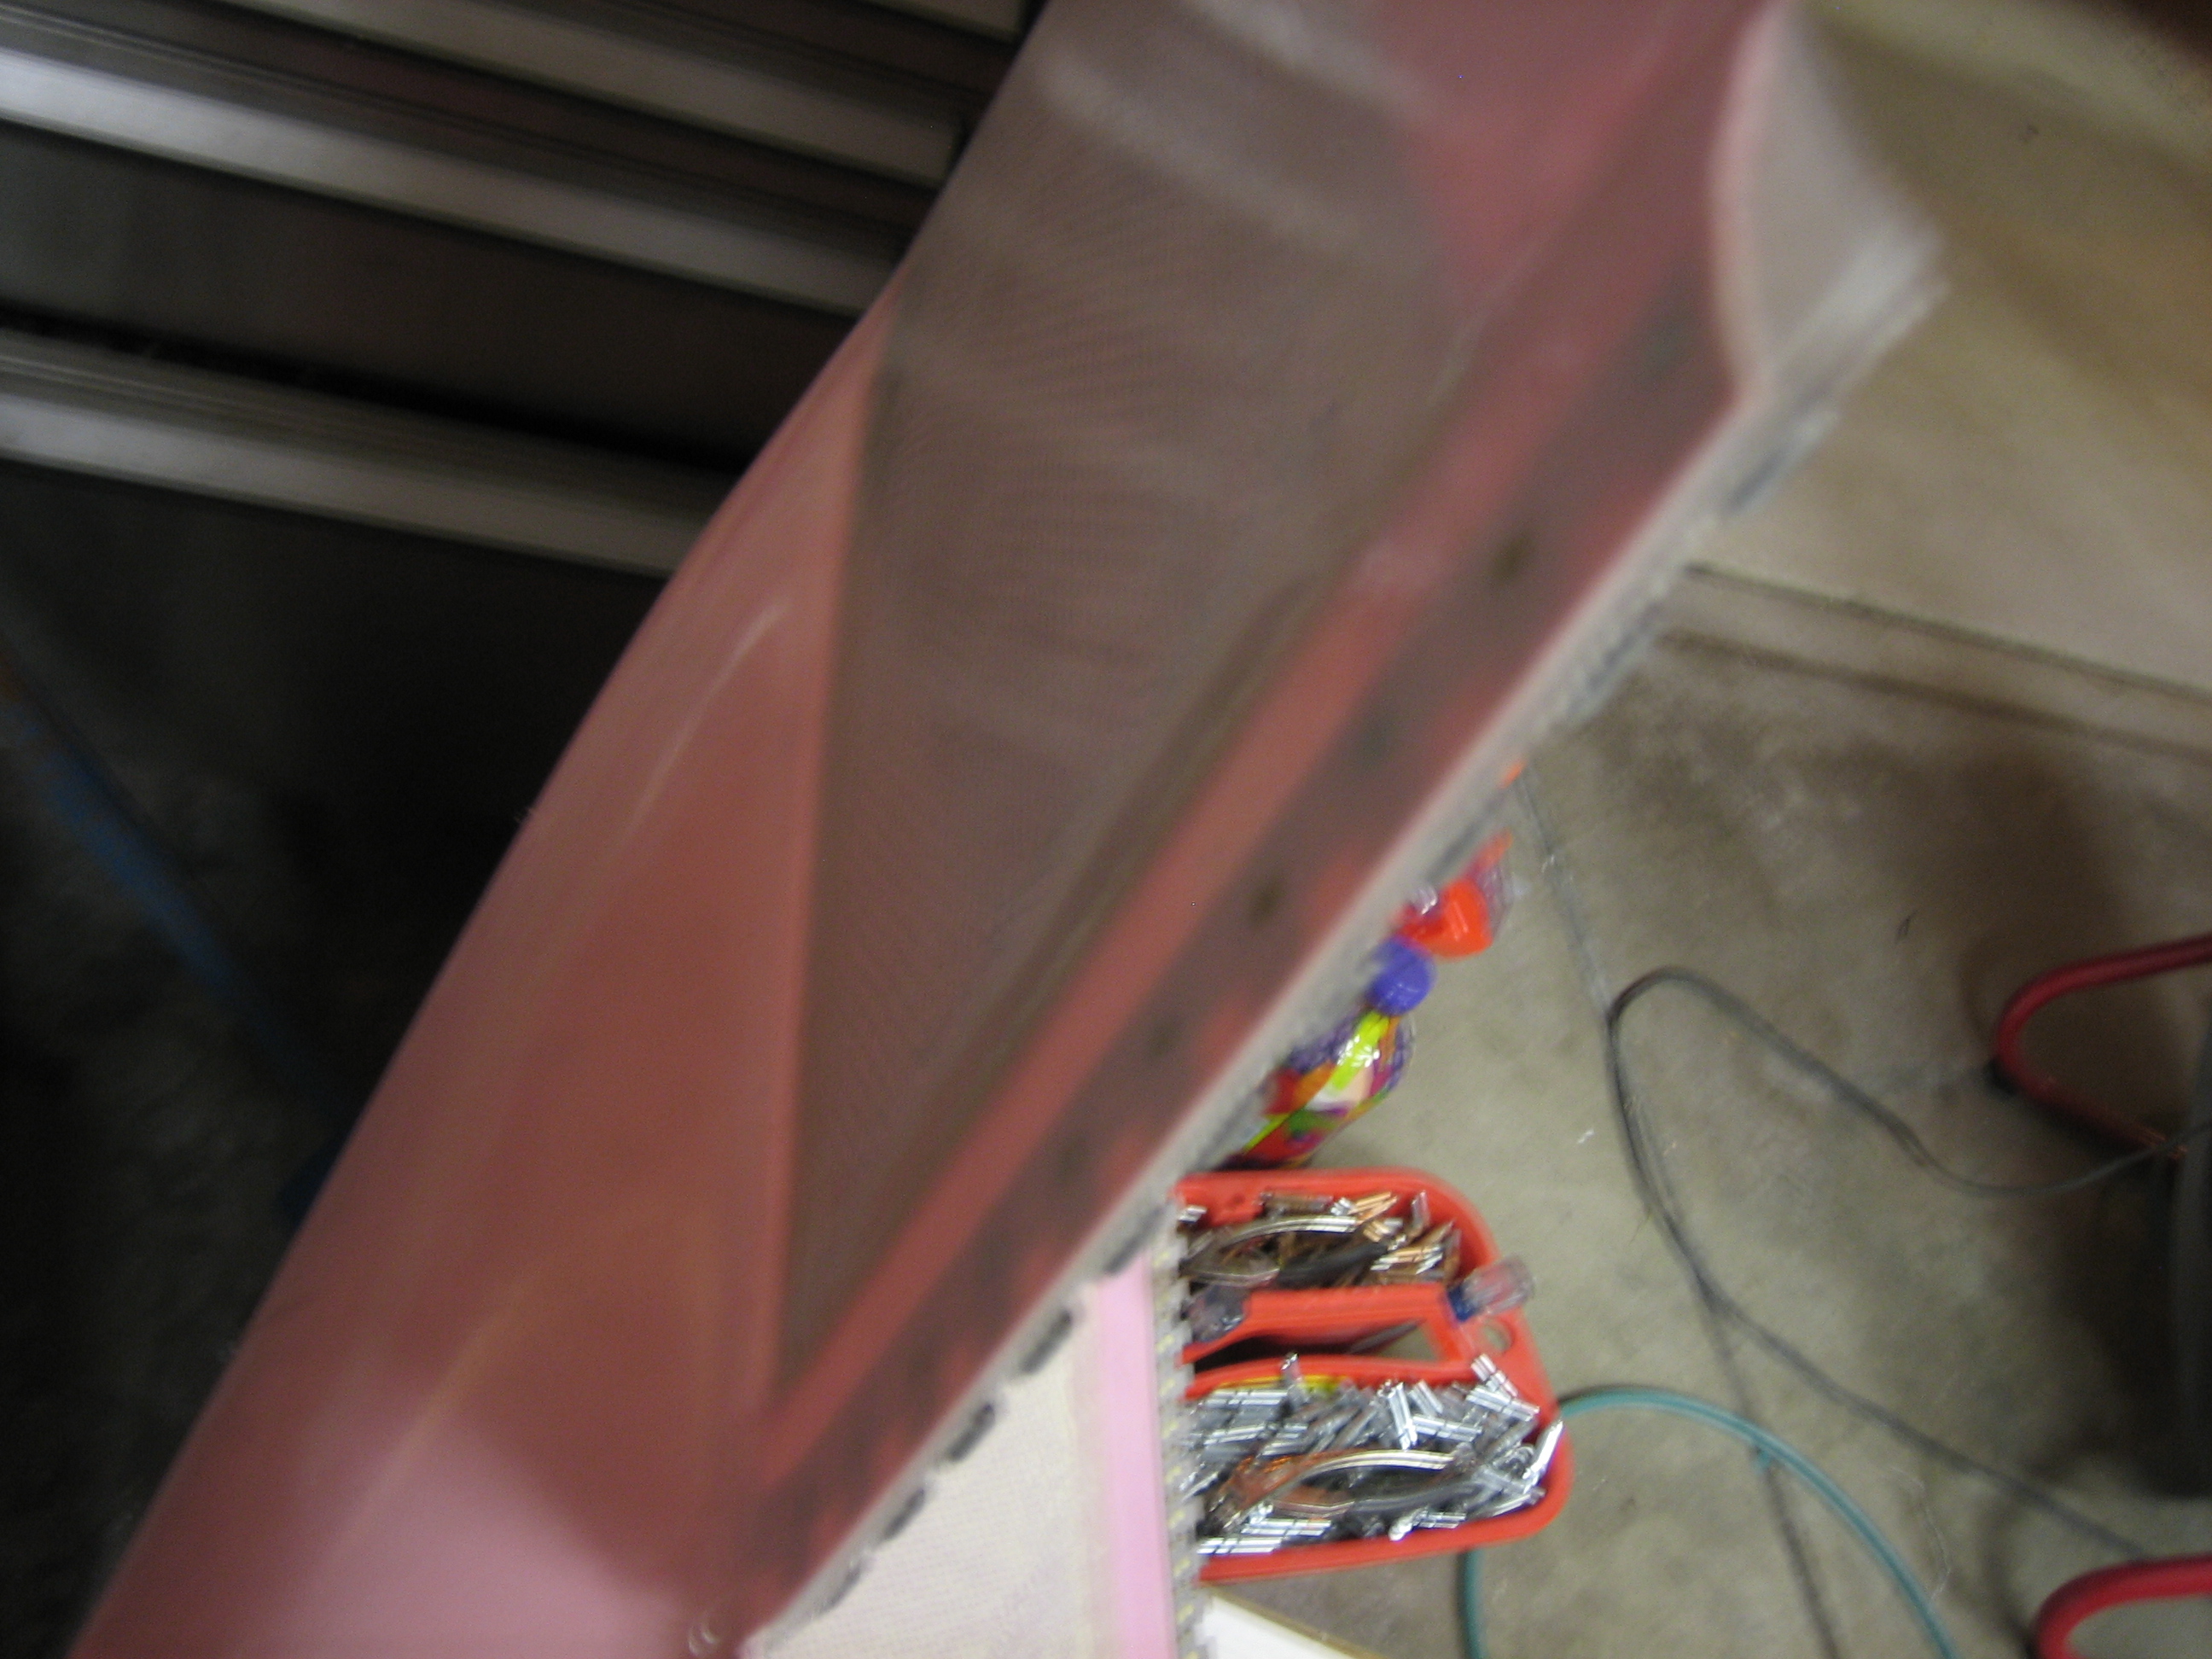
And here’s one of the two bottom hinge segments. After the epoxy kicked, I trimmed all of the overhang flush with the edge of the cowl.
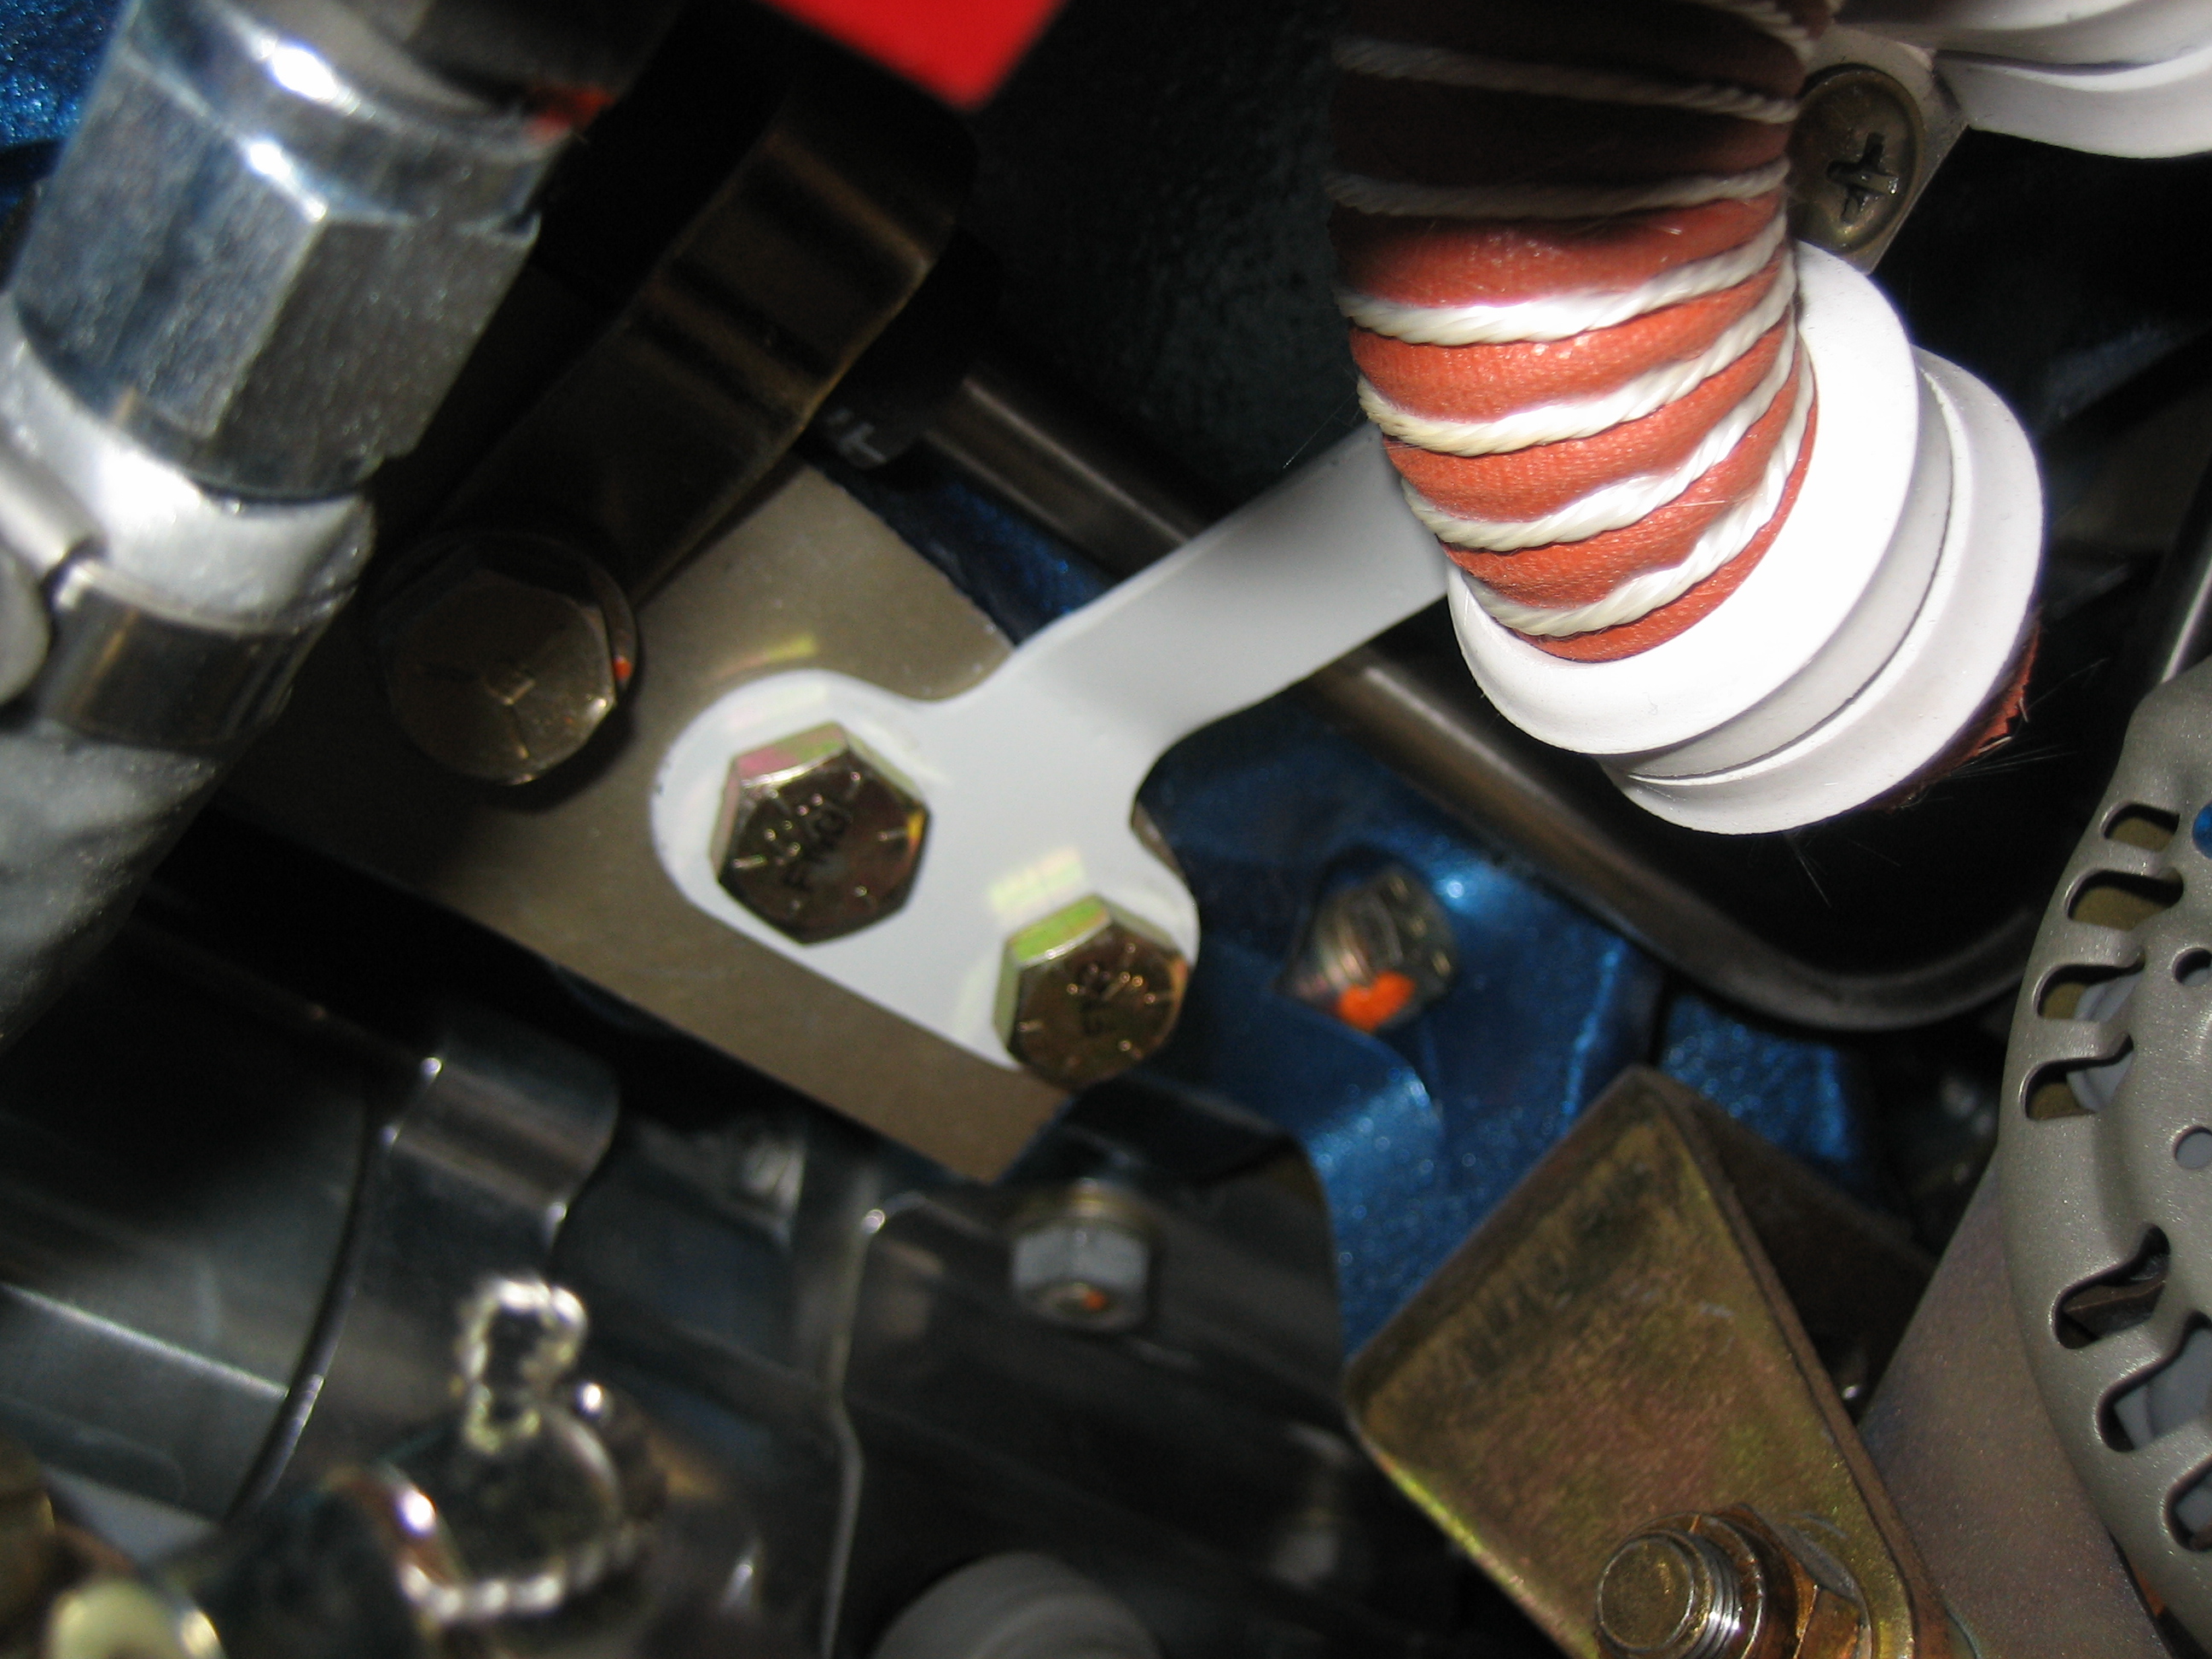
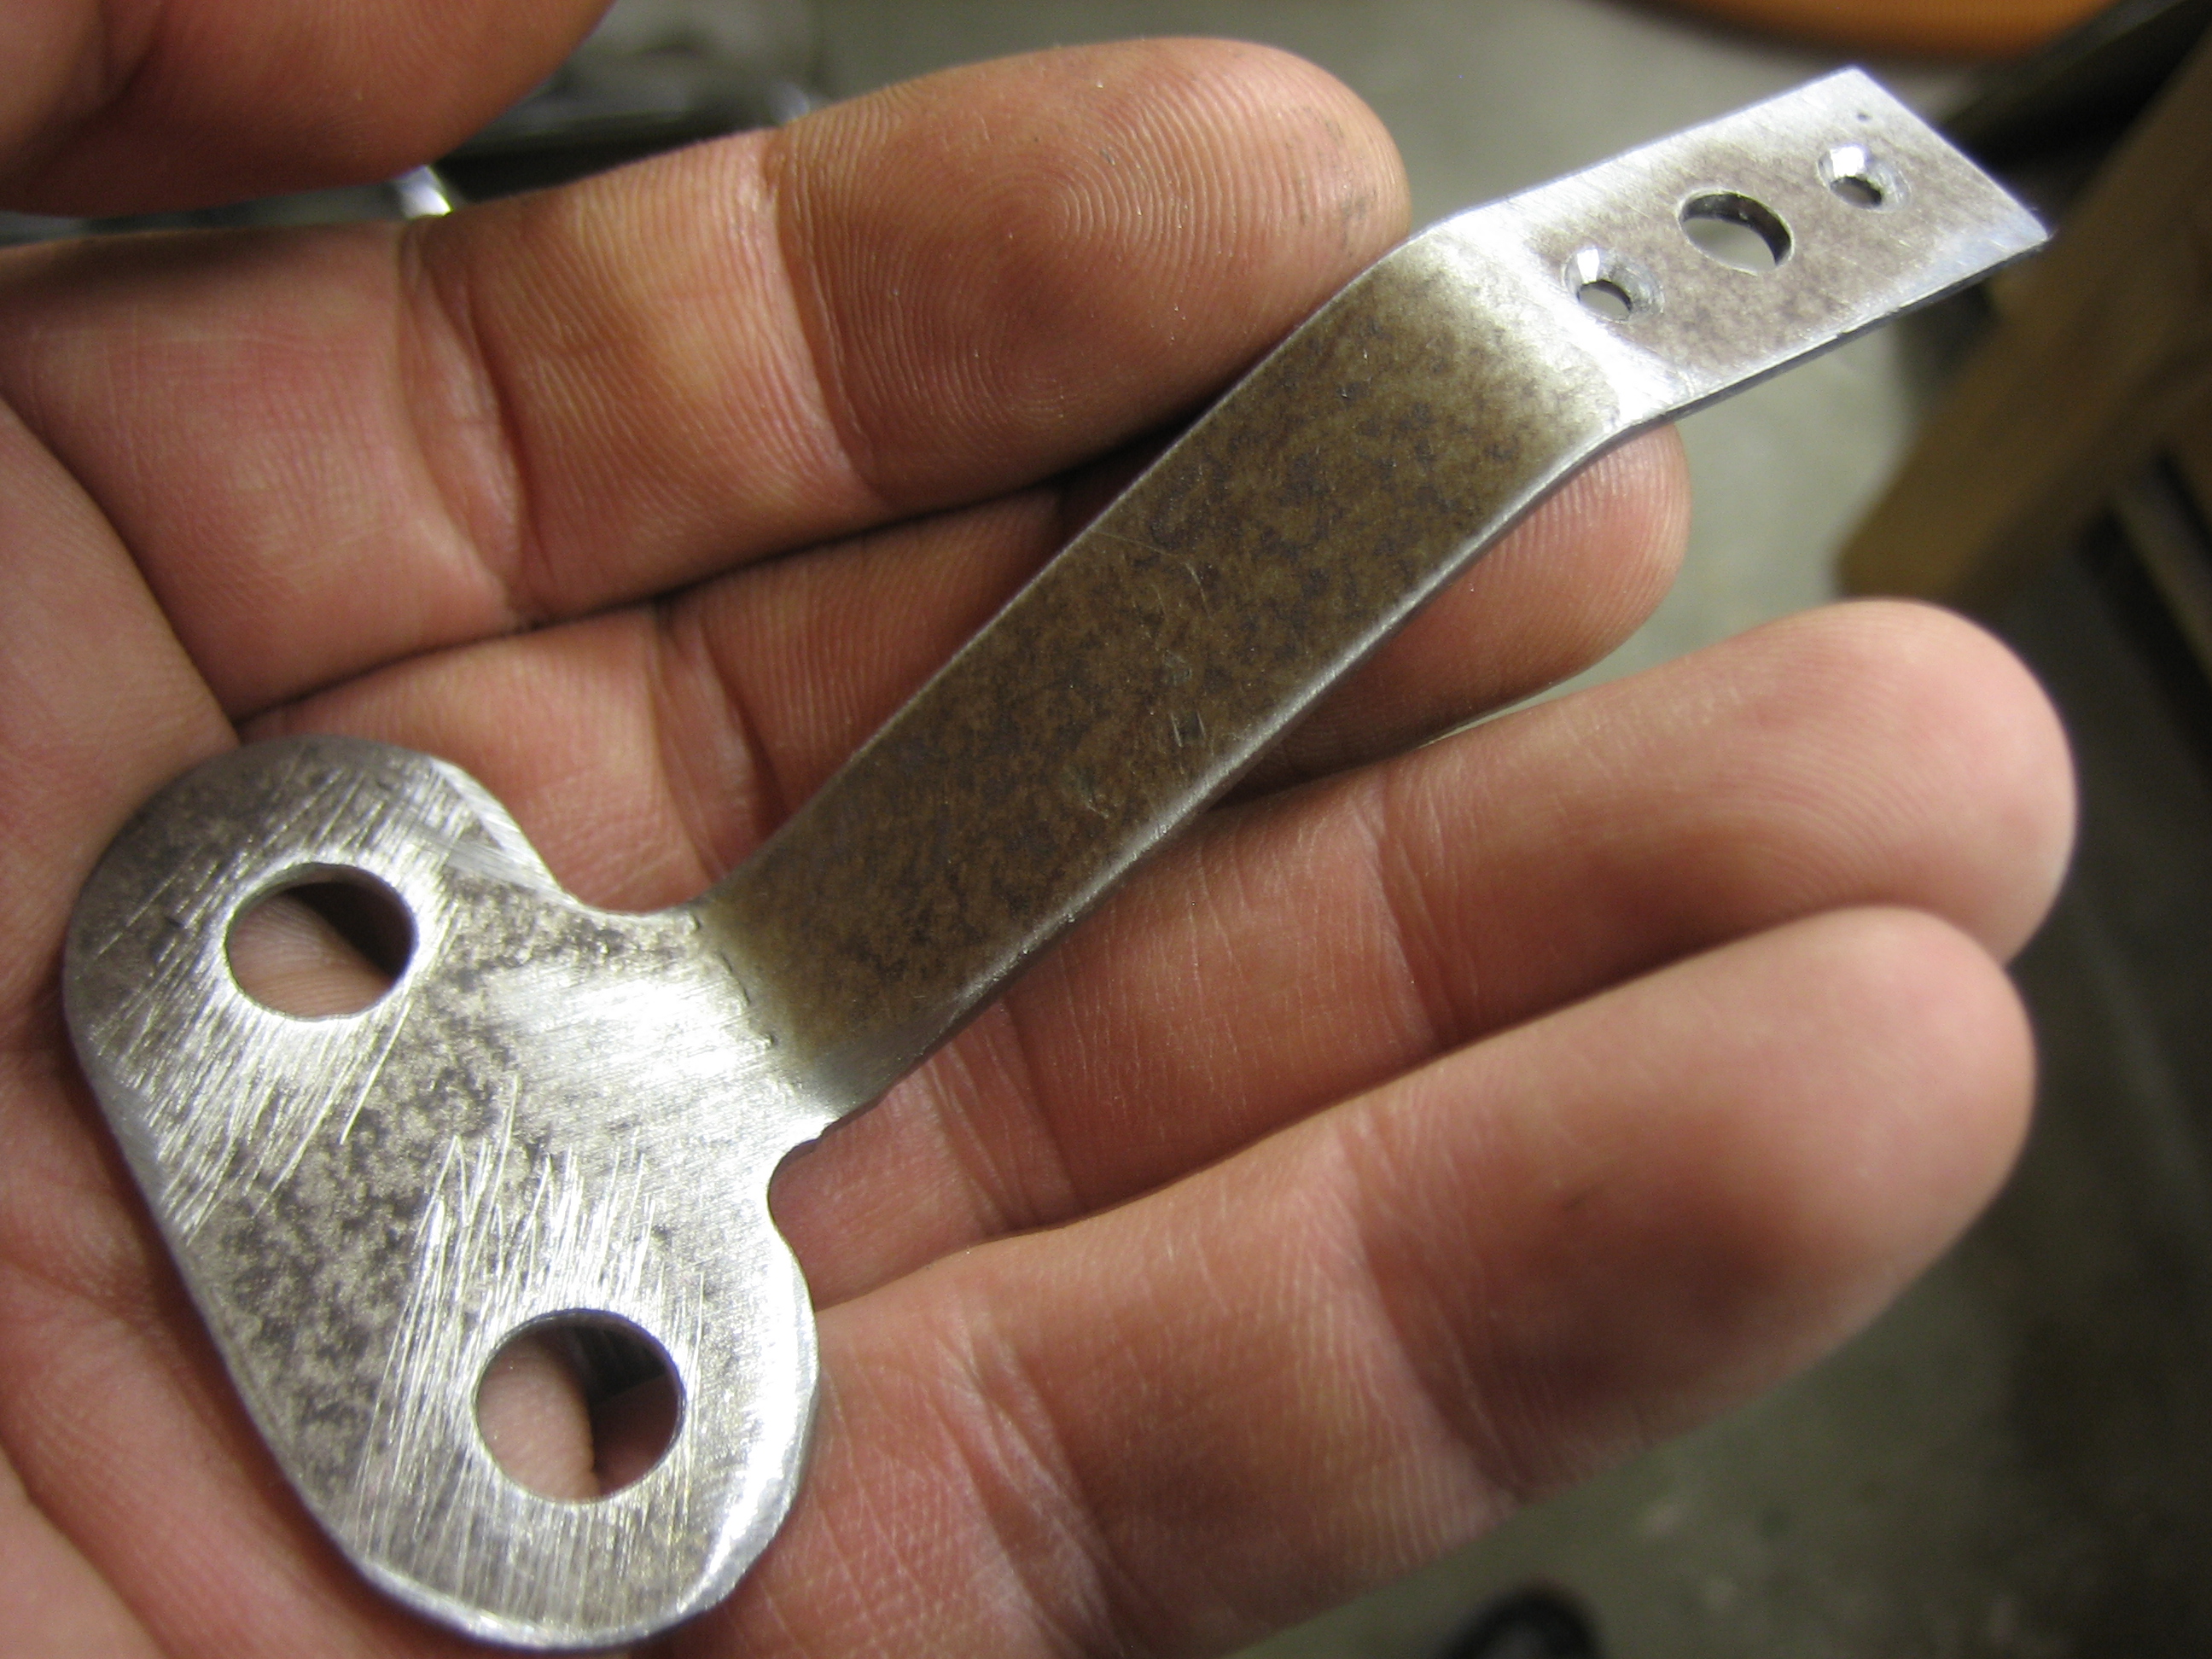
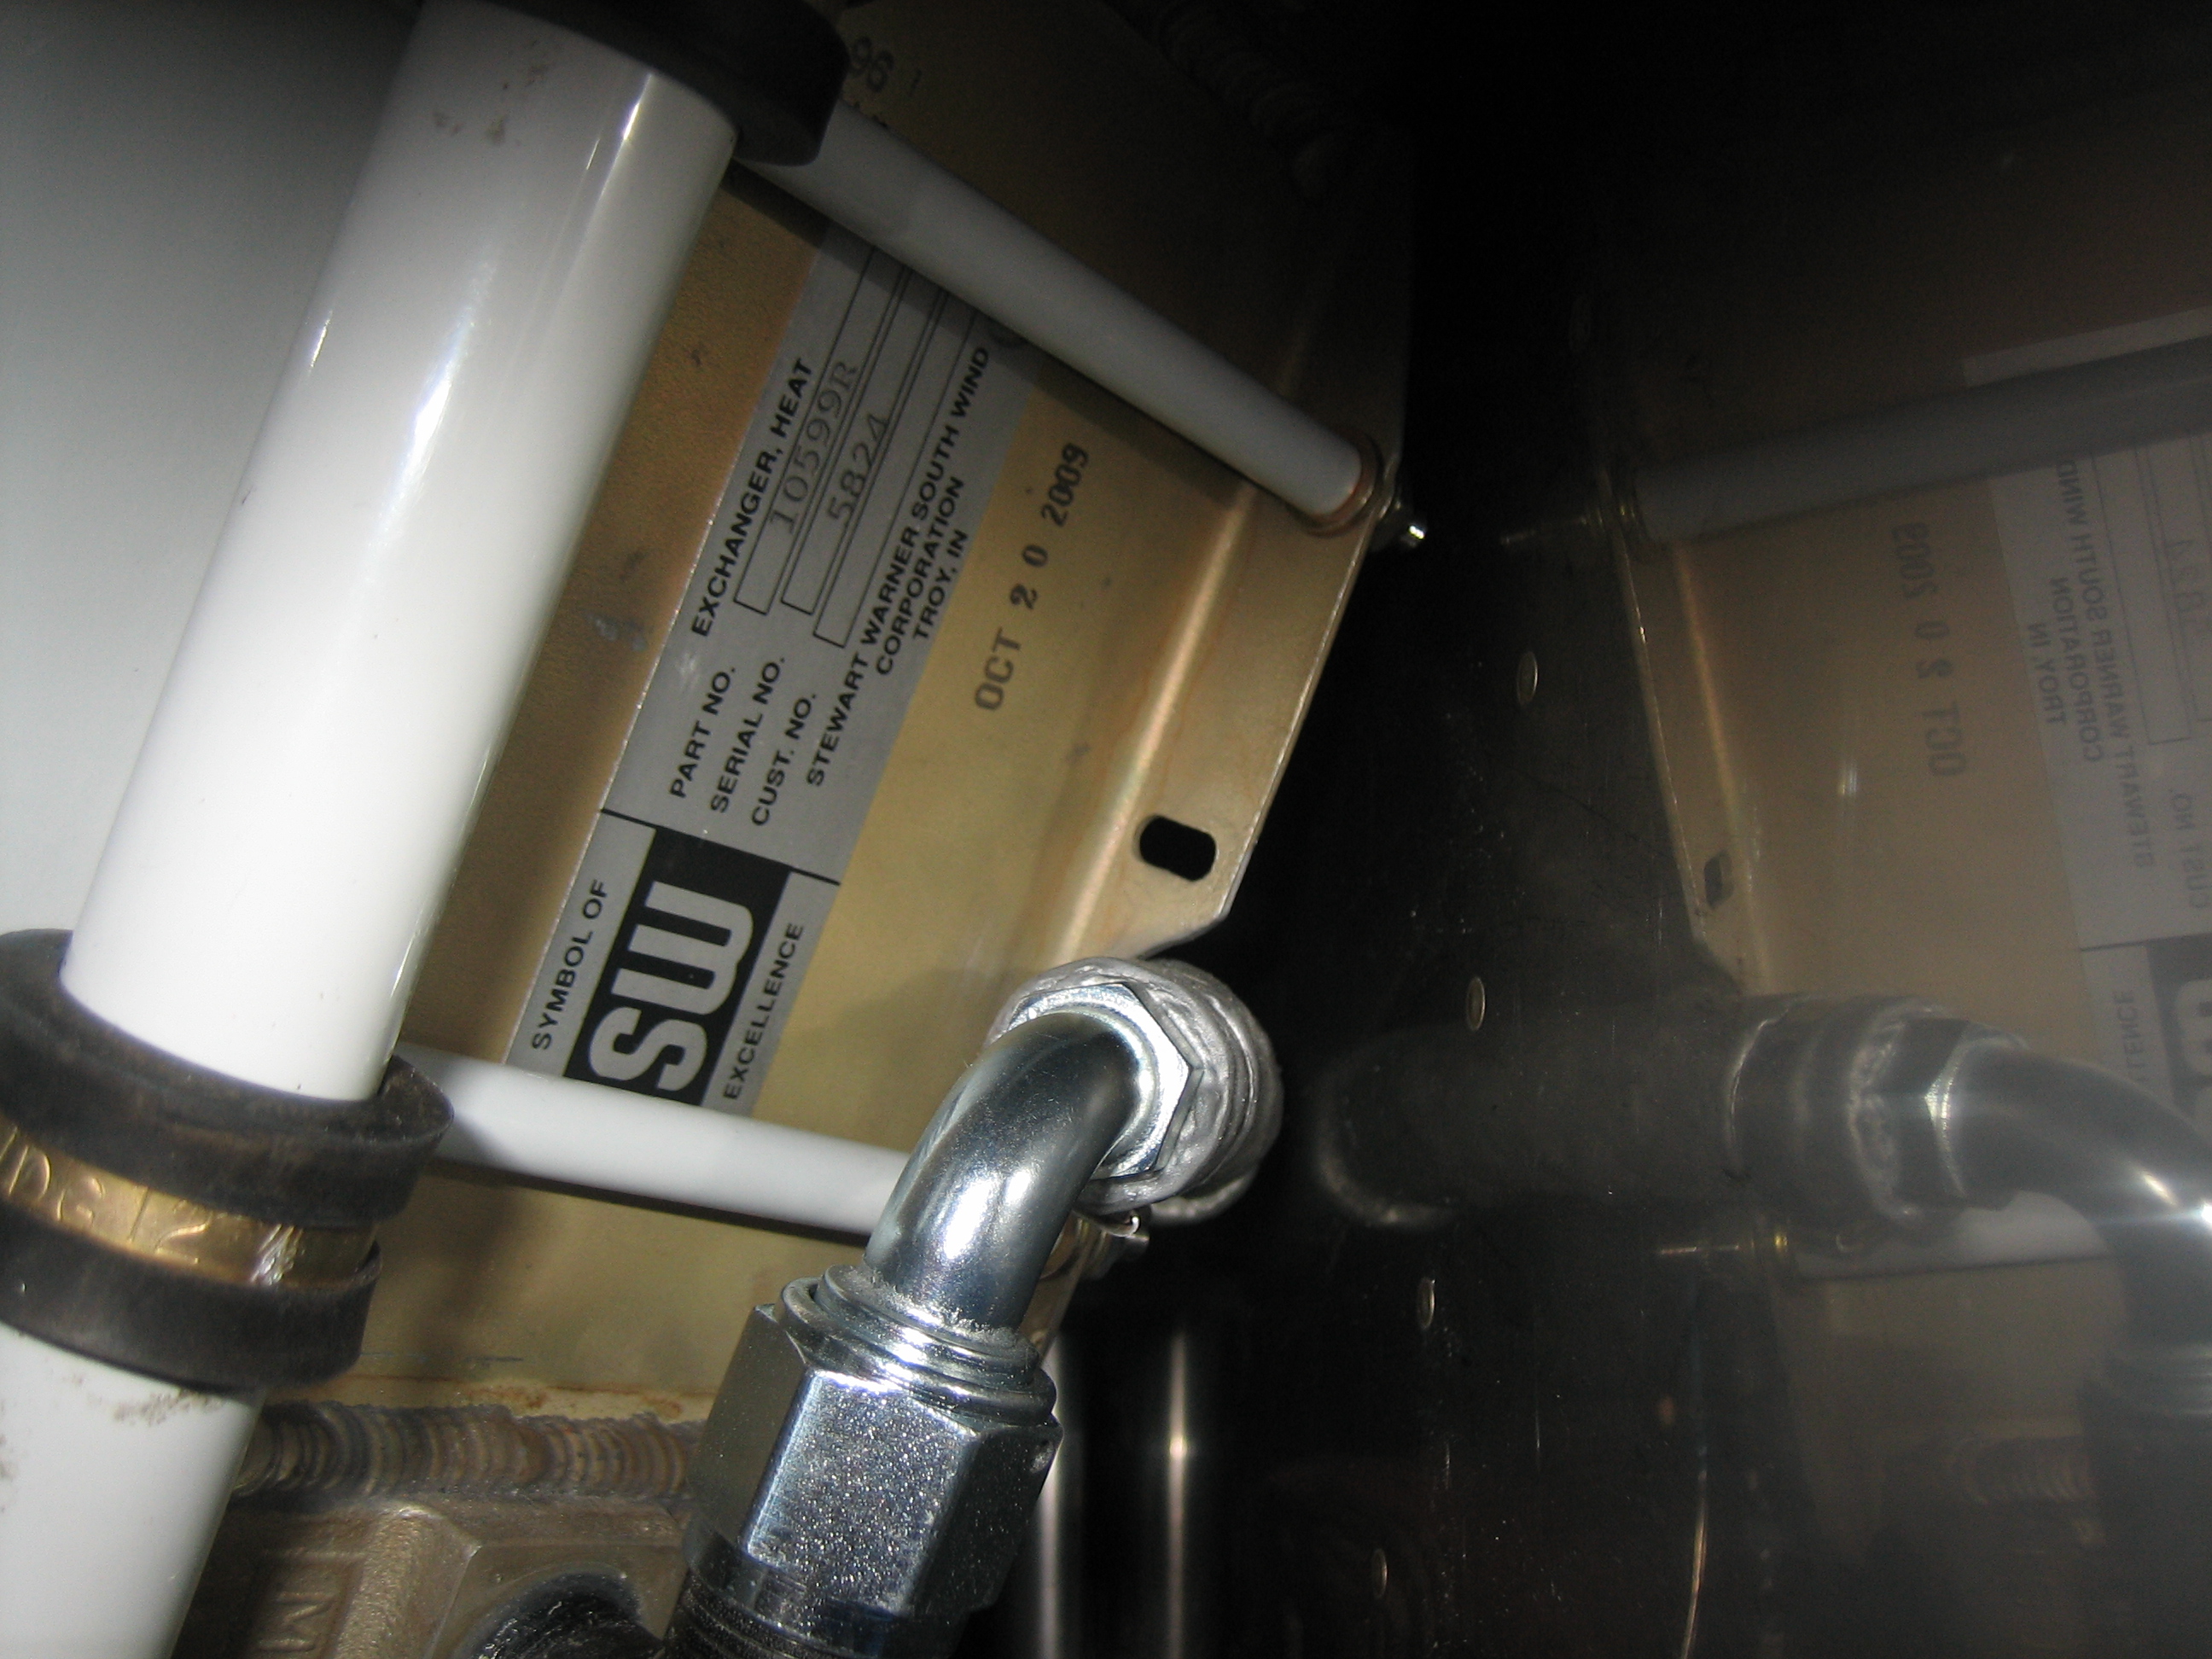
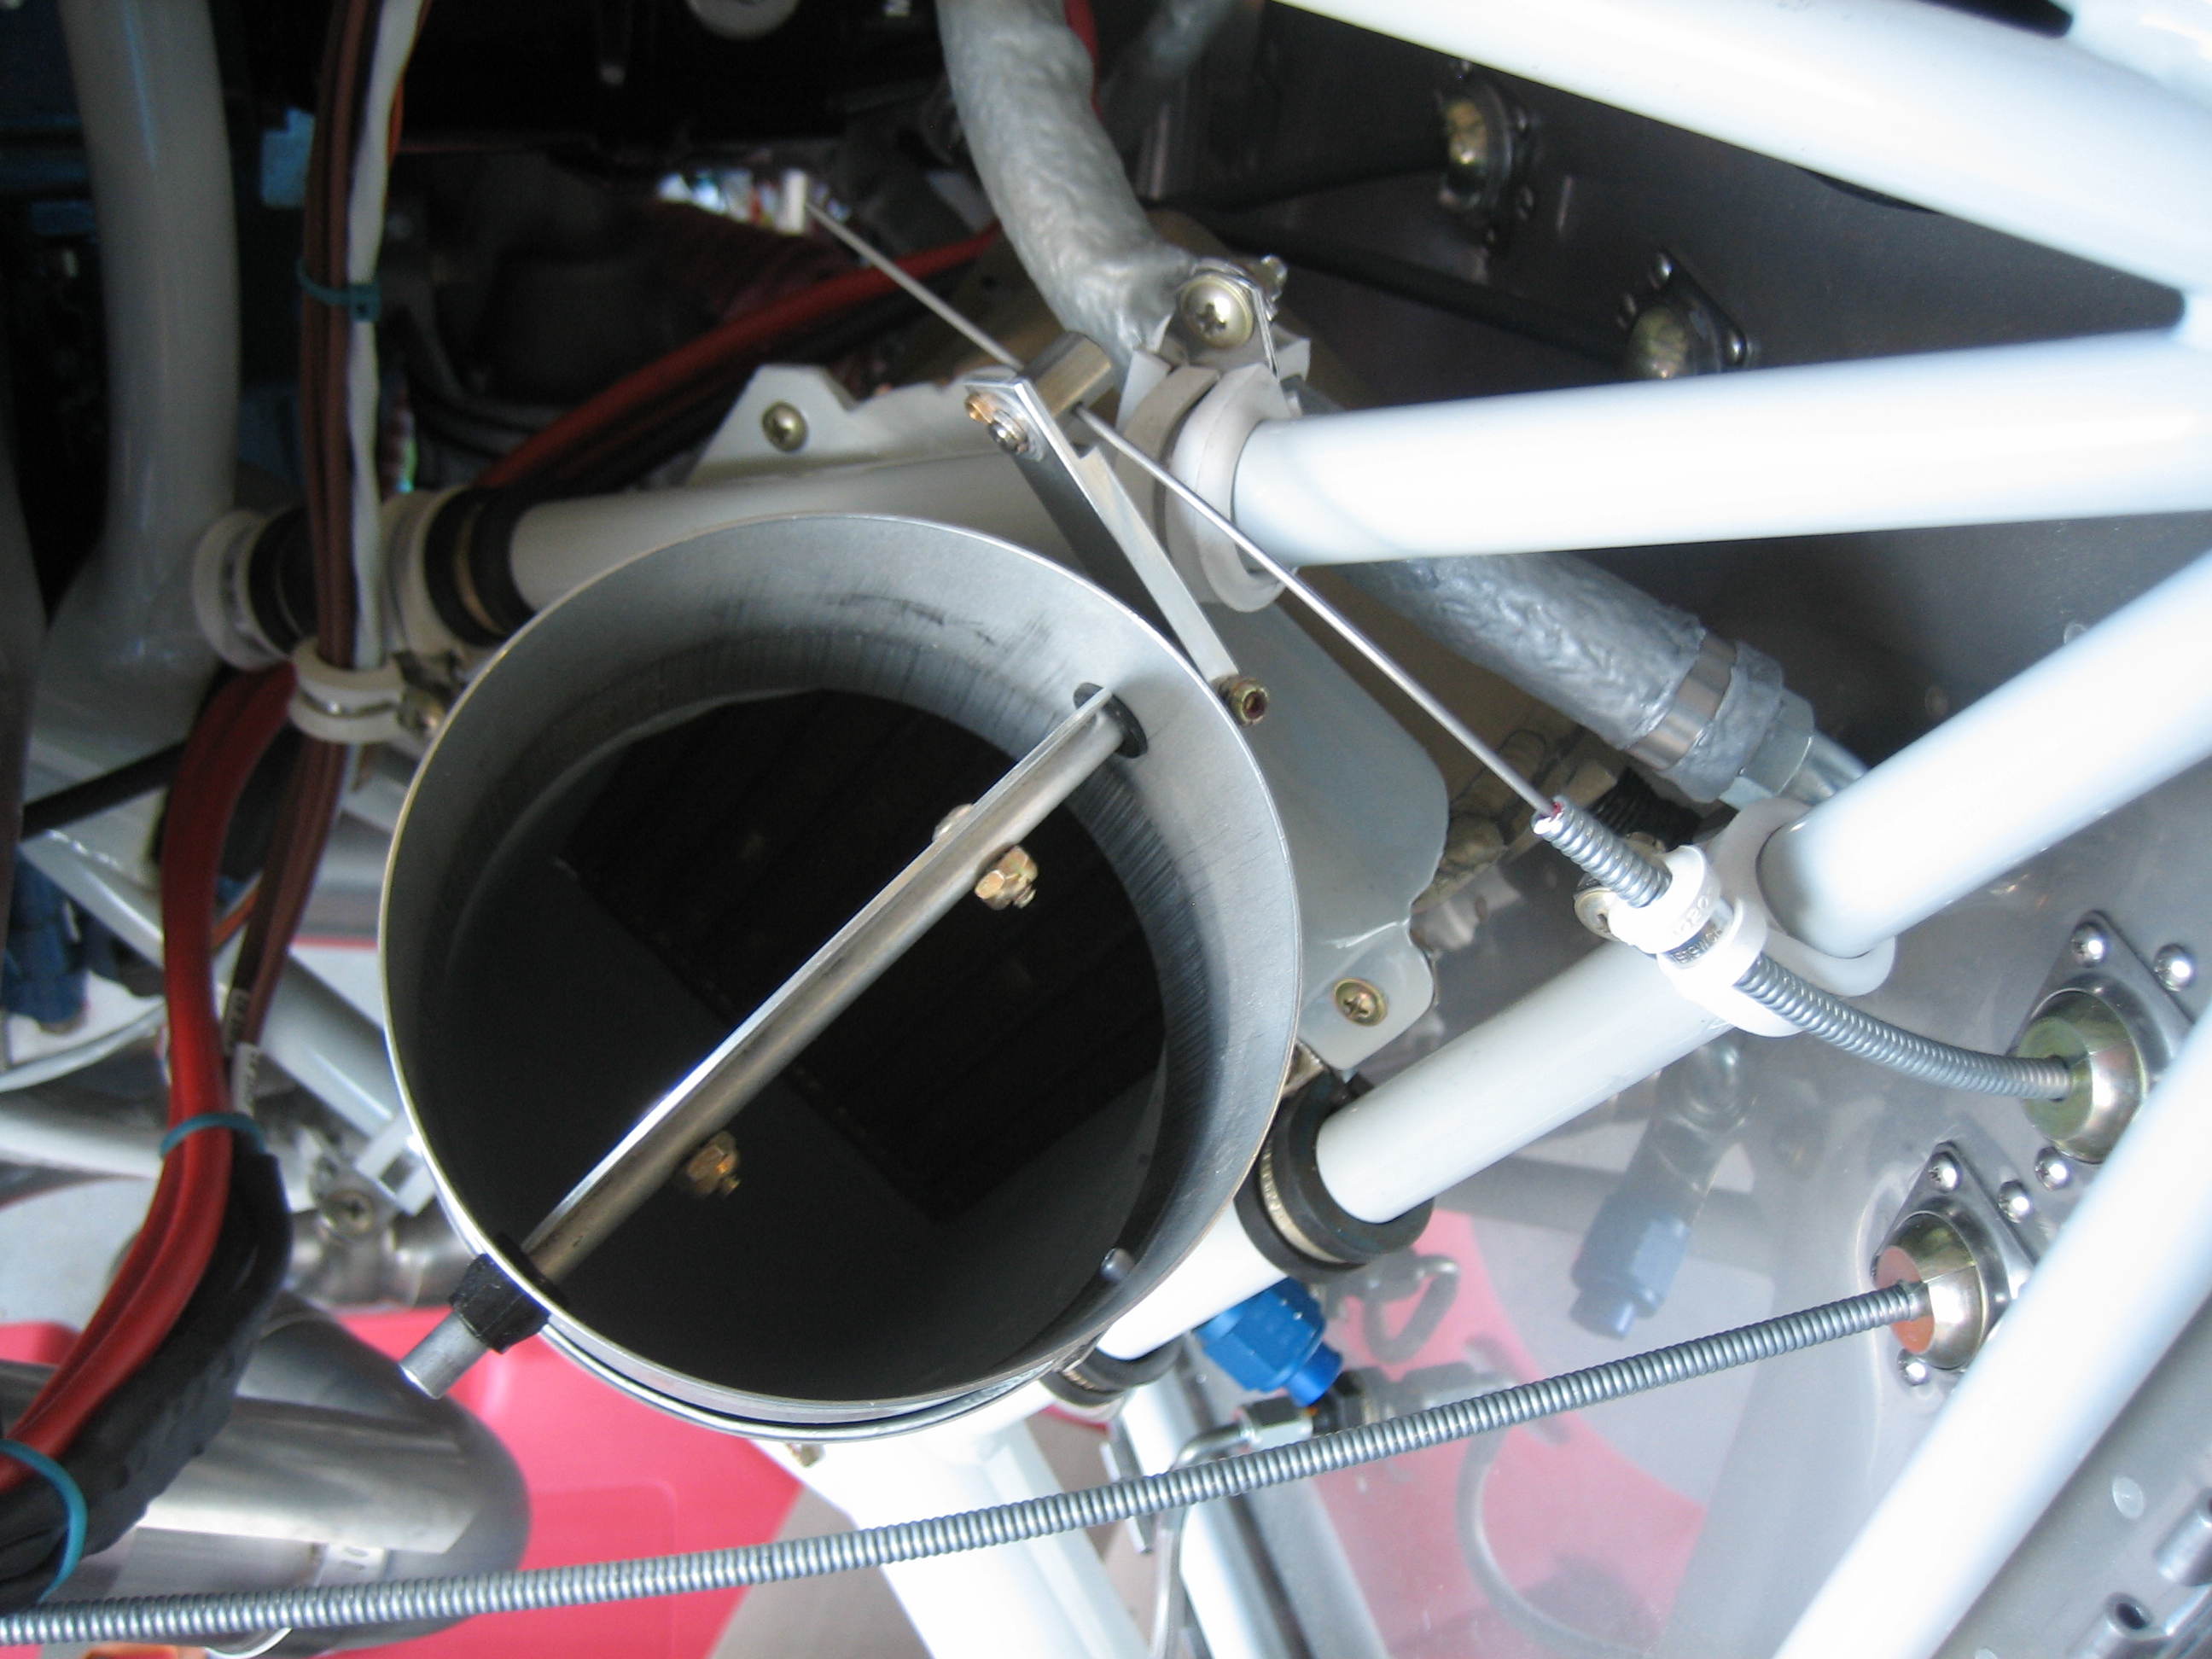
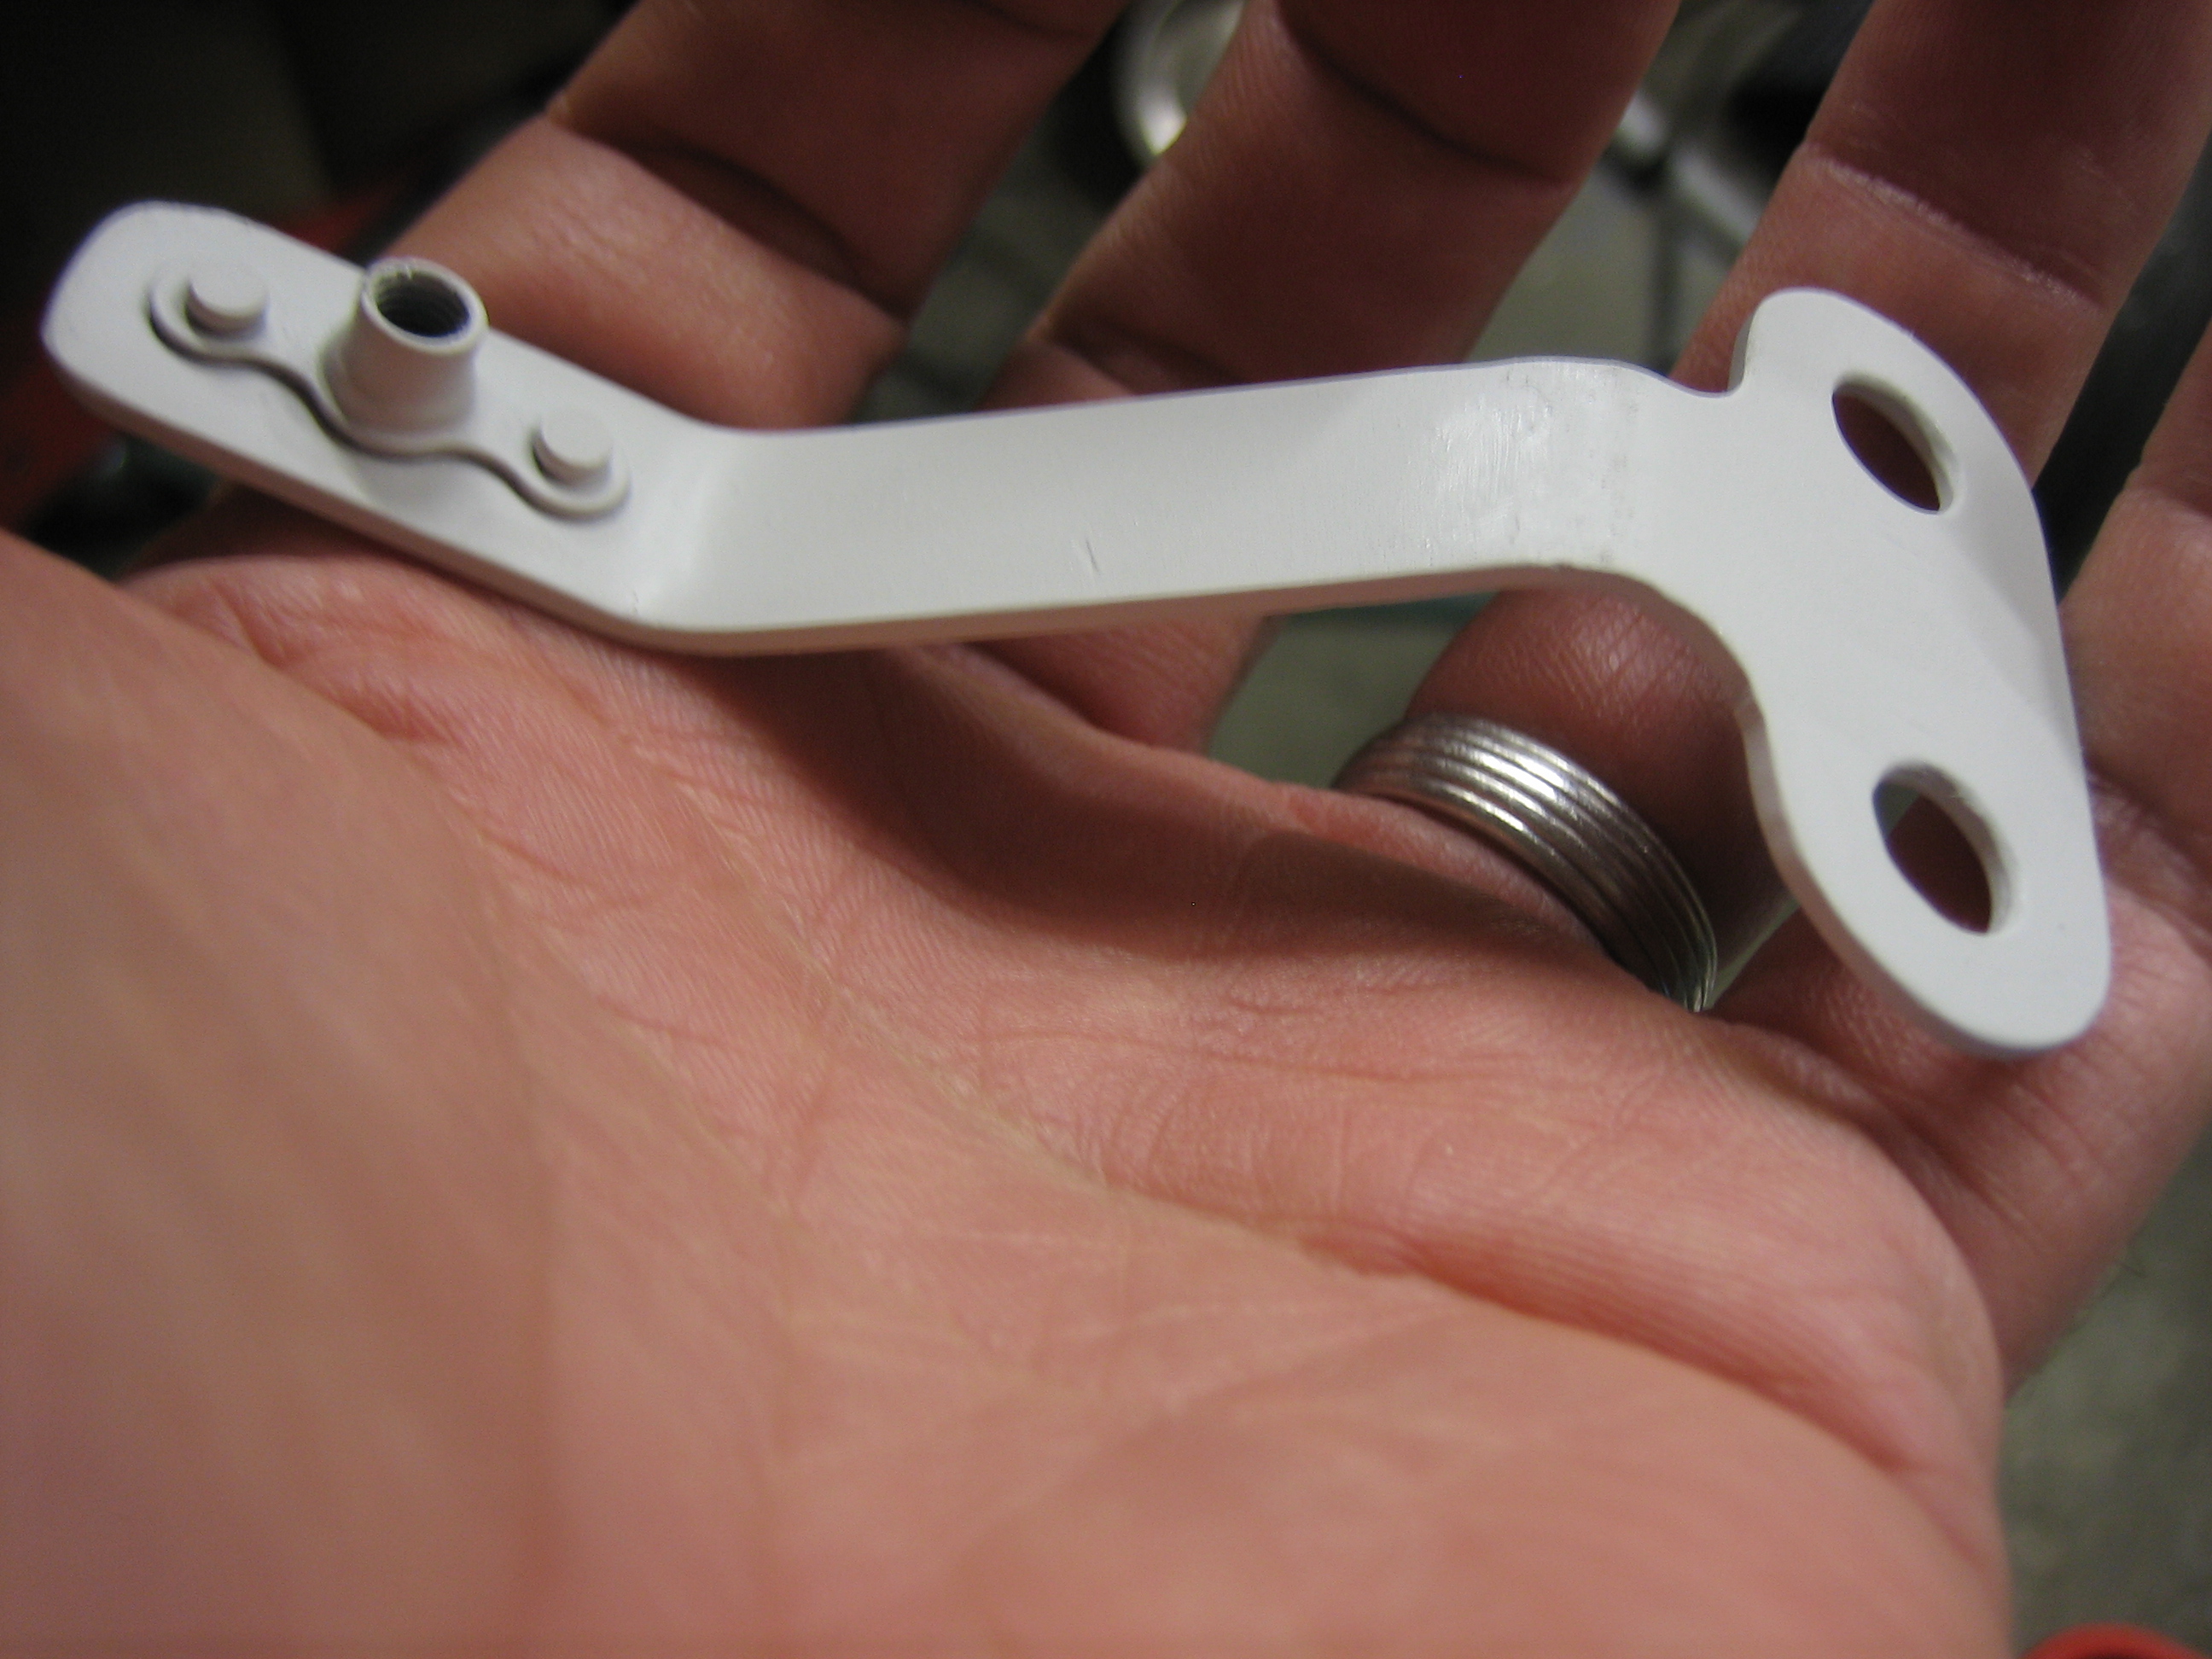
I also fabricated this little bracket to hold the end of the alternator blast tube pointing at the back of the alternator. I’ll clean it up and powder coat it soon.
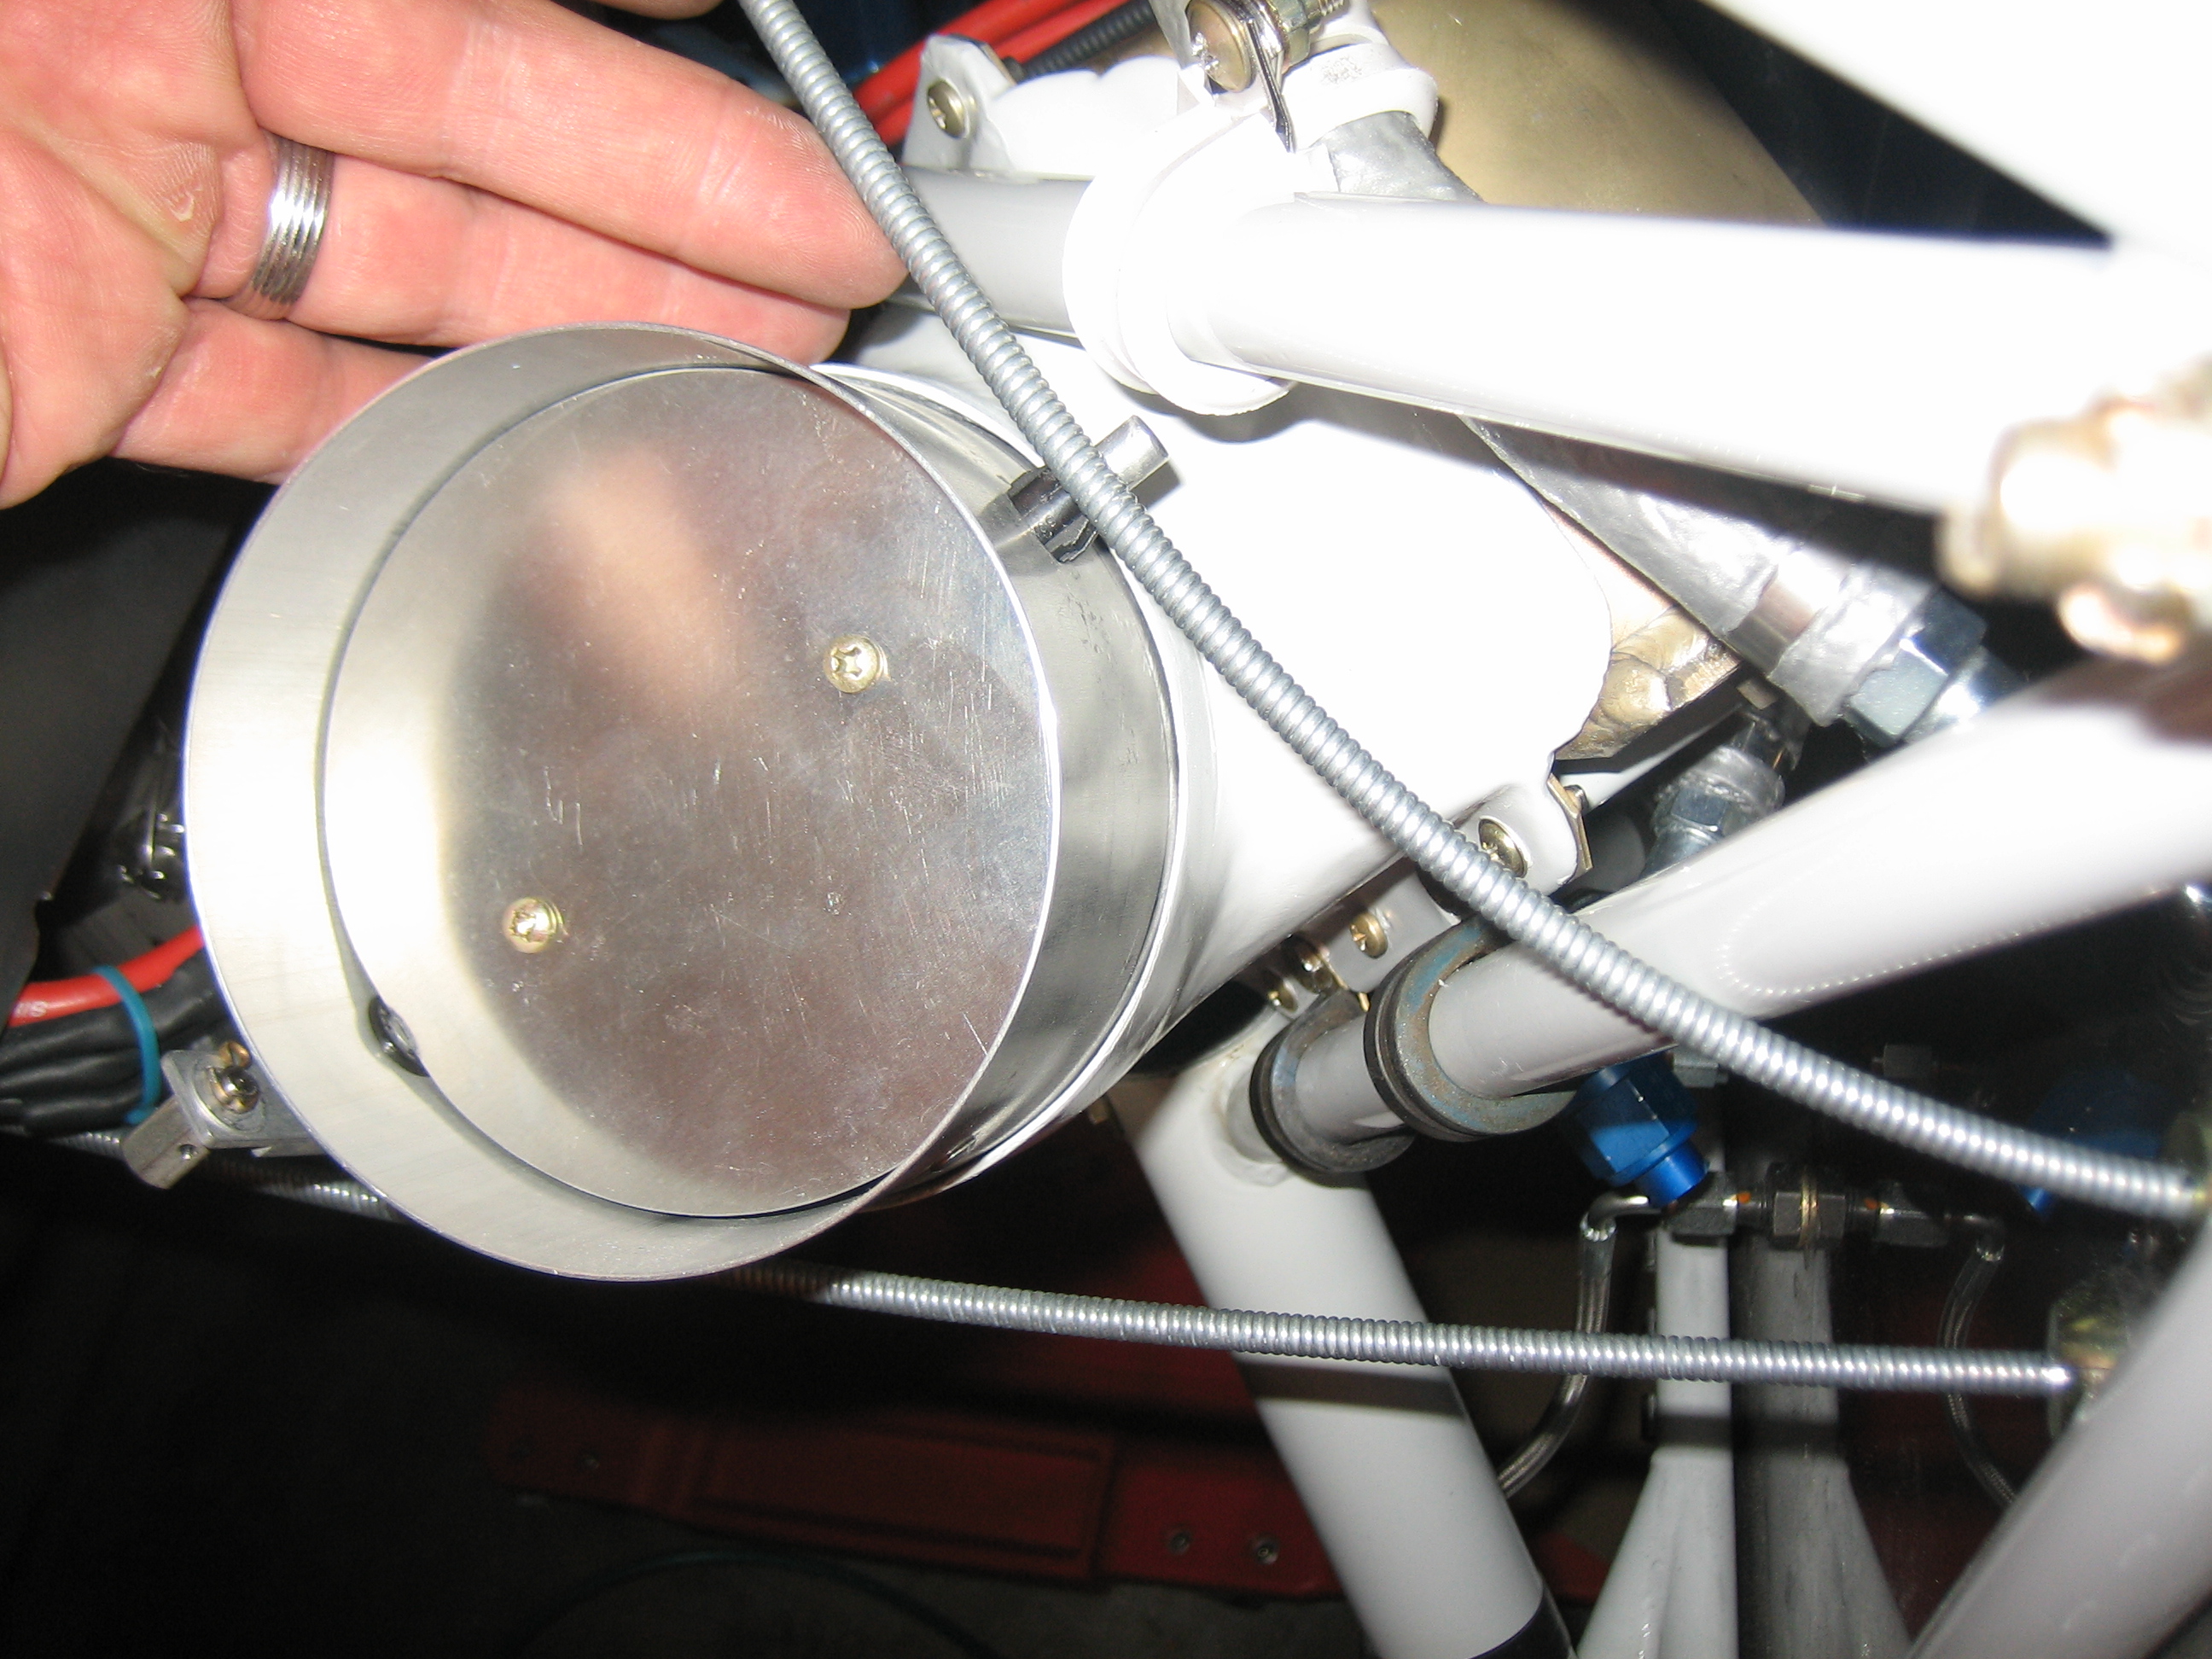
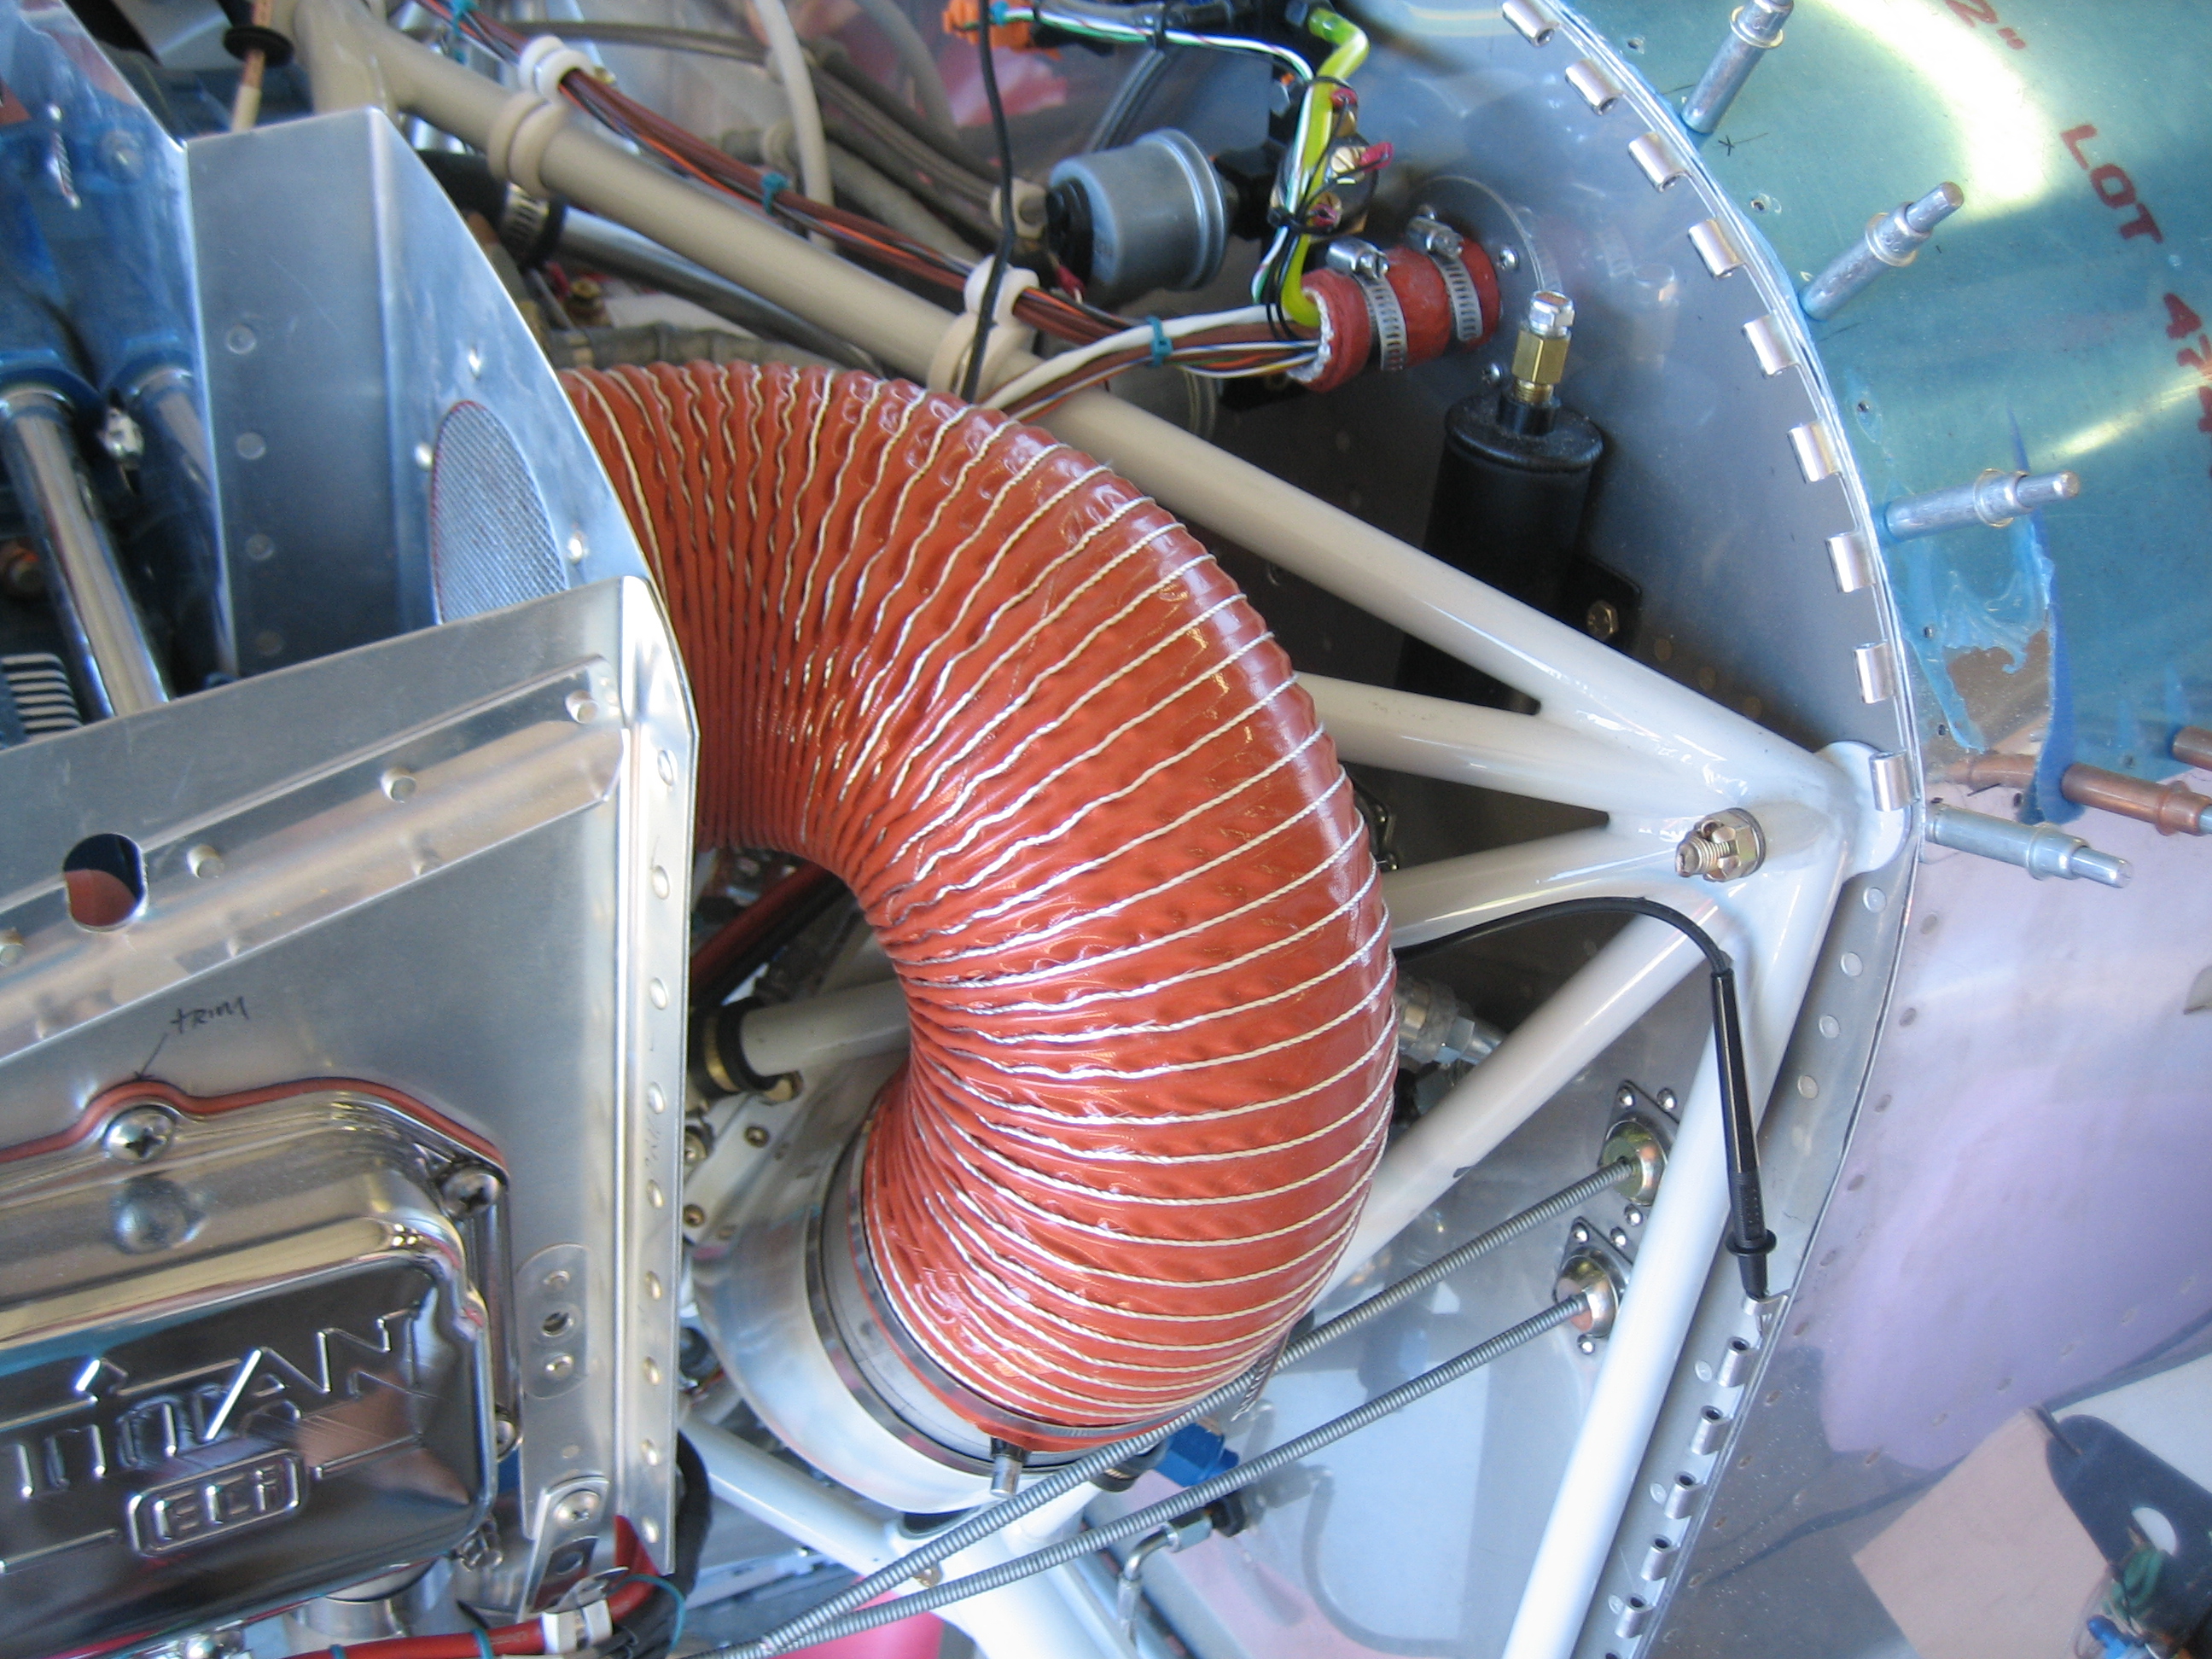
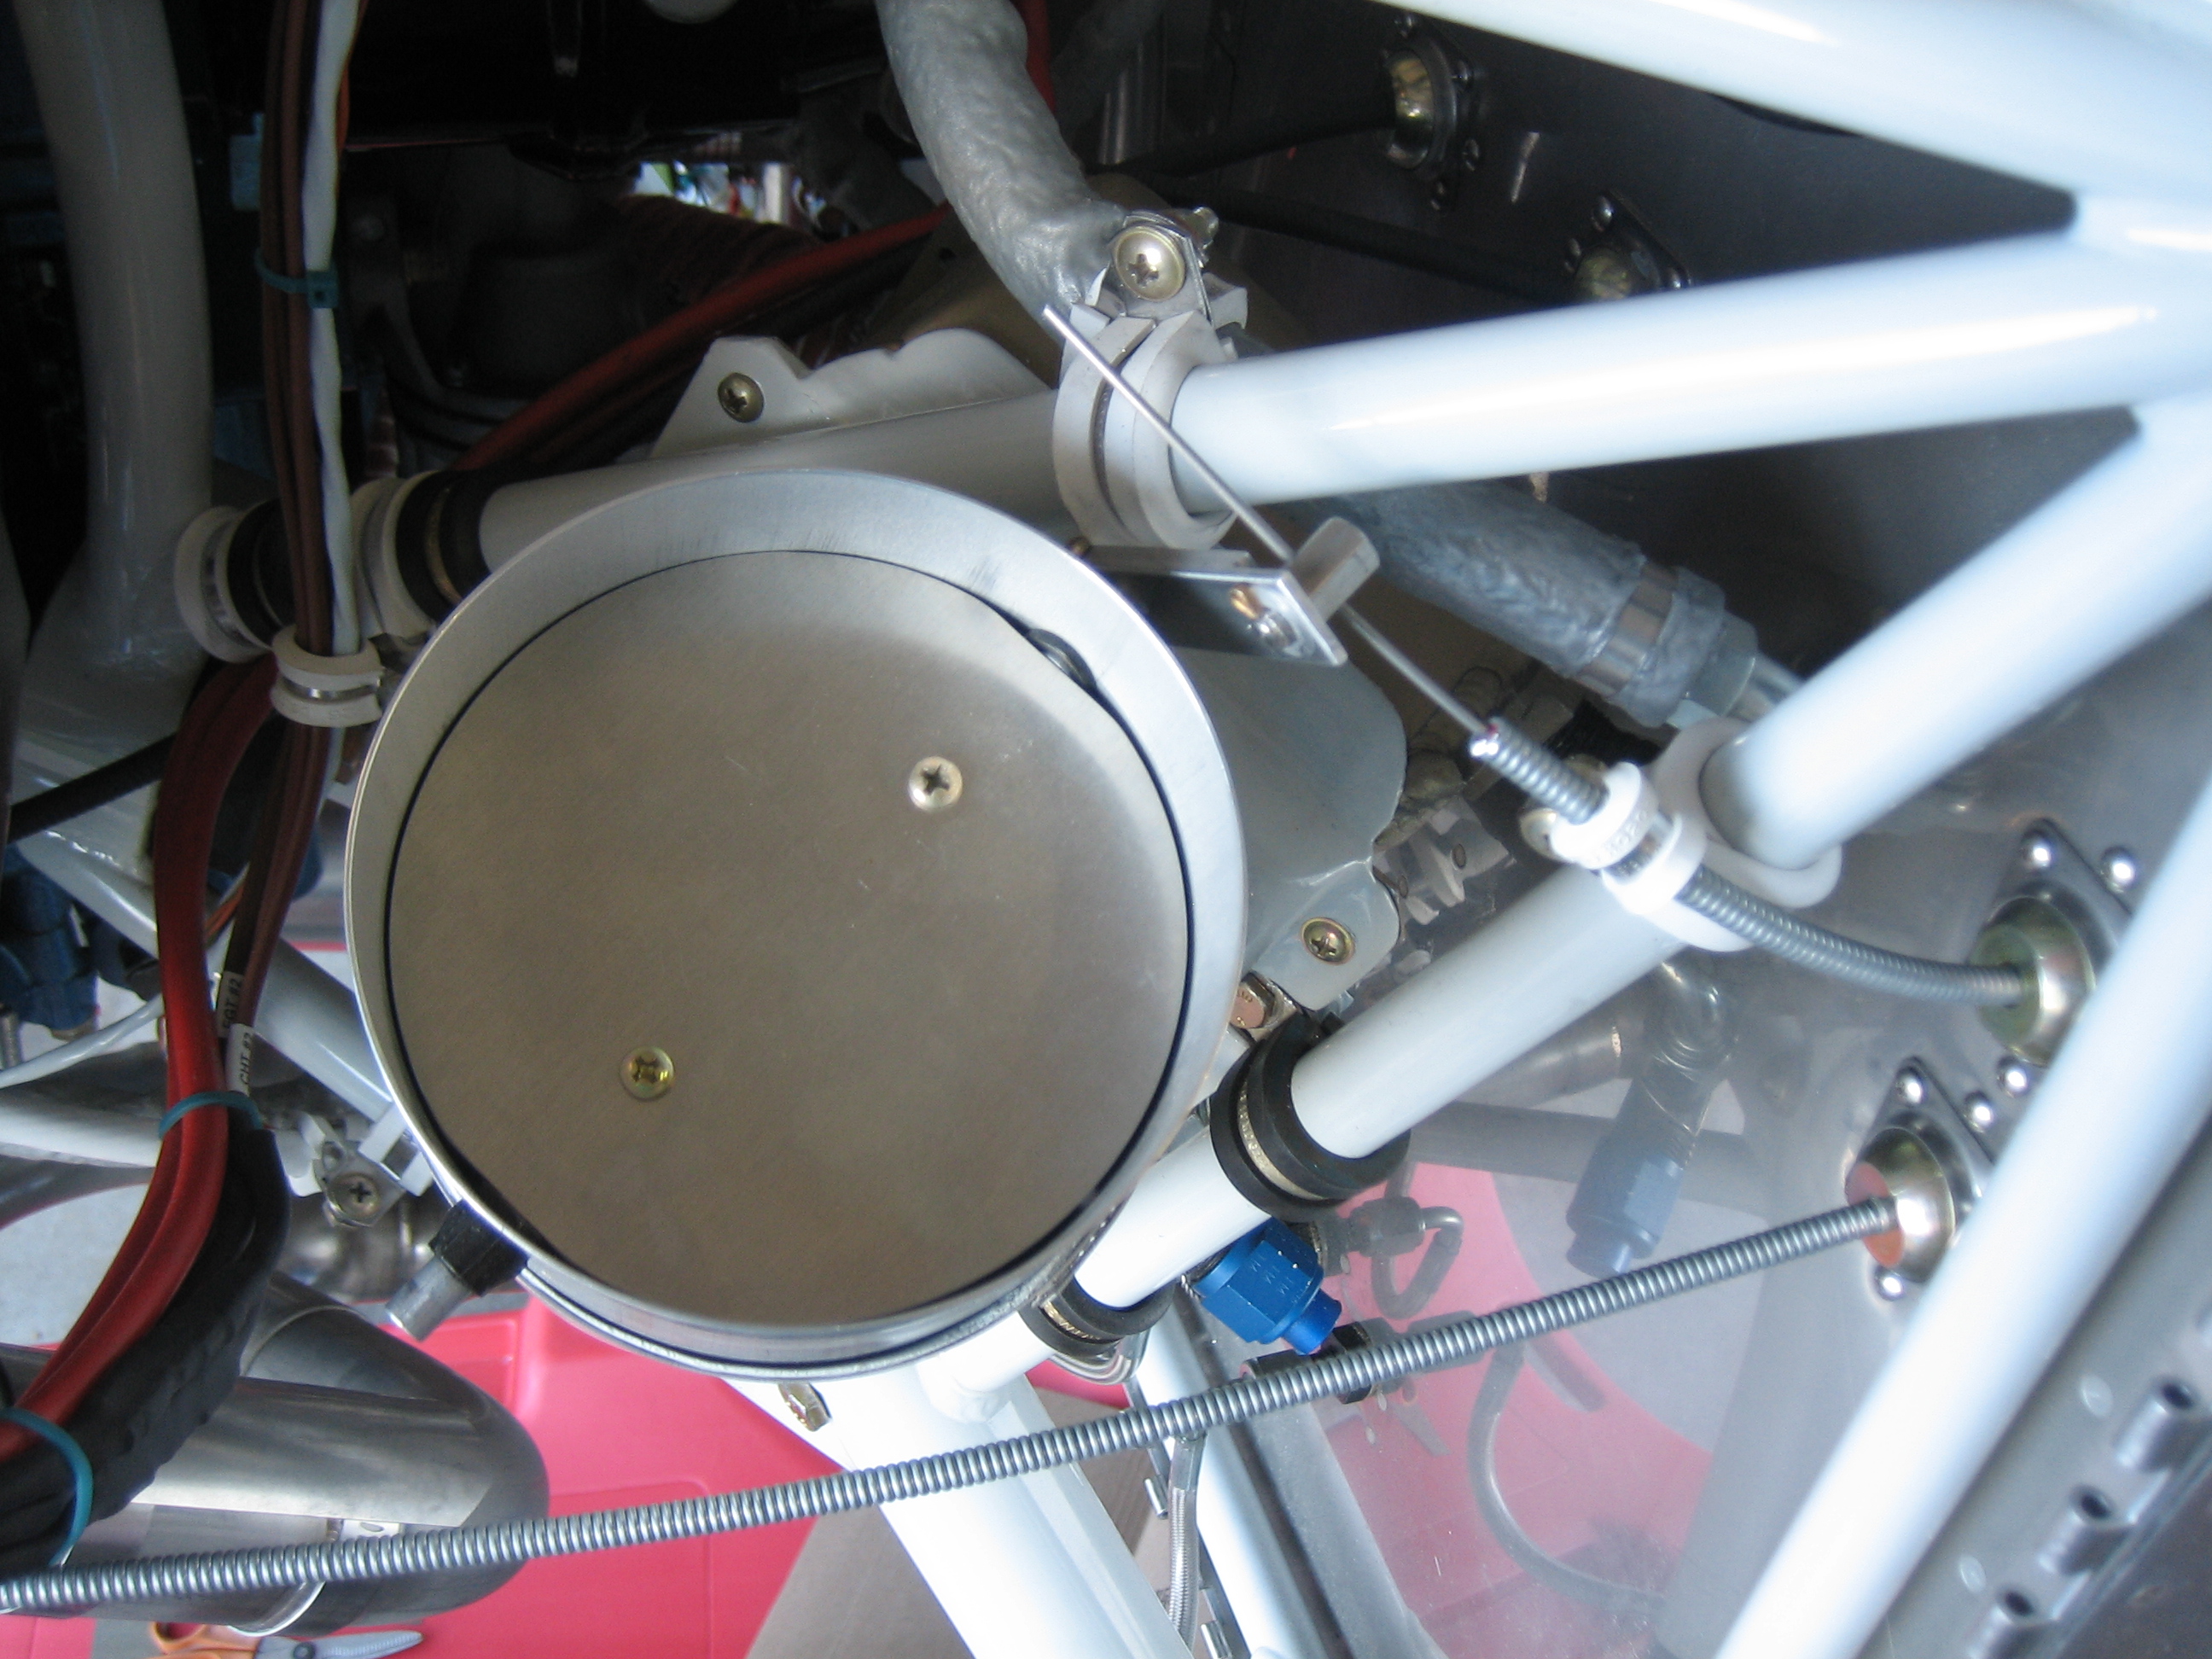
I mounted the oil cooler tonight. This was a major pain in the ass. There is very little room back here to get your hands and there are a bunch of parts to get aligned.
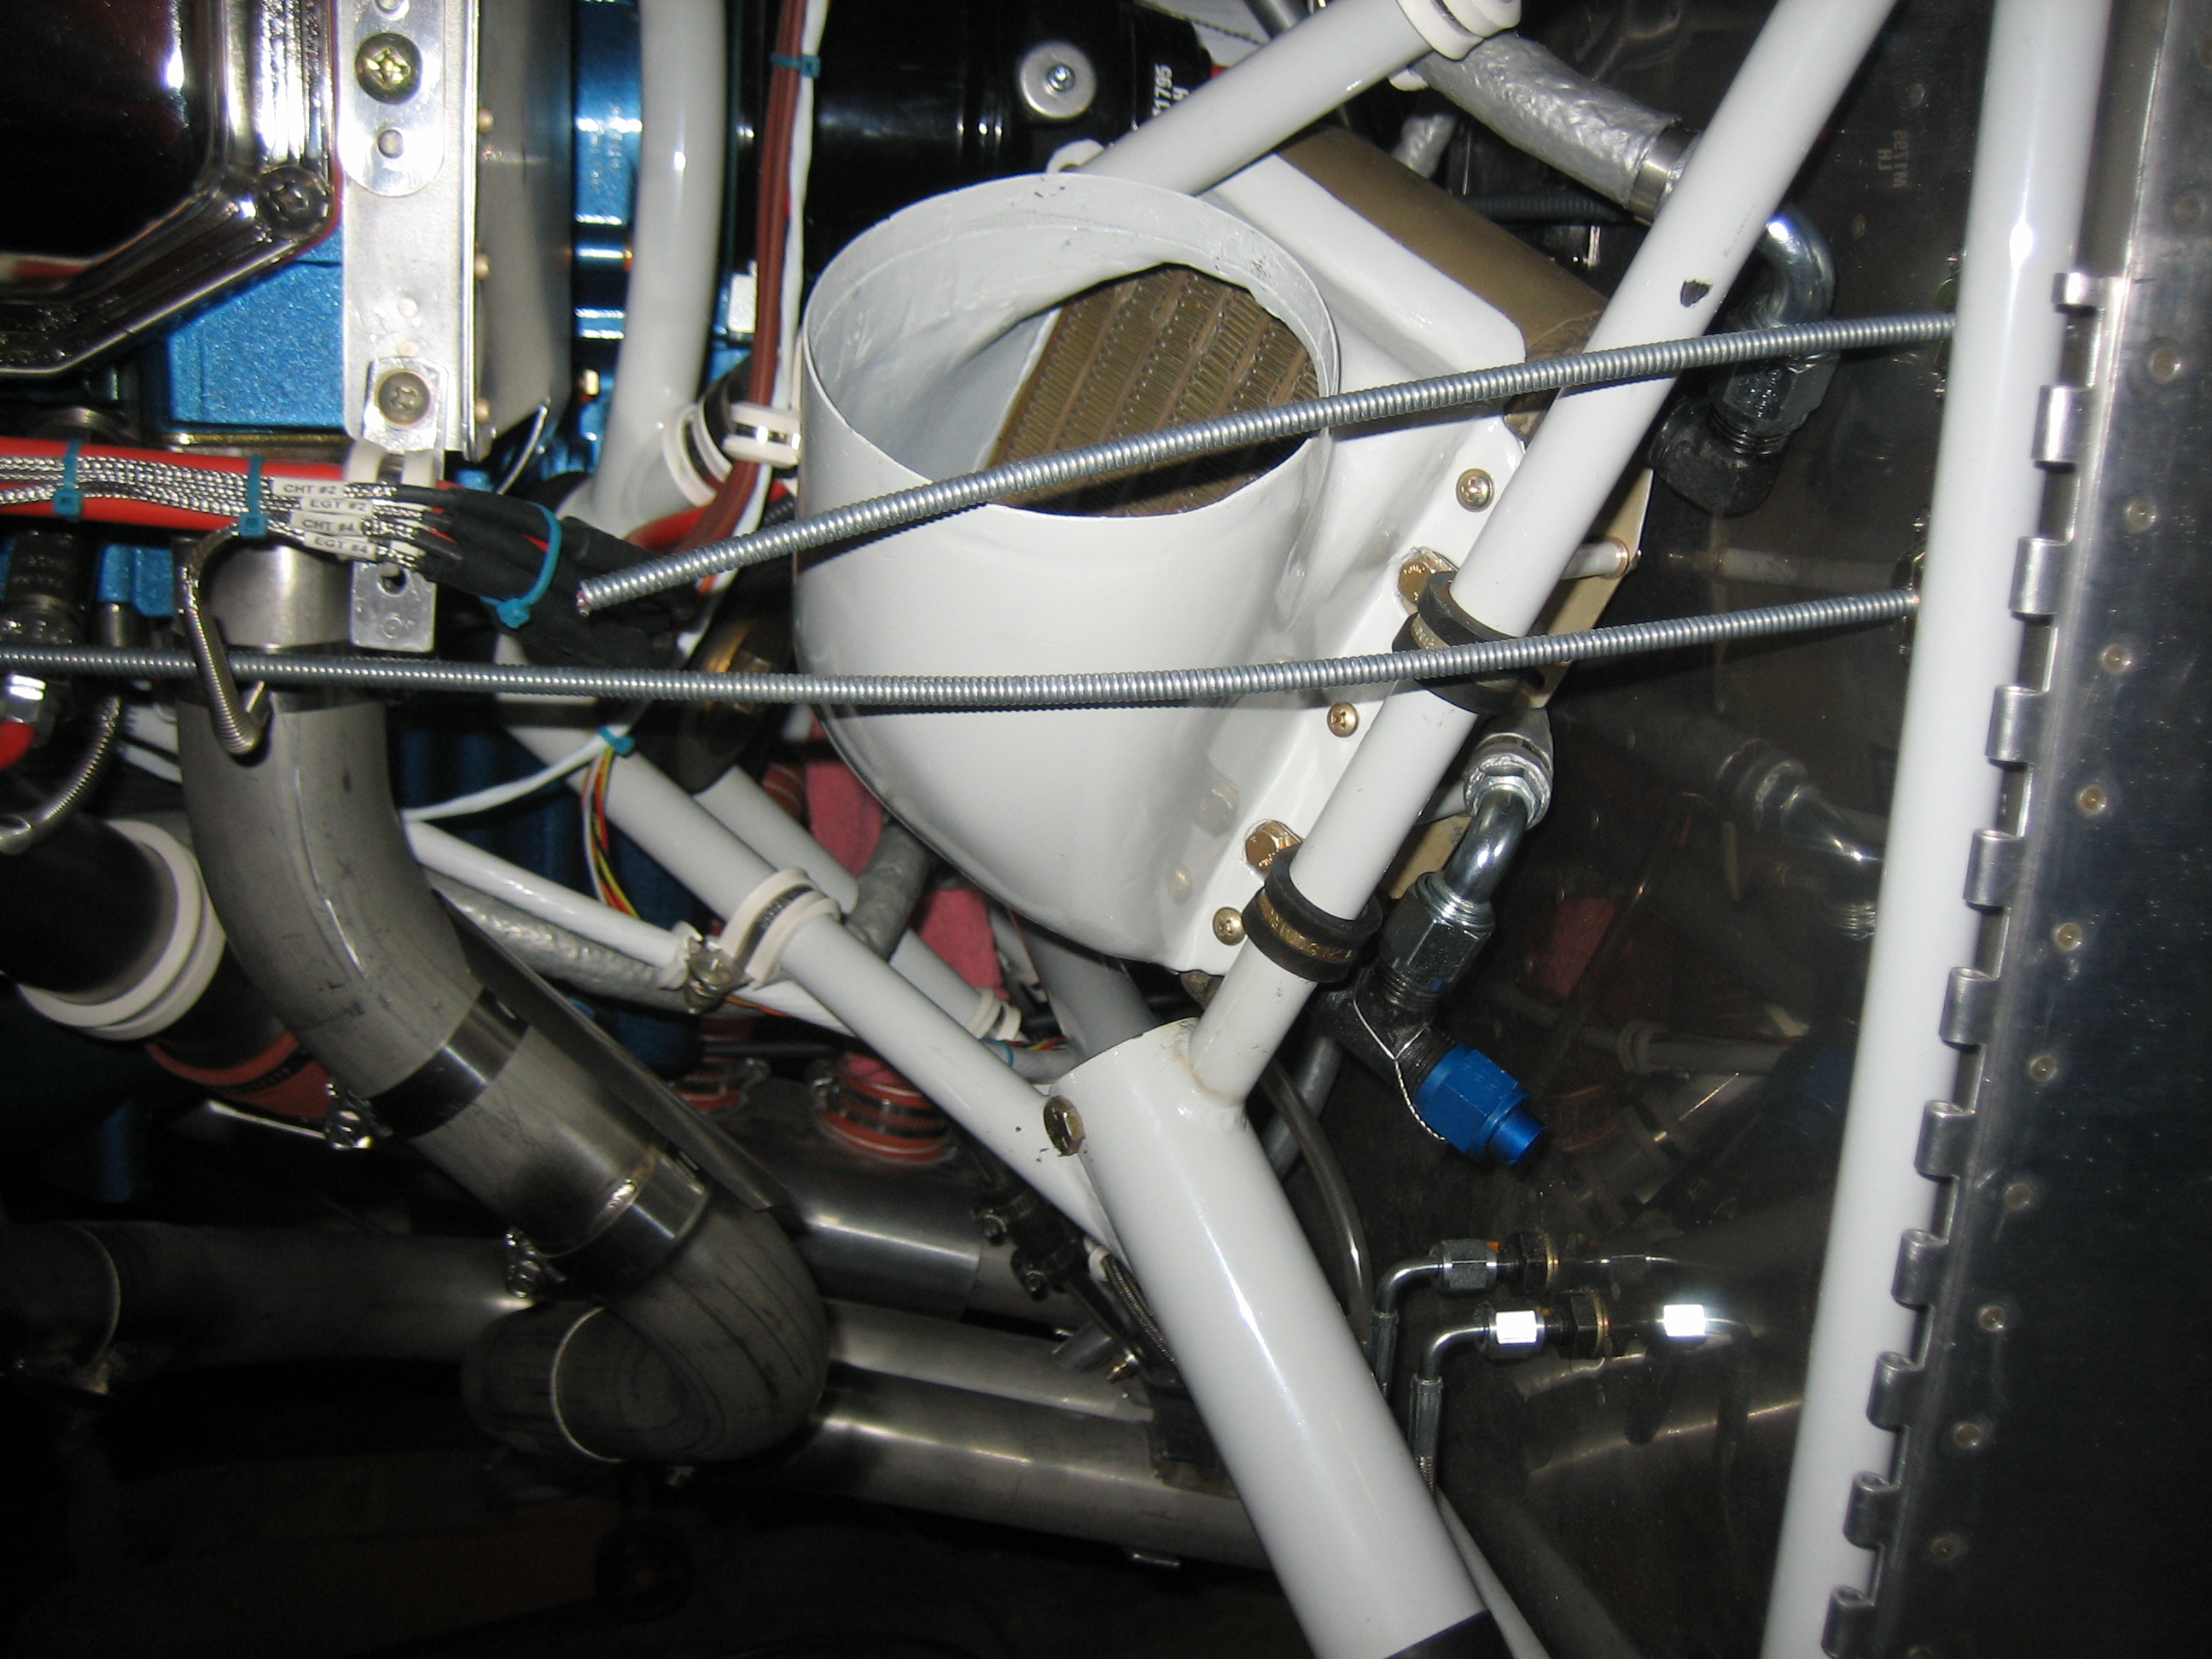
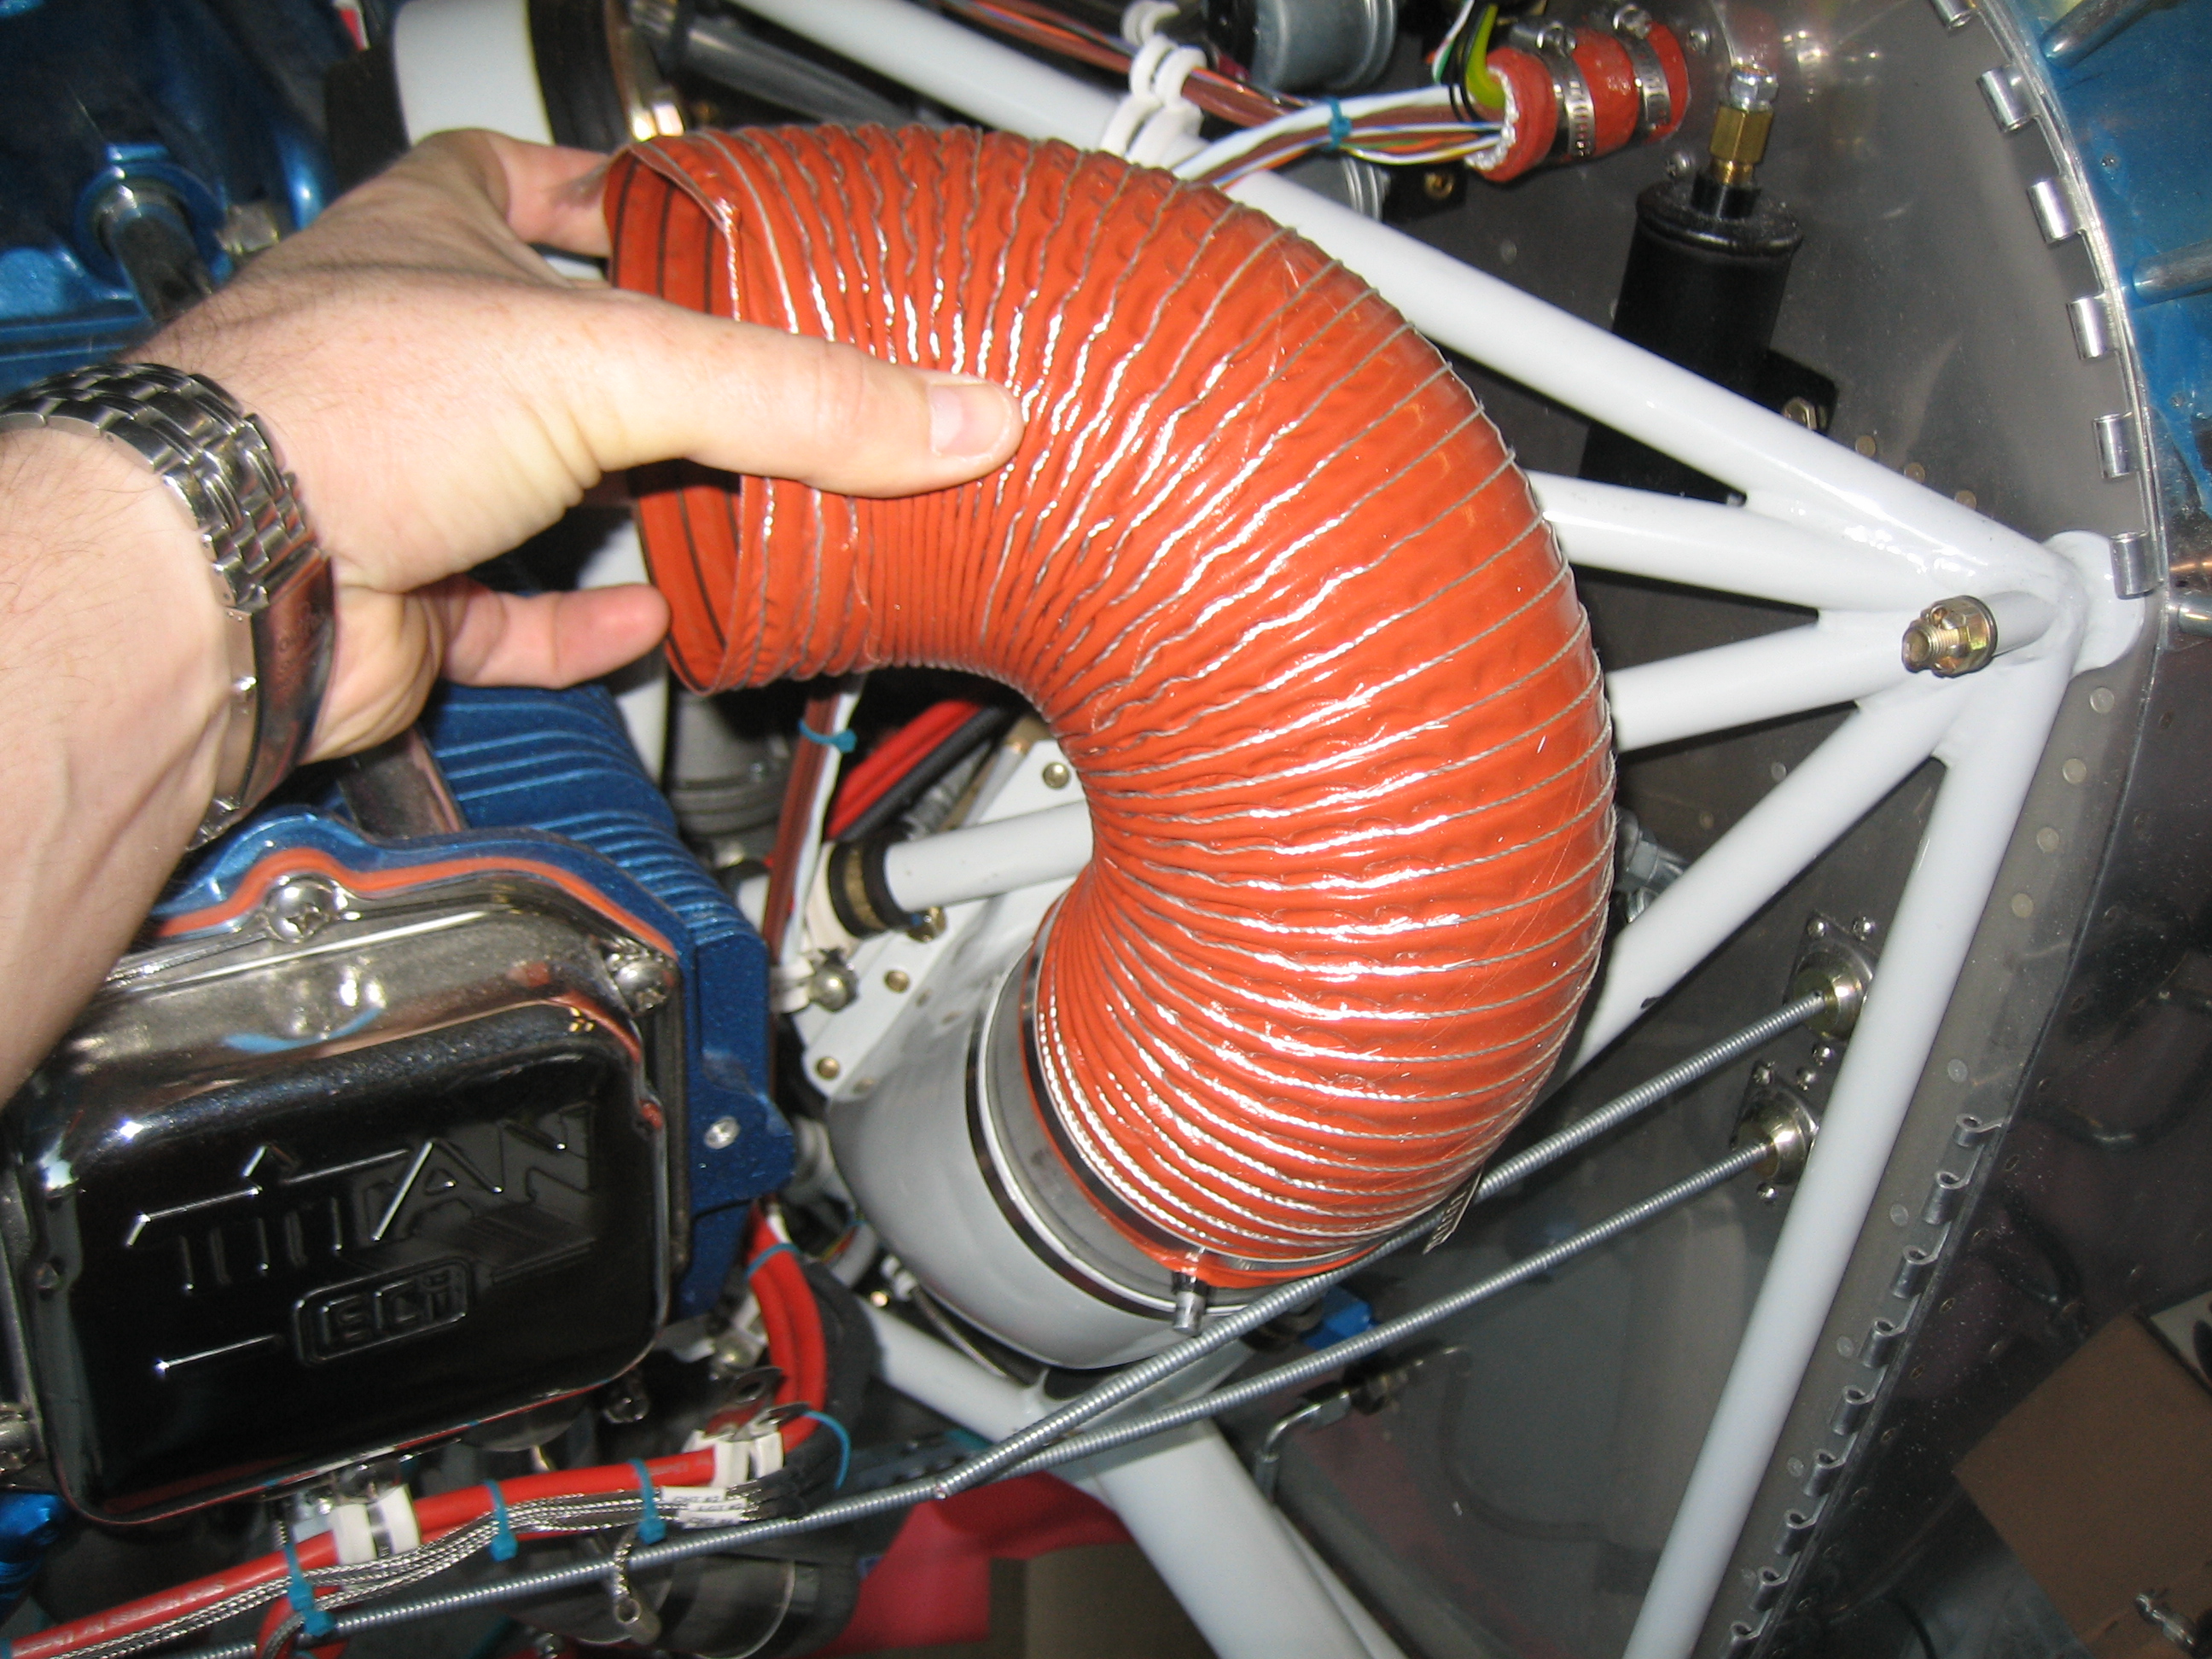
I trimmed down the 4″ SCAT tube so that it fits between the back of the baffles and the butterfly valve on the oil cooler plenum.
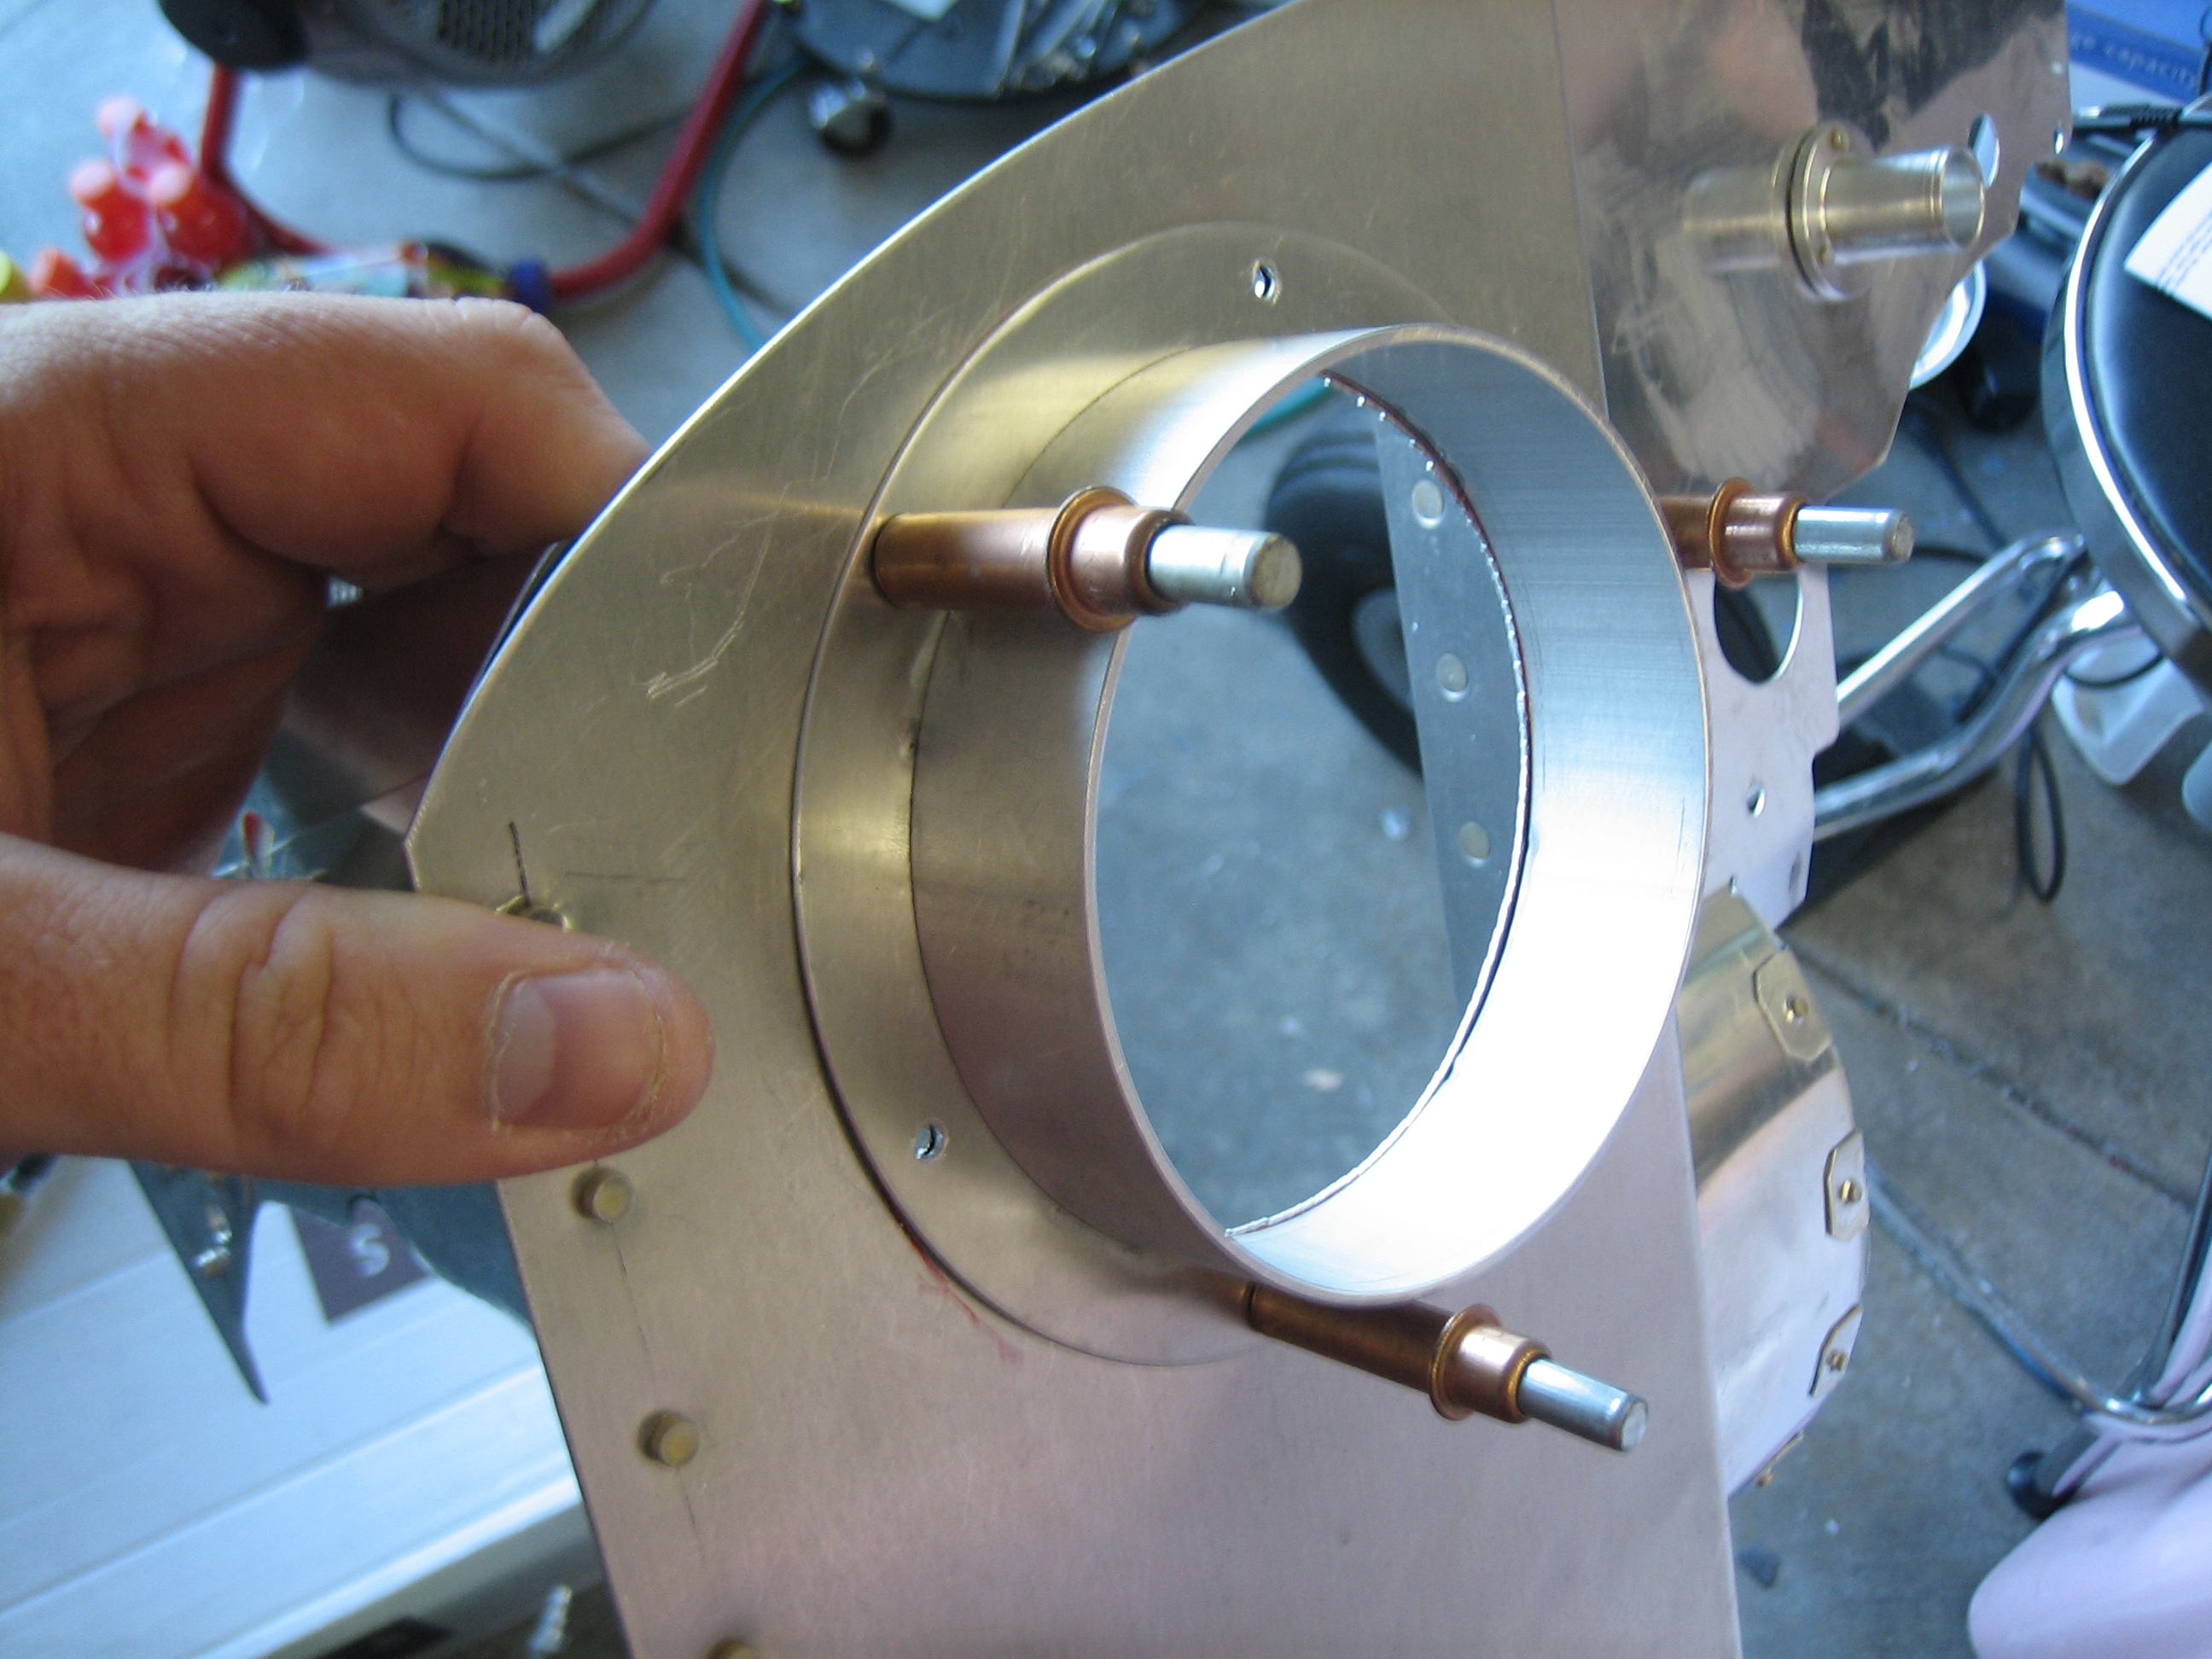
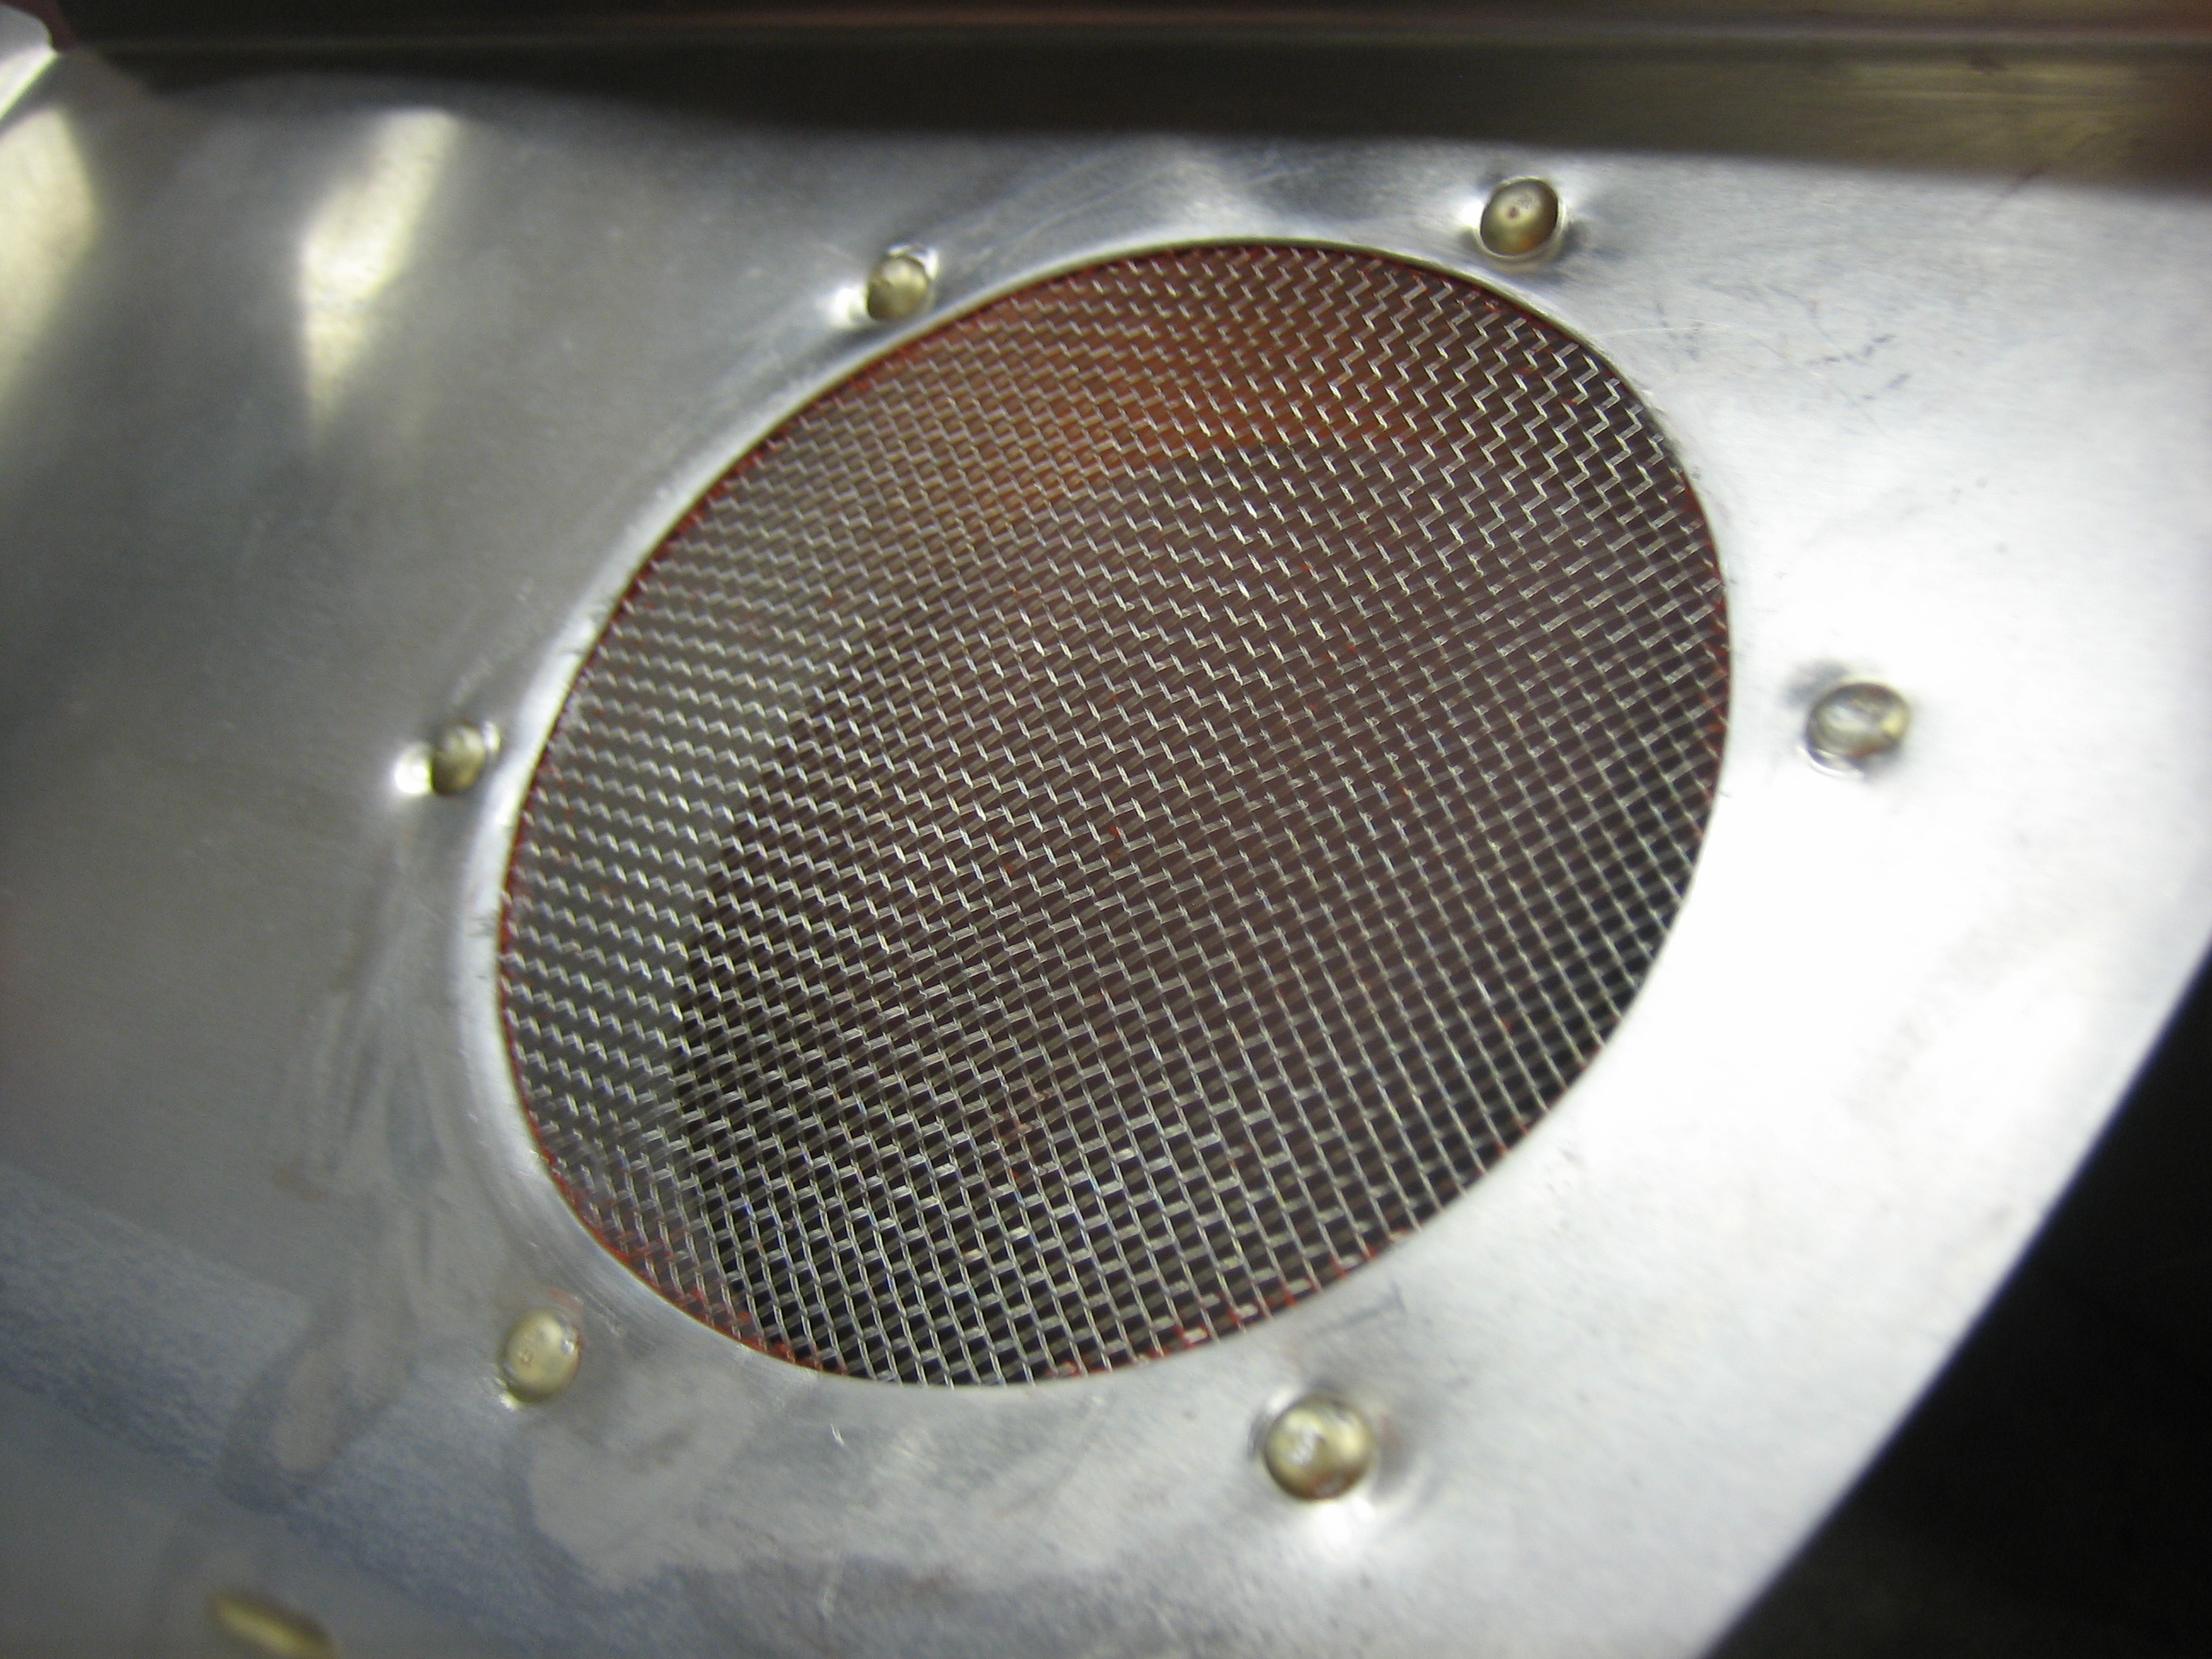
I cleaned up the hole and cut a piece of stainless steel screen to fit. I then riveted everything together with some RTV. Here’s the back side of the baffles where the SCAT tube will attach.
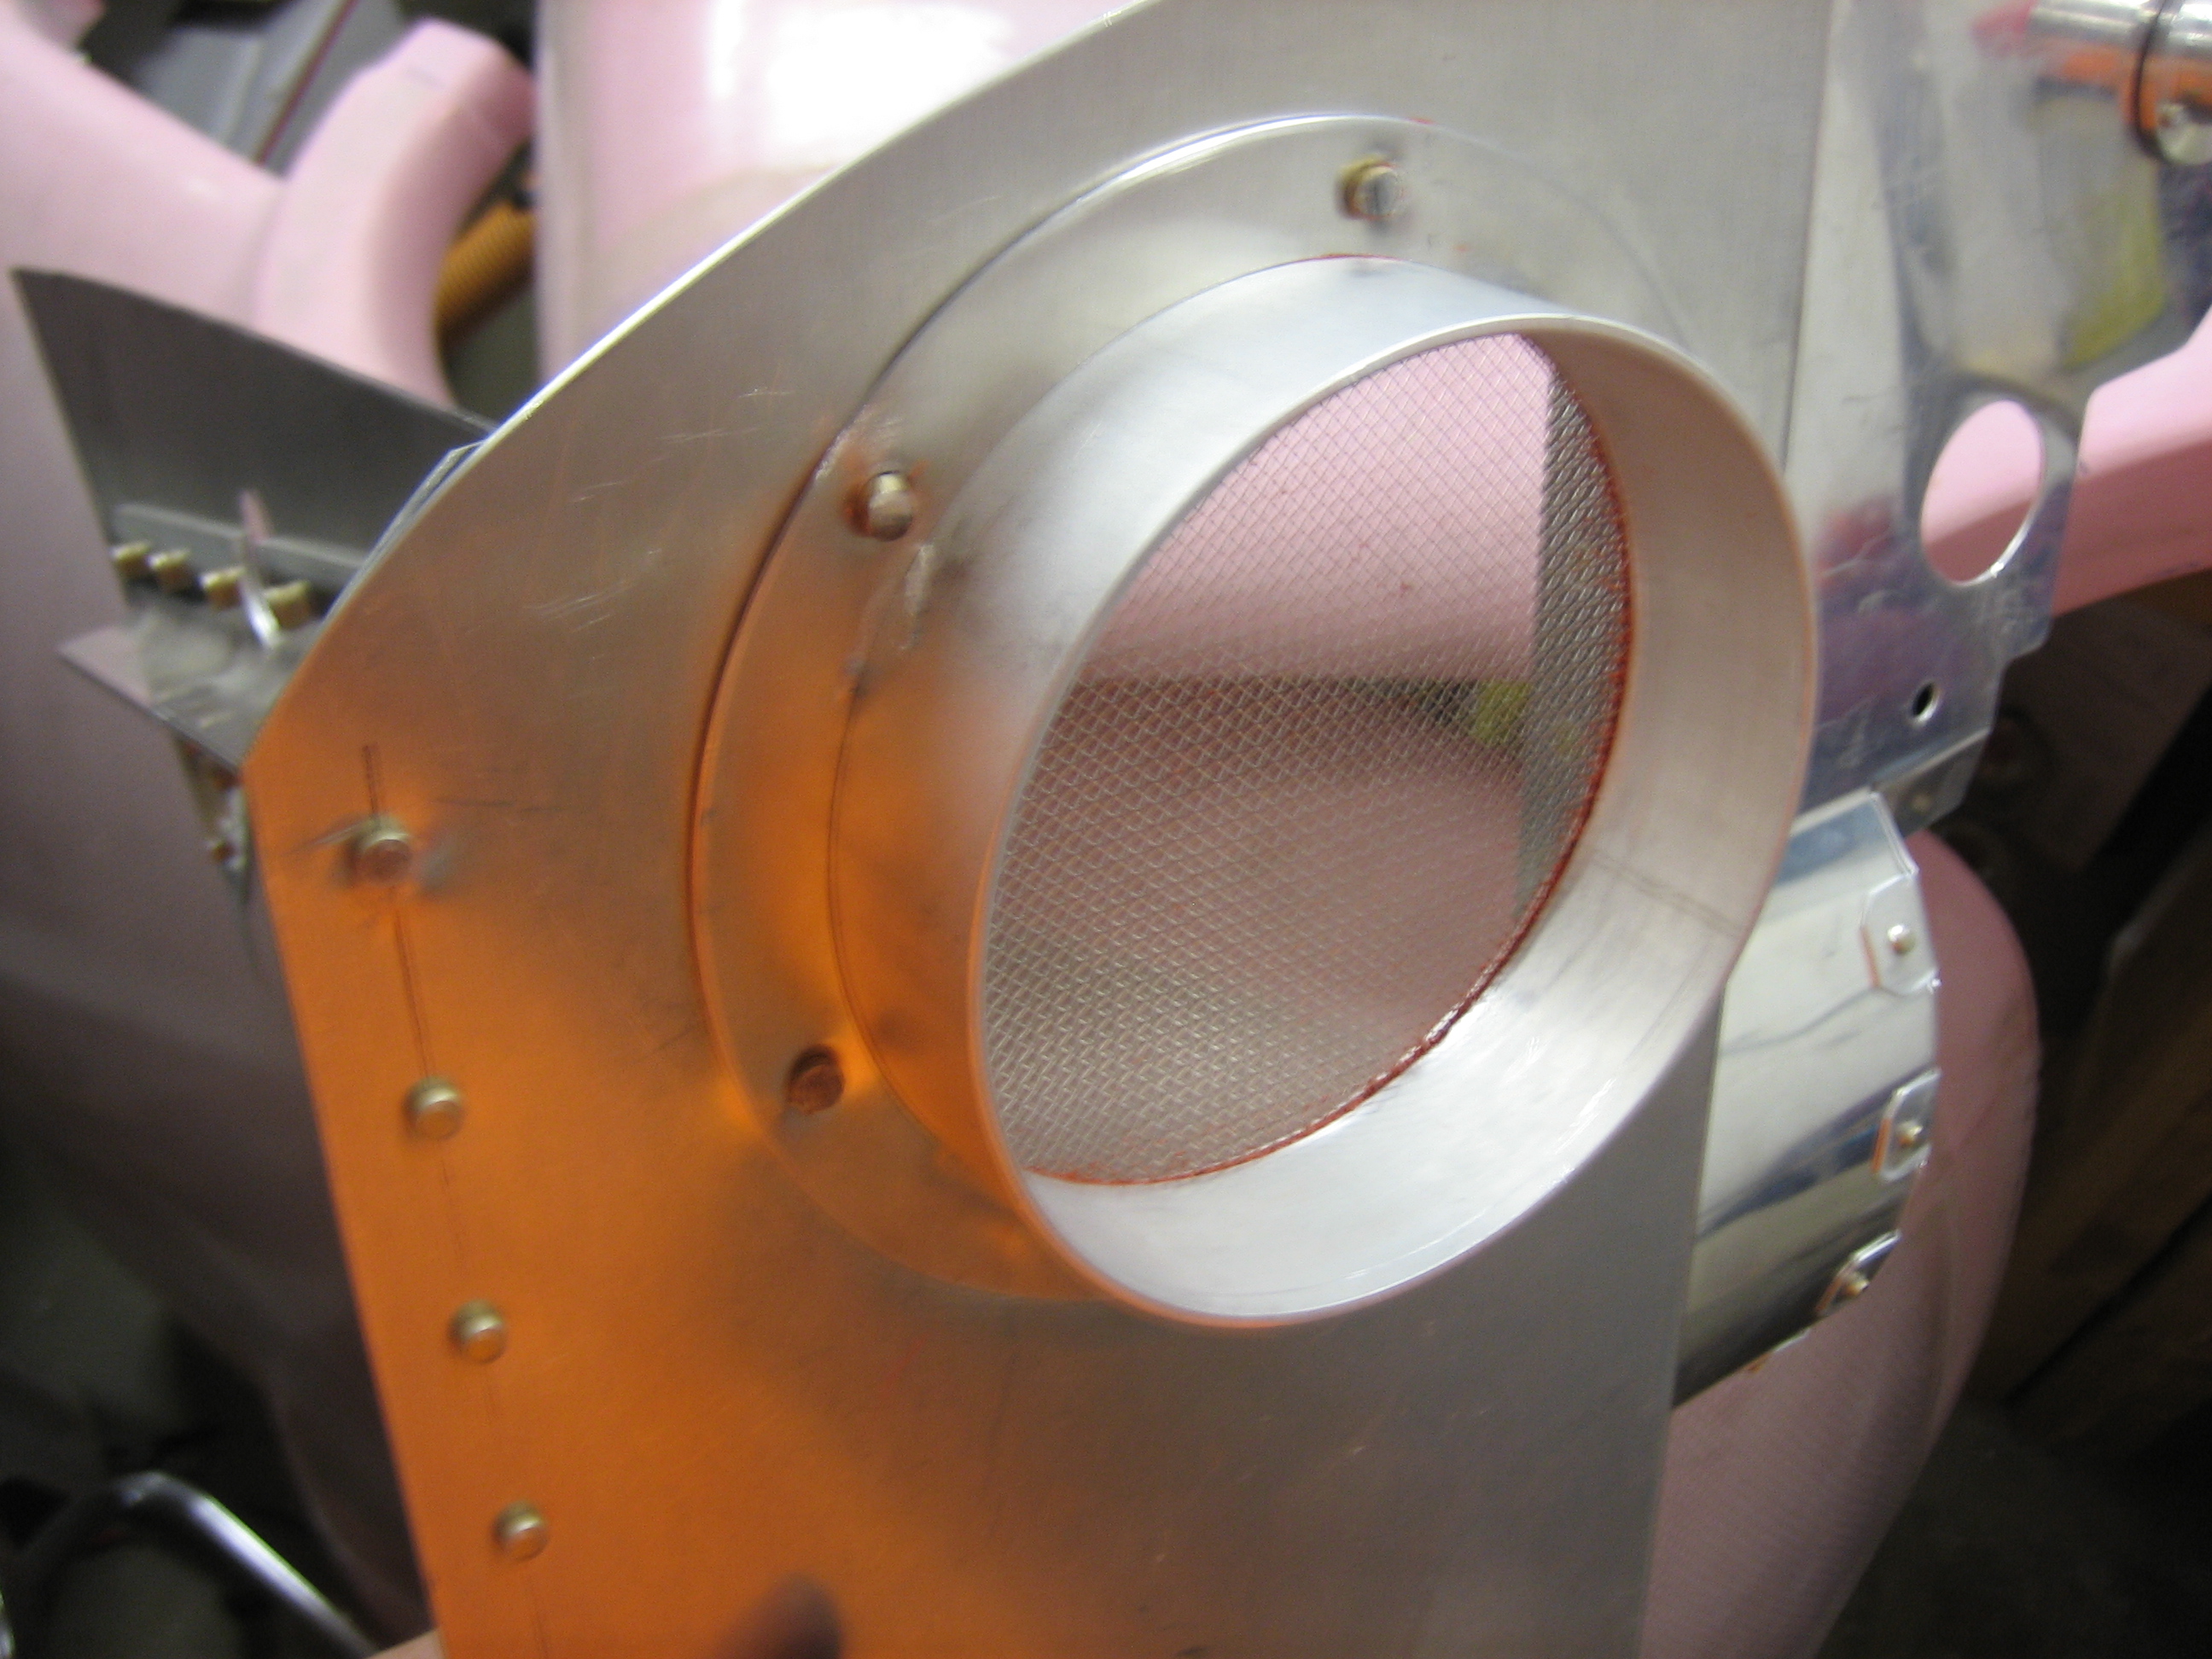
Here’s the front side and a better view of the screen. The metal around the rivets deformed a bit during riveting, but there’s not too much I can do about that.
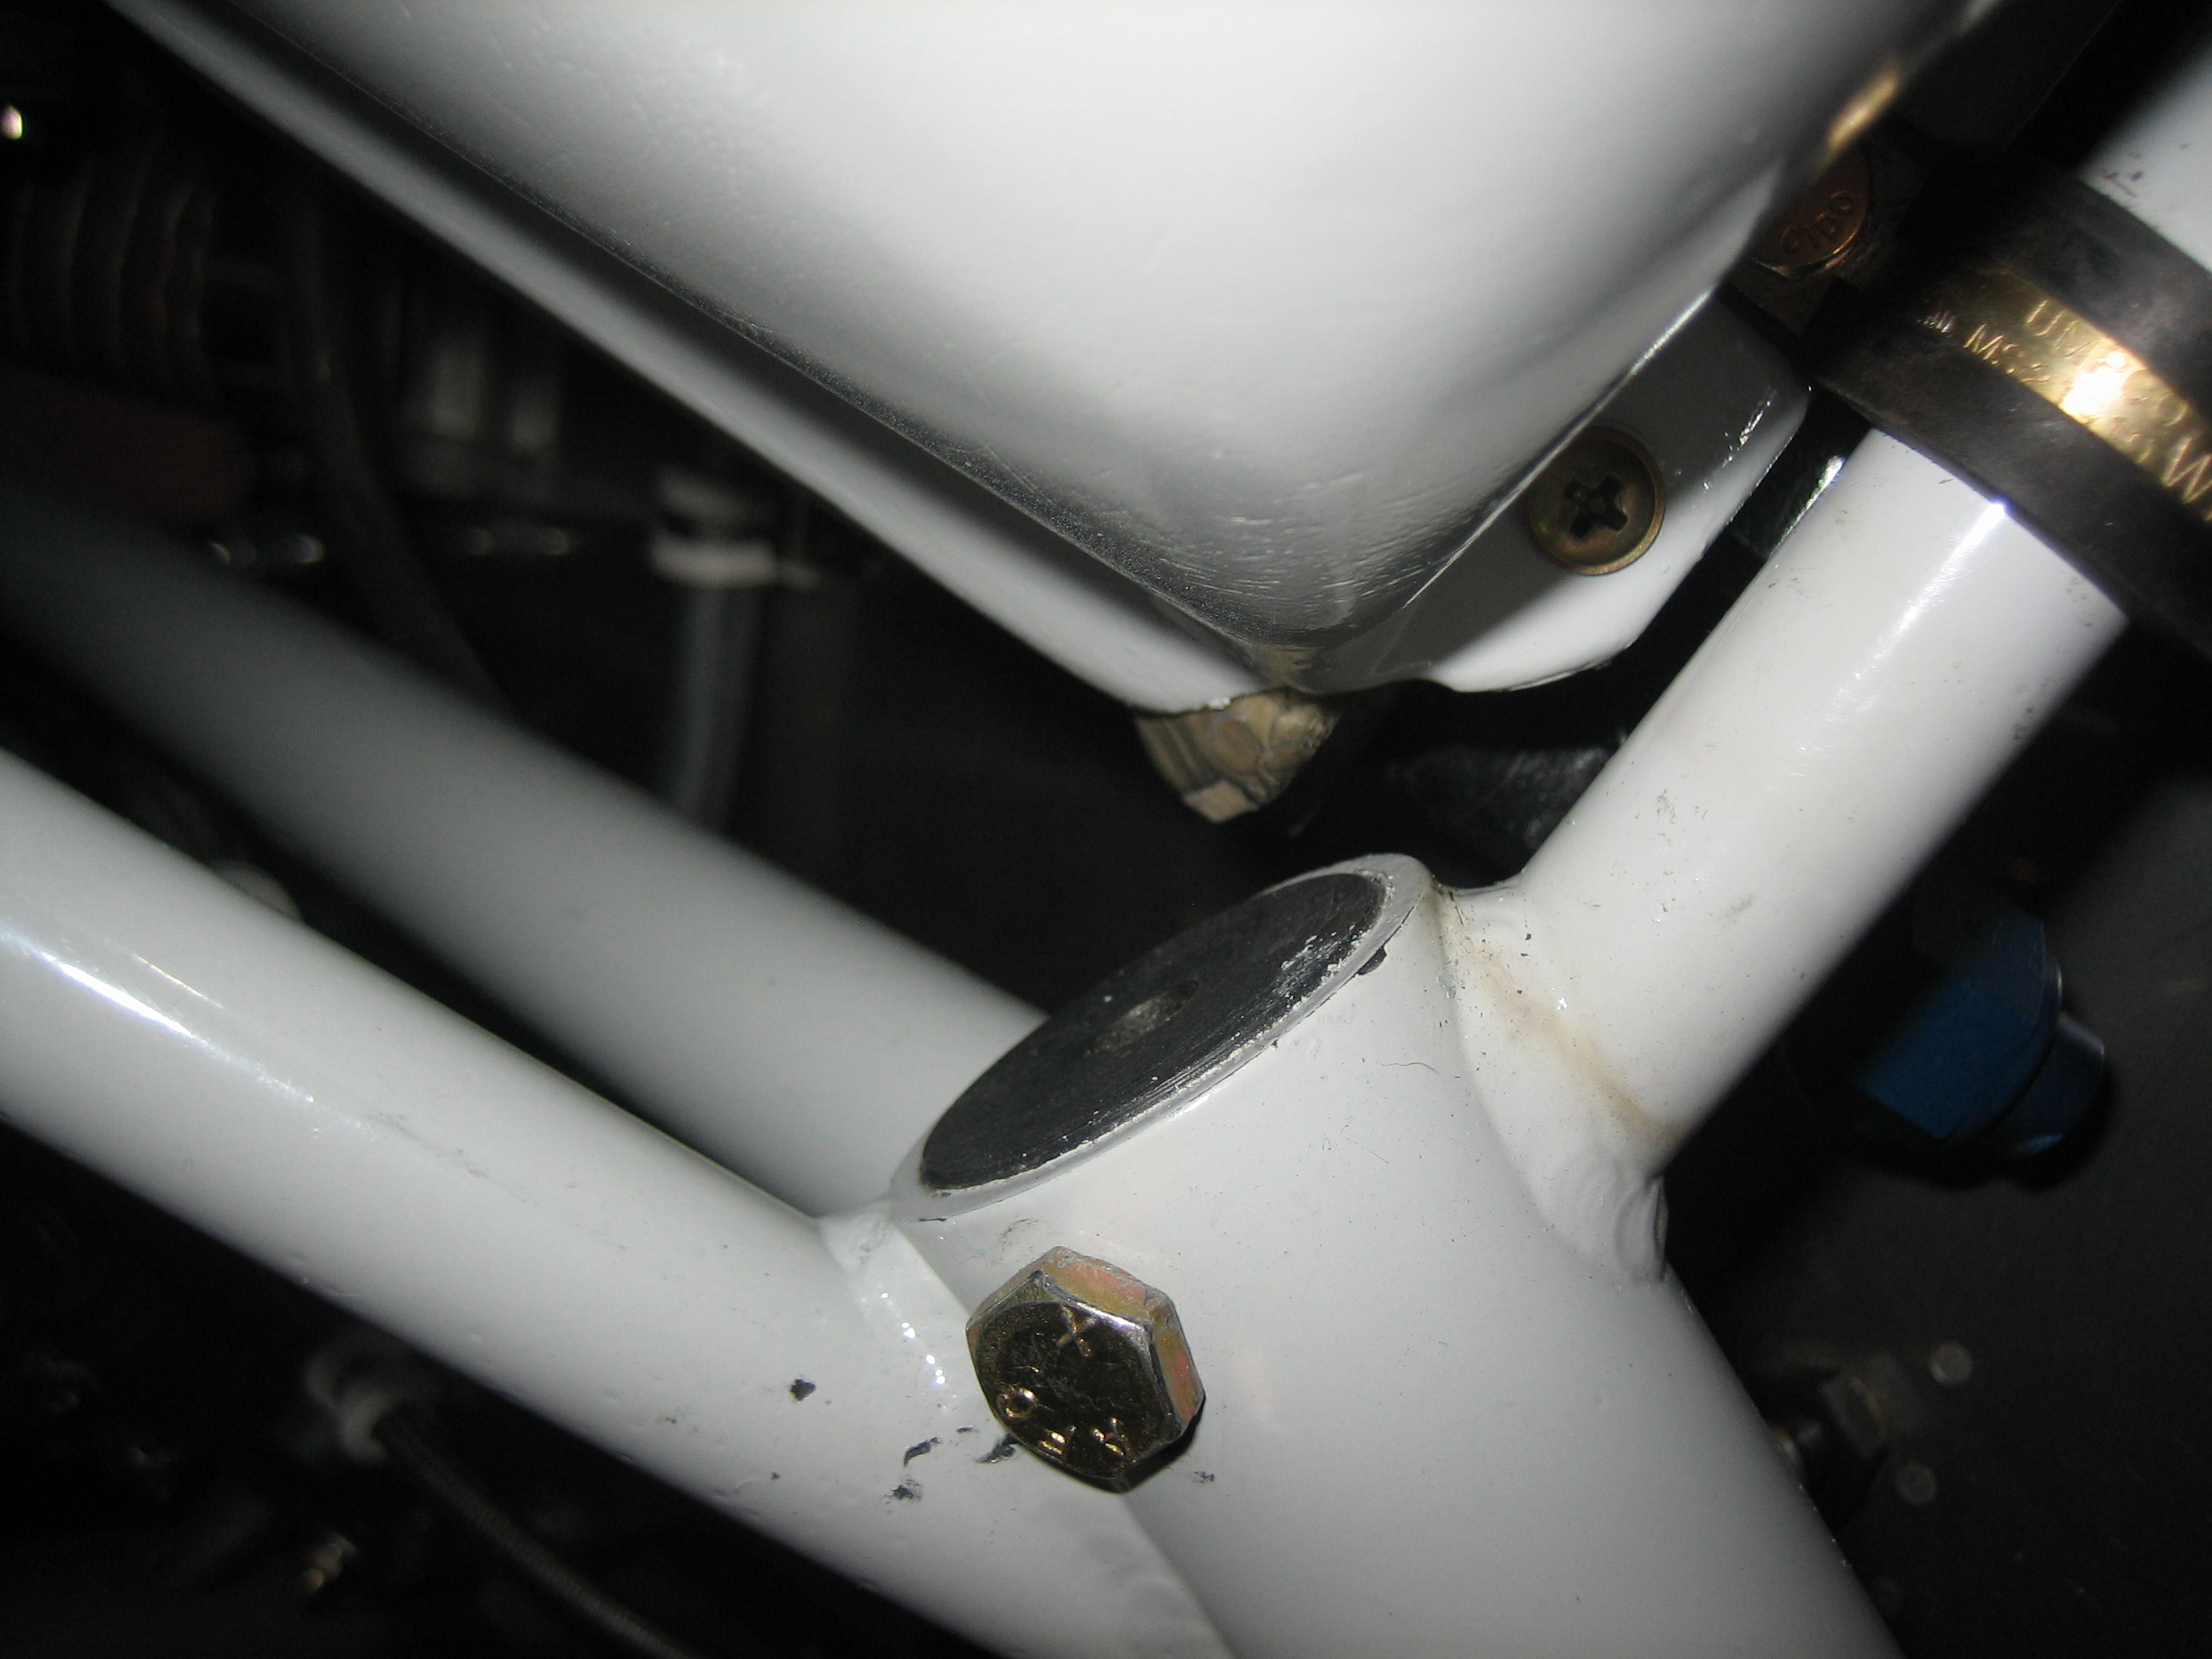
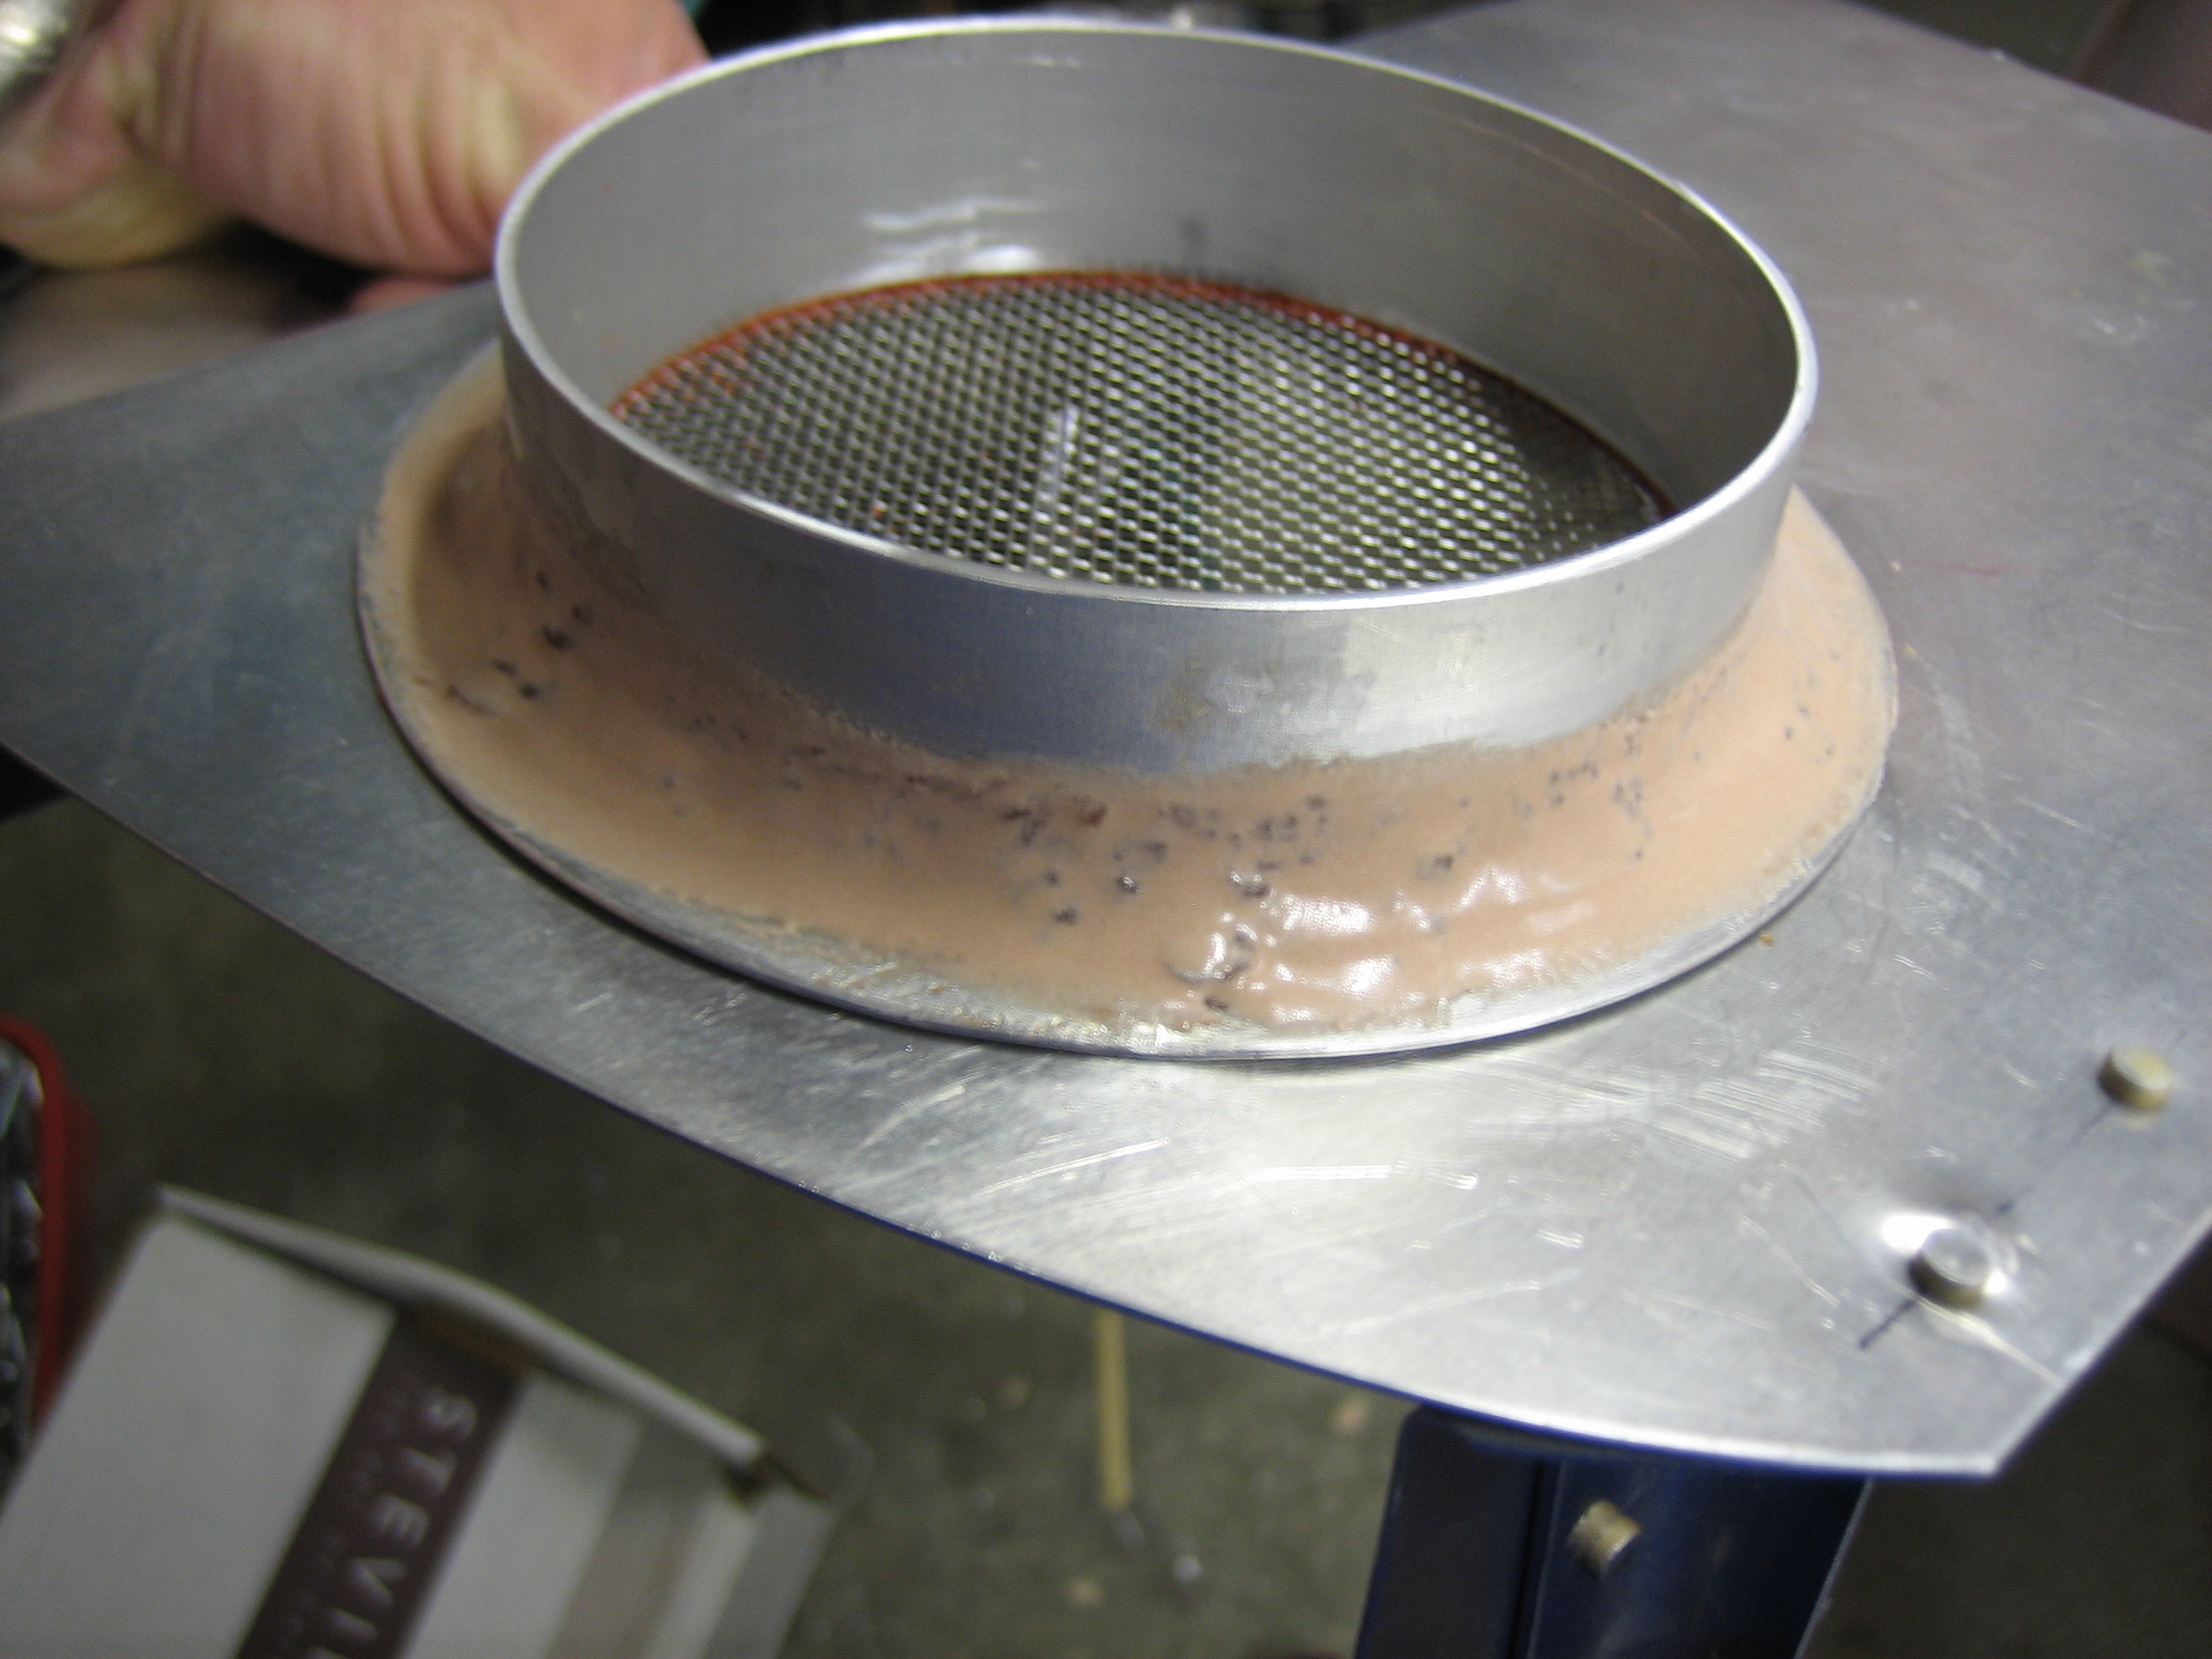
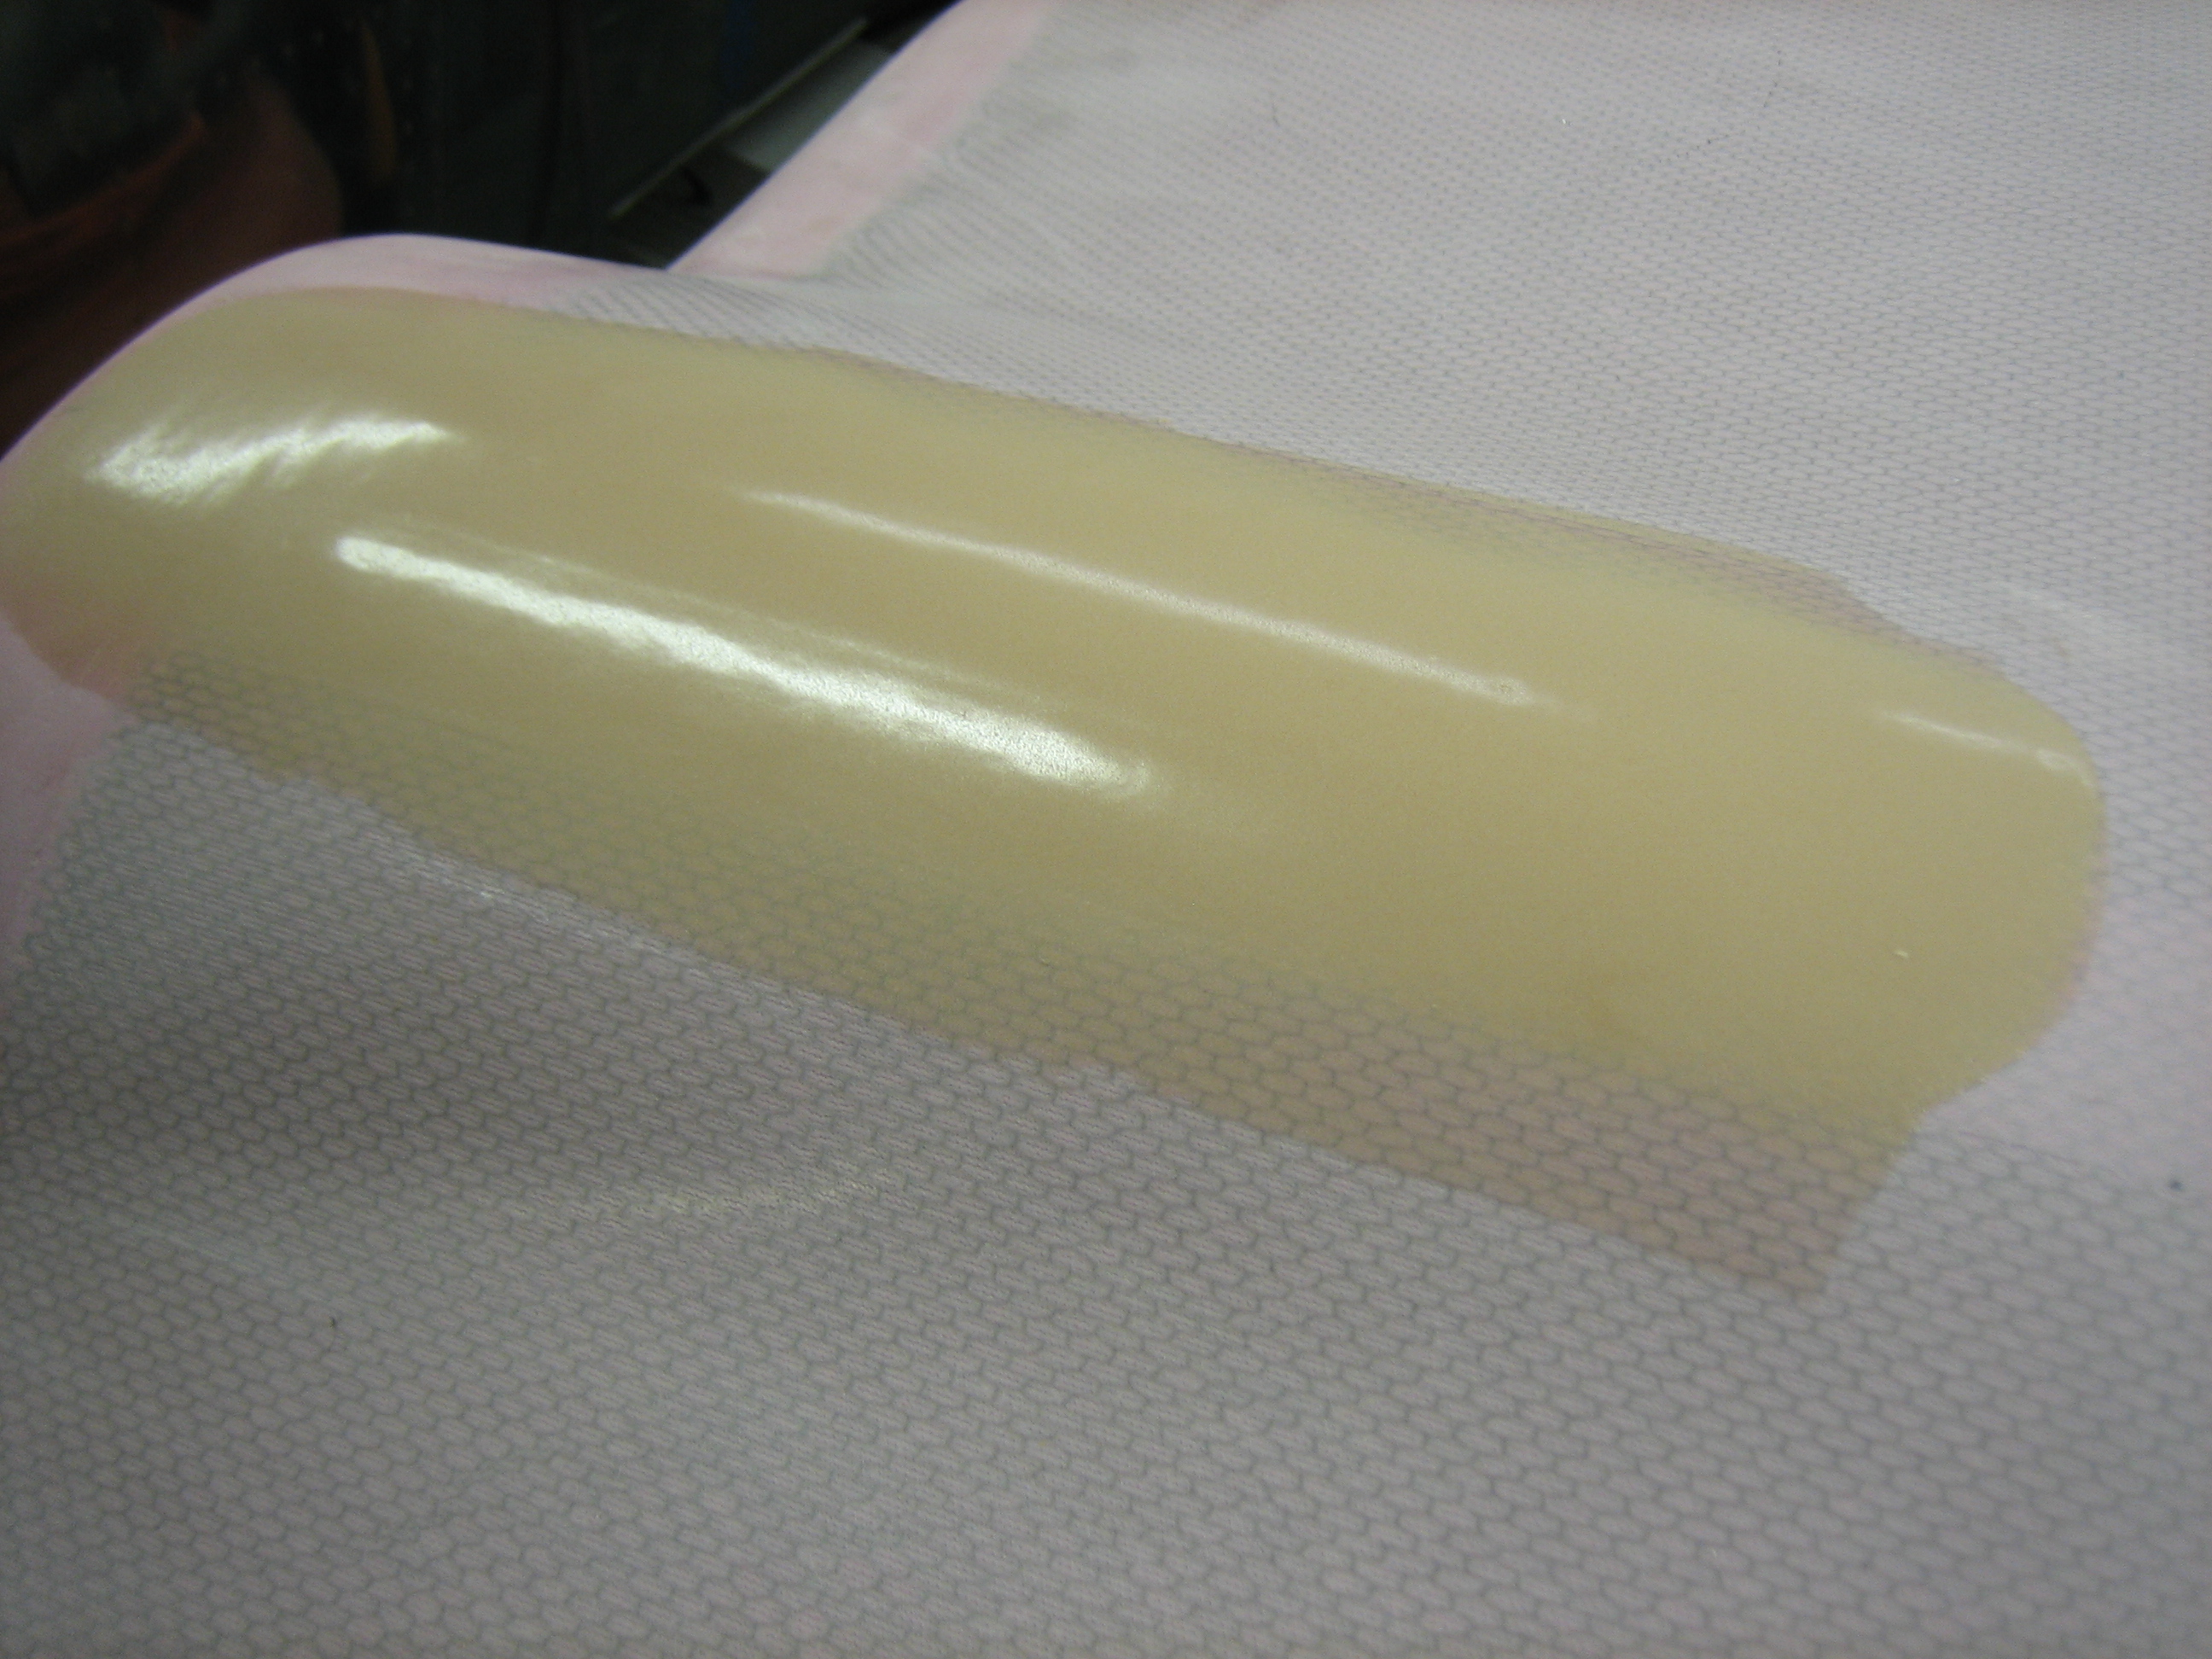
The oil cooler duct flange from Van’s is made of some very thin aluminum and is not welded all the way around. Aircraft Spruce has some spun flanges that I really would have rather used, but they don’t go up to 4″. People have had issues with the Van’s flanges breaking off, so I decided to reinforce this a bit. I mixed up some epoxy/flox and formed a fillet at the joint, then after it cured, mixed up some epoxy/micro to smooth it out a bit. Hopefully this will prevent this from ever separating.
I spread the extra epoxy/micro mixture over the fiberglass tape on the top cowl (covering the holes I drilled when fitting the cowl.
With the epoxy cured on the oil cooler SCAT tube flange, I reinstalled the baffles to test fit the SCAT tube.
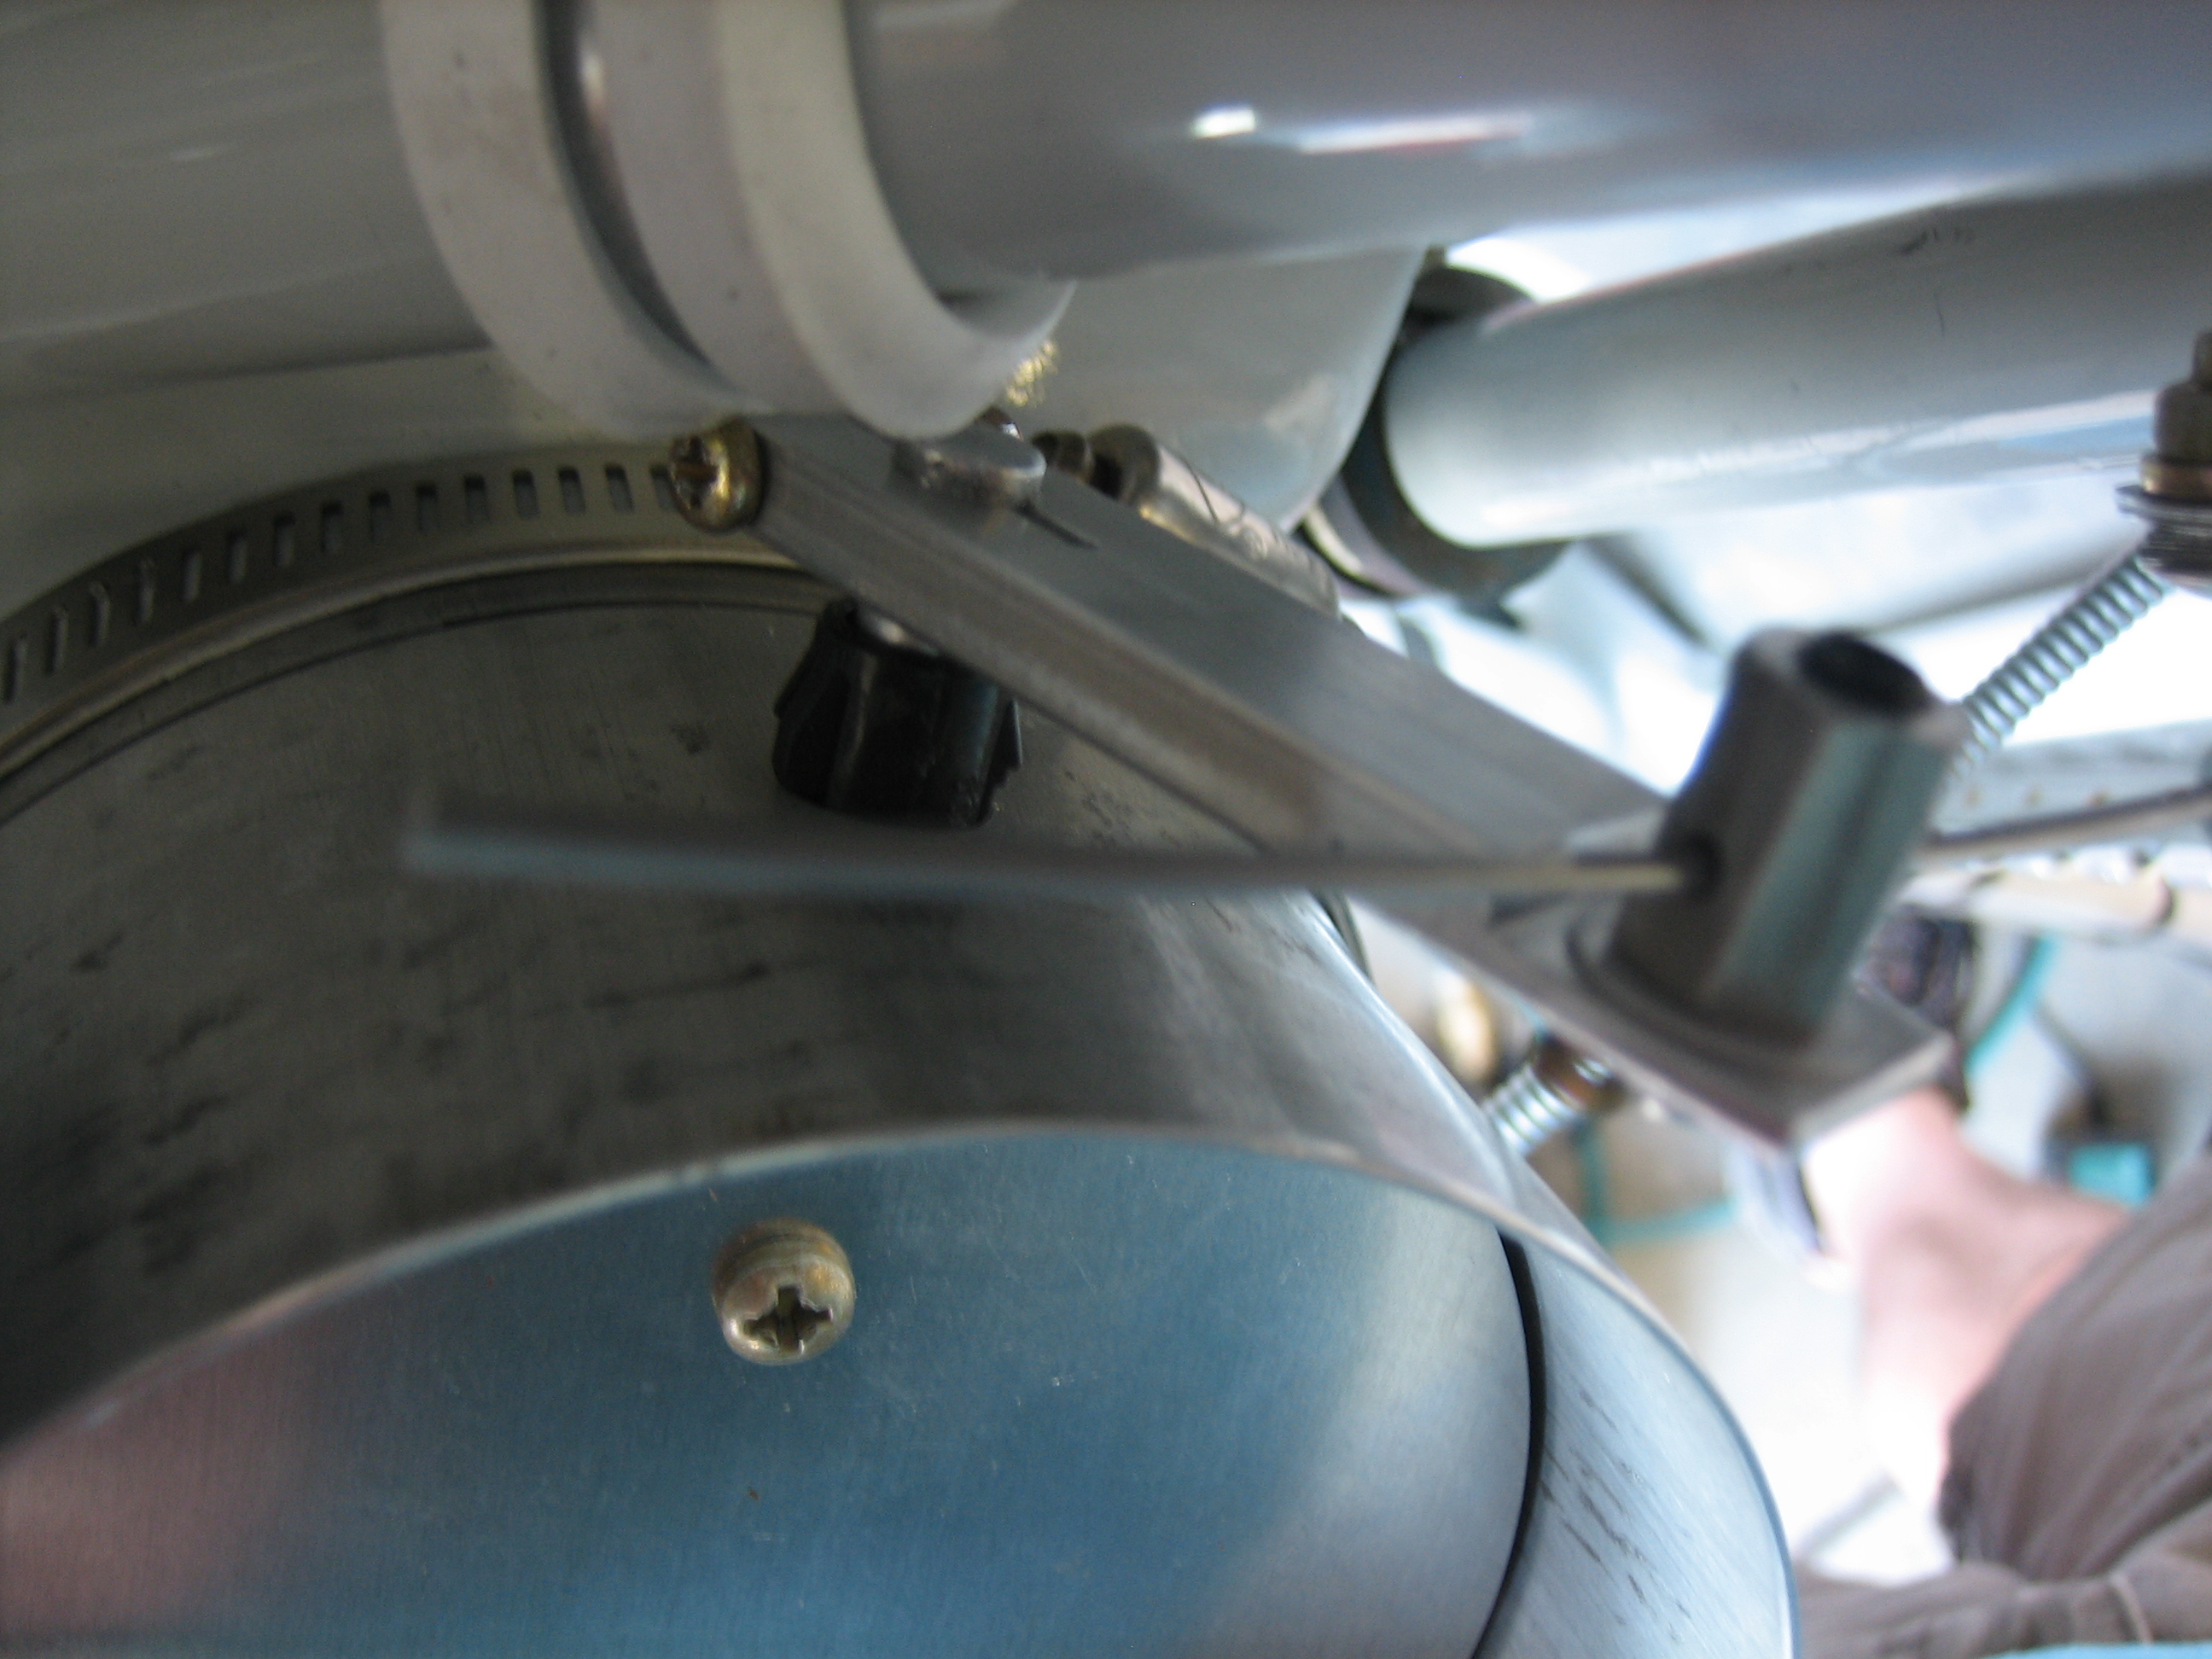
I finished up the alternator cooling blast tube bracket and installed the nutplate. I then painted it with the light gray paint that matches the engine mount powder coat. After the paint cures, I’ll install this tomorrow after the paint has had time to cure.
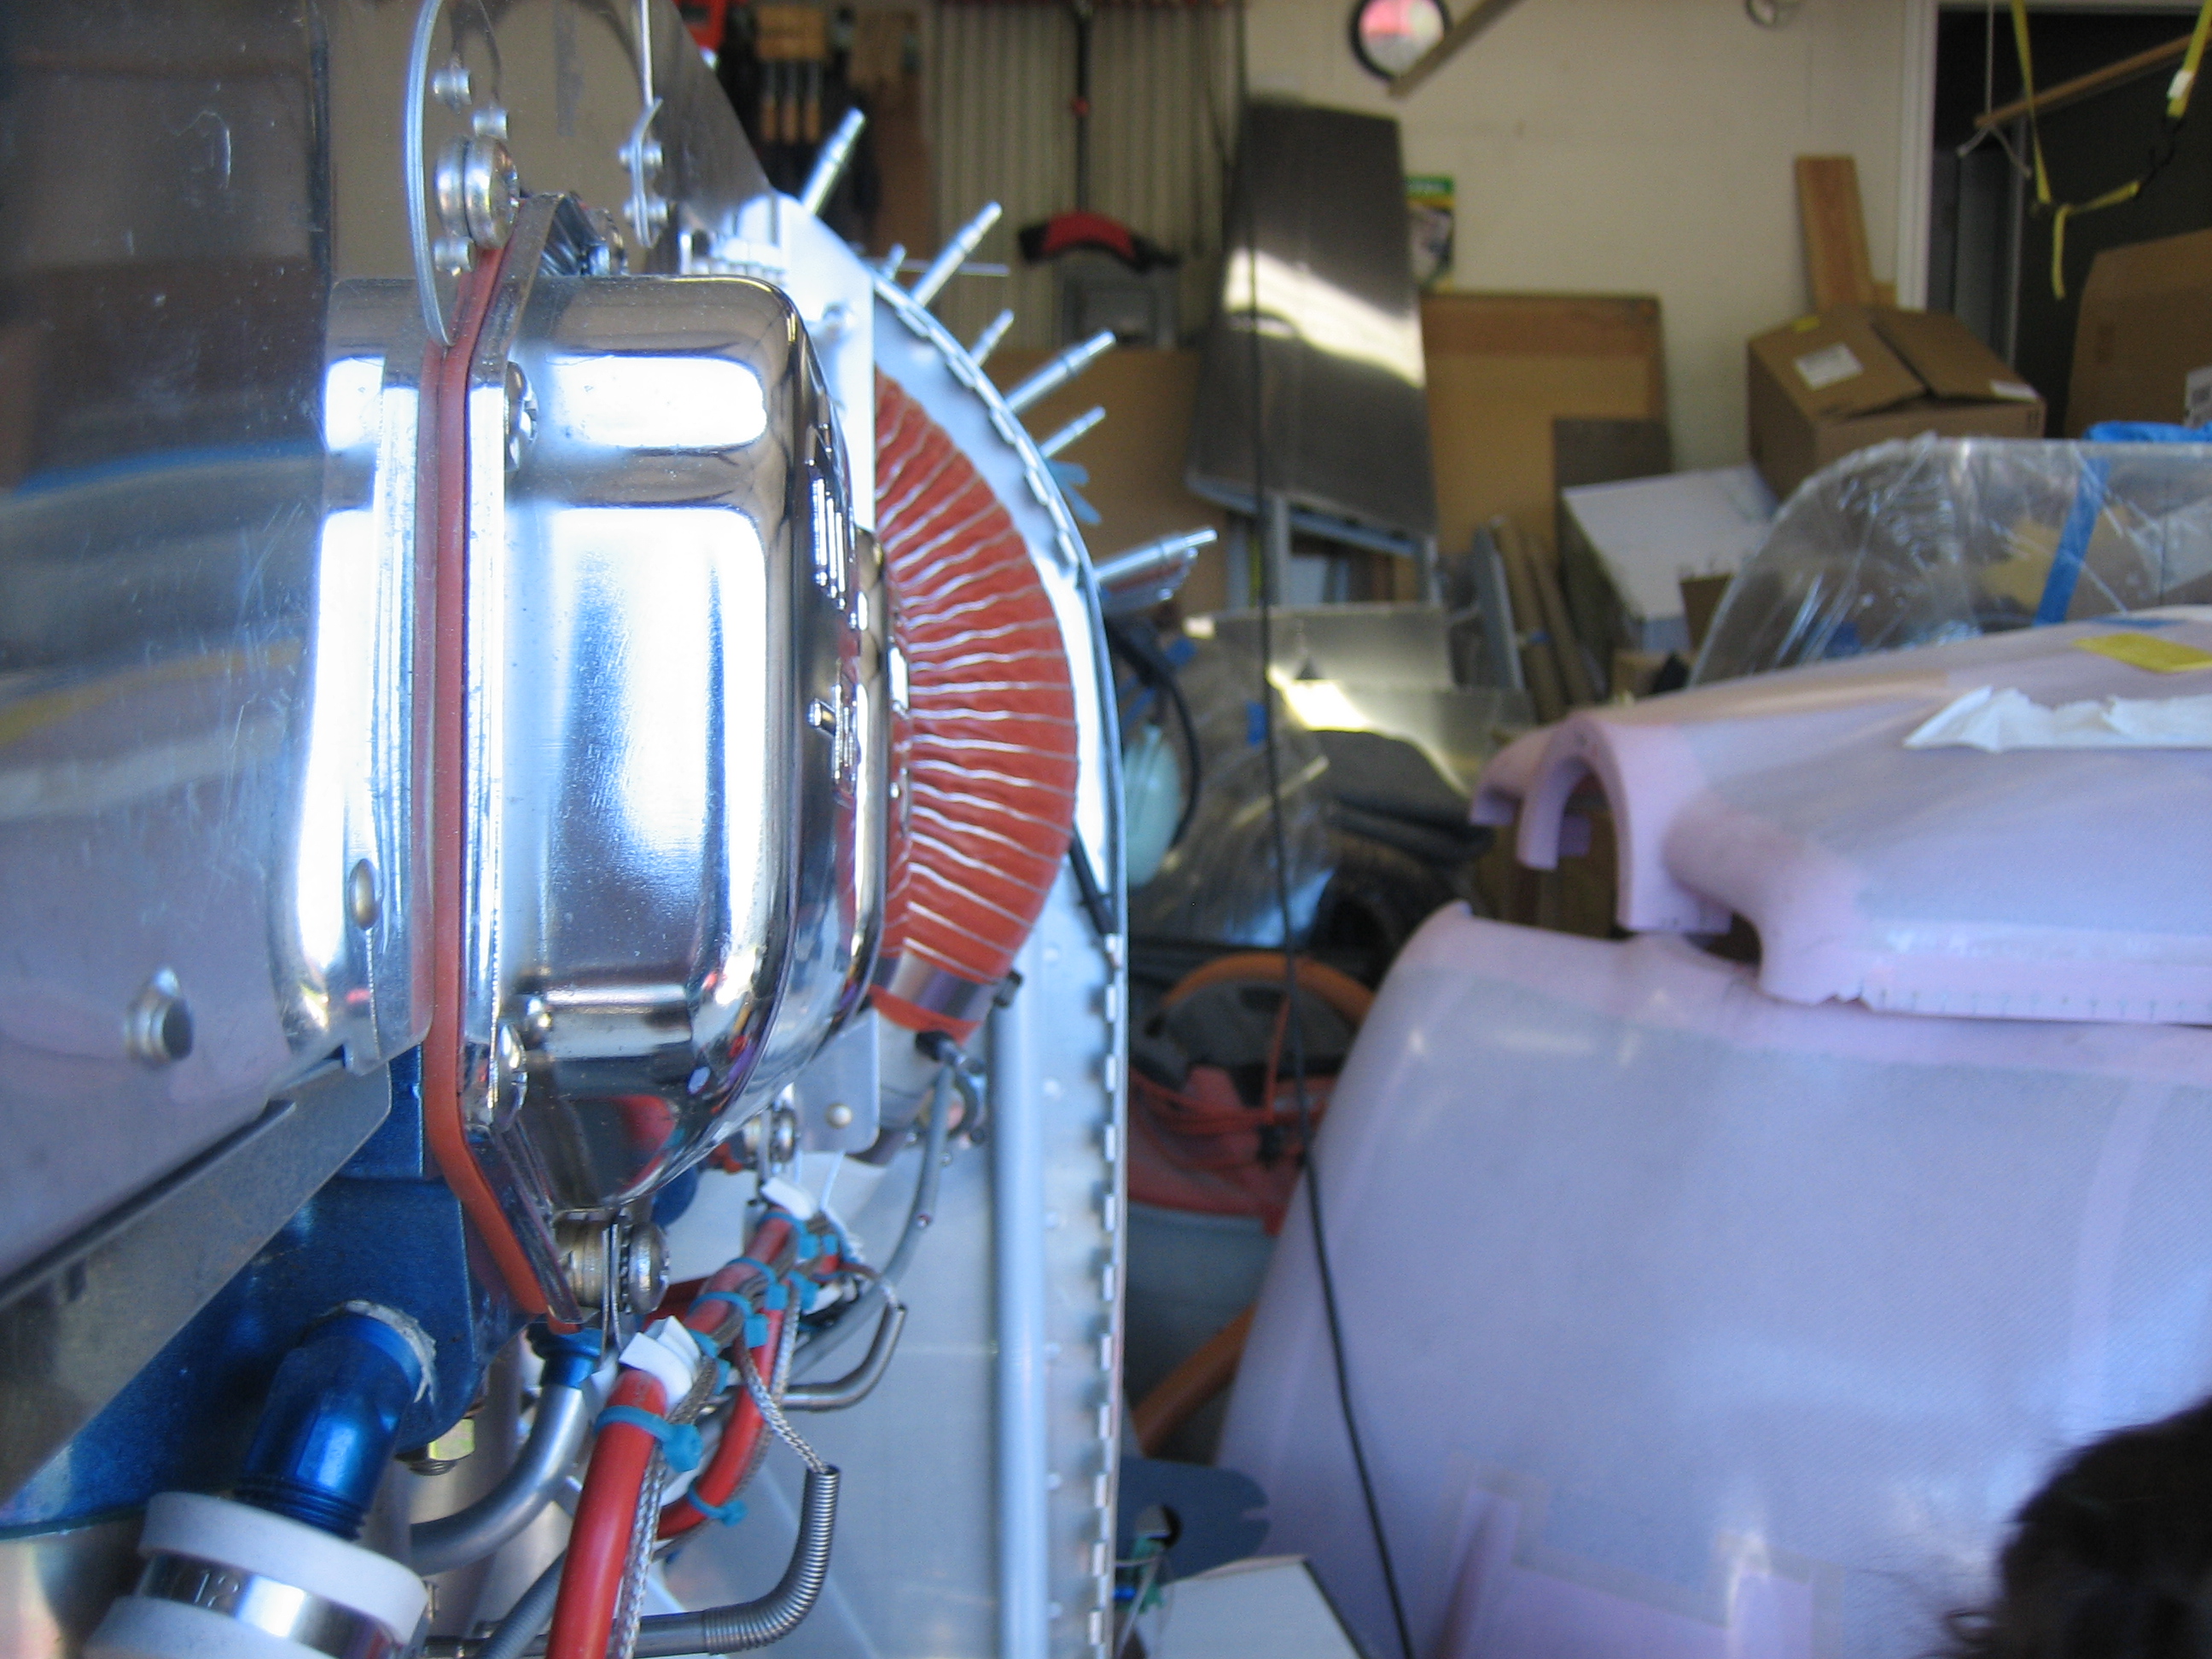
I fit the alternator cooling blast tube. It runs down between the #1 cylinder and the alternator and then turns forward to point at the back of the alternator.
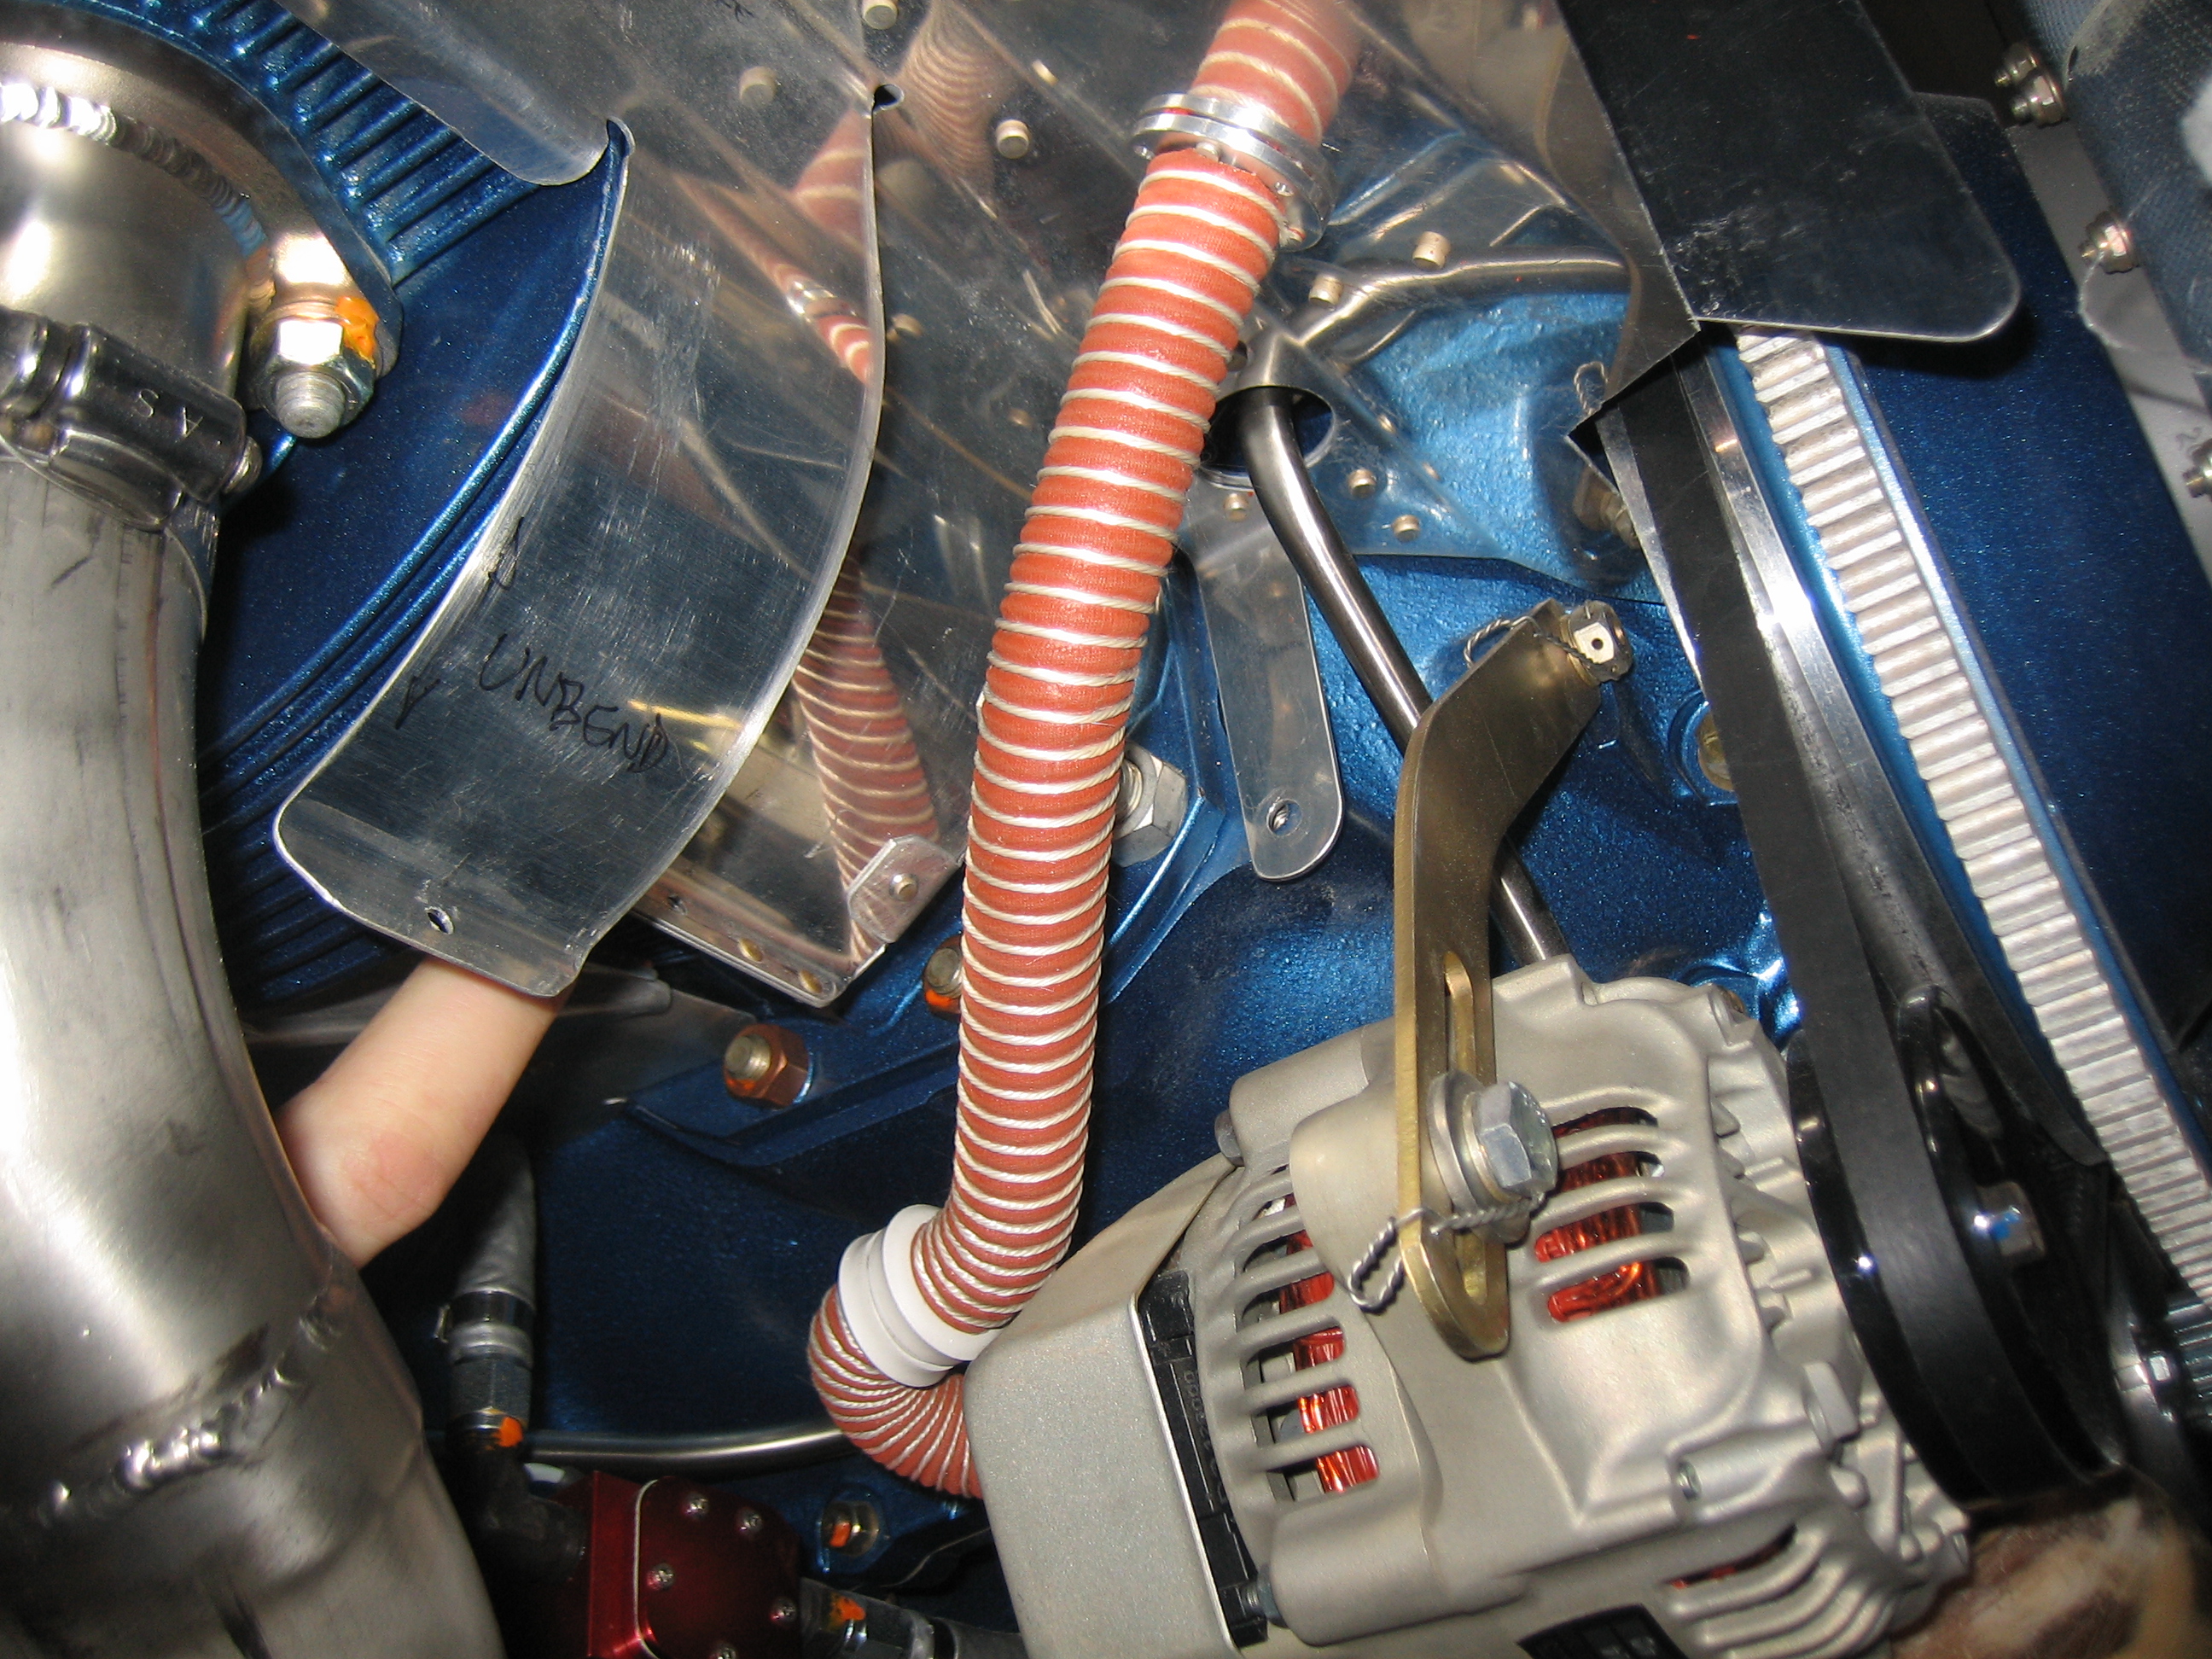
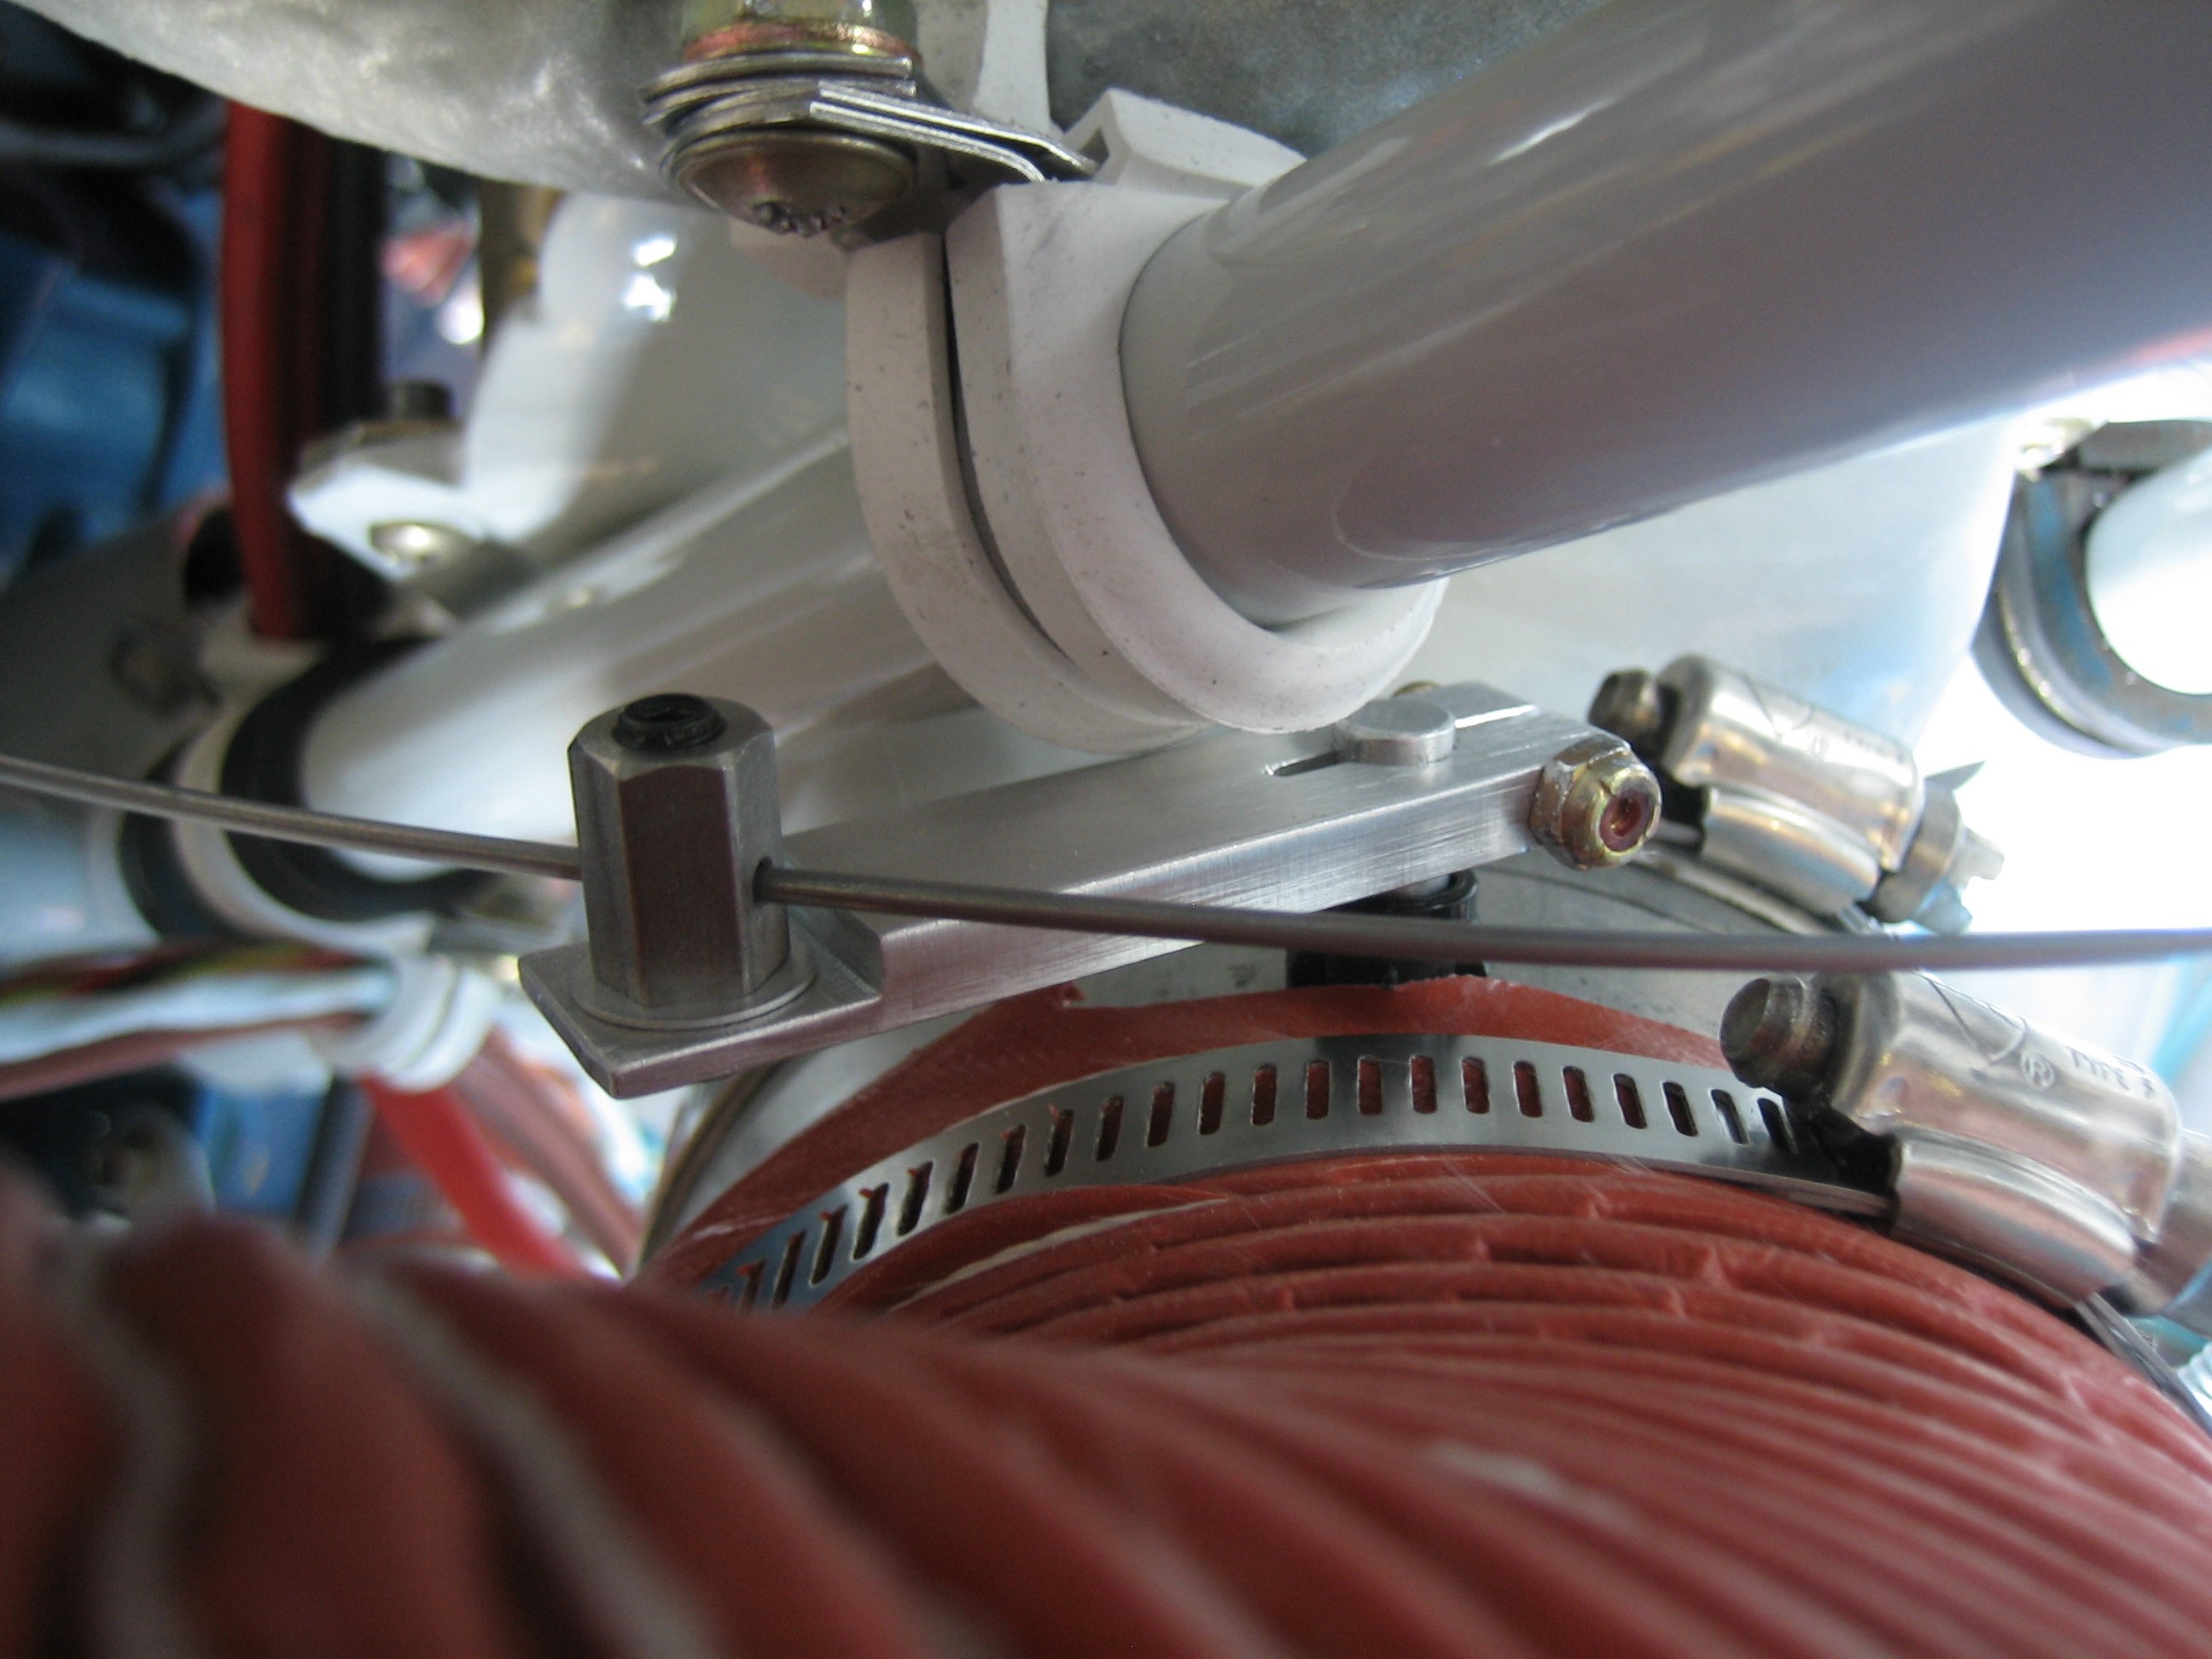
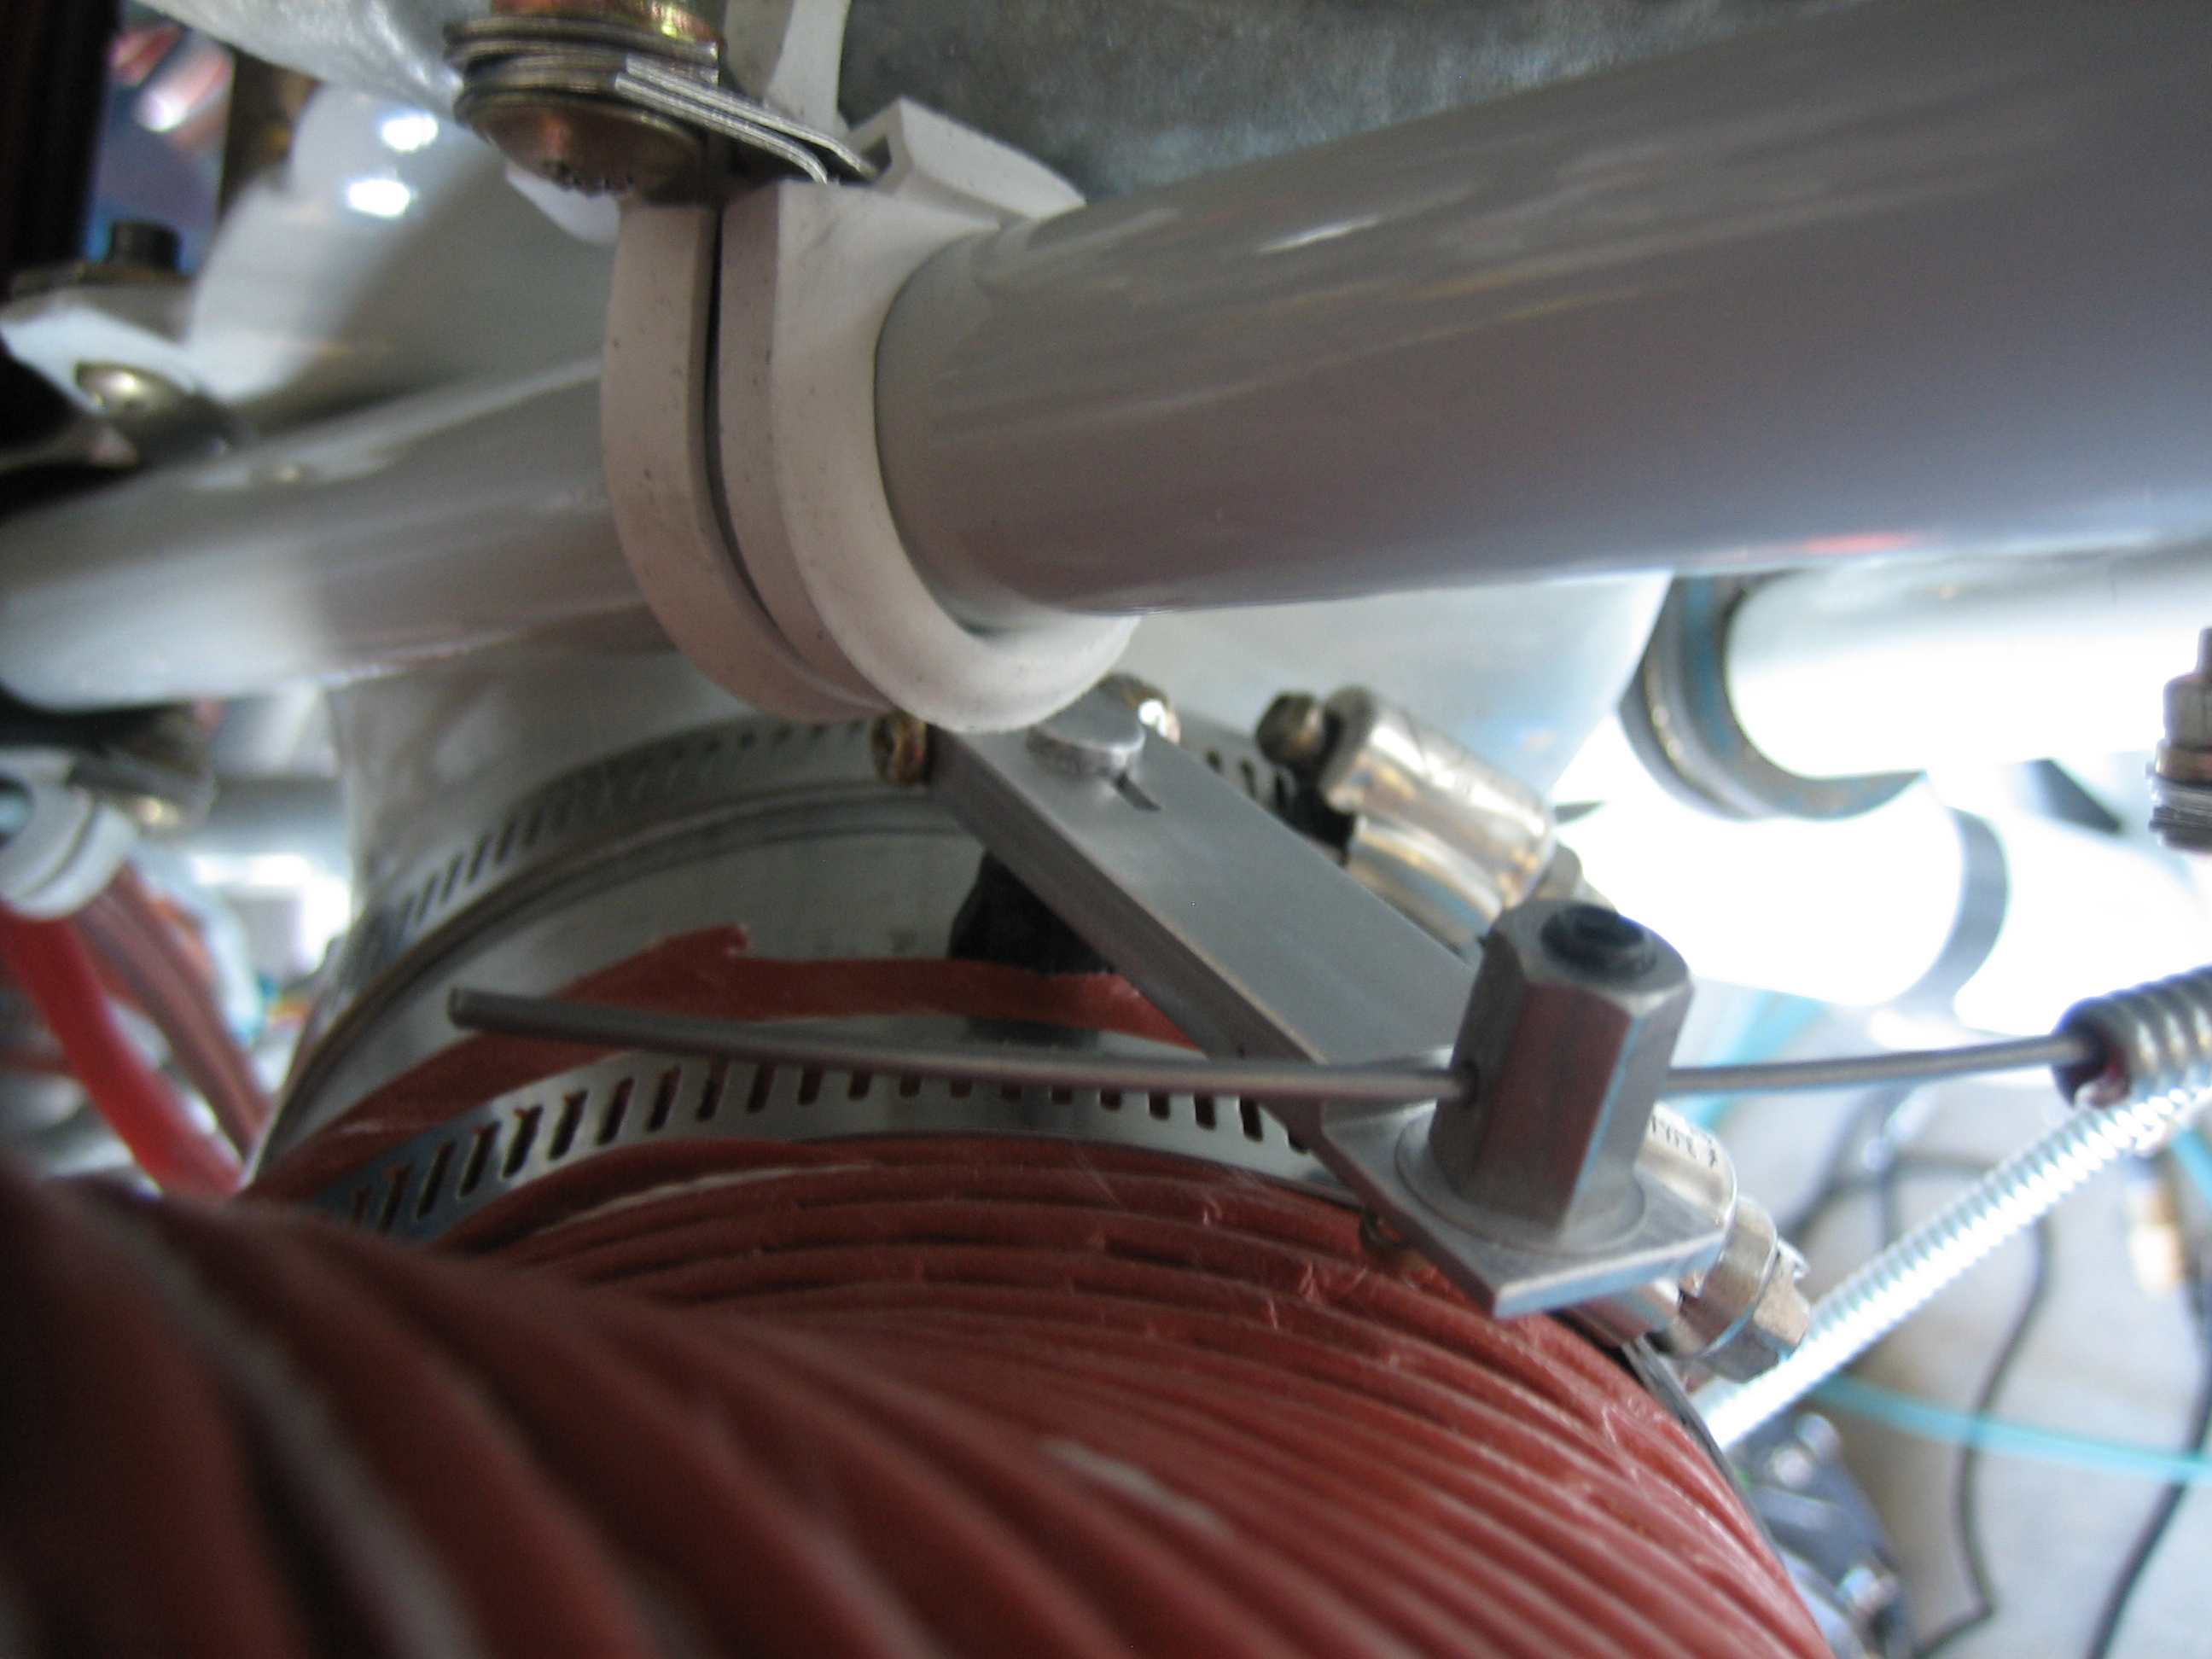
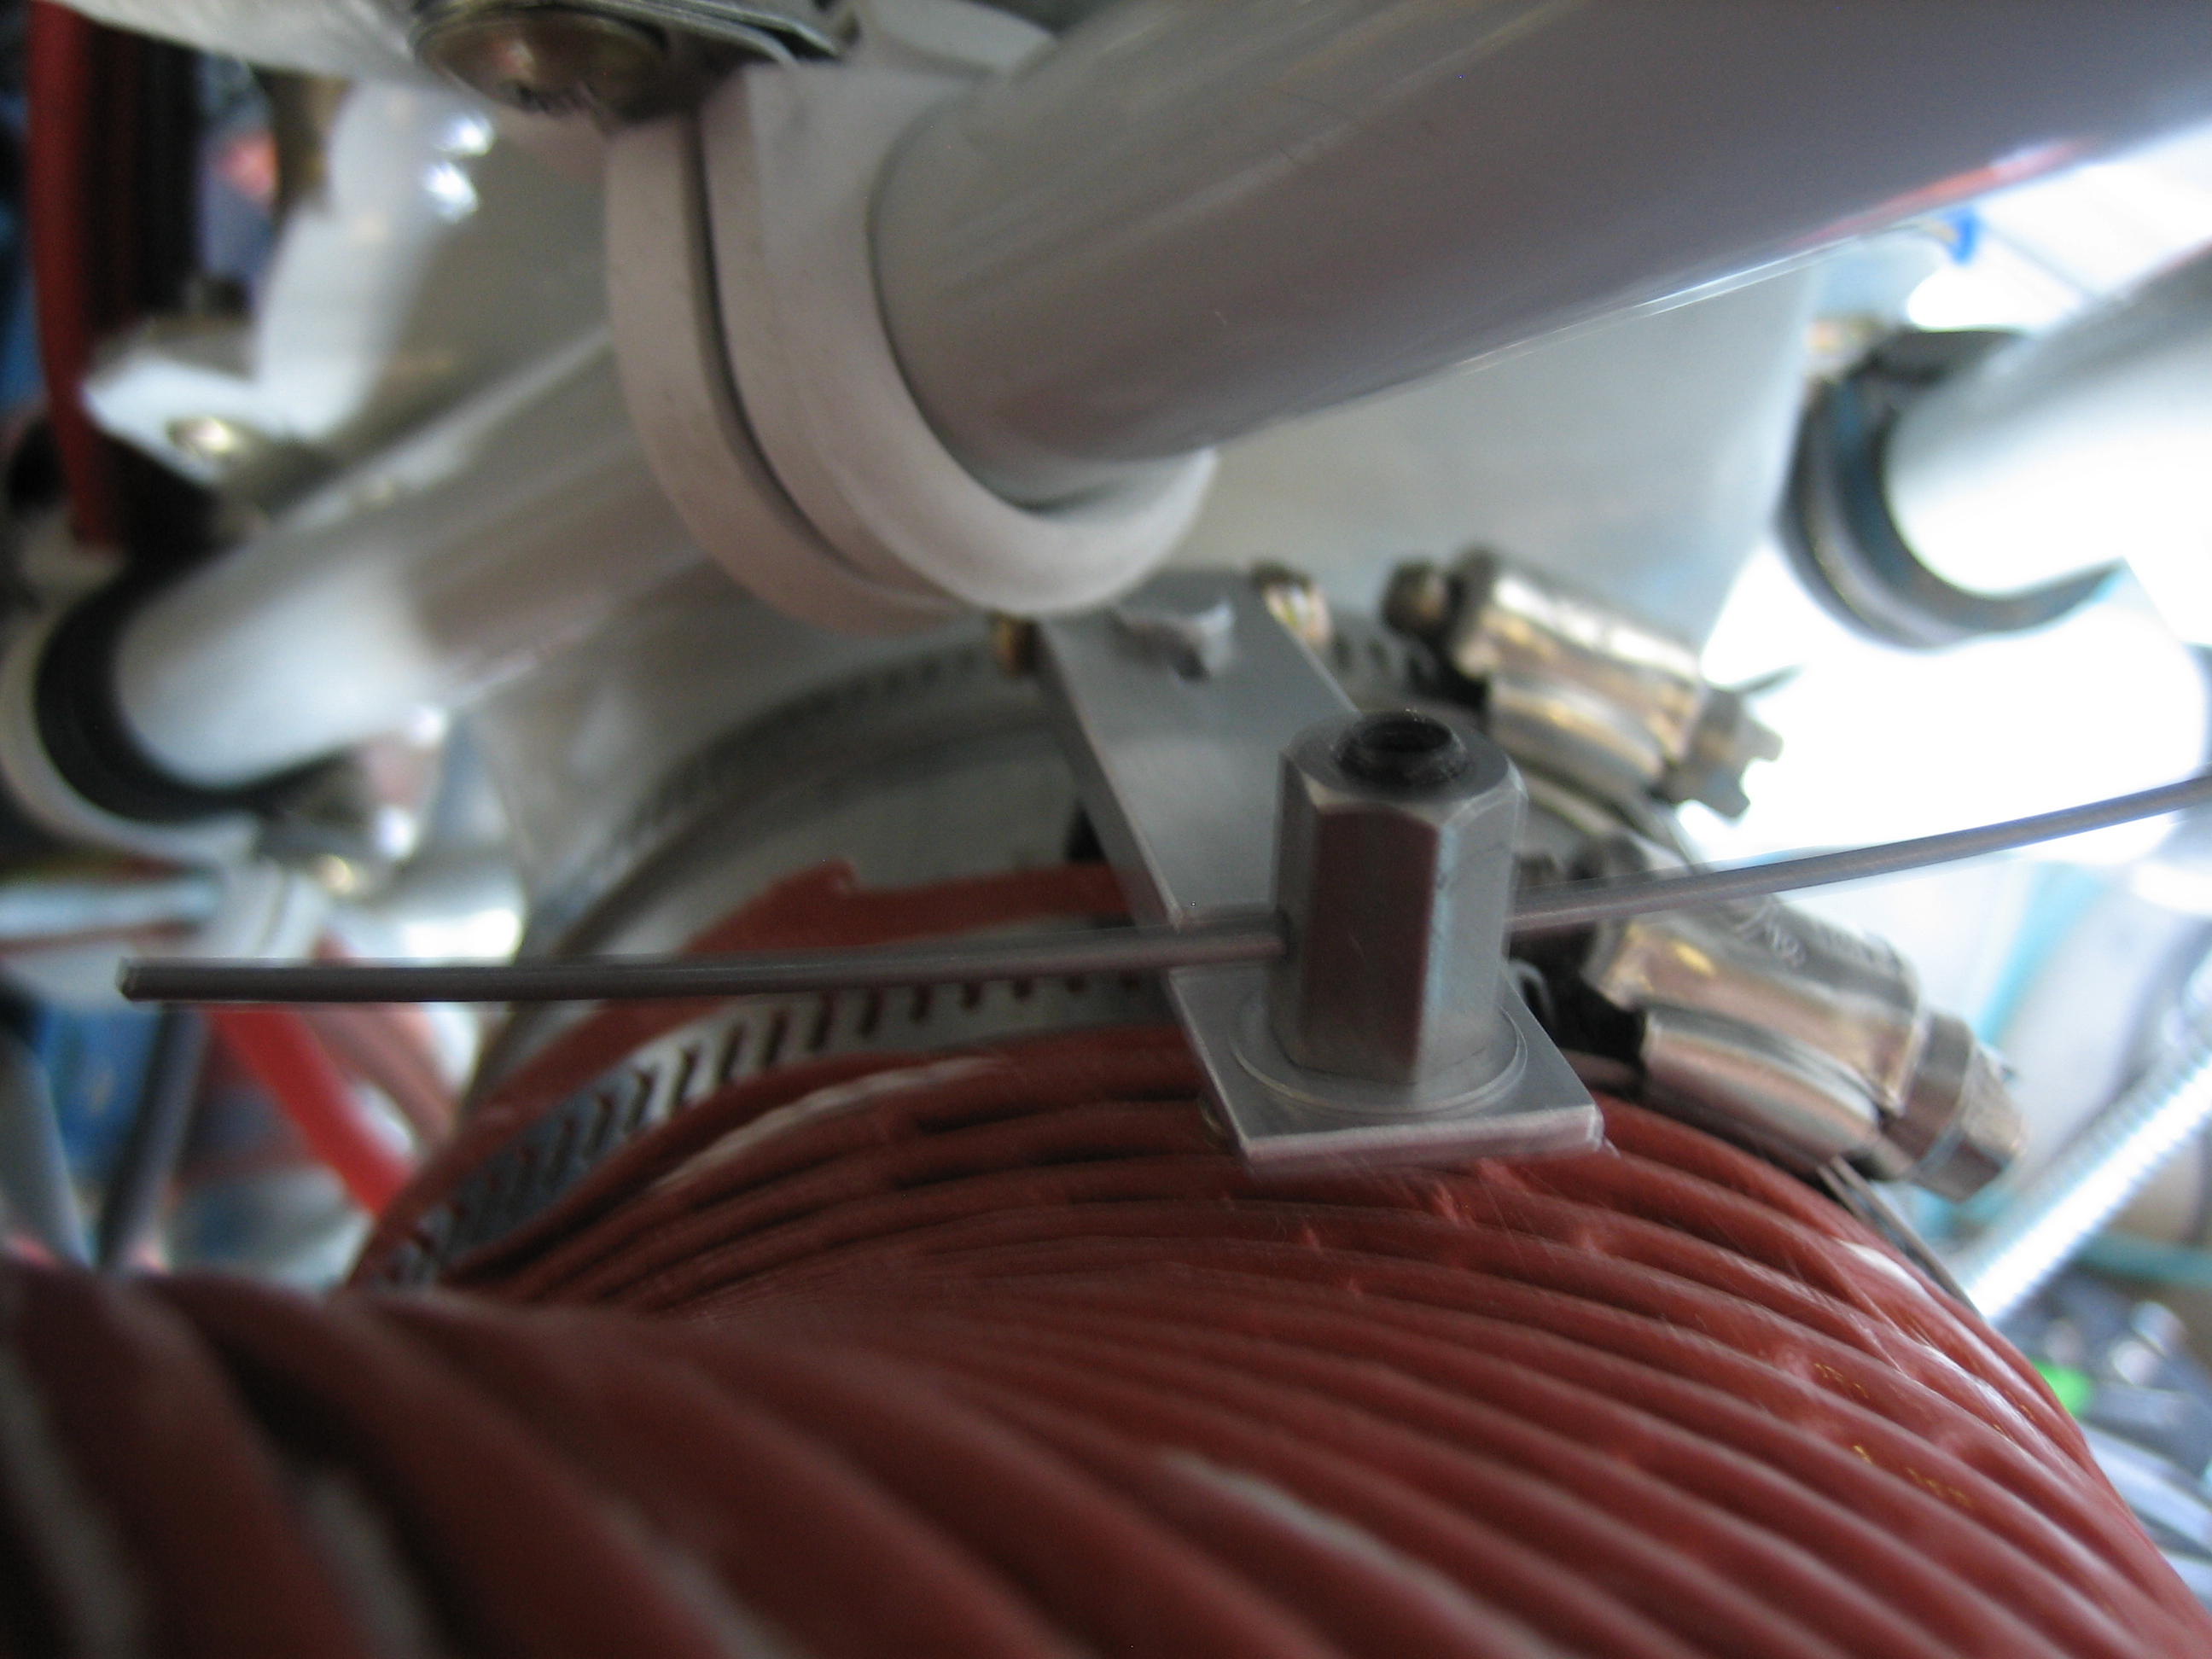
I used a pair of adel clamps to force the SCAT tubing to make a 180º turn. It’s pointed at the center of the arc of slots on the back.
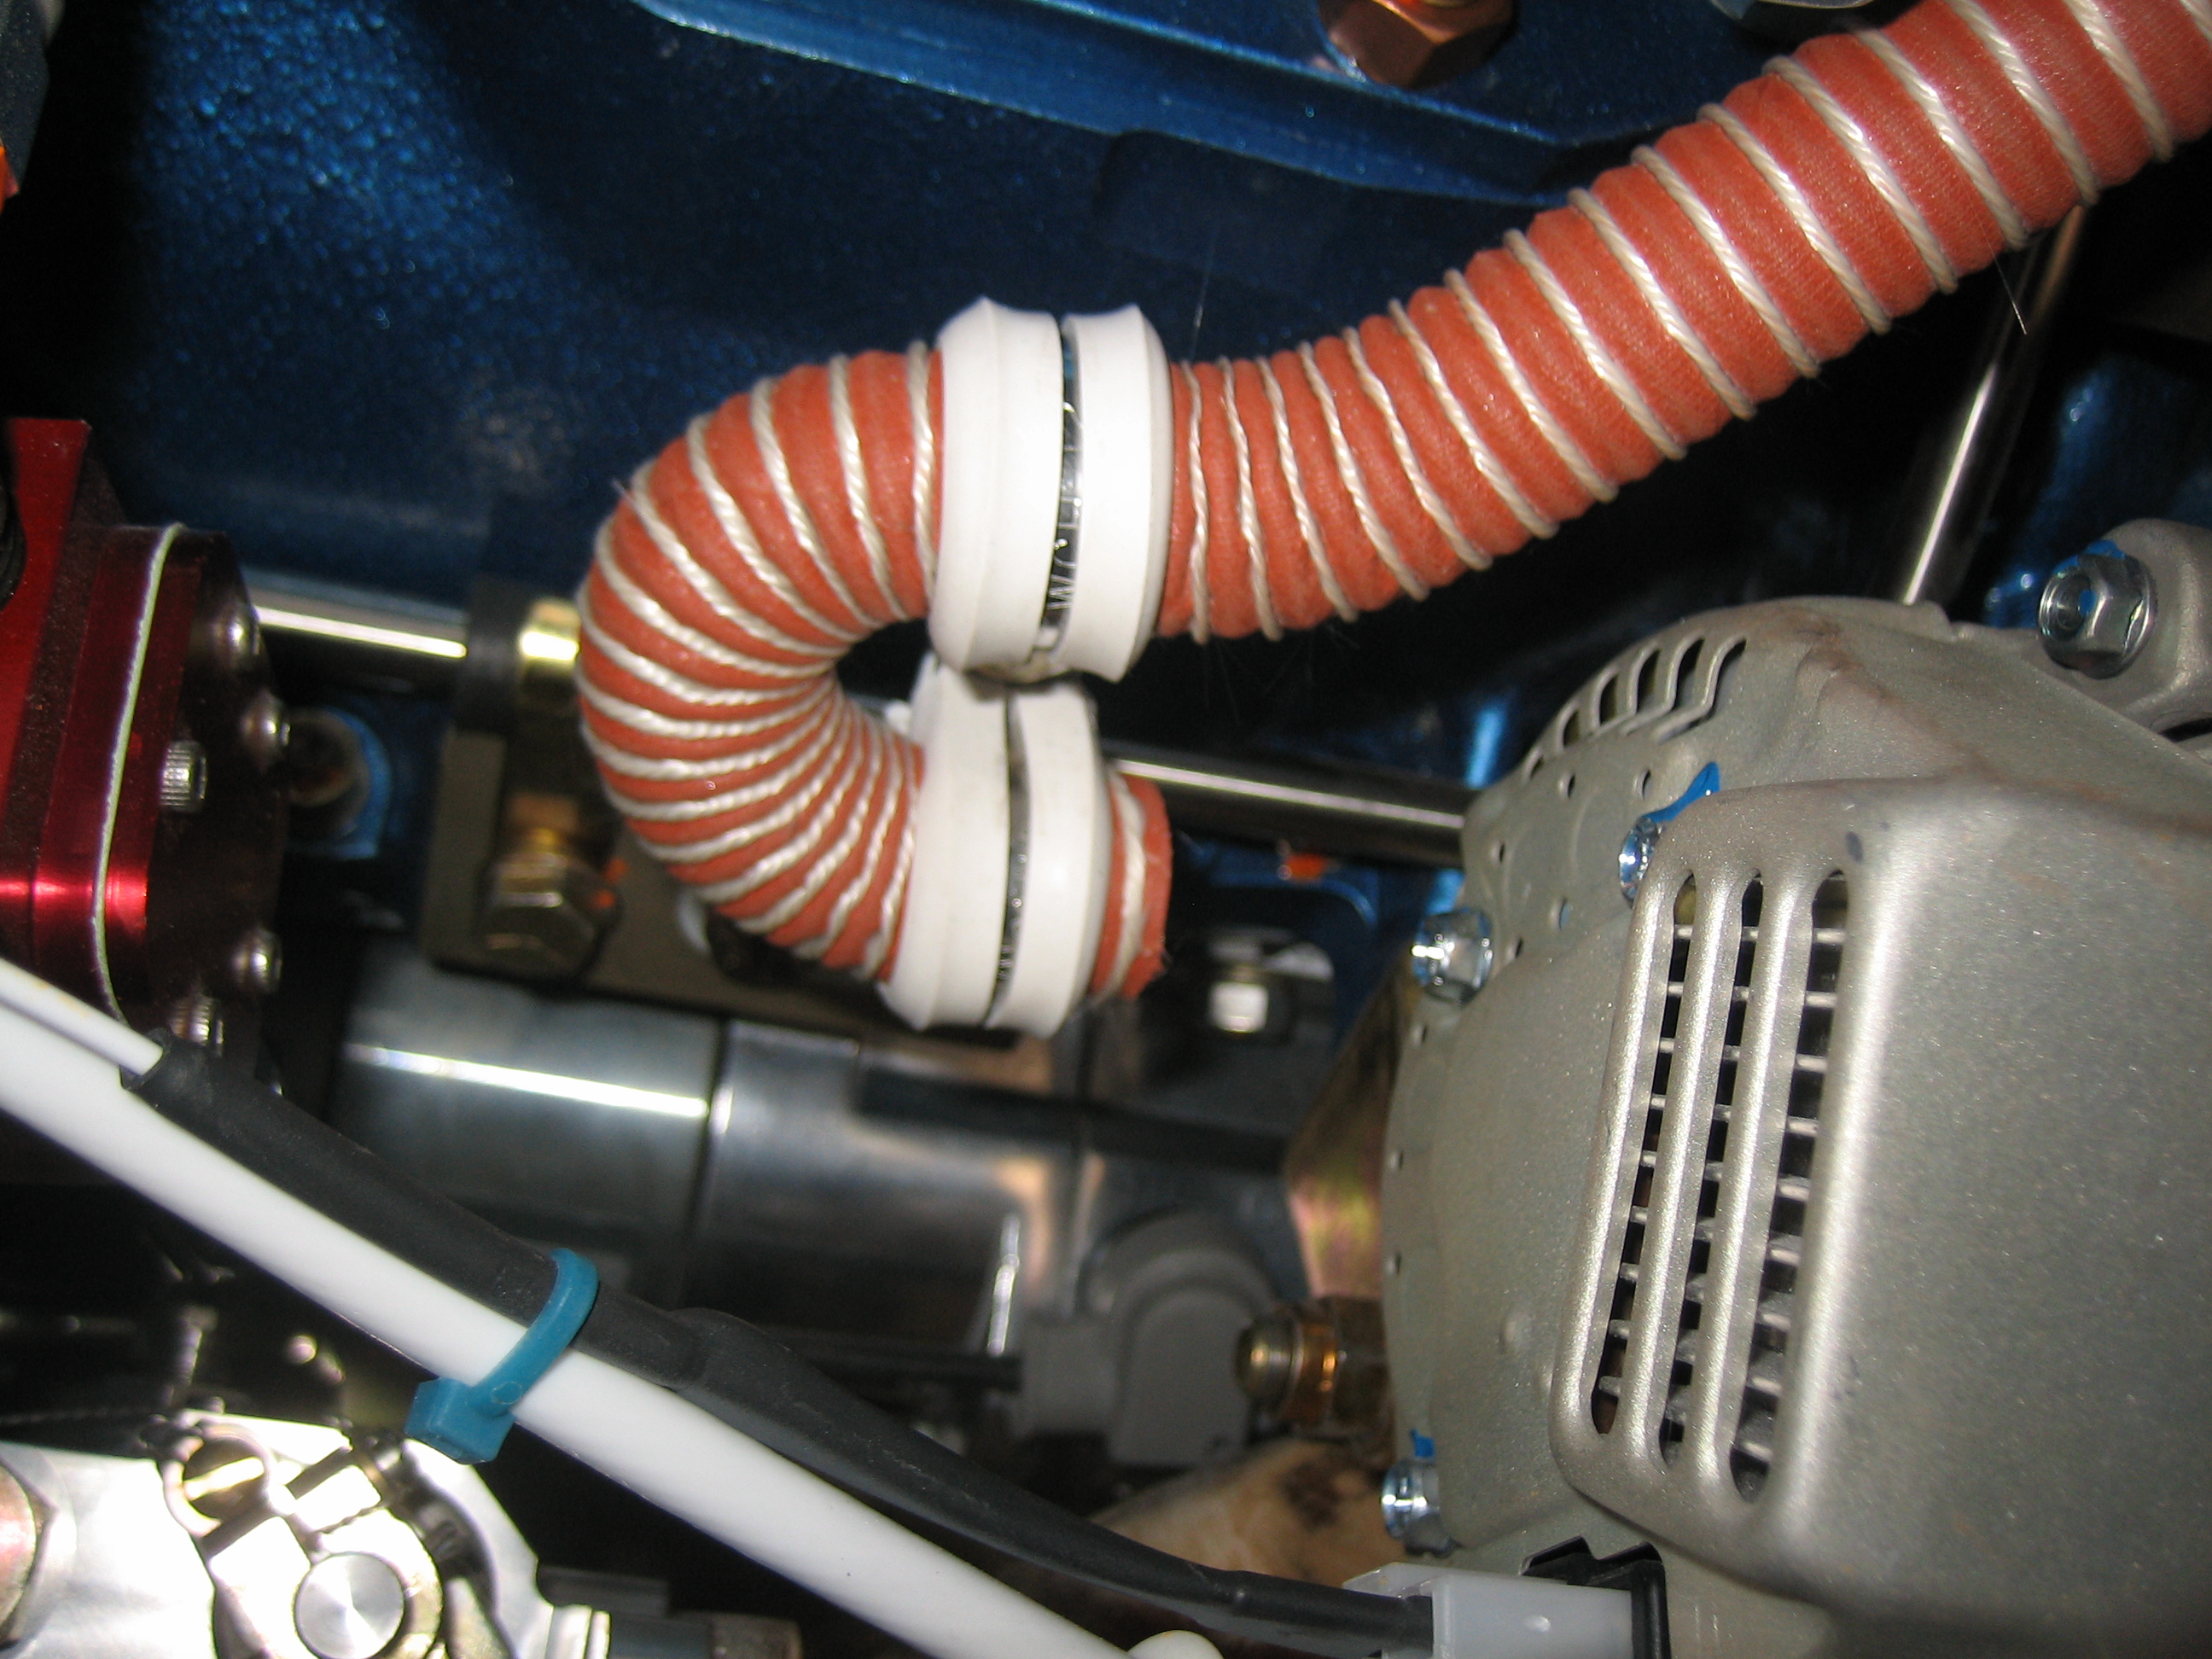
The bracket that holds these adel clamps is attached to the engine just behind the alternator bracket. This is just temporarily attached for now until the baffles are on for good.