Painted Remaining Interior Components

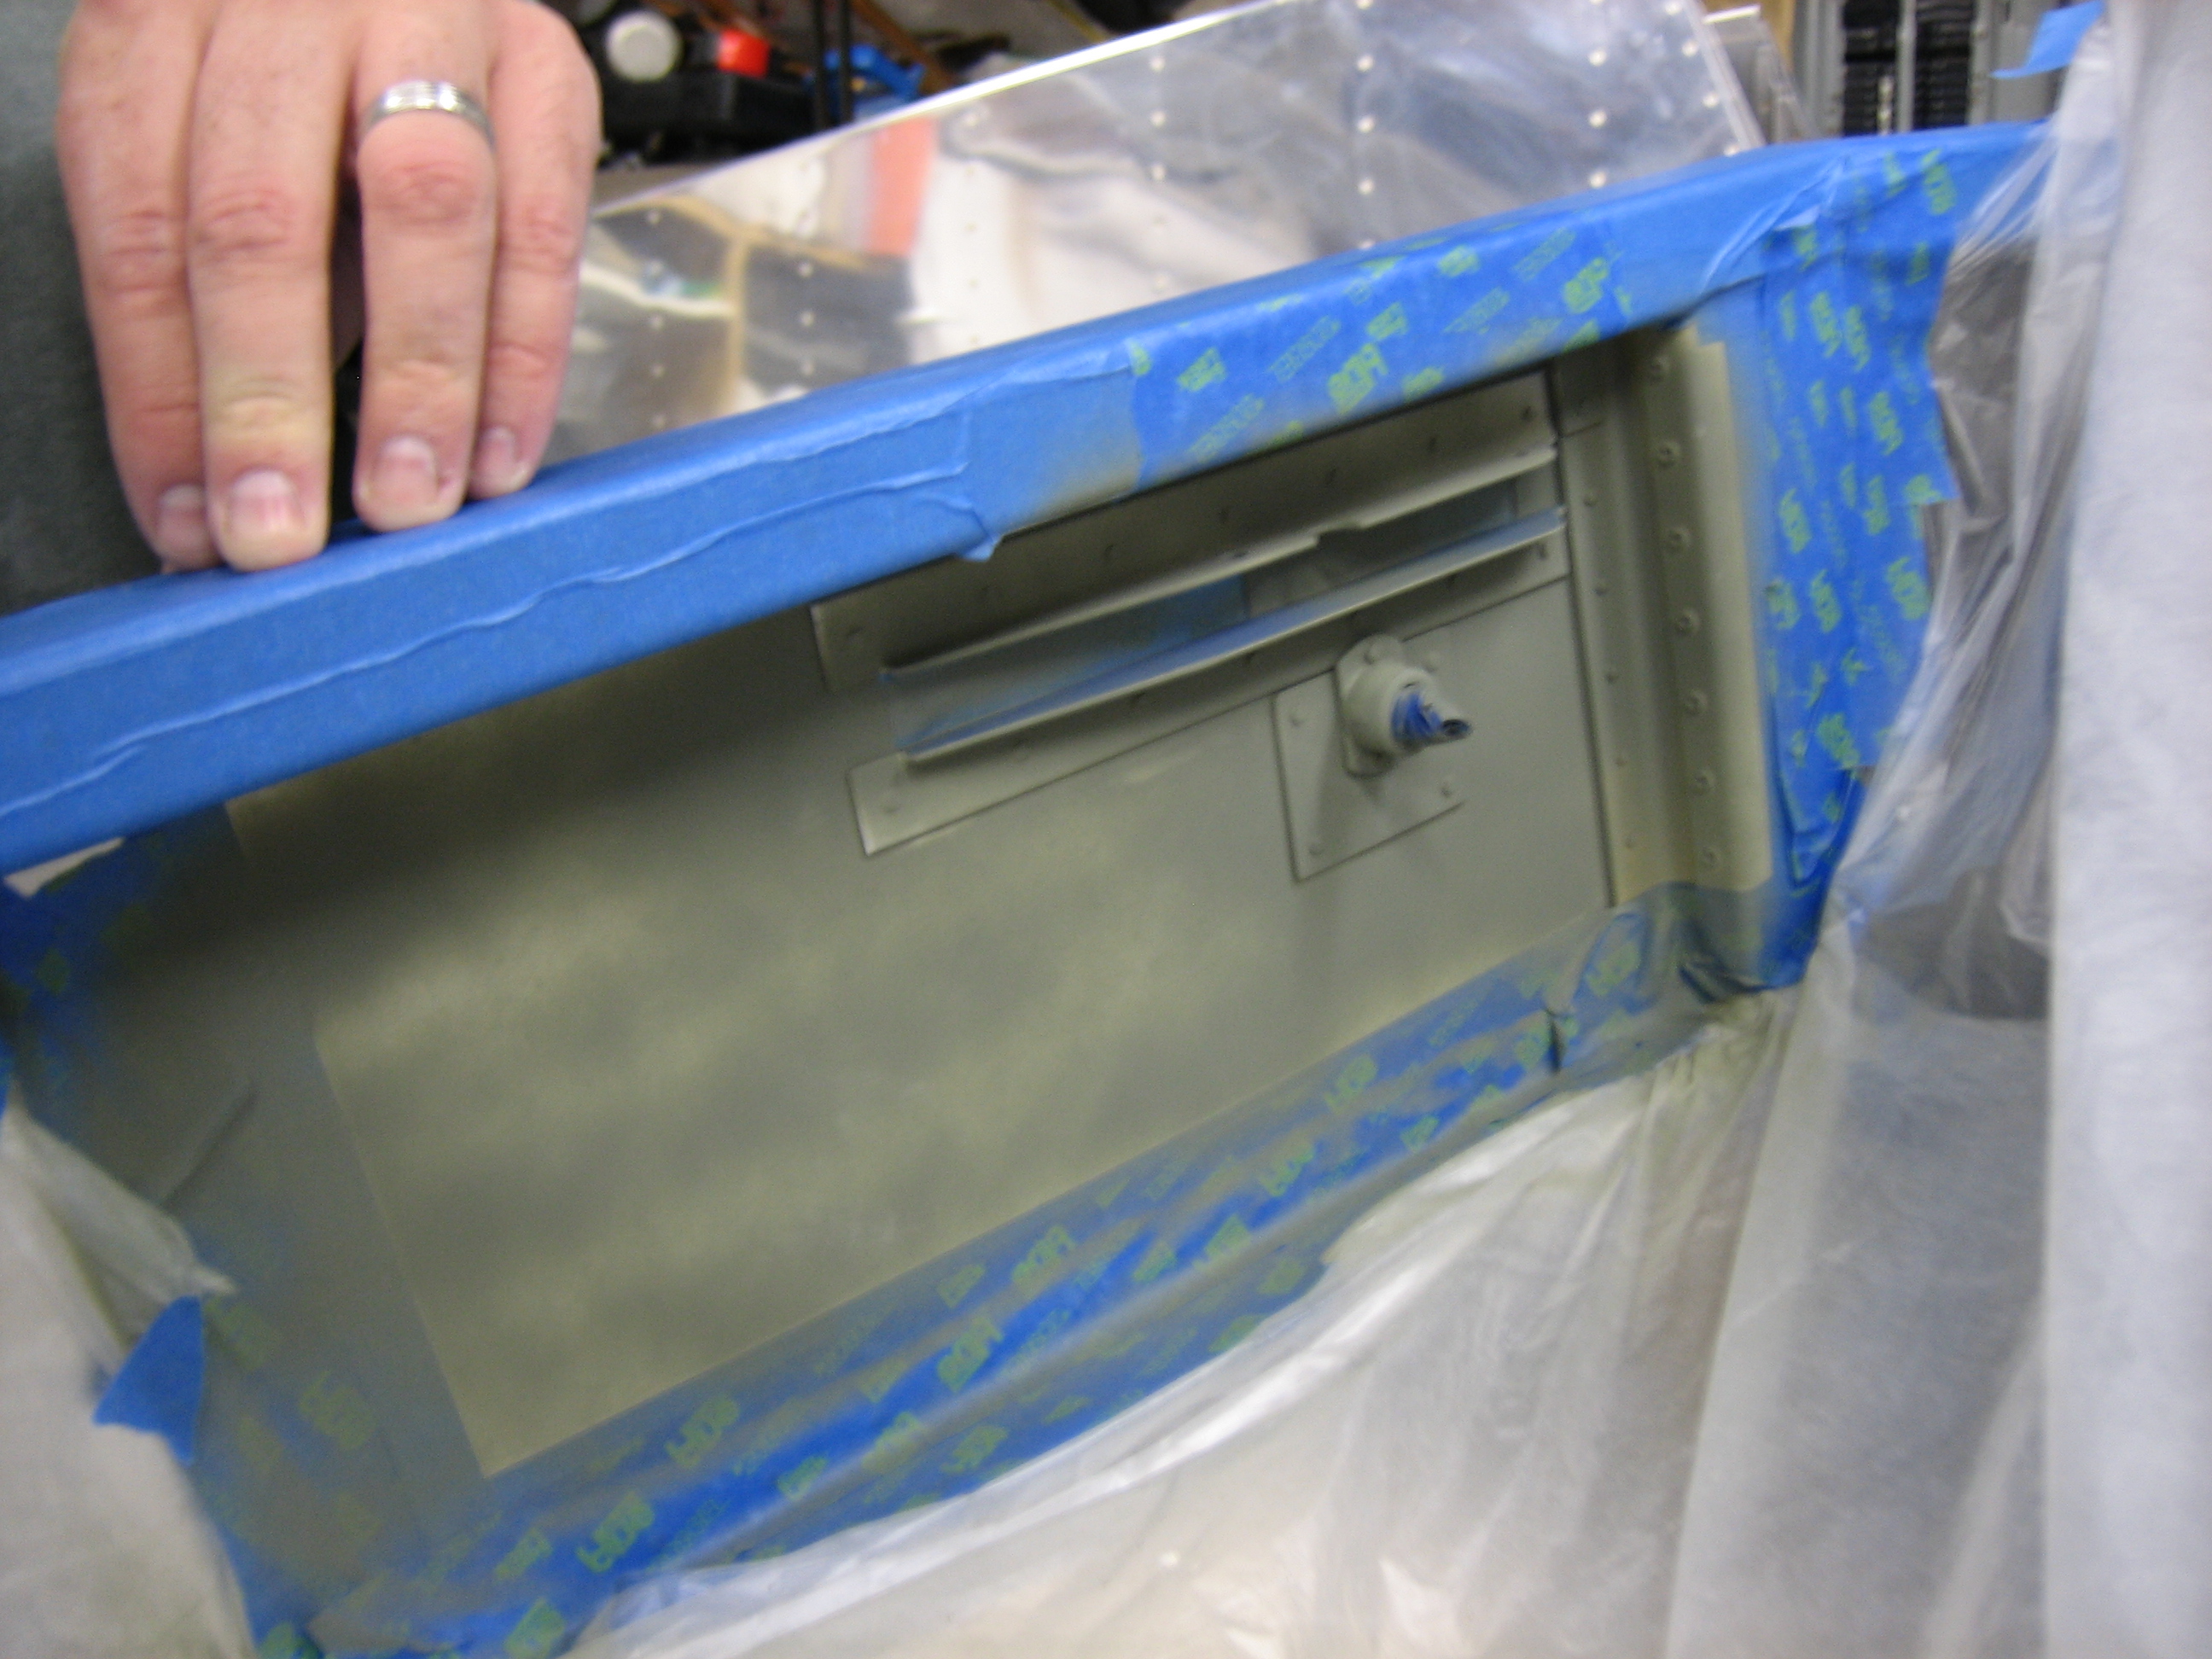
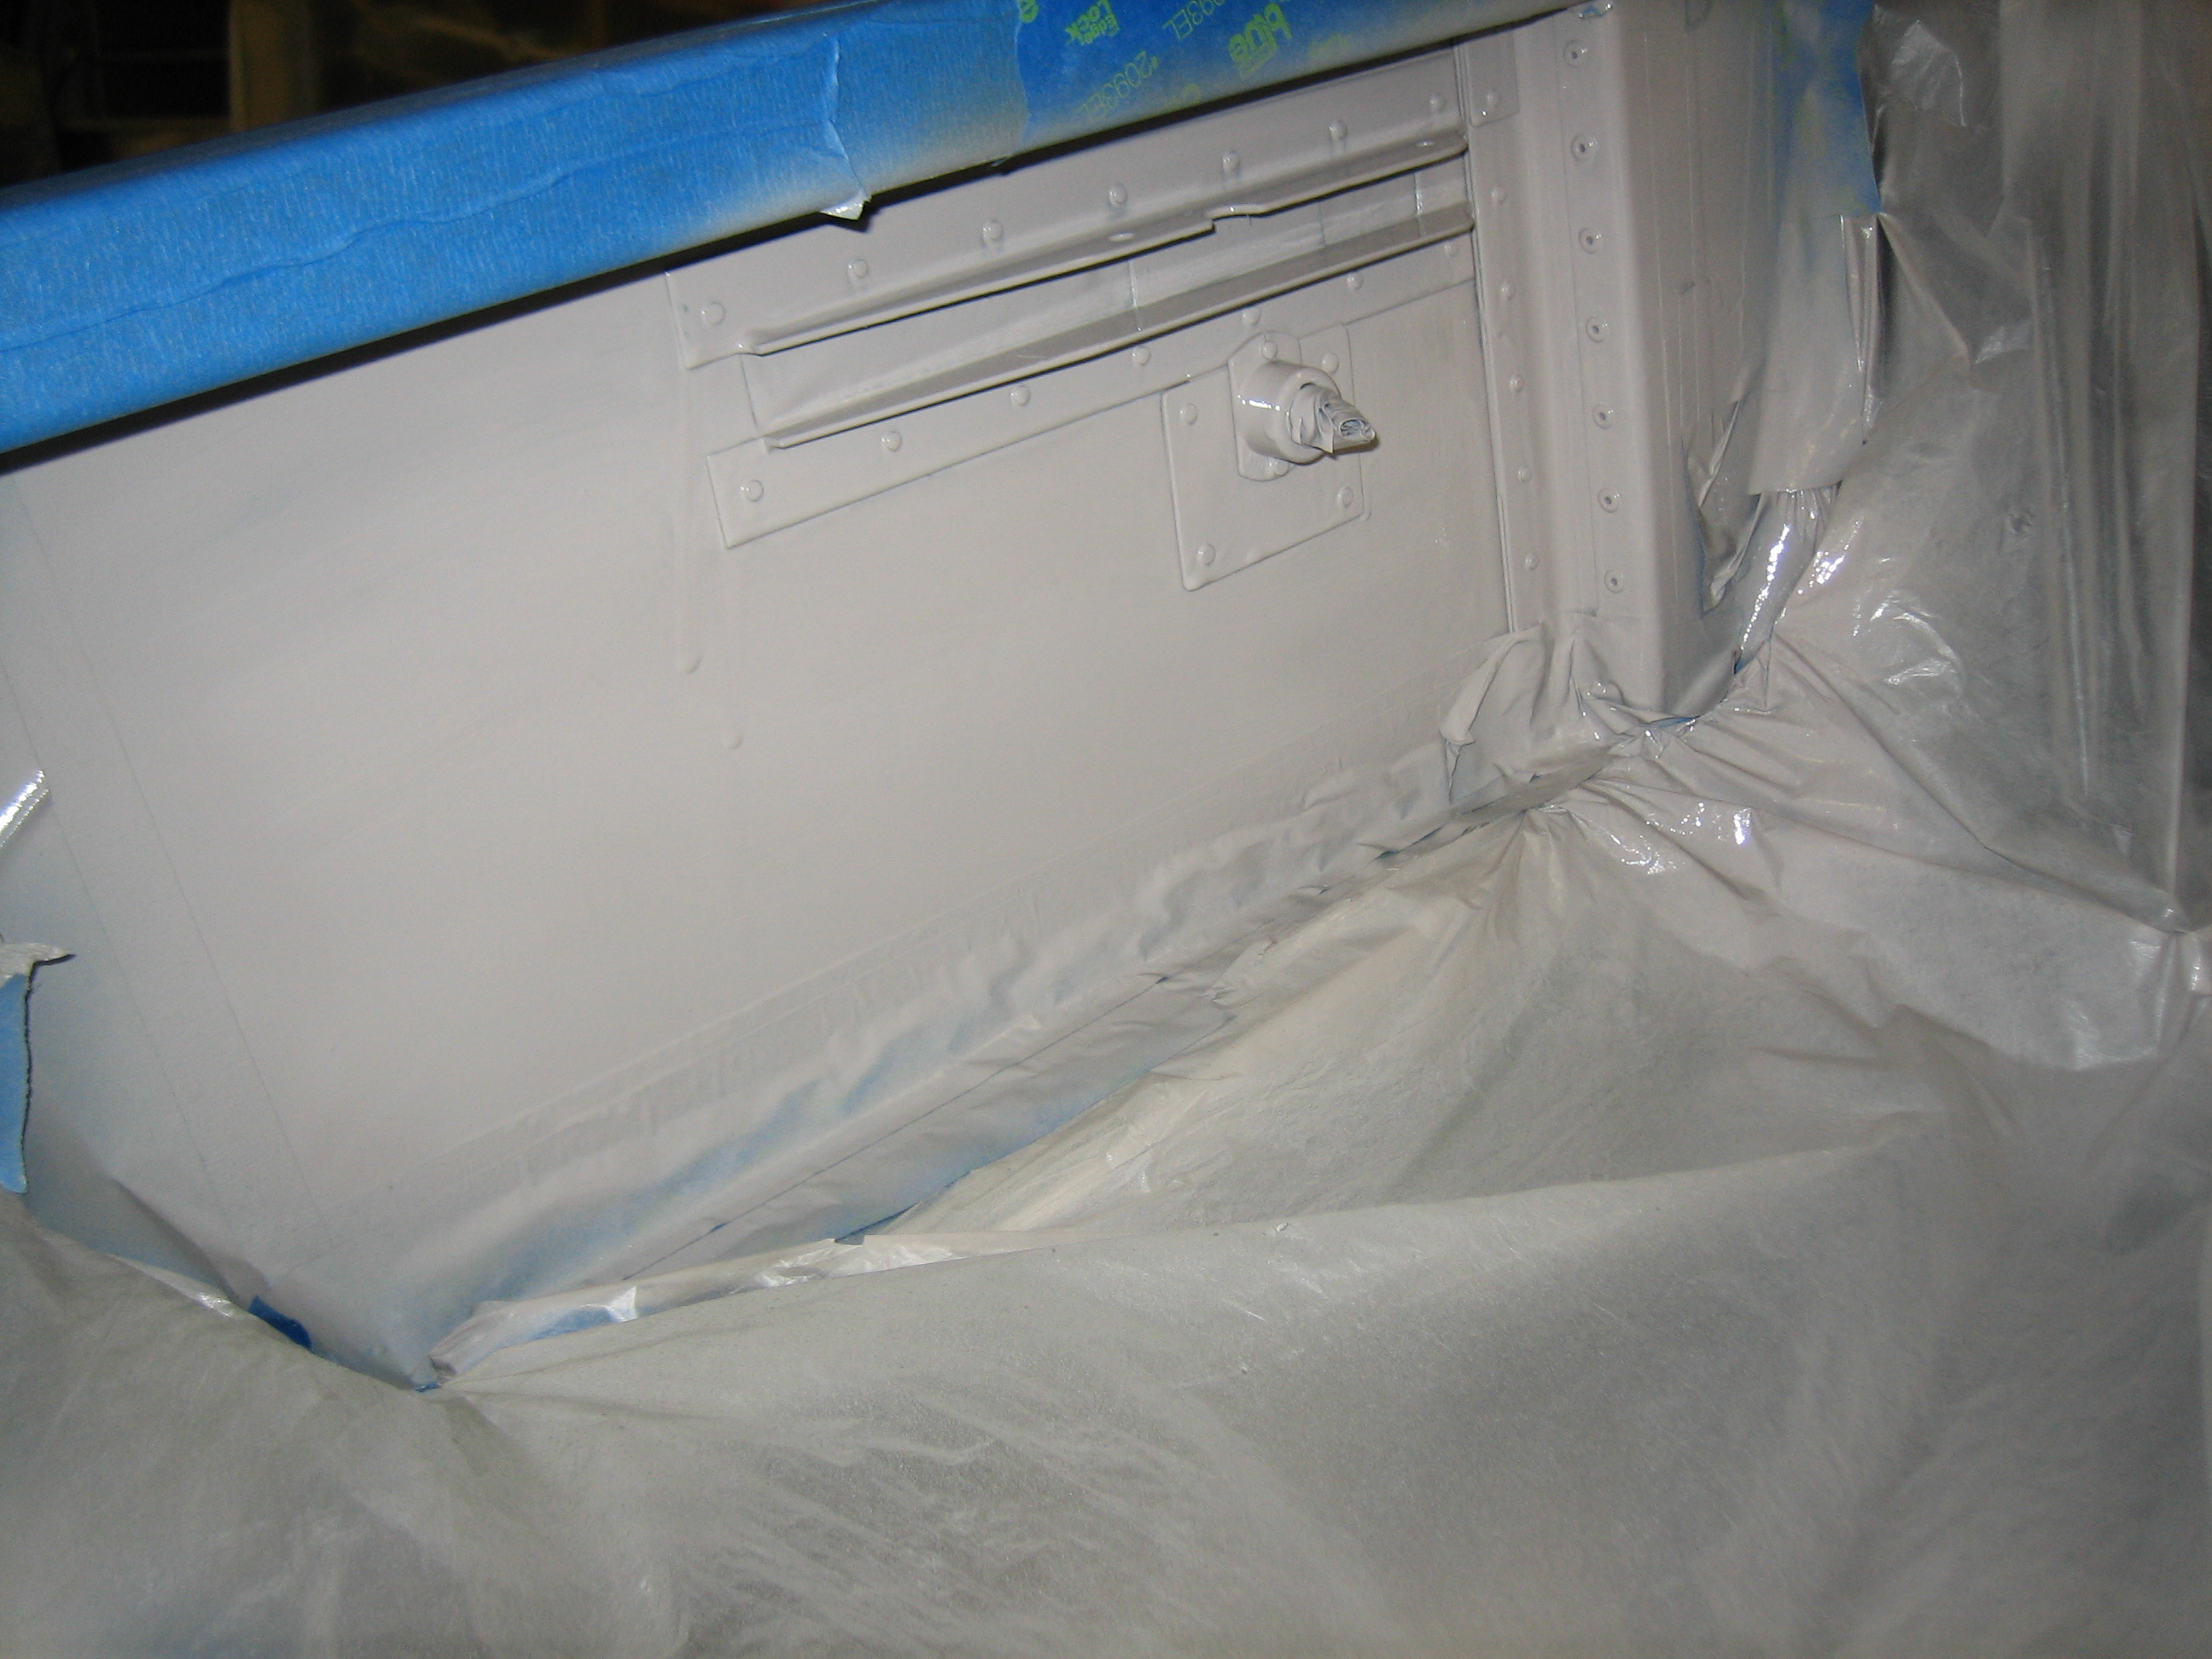
I thought I still had some interior paint left over, but it had gone bad in the can.  I called yesterday and had to have a quart overnighted to me.  It came today, so I wrapped up the painting.  Here’s the inside of the cabin where the sidewall will be visible behind the interior panel.

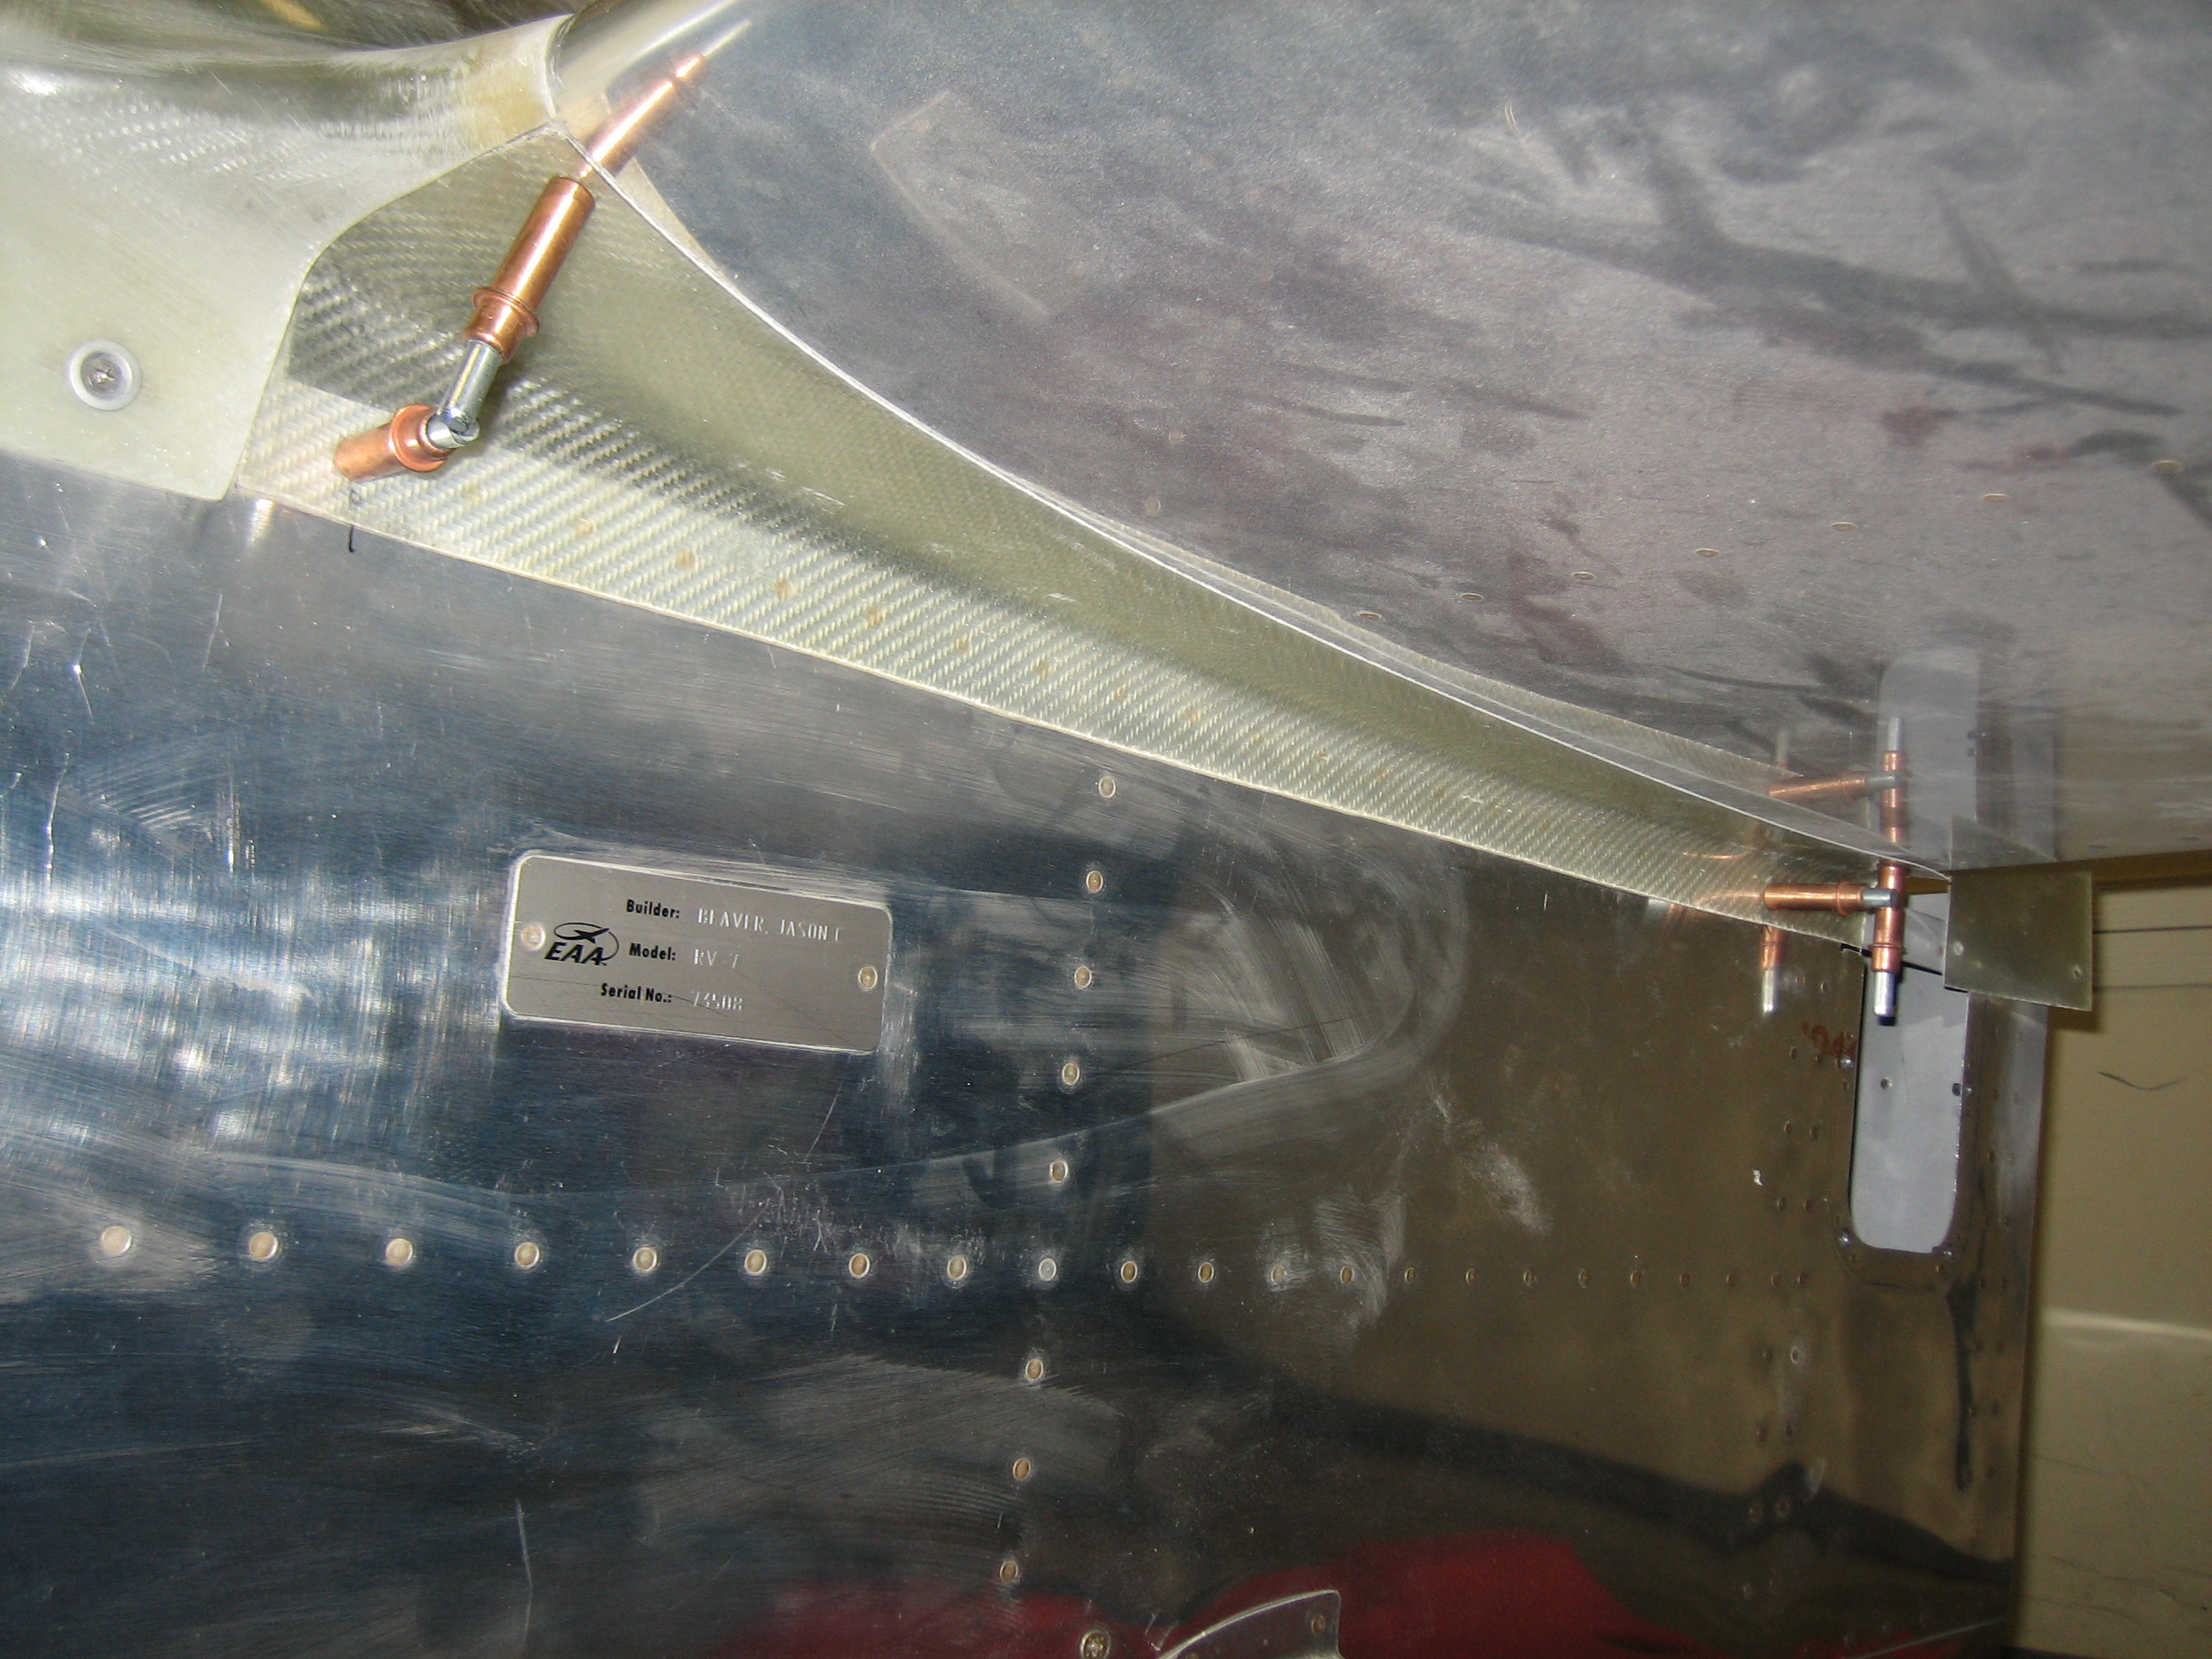
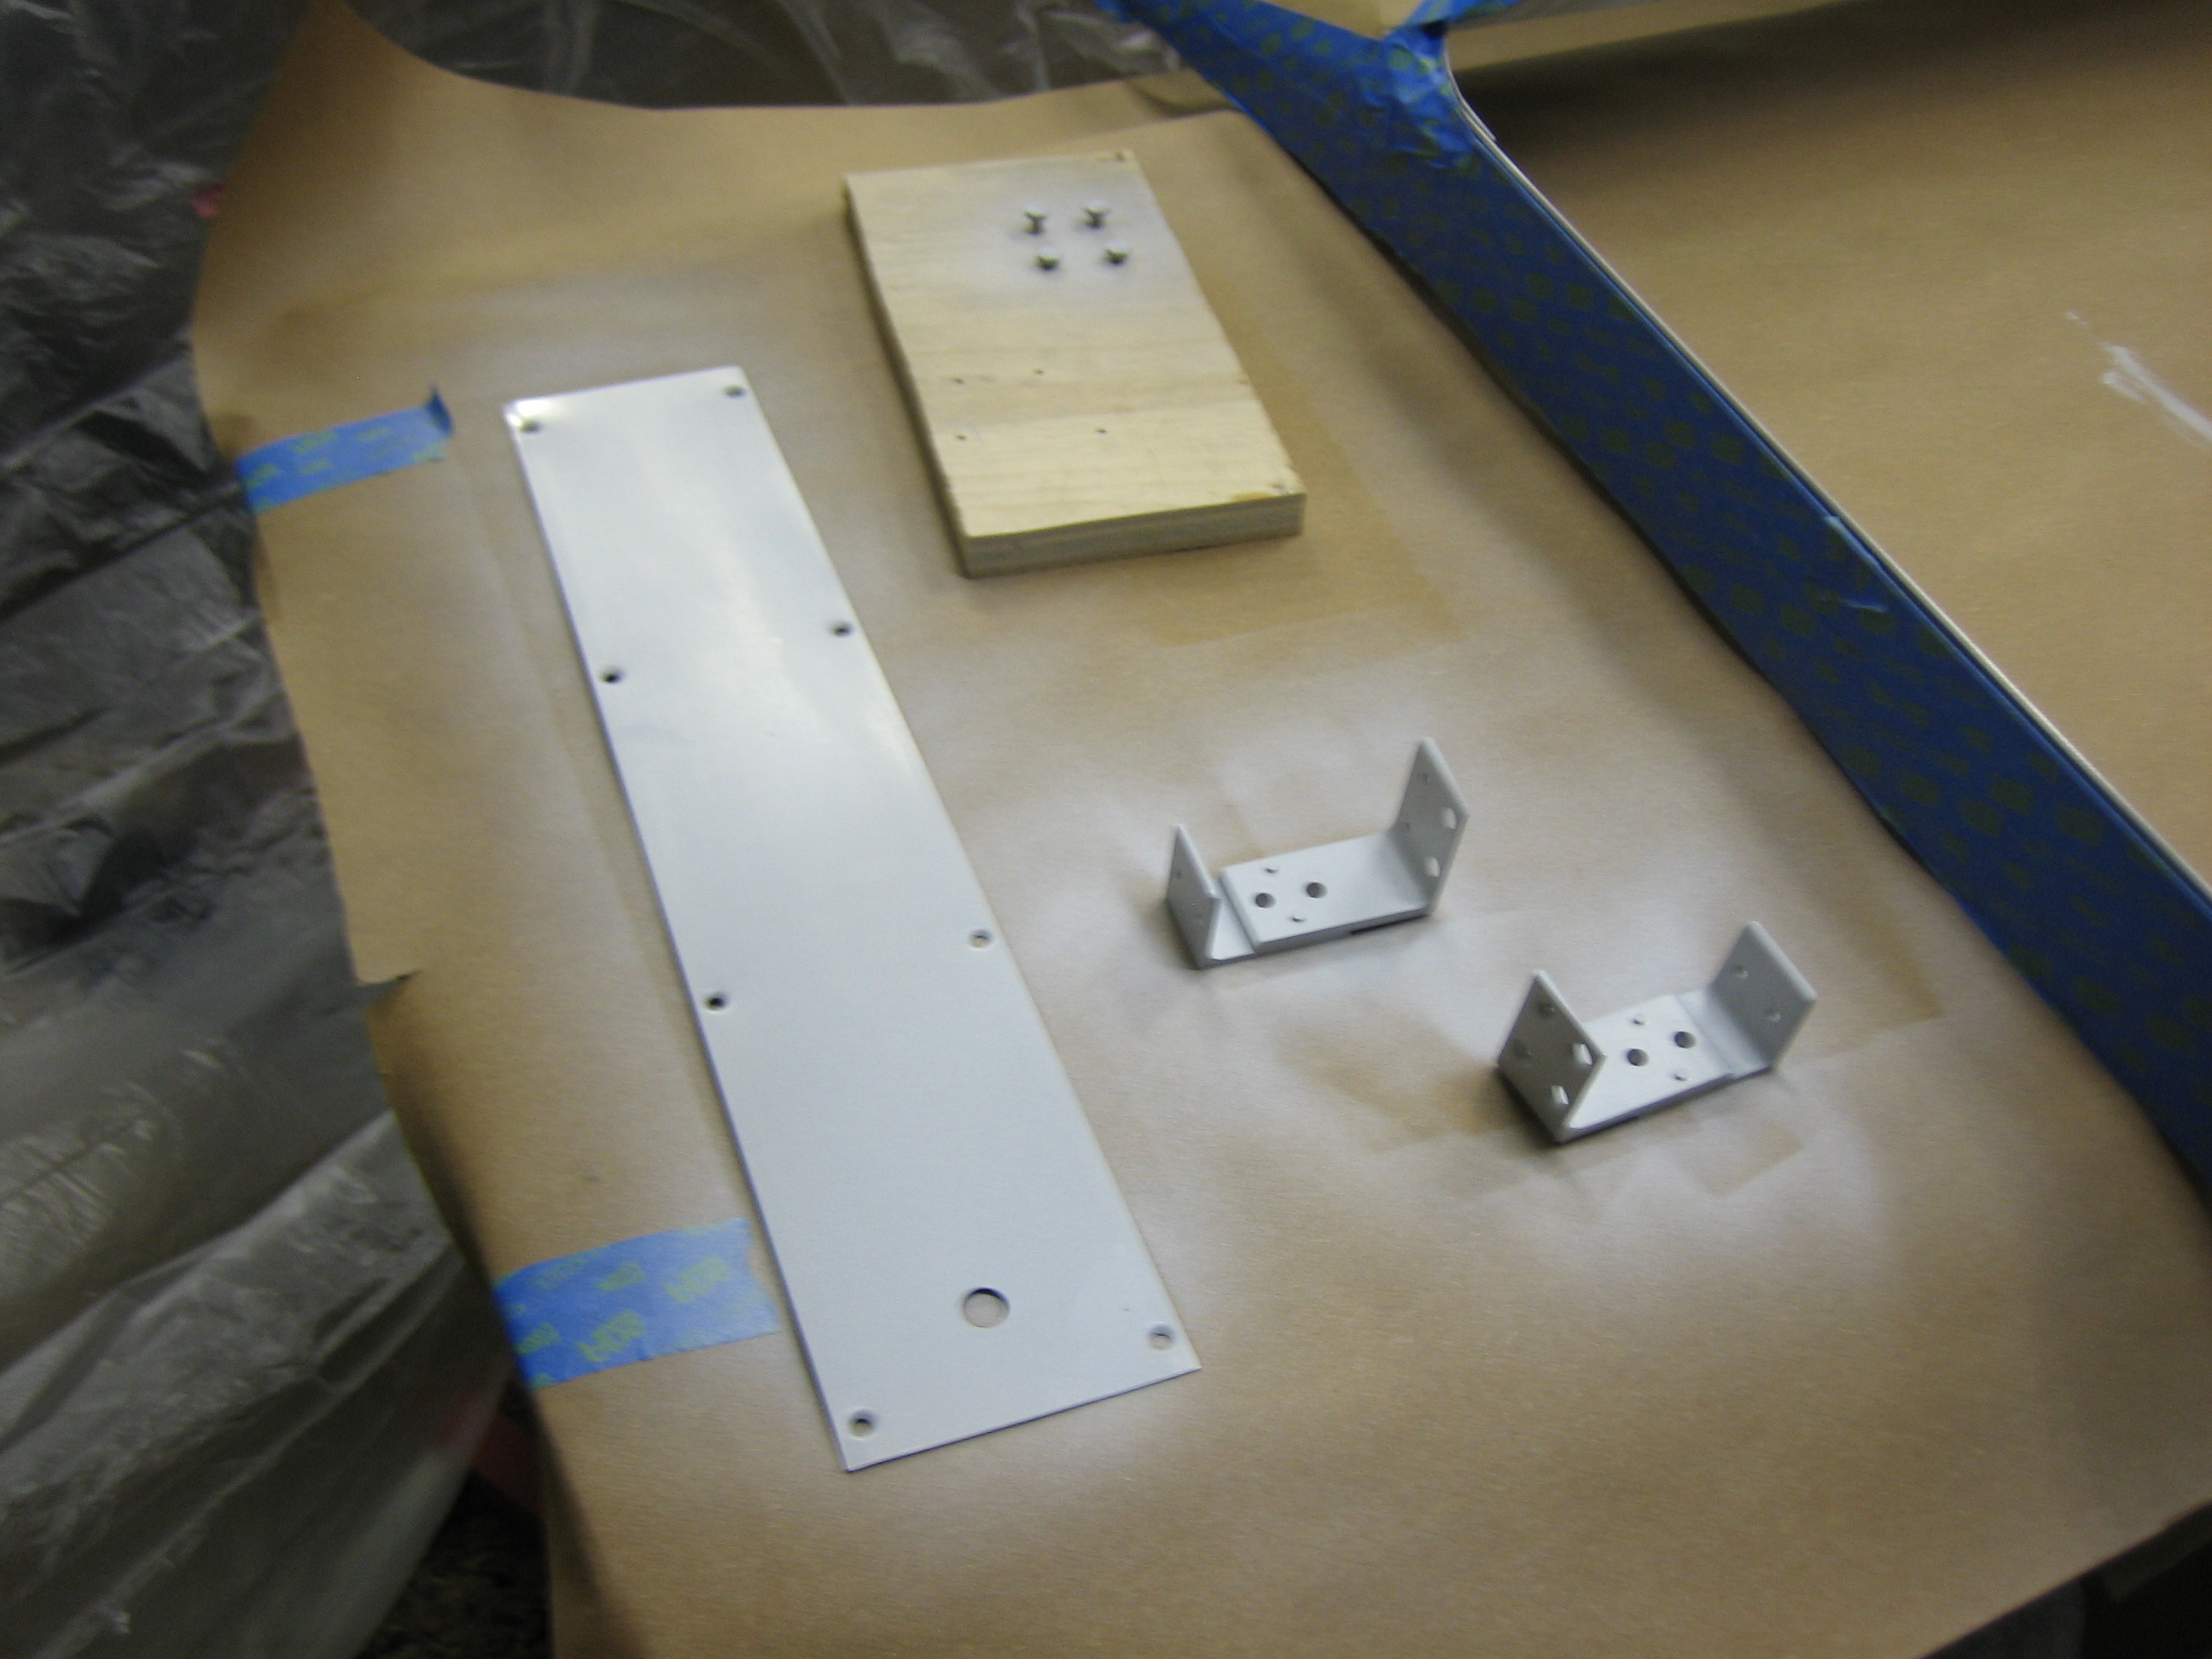
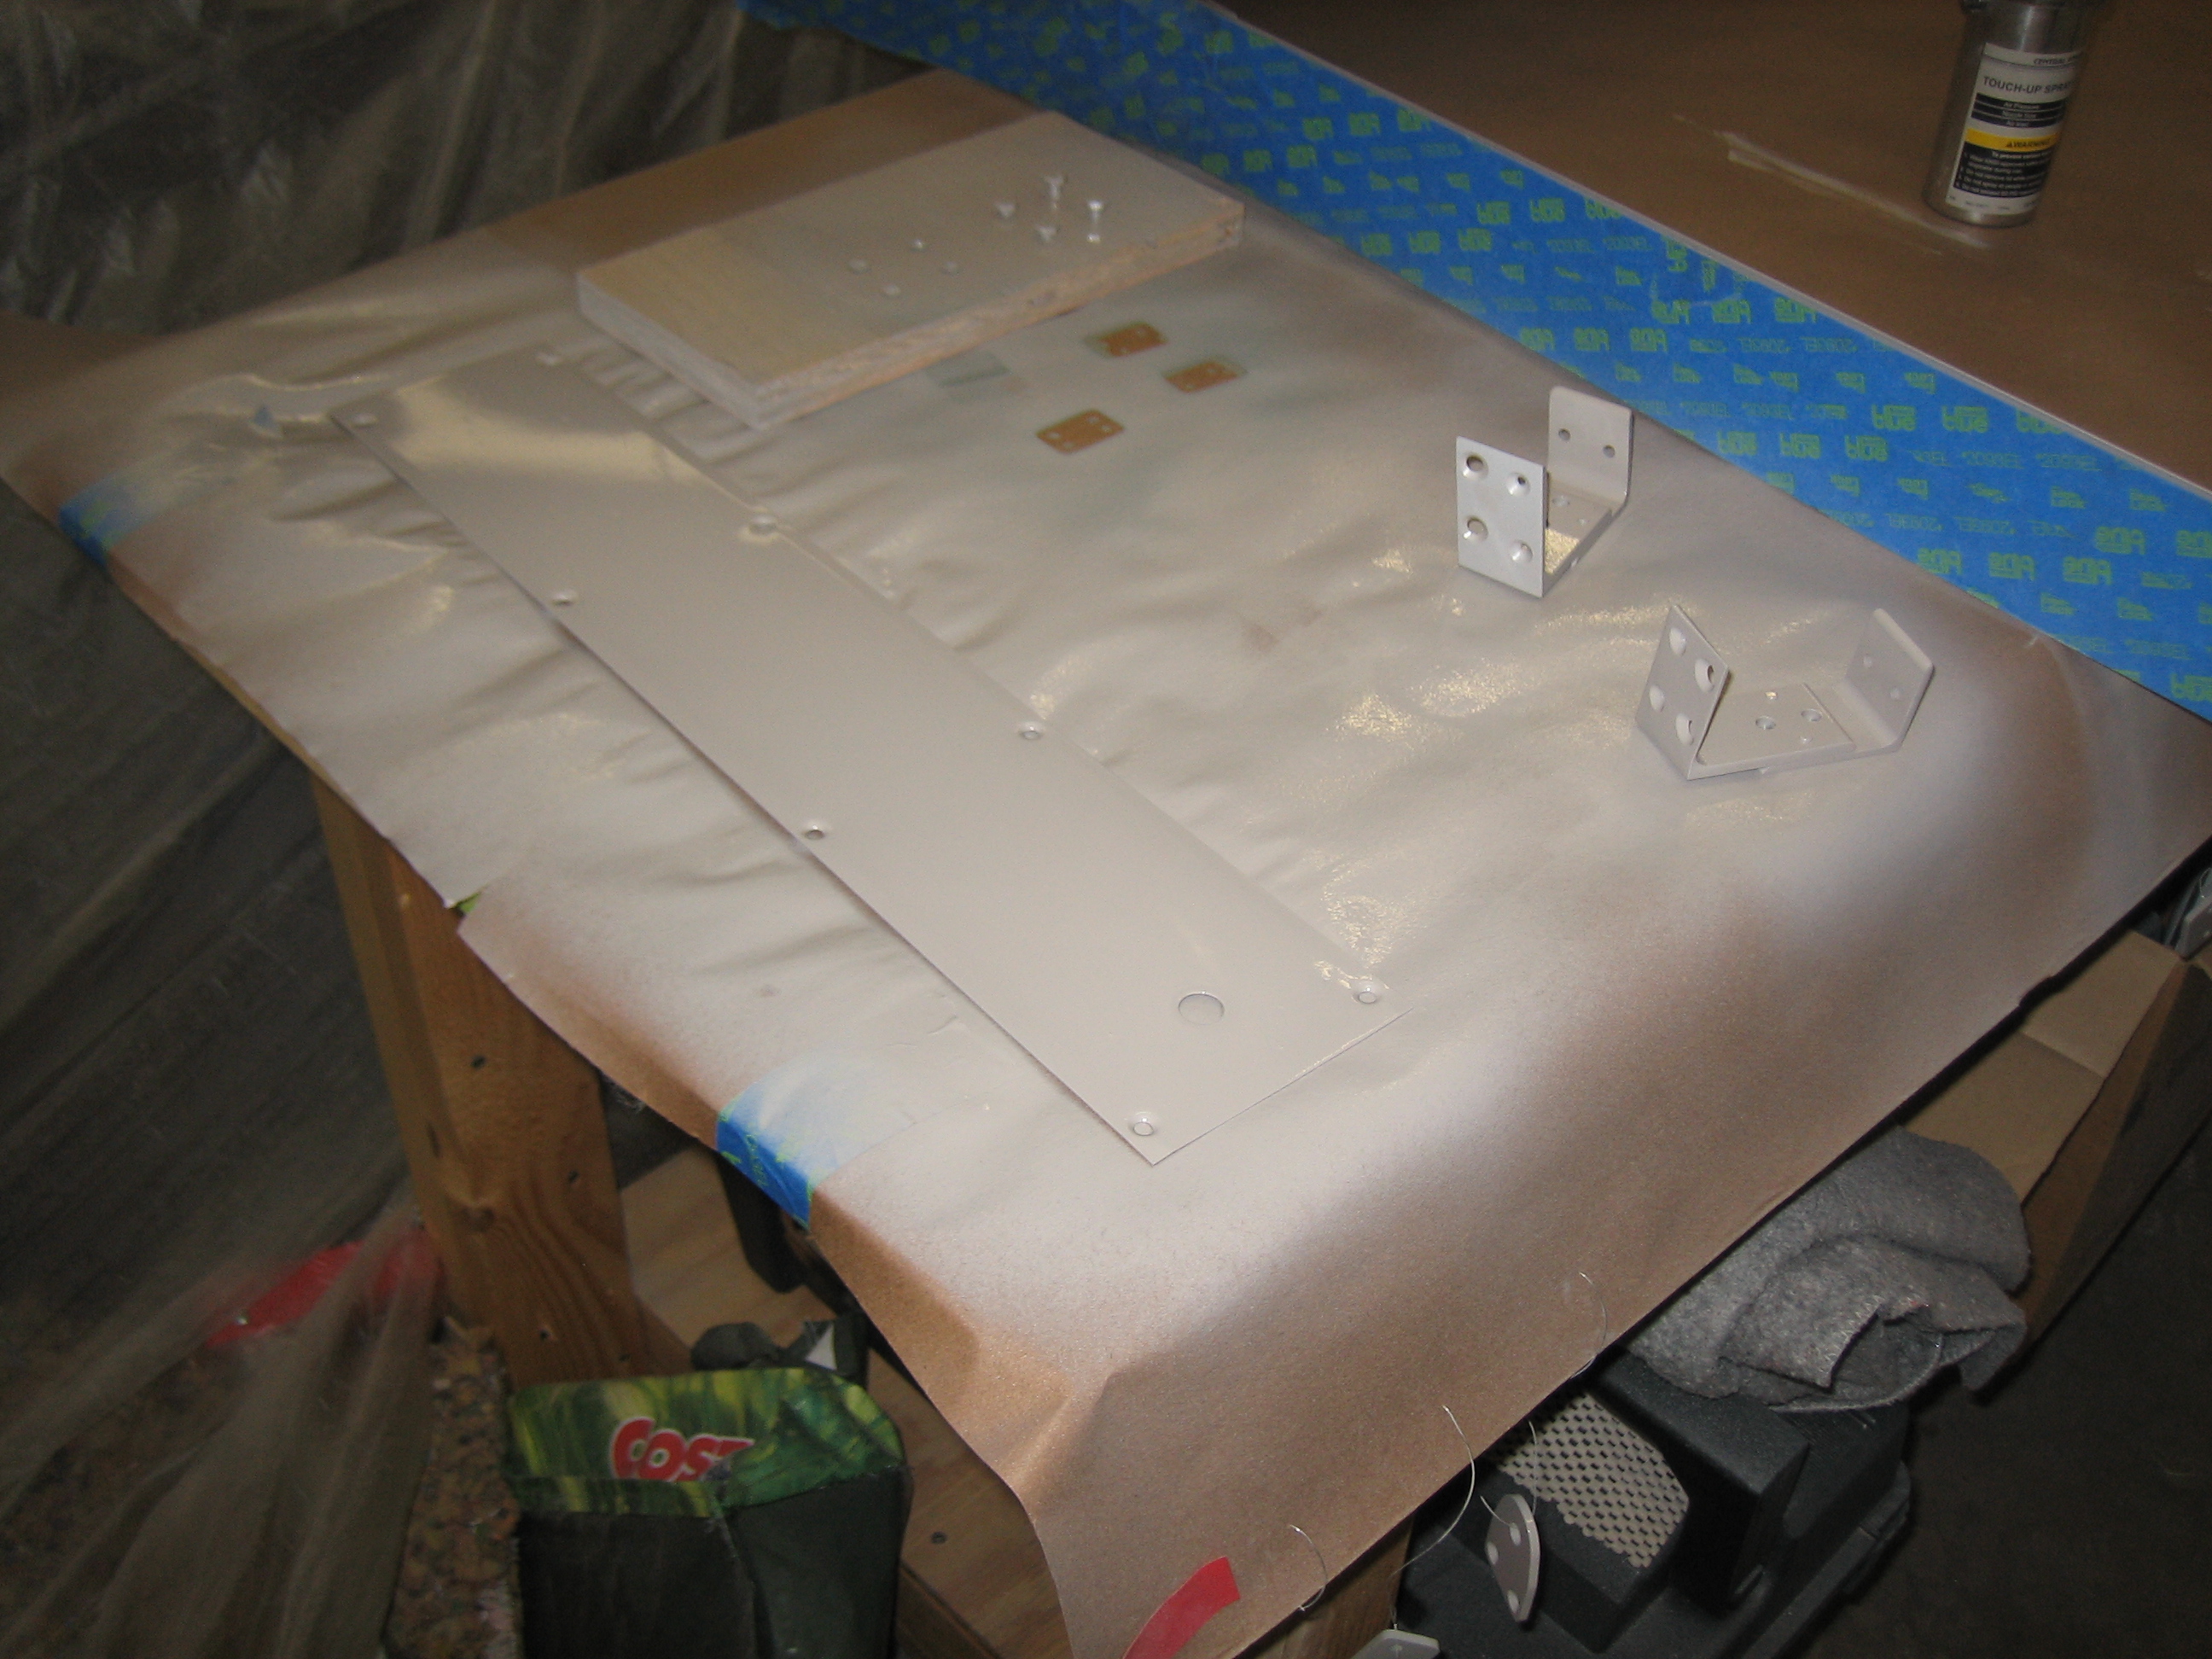
Here’s a bunch of the smaller parts with final paint.  I might end up having to reshoot the roll bar support channel cover since I think some dust settled on it.

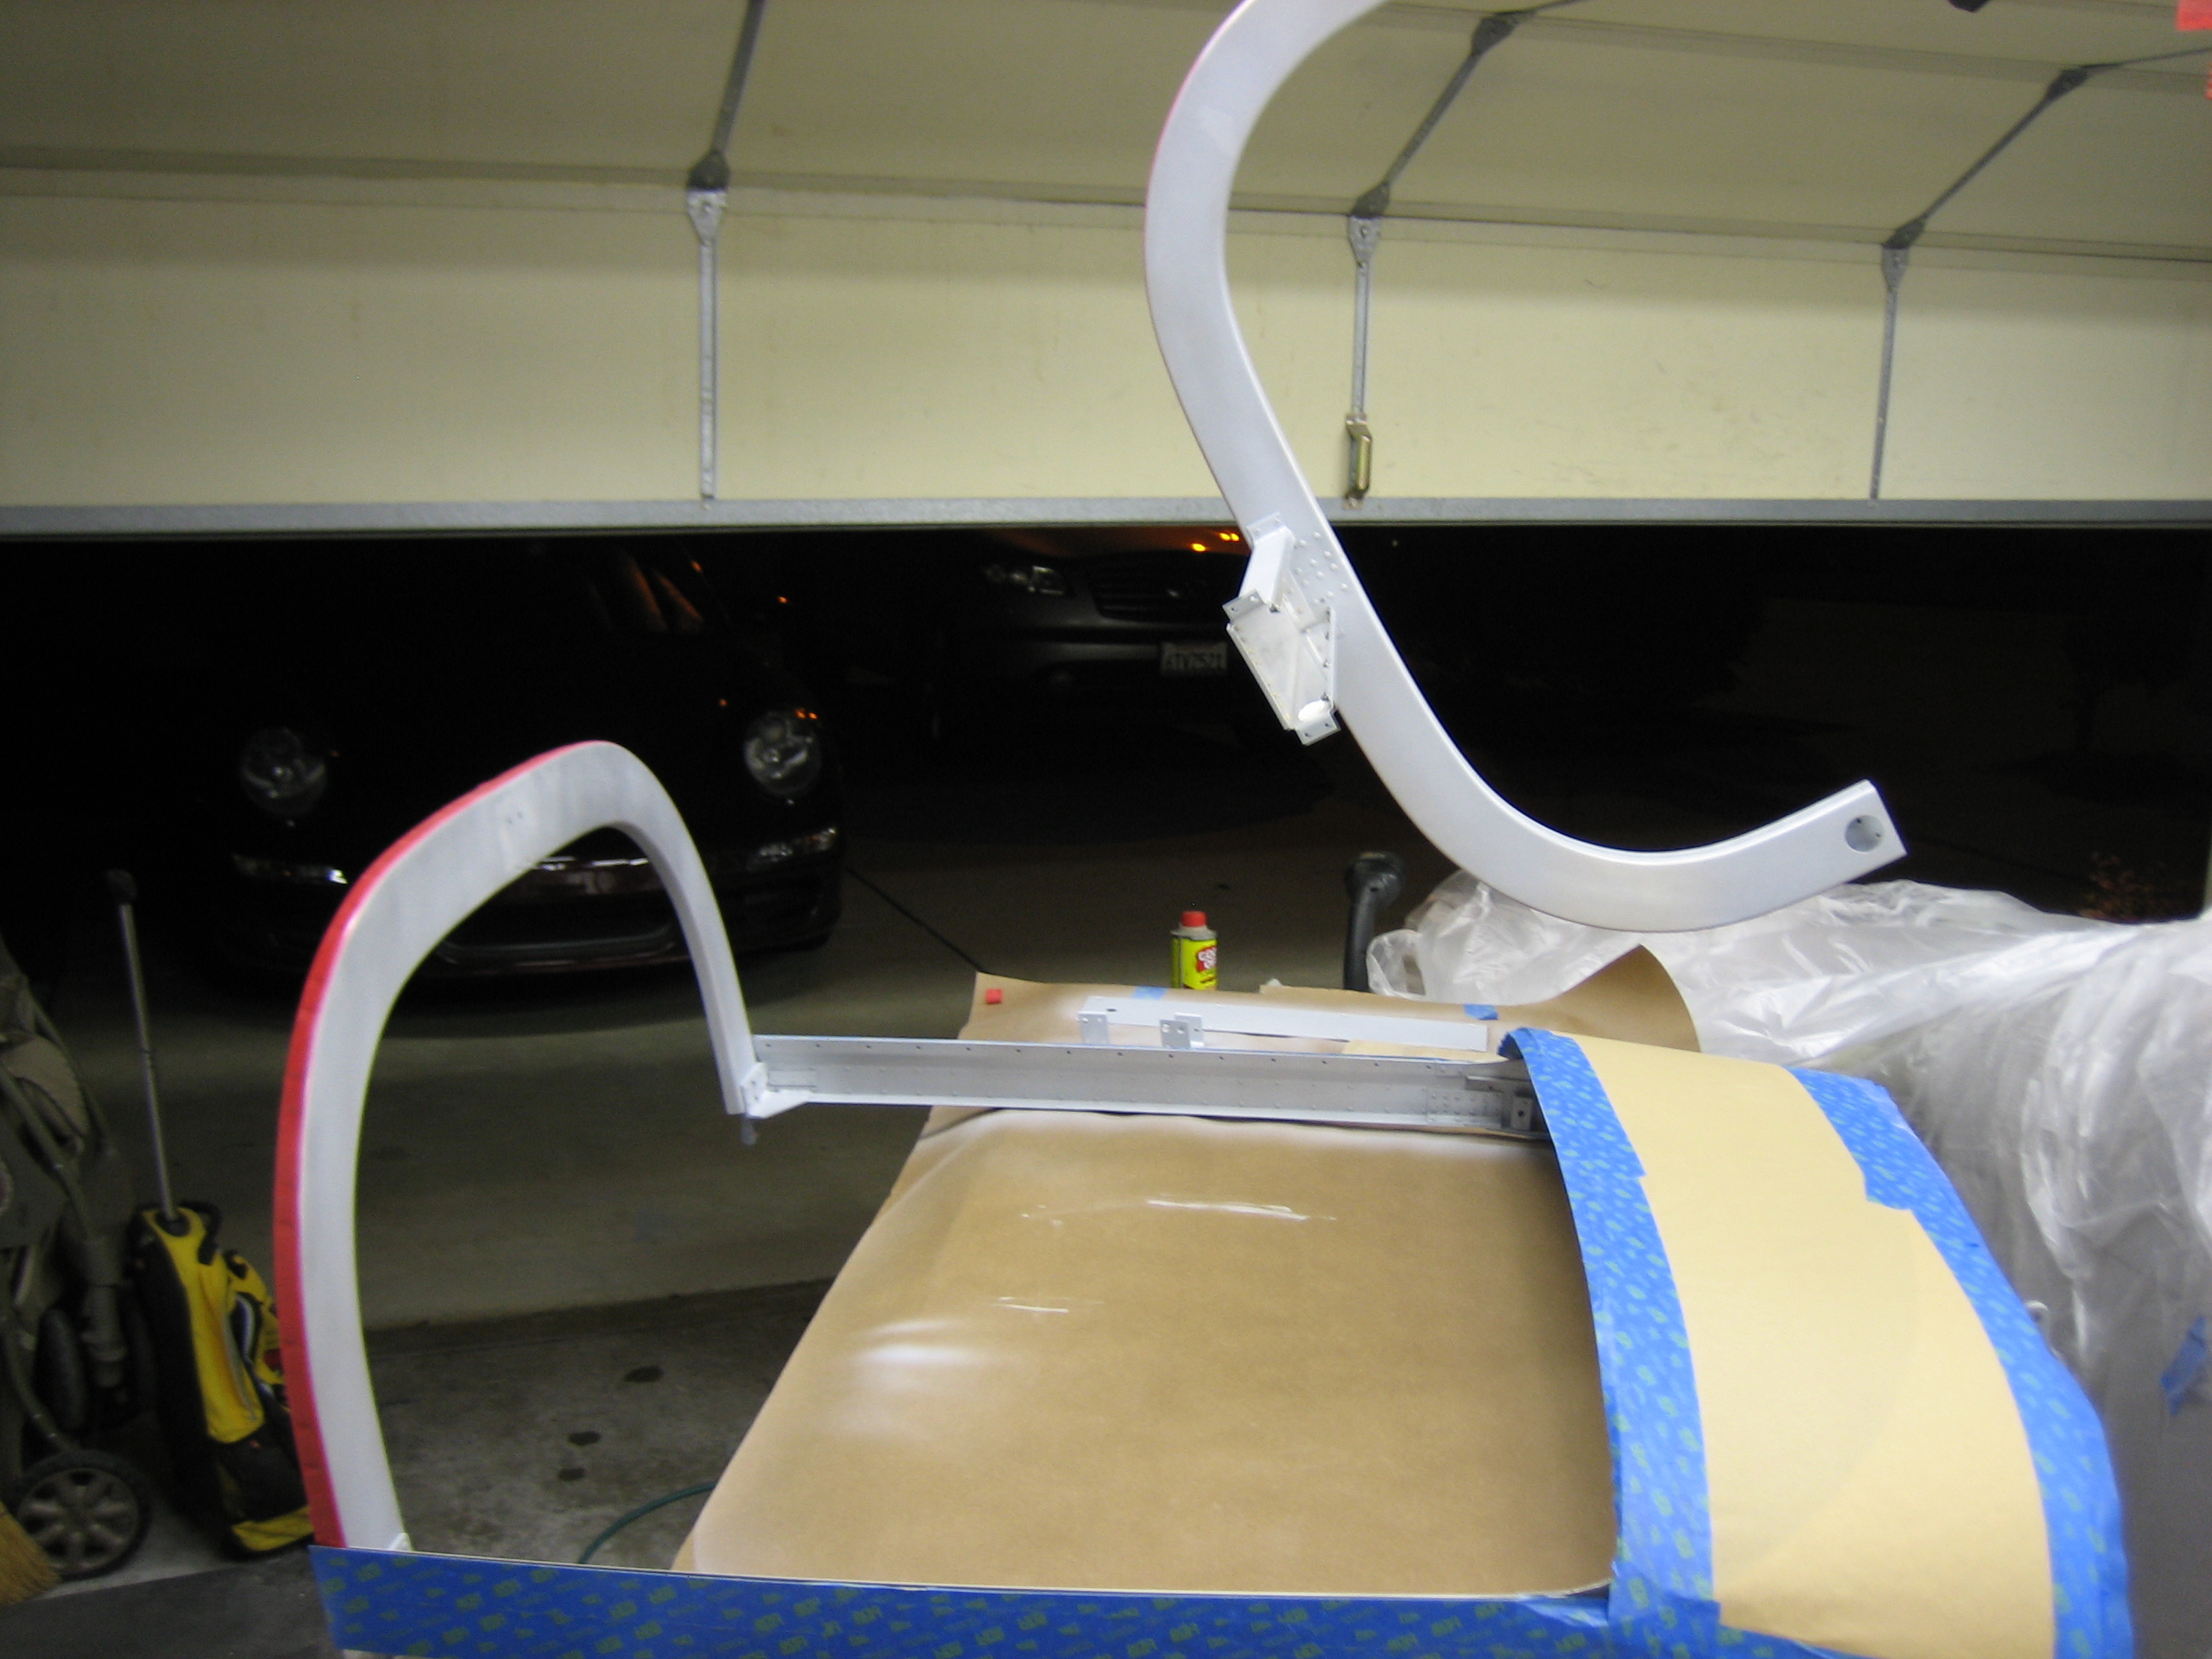
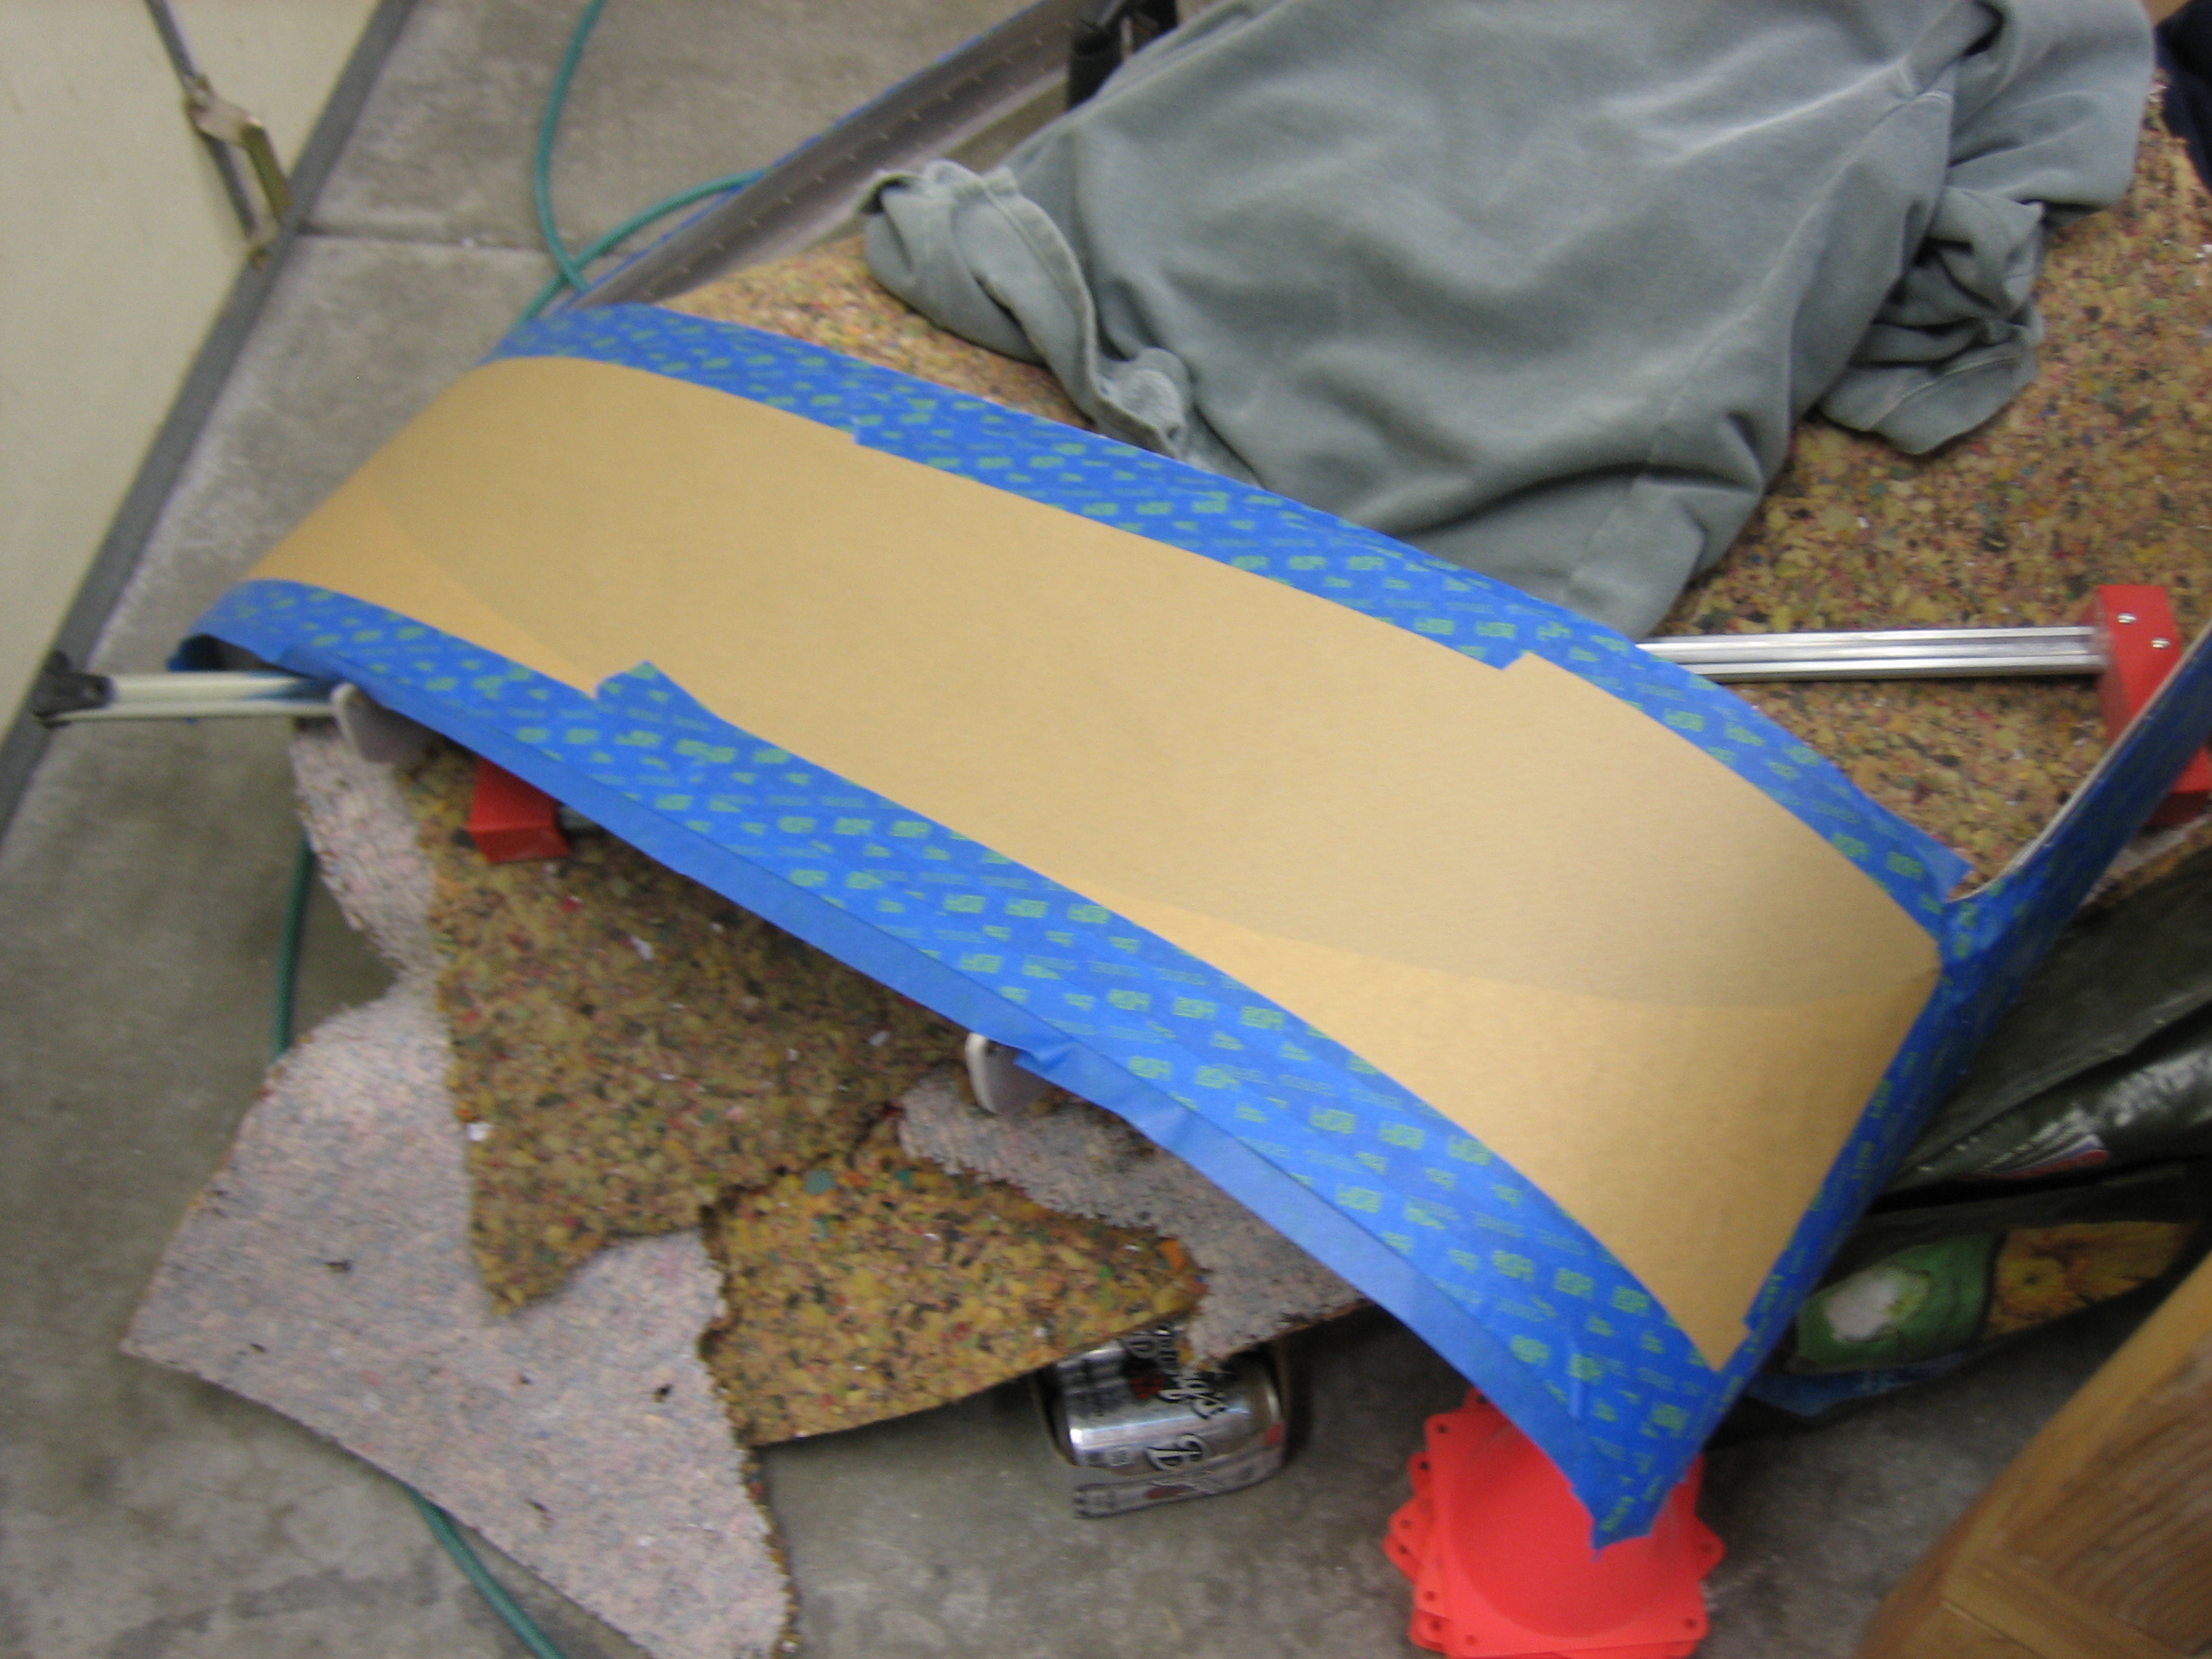
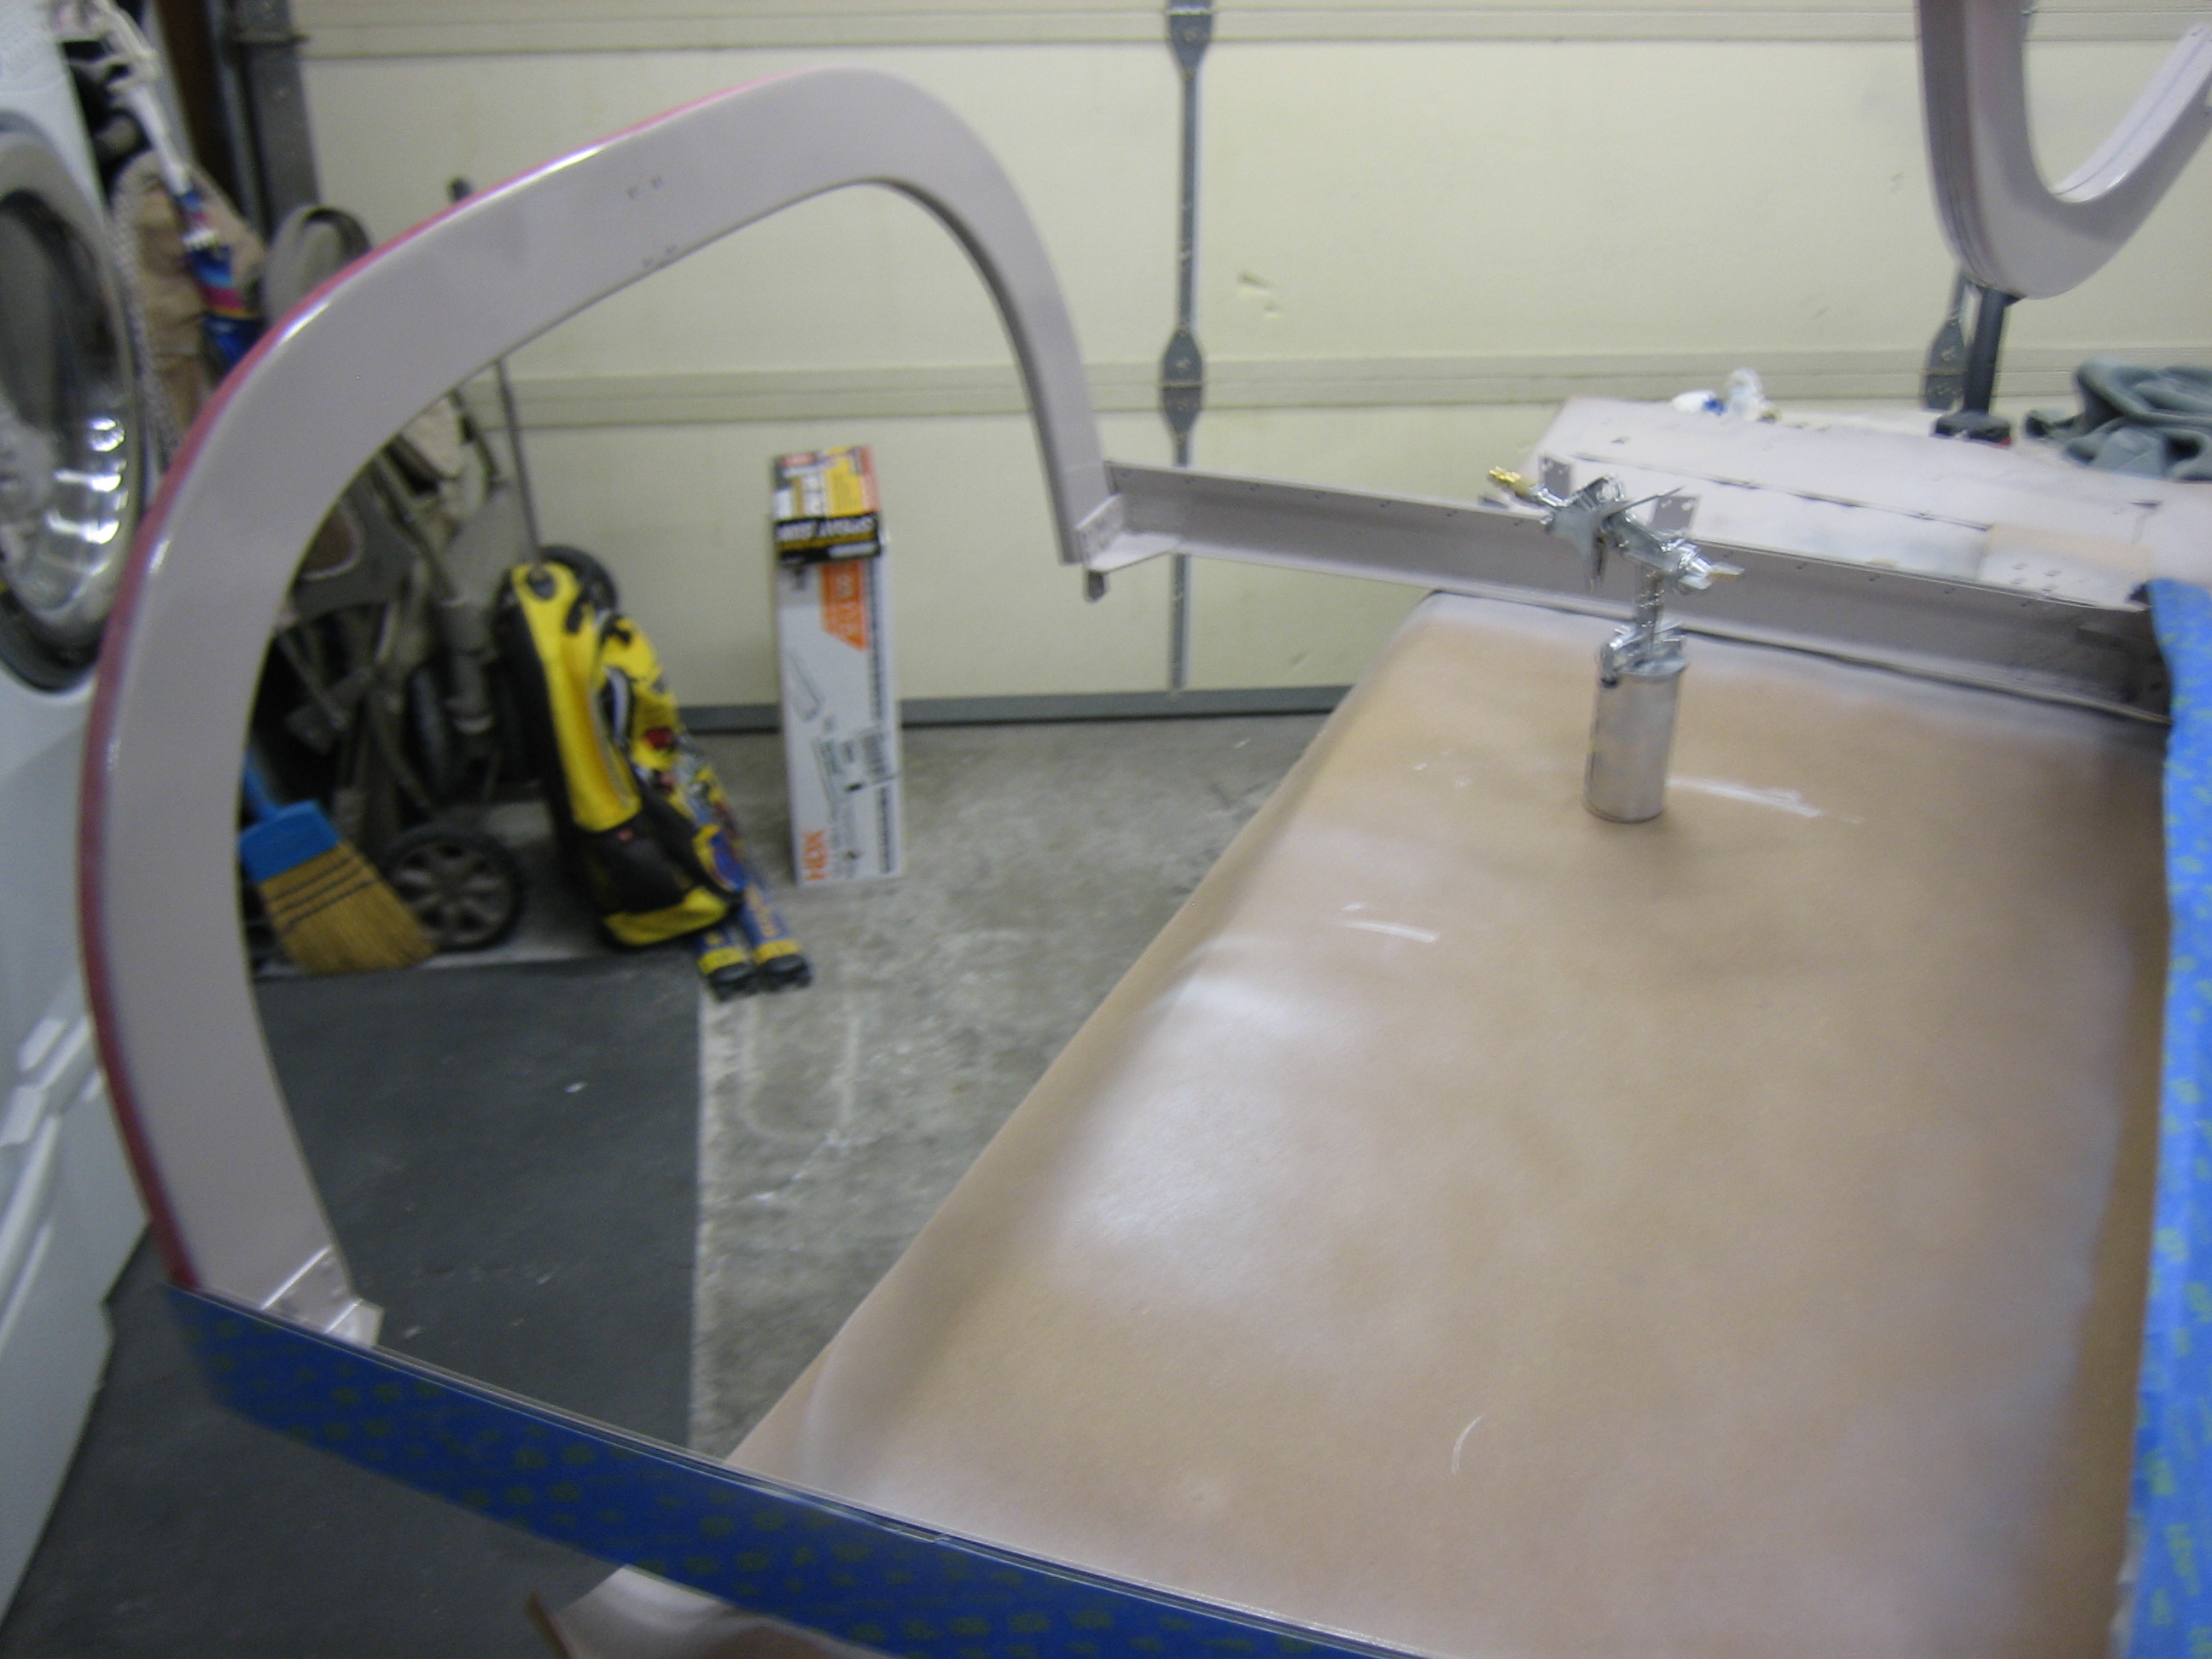
Here’s the canopy frame.  The red stripe along the arch is some electrical tape that is masking off where the Sikaflex primer will go.

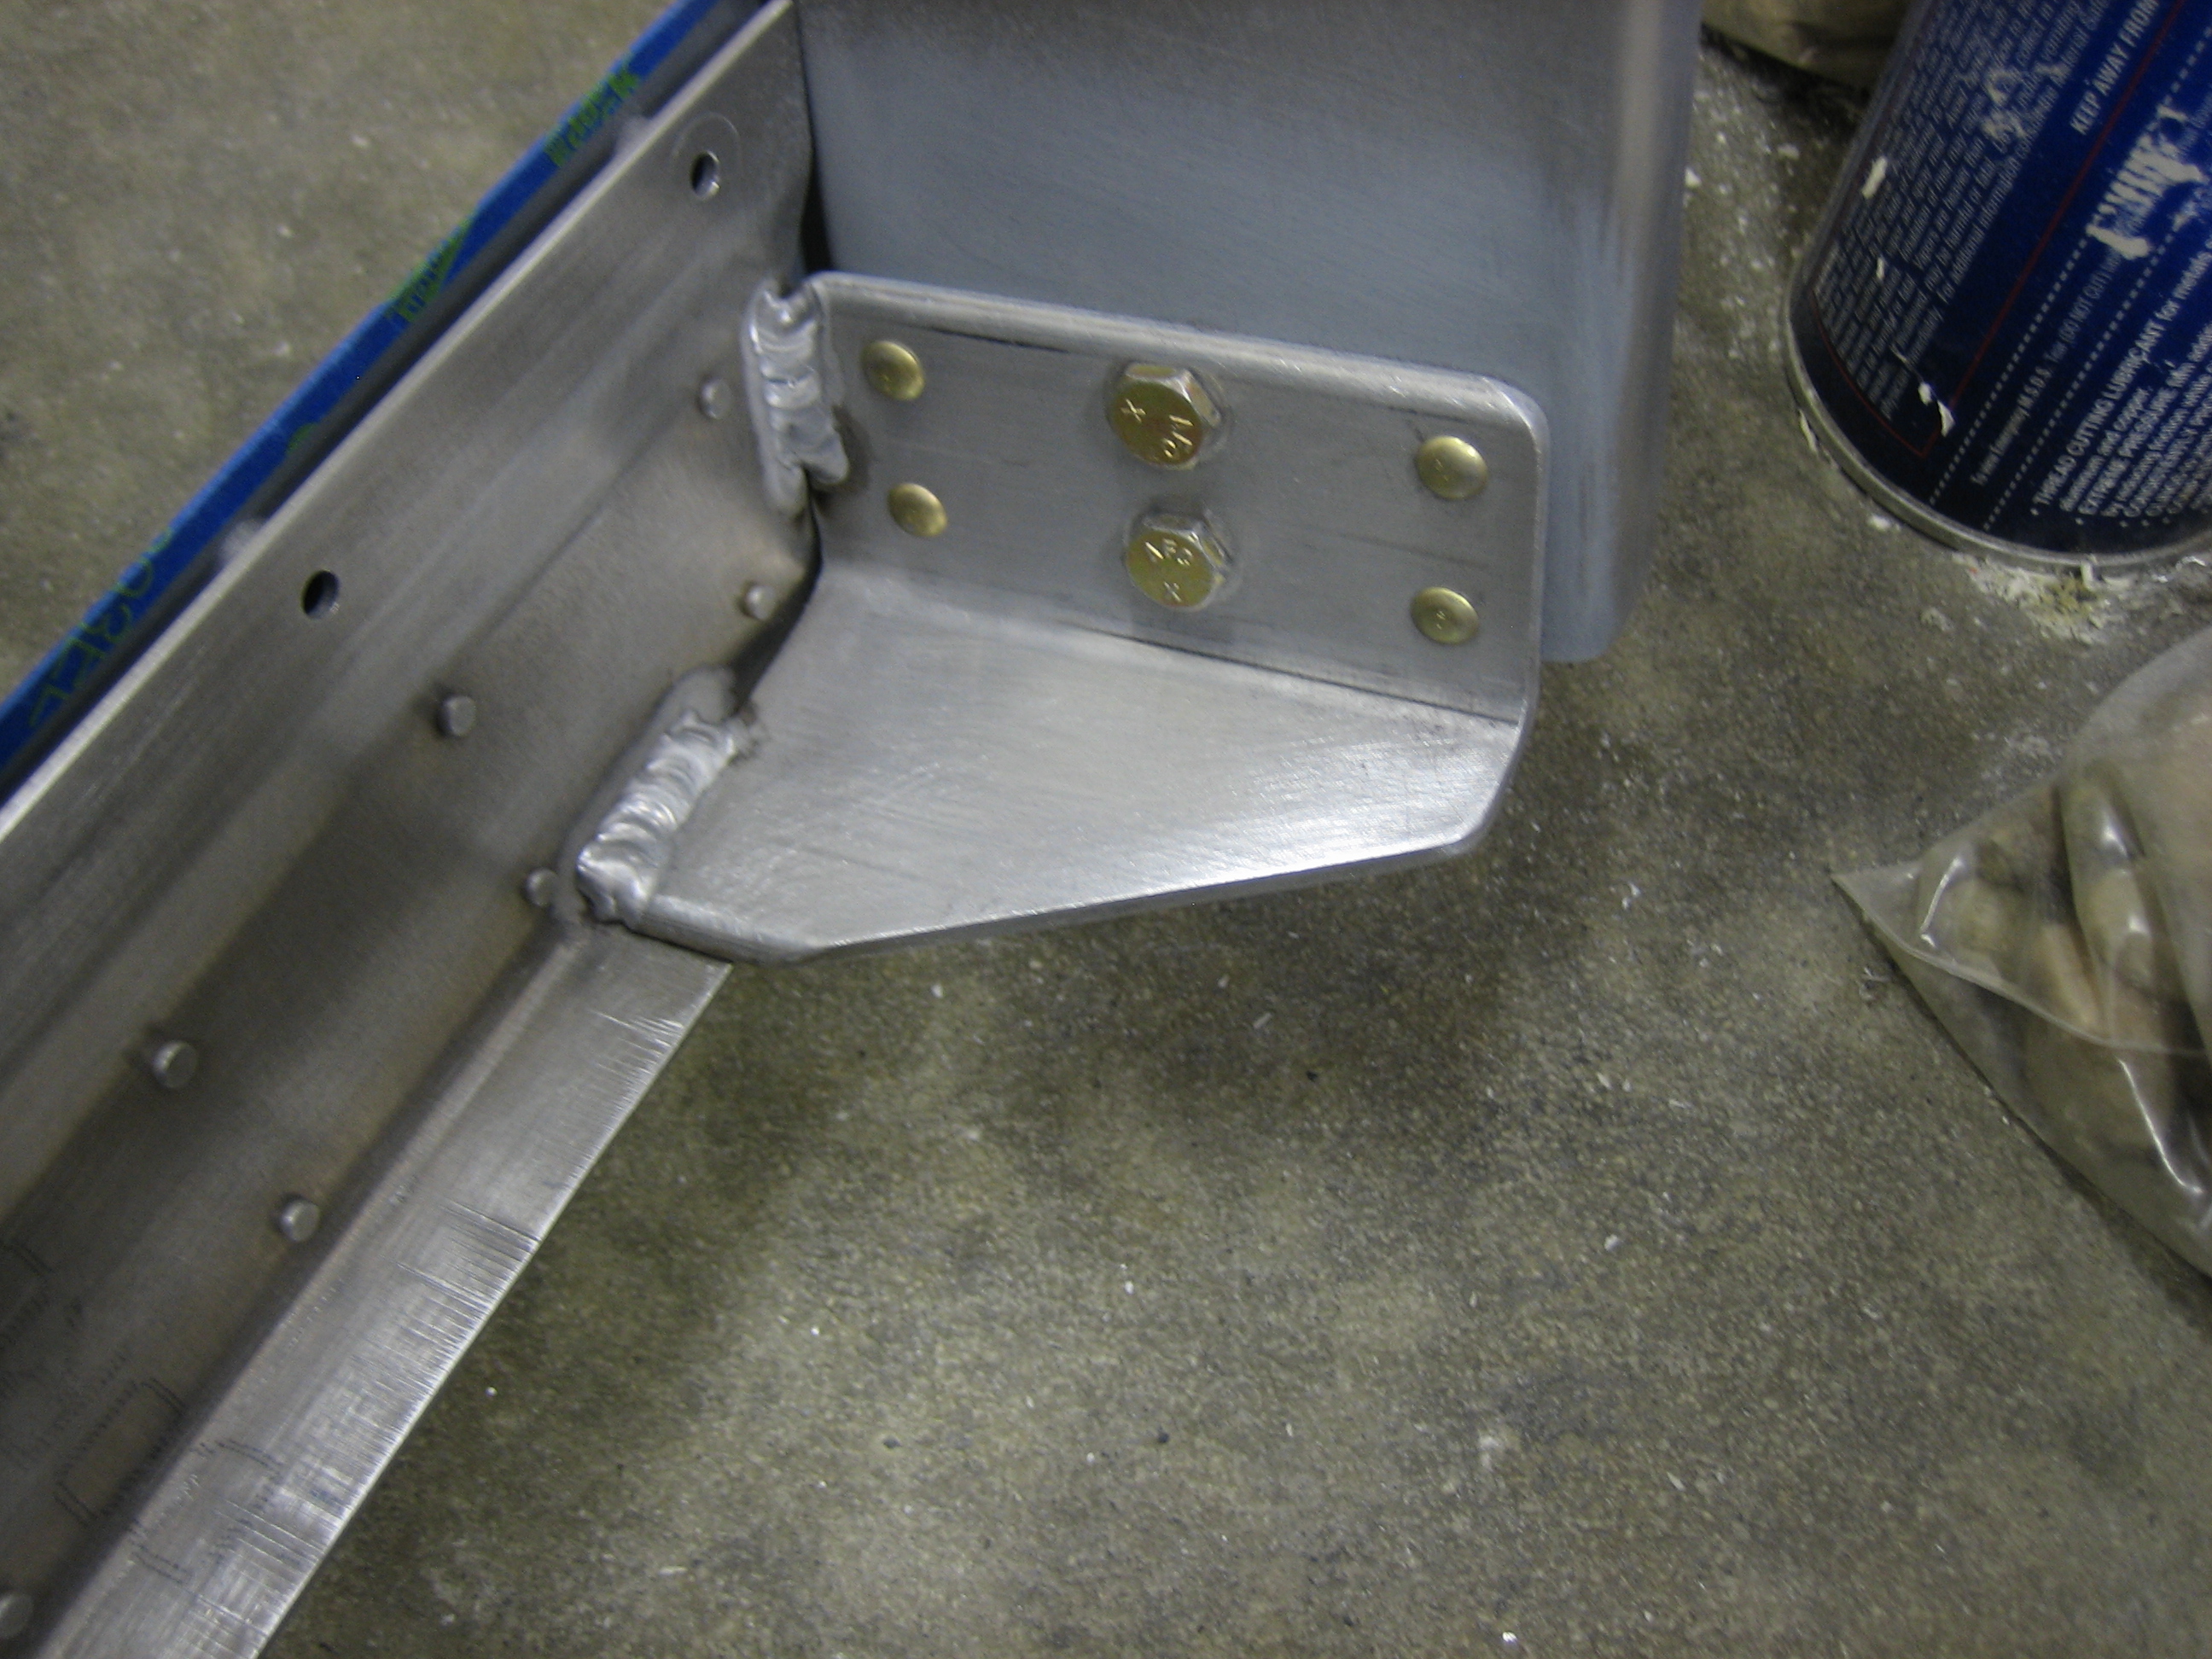
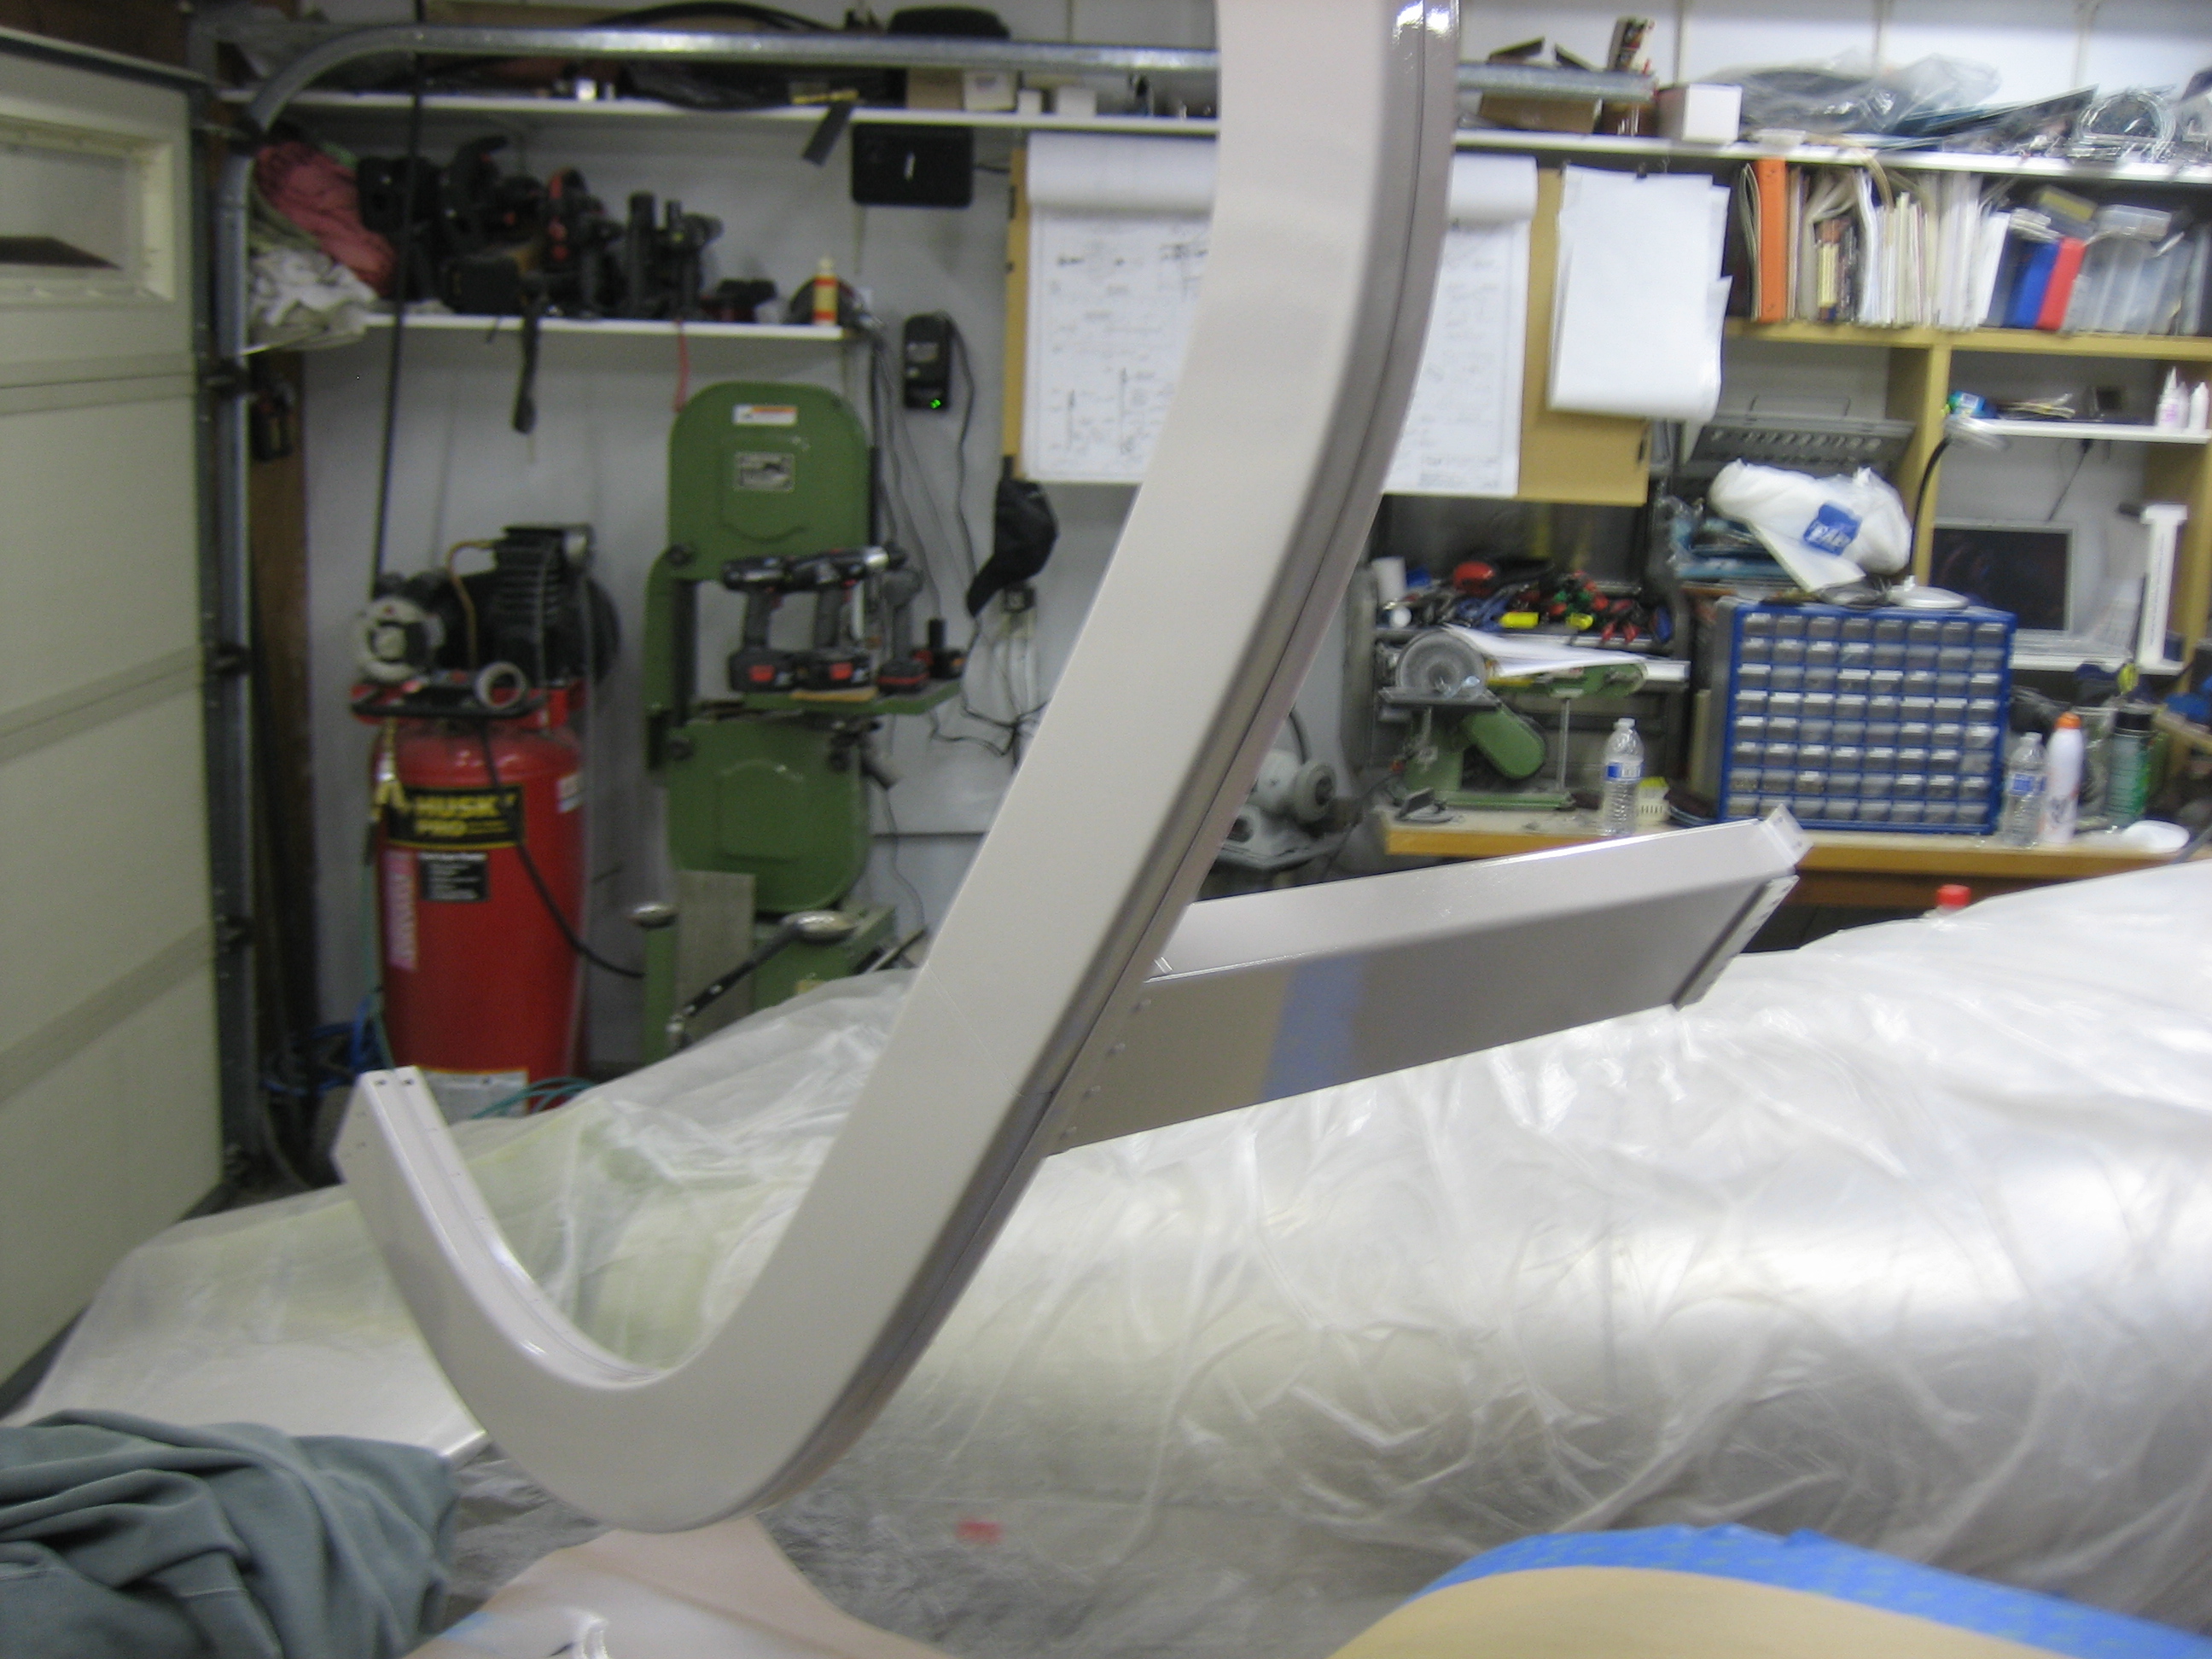
Here are the roll bar and support channel.

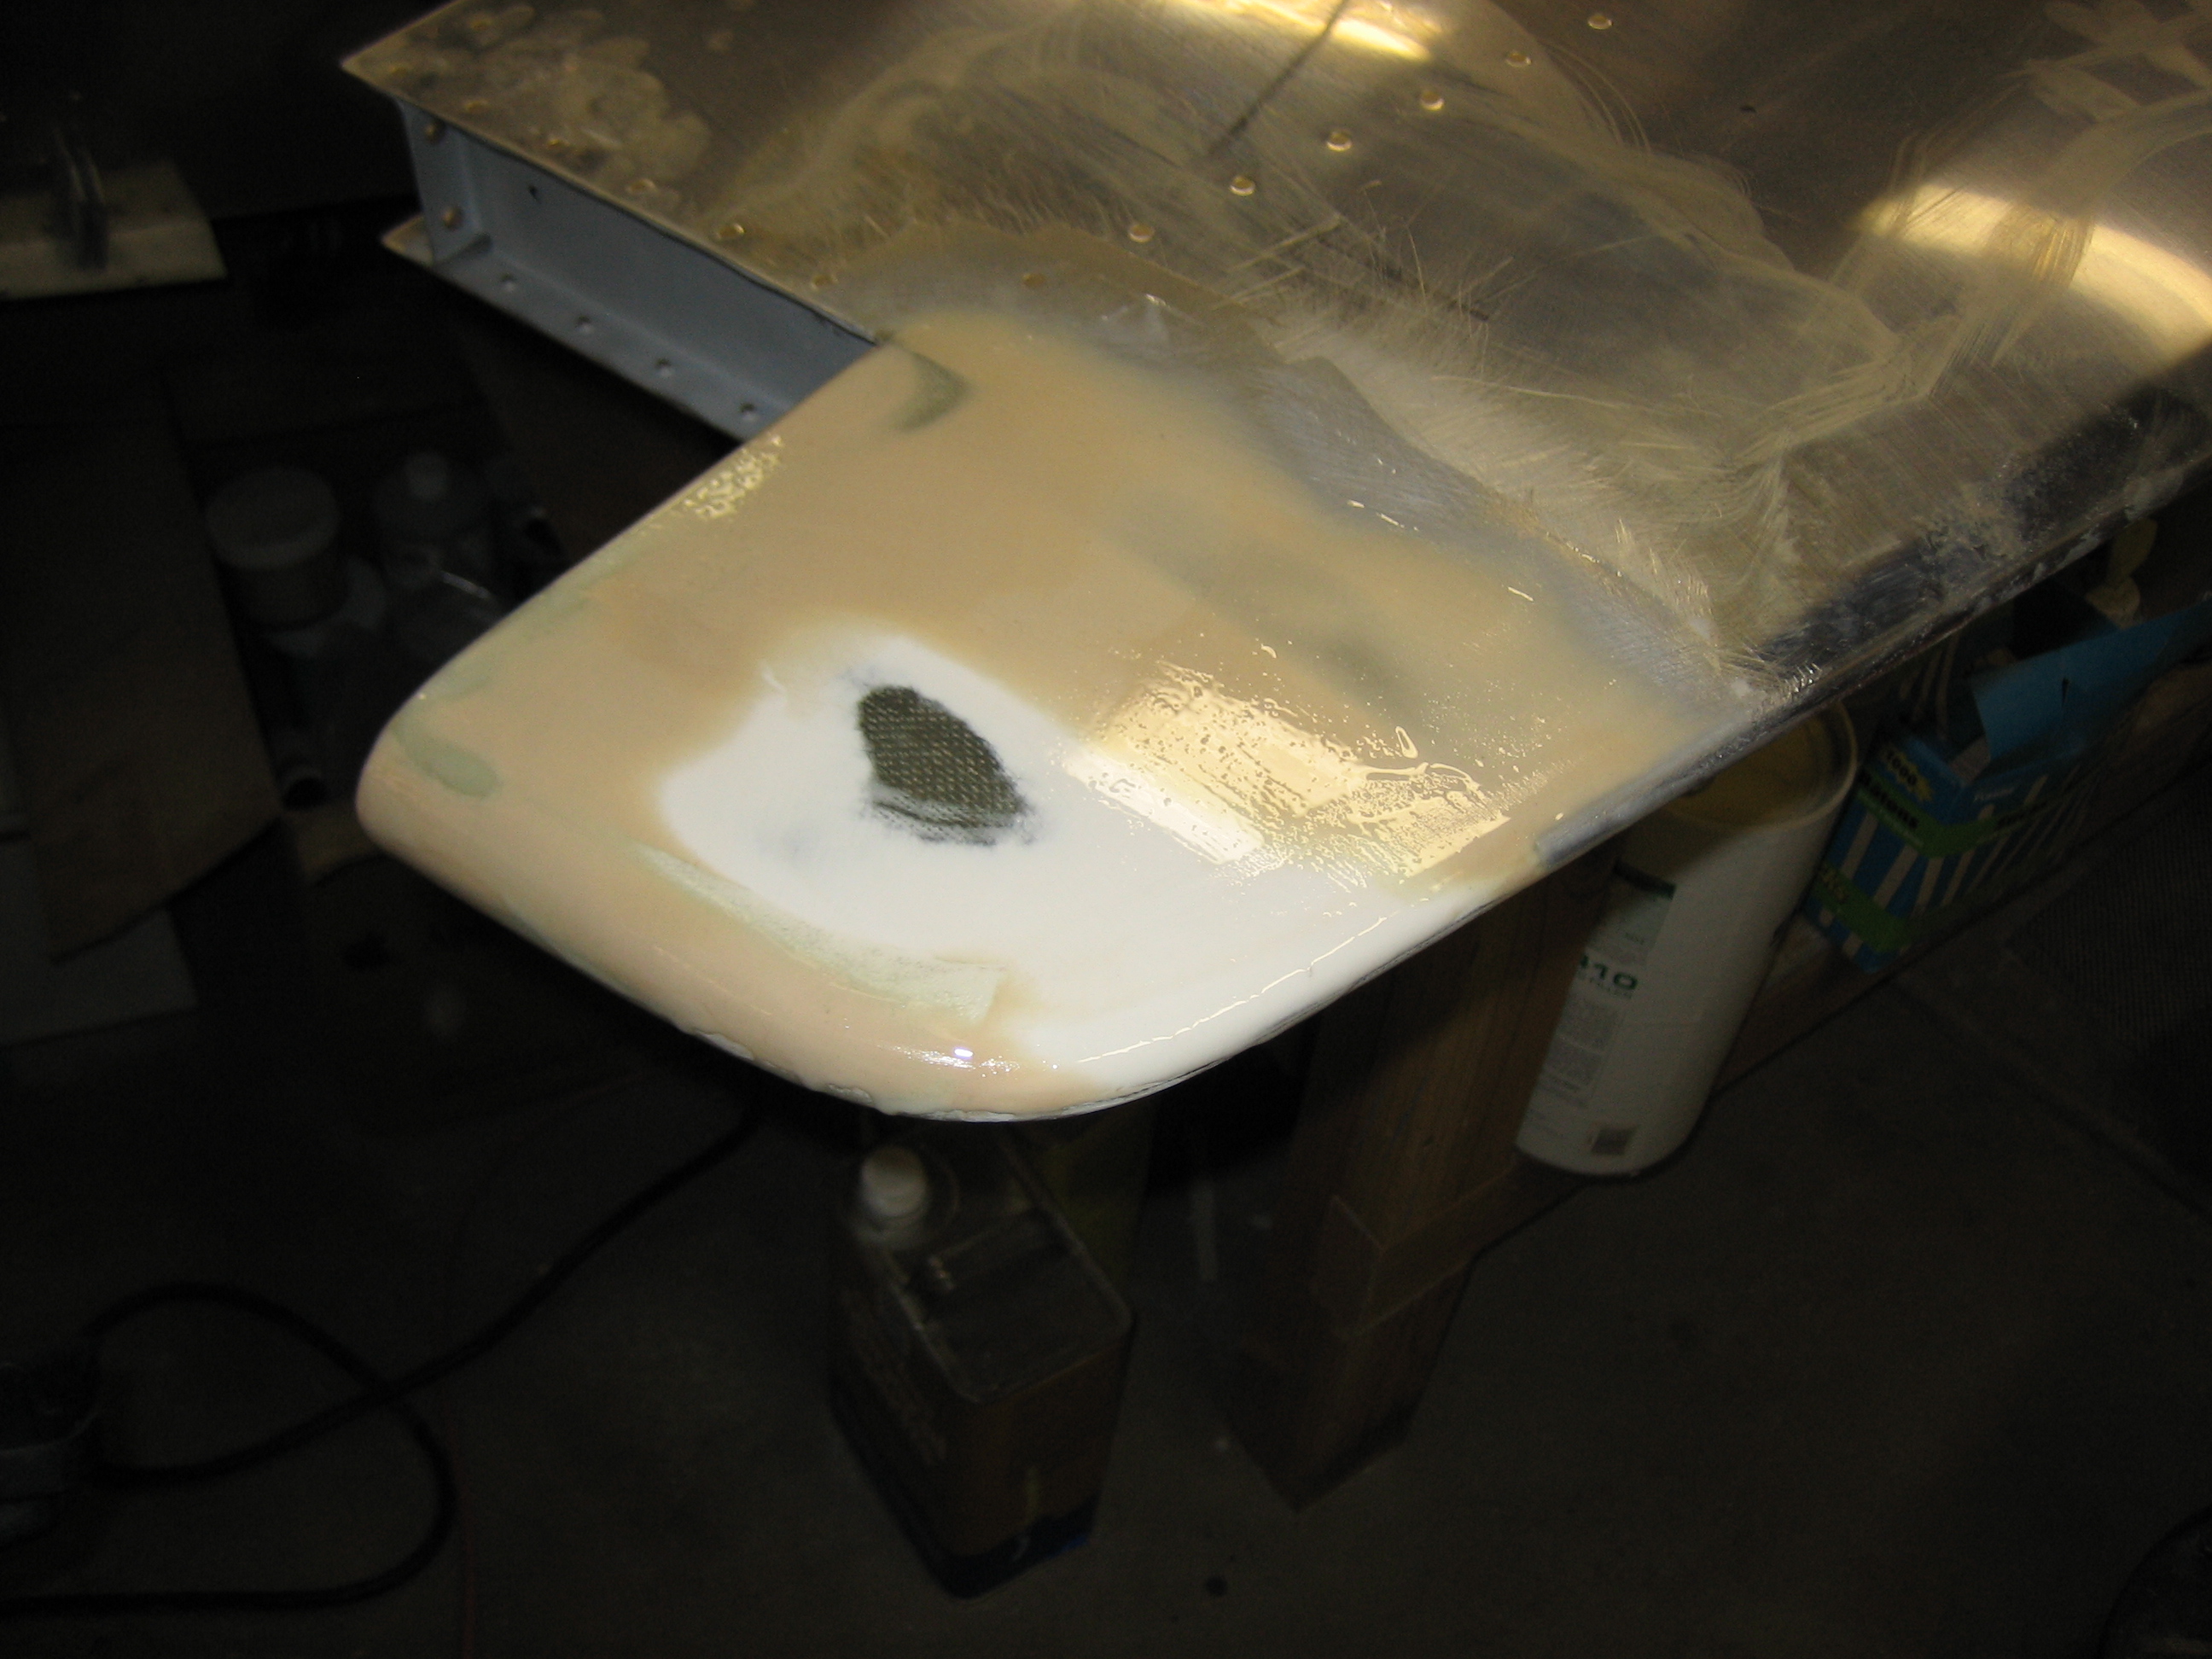
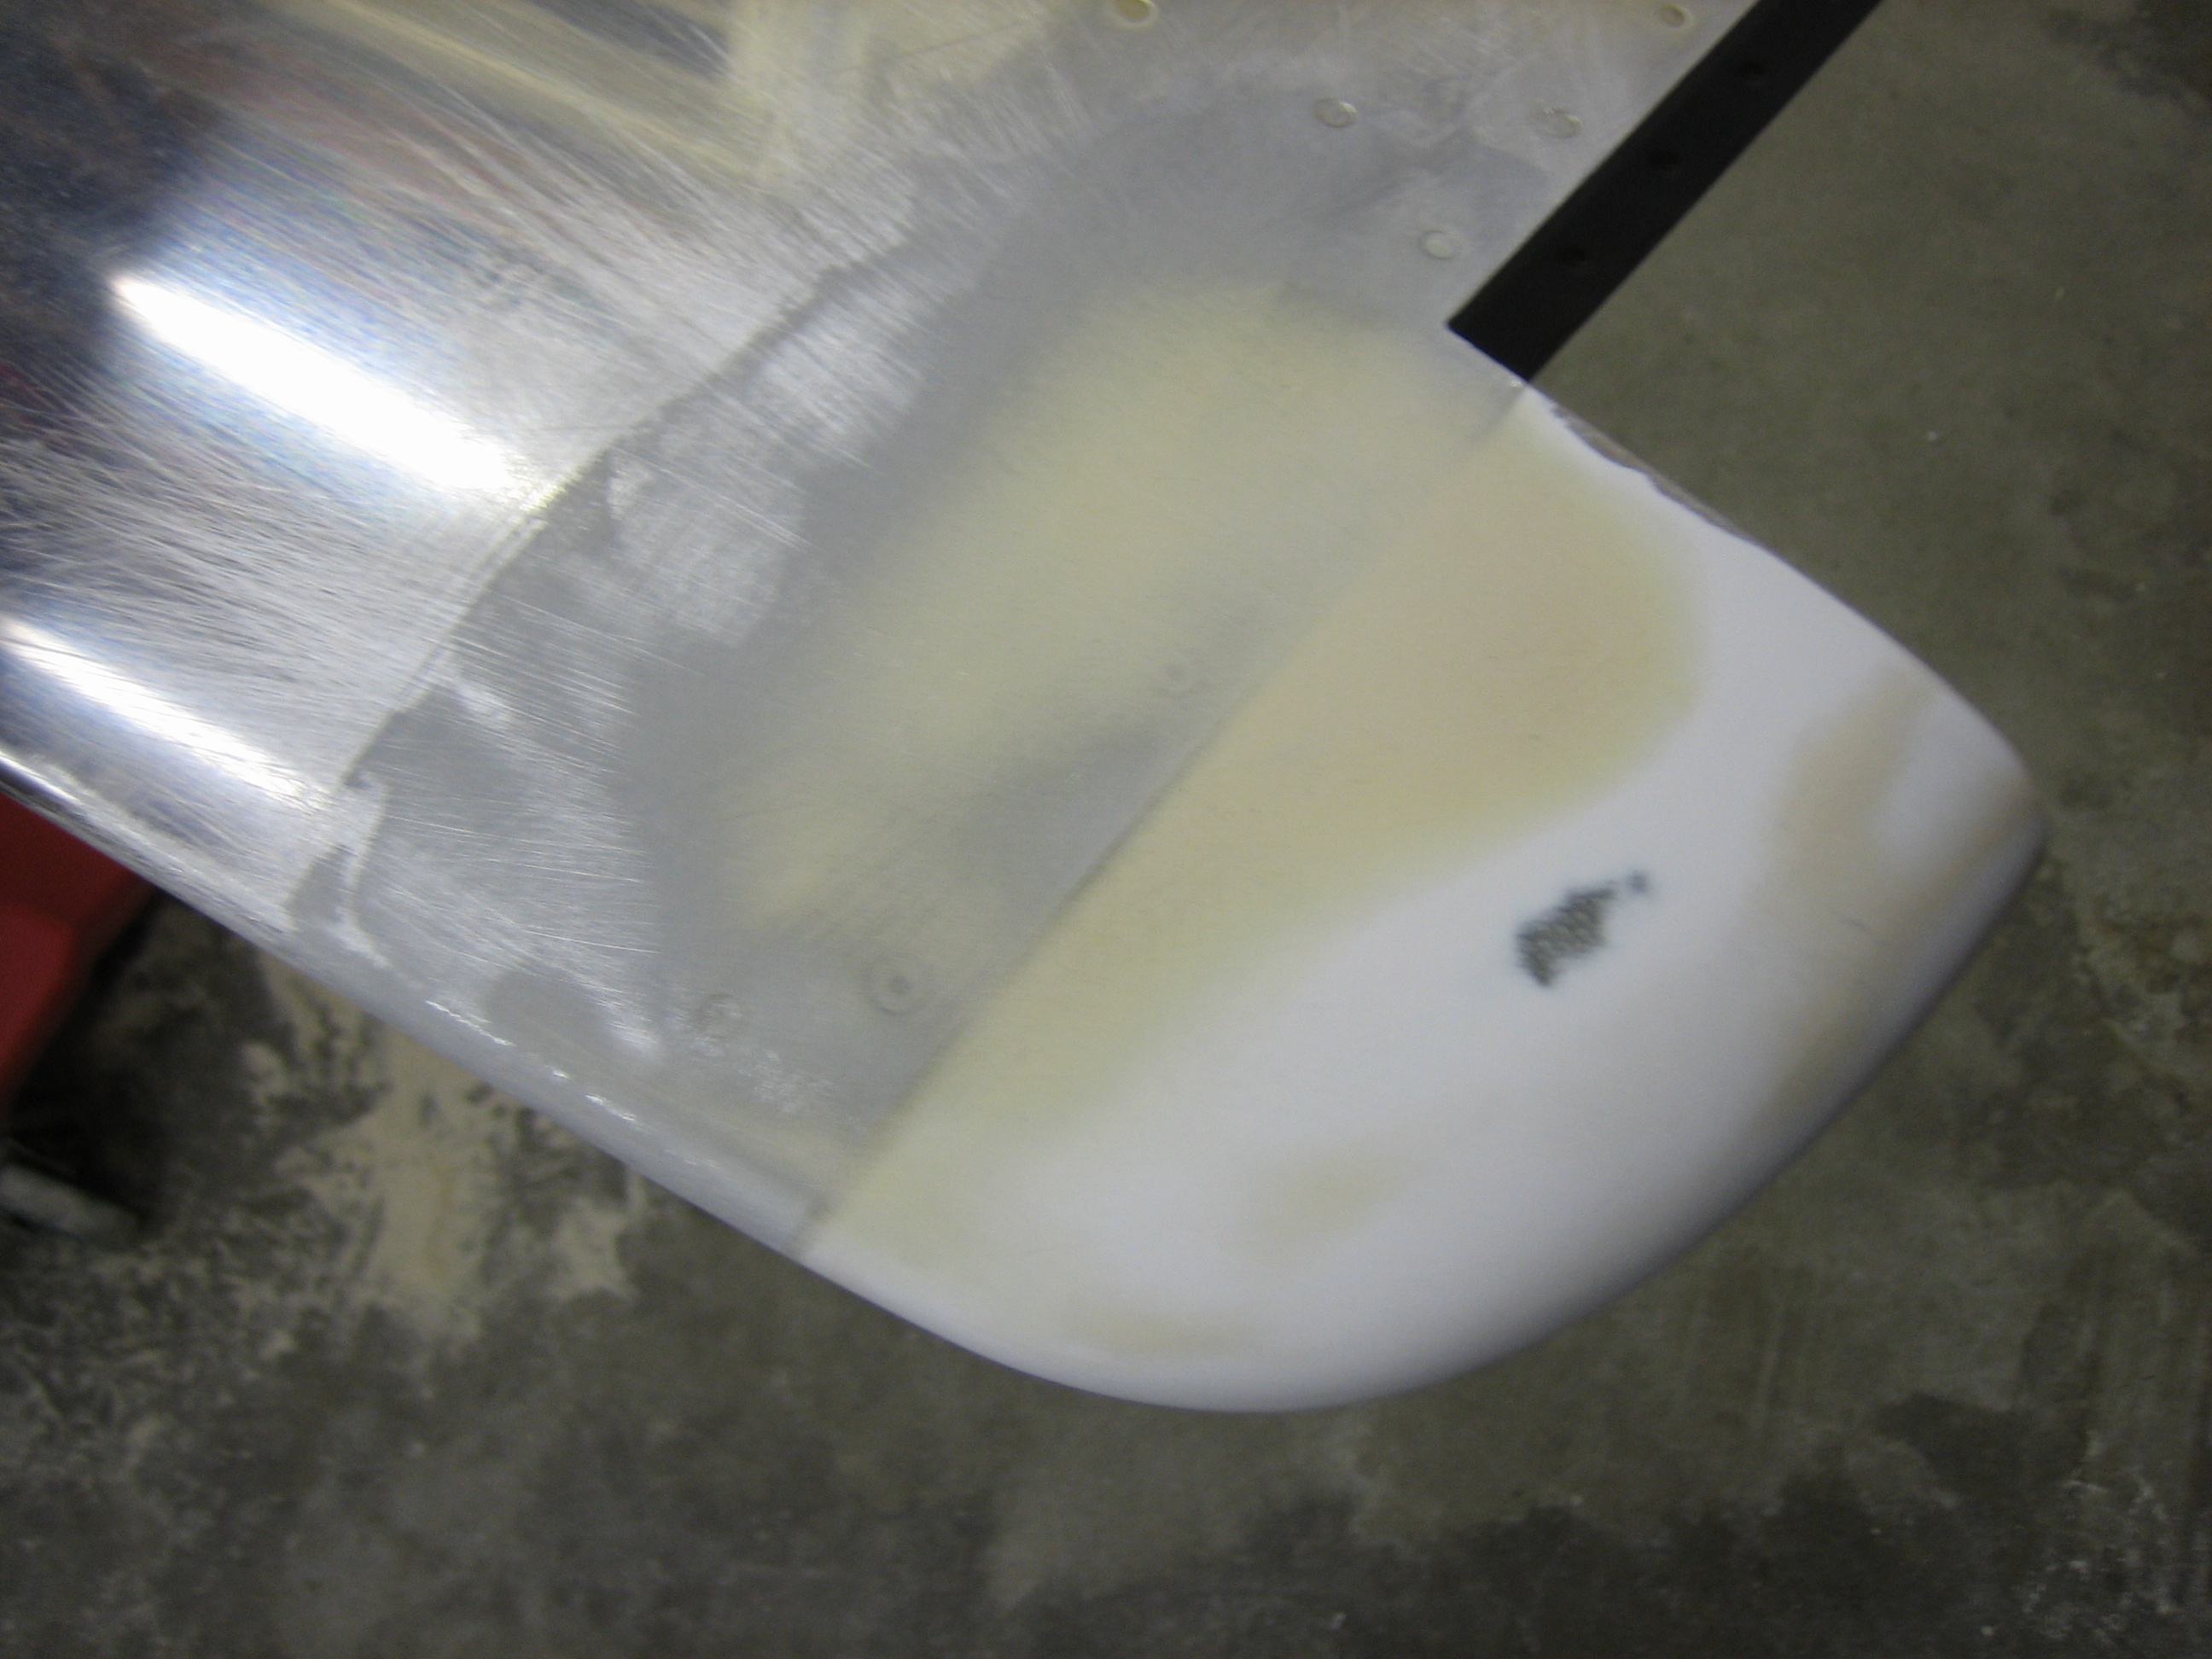
I also mixed up some epoxy and skim coated the final parts of the empennage.  Here’s the rudder bottom fairing.

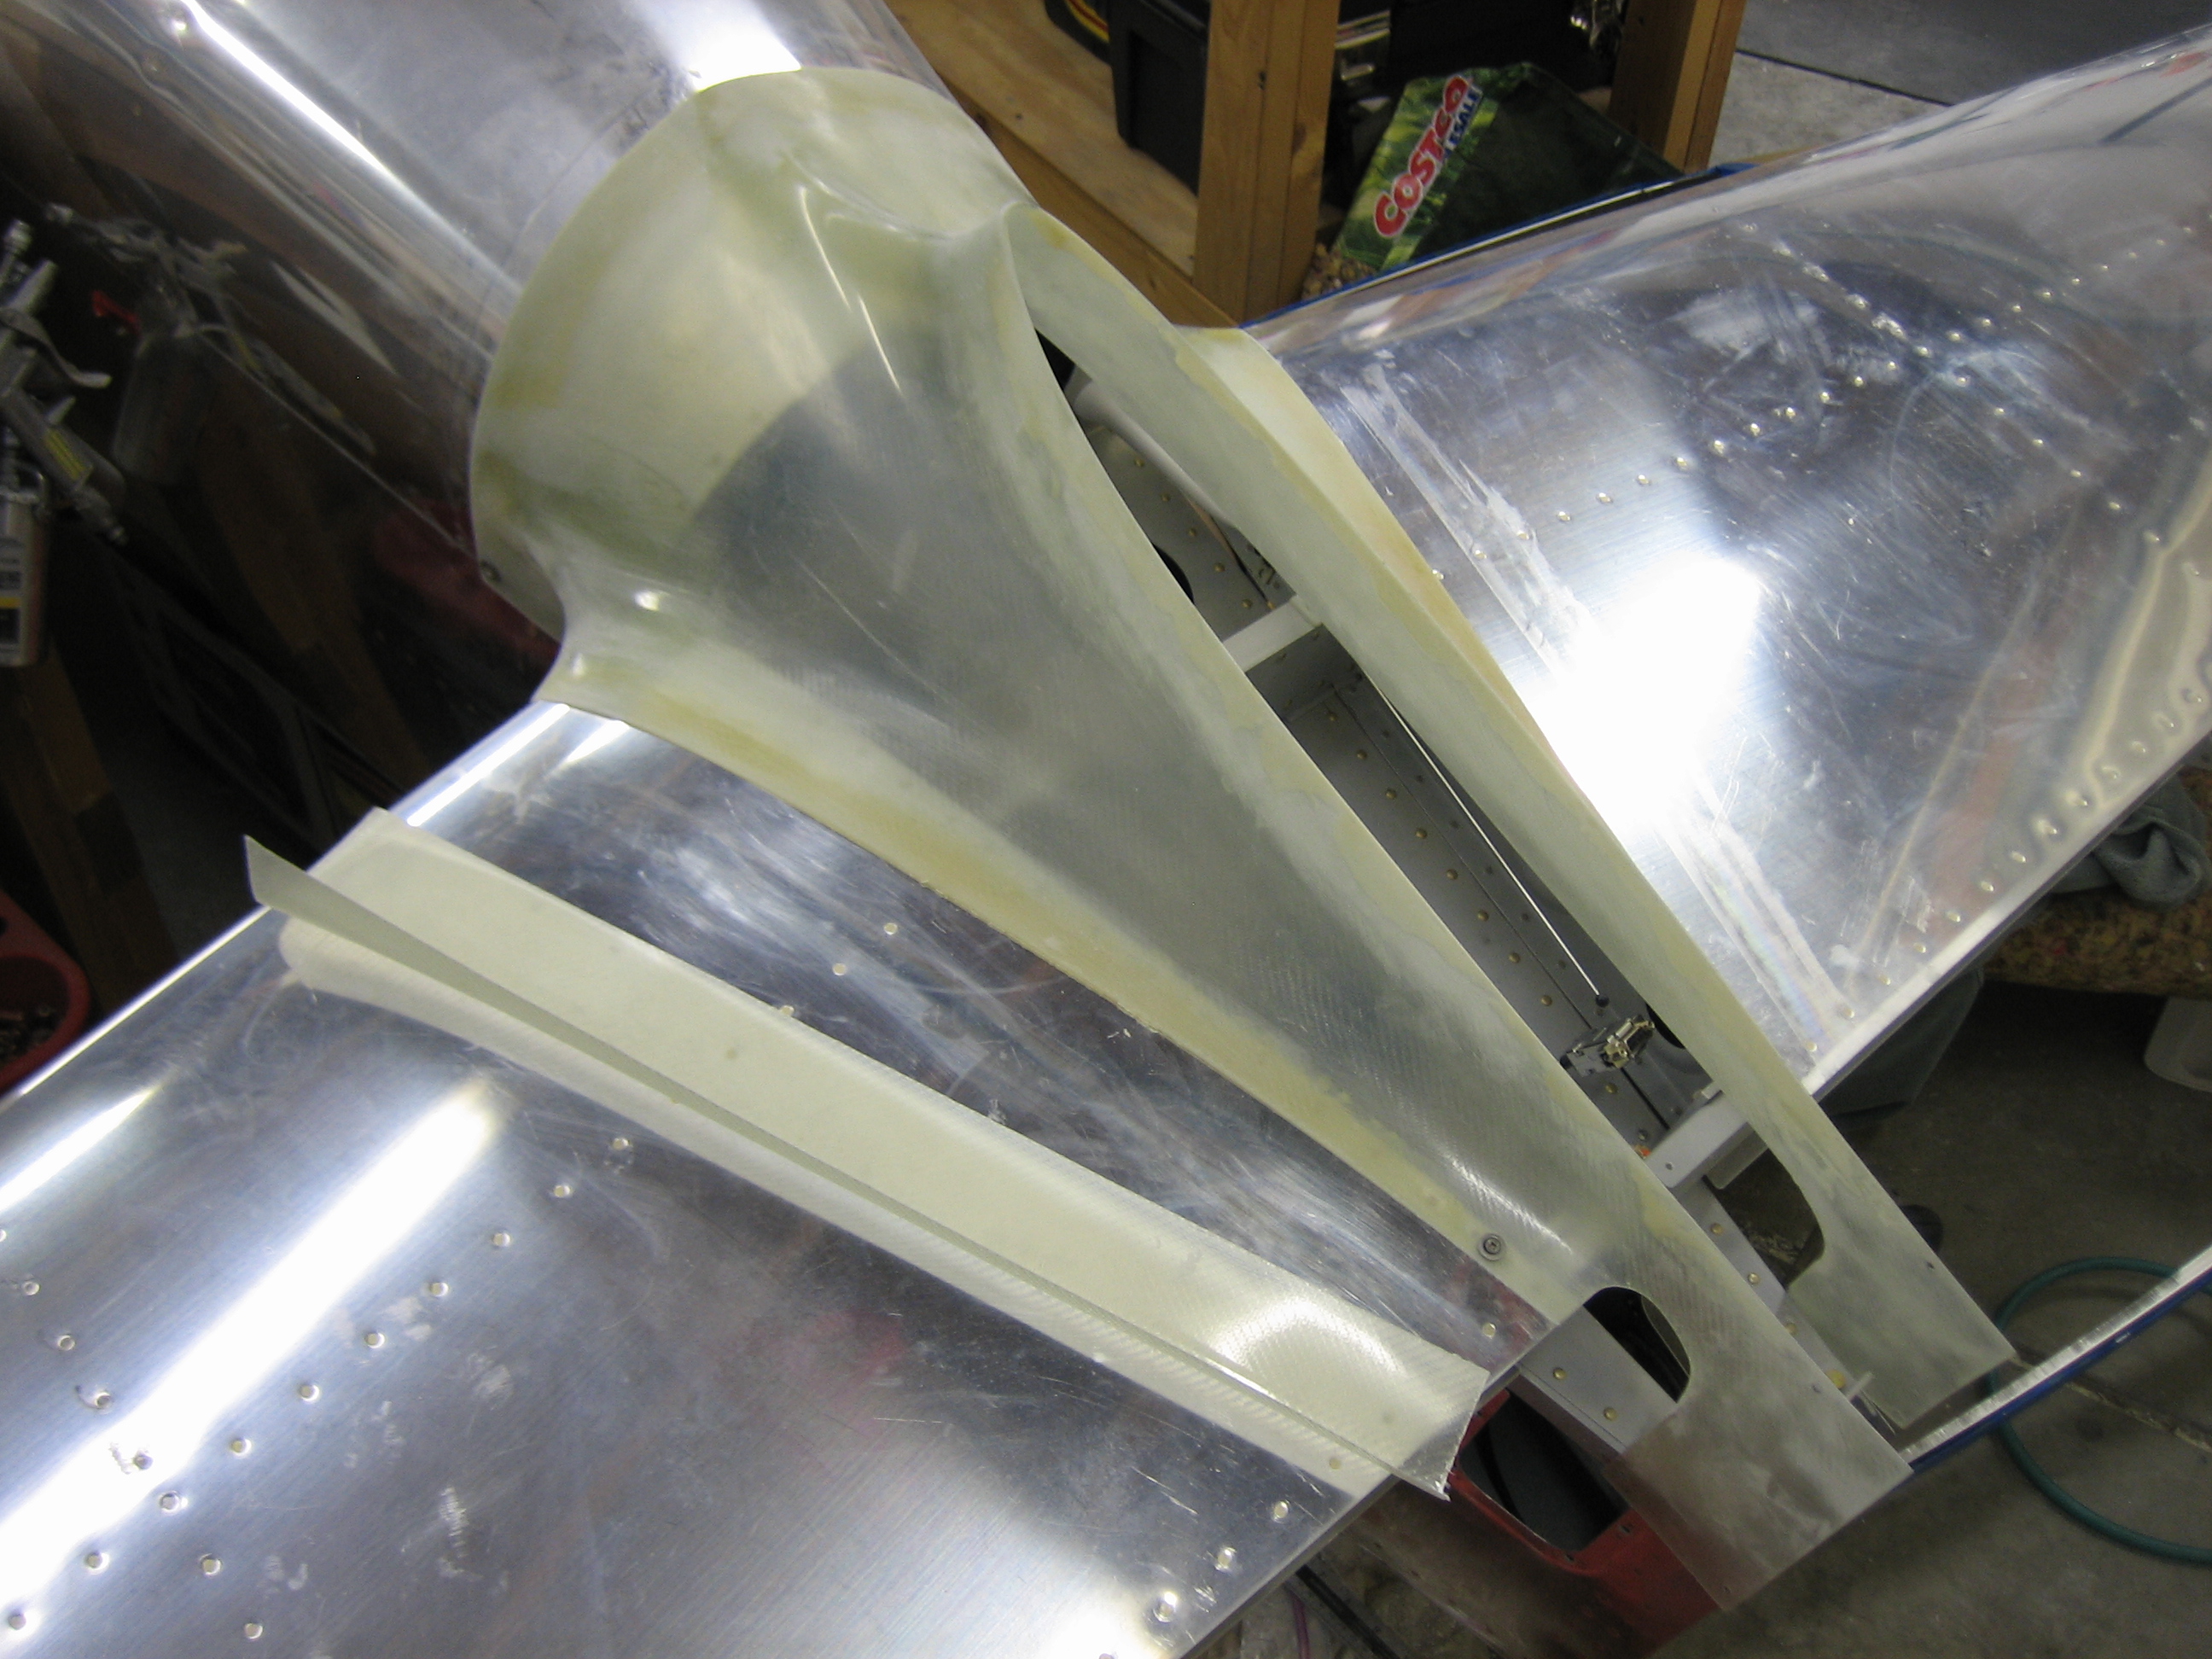
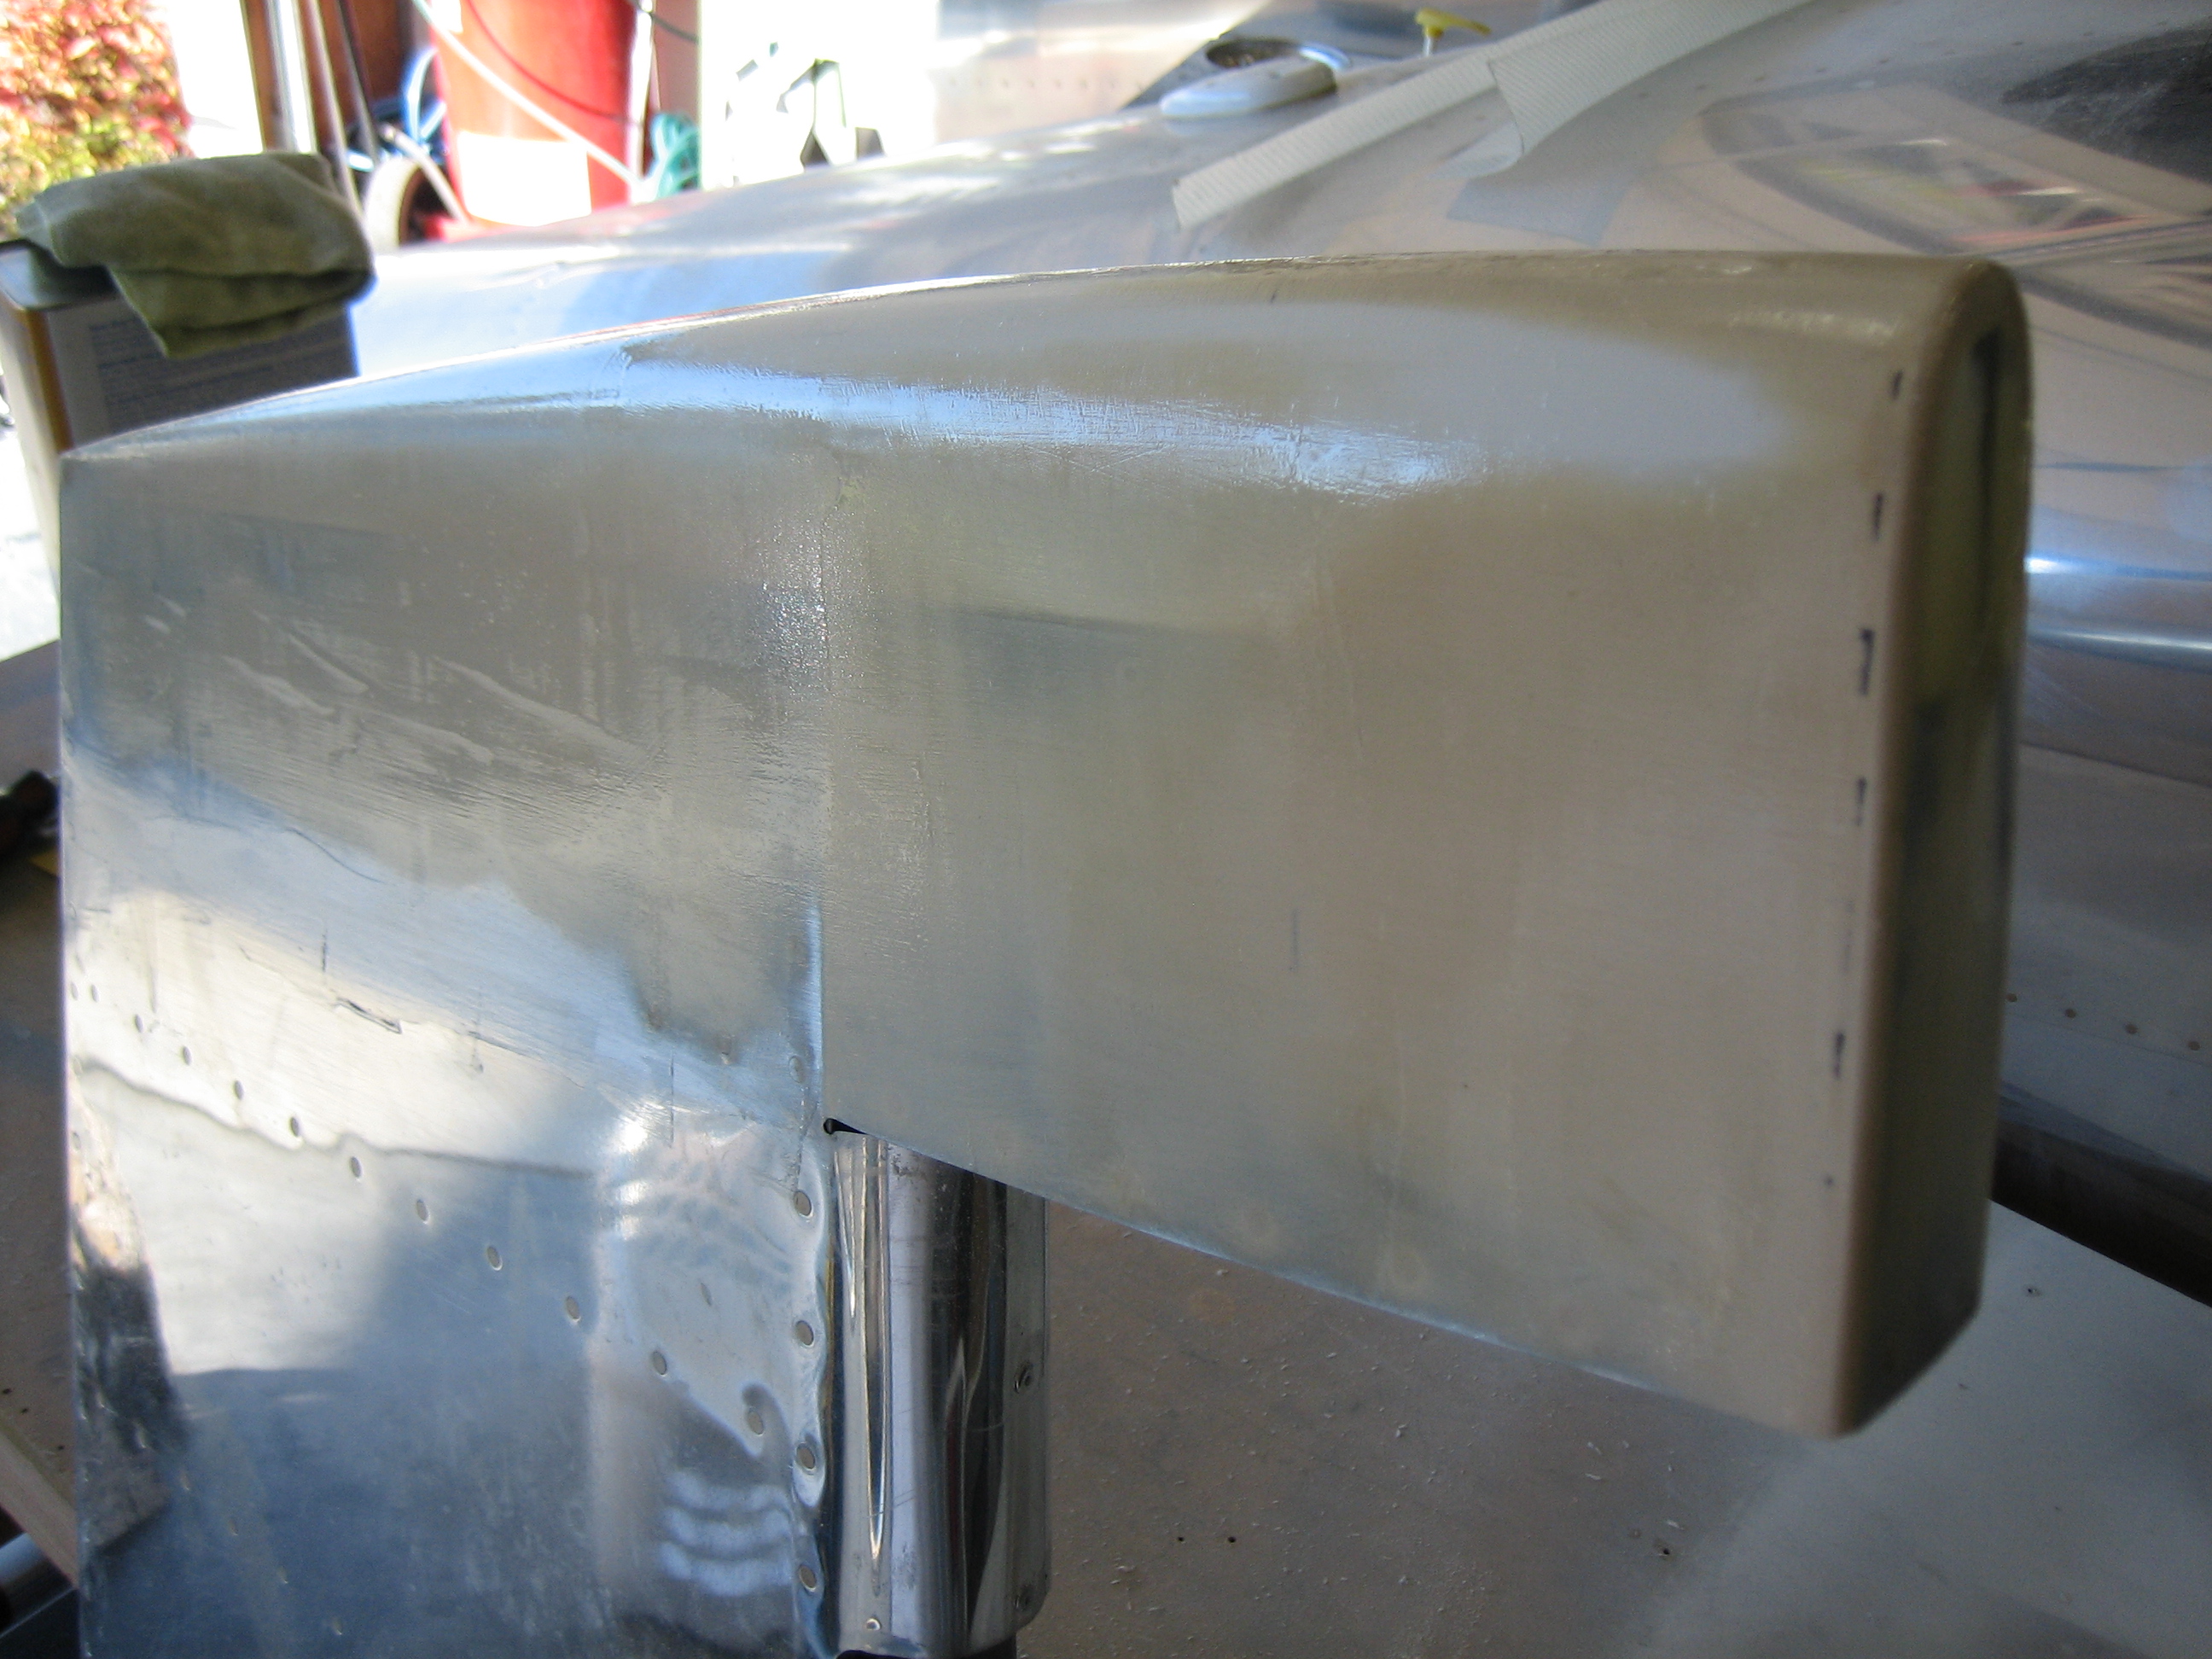
And here’s the top of the vertical stabilizer.

Riveted Canopy Latch Handle Bracket and Lock, Drilled Lower Left Empennage Fairing

I riveted the mounting angles that hold the canopy latch handle as well as the lock.  I removed the lock’s cam so that it doesn’t get painted since it would just immediately get scratched up.  Afterward, I primed this area with some self-etching primer.

I also drilled the lower empennage fairing to the fuselage and horizontal stabilizer.  The two holes in the fuselage go through the longeron and replace a couple of rivets.  I’ll add standard nutplates here just like the forward holes in the upper empennage fairing.  The rear nutplate in the horizontal stabilizer goes through the flange of the rear spar, and I can use a standard nutplate there as well.  The forward hole just goes into the horizontal stabilizer skin, and the inner rib would make it a pain to install a nutplate there.  My plan is to order a couple of Click Bond adhesive mounted nutplates to install here.

Unfortunately, the fairing doesn’t fit perfectly.  The vertical flange fits nice and tight against the side of the fuselage, but there’s a fairly large gap in the middle between the fairing and the horizontal stabilizer.  I’m going to spend some time with a heat gun to see if I can reshape it to fit better.

Skim Coated Empennage Fairings and Prepped Canopy Frame and Roll Bar for Painting

I skim coated most of the empennage fairings with straight epoxy to fill the pinholes and scratches from the sandpaper.

I then started prepping the canopy frame for painting.  First up is to rivet the canopy bow to the side channel.  I then bolted the canopy latches in place so that all of the hardware will get painted.

I masked off the areas that shouldn’t get any paint, then scotchbrited everything that needed paint.

I riveted the roll bar support channel onto the roll bar, then scotchbrited the whole thing.  I used the scotchbrite disc in the die grinder to make all of the rivets completely flush to the surface to make sure they can’t scratch the canopy.