Installed Cowl Nutplates and Started Shaping Inlets

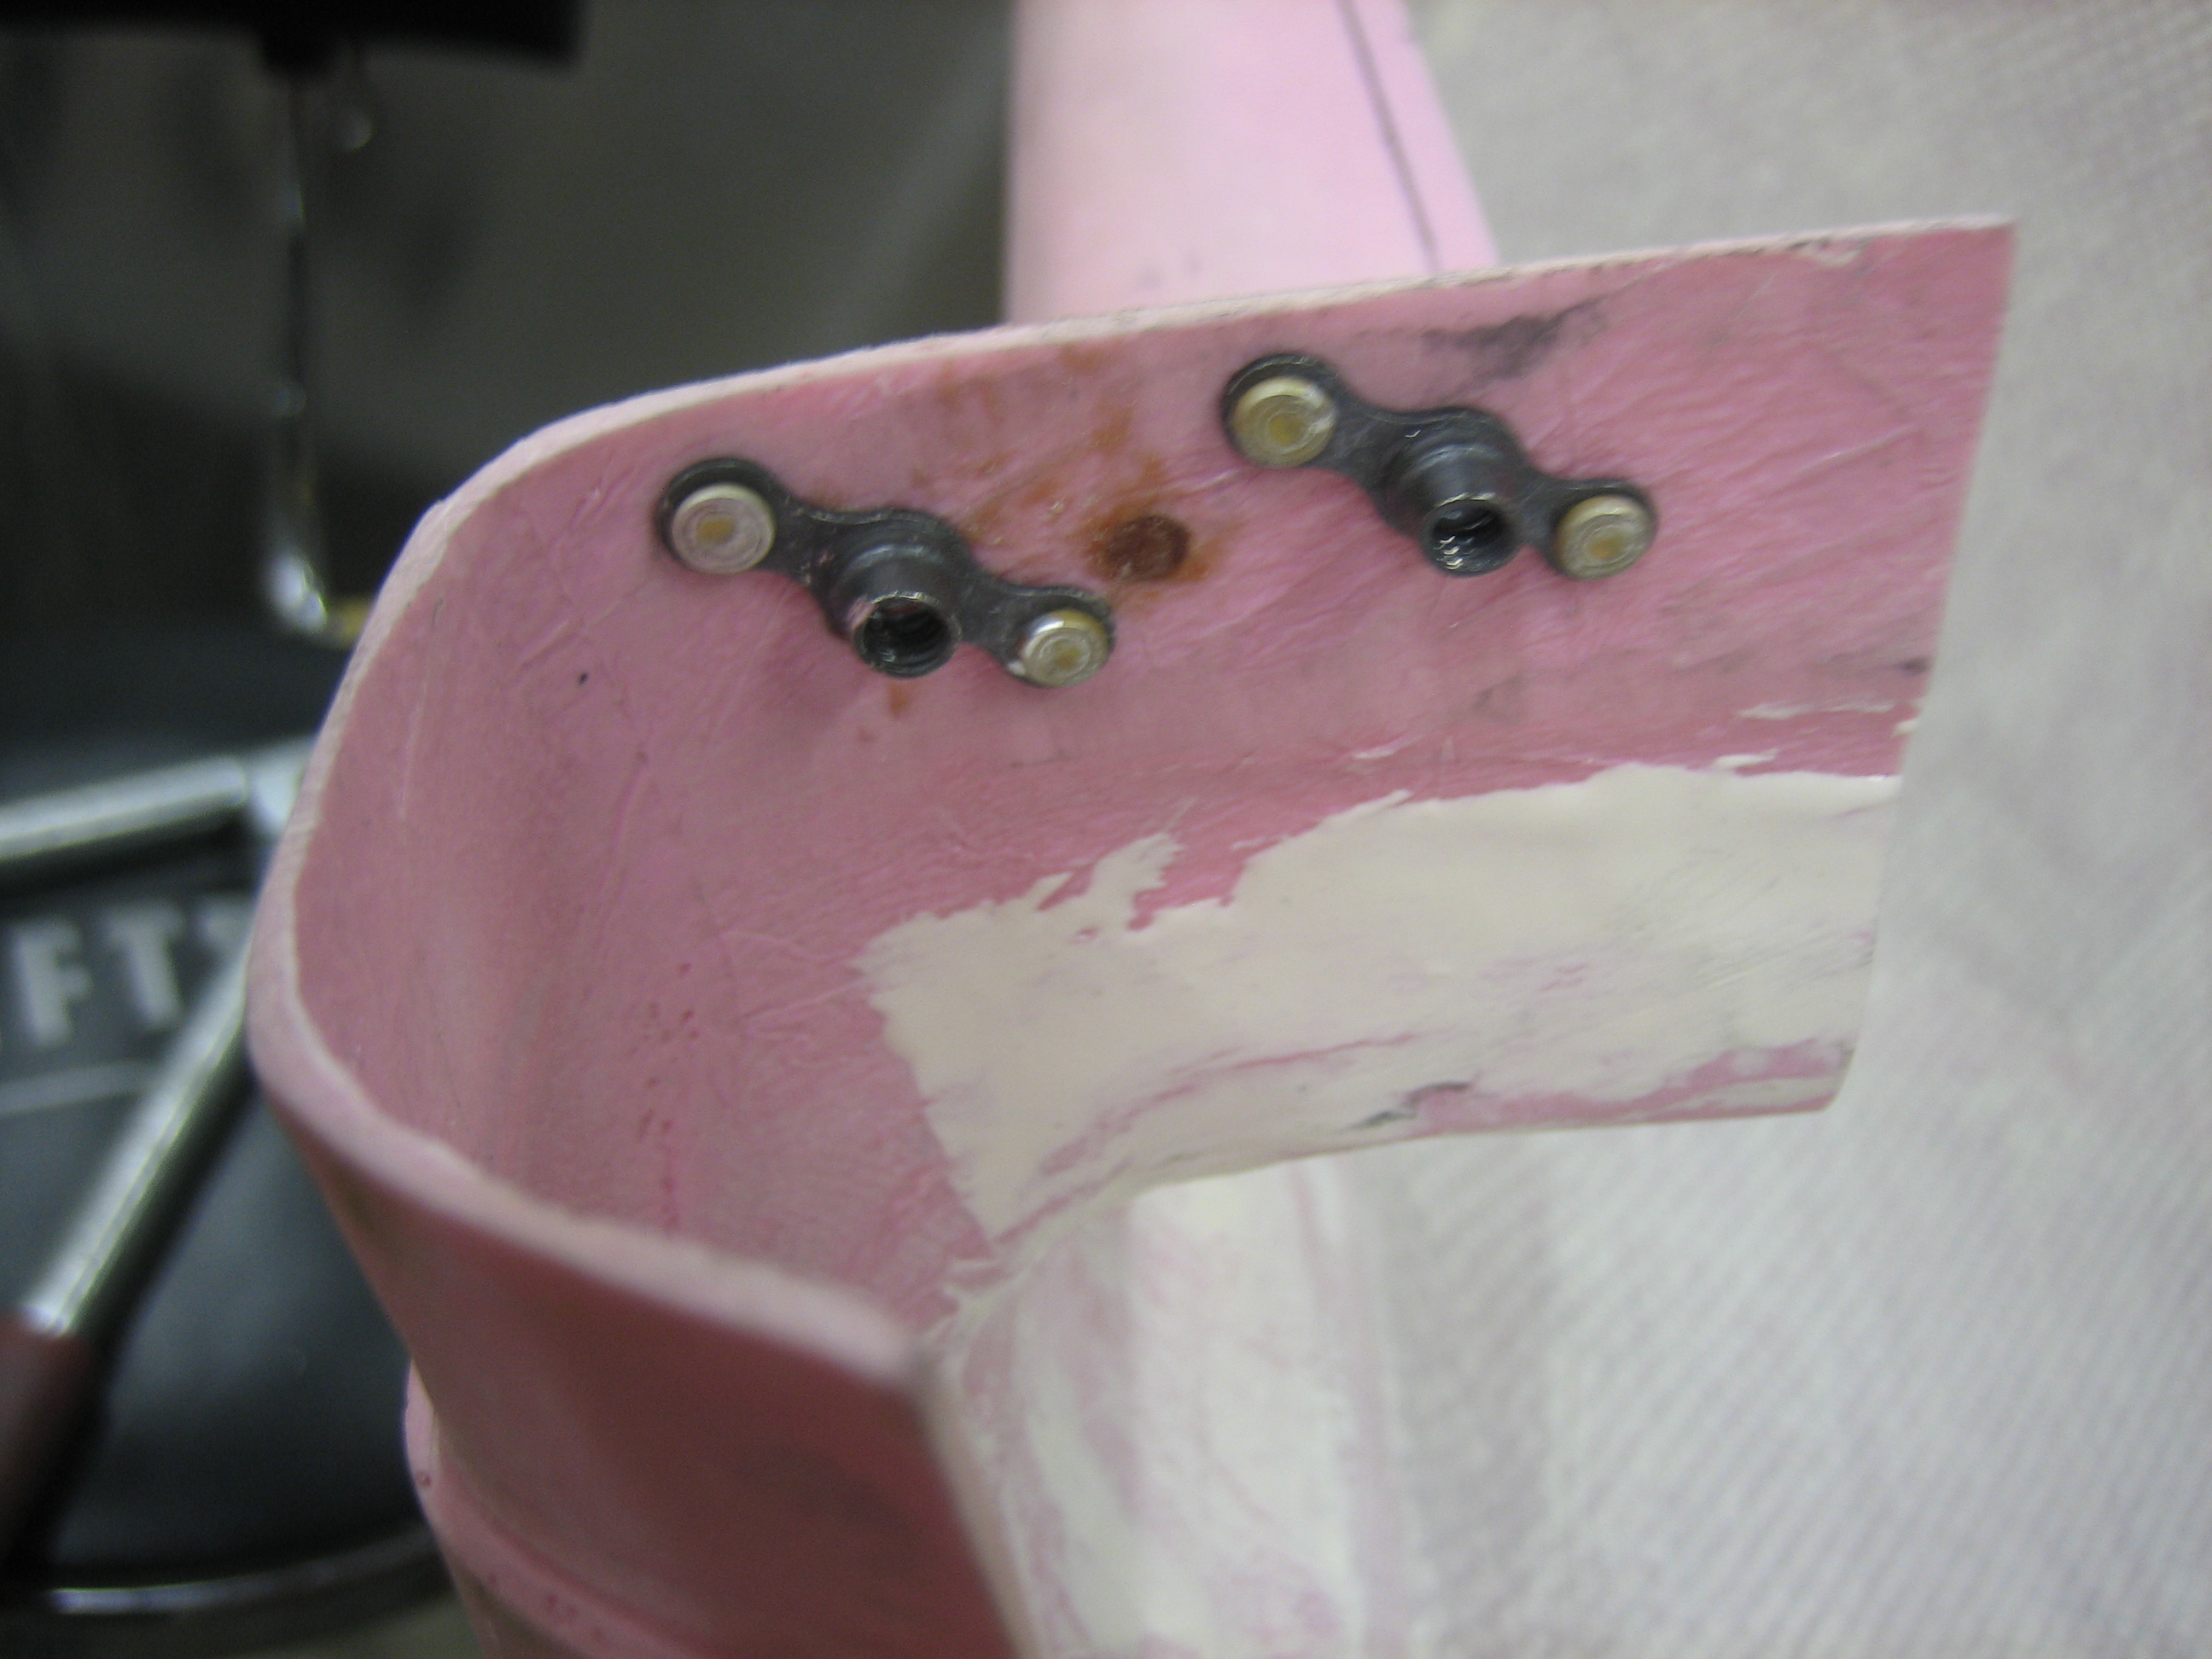
I added a couple of #8 nutplates to the inside faces of the cowl inlets.  The needed to be set forward of the aft edge about 1/2″ to clear the inlet seals.  You can also see that I used some epoxy/flox to fill the hole that I’ve been using to align the cowl up to now.  The plans specify three nutplates here, but the plans also don’t specify a plenum which results in substantially more force trying to separate the cowl halves.  With the plenum, there’s far less force trying to lift the upper cowl, so two nutplates should be just fine.

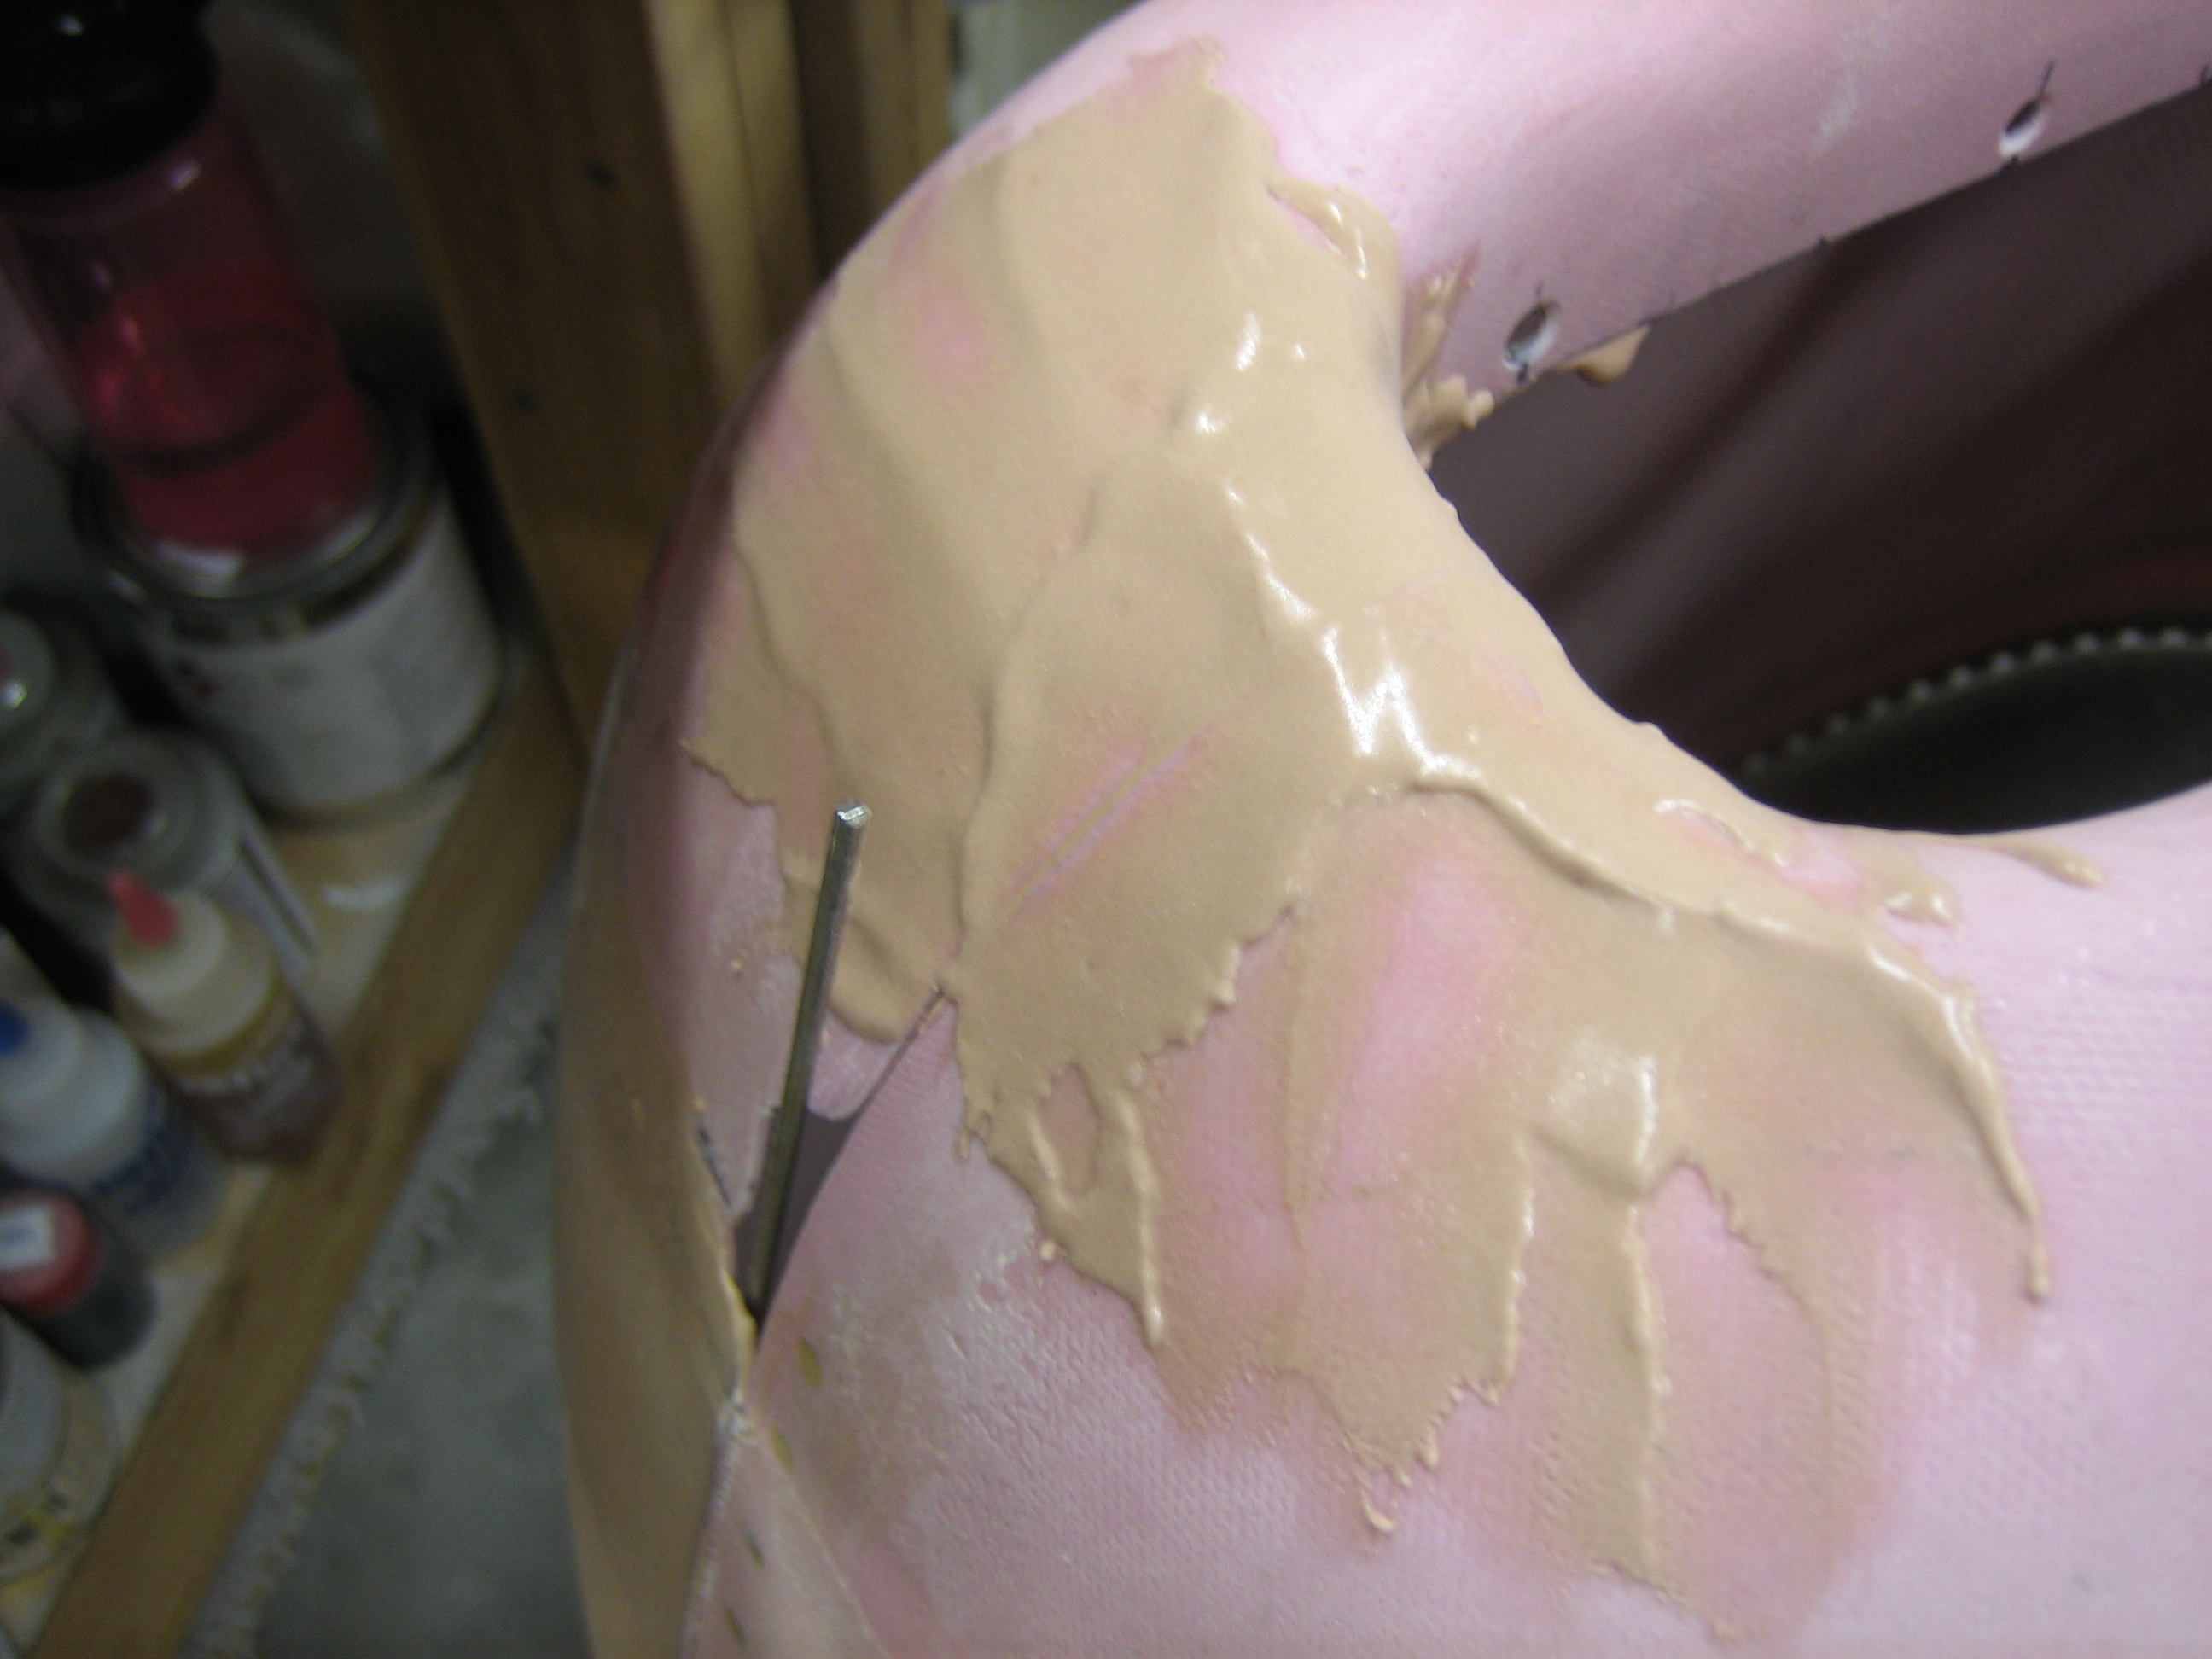
The upper and lower halves of the cowls don’t perfectly align at the outer edges of the inlets, so I mixed up some epoxy/micro and applied a fairly thick coat.  Most of this will get sanded off, but I’m pretty sure I’ll still have to add another coat.

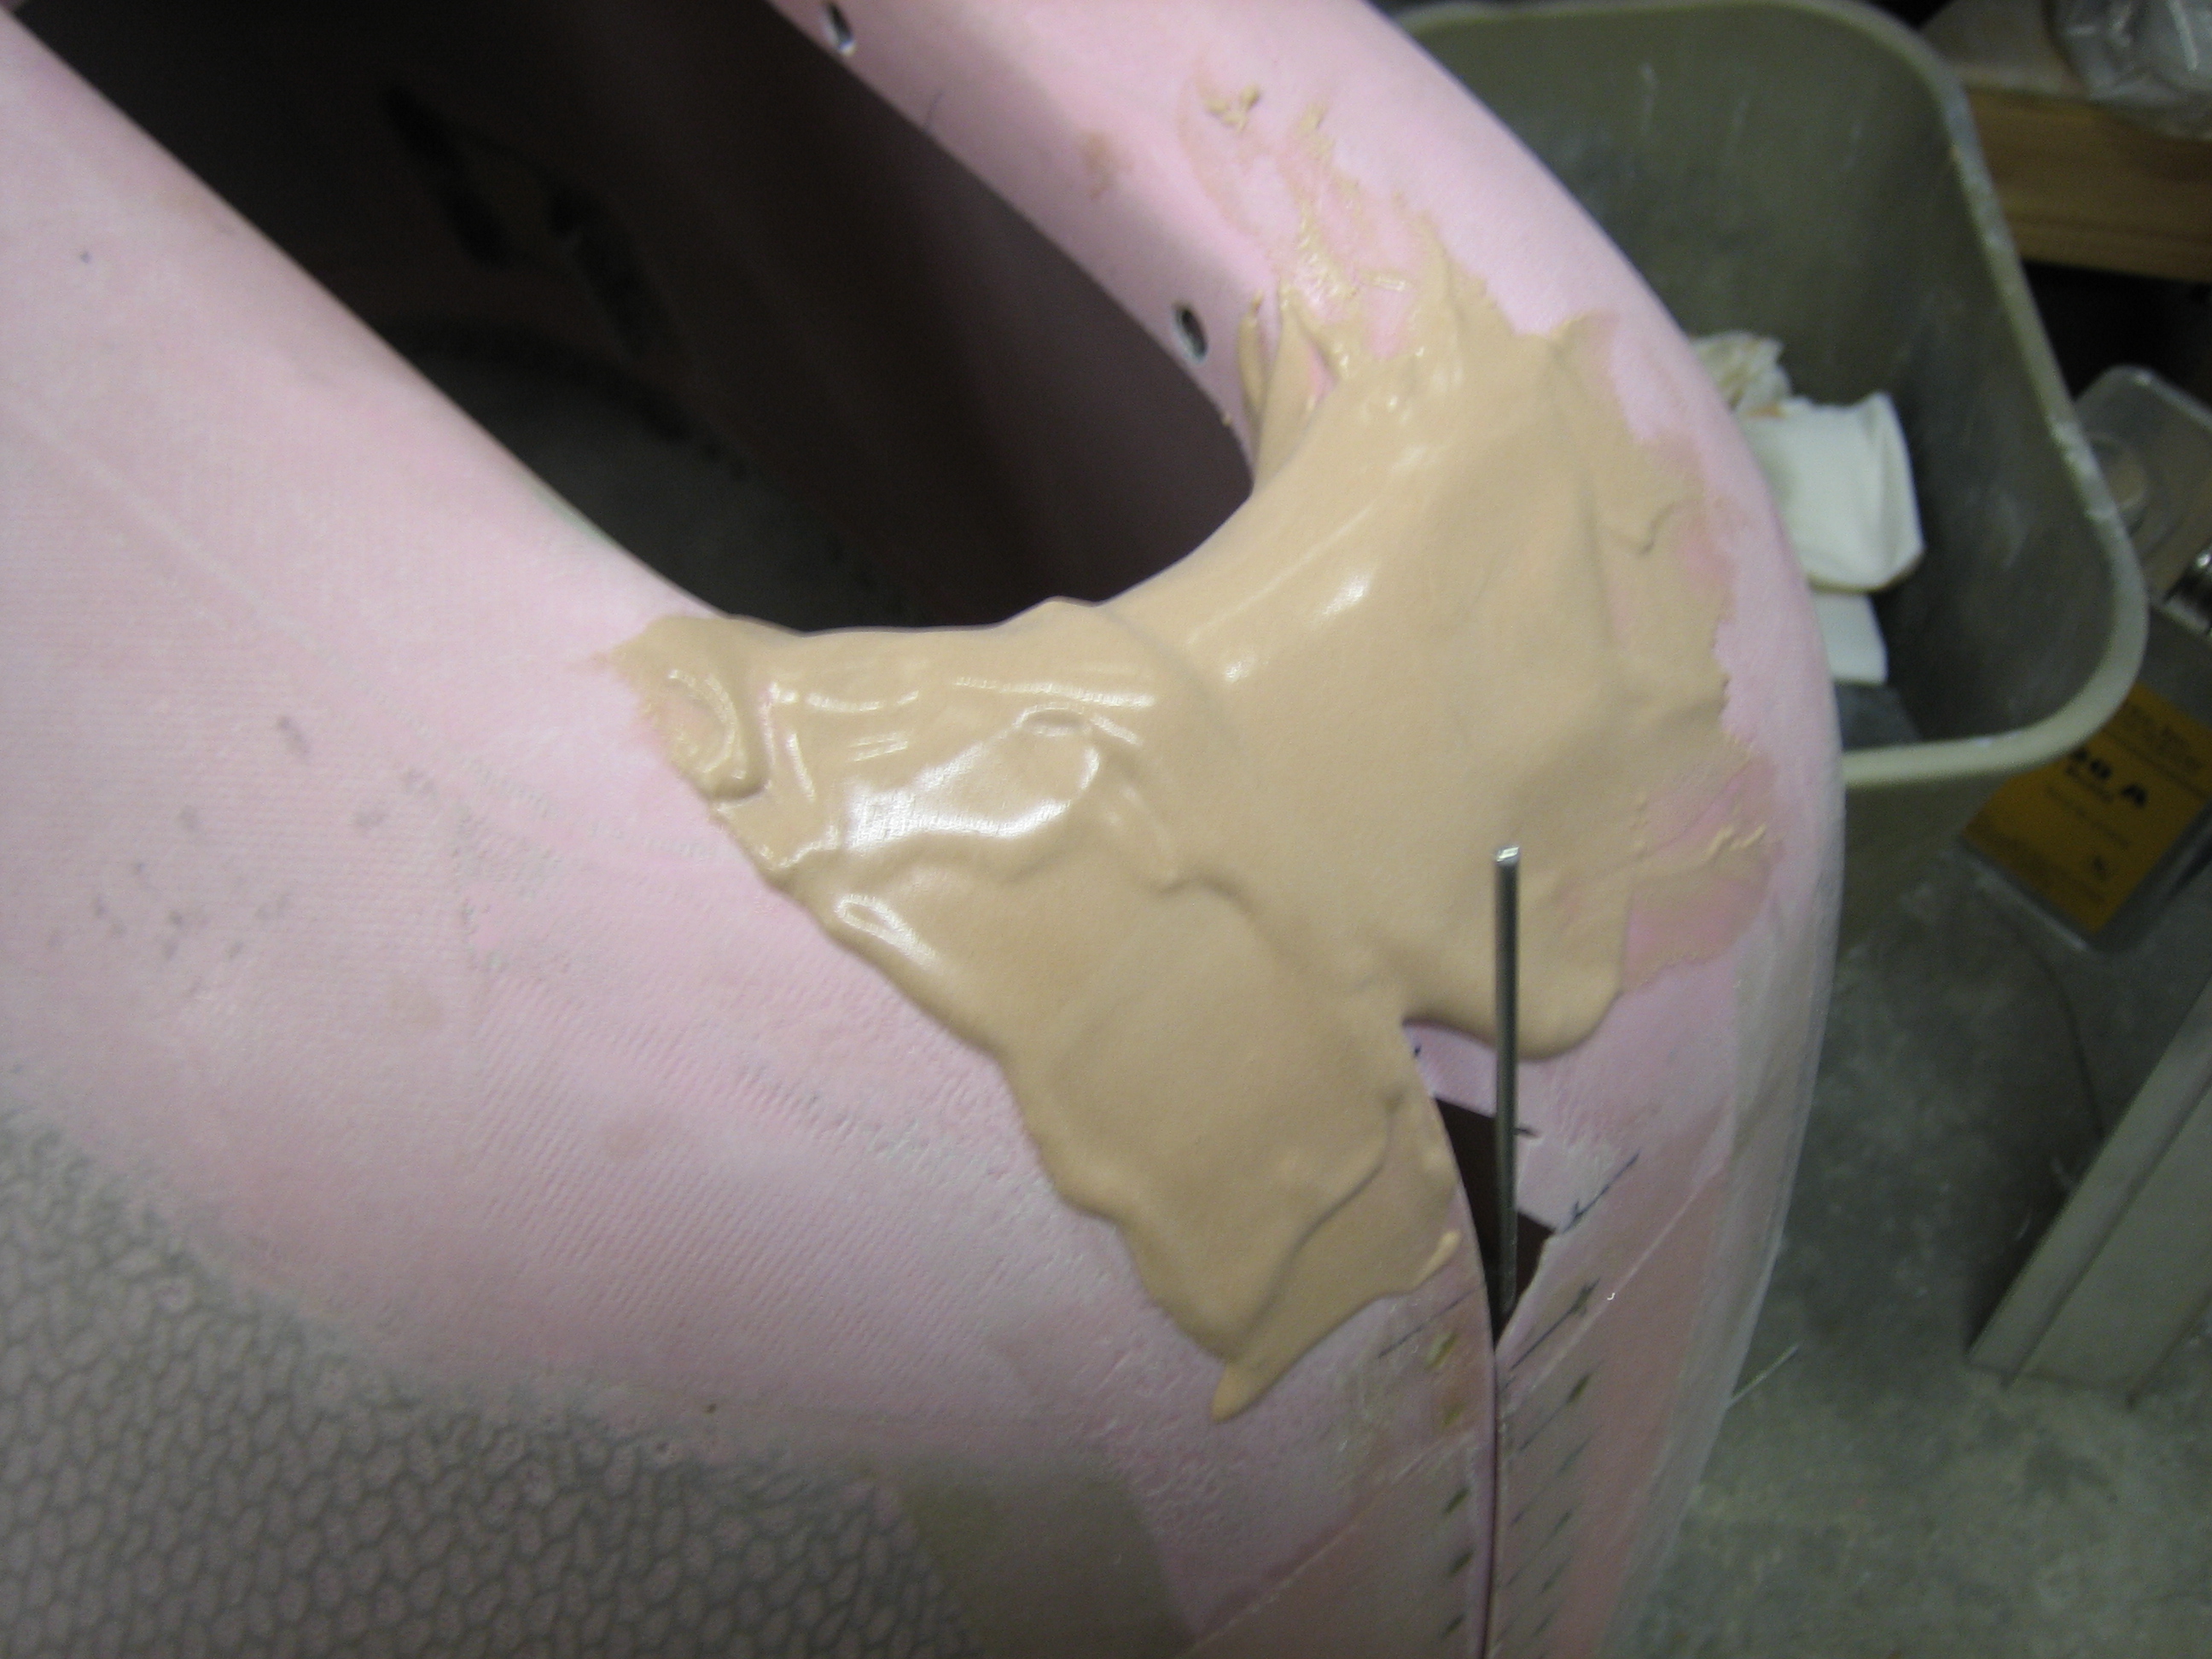
Here’s the right inlet.  I managed to scrape away more on this side before the epoxy started to set up, but there will still be lots of sanding.

Painted Top of Plenum

I painted the top of the plenum with several coats of the two-part epoxy paint and set it aside to cure.

Unfortunately, a bug landed in the paint before it was dry and became trapped.  I’ll have to sand this out and probably shoot another coat to fix it.

Painted Inside of Plenum, Installed Sniffle Valve Drain Line

I painted the underside of the plenum with some two-part epoxy paint which matches the baffles.  I wish I had ordered this paint prior to painting the baffles since it’s much more solvent resistant than the rattle can paint I used on them.

Between coats, I knocked out a couple of other small tasks.  First up was to wrap the engine mount tube with some silicone wrap where the fuel overflow tube is tie-wrapped.  I’ve read cautions about tie-wraps sawing through engine mount tubes due to vibration and trapped abrasive particles.  I’m not sure how likely that is here, but better safe than sorry.

I also fabricated the sniffle valve drain line and anchored it to the sniffle valve with a short piece of MIL6000 hose.  The line parallels the exhaust pipes, but jugs slightly left to clear the oil drain fitting.  The aft end is flush with the end of the exhaust pipes and includes a 15º turn down to match them.

I fabricated a short stand-off to space the line away from the exhaust brace.  This was primarily done to make the line parallel with the exhaust pipes.