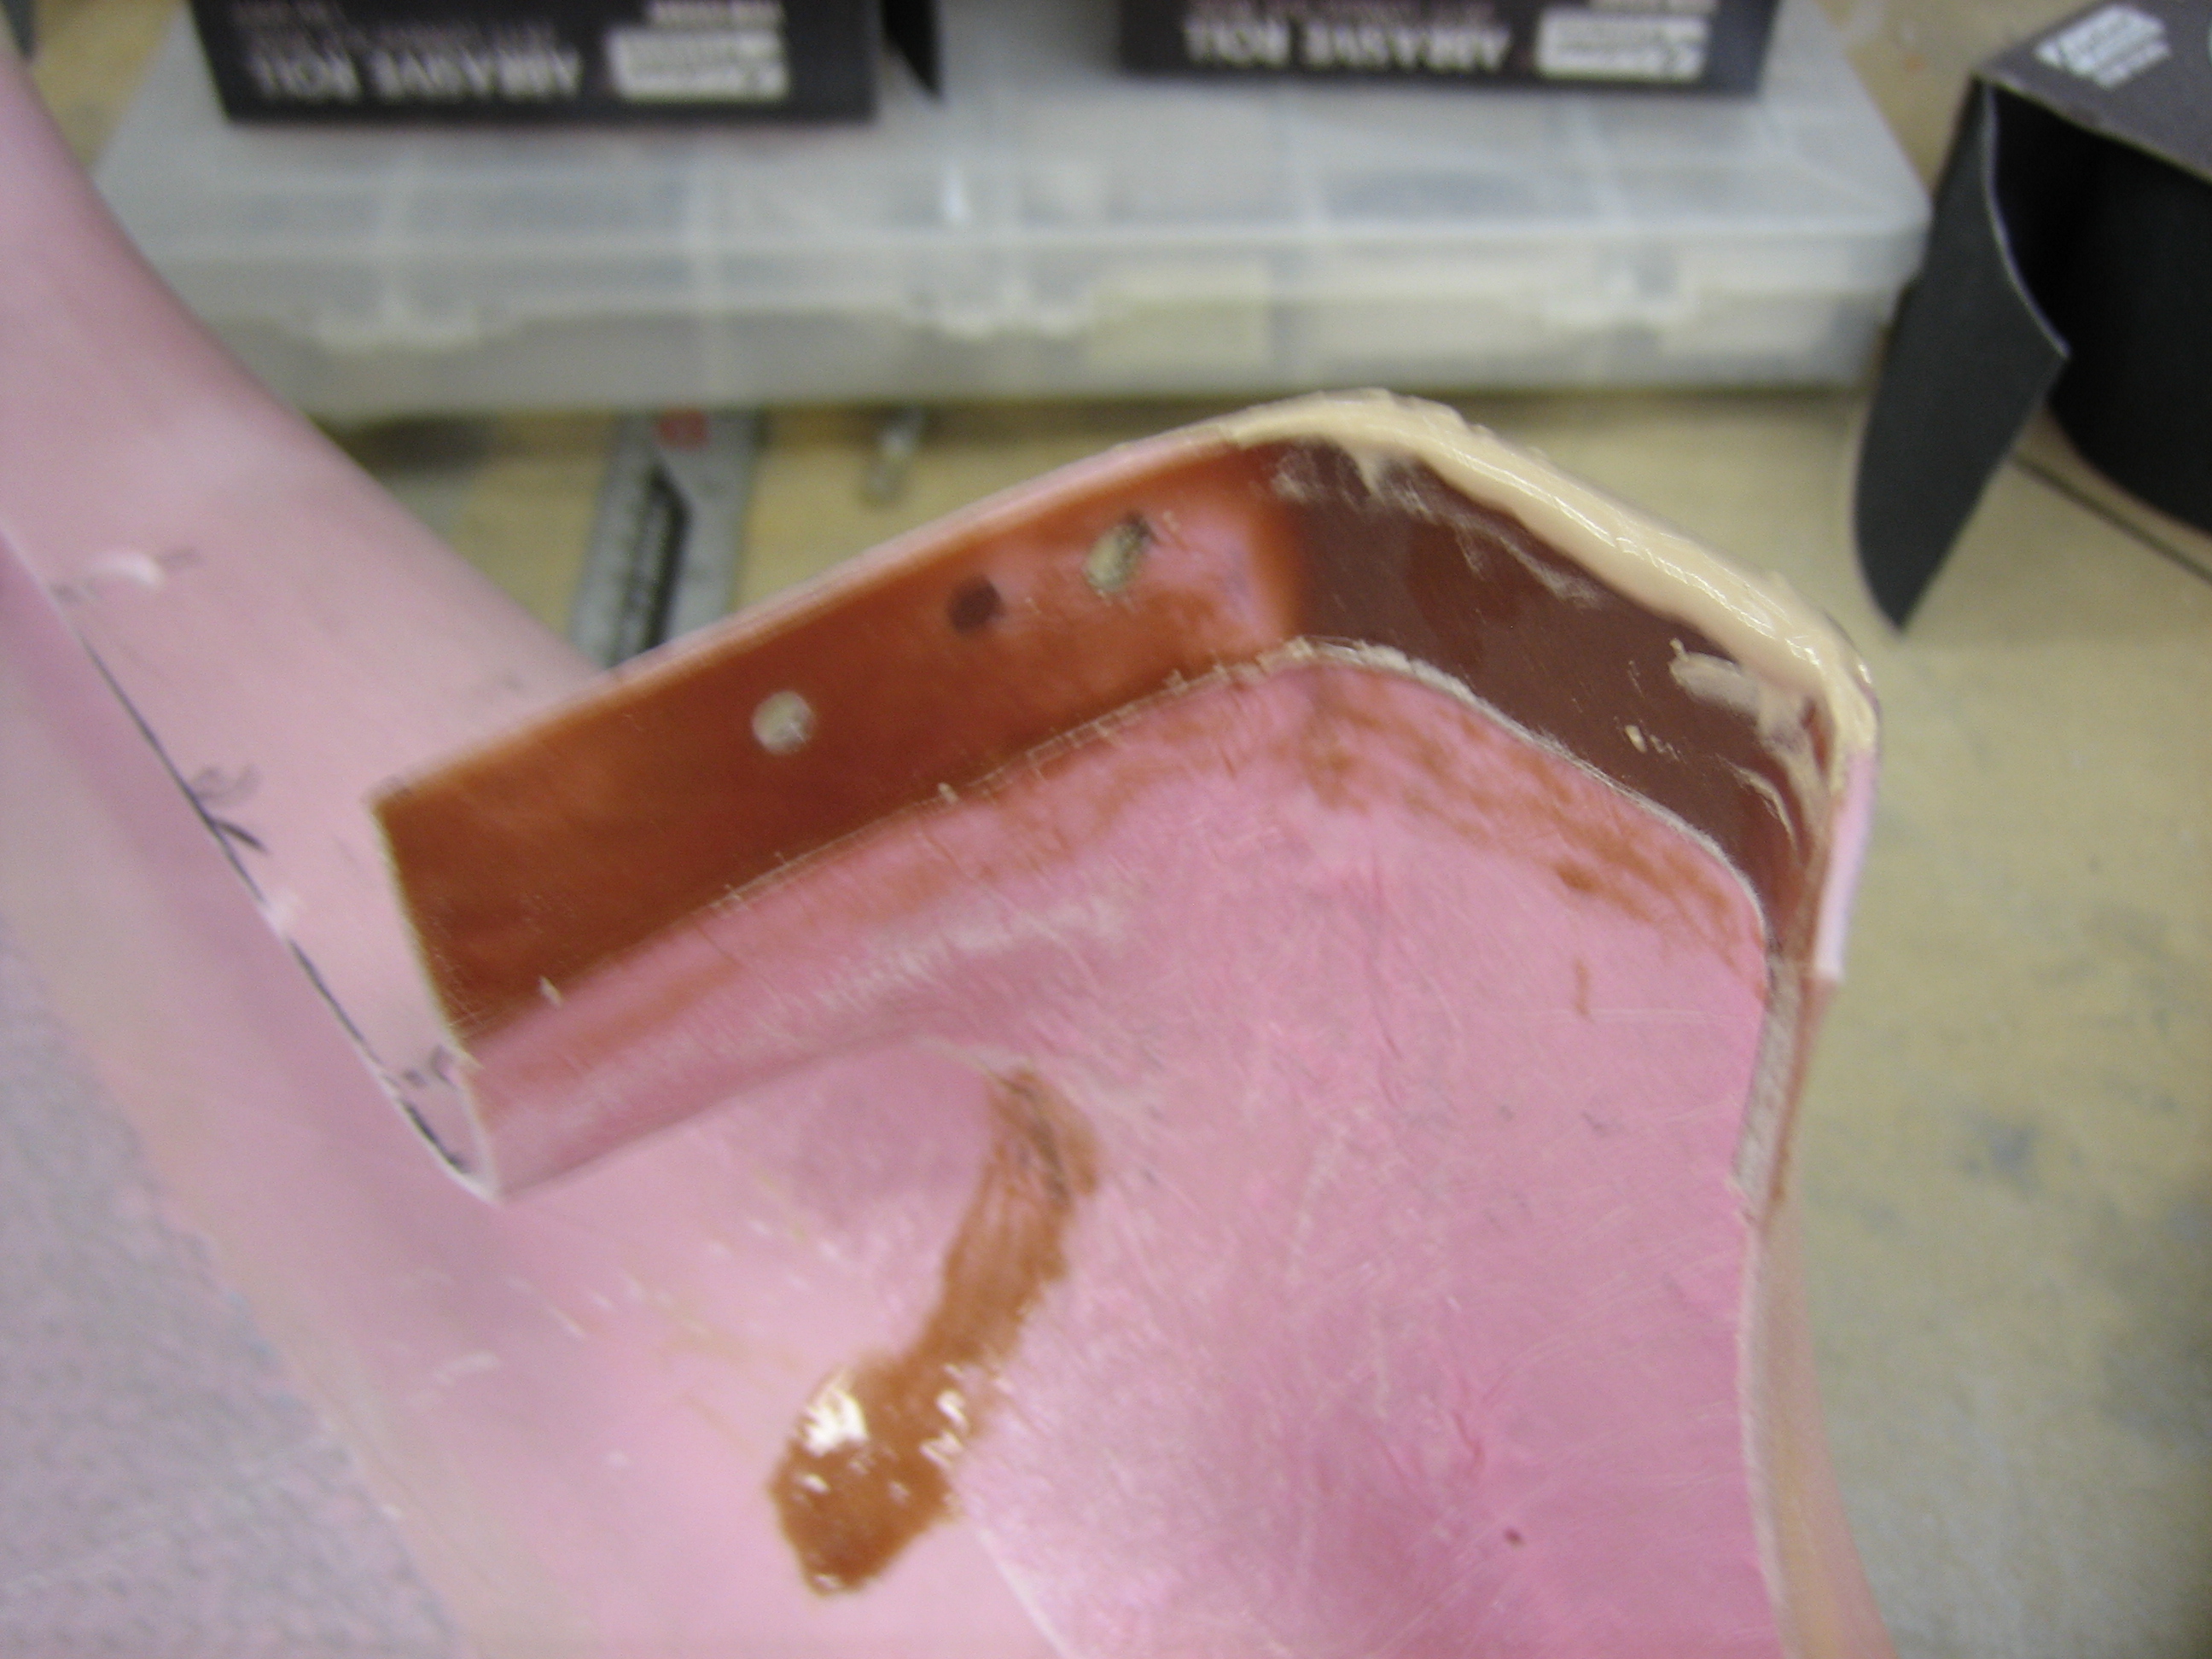
I popped the two cowl halves apart again. The epoxy/flox filler worked perfectly and there’s a nice smooth that perfectly matches the outside of the lower cowl. The end of the flange was a little epoxy starved, so I mixed up some lightweight filler and buttered it up. I’ll sand this flush tomorrow.
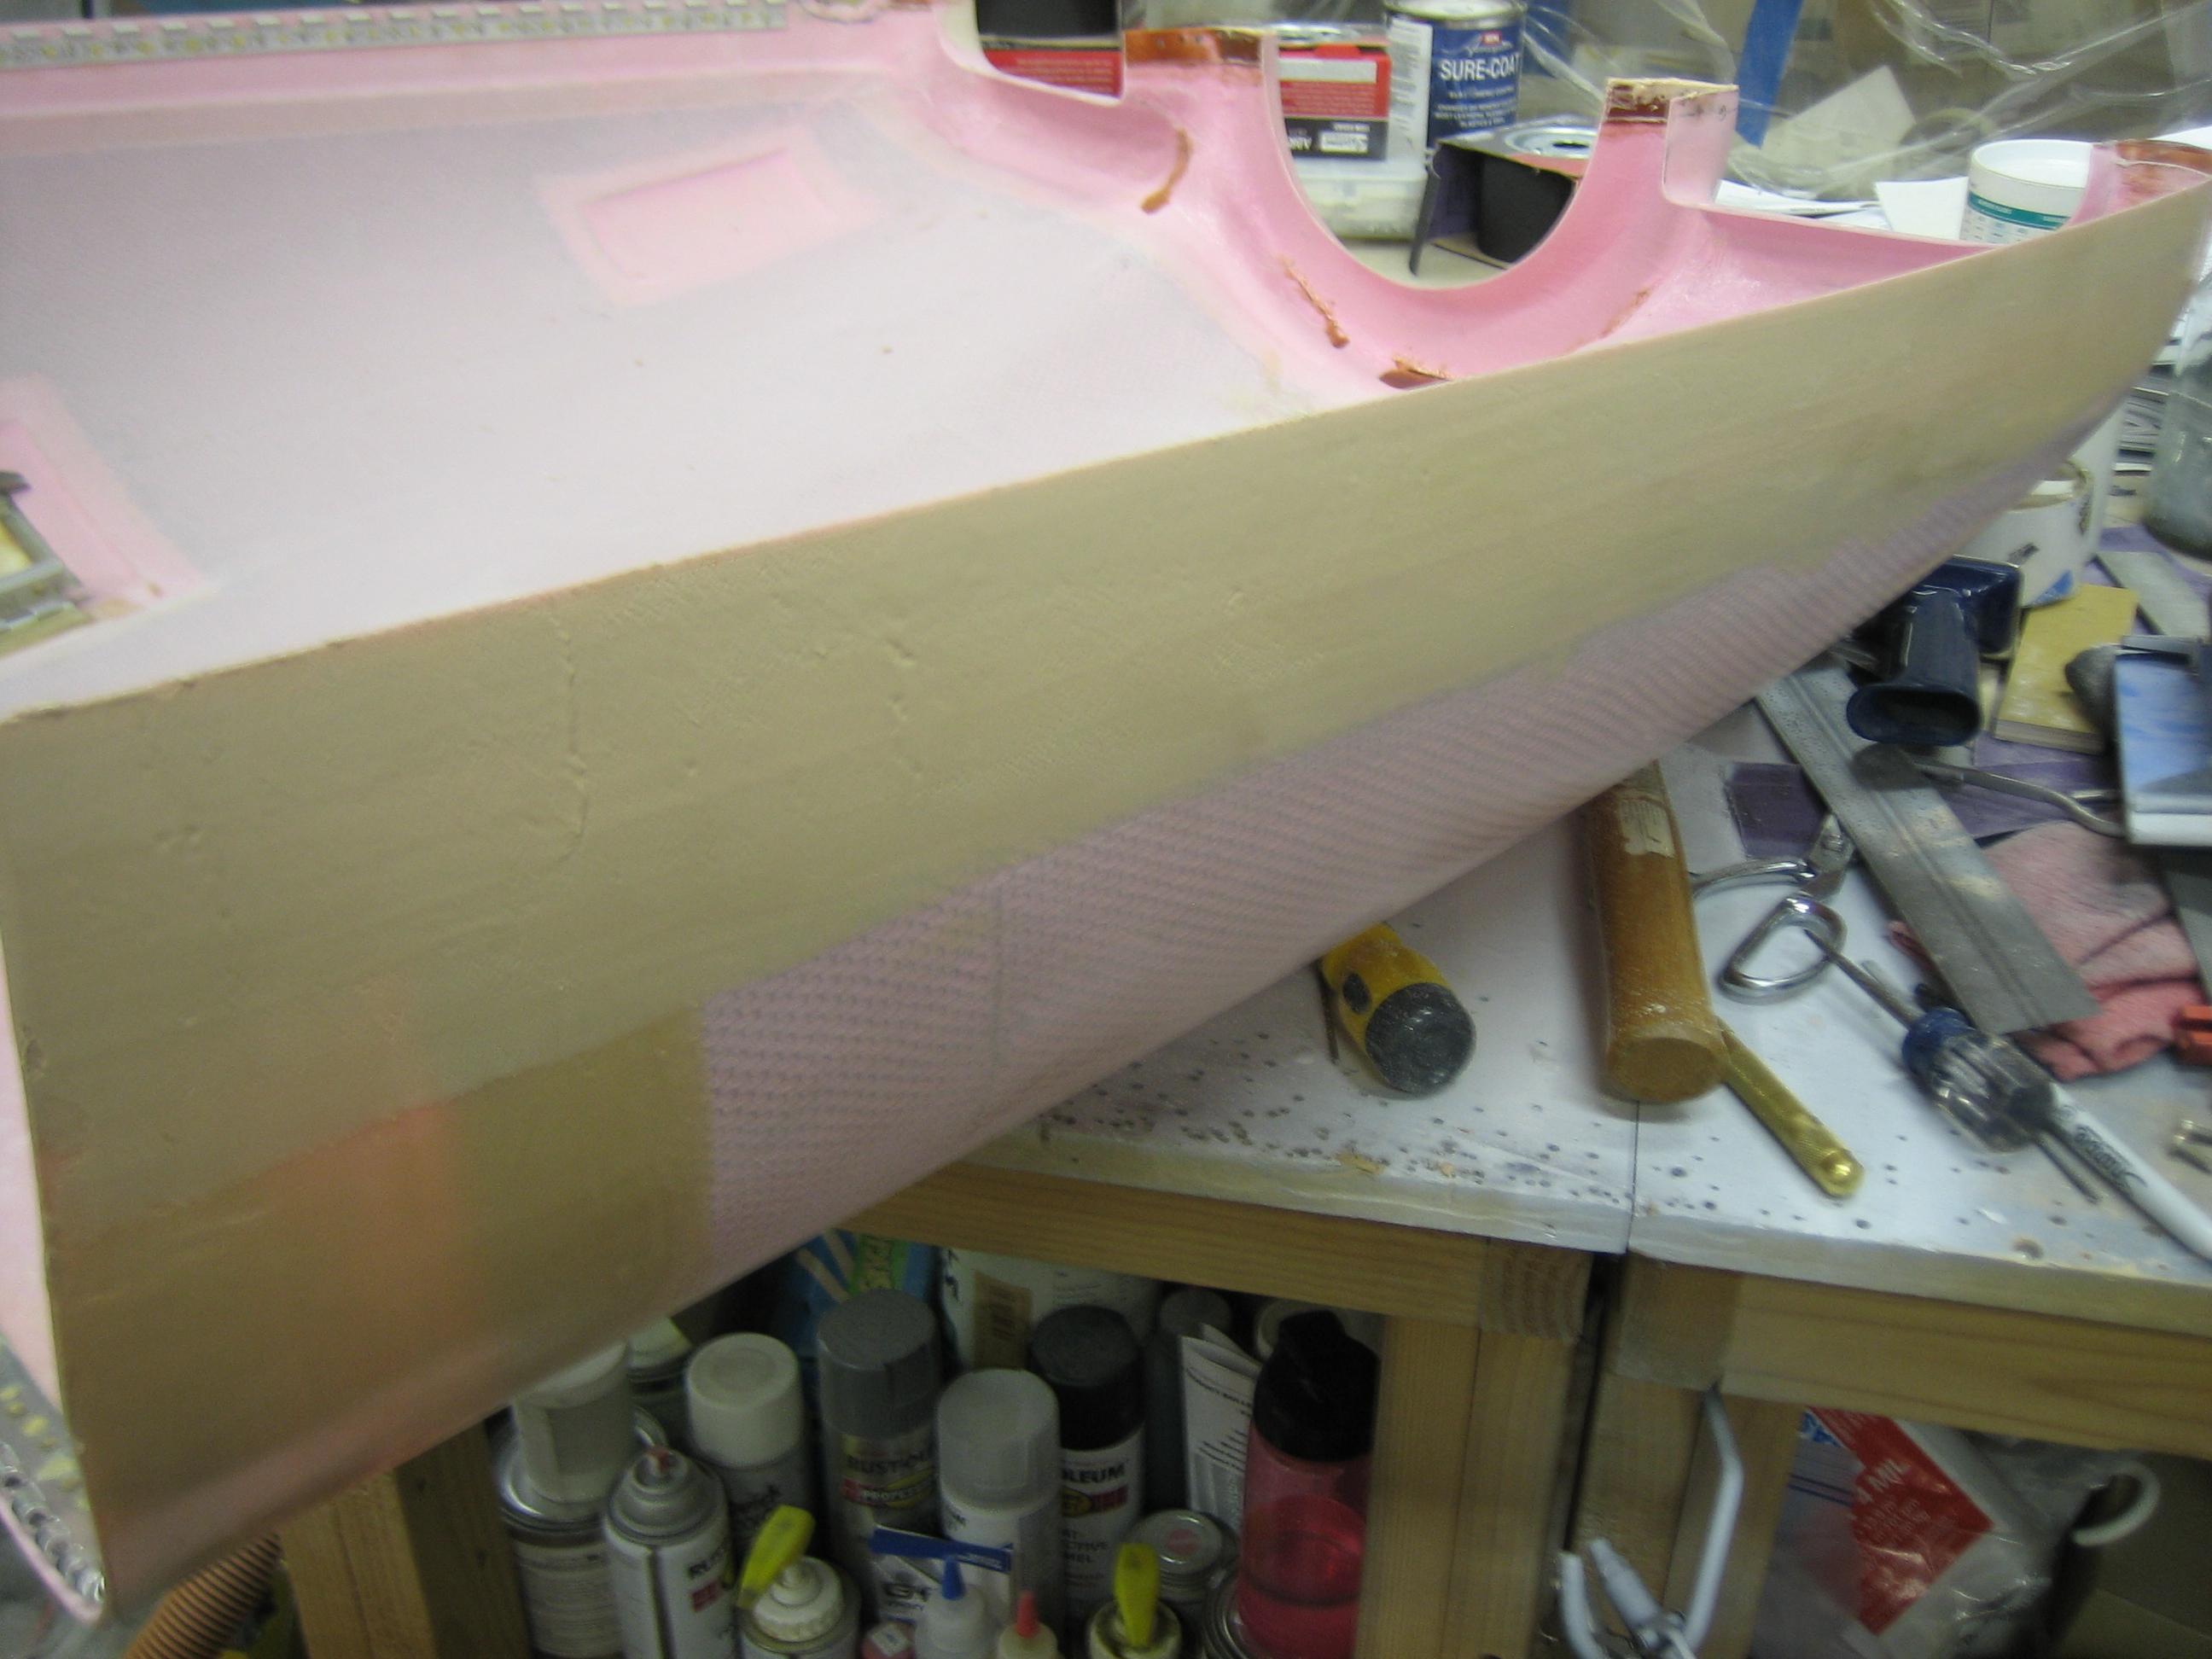
I had a bunch of excess lightweight filler left over, so I covered the last of the fiberglass strips on the left side of the upper cowl.
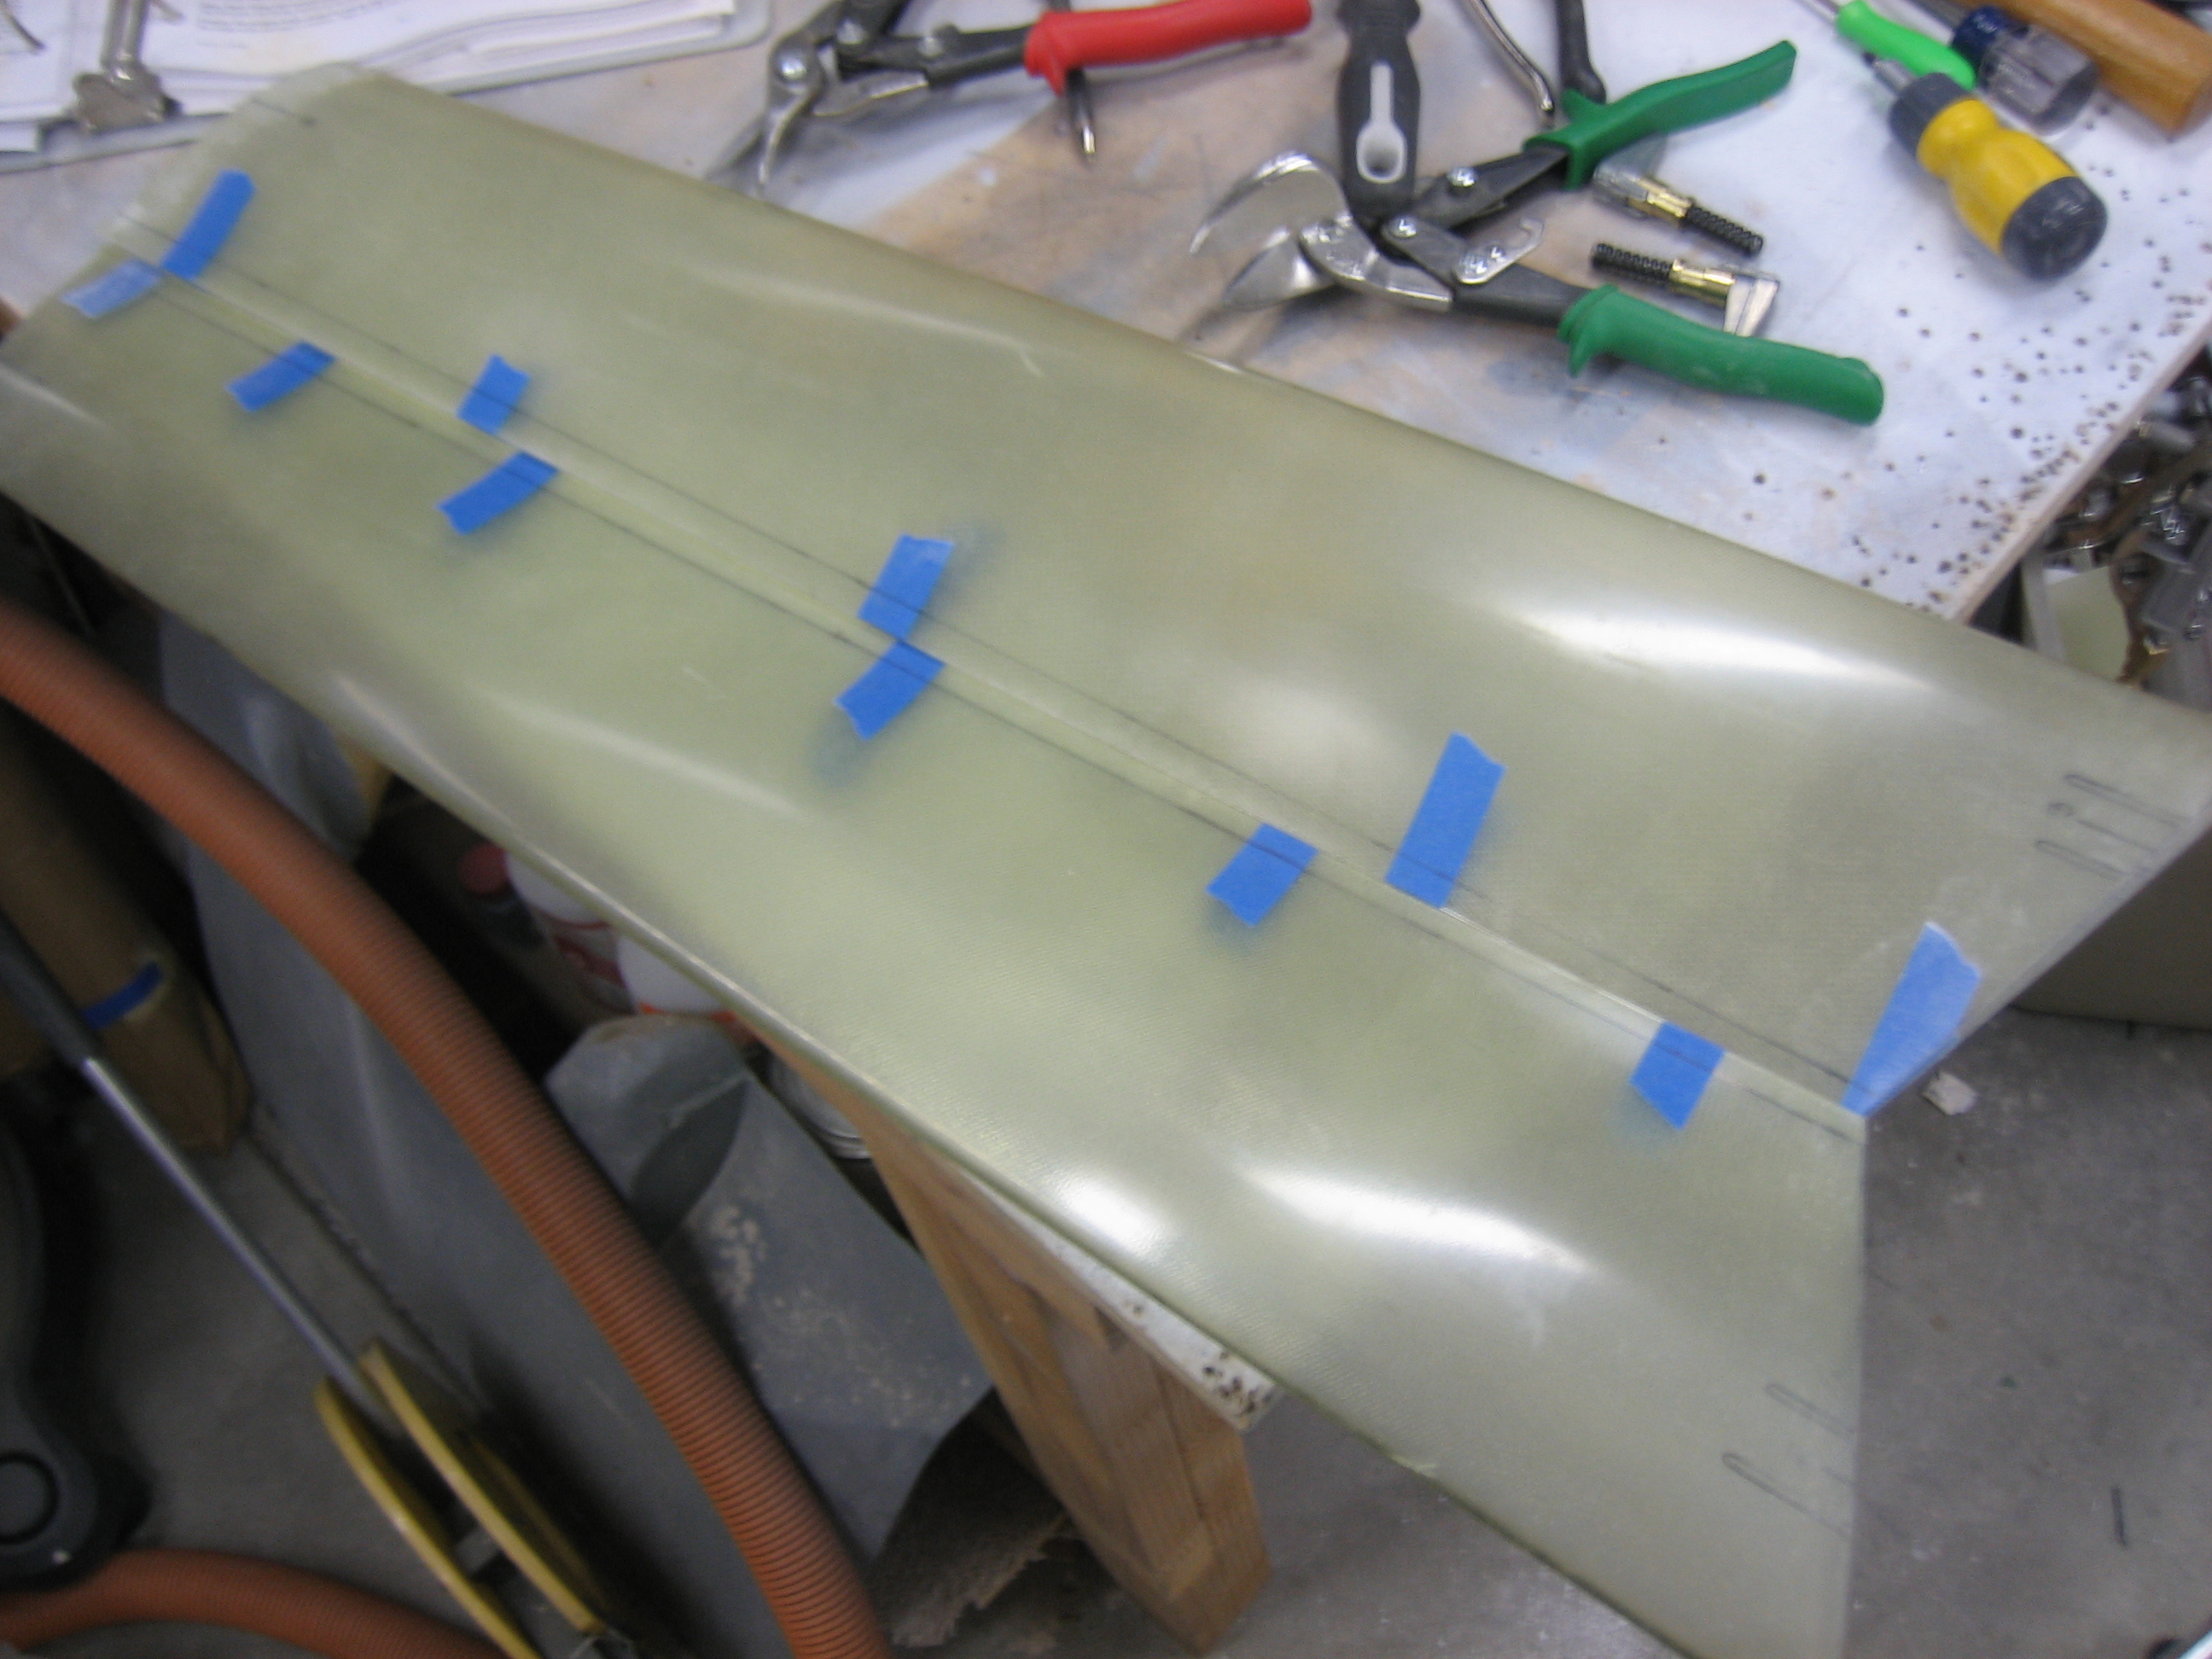
Since I need the filler to cure before making any more progress on the cowl, I decided to get started on the gear leg fairings. I lined up the fairing with a couple of squares to ensure there is absolutely no twist. Any amount of twist is added drag, and can act like a rudder to yaw the plane. After I was sure it had no twist, I taped the trailing edge together in a few spots. This not only keeps it straight during the next couple of steps, but the tape strips will act as a indicator to ensure I don’t introduce any twist later.
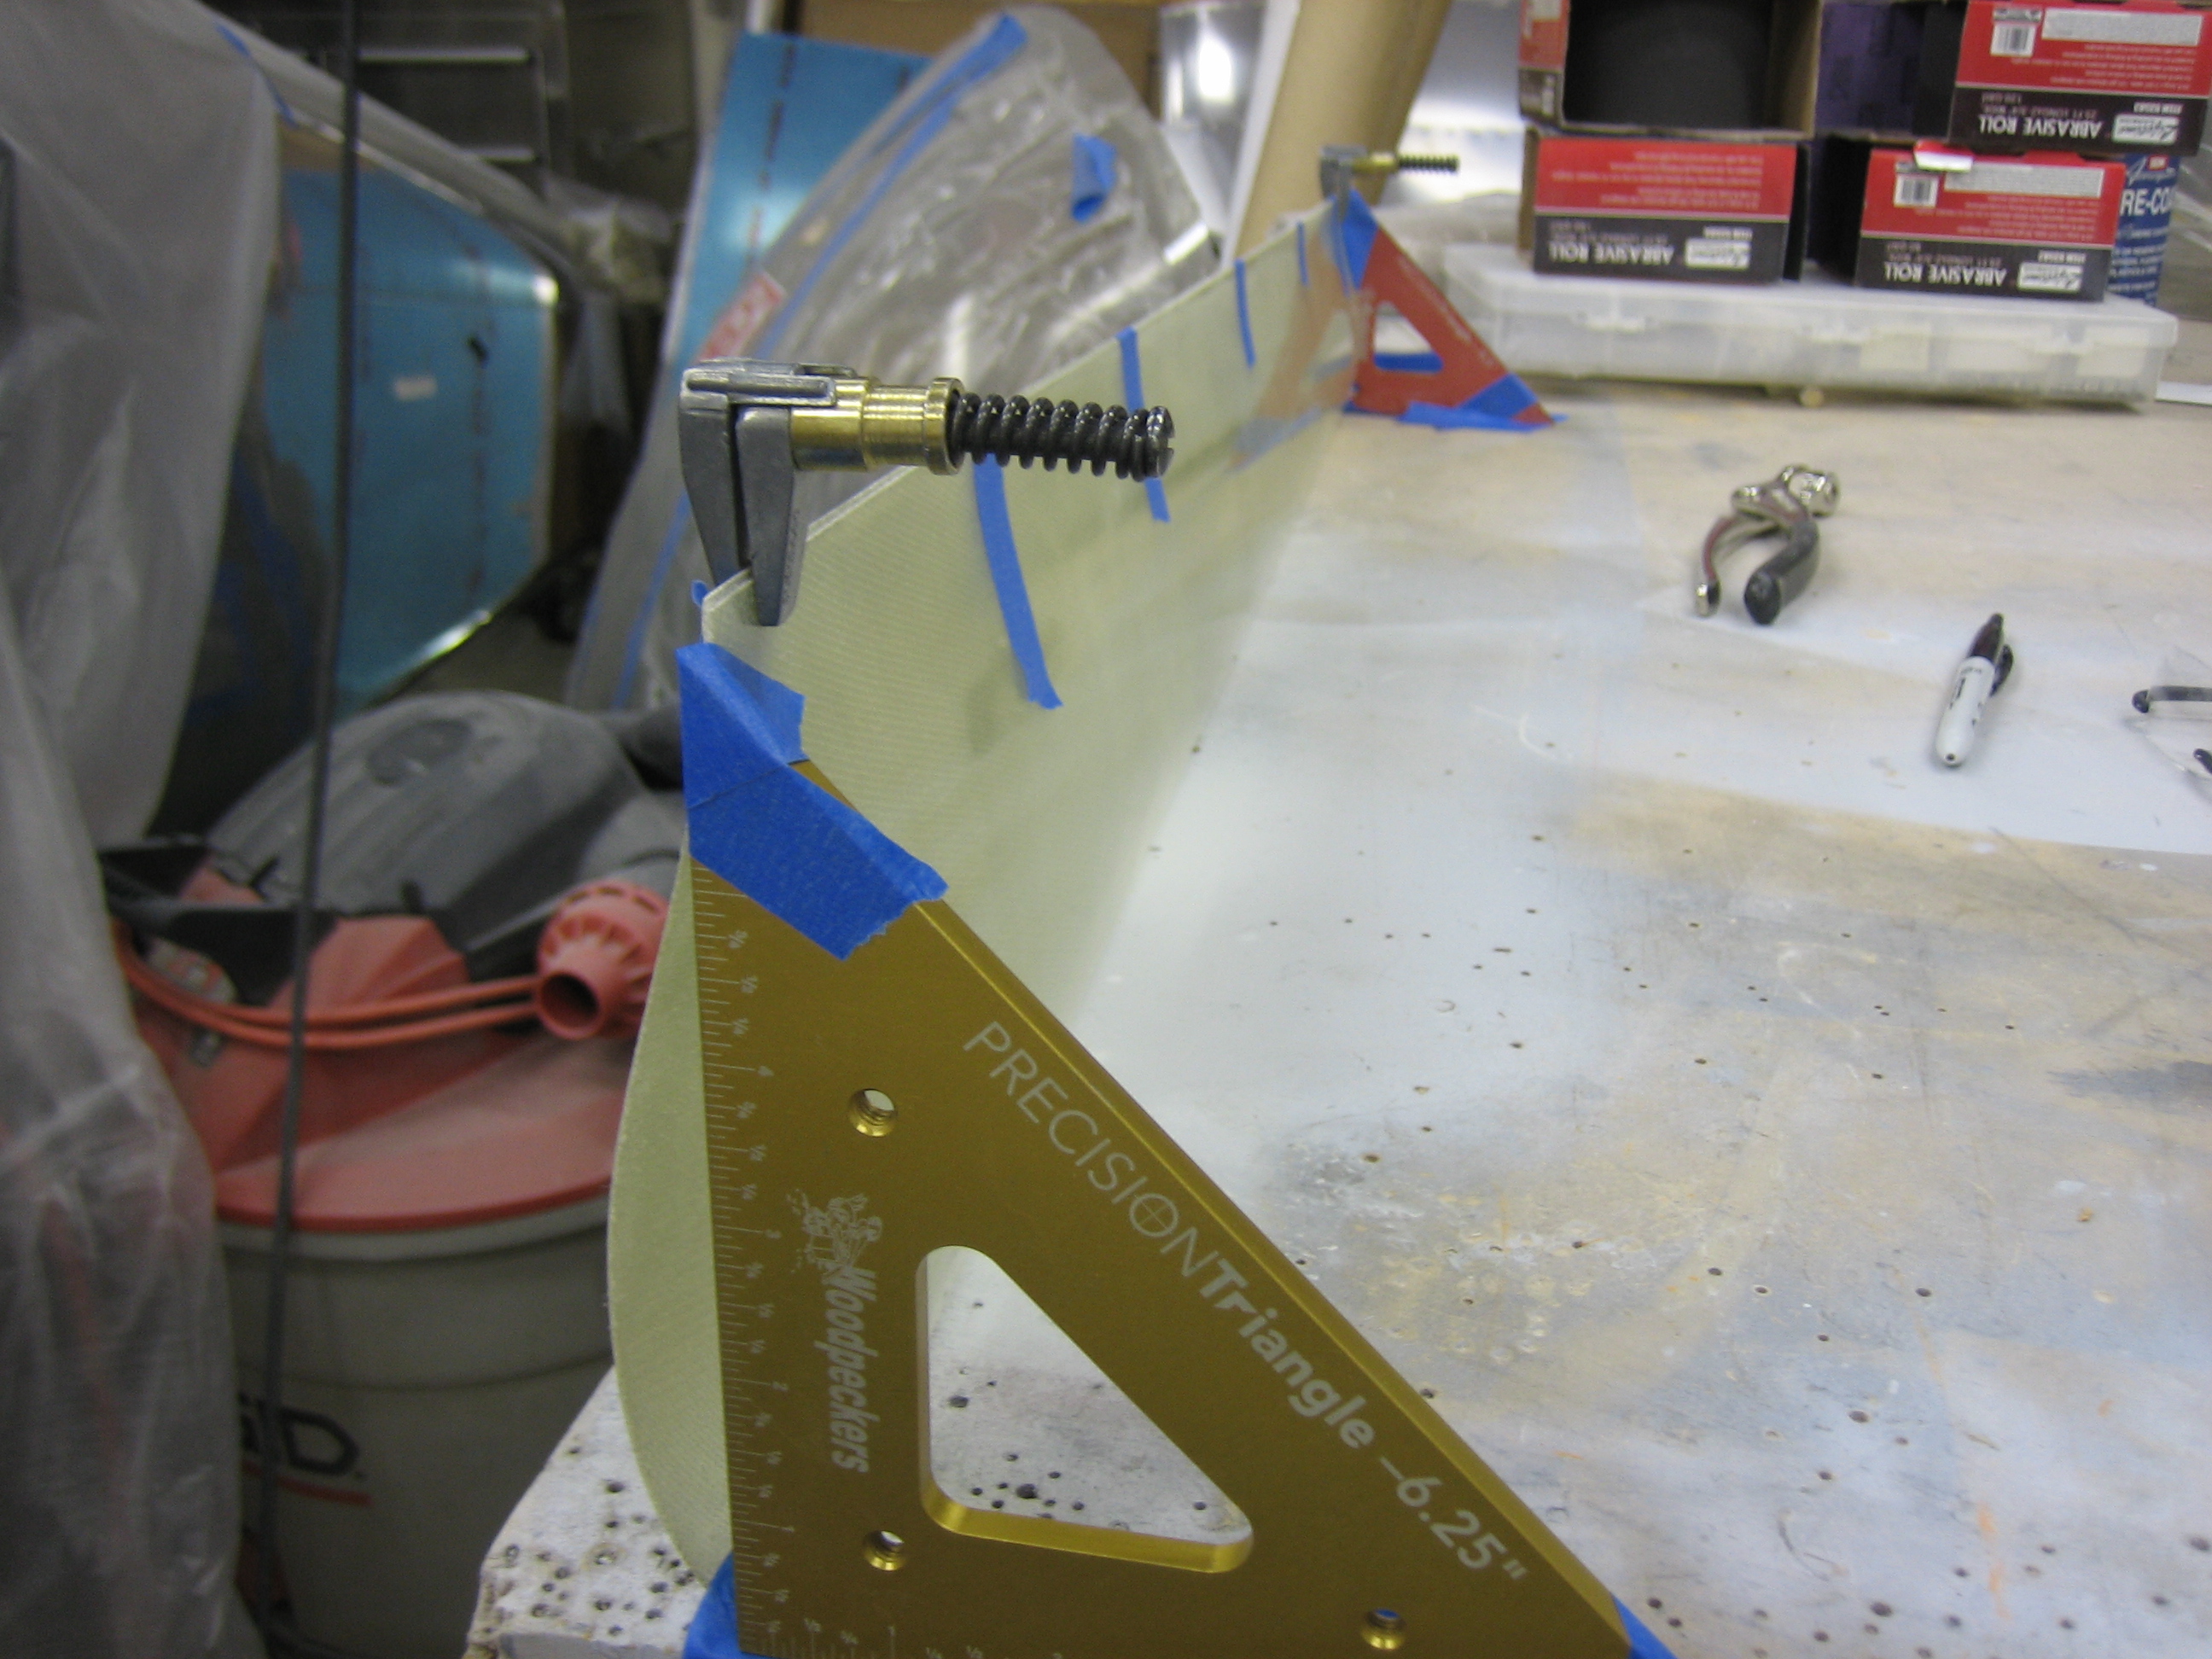
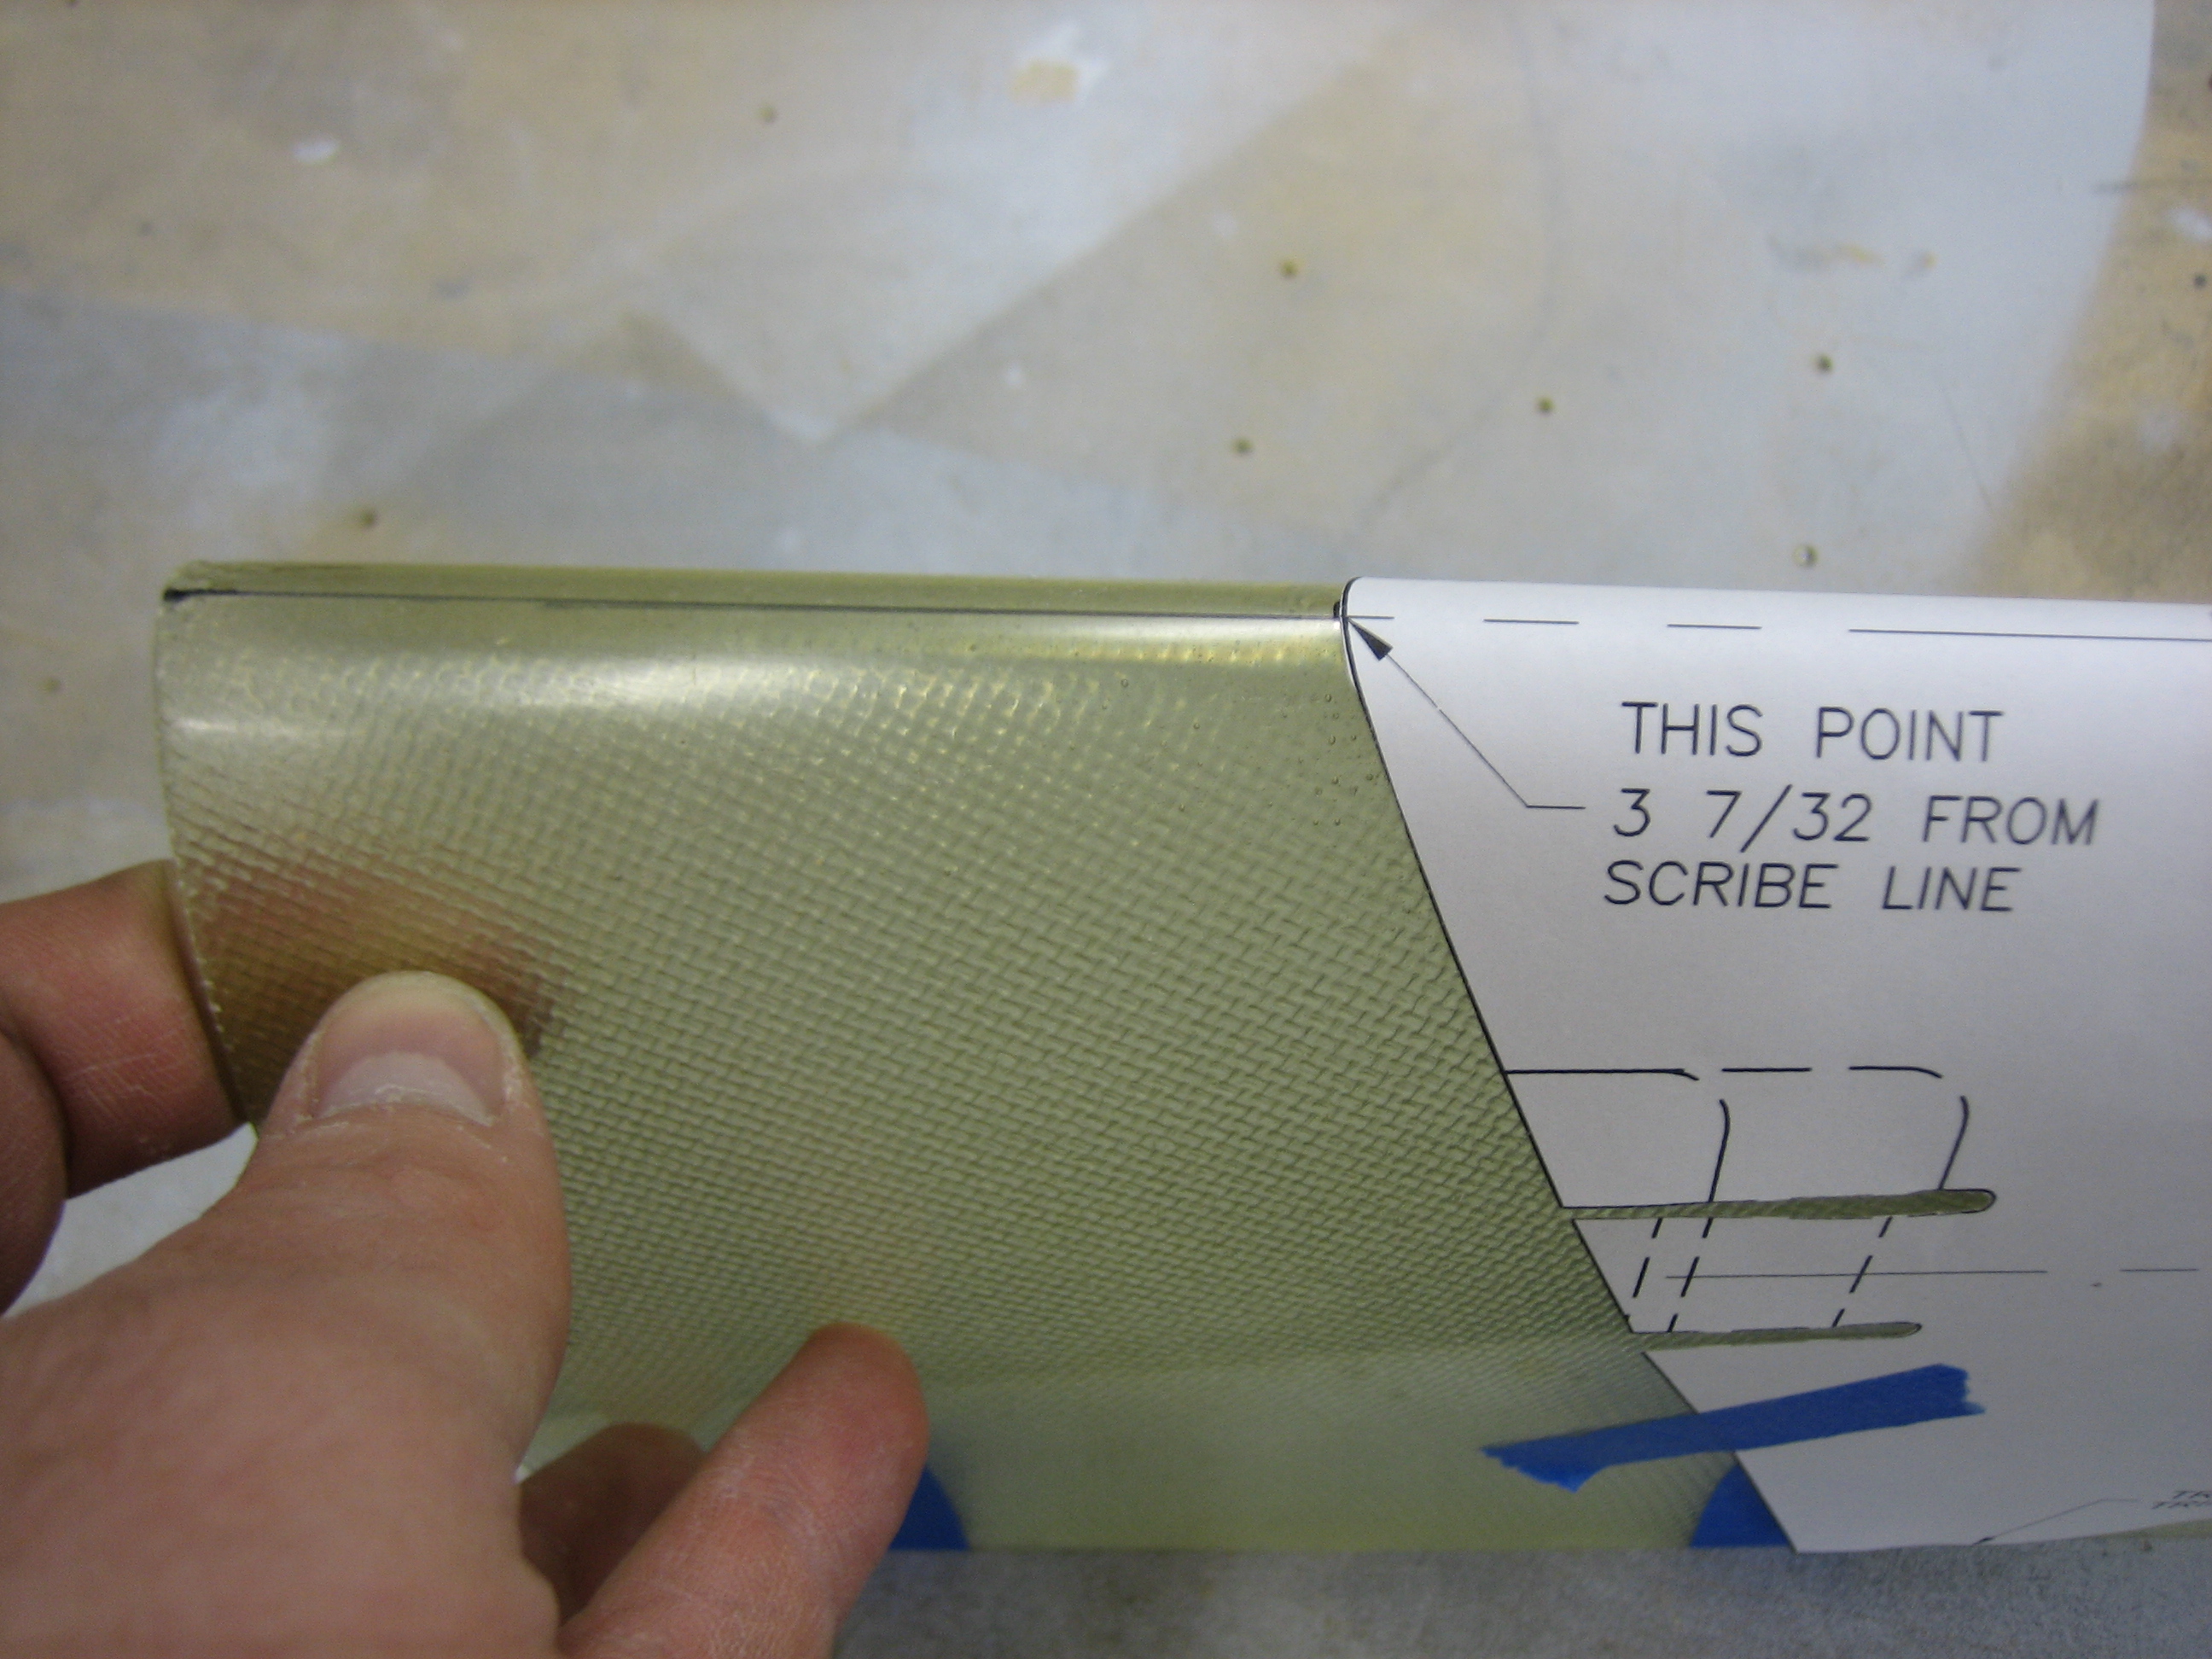
I cut out the gear leg fairing template and lined it up with a line I drew on the leading edge, making sure to make the leading edge of the template 3 7/32 back from the scribe line.
I then taped up the rest of the template and marked all the way around.
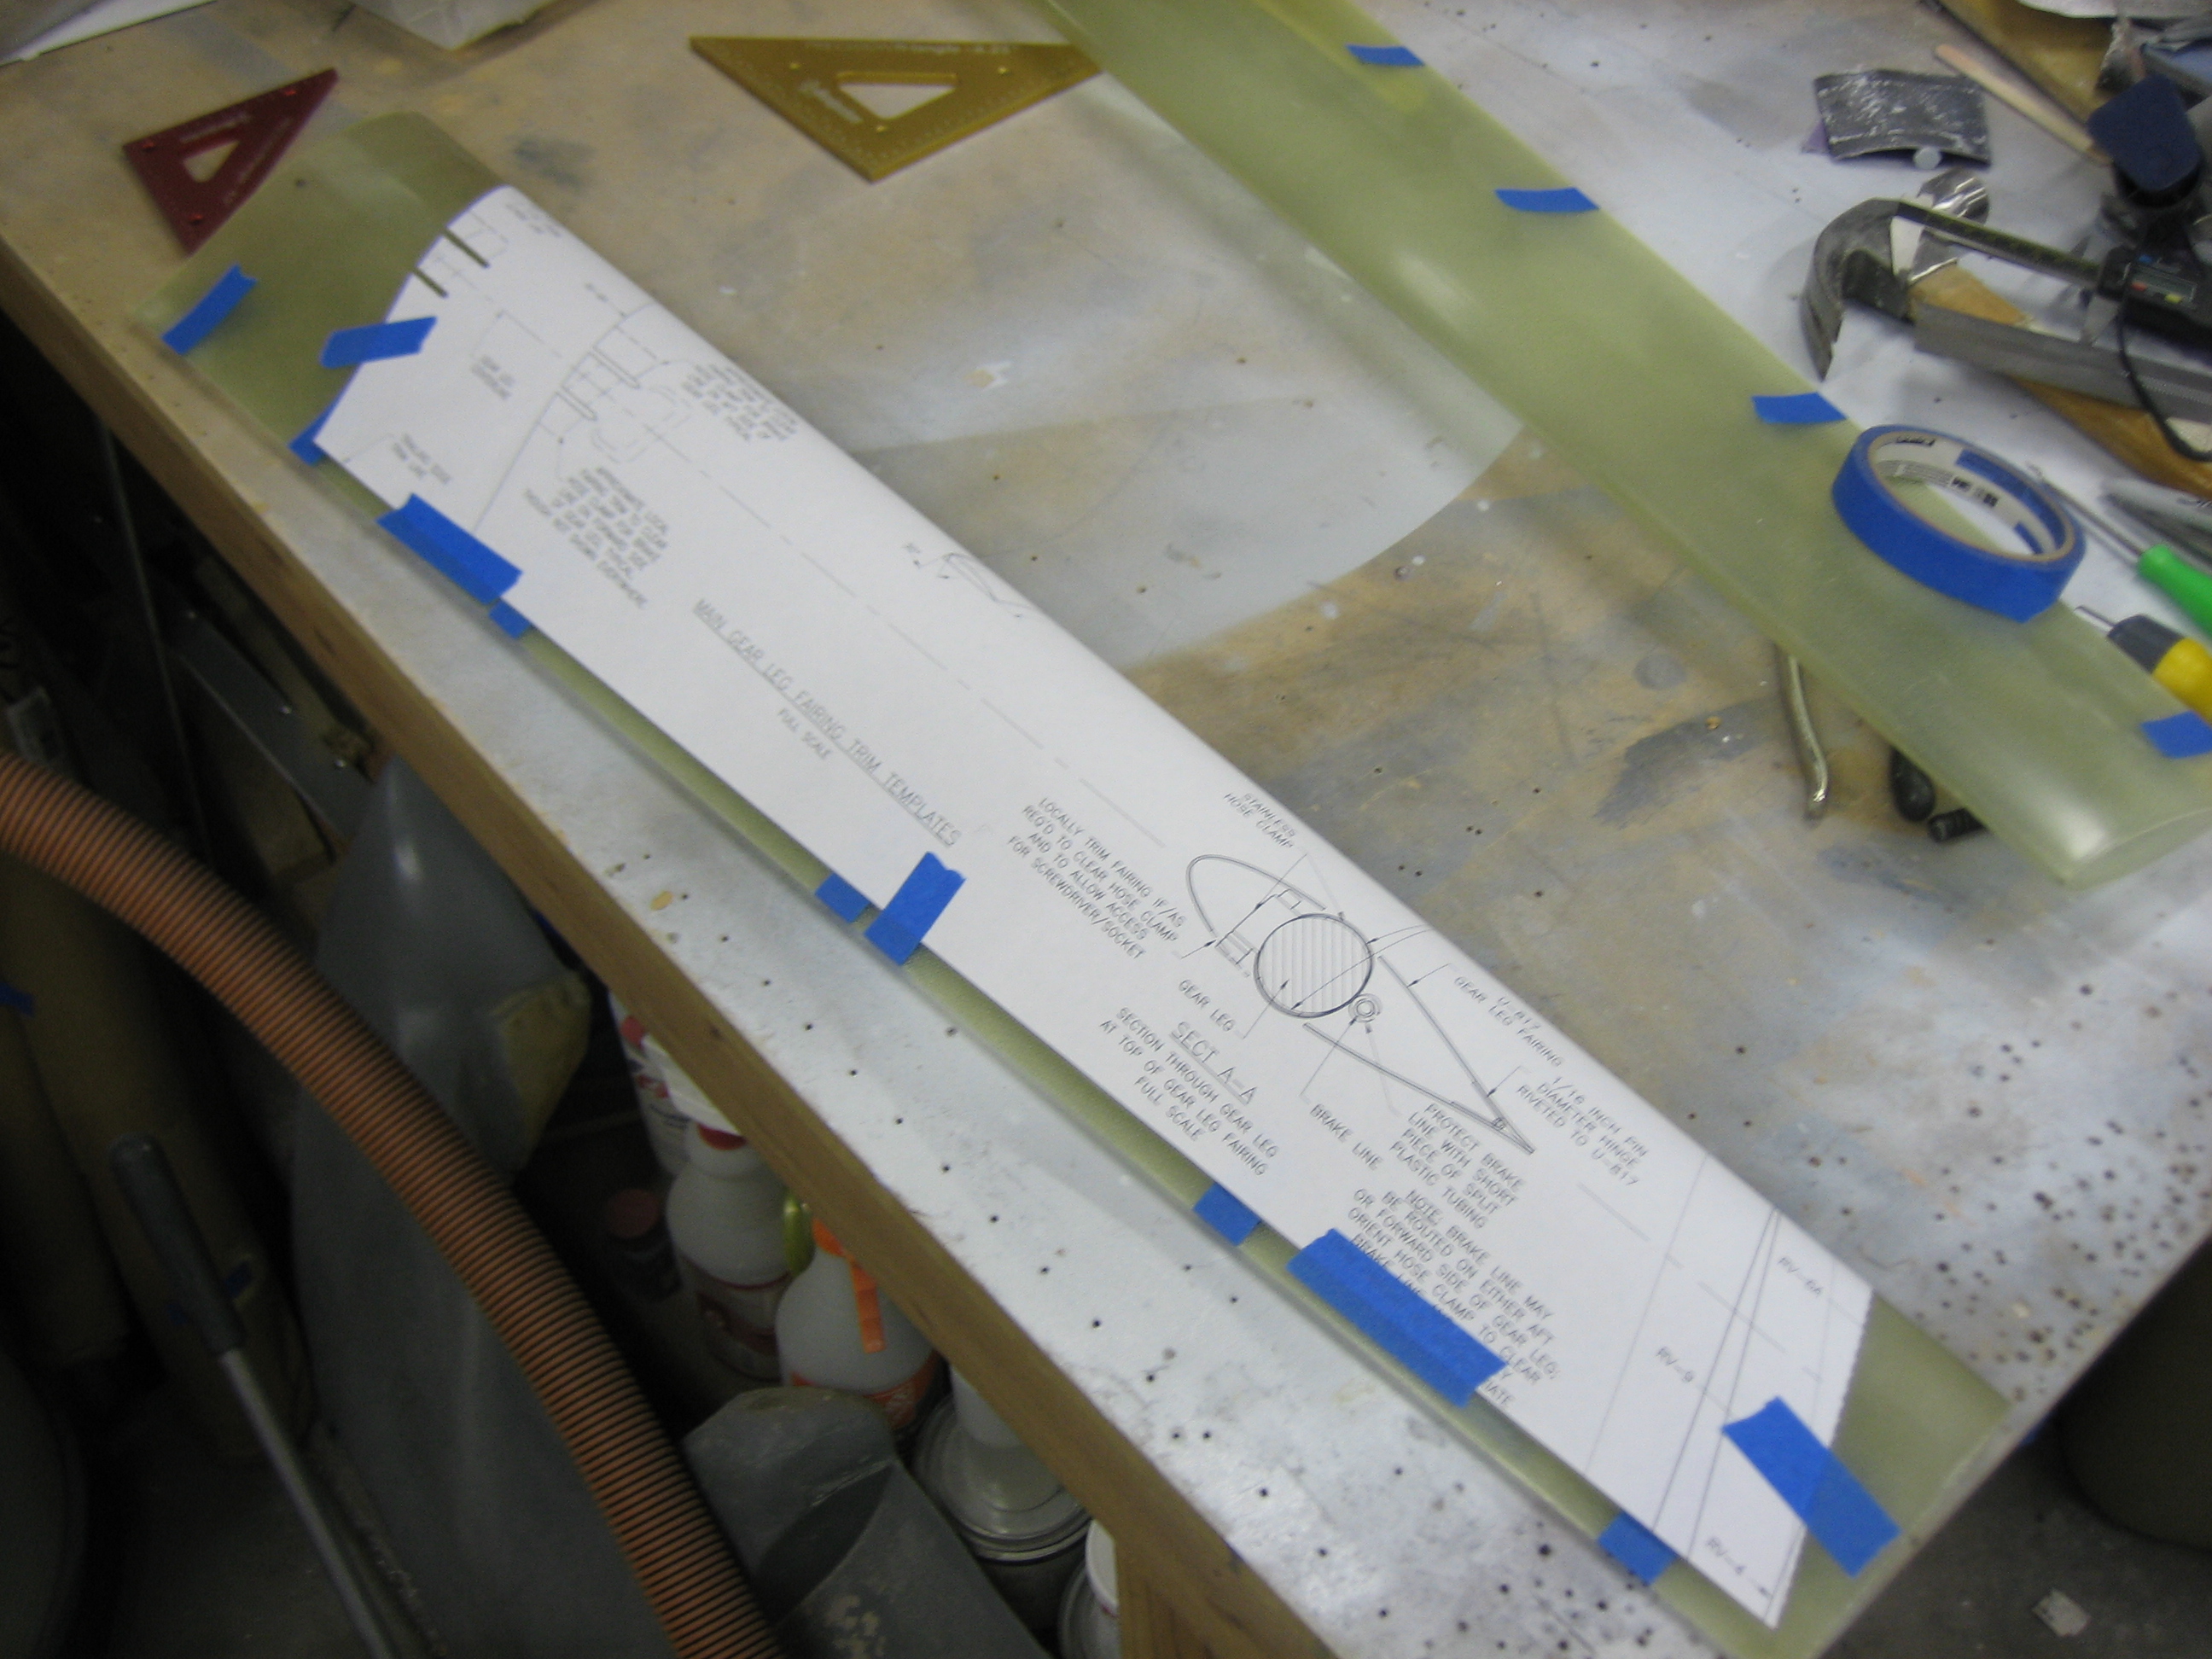
Here’s the marked fairing.
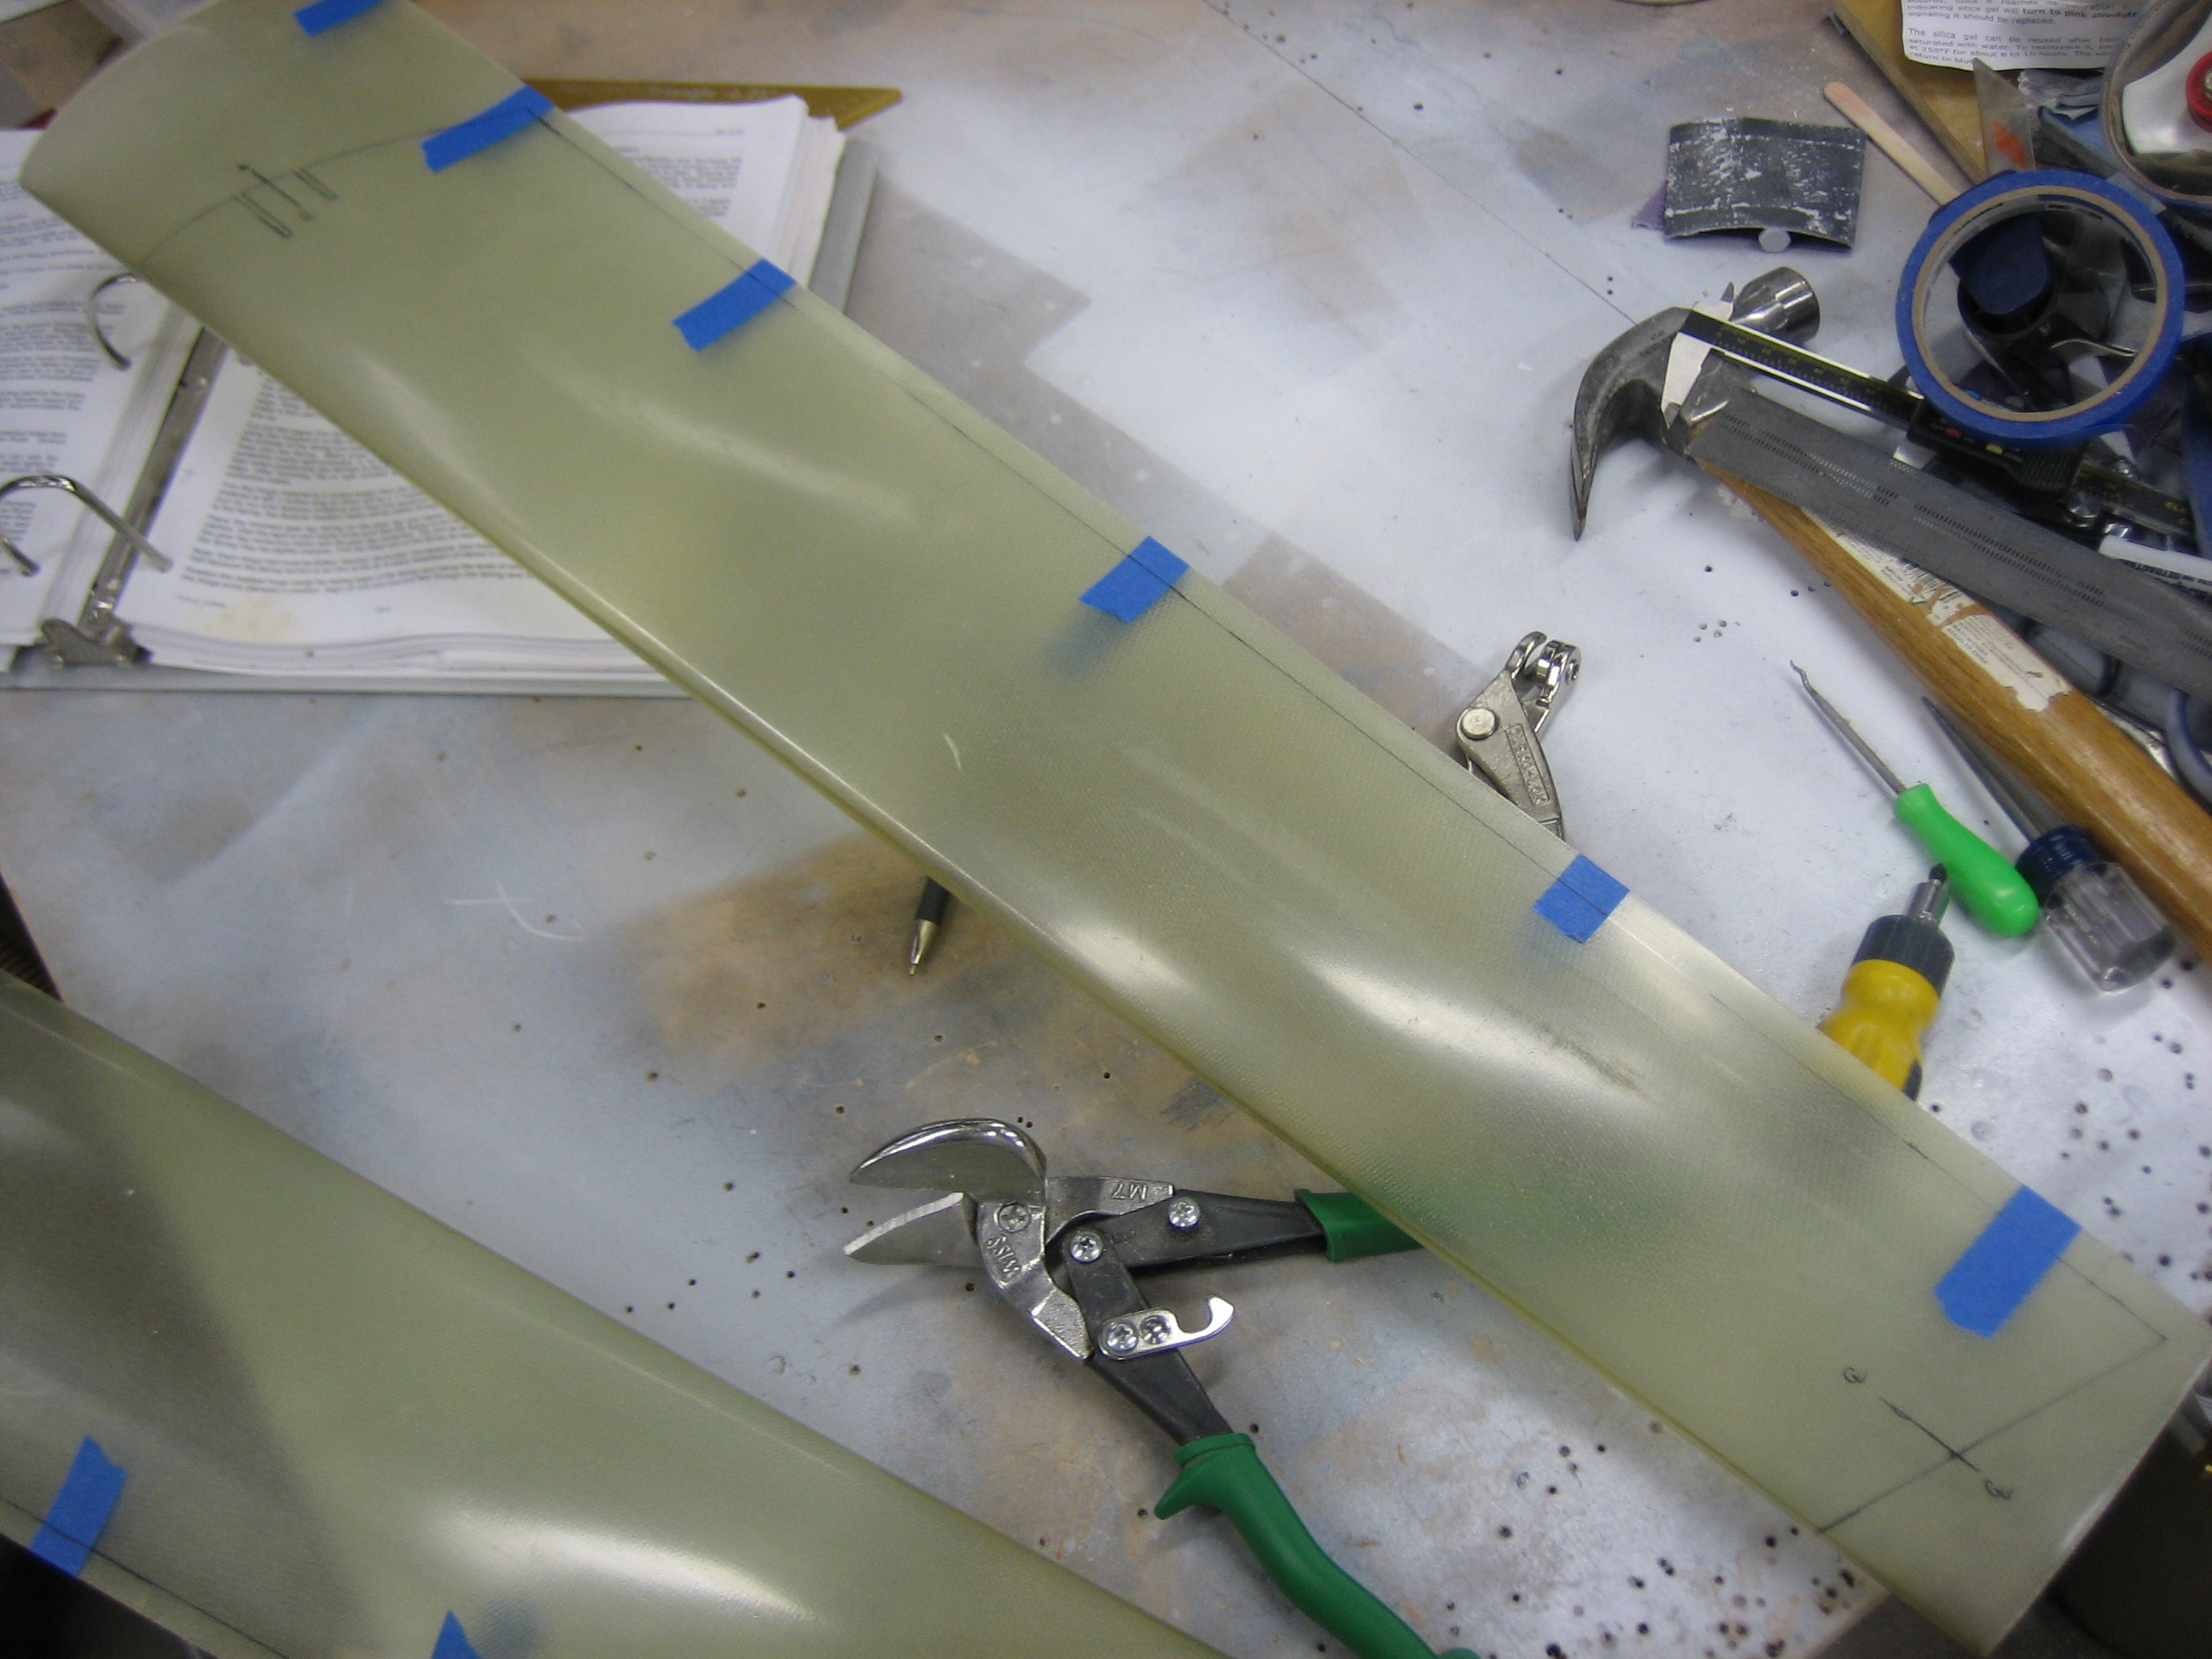
After a few minutes with tin snips and a sanding block, here are the trimmed fairings.