My goal for today was to get the empennage attached to the fuselage. I came out to the garage early and fabricated the rear elevator pushrod since I’d need it to hook up the elevators.
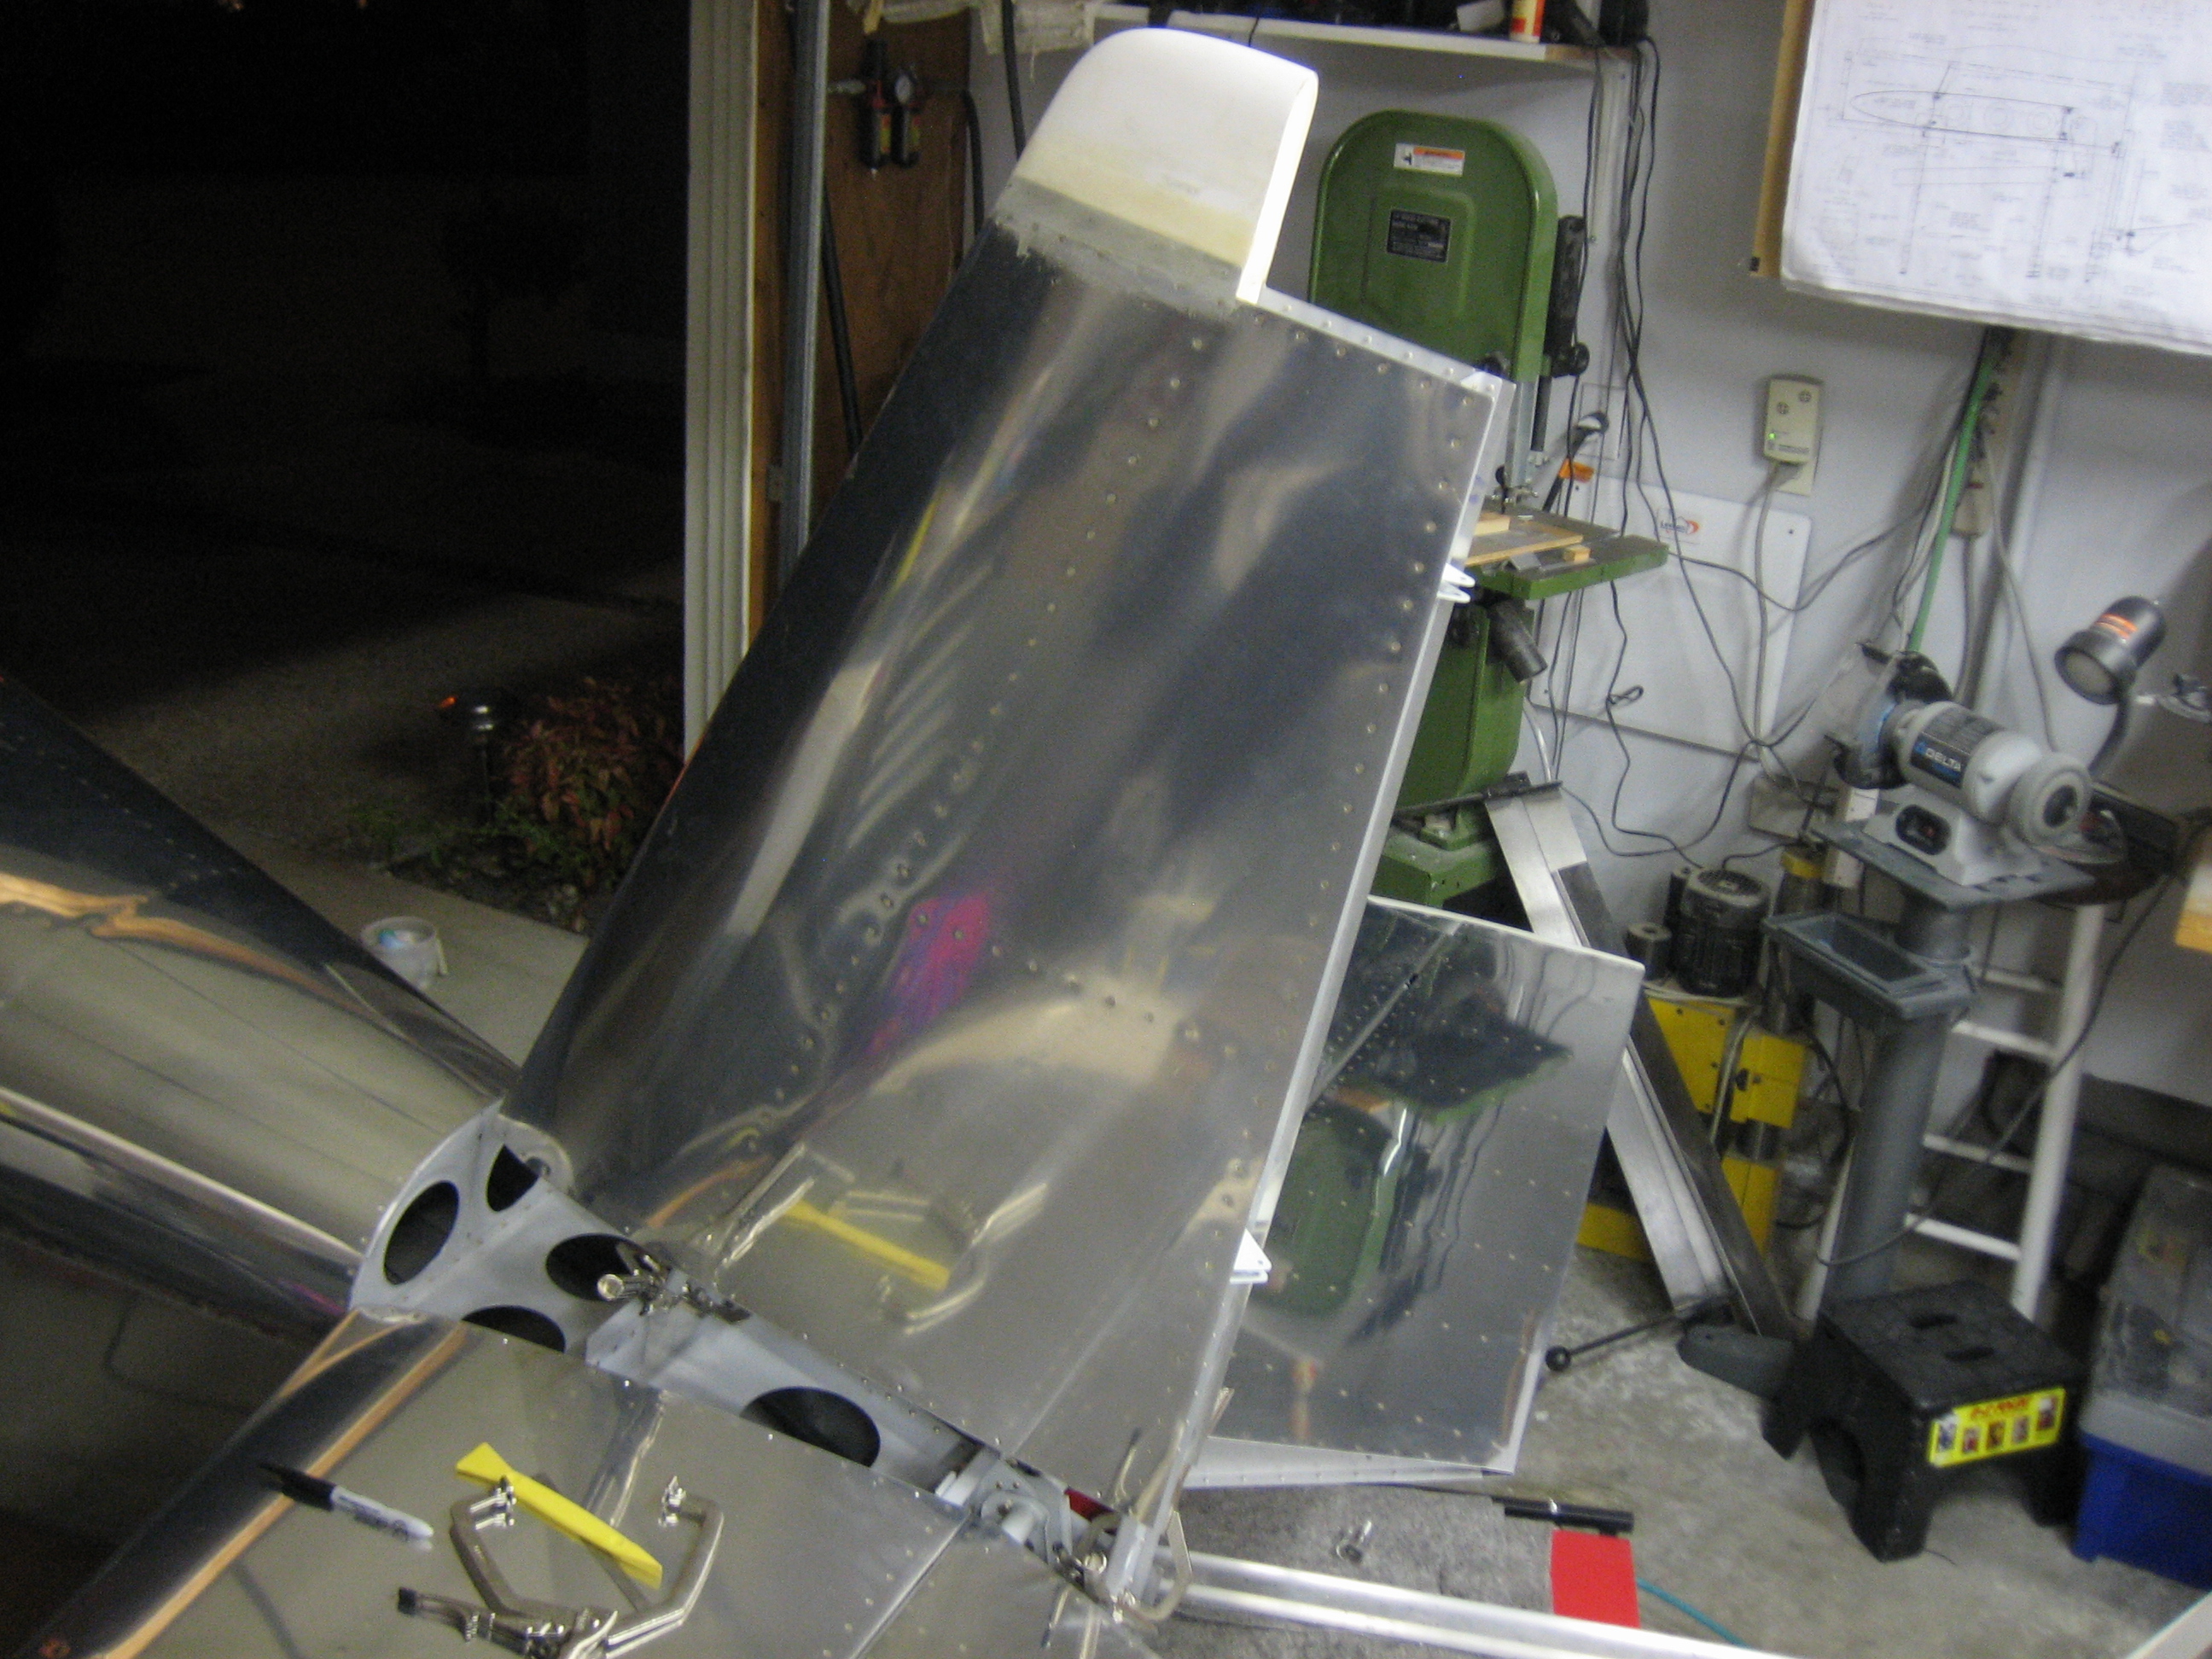
My buddy Andre dropped by to help me attach the empennage. I then pulled the plane most of the way out of the garage to make some more room, then placed the horizontal stabilizer in place. The forward spar sits on a couple of spacers that Andre fabricated for me.
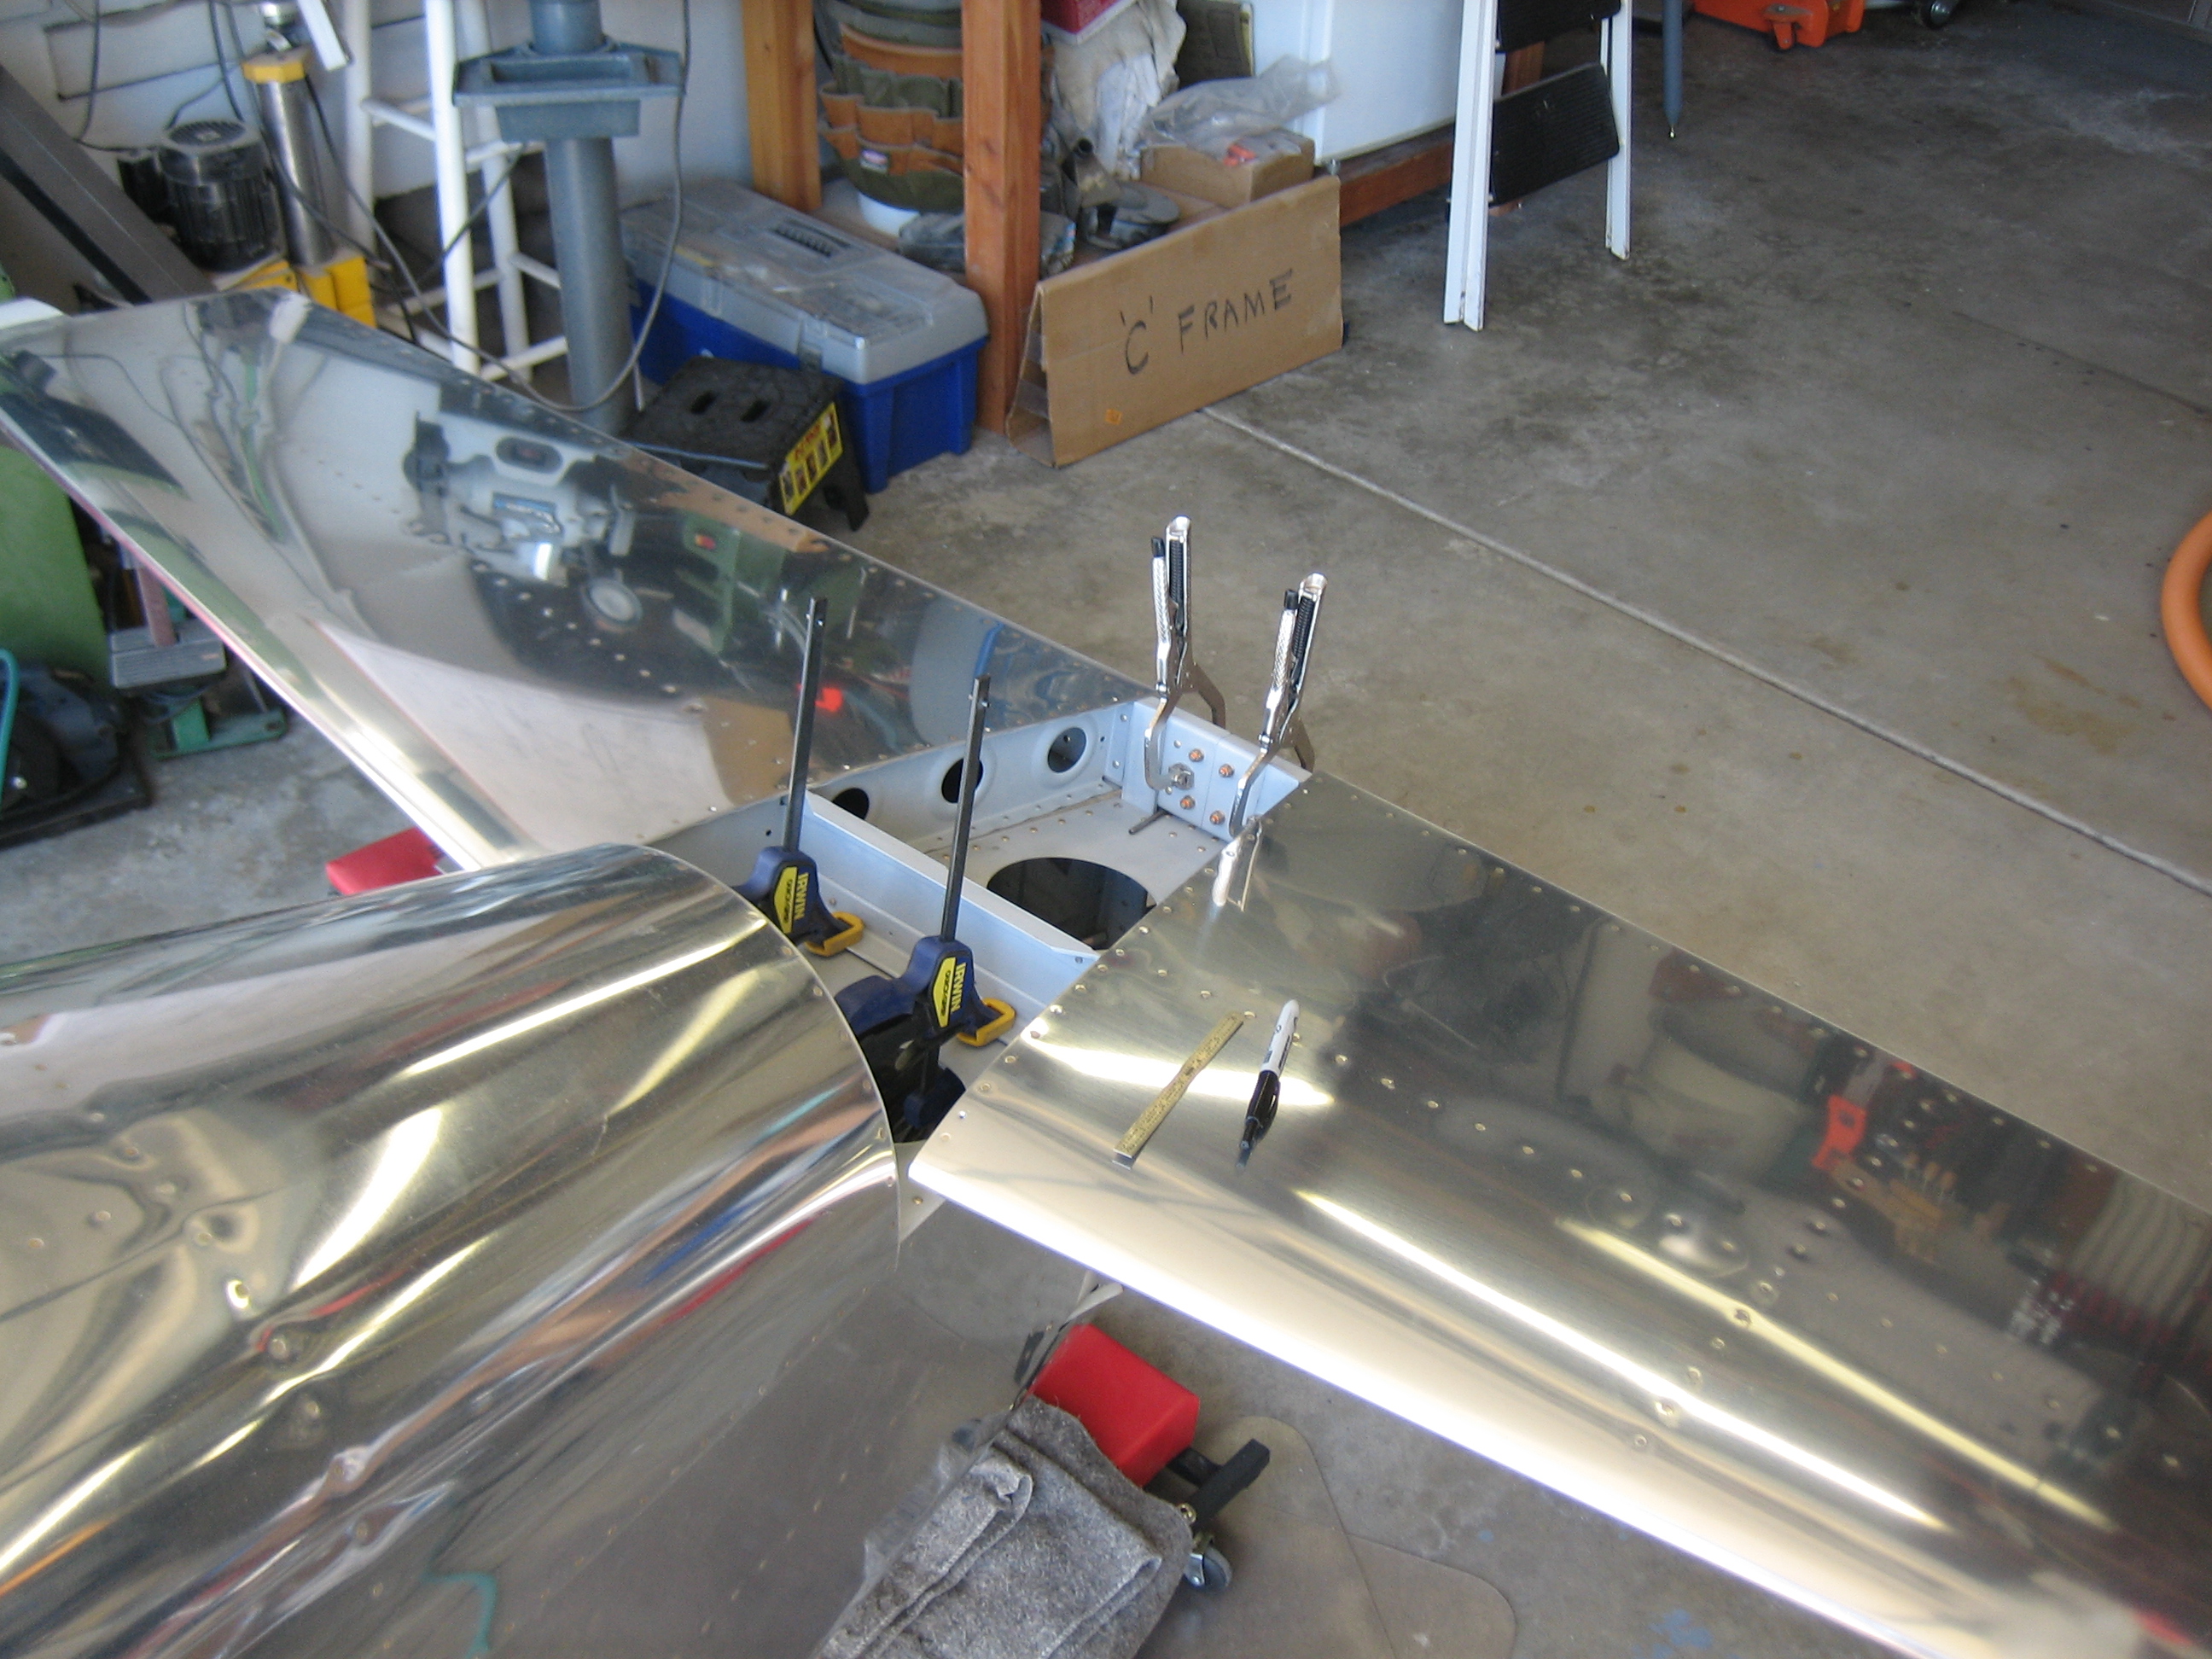
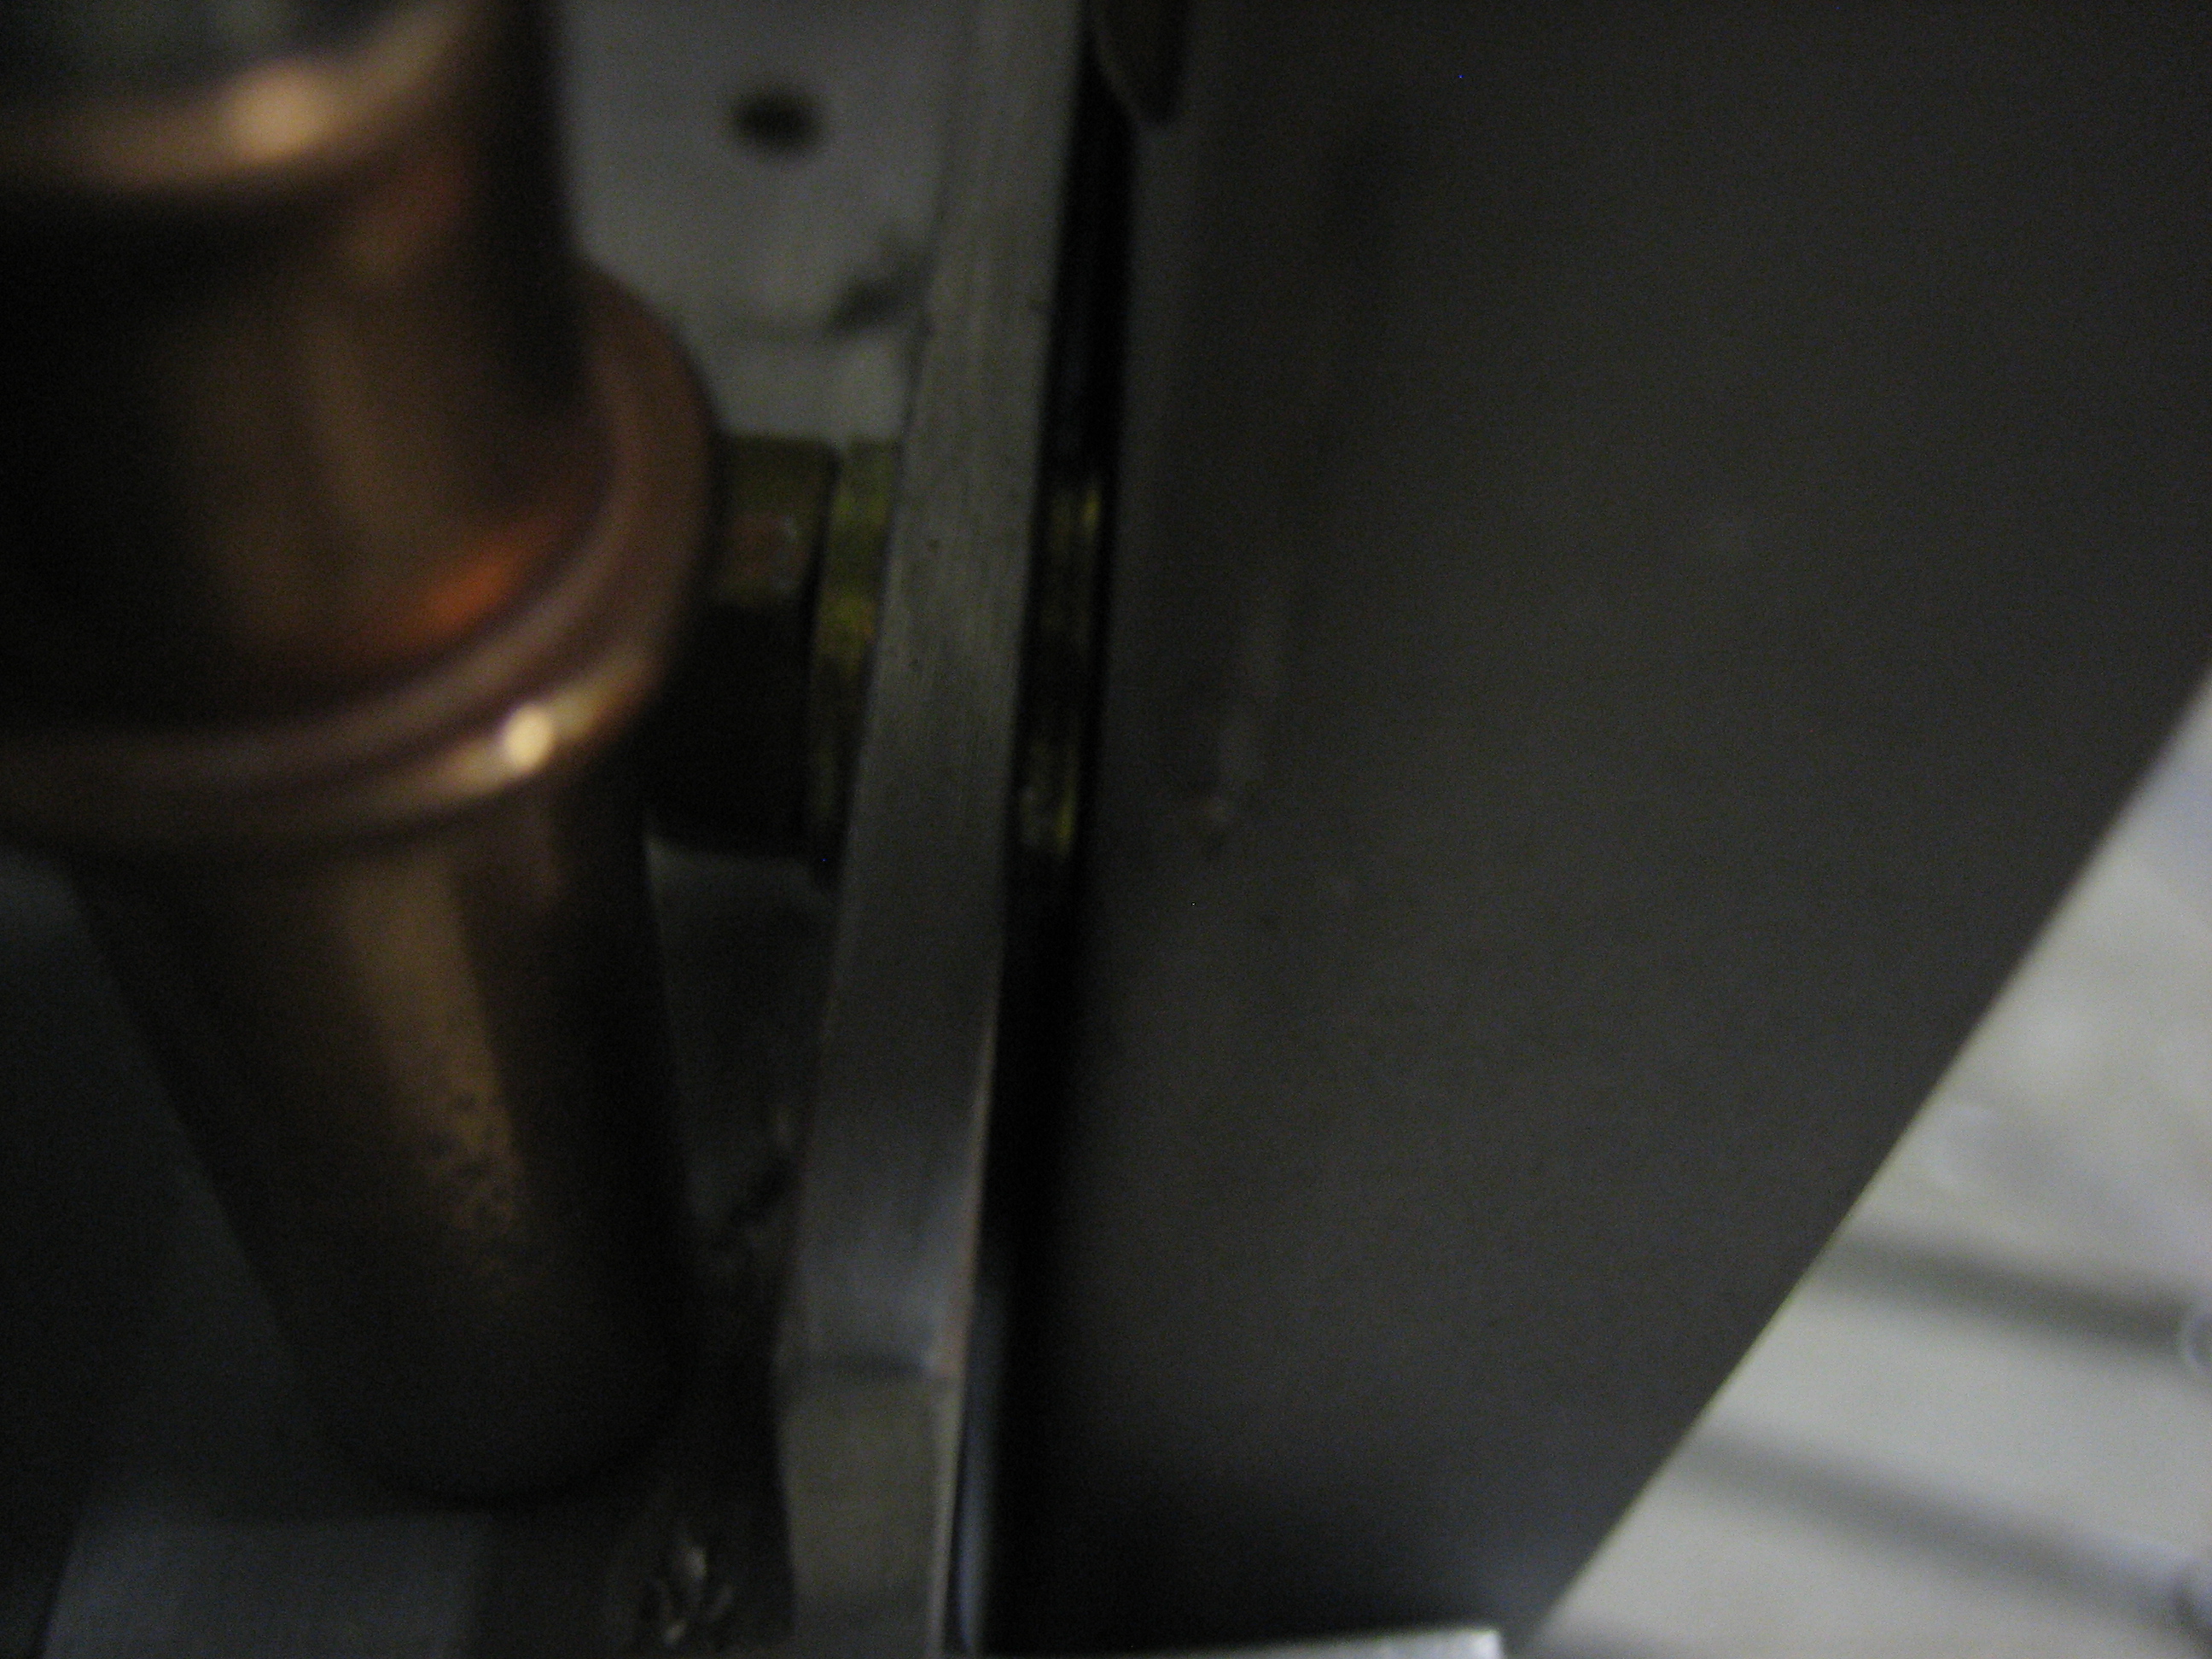
The rear spar sits on a couple of 3/16″ drill bits to space it up off the deck. I measured the tooling holes to ensure that the stabilizer incidence is 0º.
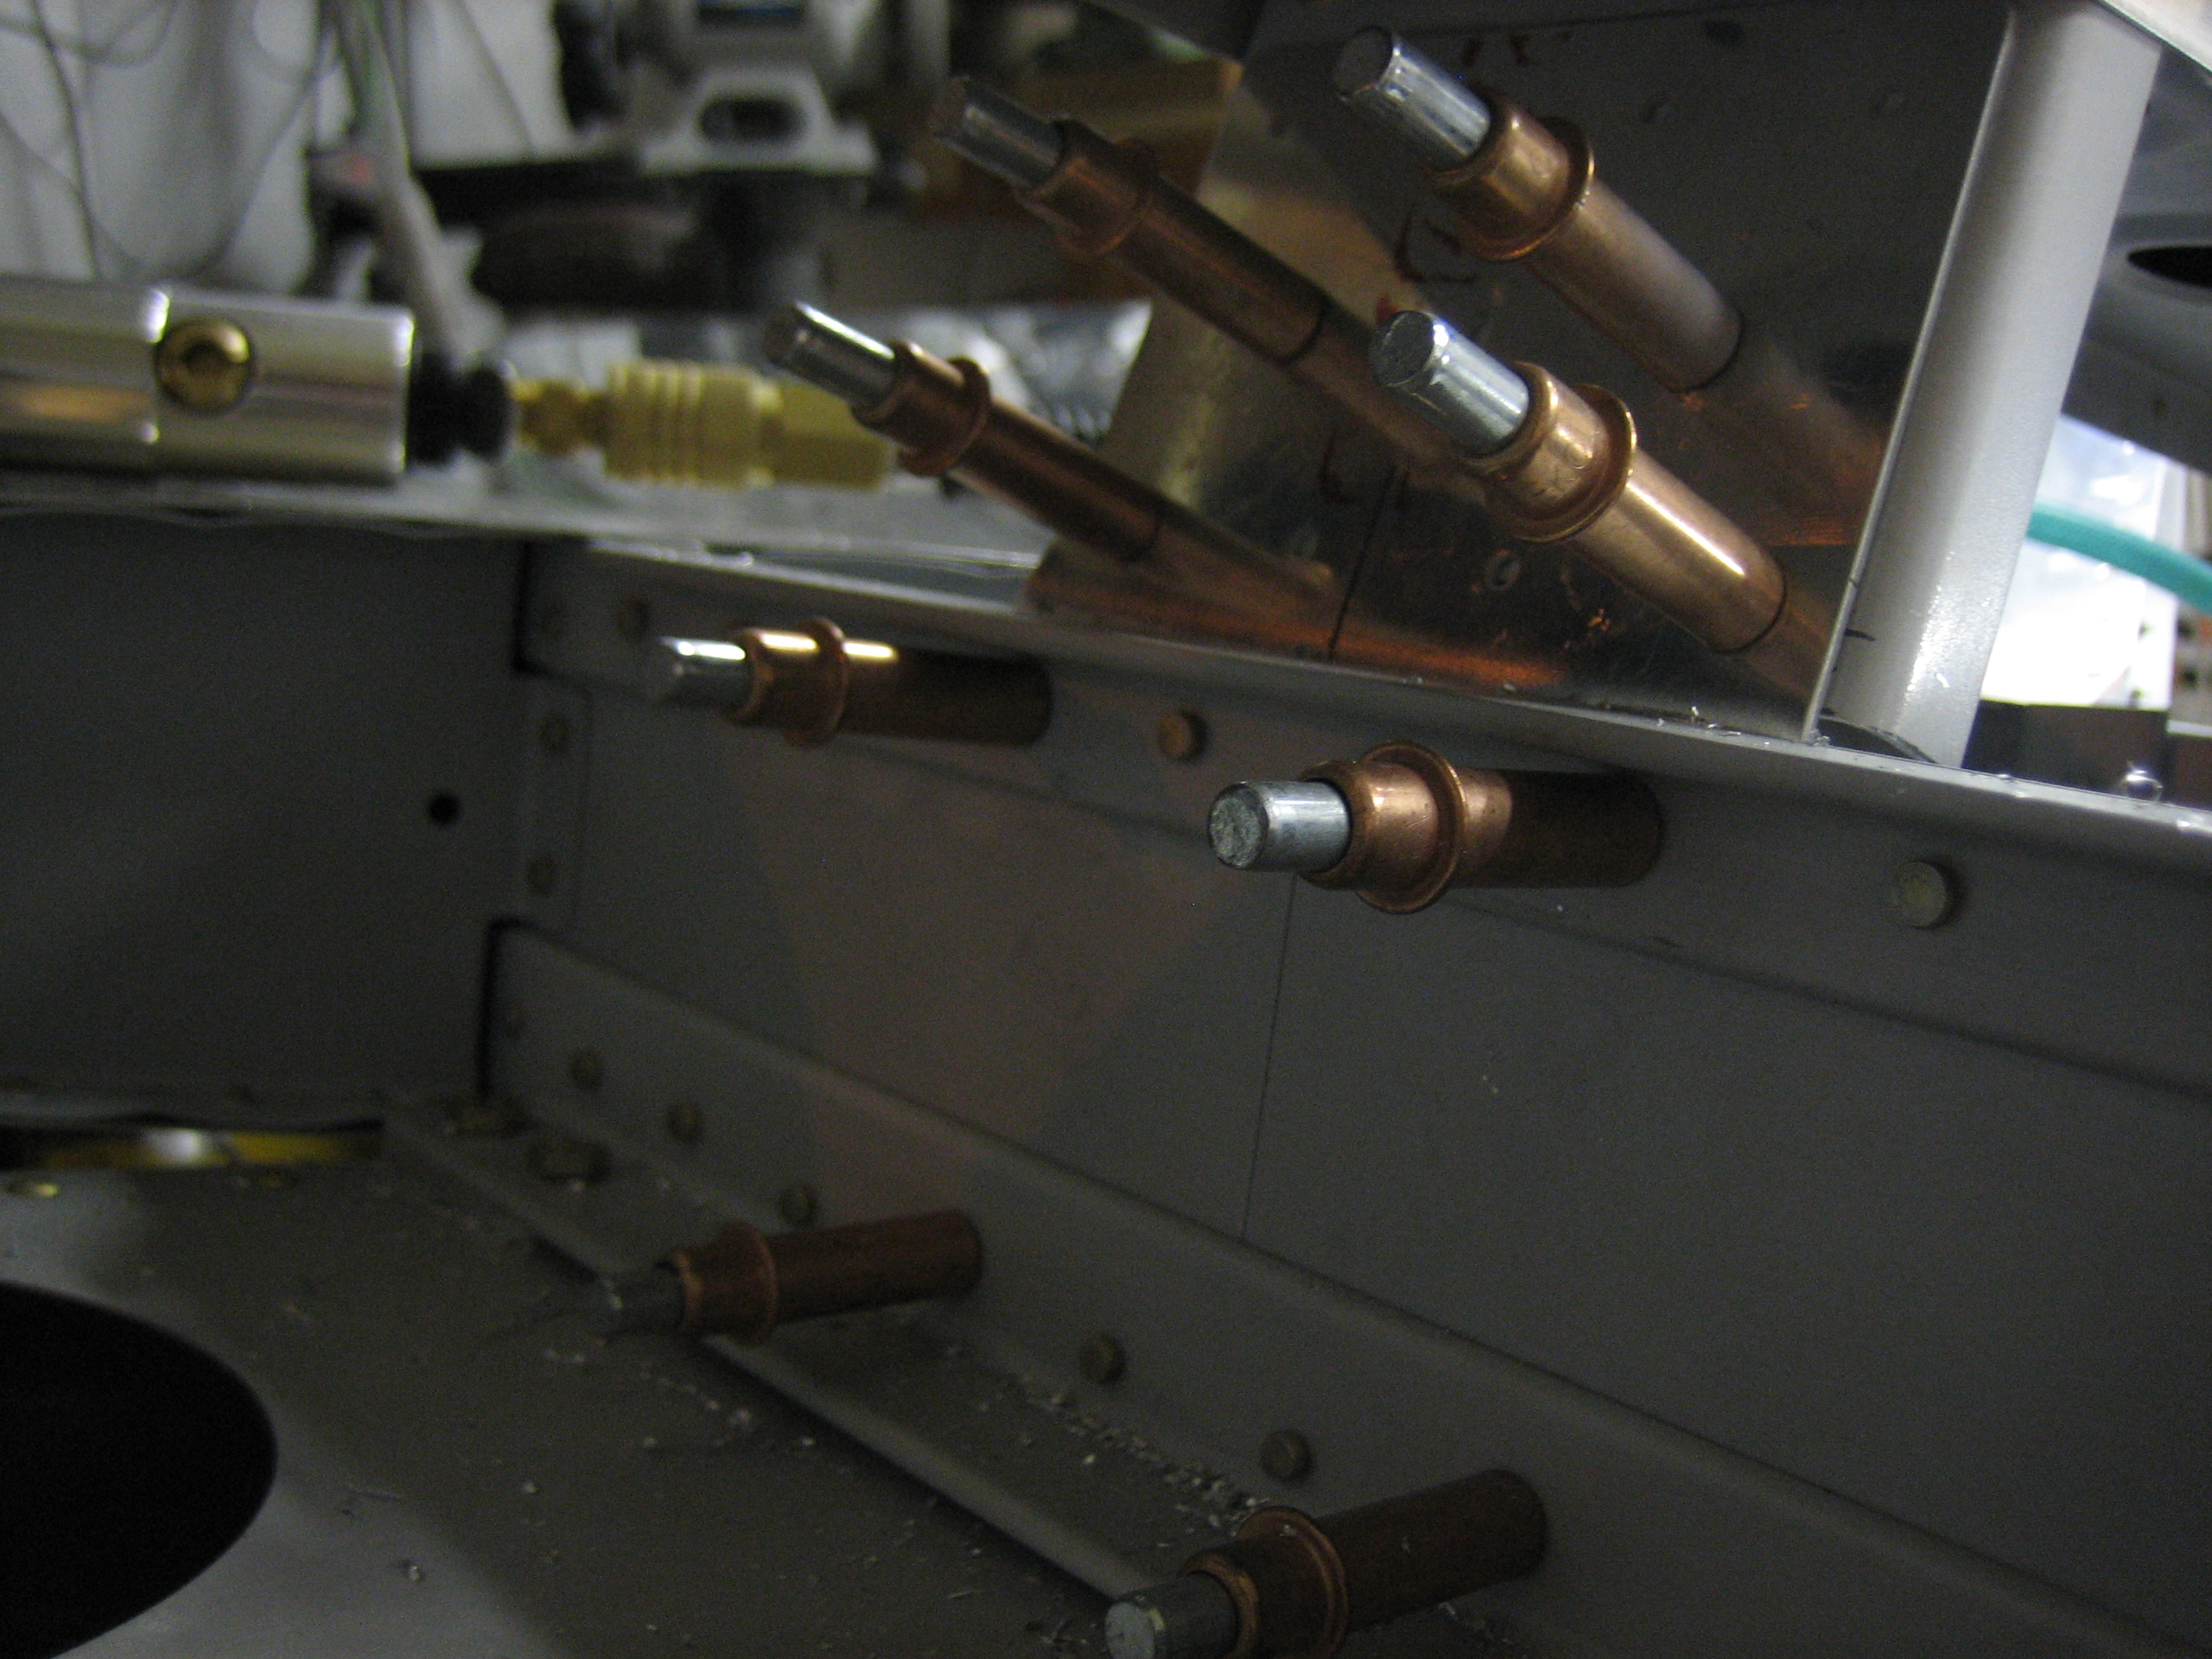
I then laid out the holes that will be drilled in the forward spar. The outer holes (right in this picture) penetrate this angle, the spacer, the aft deck, the longeron, and the cross brace. There’s over 1/2″ of material here that is bolted together.
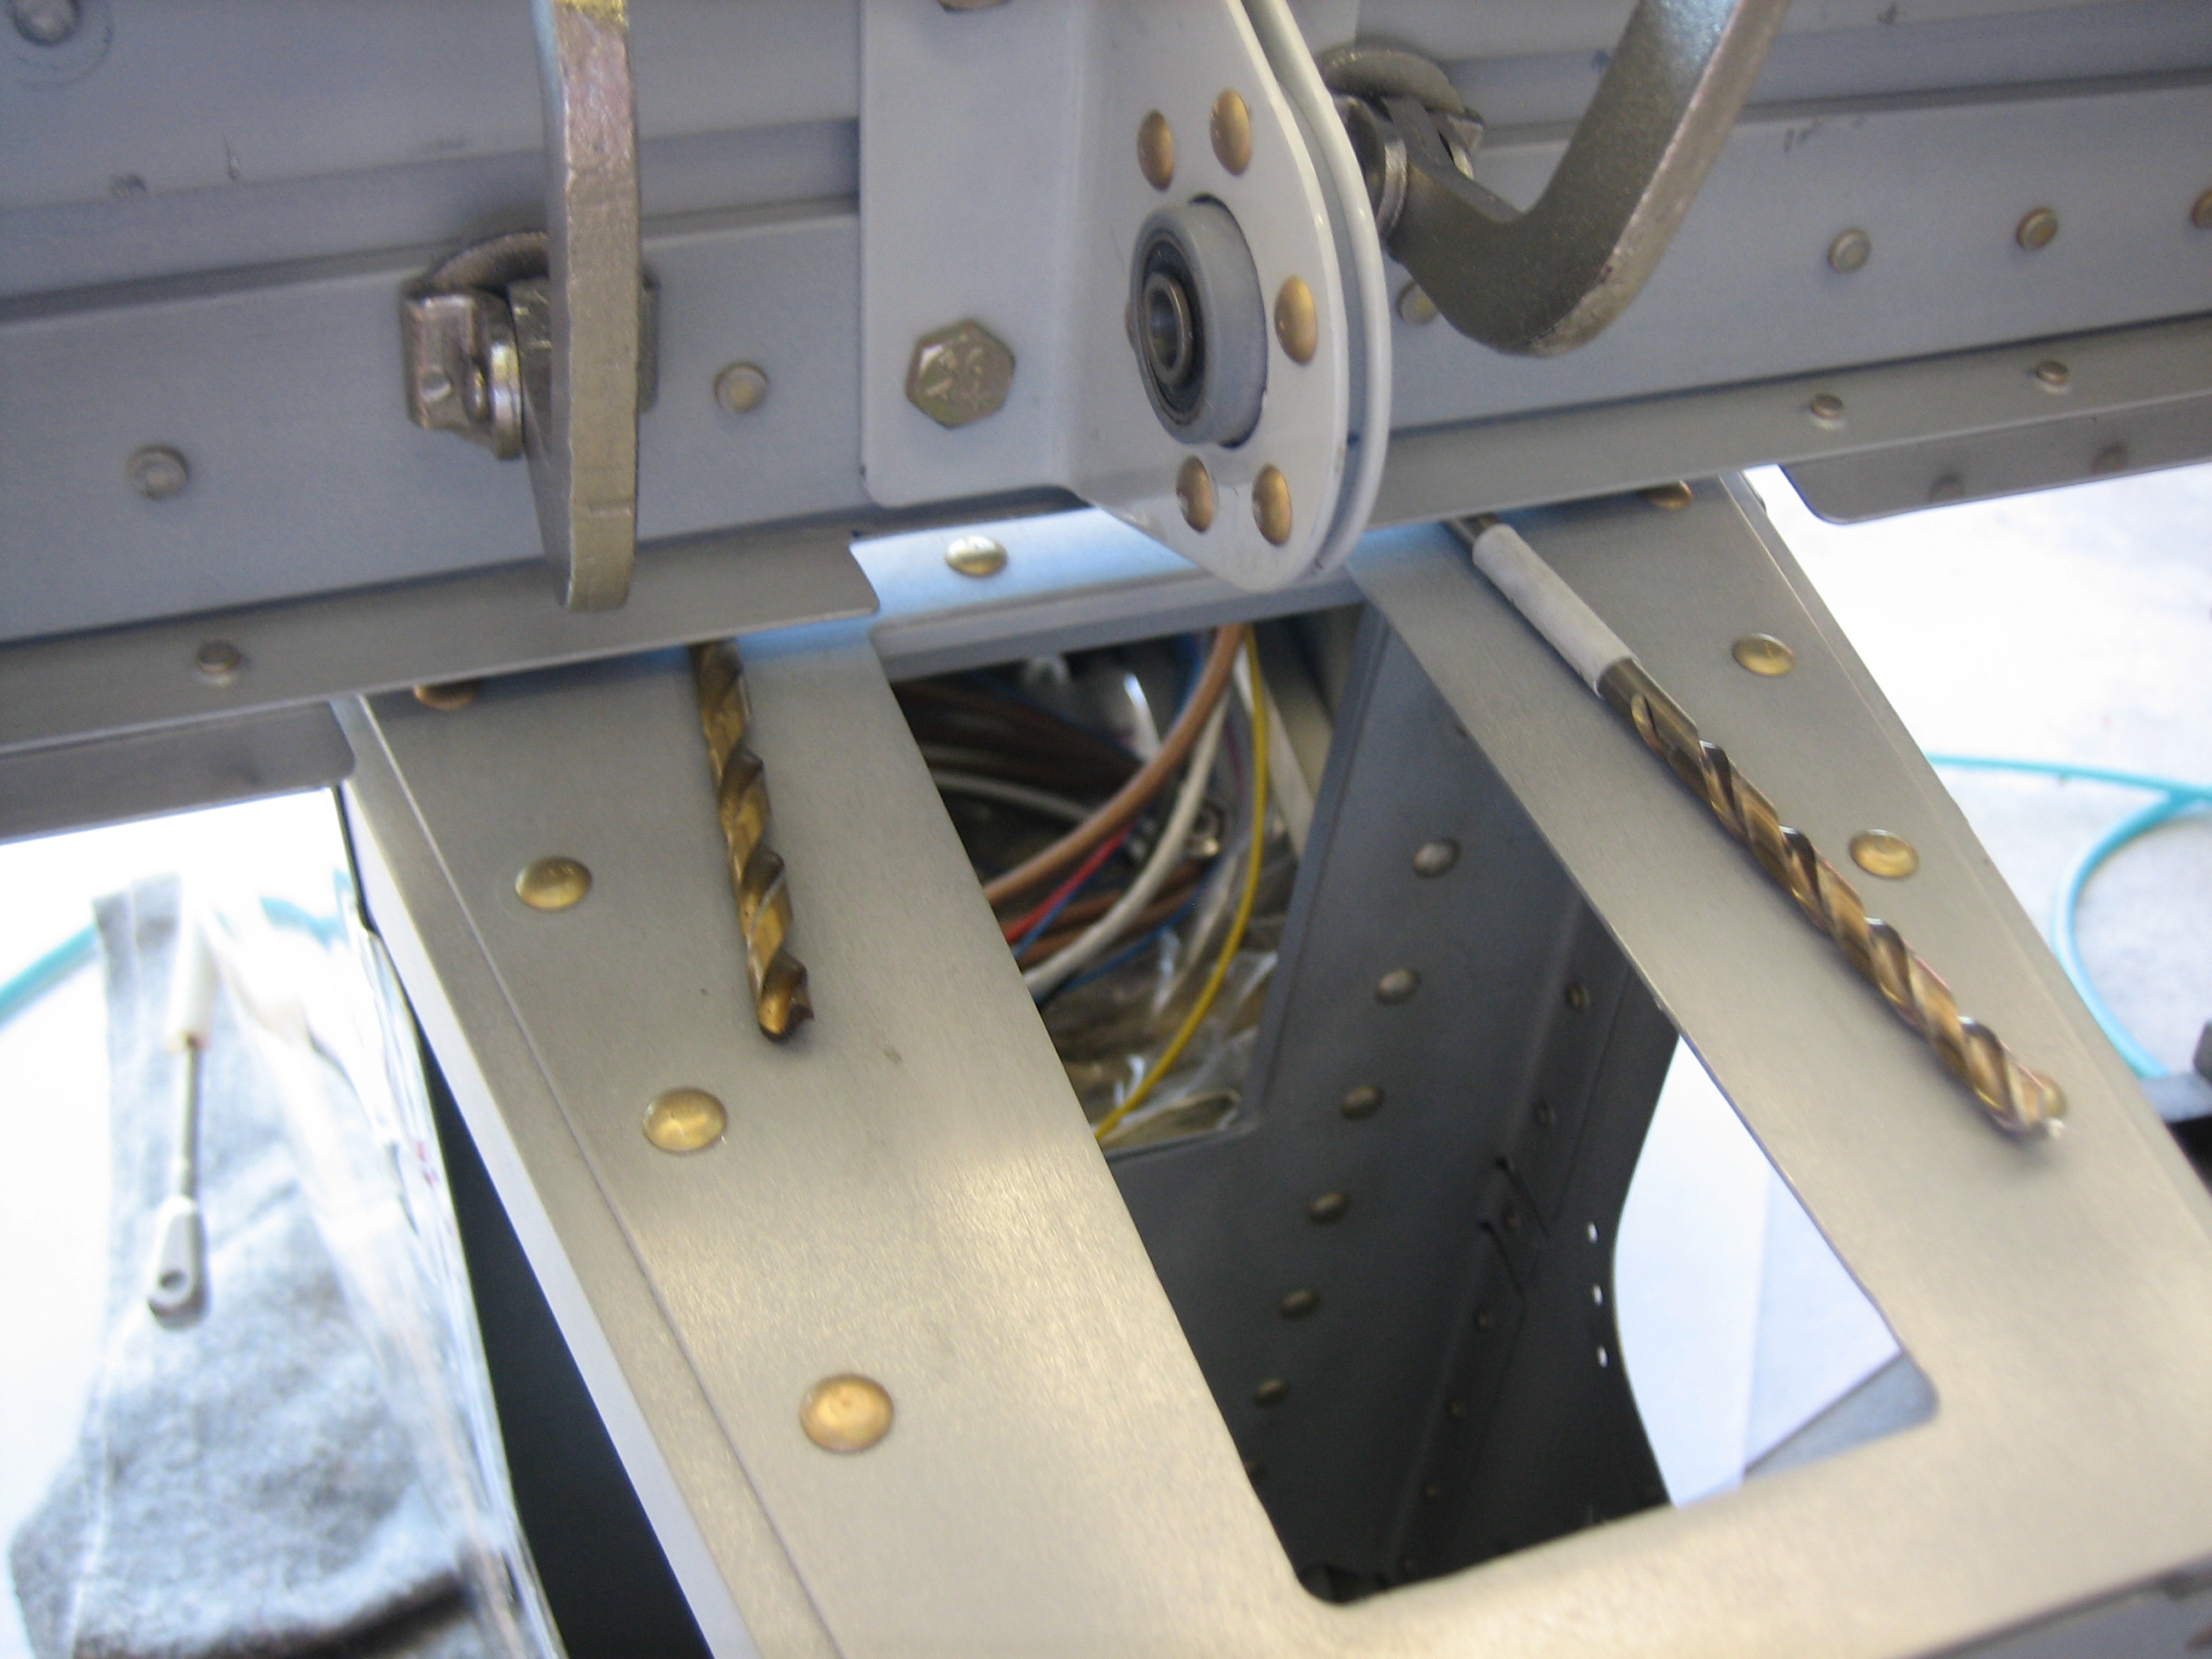
I then drilled the holes. The outer ones can be drilled and reamed straight on, but I had to use the angle drill to do the inner ones.
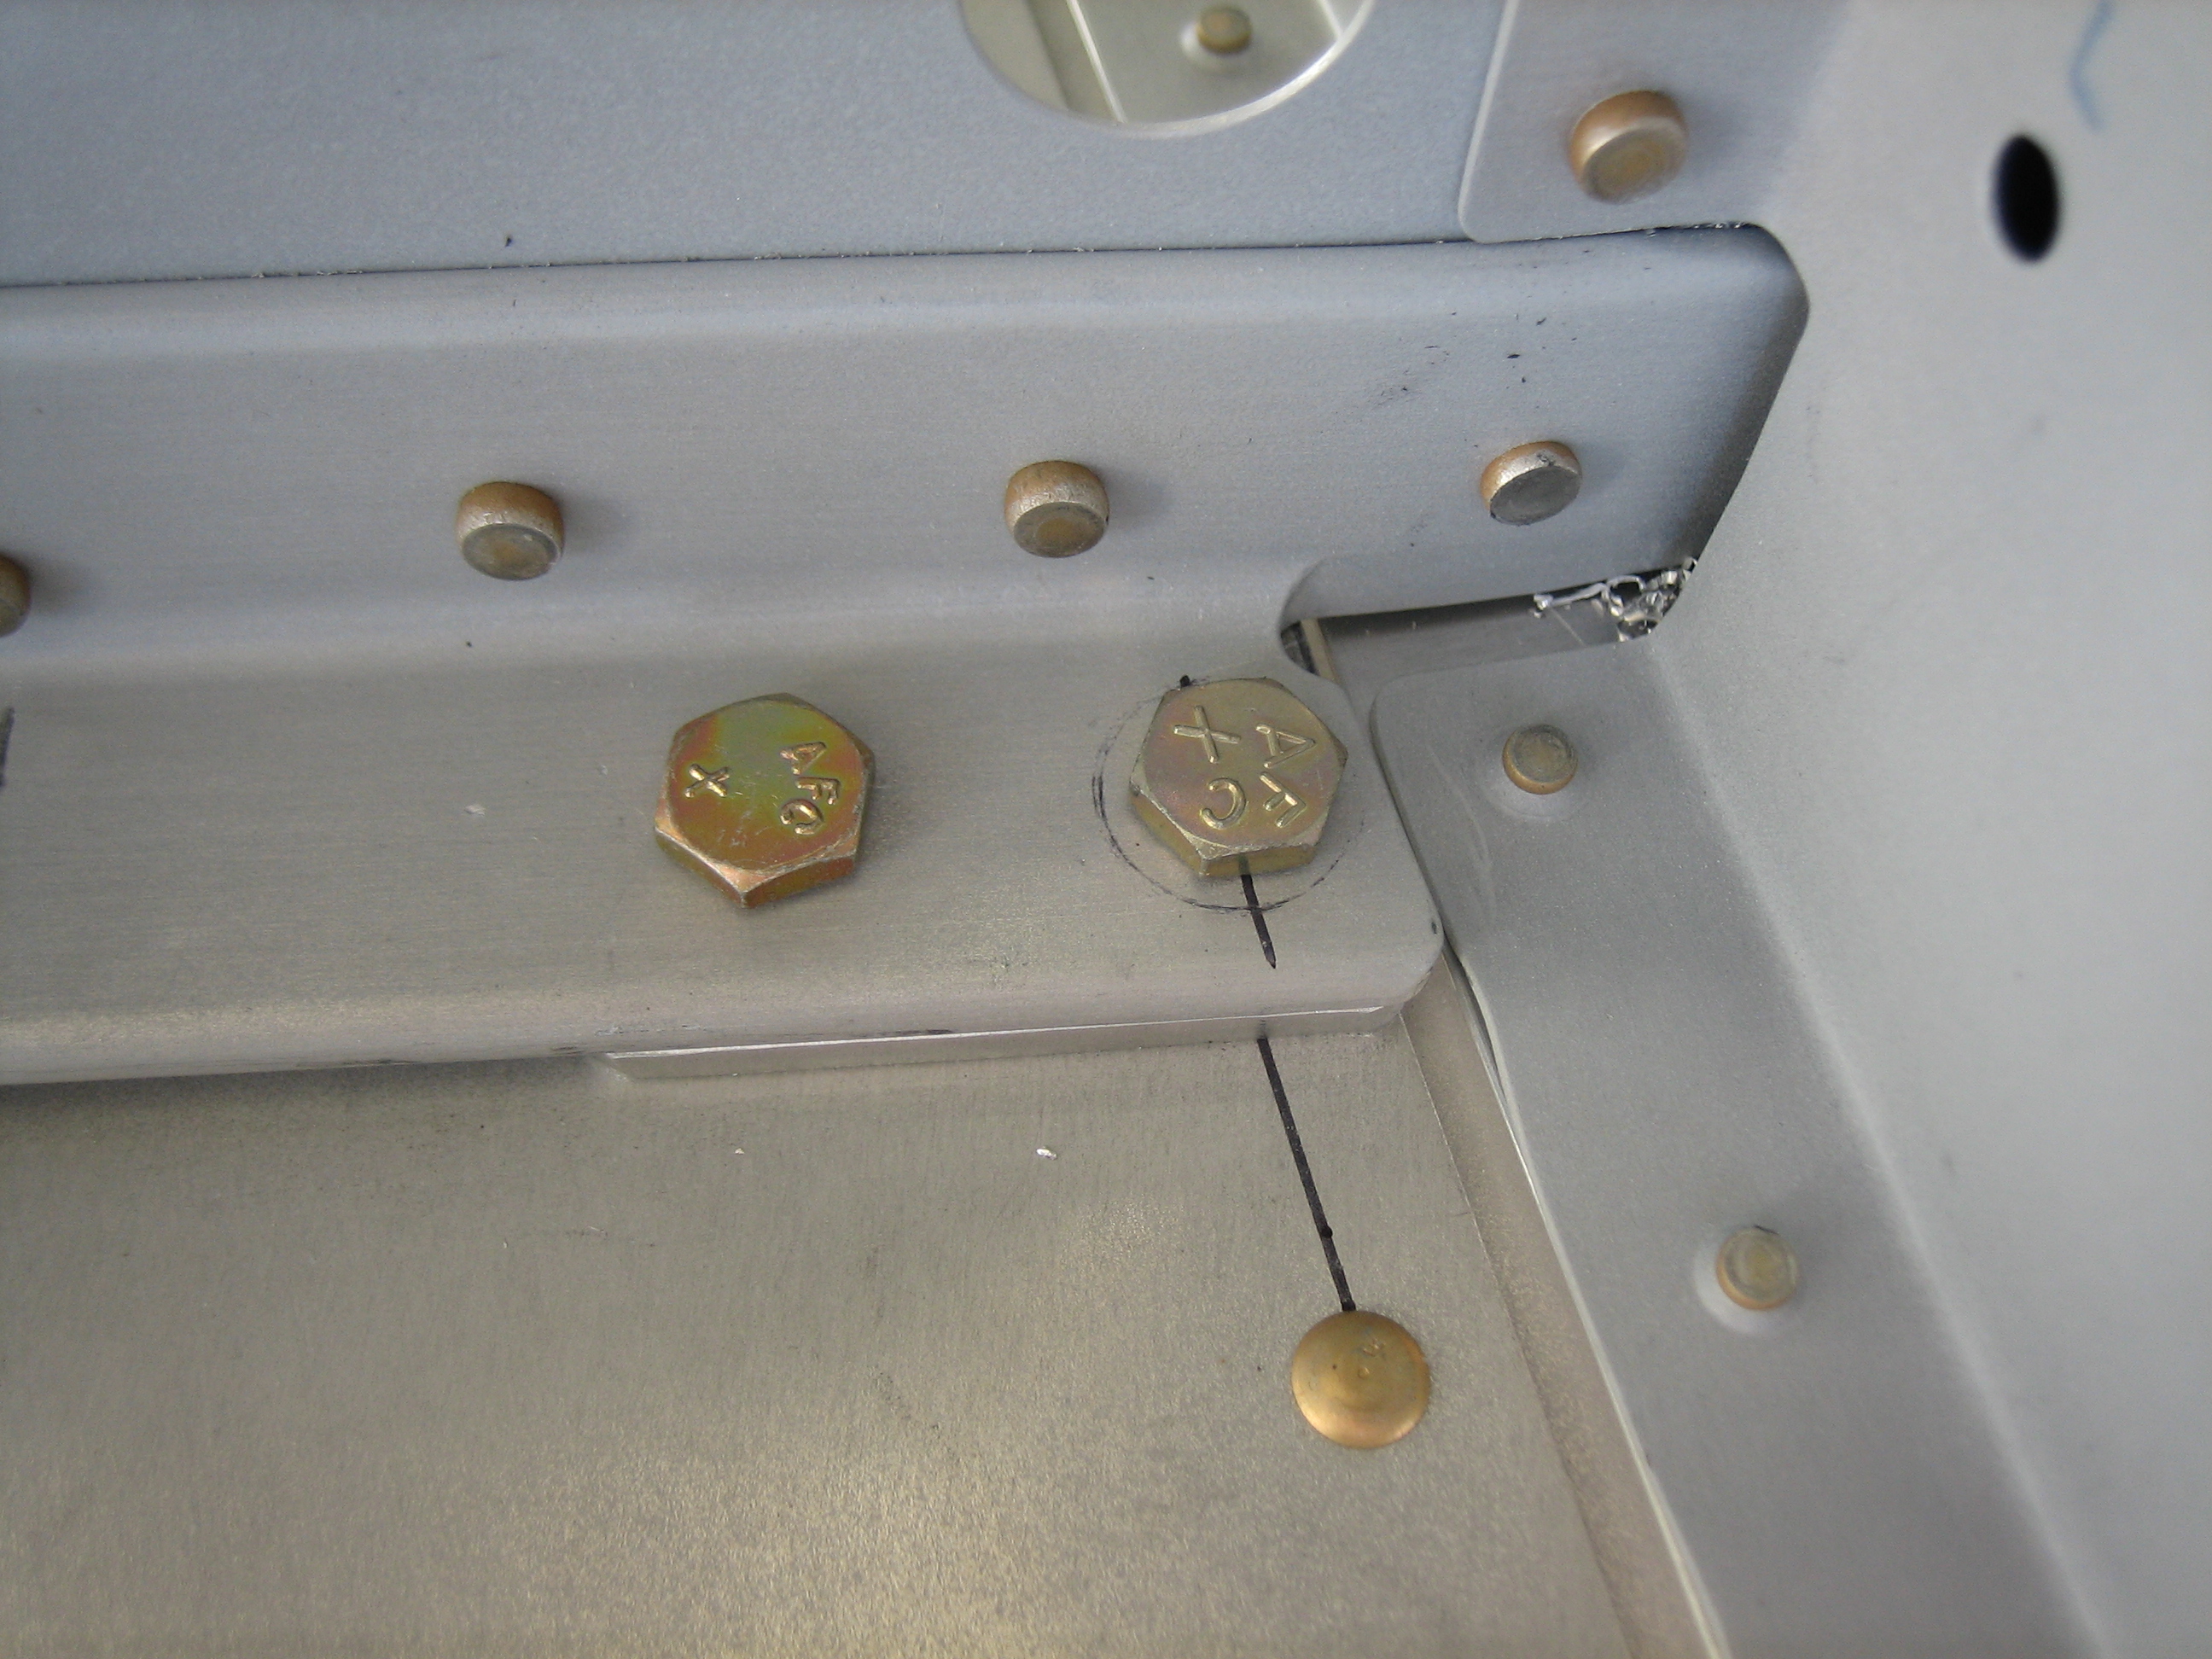
I then laid out and drilled the holes through the aft spar and attach bars.
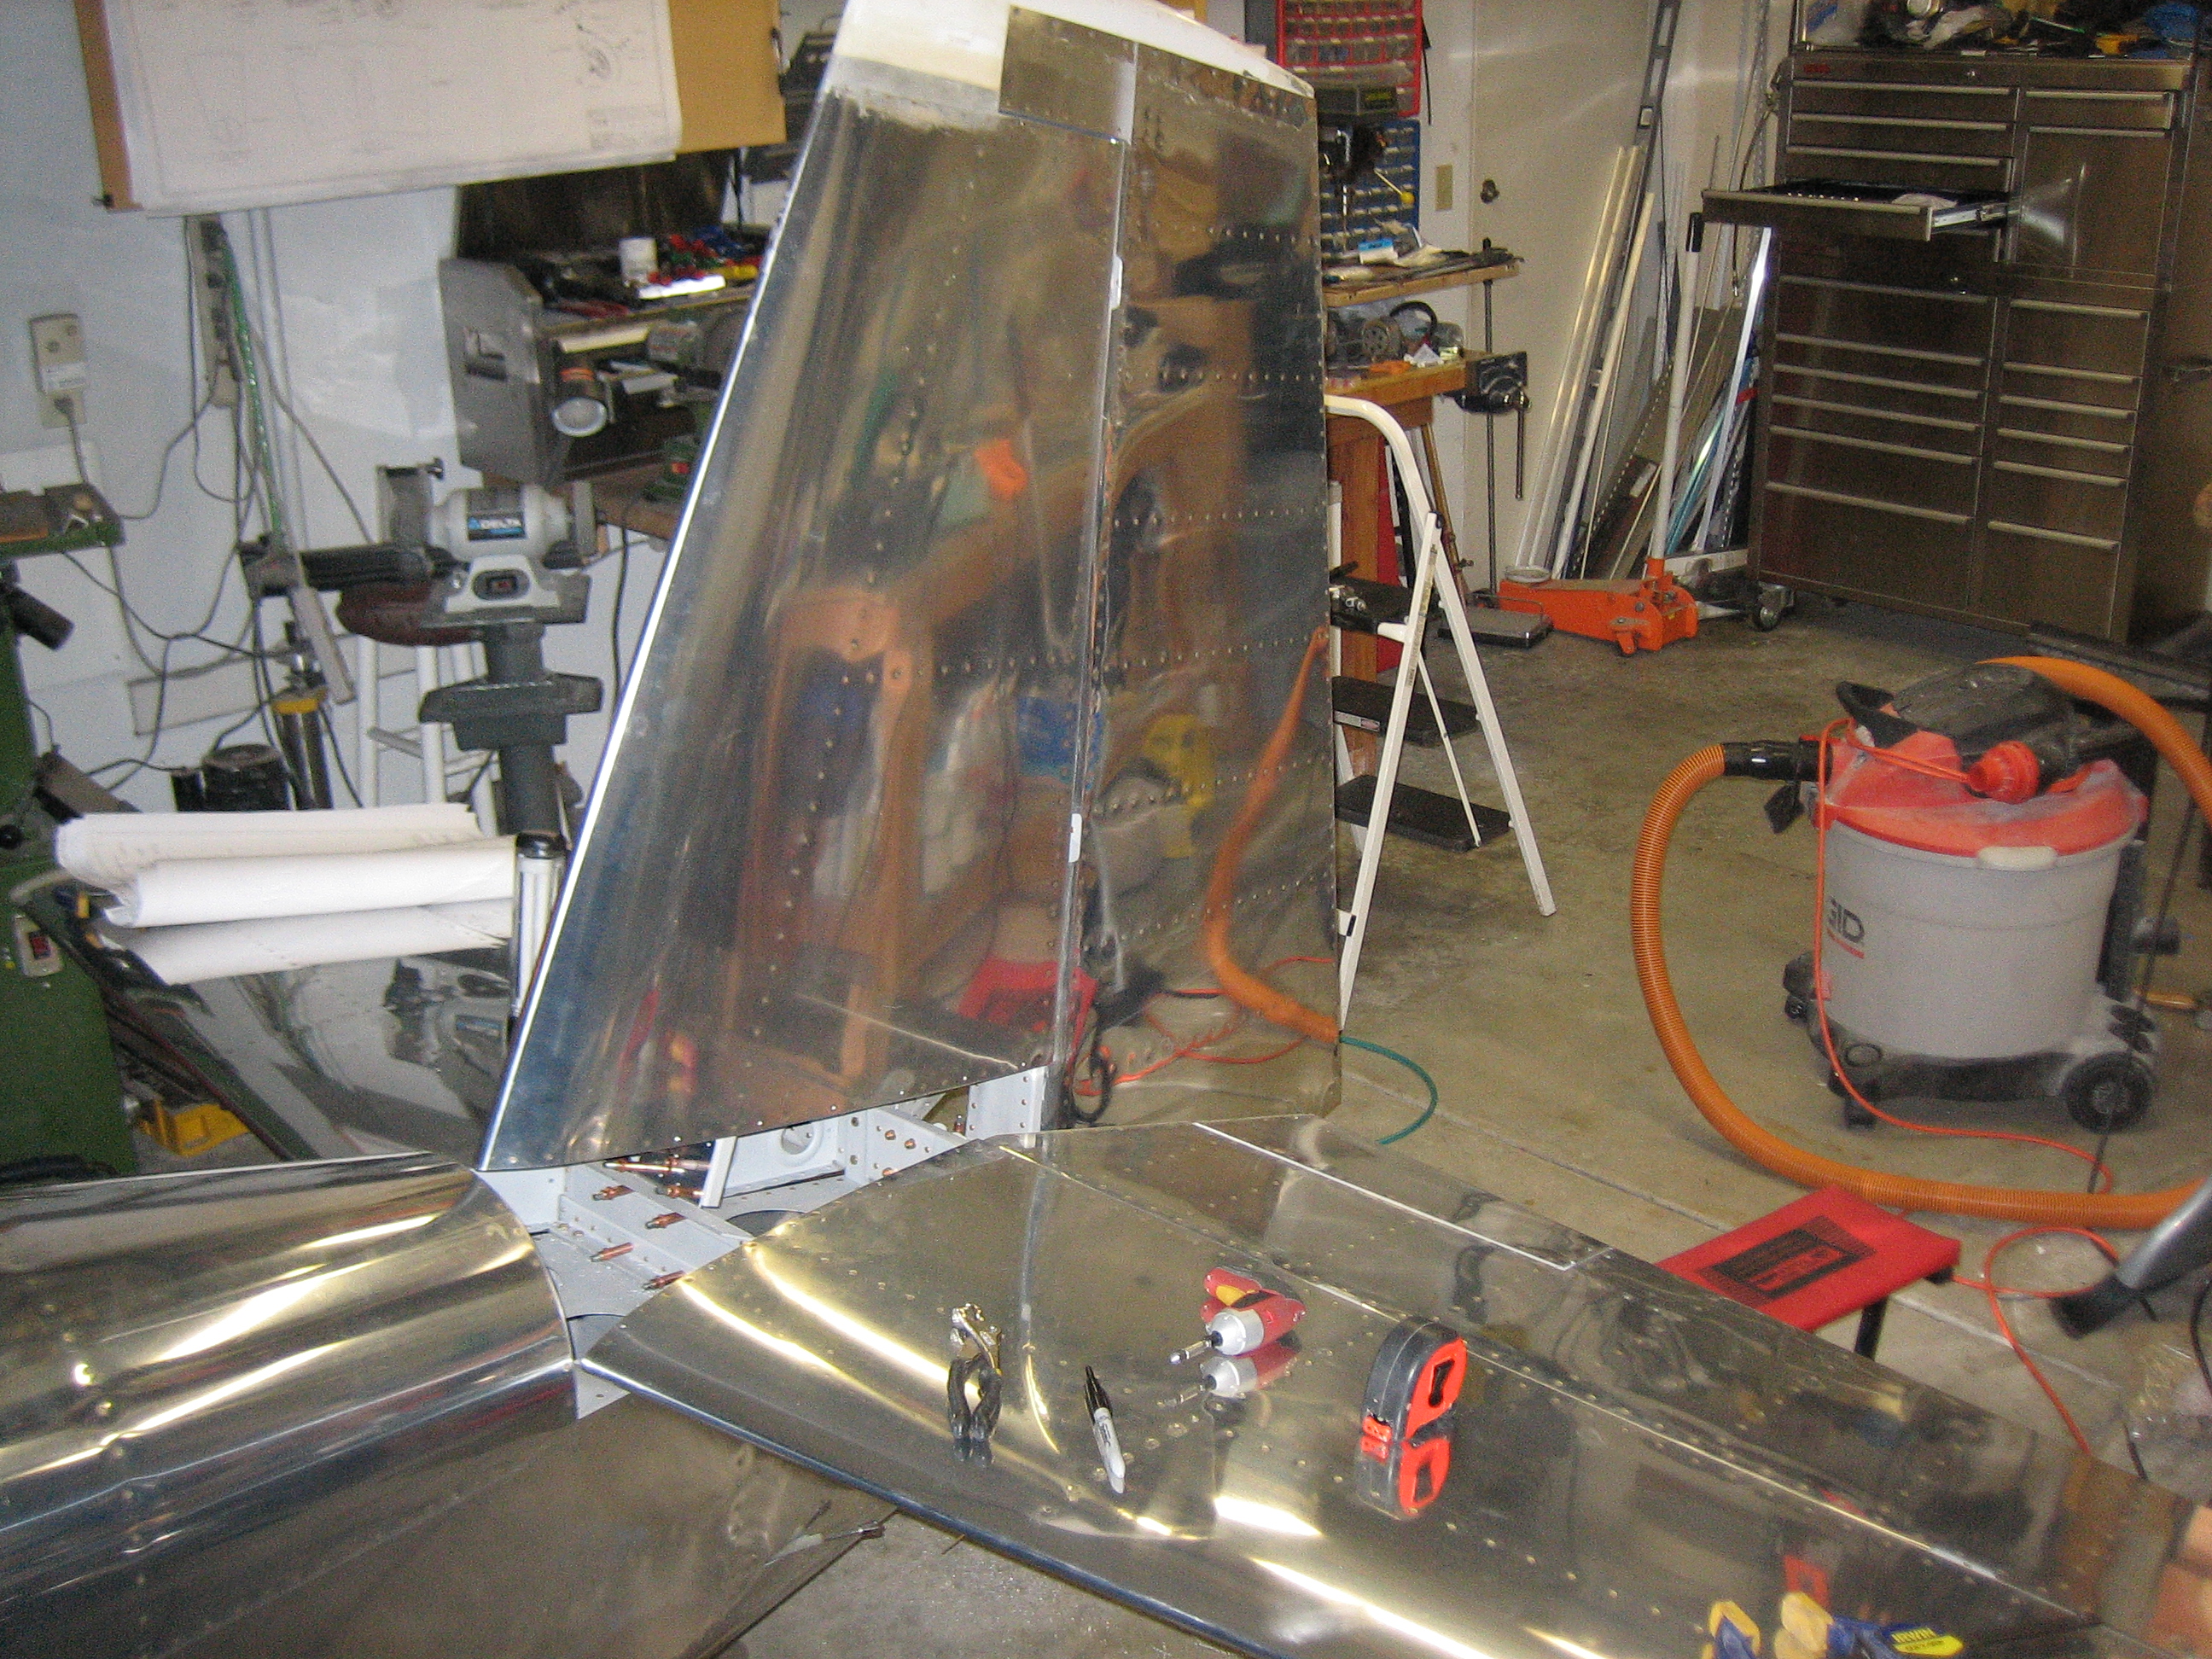
We then hung the elevators and drilled the pushrod attach hole. Andre then helped me temporarily attach the vertical stabilizer.
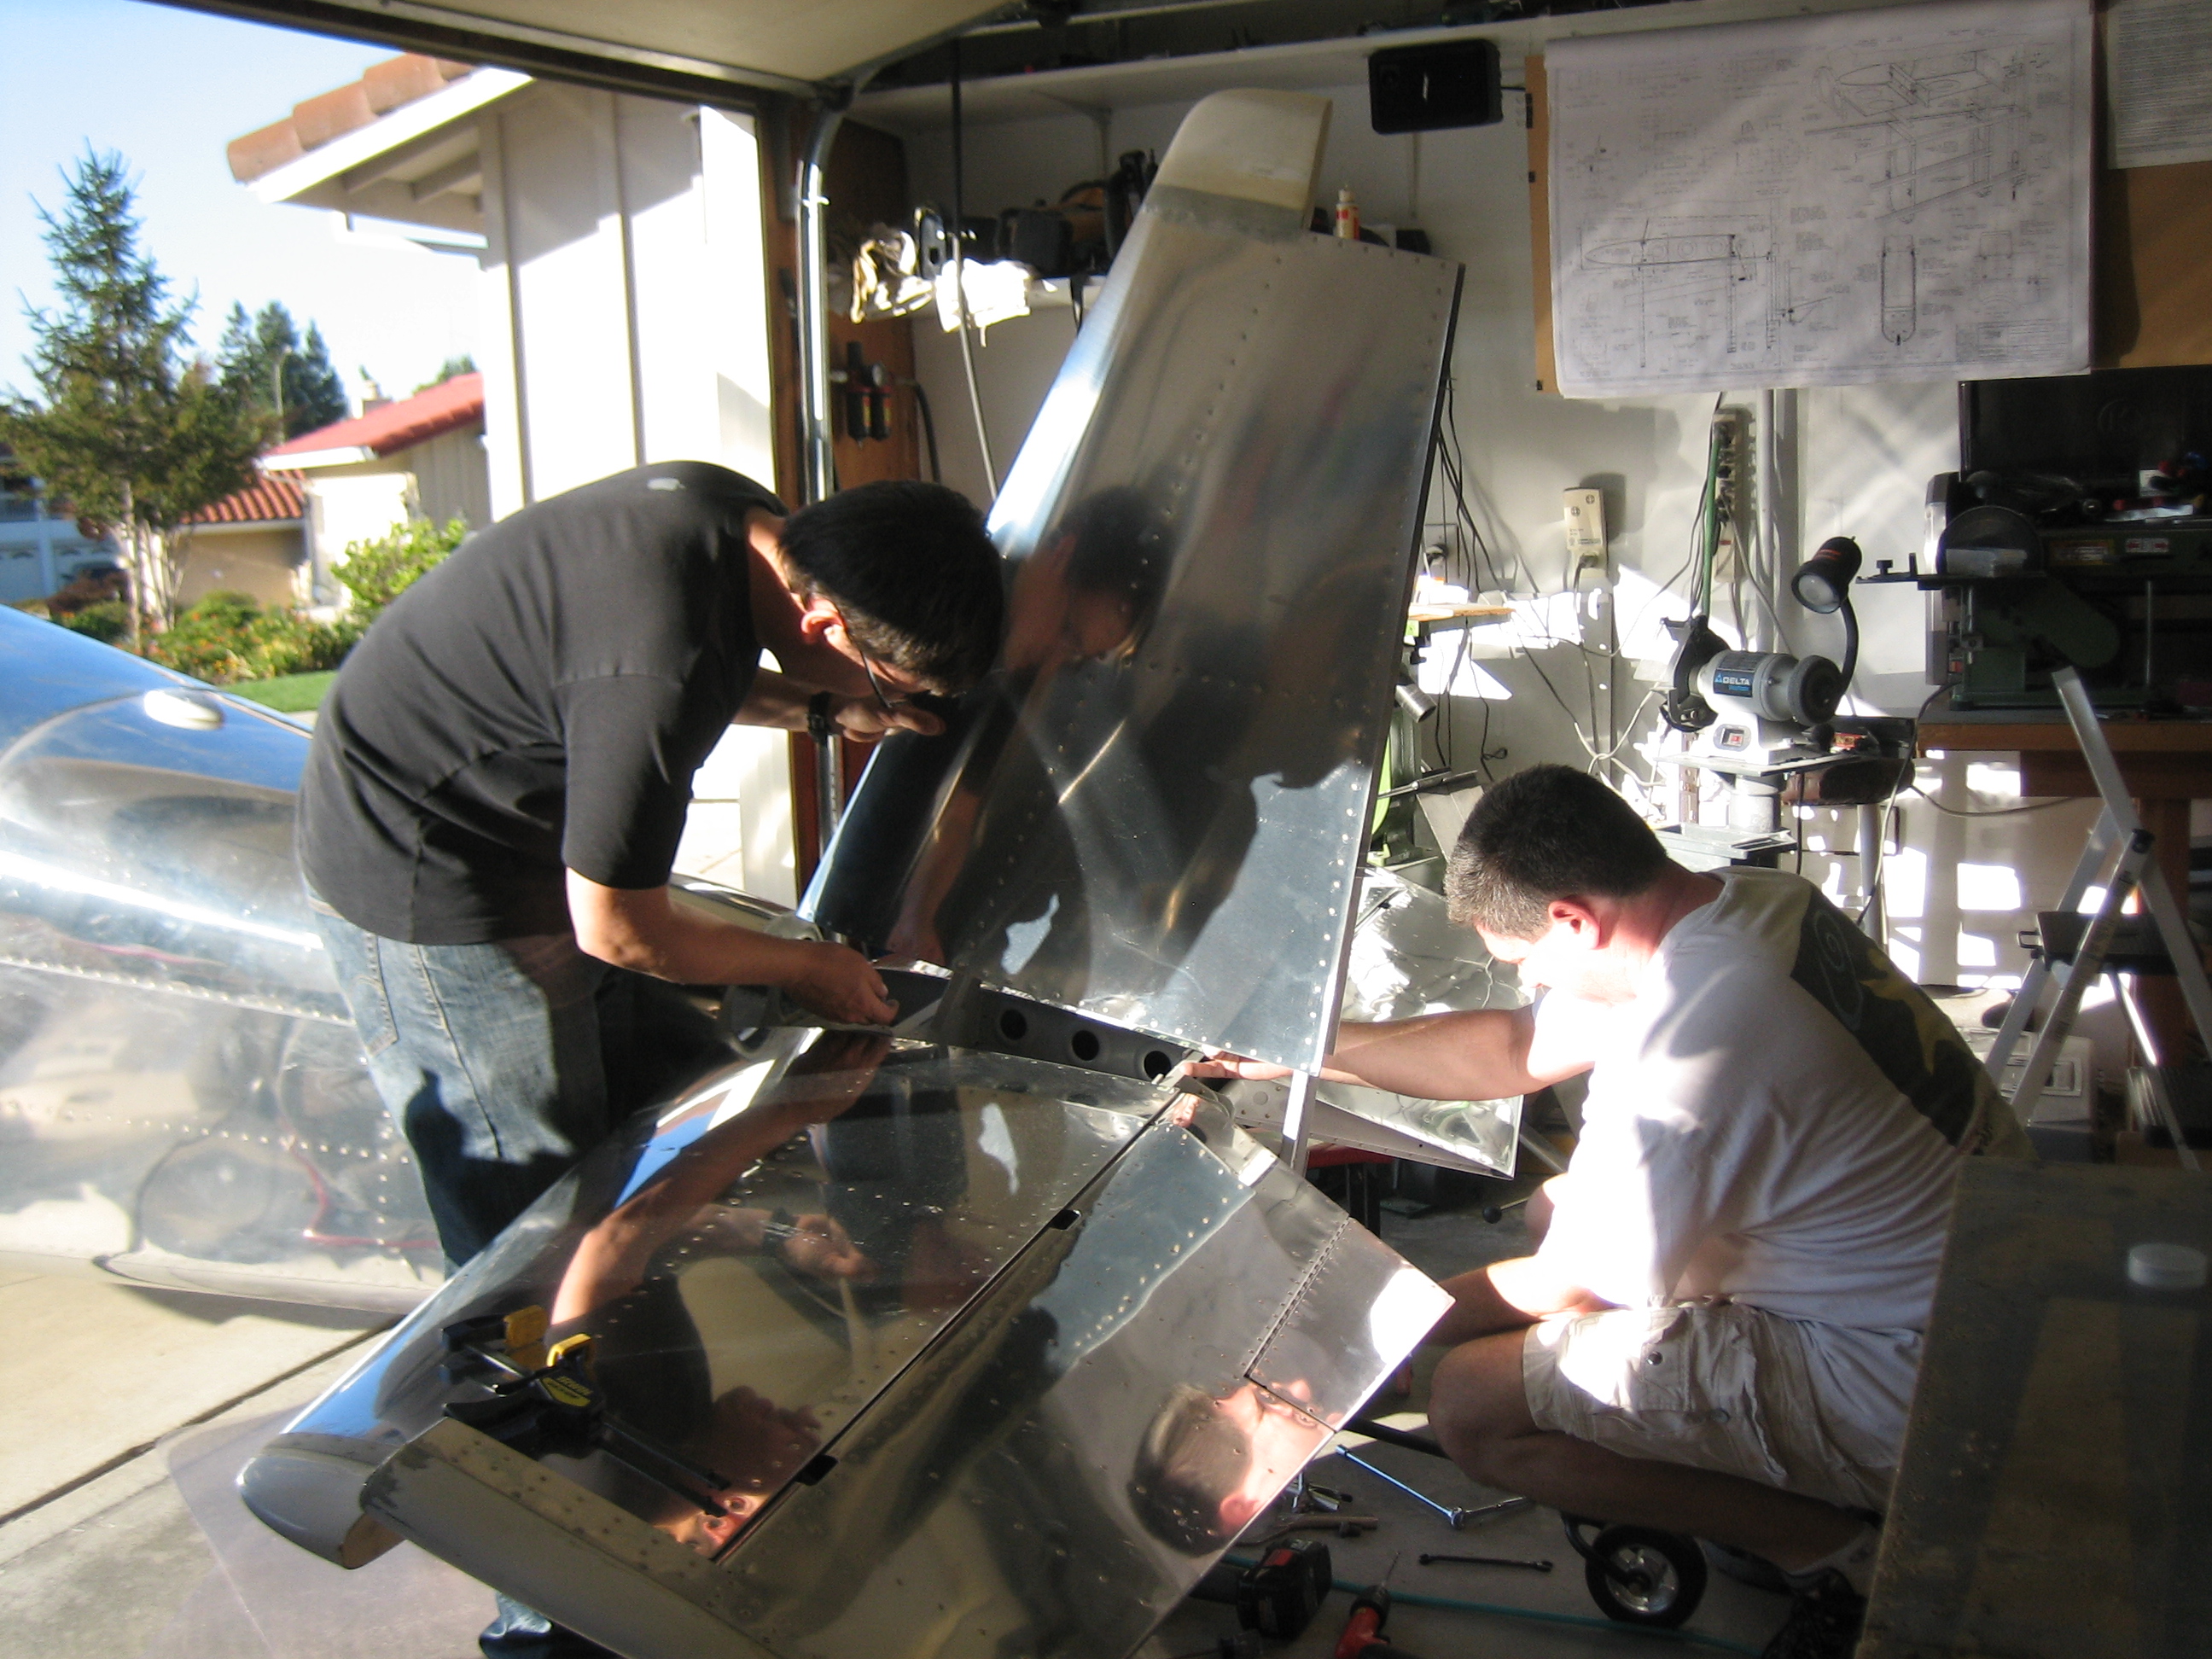
Jenn came out a little later and snapped this picture of me working on positioning the vertical stabilizer.
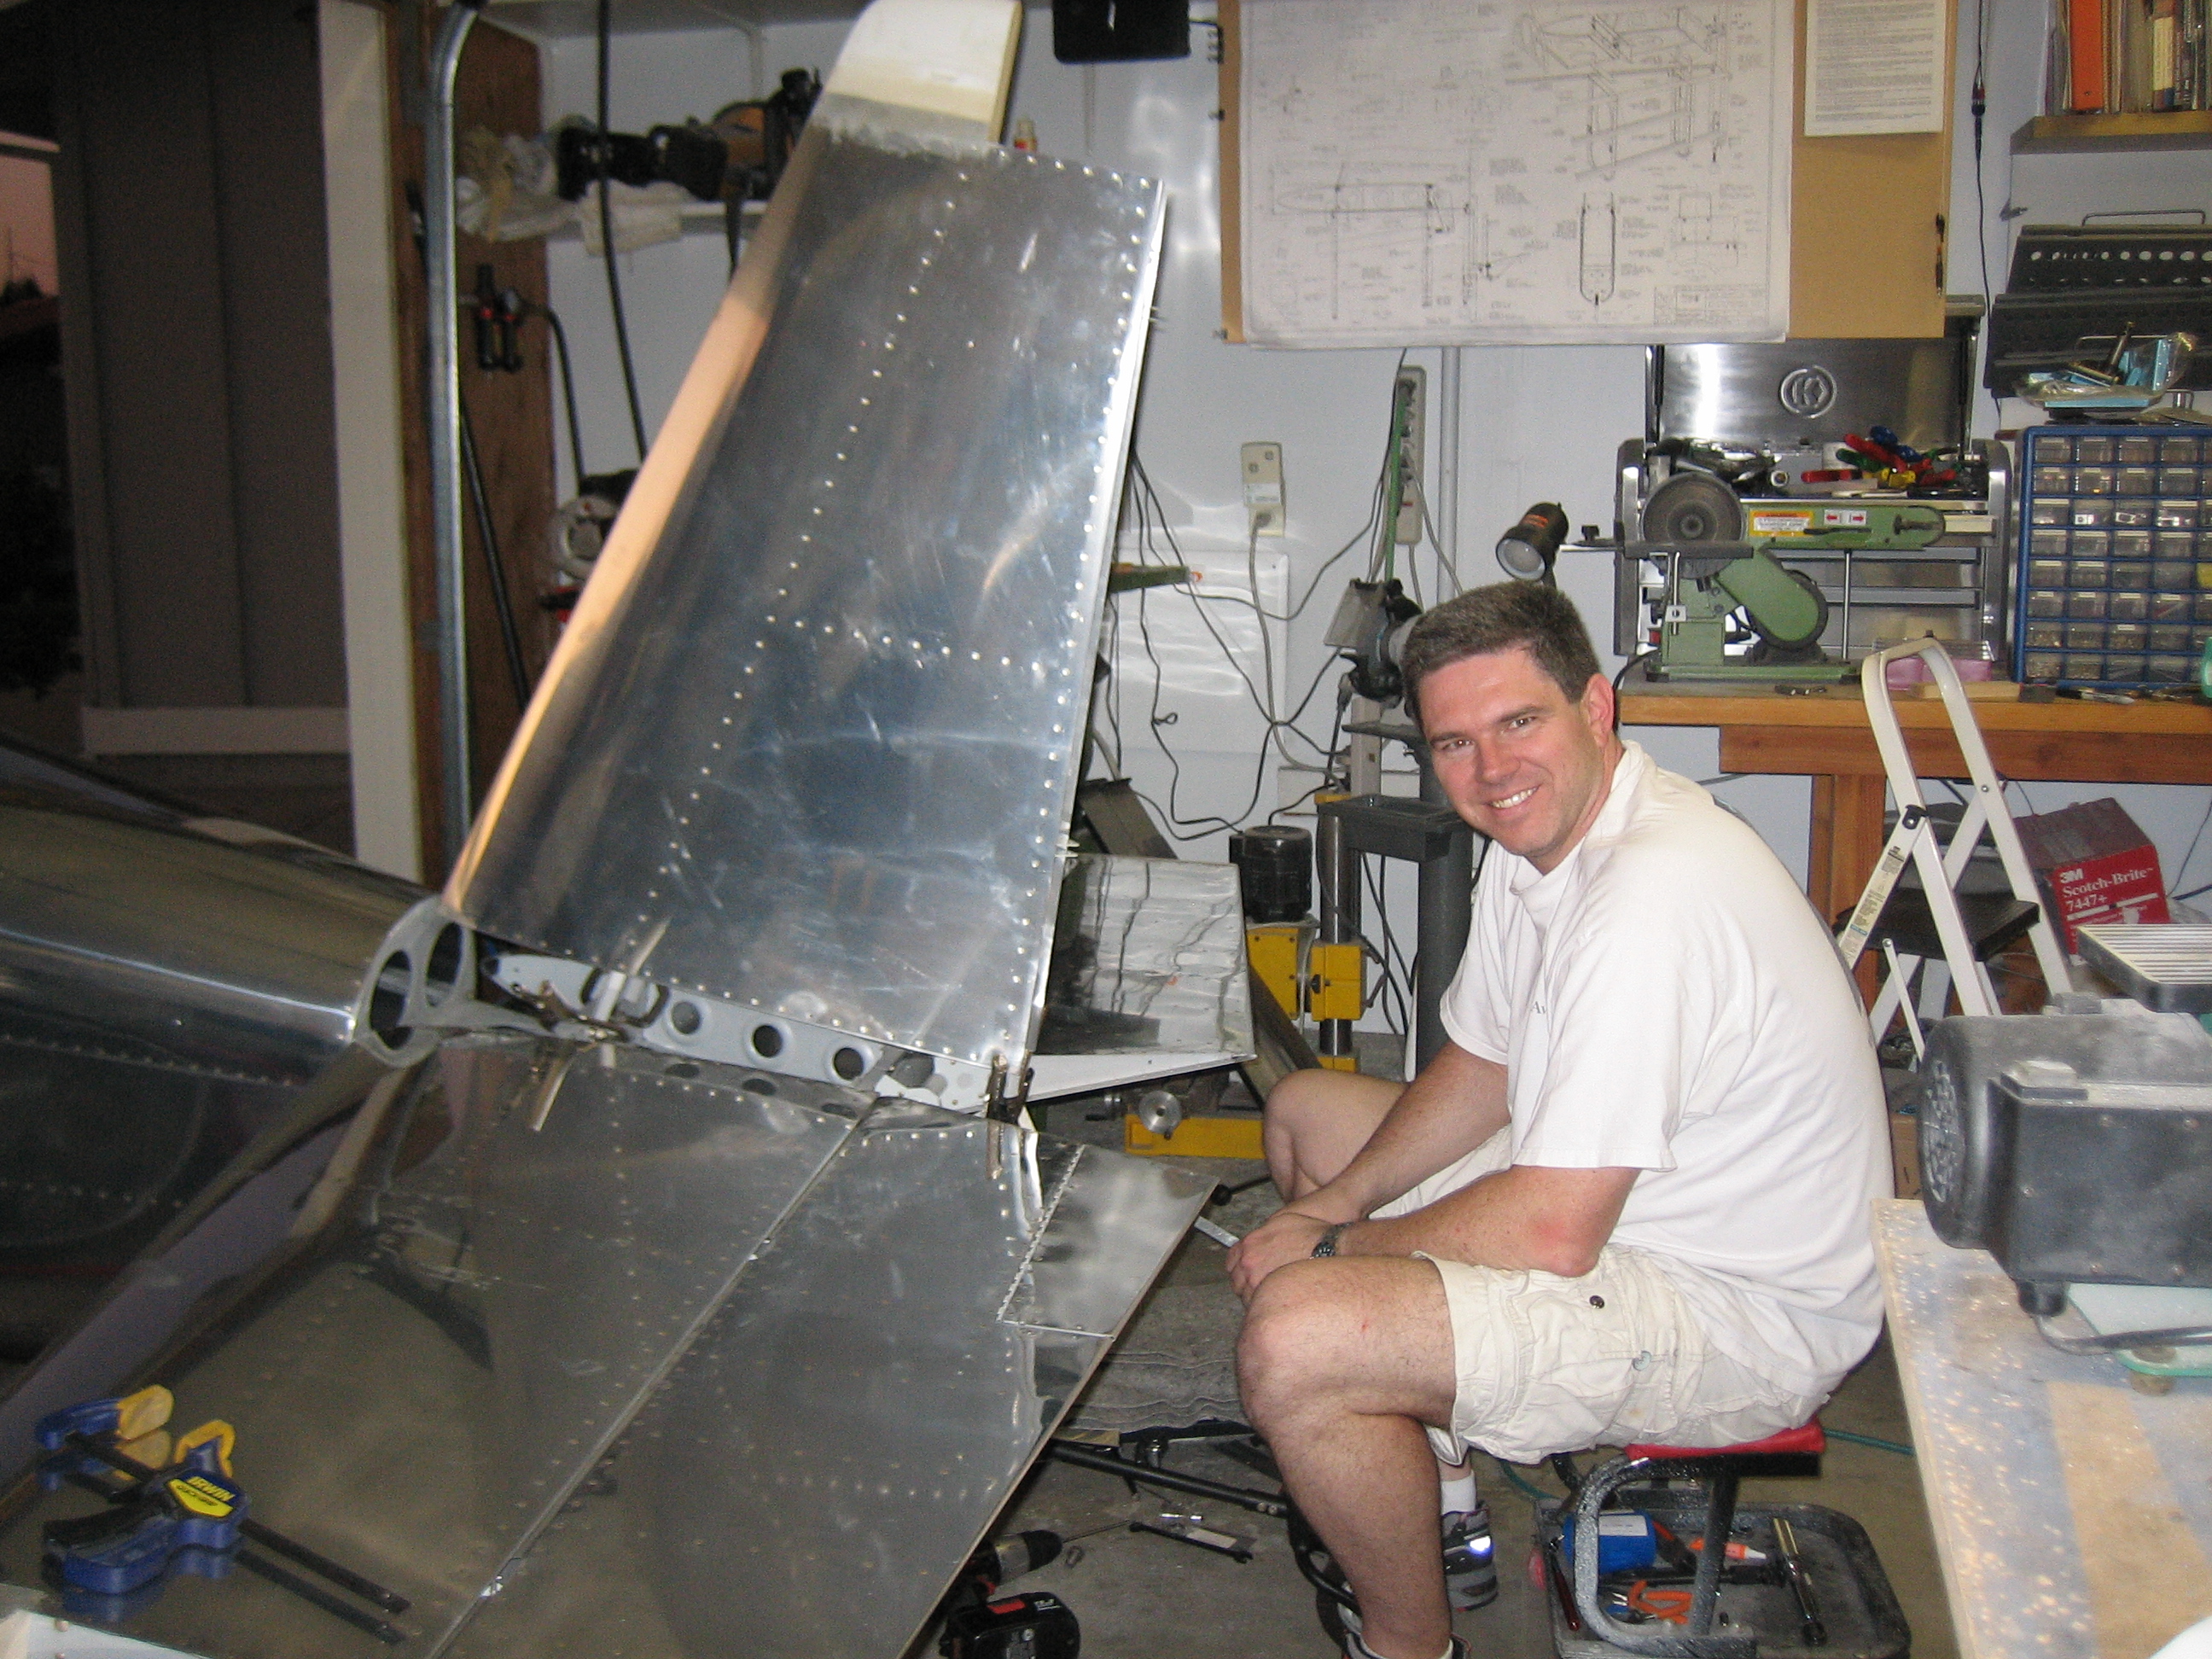
Getting the vertical stabilizer positioned accurately took much longer than the horizontal stabilizer. The stabilizer has to be perpendicular to the horizontal stabilizer, tipped back at the right angle so that the hinge brackets are in a straight line, then twisted so that the front edge is 1/4″ left of centerline. It took quite a number of iterations before I had everything nailed.
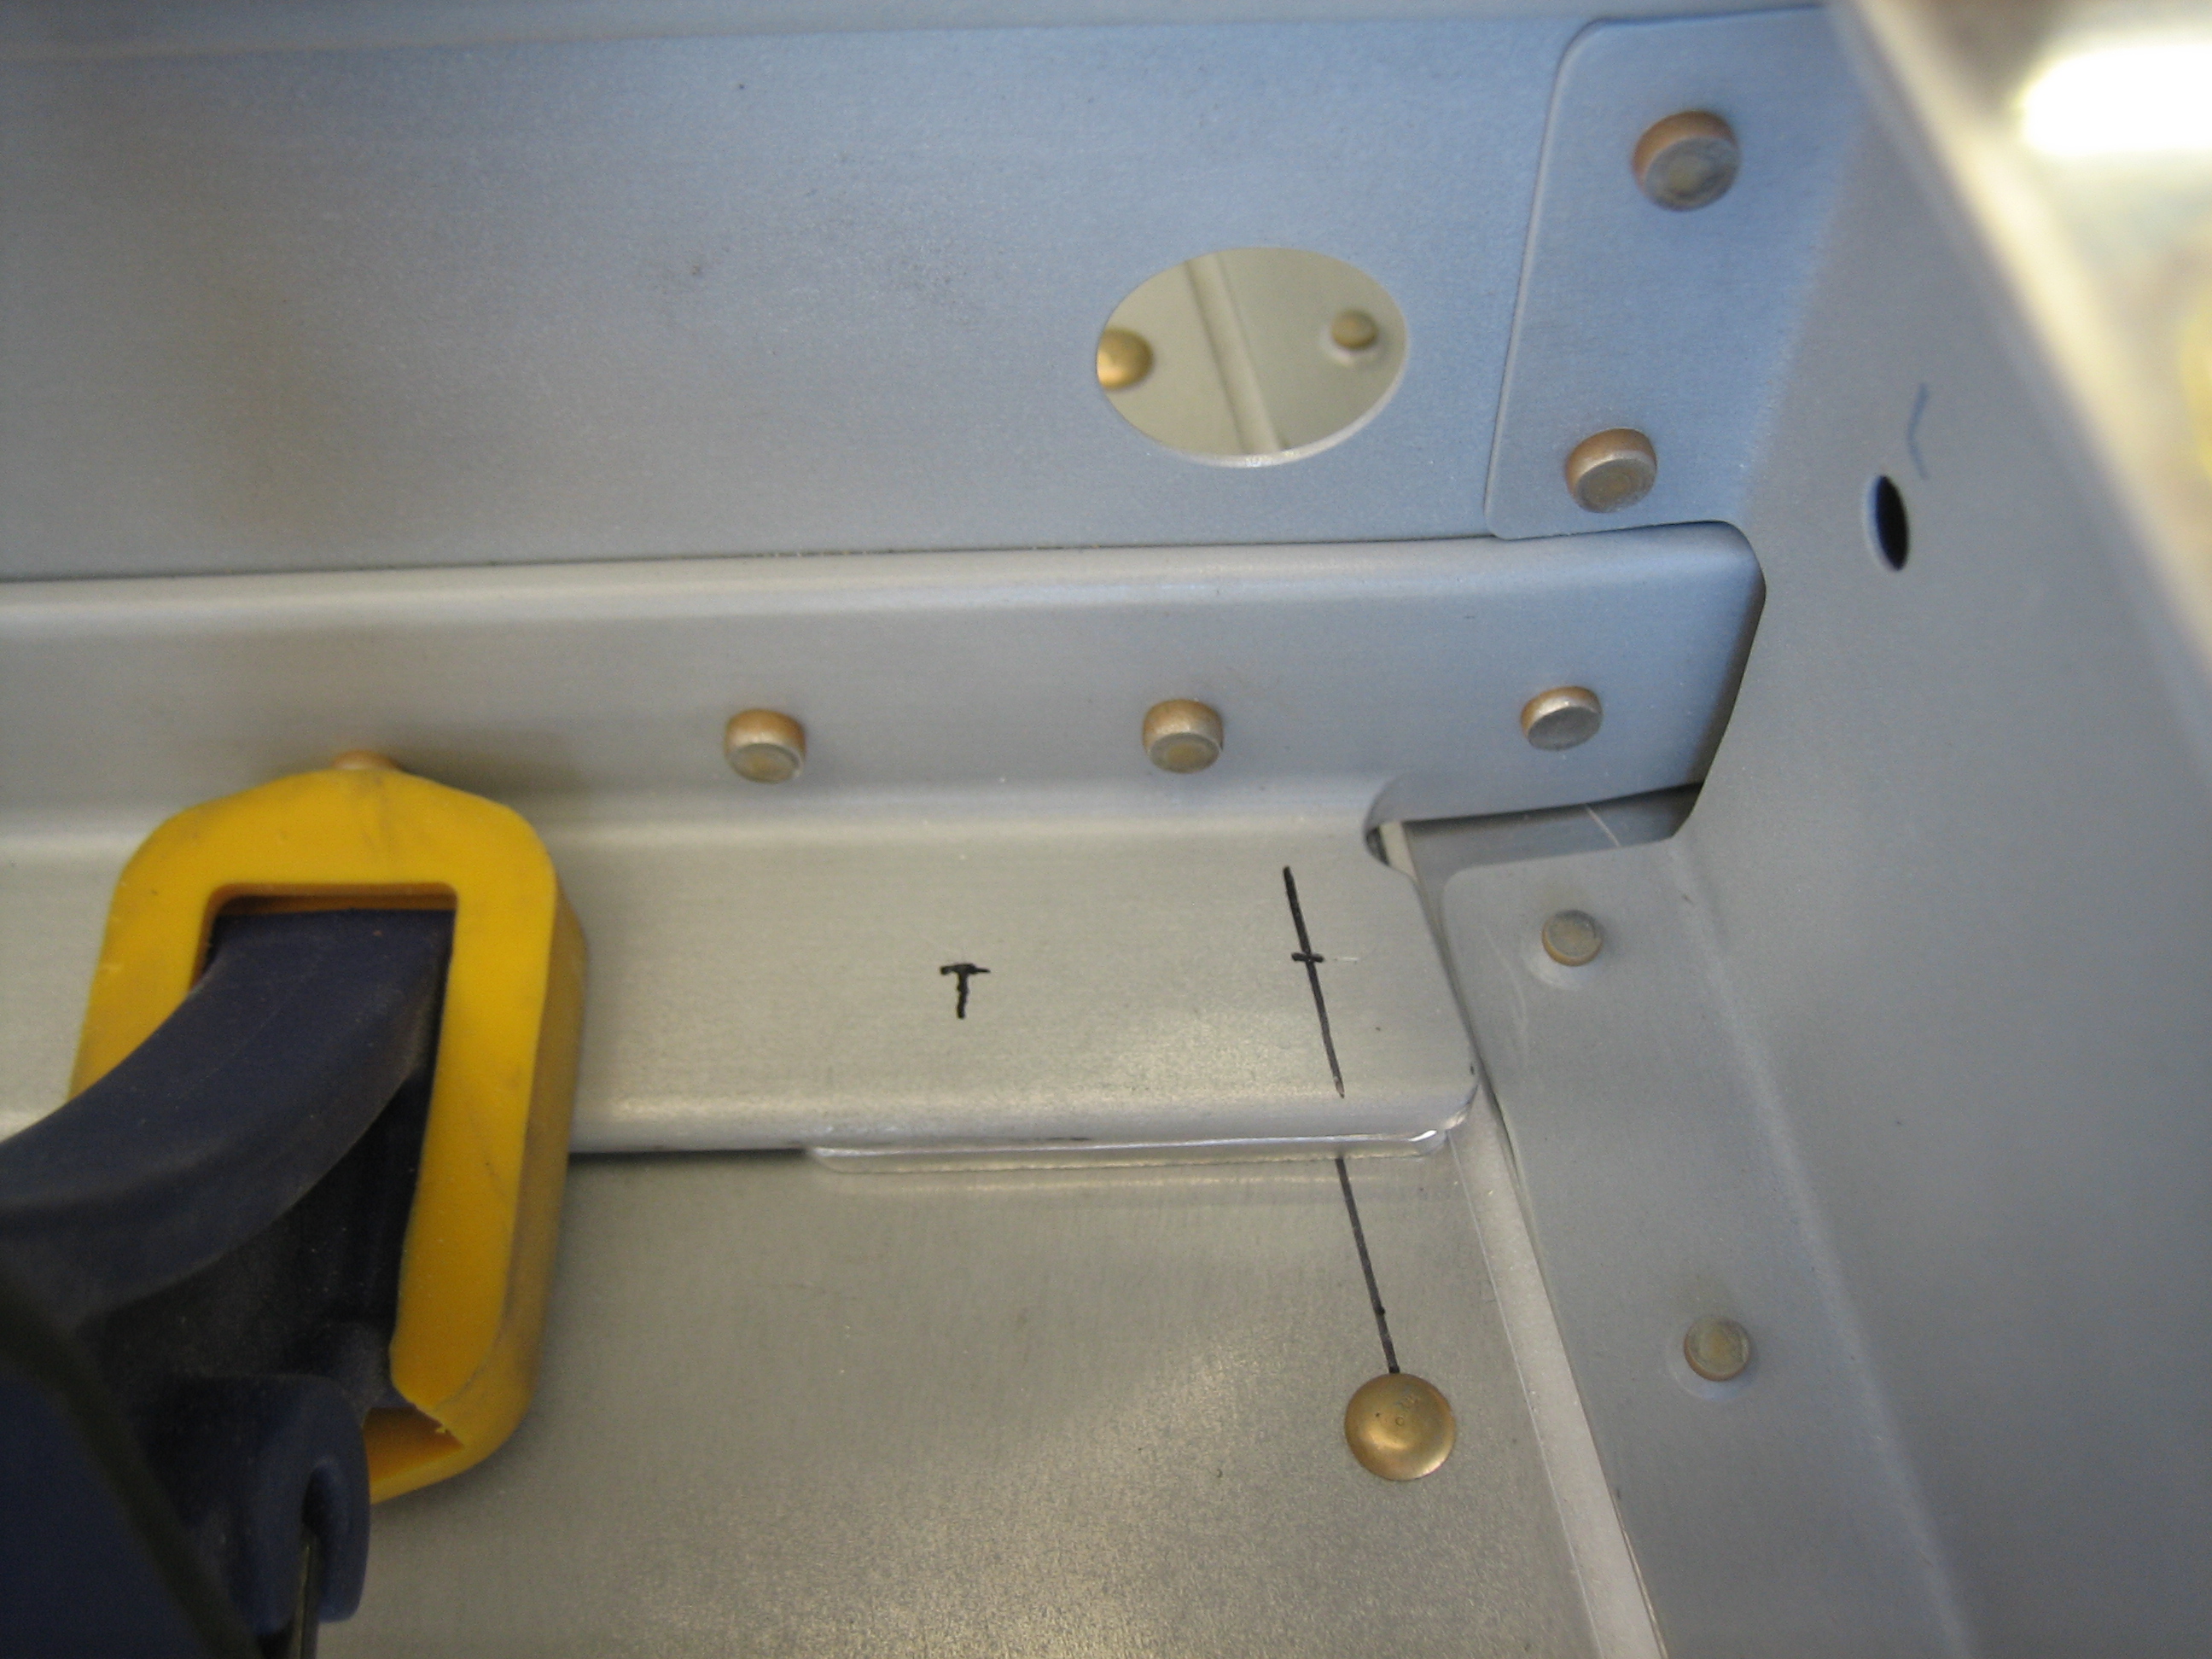
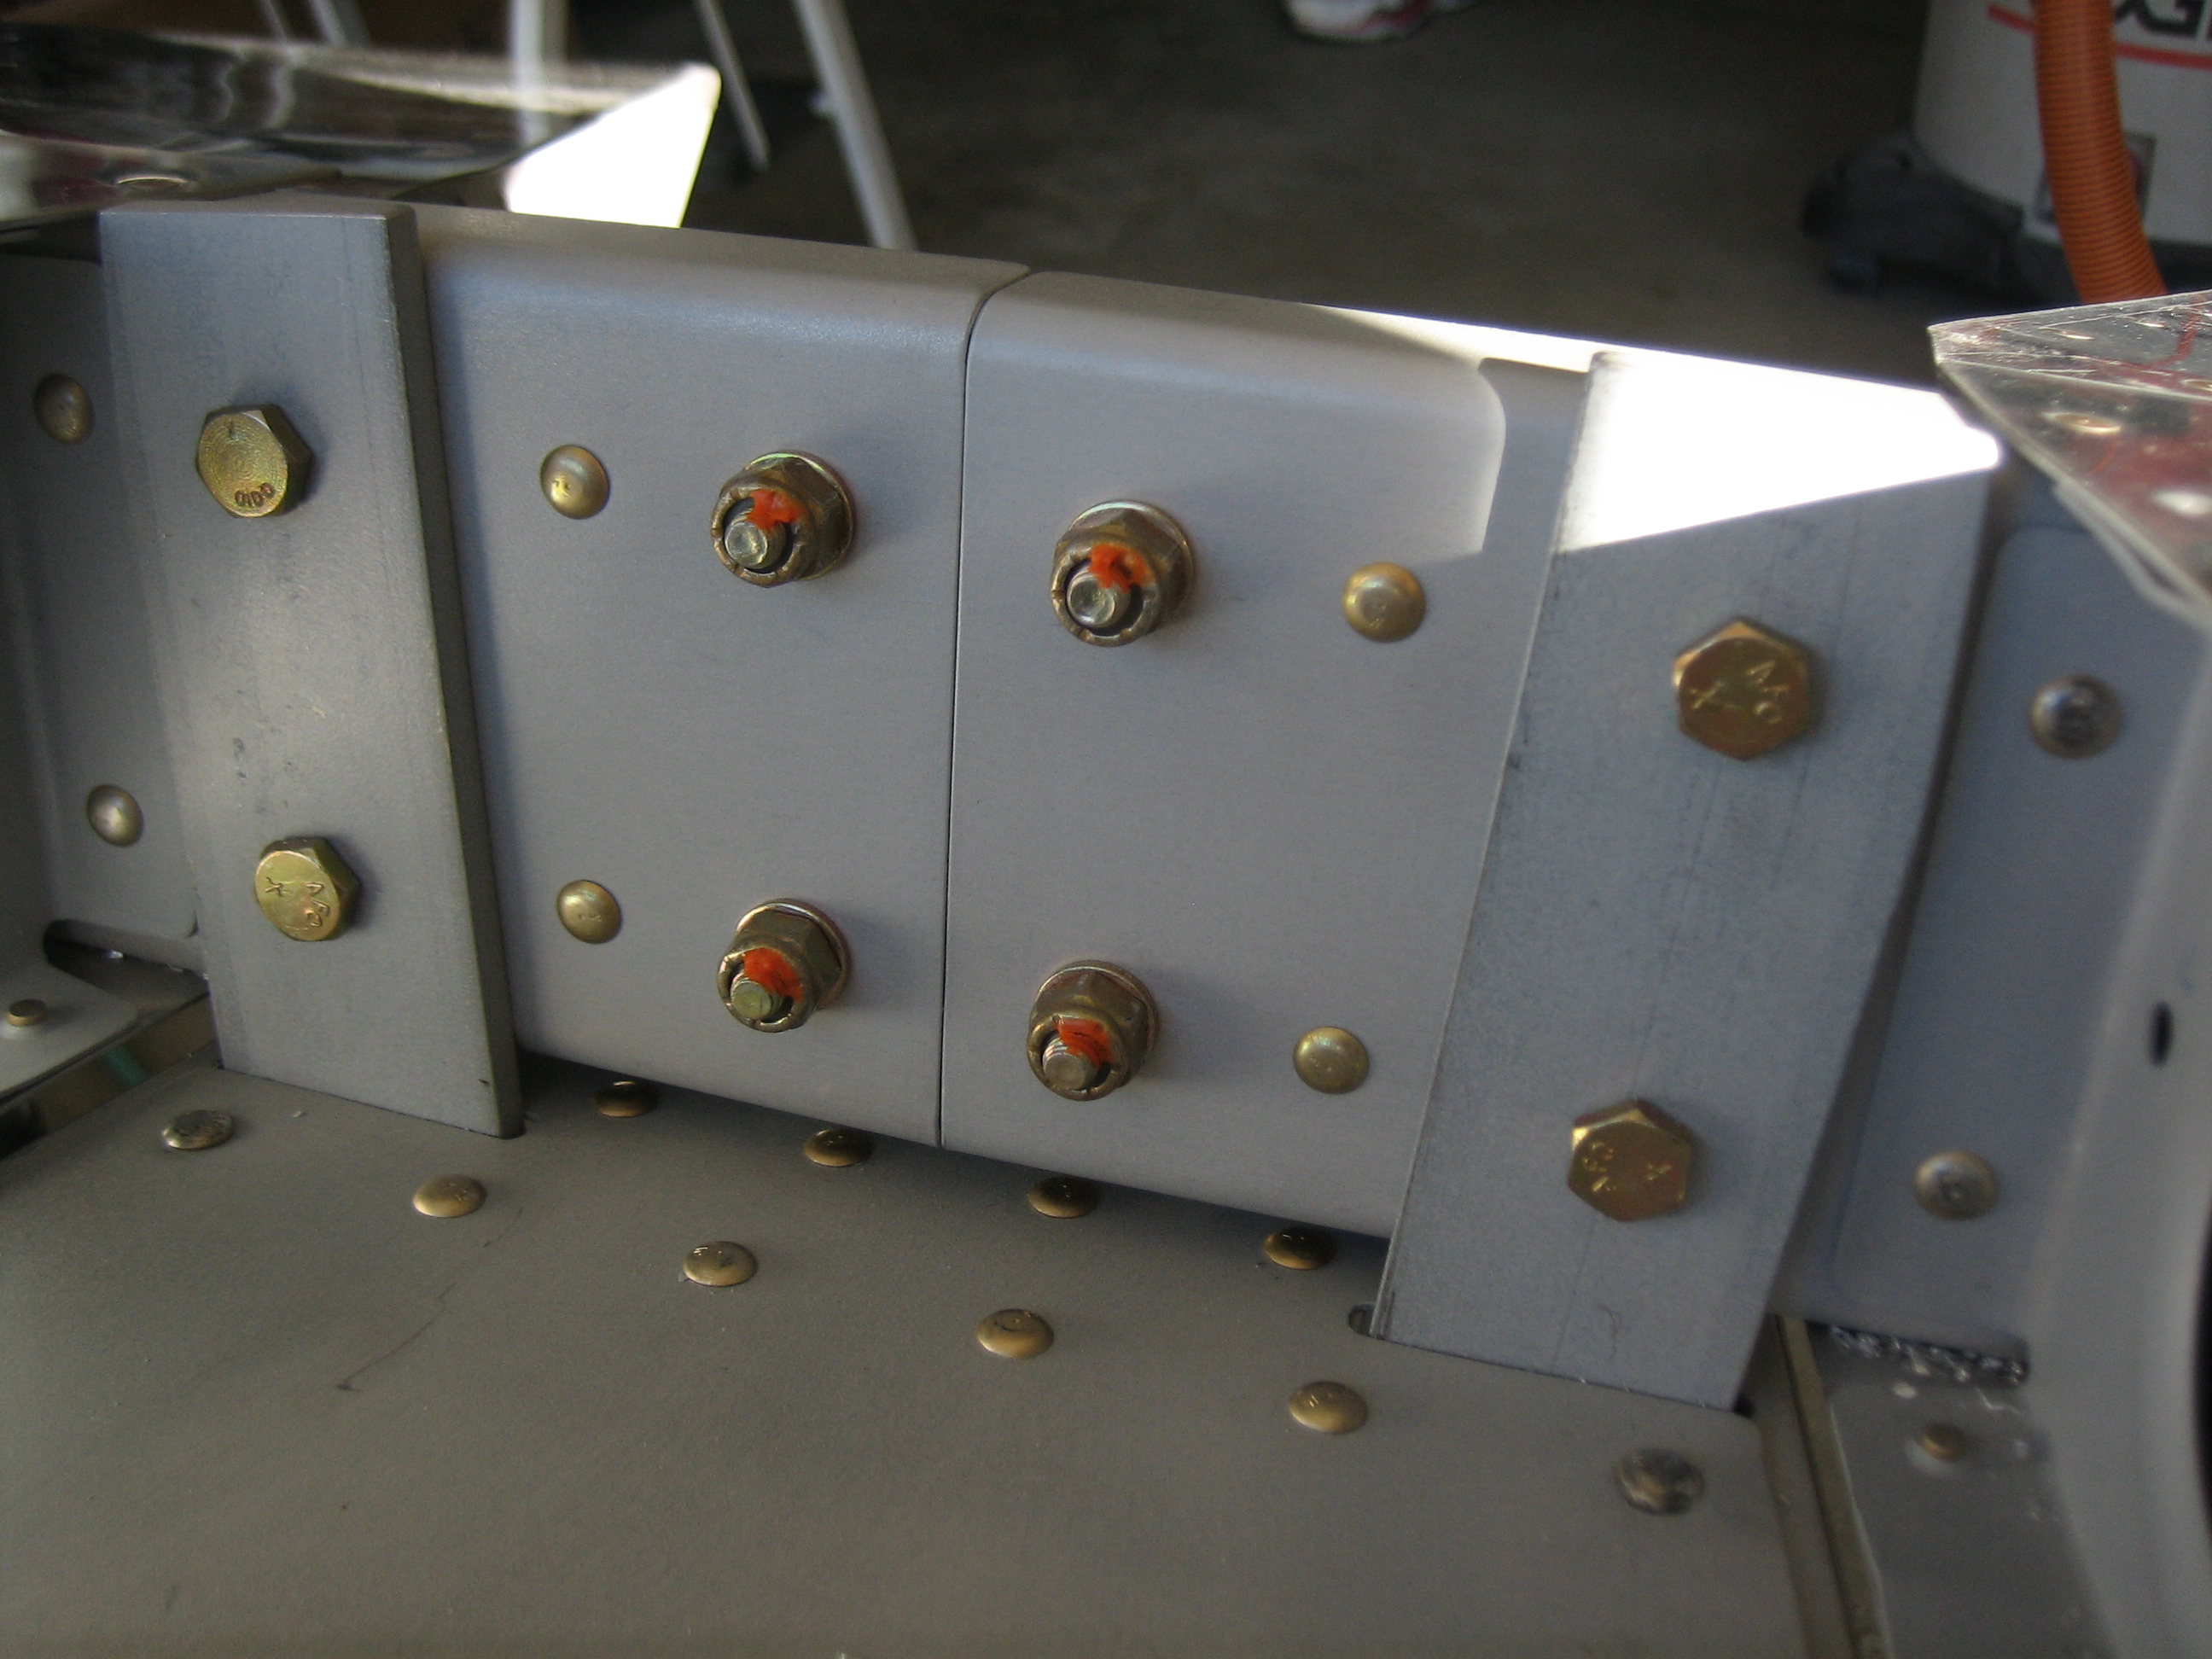
I then fabricated and clamped the up elevator stop.
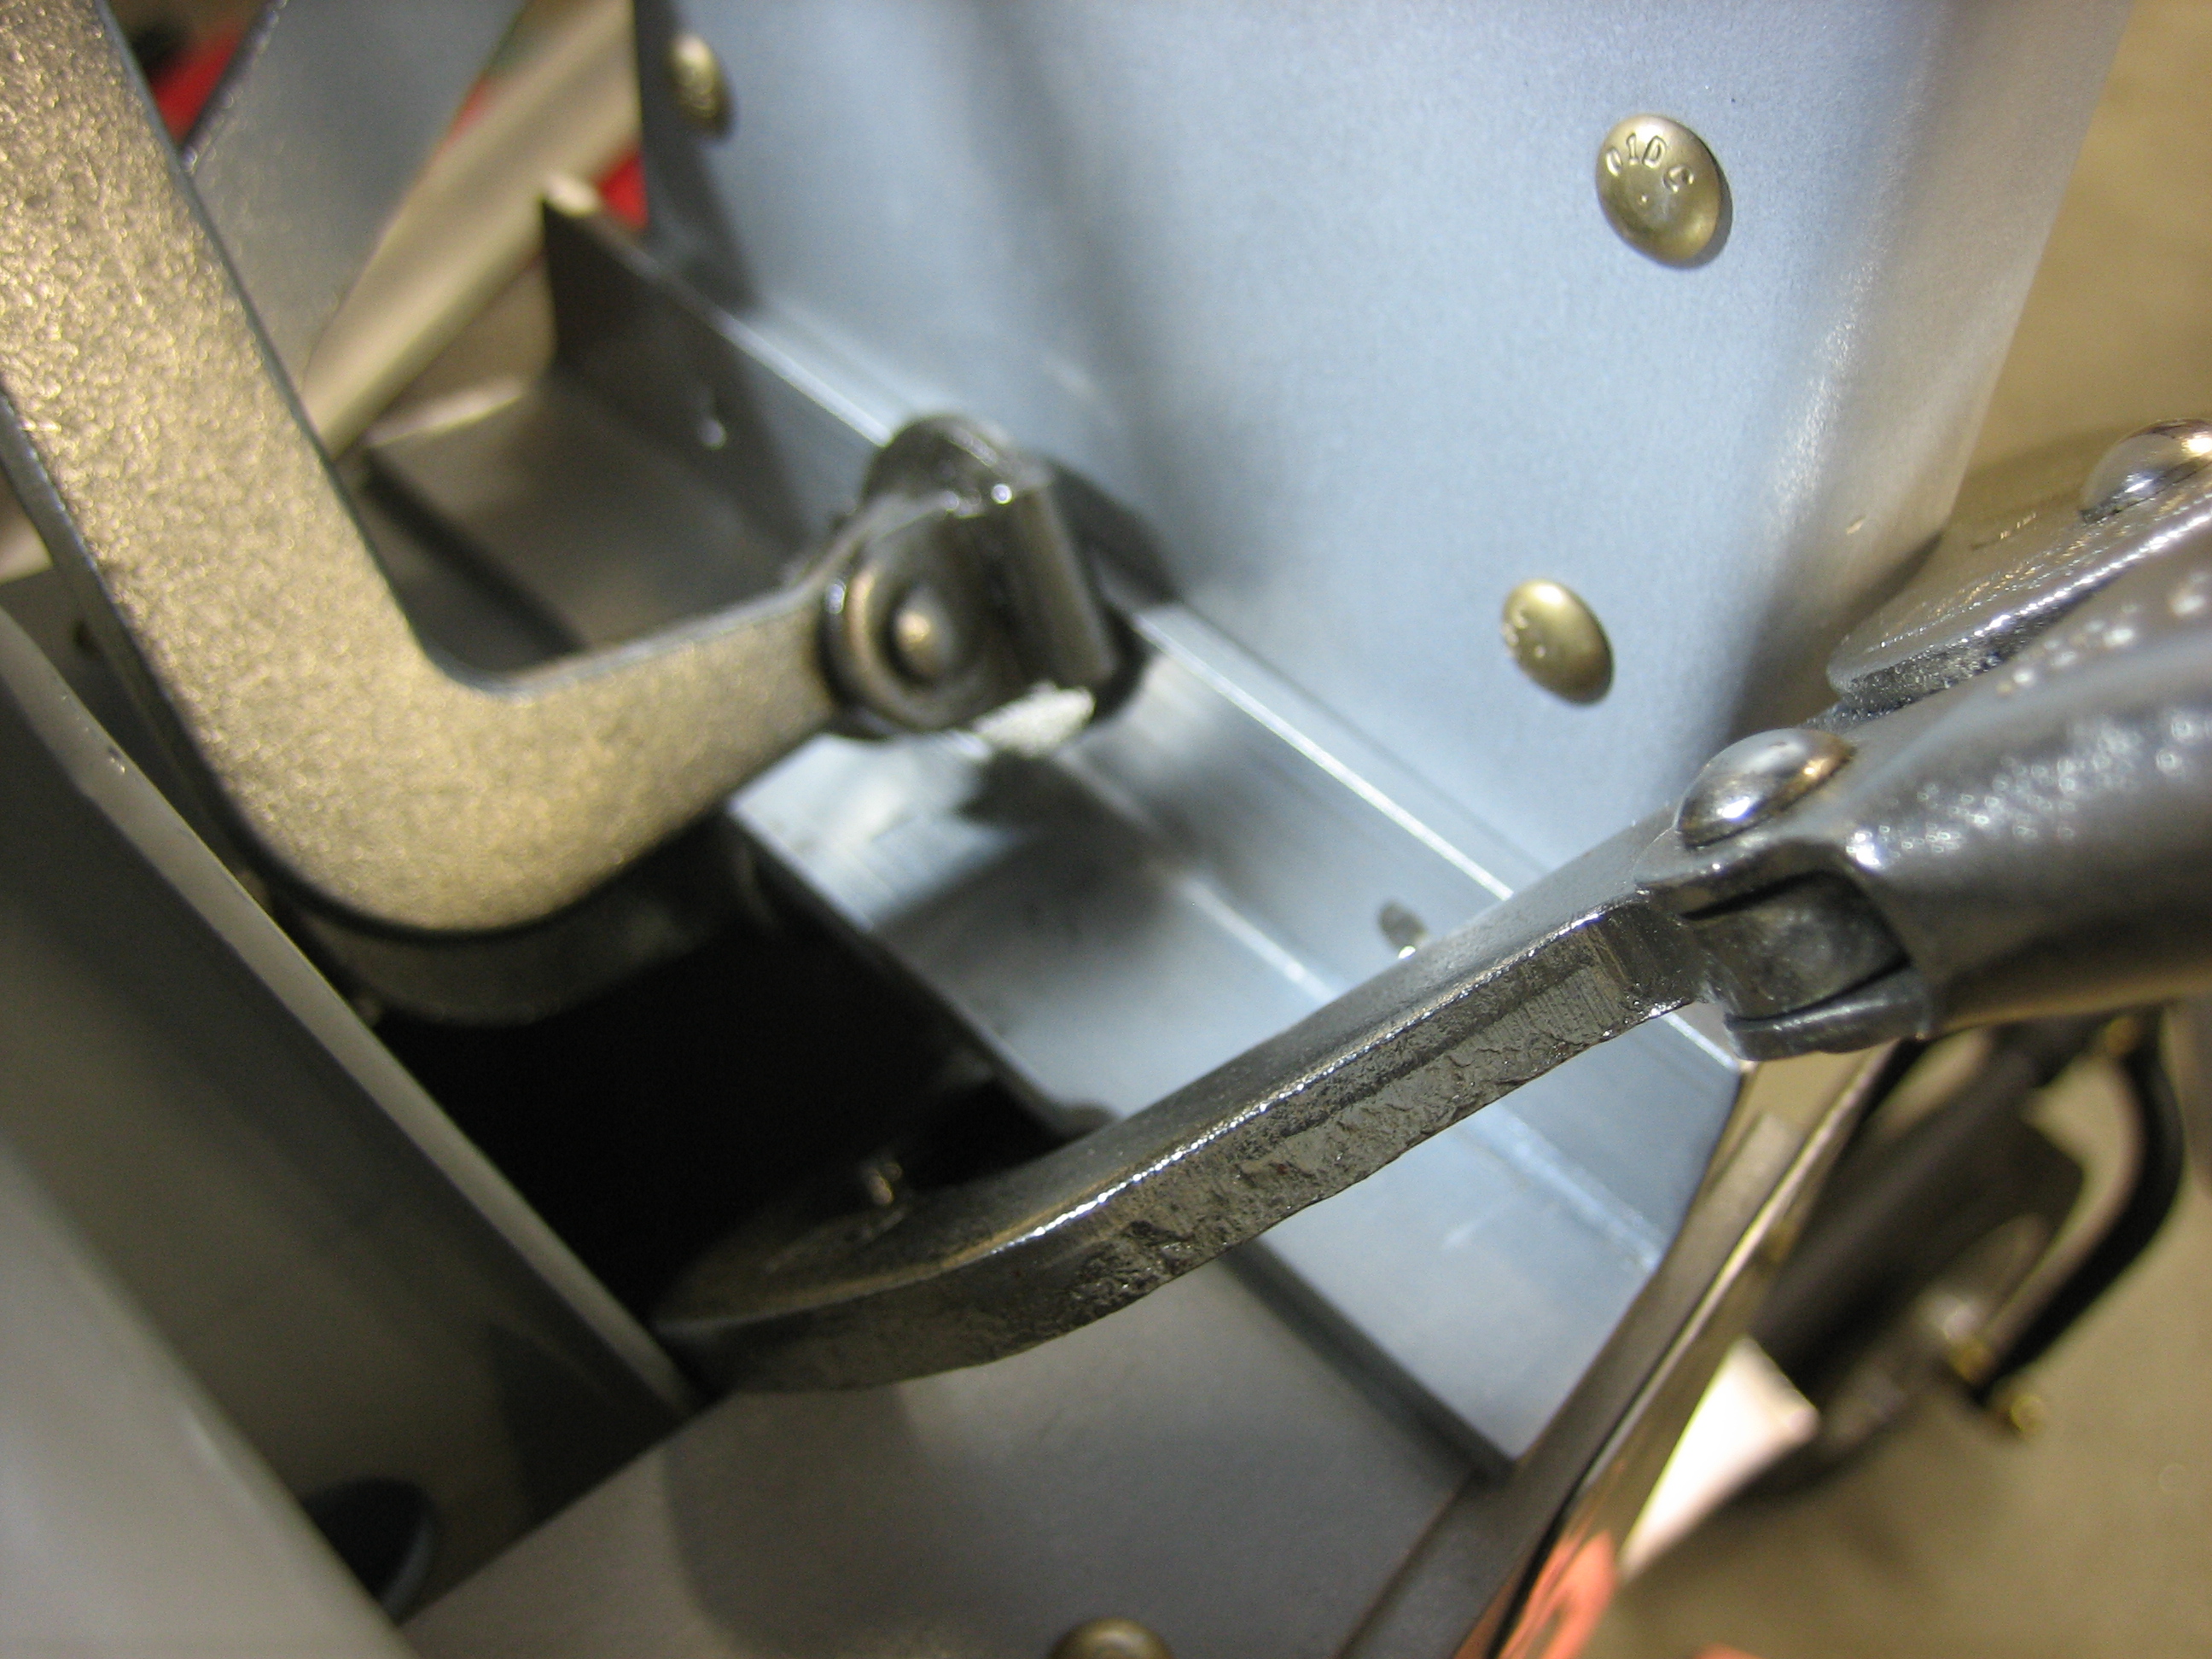
This is then drilled to the vertical stabilizer rear spar.
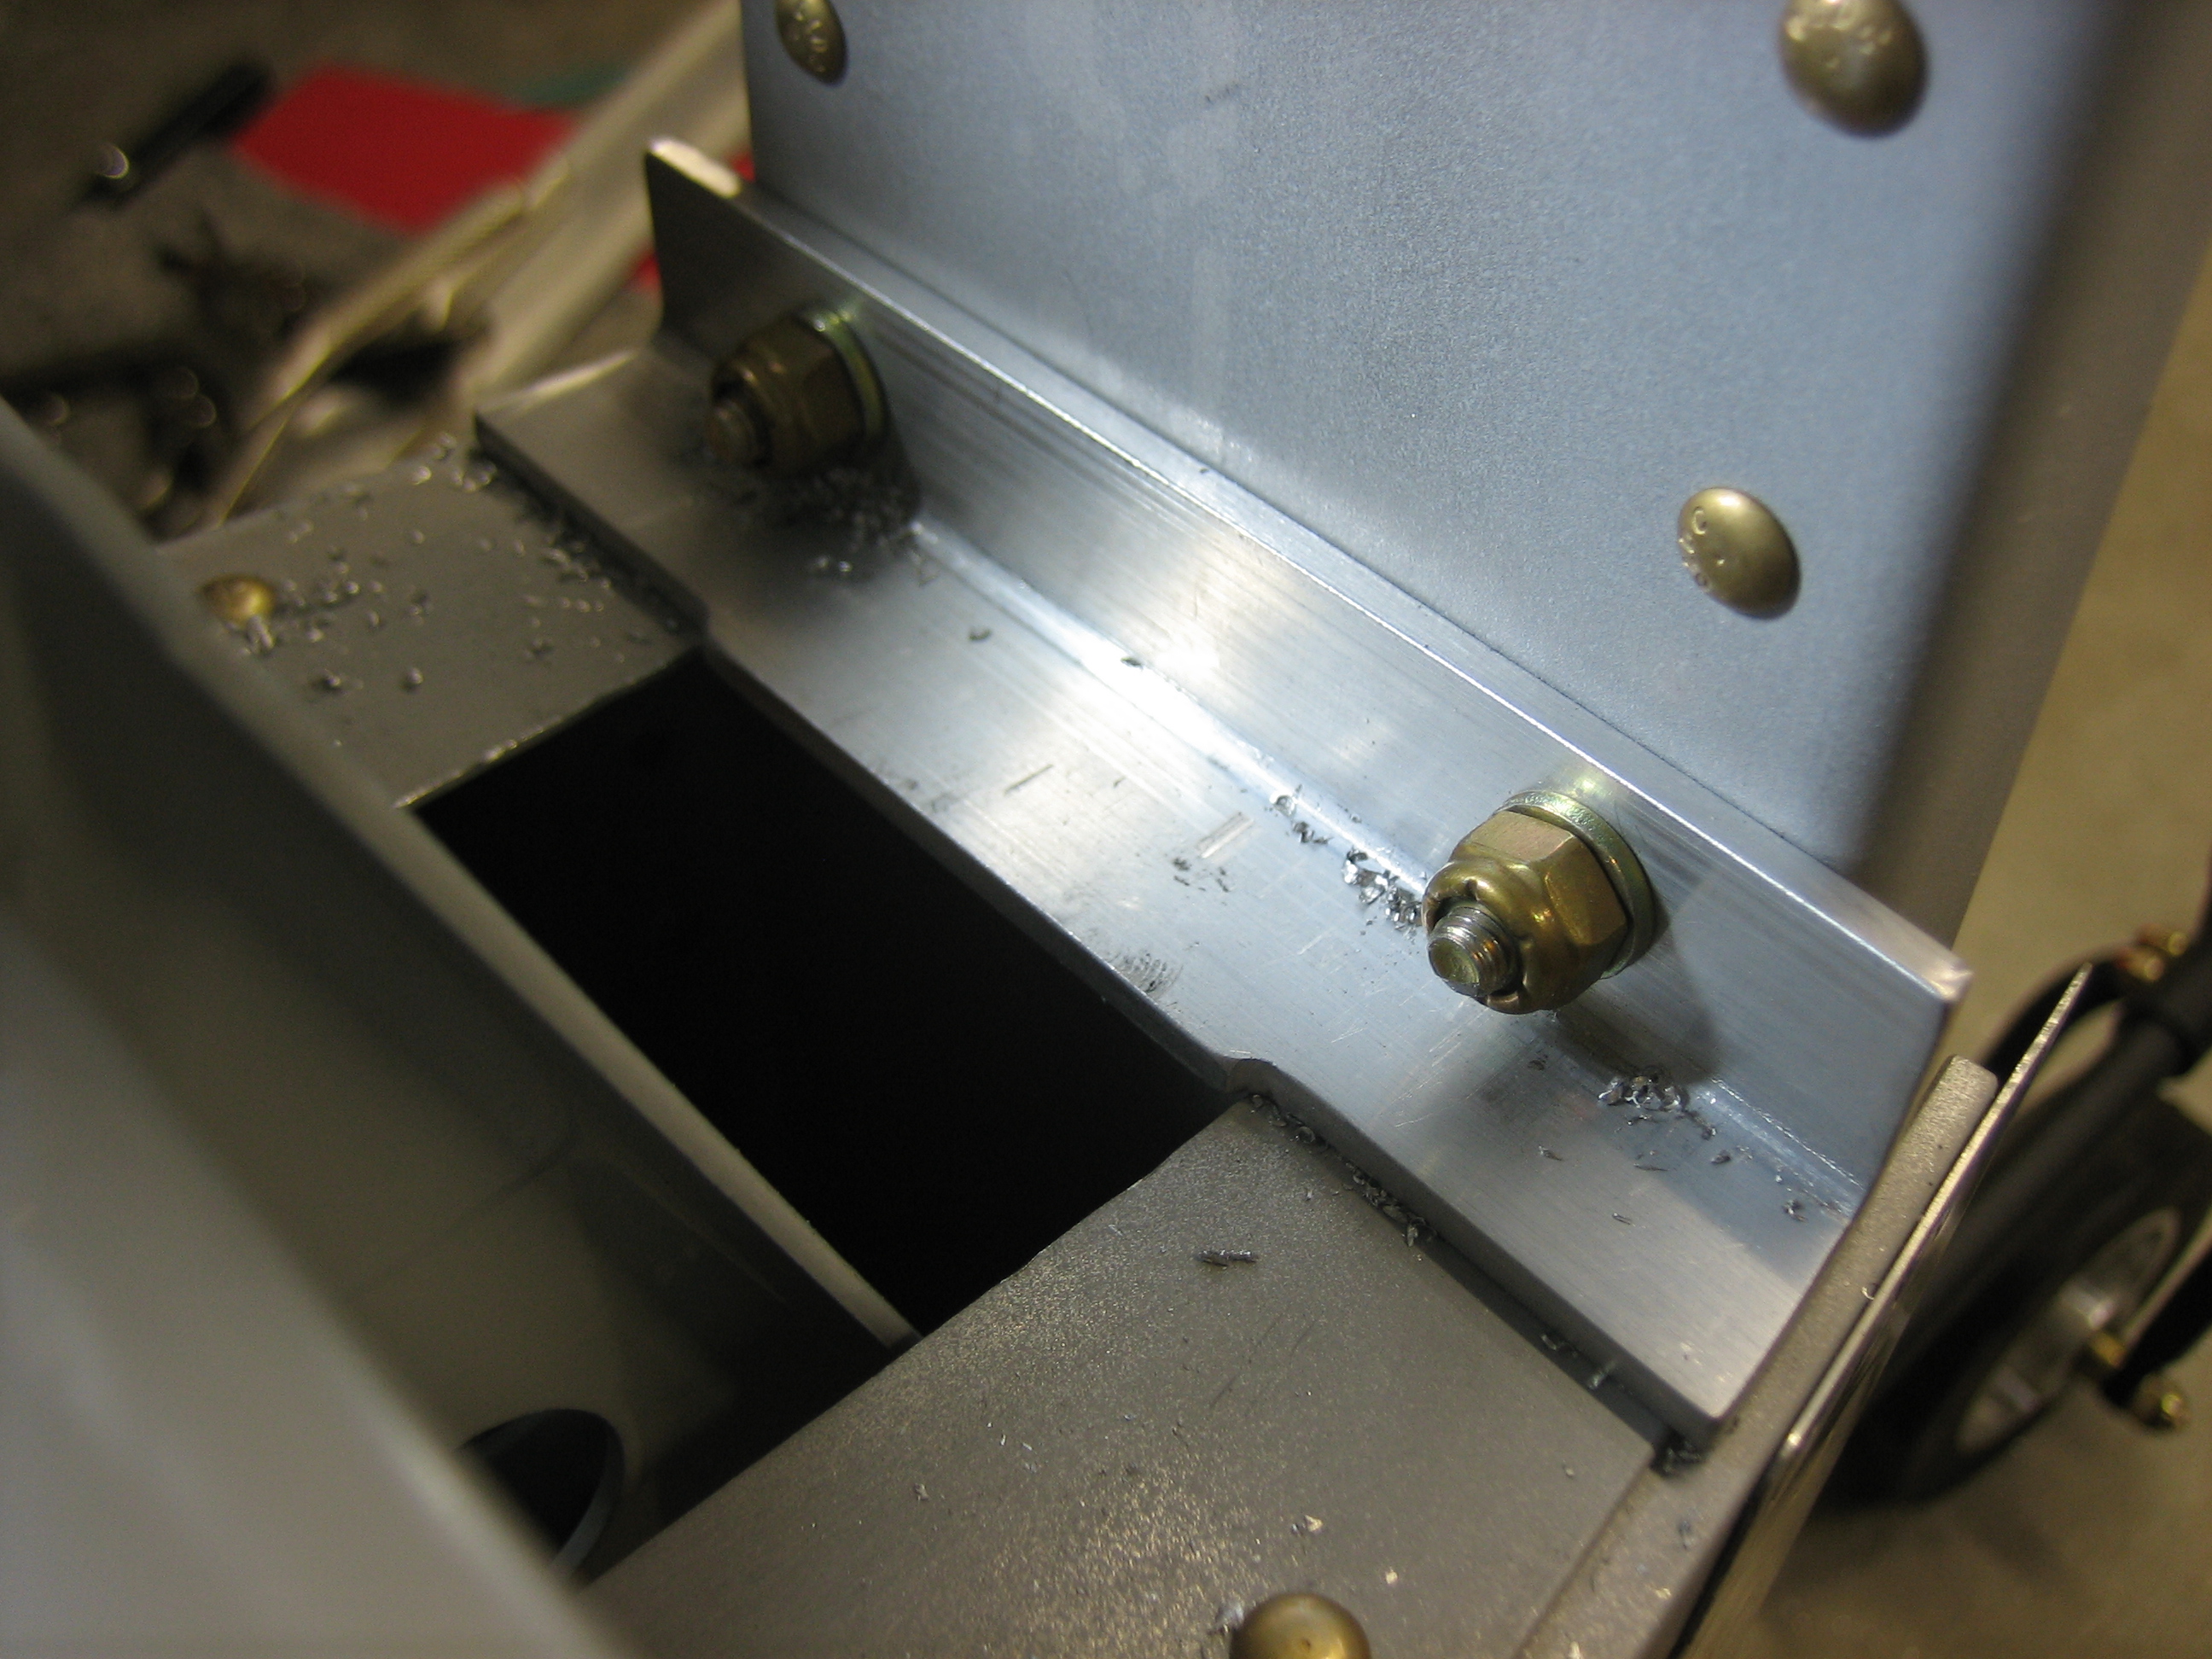
I removed the stop and drilled the remaining holes, then reinstalled it and match drilled the longerons to the stop.
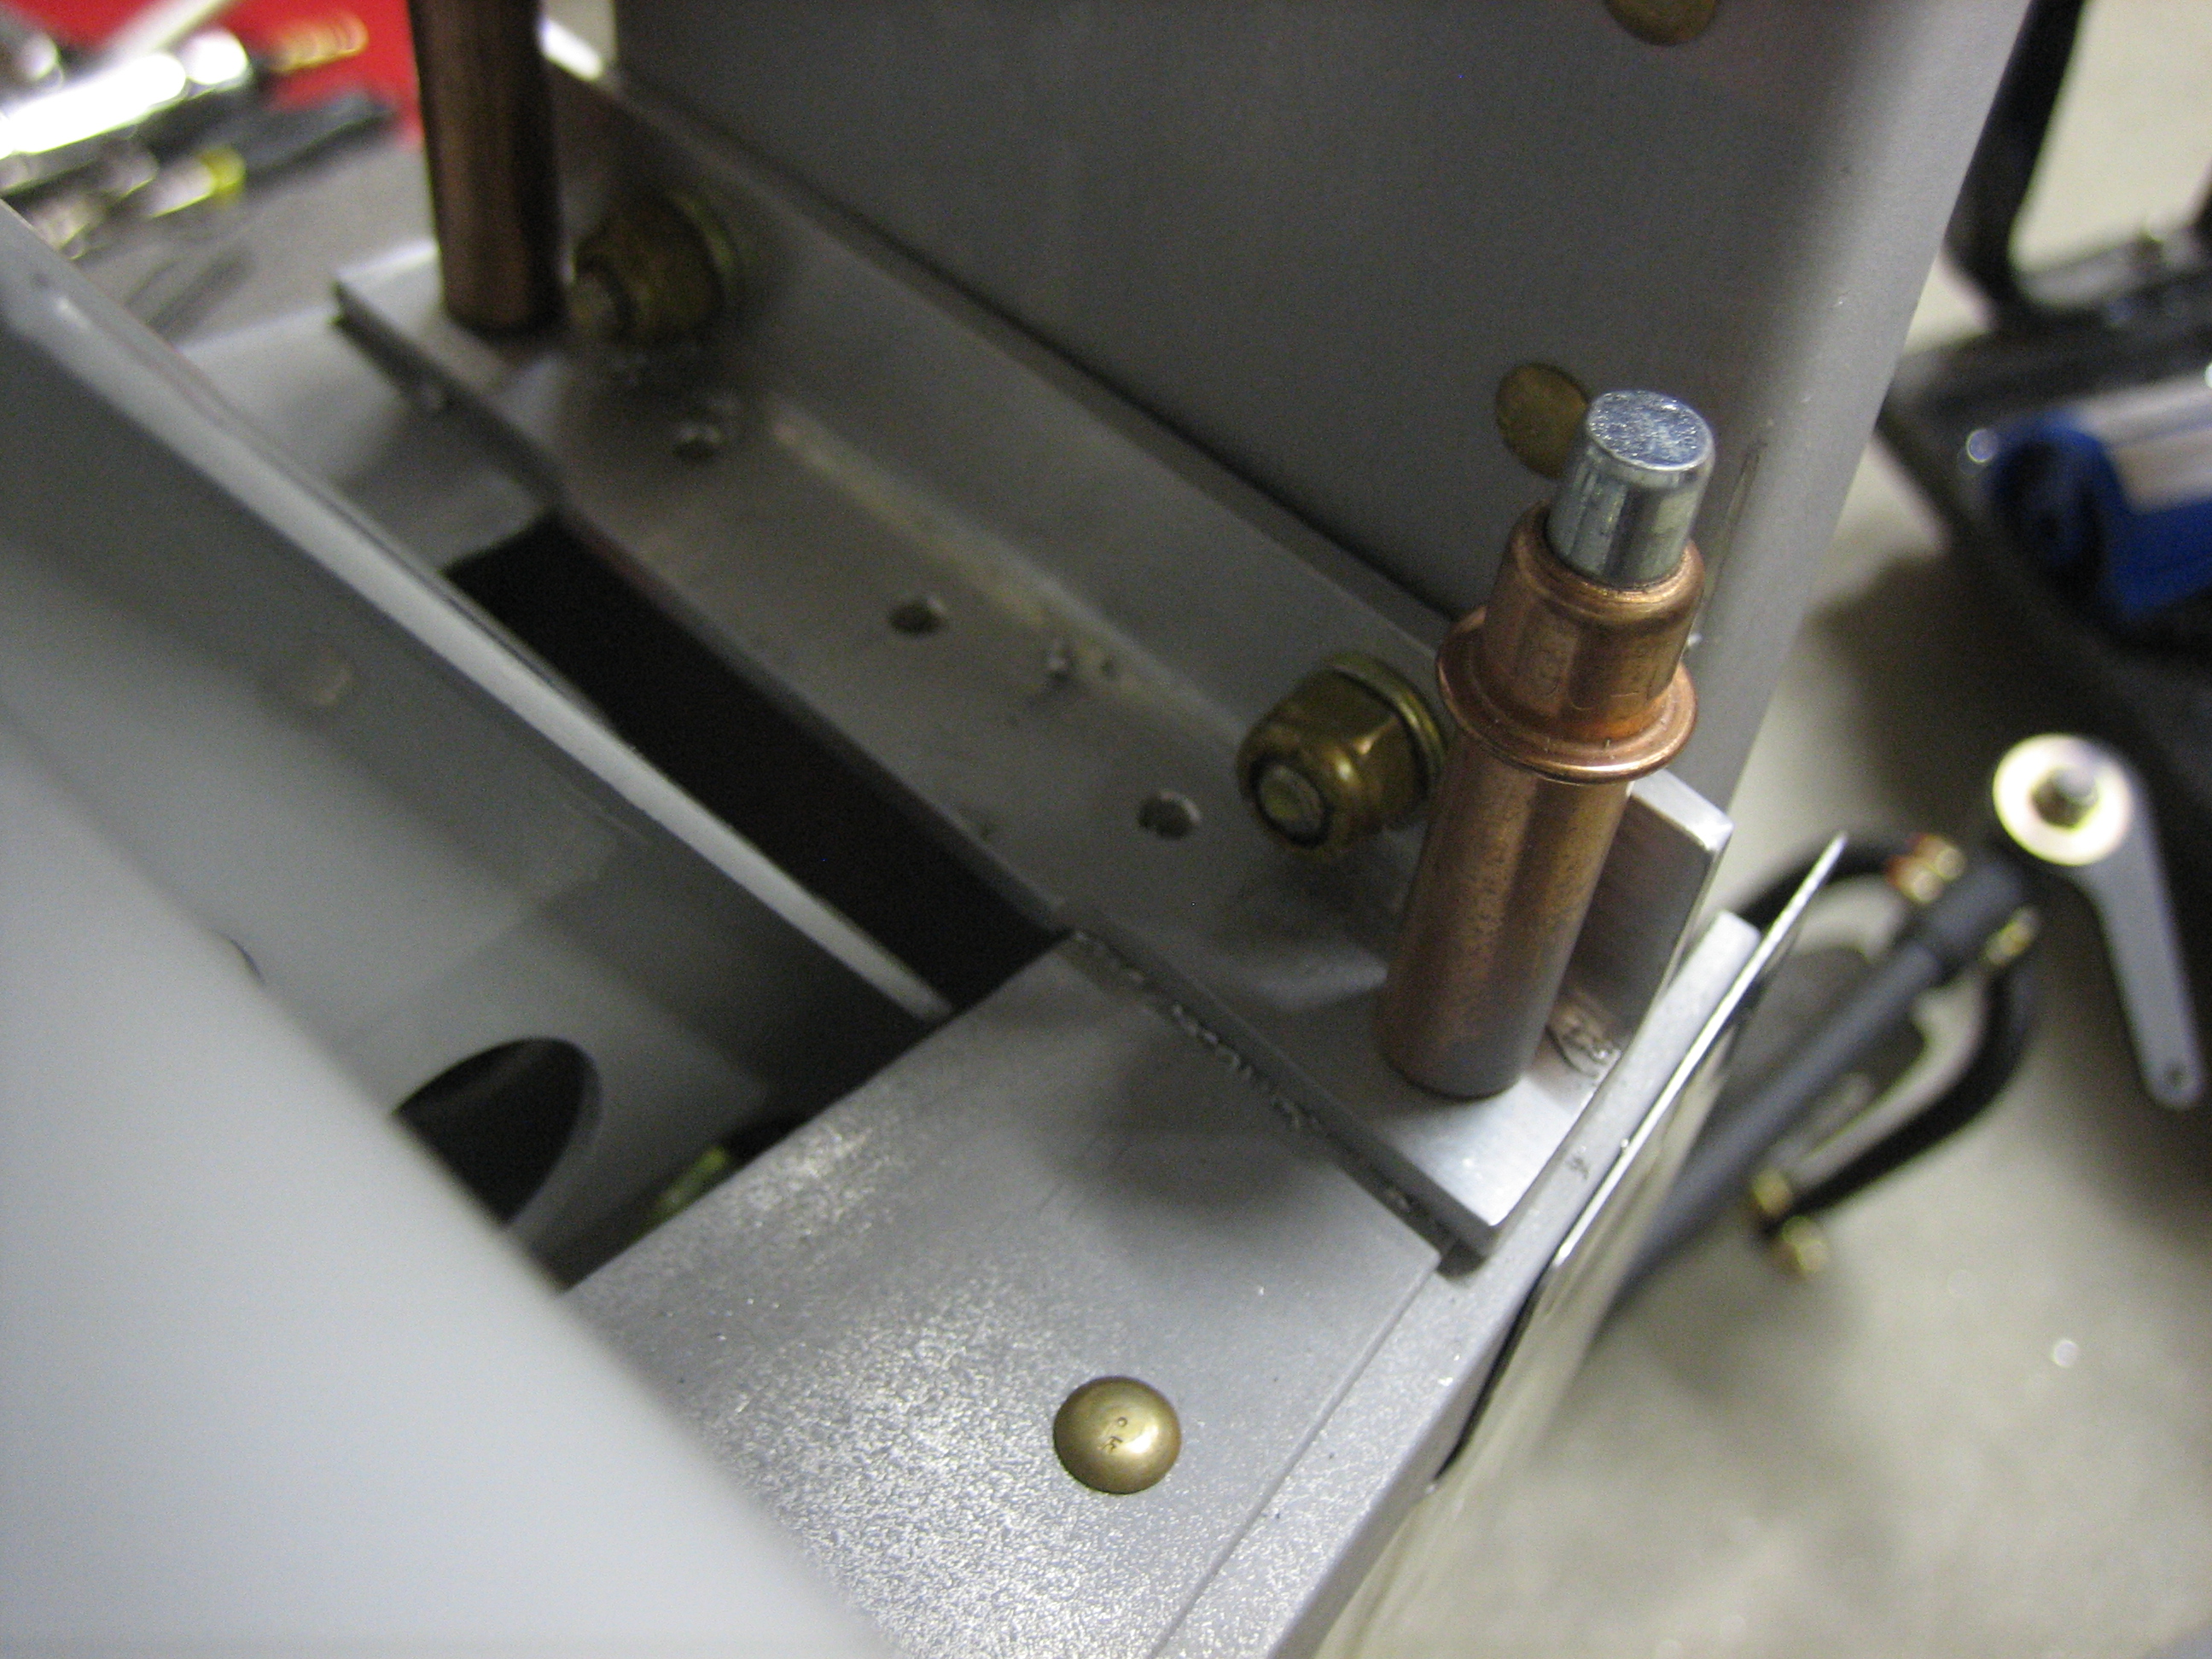
I then installed a washer between the stop and the vertical stabilizer rear spar on the left side. This helps establish the cant in the vertical stabilizer.
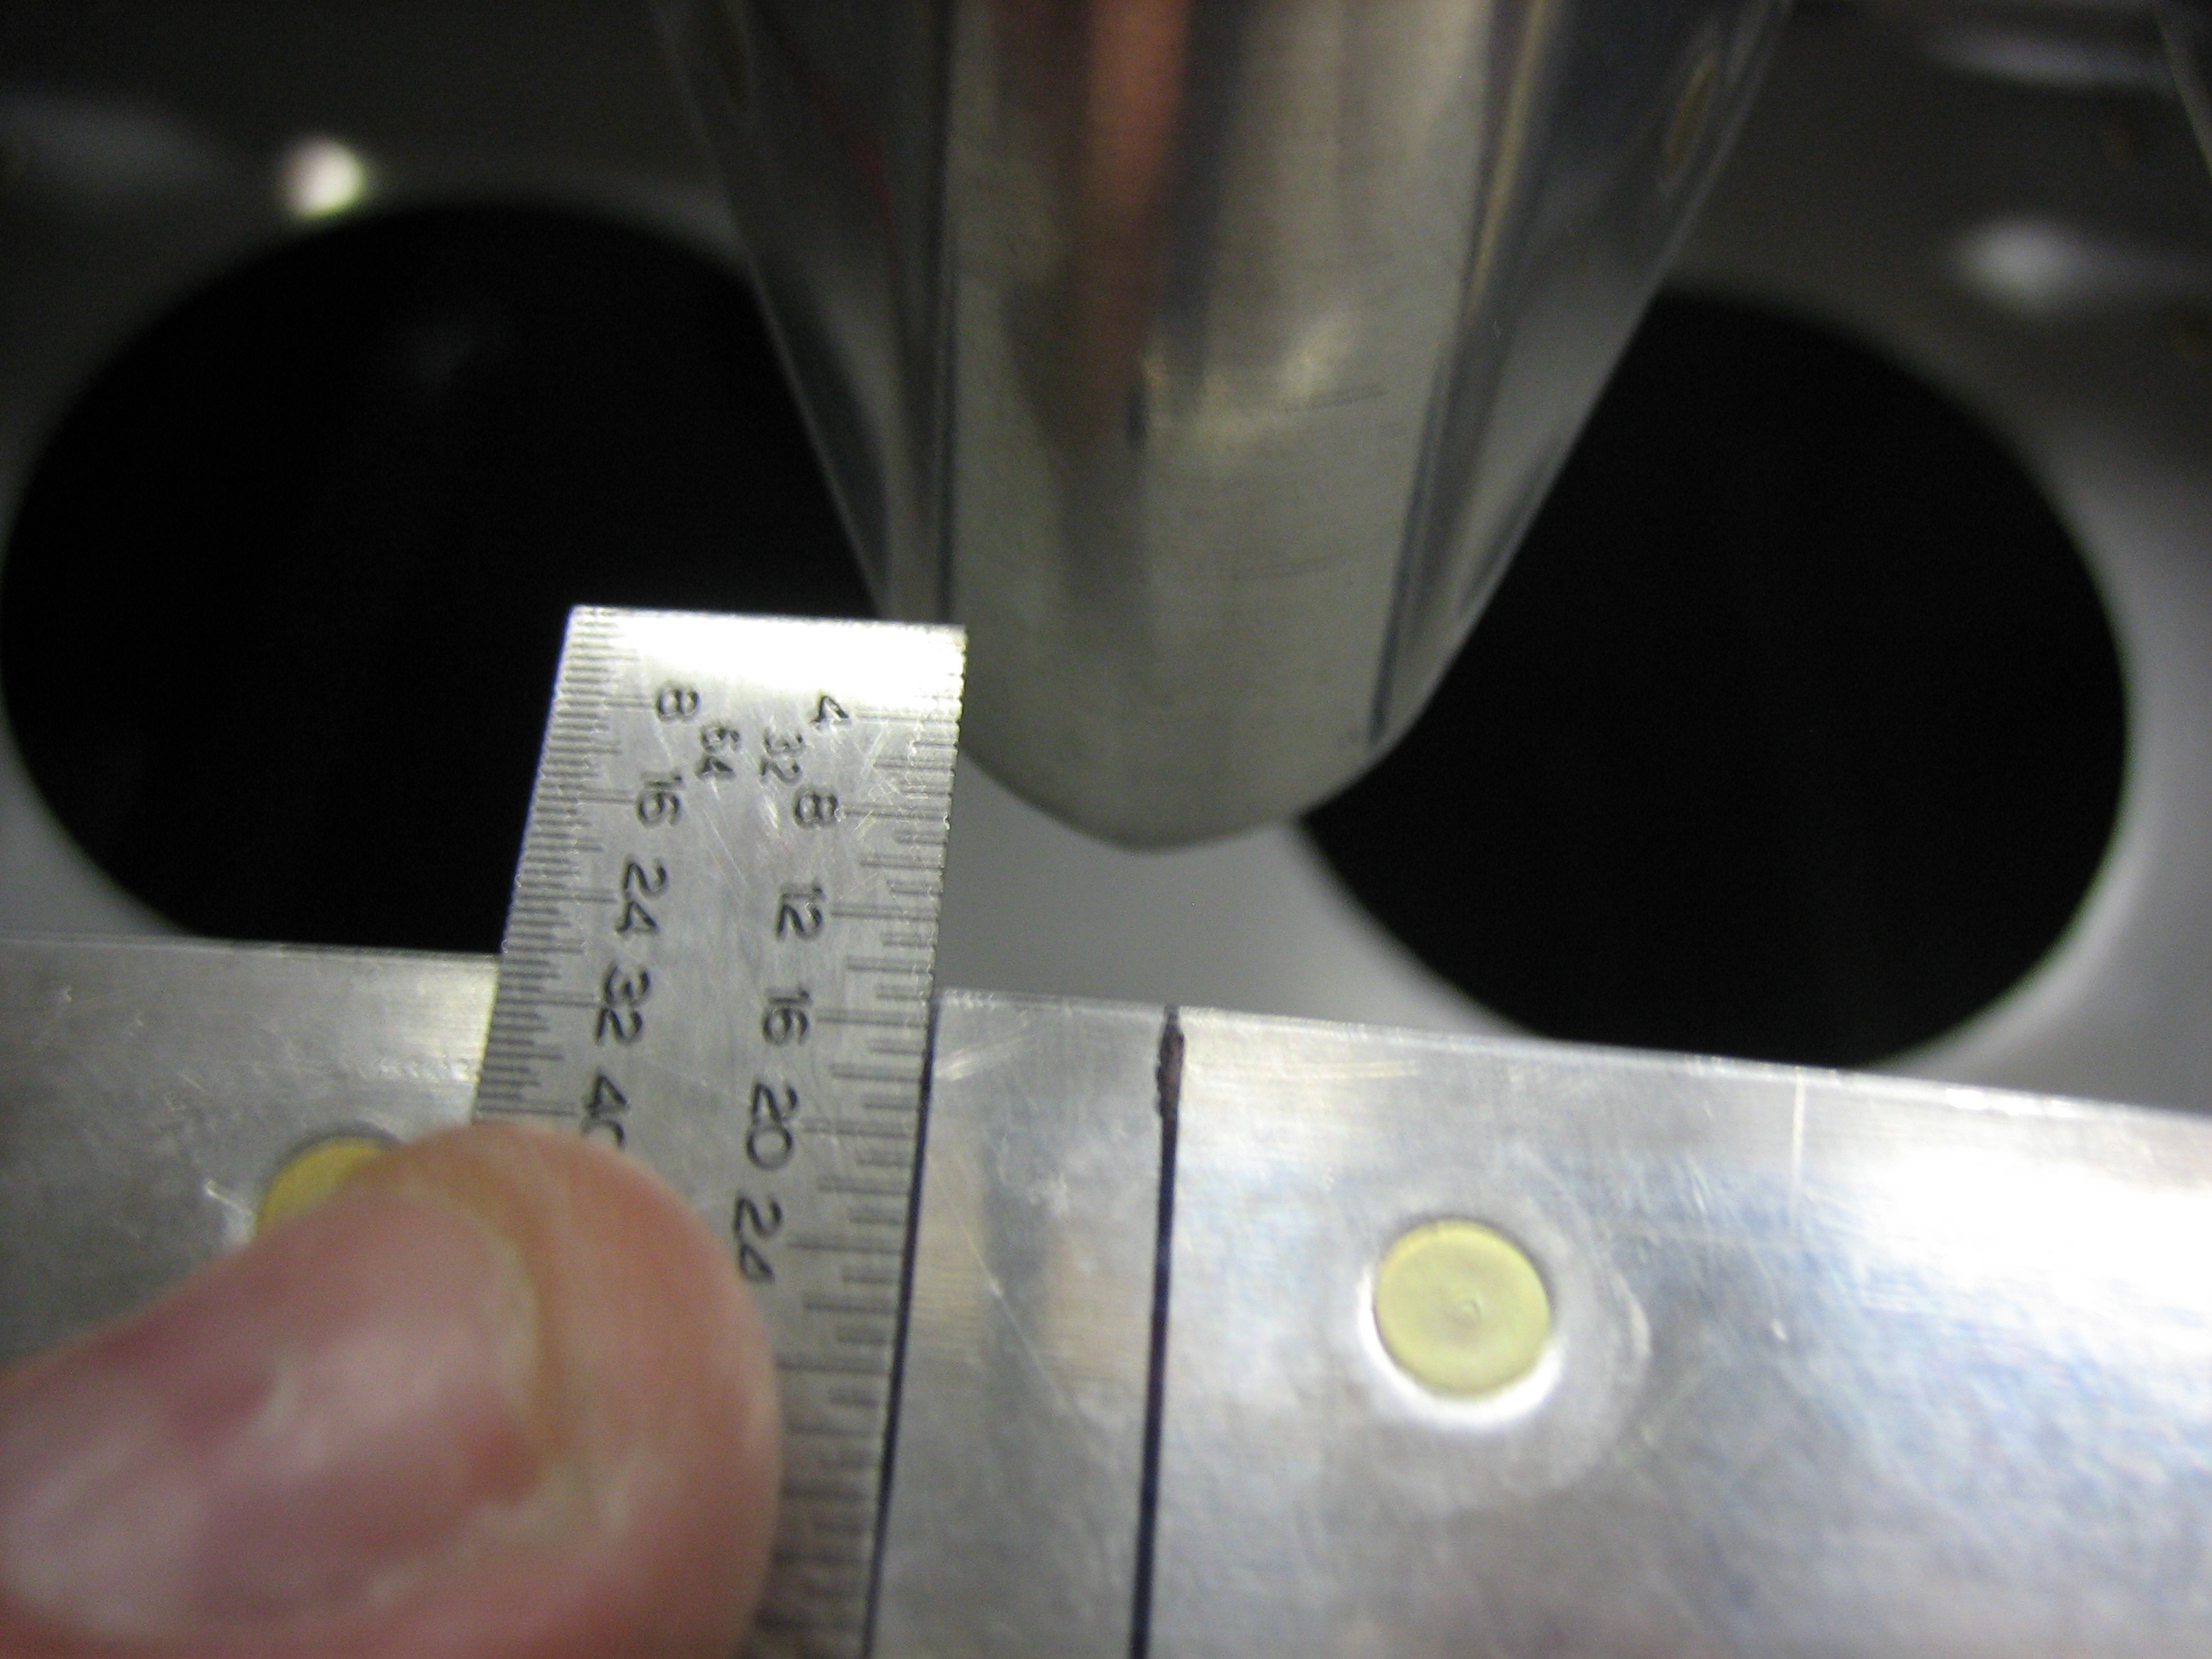
The ruler indicates the fuselage centerline. You can see how the forward end is shifted left (we’re looking aft in this picture). This counteracts the natural left turning tendency of the aircraft.
After triple checking all of the measurements, I drilled the splice plate to both the horizontal and vertical stabilizer front spars,
I then drilled the lower vertical stabilizer rear spar to the tailwheel attach bracket and then installed the rudder. There is a little interference with the vertical stabilizer top fairing. I’ll have to trim it back slightly. It’s really late though, so I disassembled everything and put the plane back in the garage.