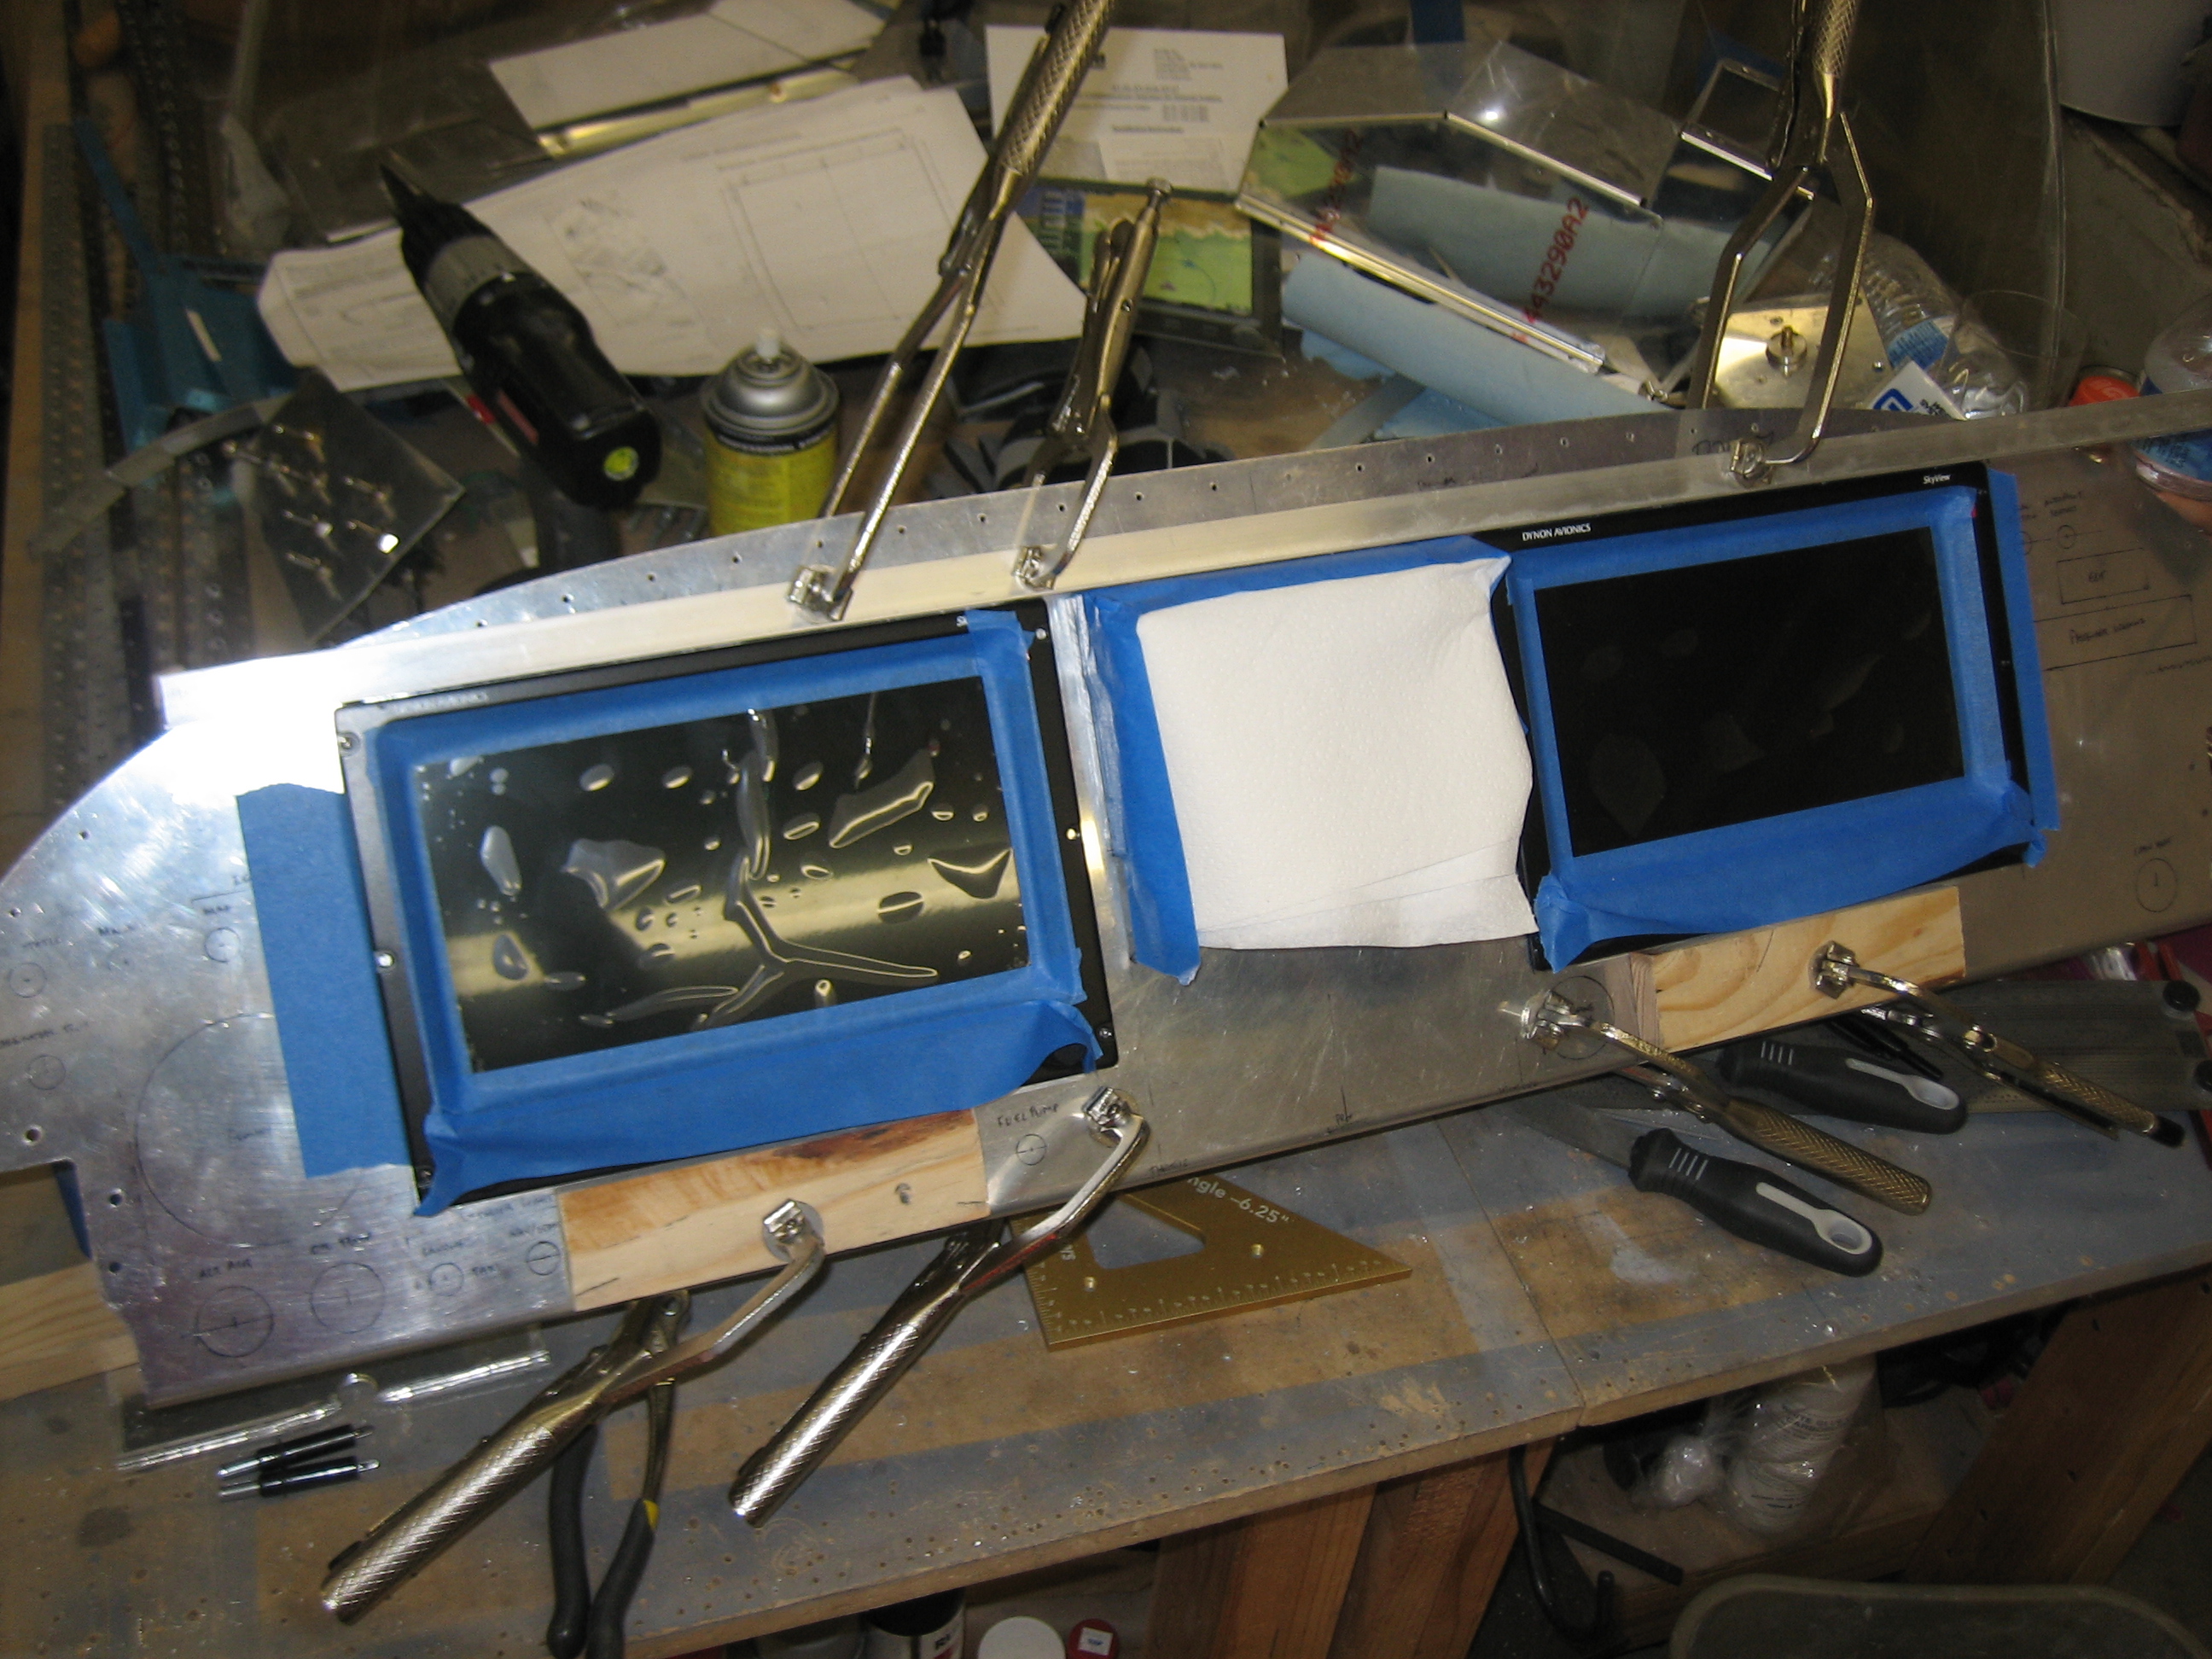
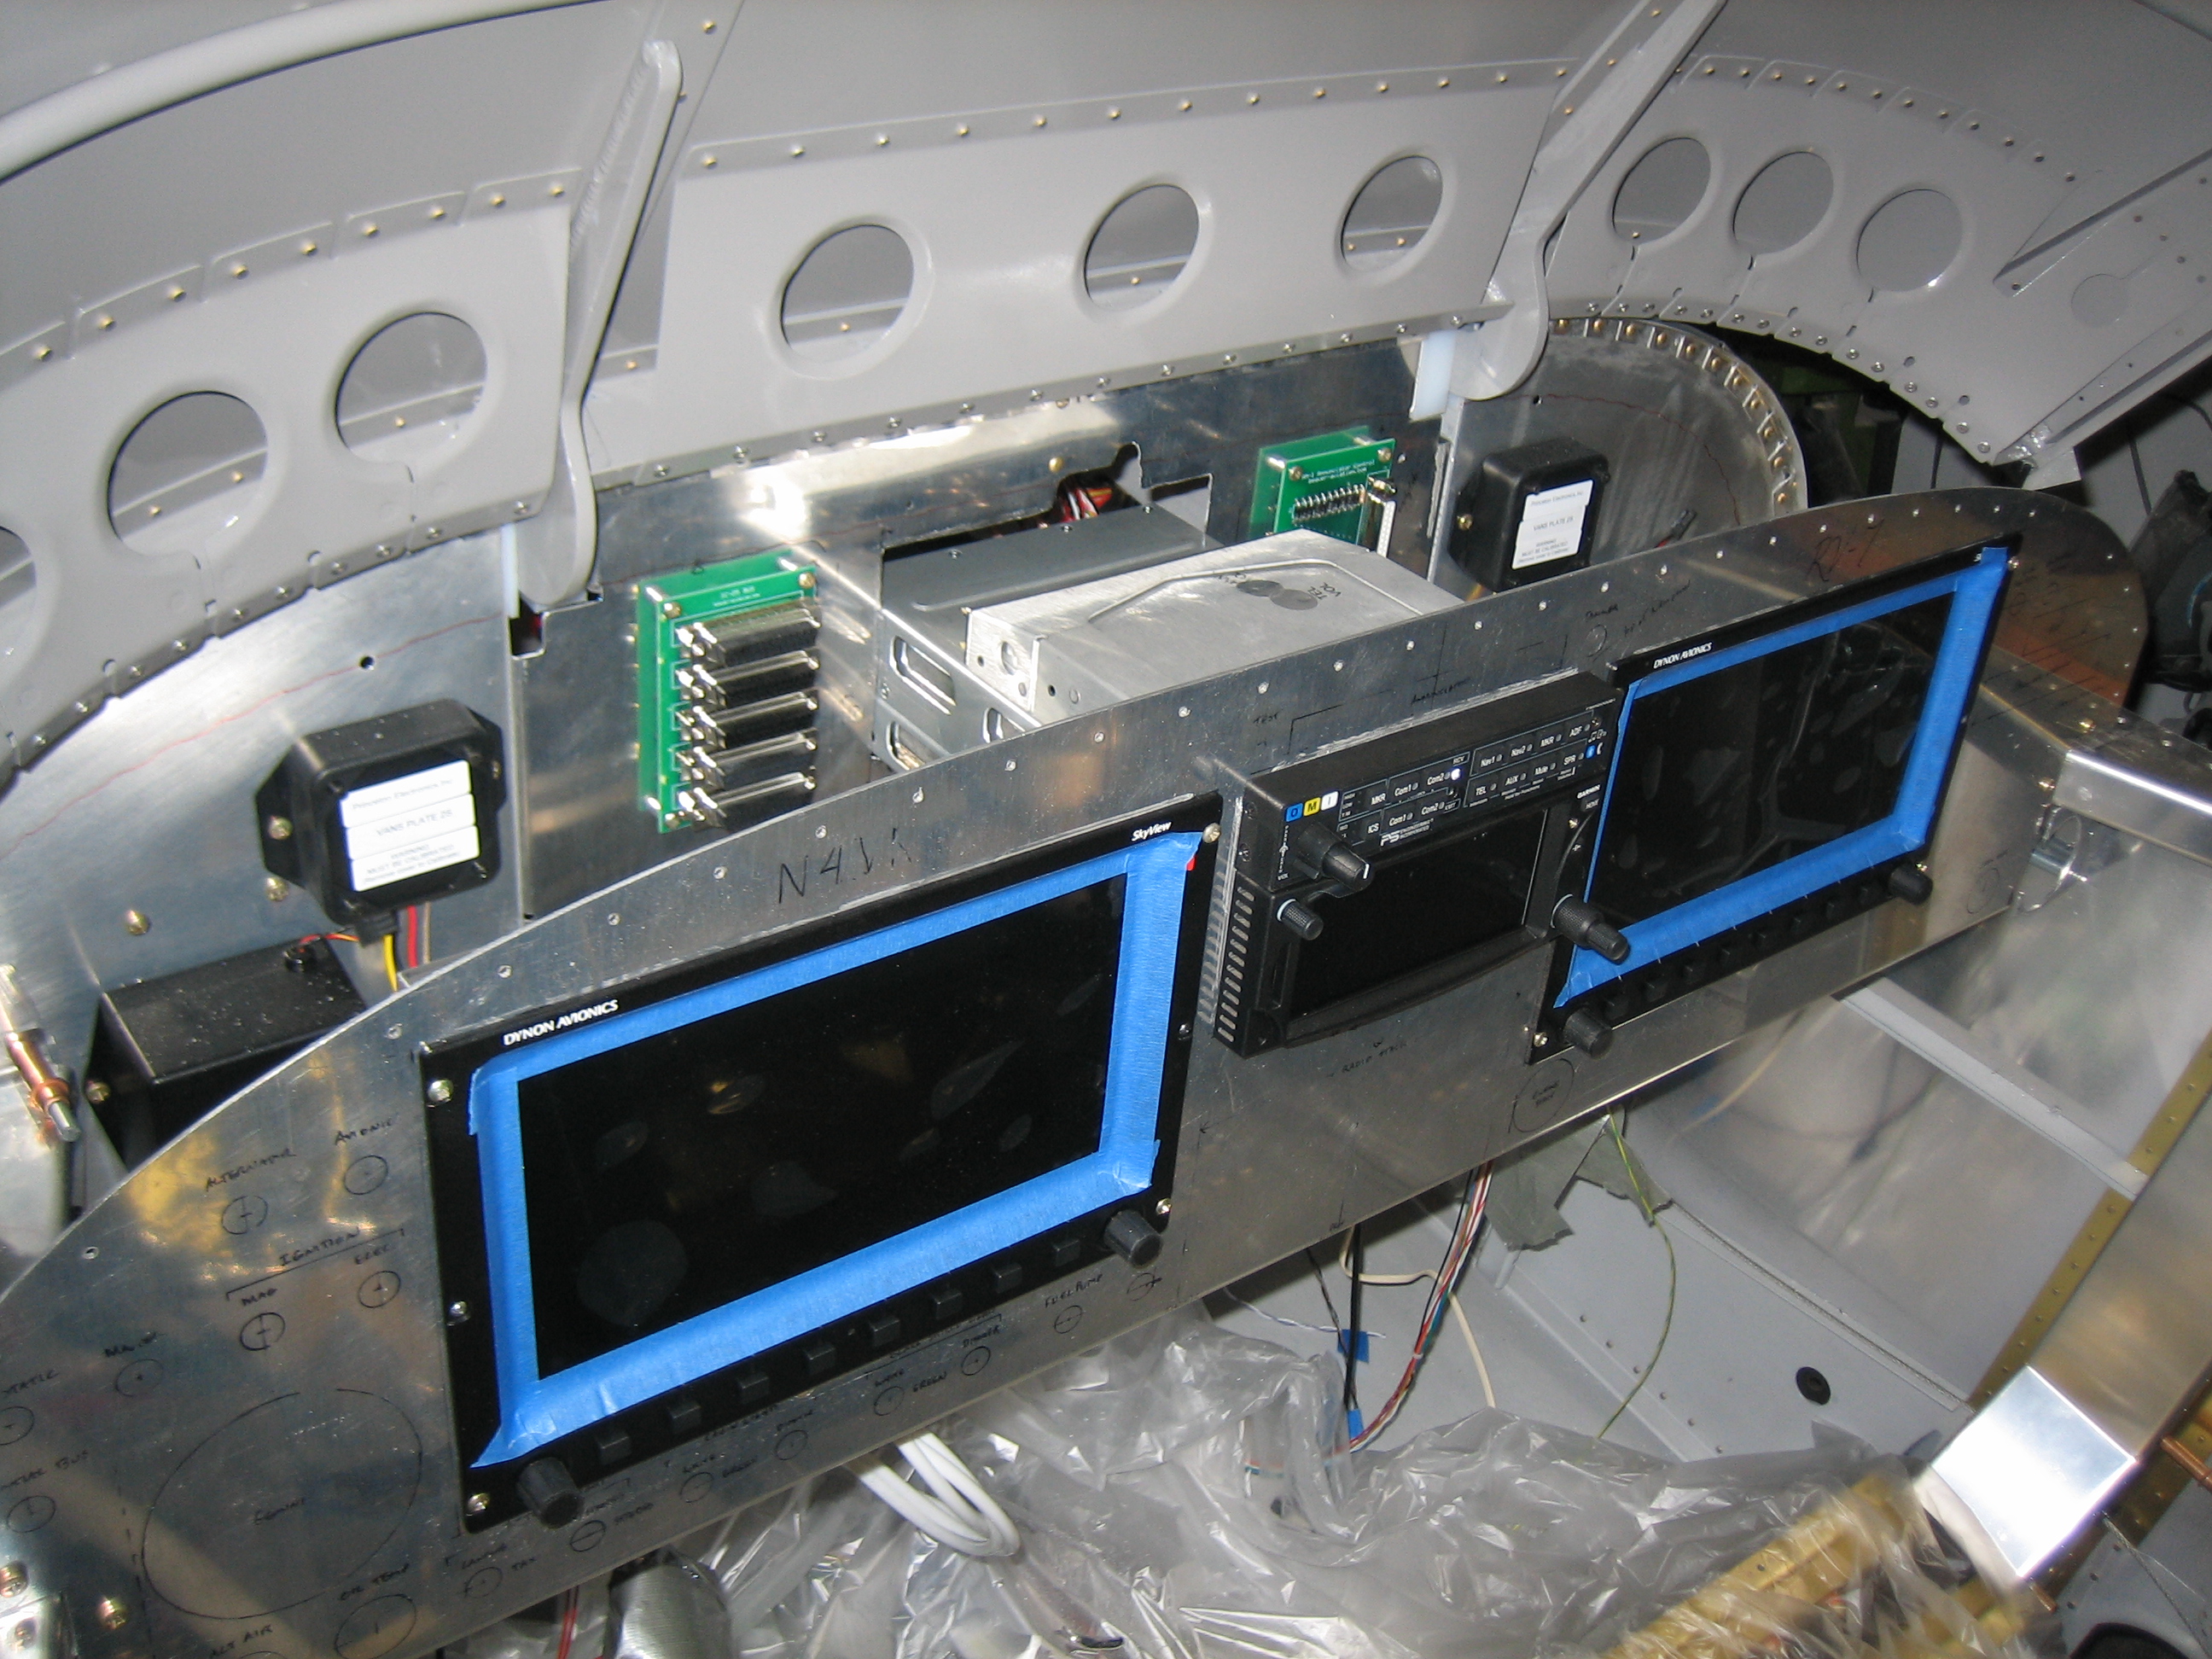
After enlarging the SkyView screen holes slightly, I clamped a straightedge along the top of the radio stack and made sure it was aligned with the bottom edge of the panel, then pushed the SkyView screens up against the straightedge and moved them as far inboard as they could go. I used a couple of wood blocks to hold the SkyView screens in position while I drilled a couple of the mounting holes to lock in the final position. You can see I used some extra tape and a paper towel to keep any metal shavings out of the avionics.
I fit the panel in the plane to determine where the ribs need to be mounted.
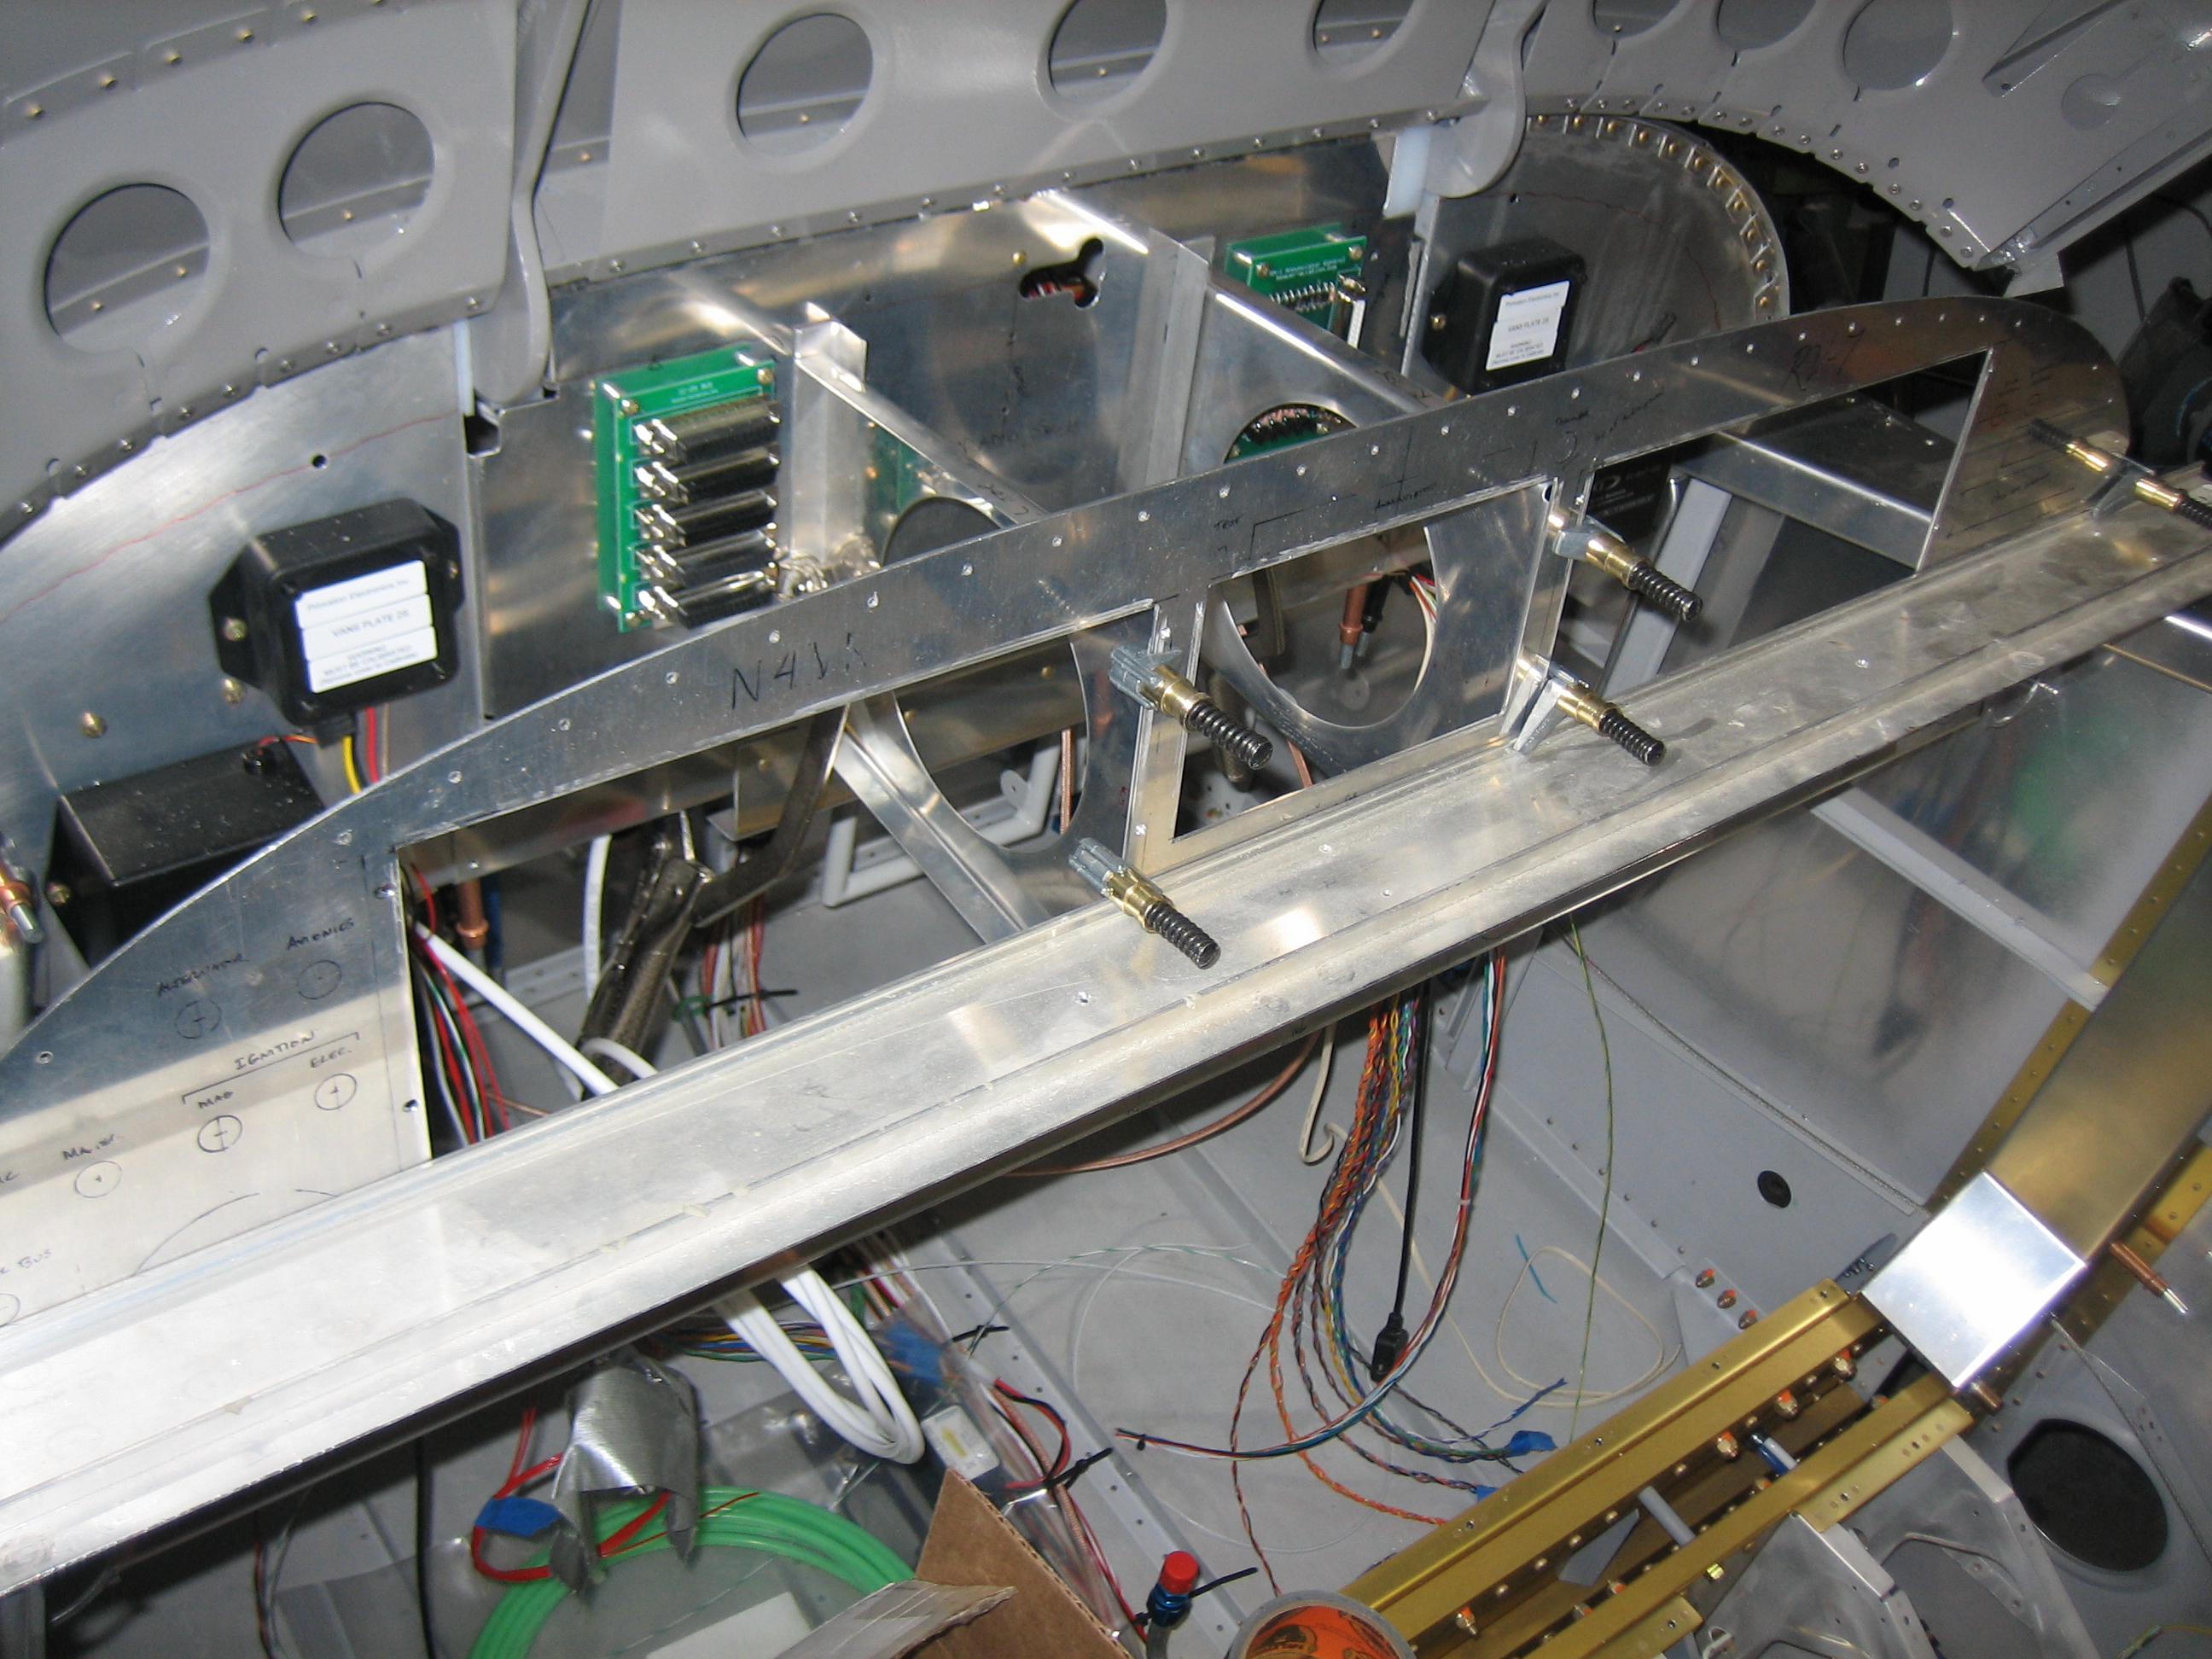
I’m going to use some 1/16″ angle to attach these ribs to the subpanel. Some additional 1/16″ angle on the other side of the subpanel (mounted horizontally) will be used to box in the hole in the subpanel to strengthen it.

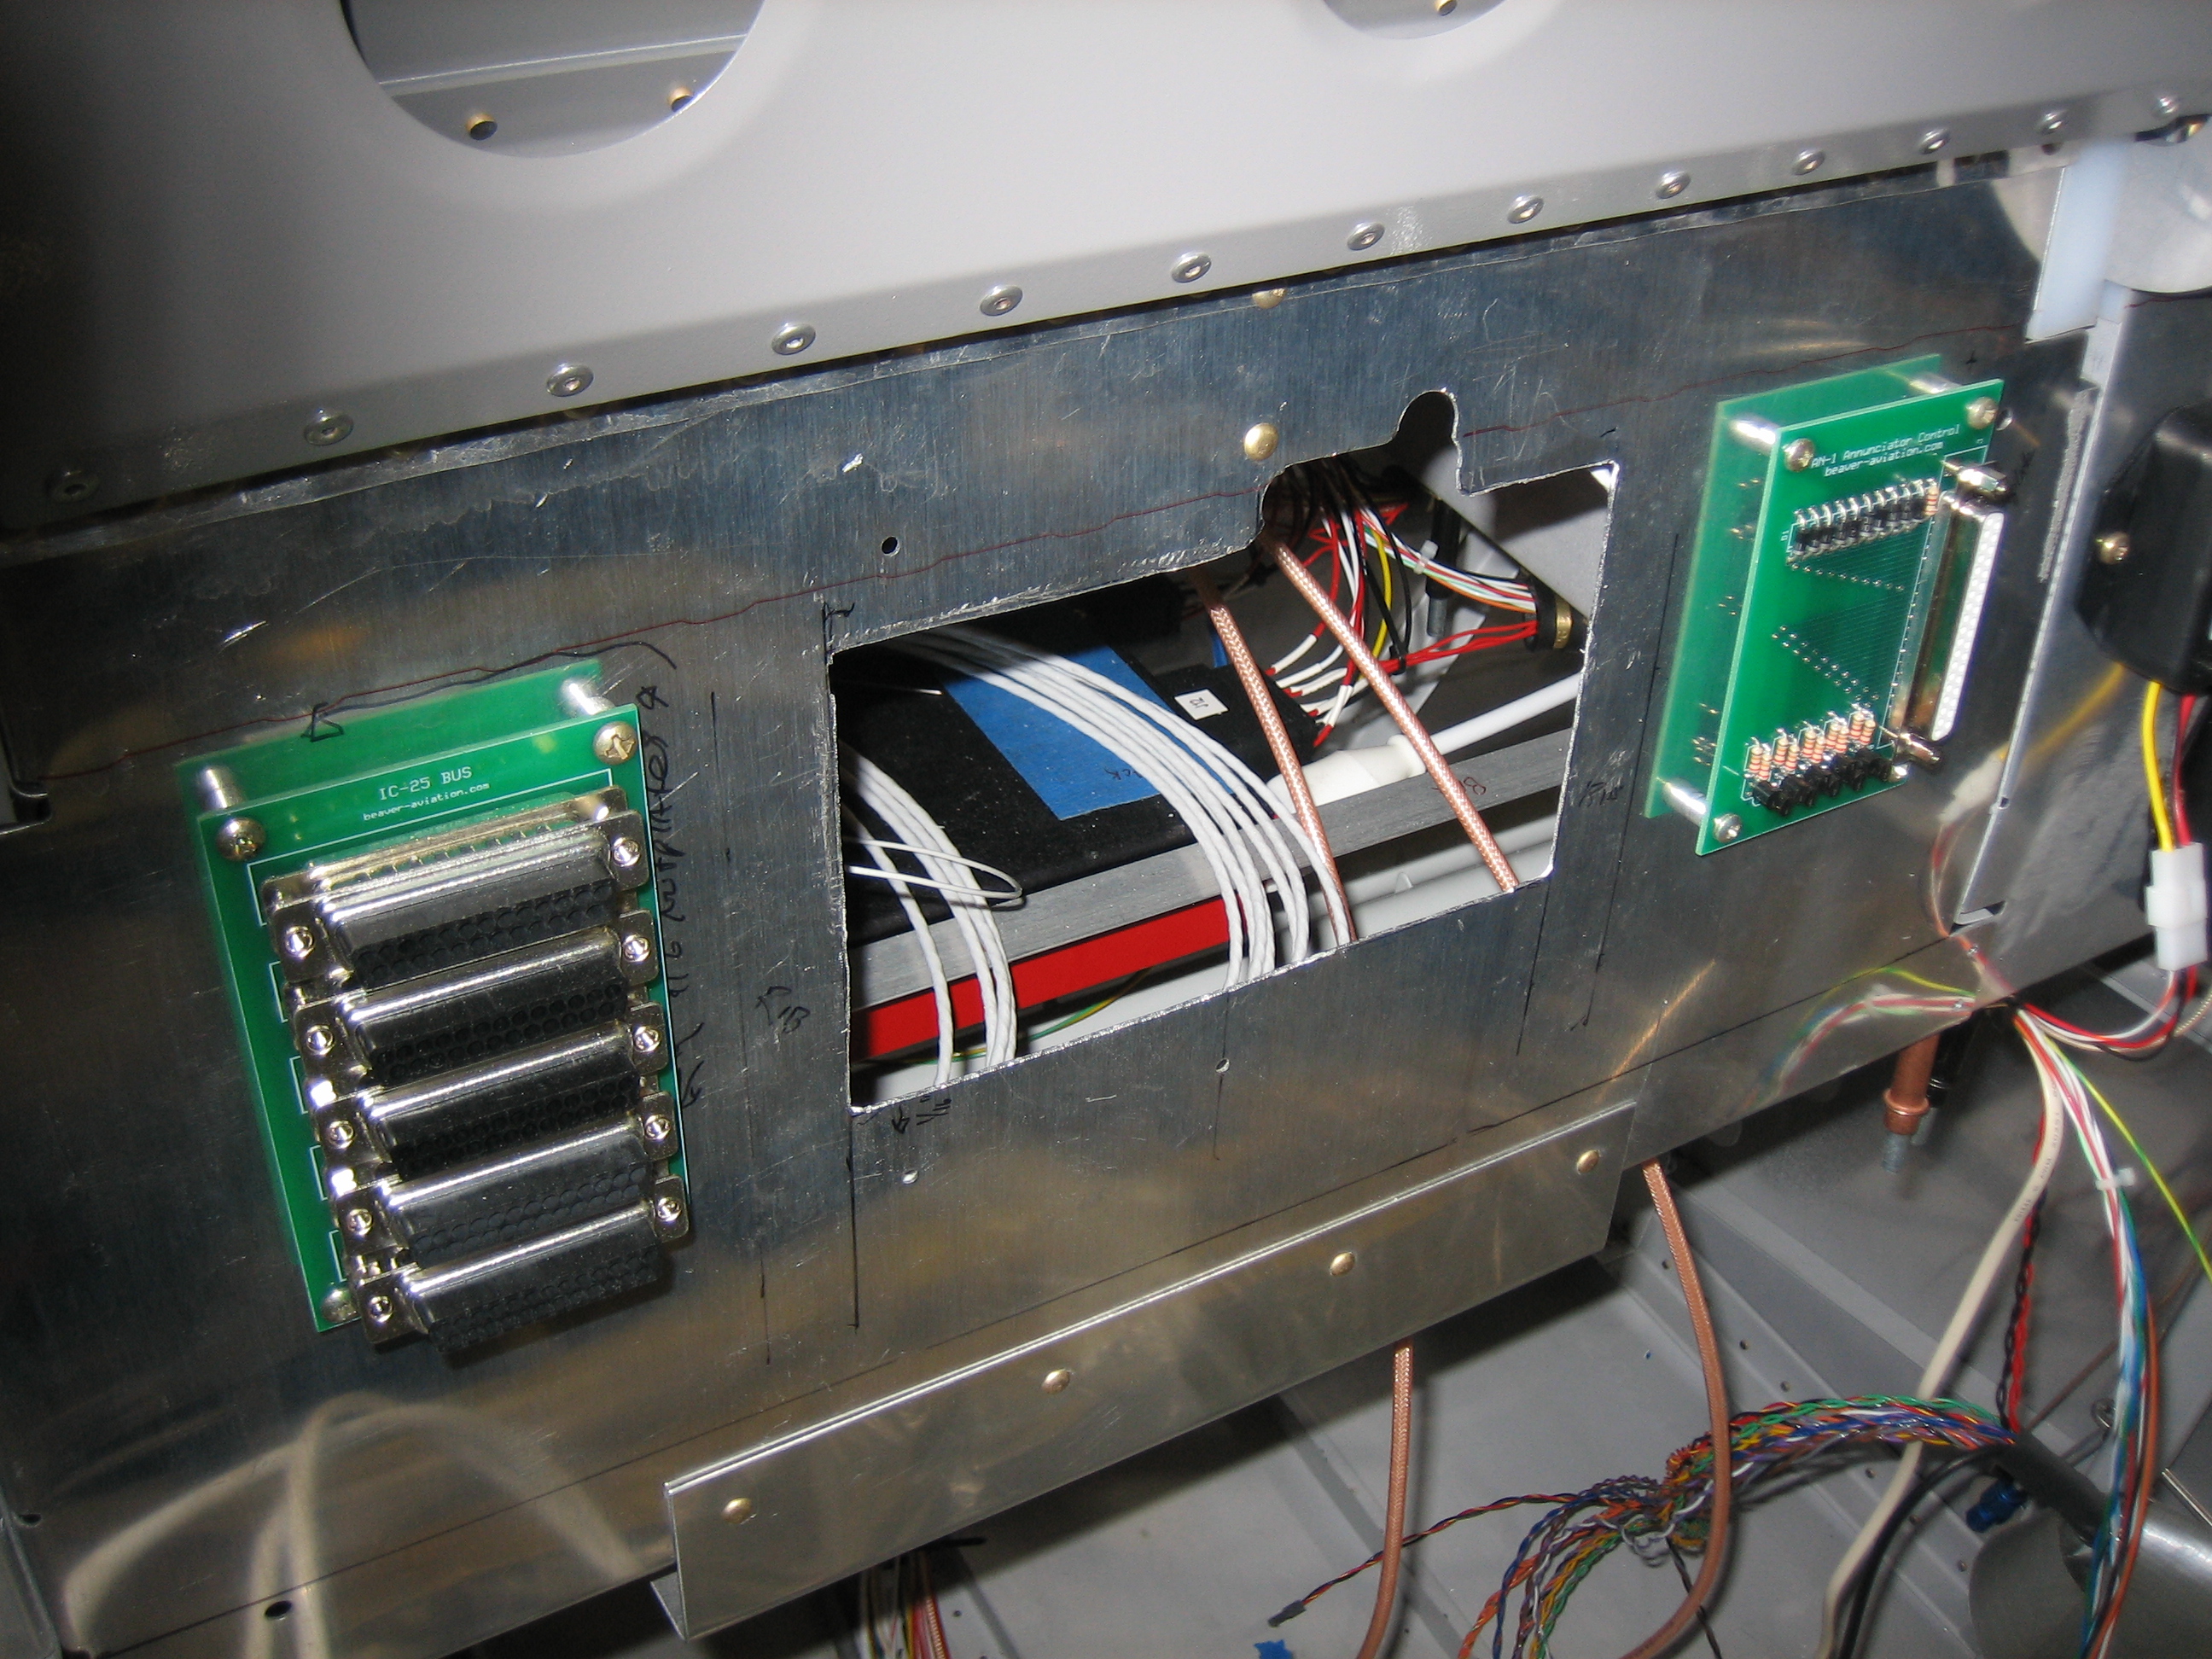
A few minutes with various nibblers and snips and I have this hole in the subpanel. The sides and bottom edge are aligned with the sides and bottom edge of the radio stack hole in the panel. The top edge is 5/16″ lower than the top edge of the hole in the panel since the audio panel tapers down in the middle and is pretty short. Only the wiring harness will need to go through this hole.
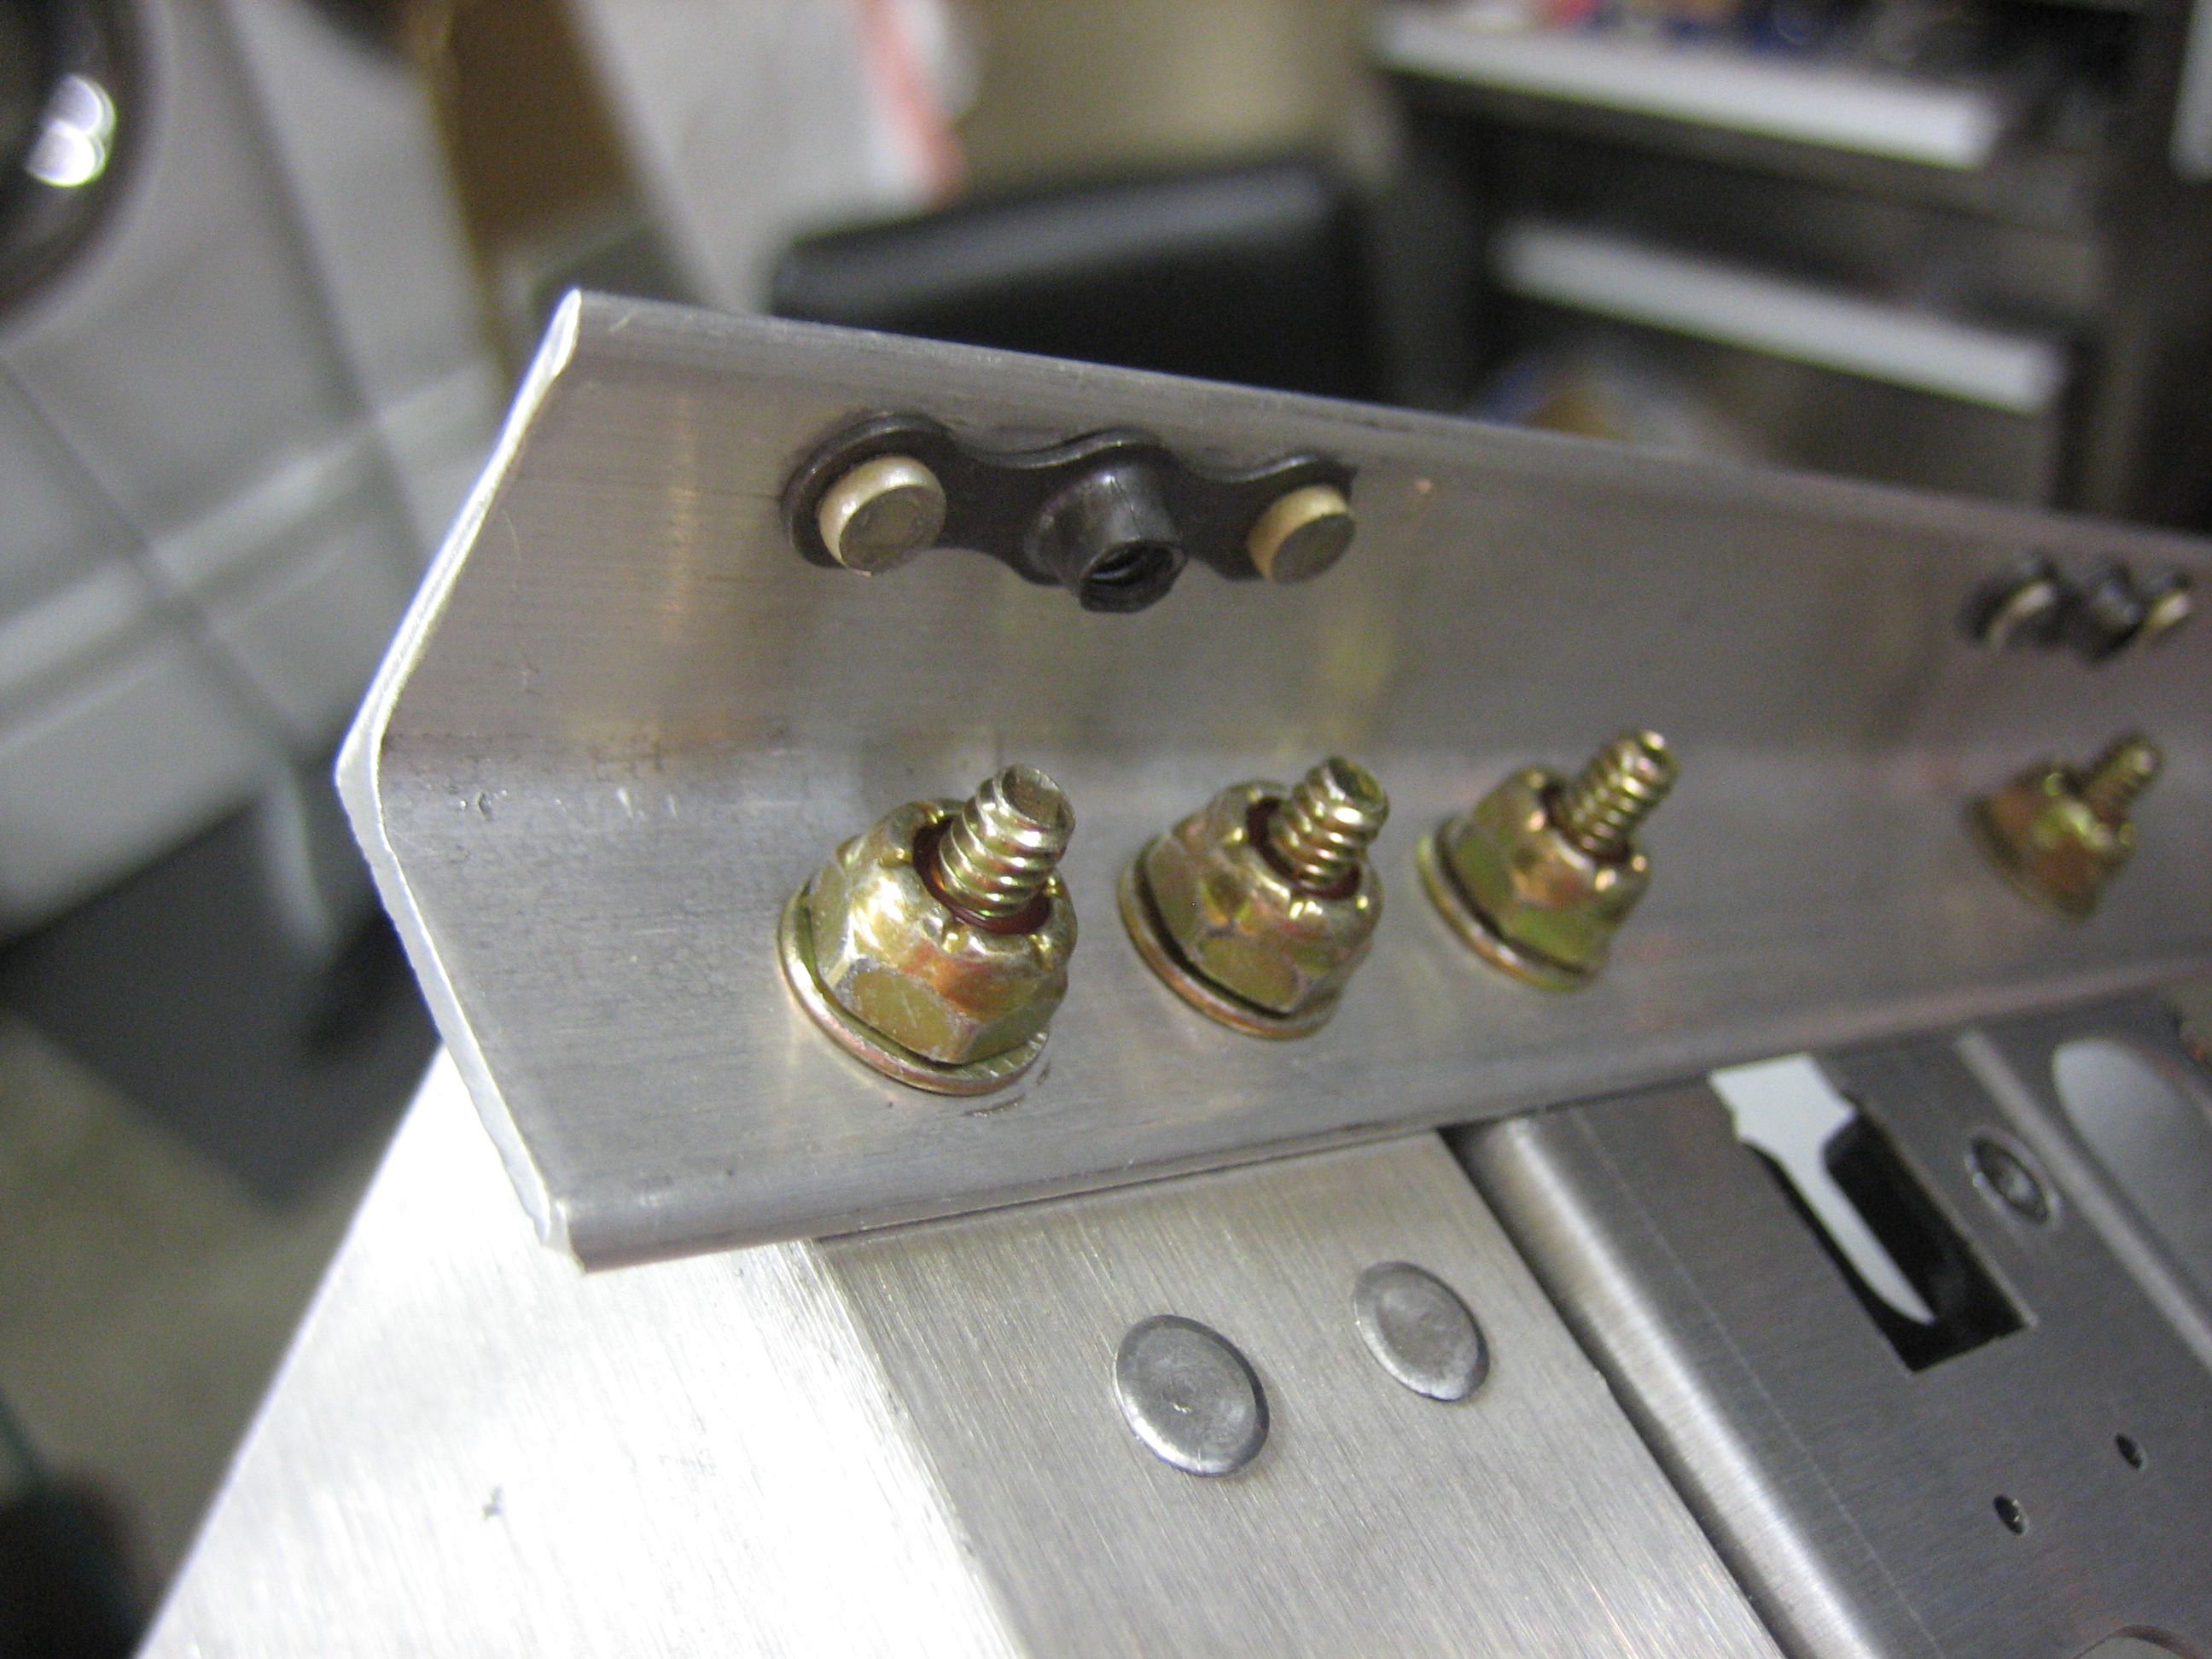
I installed #6 nutplates in the outer SkyView mounting holes. You can also see in this picture that I filed a radius into each corner of the screen cutout to avoid a stress riser.
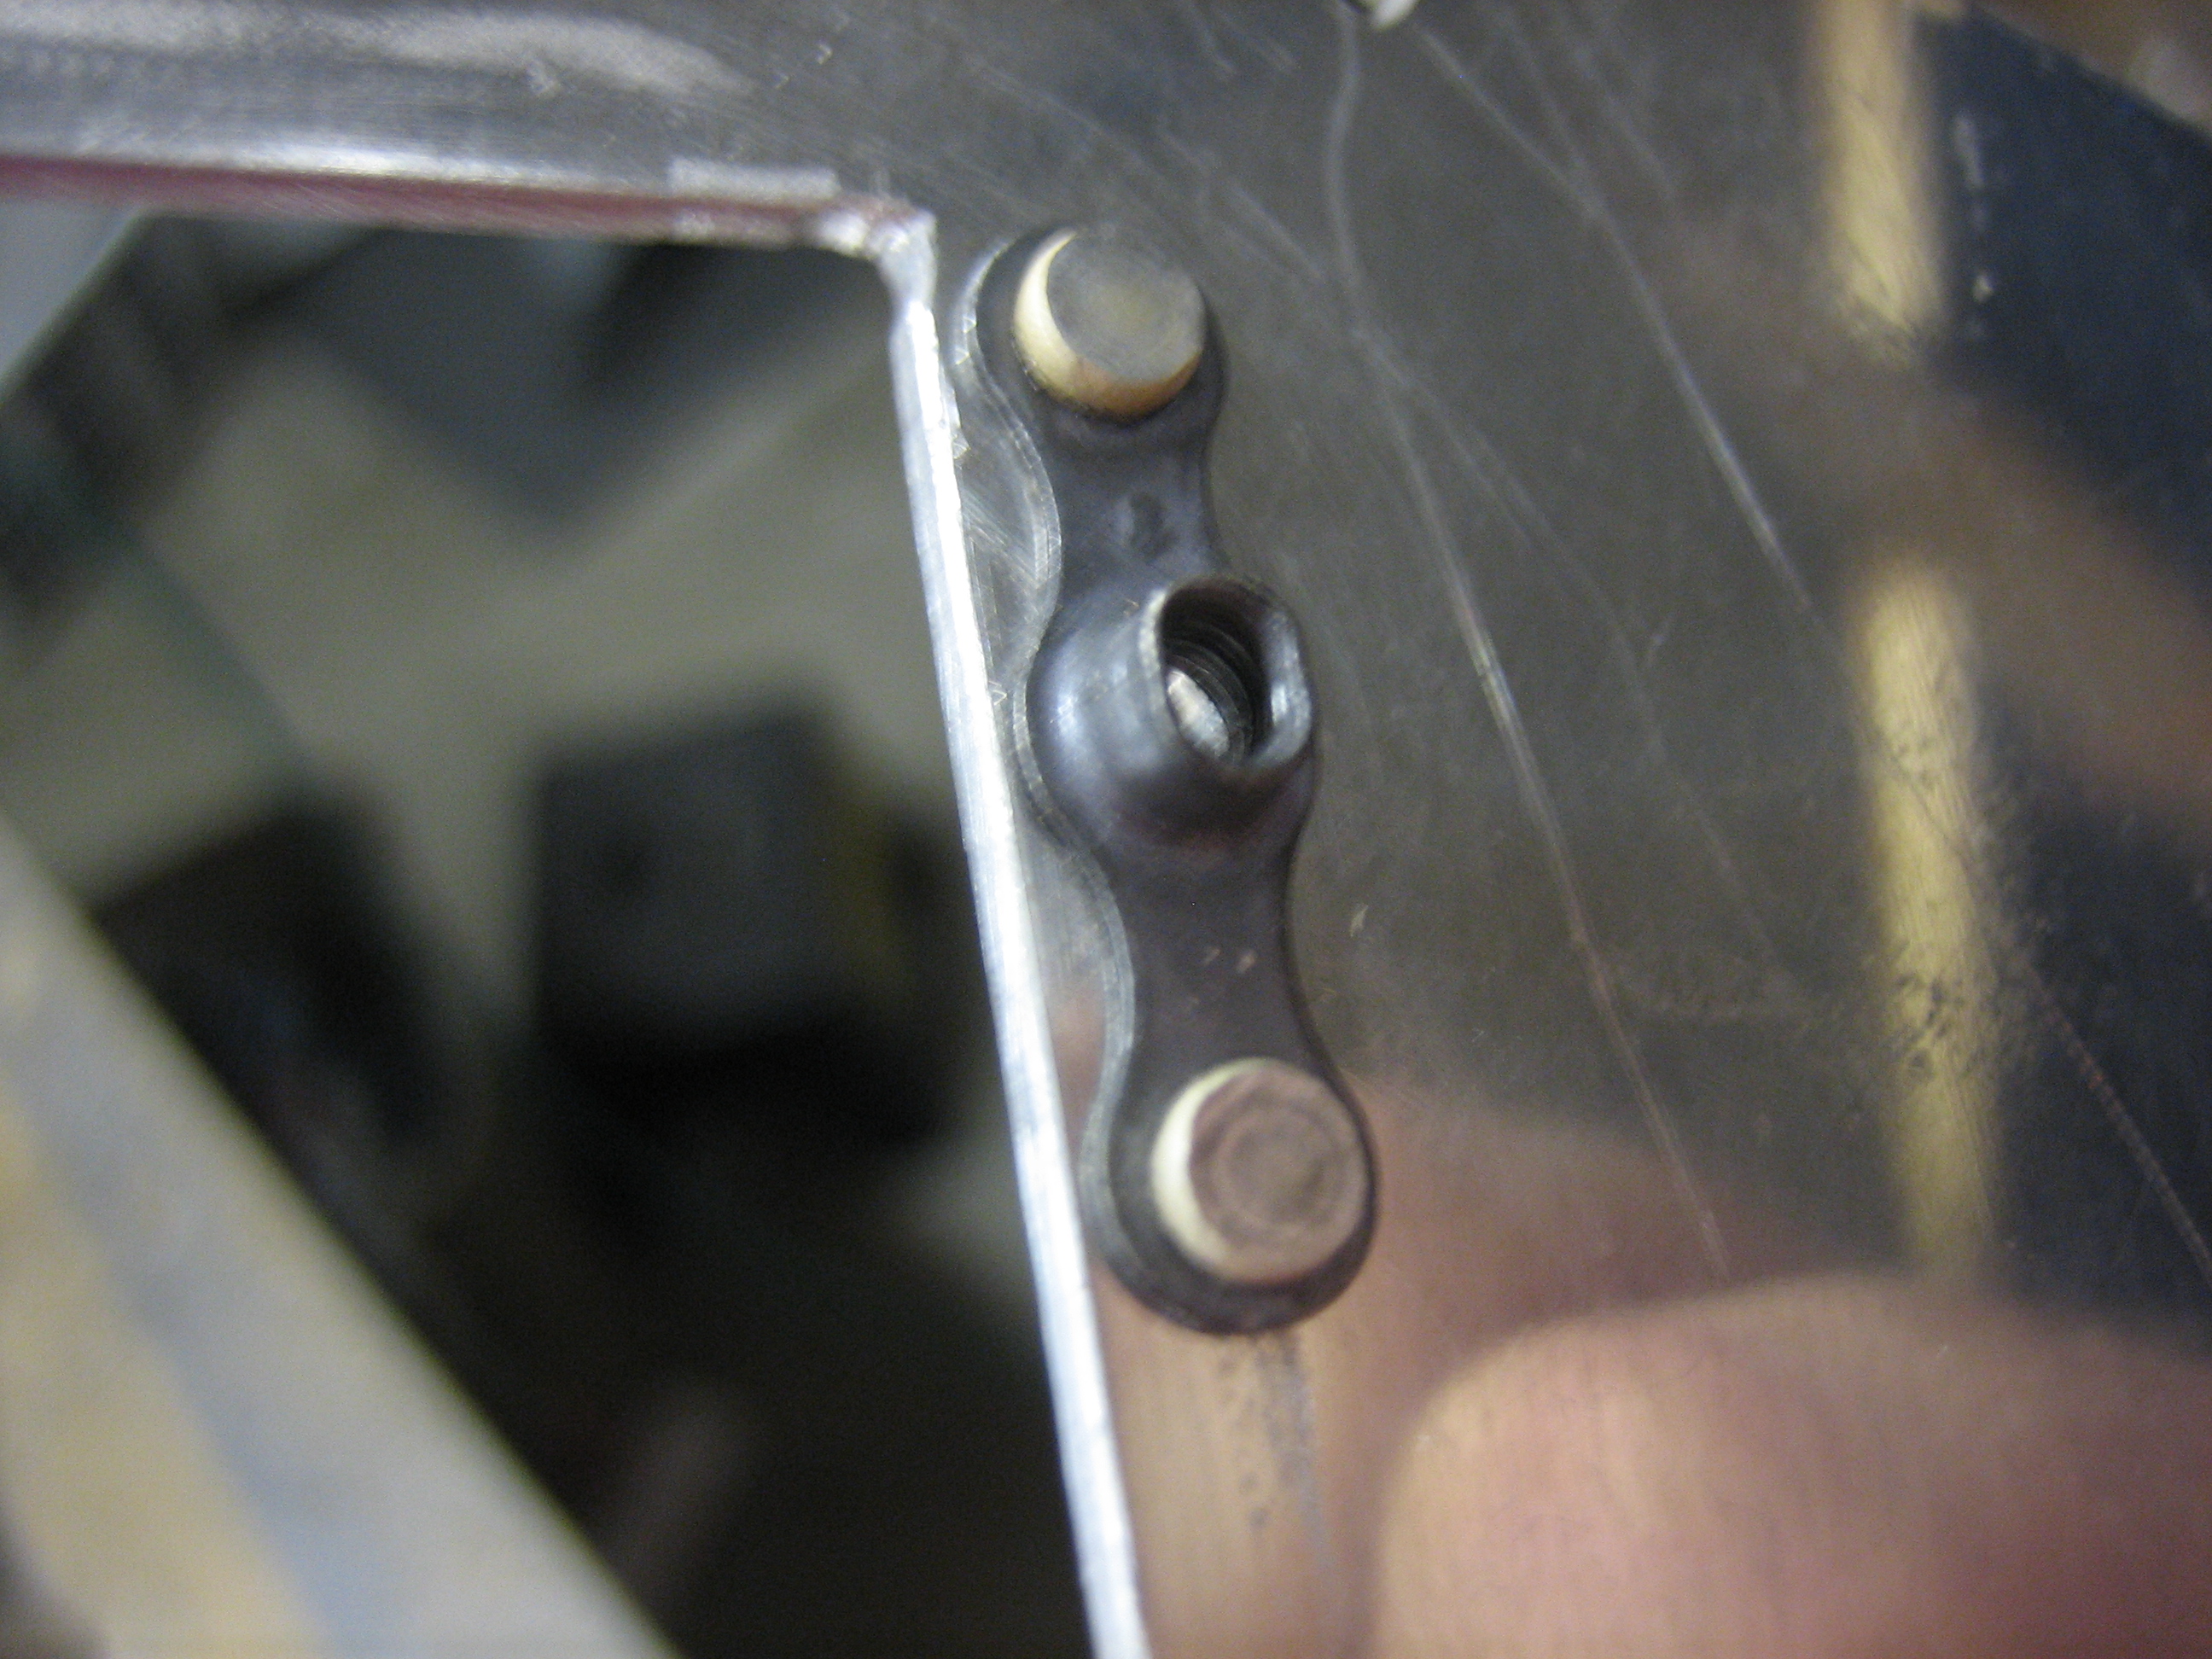
For the radio stack, the nutplates are installed in the mounting rails.
I test fit the panel in the plane. The hole in the subpanel is a little right, but it’s in exactly the right spot.
You can see how tight the sides are, but the opening on the top will be perfect for the wiring harness to slip through.
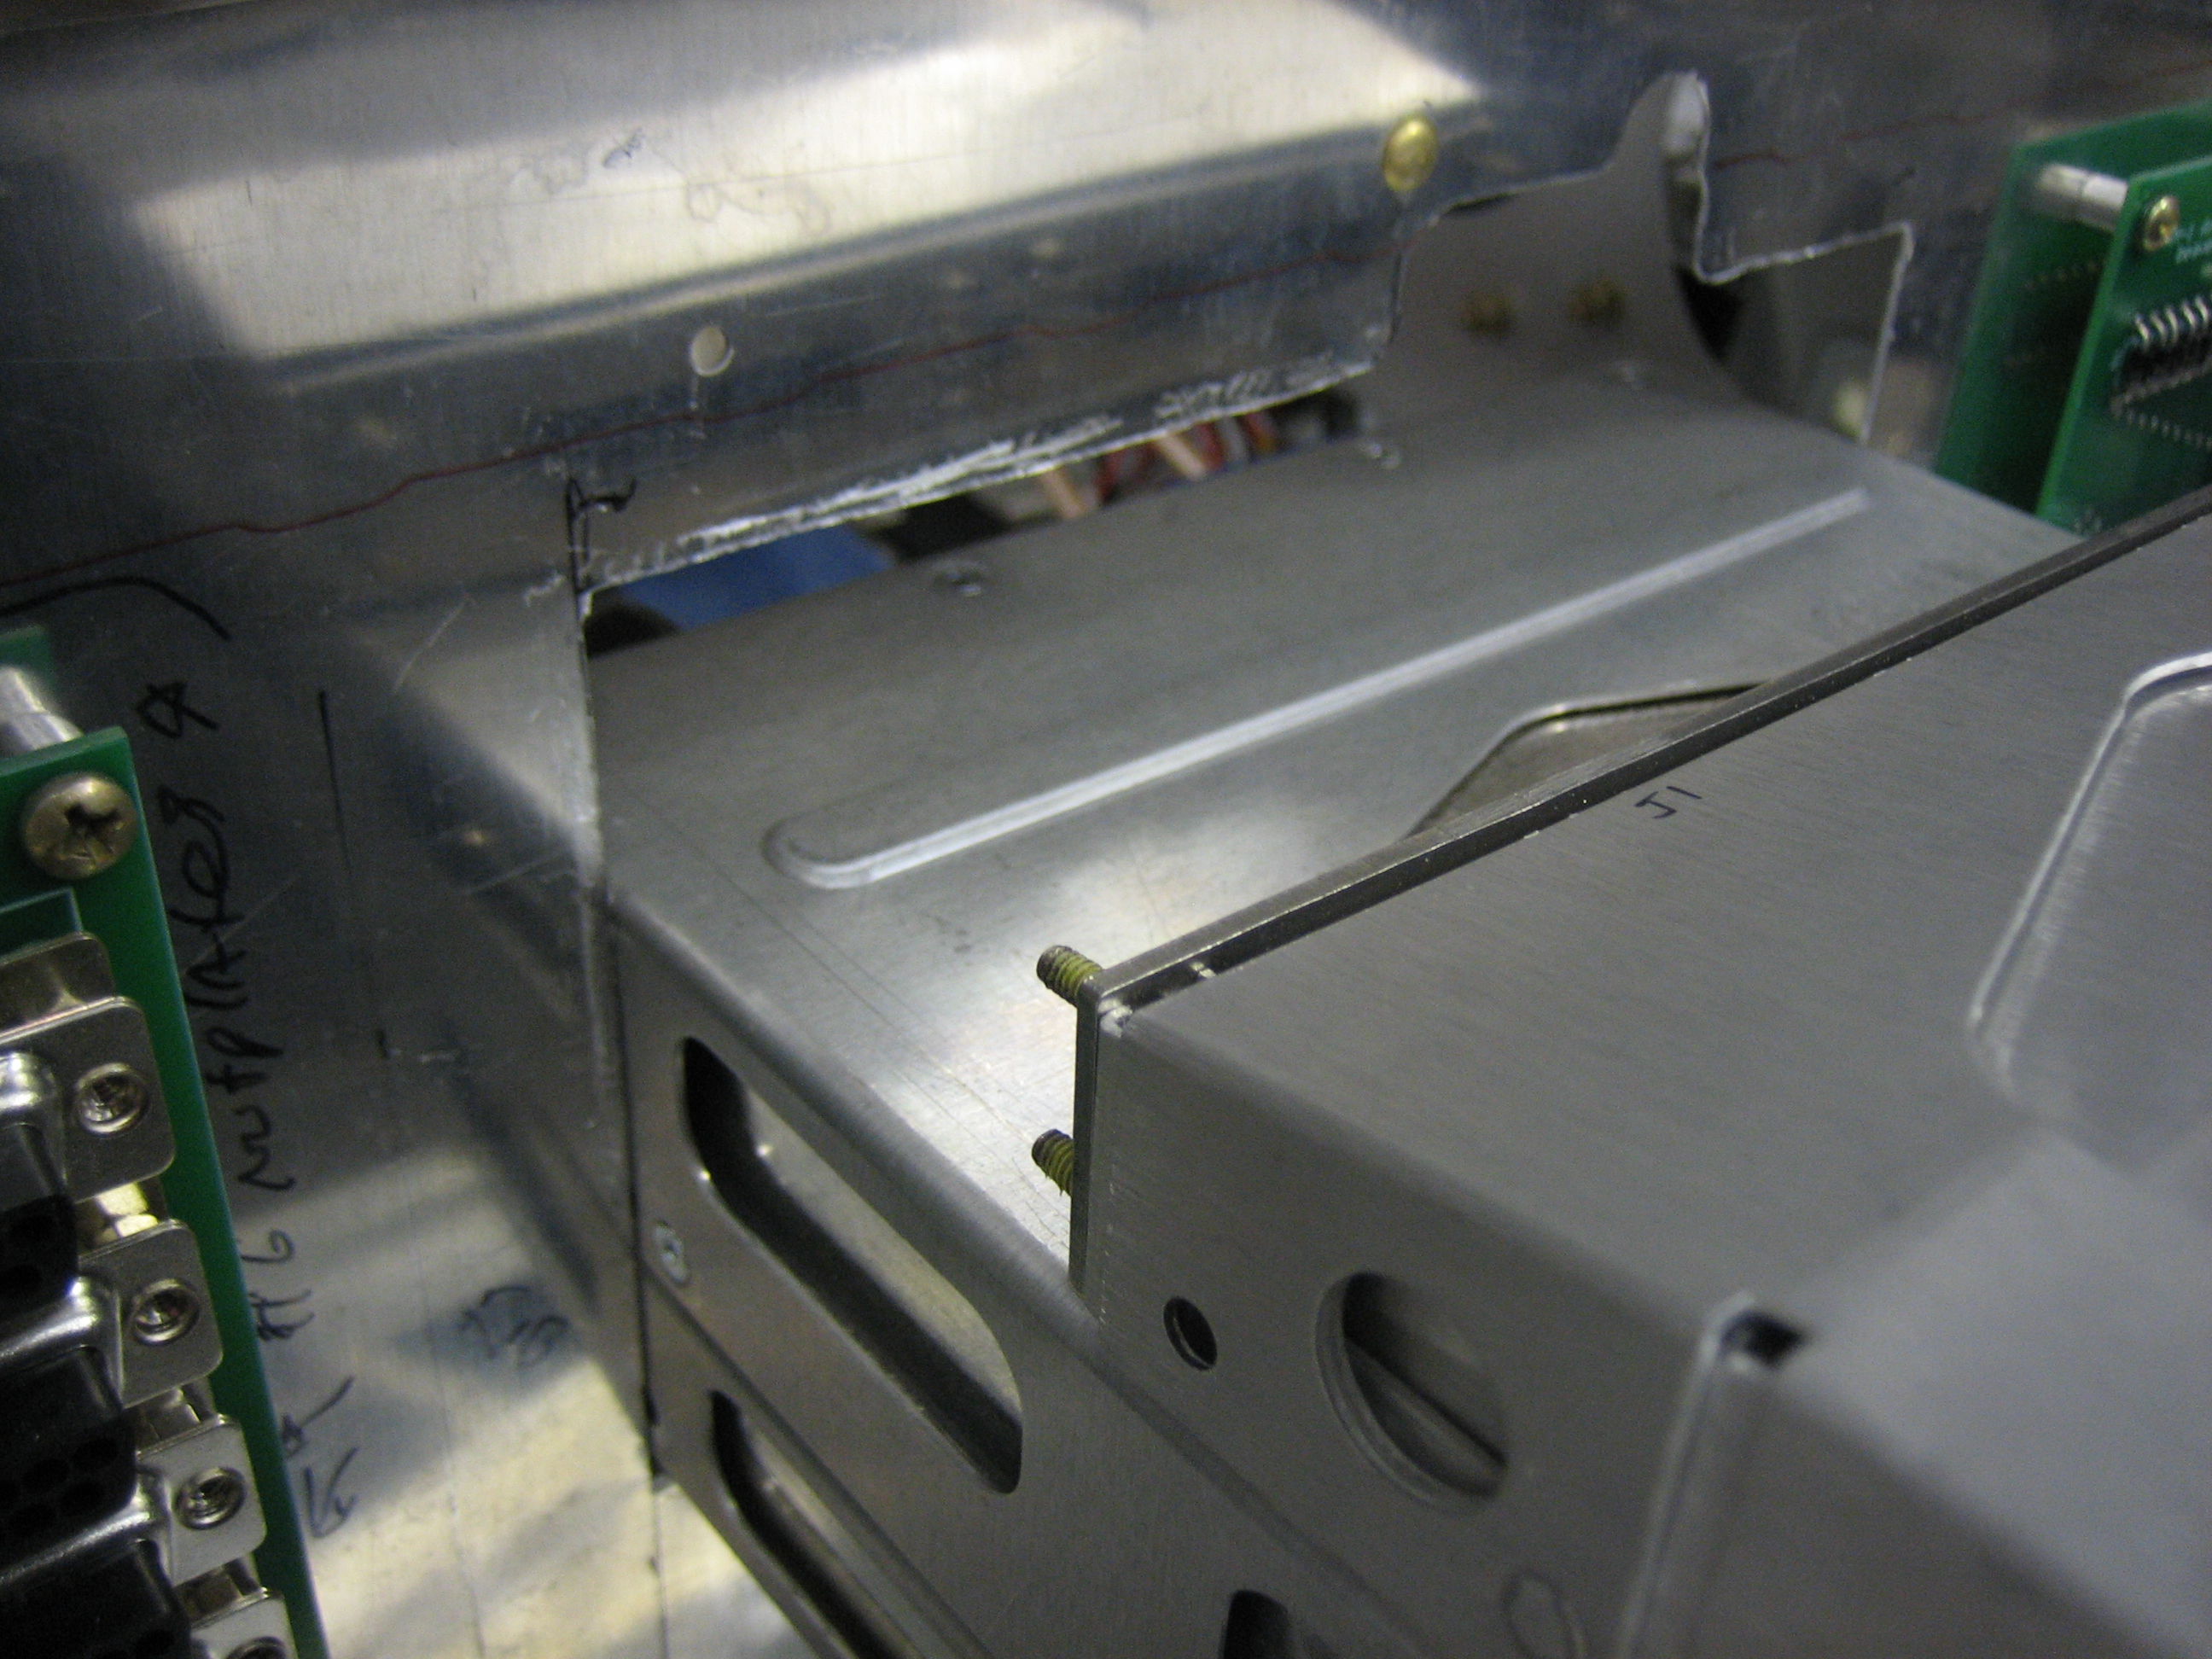
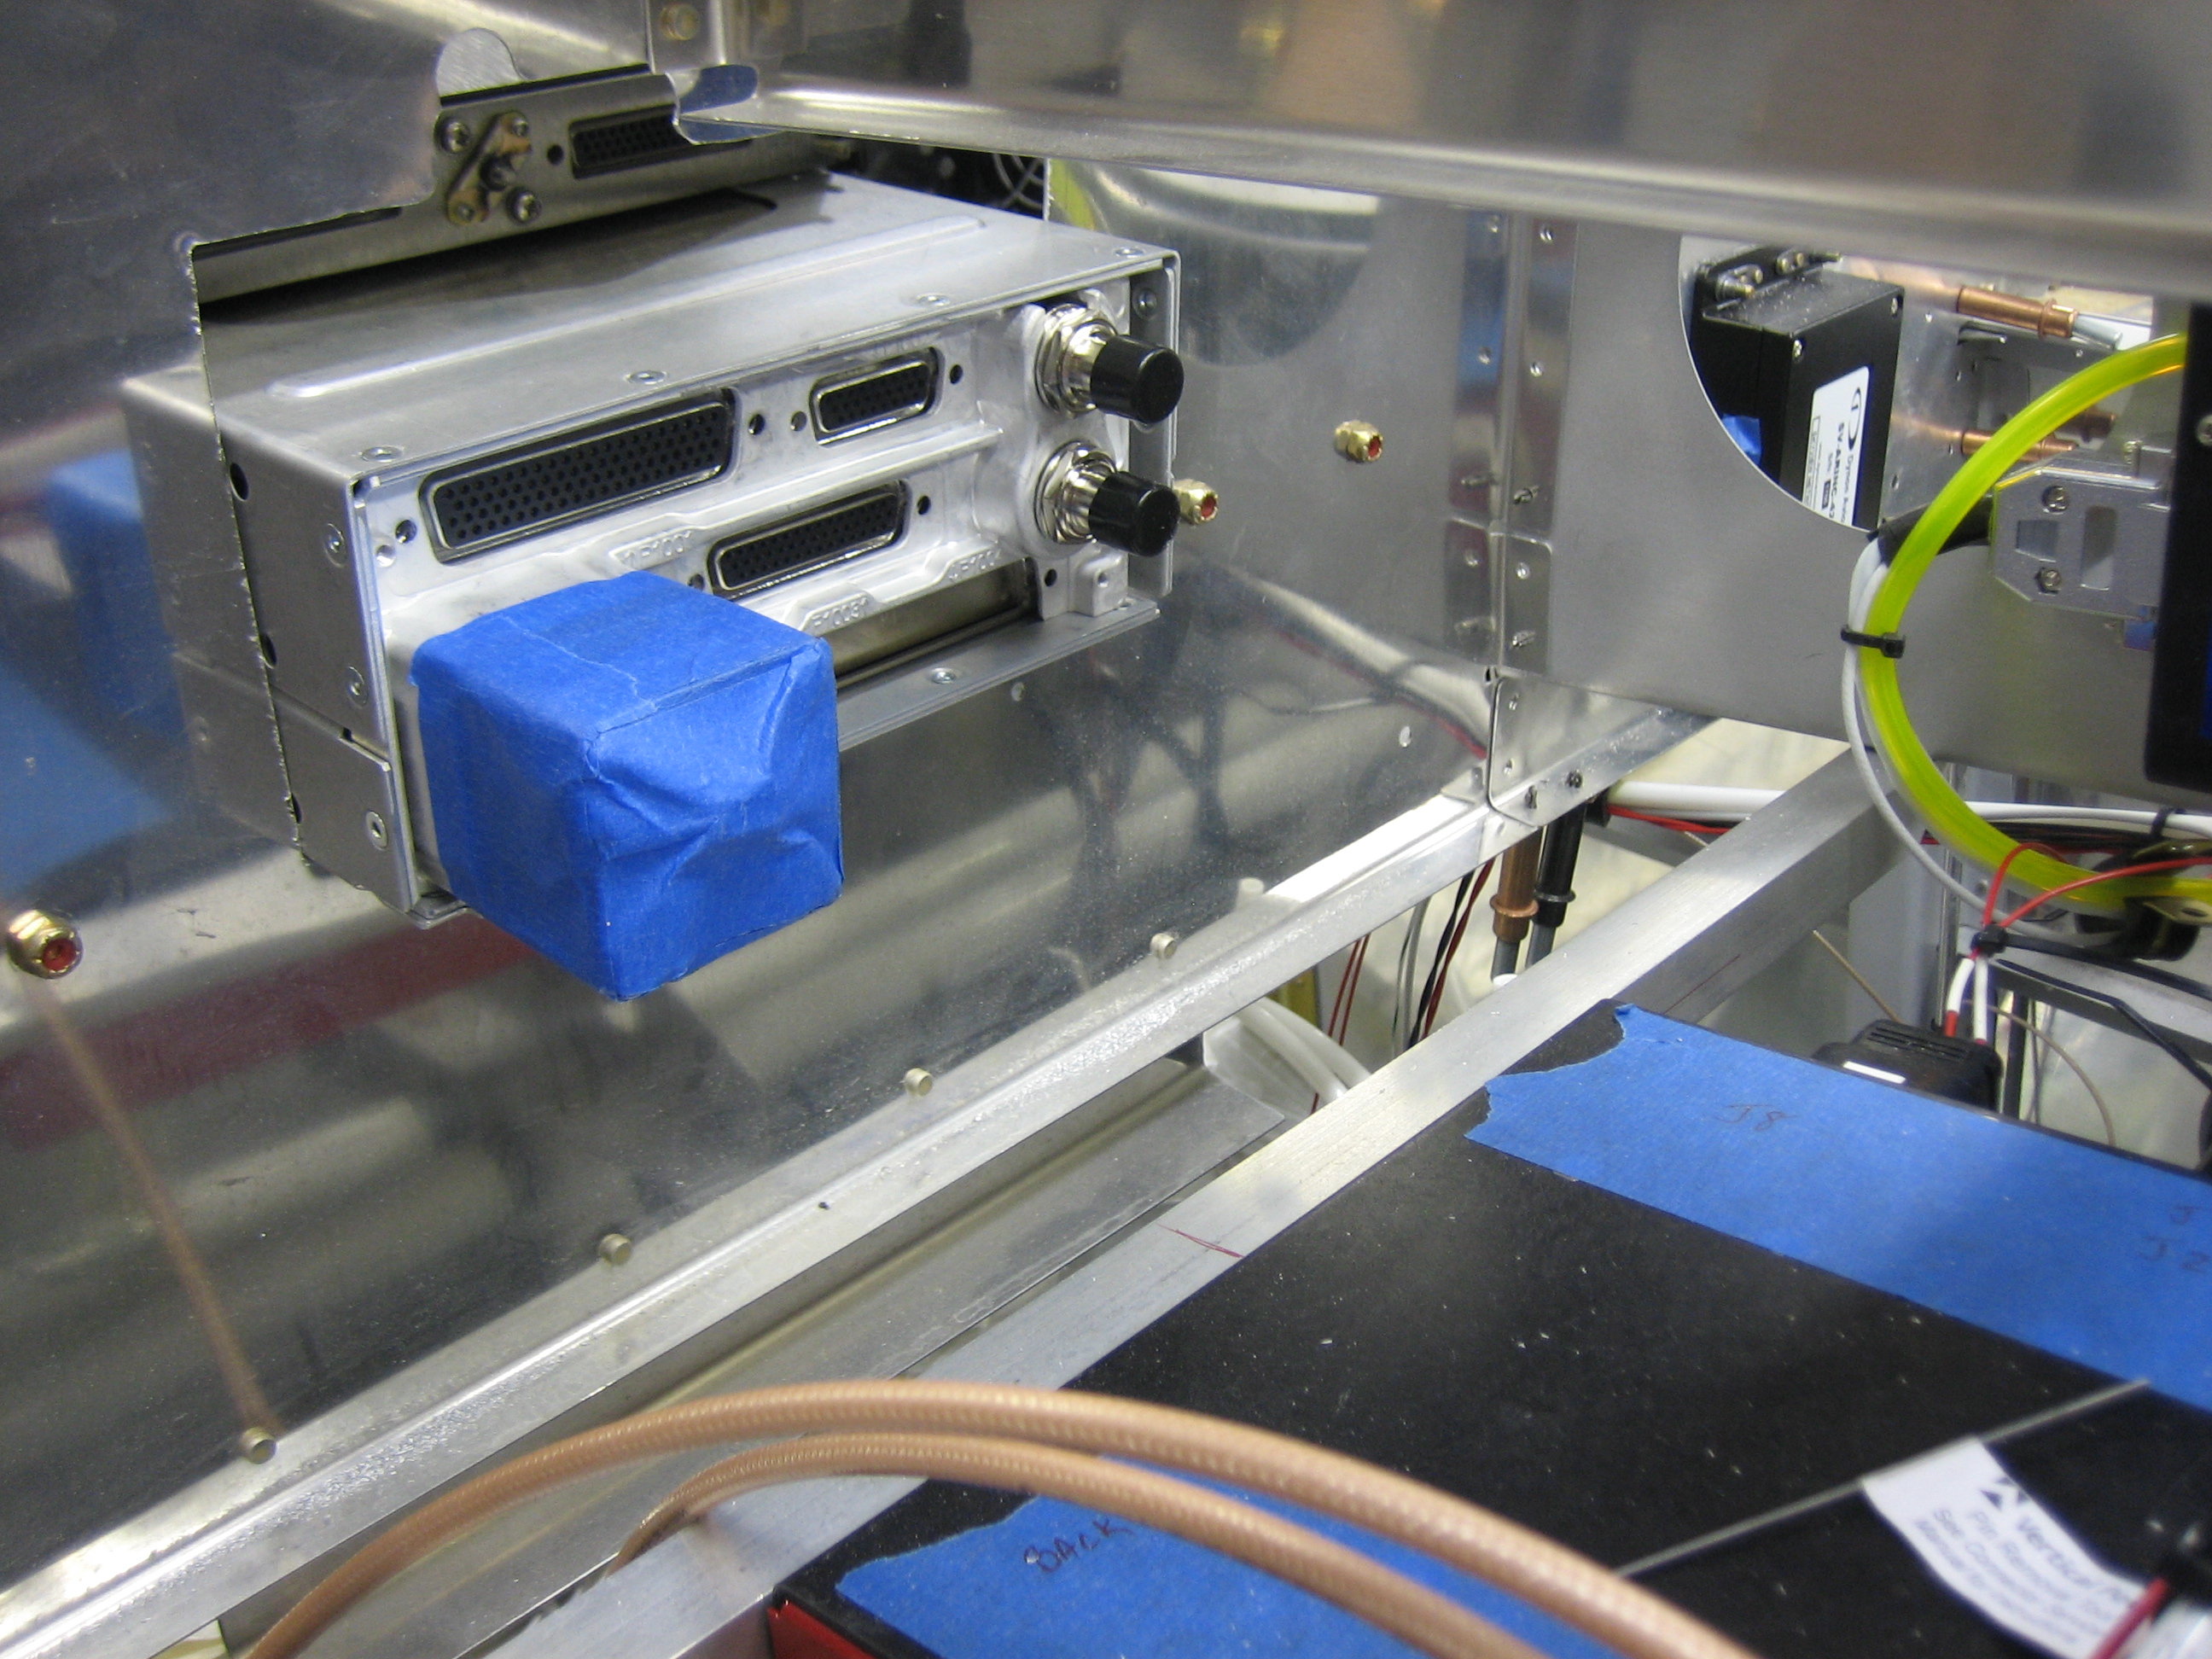
The clearance on the front side of the subpanel is great. Plenty of room for the connectors to stick out and for the wiring harness.