Since the knife splices aren’t insulated where they connect, I slipped a piece of heat shrink over each connection.
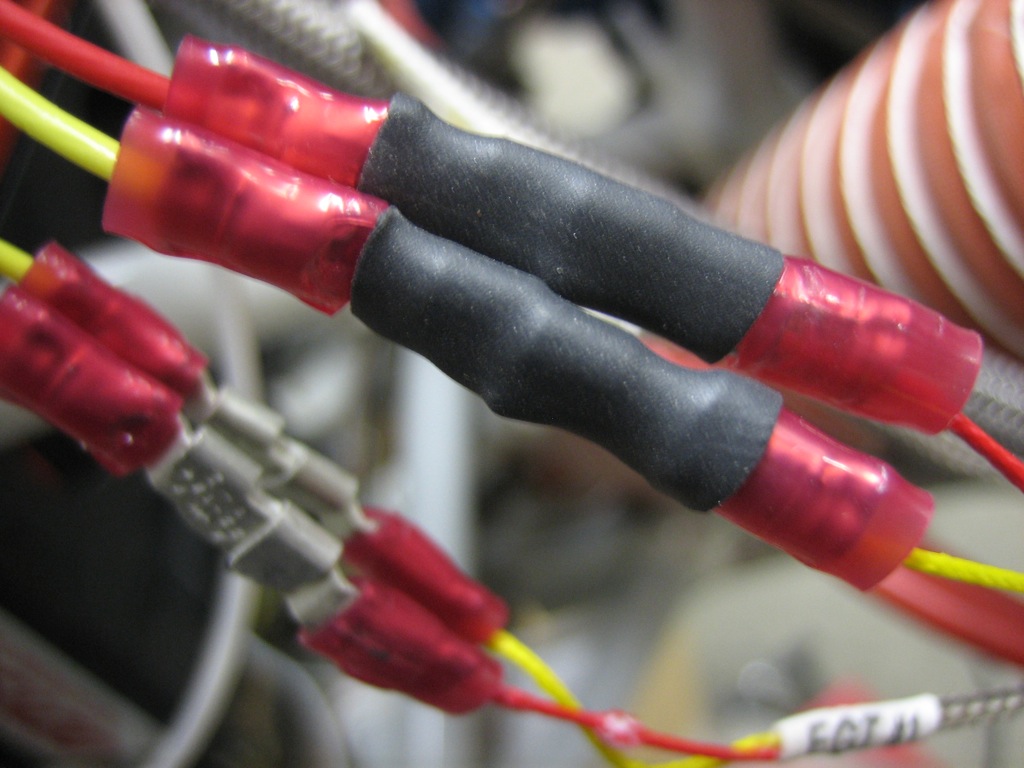
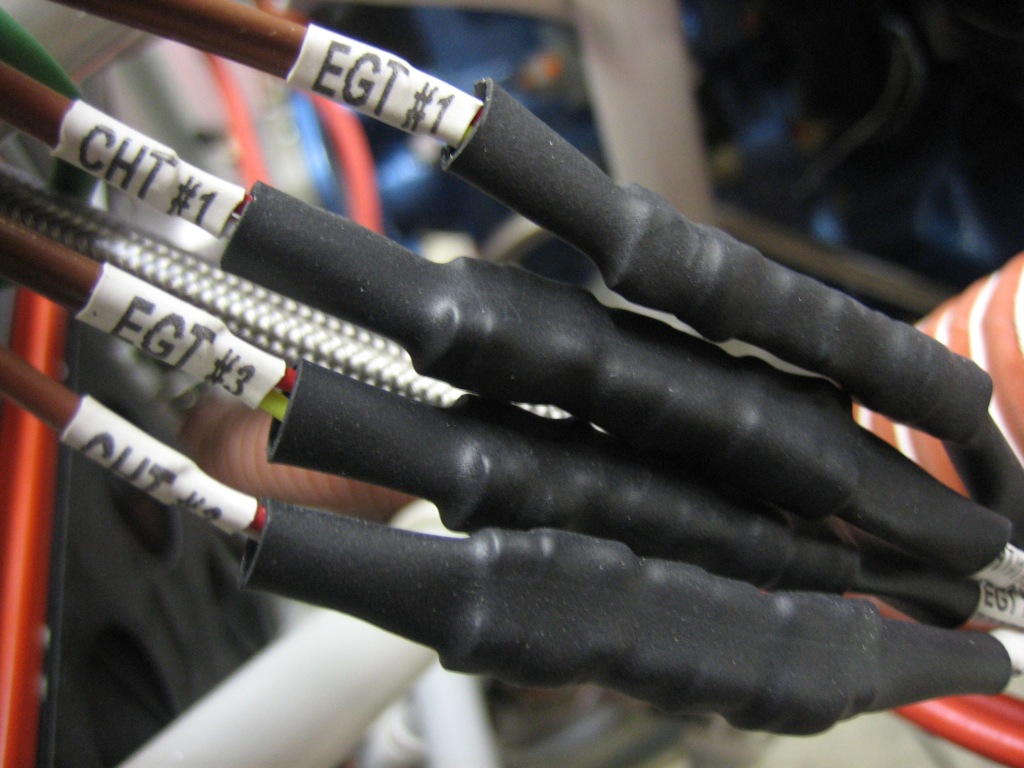
I then put larger pieces of heat shrink over each pair to keep everything immobilized. For some reason, the EGT probe wires are solid conductors instead of stranded like every other wire used on aircraft, so they need to be well supported.
I ended up turning my ground block vertical. I’m really glad I held off on drilling the other hole in this. I’m going to hold off as long as possible in case I need to order a larger one. If I can use this one, I may turn it another 90º clockwise so that it’s still horizontal.
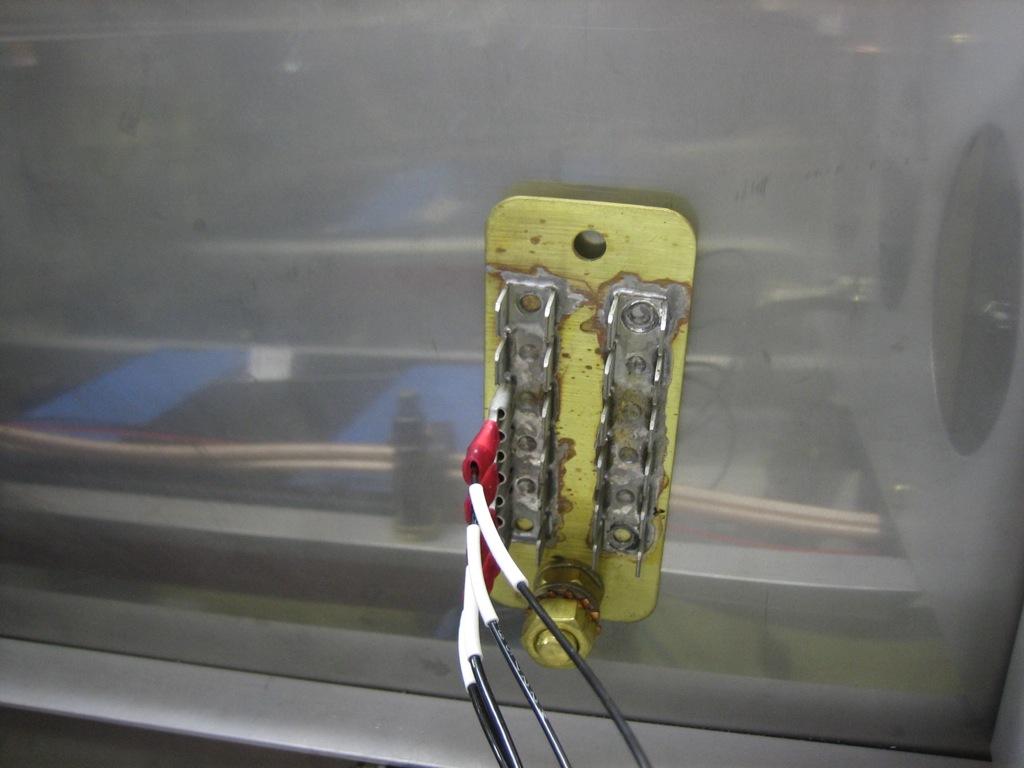
Here’s the reason I turned the ground block. I installed the firewall wiring conduit per drawing OP-30. This will be used to route wires front the front of the aircraft to everywhere aft of here.
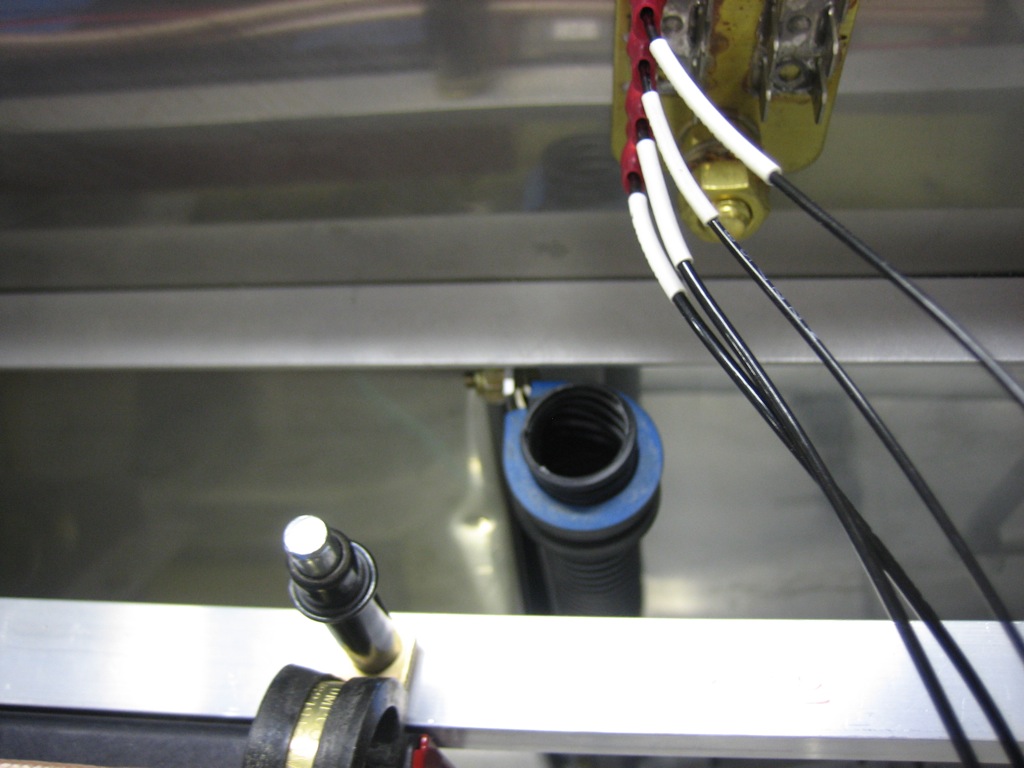
The conduit follows one of the firewall stiffeners and goes through another adel clamp near the bottom. It then steps inside the stiffener (where there is already a hole in the cover) and will go under the center floor cover back to the spar.
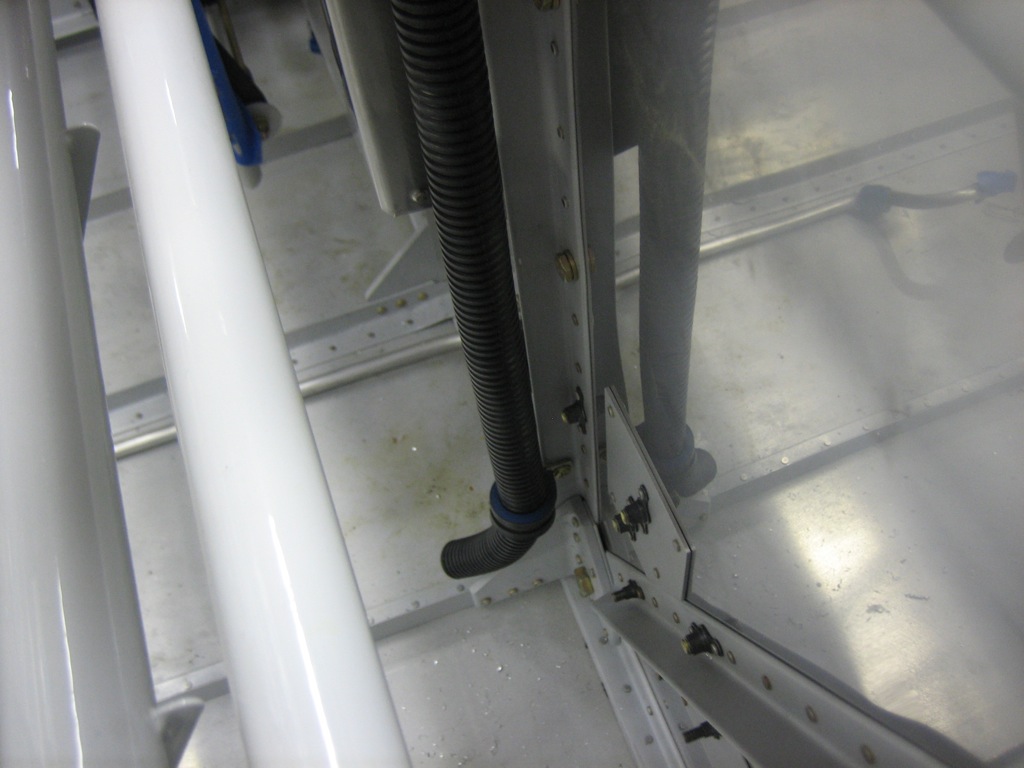
I pushed a piece of RG-400 through the conduit to get an idea how much space I’ll have in the conduit and figure out how I’m going to route the wires. There are going to be a ton of wires that have to run through this conduit:
- COM antenna[s]
- SkyView network cable
- Transponder power, ground, and serial wires
- Autopilot servo power/ground wires
- Stick trim and PTT wires
- Aileron and elevator trim wires
- Landing, taxi, NAV, and strobe wires
- Flap motor and position sensor wires
- Cabin light wires
- Seat heater wires
Geez, after listing all these, I can’t possibly see that they’ll all fit through the conduit (even though most are pretty small relative to the RG-400). I’ll either run the wires through the adel clamps directly and wrap the wires with split tubing, or possibly run a second conduit down the left side of the center section.
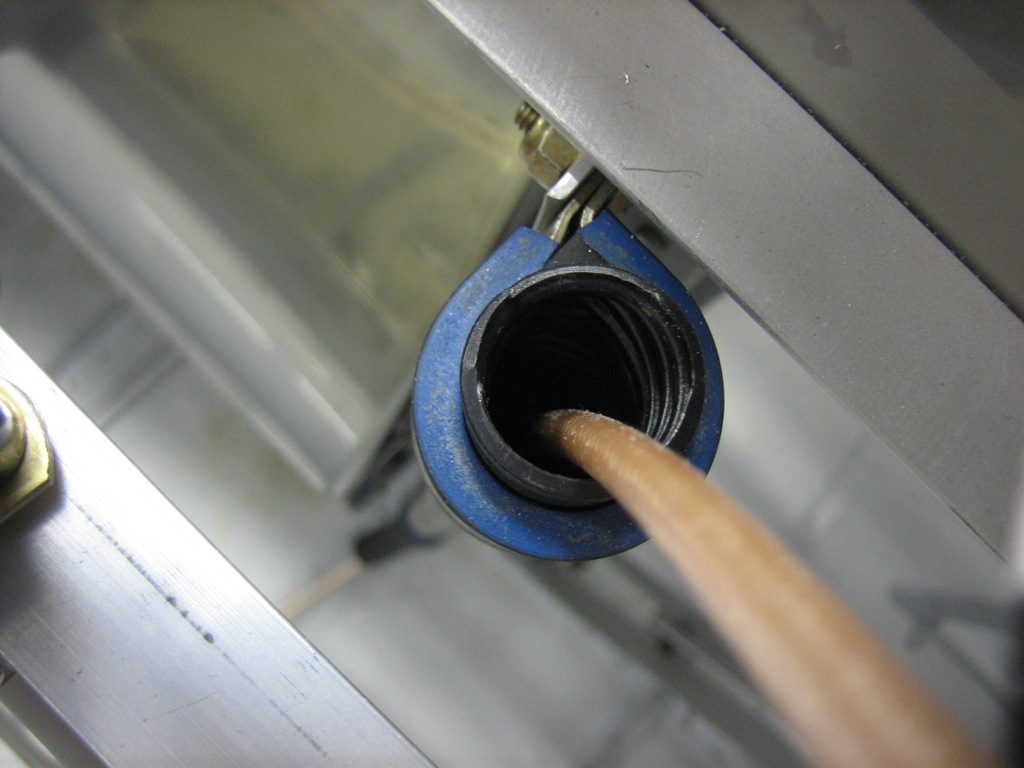
The wires exit the bottom of the conduit and will run along the floor. I’ll add anchors along the floor to keep the bundle secure.
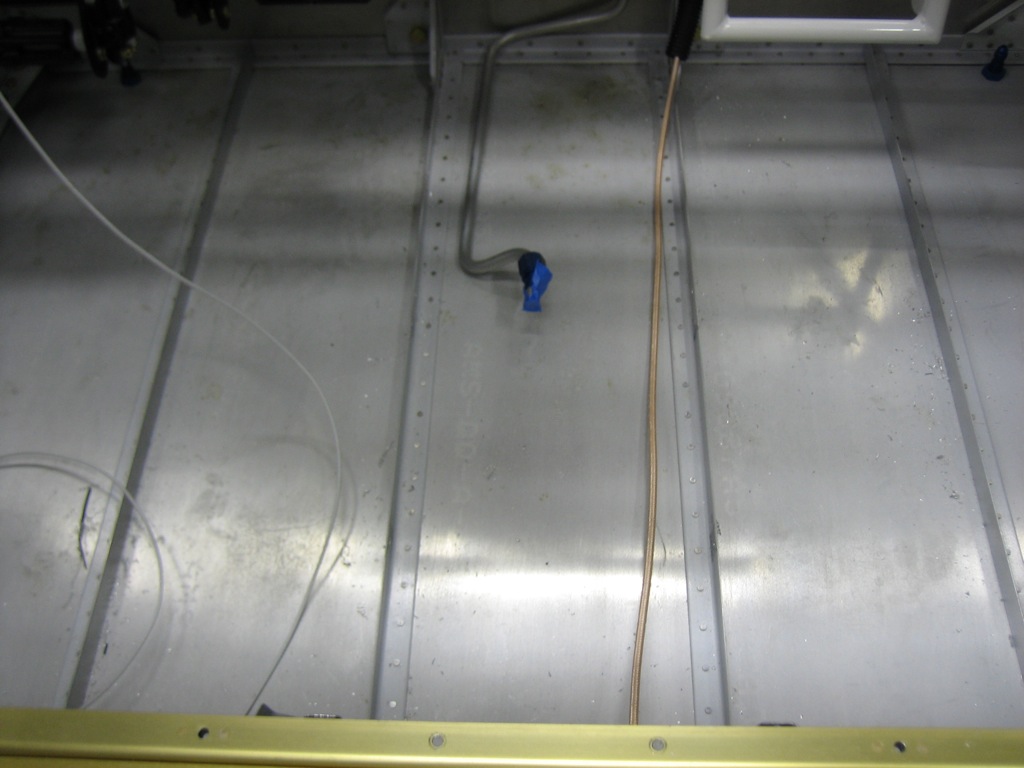
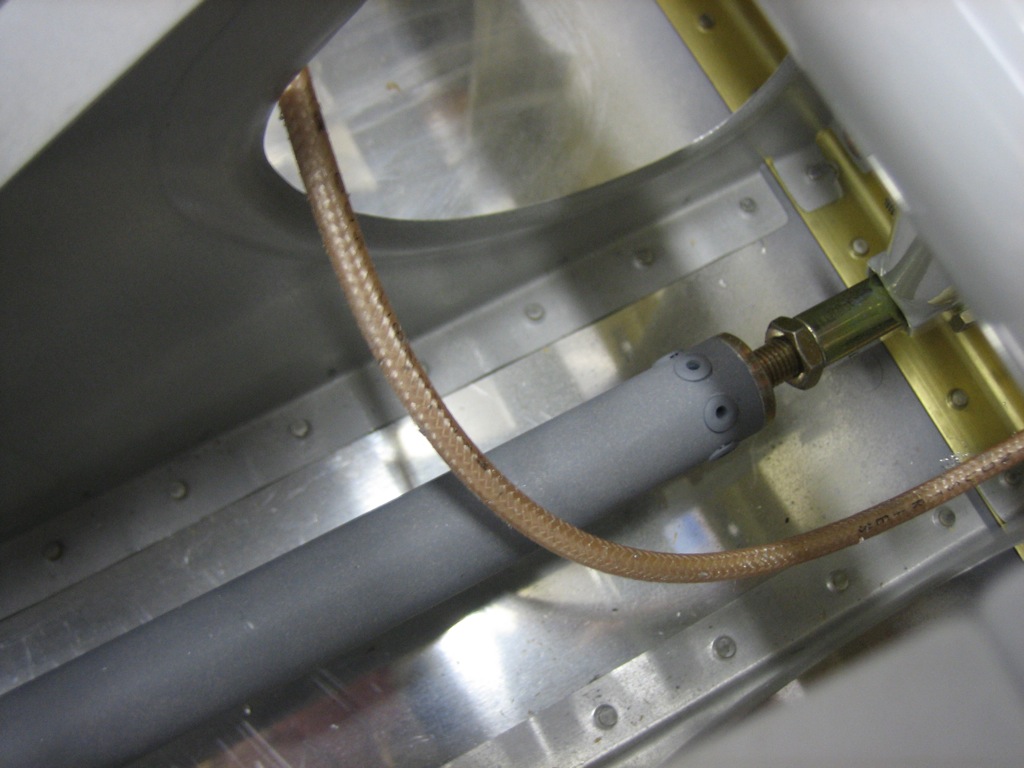
The wire exits the back of the spar near where the elevator horn sits. I’m not sure I like where Van’s suggests you put the snap bushings in the ribs. The wires have to make a fairly sharp turn to go through the ribs. This is fine for all of the small wires, but the RG-400 has a minimum bend radius of 1″, so that might not work.
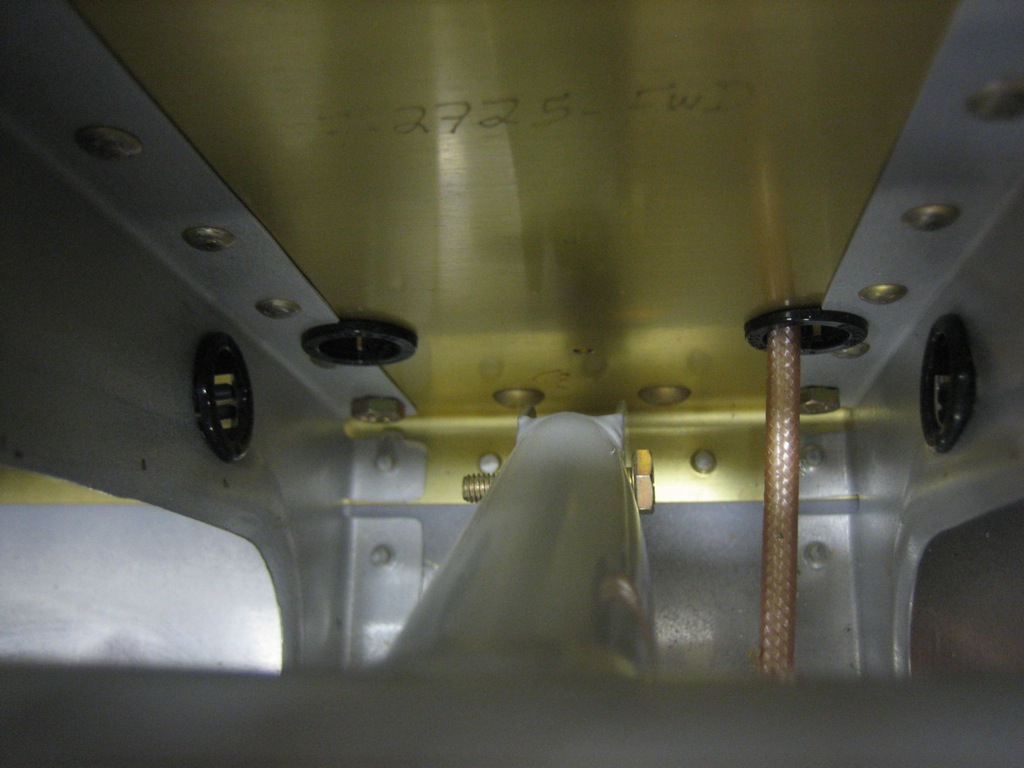
Another possibility I’ve seen builders use is to cross the wires and penetrate the rib on the opposite side of the spar penetration (though obviously below the push tube). I’d need to drill new rib penetrations which would be challenging given the spacing between the ribs. This certainly allows a generous bend radius in the wires though.
I also ordered my interior from Classic Aero Designs. I’m going with the aviator seats with headrests, side panels, and full carpet. I also added in the hooker harnesses with matching leather pads. This will be a relatively heavy interior compared with the minimal cloth interior that many builders go with, but I really want a completely finished leather interior.
