Started Baggage Floor Compartments

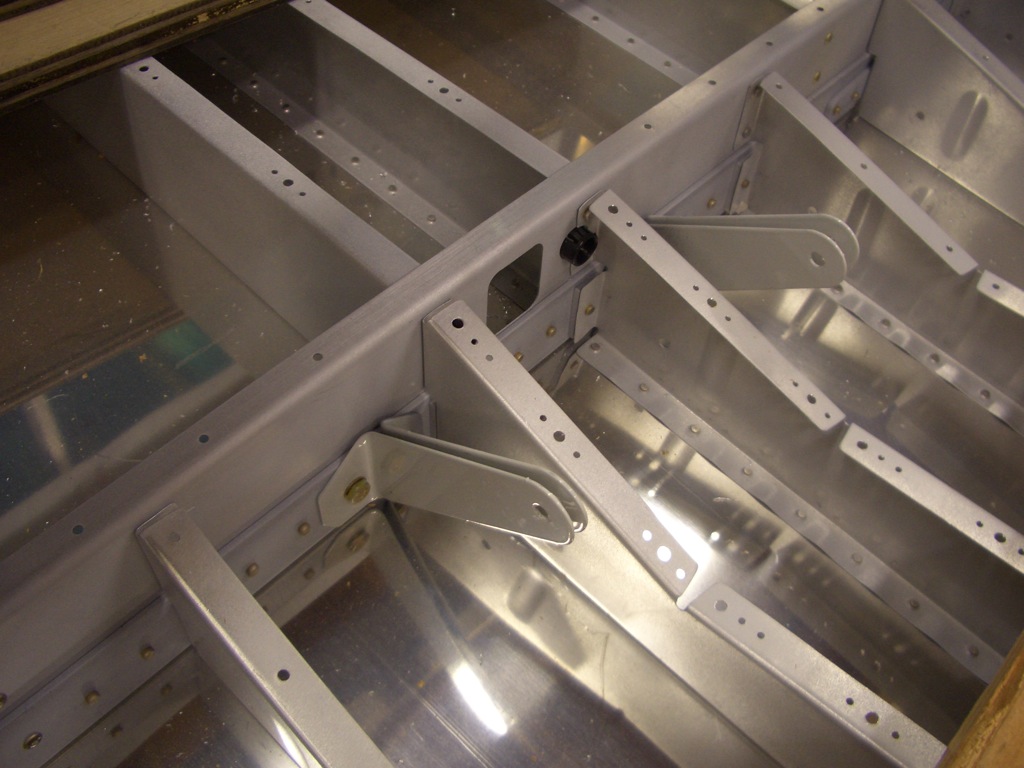
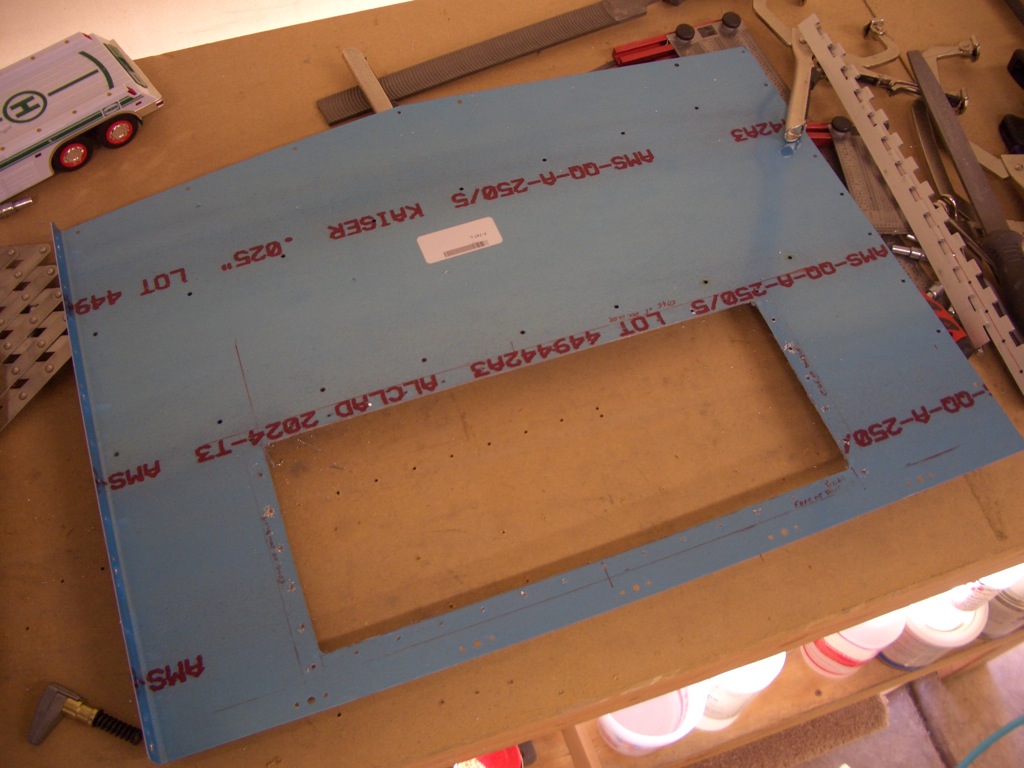
I’ve decided to put storage compartments in the two larger bays below the baggage floors.  After doing some measurements and mocking it up in the computer, I cut a hole in one of the floors.

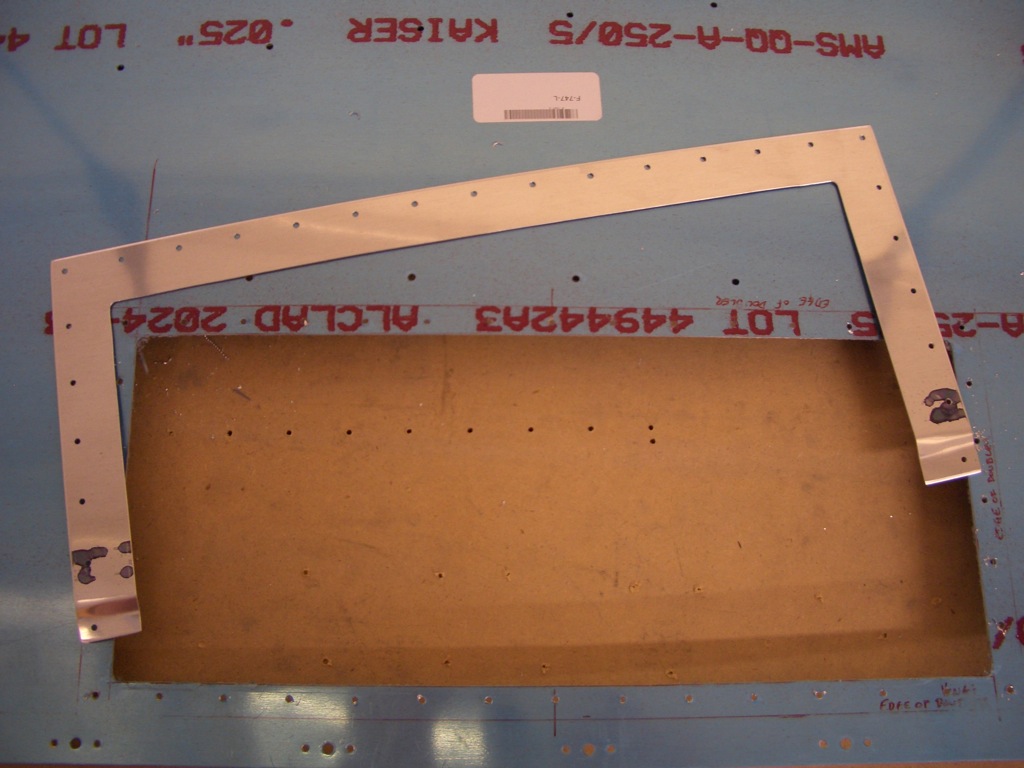
I fabricated a reinforcing ring that wraps around three sides of the hole.  There will be a hinge along the fourth side.  The joggle at the two ends allows the reinforcing ring to step up onto the hinge so that the corner rivets tie all three pieces together.

Static System and Fuselage Deburring/Dimpling

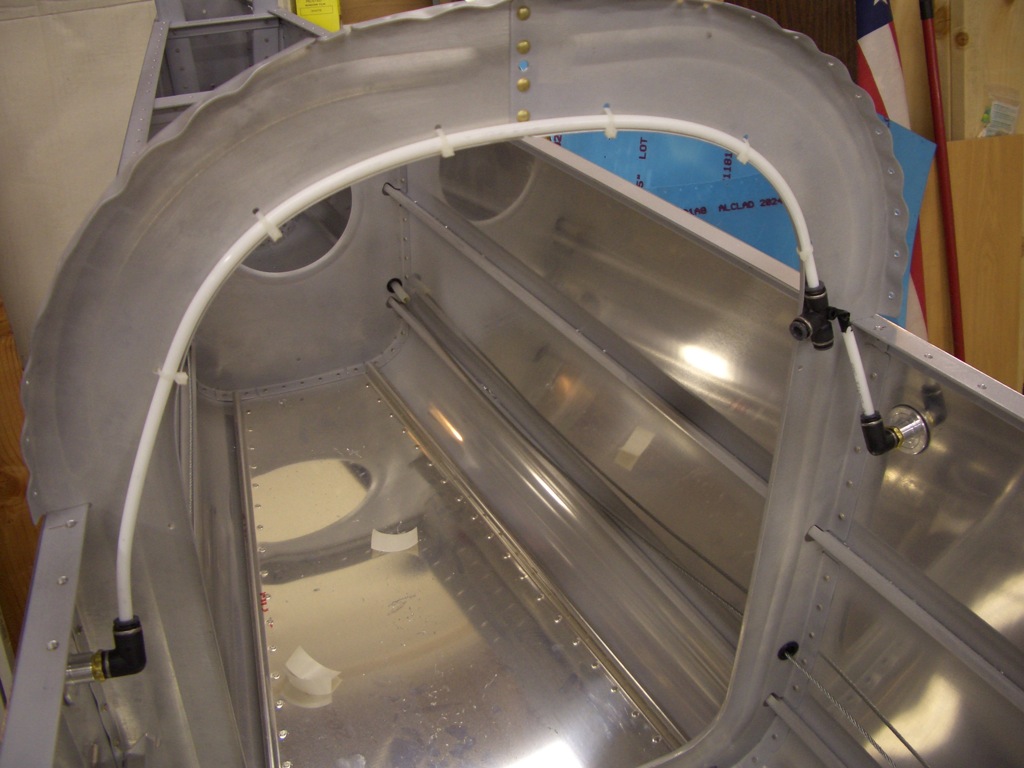
I fit a piece of the static system tubing between the two static ports.  There is a tee on the right that will allow a single piece of tubing to connect between here and the instruments.

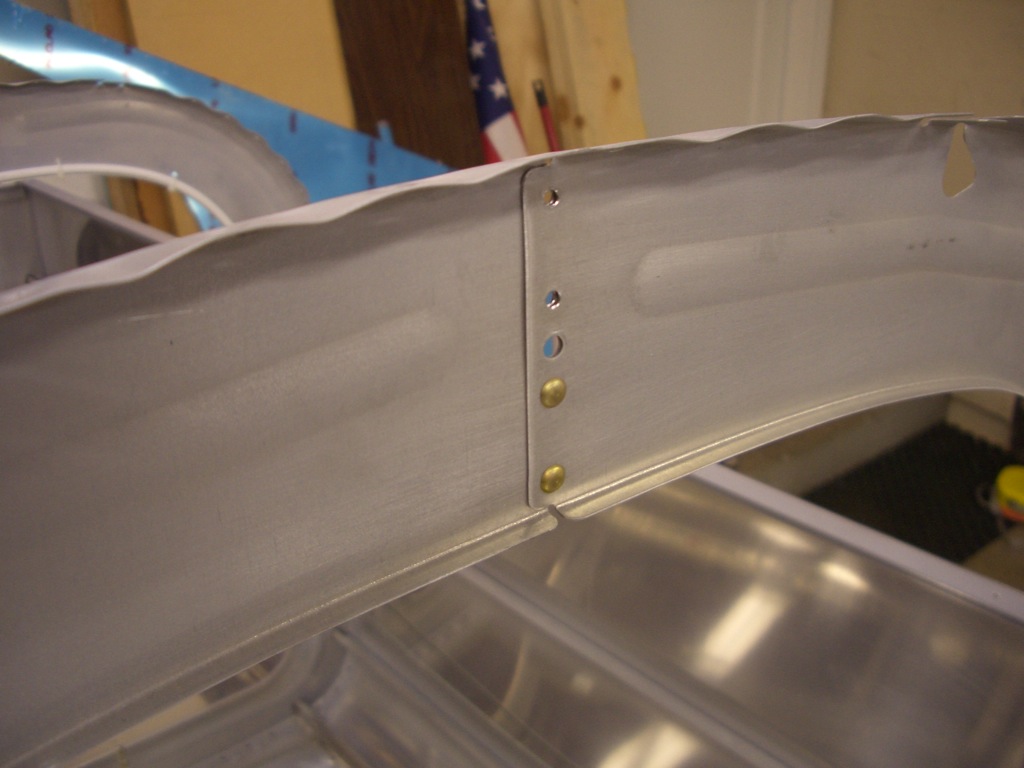
After fabricating the clip that ties the top center rib to the F-707 bulkhead, the lower two rivets can be squeezed.

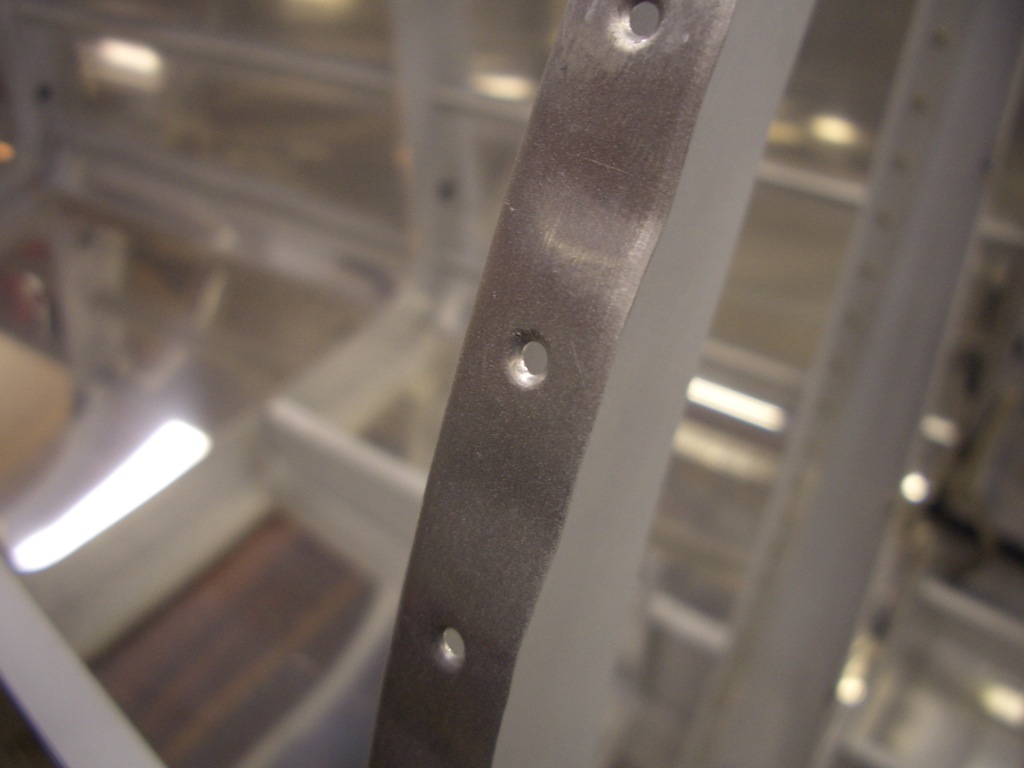
Next up, I deburred every hole on the fuselage structure (not the holes on the pieces that have yet to be attached permanently to the fuselage structure).  I also dimpled all of the bulkhead holes.

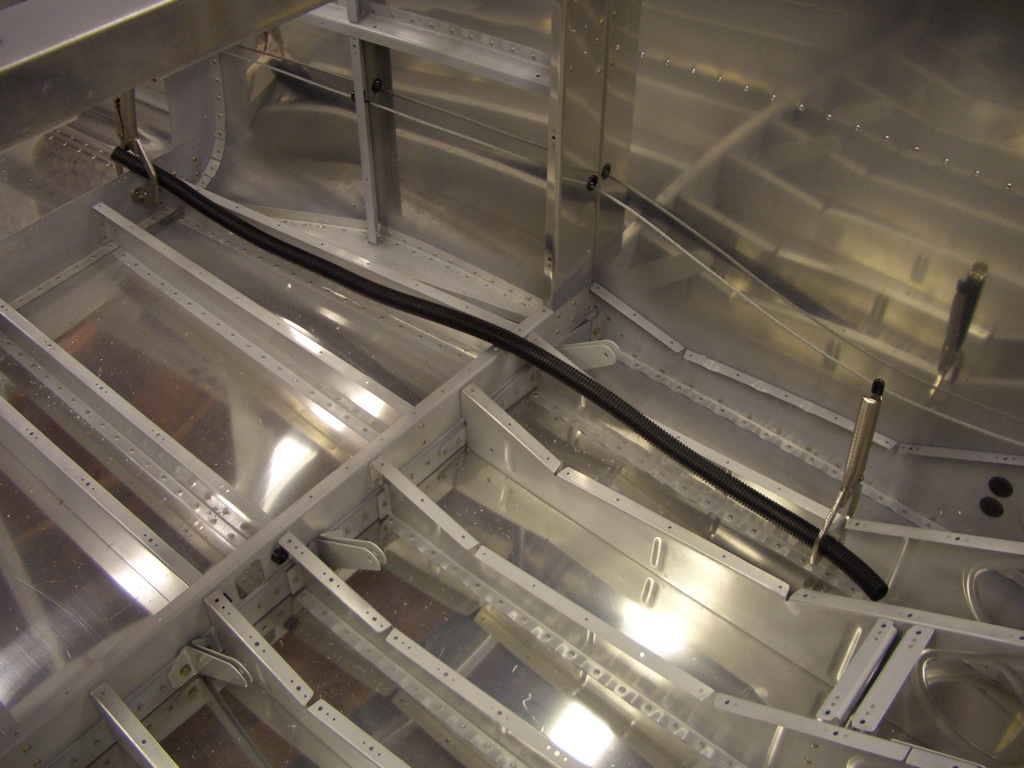
Finally, I played around a little bit with conduit routing under the baggage floors and seat pans.  I’m routing the conduit through the outboard baggage bays since I plan to use the inboard bays for storage.  This also puts the conduit one bay outboard of the area containing the crotch strap and control columns.  This is likely to be a packed area.

Seat Belt Anchors and Static Ports

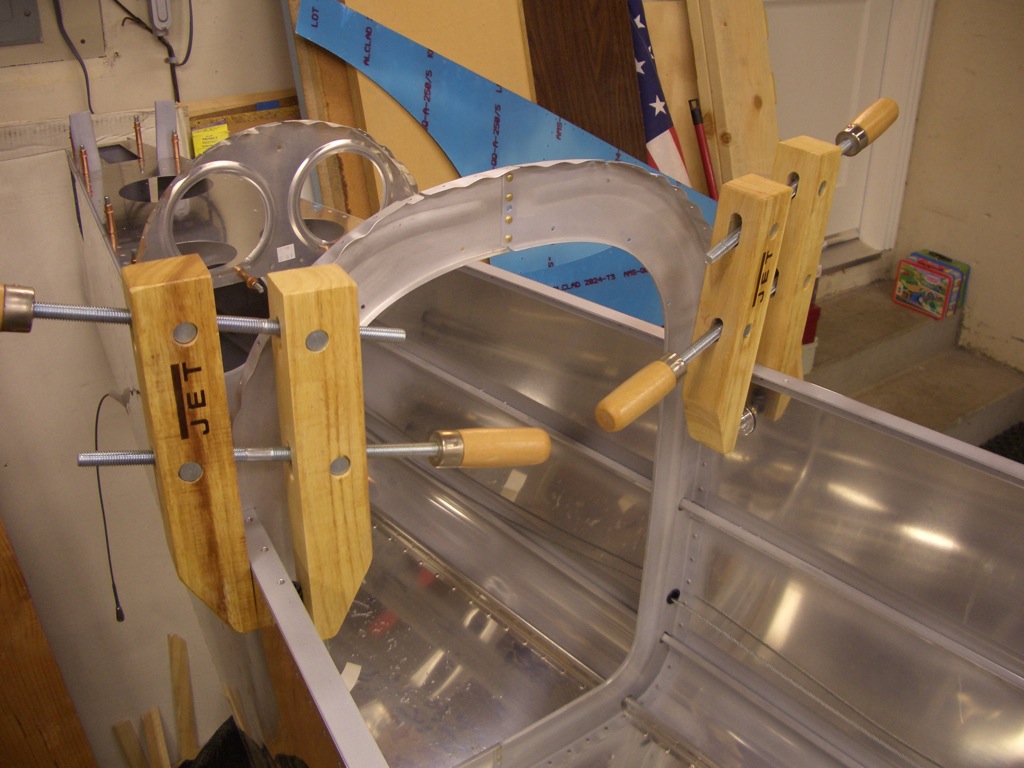
I installed the seat belt anchors tonight.  Other than it being pretty cramped where the outboard anchors attach, making it difficult to get a torque wrench in there, these were pretty straightforward.  I clamped a piece of scrap 1/4″ thick steel between each pair of anchors and used an AN4 bolt to keep the upper holes aligned while I torqued these down.
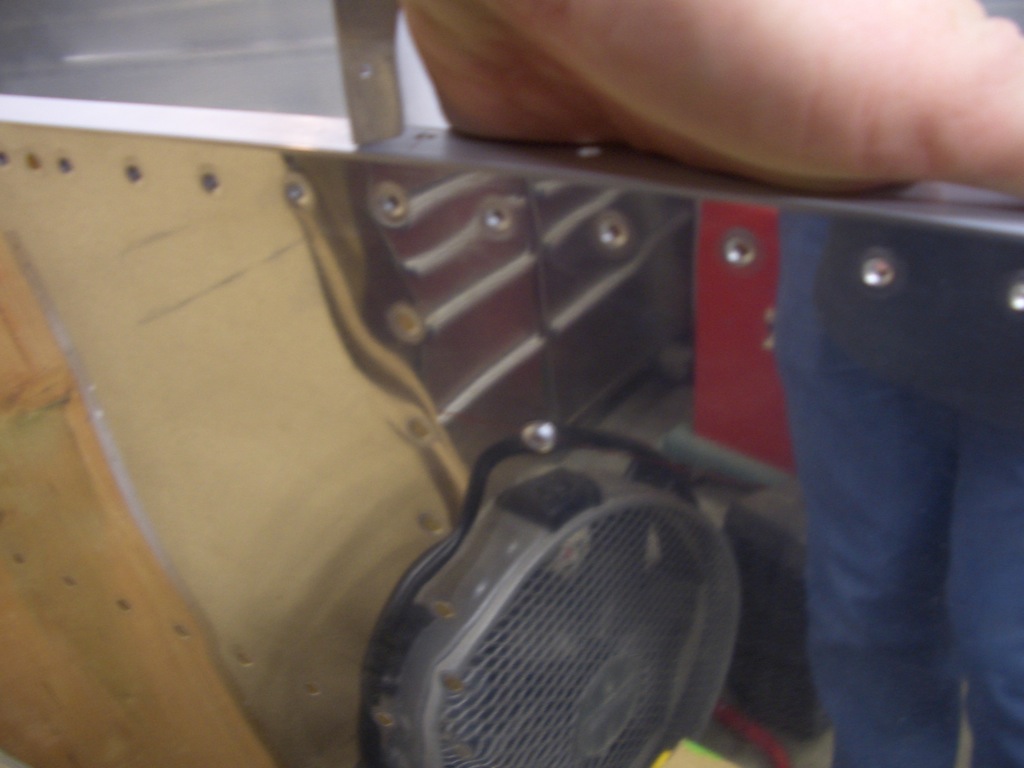
Next, I laid out and drilled for the static ports.  I’m using the SafeAir pitot/static/AOA kit, so the flange of the static port doesn’t allow you to install them precisely where Van’s recommends (11/16″ forward of the vertical row of rivets).  The position I used is 2″ down from the horizontal row of rivets and 1 1/4″ forward of the vertical row of rivets).  Here I’m holding the SafeAir static port in the hole while trying to take a picture.  I had a hard time getting my camera to focus on the static port, so this is a little blurry.
I mixed up a small batch of proseal and bonded/clamped these in position.  I installed the 90º adaptors in the ports before doing this so that I could ensure both of them are pointing upward.  I’m not going to use any rivets to secure the ports since the proseal is plenty strong to secure these.
Installed Rudder Cables

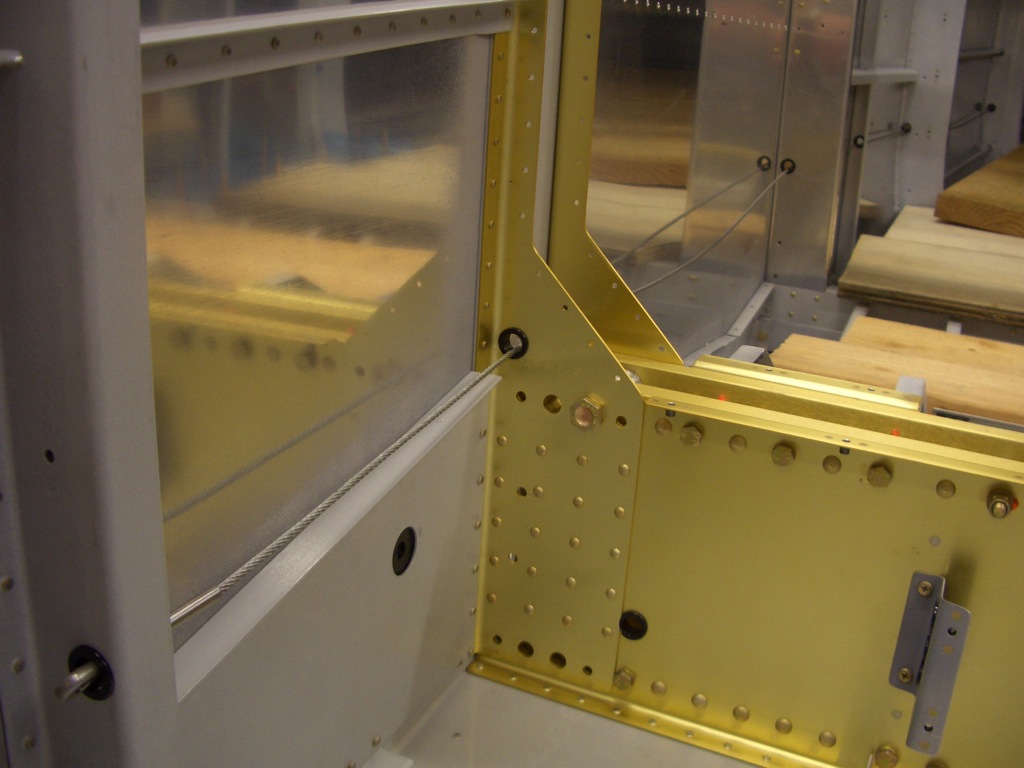
I installed the rudder cables tonight, mostly because I couldn’t think of a good reason not to.  The rudder cables run through snap bushings installed in every bulkhead from F-902 to F-710.  The front end of the cable has en eyelet that is larger in width than the inner diameter of a SB625-7 snap bushing, so the eyelet must be forced through the snap bushing before it is installed in the bulkhead.

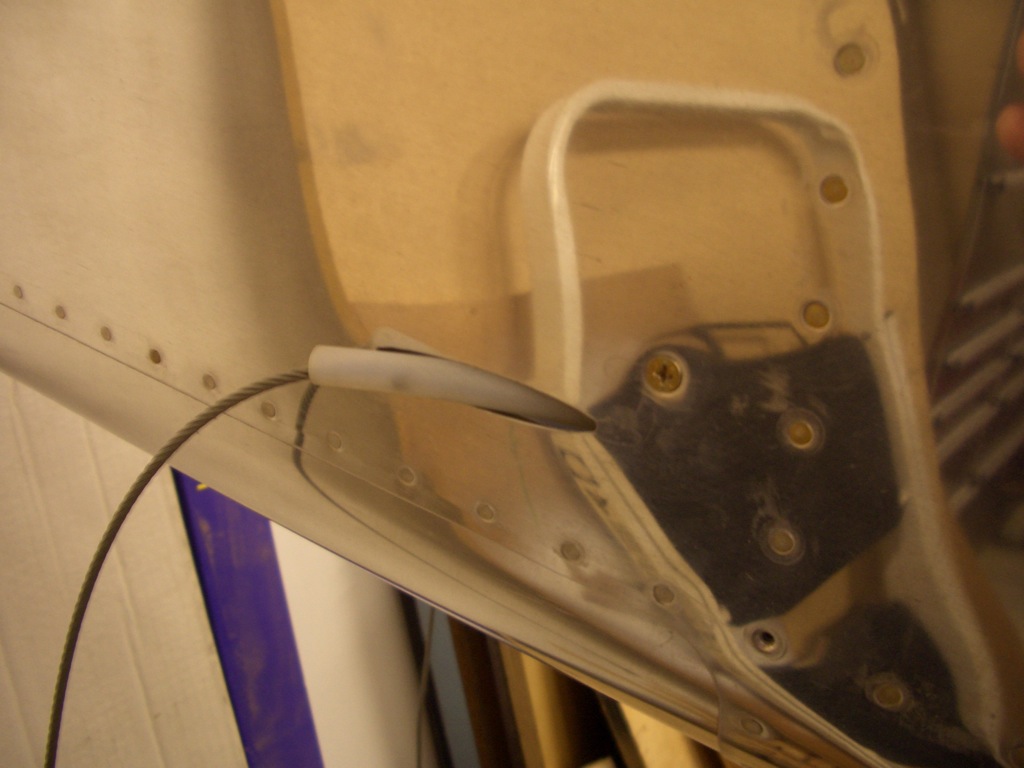
Where the cable exits the side of the aircraft just in front of the rudder, the cable passes through a plastic sleeve so that the cable doesn’t rub against any metal parts.  The sleeve is held in place by an adel clamp that is secured by the flush phillips screw that is just above and in front of the rudder cable exit hole.  I’m going to buy or fabricate a little exit fairing to hide the plastic sleeve (not because I think it will lower drag, but I think it will look nicer than the plastic sleeve just sticking out of the hole).