My son and I were both sick today, but I was feeling enough better by this evening to put a little time in on the project. I started by drilling the hinge to the flap skin and spar. I’m using the recommended 1/4″ edge distance. If it turns out I don’t have enough edge distance on the other side once the flaps are aligned with the ailerons, I’ll switch the wing side out with the P4 hinge material that has a longer leg.
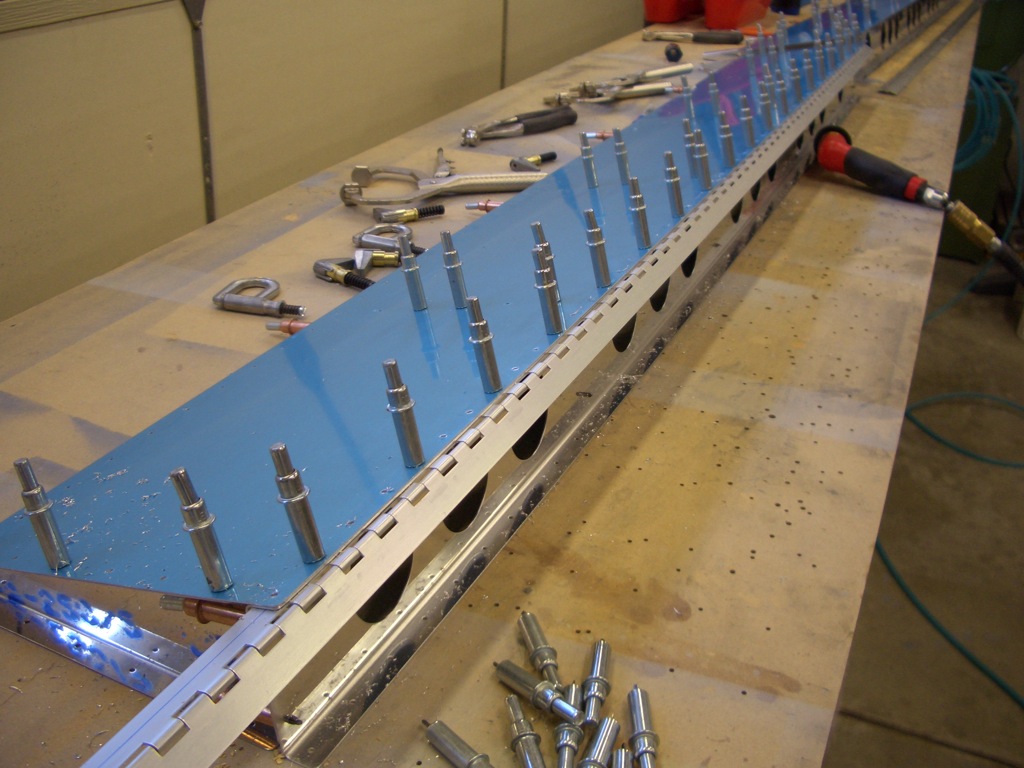
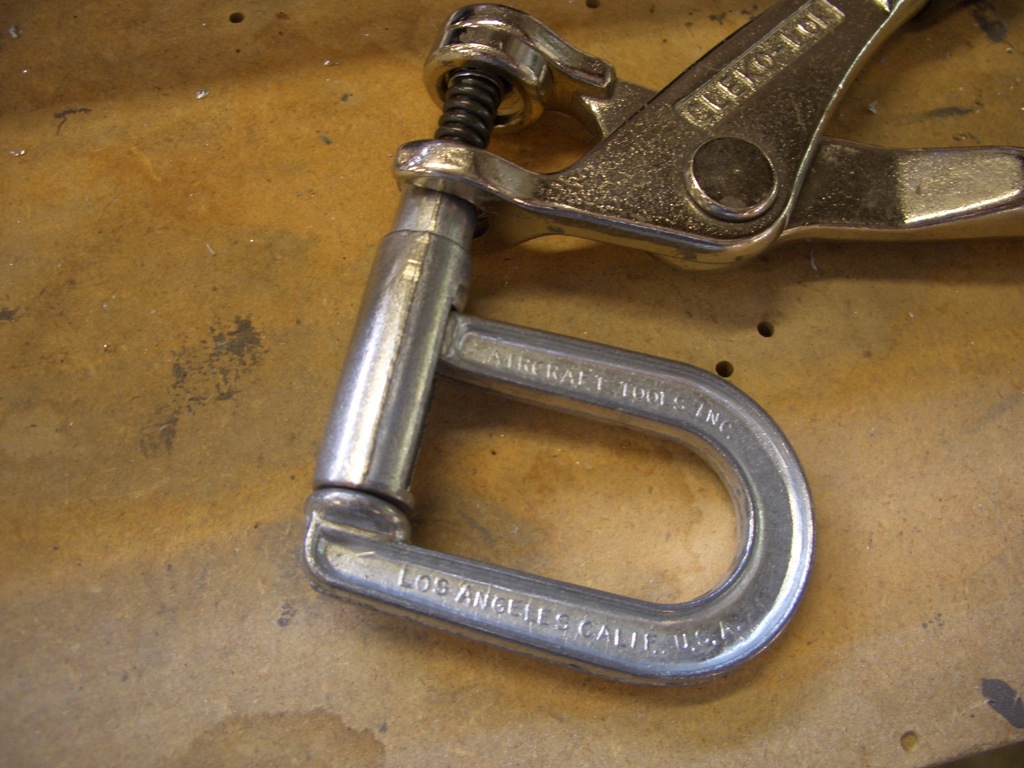
I had just ordered these long reach cleco clamps and they worked beautifully for holding the hinge material on while I drilled it. I only ordered two, but they were so handy that I wish I had ordered several more.
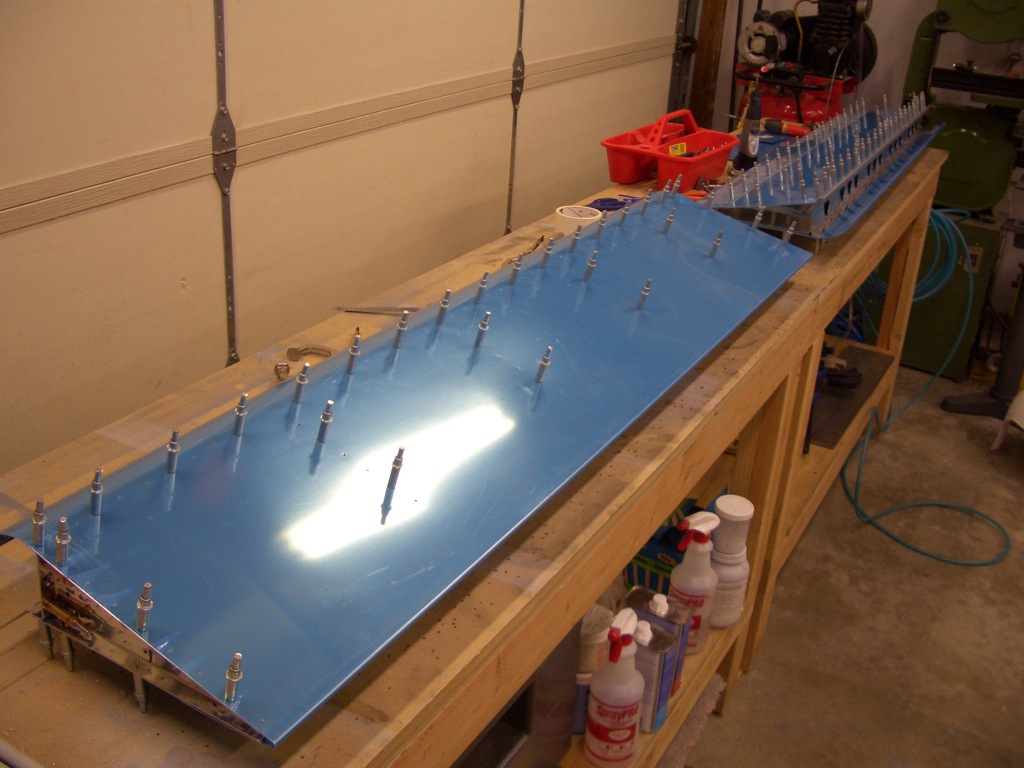
I put the top skin on and drilled all of the holes to final size. I didn’t take any pictures of it, but I also needed to make four 0.024″ shims for the inboard and outboard ribs to take up the space between the top skin and the rib where the bottom skin stops short.
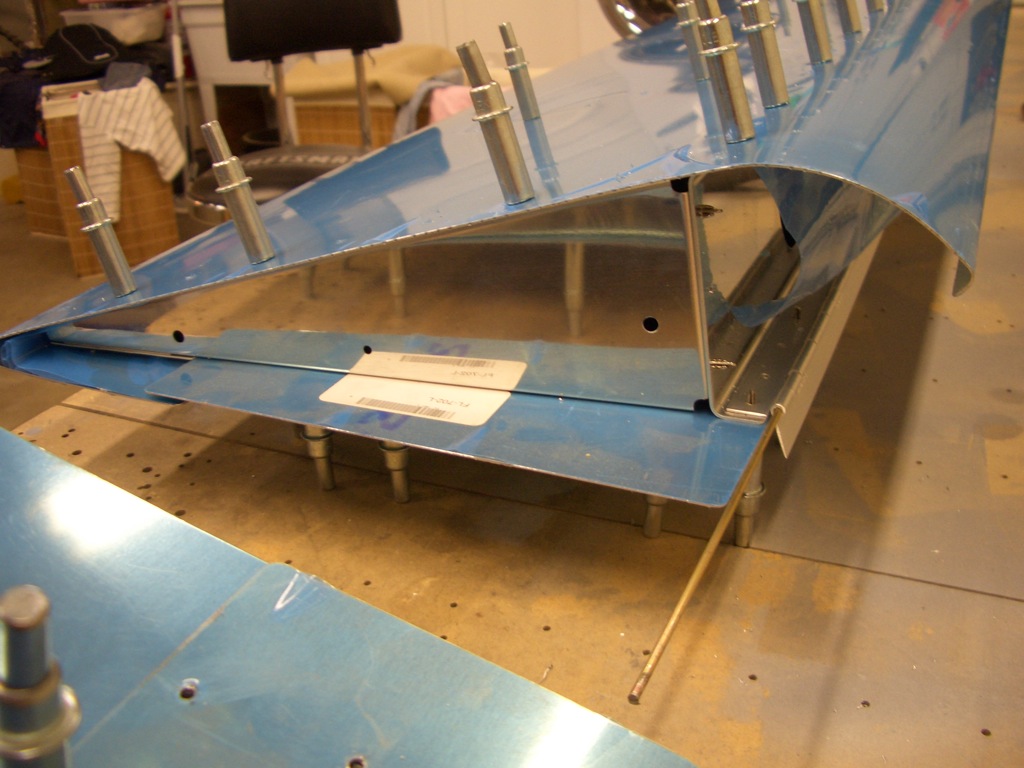
Here’s a closeup of the inboard end of the right flap. A bracket will rivet around this corner that connects the flap pushrod to the flap and transfers the load from the rib and spar into the pushrod. The hinge along the lower right (where the hinge pin is sticking out) will rivet to the flap brace and bottom skin of the wing. The curved top edge will tuck under the trailing edge of the top wing skin. I can see why they say this is the easiest control surface to build. I only started on this last night, and with the exception of the bracket I just described, this is ready for disassembly, deburring, priming and reassembly.
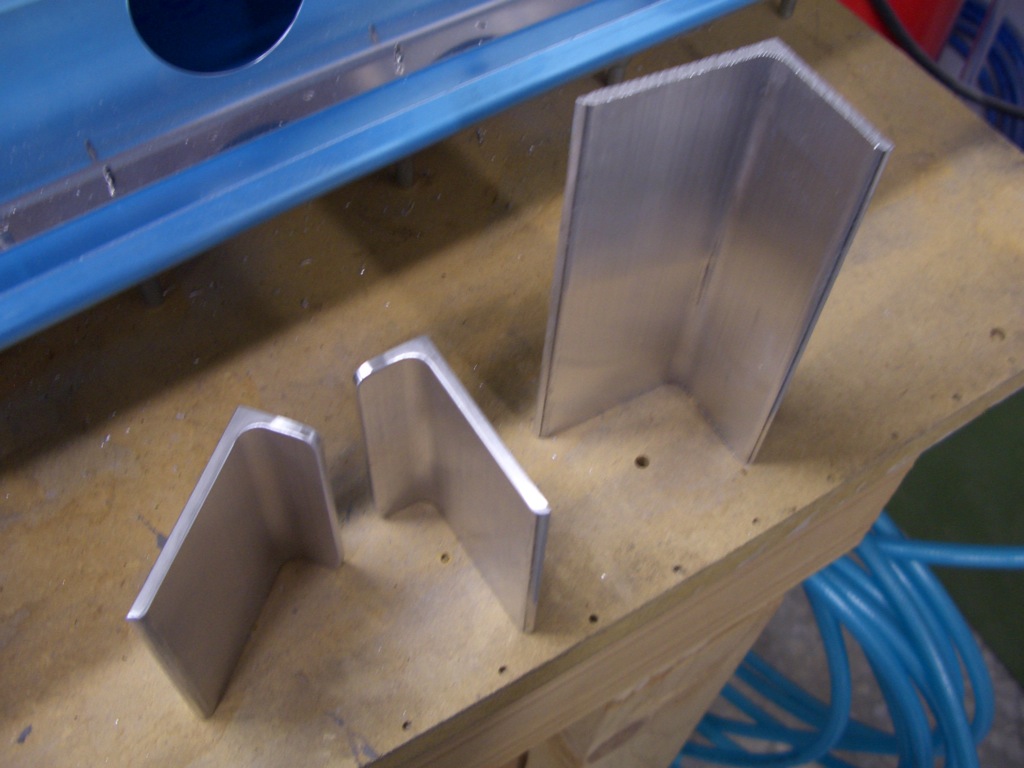
The portion of the bracket that rivets to the flap spar has to be fabricated out of a long piece of the aluminum angle on the right. I cut two pieces to length and cut off part of the short leg to get the two pieces on the left. It’s late, so I’ll match drill these to the rest of the bracket tomorrow.
