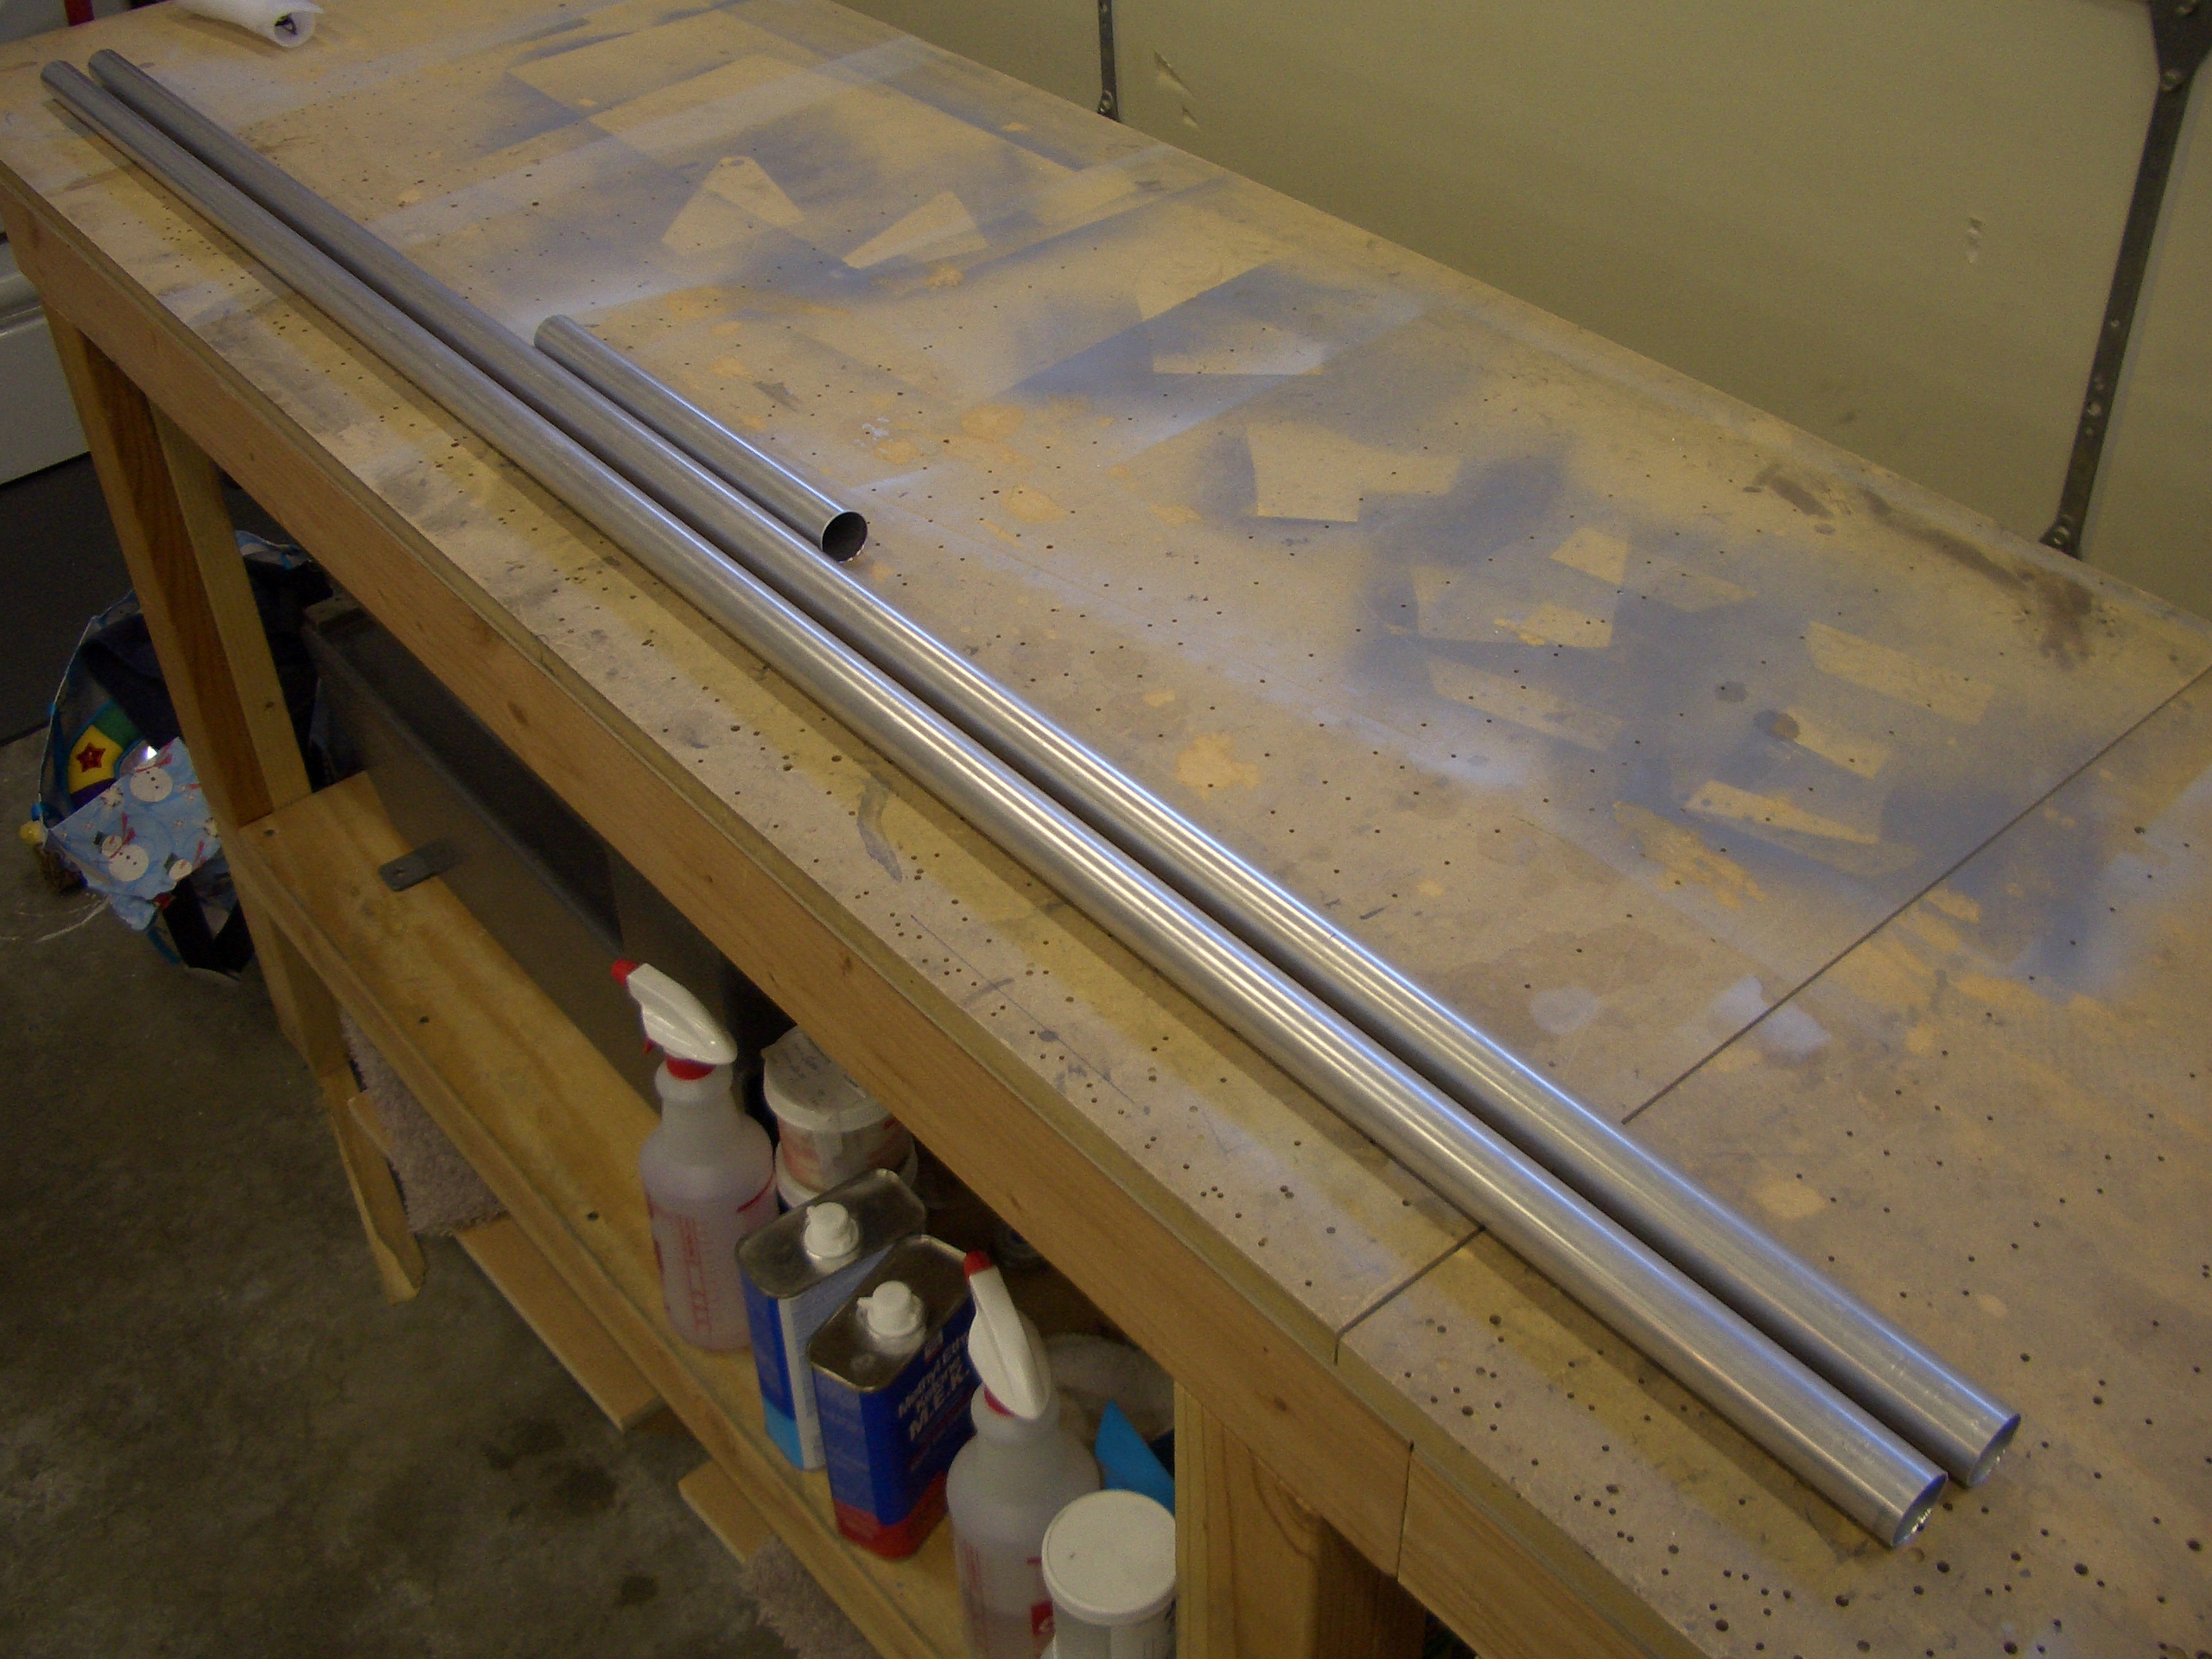
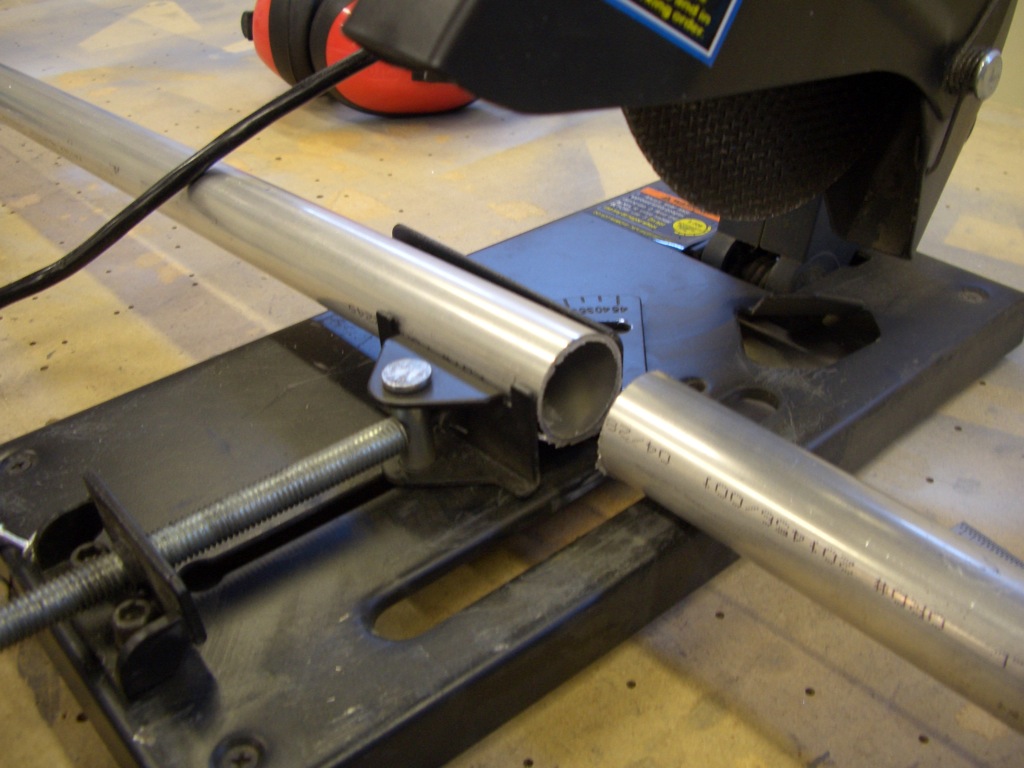
I cut the large push tubes using the cut-off saw. This was really the wrong tool for the job as it didn’t make a perfectly straight cut. Fortunately, I was able to square up the end and still have it be the correct length. I cut the other one using a pipe cutter which worked much better.
Here are the two large push tubes cut to length. The extra is because the RV-8 push tubes are about 5″ longer each.

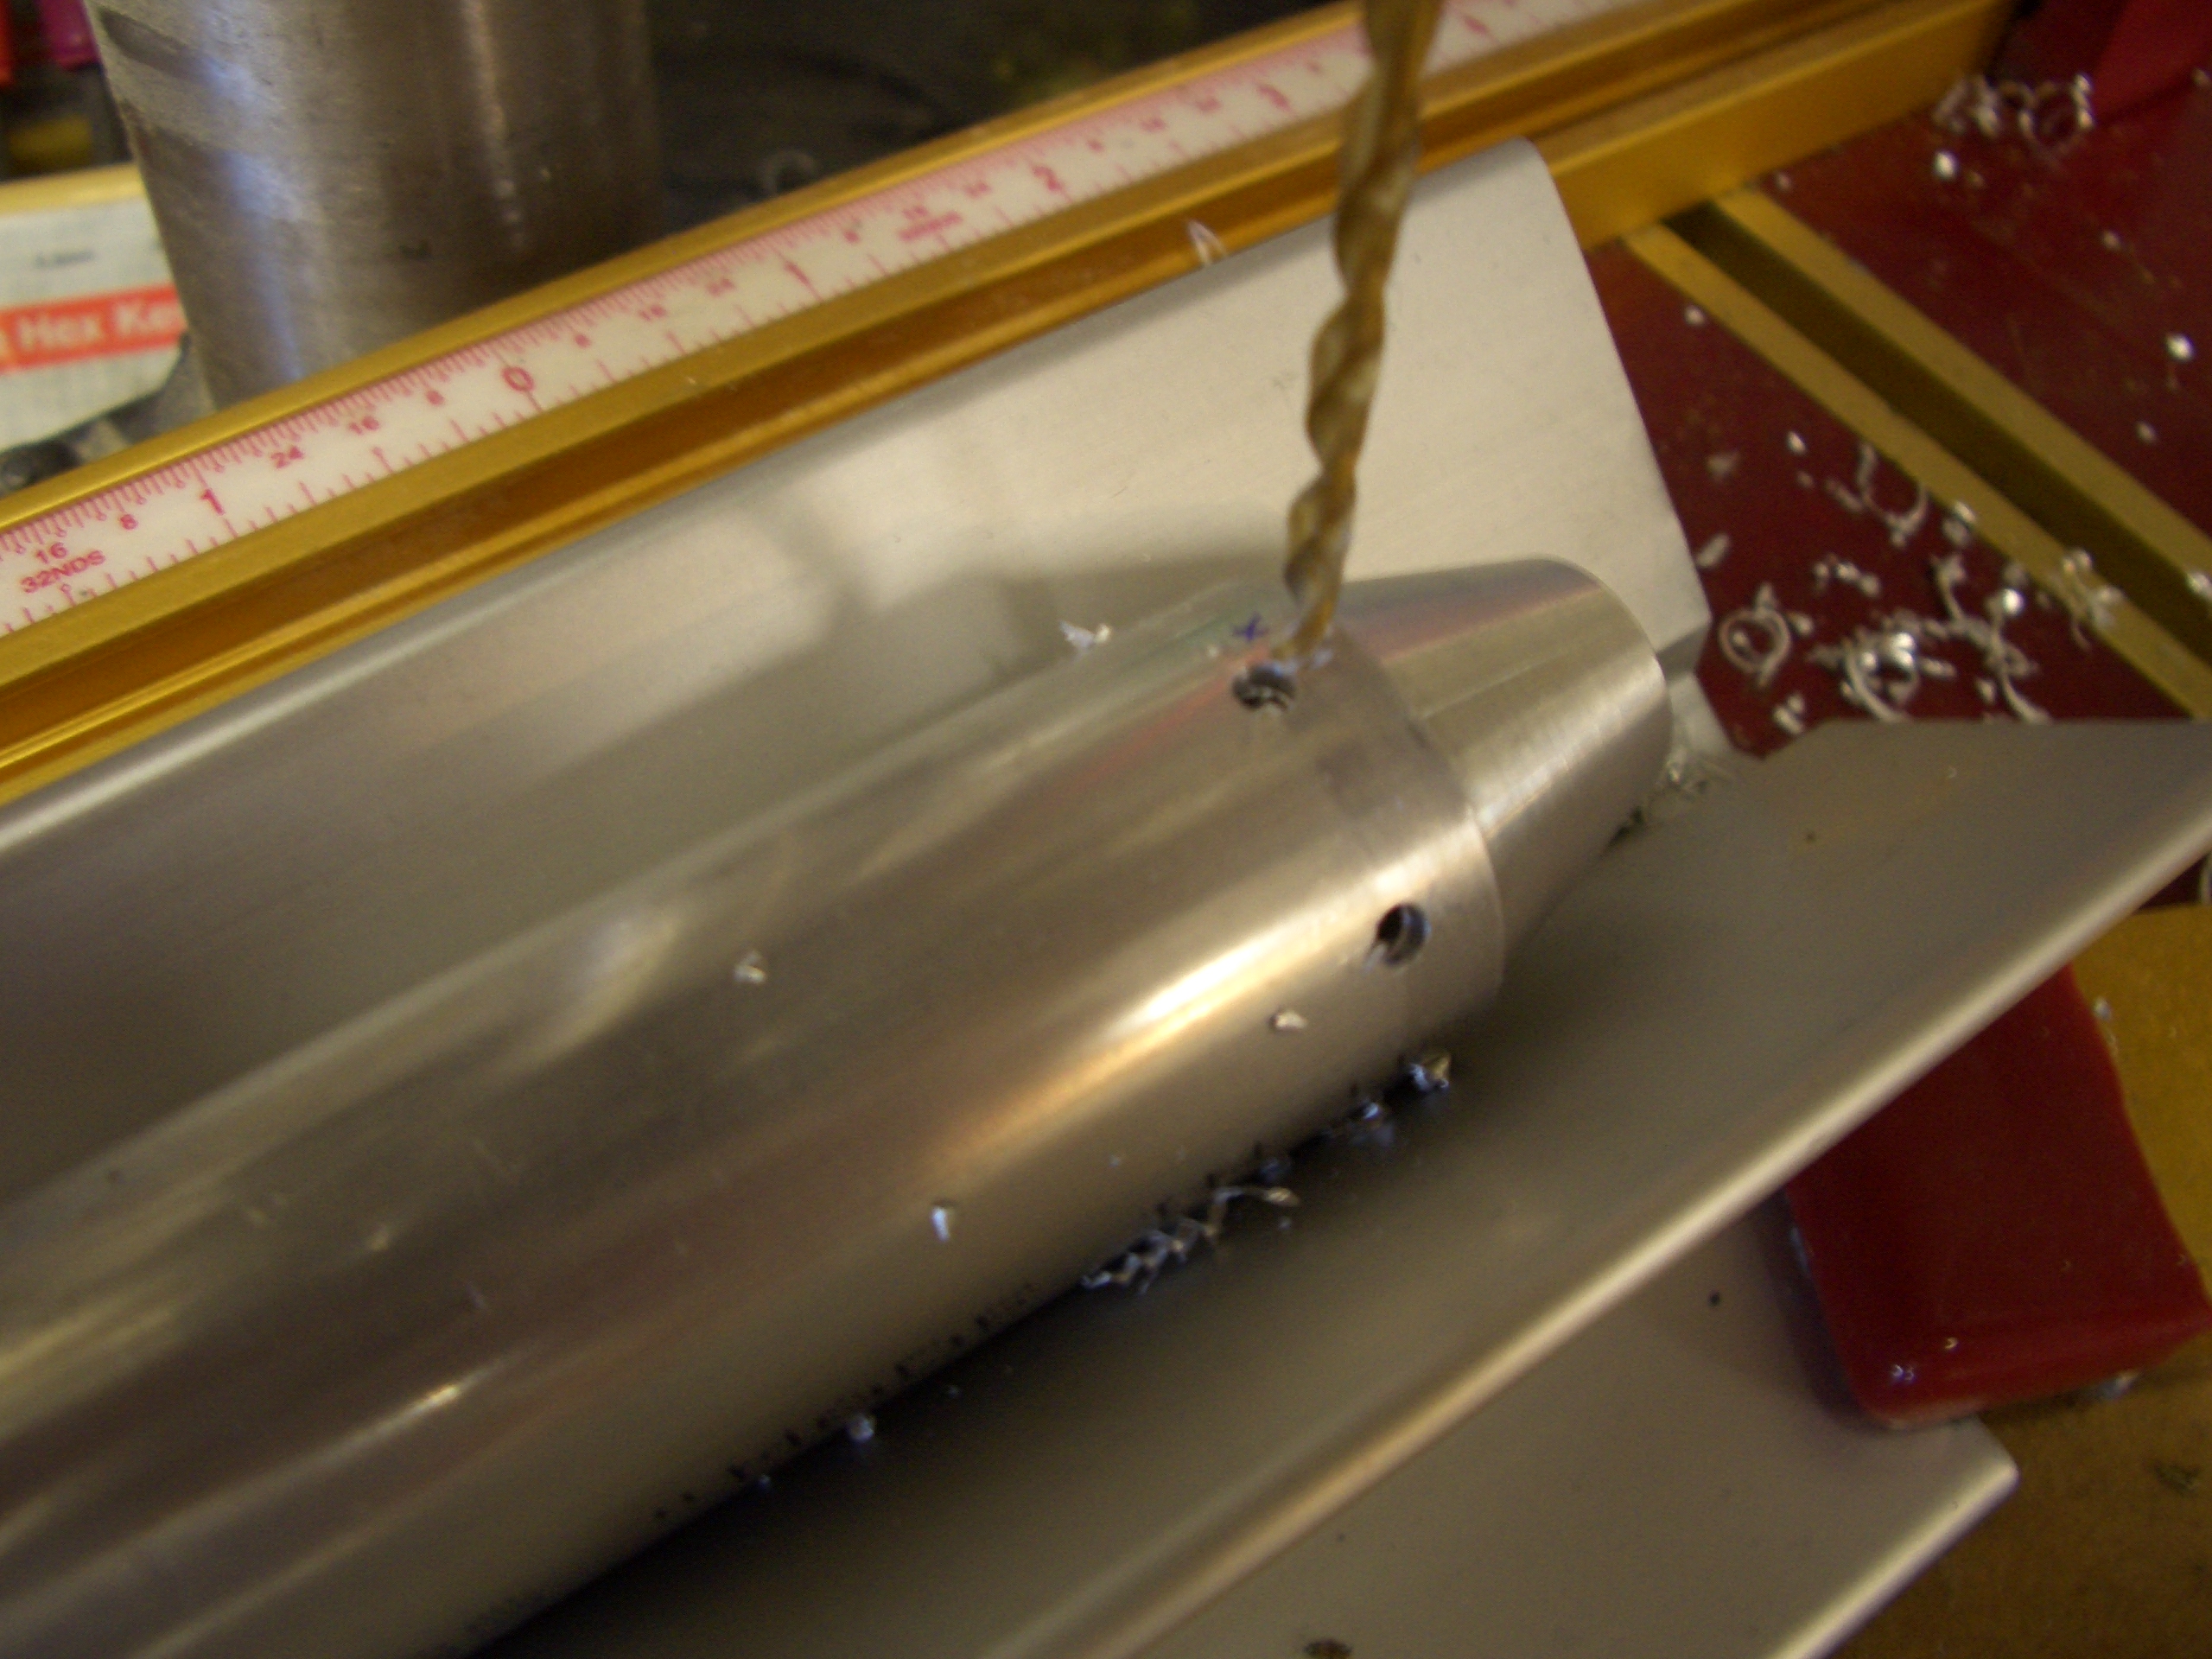
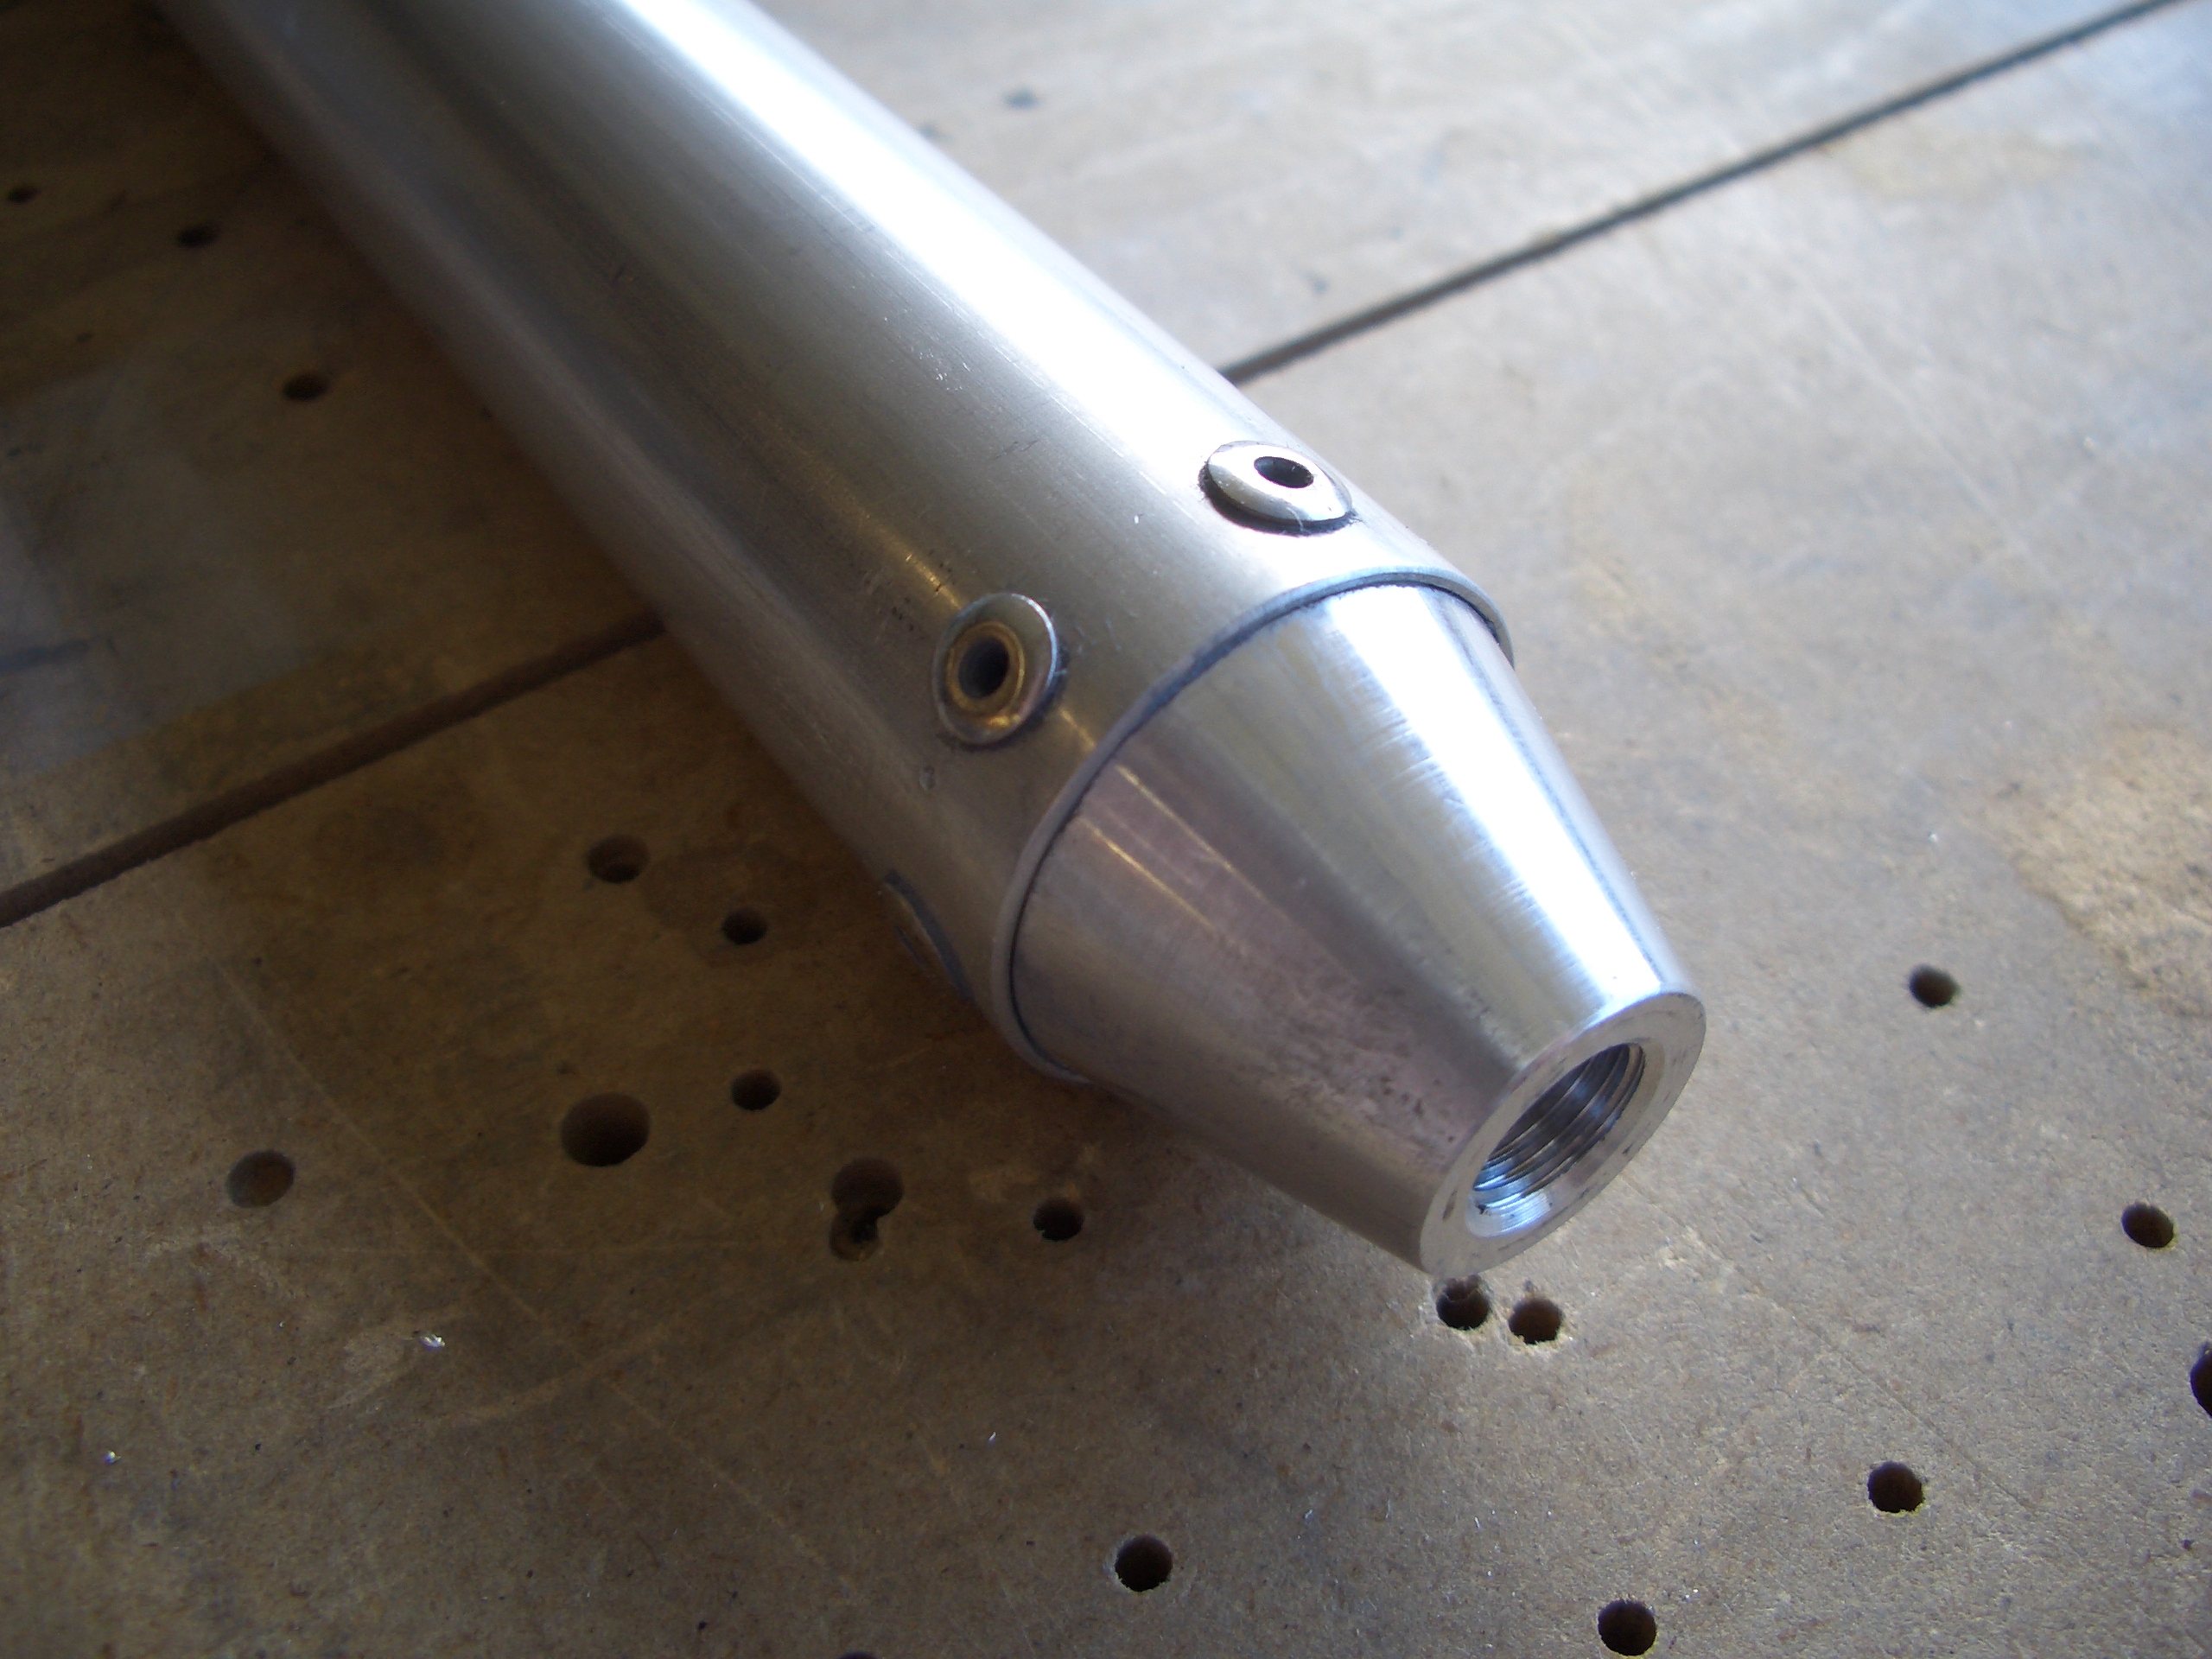
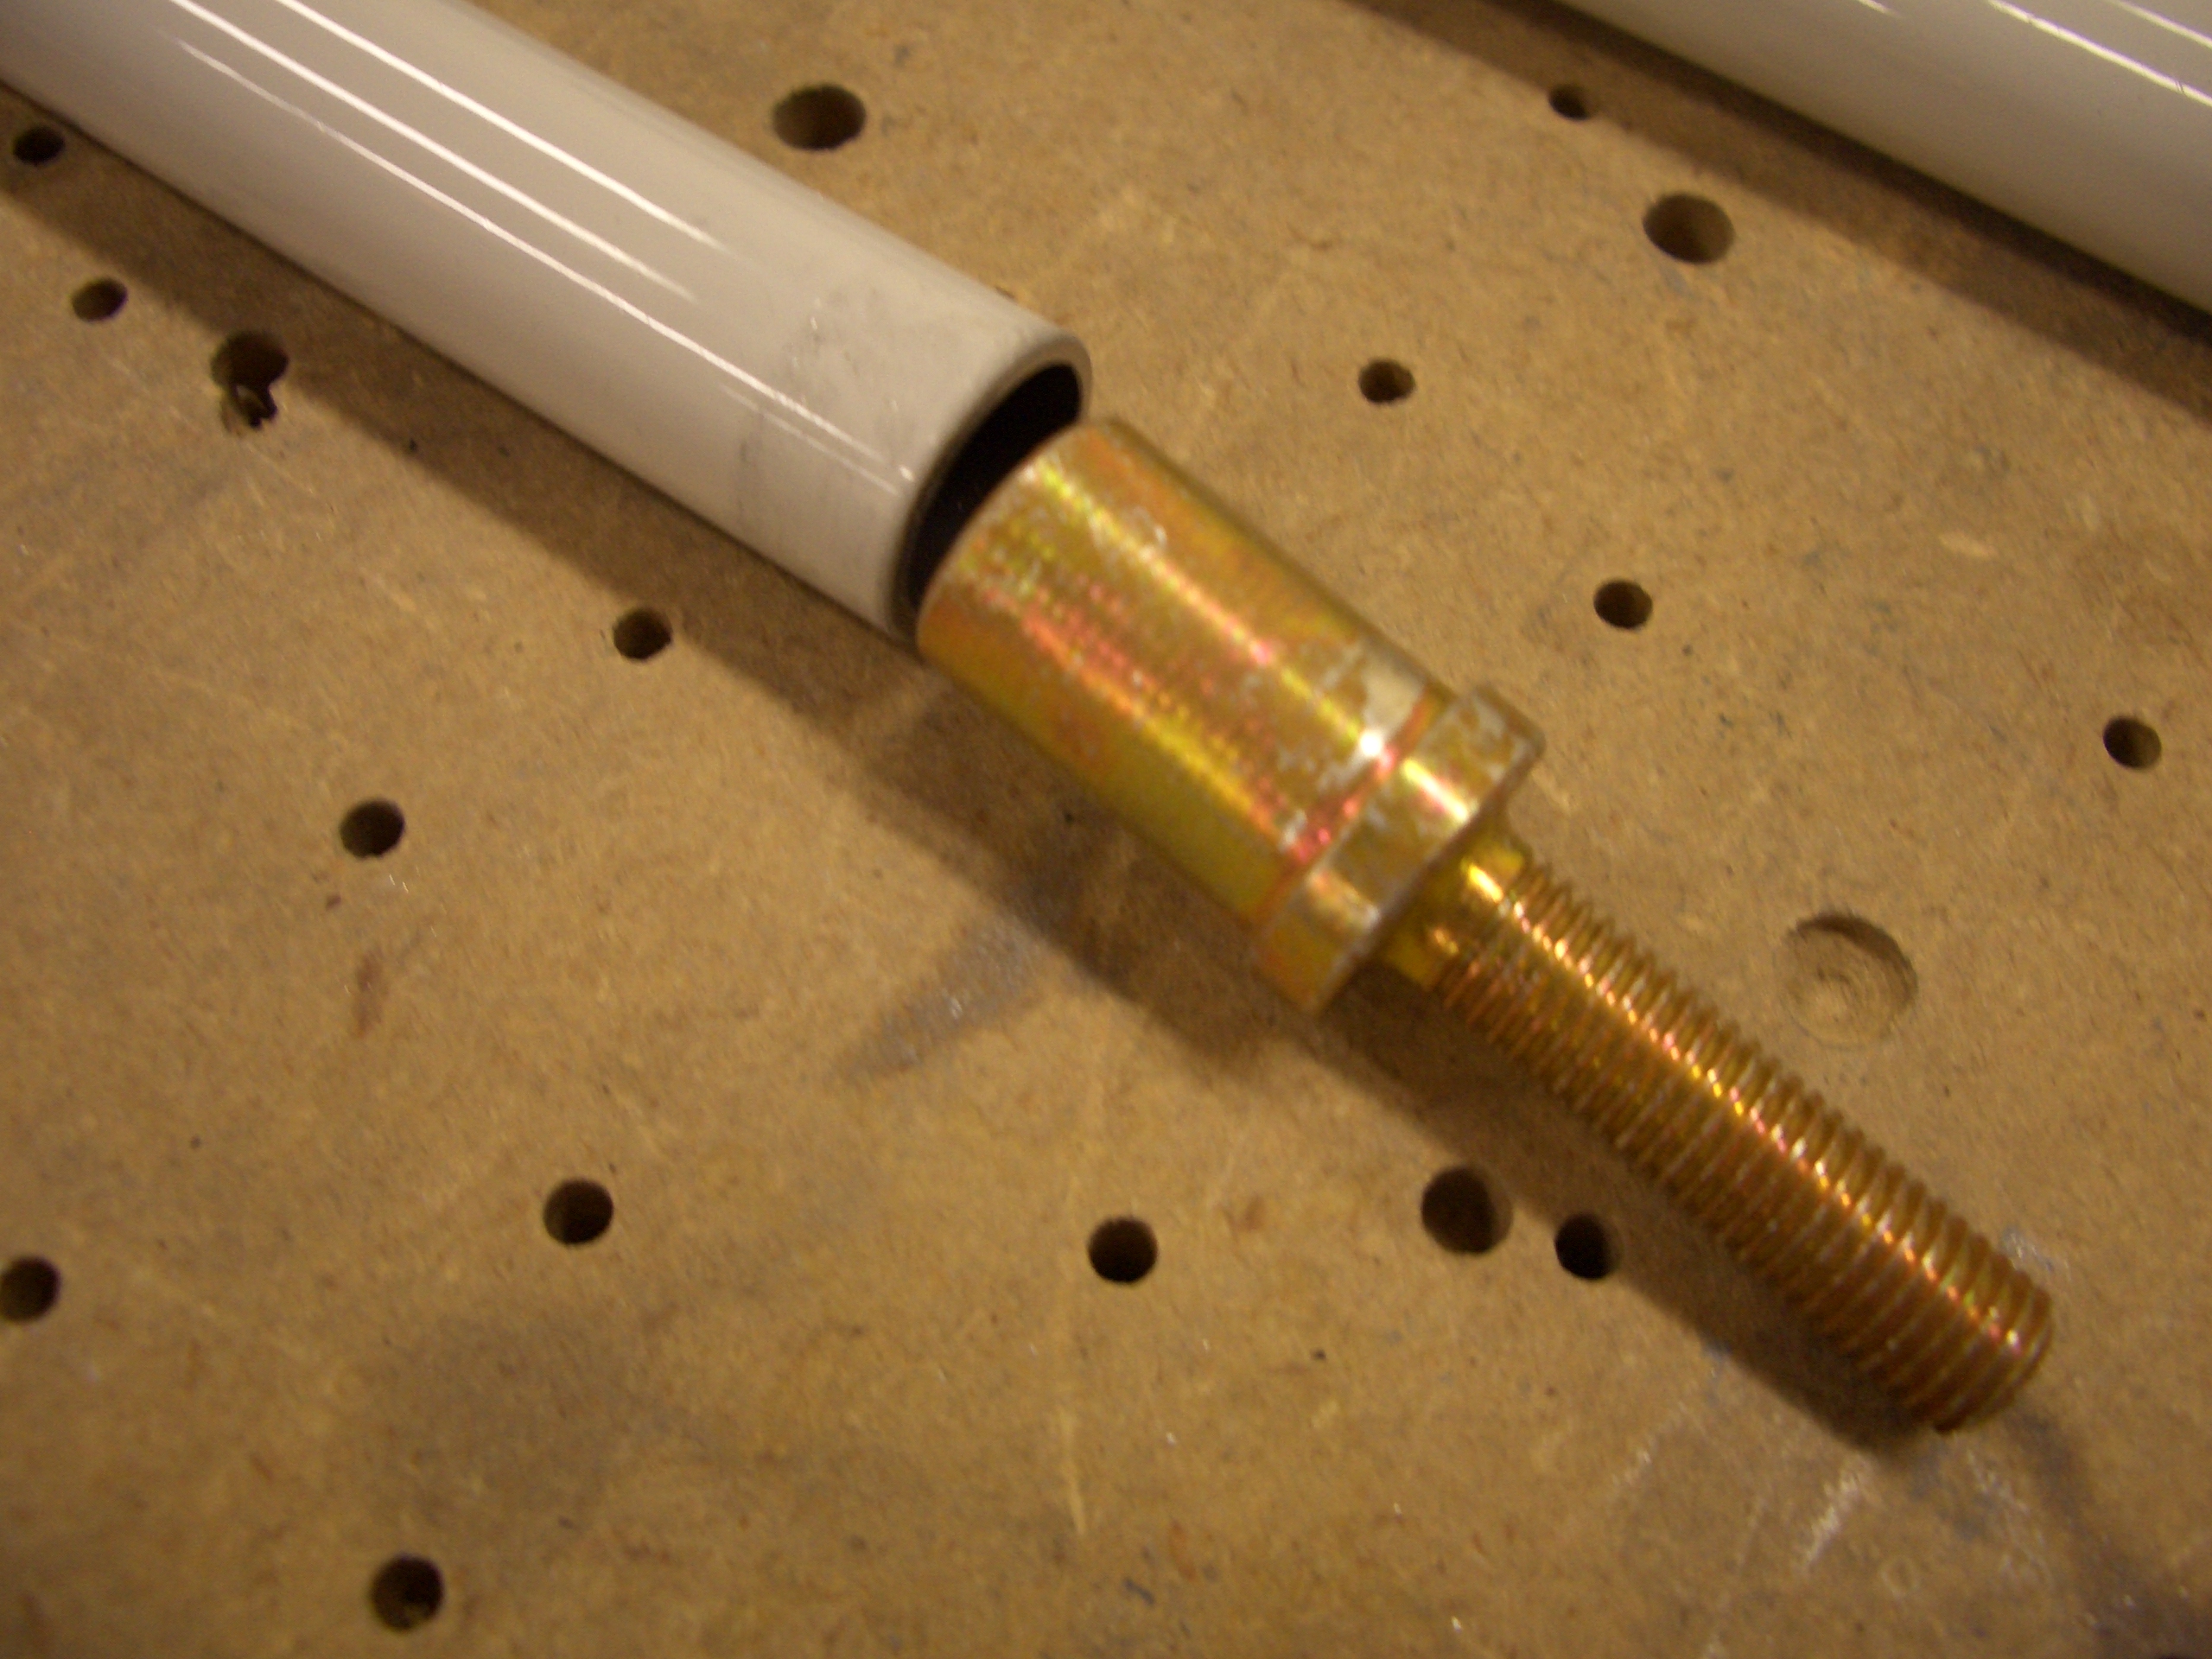
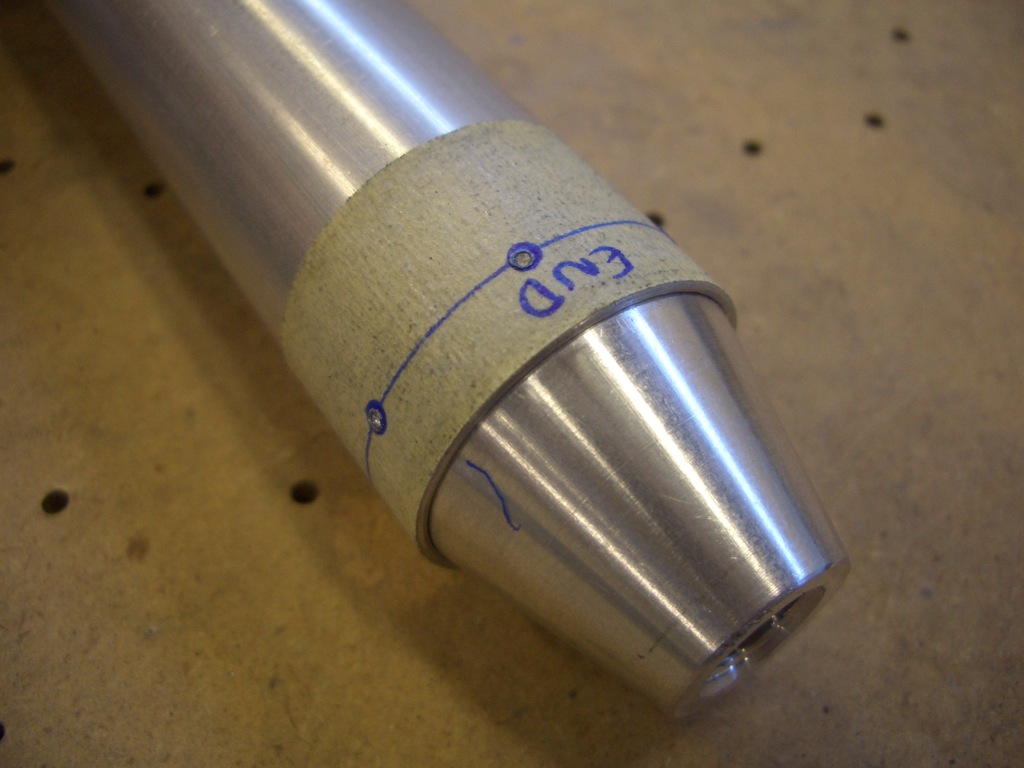
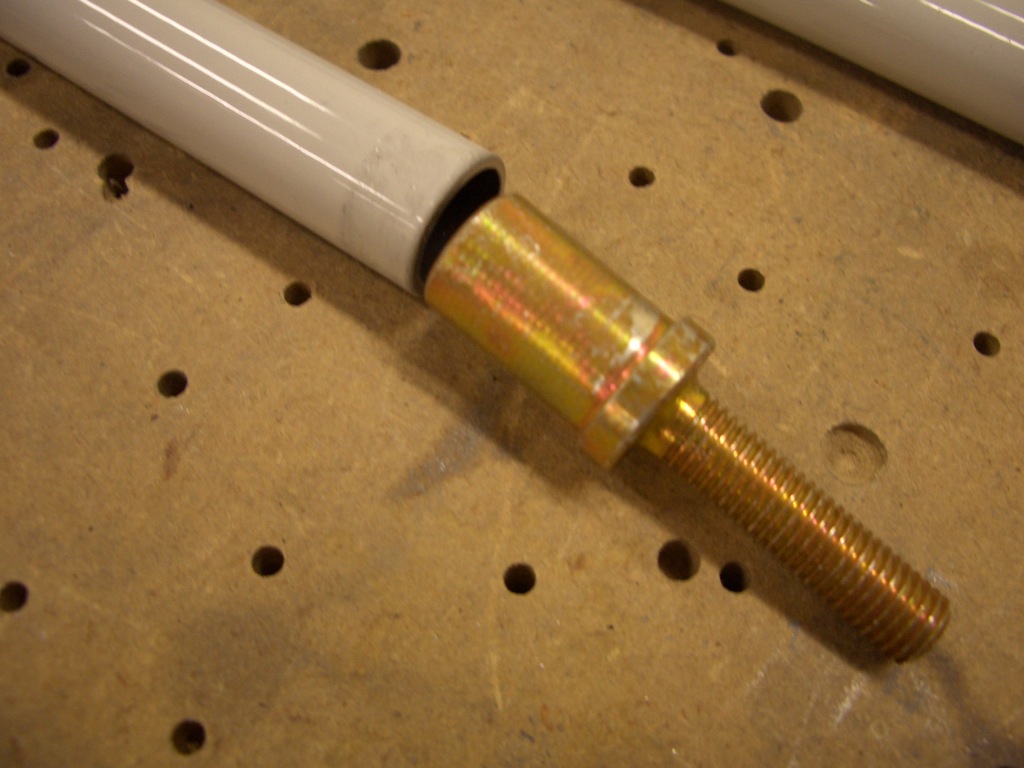
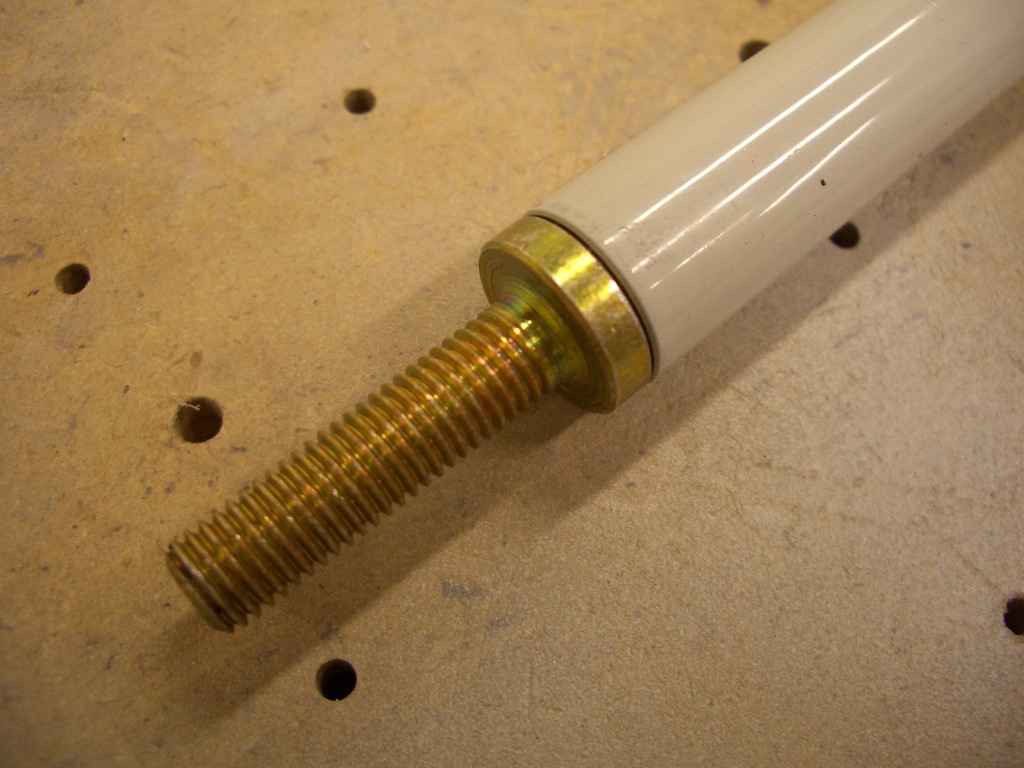
The push tubes get threaded aluminum fittings in each end. Here, I’ve pressed the ends into the tube in preparation for drilling.
Using a piece of masking tape cut to fit exactly around the circumference of the push tube, I used a rivet fan to lay out six rivets evenly spaced around the tube.
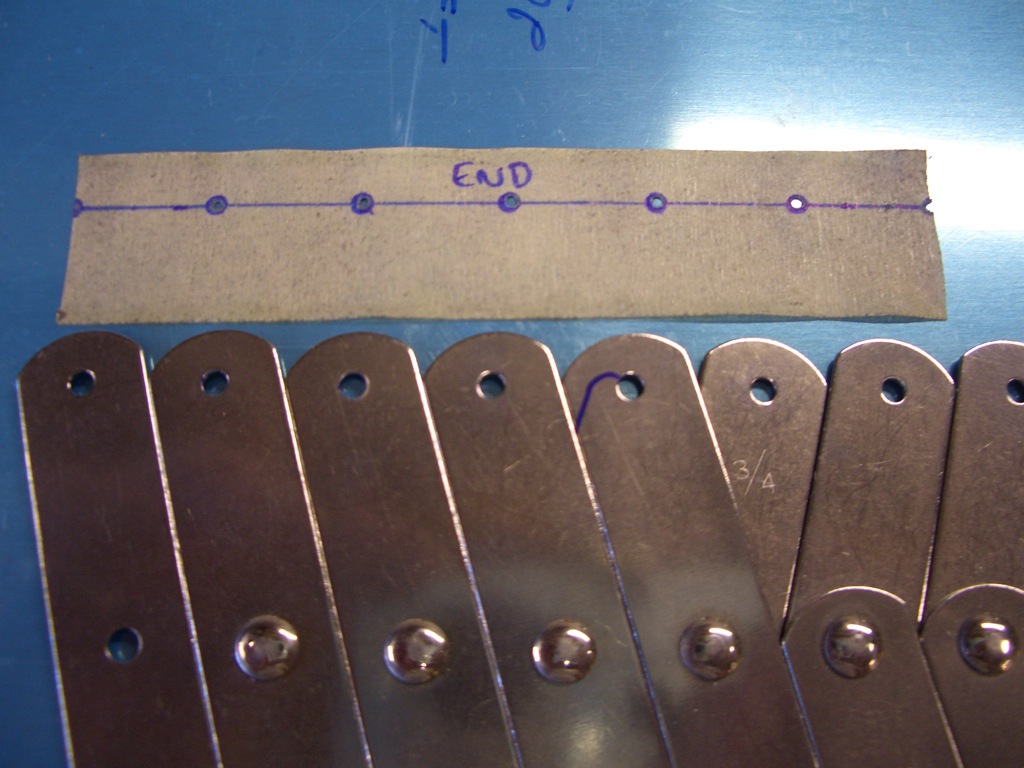
Putting the tape back on the push tube, I marked for the rivet holes.
These were then drilled on the drill press using a #30 drill bit.

After disassembling and deburring, I sealed each end with tape and sprayed in some self-etching primer to coat the inside of the tube. The ends were then pressed back into place and blind riveted together.

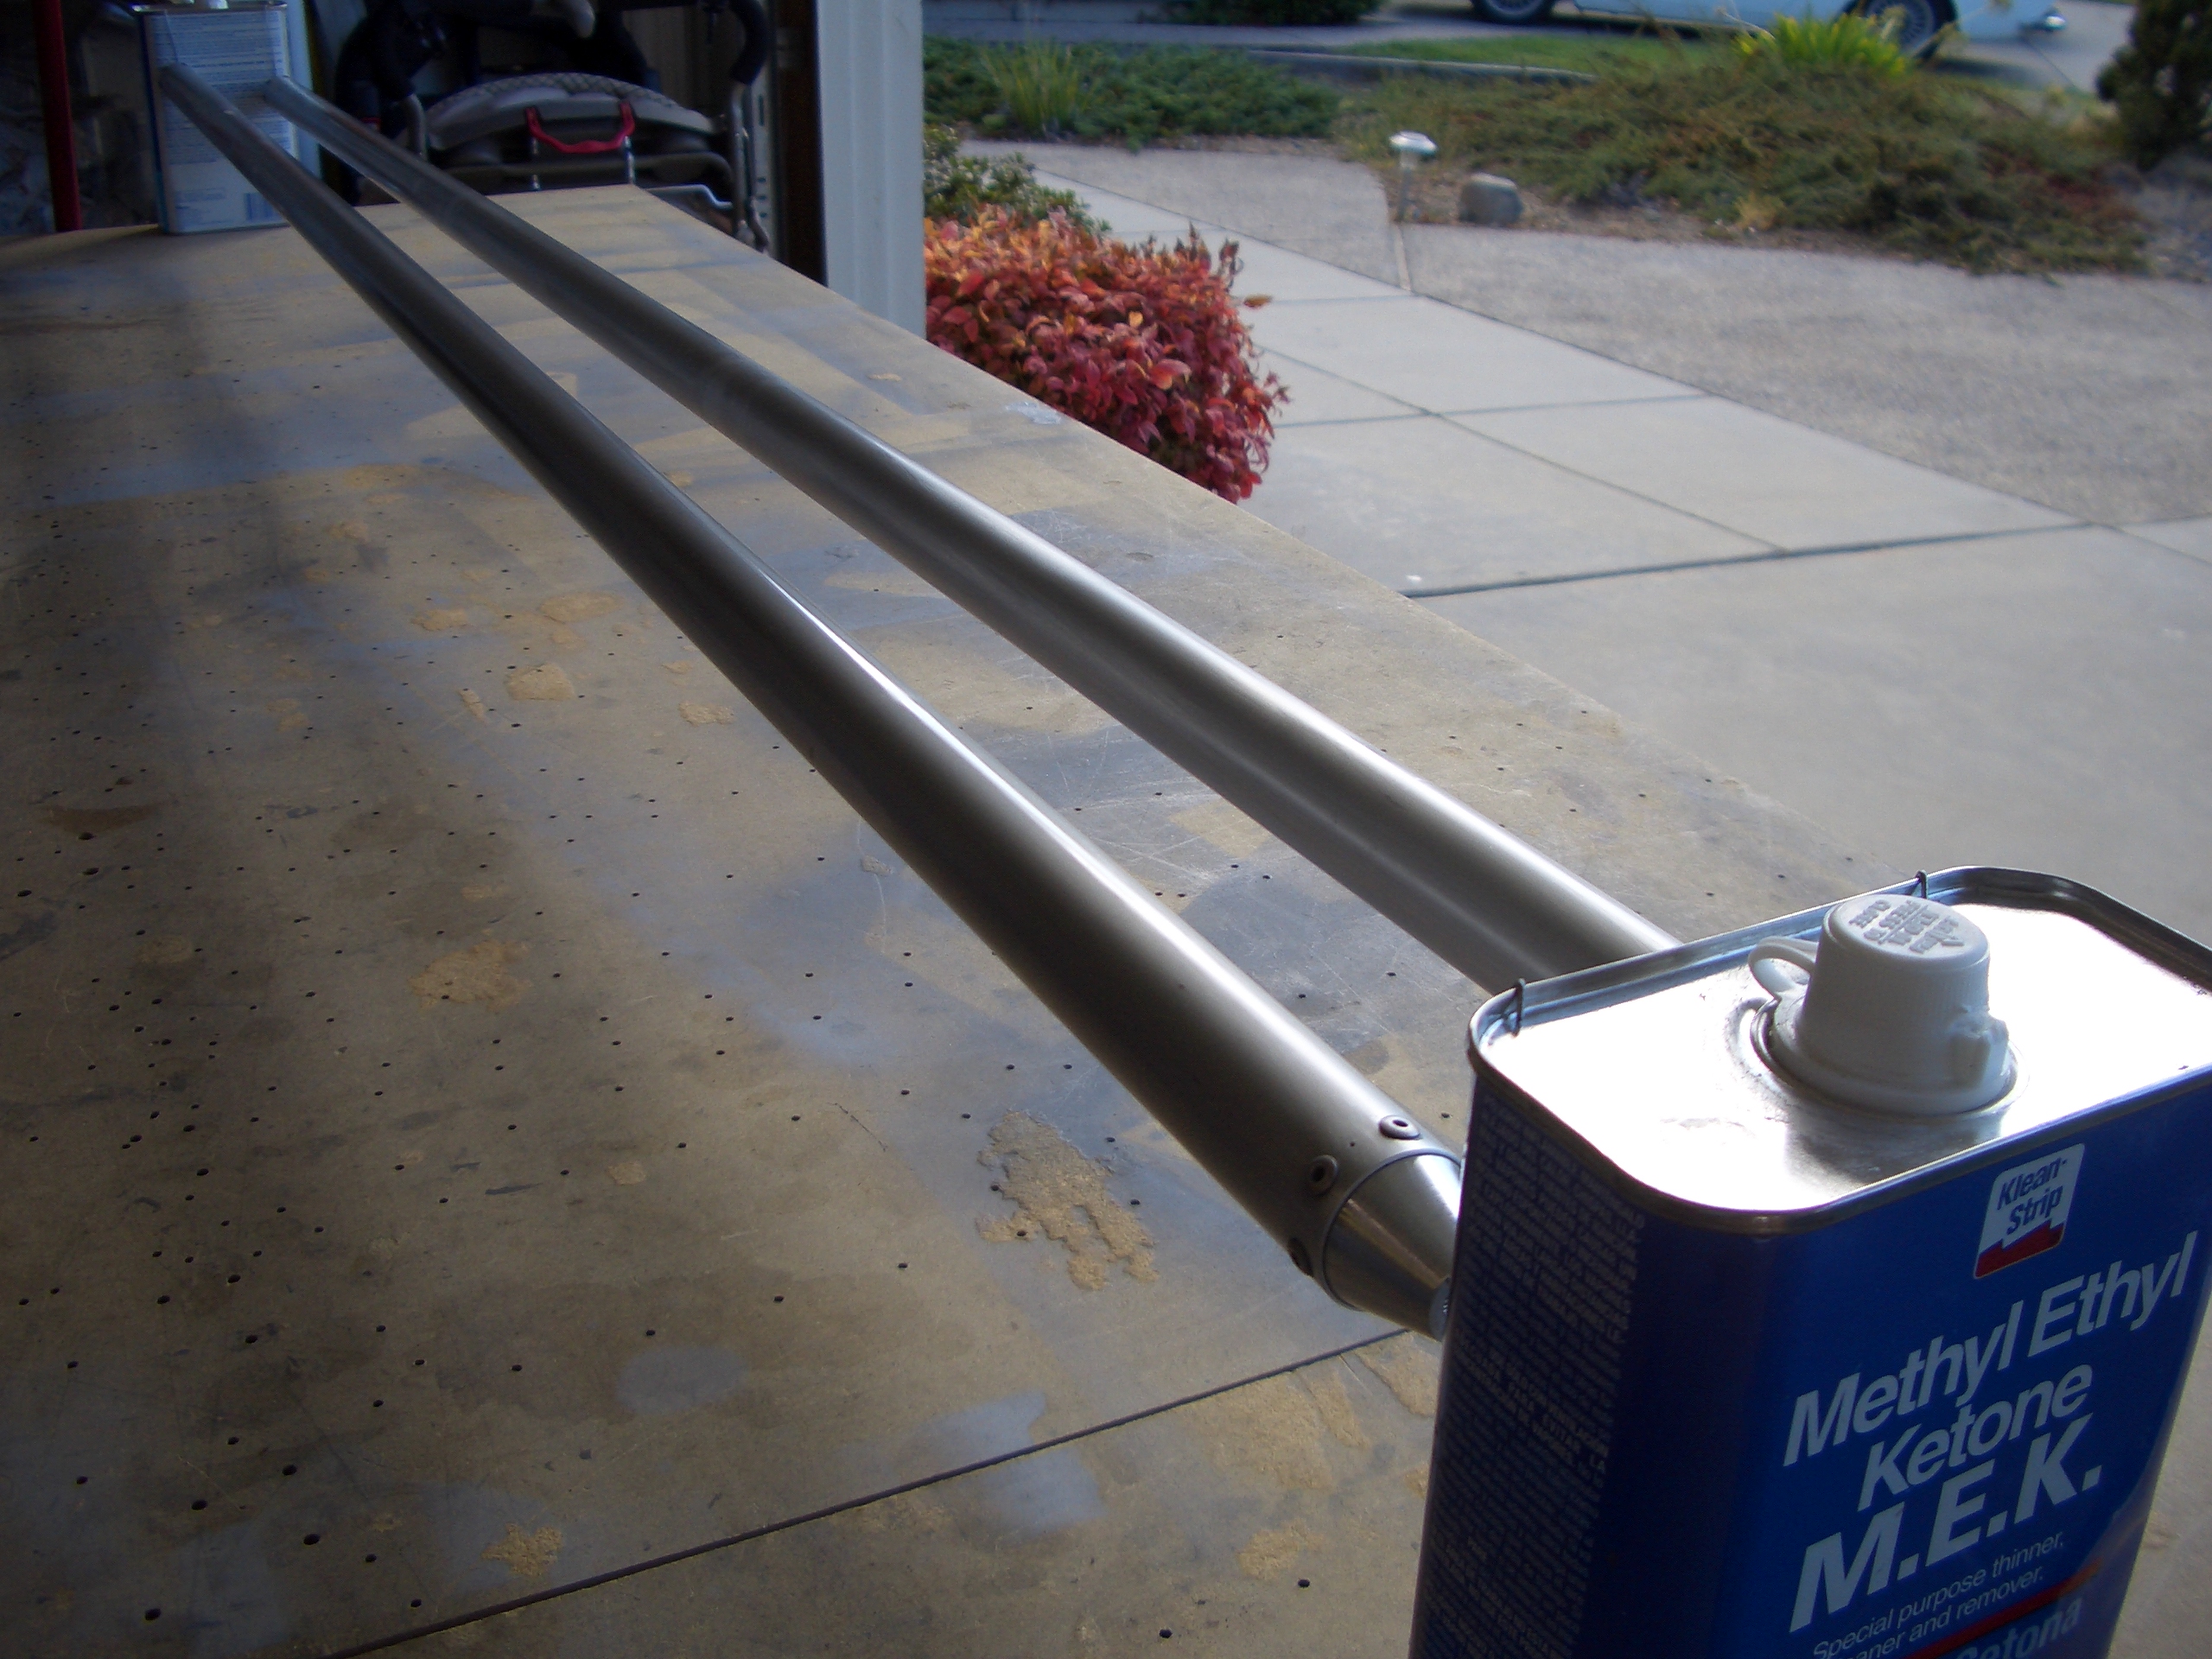
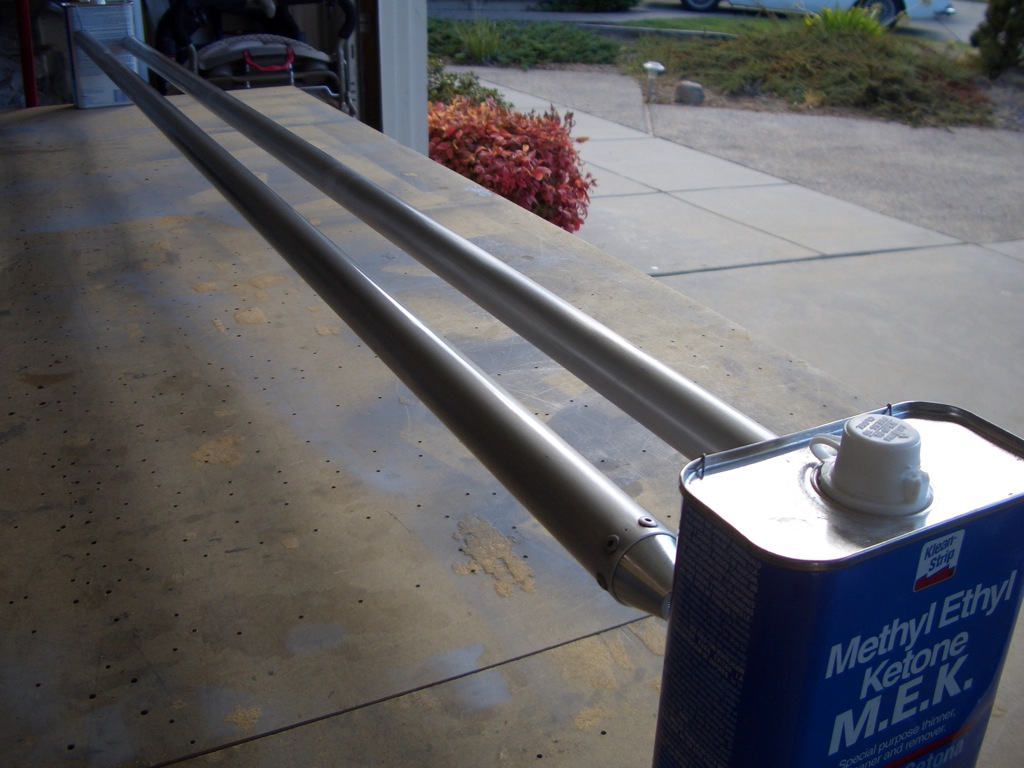
I suspended the push tubes between a couple of solvent cans using some pieces of wire so that they could be primed on the outside.
The push tubes are installed on the bellcranks using some long bolts and some bushings that have to be fabricated to the correct length.
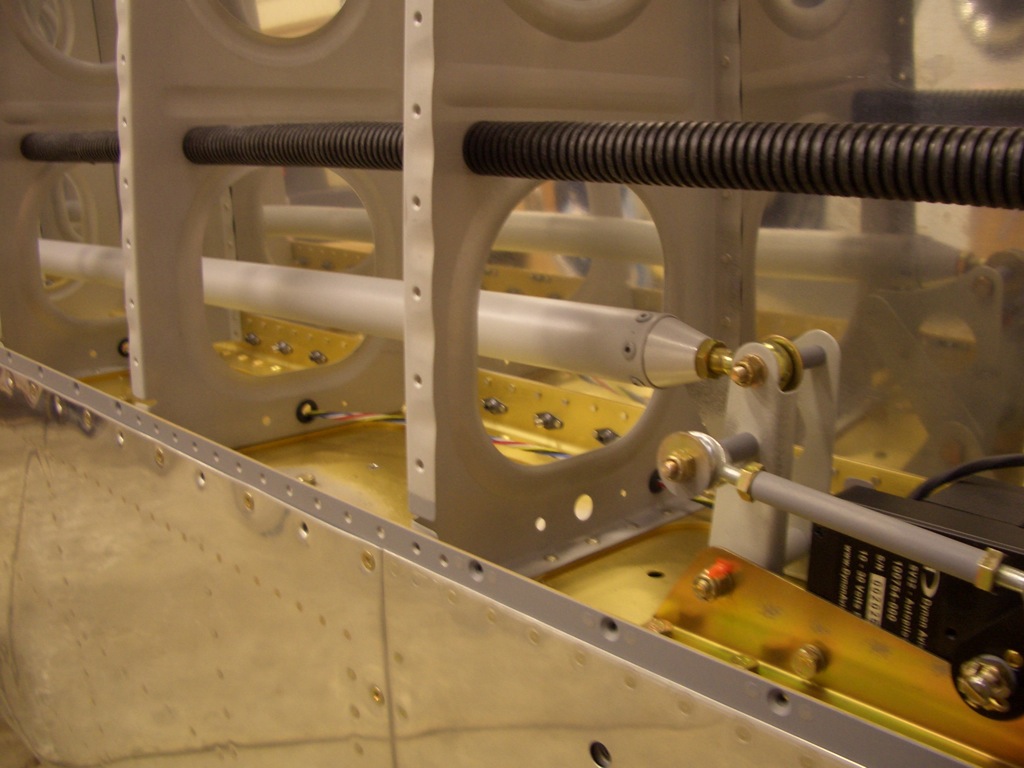
The ends of the push tubes stick out of the inboard ends of the wings since they will stick into the fuselage and attach to the control sticks.
I also cut the smaller push tubes to length using the pipe cutter. Unlike the larger push tubes, there is virtually no extra material. The tiny piece at the bottom is all that is left.

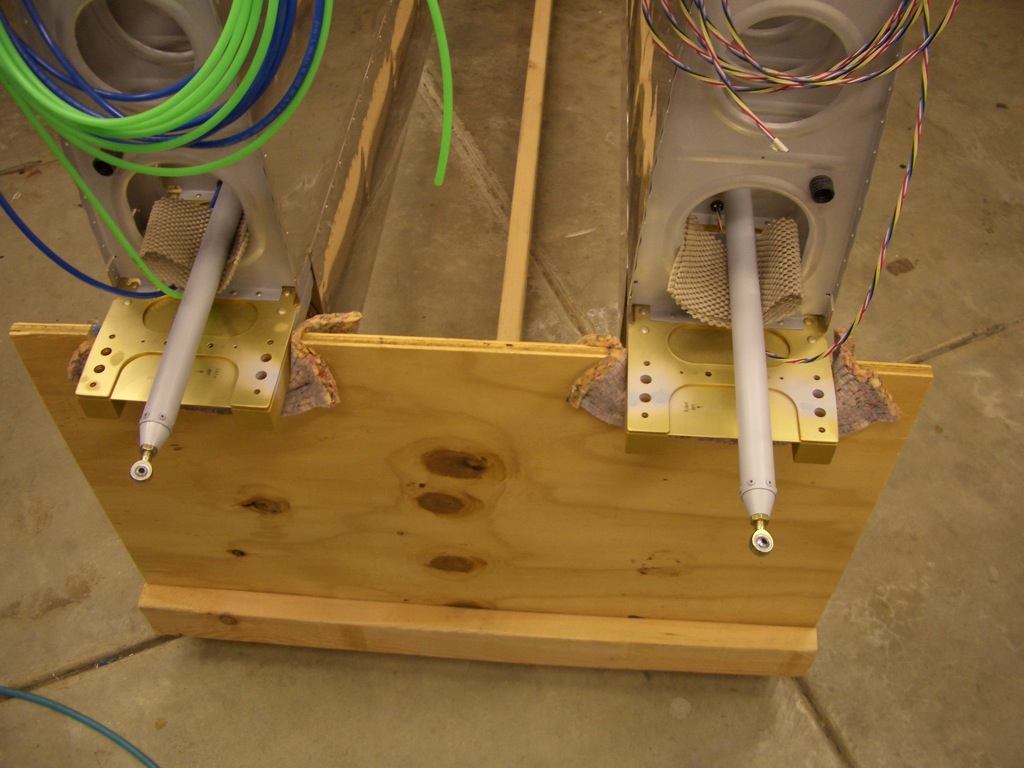
The rod ends have to be pressed into place and either riveted or welded. The plans call for aluminum rivets which a number of people have questioned. Since these parts are all steel, aluminum rivets could corrode and cause these rod ends to loosen in the push tubes. Needless to say, I’m going to have these welded.
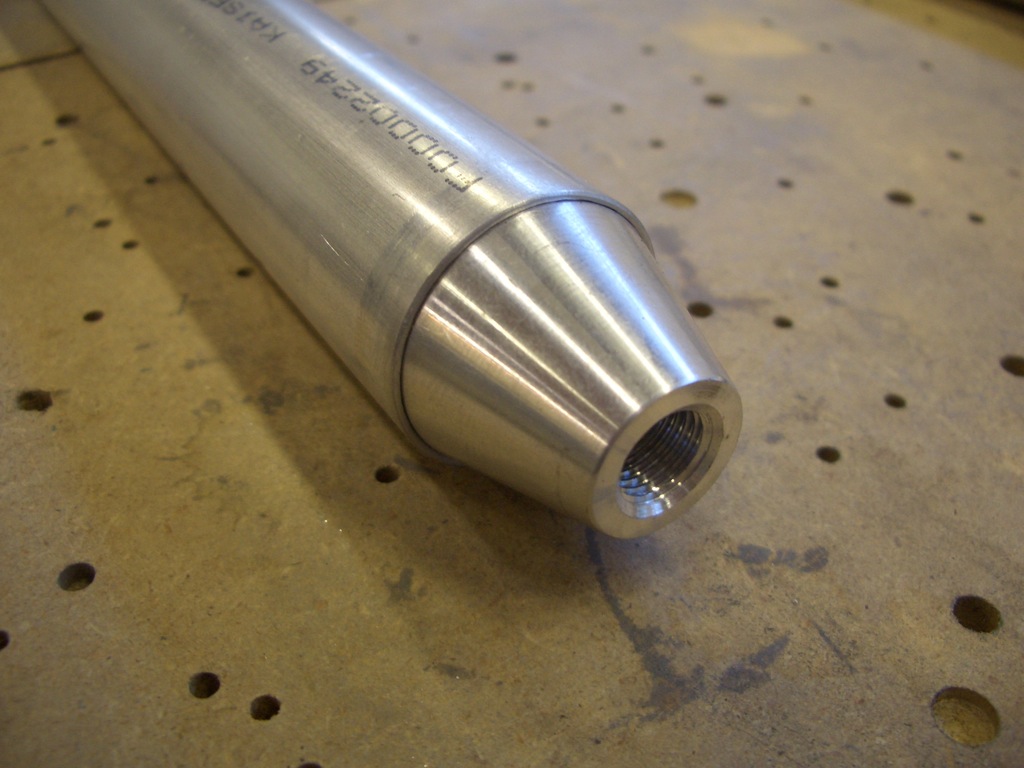
Here is one of the rod ends pressed into place. It shouldn’t take them more than a few minutes to put a quick bead around this joint using a tig welder.
I had a little more time this evening, so I pulled down all of the parts for the flaps, stripped the plastic off of the spars and ribs and deburred the main spars.
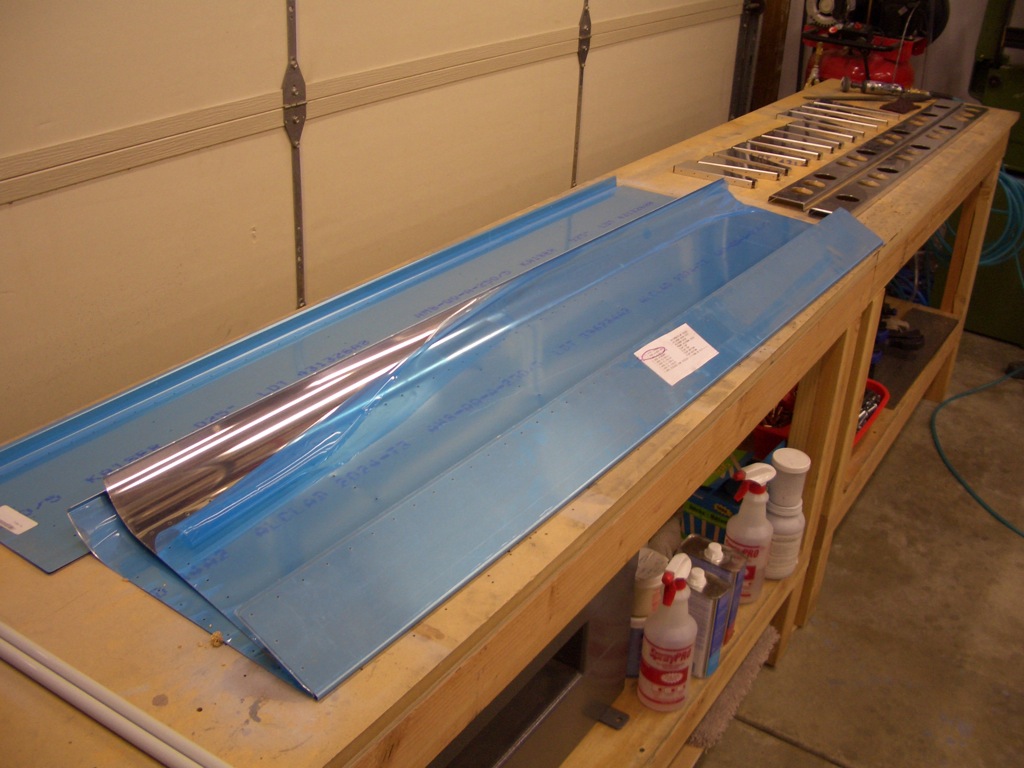
I drilled the ribs to the spars and then clecoed on the bottom skins.
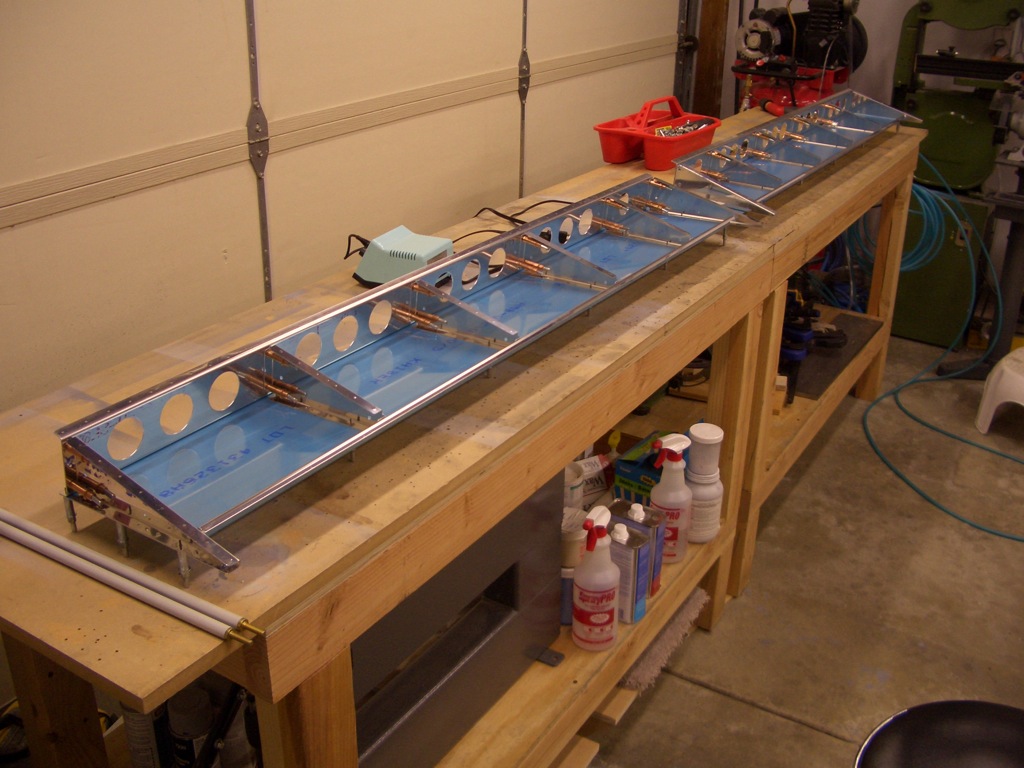
Spacers of various thicknesses need to be cut and inserted between the ribs and flange that forms the rear spar. These were then match drilled along with the rib to the hole already in the rear flange of the bottom skin.