Before leaving town, Jenn helped me rivet the splice plate back onto the left wing. This side looked even better than the other. Right after initial fitting, the joint in basically perfectly flush along almost the entire length. I have to do a little adjustment in a couple of spots, but it should be relatively minor. This blurry picture really doesn’t capture how nice this looks.
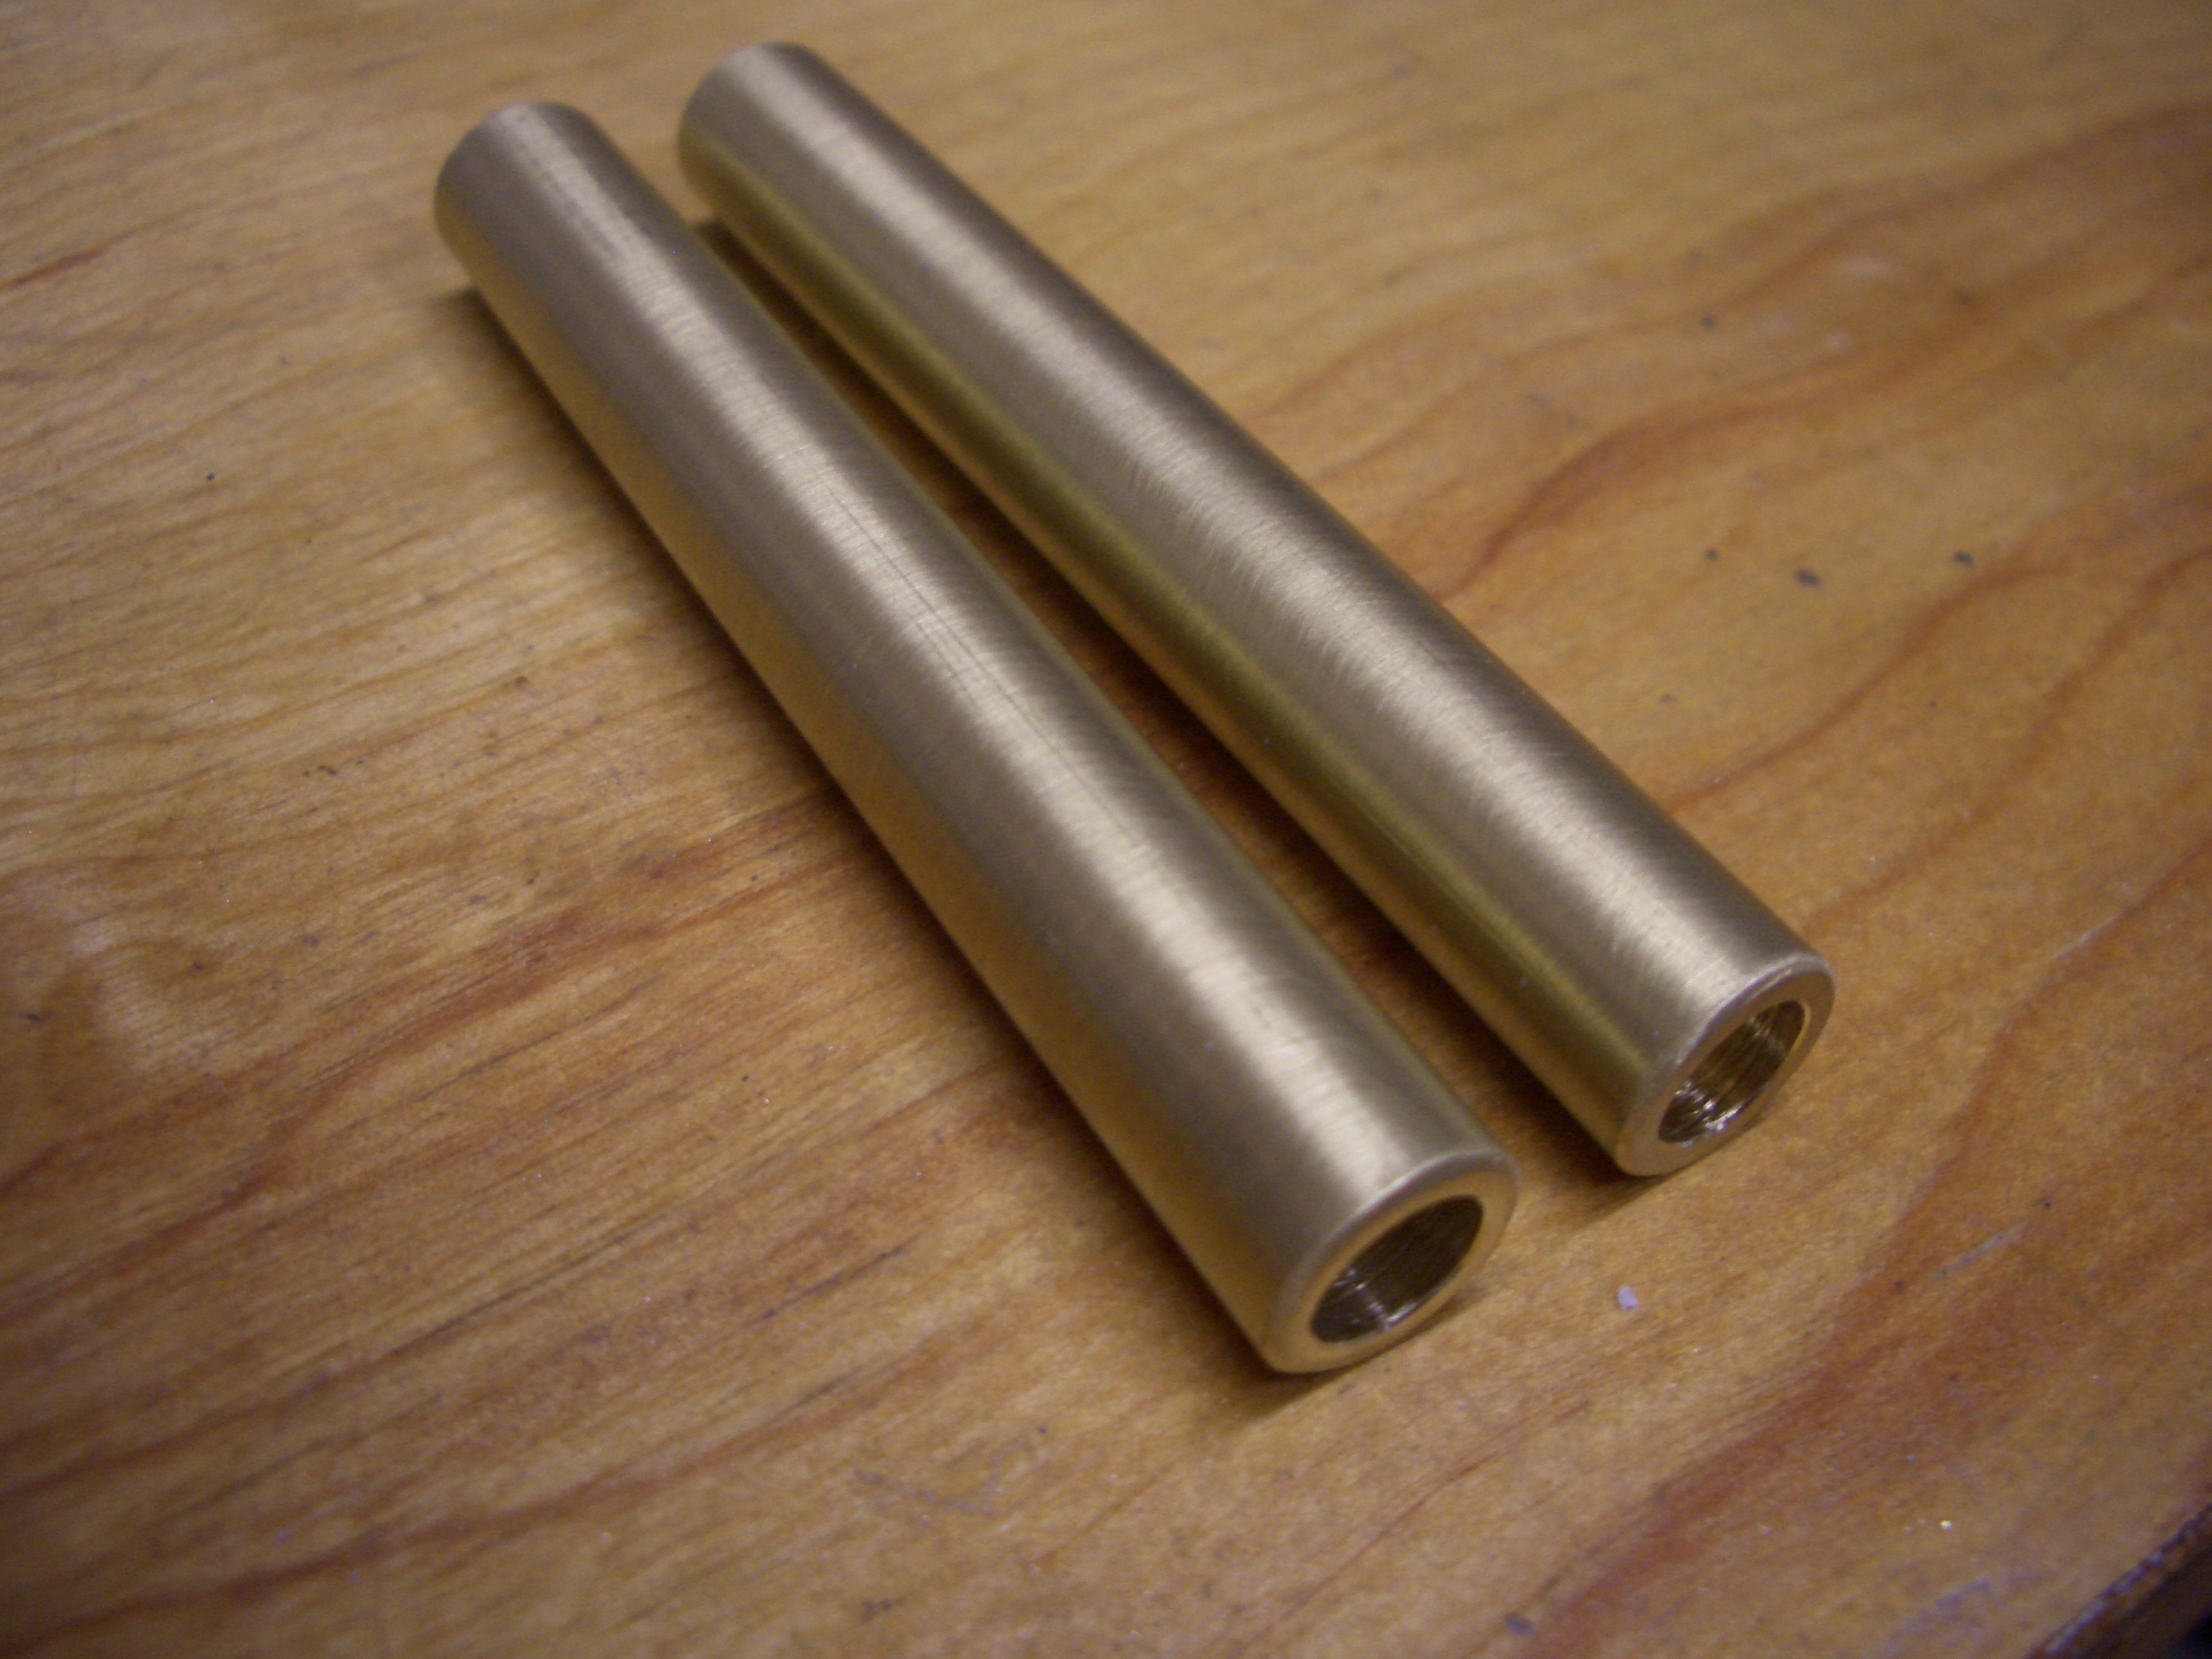
I’m ready to rivet the leading edges on, but since I don’t have a riveting partner right now, I got started on a few other tasks that need to happen on the wings. I got started fabricating the aileron bellcrank bushings. These are brass tubes that have to be reamed out to 1/4″ for an AN4 bolt and trimmed to a very precise length (basically about 0.015″ to 0.030″ longer than the bellcrank). I did this by chucking them into my drill press and pressing them down onto a file. This slowly filed off the ends until they were the correct length. I also polished the outside with a scotchbrite pad while I had them running on the drill press.
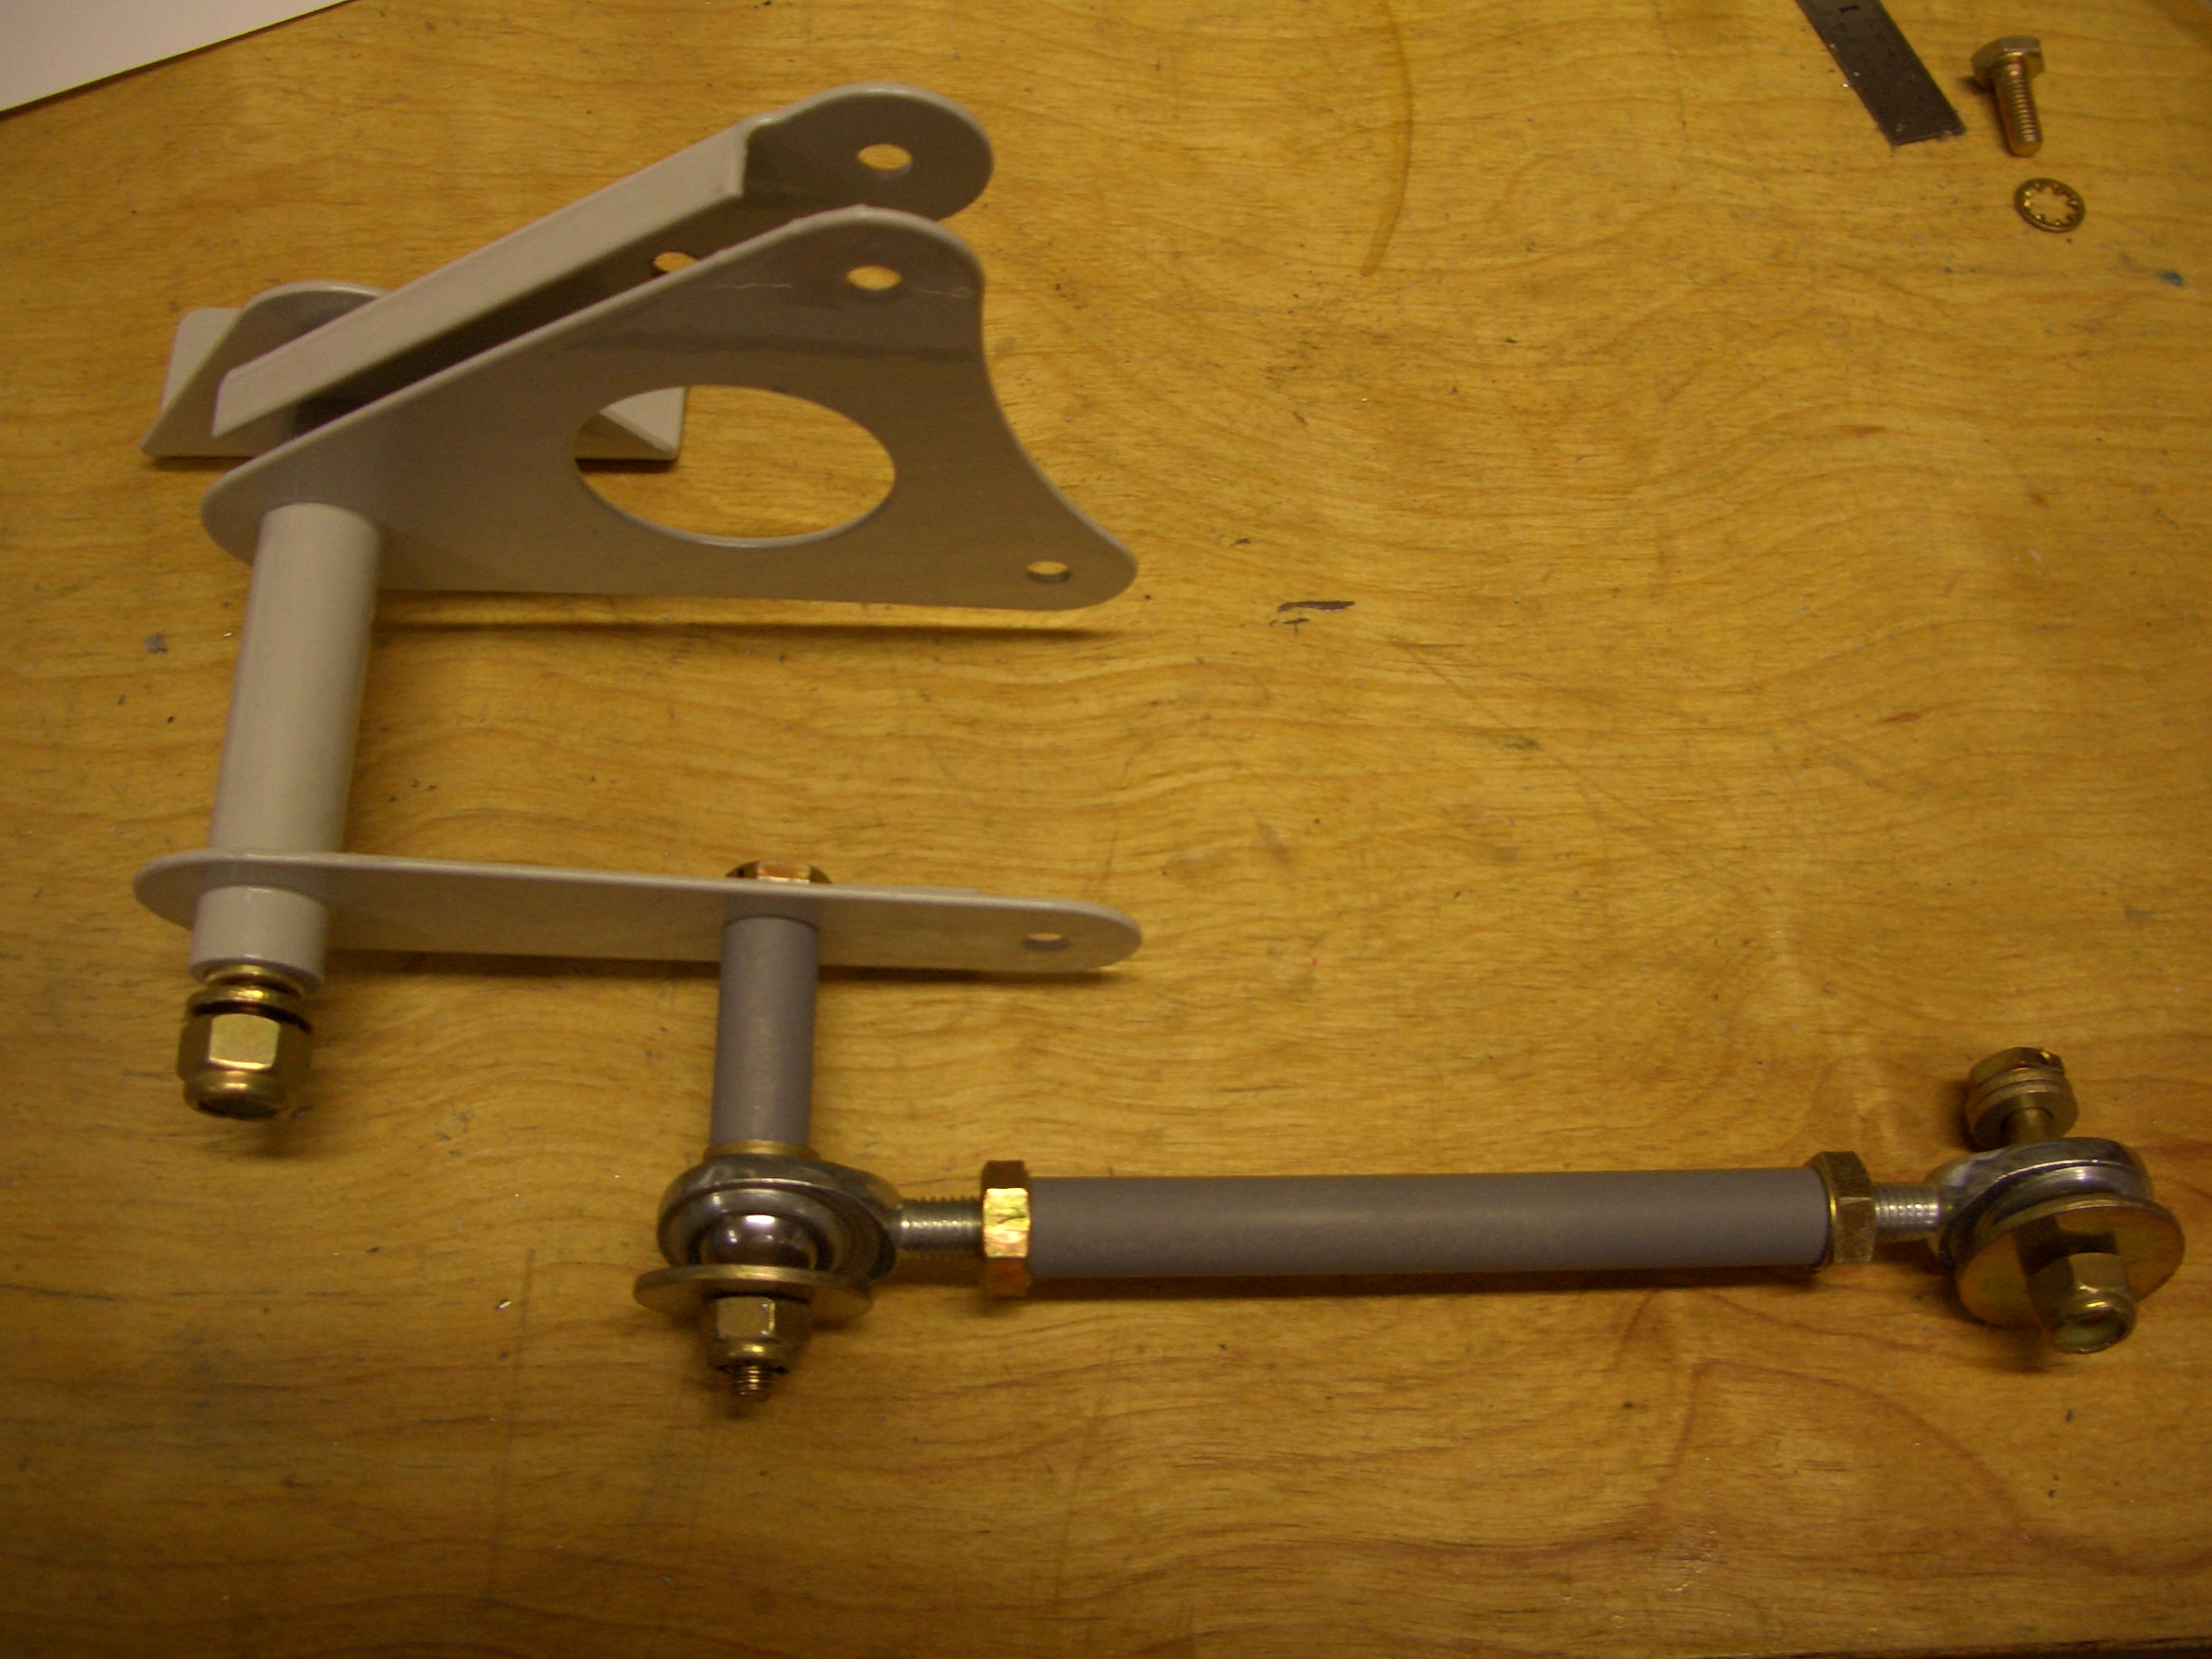
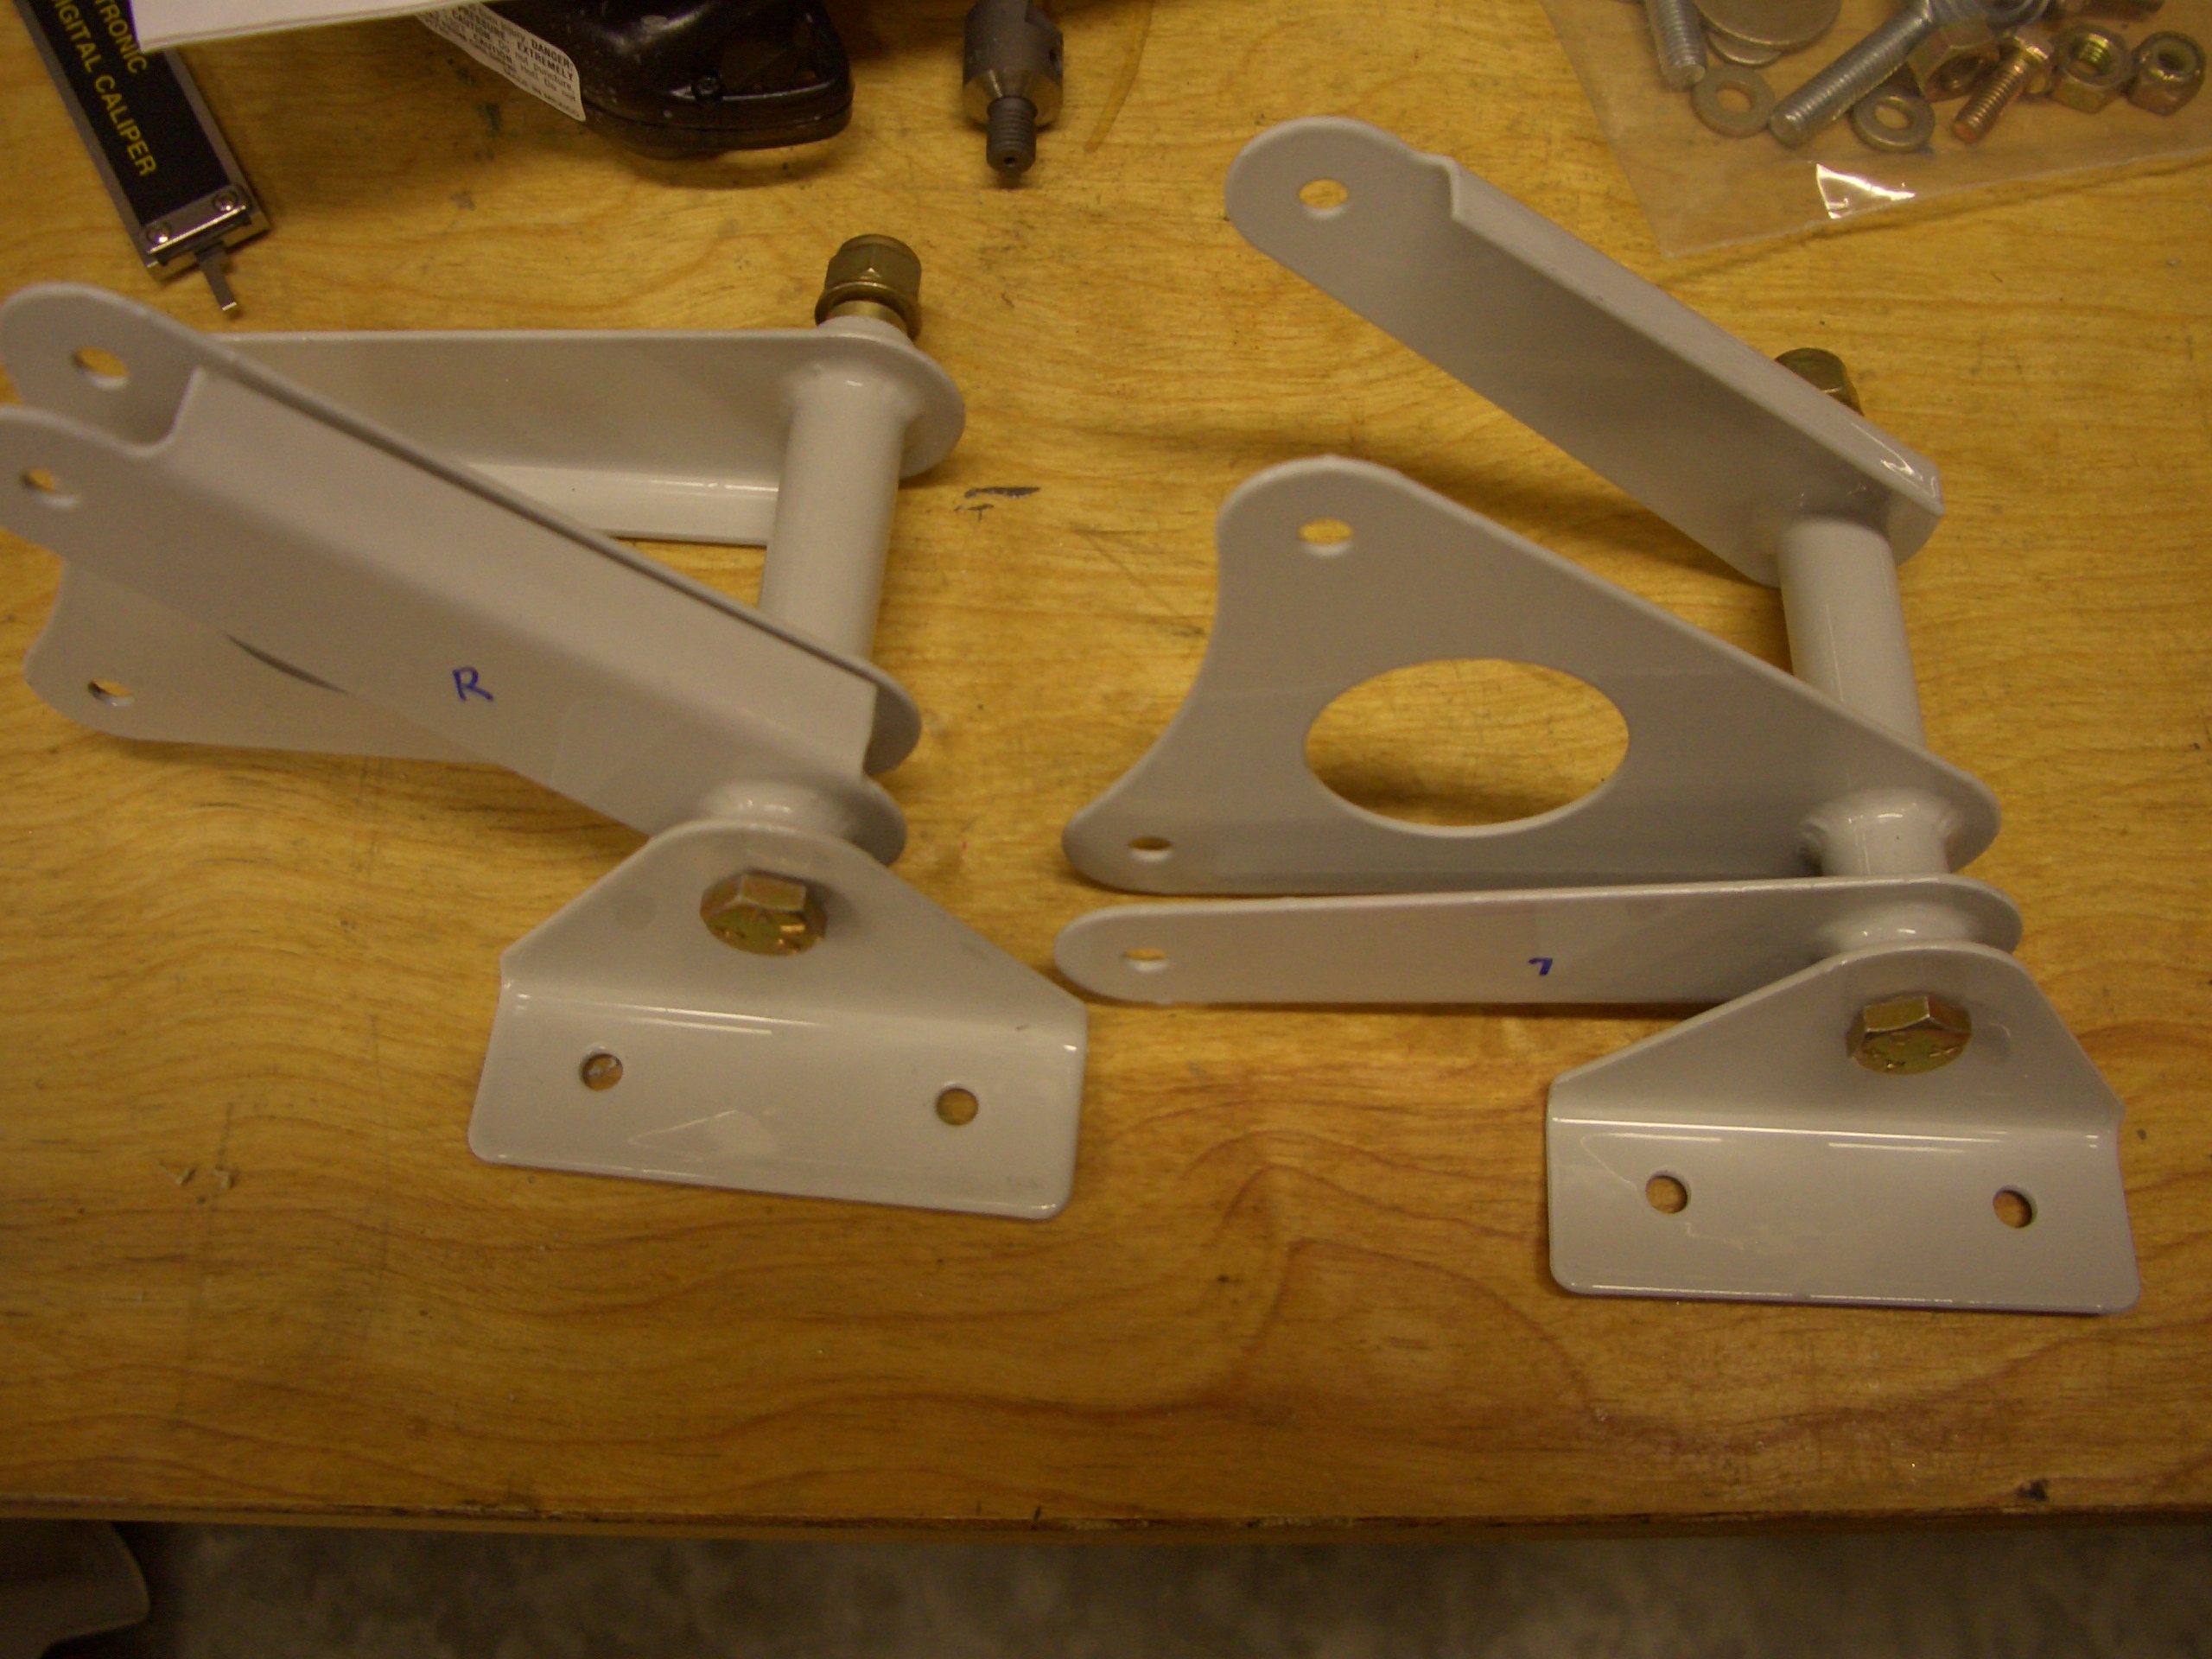
Here is how the bushing fits in the bellcrank. The bushing is clamped between two brackets mounted to the spar and doesn’t rotate. The bearing surface is between the outside of the bushing and the inside of the tube on the bellcrank. A layer of grease keeps everything moving smoothly. The bushing has to be slightly longer than the bellcrank tube to prevent the brackets from causing the bellcrank to bind.
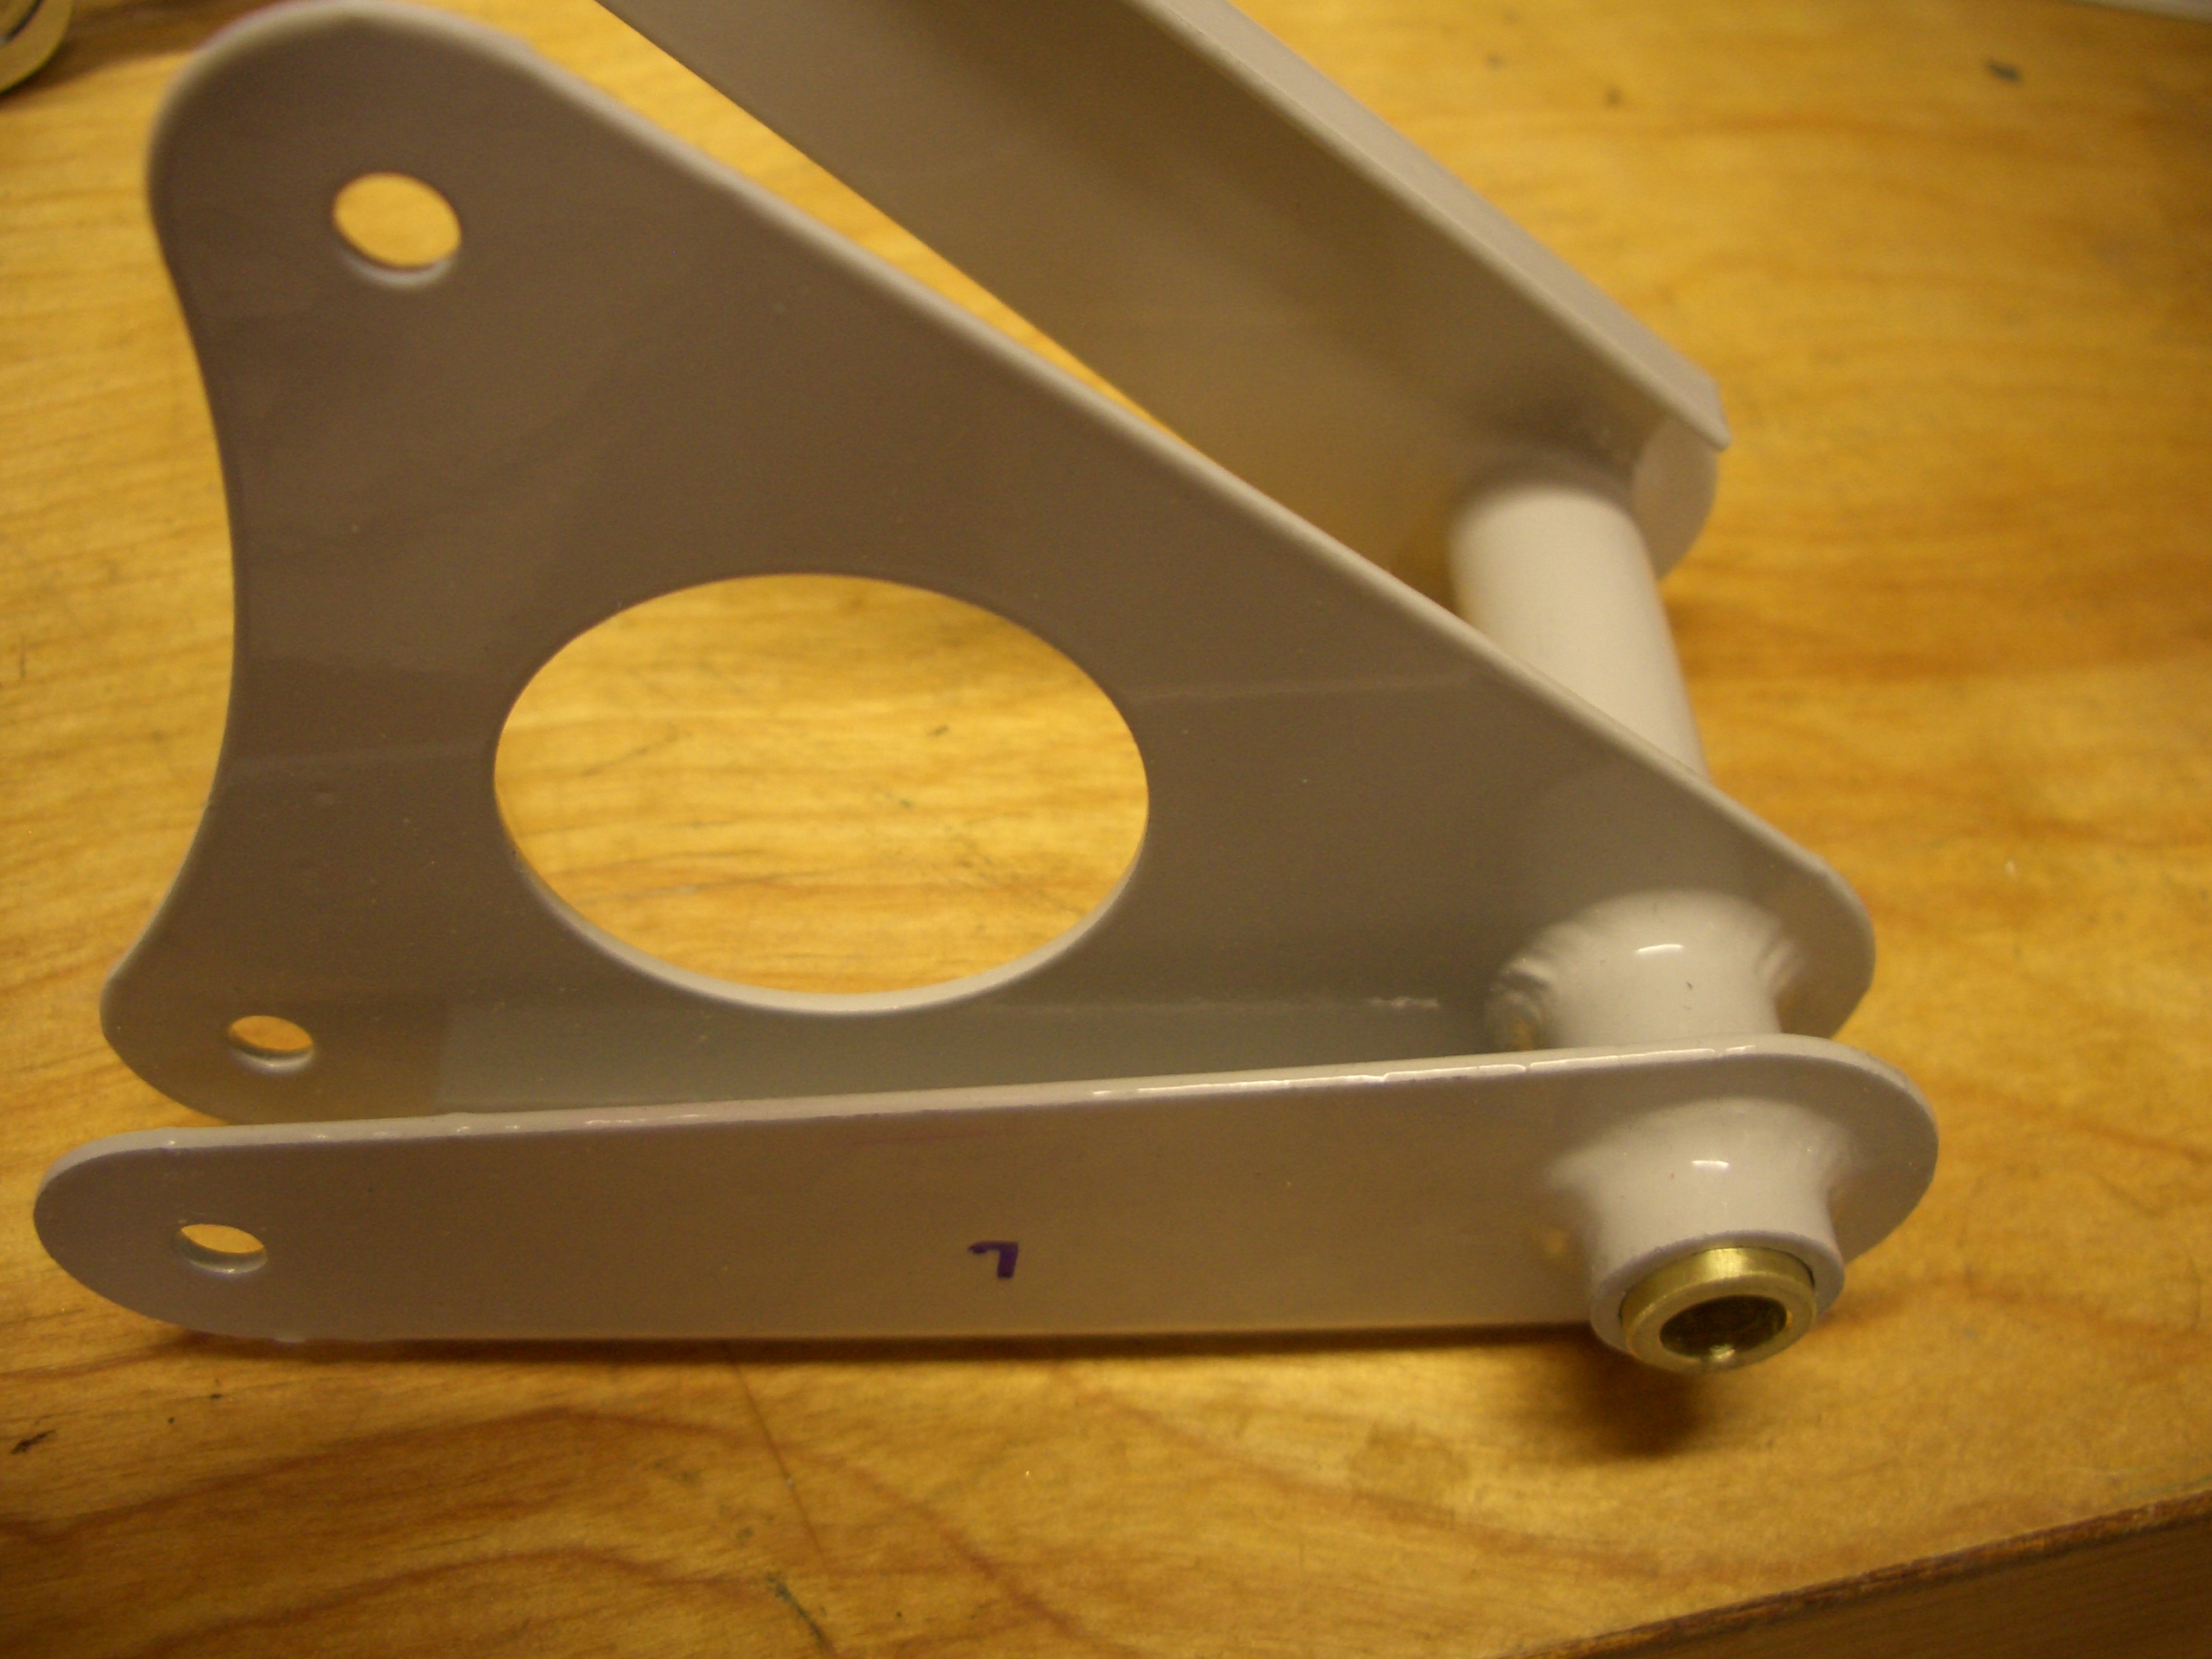
Here are two of the brackets loosely bolted to the bellcranks. These can’t be permanently installed yet because I don’t have the appropriate grease to install these with. The other brackets are already installed on the wing and torqued.
I also fabricated the pushrod that the autopilot roll servo will use to drive the aileron bellcrank.
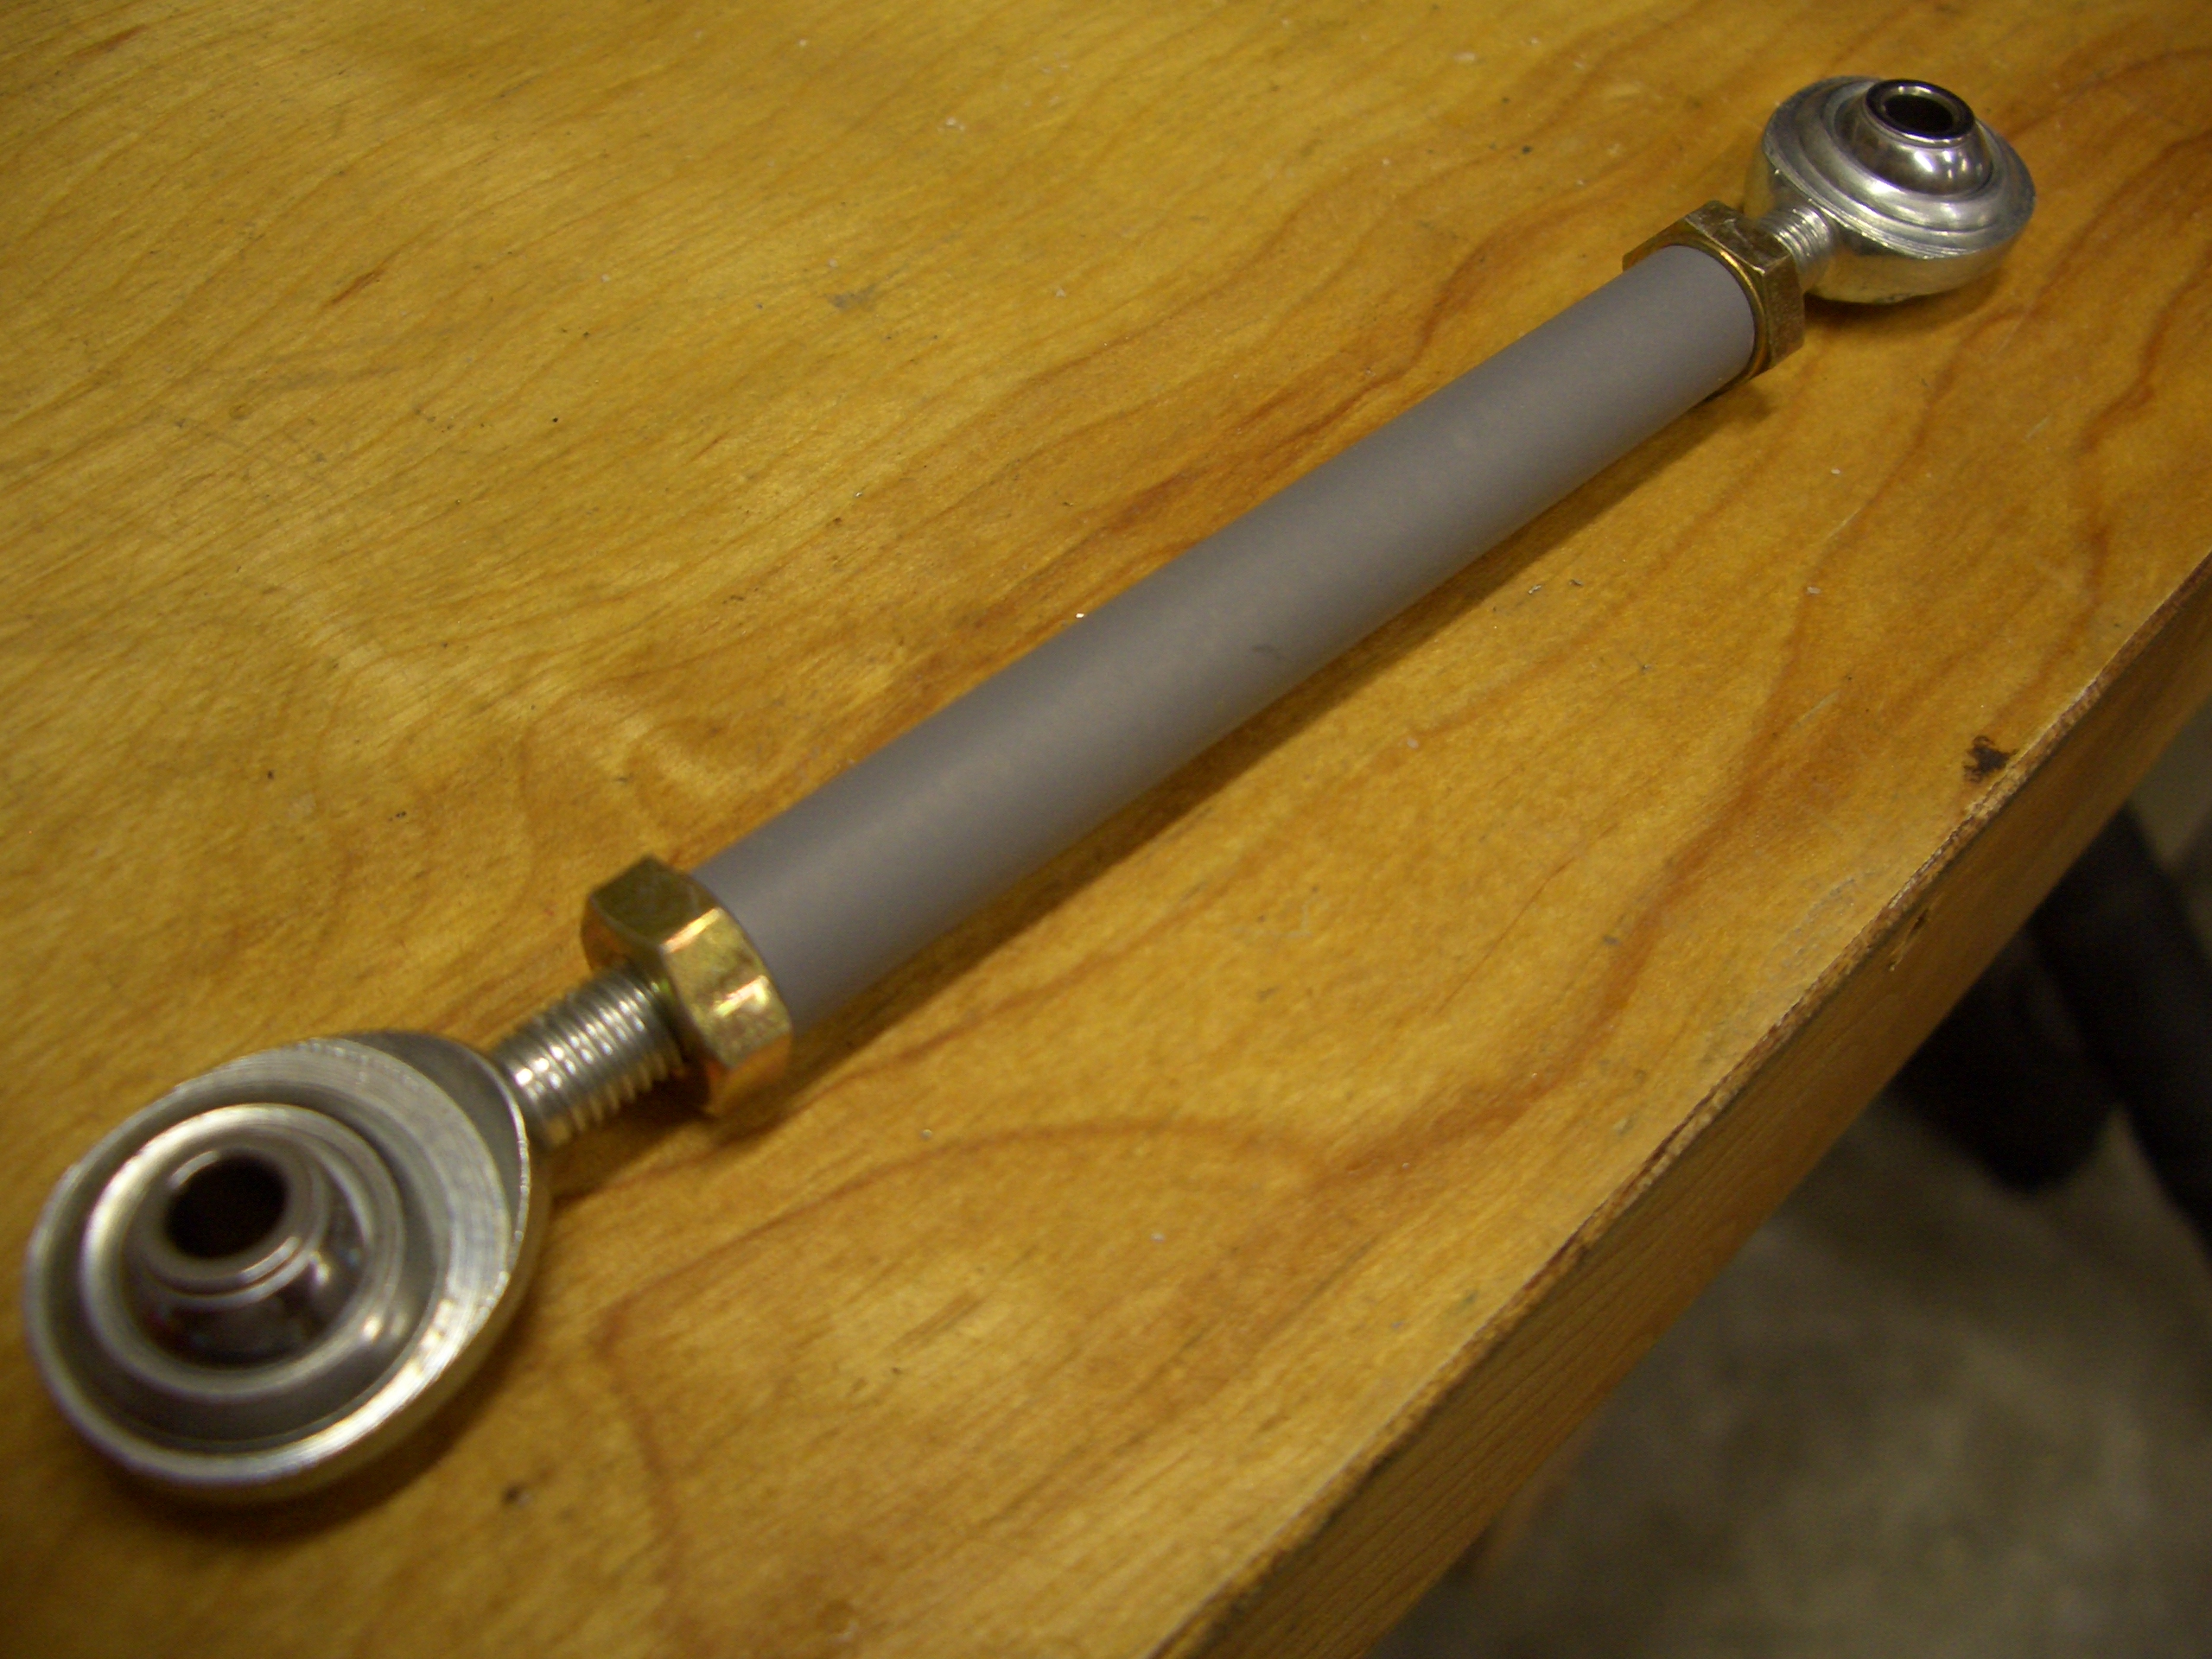
Here is how the pushrod attaches to the bellcrank. When I get the roll servo, all of this can be installed in the wing permanently.