Misc Engine Tasks

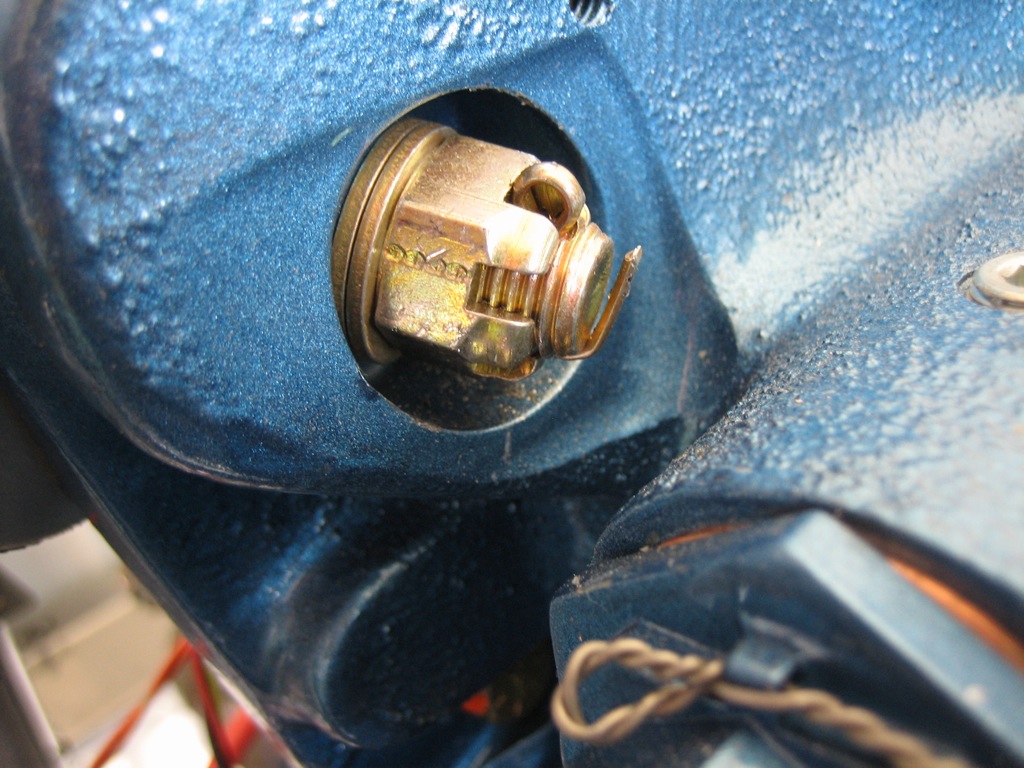
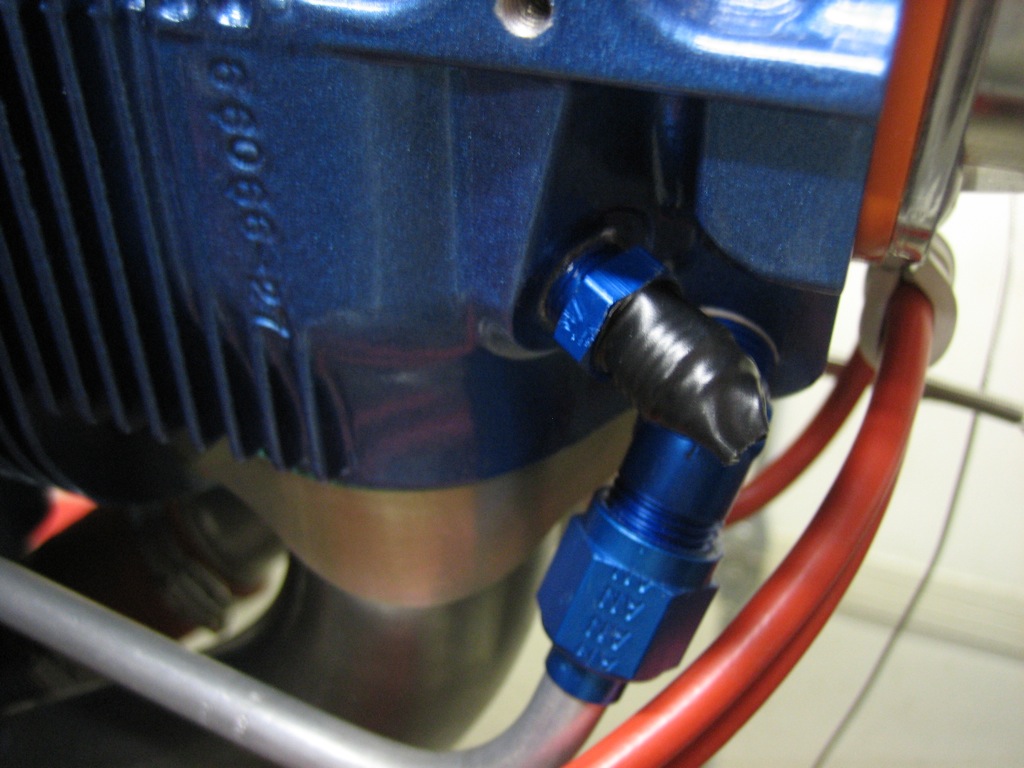
I received another order from Aircraft Spruce today with this AN816-4D fitting that is used to tie the manifold pressure line into the #3 cylinder.  The end is taped off with electrical tape to keep moisture out of the cylinder until the manifold pressure line is installed.

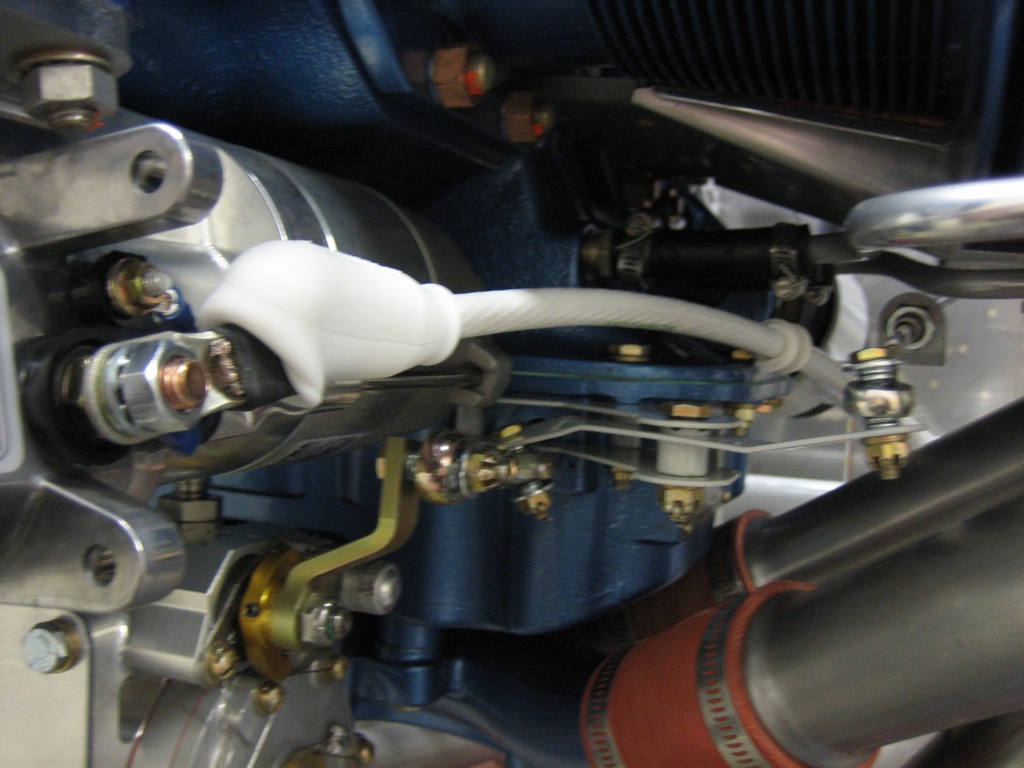
The order also contained some all-metal lock nuts, so I used a few to install some adel clamps on the starter cable wire.  In this picture you can see an adel clamp holding the wire to the oil pan just above and behind the mixture bellcrank.  After that, the line drops down…

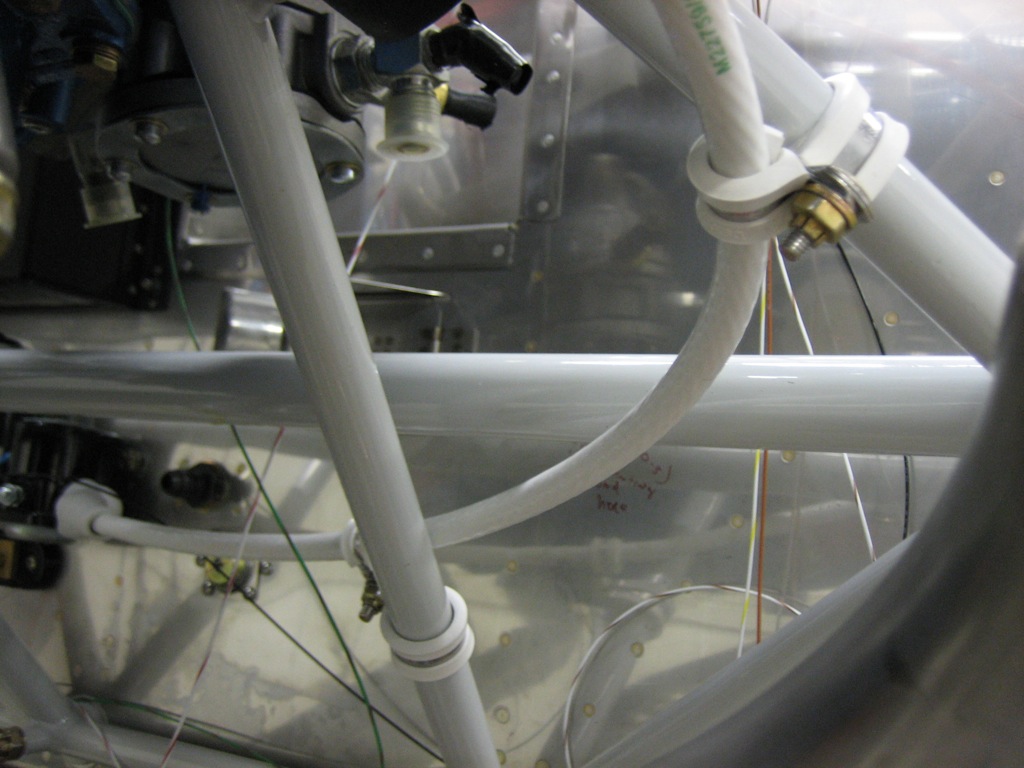
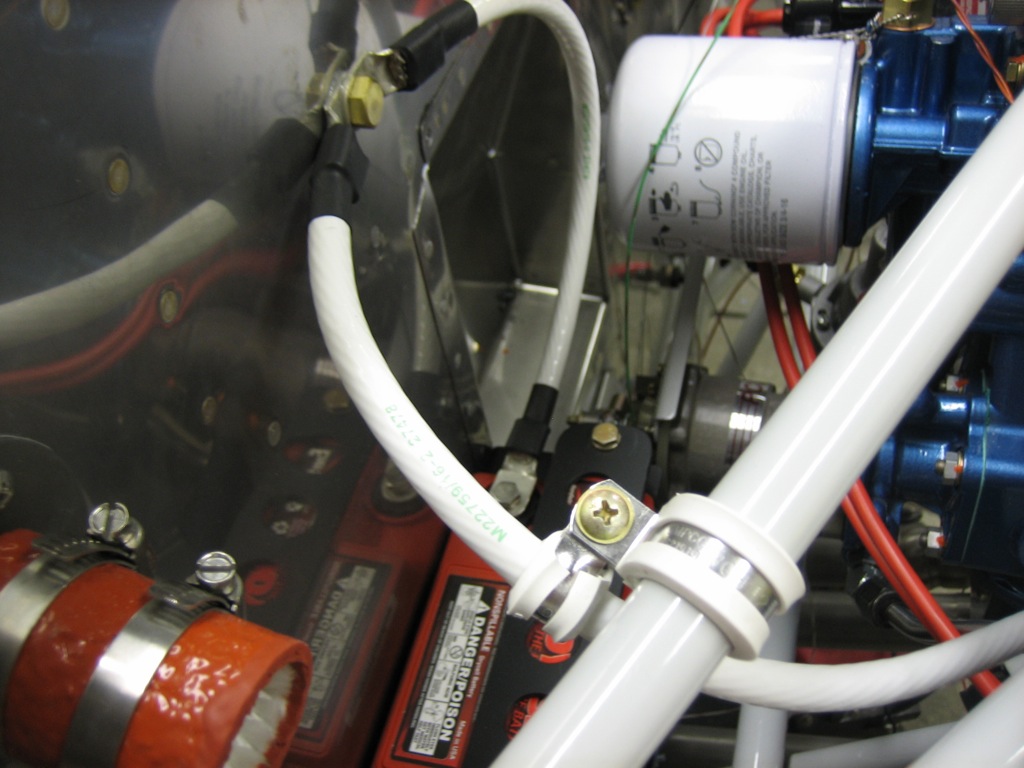
…and run through these adel clamps on its way to the starter solenoid.  After everything was tightened down, I removed the terminal from the starter so that I wouldn’t inadvertently turn over the engine during future wiring.  It will probably not be reinstalled until just before first engine start.

Finally, I clamped the engine ground wire where it passes by the upper engine mount tube.  This was a fairly long wire (read heavy under high g loads), so I didn’t want it to be entirely supported by the terminals on the end.

Installed Hoses from Bonaco

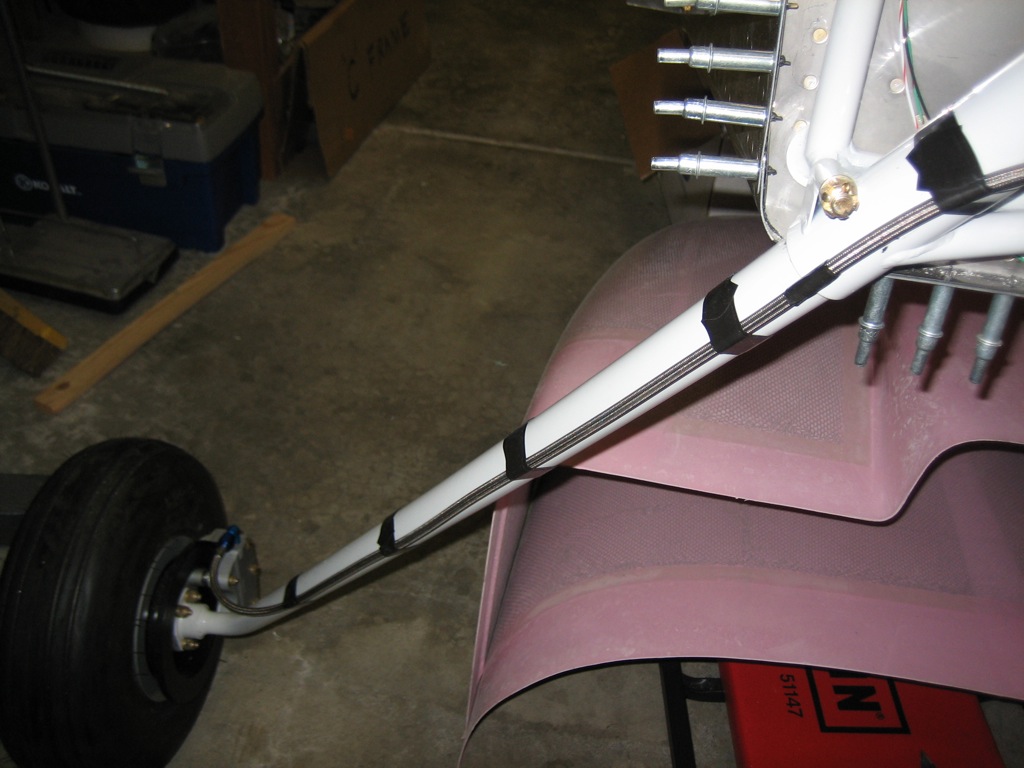
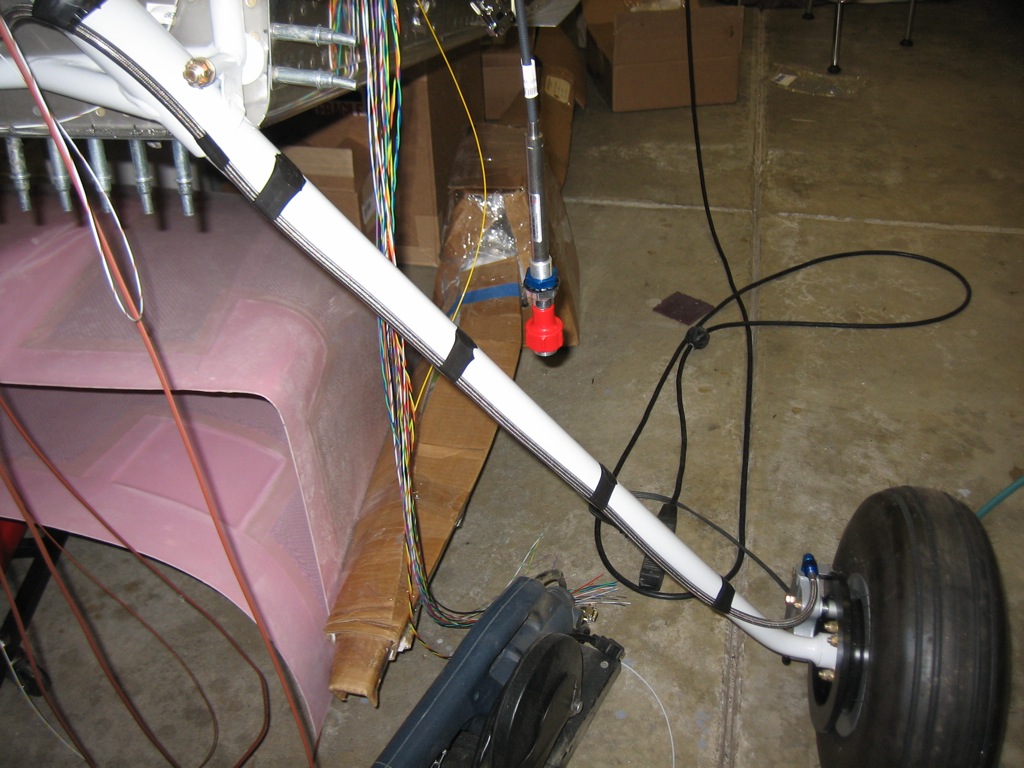
Sorry there were no updates for awhile.  I flew the family down to Carlsbad, CA to take the kids to Legoland.  It’s a fairly quick 3 hour flight from NorCal, and included a night IFR arrival, so that was fun.  We got back yesterday, but I was dead tired so I didn’t work on the plane.  My order from Bonaco did arrive while we were gone though, so I got started tonight by fitting the hoses.  Here is the right brake line.  I used strips of silicone tape (which only sticks to itself) to attach it to the gear leg.  I also used a tiny strip where the line crosses the joint between the gear leg and the engine mount to prevent wear on the line.

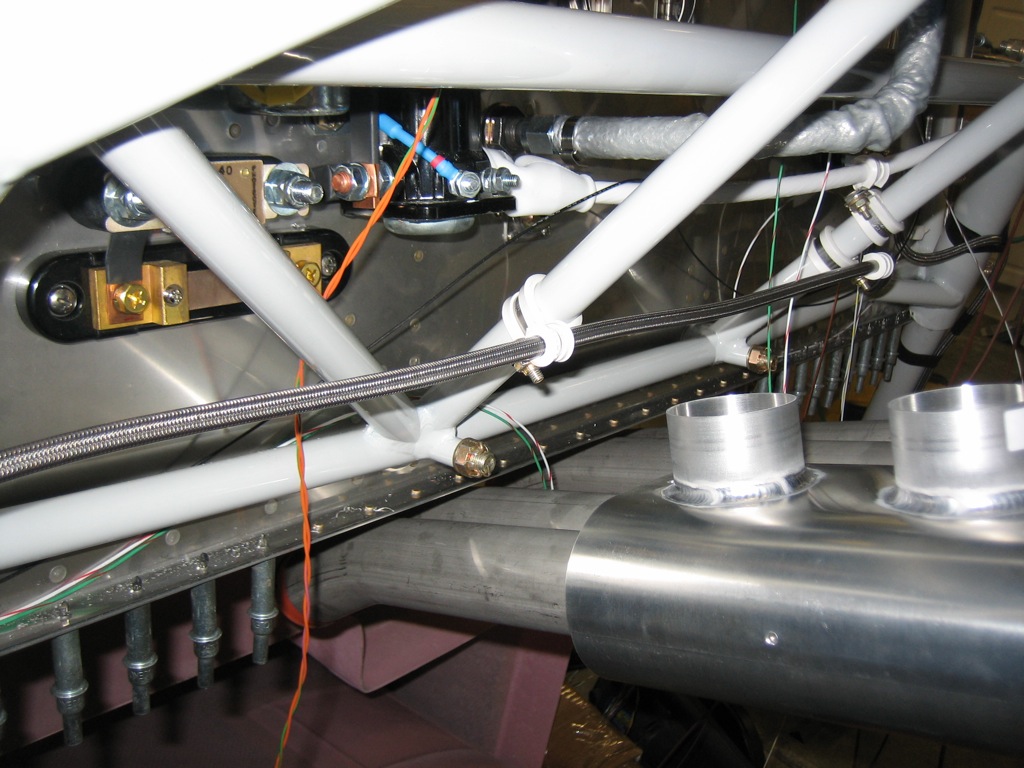
The line then runs straight across the fuselage and is attached to the two center engine mount tubes using some adel clamps.  I fit the cabin heat muff temporarily to ensure that the output tube wouldn’t interfere with the right brake line.

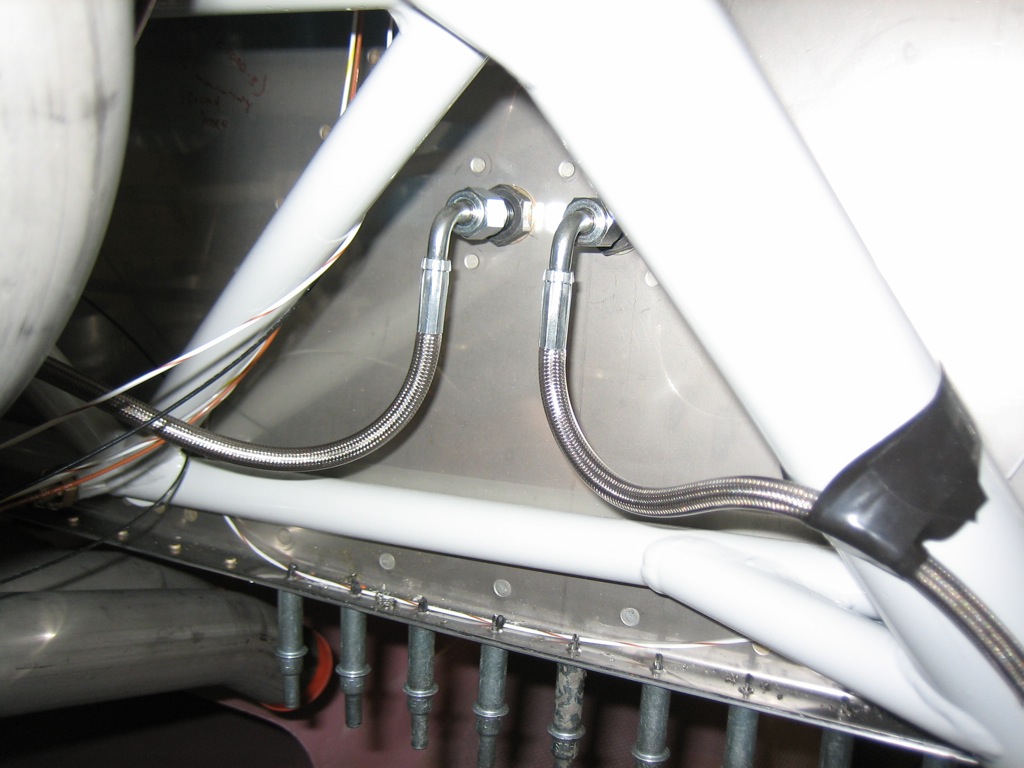
Here is where both left and right brake lines attach to the firewall penetrations.

Here’s the left brake line for comparison.  Notice that the line doesn’t need a big loop near the bottom for strain relief as the plans specify since we’re using flexible line.  There’s only enough slack at the bottom to allow the brake caliper to slide off the pins.

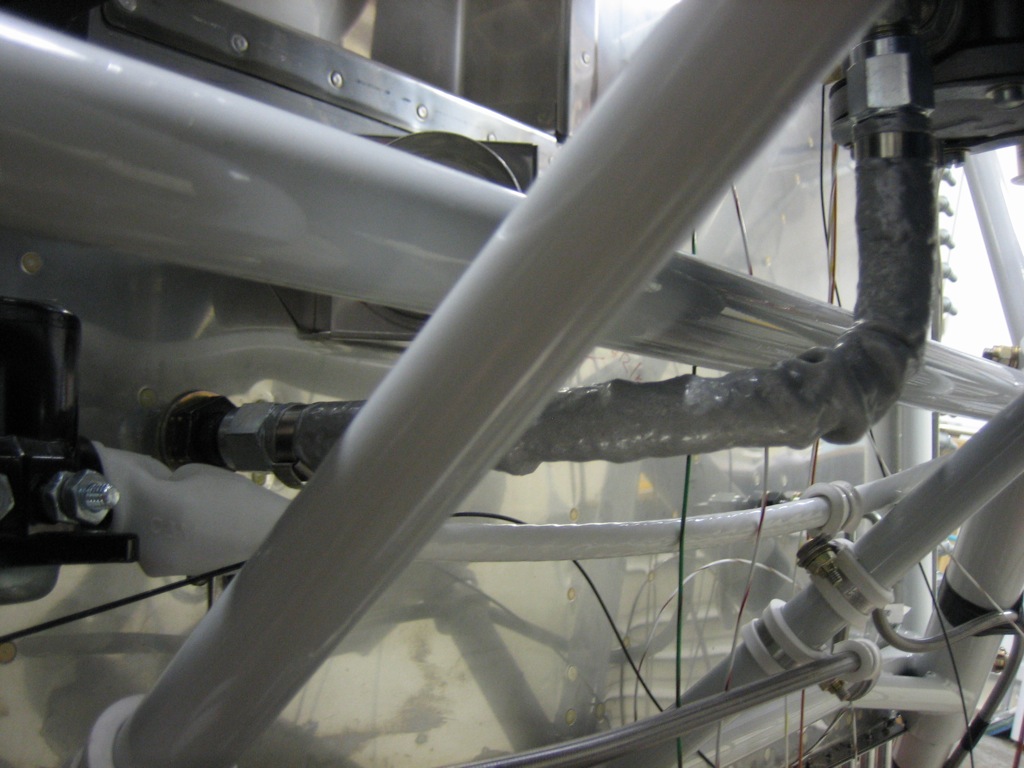
I also installed the 3/8″ fire-sleeved fuel line from the firewall penetration to the mechanical fuel pump.  This looks like the line bends rather sharply upward, but in reality it bends away from the camera before turning upward, so the curve is rather gentle.  Torquing these fittings was a pain given how much stuff is in the way.

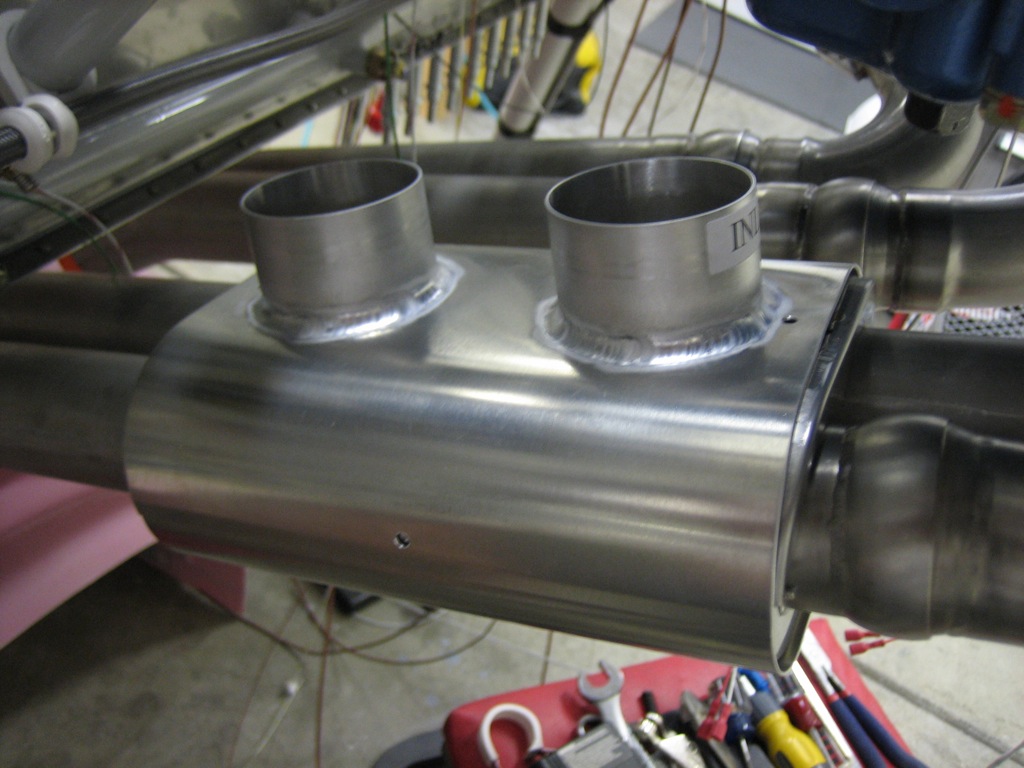
Here’s a better view of the cabin heat muff.  You can see that it captures two pipes for better heat transfer.

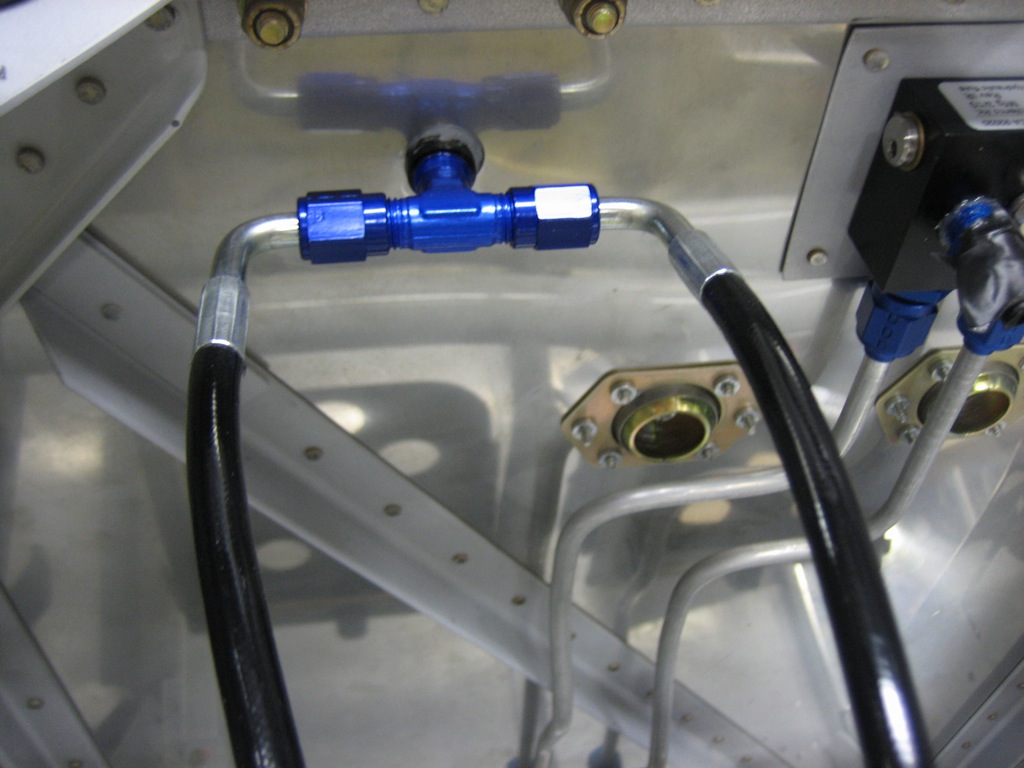
I also installed the tee fitting into the brake fluid reservoir and then installed the brake lines.

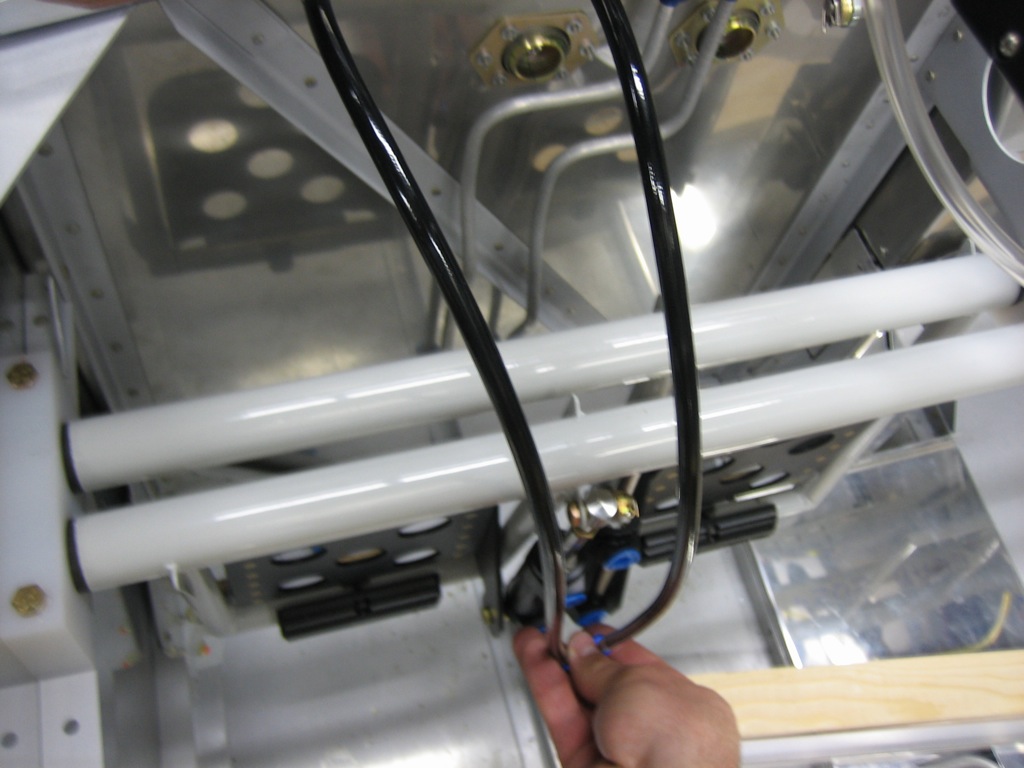
Here is approximately where these lines will be routed.  These are 3/16″ stainless steel braided teflon lines with a black sheath over them to match the other all black brake components.  I have some AN822-3D fittings on order that will be used to attach these lines to the master cylinders.

Torqued Engine Attach Bolts

I’ve been deburring and countersinking pieces of the cabin frame, but this is boring and not worth pictures.  I did decide I’d go ahead and torque and cotter pin the engine attach bolts for some reason today.  You can’t get a torque wrench on these, but Van’s instructions are basically to tighten these down firmly against the internal spacer in the mount.  You can feel when these bottom out against the spacer.  I then tightened them slightly more to align the cotter pin slots.  Getting the cotter pins installed in the top two bolts was fairly trivial.  The bottom two were kind of a pain with everything in the way.  Do yourself a favor and install the cotter pins as soon as you hang the engine and not after the exhaust, control brackets, wires, etc. are in the way.

Started Baffling

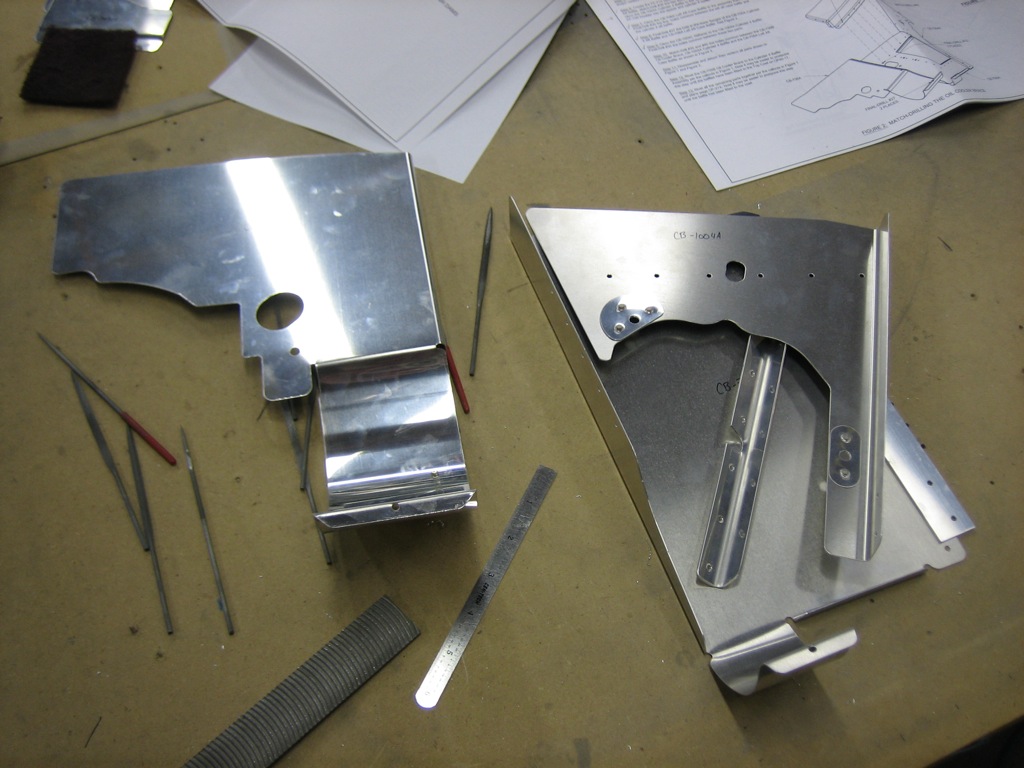
My buddy John Soward from KY was in town over the weekend, so we spent a little time working on the plane.  The canopy wasn’t a very good project for two people to work on, so instead we started on the engine baffling.  These are a few of the many pieces that form the baffles that fit on the engine to direct cooling air down through the cylinders.  We basically only made it through the first couple of pages of plans.  It’s easy to see that the baffles will be quite time-consuming.  There are lots of pieces to fit together and tons of nooks and crannies to debur.

Received More Hoses From Bonaco

Wow, over two weeks since I’ve touched the project.  I’ve been out of town for most of that time on various trips as well as planning for our imminent bathroom remodel.  I did get some flying in though; my dad and I flew my Cardinal down to TX for a funeral.  Roughly 24 hours of flying over two days; fun, but very exhausting.

I received another shipment of hoses from Bonaco today.  I haven’t written anything about my experiences with them, but I’ve had no end of trouble getting correct hoses from them.  Brett has always been great to work with and has always corrected any problems, but I’m simply astonished at the number of problems I’ve encountered.  Not a single order has come in correct the first time, and one hose took three tries for them to make it correctly.  Brett offered the most recent batch of hoses for free in an attempt to make up for all of the problems, but even this order had problems.

First up is the manifold pressure hose.  This was supposed to have aluminum fittings, but as you can see, they messed up and installed steel fittings.  I installed it anyway to see if the length and routing is acceptable.  It’s a little long, so I may order a replacement that fits better and has aluminum fittings.
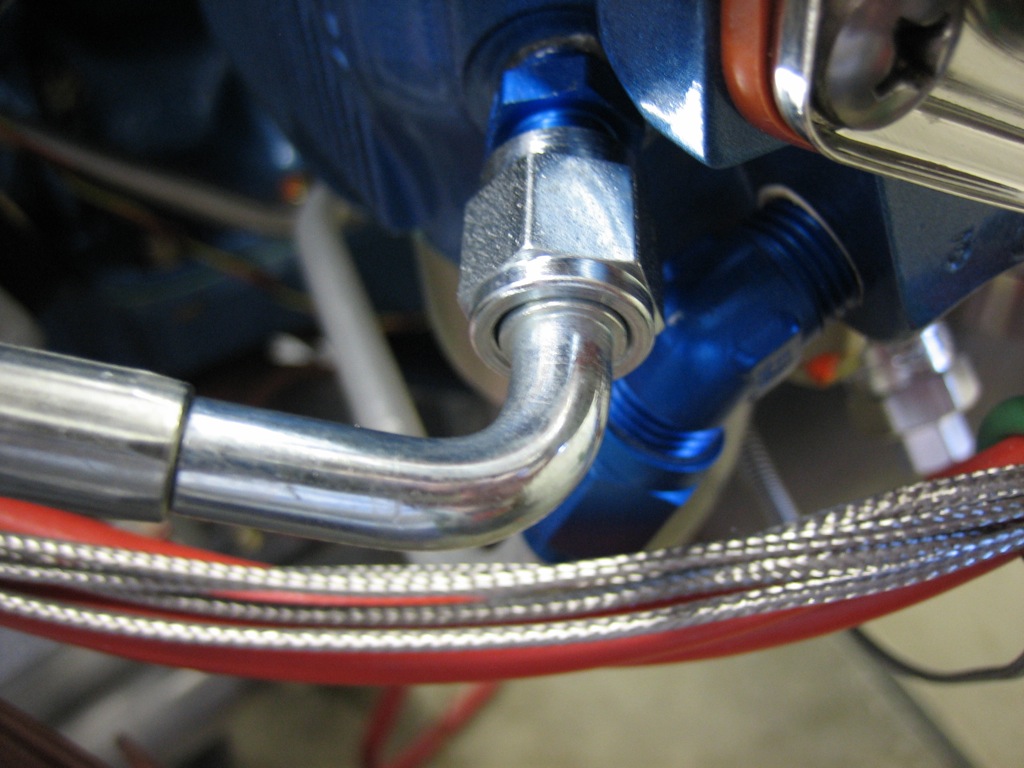
I also received the oil pressure hose.  This screws into a restrictor fitting on the accessory case and connects to the pressure transducer manifold.
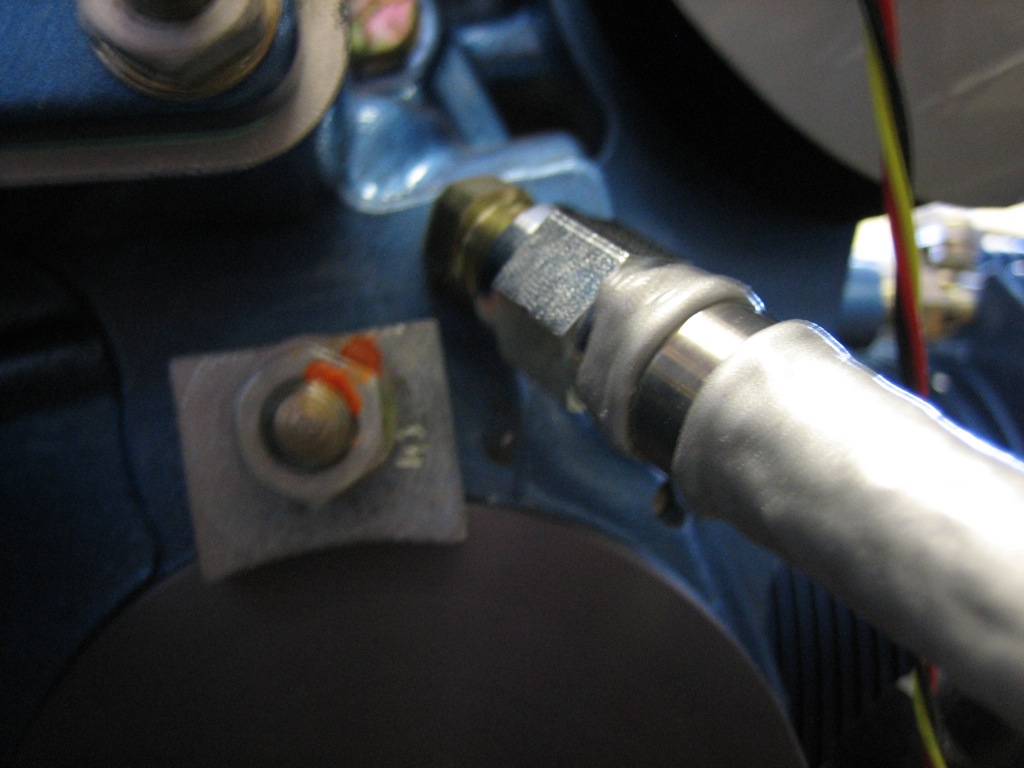
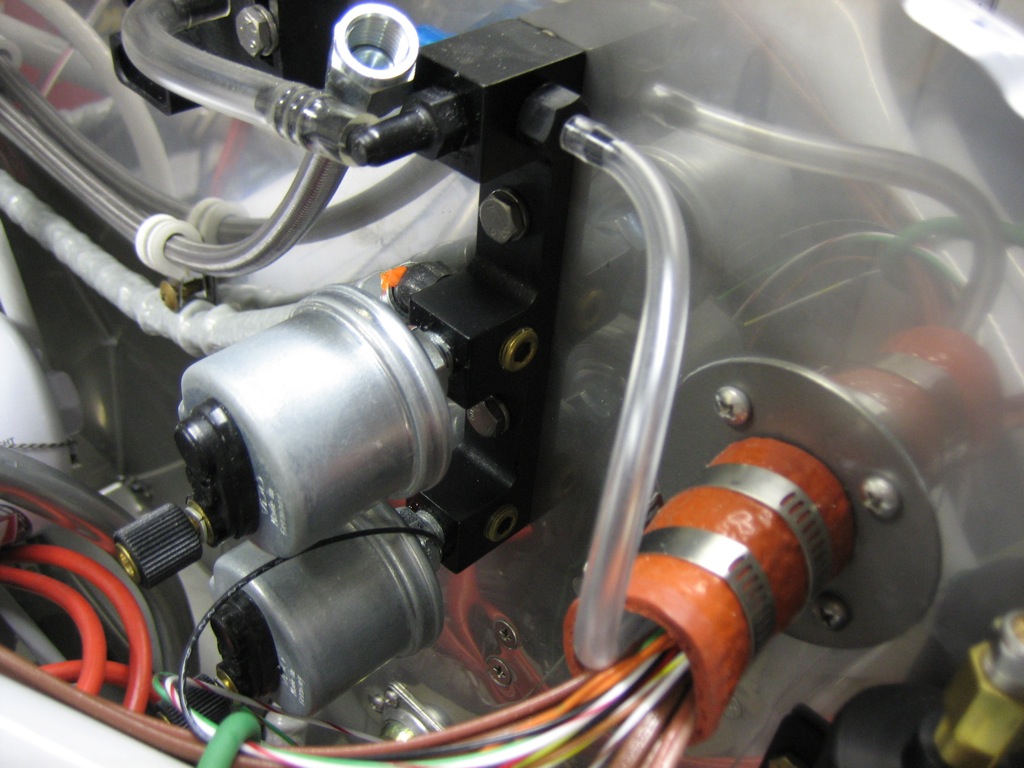
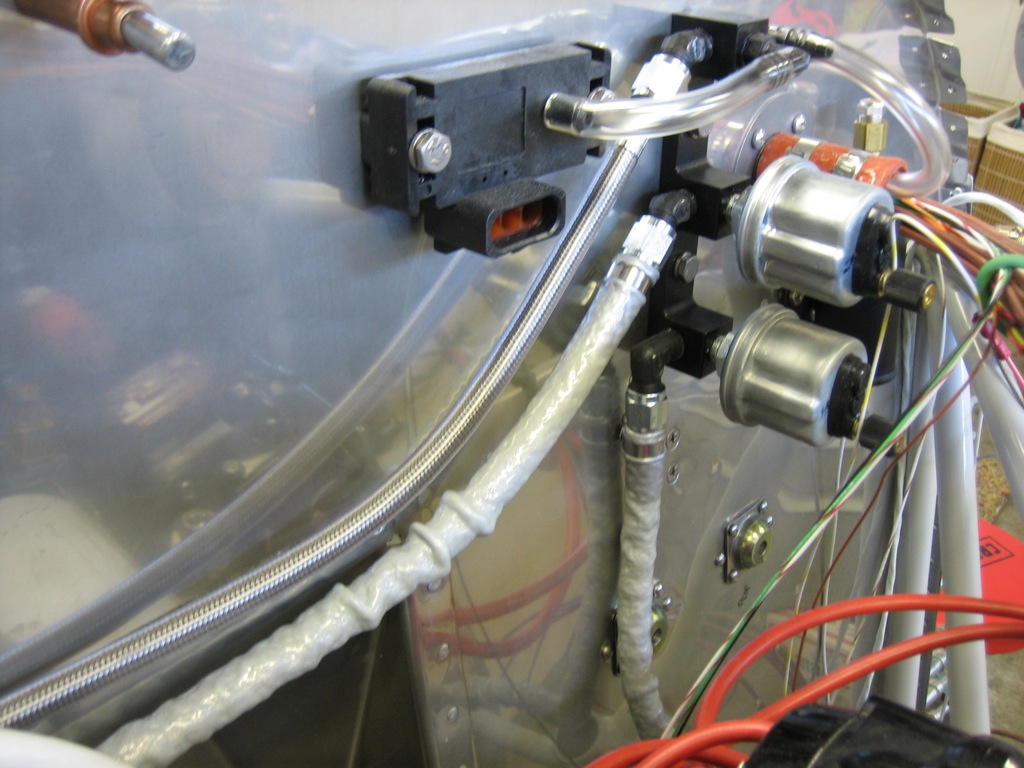
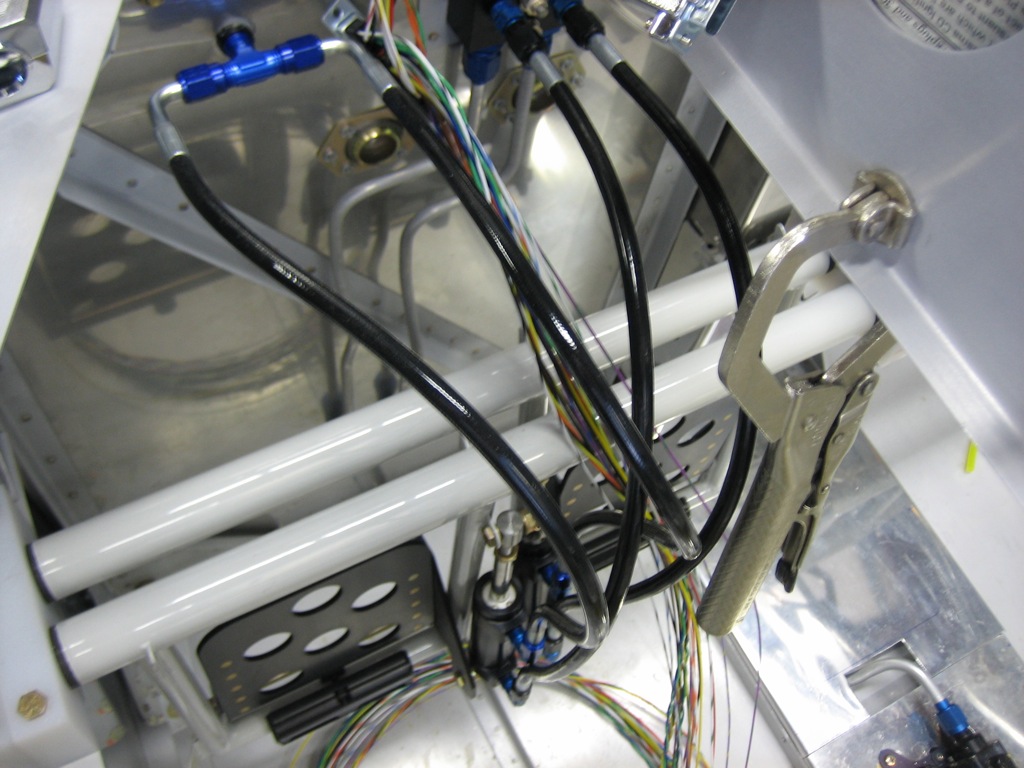
Here are where these hoses connect to the manifold.  The top line (without the firesleeve) is the manifold pressure hose.  The middle hose is the oil pressure line.  The bottom line which goes straight down is the fuel pressure hose.
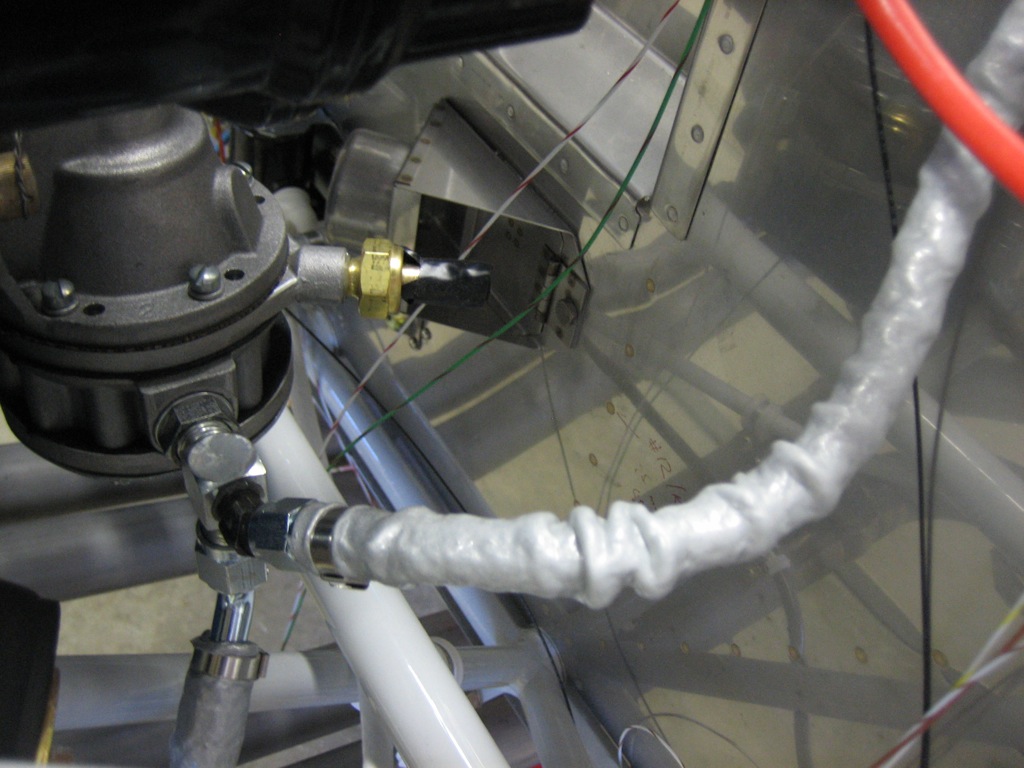
Here’s the other end of the fuel pressure line.  The angle fitting needs to be replaced with a restrictor fitting, but I’ll wait until I have a few more things to order before ordering that.
I also received the final two brake lines.  These were also not made correctly; I ordered these with blue fittings, but they came in black.  I may swap out the other ones for black fittings and re-anodize the fittings that thread into the master cylinders anyway, so I’m not concerned about this mistake.
Fit Breather Tube

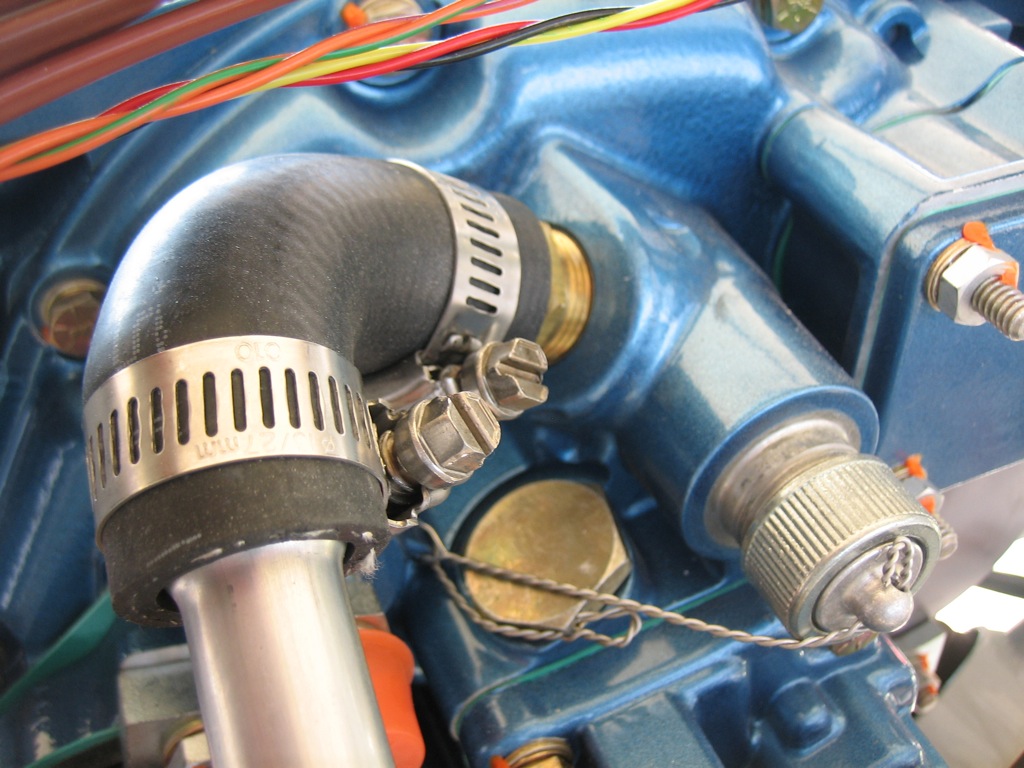
I fit the crankcase breather tube this afternoon.  The tube attaches to a fitting at the top of the accessory case with a piece of rubber tubing.

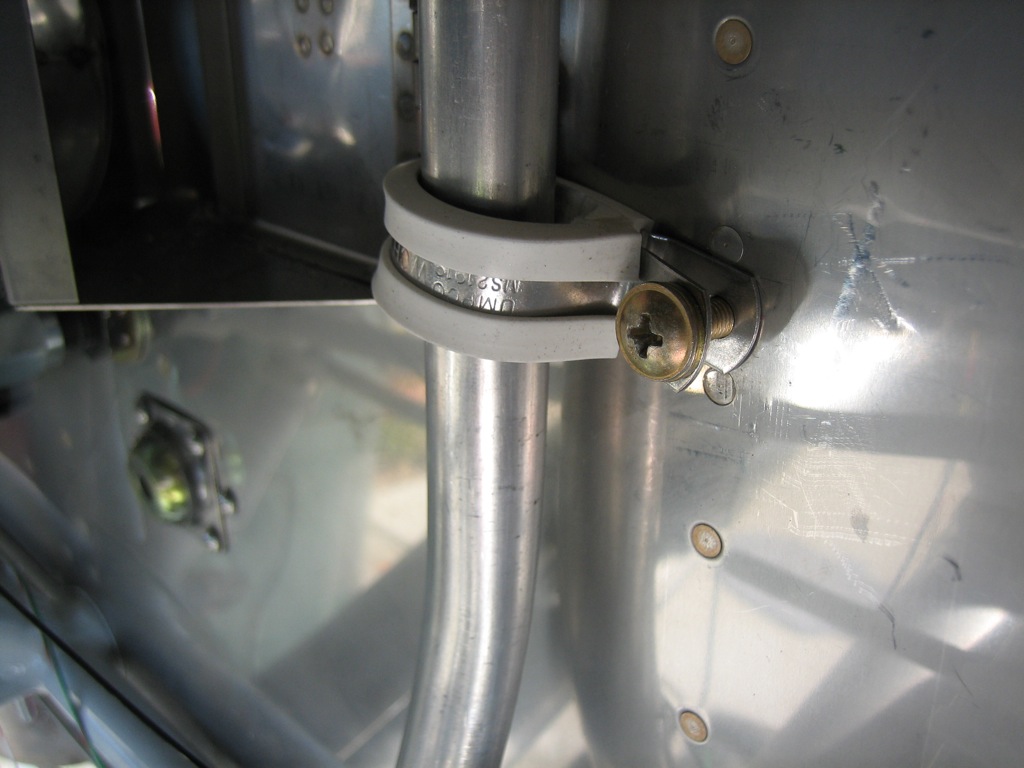
The tubing attaches to the firewall with an adel clamp near the heater box.  I had to drill out one of the rivets and rivet on a nutplate.  This adel clamp is the wrong size, but I don’t have any of the correct size.

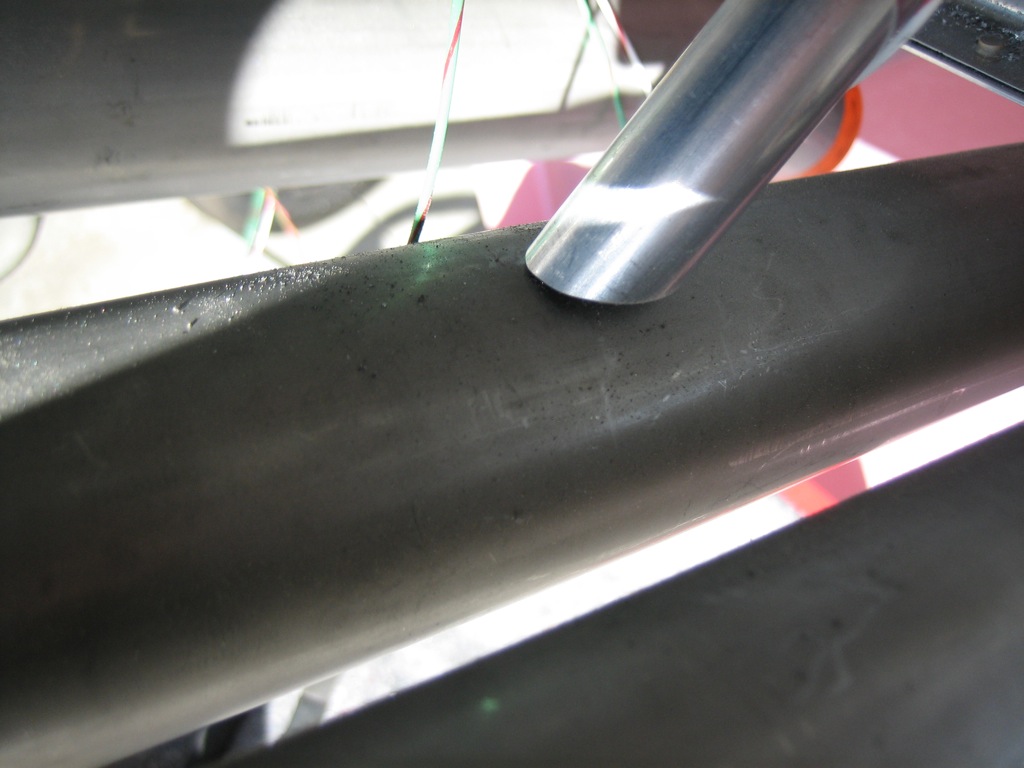
The bottom of the tube is cut so that it’s parallel to one of the exhaust pipes.  I’m not sure if this is too close or not, but I’ll do the final adjustment when I install the exhaust hangers.  This is installed close to the exhaust pipe so that any residue that is vented through the breather will be burned when it hits the exhaust pipe.

Started Assembling Canopy Frame

No pictures tonight, but I clecoed together the canopy frame.  I need to get some help riveting this together, so that won’t happen until later this week or next.

I received a call from Brett at Bonaco today.  He had run across my post where I talked about my overall experiences with them, and wanted to see what he could do to make me happy.  Despite the mistakes with the orders, I’ve always been happy with the quality of the product and their customer service.  I don’t think I’ve ever received a call from another vendor who was actively searching the internet to find out the word of mouth about them; this says a lot about how good their customer service is.  Even though there have been mistakes, I have no reservations about recommending them for hoses for your RV.  If they would do a little better job double checking the orders before sending them out, they would easily have the best overall service I’ve ever had from a vendor.

Changed Manifold Fittings

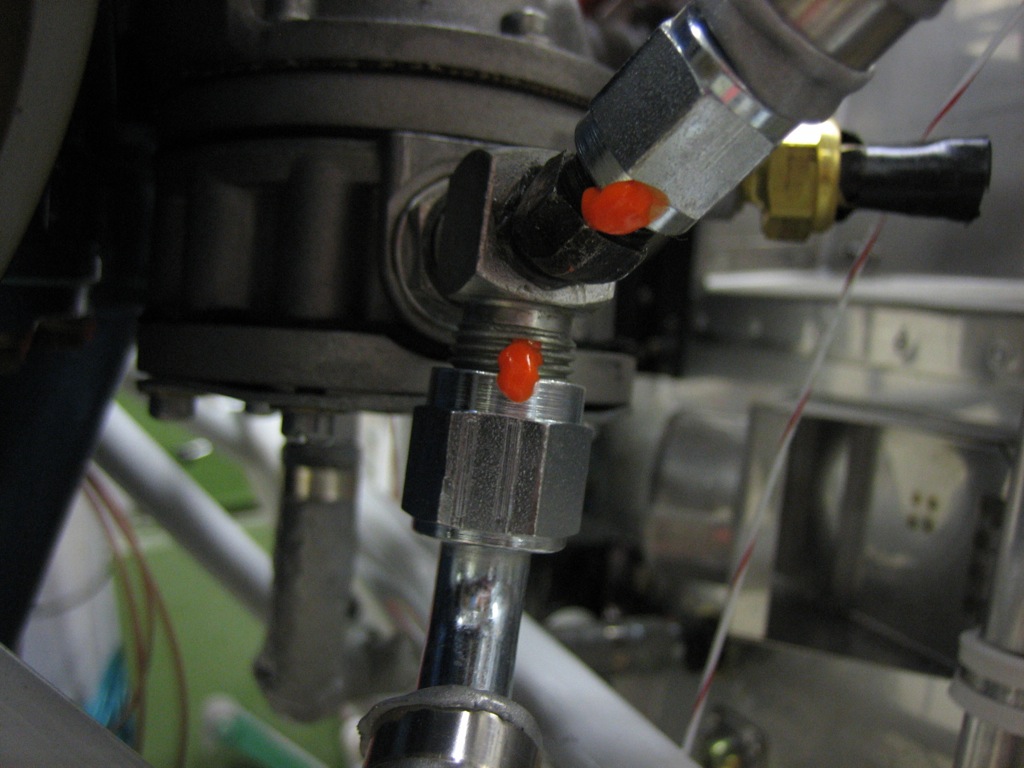
I changed a couple of the manifold fittings.  The fuel pressure sender on the bottom used to have a 90º fitting, but this directed the fuel pressure line directly in front of the mixture cable eyeball below.  I swapped this out for a 45º fitting which directs the hose towards the center of the aircraft.  I also swapped the top 45º steel fitting for a 45º aluminum fitting for the manifold pressure line since that doesn’t need to be steel.  Now that everything is final, I torqued all of the fittings and applied torque seal so that I know they’re done.

Did a Little Firewall Forward Work

Geez, I haven’t worked on the project much lately.  I’ve been busy with other projects, and that’s likely to continue for a couple more months.  Anyway, I managed to squeeze an hour in on the project tonight.  First up, I got an order from McMaster Carr with some smaller Tygon tubing and nylon fittings.  This will allow me to run a continuous 1/8″ piece of tubing from the transducer manifold all the way to the Lightspeed ignition box.

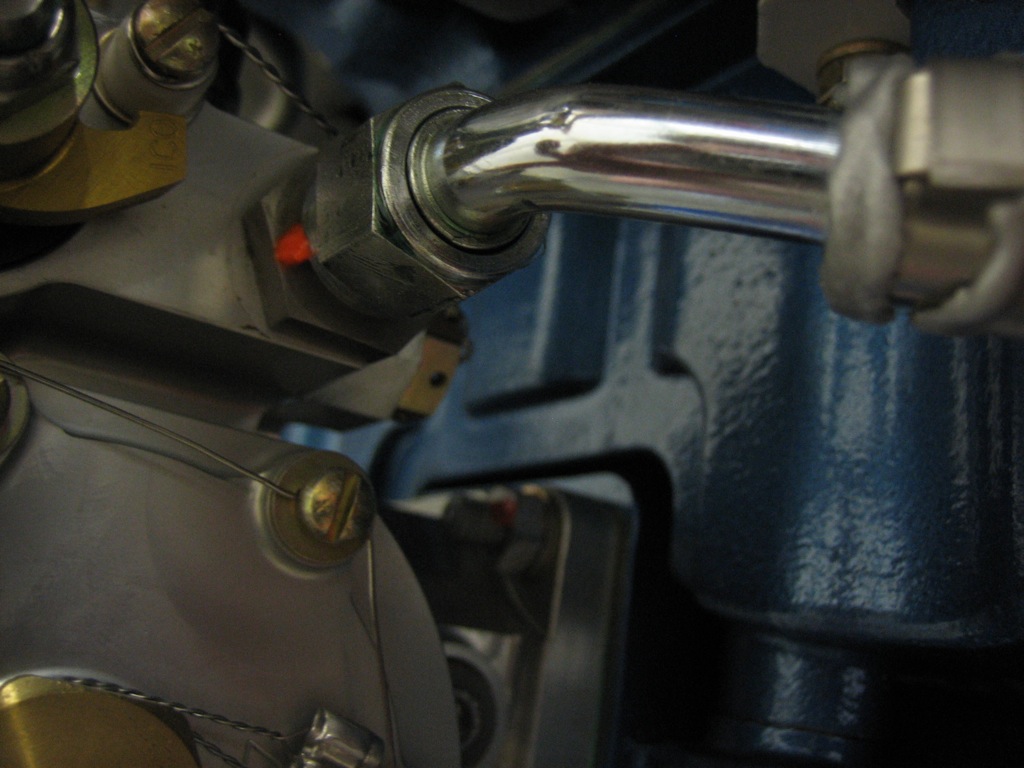
I also final torqued the fuel line fittings at the mechanical fuel pump.

…as well as at the fuel servo.

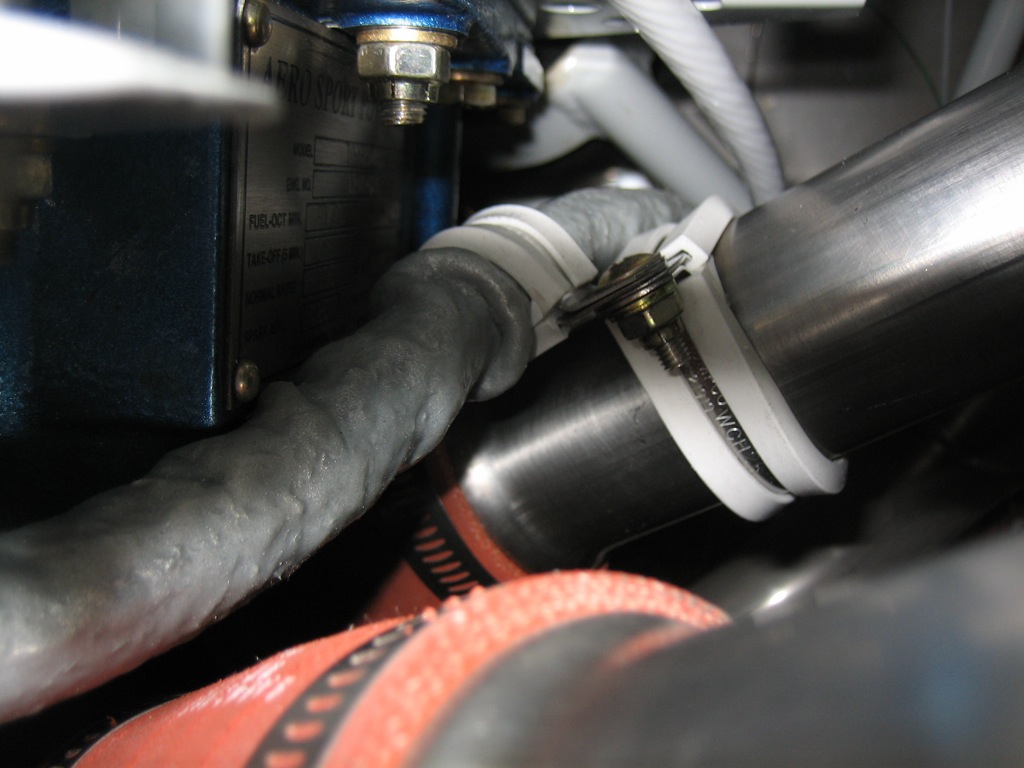
I also got a large adel clamp so that I can anchor the fuel line to one of the intake tubes on the run from the mechanical fuel pump to the servo.