Got Cowl Back

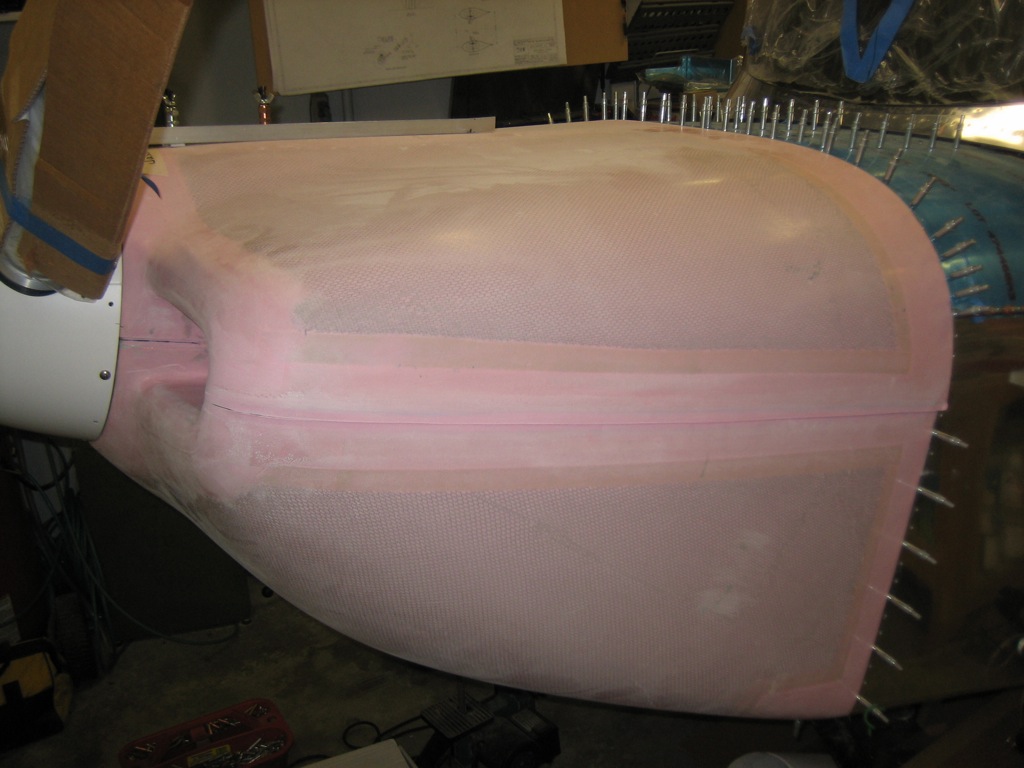
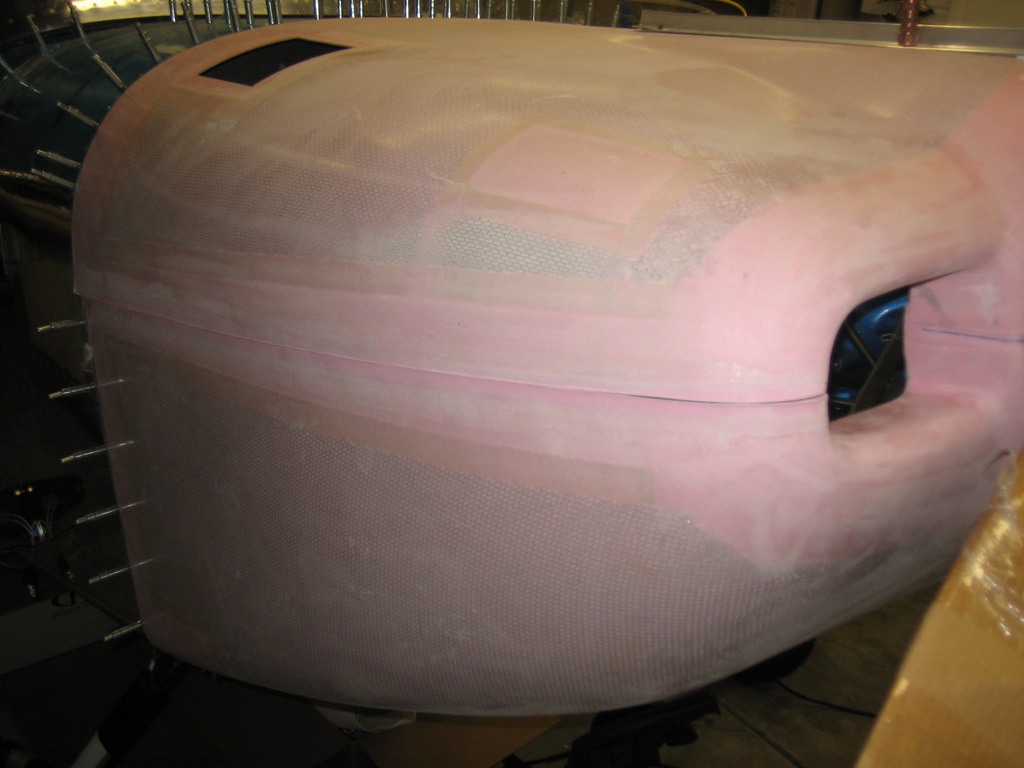
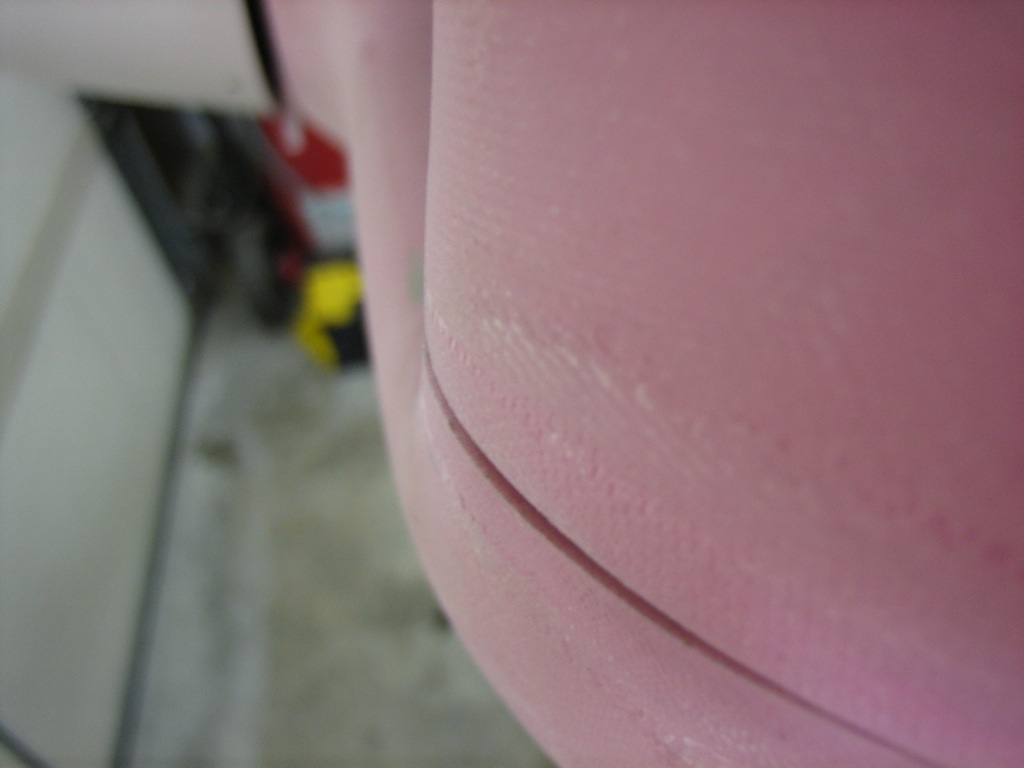
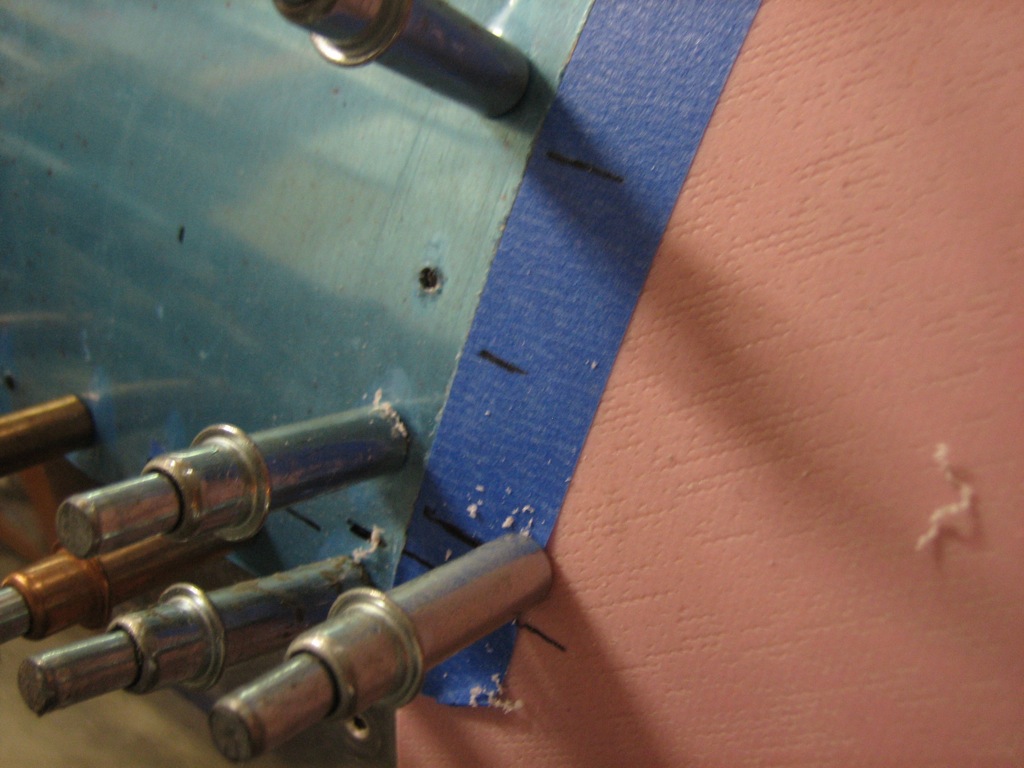
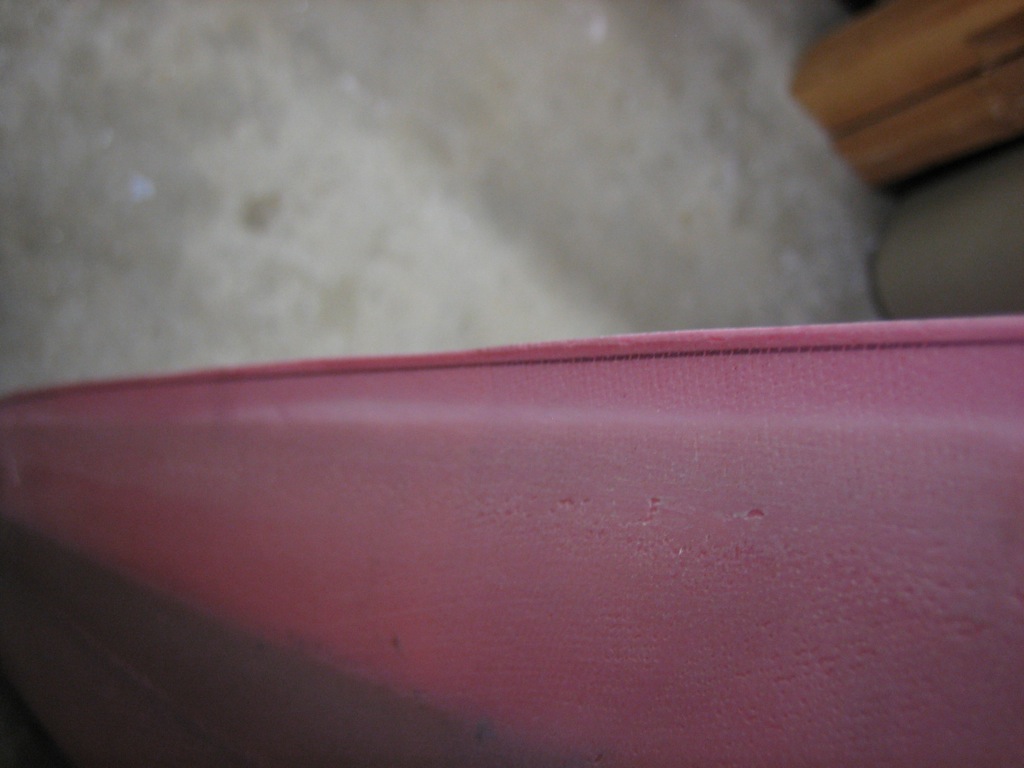
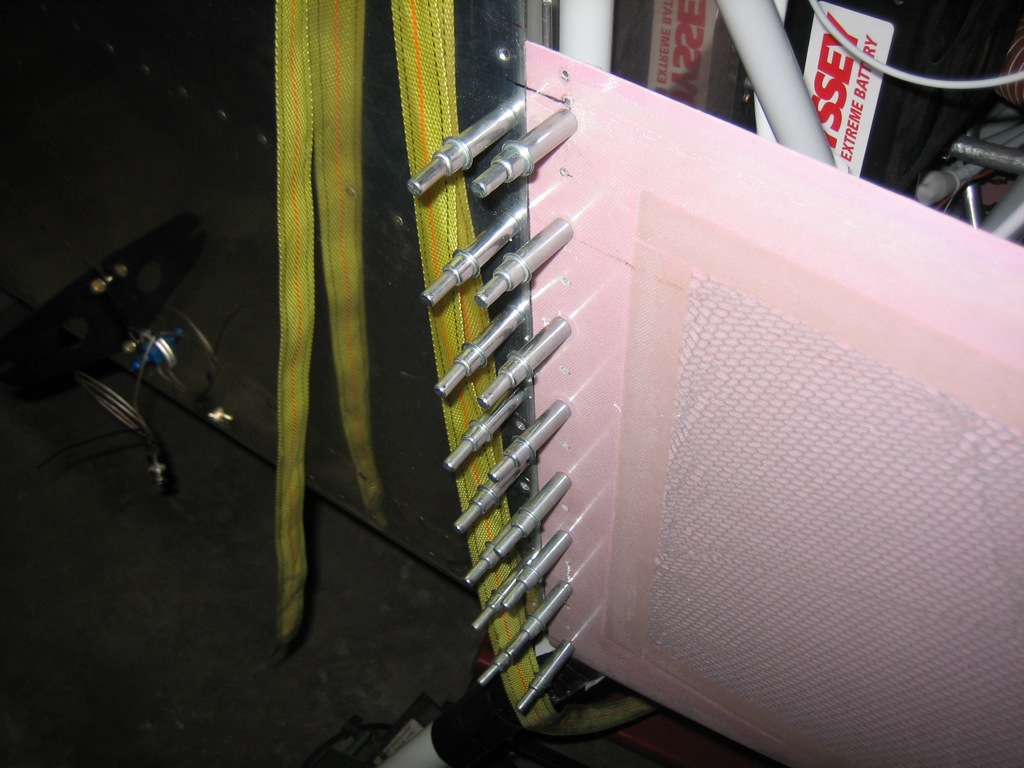
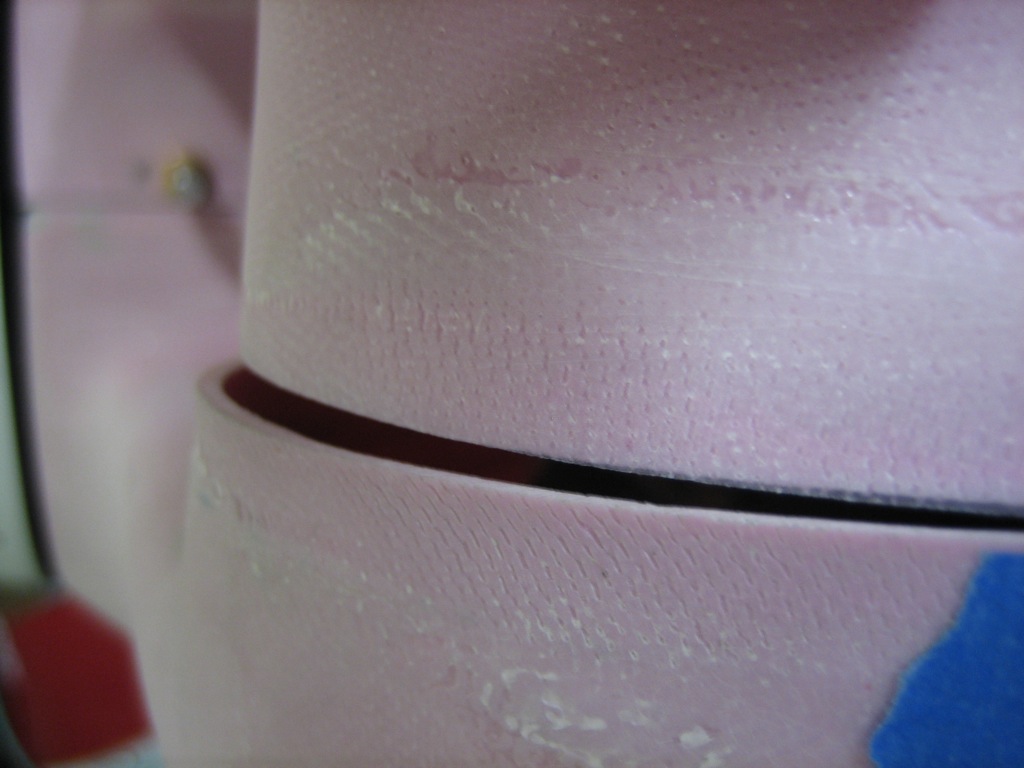
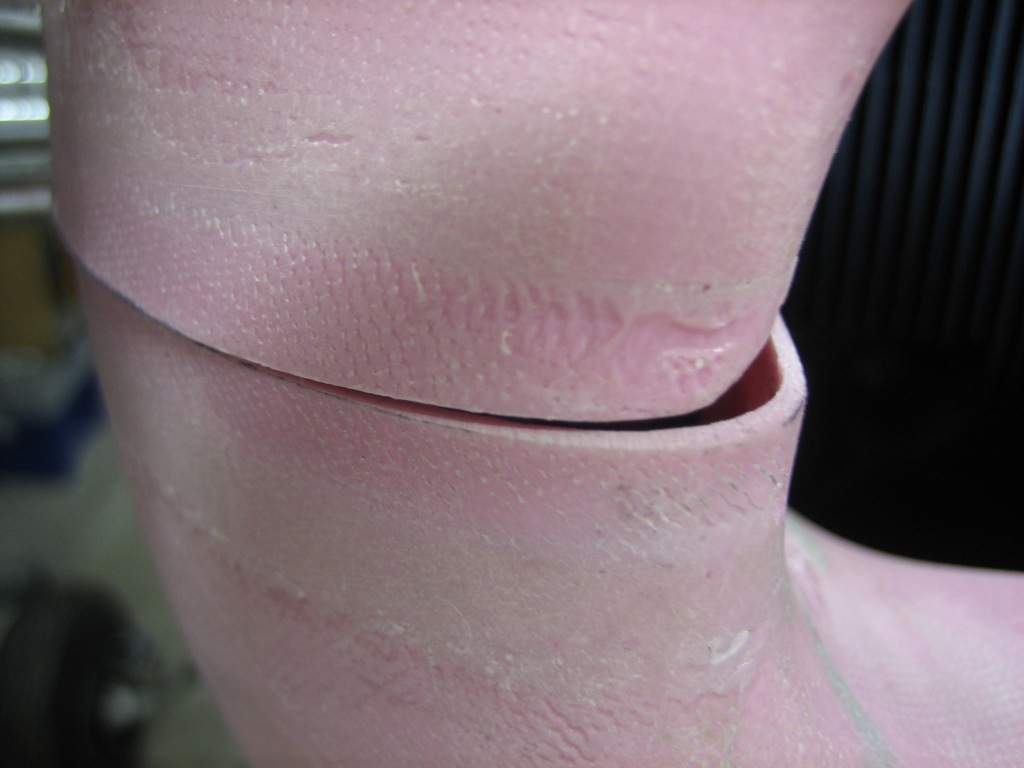
I got my cowl back from M&W Composites today.  They repaired their manufacturing error by glassing some additional material onto each edge (between 1/8″ and 1/4″) and putting it back in their oven to cure.  I unpacked it and did a trial fit.  Things look much better already.  Without even pulling things down tightly, the sides already overlap a little bit.  Here’s a pictures of the left side.

And the right.  I need to do a little further trimming around the front inlets before I can pull the spinner opening back to where it was.

Continued Work on Cowl Joint

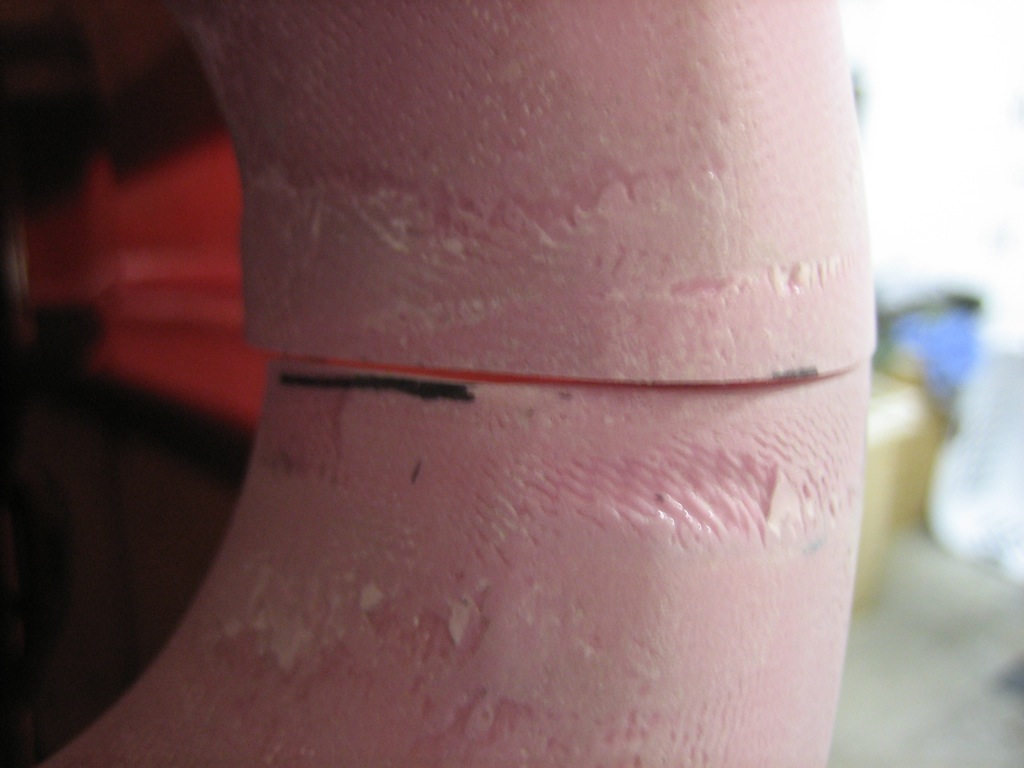
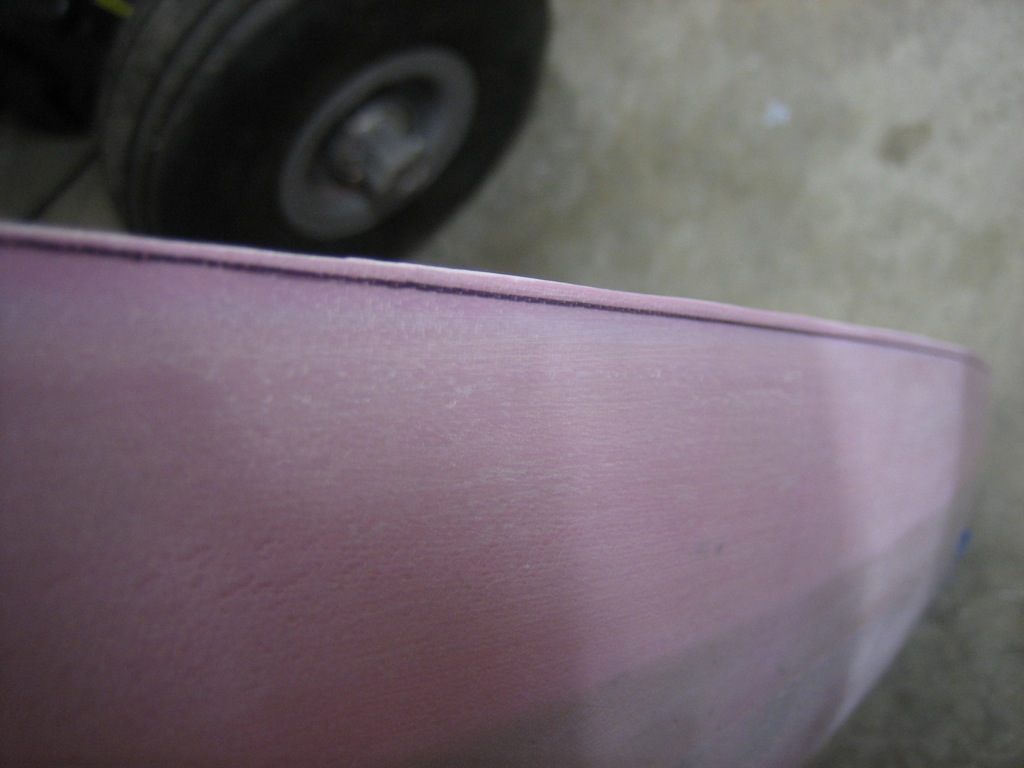
I sanded a couple of the joints to get the front a little tighter.  There’s no way everything will align perfectly even once all the trims are complete.  I’ll end up covering all this with micro and sanding everything totally smooth around these joints.

I also trimmed the remaining ears off of the upper cowl.  I still have some sanding to do to get this perfect, but this at least allows the top cowl to tuck down a little further.

Interior Arrived

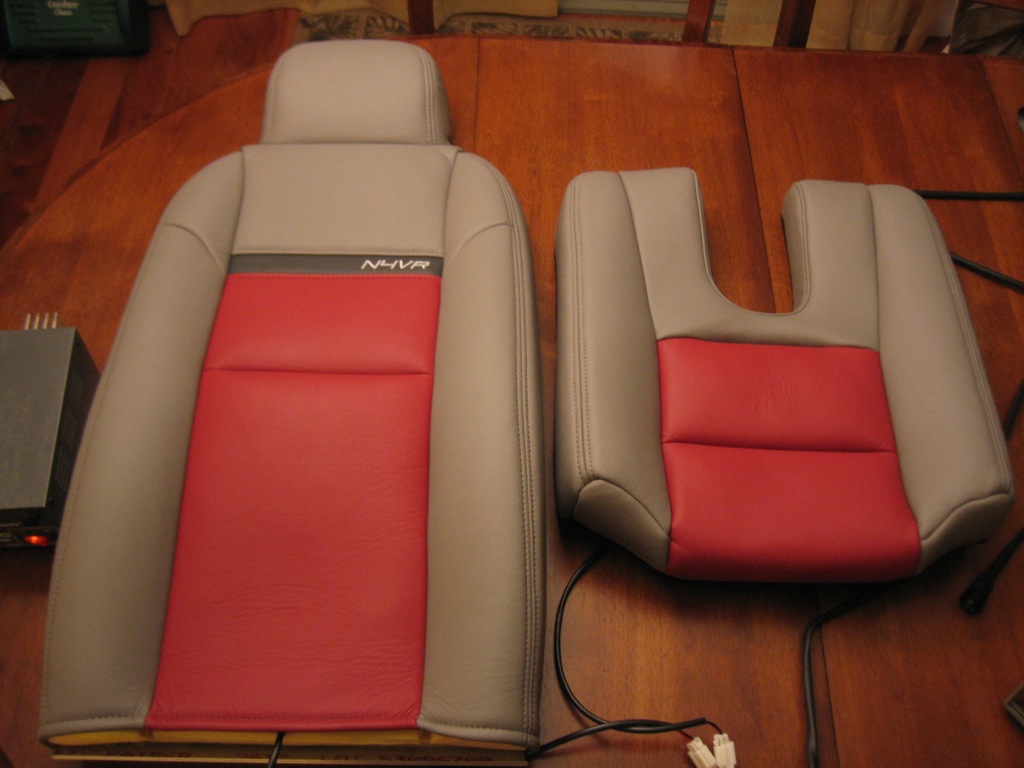
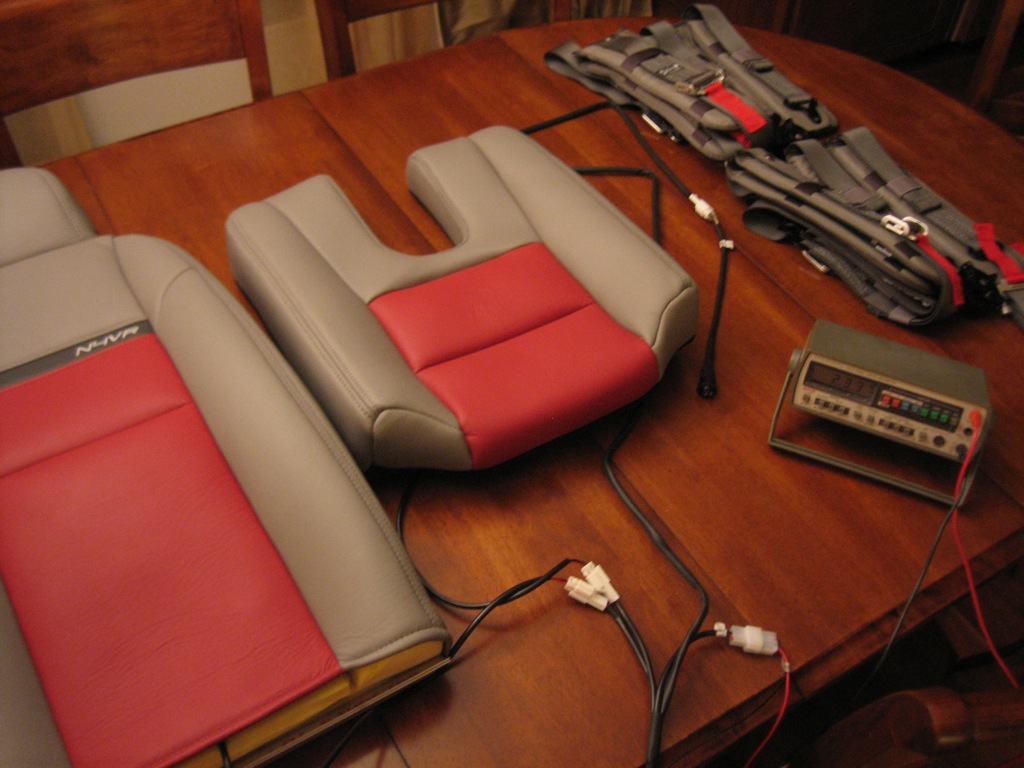
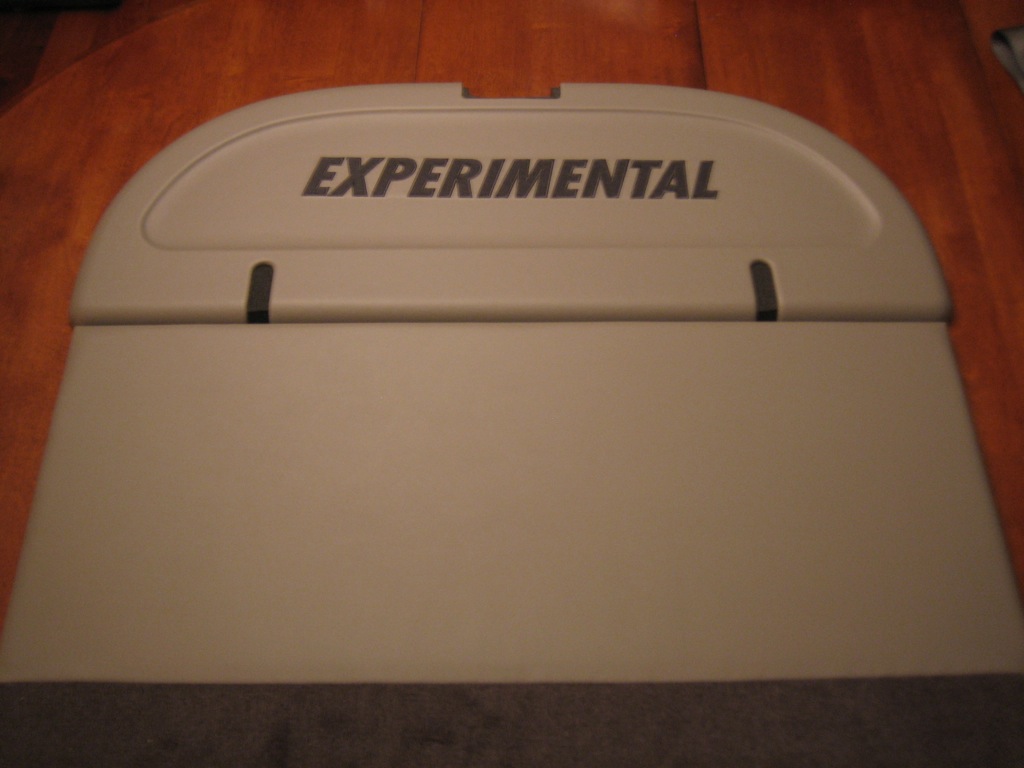
My Classic Aero Designs interior showed up today.  Here is one of the seat backs and bottoms.  My tail number (N4VR) is embroidered in the horizontal stripe.  The wires coming out of each piece are for the seat heaters.

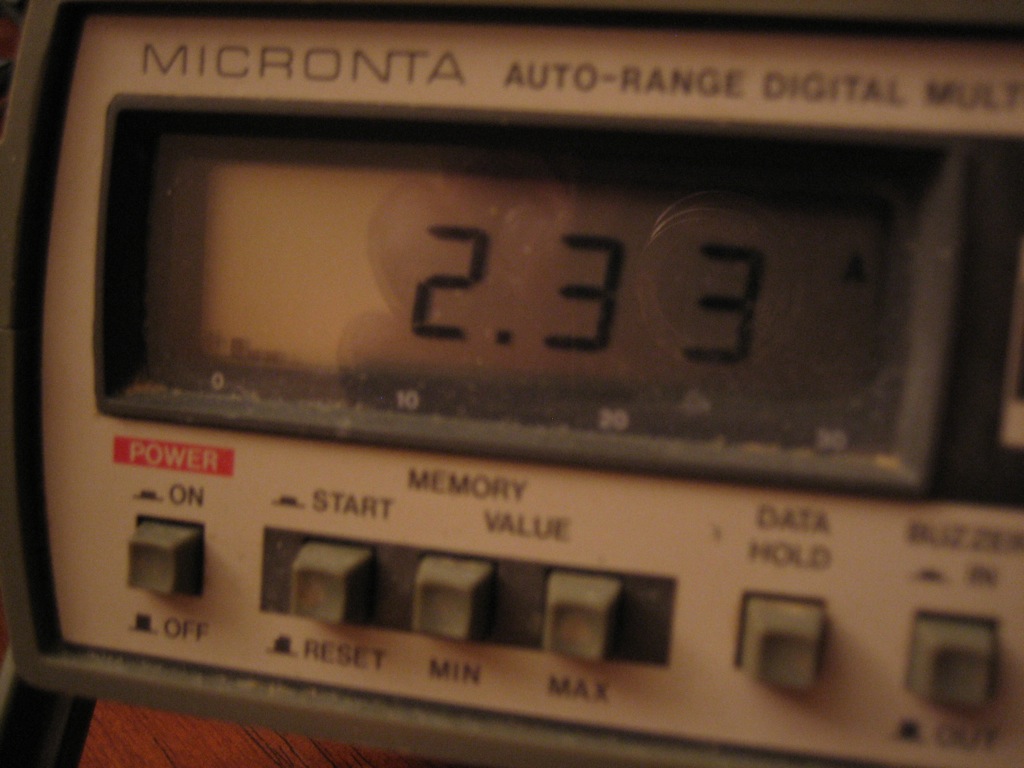
I hooked up a power supply to see how much current the seat heaters draw.

I was pleasantly surprised to see that they drew much less than I anticipated.  The website says that they draw about 5A per seat on high, but I’m seeing less than half that.  On low, they only pull about 0.7A per seat.

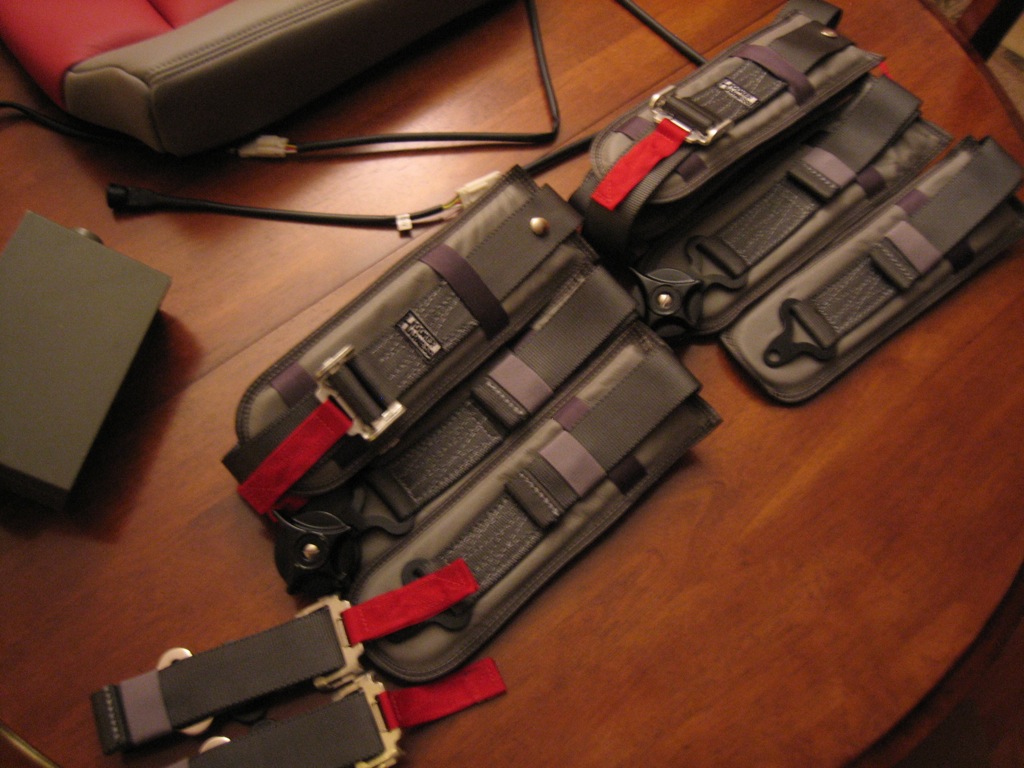
My Hooker Harness harnesses also arrived.  I had Classic Aero make the pads out of the same leather used on the seats with some red pull tabs to go with the other red accents in the cockpit.

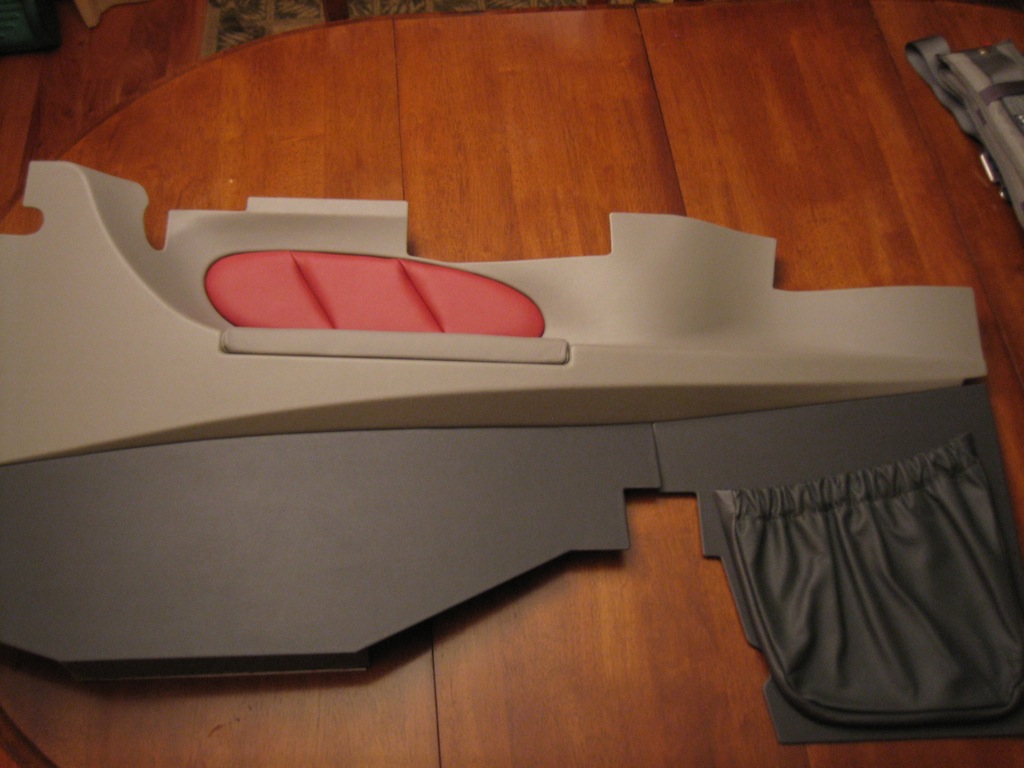
Here are some of the side pieces.  There covered in vinyl with a leather armrest, side pad, and pocket.

Here are the pieces that cover the back wall.  In addition to these pieces, there are pieces that cover the baggage side walls and carpet for the forward floor, seating and baggage areas.

Fixed Spinner Gap

One thing that has been bugging me about the fit between the upper and lower cowl halves is the fit between the cowl and the spinner.  If you go back and look at this entry, you can see what I’m talking about.  Because any further work will lock in the fit between the upper and lower halves, I needed to take care of this now.  I cleaned up a few boogers inside the flange of the upper cowl and then ground away a fair amount of the face of the lower flange to allow the upper cowl to slide backward over 1/16″.  Now the gap is really nice all the way around the spinner.  I’ll probably still add a little filler to make the gap perfect, but I want to have the two cowl halves completely trimmed and joined along the sides.  Here’s the fit on the right side.

And here’s the fit on the left side.  The gap is slightly wider right at the joint, but some filler will take care of that.

The joint at the front left corner fits quite well.  The upper and lower halves are very close to coplanar.  I’m going to glass in a flange on the lower half anyway, and some filler will make this perfect.

The fit on the right front corner leaves a bit to be desired though.  Part of the problem is the overlap between upper and lower halves that is pulling the upper cowl out a bit.  I’ll probably have to grind away a fair amount of these parts and reglass them to get this joint to look nice.

Worked on Lower Cowl

I did a little minor sanding on the fit between the lower cowl and the firewall flange and then finished sanding the horizontal joint in the lower cowl until it is perfectly straight on both sides.  I think the lower cowl is pretty close to how I want it now.  I will still need to do some adjustment around the inlets, but that can wait until the top and bottom halves are mated so that I can do it off the plane.

I hear so many builders complain that they hate working with fiberglass, but I’m really digging it.  There is a certain freedom that comes with knowing that you can repair almost anything.  If a part is too long, trim it.  If it’s too short, add back some material.  If two parts don’t align, you can reshape it easily.  Done properly, any repairs can be just as strong as the rest of the material.

Fitting Upper Cowl

No pictures tonight, but I got back to work on fitting the upper cowl and trimmed the aft end until it fits nicely along the firewall flange.  I probably had the top cowl on/off ten times tonight while iteratively trimming 1/32″ at a time.  I’m getting close to the point where I can mark the sides for trimming.

More Cowl Work and Pitot/Static/AOA Plumbing

I spent a little time earlier today working on the cowl.  I made the side cuts, then did a bunch more sanding to get the fit as nice as I can.

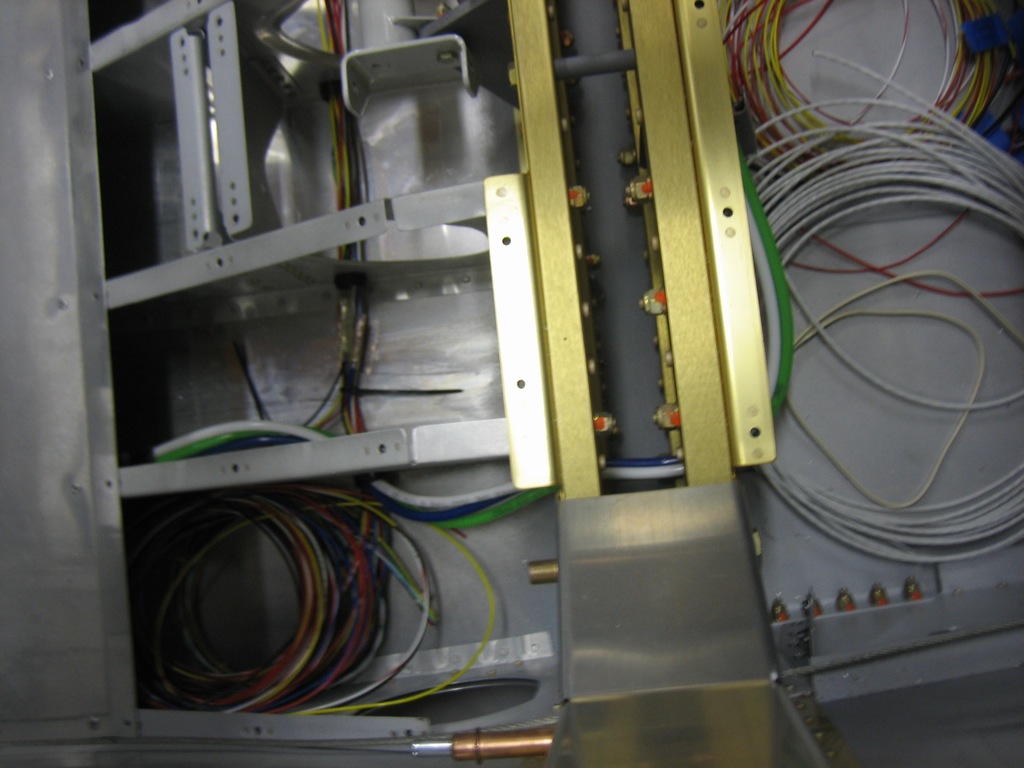
Afterward, I decided to do the pitot/static/AOA plumbing.  This is where the pitot (green) and AOA (blue) lines will go into the fuselage.  The lines from the wings will connect to these connectors.
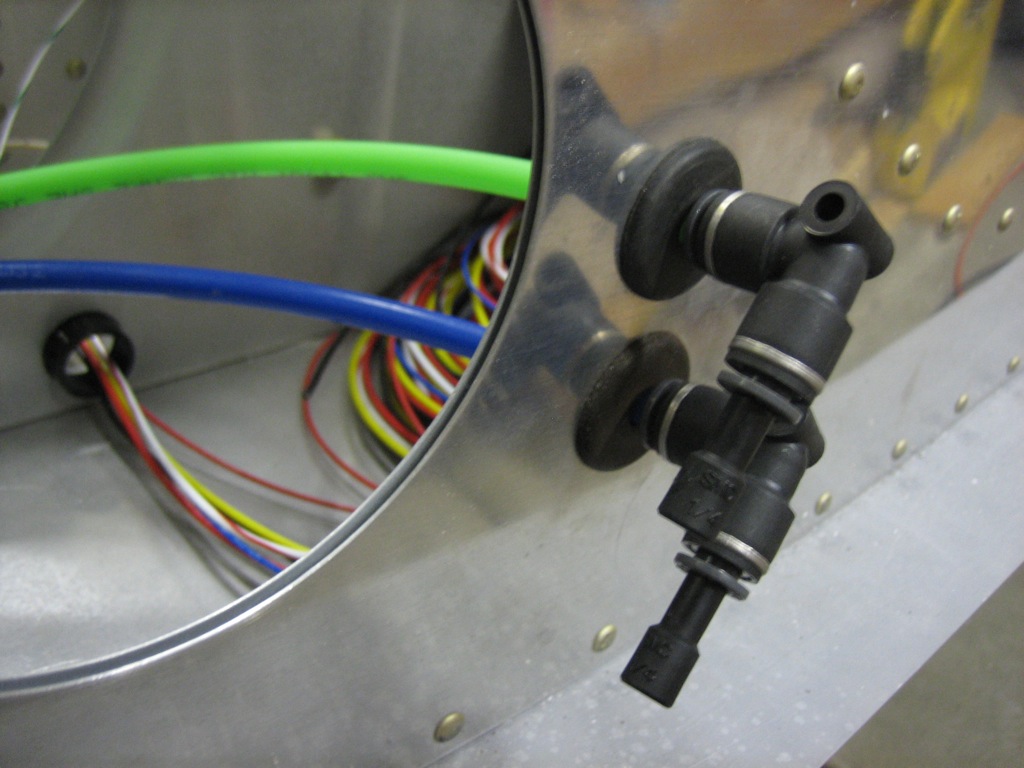
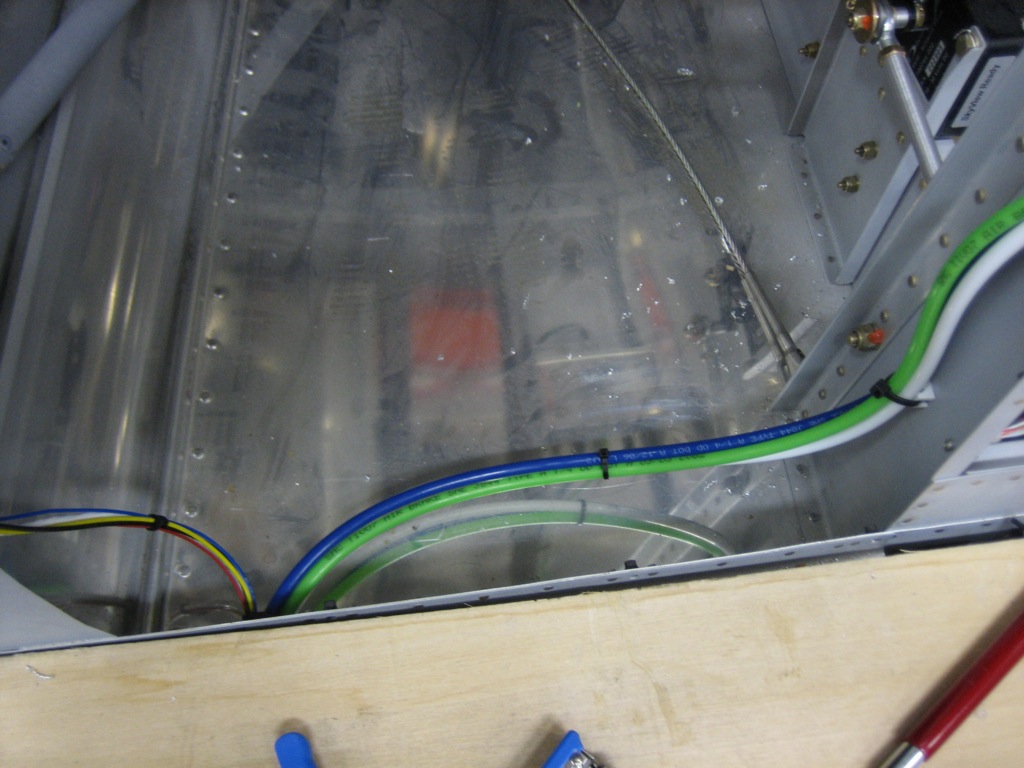
The pitot and AOA lines run forward of the spar and then across the fuselage.
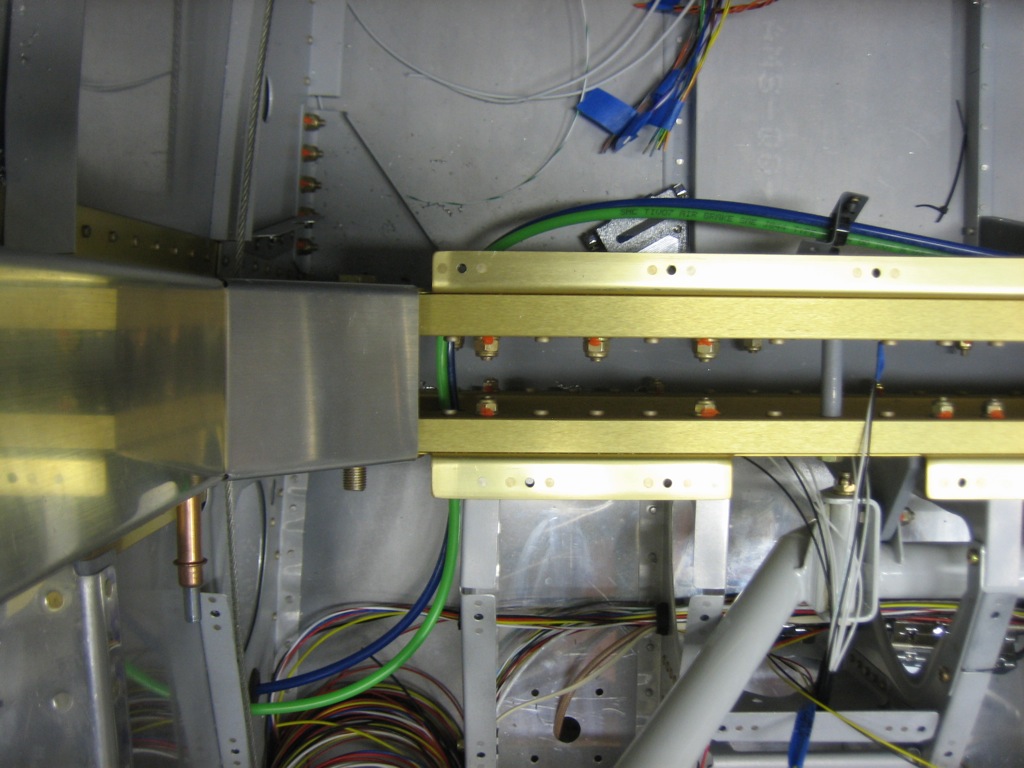
They then run back through the spar along with the static tube (white).  This may seem like a somewhat circuitous route, but the left under-seat conduit is pretty full, so I needed to run the lines through the right under-seat conduit.  Unfortunately, there’s no good path across the fuselage aft of the spar for lines this large.  I could have drilled more holes in the seat ribs and installed snap bushings, but that’s a real pain in the ass at this stage of construction.

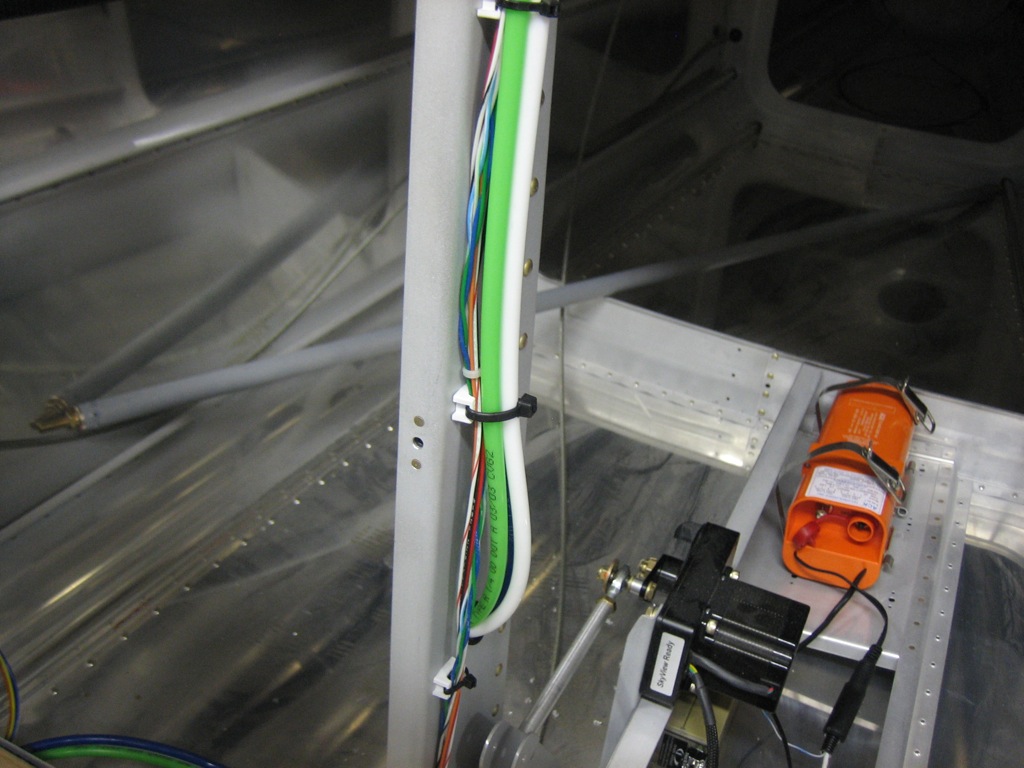
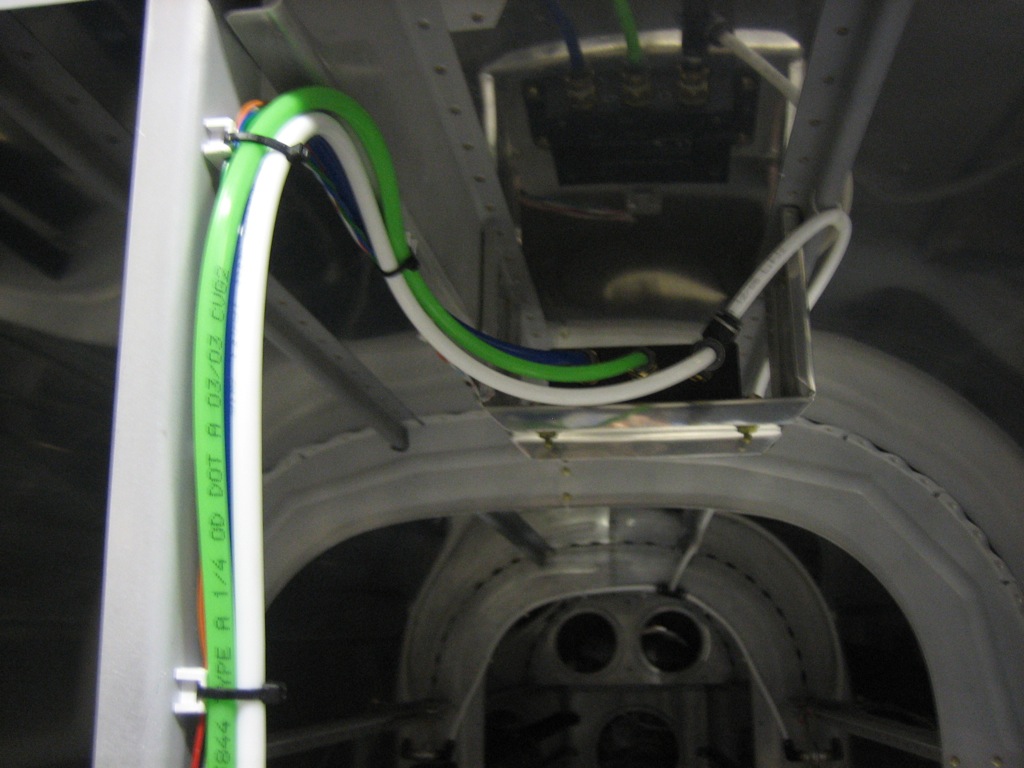
The pitot and static lines needs to run up to the instrument panel to connect to the backup EFIS and alt static valve.
The lines come out of the right under-seat conduit and then run up the center post.
The lines cut through a hole in the post and then join the network cable in the run up to the ADAHRS.
The pitot and AOA lines connect directly to the ADAHRS.  The static line connects to a tee to join the aft tailcone run to the forward fuselage run.
Drilled Upper Cowl to Firewall

After a little more trimming of the aft end of the upper cowl, I strapped it down and laid out holes on approximately 1″ spacing for drilling the cowl to the hinge.  I then drilled one hole on each end of the hinge and one in the middle to lock the upper cowl into its final position.

Afterward, I tucked the upper cowl behind the lower and marked the trim line on the upper cowl.

It looks like the side joints are going to work out perfectly.  The extra material that the factory added on gave me just enough material to overlap slightly so that I can create a perfectly straight joint.

The other side looks great too.  It’s too late to run the power tools tonight, so I’ll try and trim this tomorrow.

Worked on Cowl Joints

I drilled both lower side hinges to the cowl.

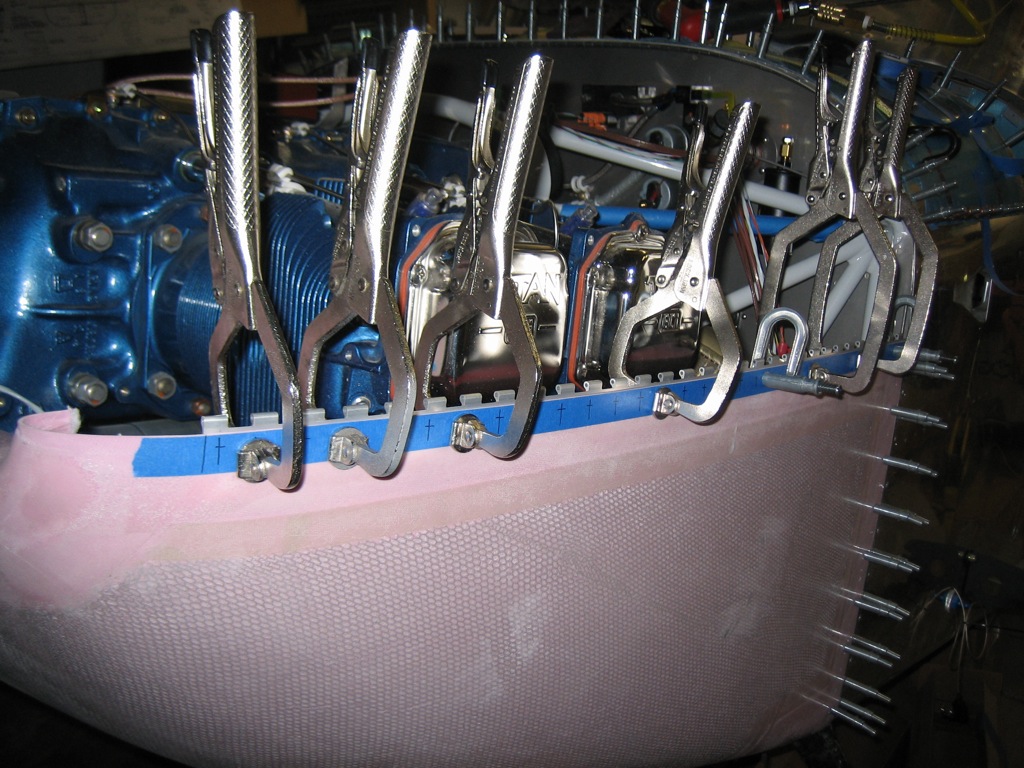
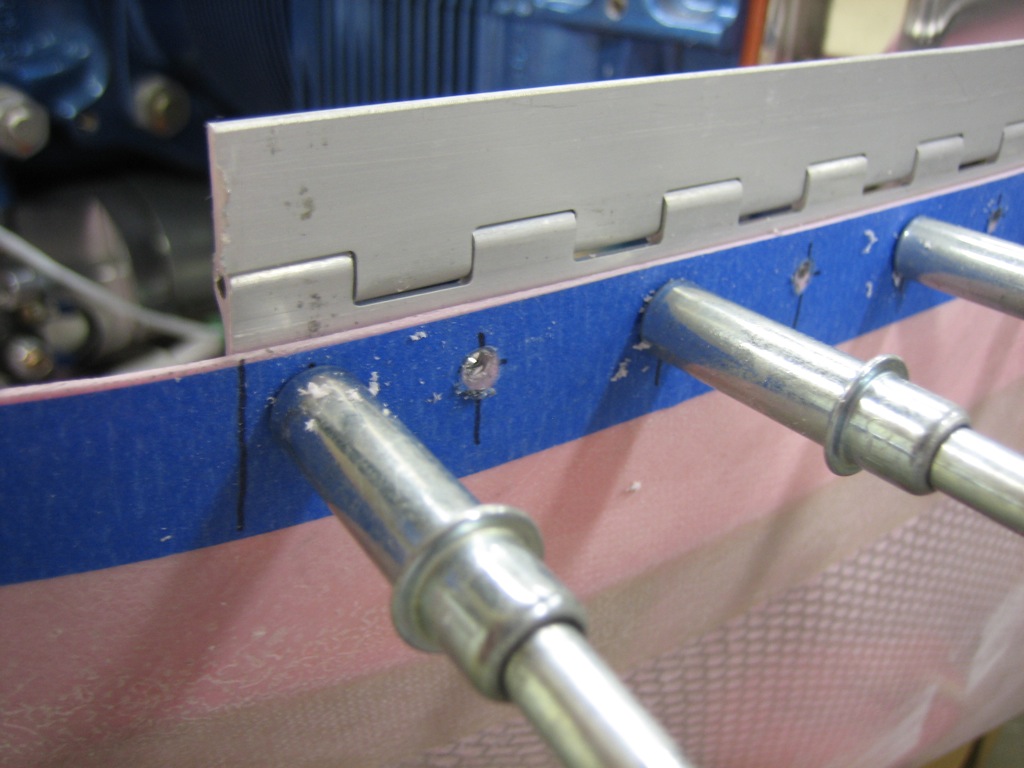
I then clamped a section of MS20001P4 hinge to the lower cowl on the left side and laid out some holes on approximately 1″ centers.

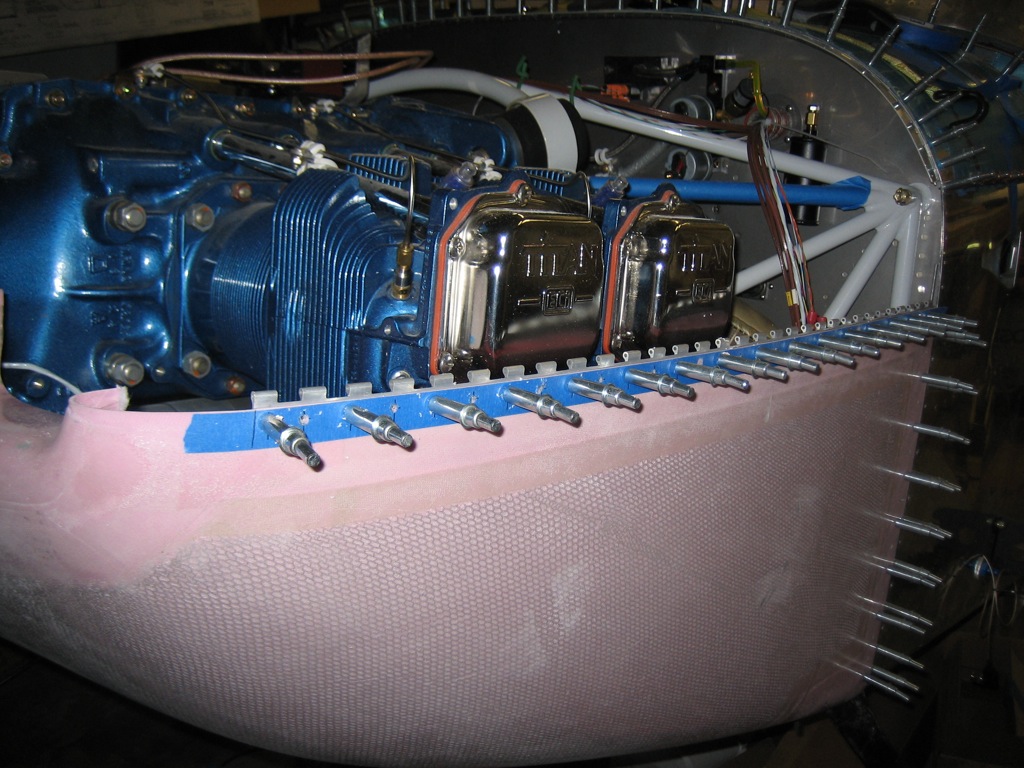
I then drilled all of the holes.

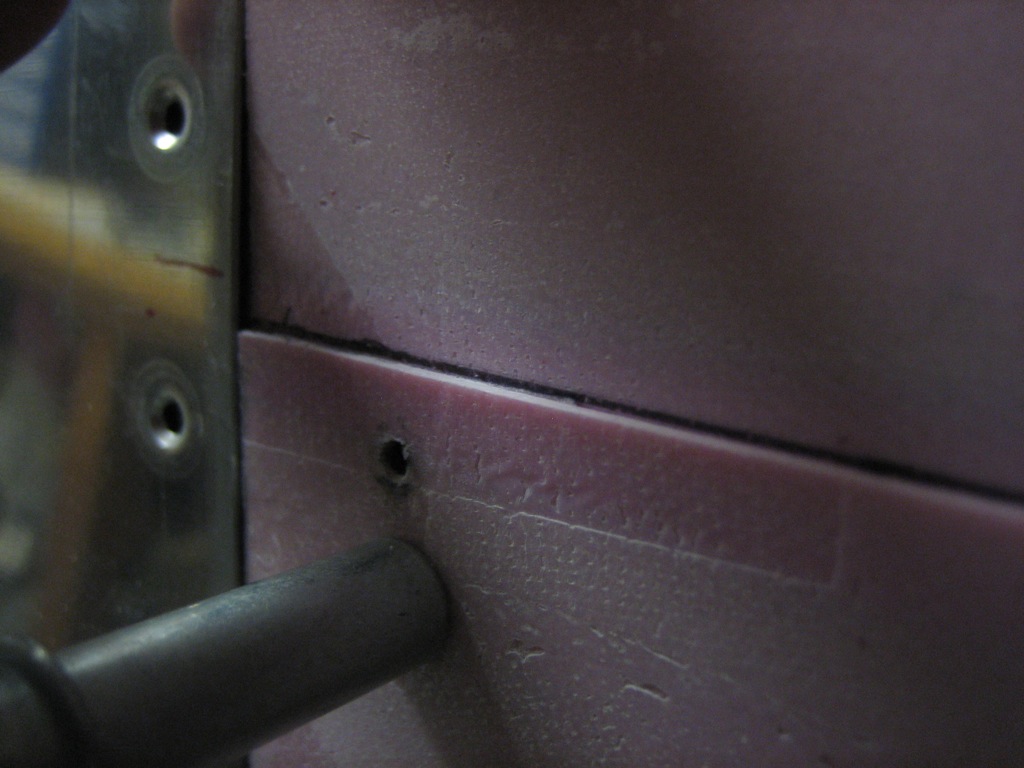
Here’s a closeup of the joint.  I’m using MS20001P3 on the upper half since I don’t need the extra width.  I installed the P4 on the lower half so that I could bias the hinge up enough to have a small strip of solid hinge material at the joint line.  Doing it the way the plans specify would mean that you would be able to see the hinge ears through the joint which looks pretty crappy.

Finished Drilling Cowl Hinges

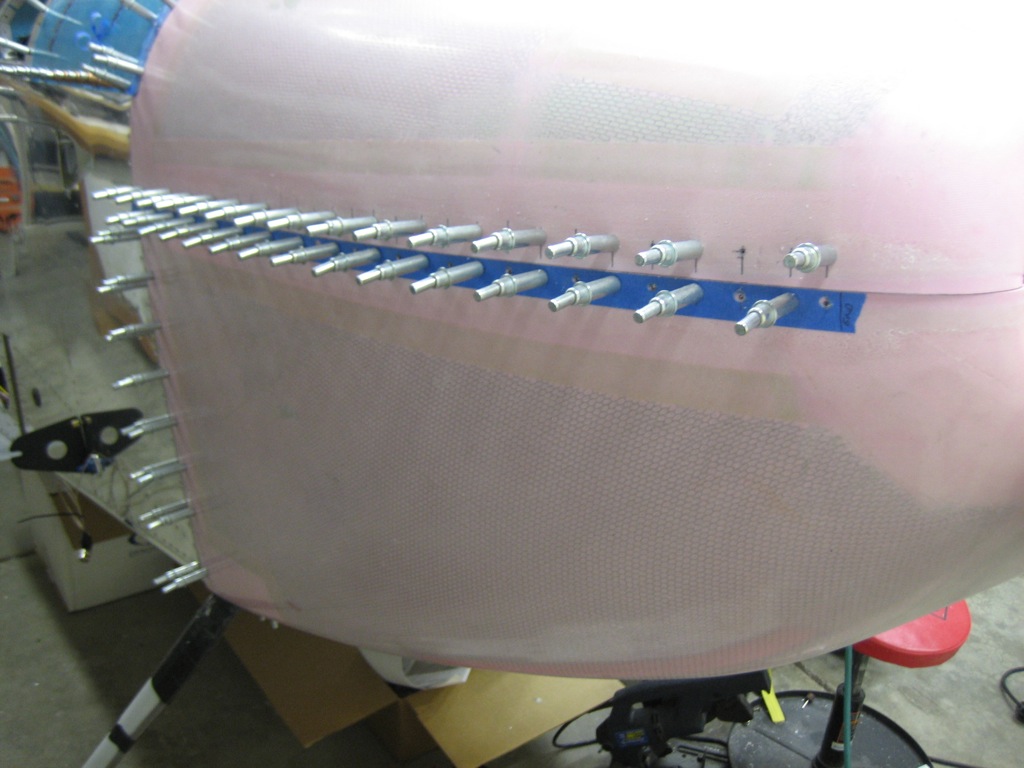
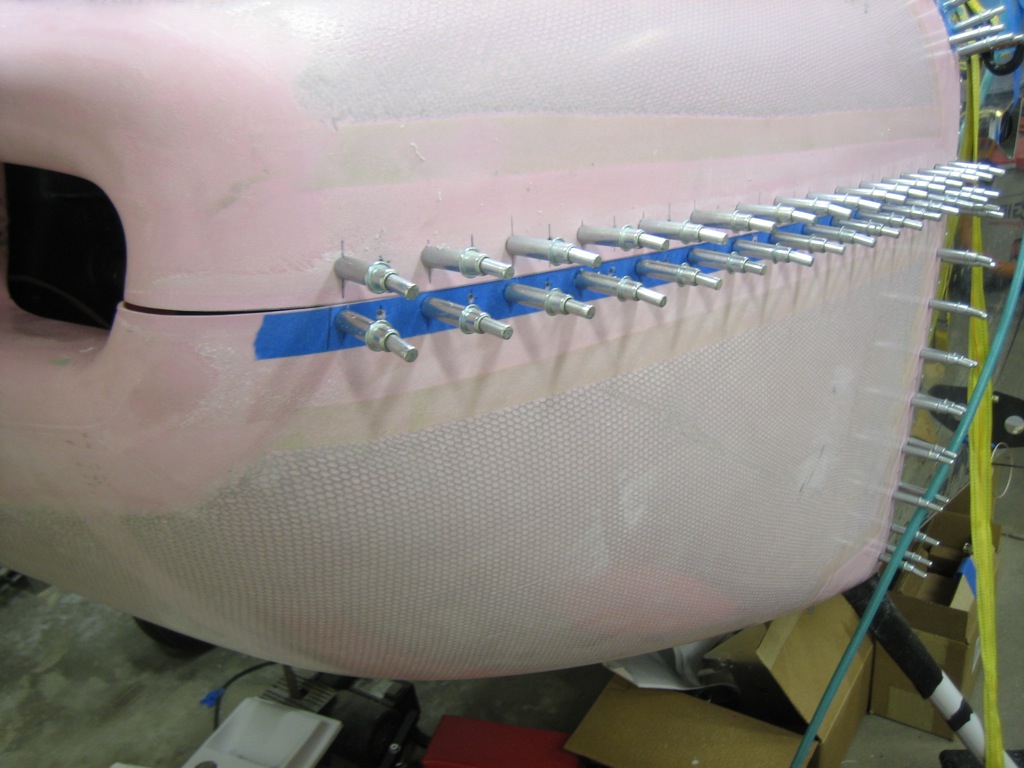
We got back from a short vacation in Yosemite National Park yesterday, so I got back to work tonight.  I drilled the other P4 hinge to the right side of the cowl then mated the P3 hinges to both sides and installed the upper cowl.  I transferred the hole positions and then drilled the upper half of the hinge to the cowl.  Here’s the right side of the cowl.

And here’s the left.

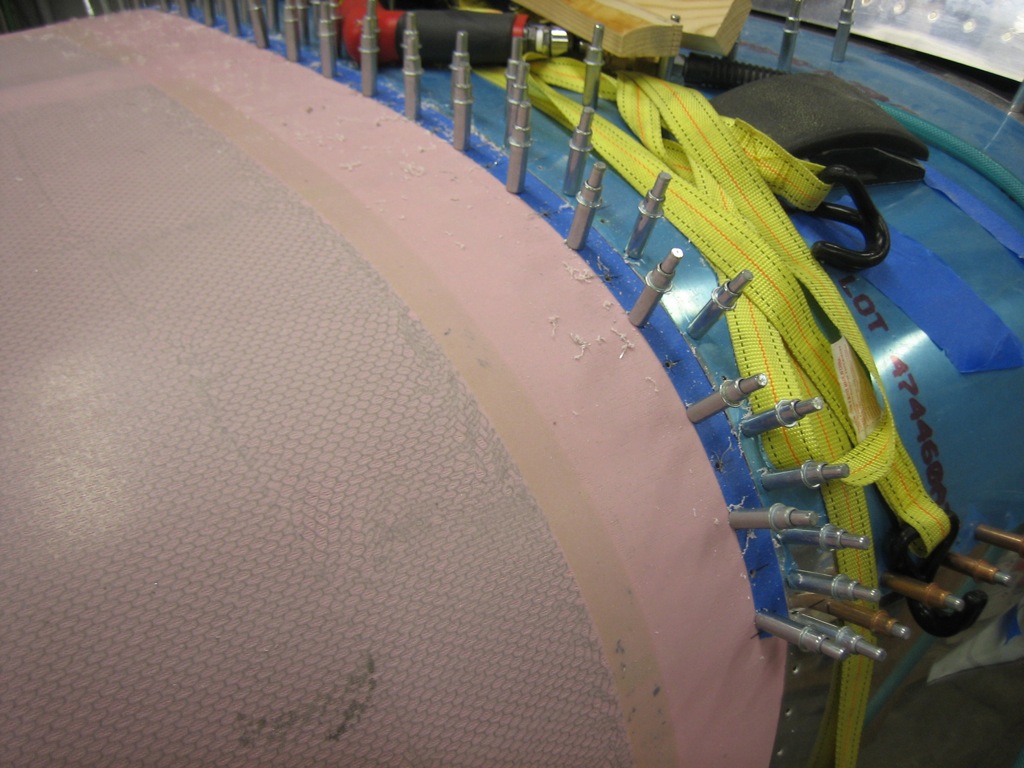
Now that the cowl was locked in its final position, I drilled the rest of the holes along the top of the firewall.  The cowl is amazingly rigid now.  Pushing even gently on the cowl moves the whole airplane and there is no perceptible flex in the cowl itself.  If it’s this still with just clecoes, I can only imagine how much stiffer everything will be when the hinges are riveted and glassed in place.

The front left corner of the cowl has a small alignment problem.  I’ll have to build out the upper cowl to bring it out flush with the lower cowl.

The front right corner also needs a bit of work to make things line up nicely.