Started Oil Door

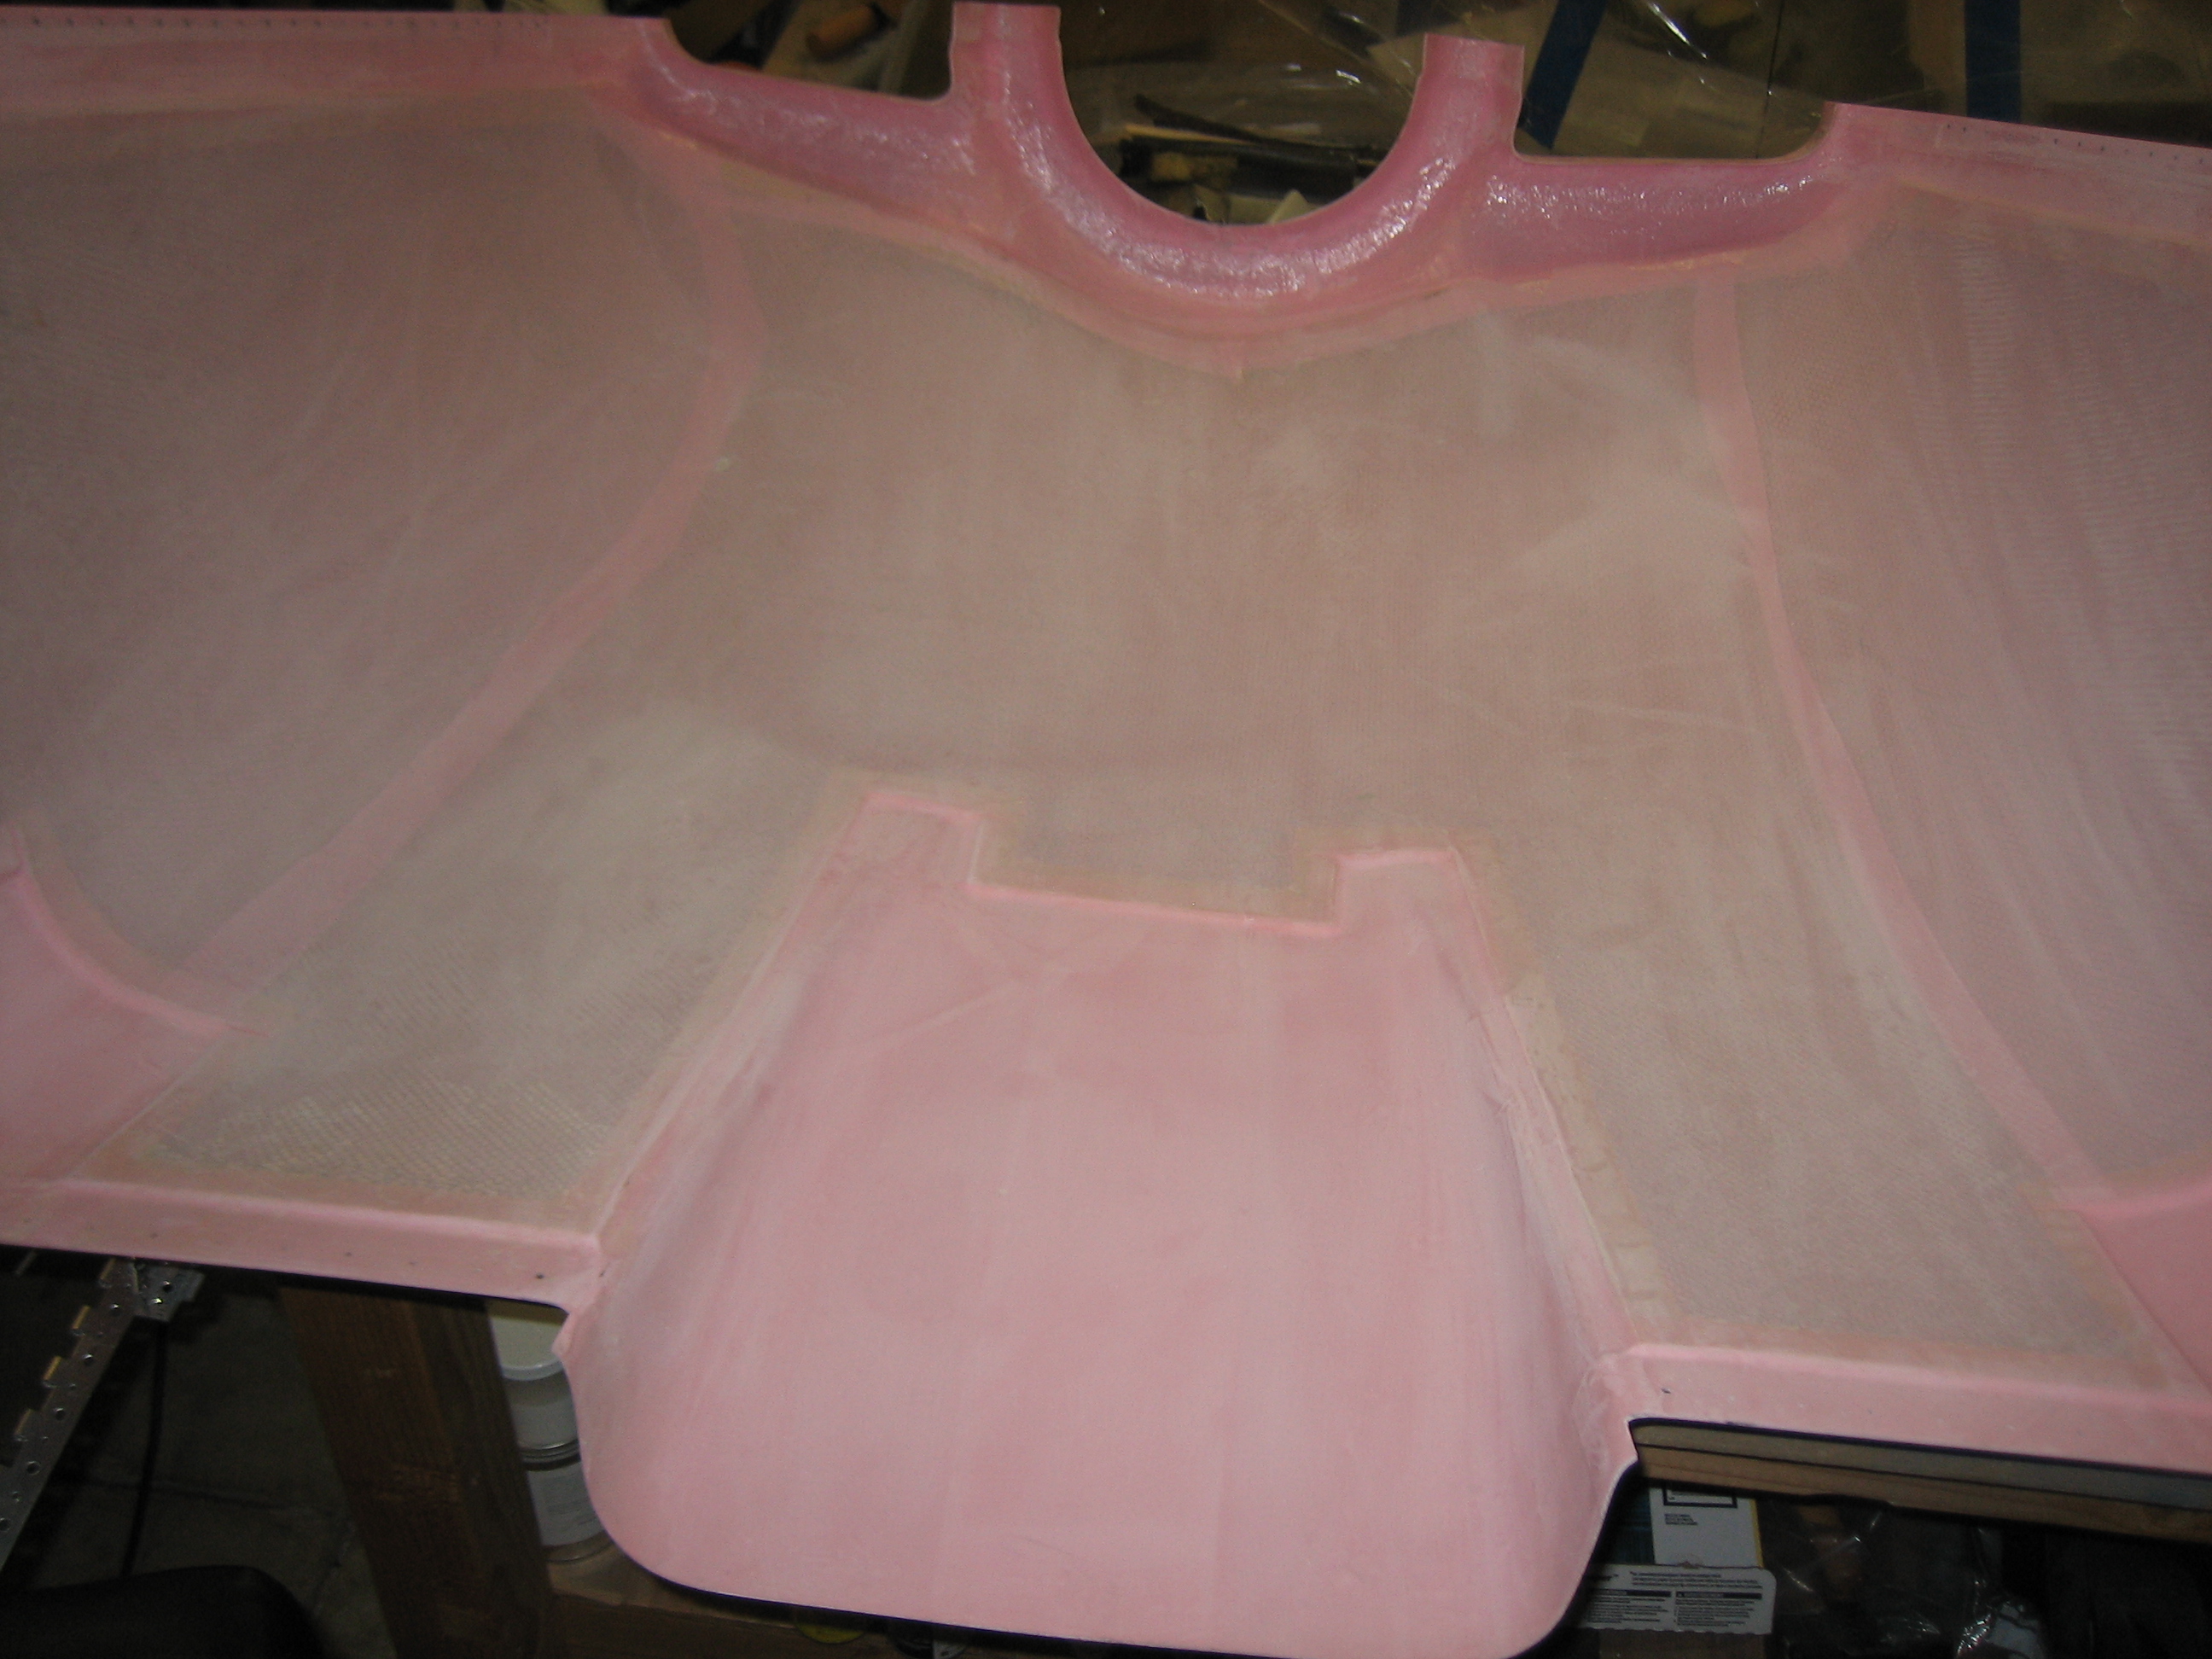
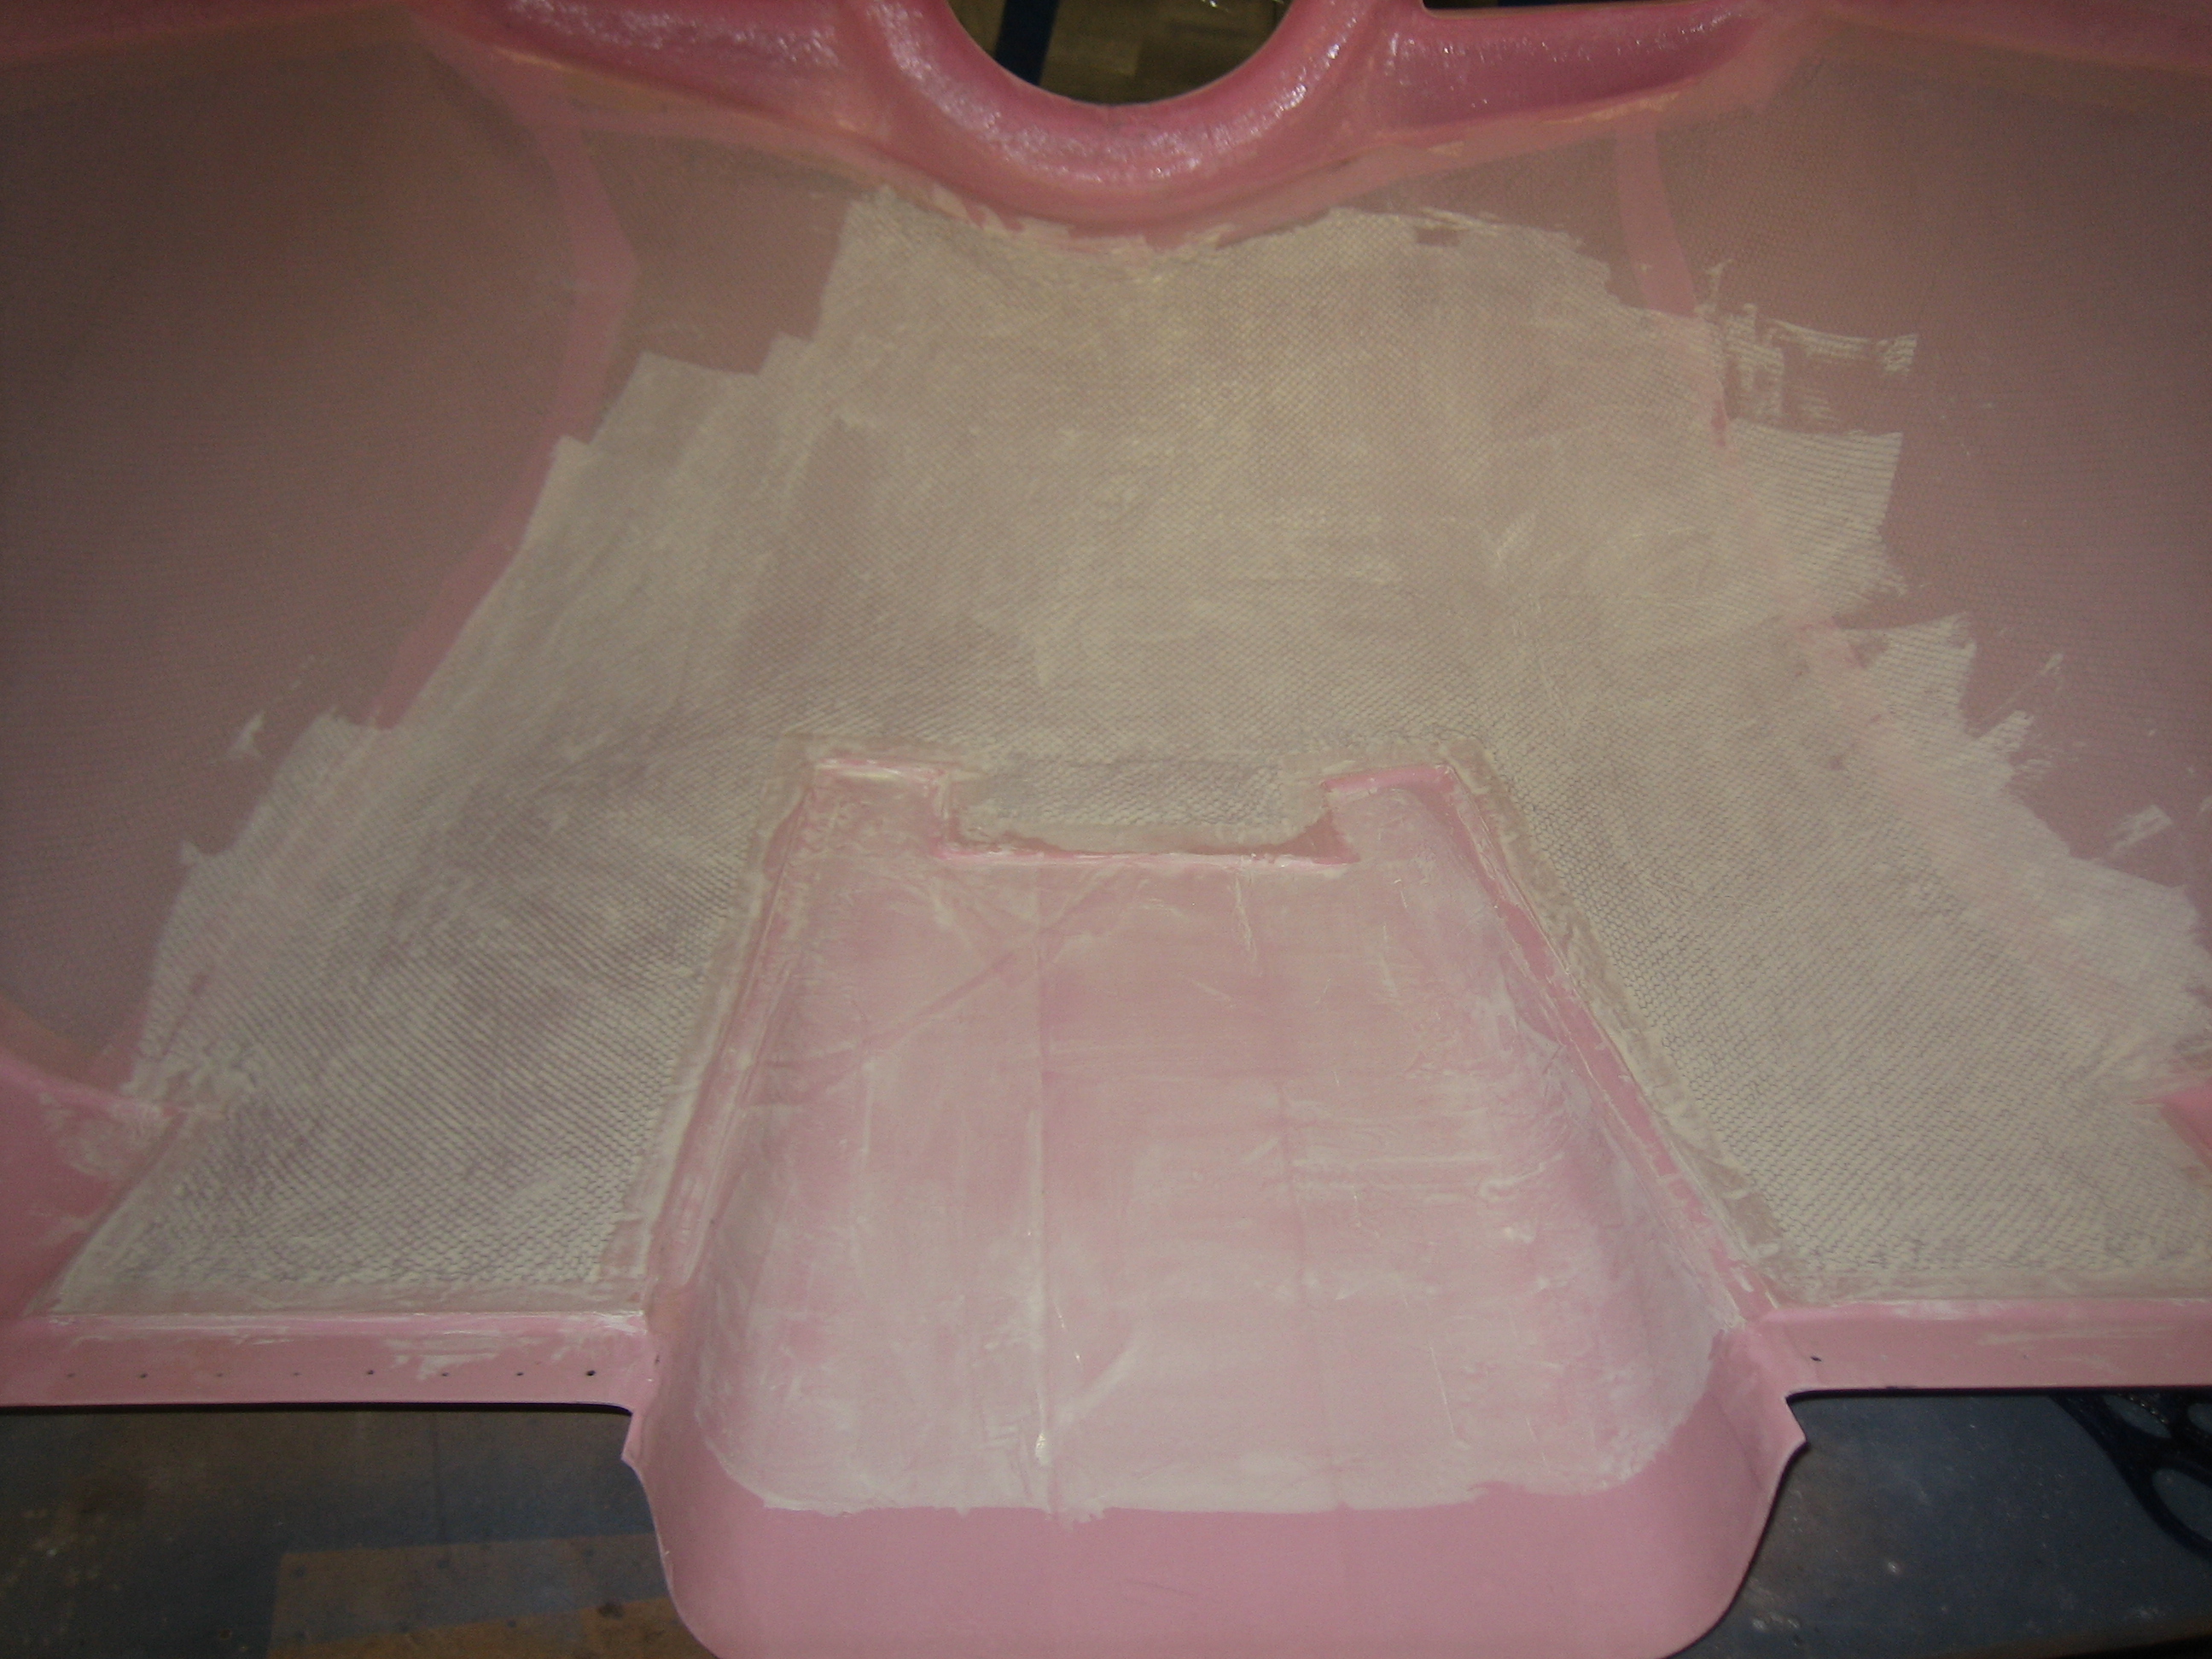
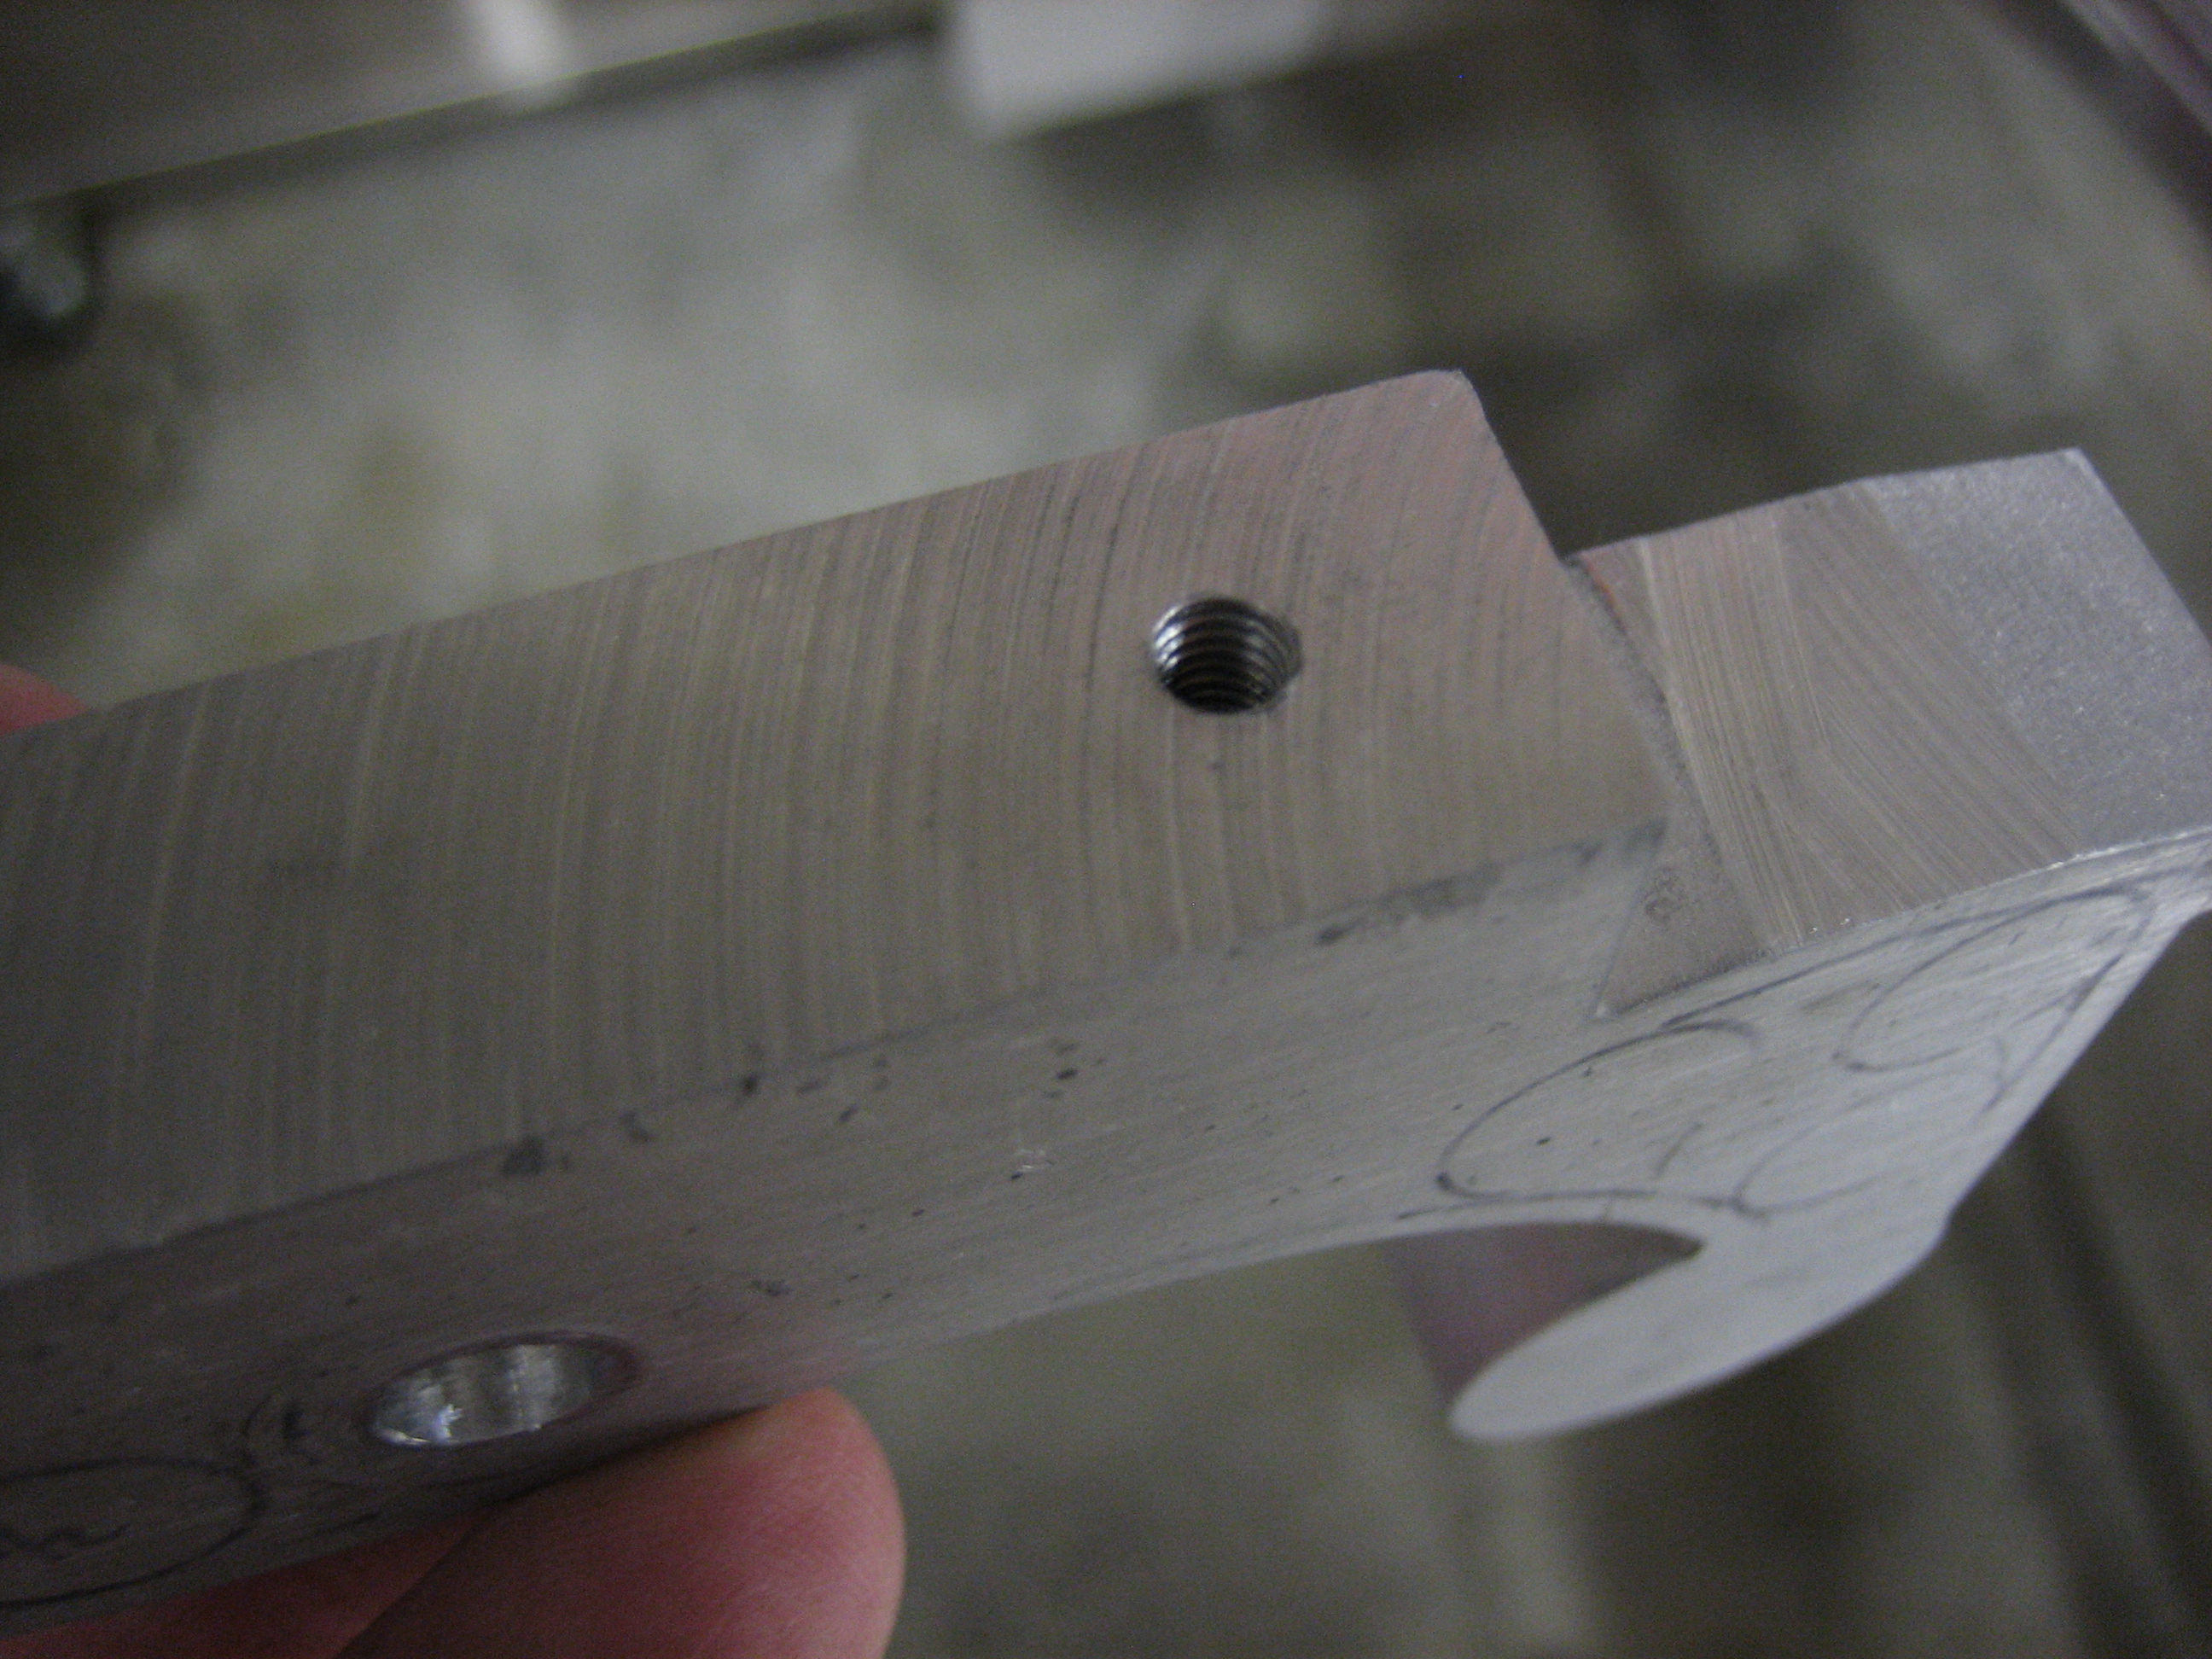
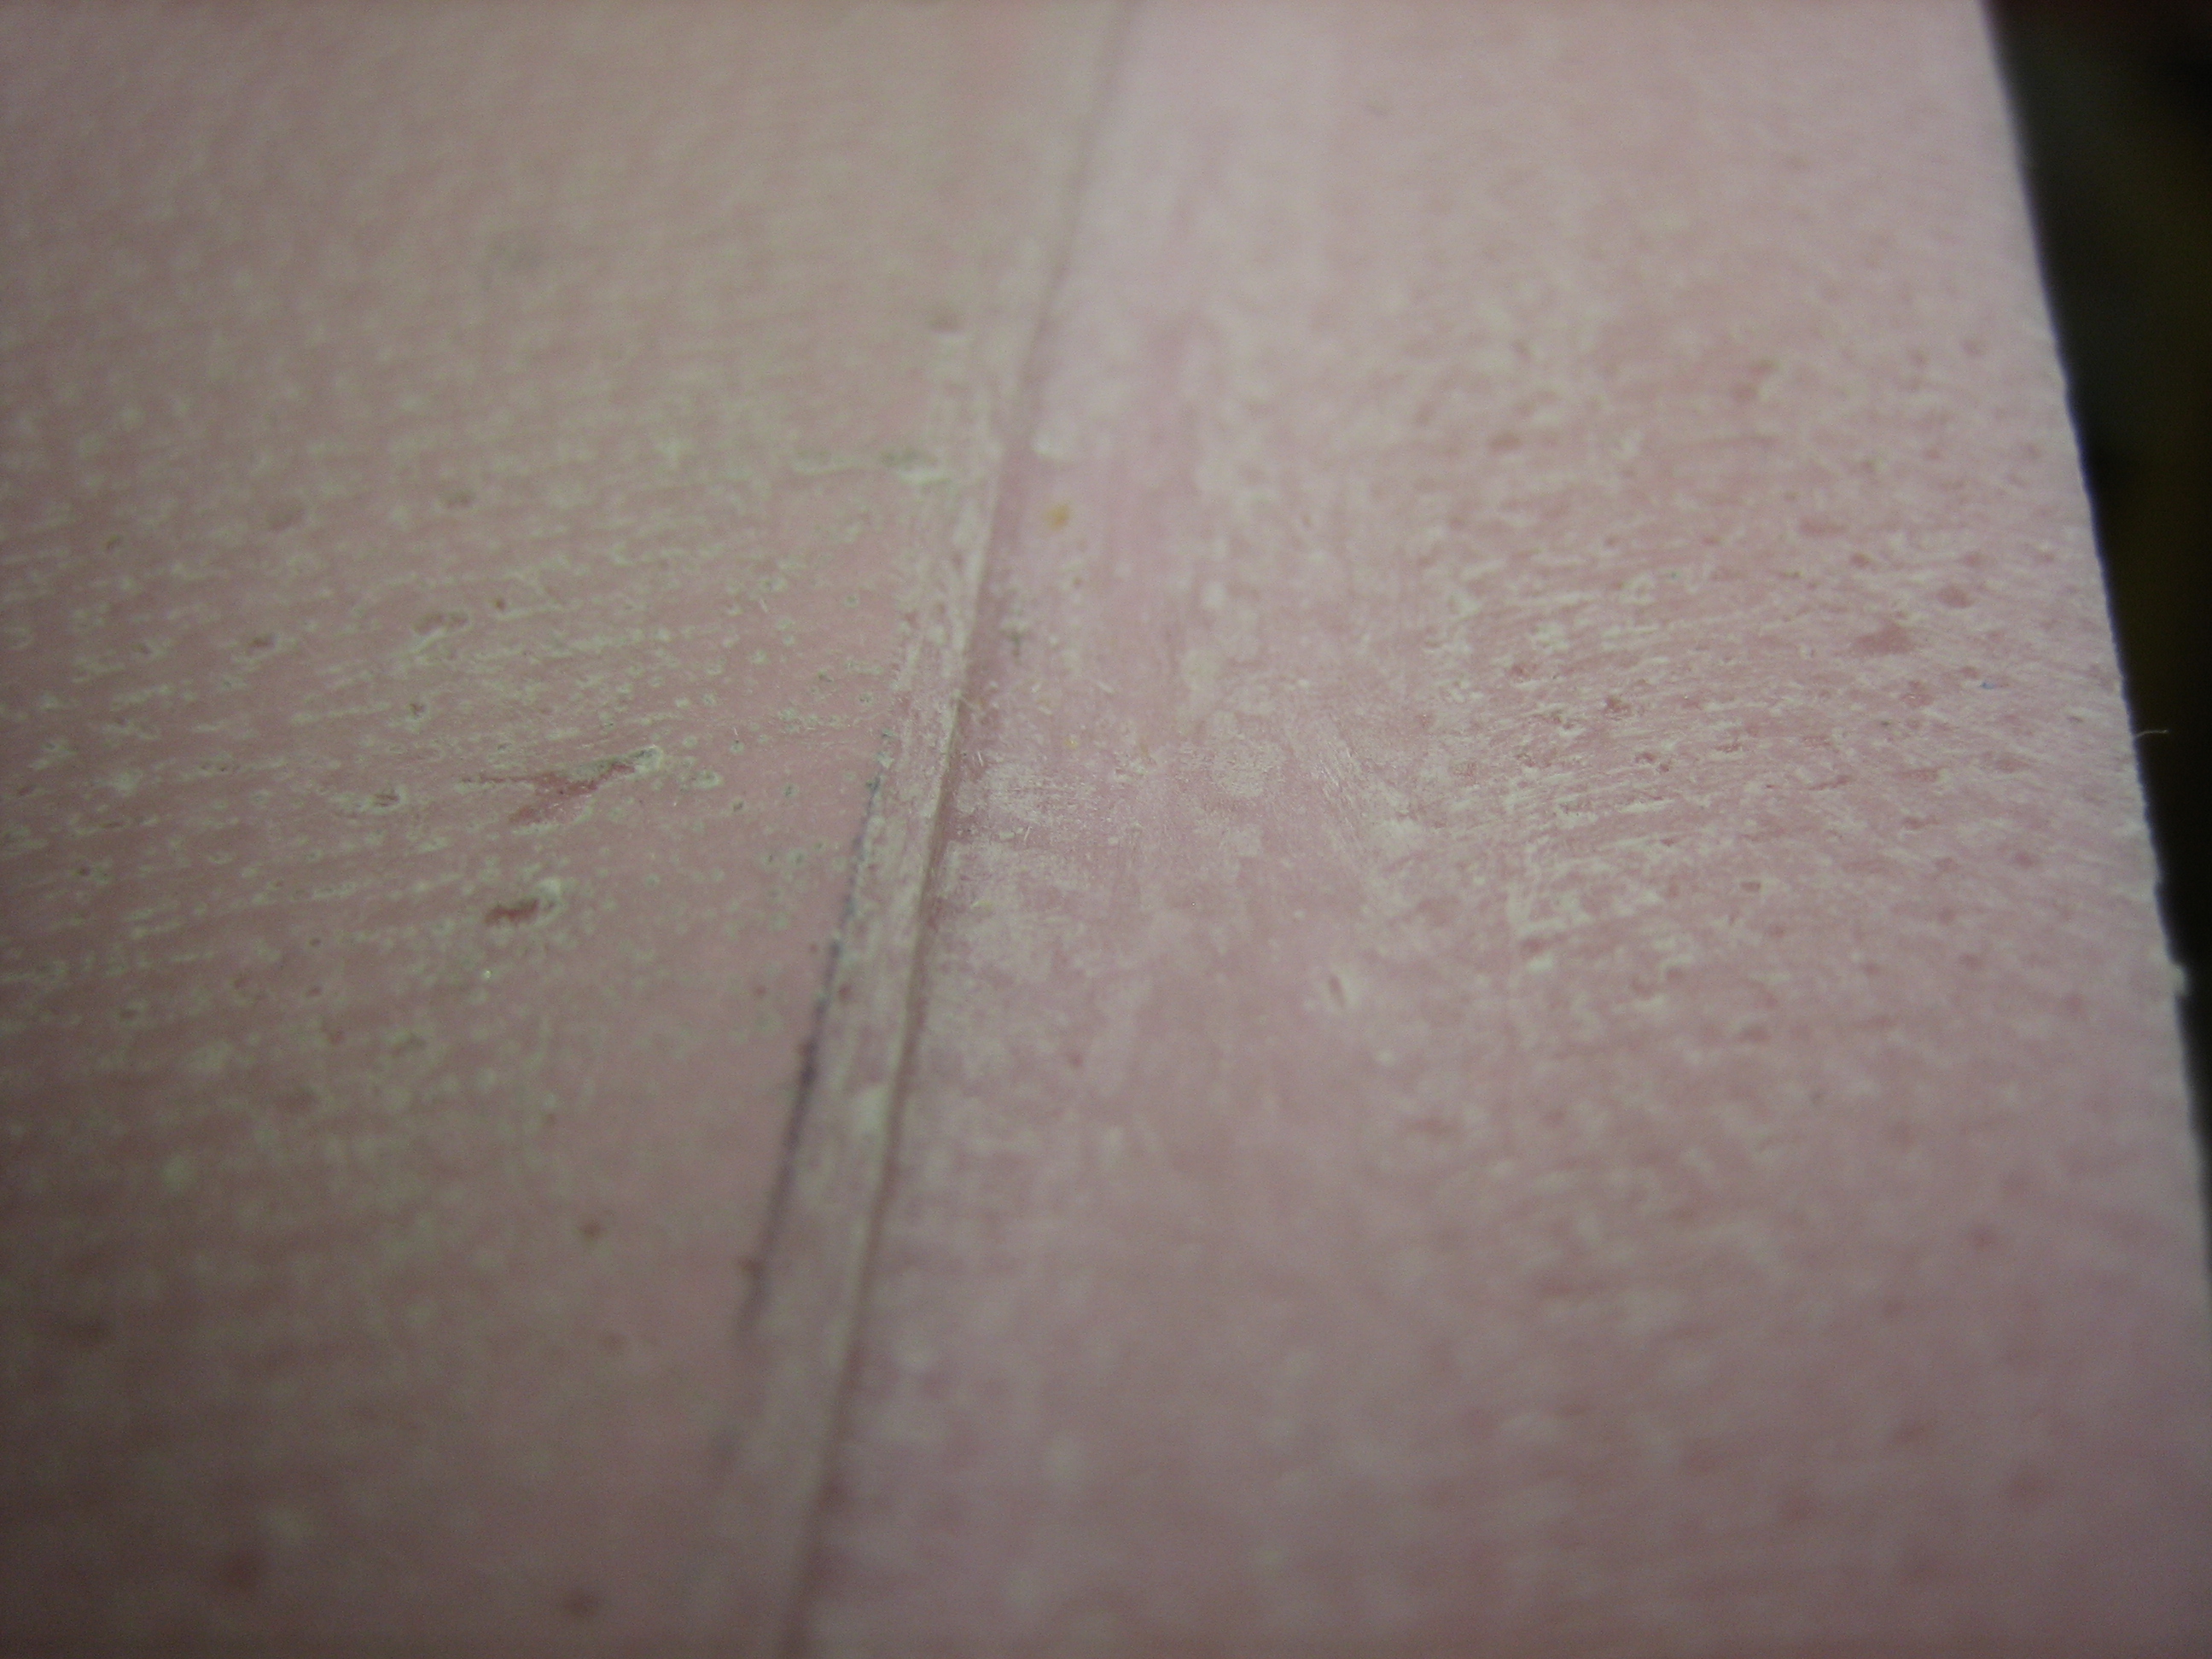
I decided to get started on the oil door tonight.  I started by grinding down the edge of the flange to create a better-defined joggle.

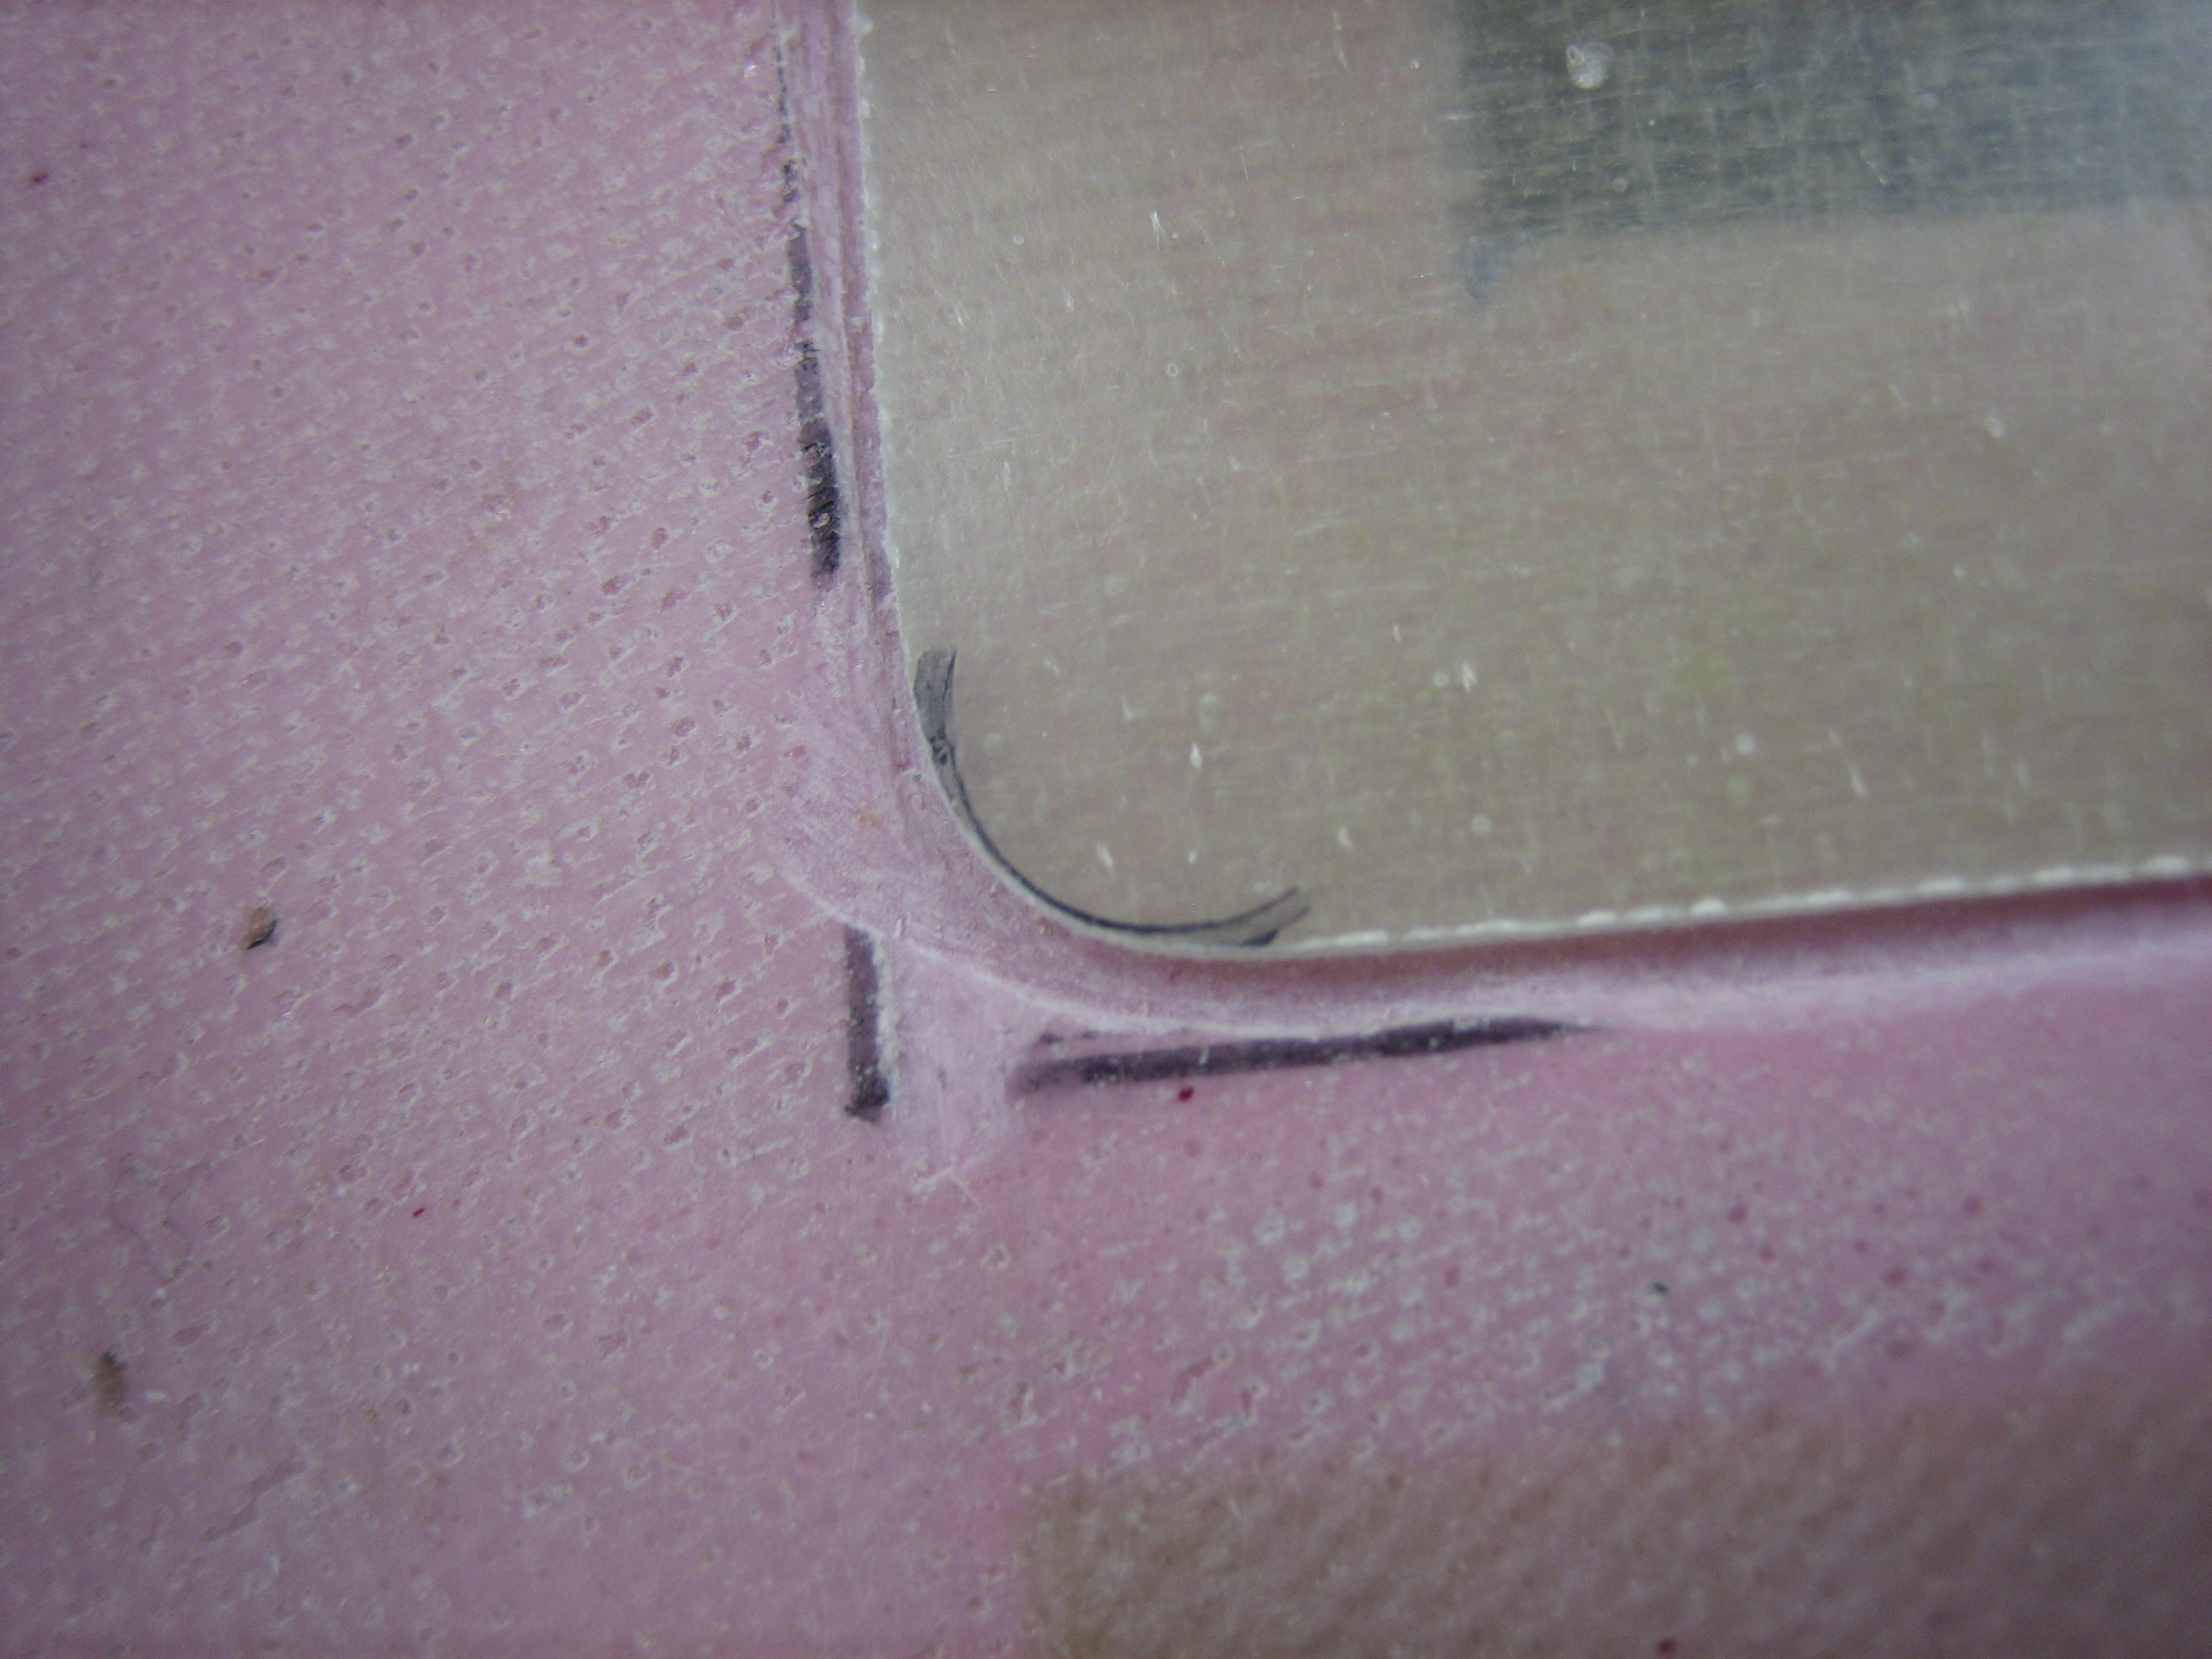
I then trimmed the door itself and radiused the corners so that the door fits down nicely in the cutout.  The trims on the cowl itself are a little sloppy as you can see below, but that won’t matter.  Once I have the door exactly where I like it, I’ll put some structural filler here and use the door itself to mold it perfectly.

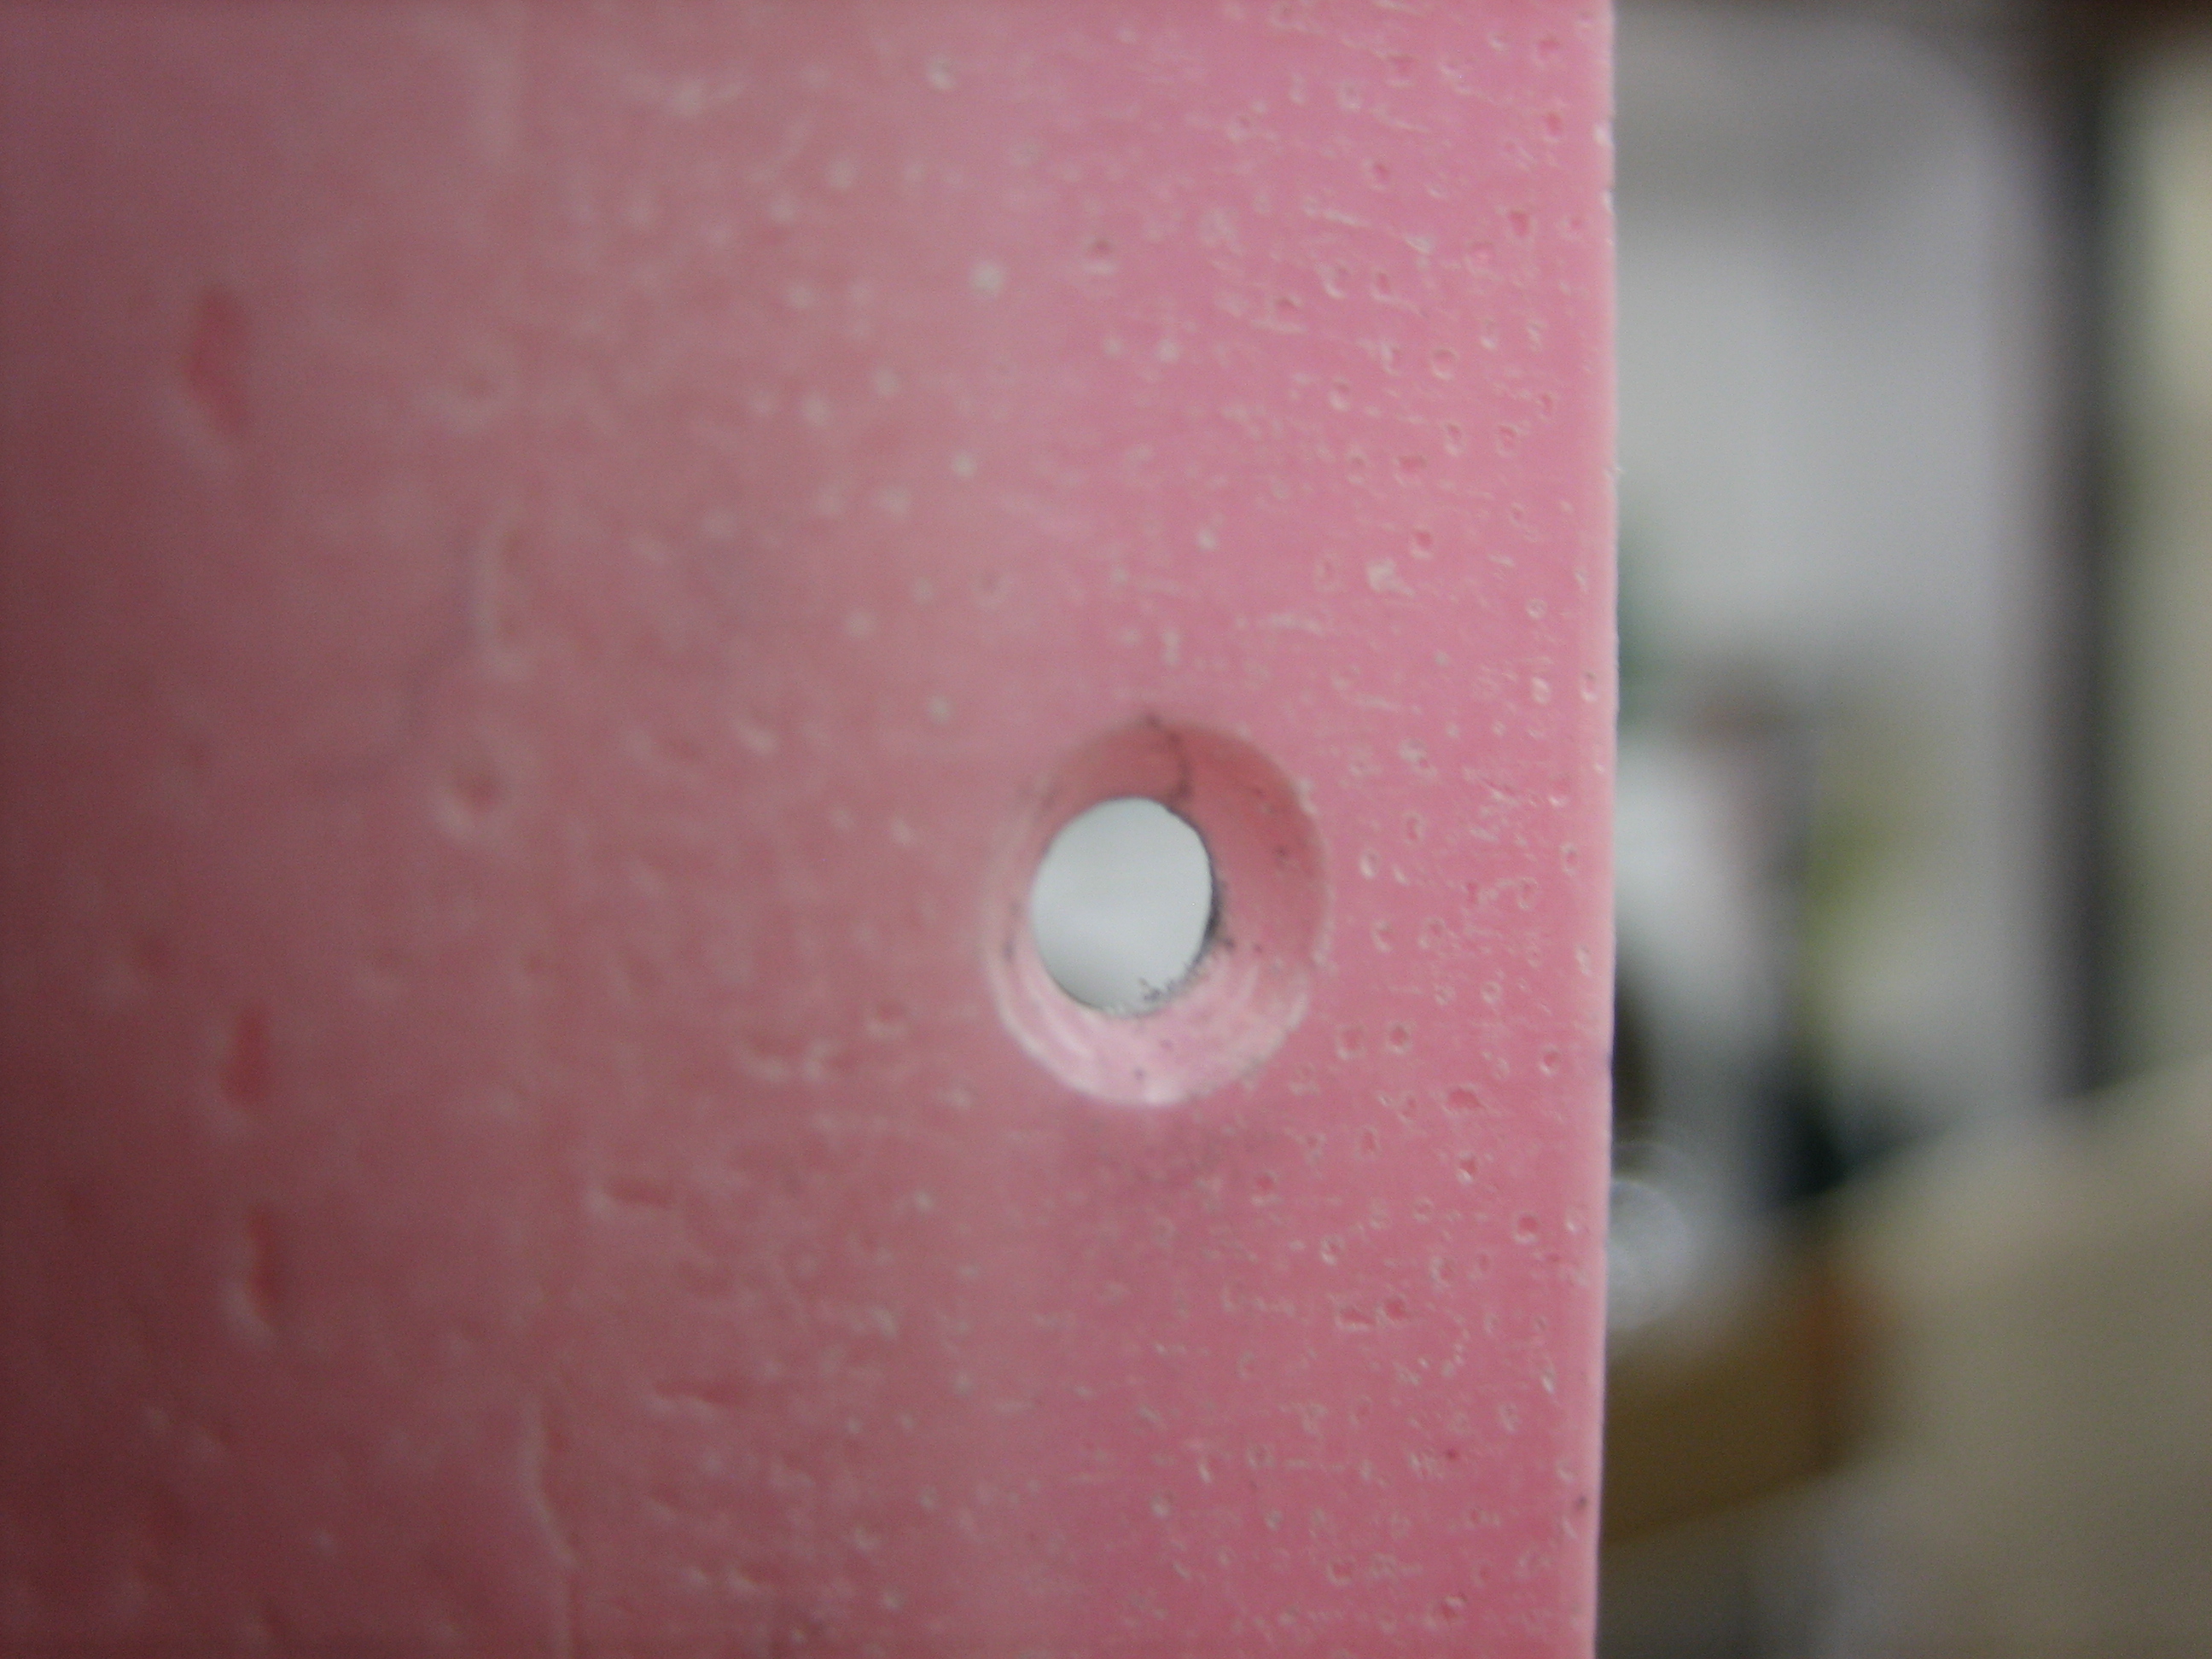
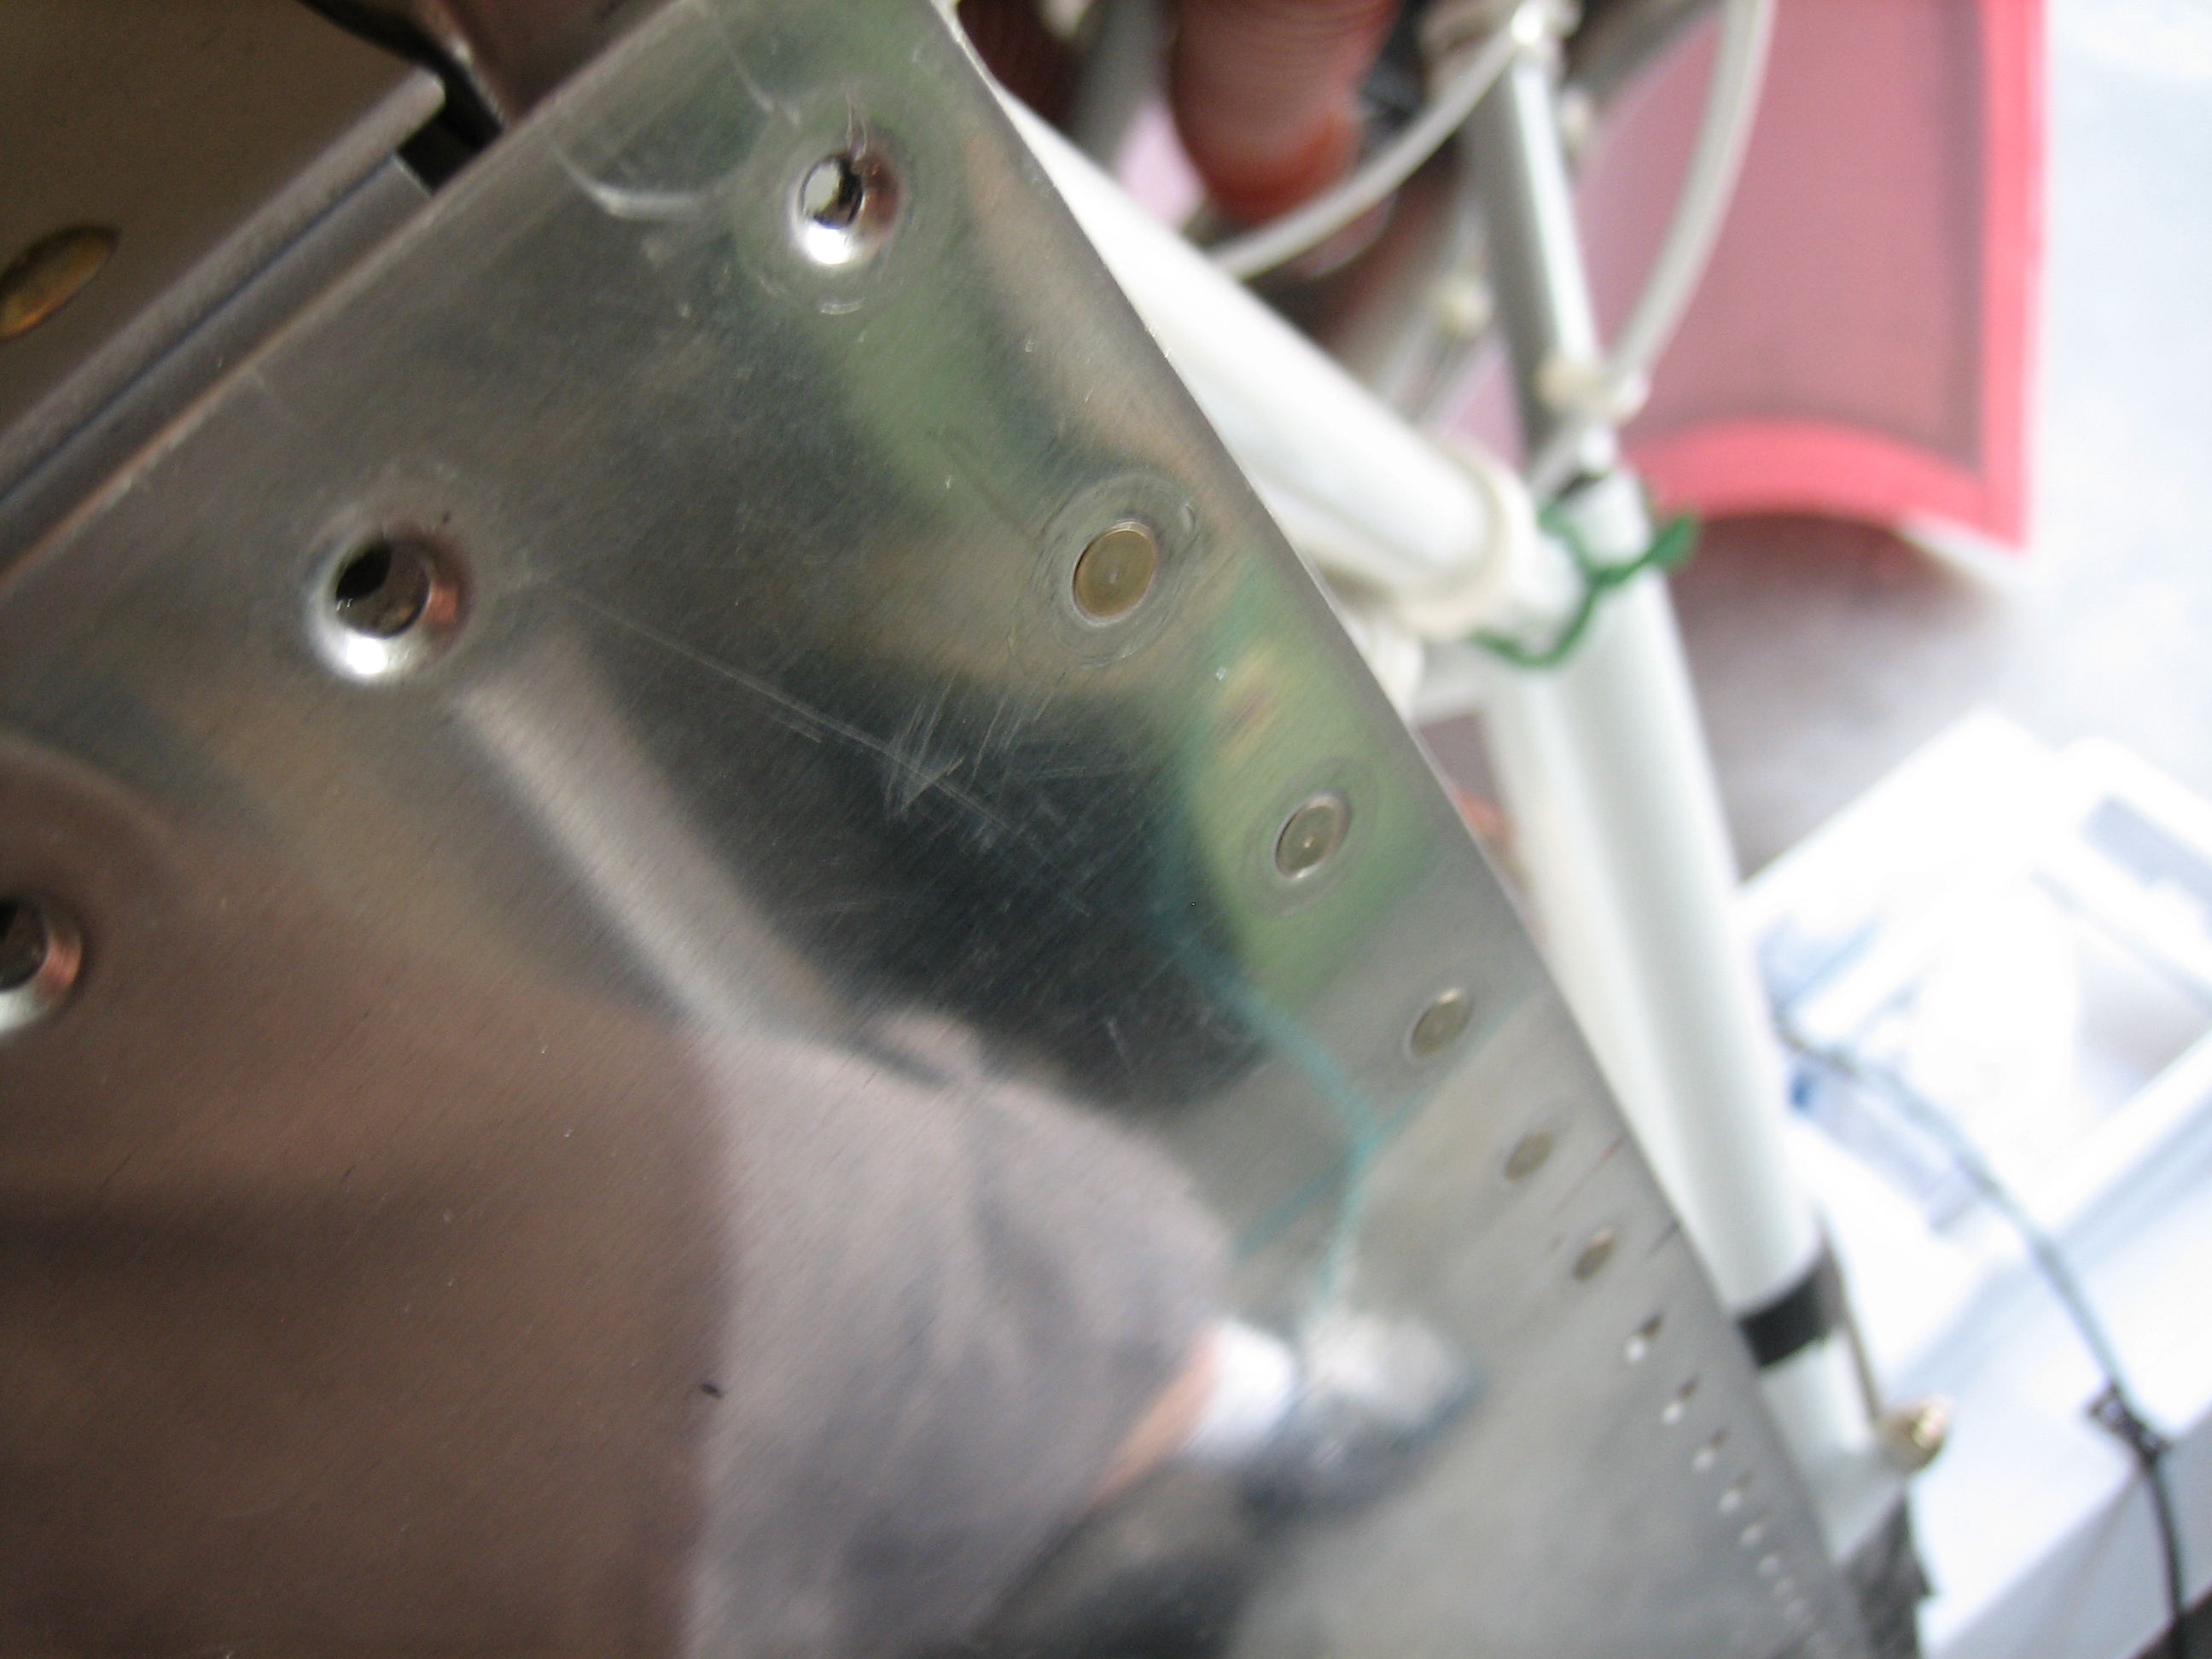
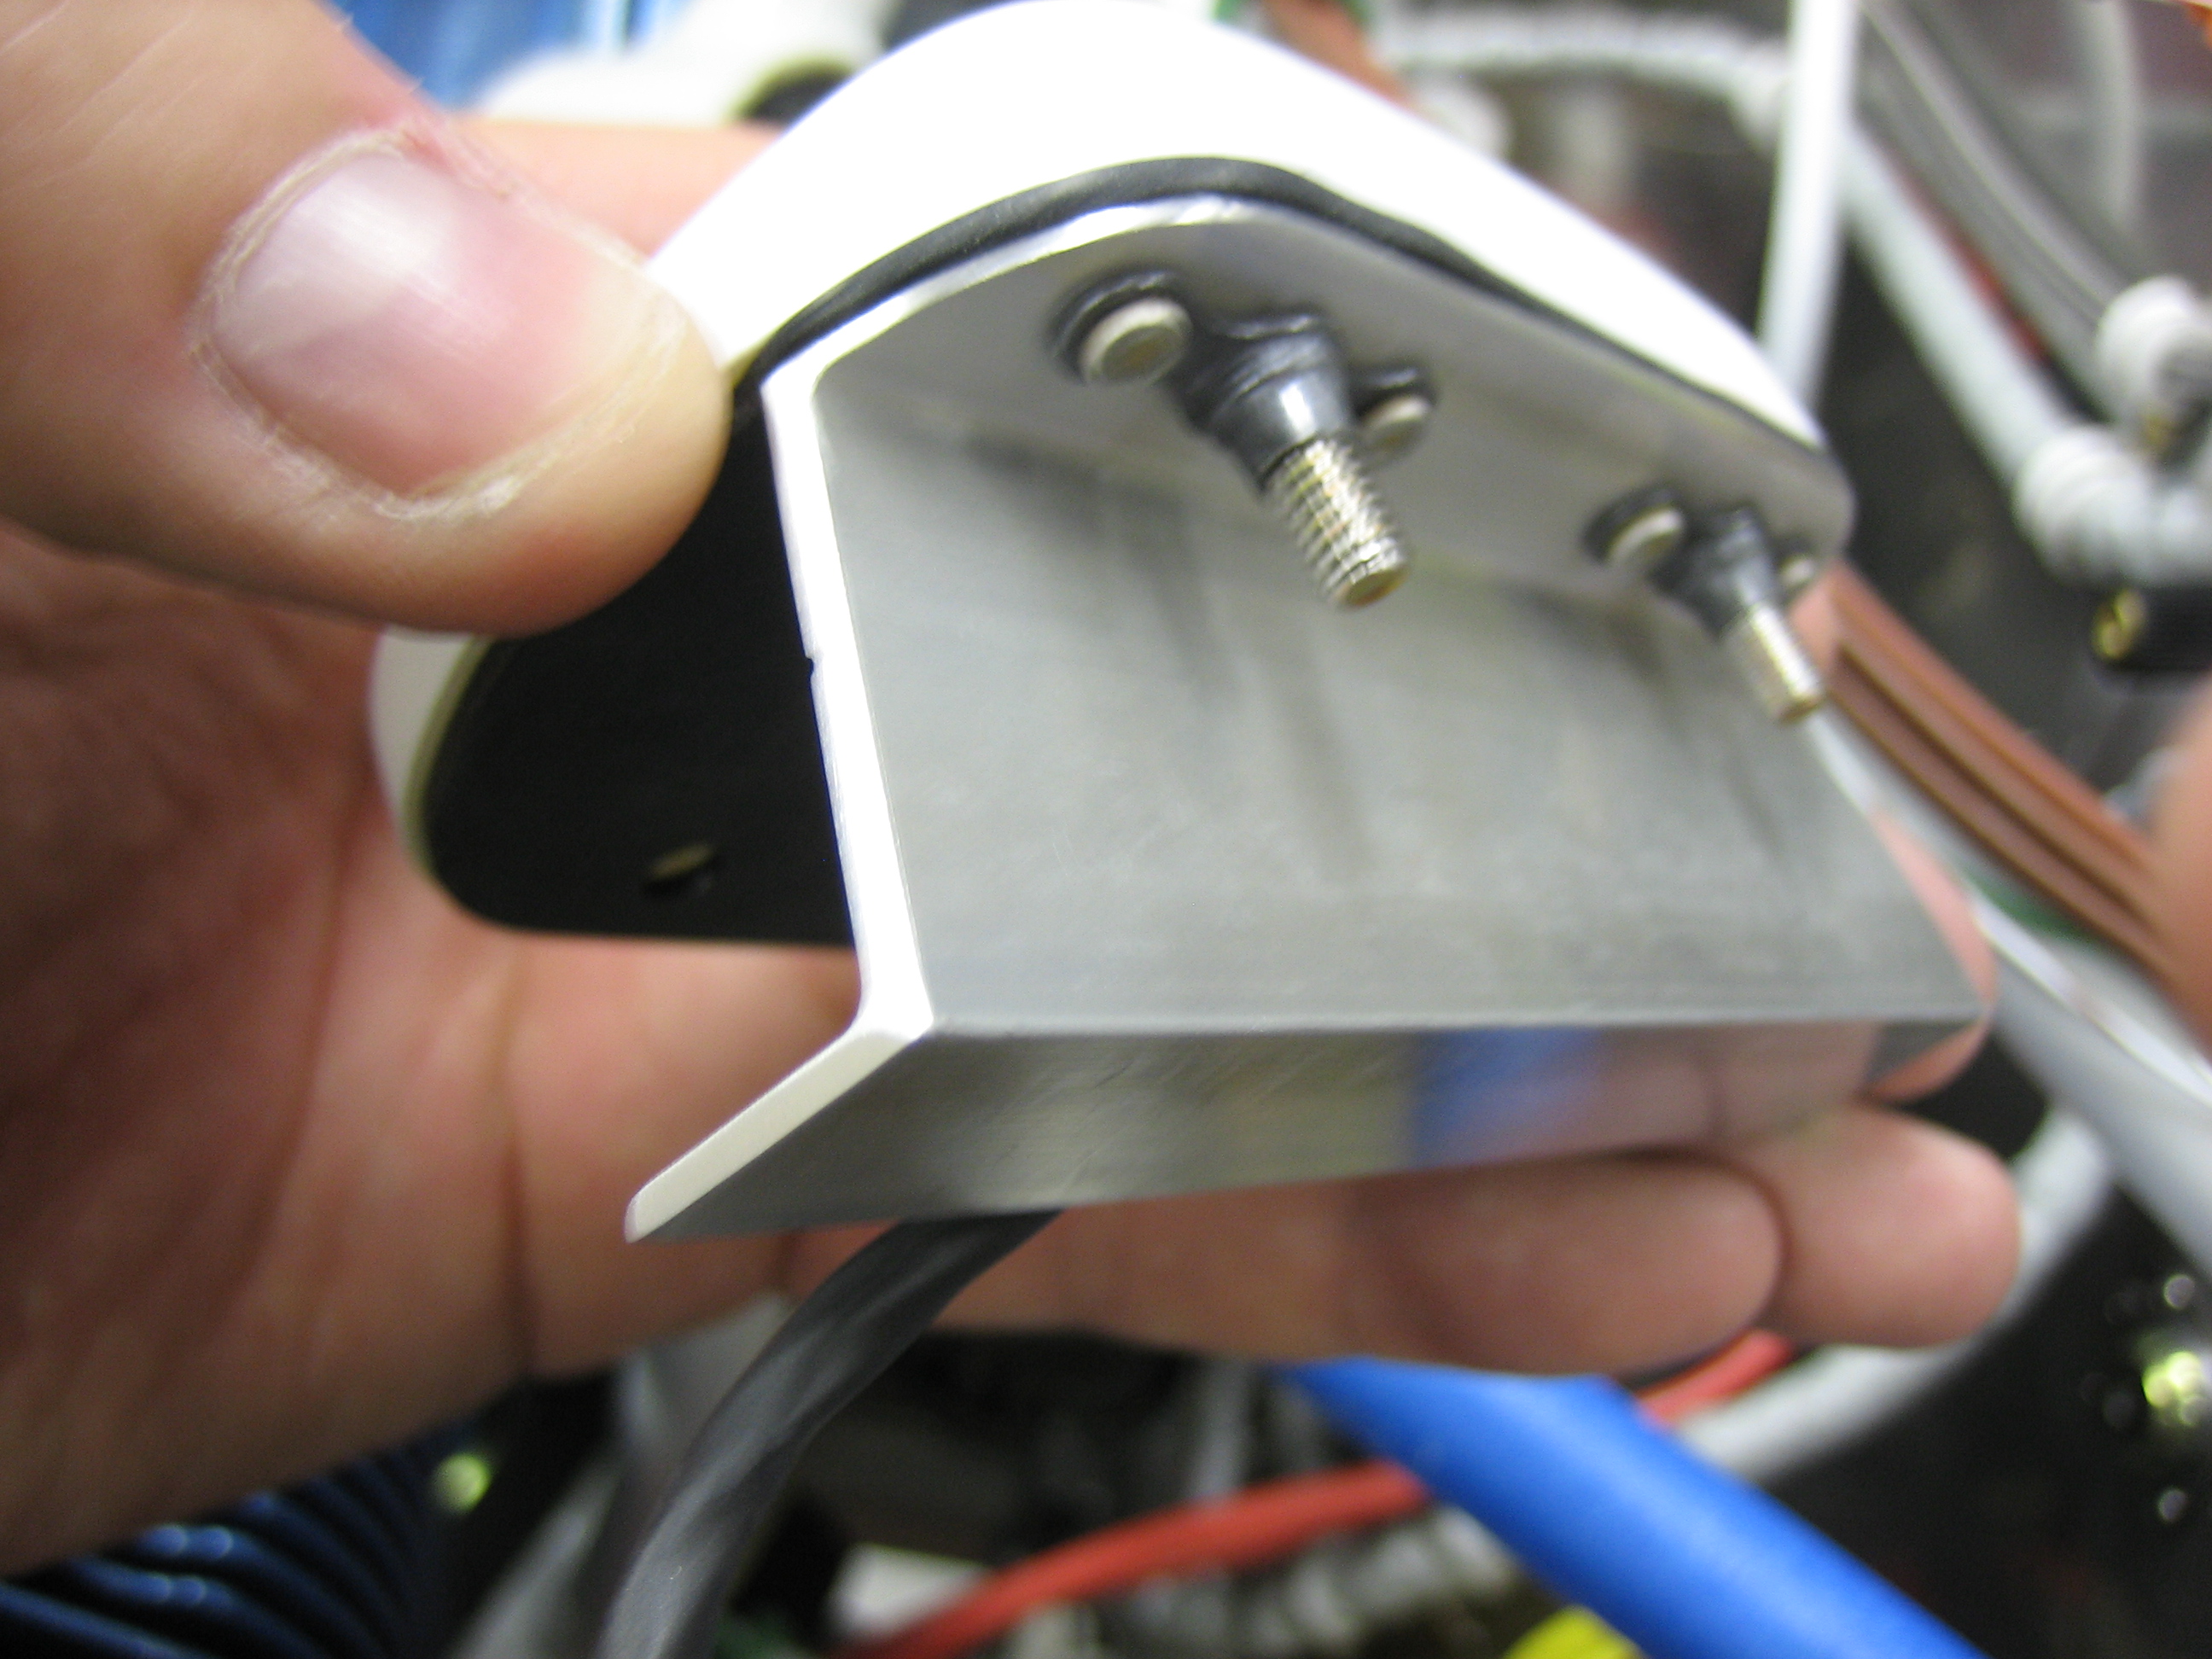
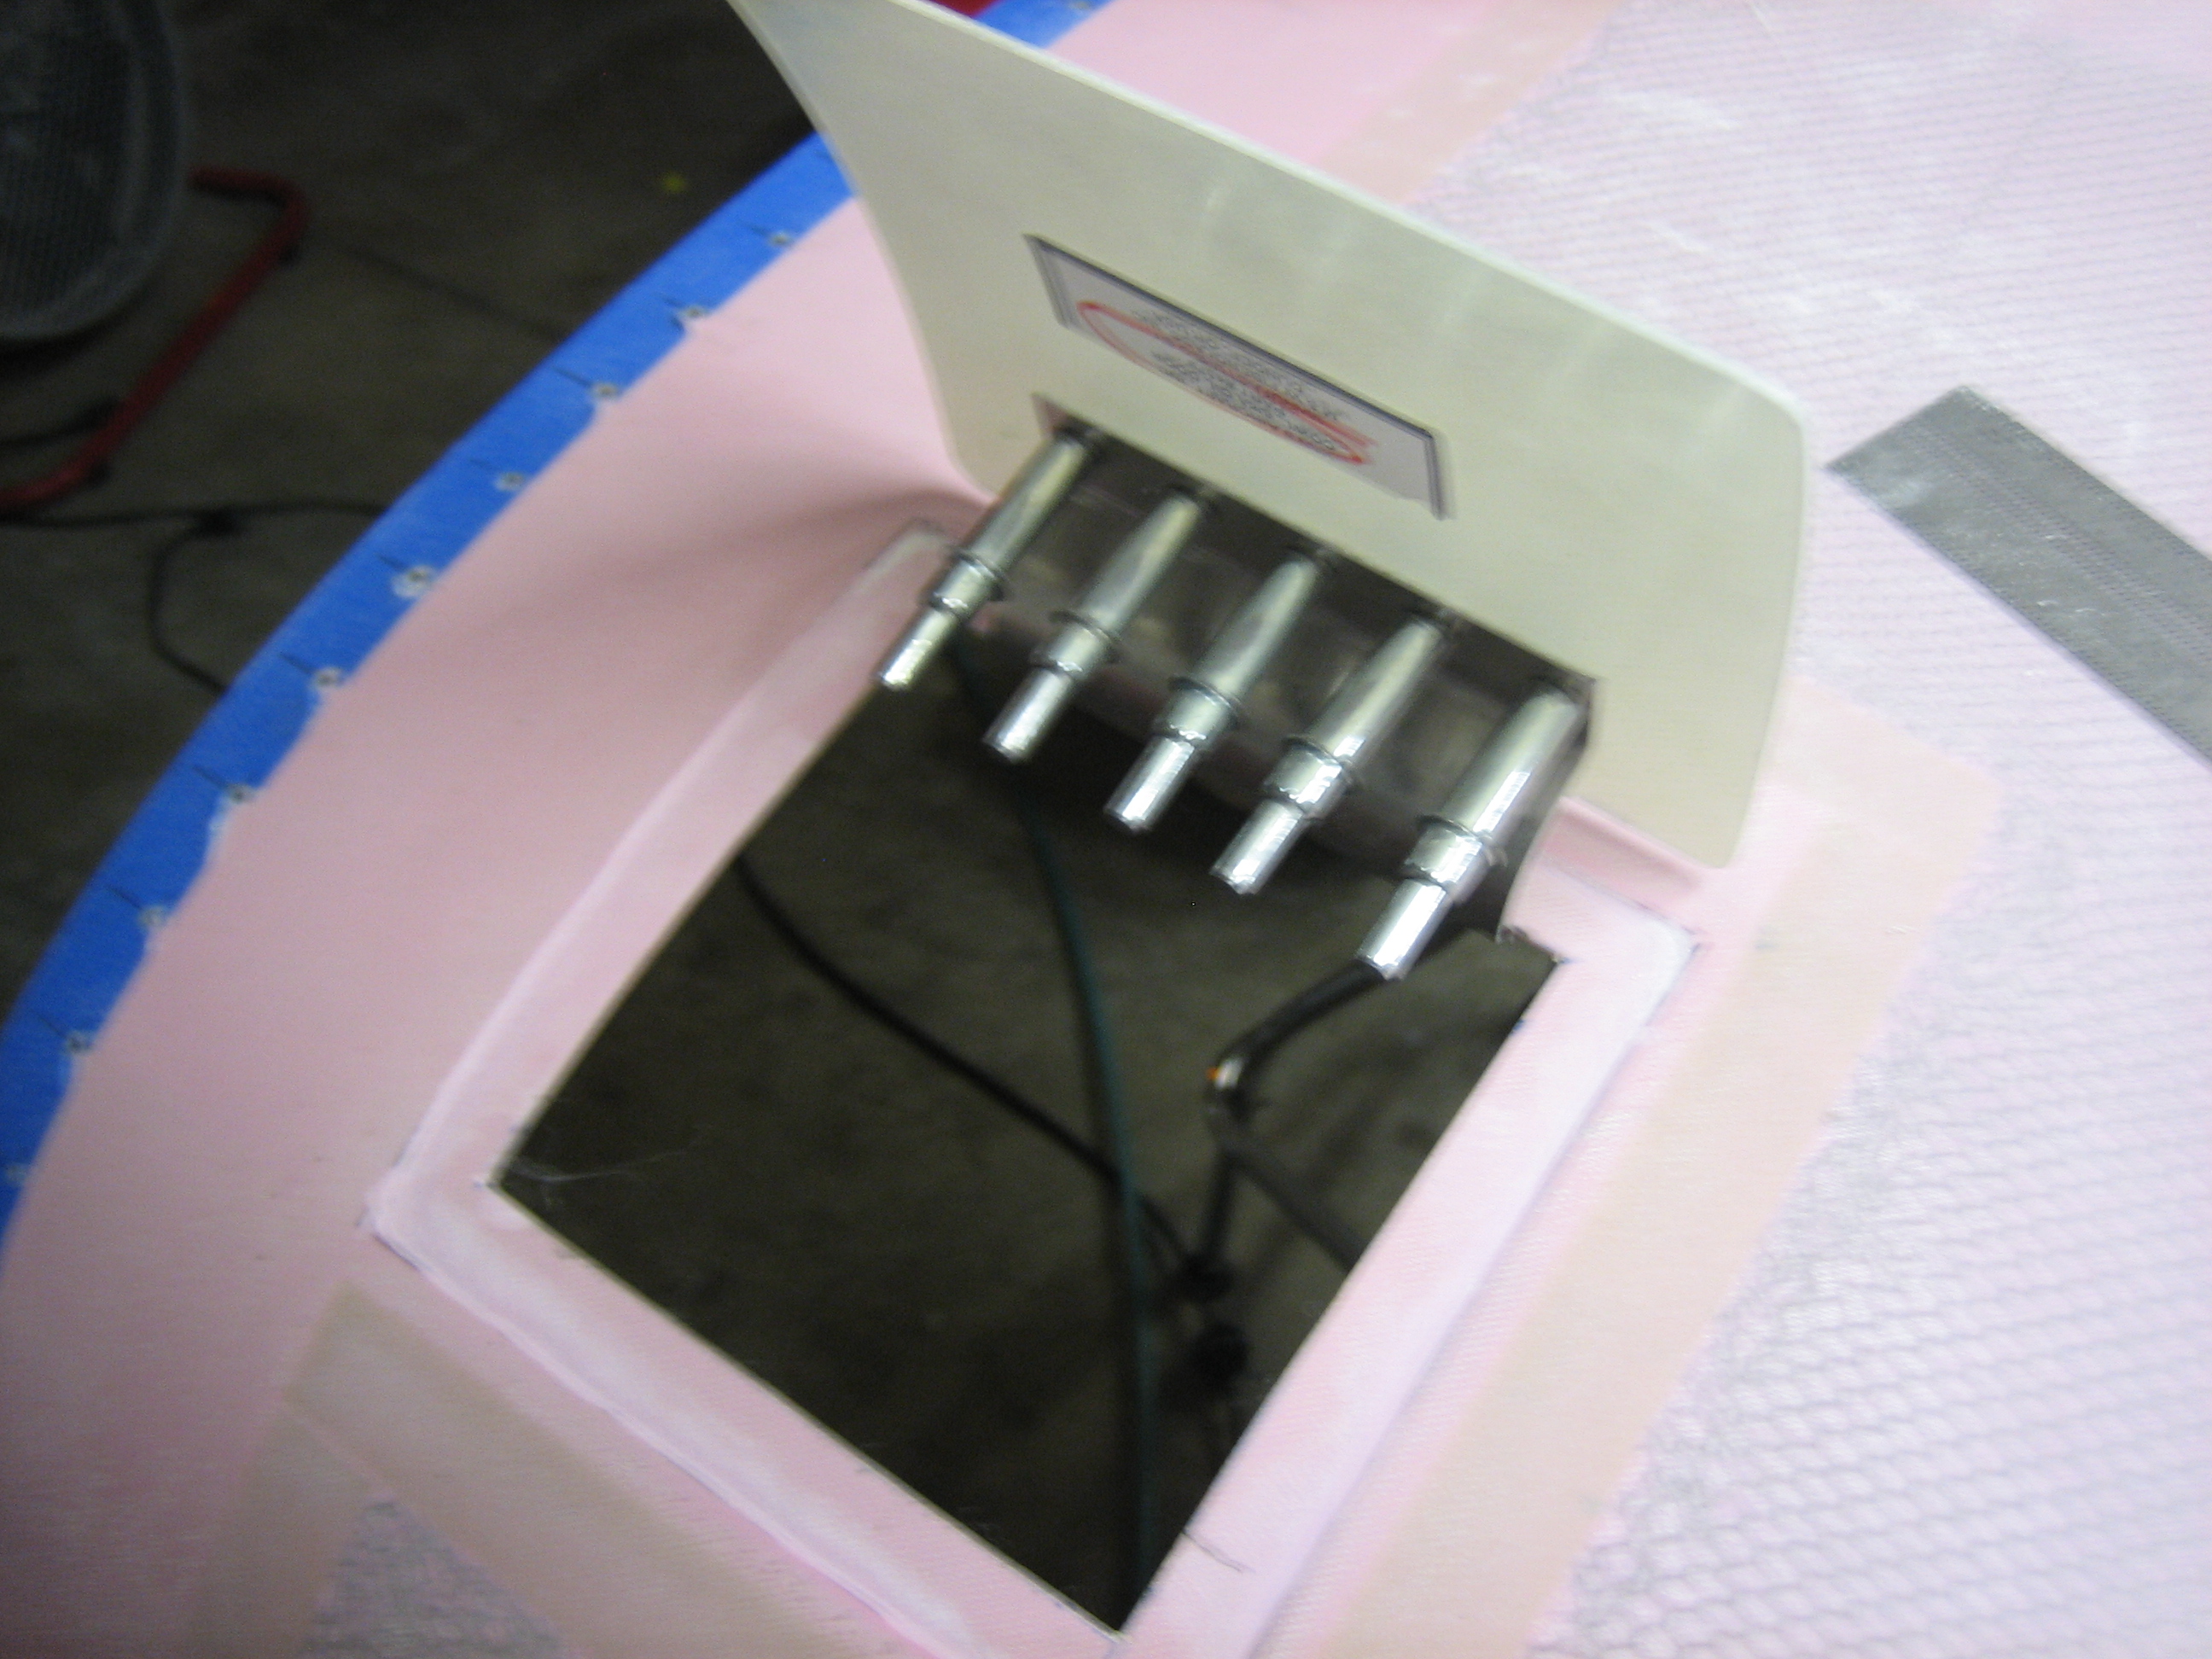
I then drilled the hidden hinge to the cowl and door.

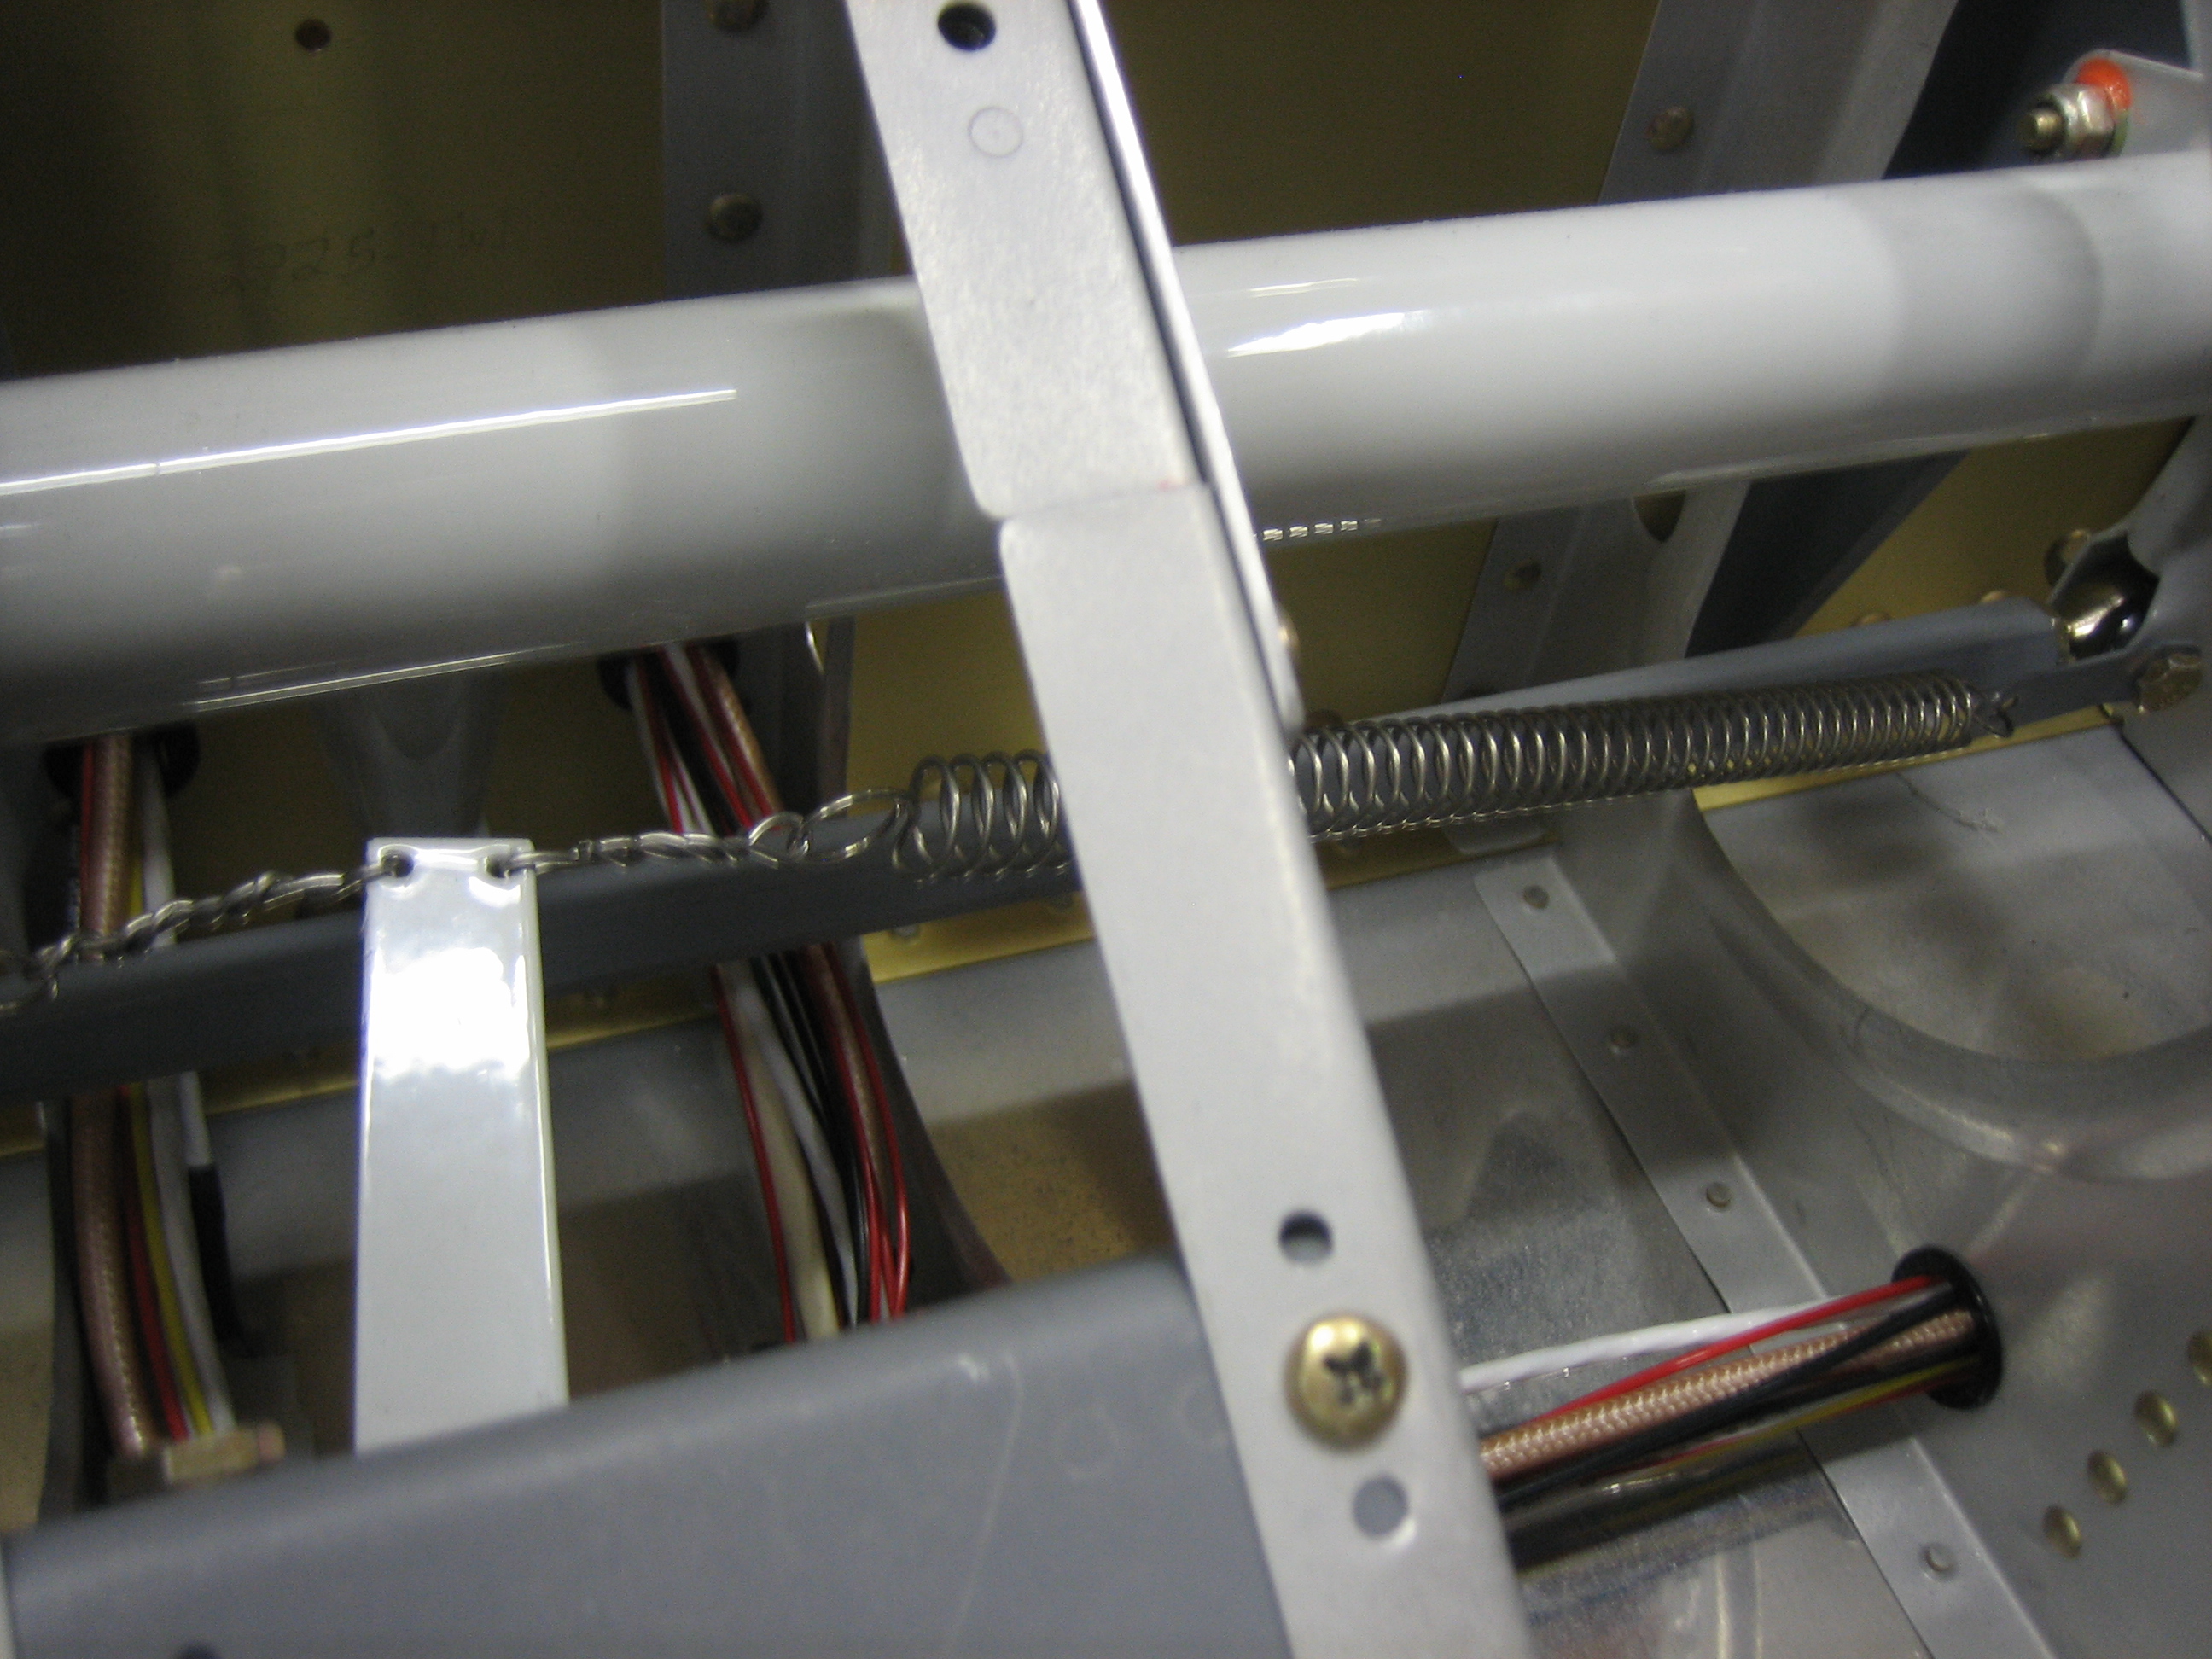
The hinge has a spring that will hold the door open while I’m checking the oil.  The door is pretty flimsy right now.  I’m going to need to stiffen it in order for it to work.

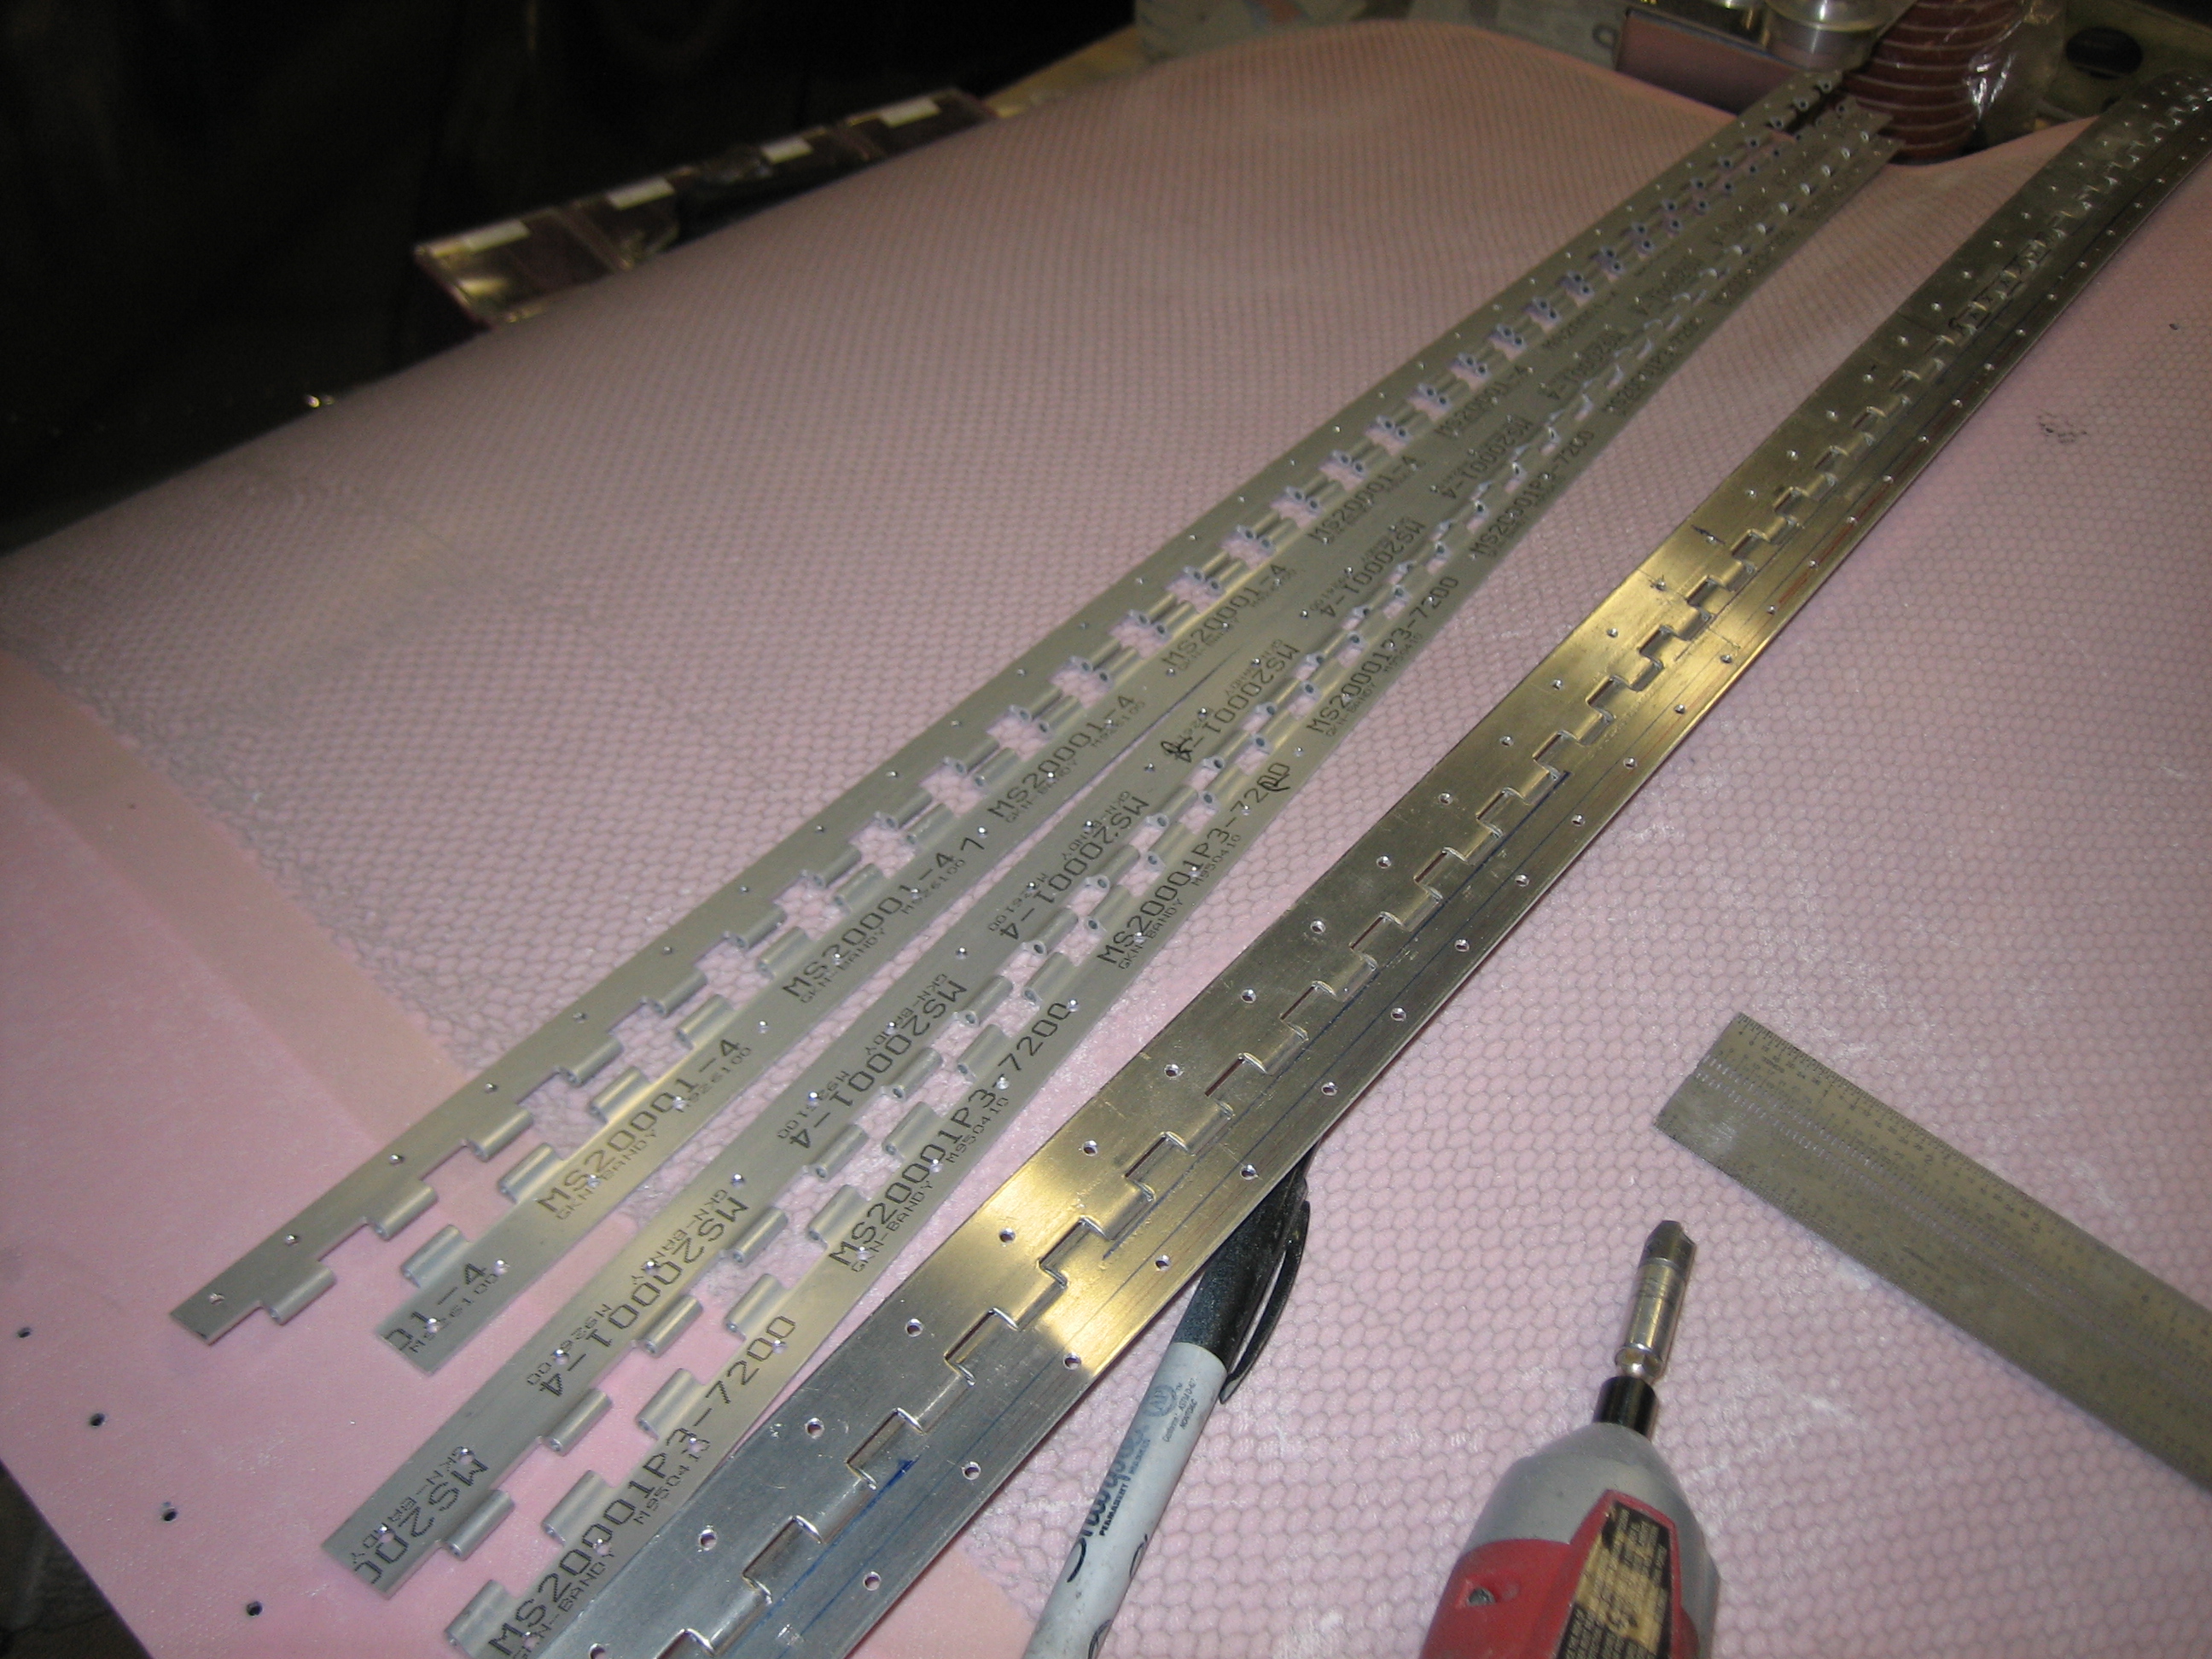
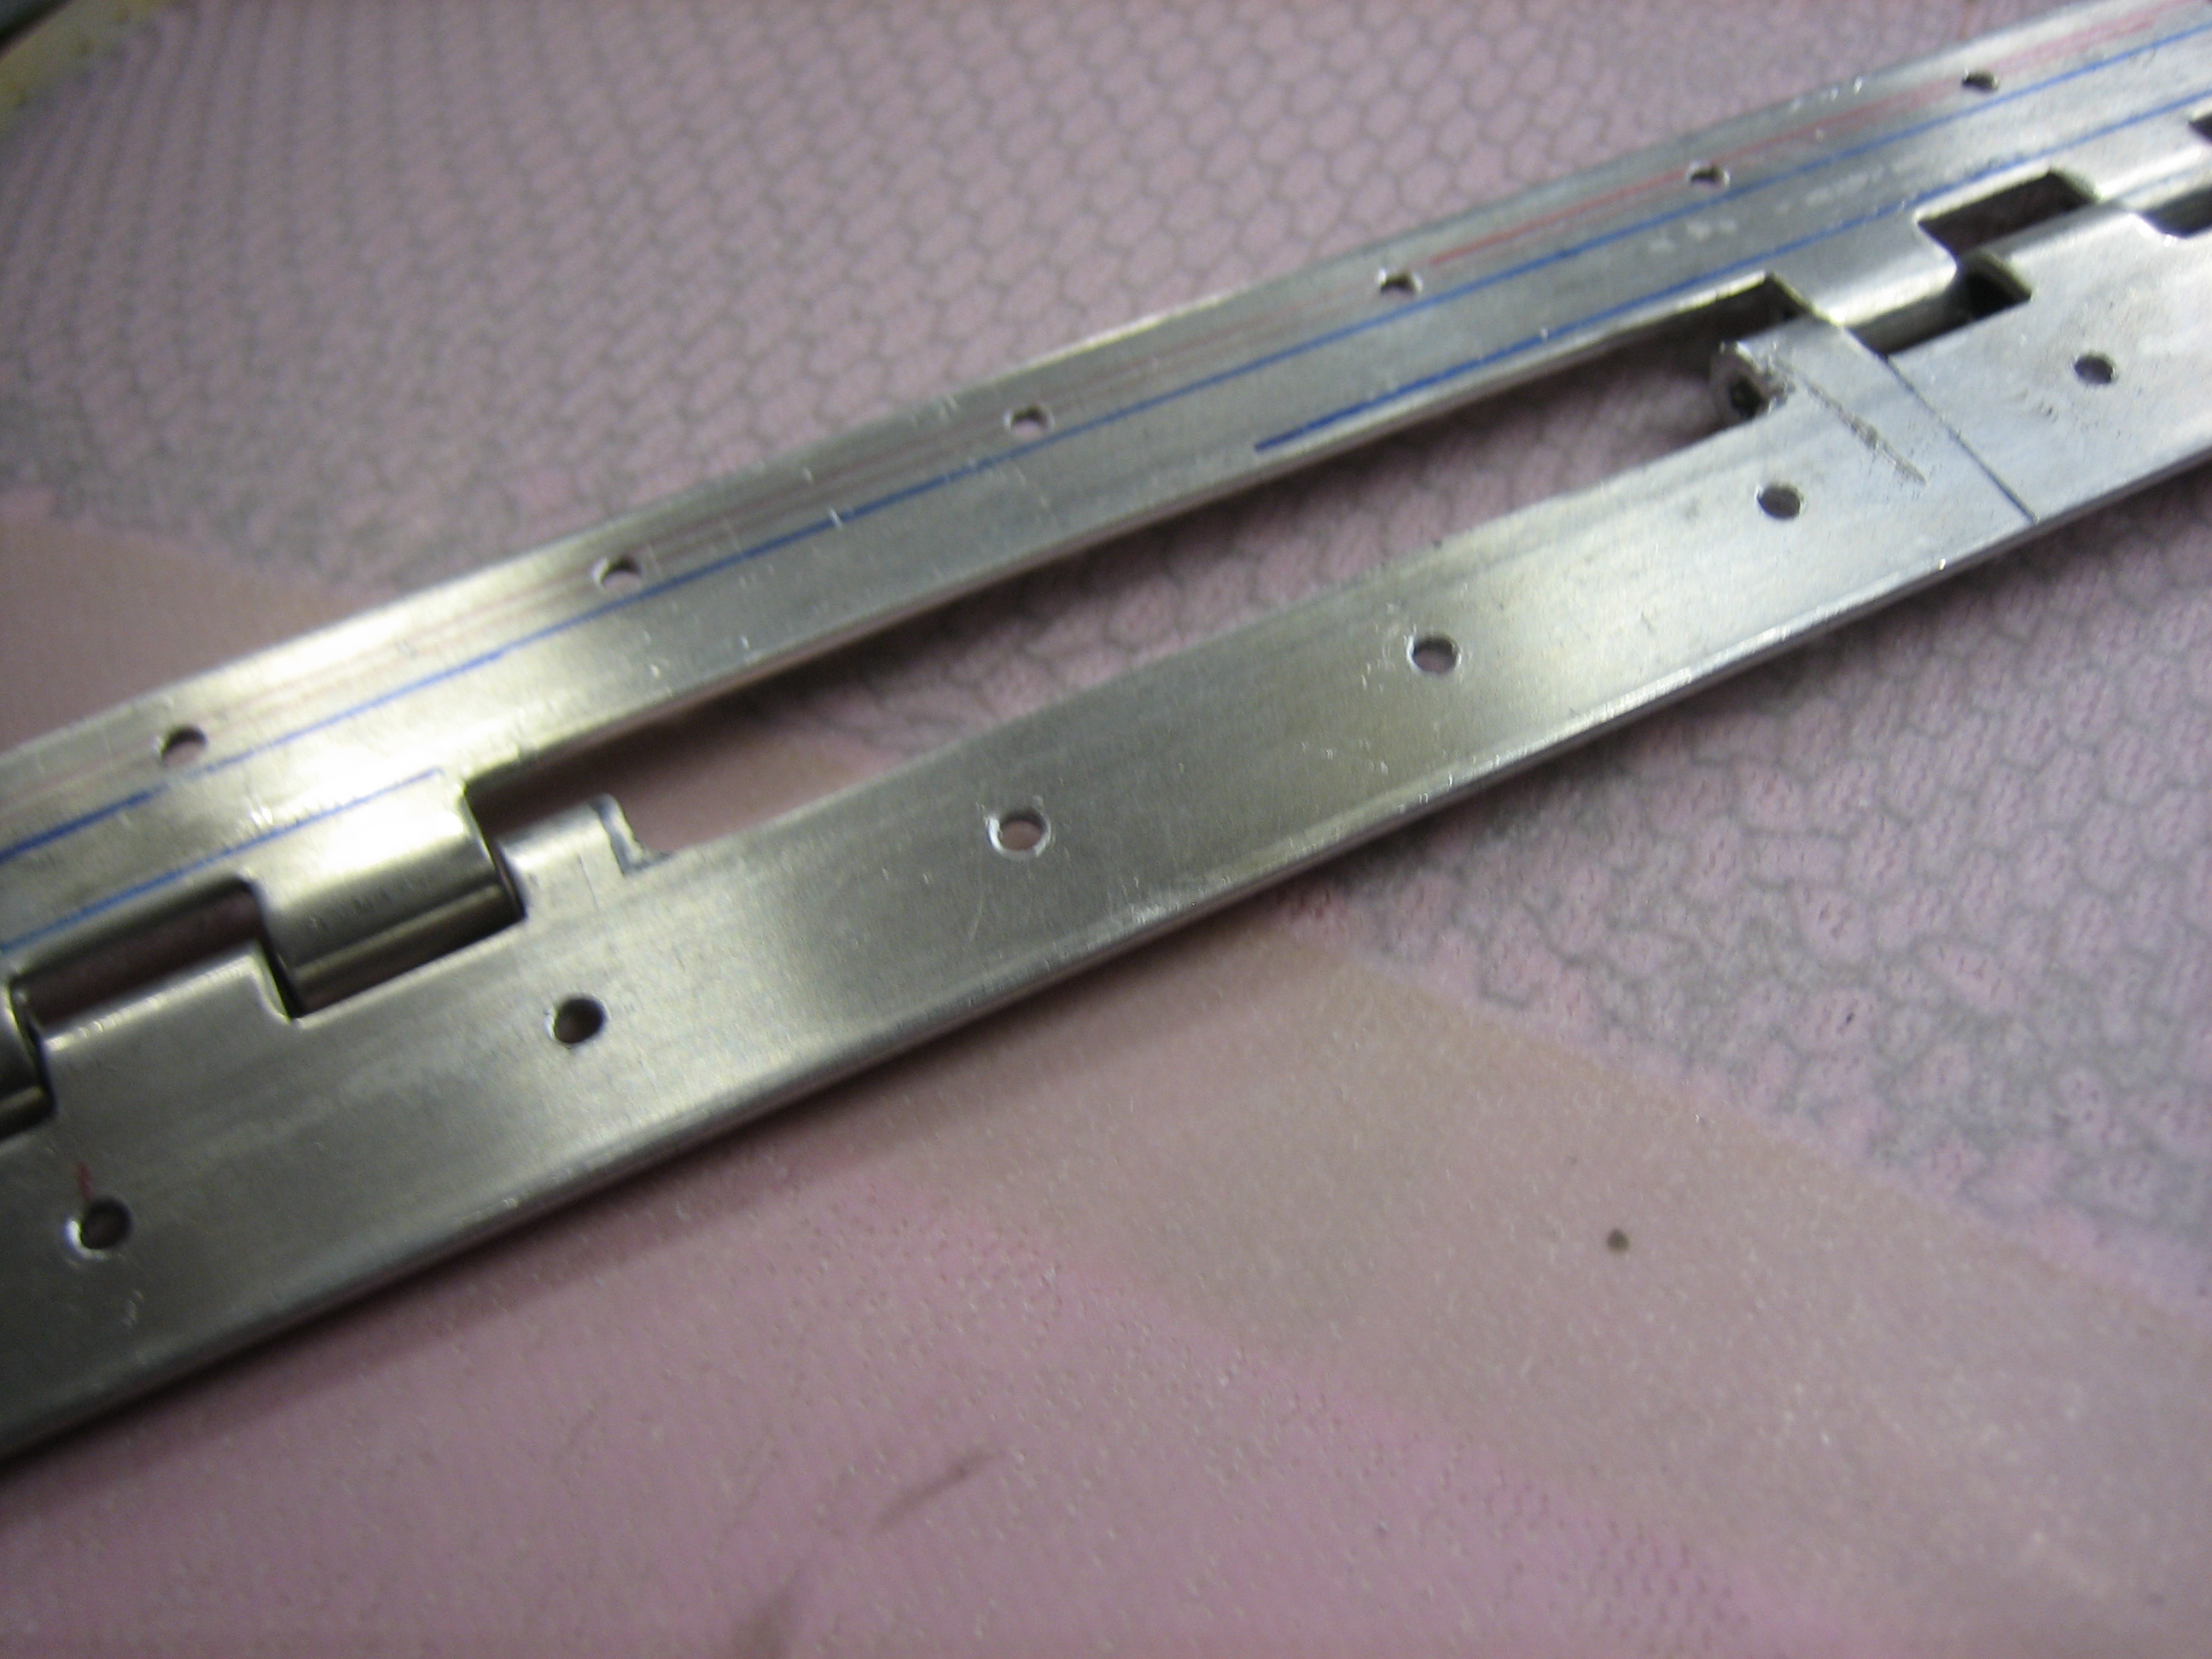
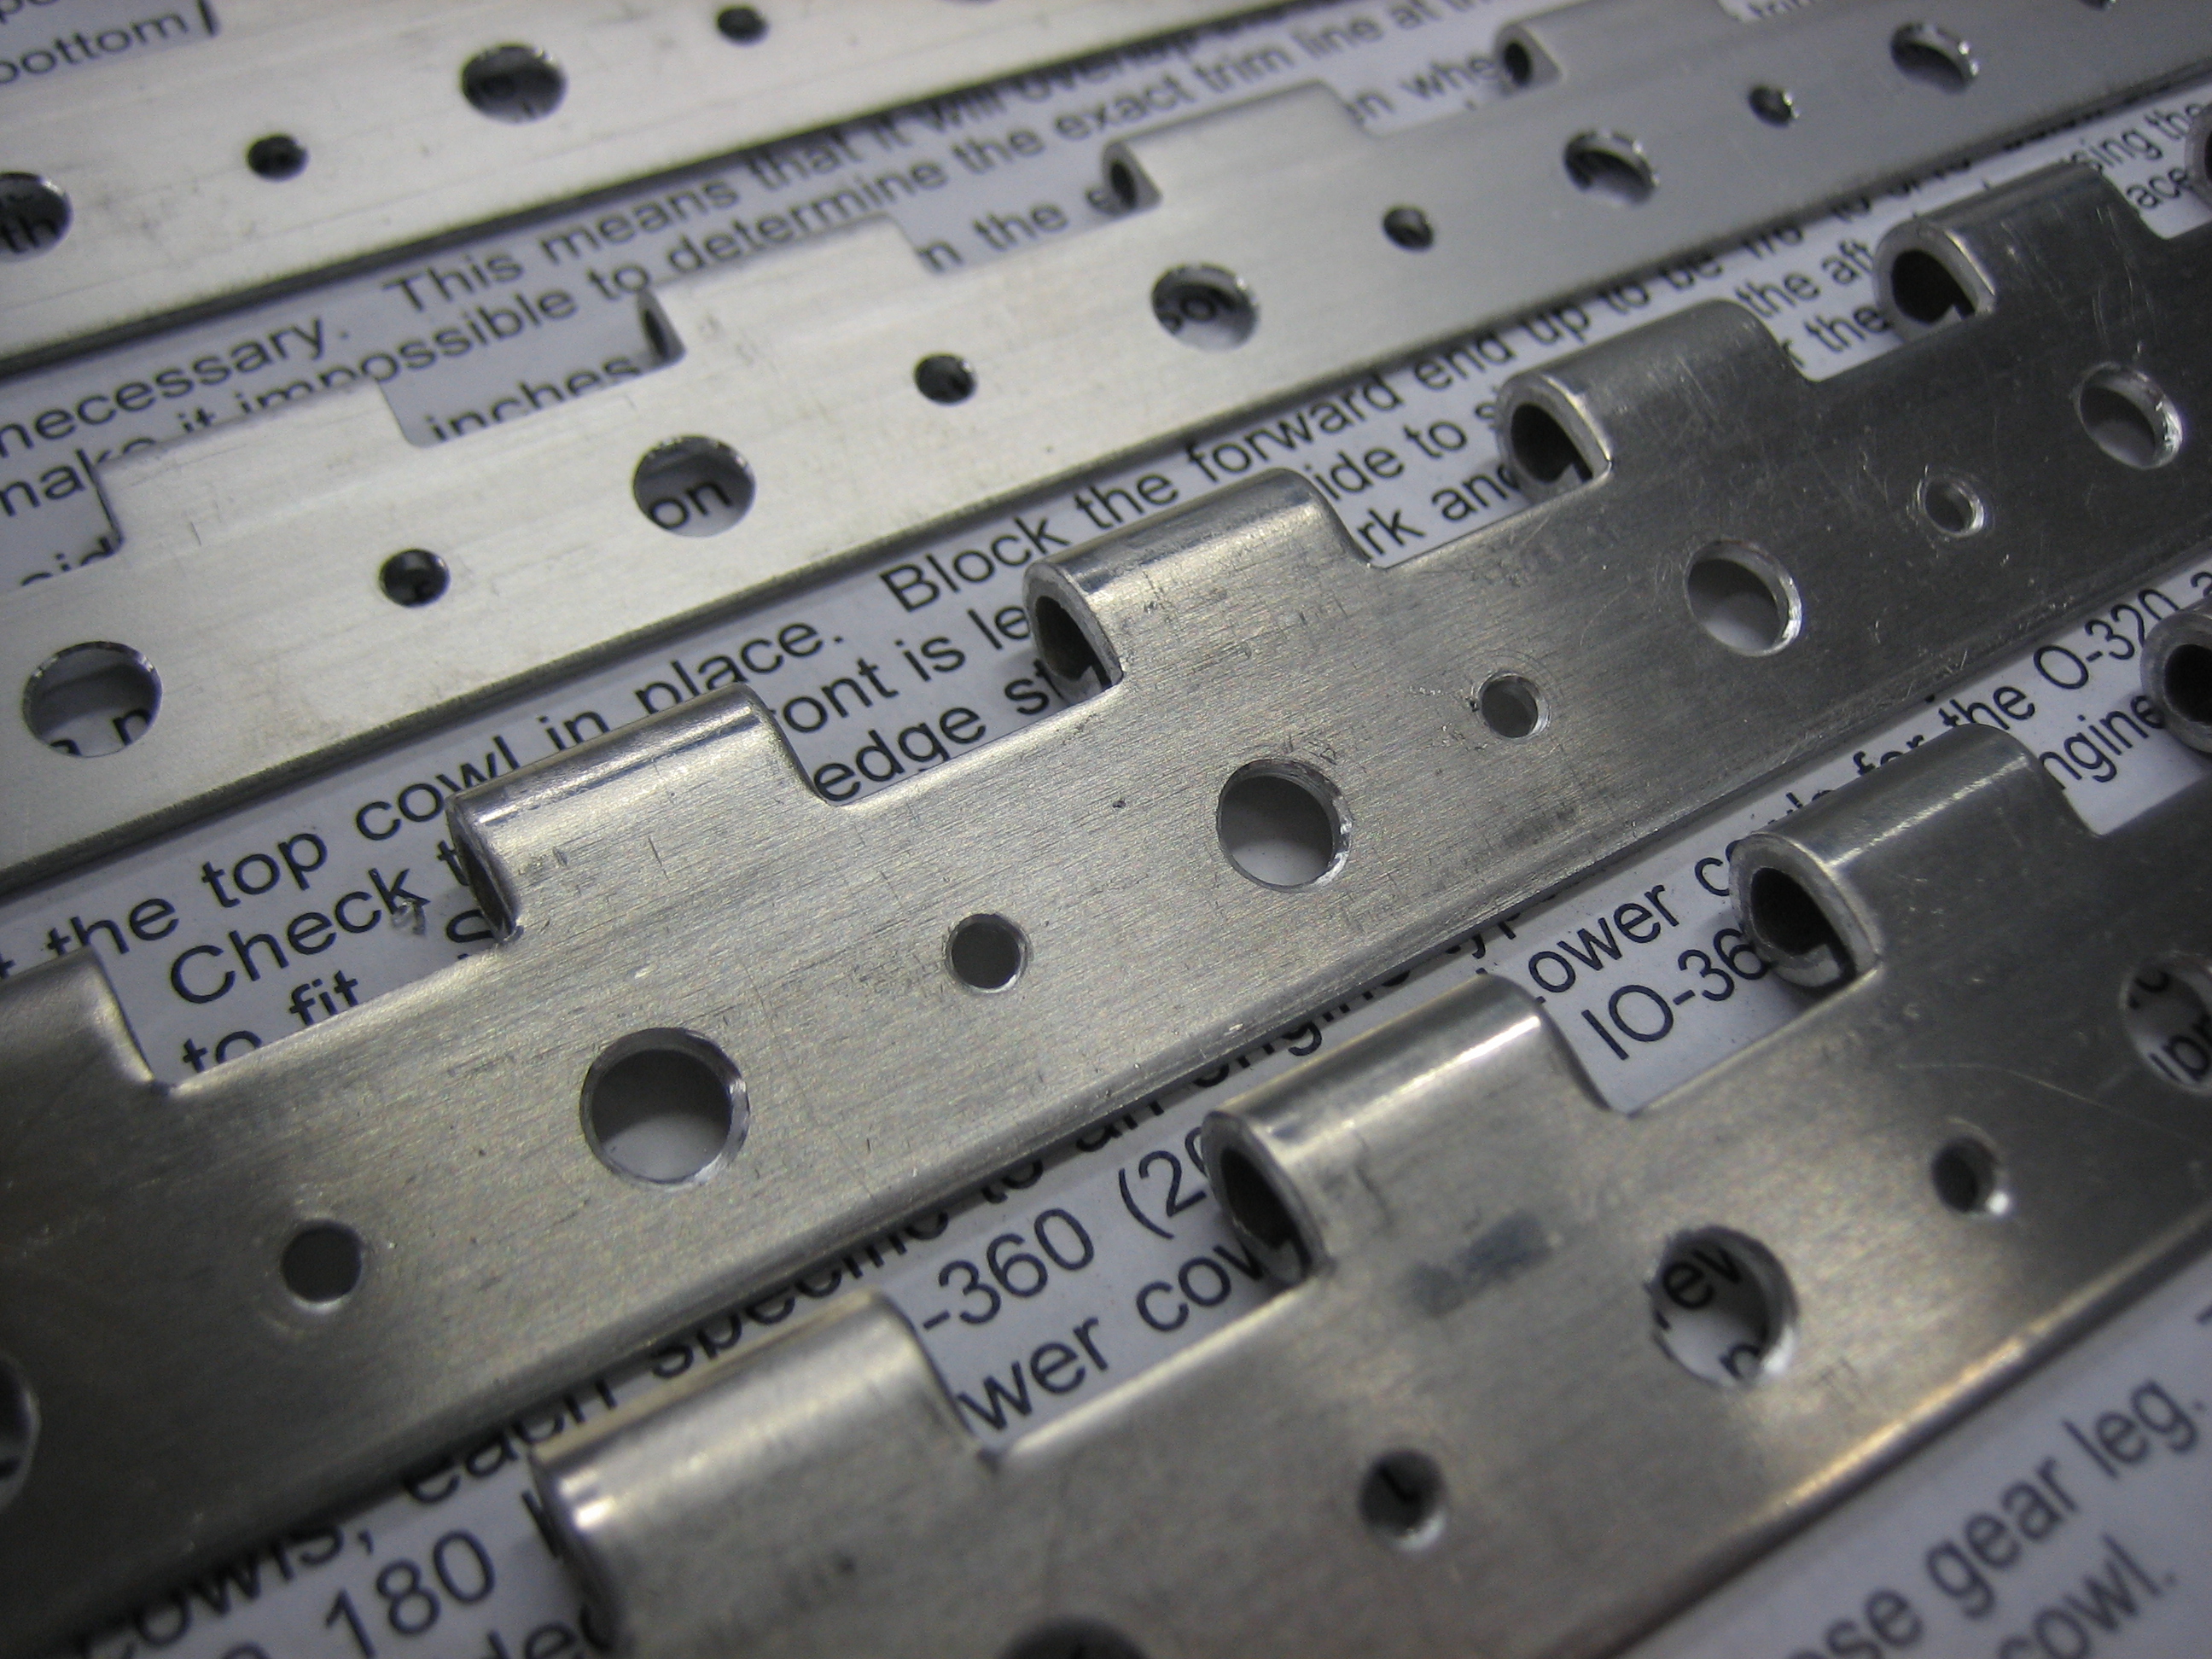
Finally, I spent a little time debarring all of the holes I drilled in the cowl attach hinges.  I still have a few more to go, but this makes a big dent in the deburring.

Worked on Cowl Hinges

Tyson Weihs, one of the co-founders of ForeFlight, stopped by tonight to check out the project along with my buddy Andre.  We spent an hour or so talking about RVs before I got started building.

I spent most of the night working on the cowl attach hinges.  First up was to pull the lower cowl and finish drilling the stainless hinges along the bottom edge of the cowl.  Drilling steel is a pain, and you really want to drill the hinge before drilling the cowl to avoid elongating the hole in the cowl.  Next up, I removed some of the eyelets in the hinge that runs along the top of the firewall.  The hinge pin has to be removed and installed in two separate pieces through the oil door.

I then drilled additional holes in all of the hinges that will bond to the cowl (nine total) and deburred everything.  The small holes will be used for AN426A3-5 rivets (not AN426AD rivets since that can crush the fiberglass).  The larger holes will allow the epoxy/flox mixture to squeeze up through the holes and bond to the layer of glass that will be laid over the rivet shop heads.  This will provide a far stronger joint than just rivets alone.  I will be using West Systems G/Flex epoxy which has a modulus of elasticity of 150,000psi.  This is substantially more flexible than their 105/205 epoxy which has a modulus of elasticity of 450,000psi, but substantially more rigid than adhesive sealants like the MC-236-B2 sealant I used on the tank.

Prepped Inside of Lower Cowl

I started prepping the inside of the cowl for a seal coat of epoxy.  I’m going to tint the epoxy white so that it will be easy to see oil or fuel drips.  I’ve seen other builders just spray paint the inside of the cowl white, but that won’t be impervious to solvents like a coat of tinted epoxy will be.

Worked on Cowl and Mounted Com Antenna

I mixed up some epoxy and microlight filler along with some white tint and applied it to the inside of the bottom cowl.  It started stiffening up before I could finish, but I got about half of it down.  This fills in the pattern left by the honeycomb core to provide a smooth finish and fill in any pinholes.  I’ll seal this with some neat epoxy tinted white to provide an easy to clean surface.

I decided to go ahead and mount the com antenna.  My wife gave me a hand with the nuts since you can’t reach both sides at the same time.

I then installed a BNC connector on the coax and installed it on the antenna.

I also fabricated a doubler for the transponder antenna.  I’ll need a little help riveting this on.

Finally, I fabricated the transponder antenna cable.  It has a BNC connector on one end and a TNC connector on the other.

Finally, I vacuumed out this bay and reinstalled the shelf in preparation for riveting it in place.

Finished Sealing Cowl and Riveted ELT Shelf

I got up early this morning and finished sealing the inside of the lower cowl.  It doesn’t look like applying tinted epoxy is going to work very well.  The coats of epoxy are so thin that they’re translucent.  It would take so many coats to make an opaque white layer that it would be pretty heavy.  I’m going to end up just painting this white like most builders do.  The epoxy and filler still did a great job sealing the surface to keep oil from soaking into the fiberglass though.

My buddy Andre stopped by mid-morning and helped me finish riveting in the ELT shelf.  Afterward, I reinstalled the ELT.  We also riveted in the transponder antenna doubler that I fabricated and then I installed the antenna cable.

Started Countersinking Cowl

I started countersinking the cowl for the rivets used to attach the hinges.  I was originally planning on using a permagrit countersink, but I tried my regular countersink and it did a great job.  I’ve heard it can dull them, but buying a new one would be cheaper than a permagrit countersink so I don’t think it’s worth it.

Worked on Cowl Attachment and Dynon GPS Antenna Mount

Now that I know where the side hinges will rivet to the firewall, I riveted the sides of the firewall flange above that point.

Then riveted the hinges on below that.  The bottom seven rivets can’t be reached with the squeezer, so I’m going to have to shoot and buck them somehow.

I’ve been planning on mounting the Dynon GPS antenna under the cowl.  Most builders fabricate a little shelf that runs between the engine mount and the firewall, but that would get in the way when changing the oil.  Since I only have one antenna to mount, I decided to fabricate a small mount that will attach directly to the engine mount.  I placed the straightedge between the top of the firewall and the spinner to see how high I can go.  The actual cowl in convex through here and will actually provide more clearance than this.

The mount is just a short piece of Z channel that I trimmed to fit the antenna.  I’ll drill a couple of holes in the bottom flange and attach it to the engine mount with a couple of adel clamps.

Finished Aileron Trim and Started Wiring Seat Heaters

I finished the aileron trim by installing the right clip and attaching the spring between the clip and the servo arm with some 0.041″ safety wire.

I adjusted the length of the safety wire so that the sticks naturally rest vertically when the servo arm is in the neutral position.  I ran the trim to both ends and moved the sticks in all directions to ensure that nothing could snag or interfere with the sticks.  I had to adjust the bend in the servo arm slightly to keep the safety wire from interfering with the rib just to the right of center.

Next up, I installed the dimmers for the seat heaters.  The control cable to the right is for the cabin heat, so all of the heat controls are located together.

I prepped the wires and attached them to the dimmers.  It’s too late to run these wires tonight, so I’ll finish these off tomorrow.

Installed Left Seat Heaters, Finished Glare Shield Lights, Installed Vent Ducts

I finished running the wires for the left seat heaters.  I had to pull the pushrod back so that I could install a few zip-tie bases to anchor the wires to the seat rib.

I drilled a hole for the glare shield wire bundle and installed a rubber grommet.  I installed another zip-tie base to secure the wire next to the fuel sender and installed the rest of the wires to the dimmer and panel ground block.

I meant to install the vent ducts earlier to ensure that nothing interferes.  Unfortunately, I ran the pilot’s side headset wires right through the duct path.  They’re not long enough to route over the duct, so I’ll have to route them under it.  It’s not that big a deal, but you should install these as soon as the panel goes in to avoid running into any interference later.  Most things have some flexibility about how they’re routed, but these can pretty much only run here.