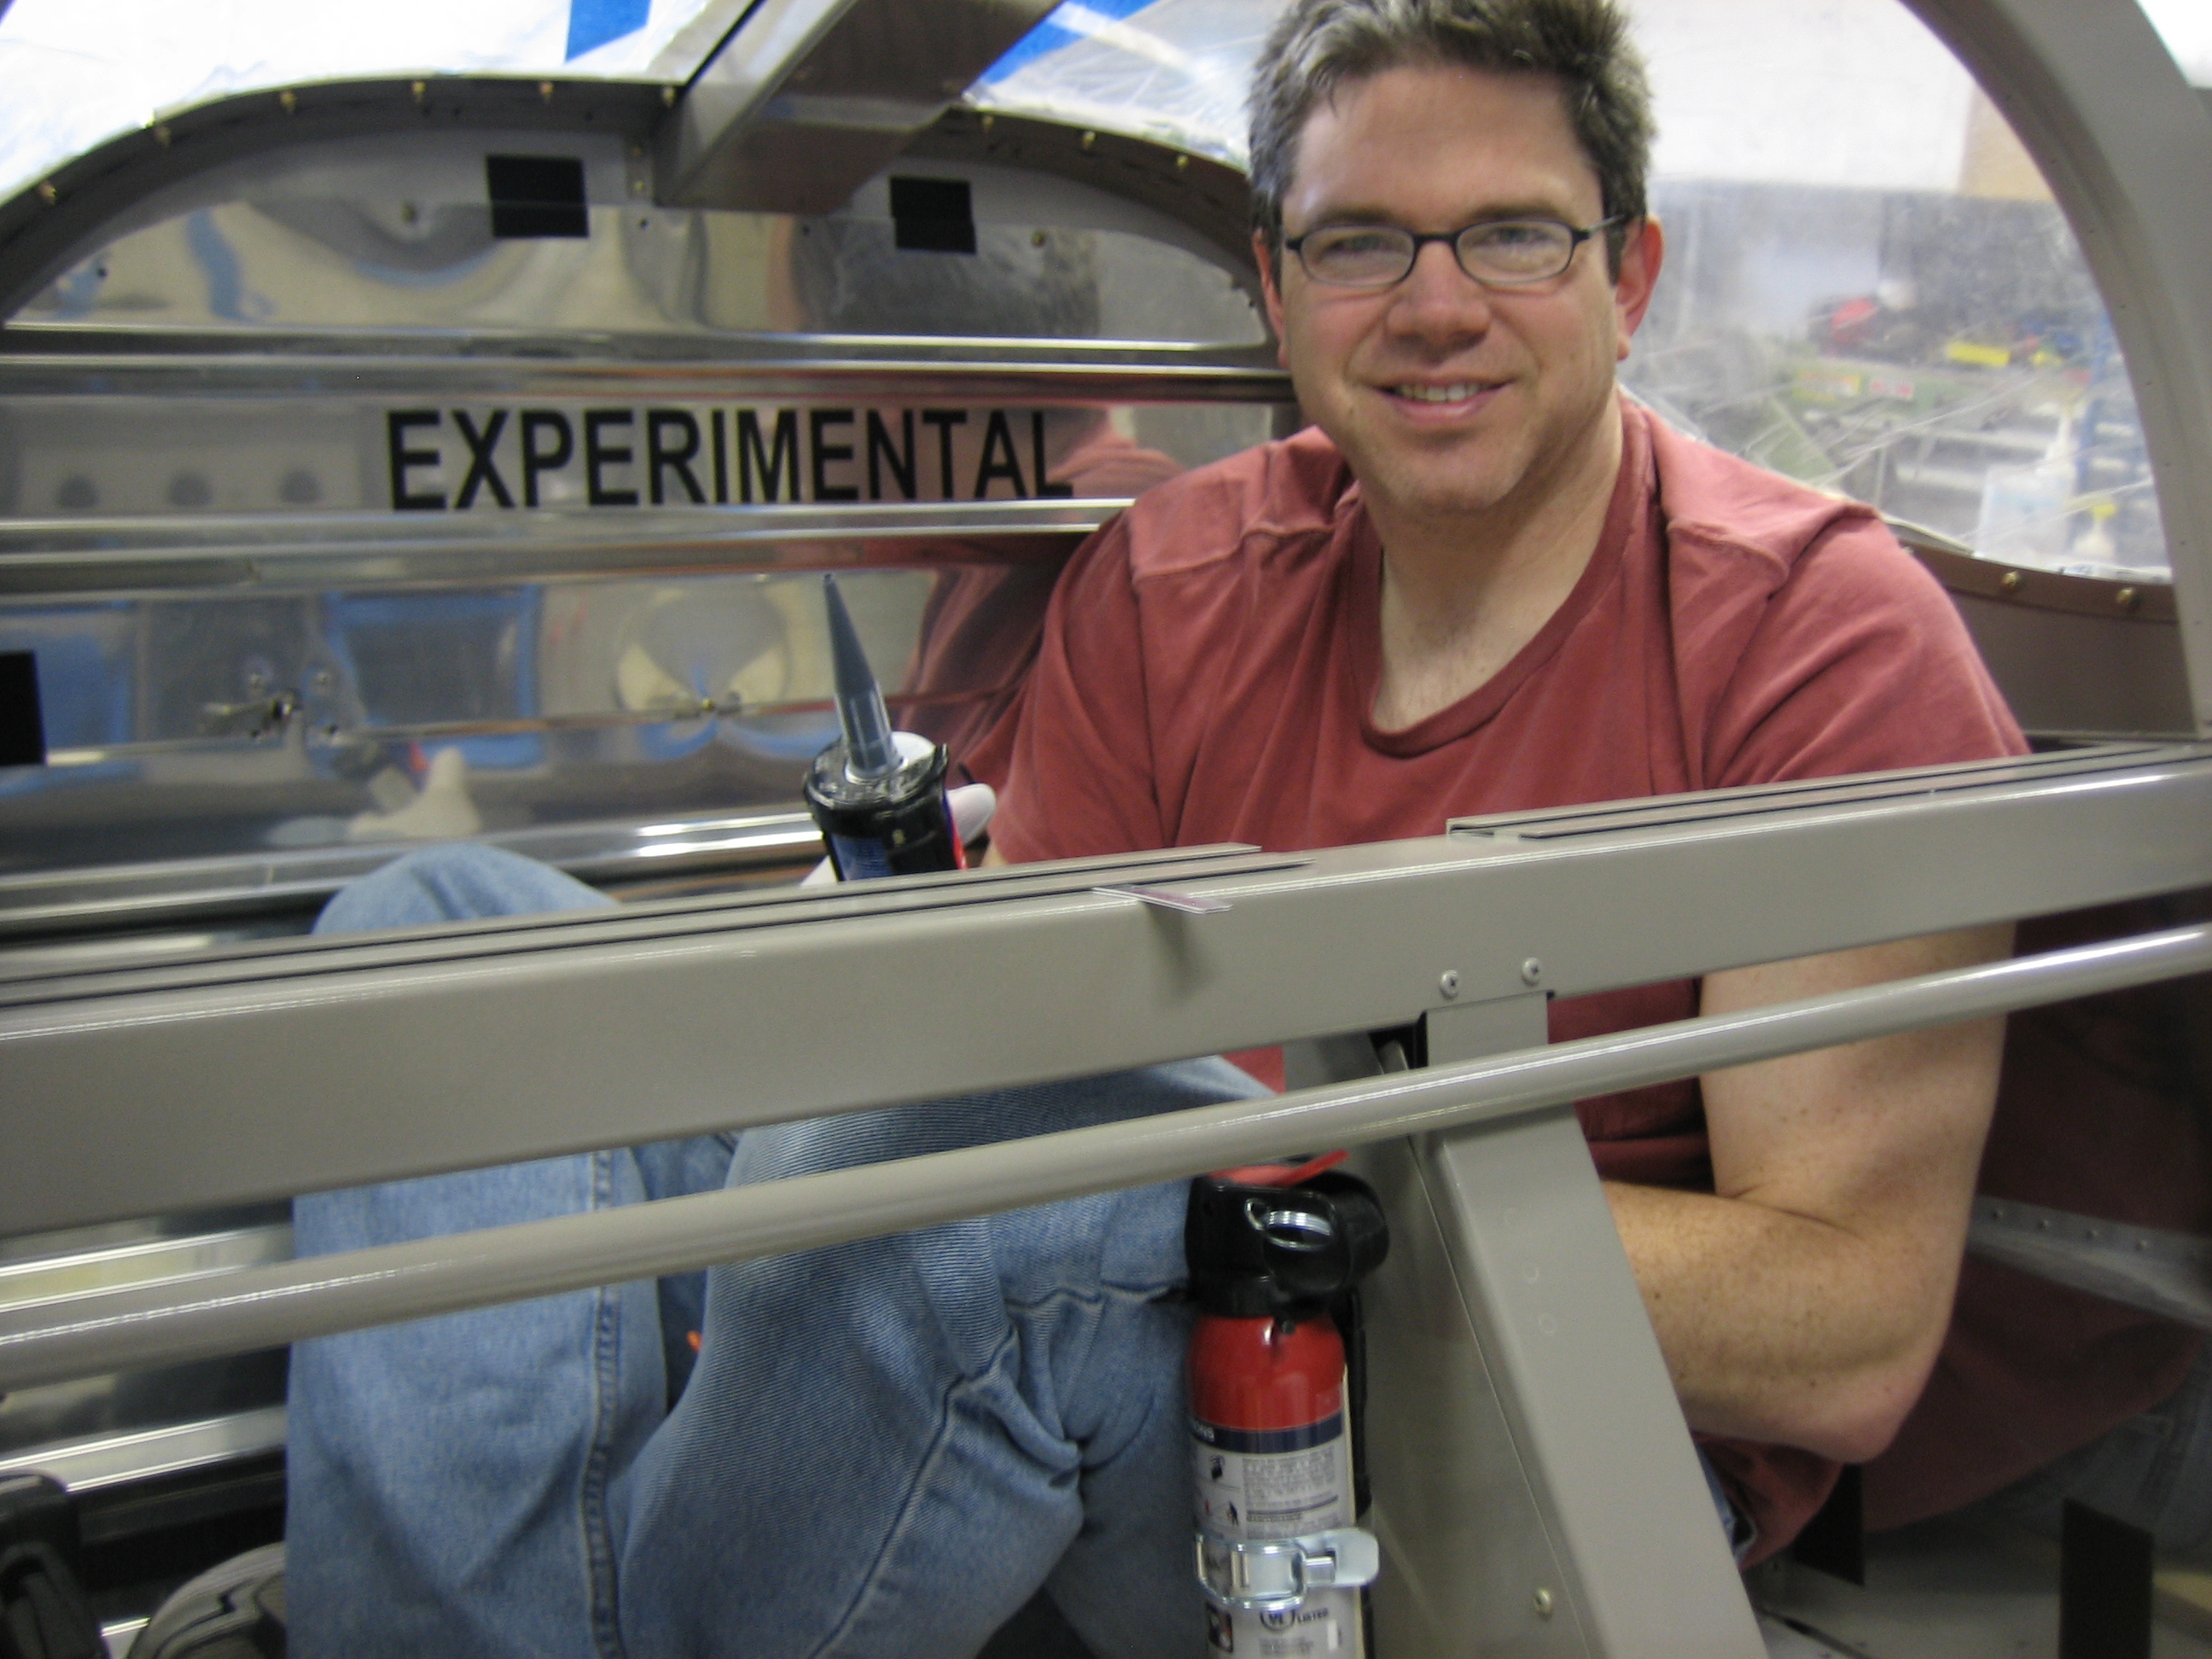
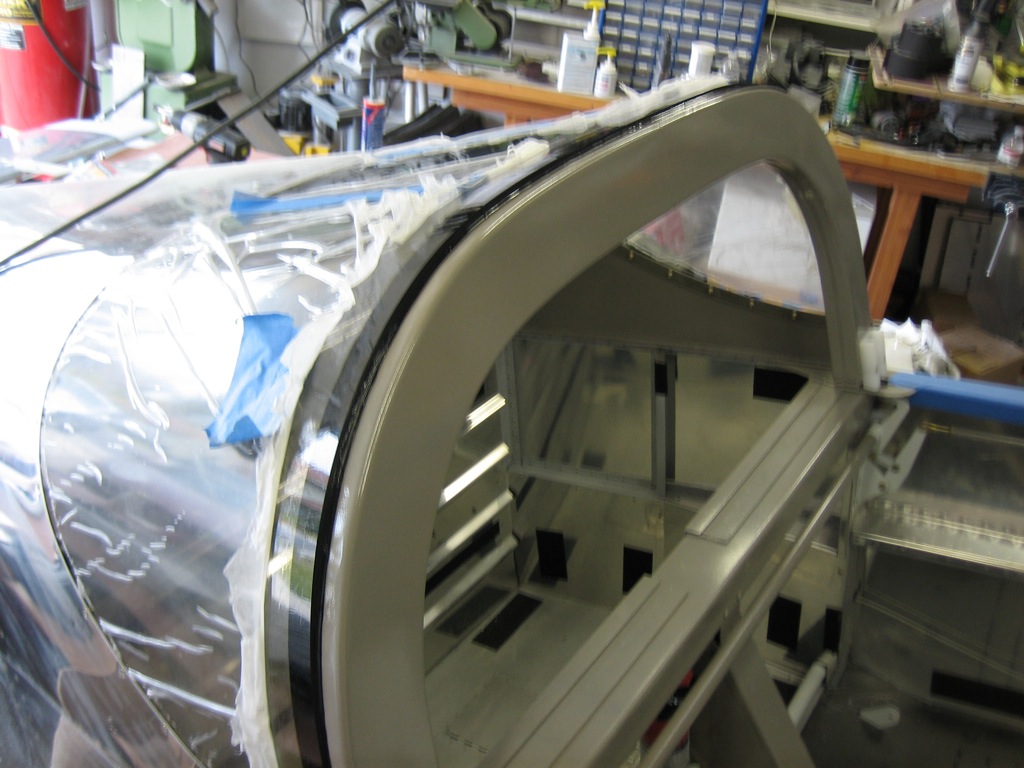
I came out this morning and pulled all of the spacers holding the rear window in place. I closed the canopy to check the fit and I’m super happy with the fit. I needed to apply sealant to both the front and back of the joint, so I climbed into the baggage area. This was a huge pain, and I’m not looking forward to having to do this in the future for maintenance. Since Jenn was entertained by my discomfort, she caught another picture of me.

Here’s the finished bead of Sikflex. The rear window is officially done!
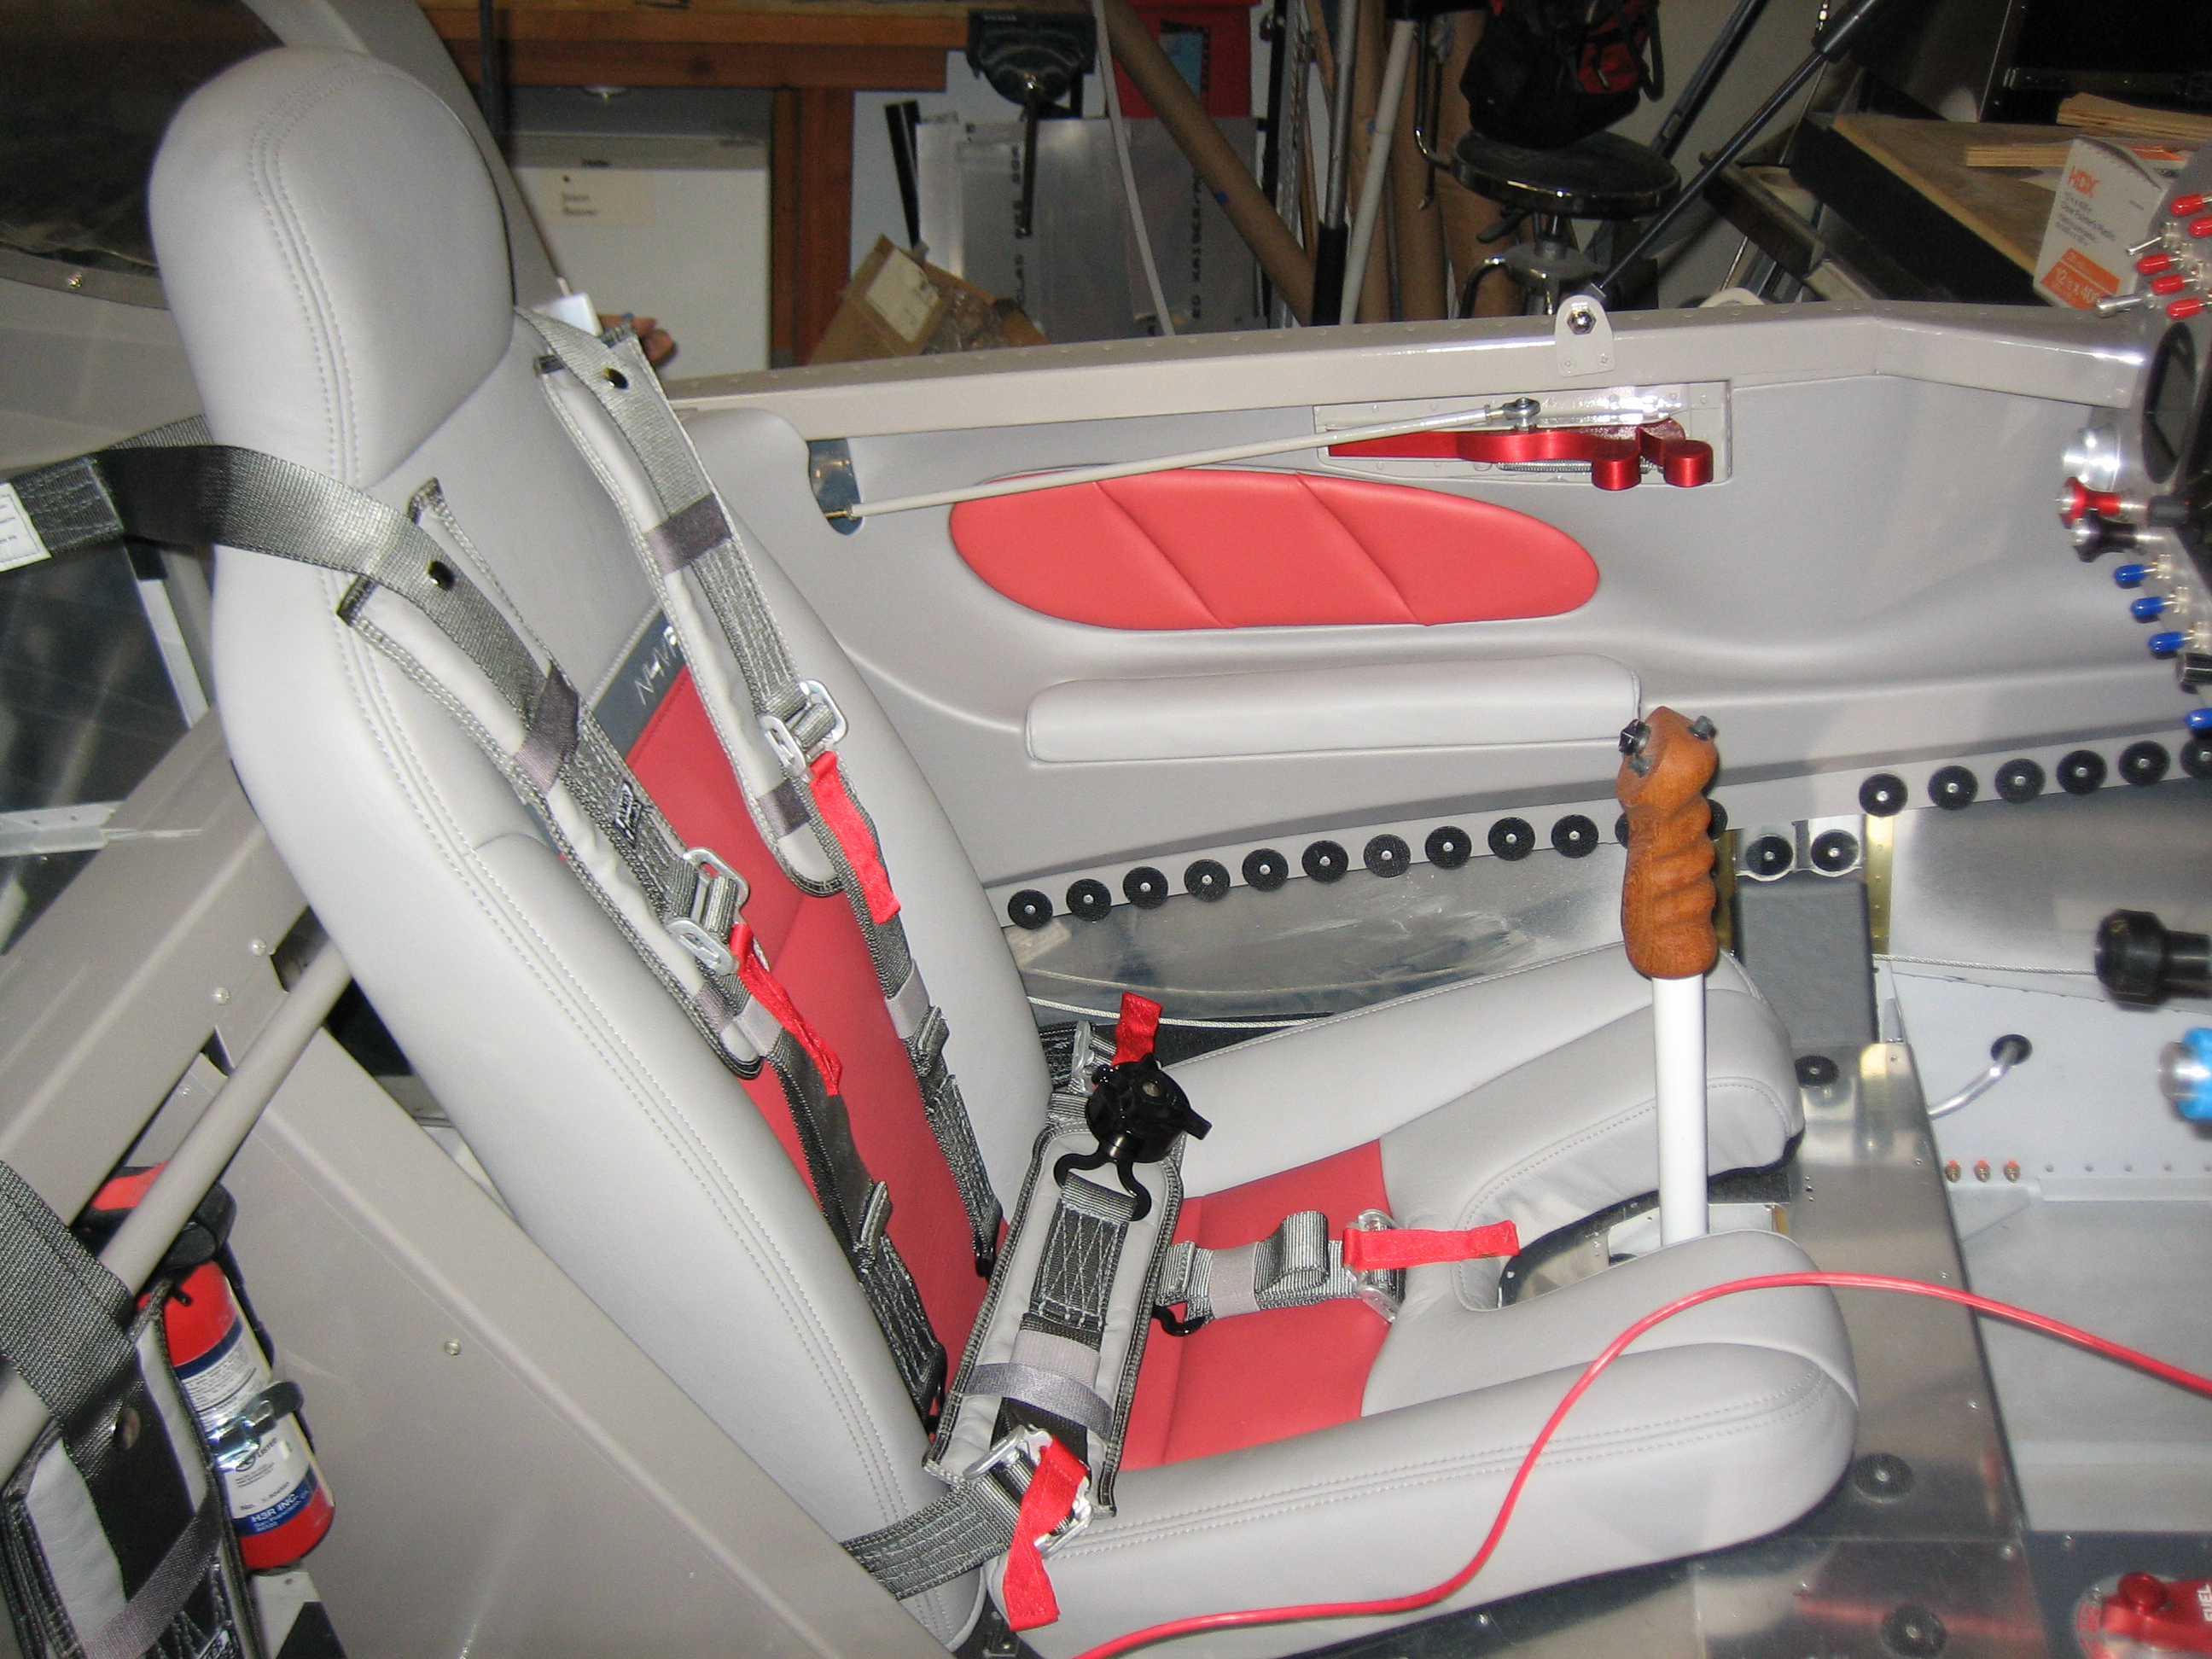
With all the adhesive work done, I can start putting some of the interior in place. I can’t install everything since I’ll still need access to do the final assembly, but I can go ahead and install some things that won’t need to come out. First up is the seat belts.

Next, I installed the upper side panels. The lower panels can’t go in yet since the seat pans have to come out to attach the wings. I also installed the pilot’s seat so that I could adjust the seat belts.

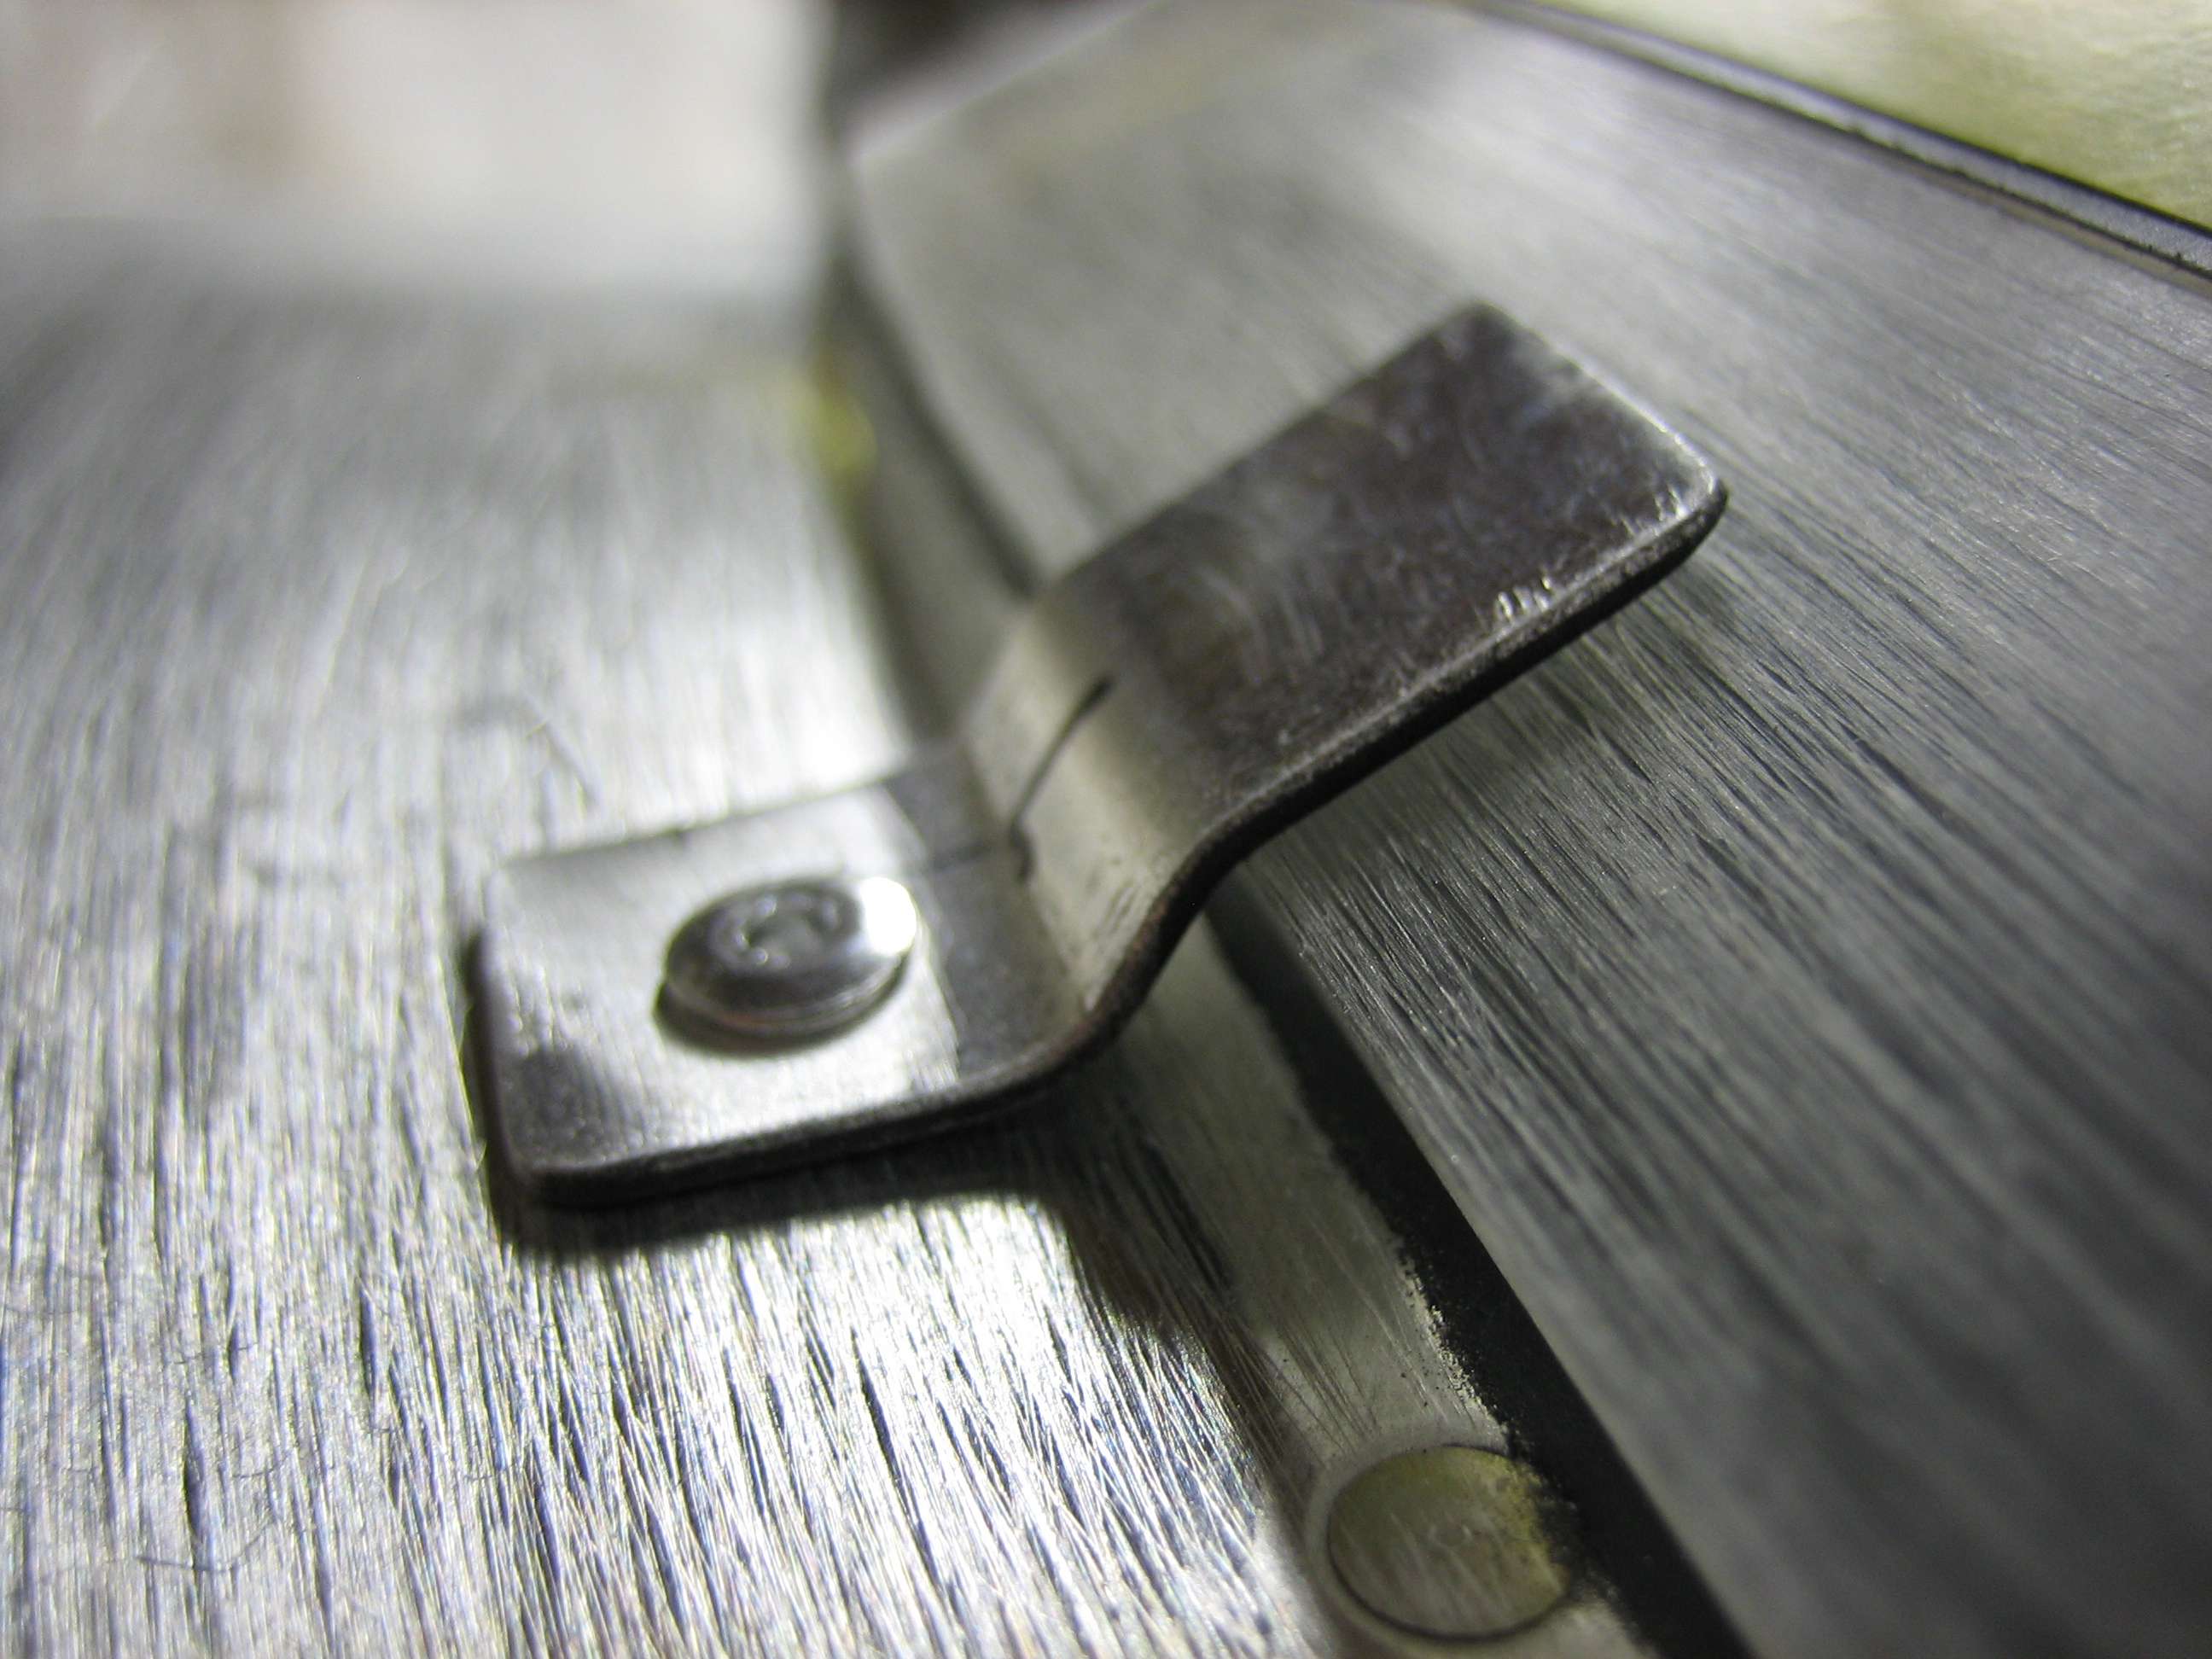
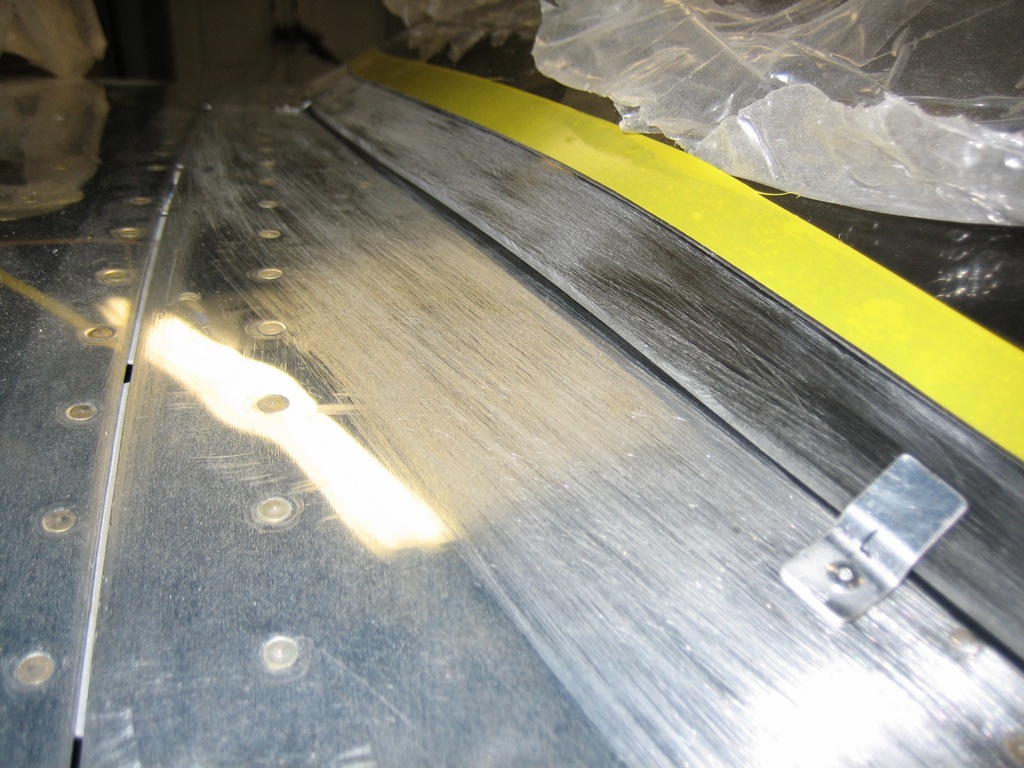
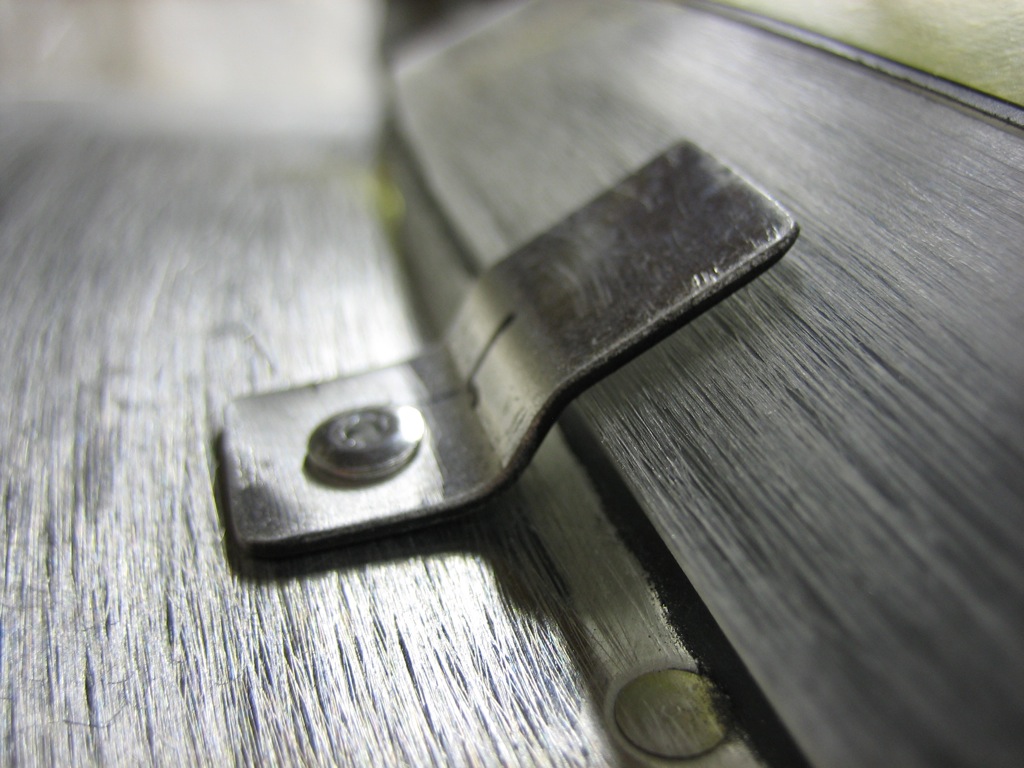
In addition to sanding the skin in front of the canopy, I sanded the edge of the canopy in preparation for fiberglassing. Also, the front edge of the canopy was sitting a bit above the canopy frame, so I fabricated three small clips that I pop riveted to the canopy frame to hold the edge down. I painted the back side of these black so that they won’t show through on the inside.
Here’s a closeup of one of the clips. The outer two pop rivets are hidden inside by the canopy frame brace, but the center one will show on the inside, so I’ll have to paint it.
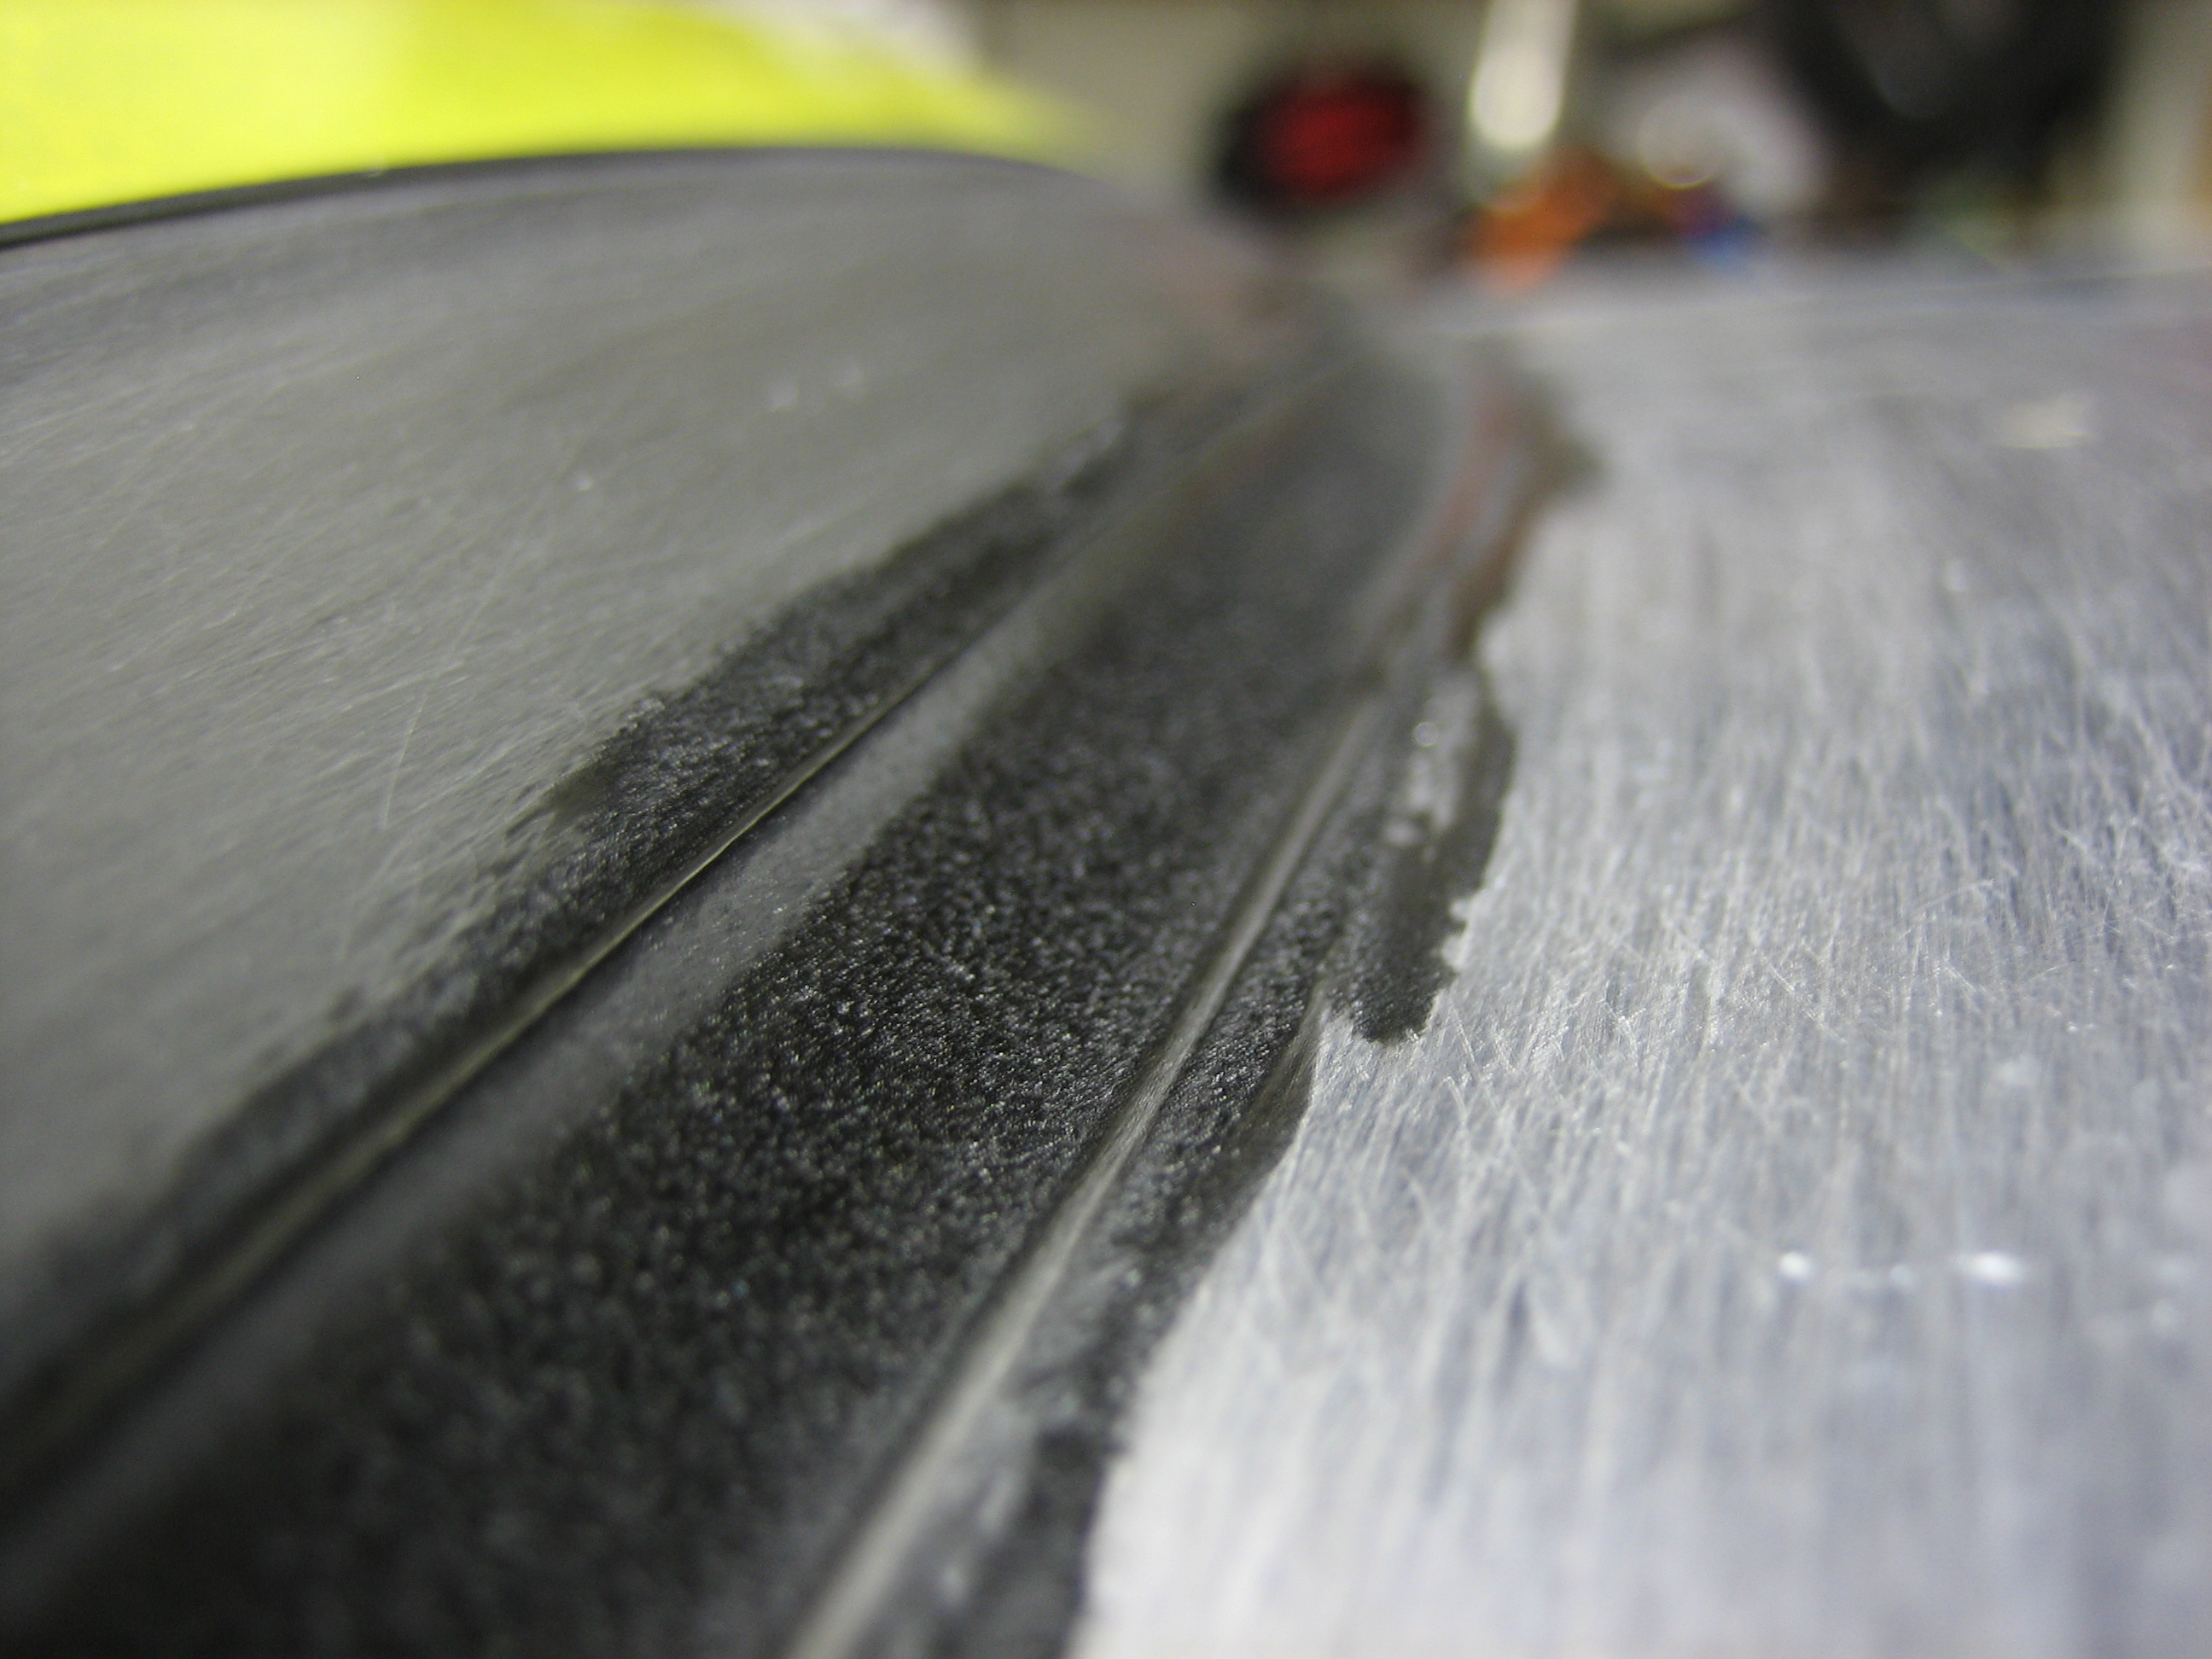
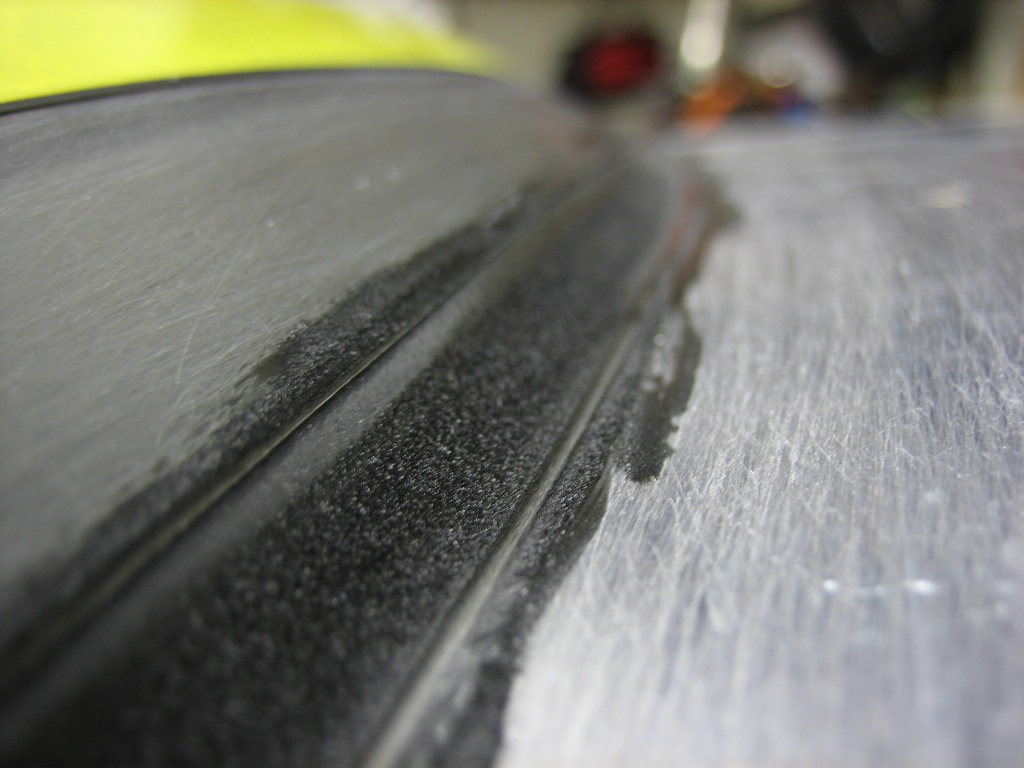
I mixed up some dry micro with some black pigment and filled the gap between the leading edge of the canopy and the skin.
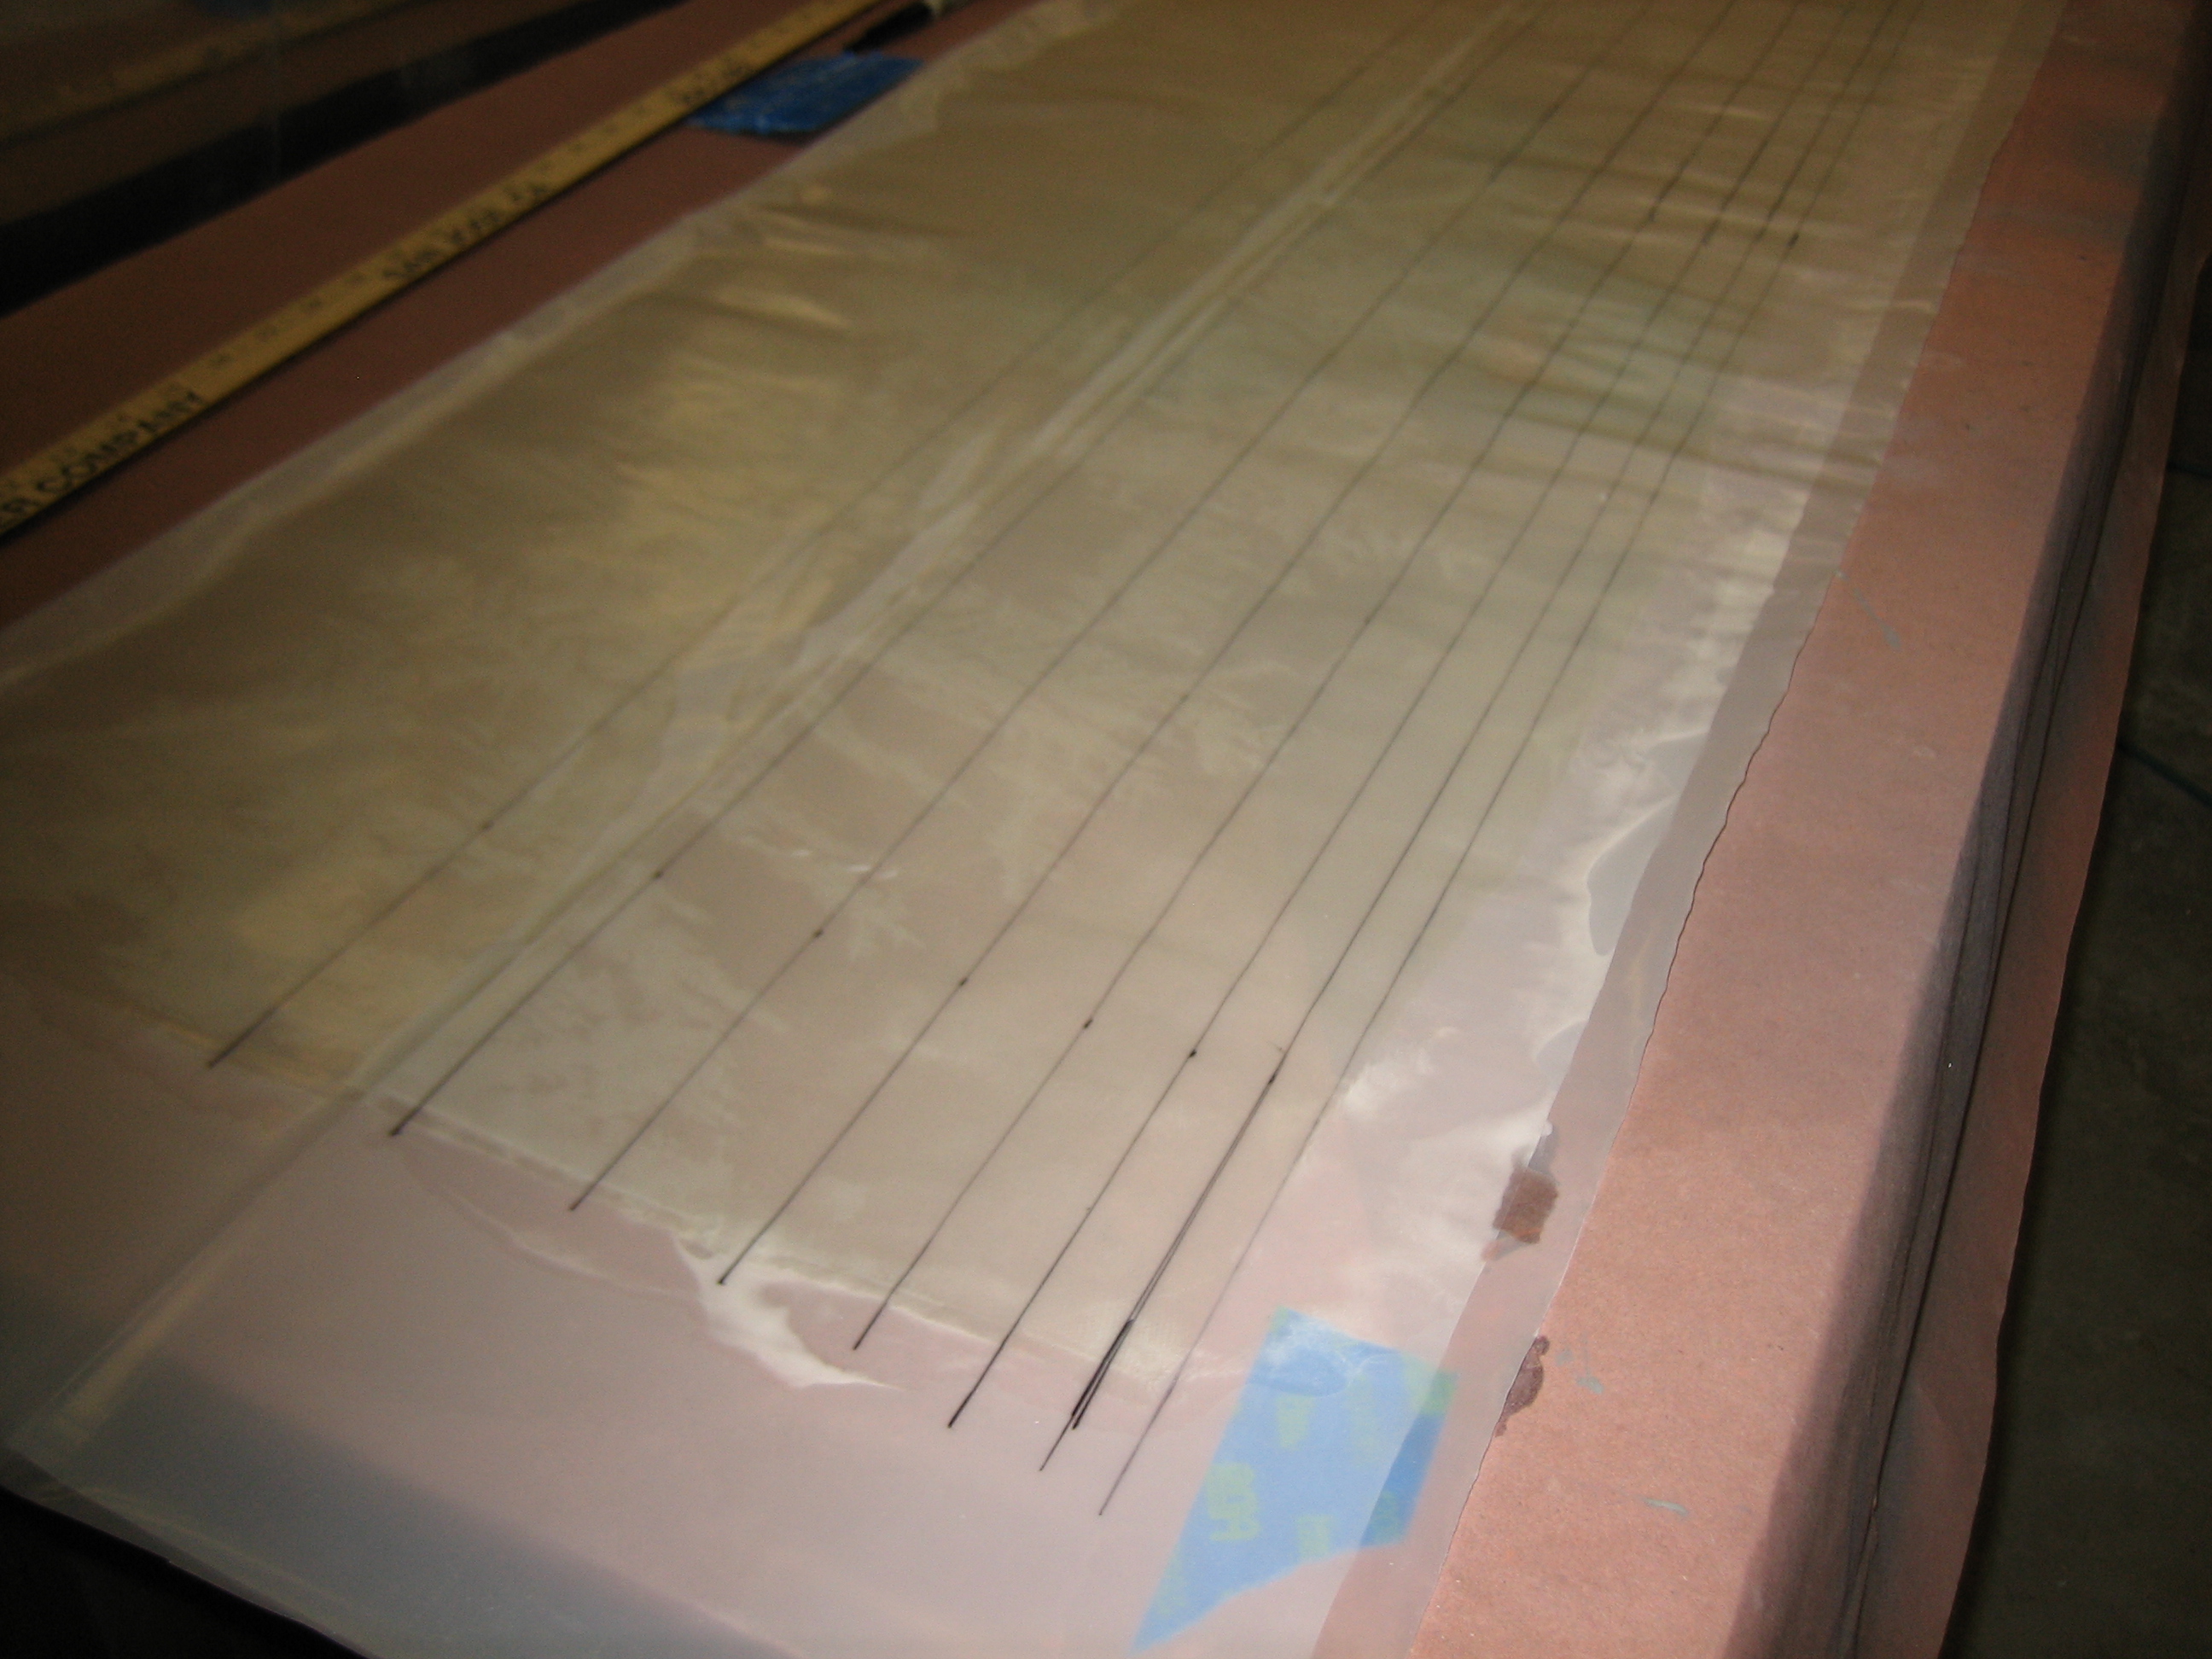
I impregnated some 8.9oz satin weave cloth with epoxy and marked strips of widths in 1/4″ increments from 1/2″ to 2″.
Pro-Tip: I really should have added some black pigment to the epoxy used in these strips. The color is very apparent from inside the plane.

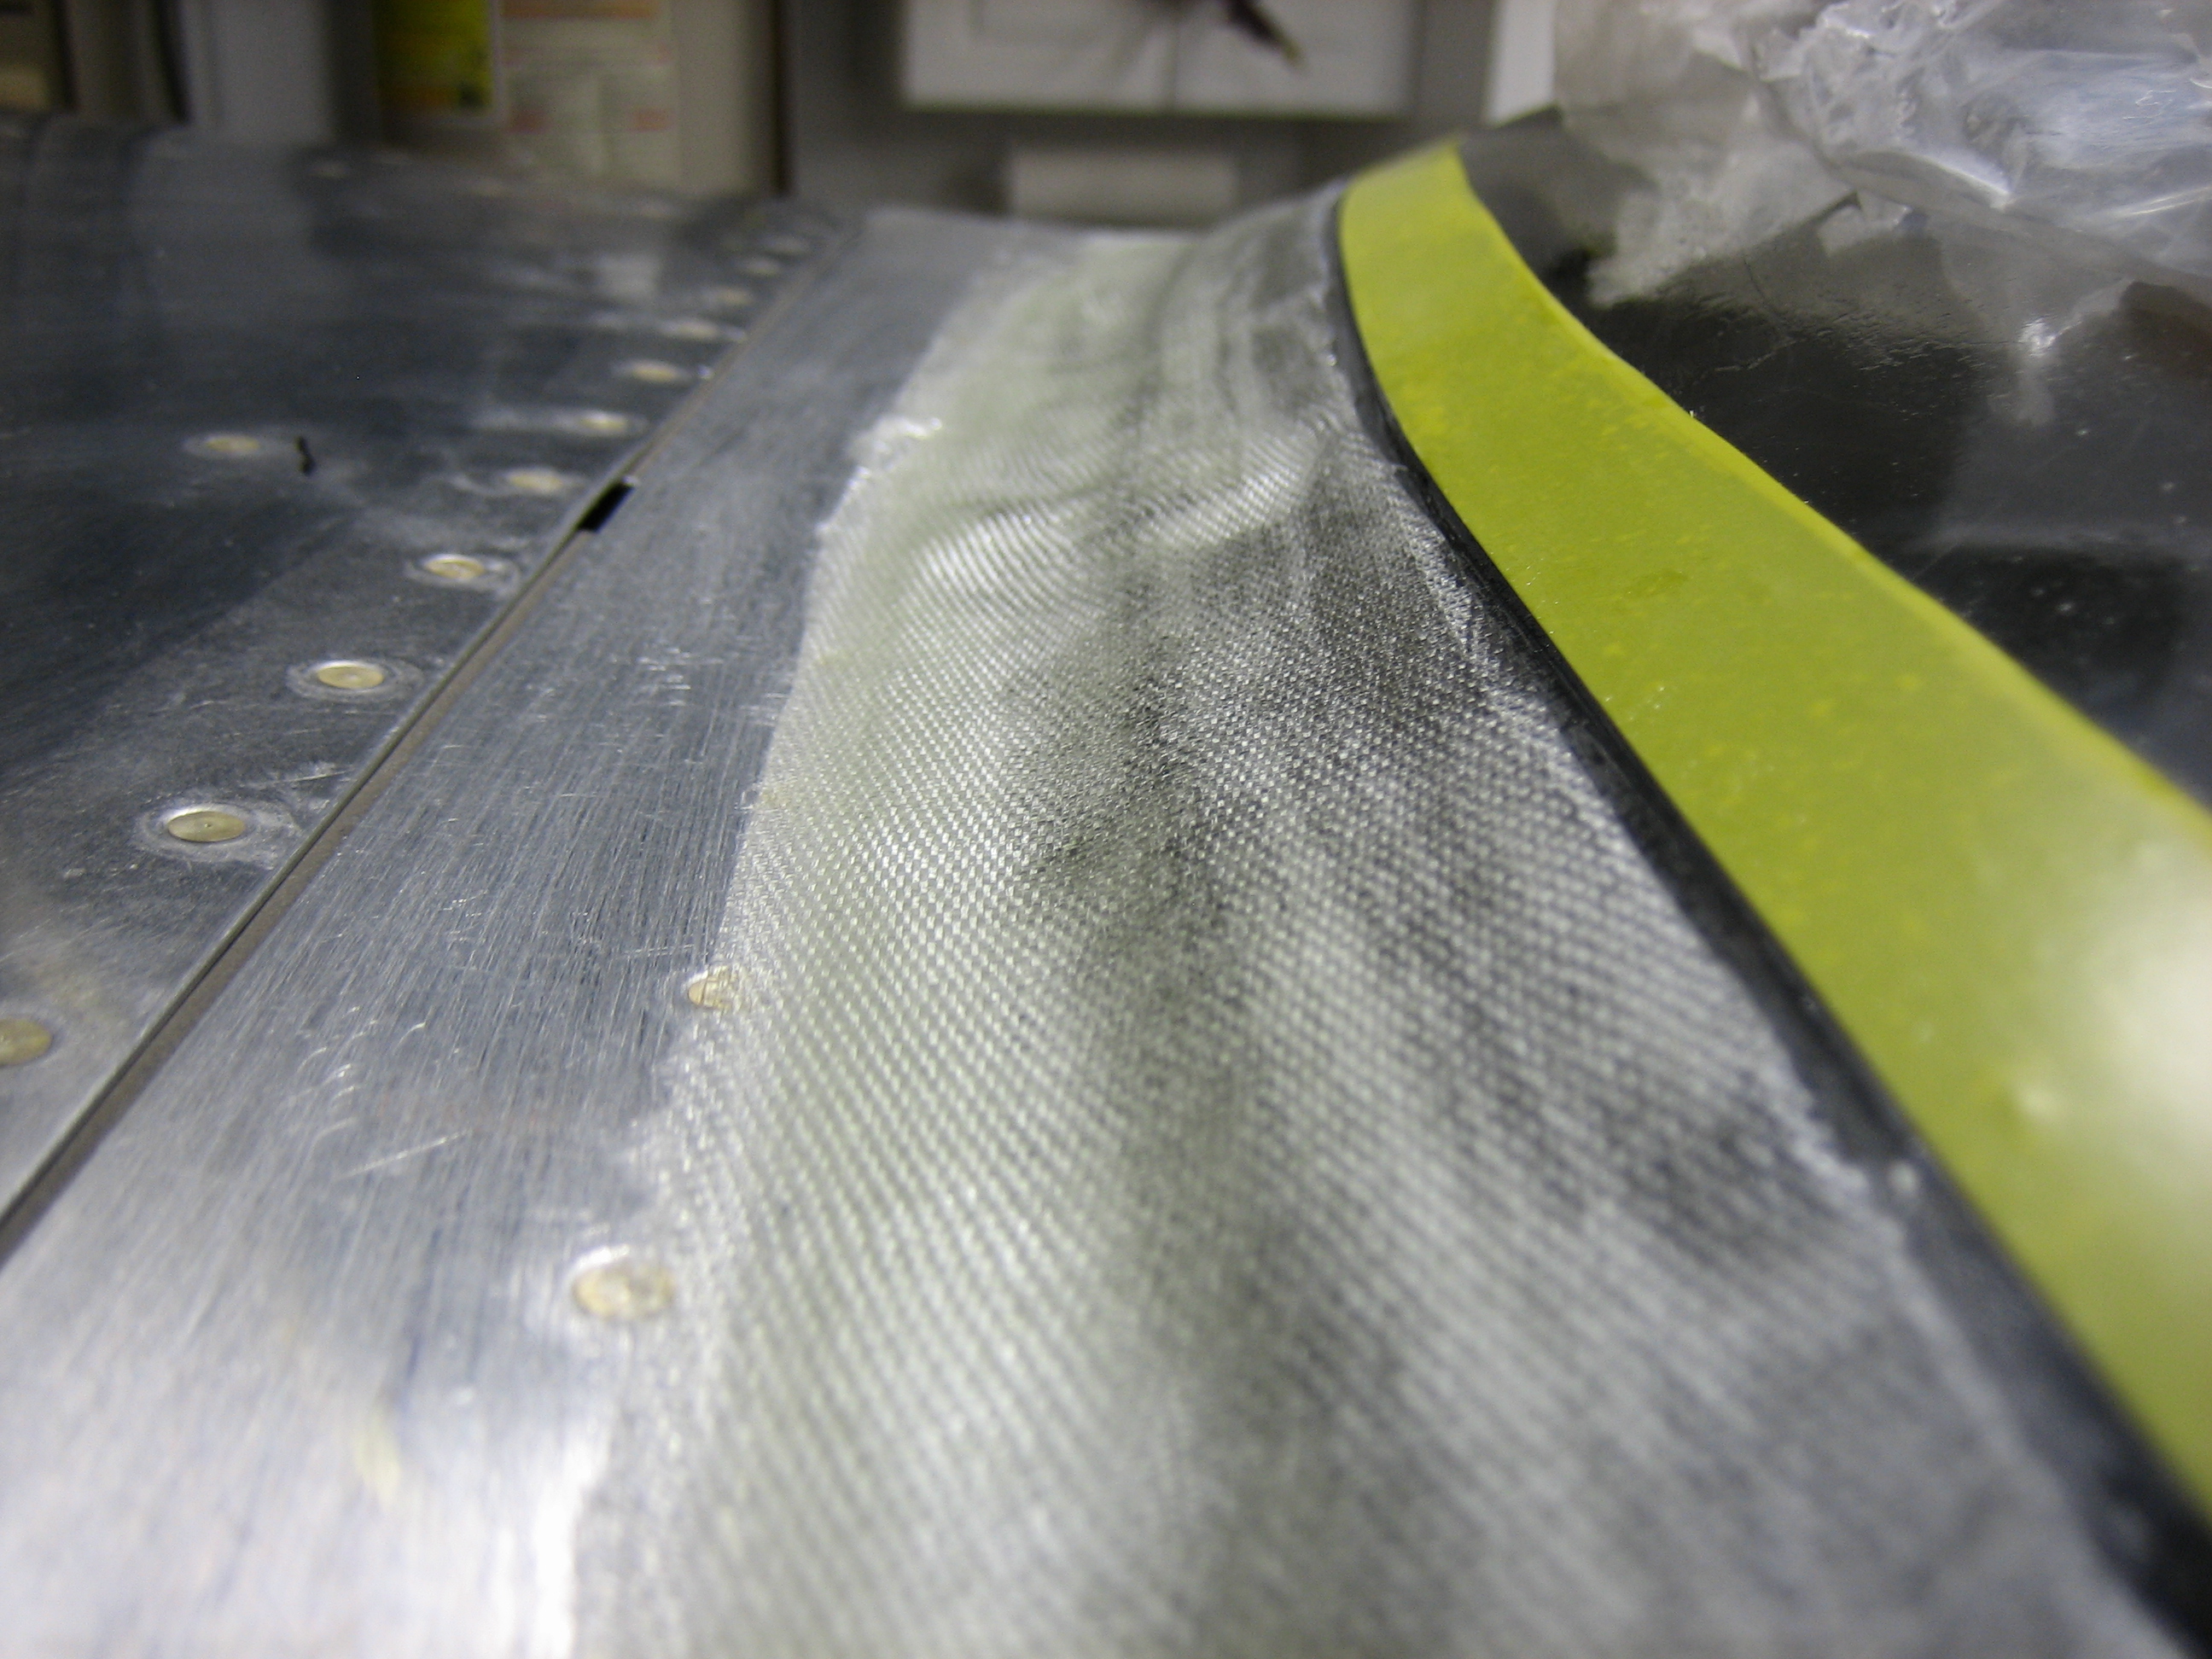
I laid the layers of glass from narrowest to widest to create a nice transition from the skin to the canopy. This will still need a bunch of filler to make the transition have a uniform radius, but this will provide the strength for the fairing.