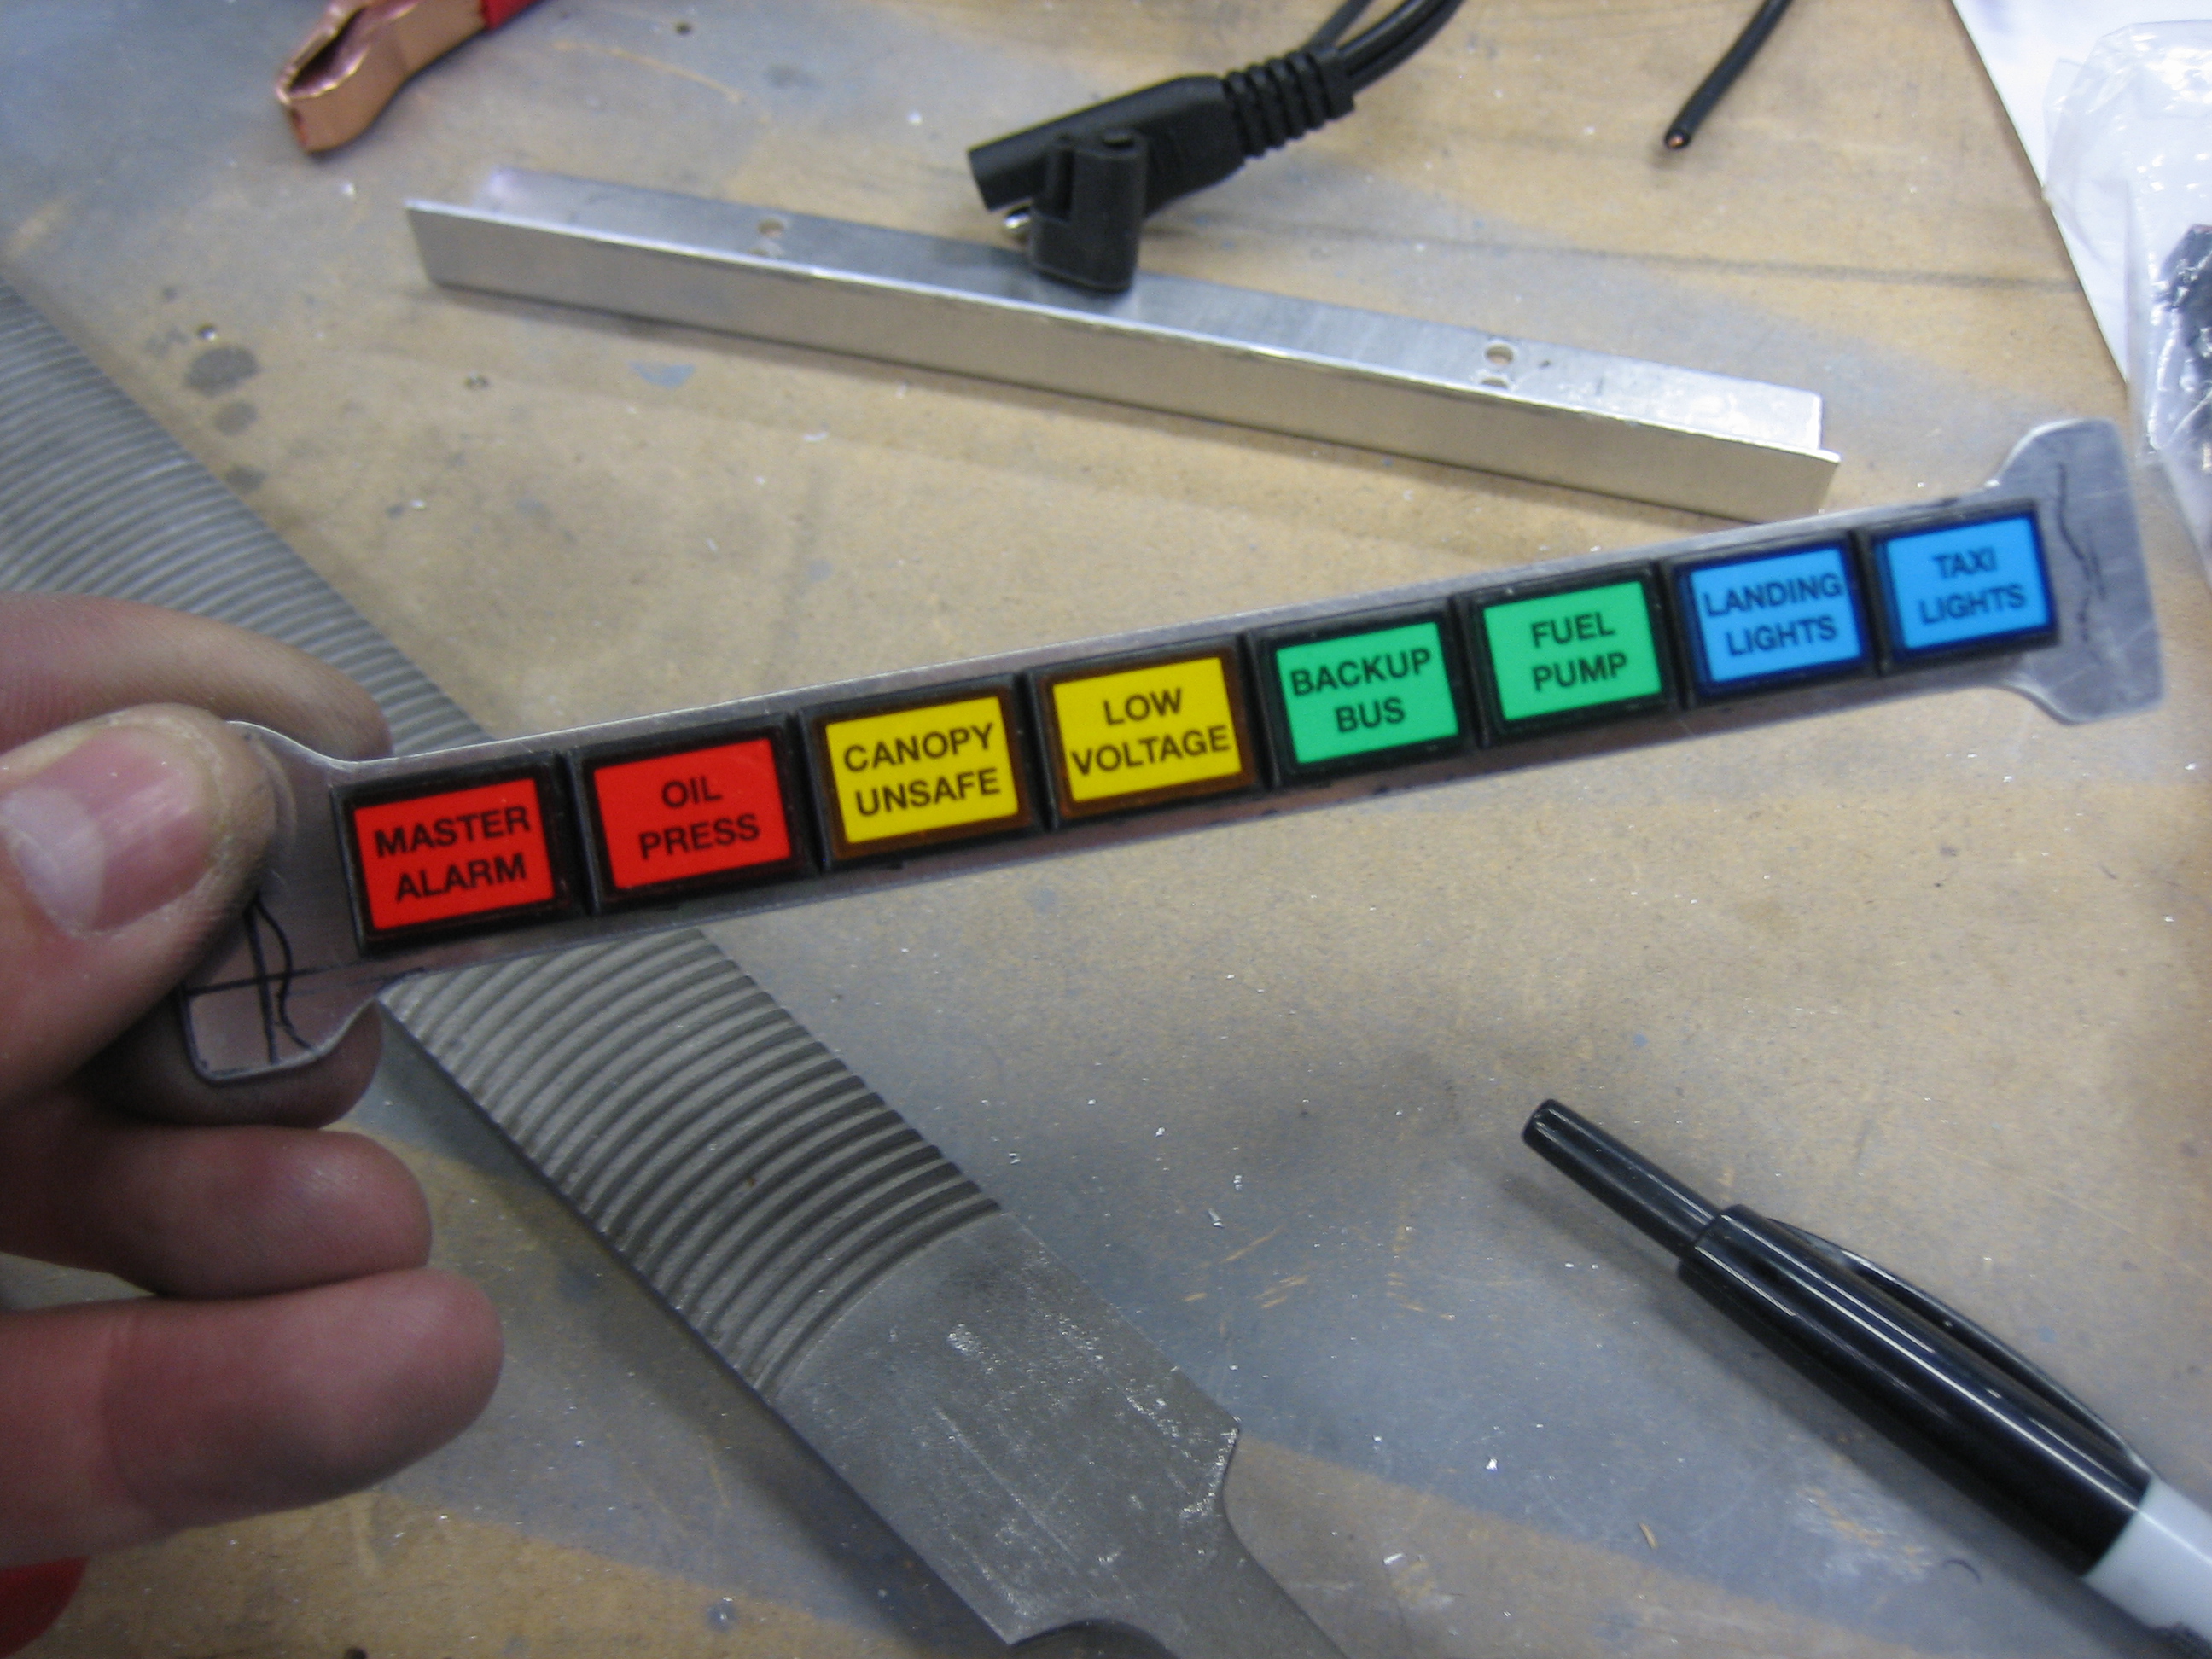
I’ve been pretty sick the past couple of days, but after sleeping 12+ hours a day, I was feeling quite a bit better by tonight. I came out to the garage with the intention of finishing cutting all of the holes in the instrument panel. I needed to fabricate the annunciator light bar first so that I knew what size hole to make. I cut a scrap piece of 0.063″ and drilled a series of holes in it. I left little ears on each end so that I could attach nutplates. This whole piece will be installed from the back side of the panel so that the panel can be removed if necessary. I printed up some labels on regular printer paper and cut them out to fit inside the lights.
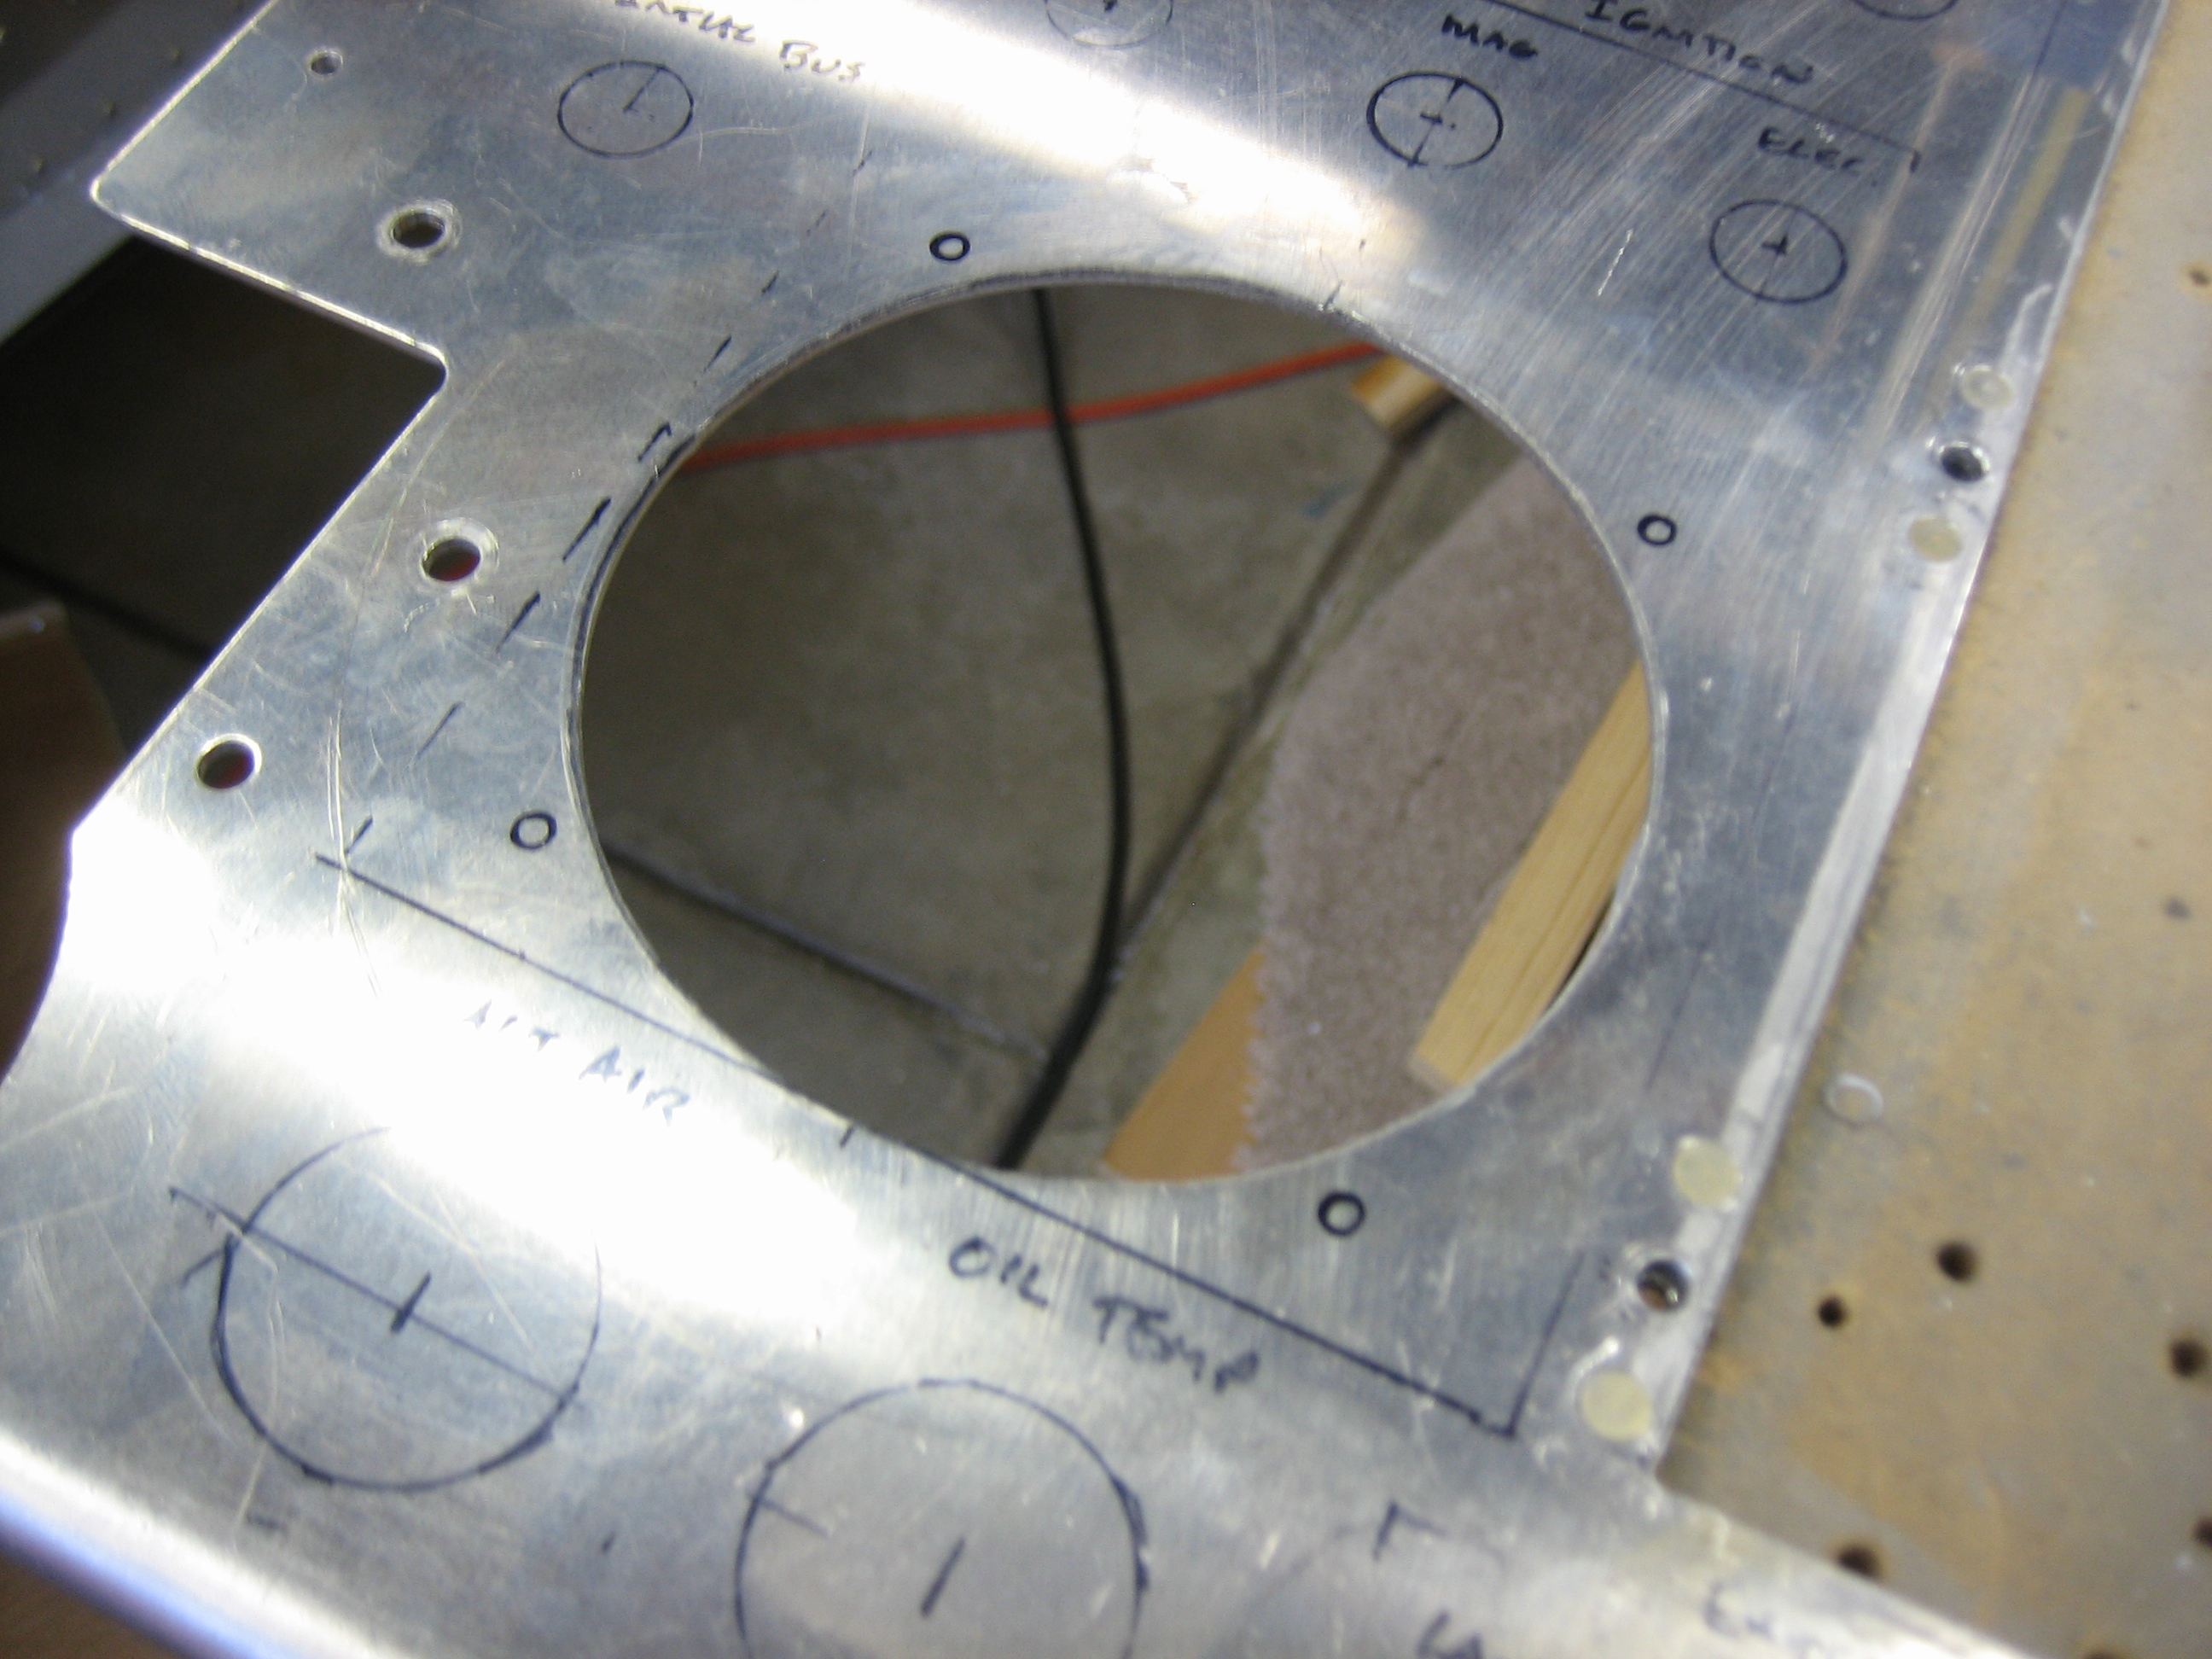
I picked up an instrument punch from ATS just to cut this one hole ($120 including the hole drilling template). That’s a lot for just one hole, but this edge will be visible since the Gemini installs from behind. Hopefully, I’ll get more use out of it down the road.
I spent a little while cutting the hole for the engine start button. I’m mounting it just above and to the right of the mixture control so that it’s easy to reach while starting. It will be disabled by the VP-X after the engine is running, so it’s no big deal that it’s within reach of the passenger. I still need to figure out how to anchor this button in the panel since it was designed to clip into a Honda S2000.

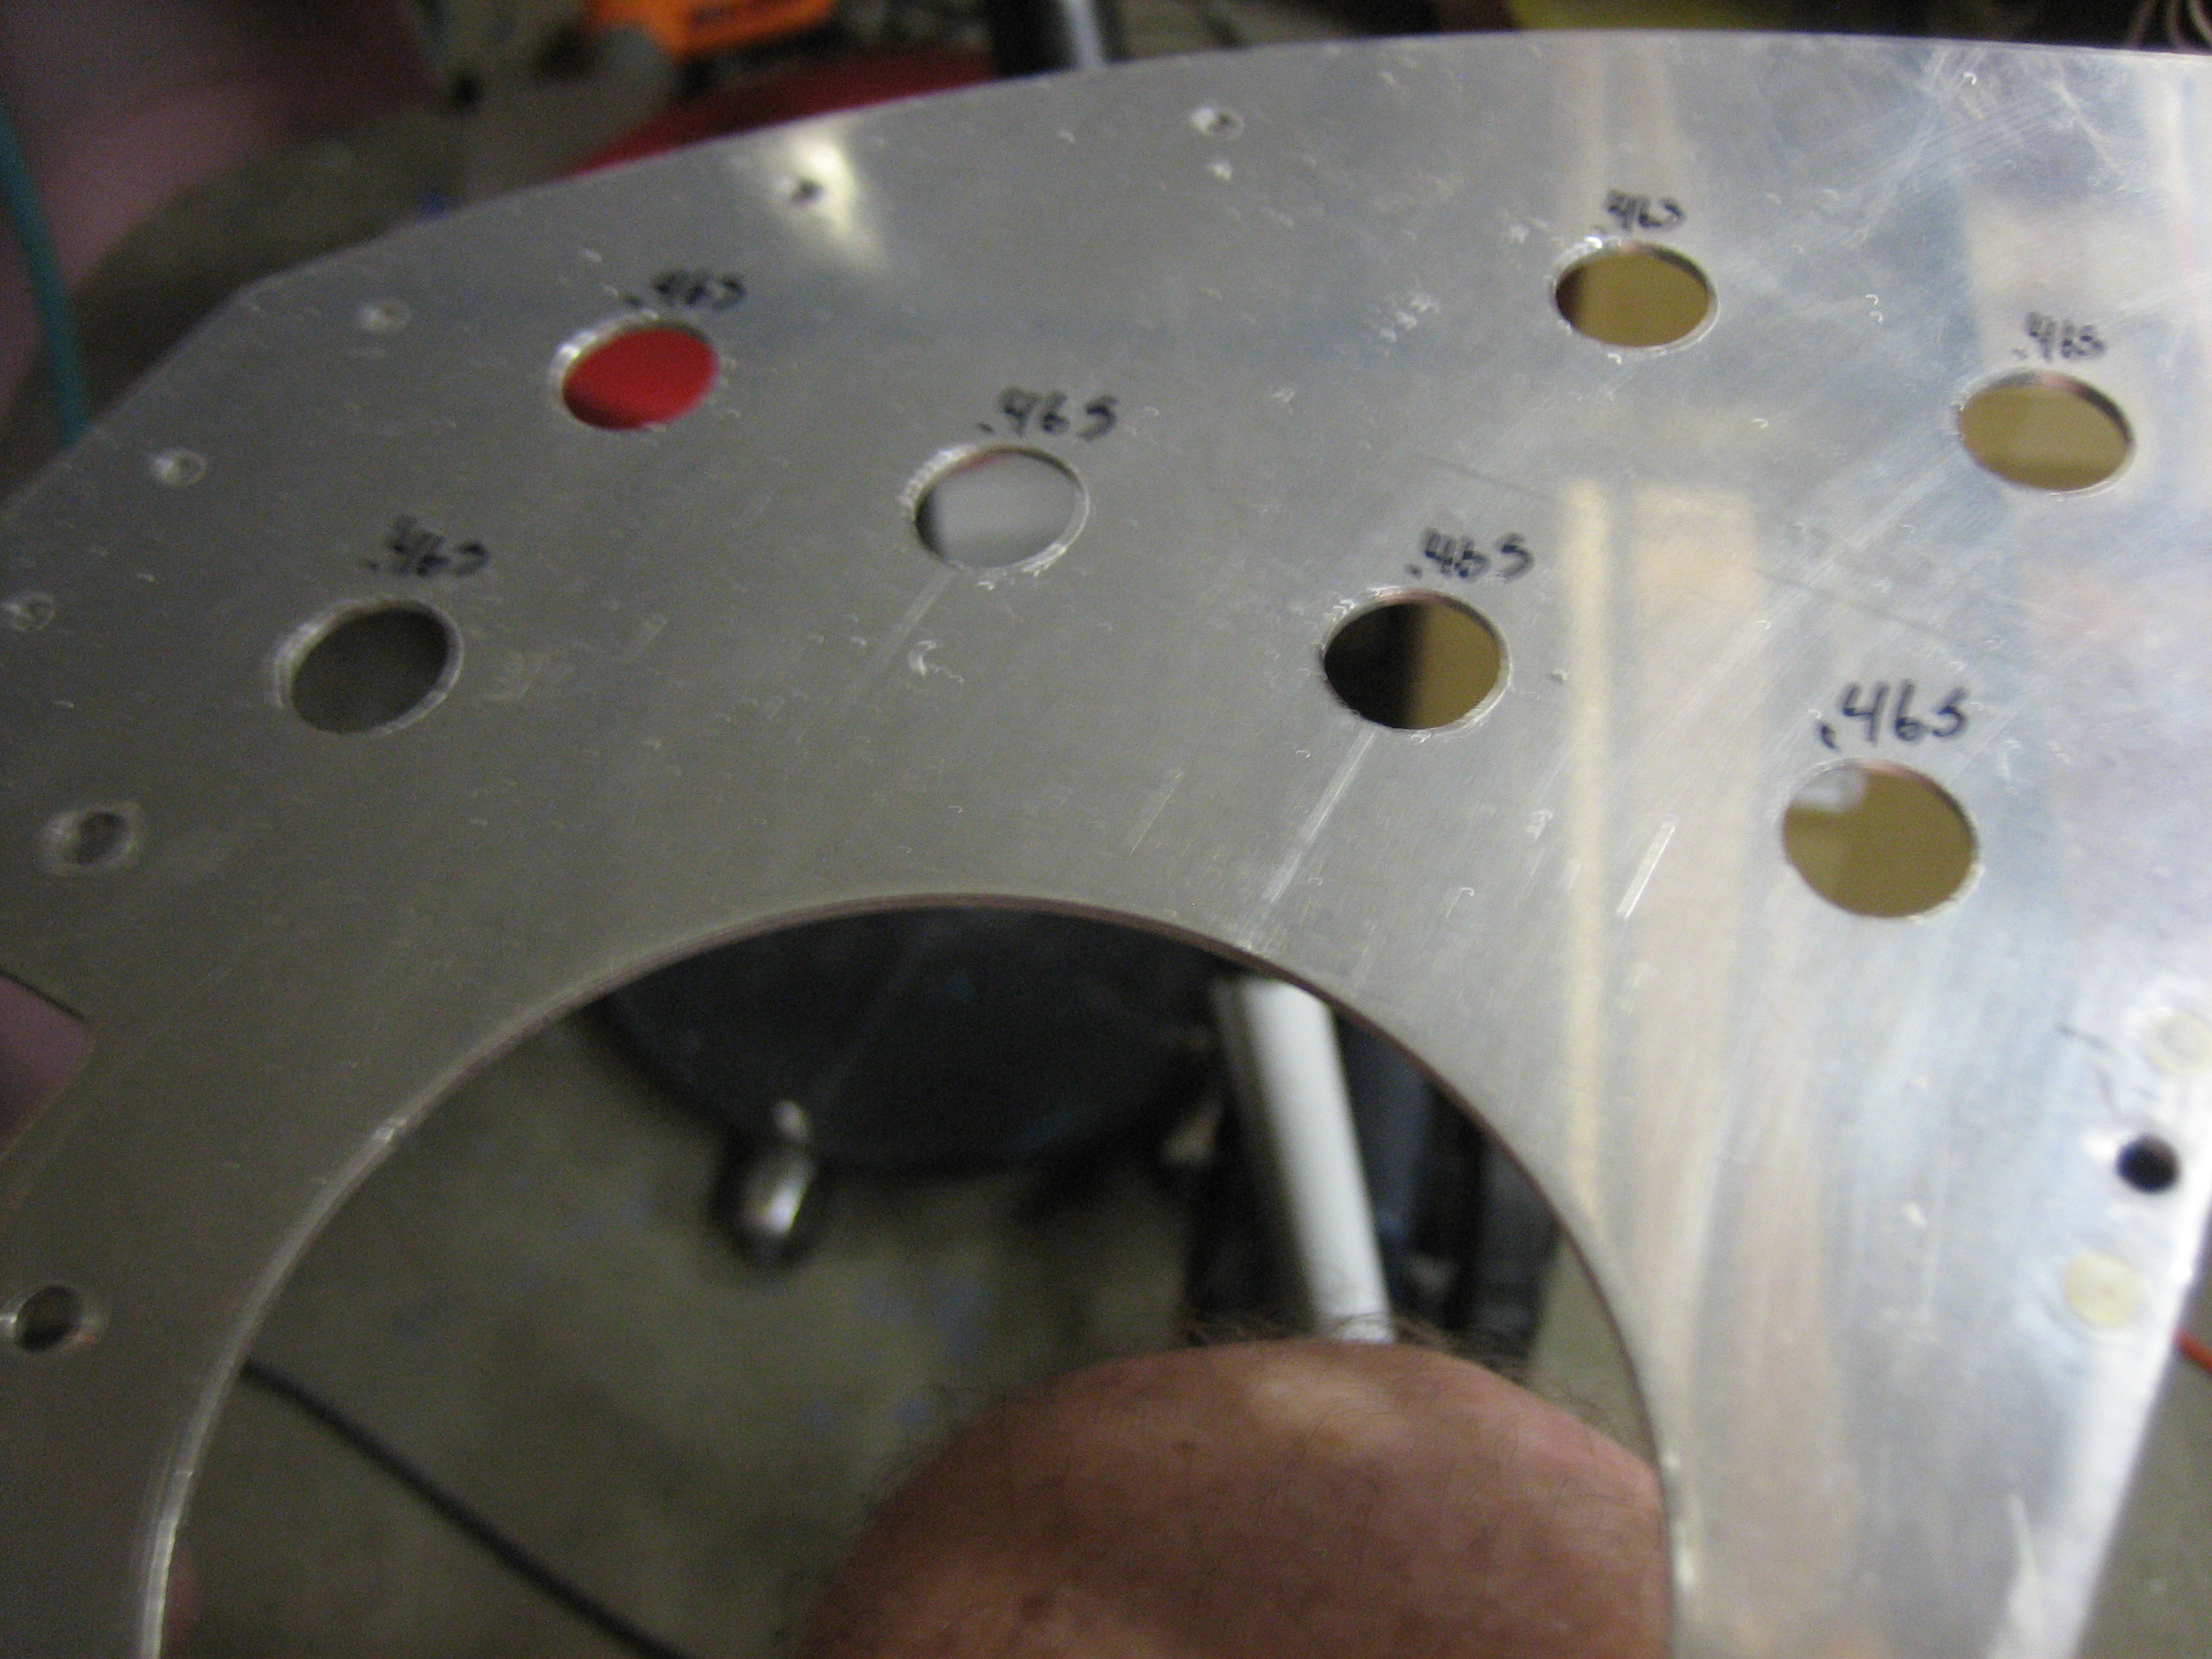
I also drilled all of the holes below the left SkyView screen. The smaller ones are for a couple of dimmers.

I also drilled all of the holes in the upper left for the switches there.
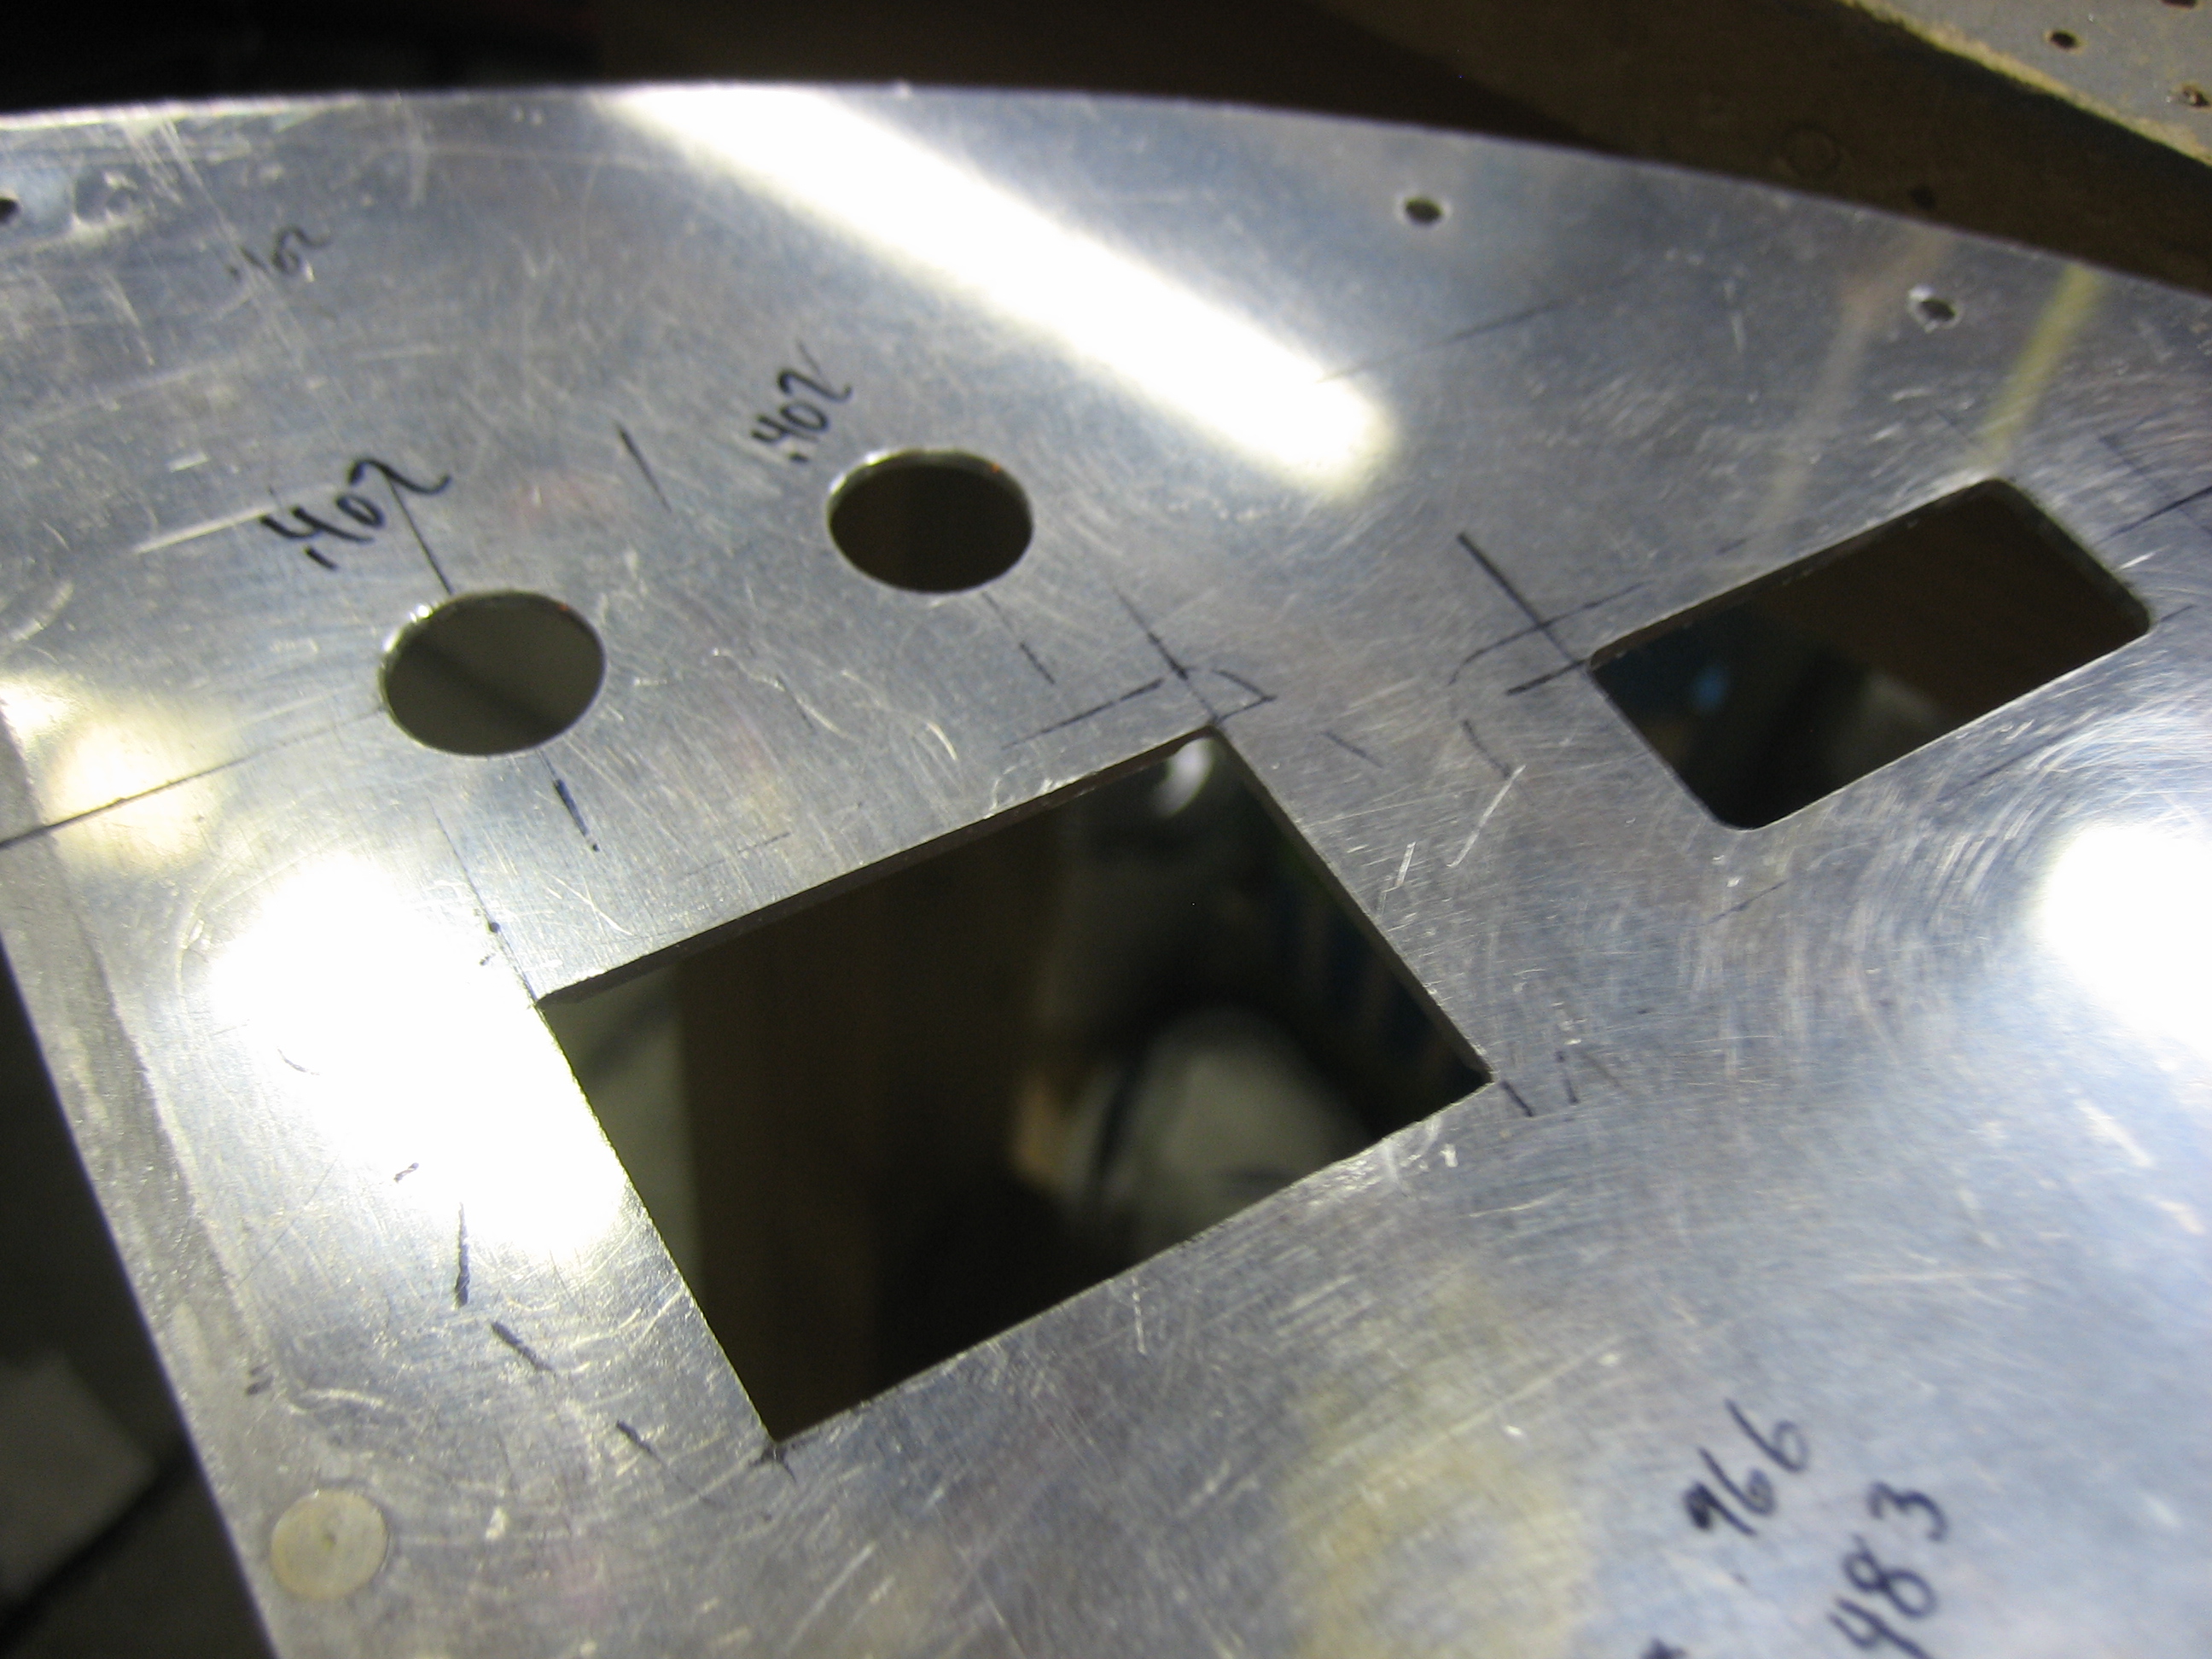
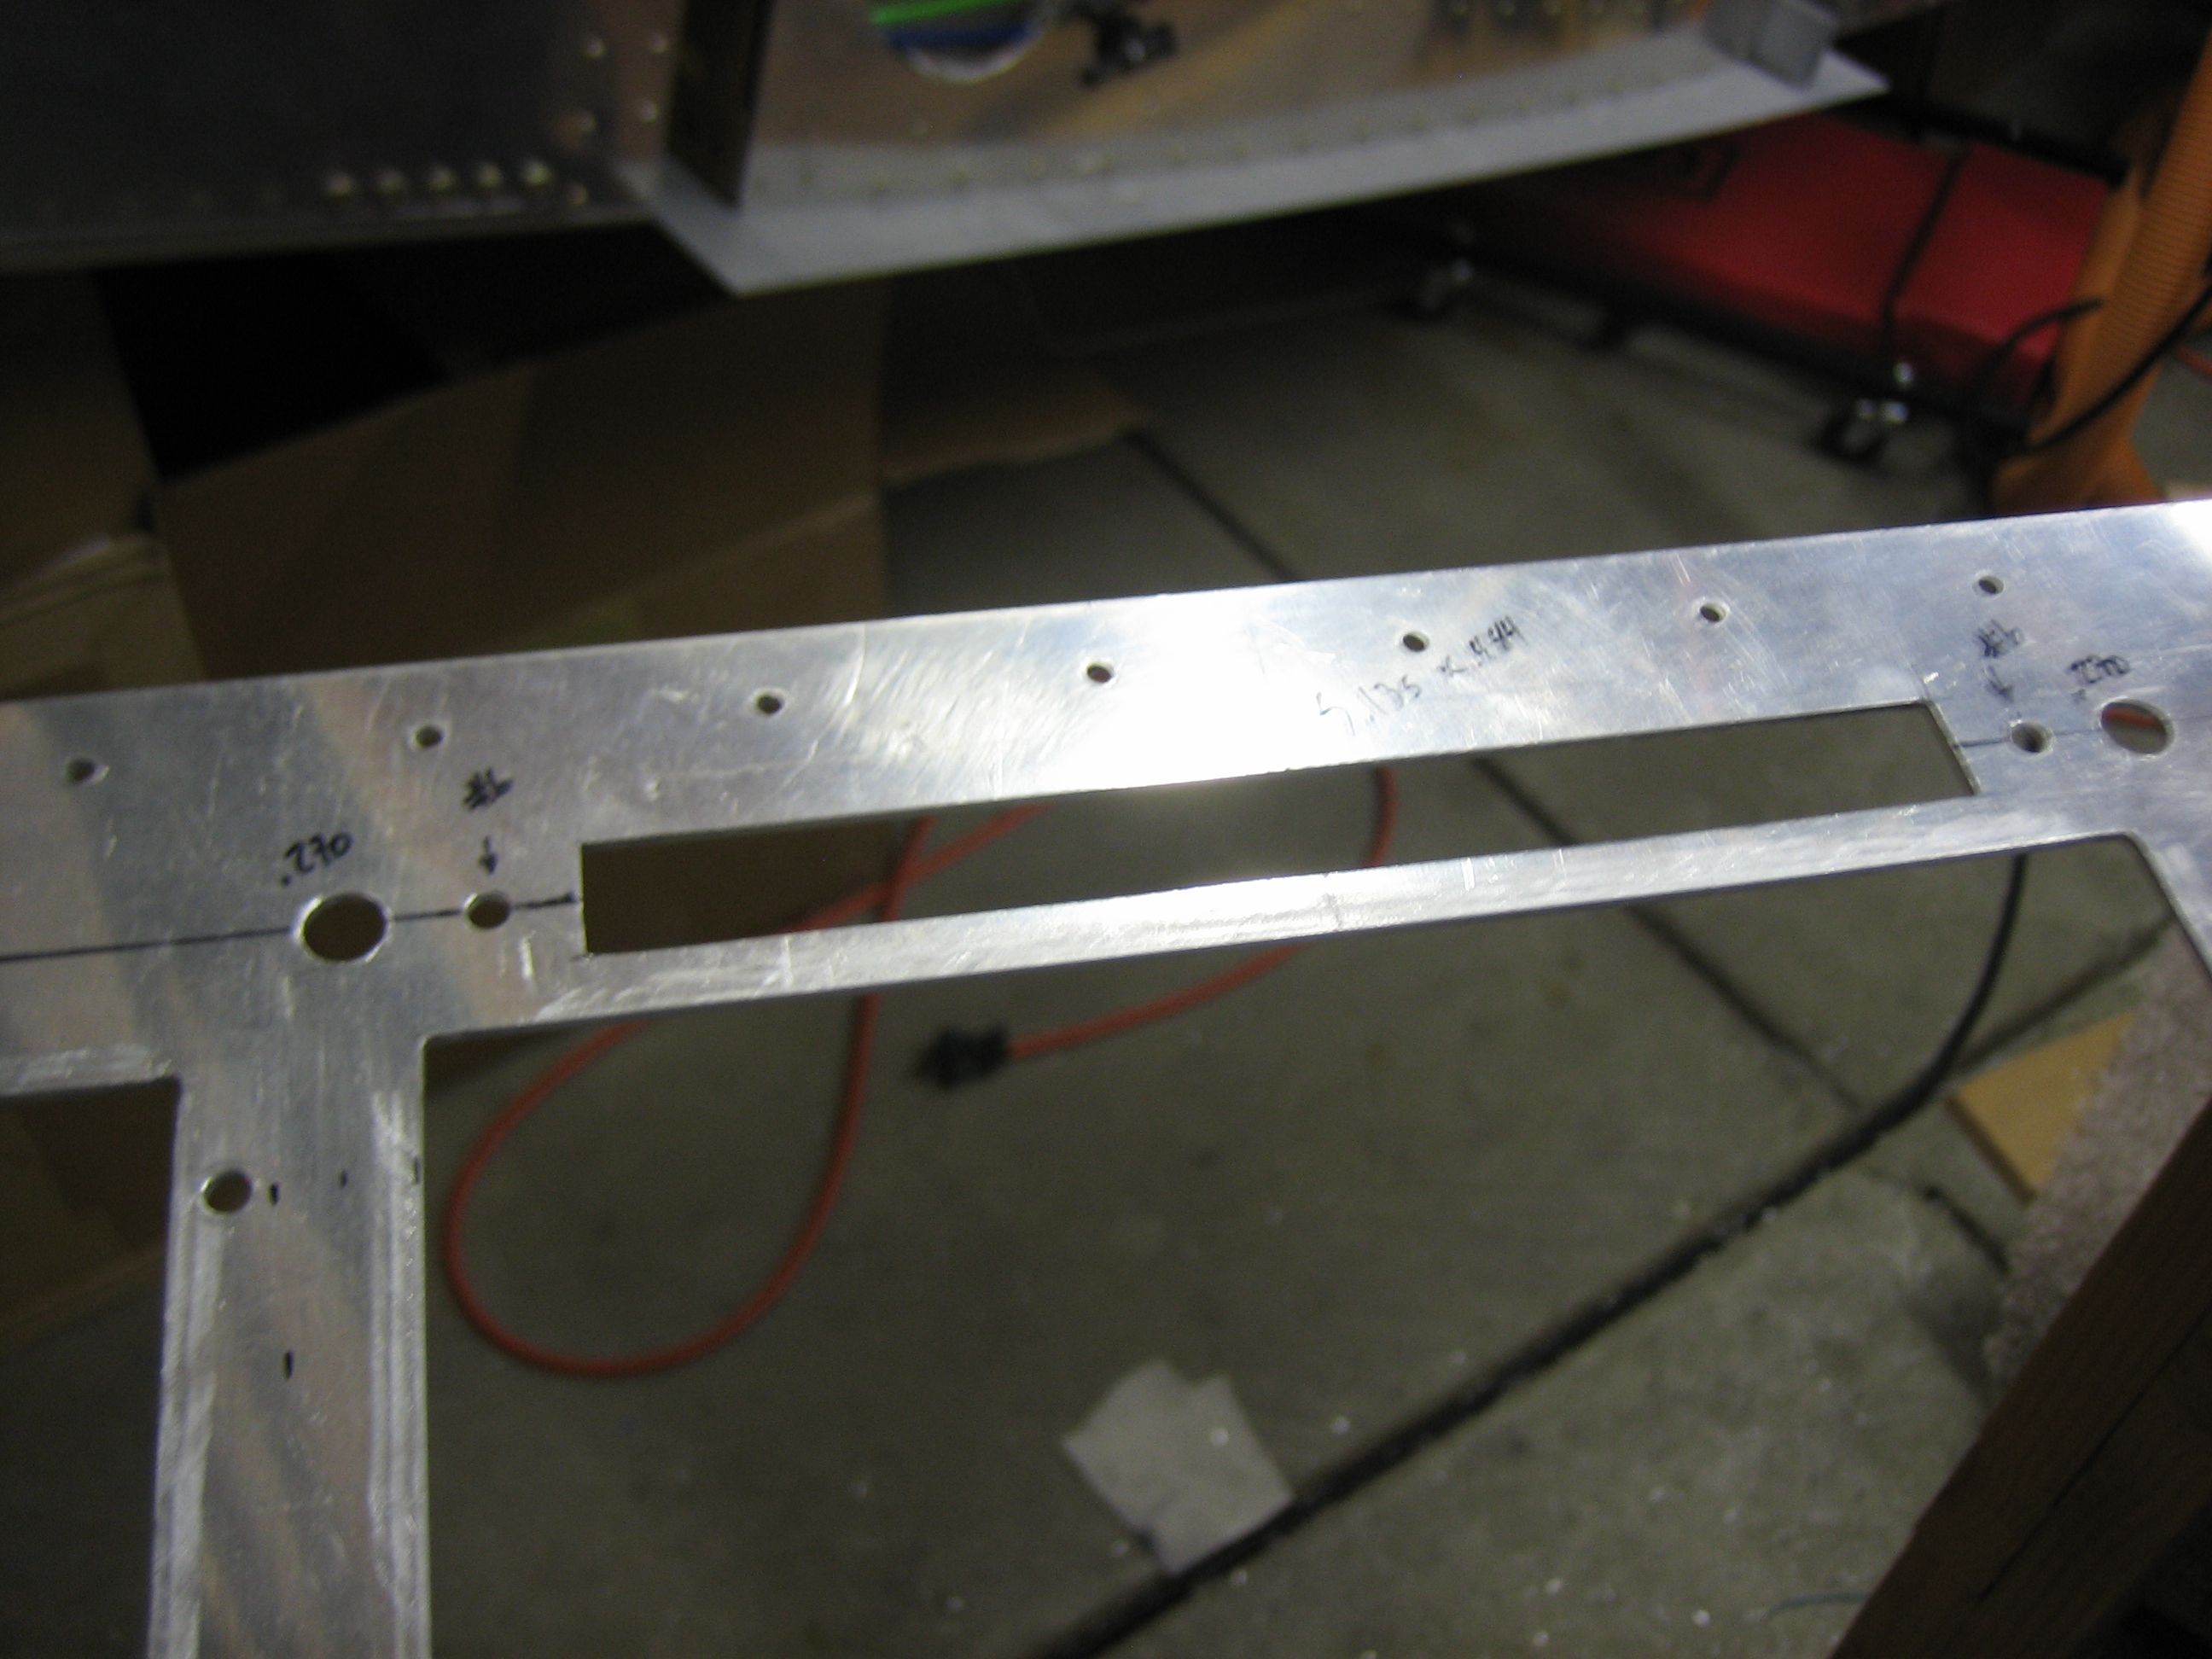
This is the slot for the annunciator lights. The small holes on either side are for some #6 screws that will attach the annunciator light bracket. The larger holes are for a push-to-test button and a dimmer.
To the right of the right SkyView screen are holes for two breakers, the hobbs meter and ELT remote.