Received Annunciator Control Circuits and Worked on Network Cables

I received my annunciator control boards from ExpressPCB.

Here’s a closeup of the driver end of the circuit board.  I had to stagger the parts to get everything to fit with enough clearance around all the solder pads.

Just like the Avionics Interconnect circuit from yesterday, I threw a part number and website on these in case I start selling them.  I’m definitely selling the other two, so email me if you want one.  These can drive up to 10 annunciator lights triggered by either 12V or ground and include a facility for a push to test function and an external dimmer.

Here’s the driver end of a populated board.  I don’t have the PCB mount DB-37 connector yet which is why that isn’t present.

Each annunciator light driver has an isolation diode to allow the push to test function.  The extra resistor is to protect the diodes against shorting one of the high triggers to ground.

I didn’t forget to attach components here, these are plated through holes that allow these traces to connect to traces on the other side of the board.

Here’s where those traces come through.  These route signals to the resistors driving the base of each transistor as well as the collector side of each transistor.  The emitters of all transistors are connected together and grounded.

I’m trying to wrap up the tailcone wiring before installing the rear window for good.  I fabricated a custom length SkyView network cable to go from the ADAHRS down to the pitch servo.  There will be a splitter mounted there that allows the ADAHRS and pitch servo connectors to join to the network cable that will be routed under the floor to the area under the pilot’s seat.  To fabricate the splitter, I cut two short sections of SkyView network cable and installed one end of both sets of wires into a single male DB-9 connector.  It’s pretty challenging, but you can install two 22AWG wires into a single crimp pin.  Getting all of the strands to slide into the pin before crimping is definitely a pain, but is doable.

Received Avionics Interconnect PCB

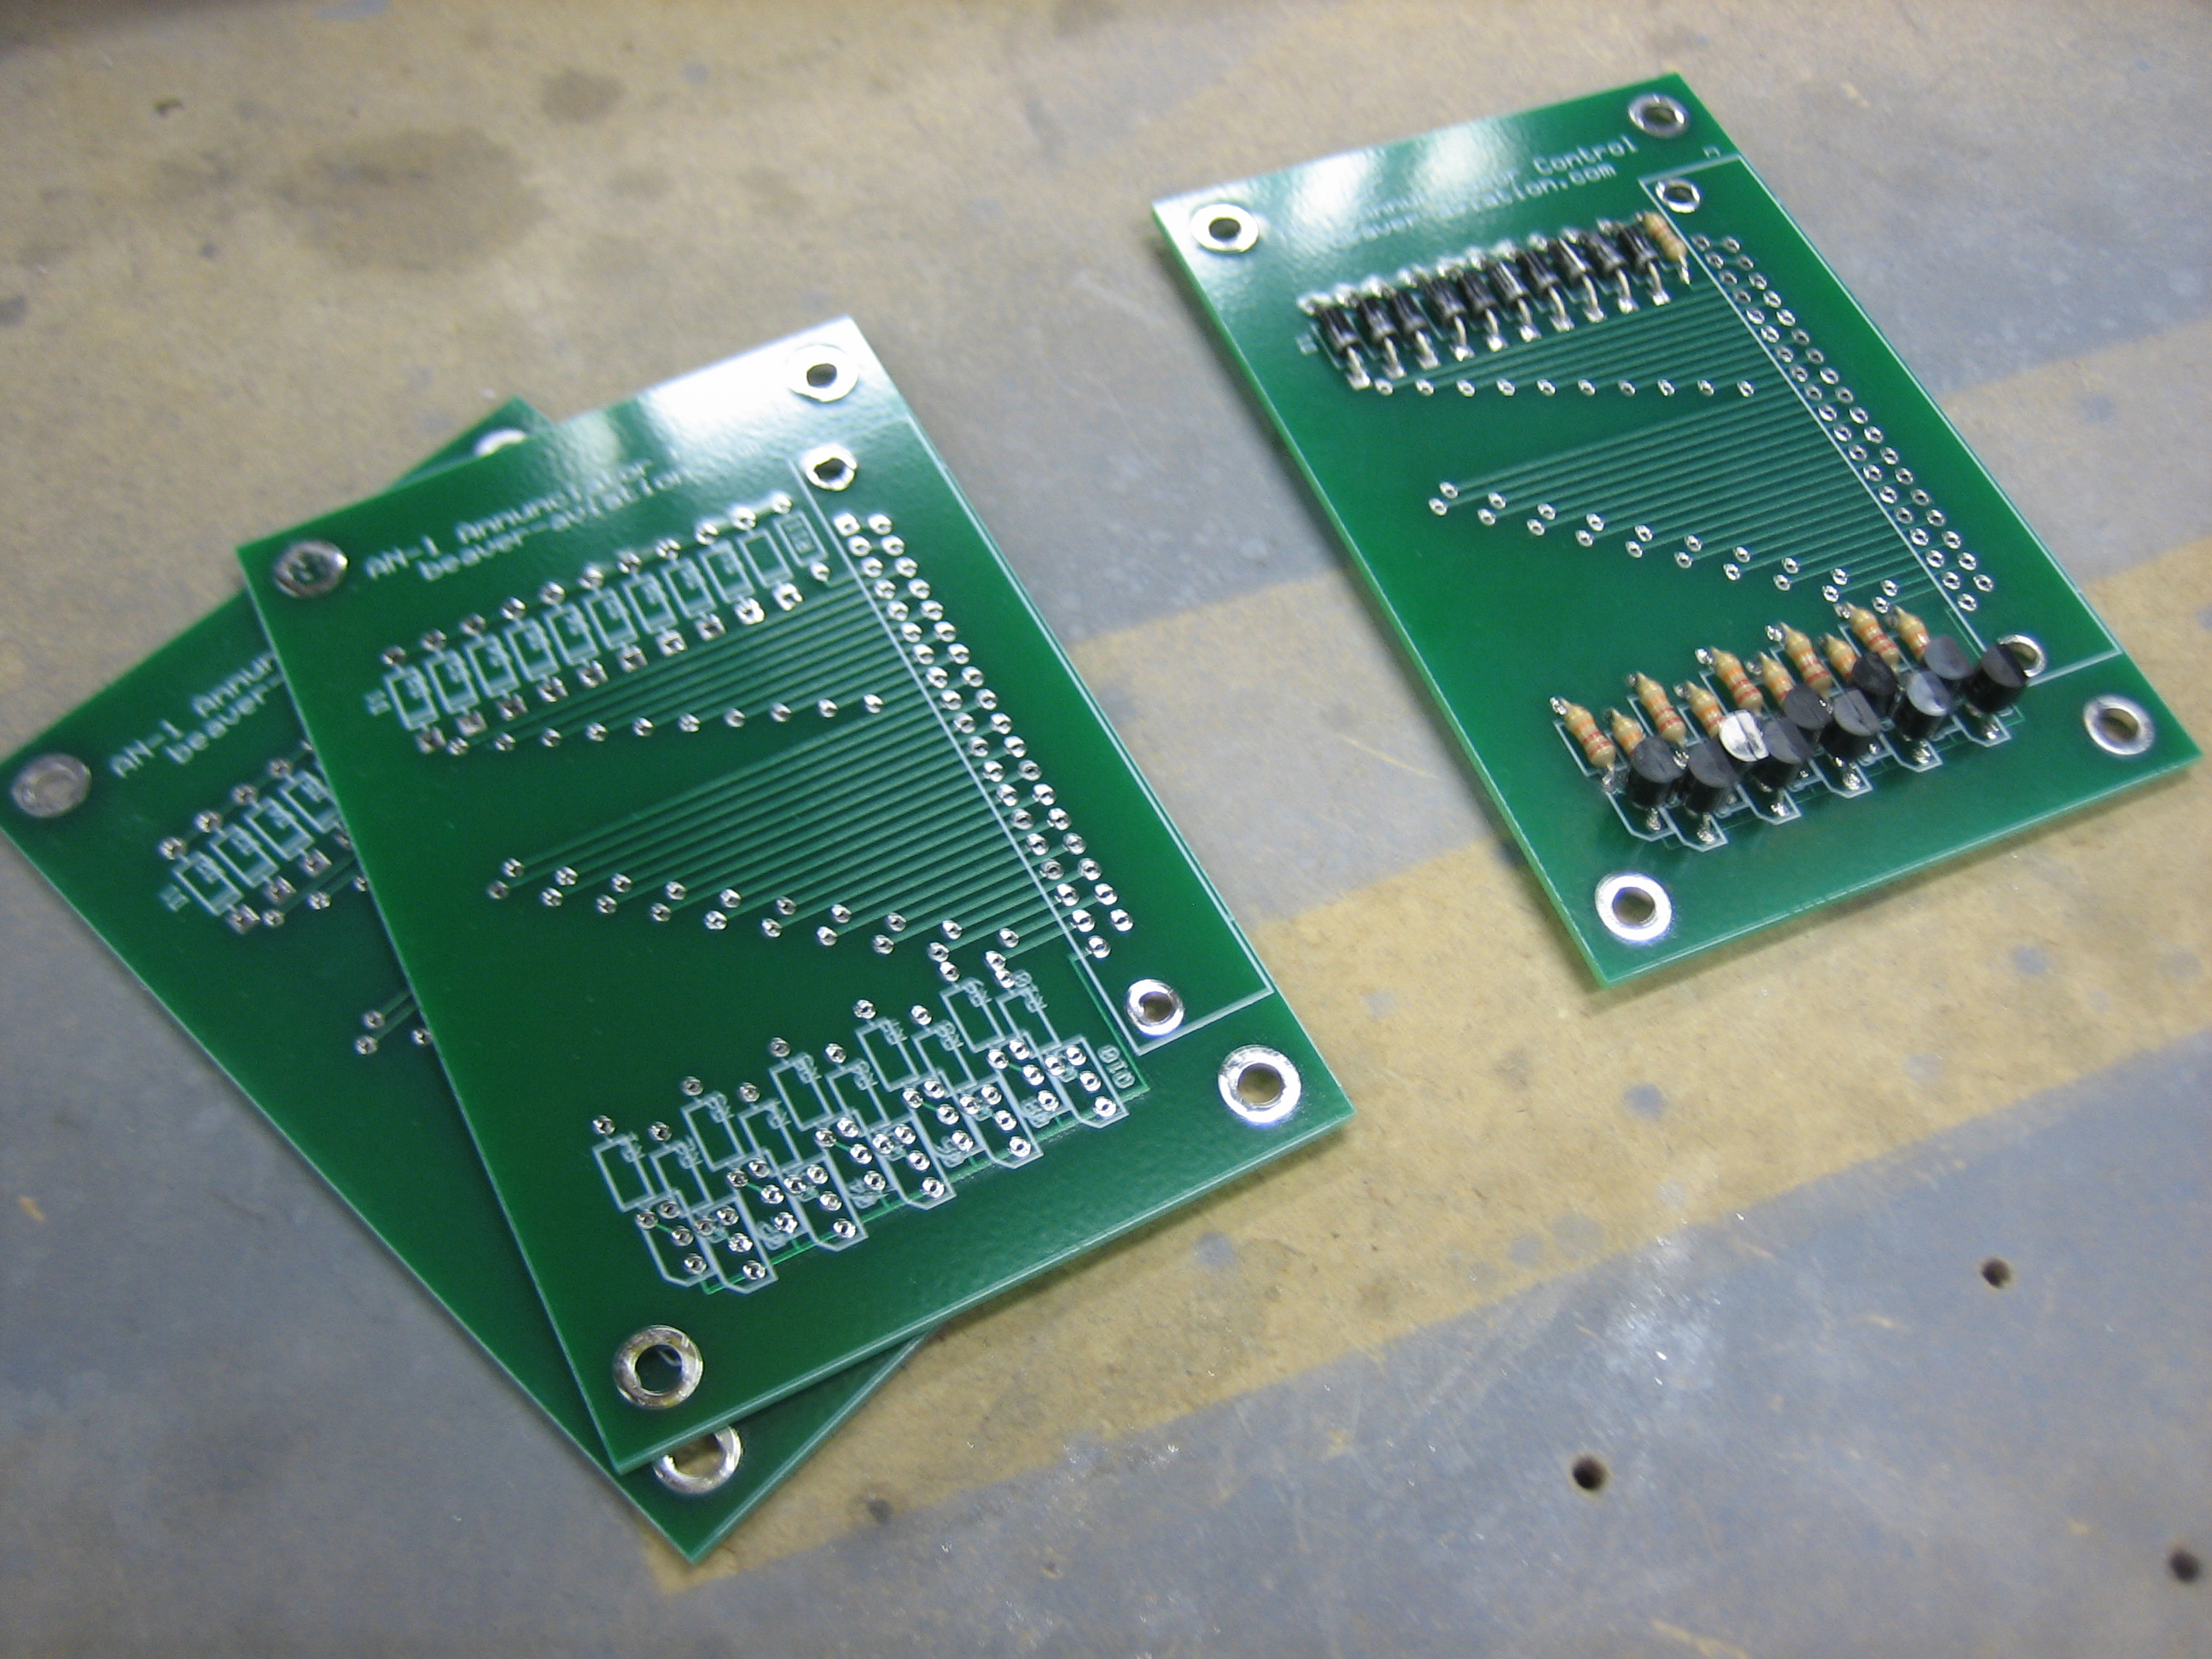
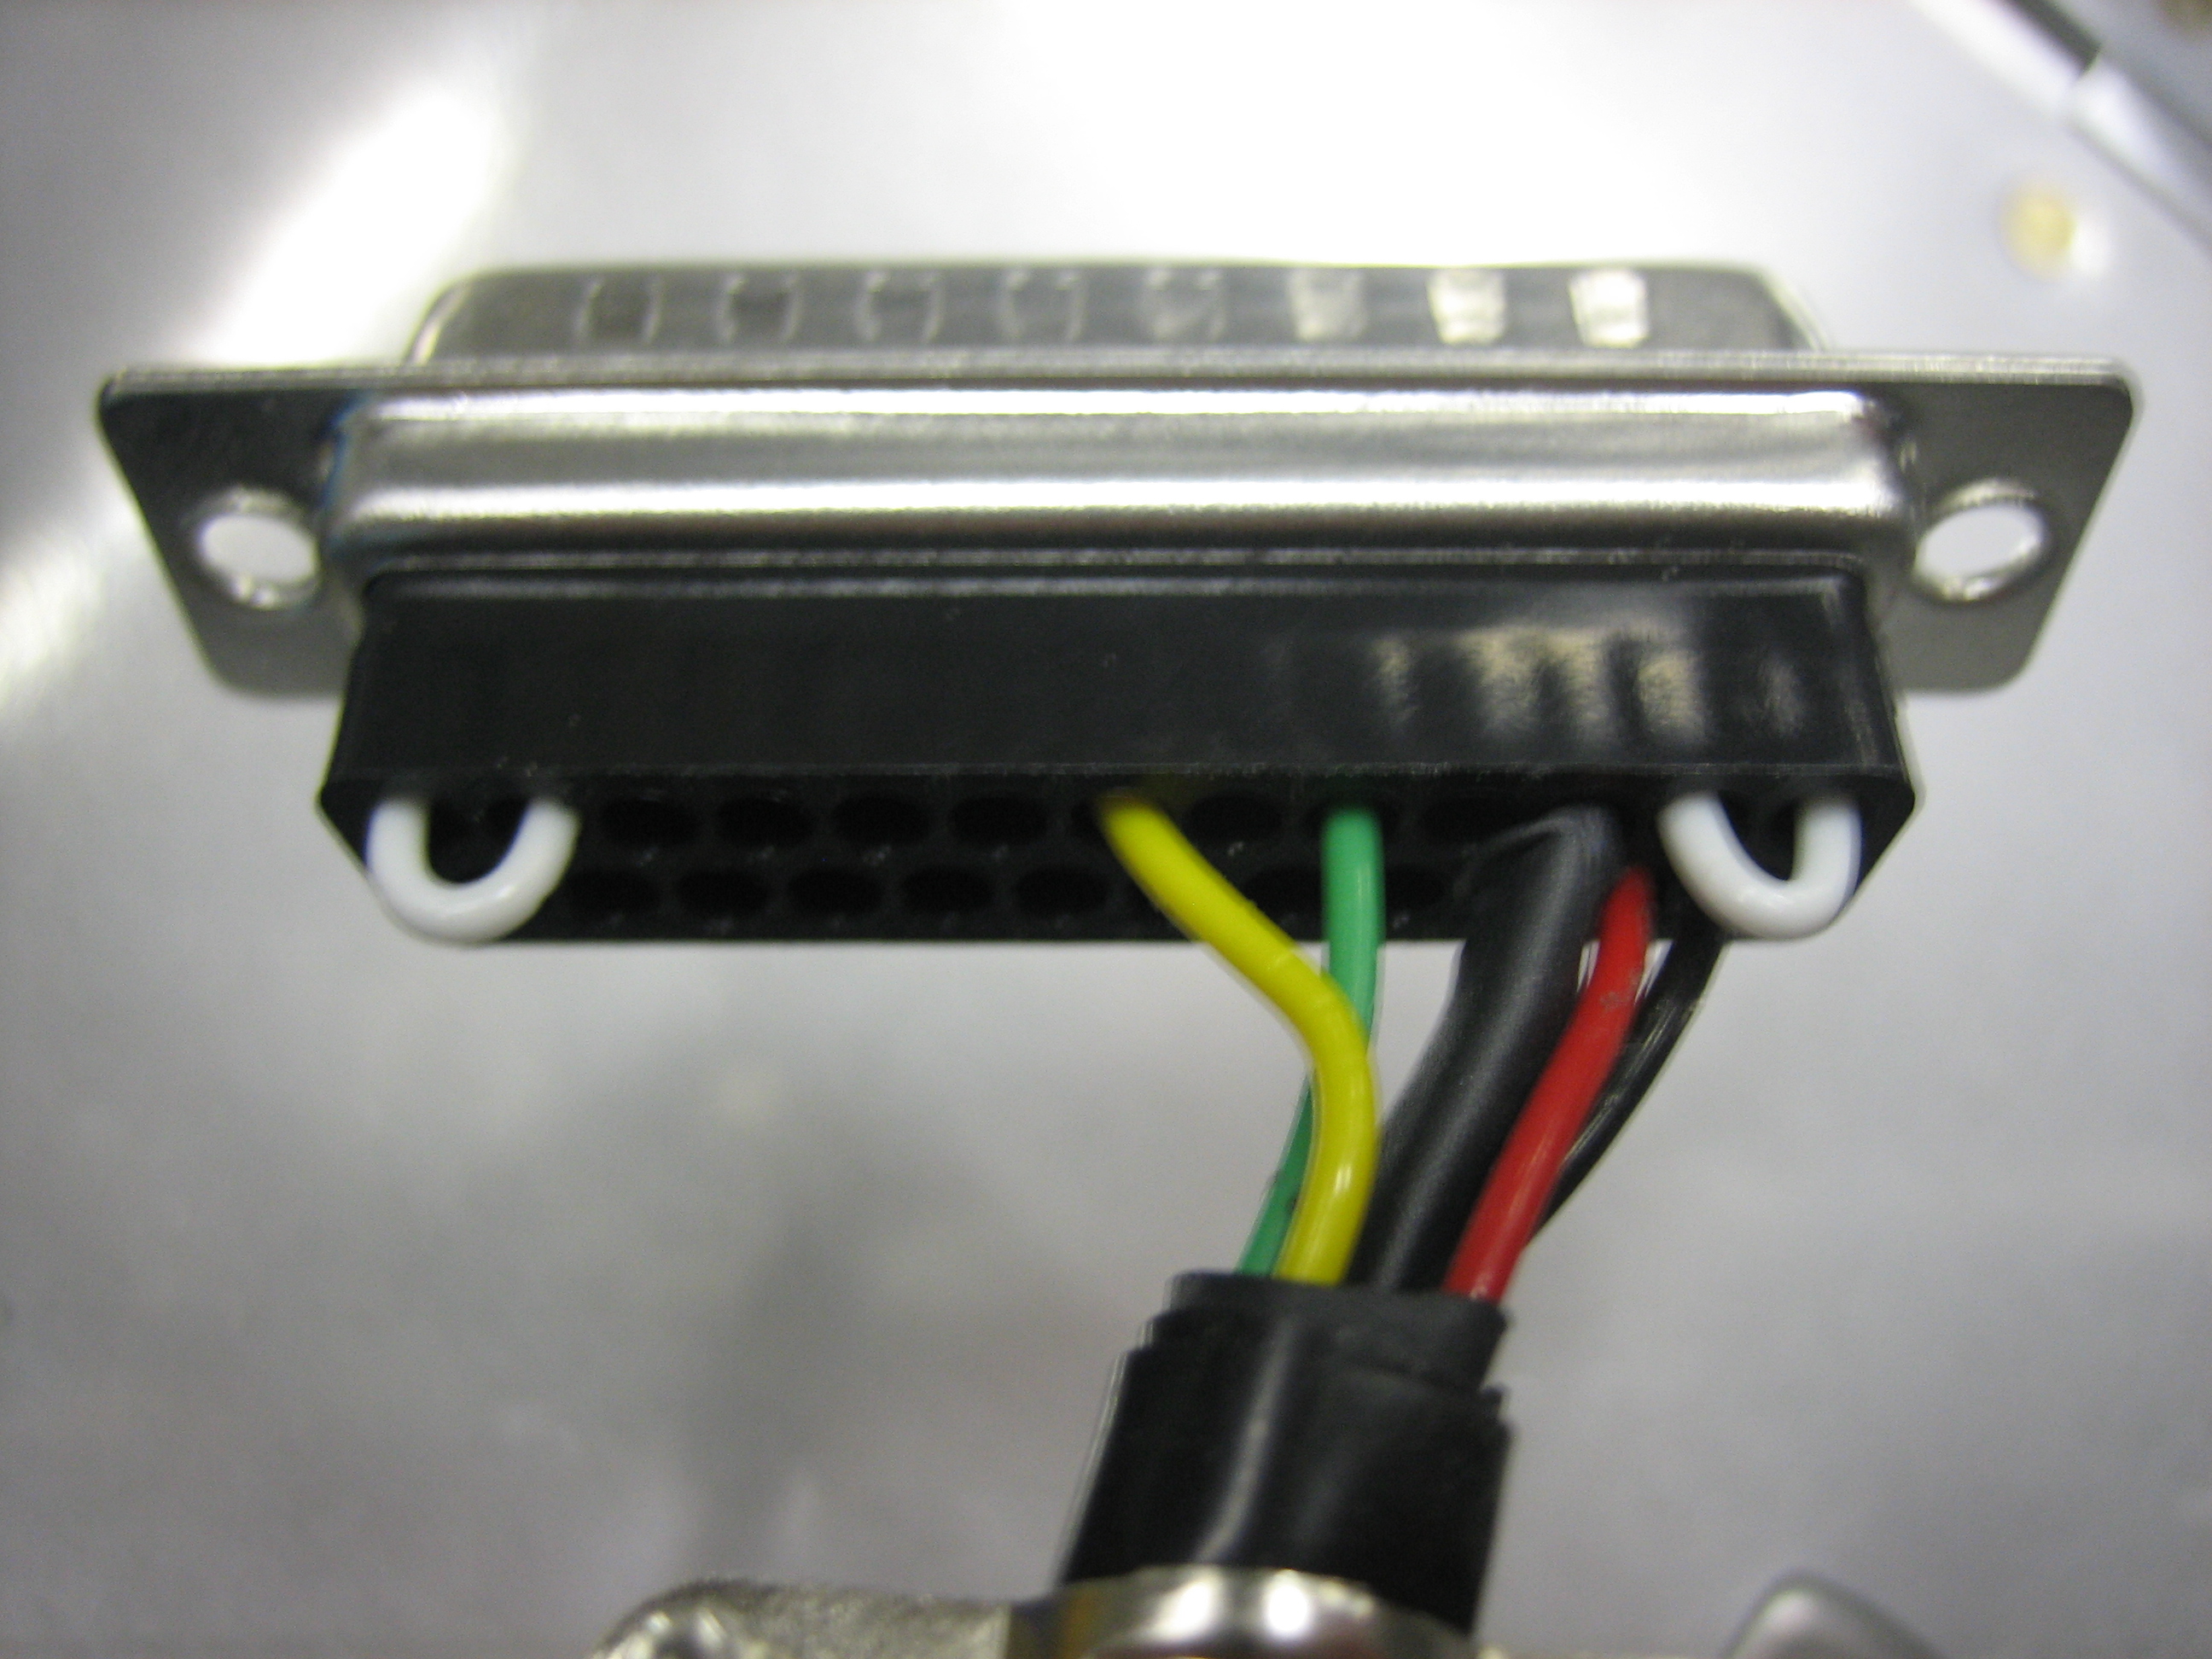
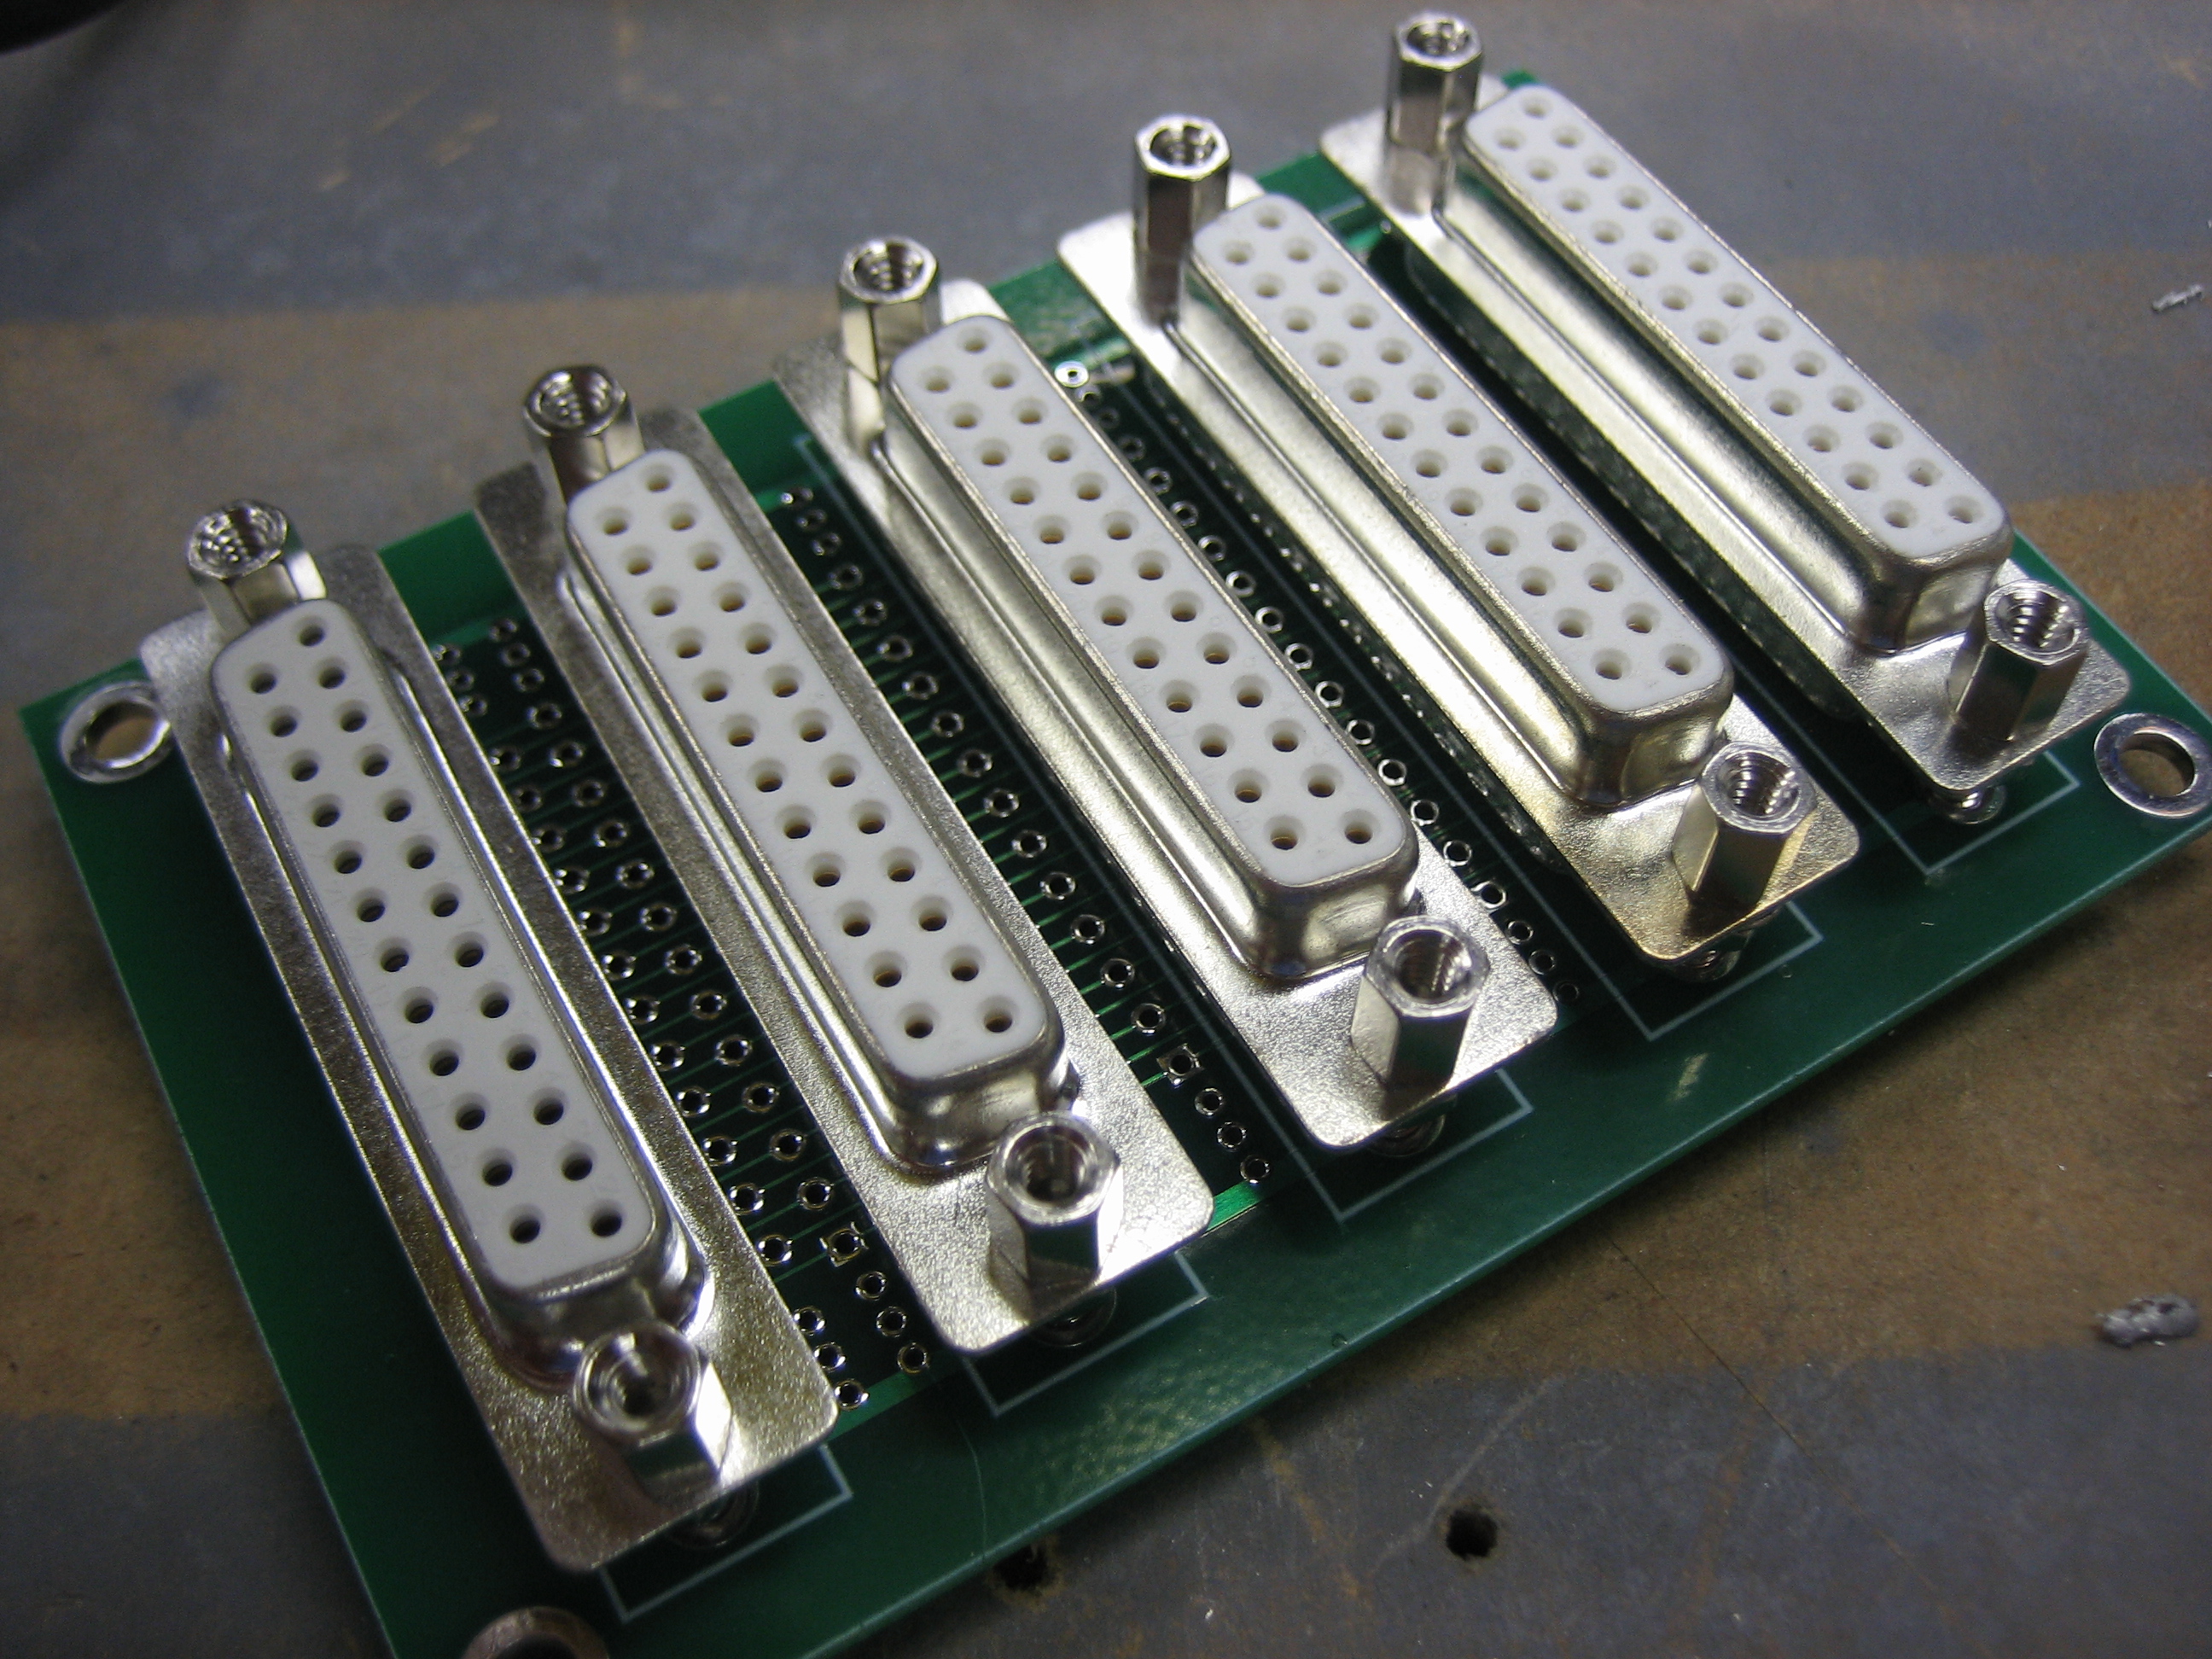
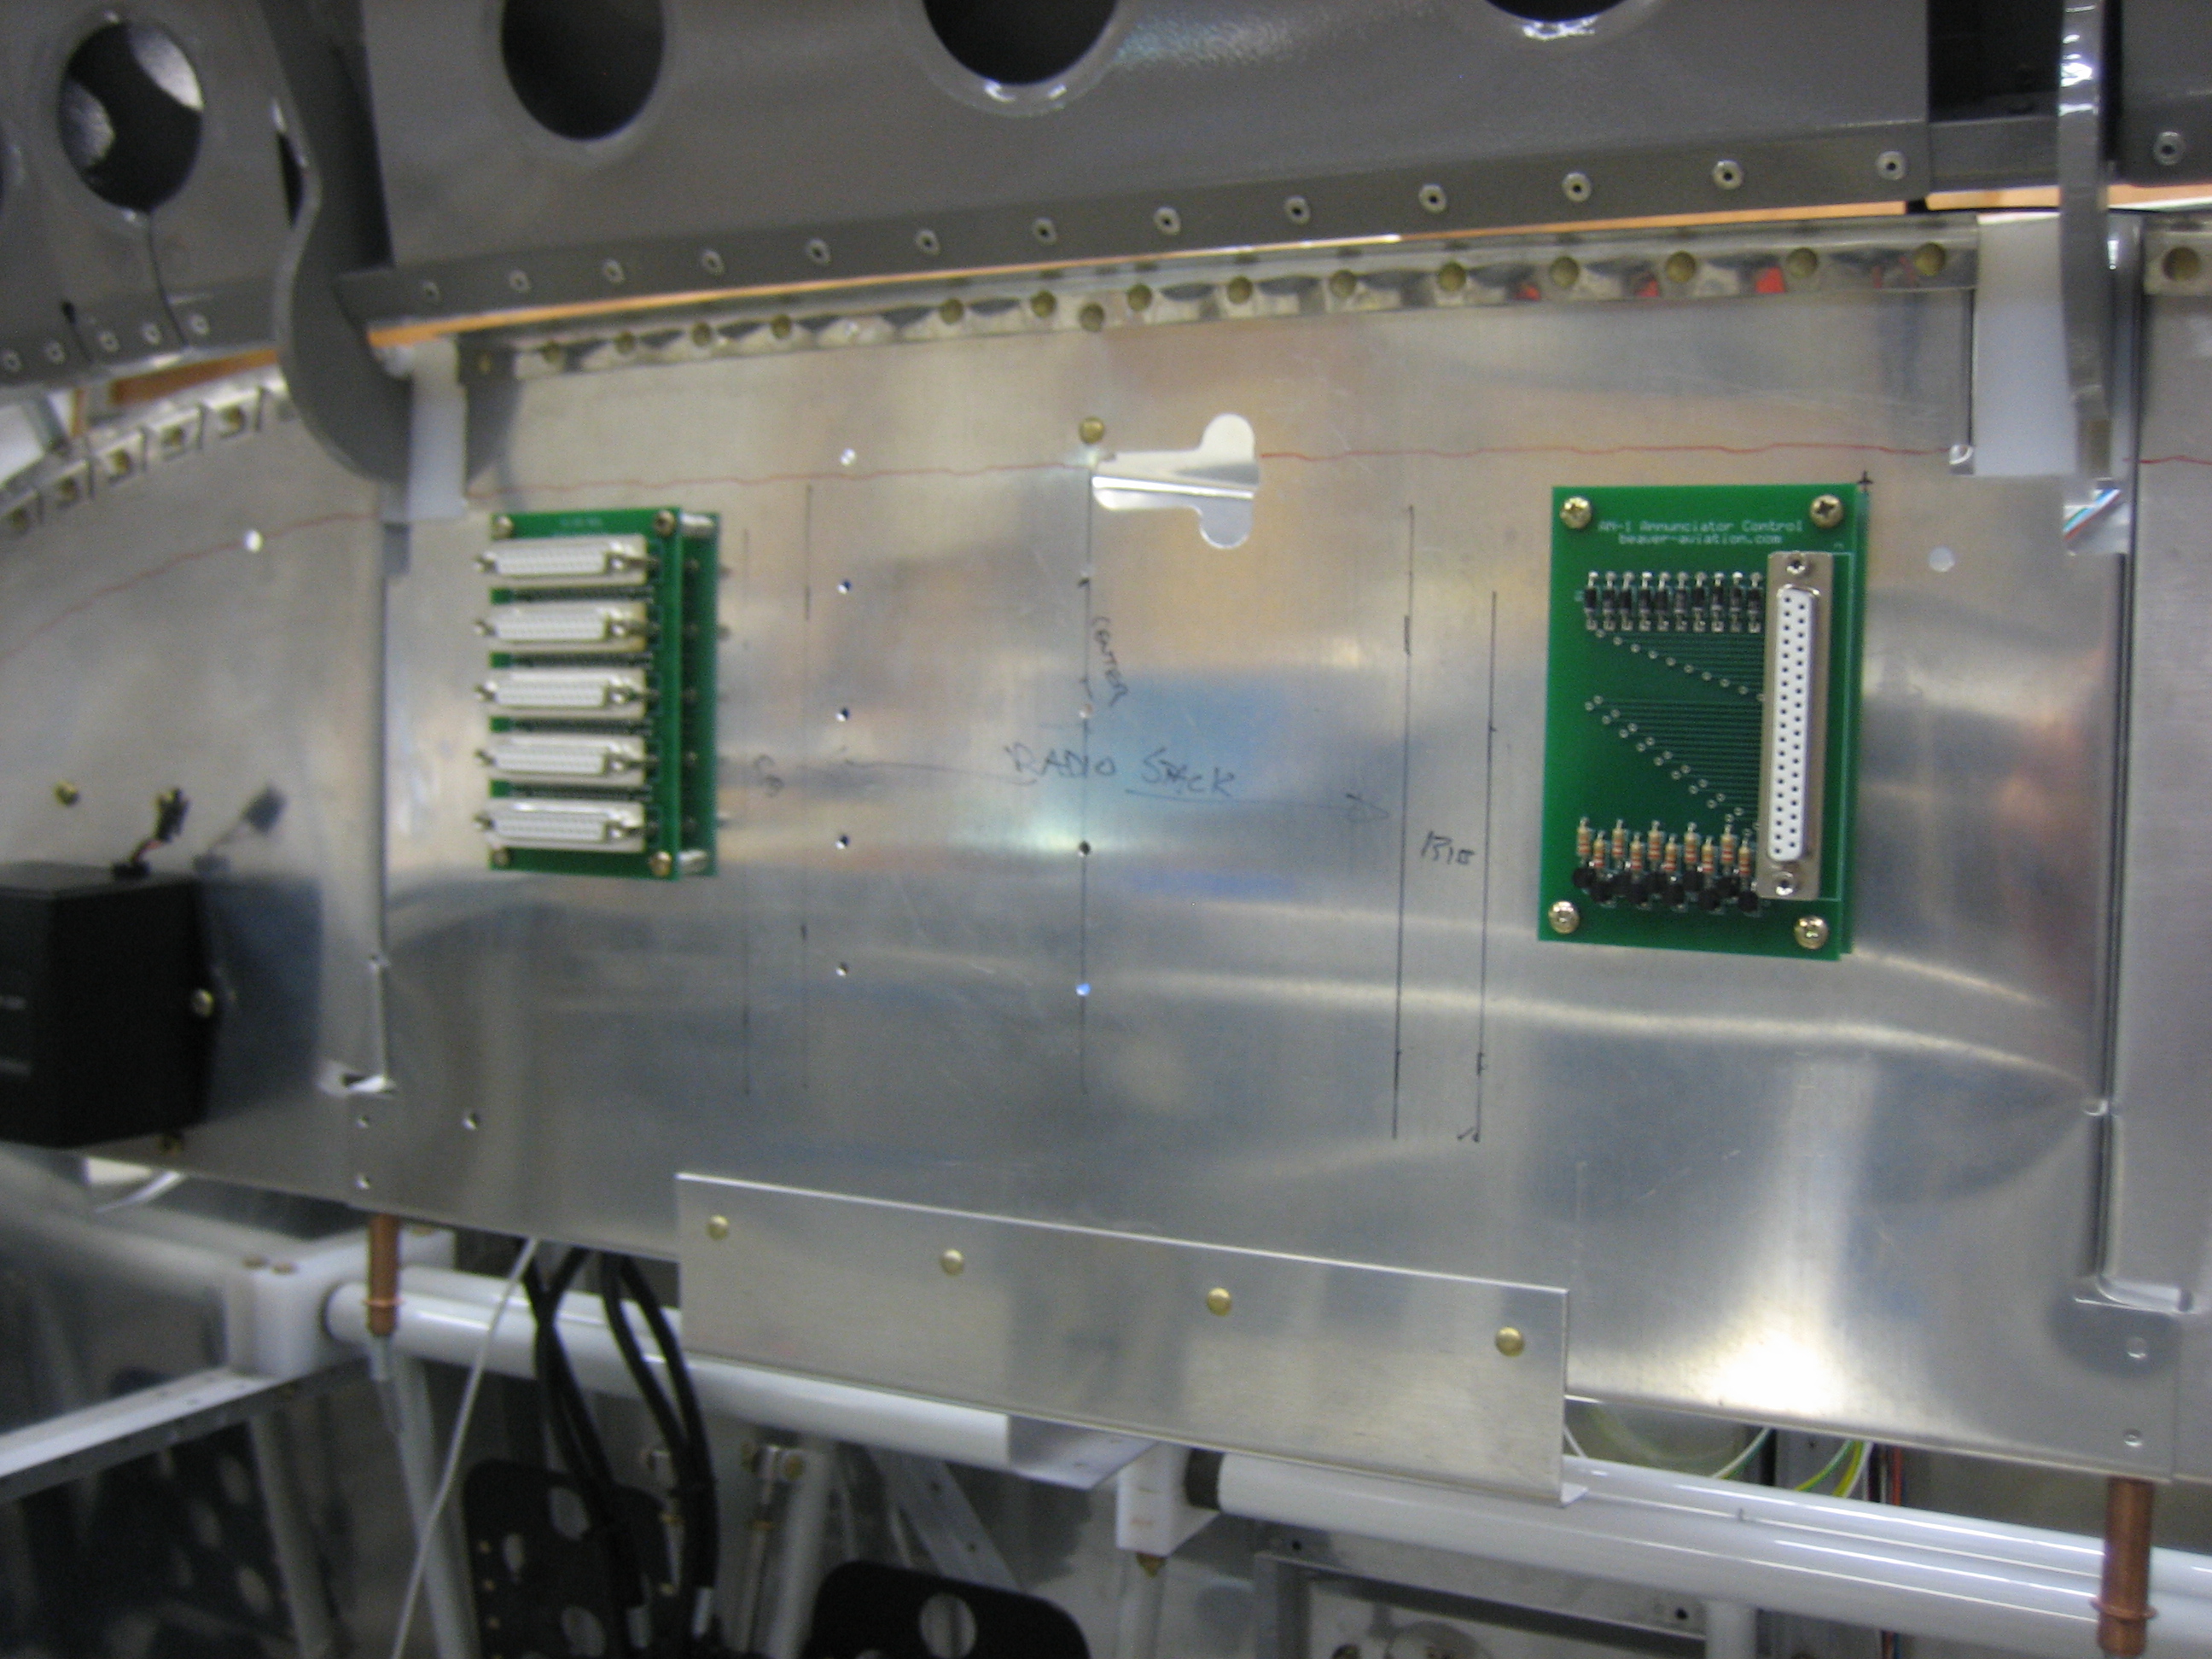
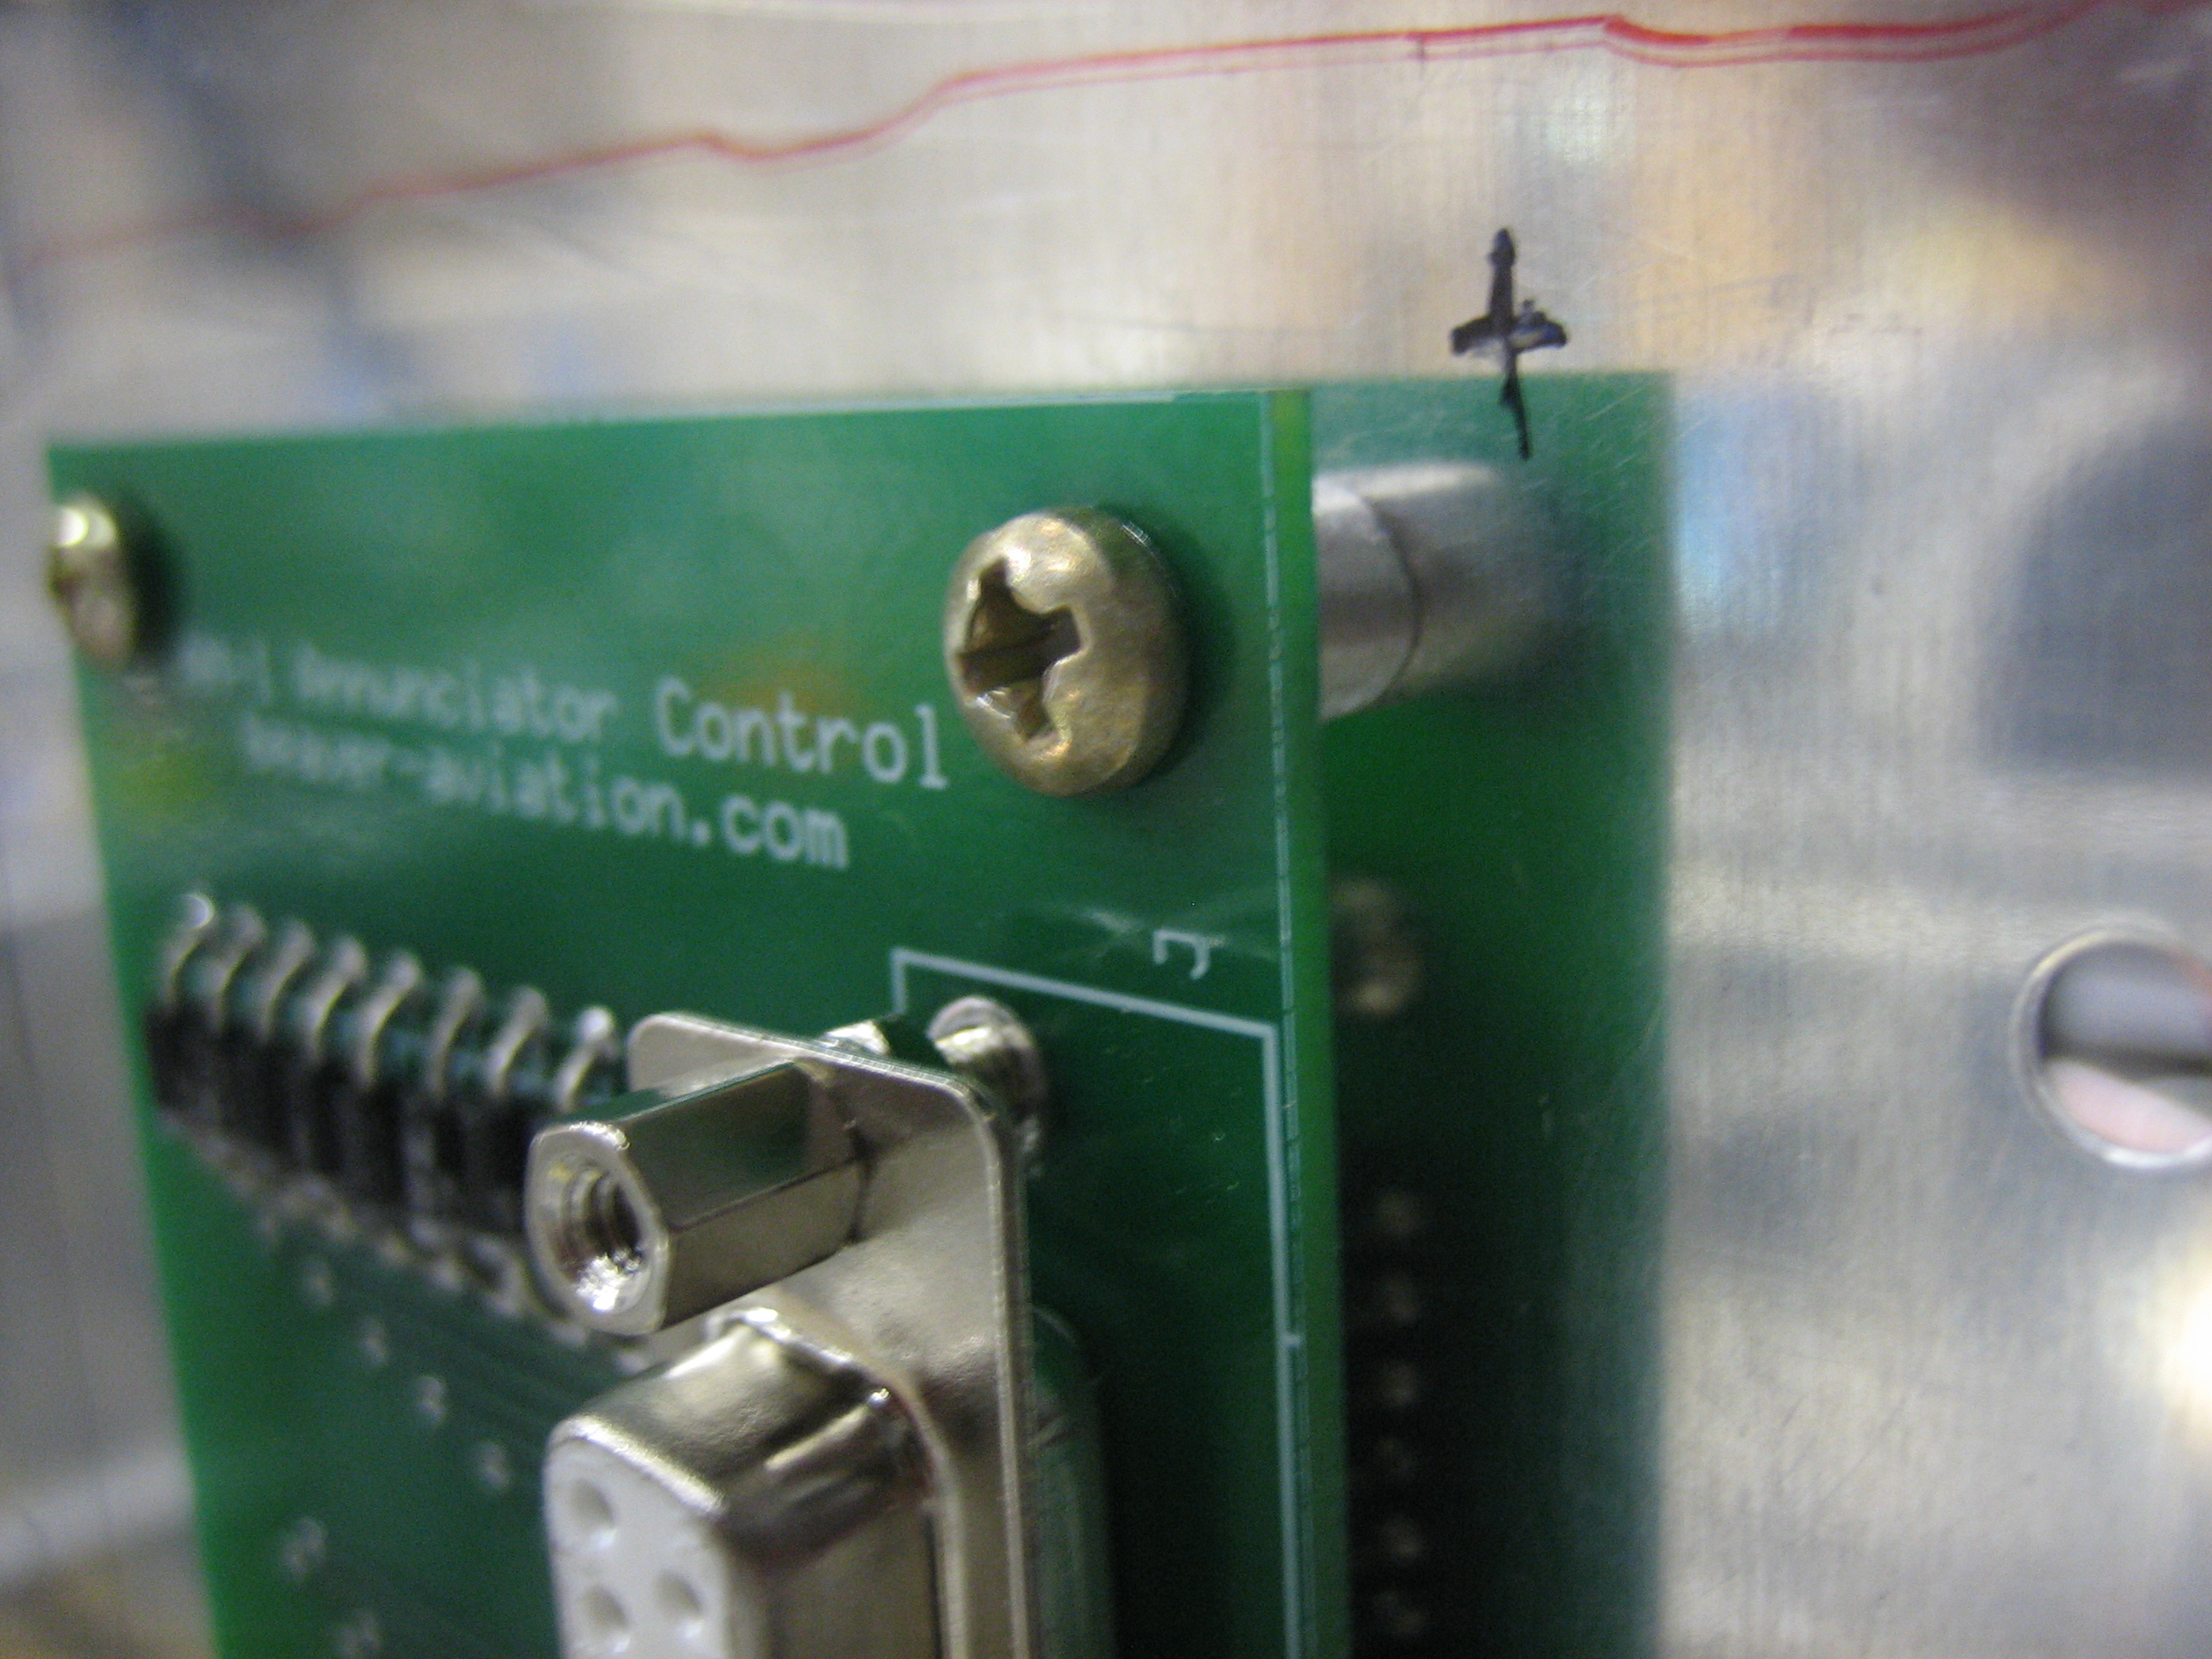
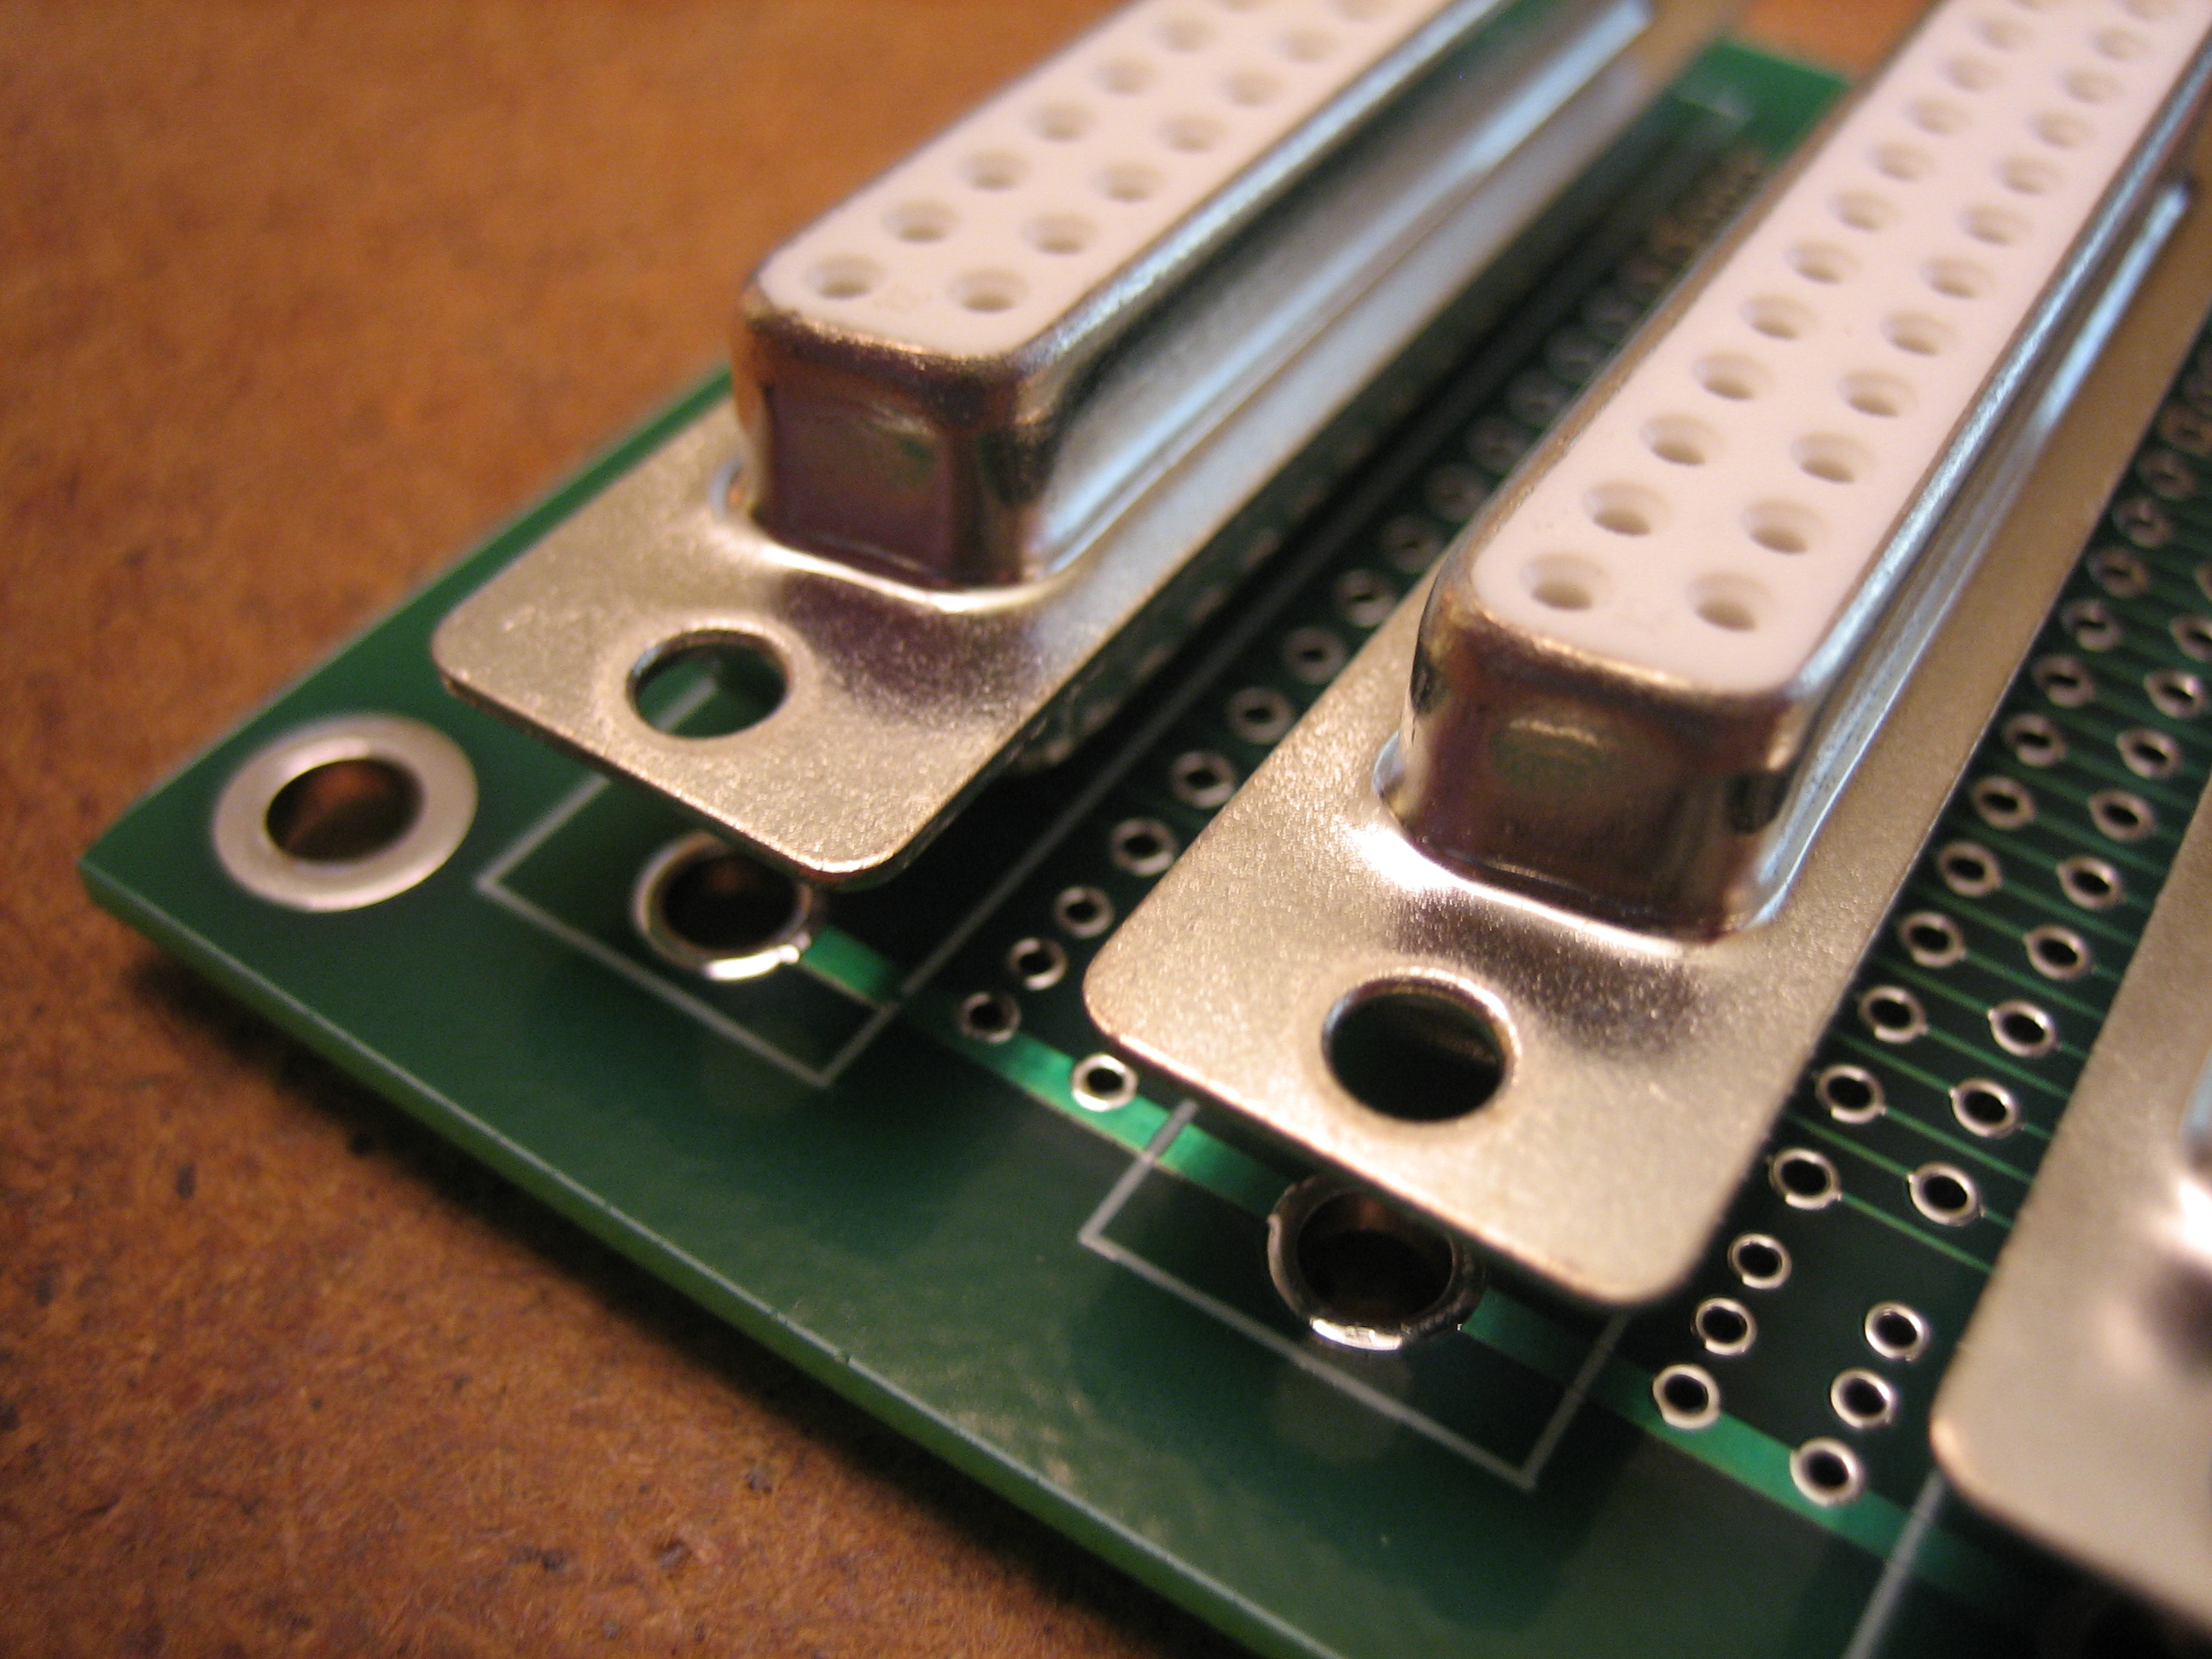
I received an order from ExpressPCB today with three PCBs that will be used to establish all of the interconnects between the avionics.  I installed 5 female DB-25 connectors in one of the boards, soldered the 125 contacts, and verified continuity between all the connectors.

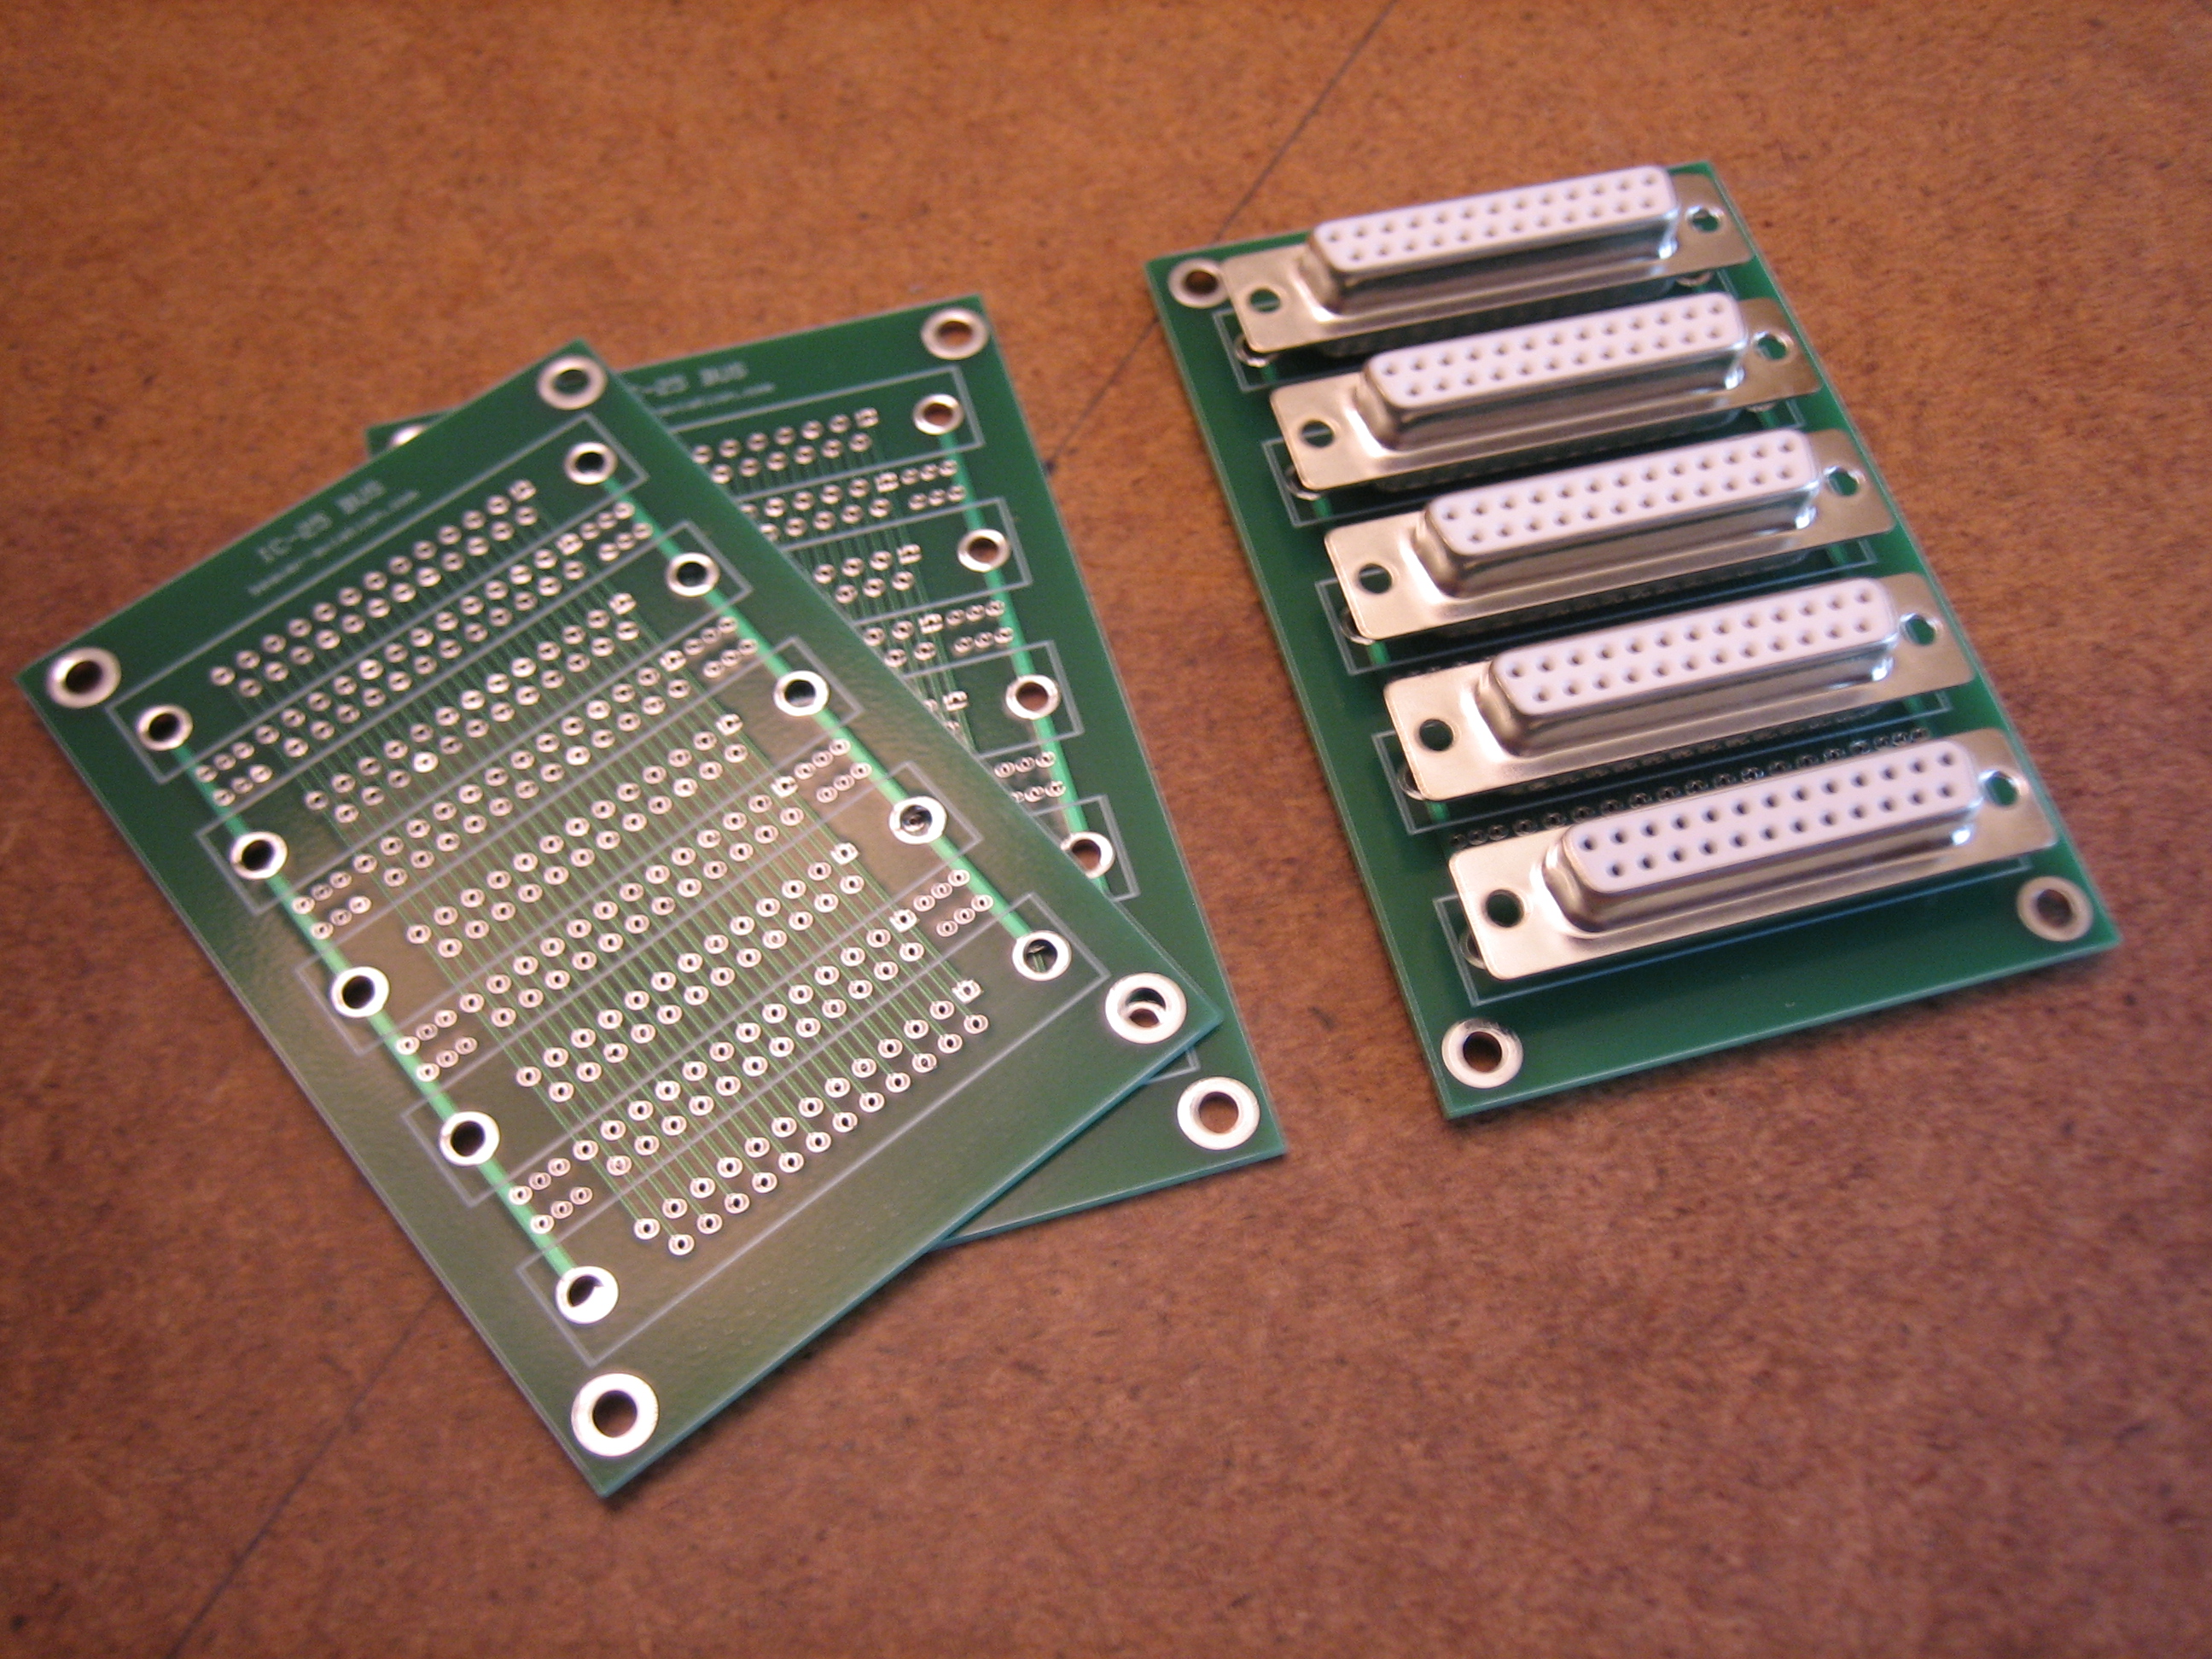
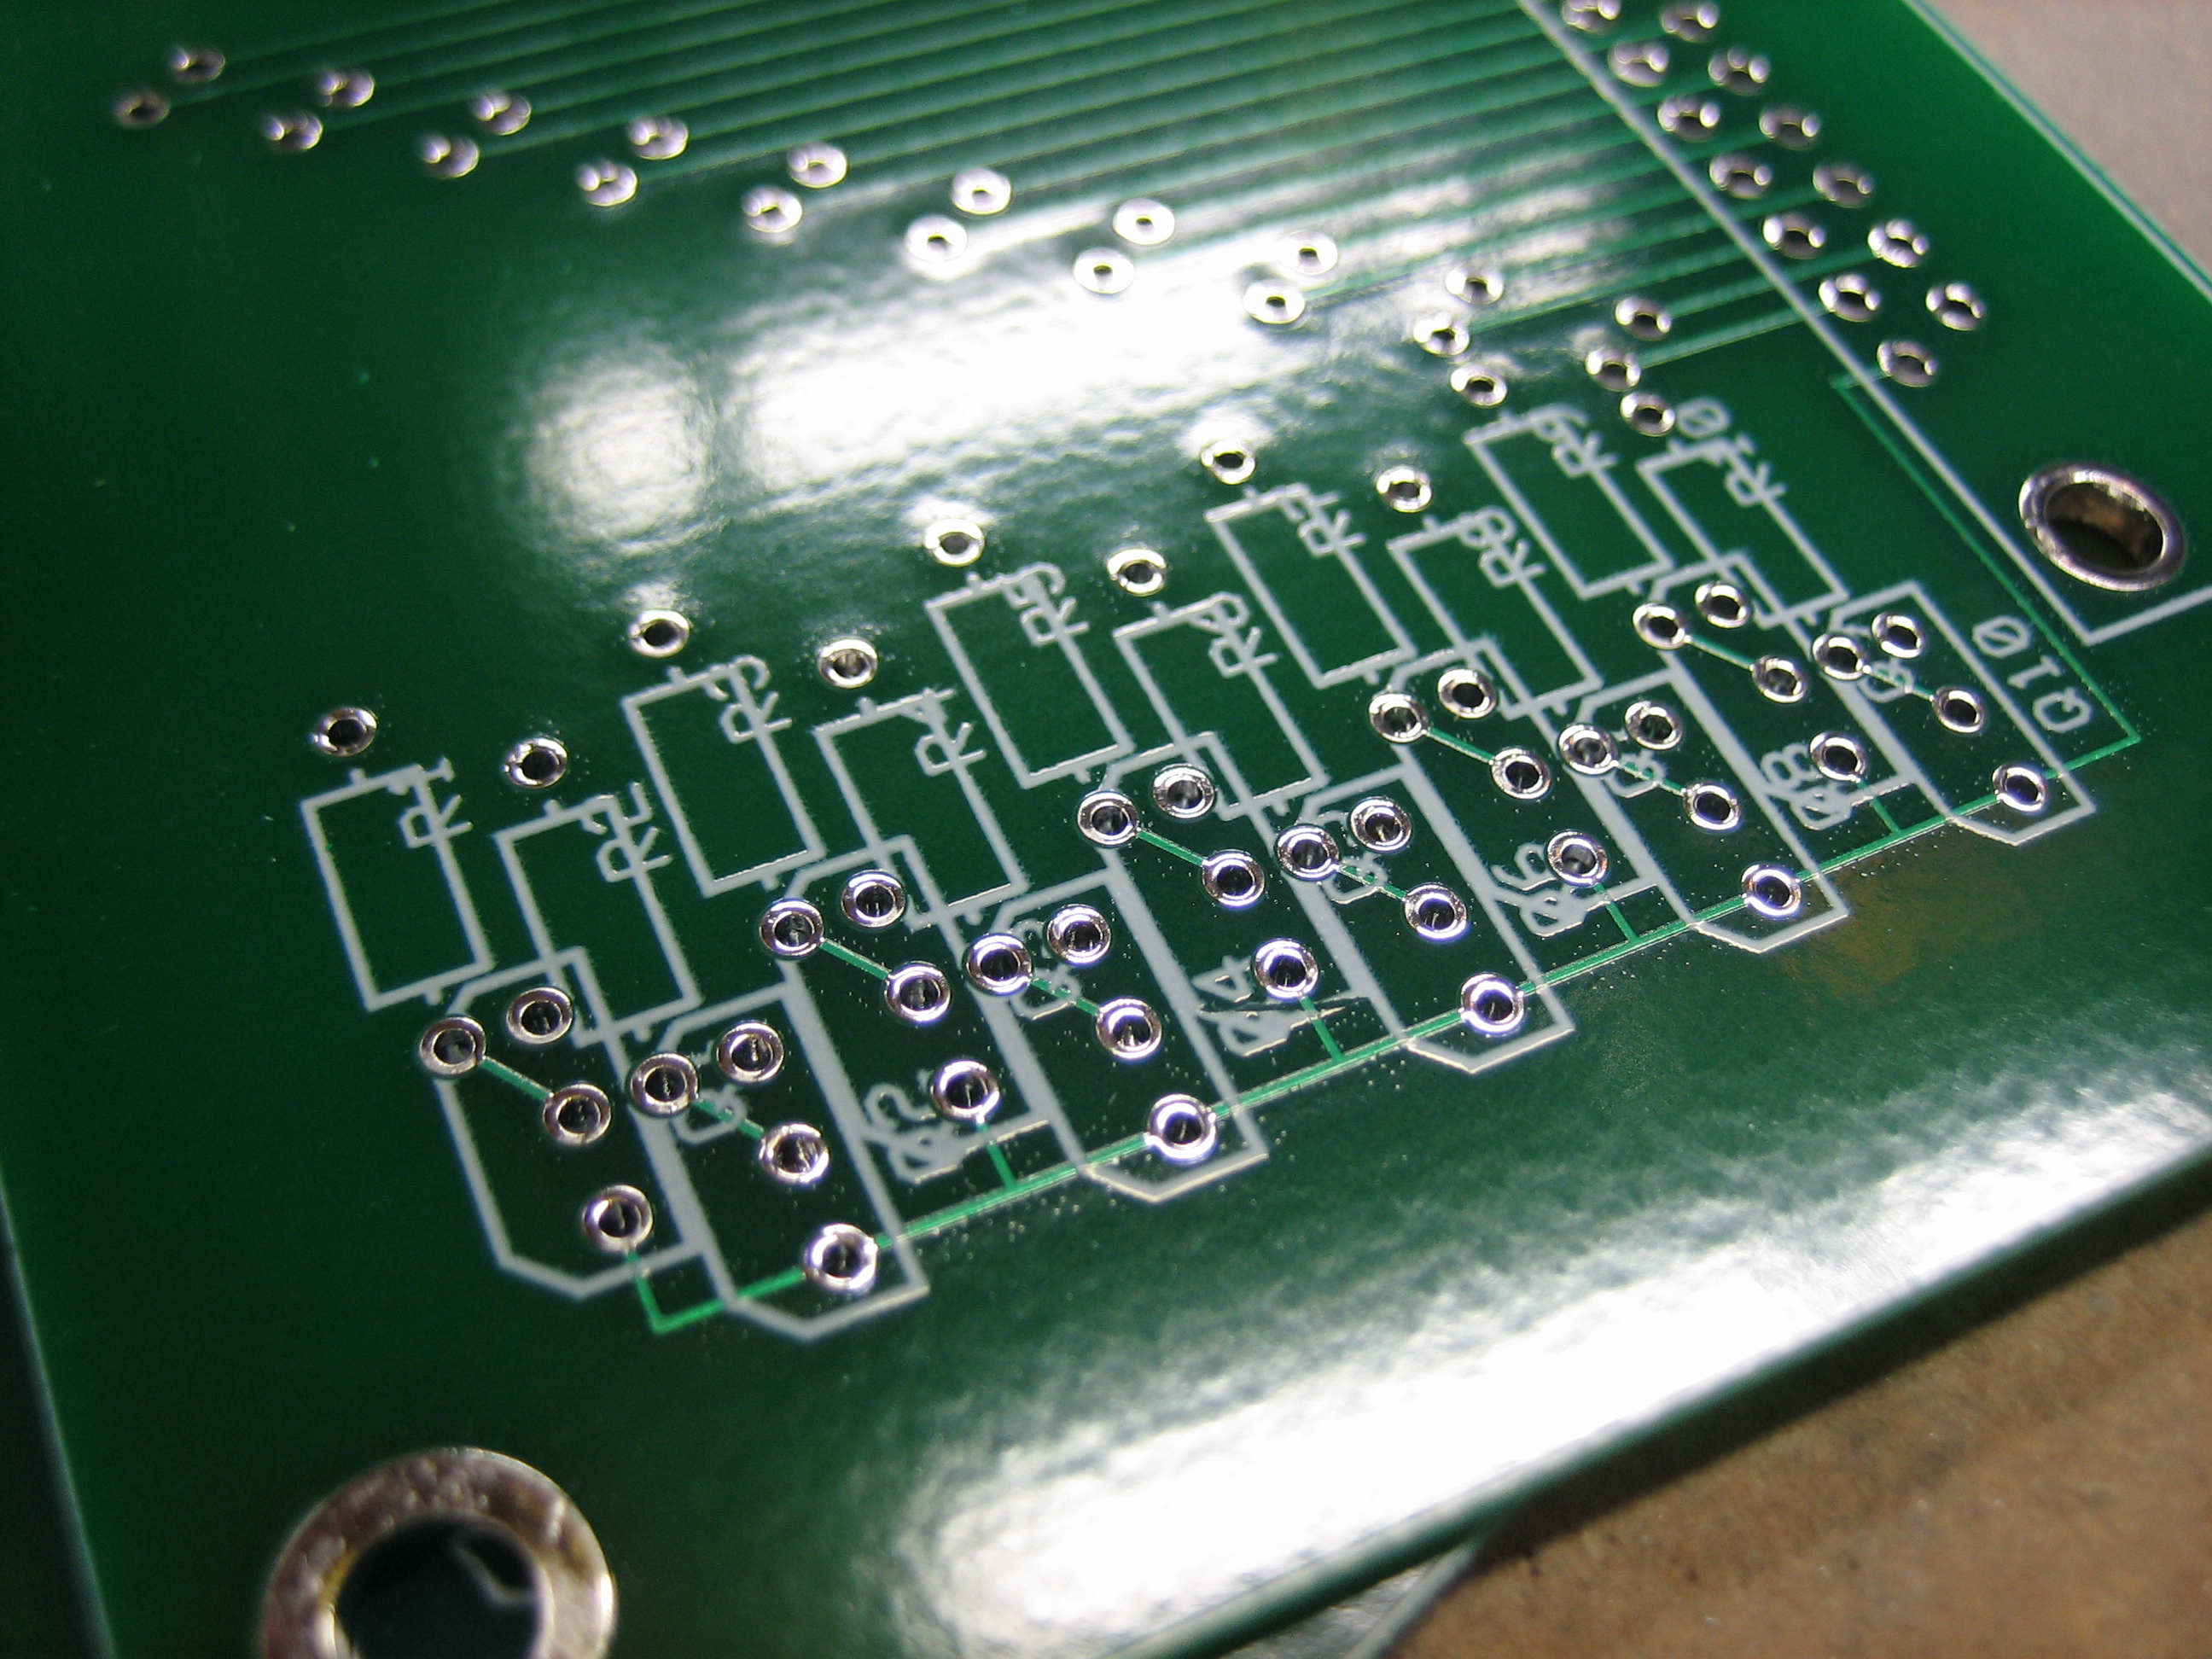
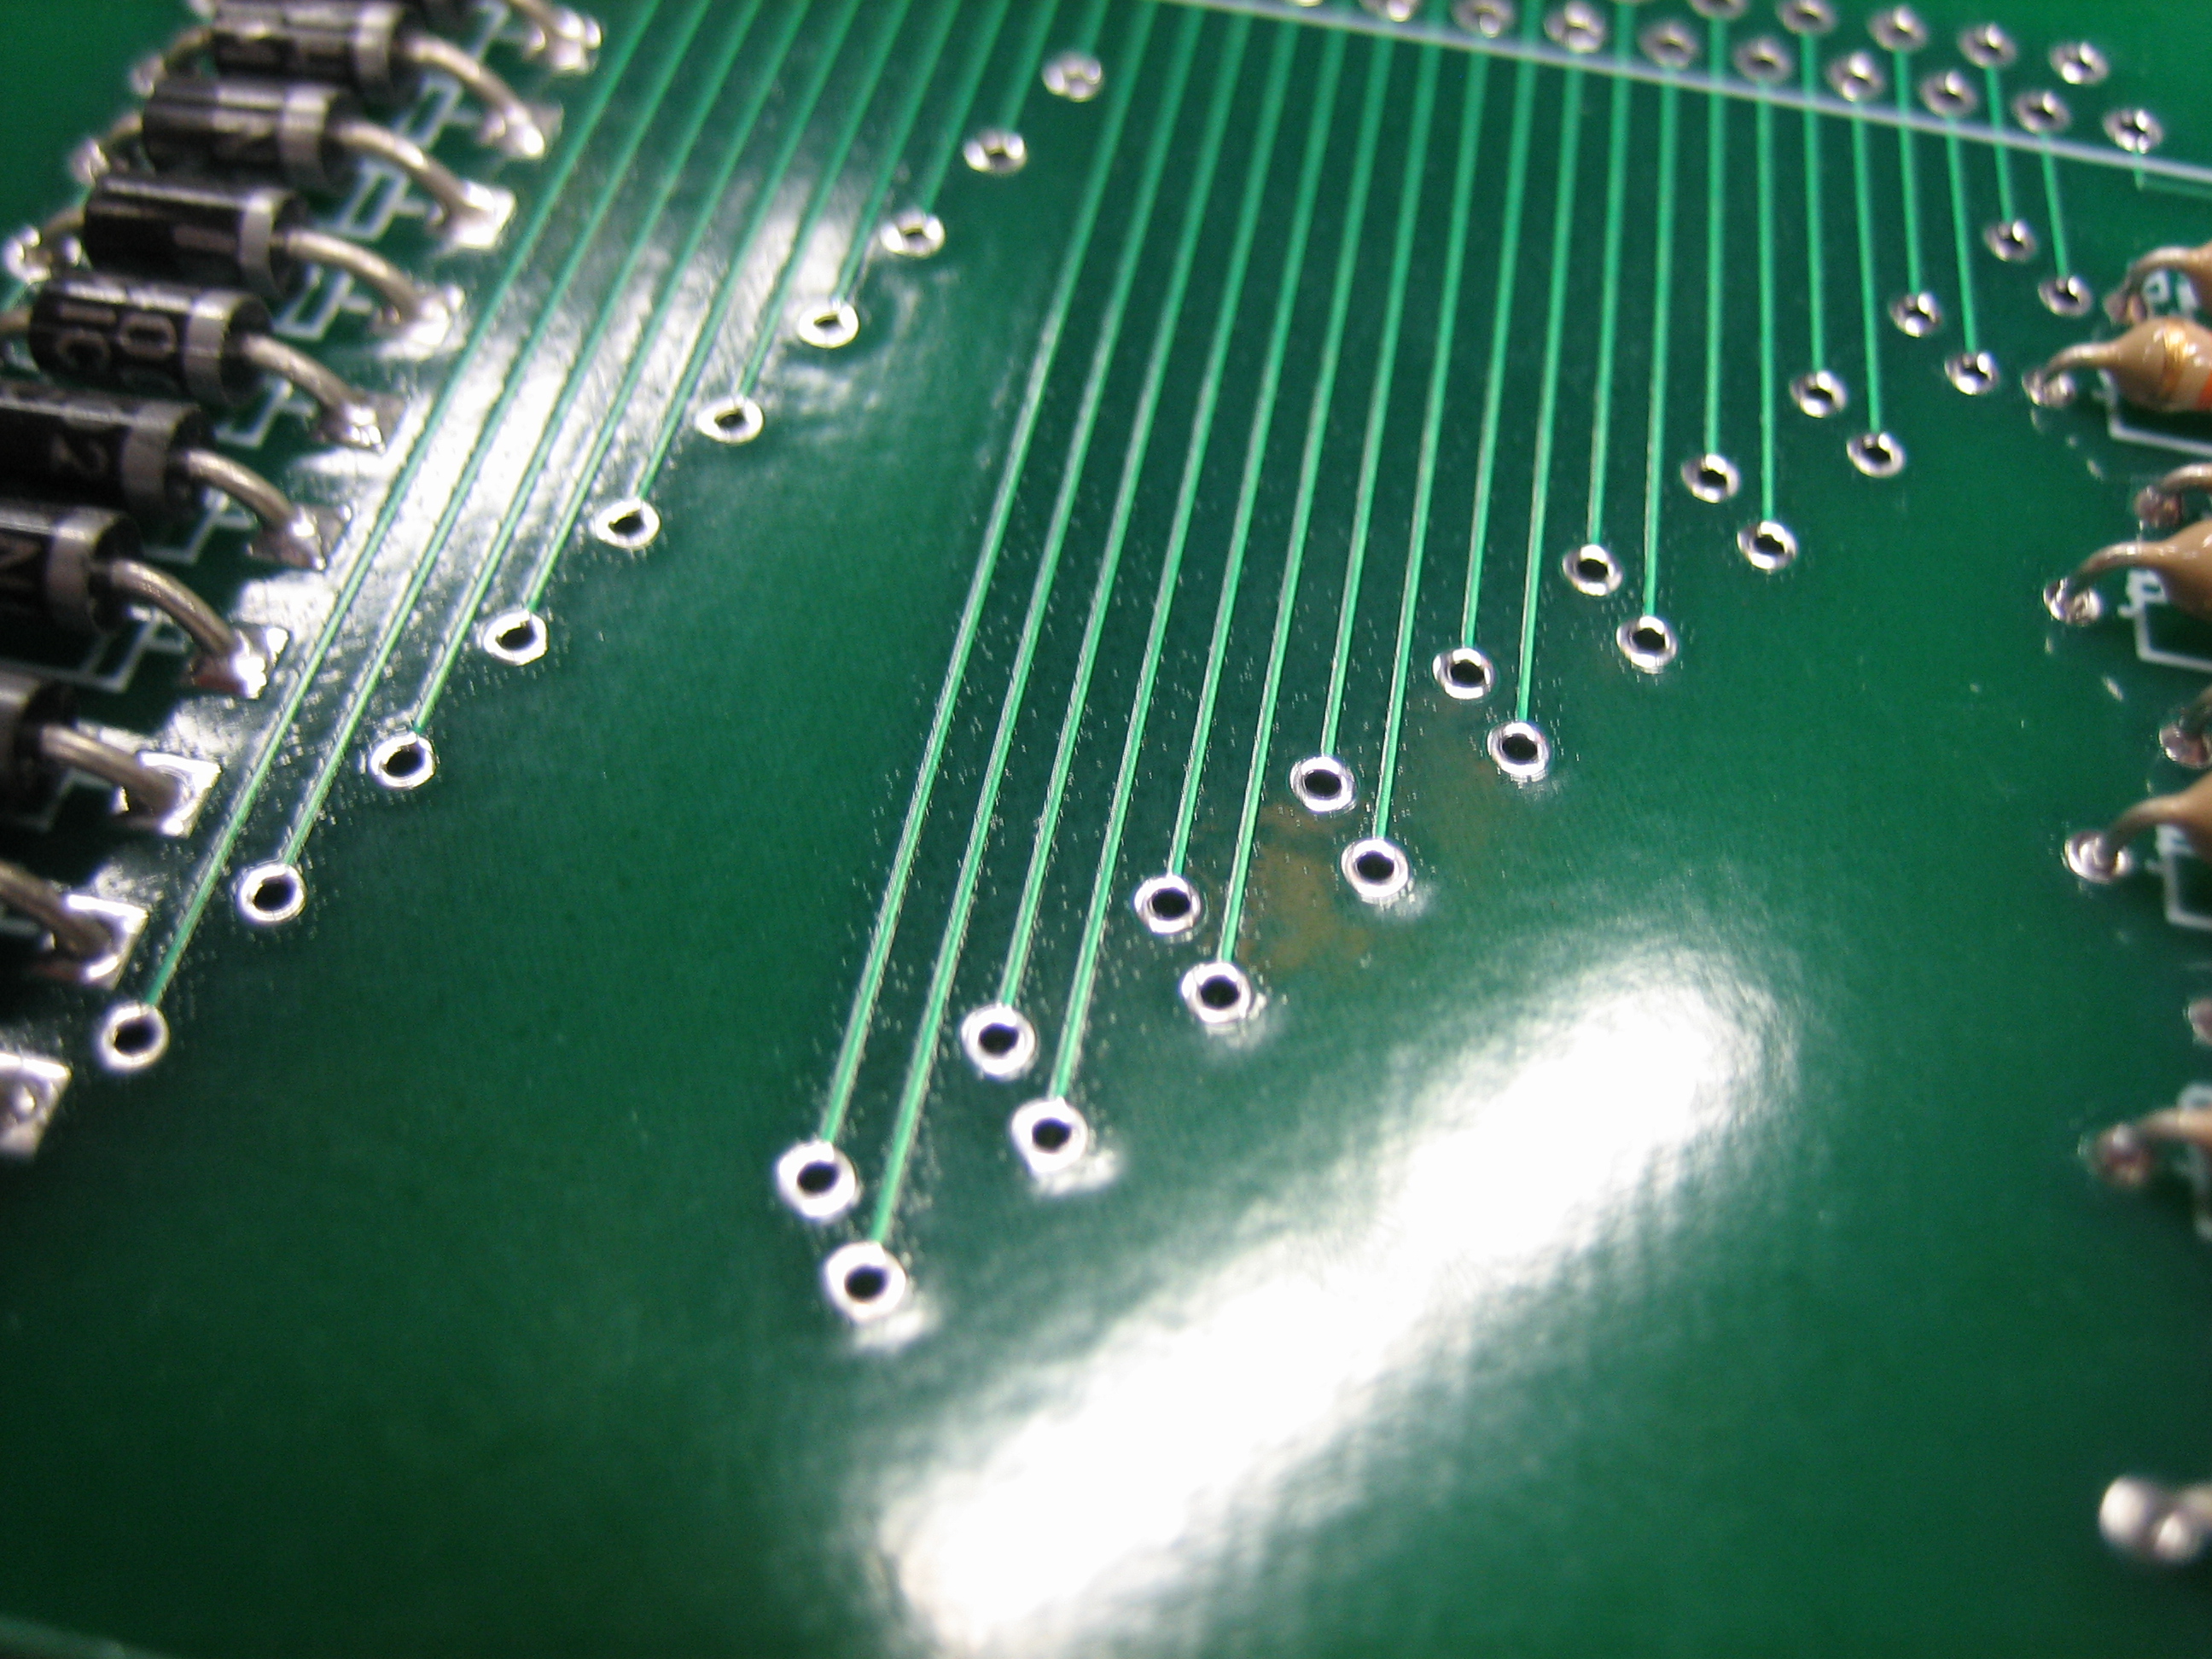
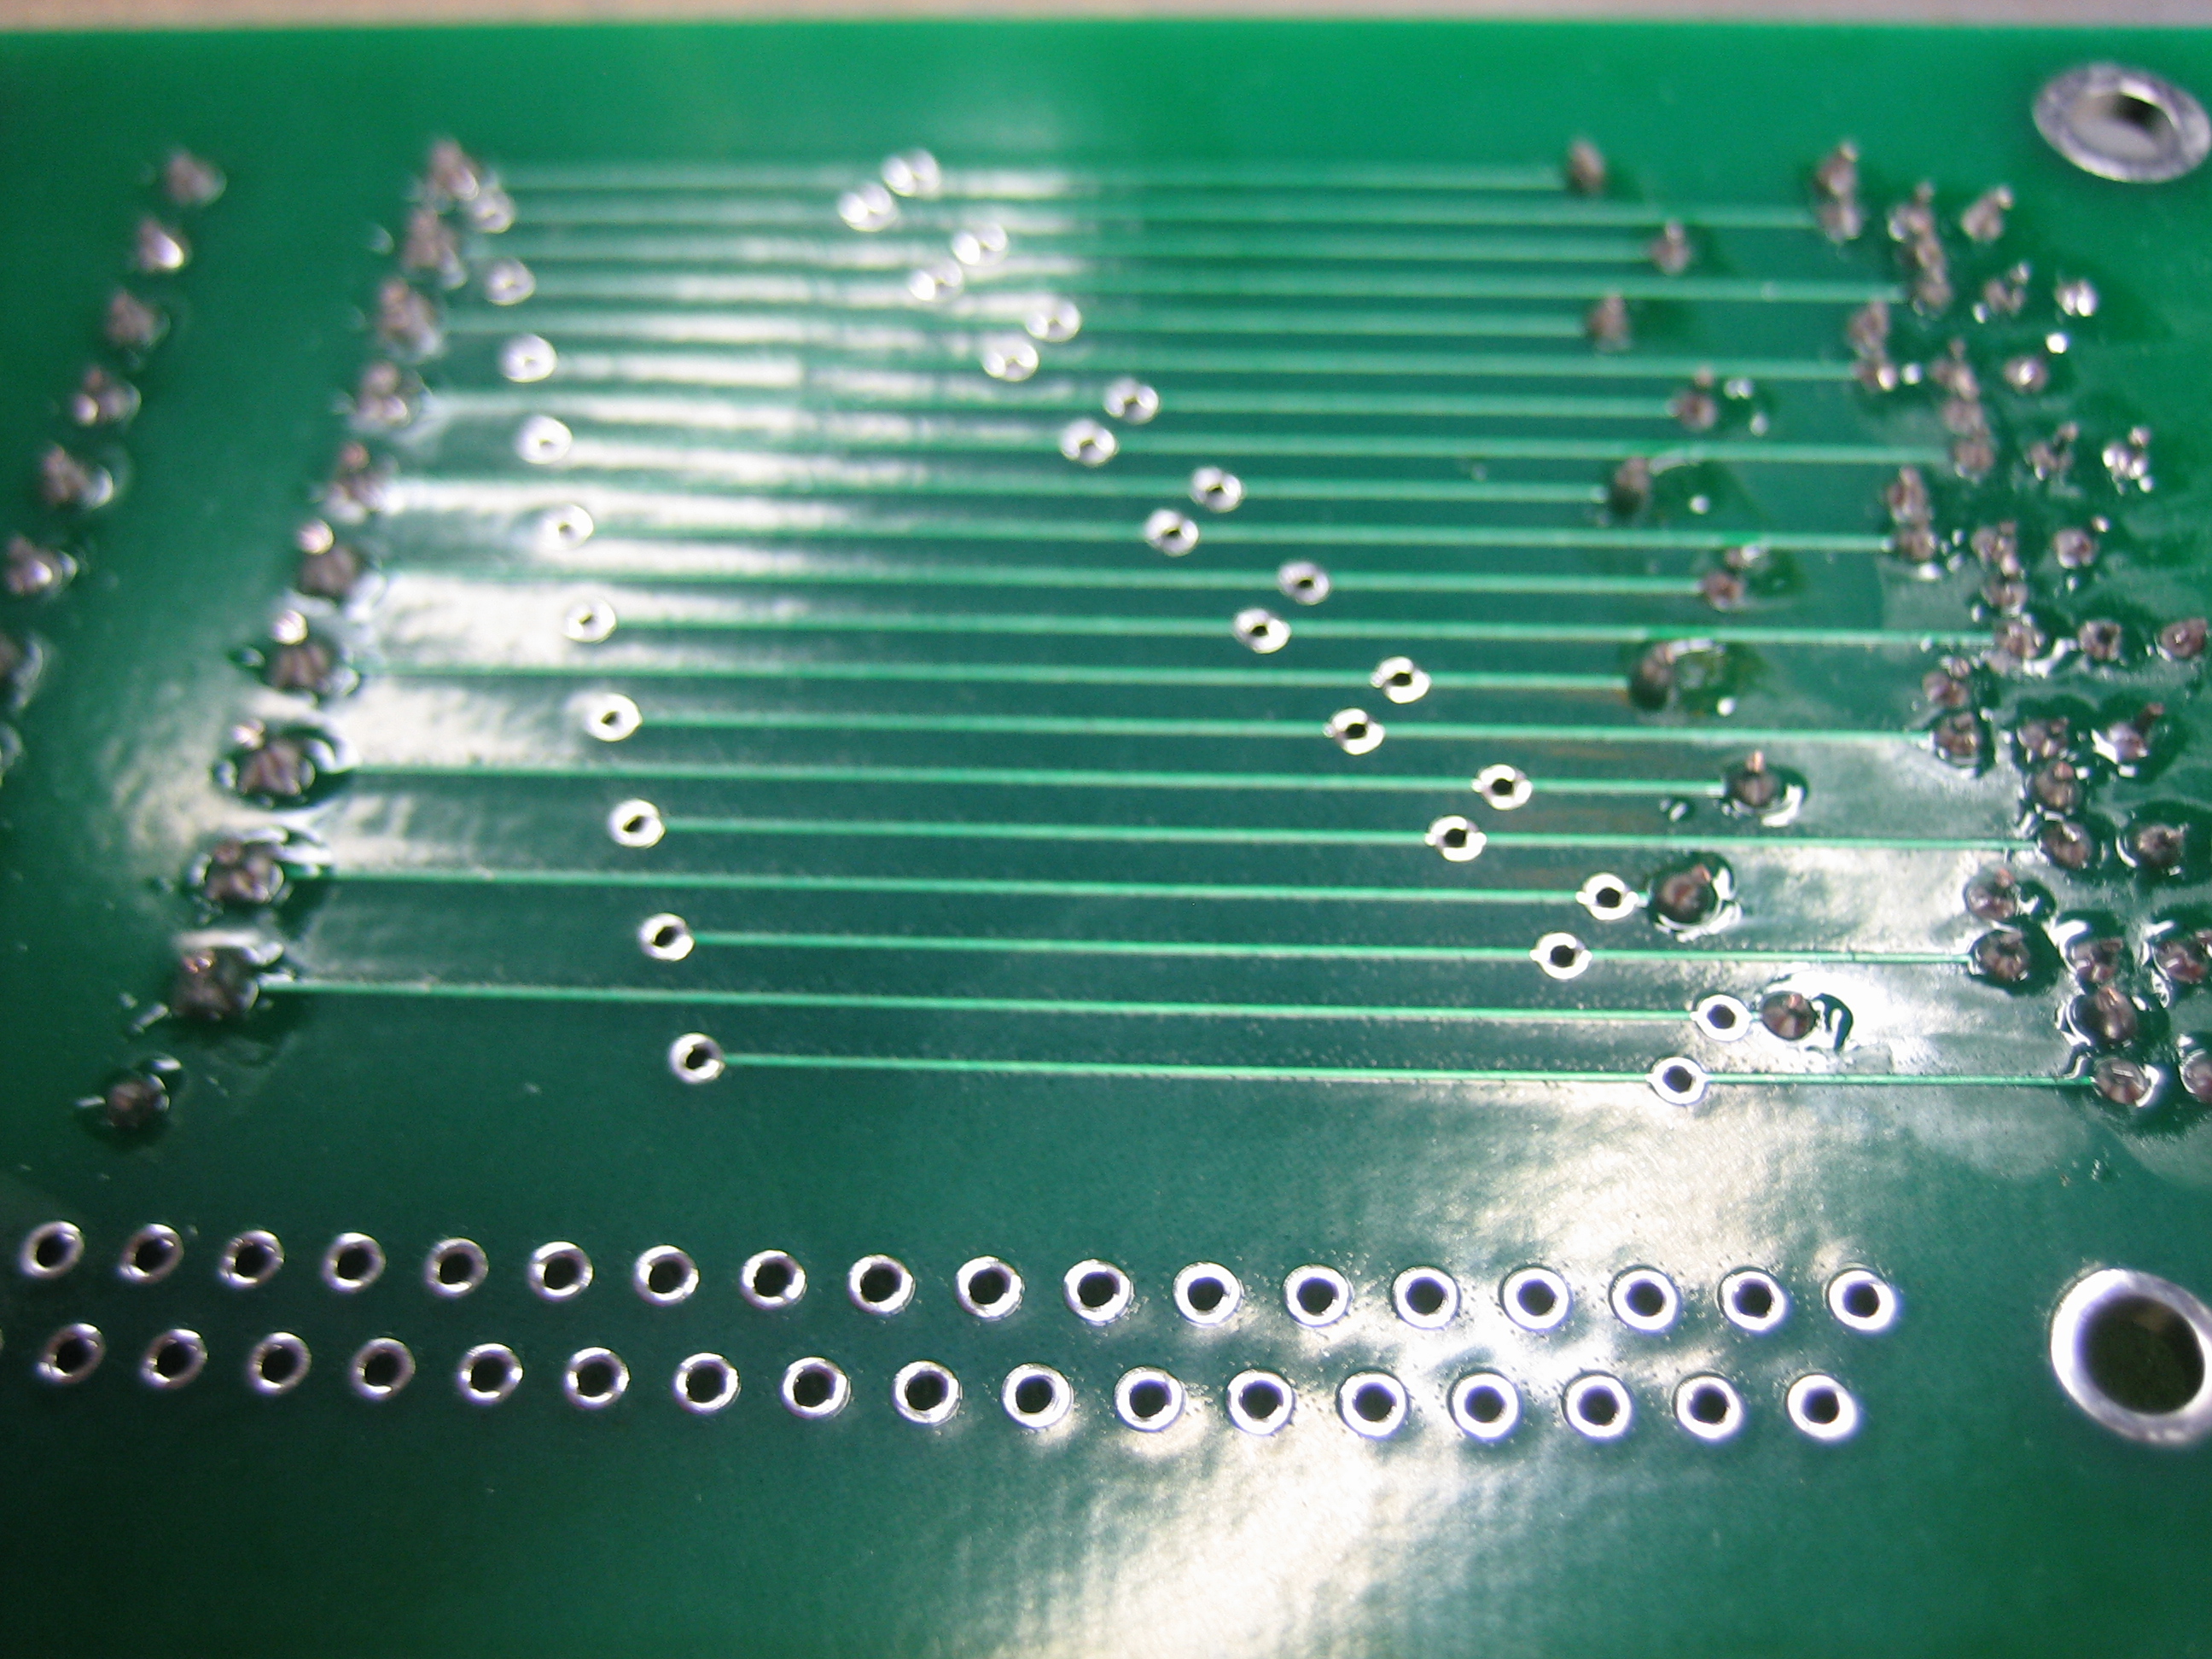
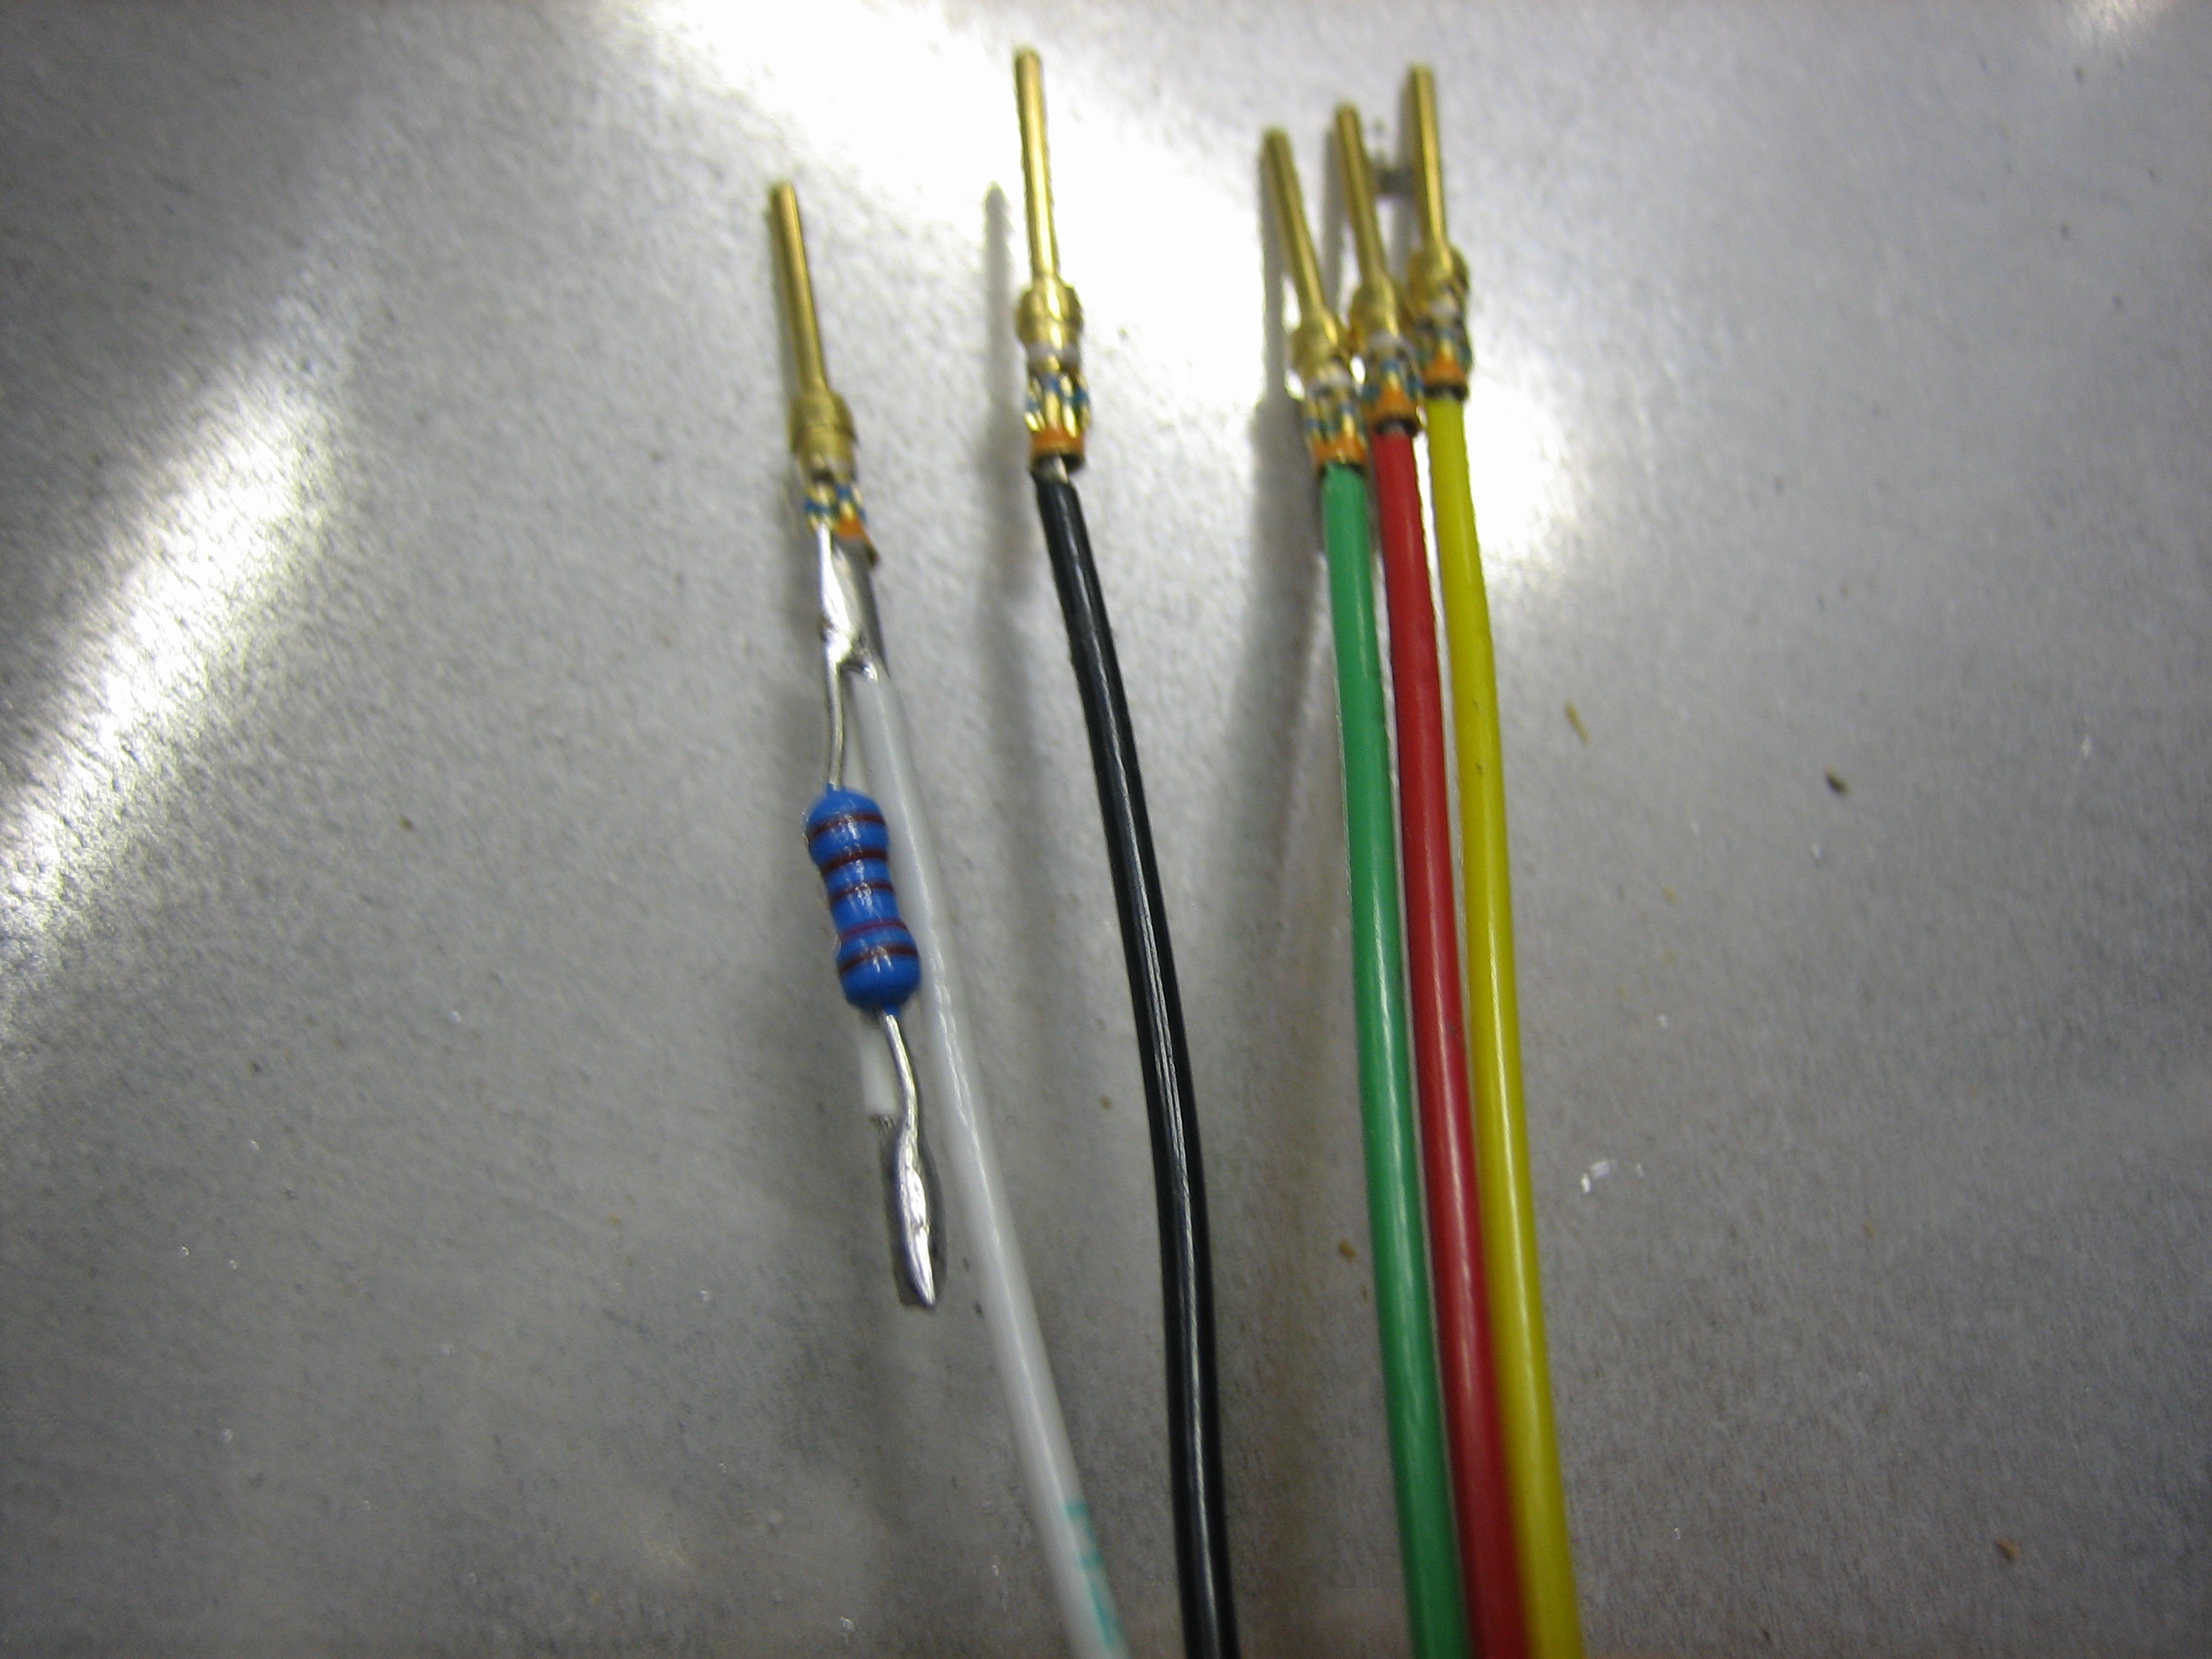
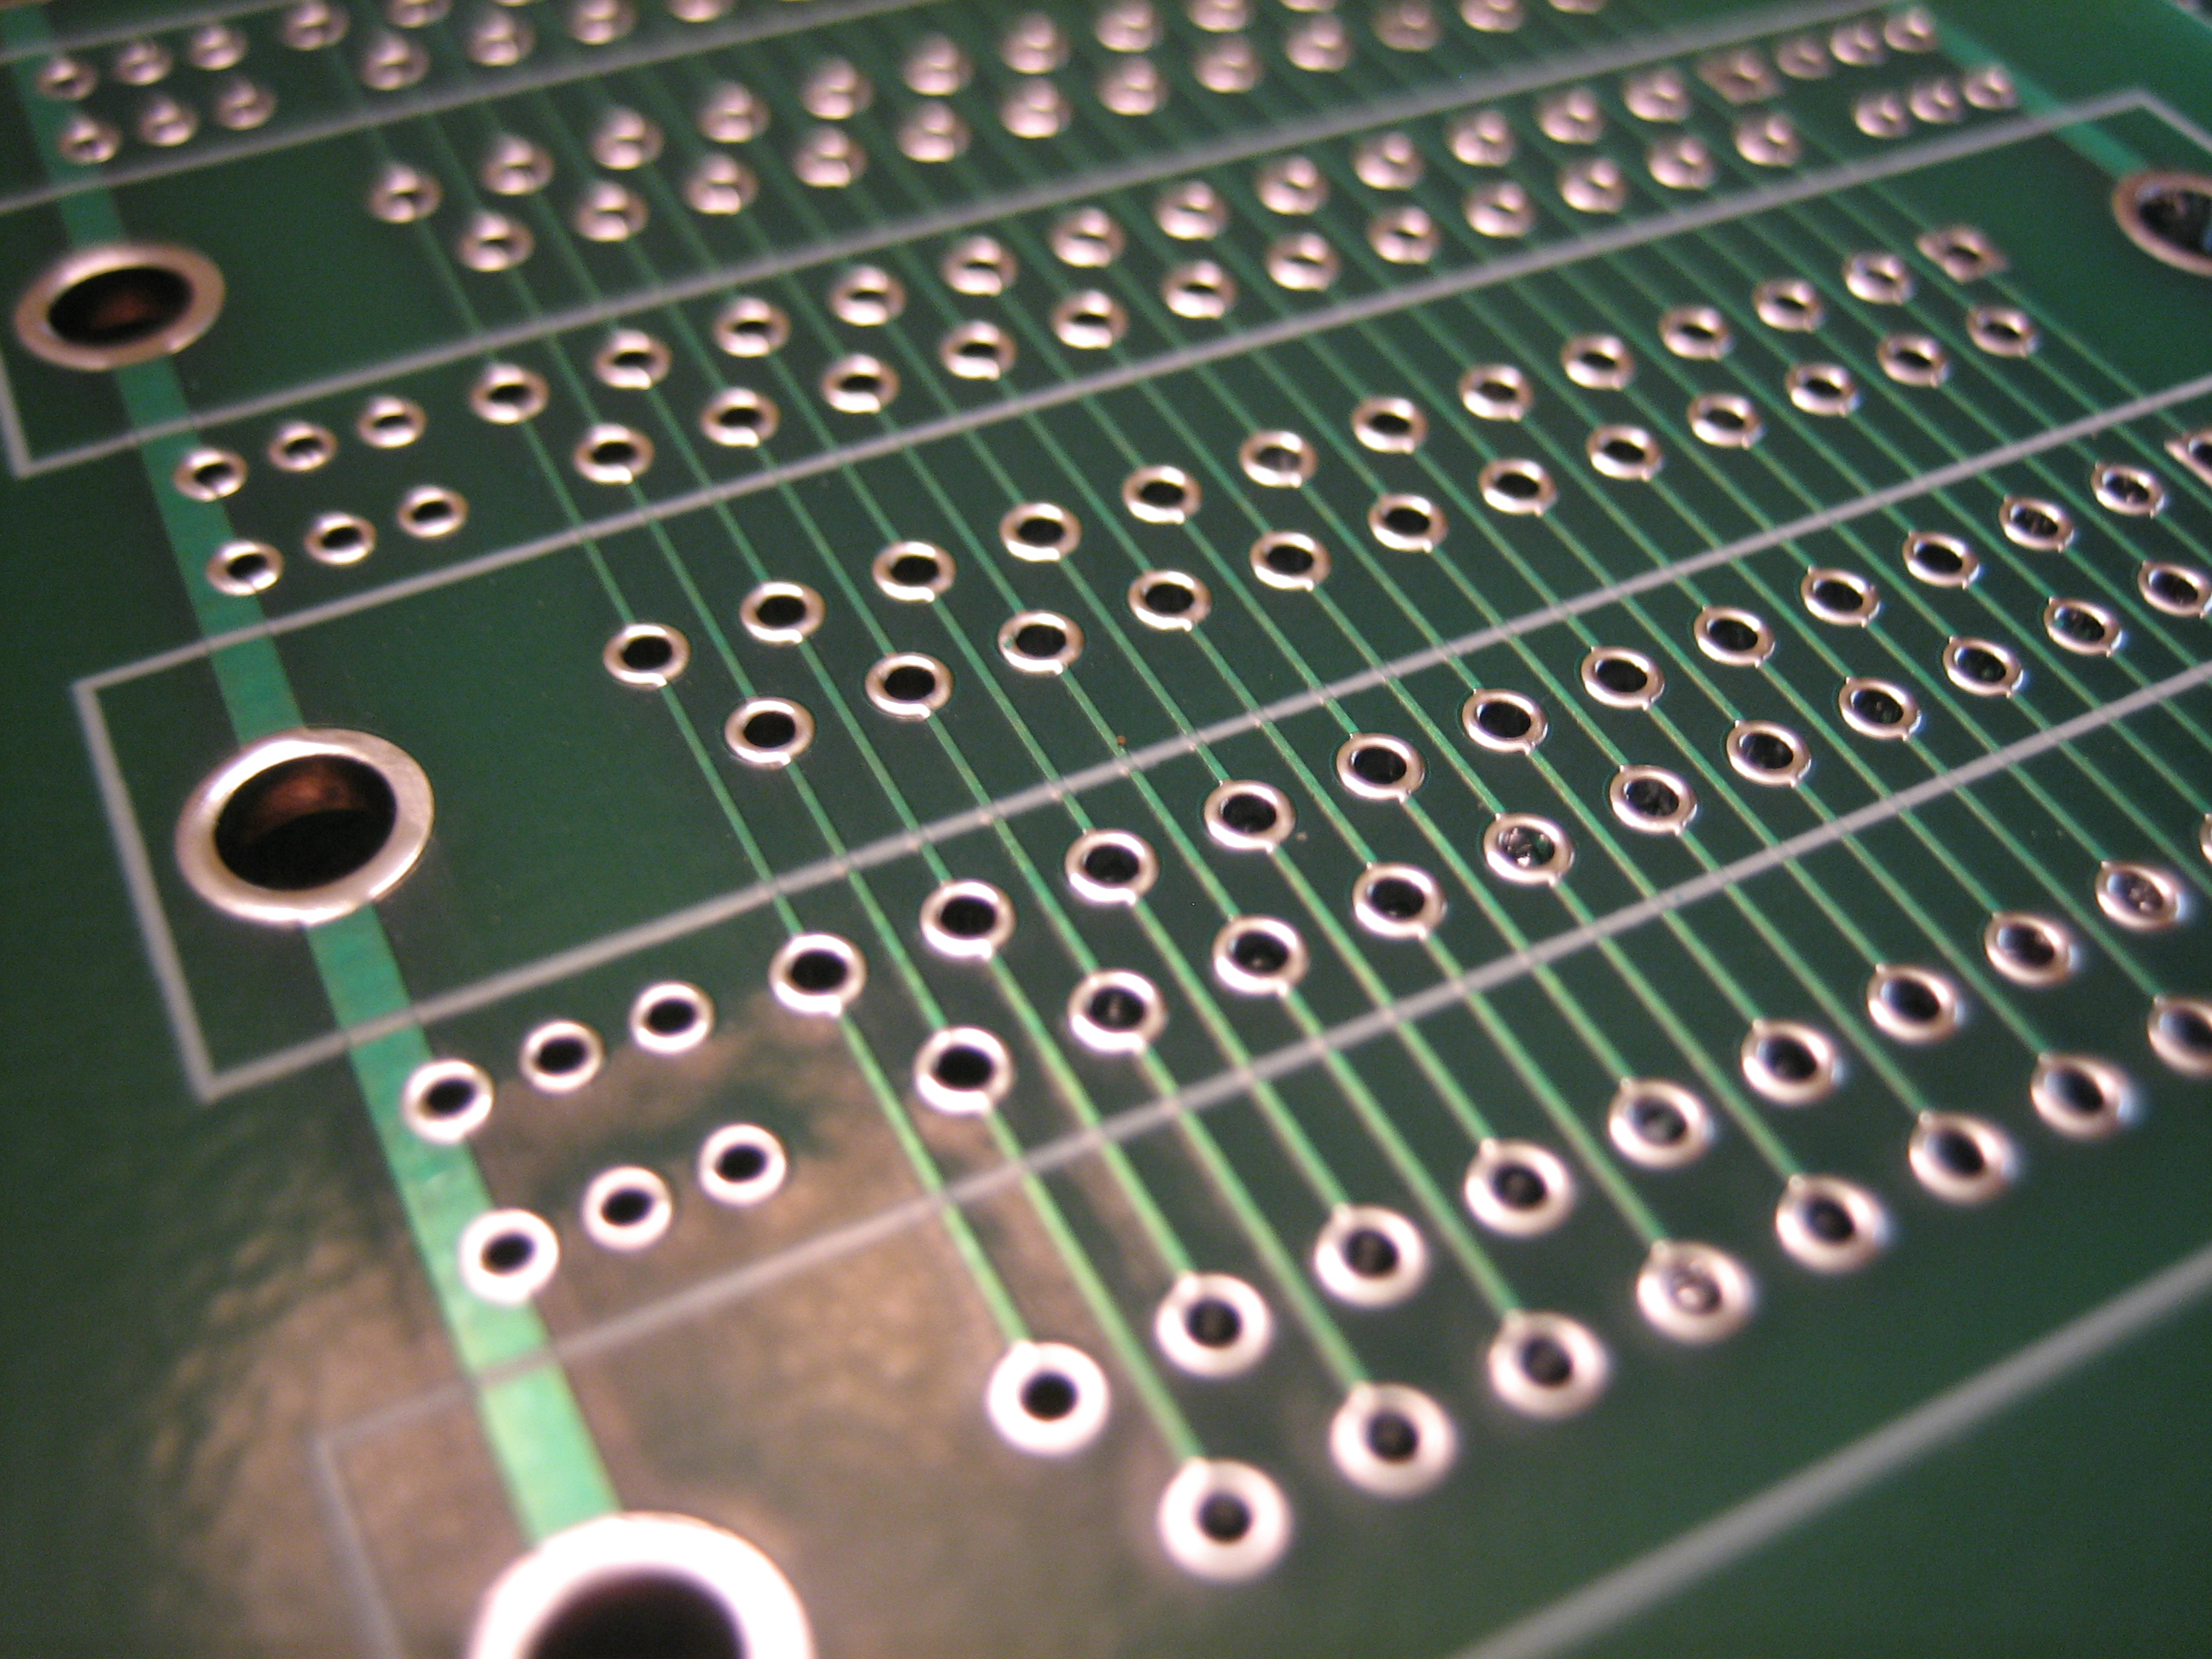
Here’s a closeup of one of the PCBs.  You can see that all of the DB-25 connectors are connected in parallel.  There are also extra solder pads between each connector in case there are components that need to connect various traces (e.g. resistors, diodes, etc.)  There are also even more extra pads off to the side that are unconnected that can be used for various purposes.  I don’t think I’ll need any of these features for my avionics interconnects, but I figured I’d add these in to make the PCB more flexible.

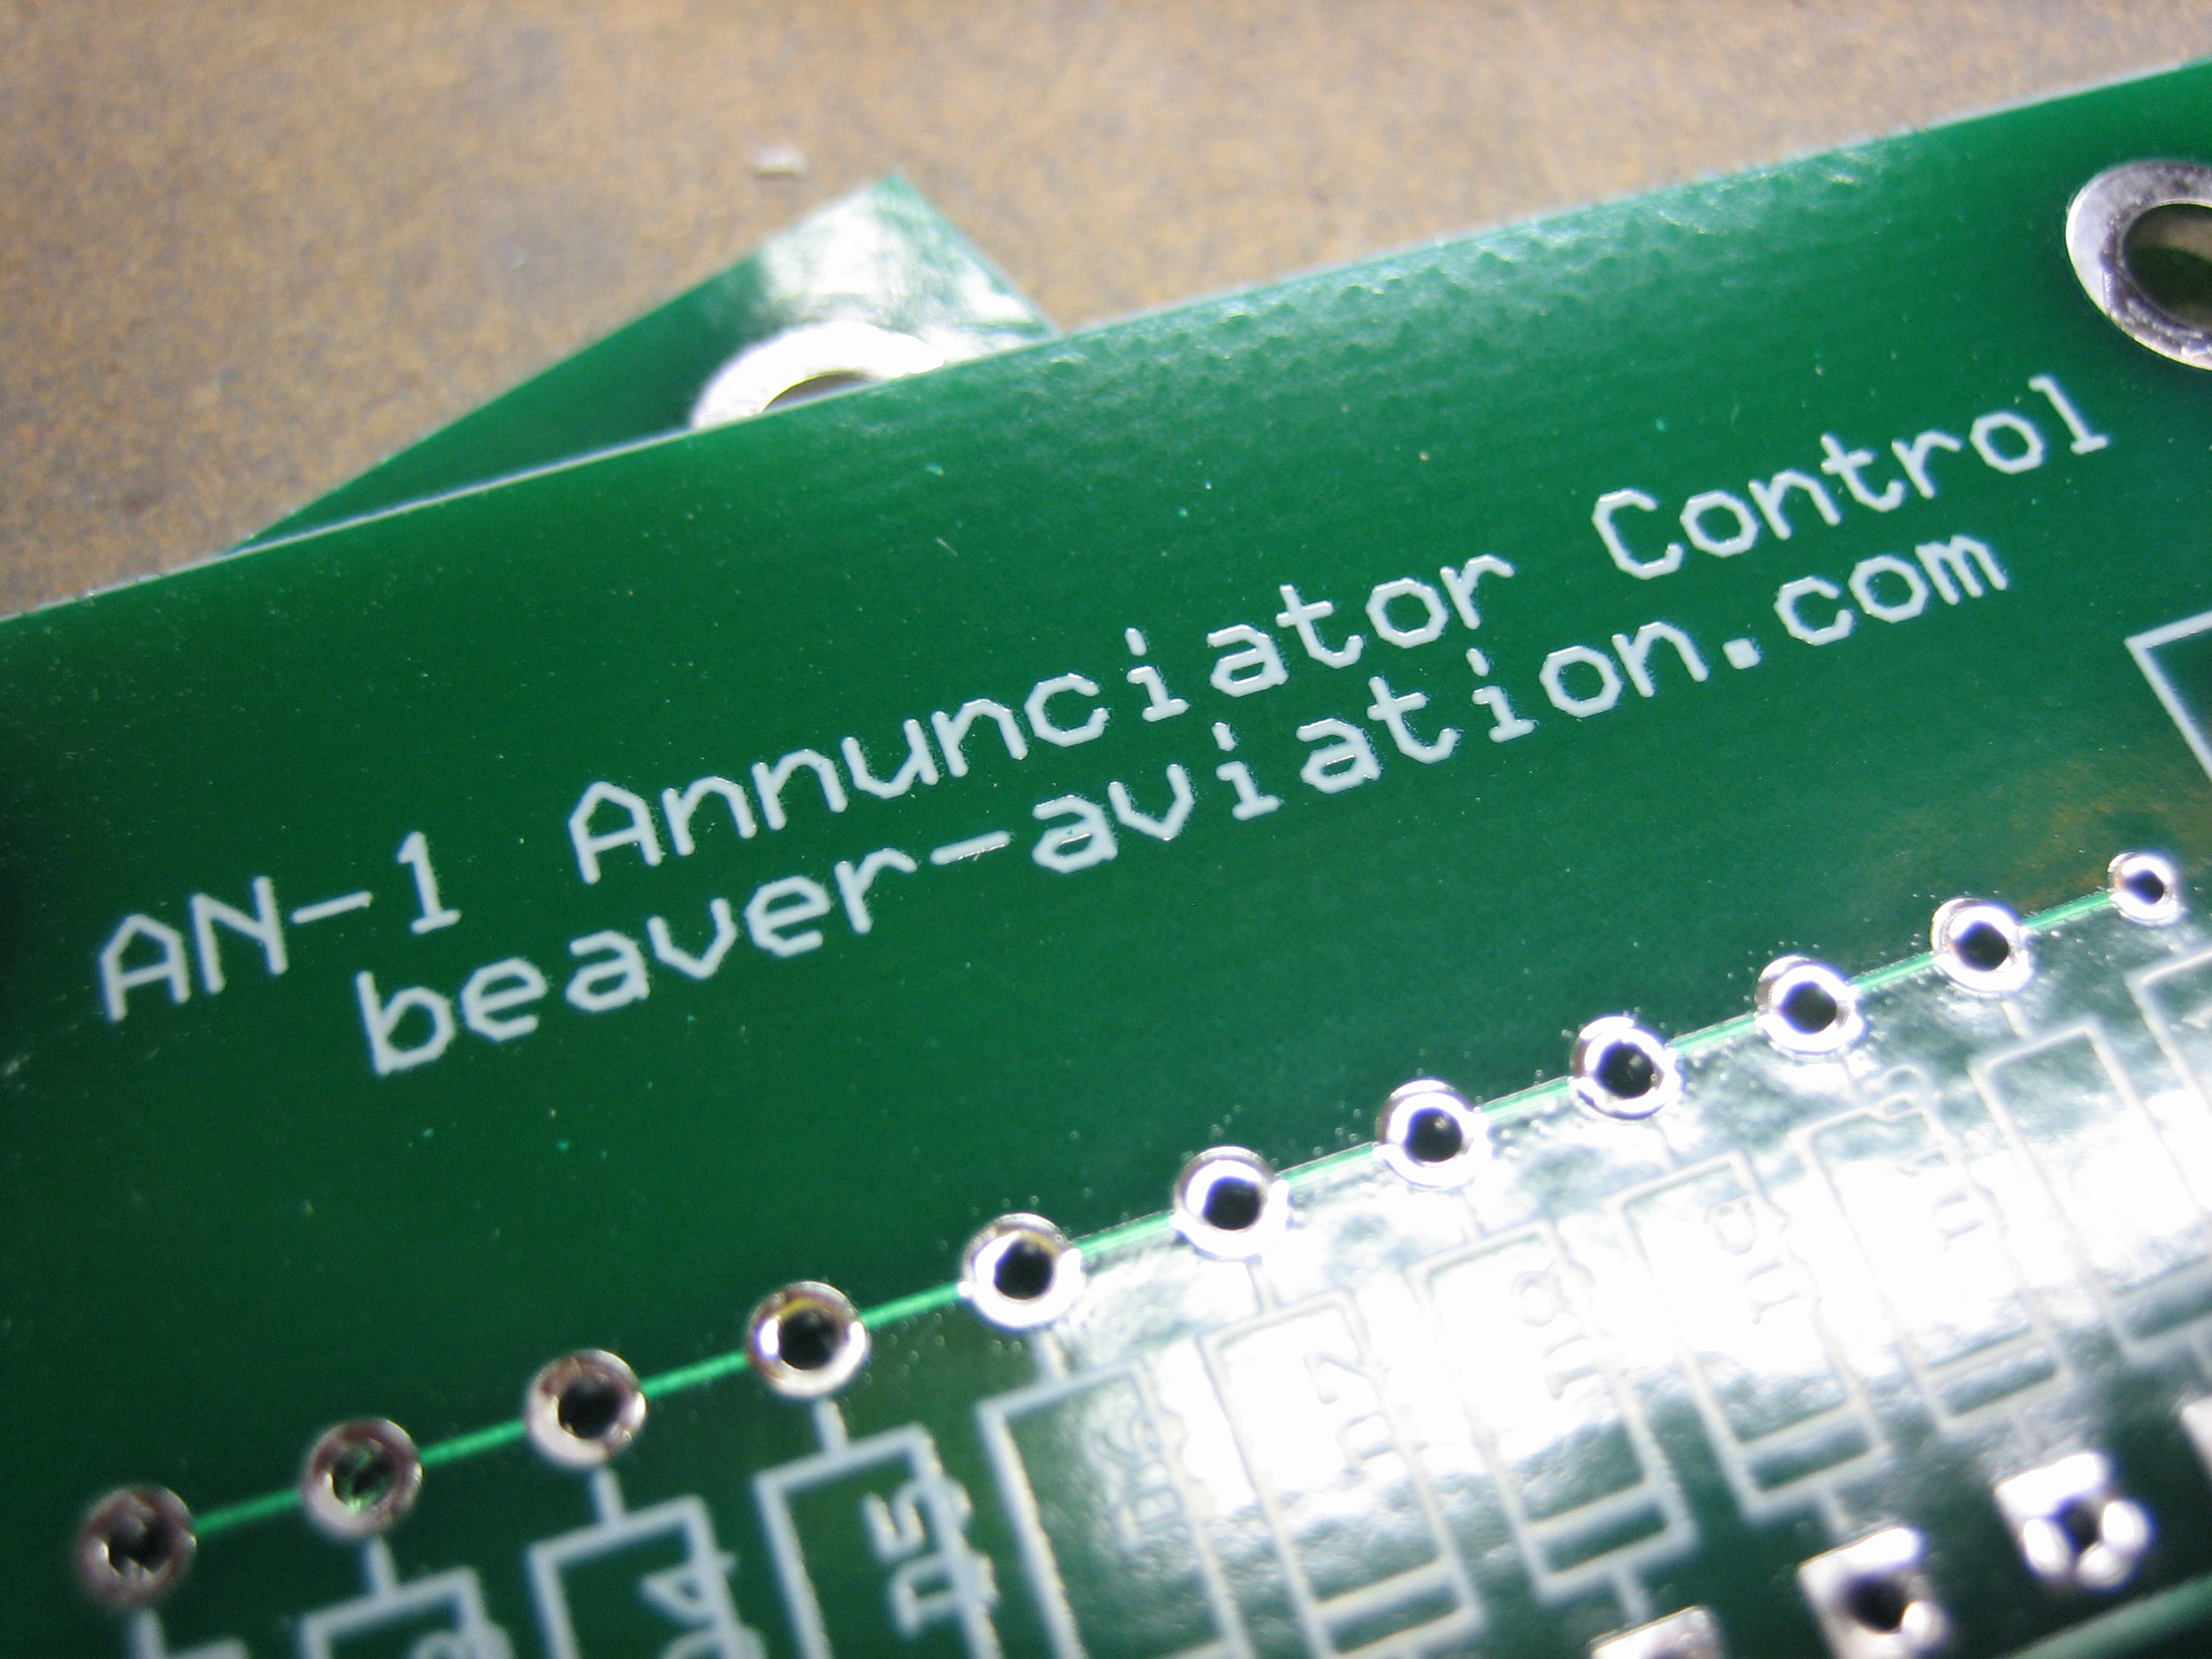
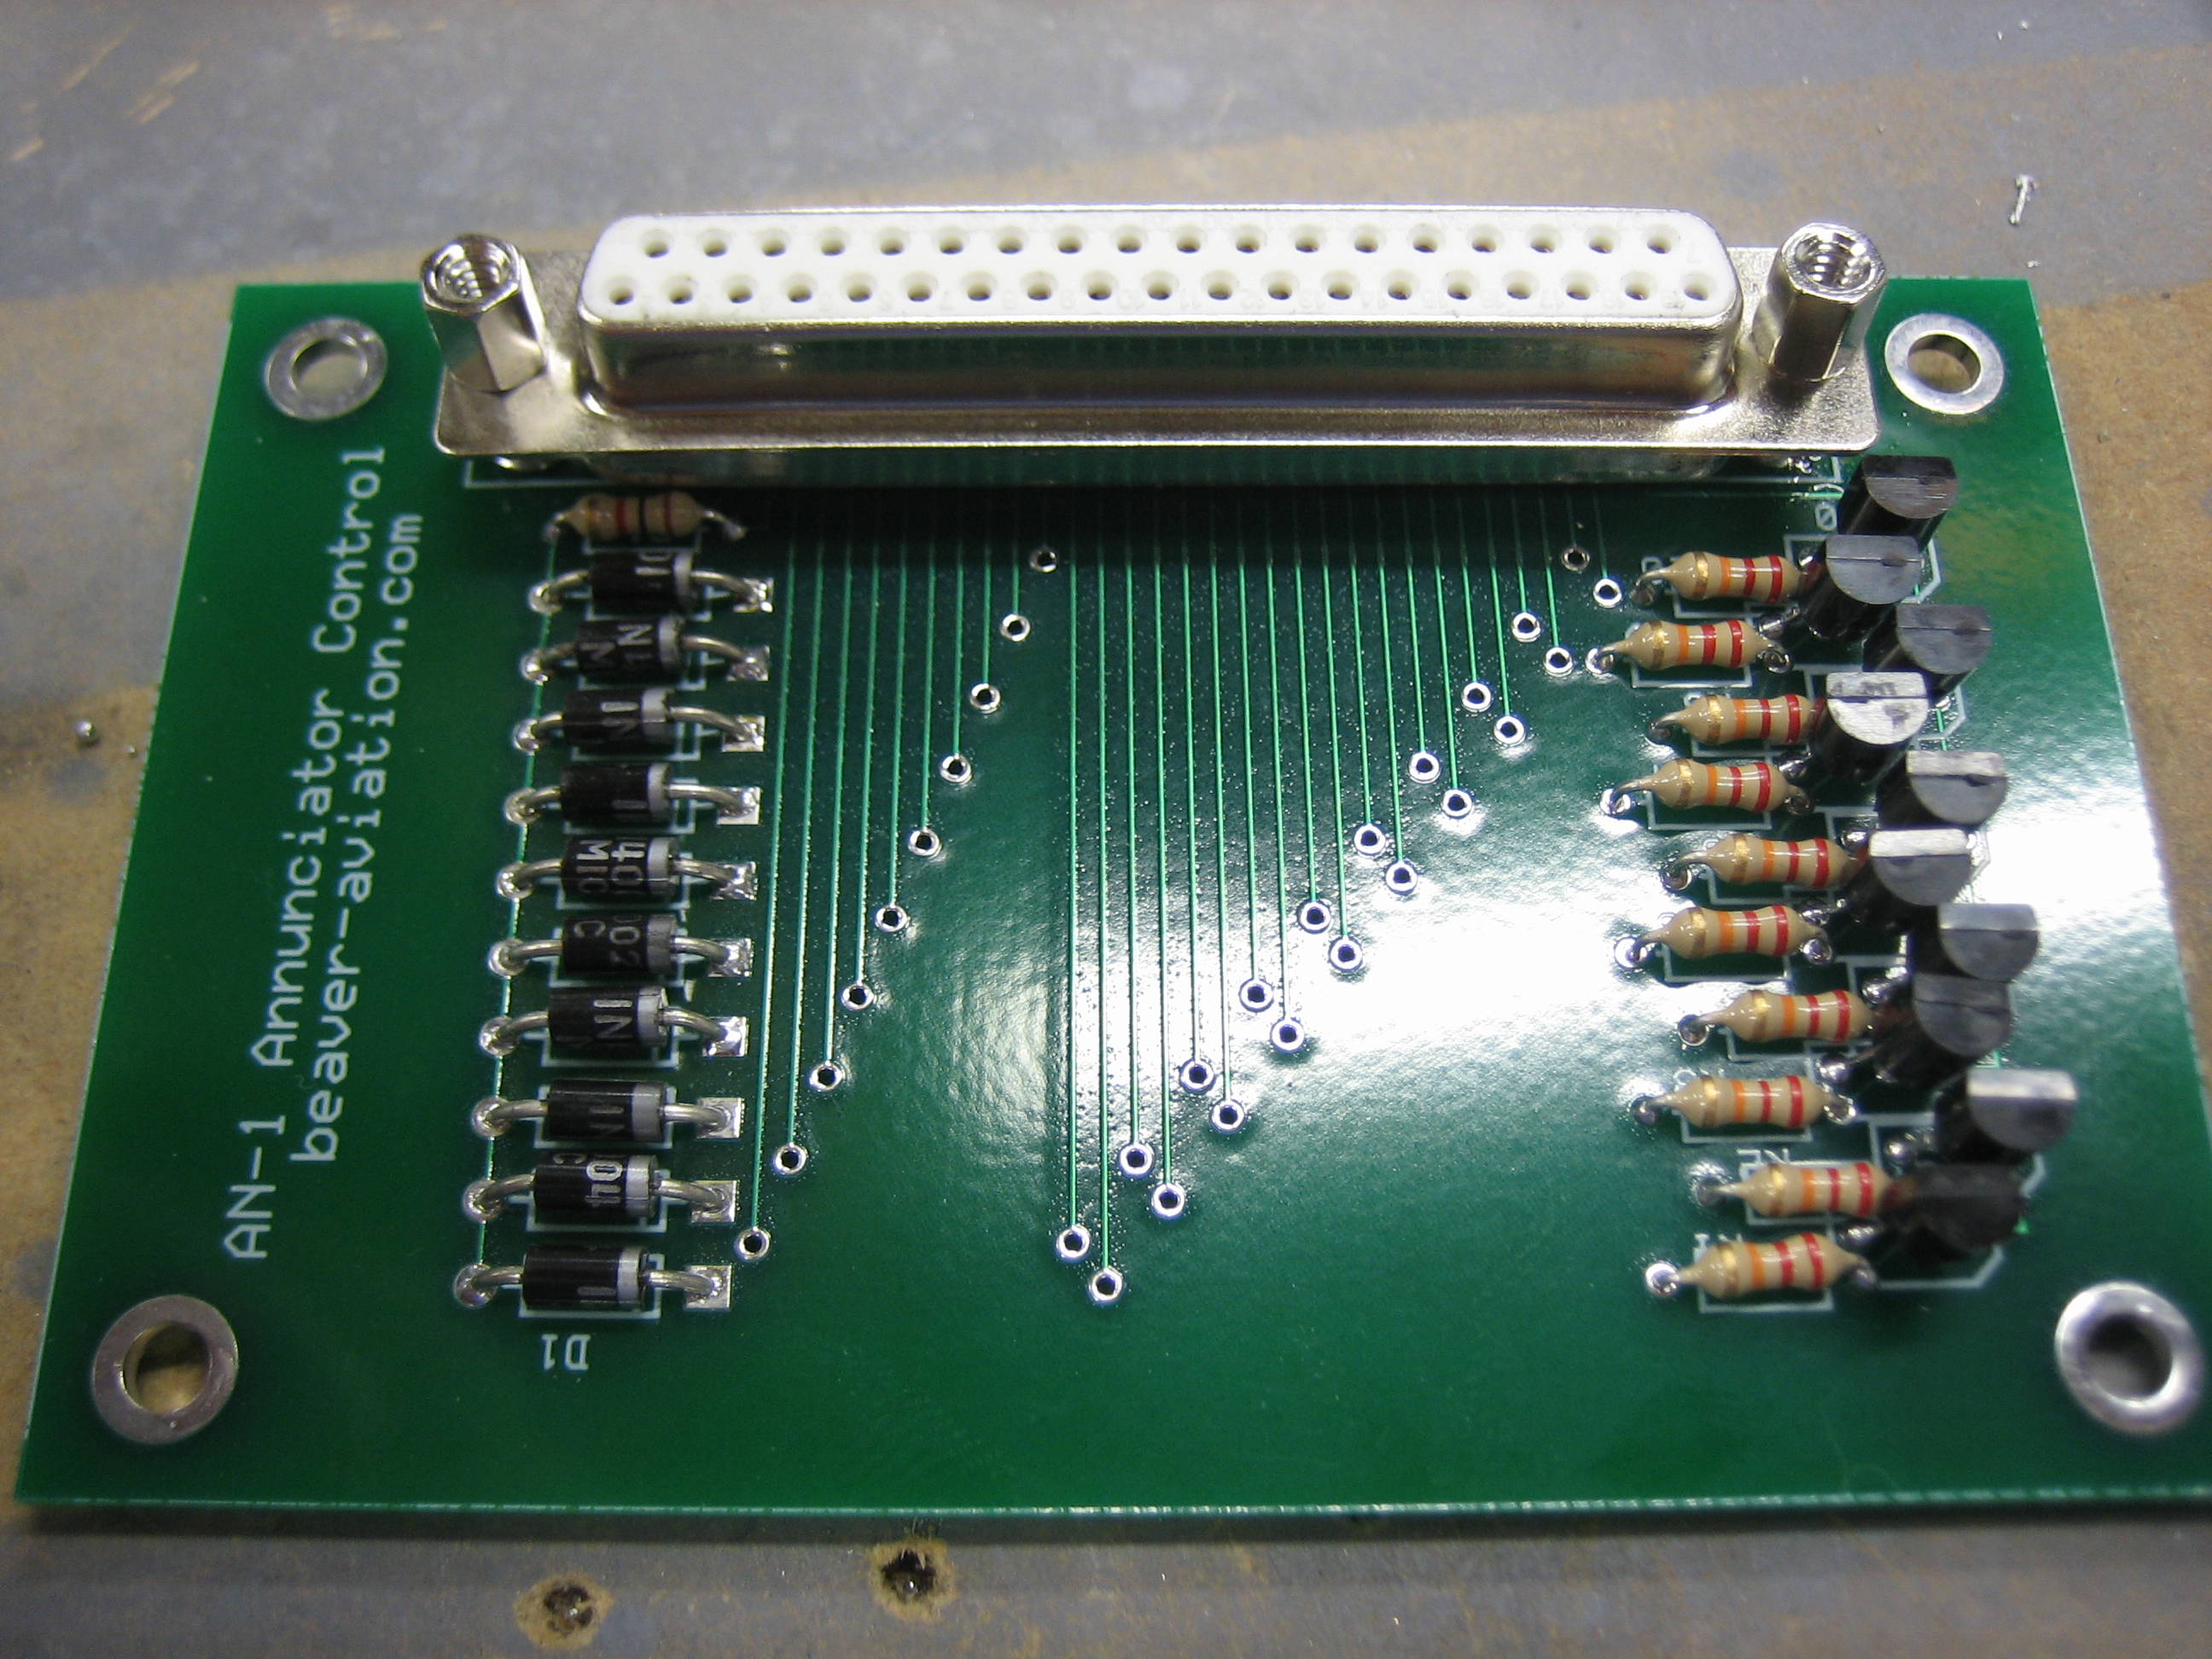
I figured I’d go ahead and name the circuit and throw a web address on there.  Since I ordered three, I have two extras for sale; let me know if you want one of them.  If there is enough demand, I may start offering these for sale.

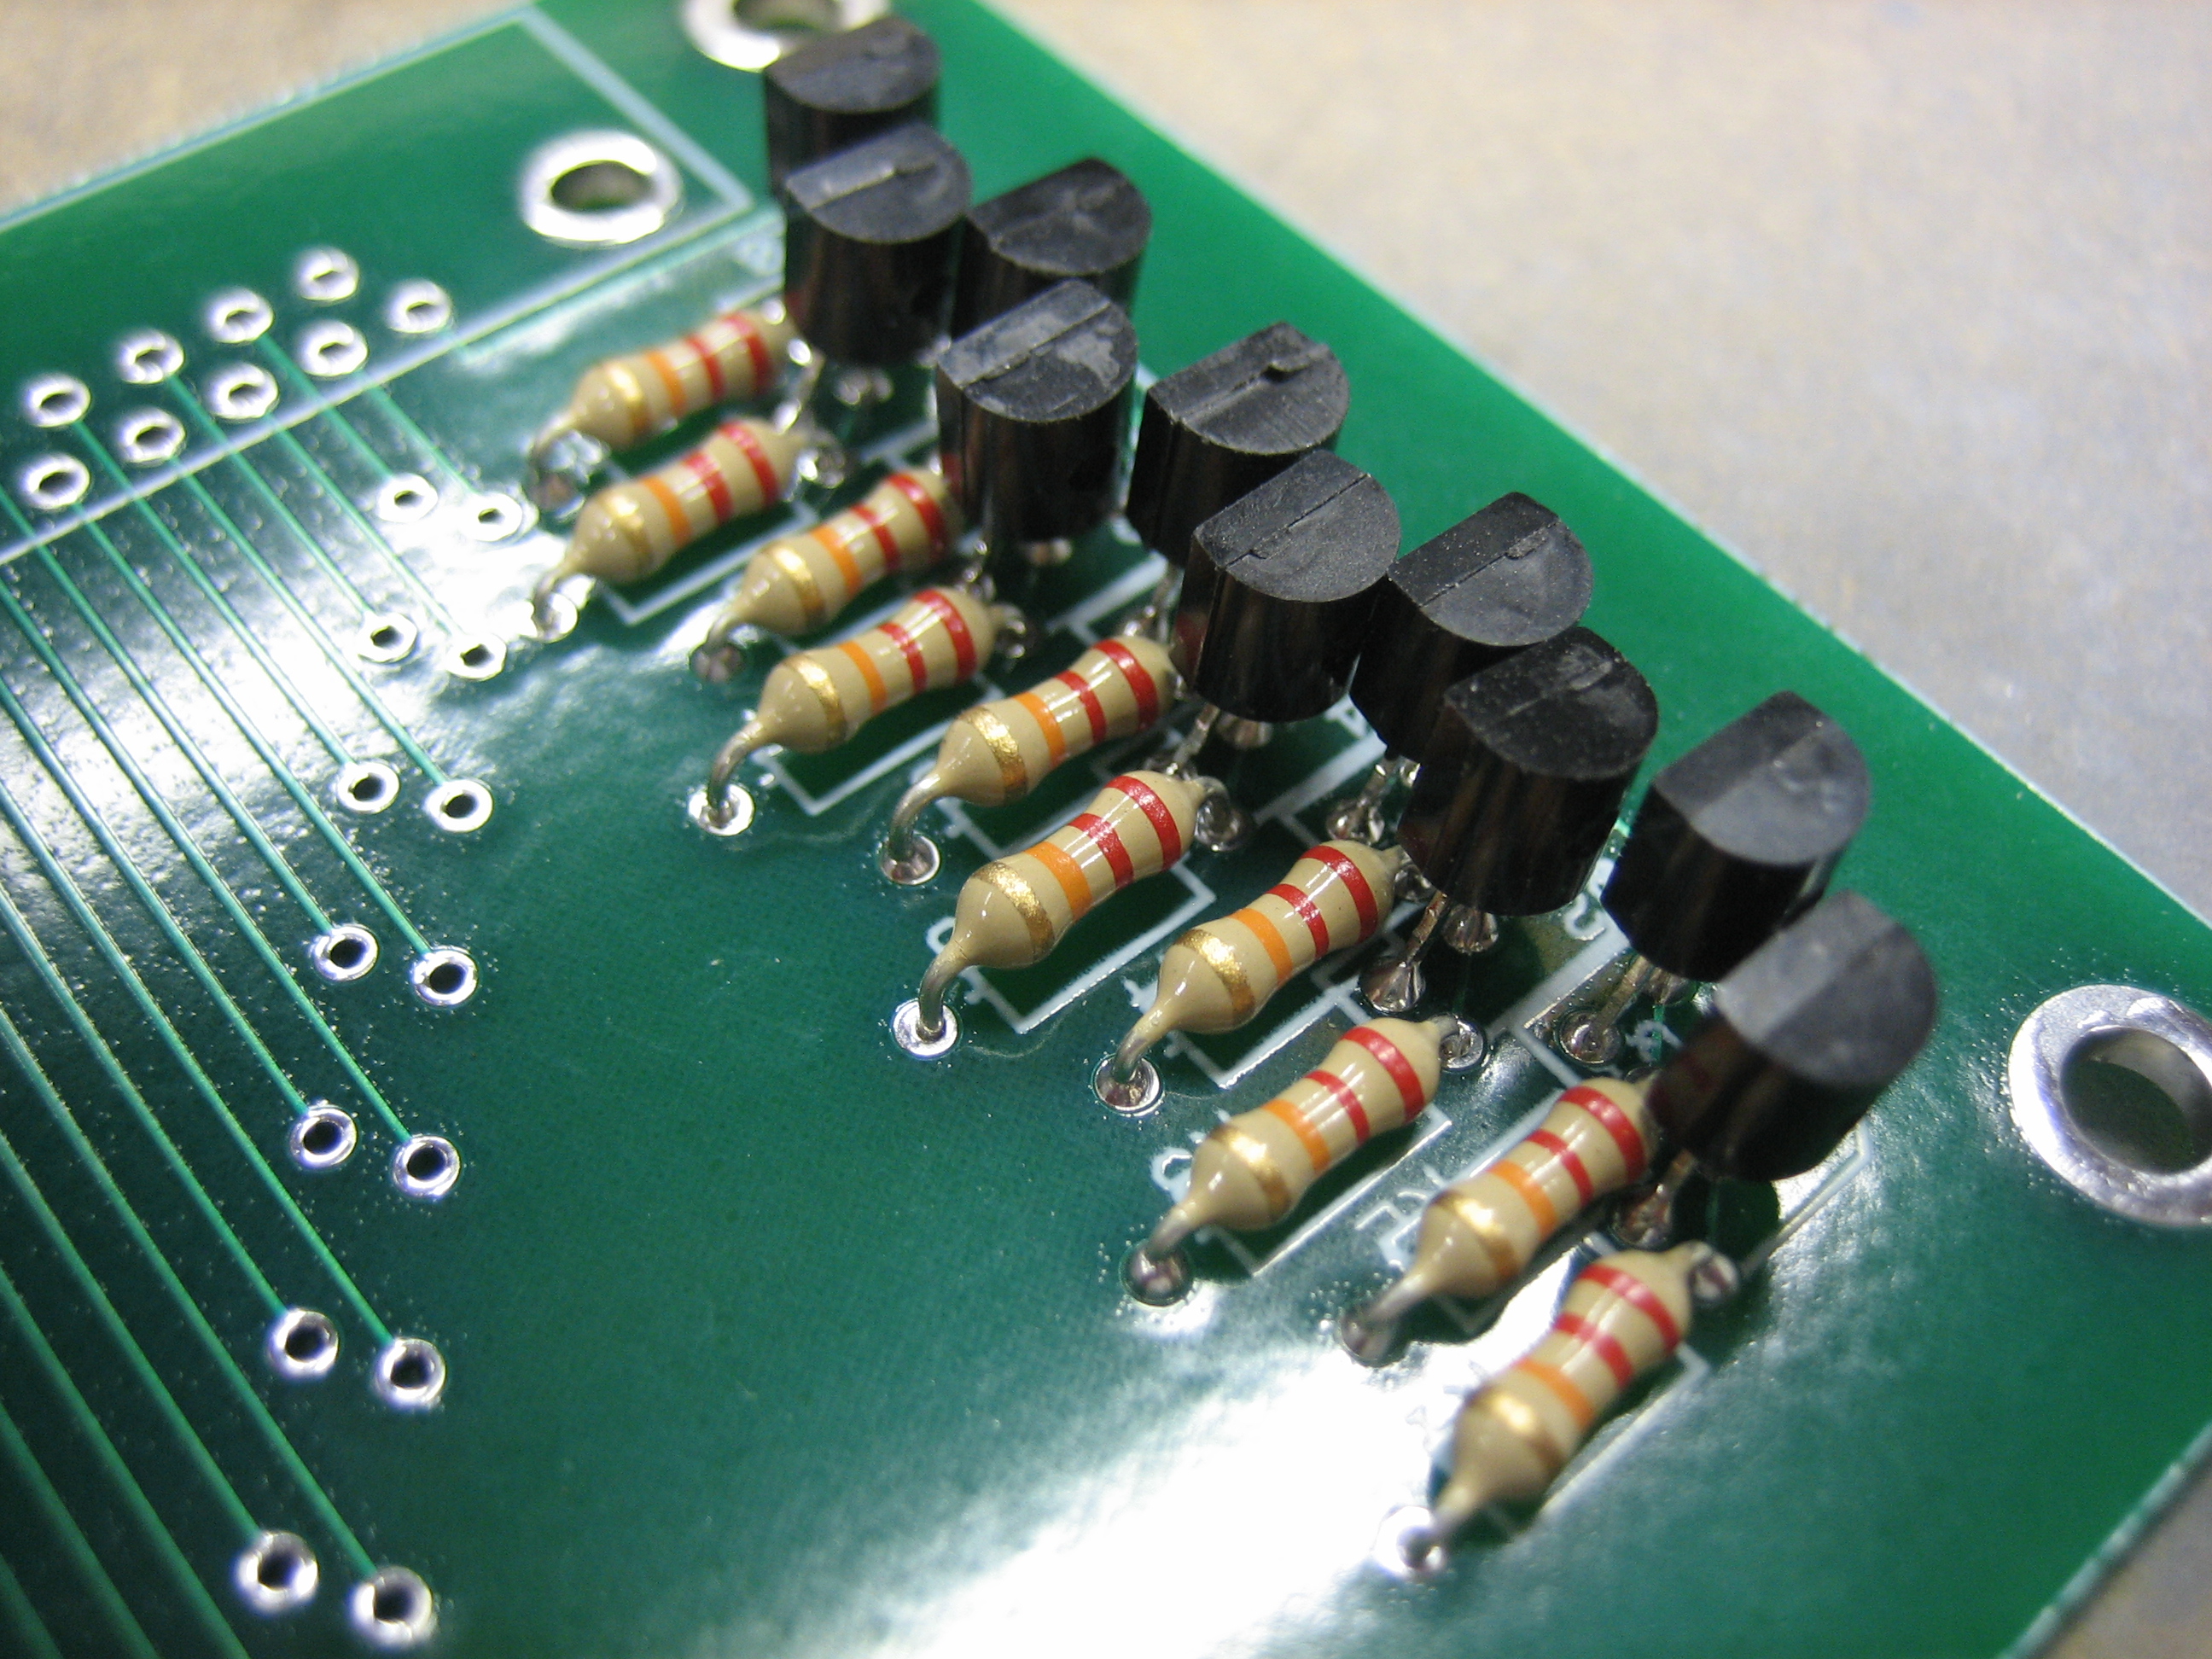
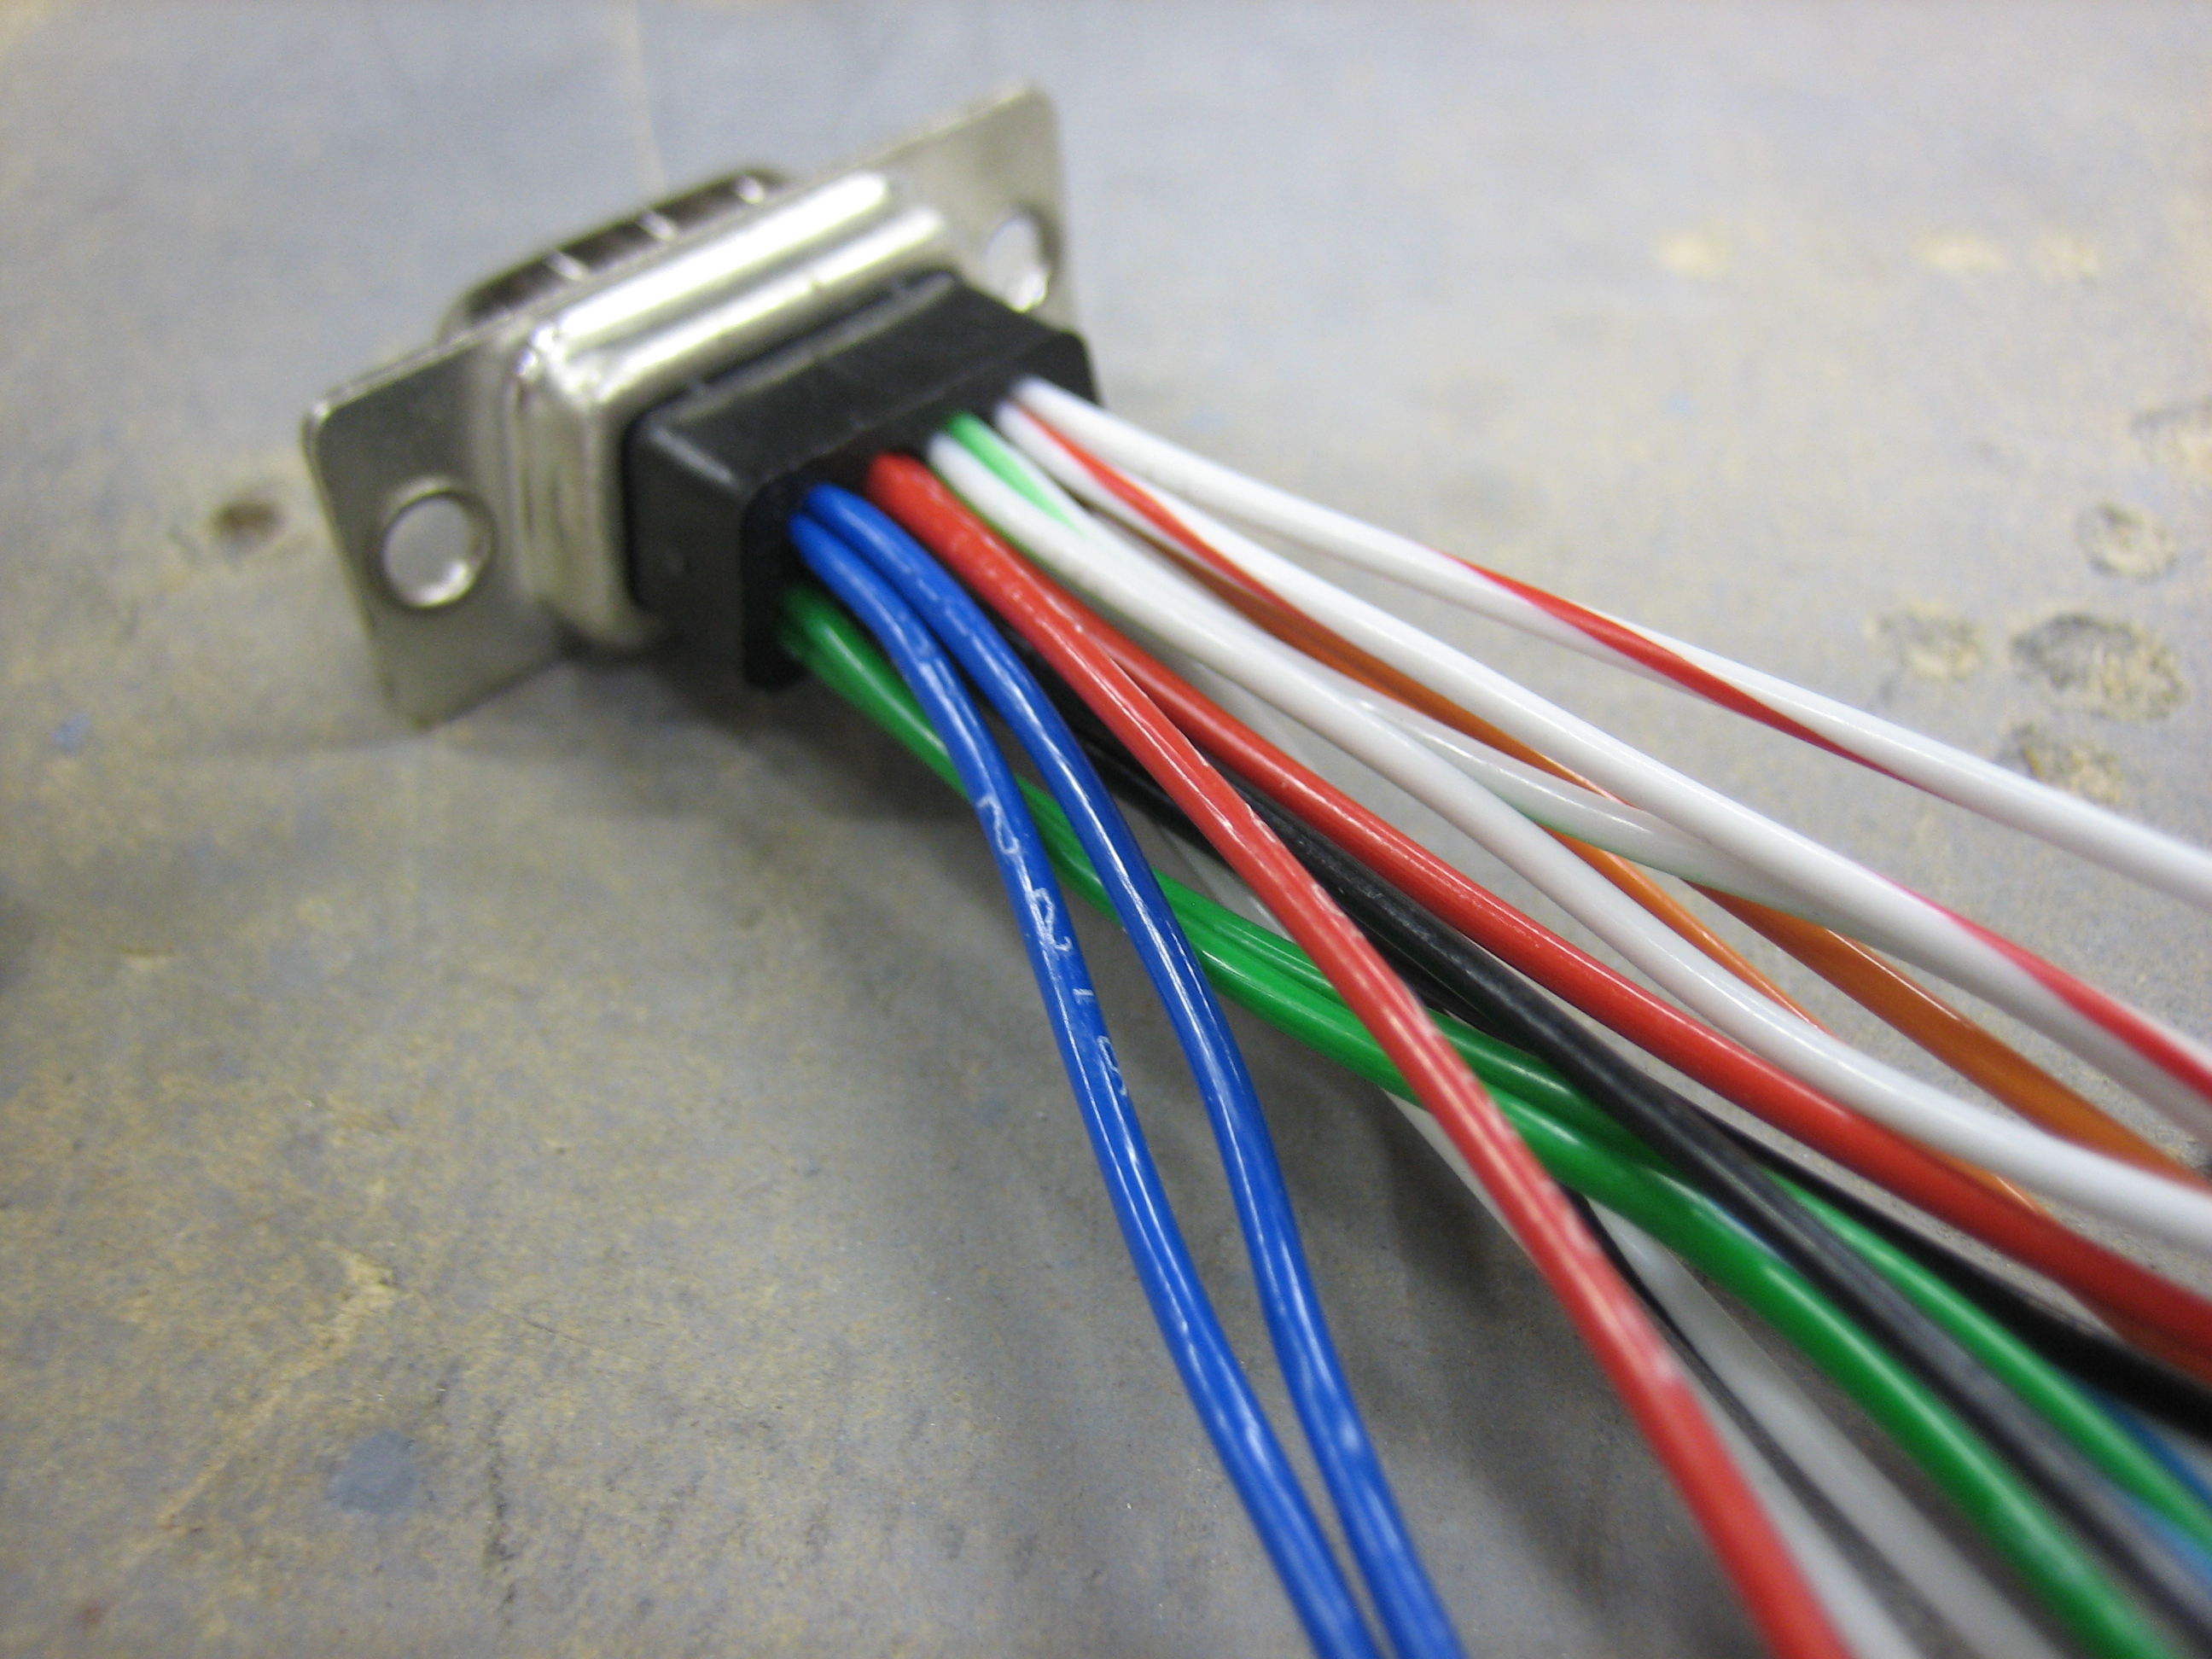
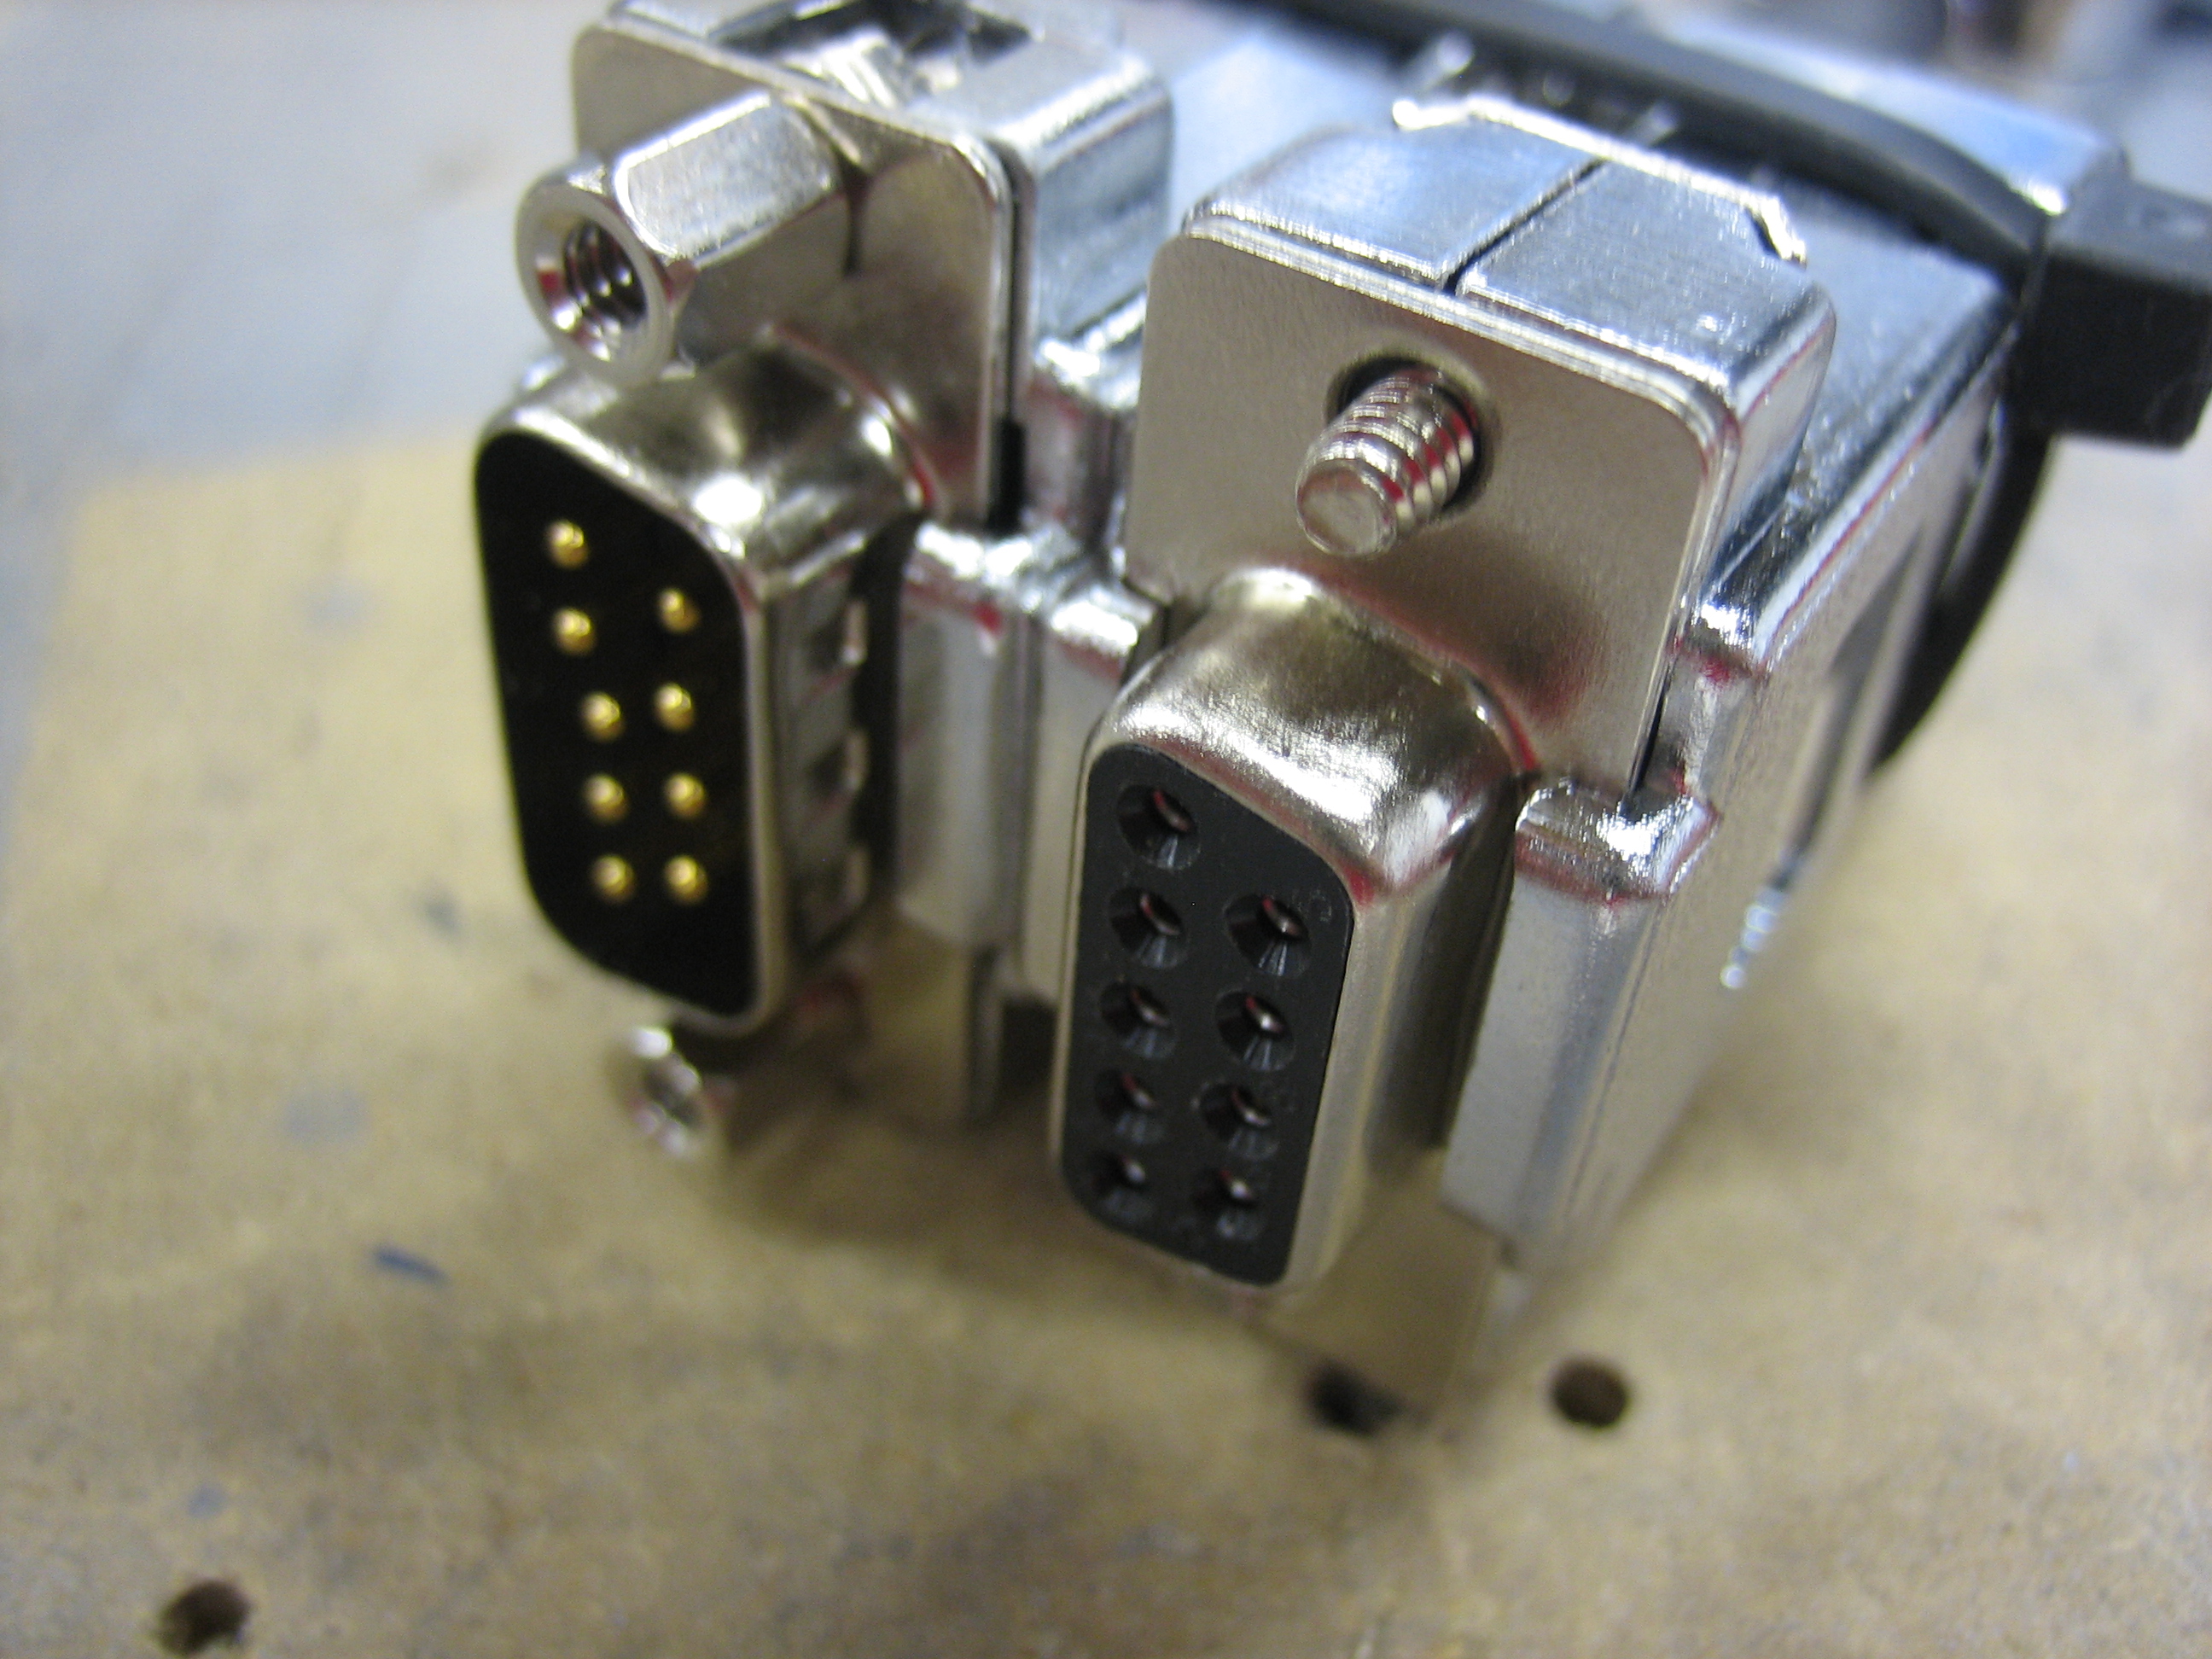
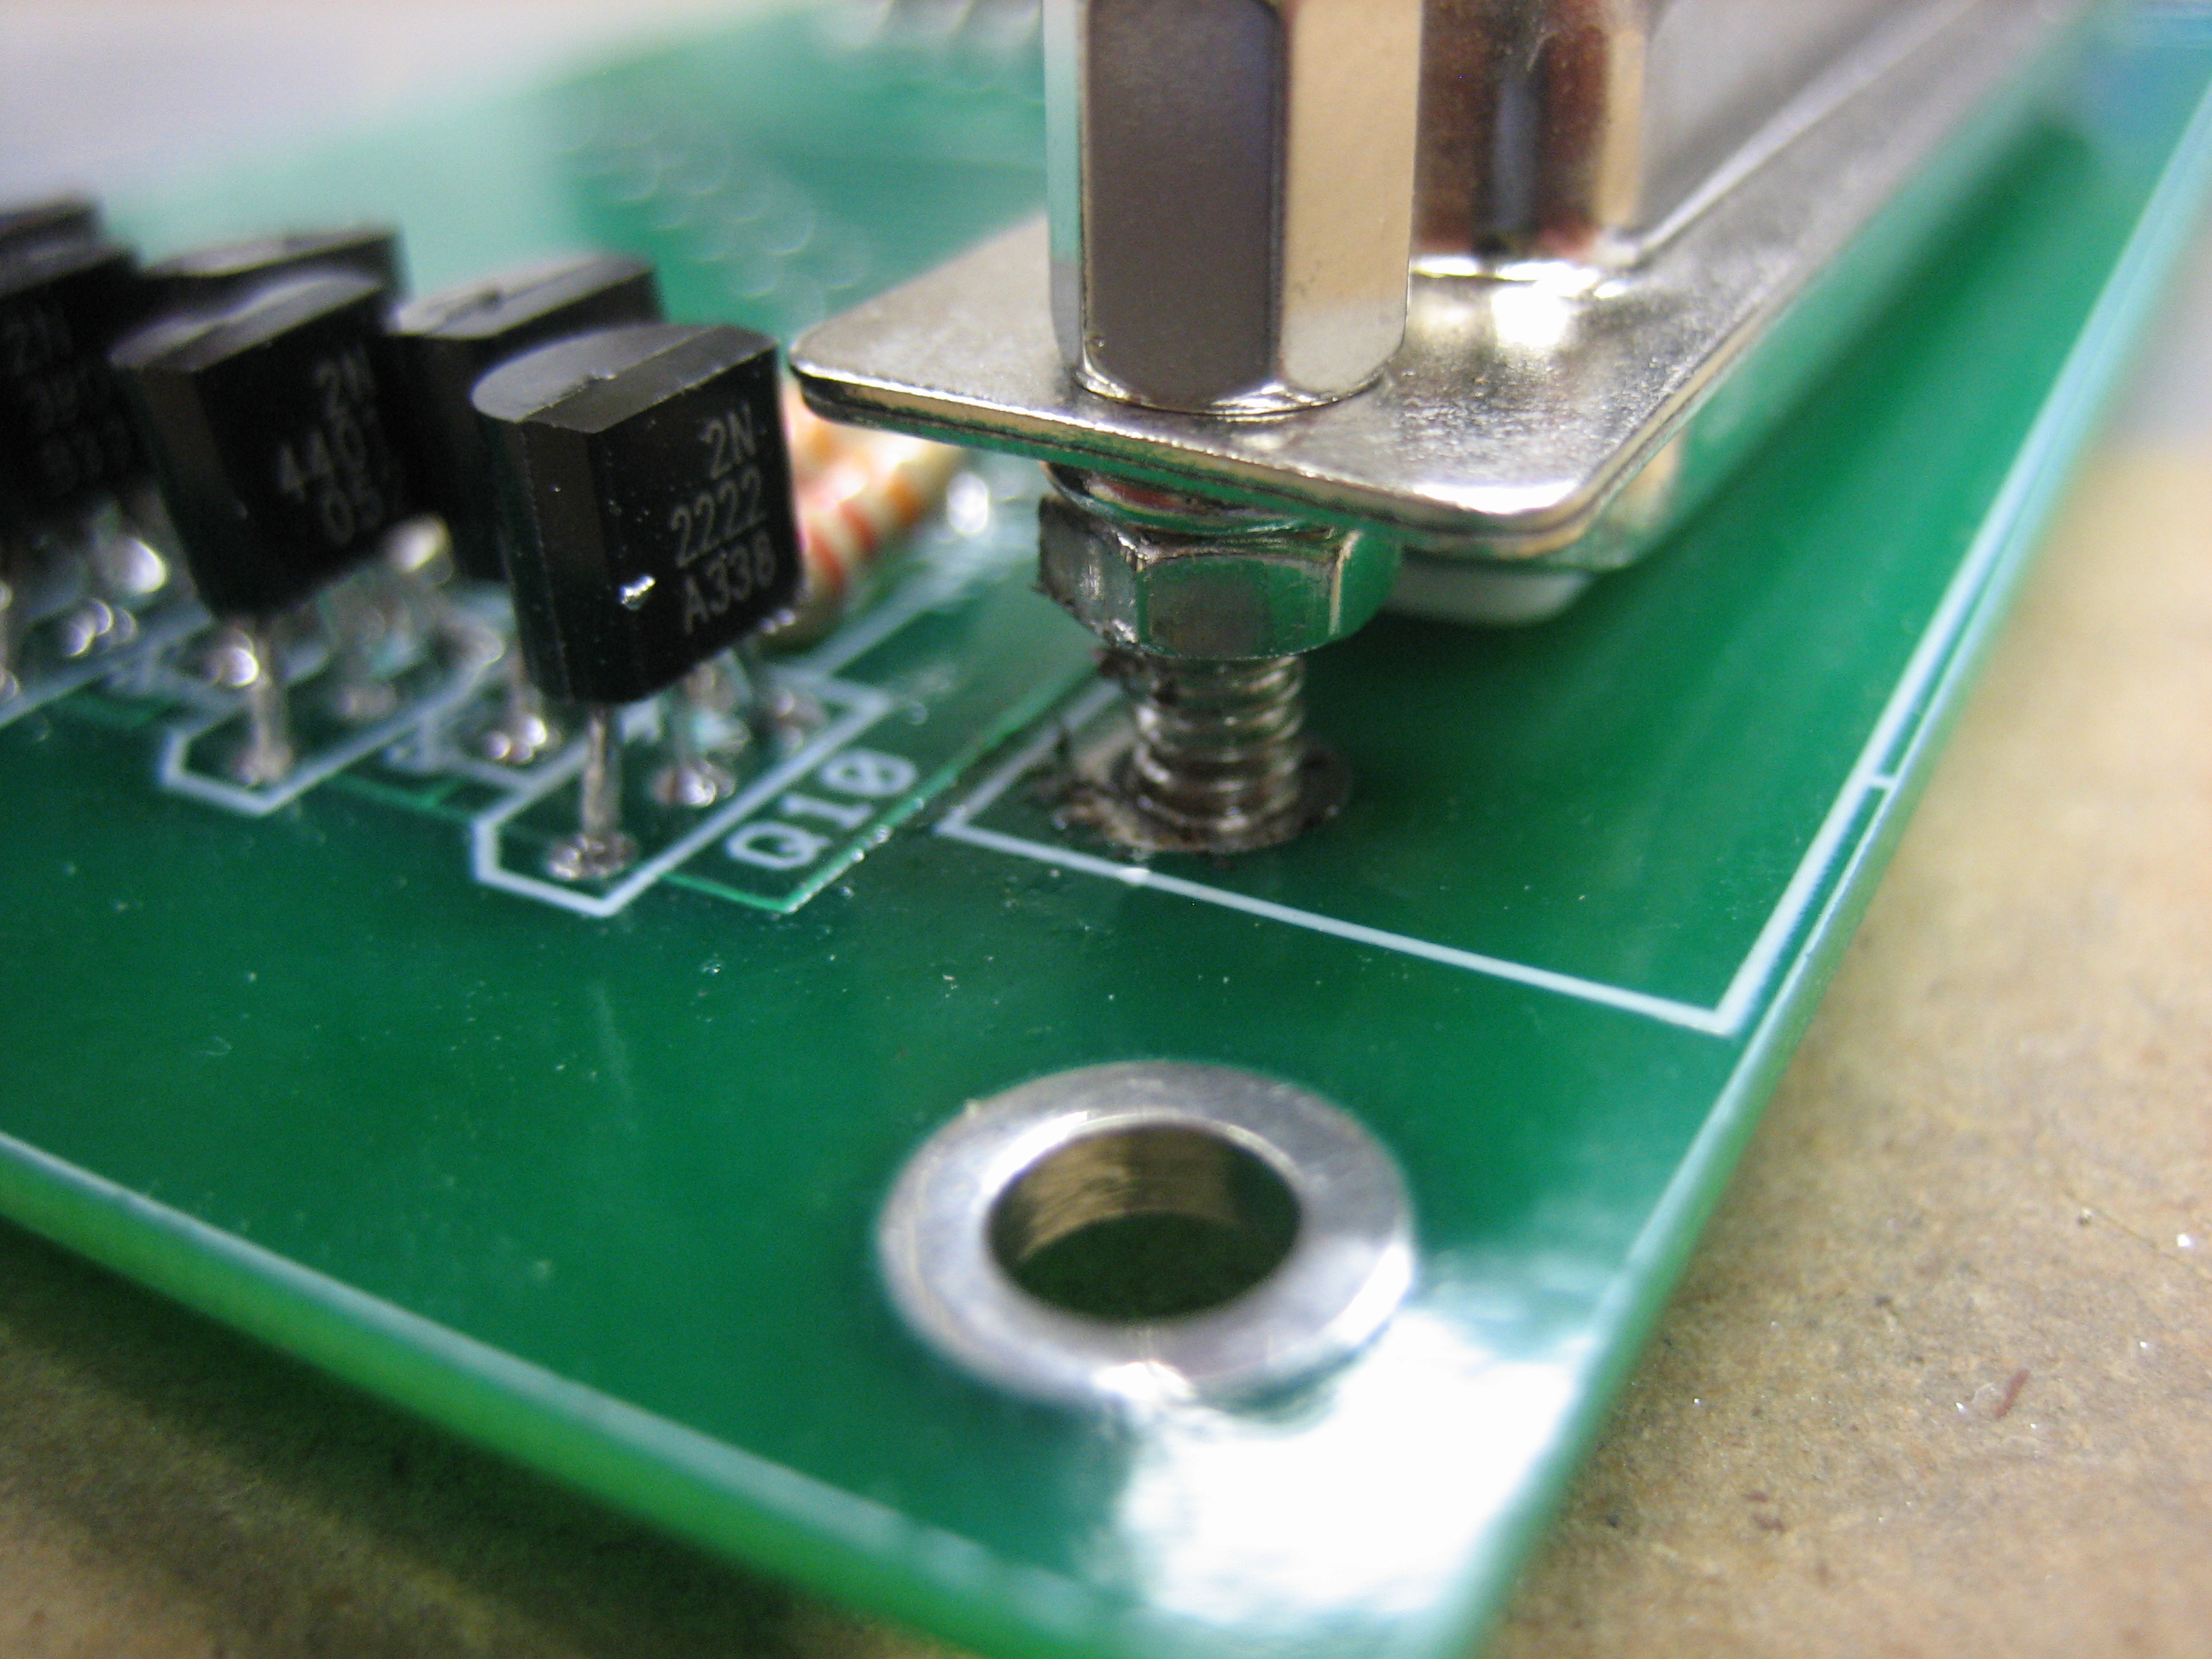
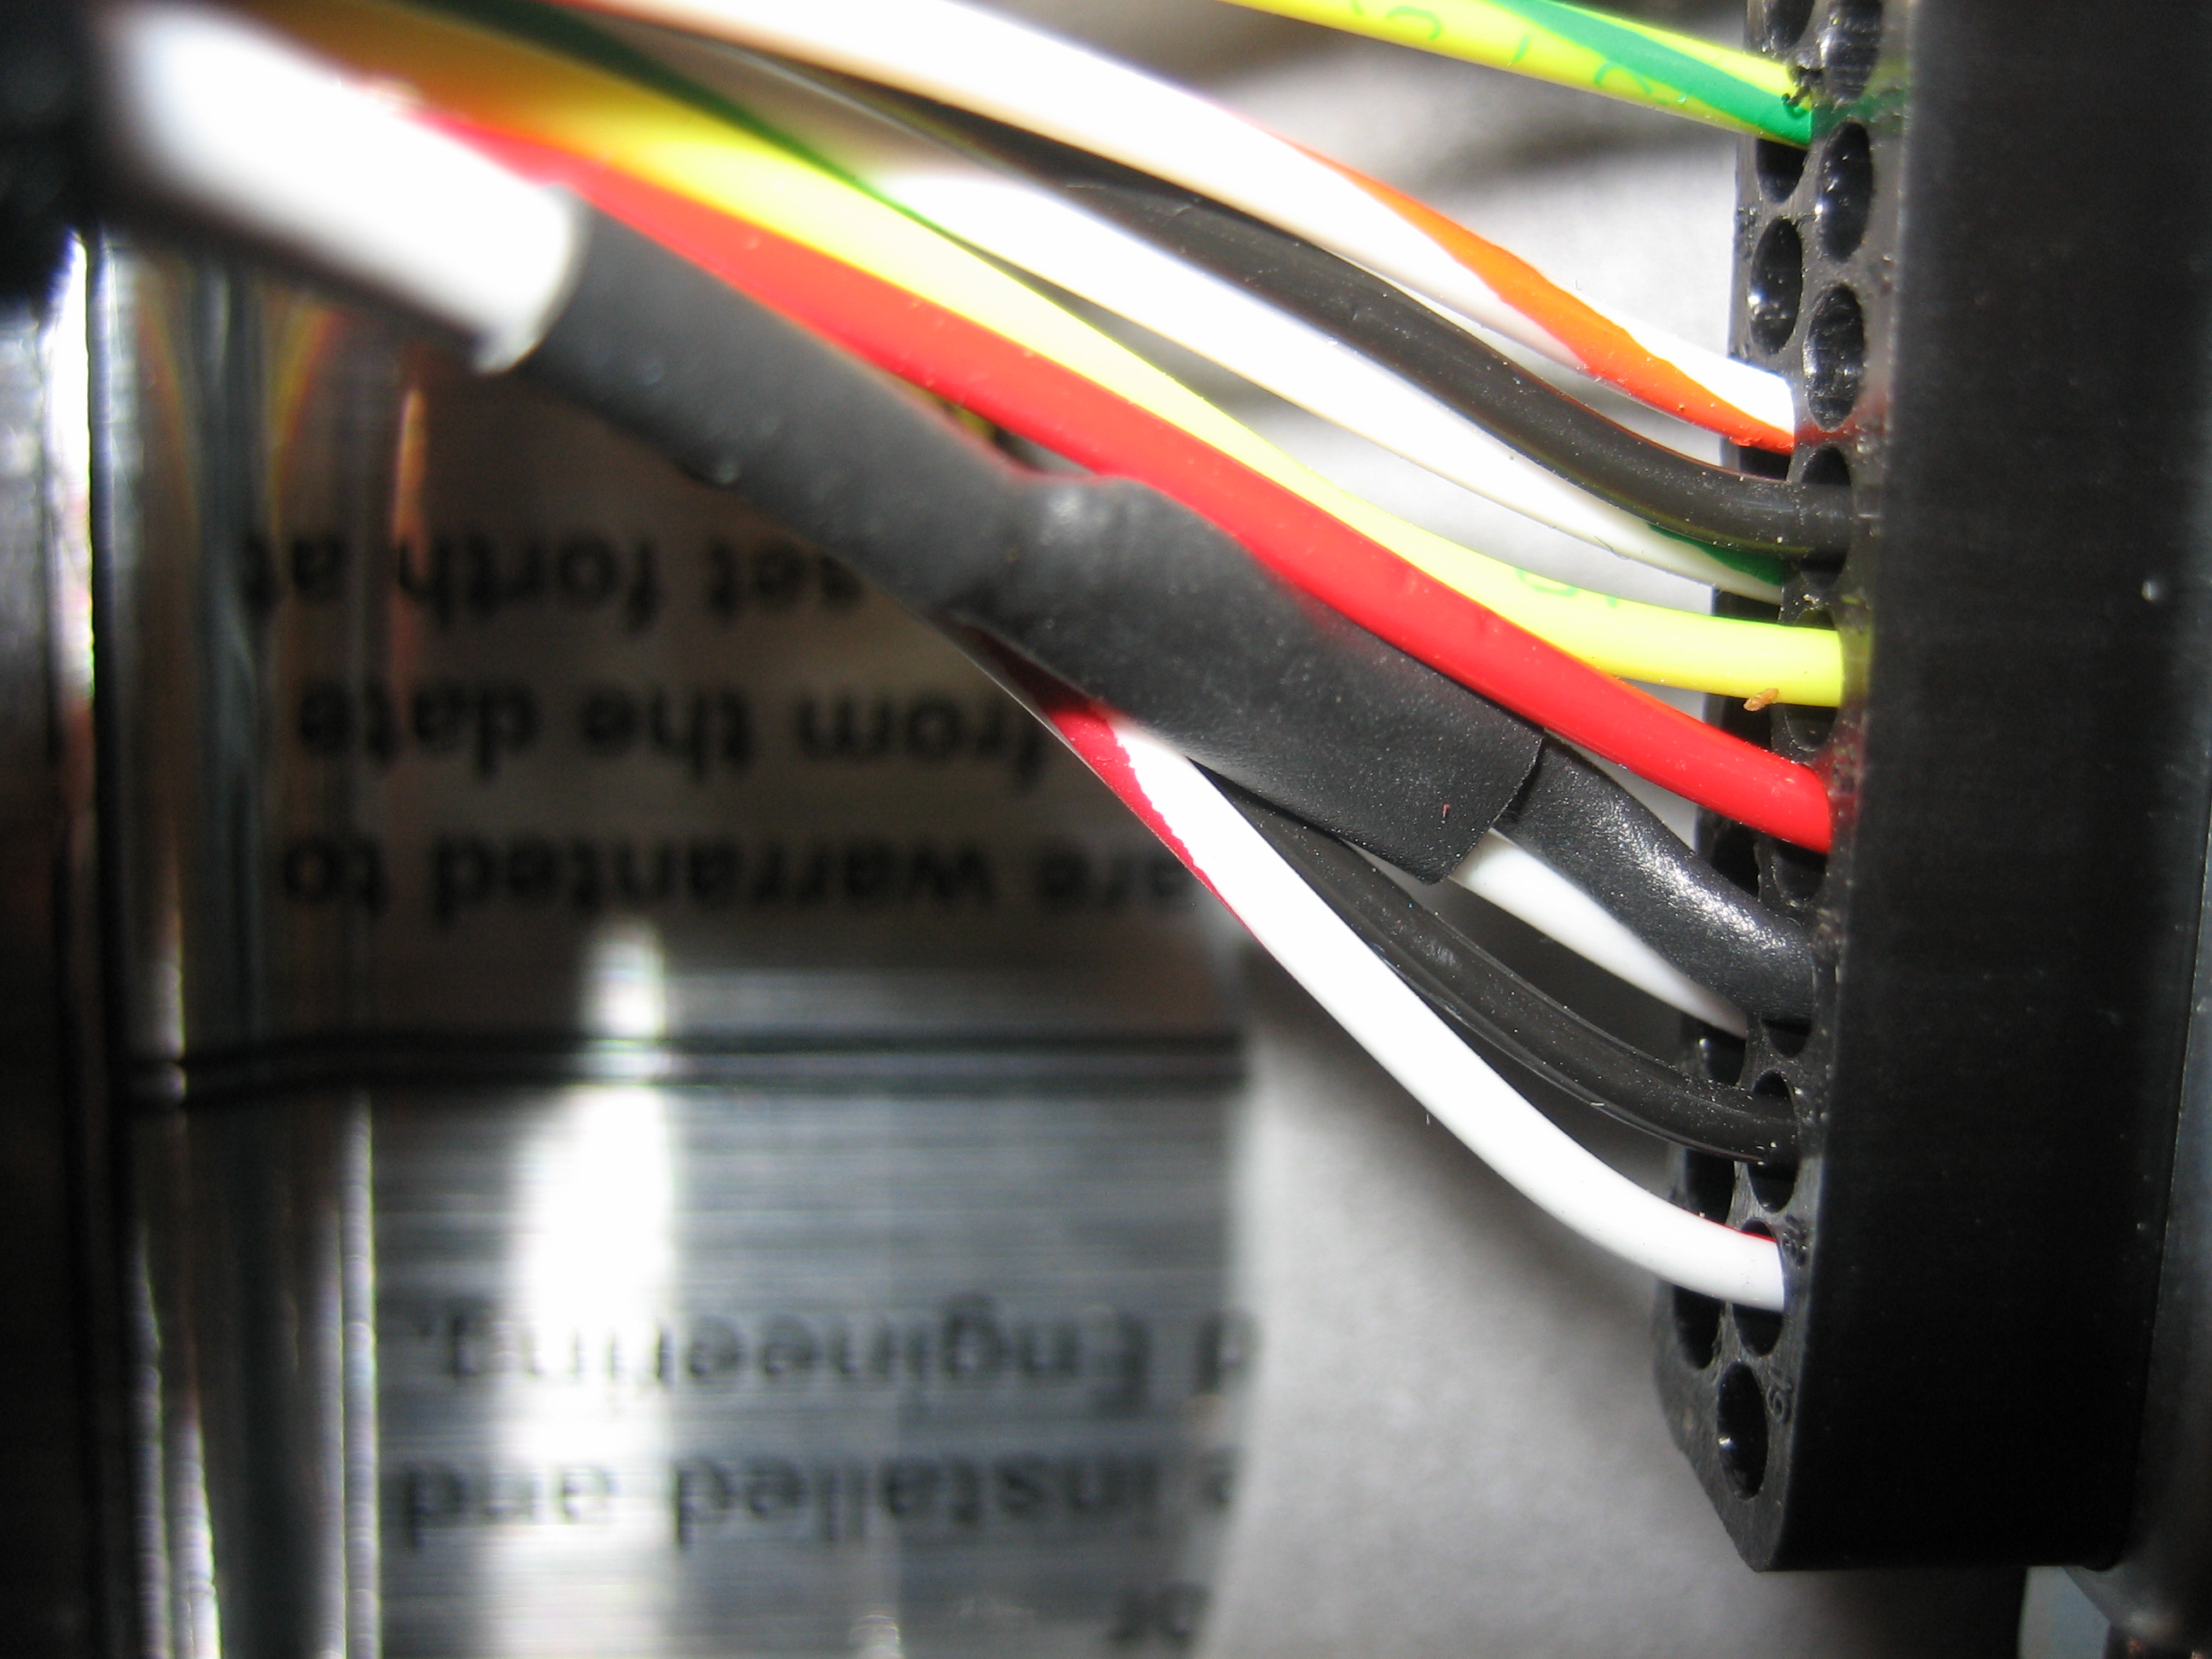
Here’s a closeup of the female DB-25 connectors.  I’ve got some 1/2″ jack screws on order that will be used to anchor the connectors more firmly to the PCB.

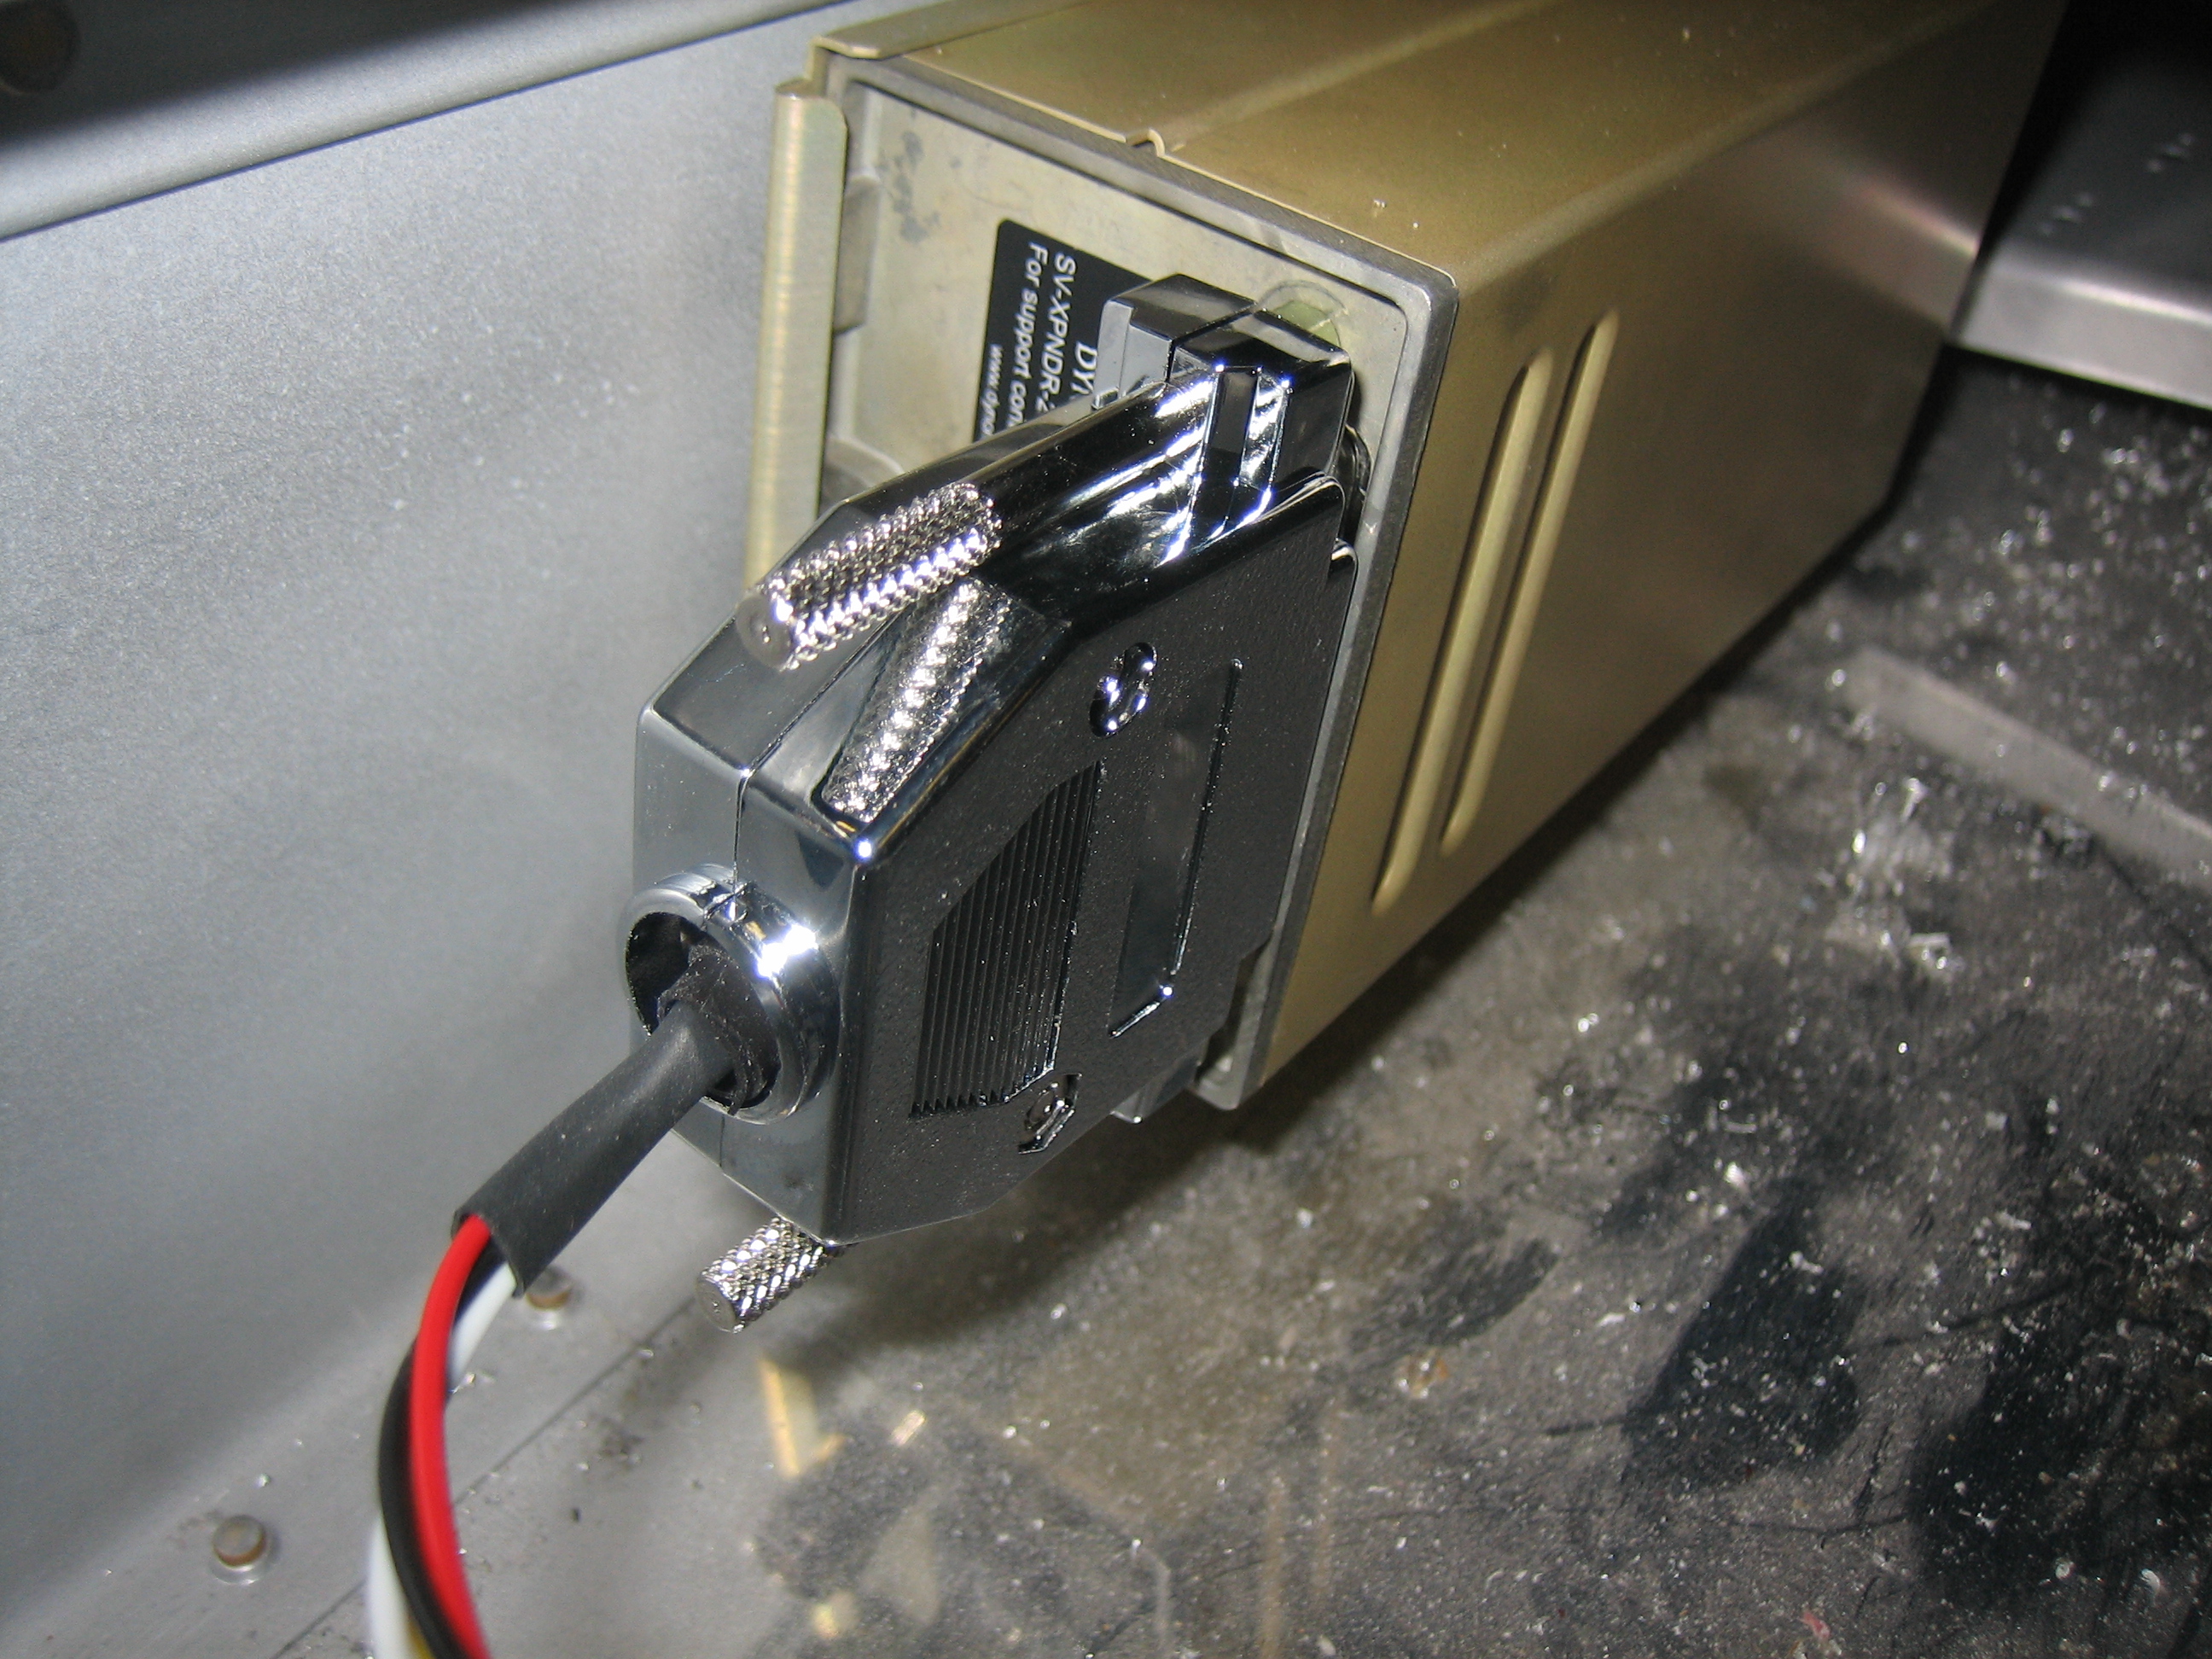
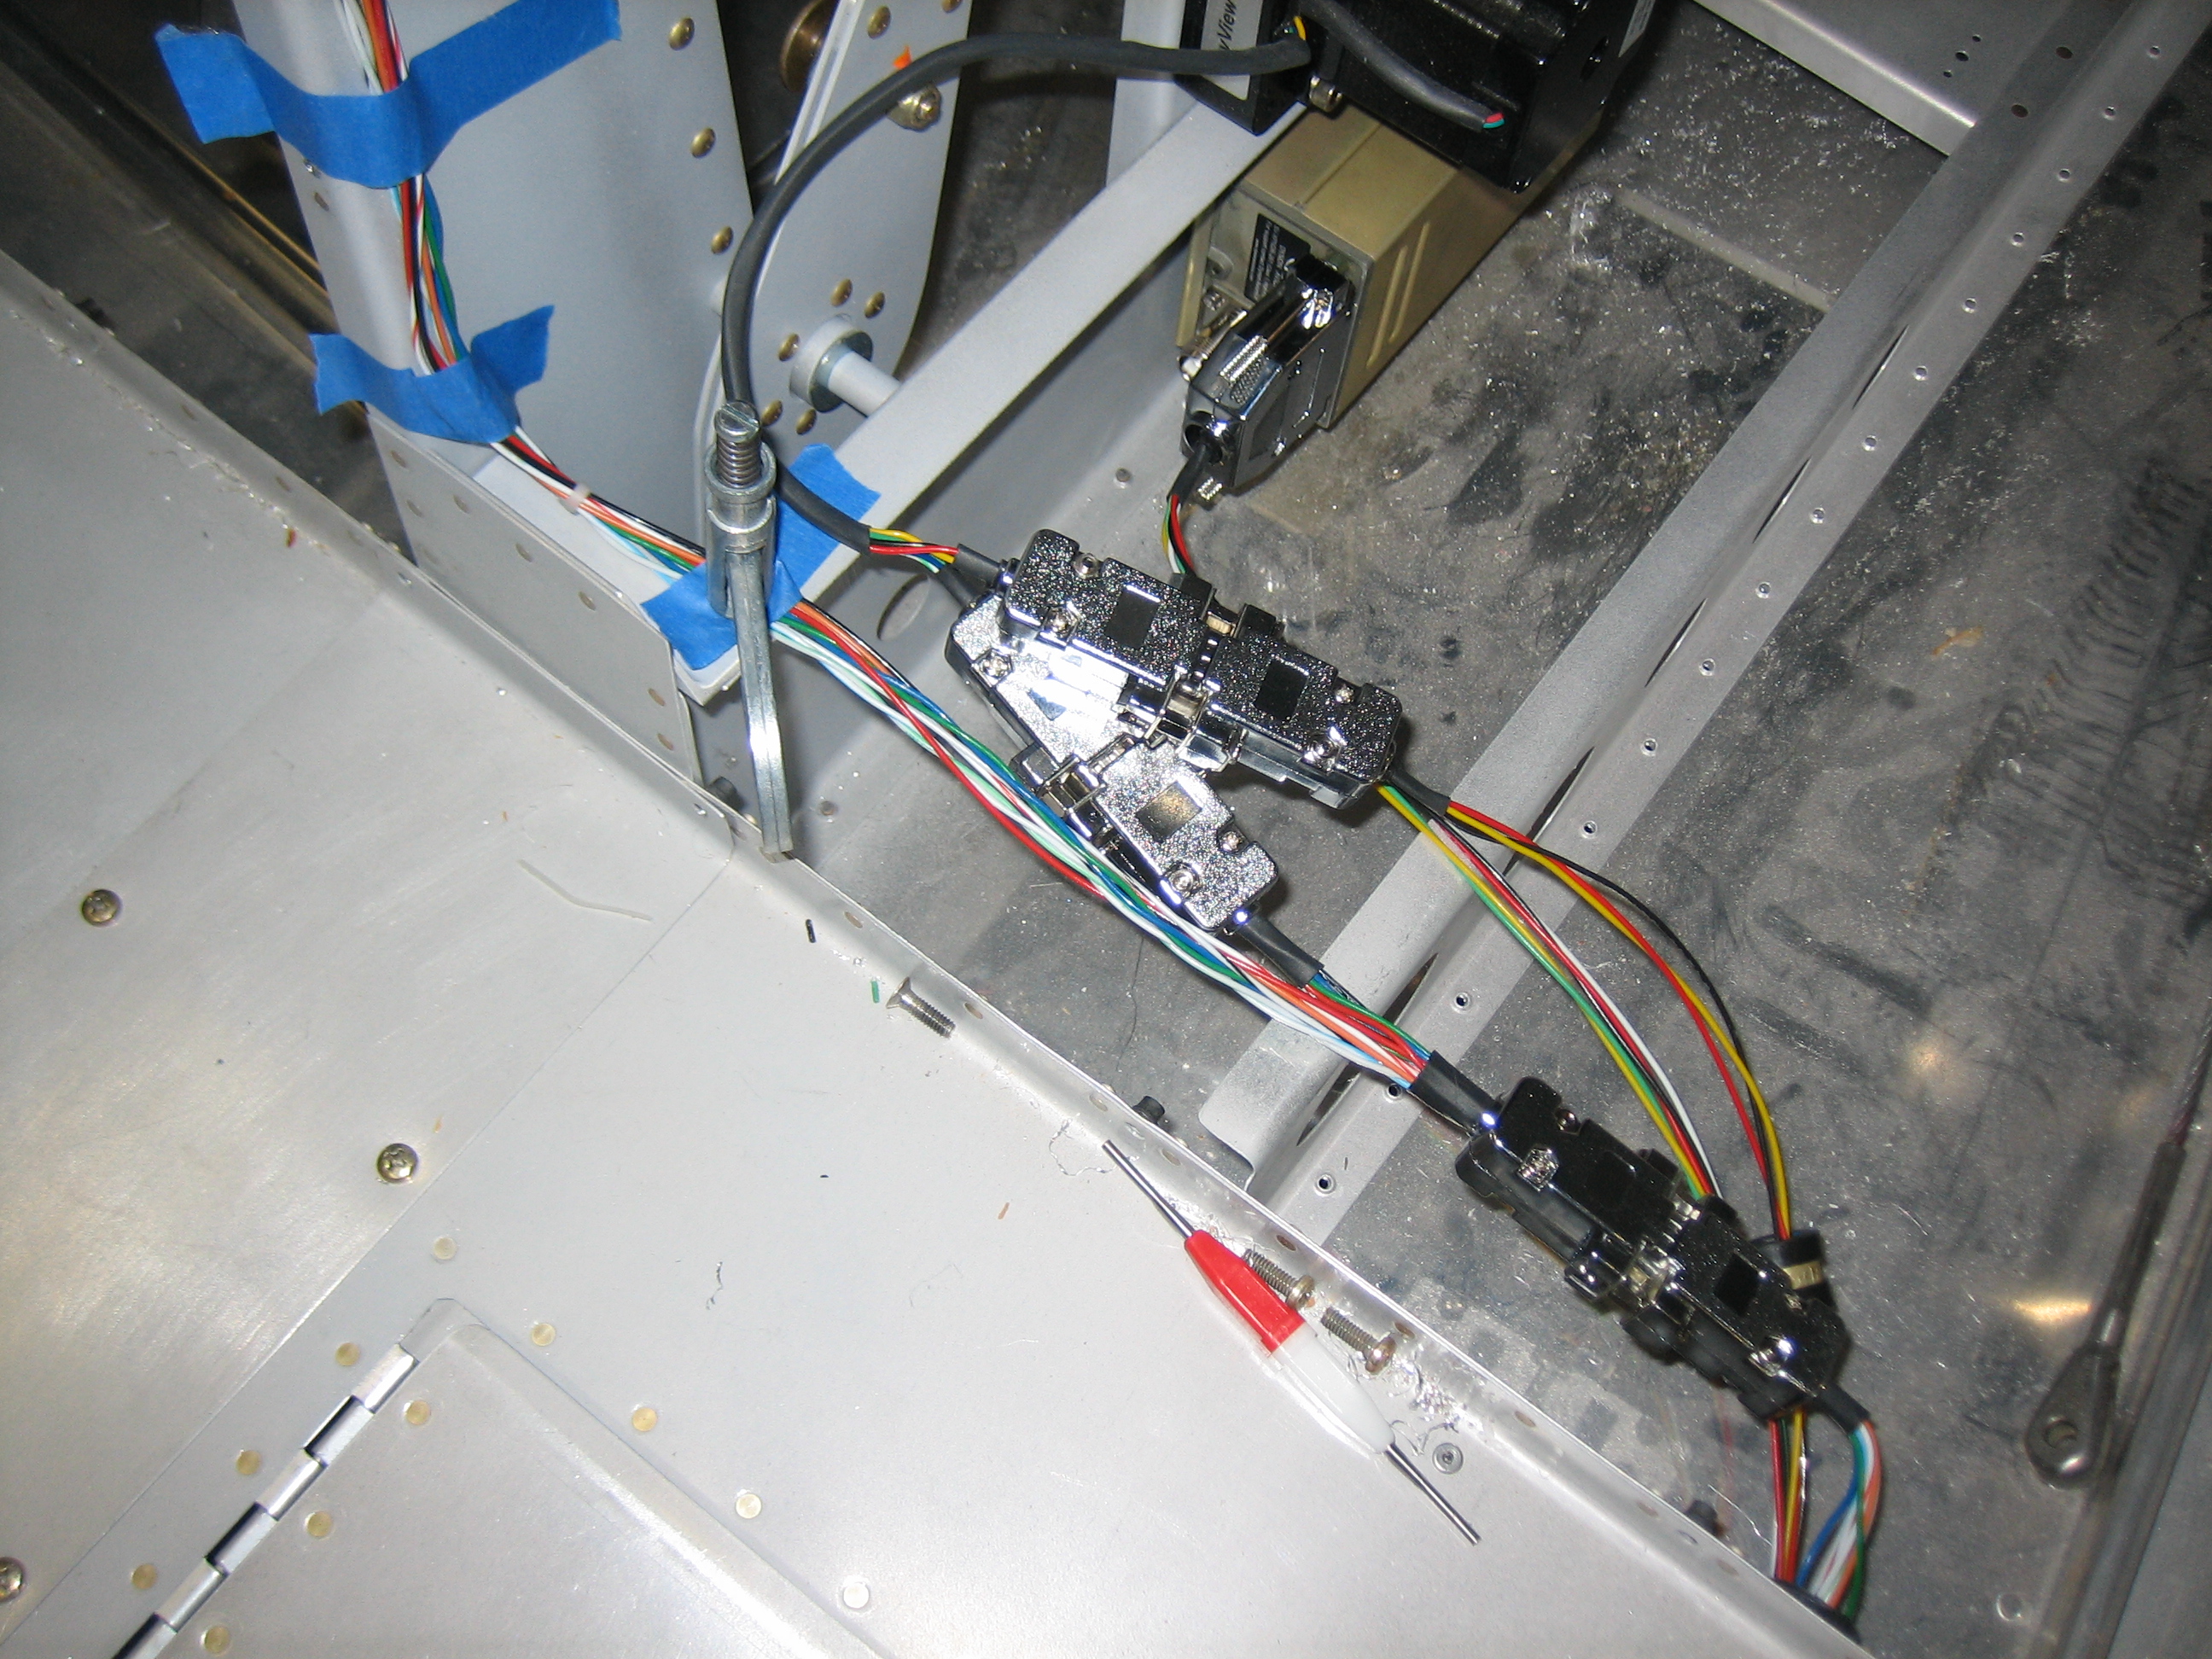
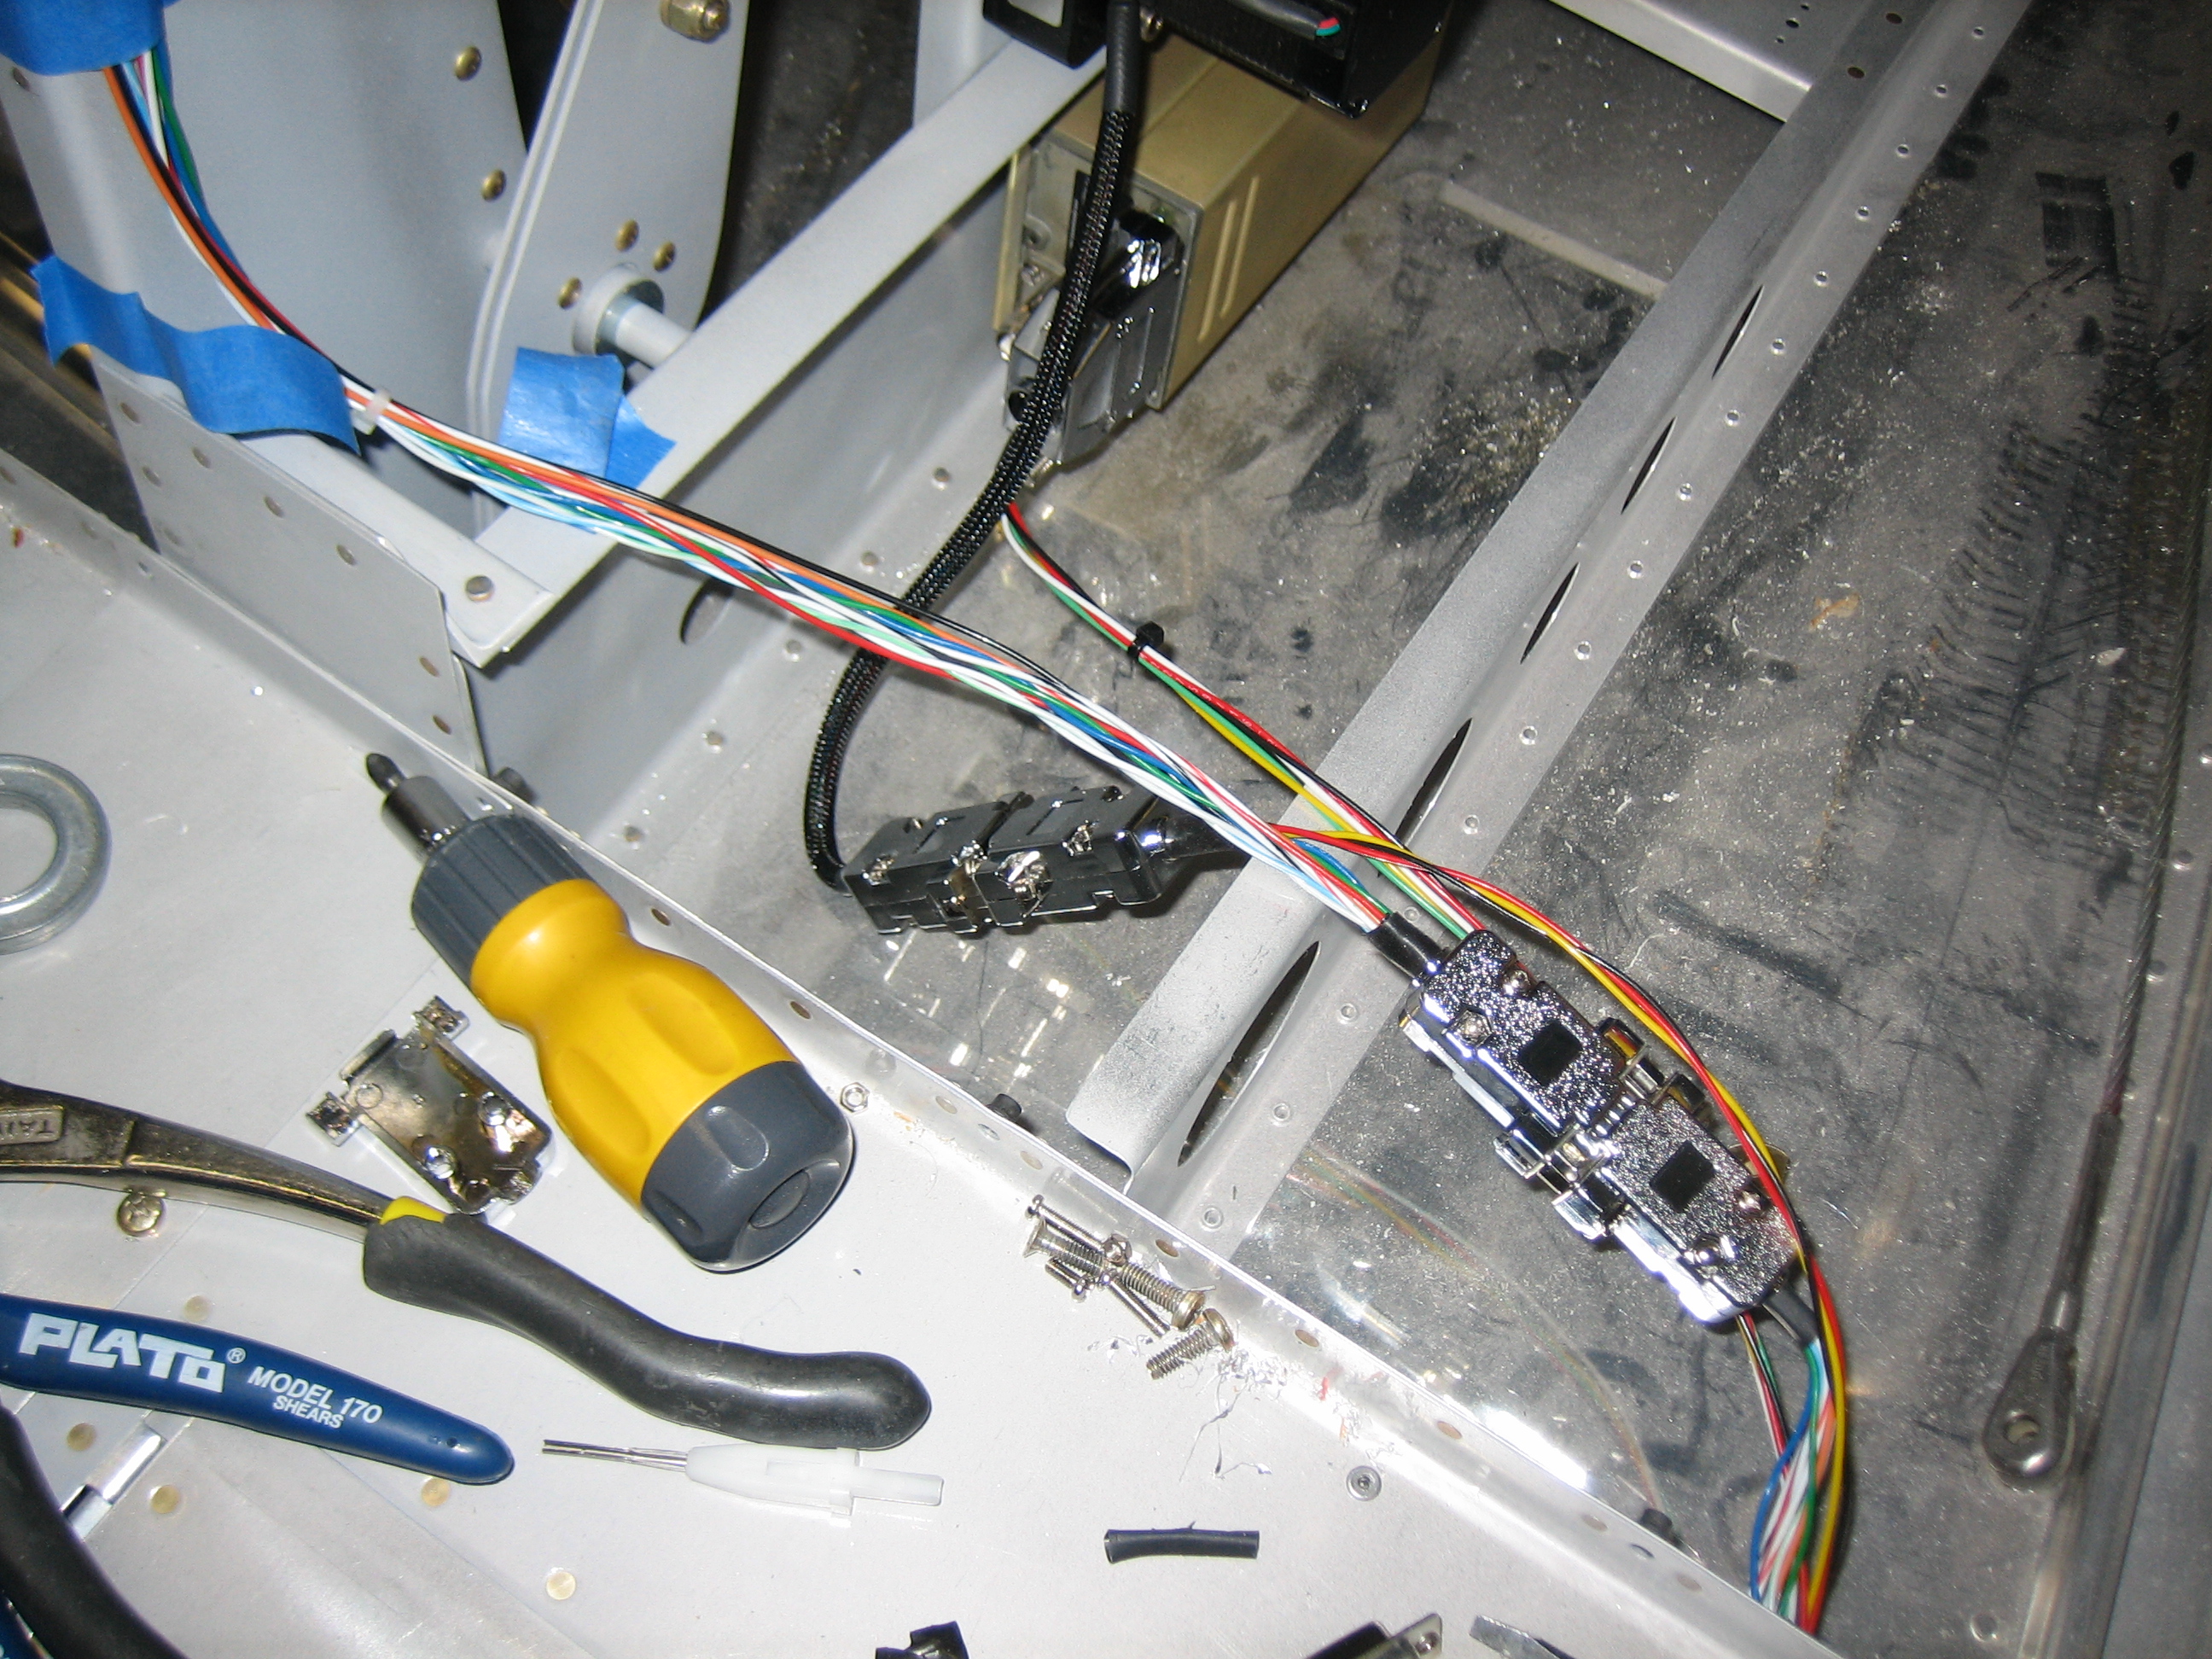
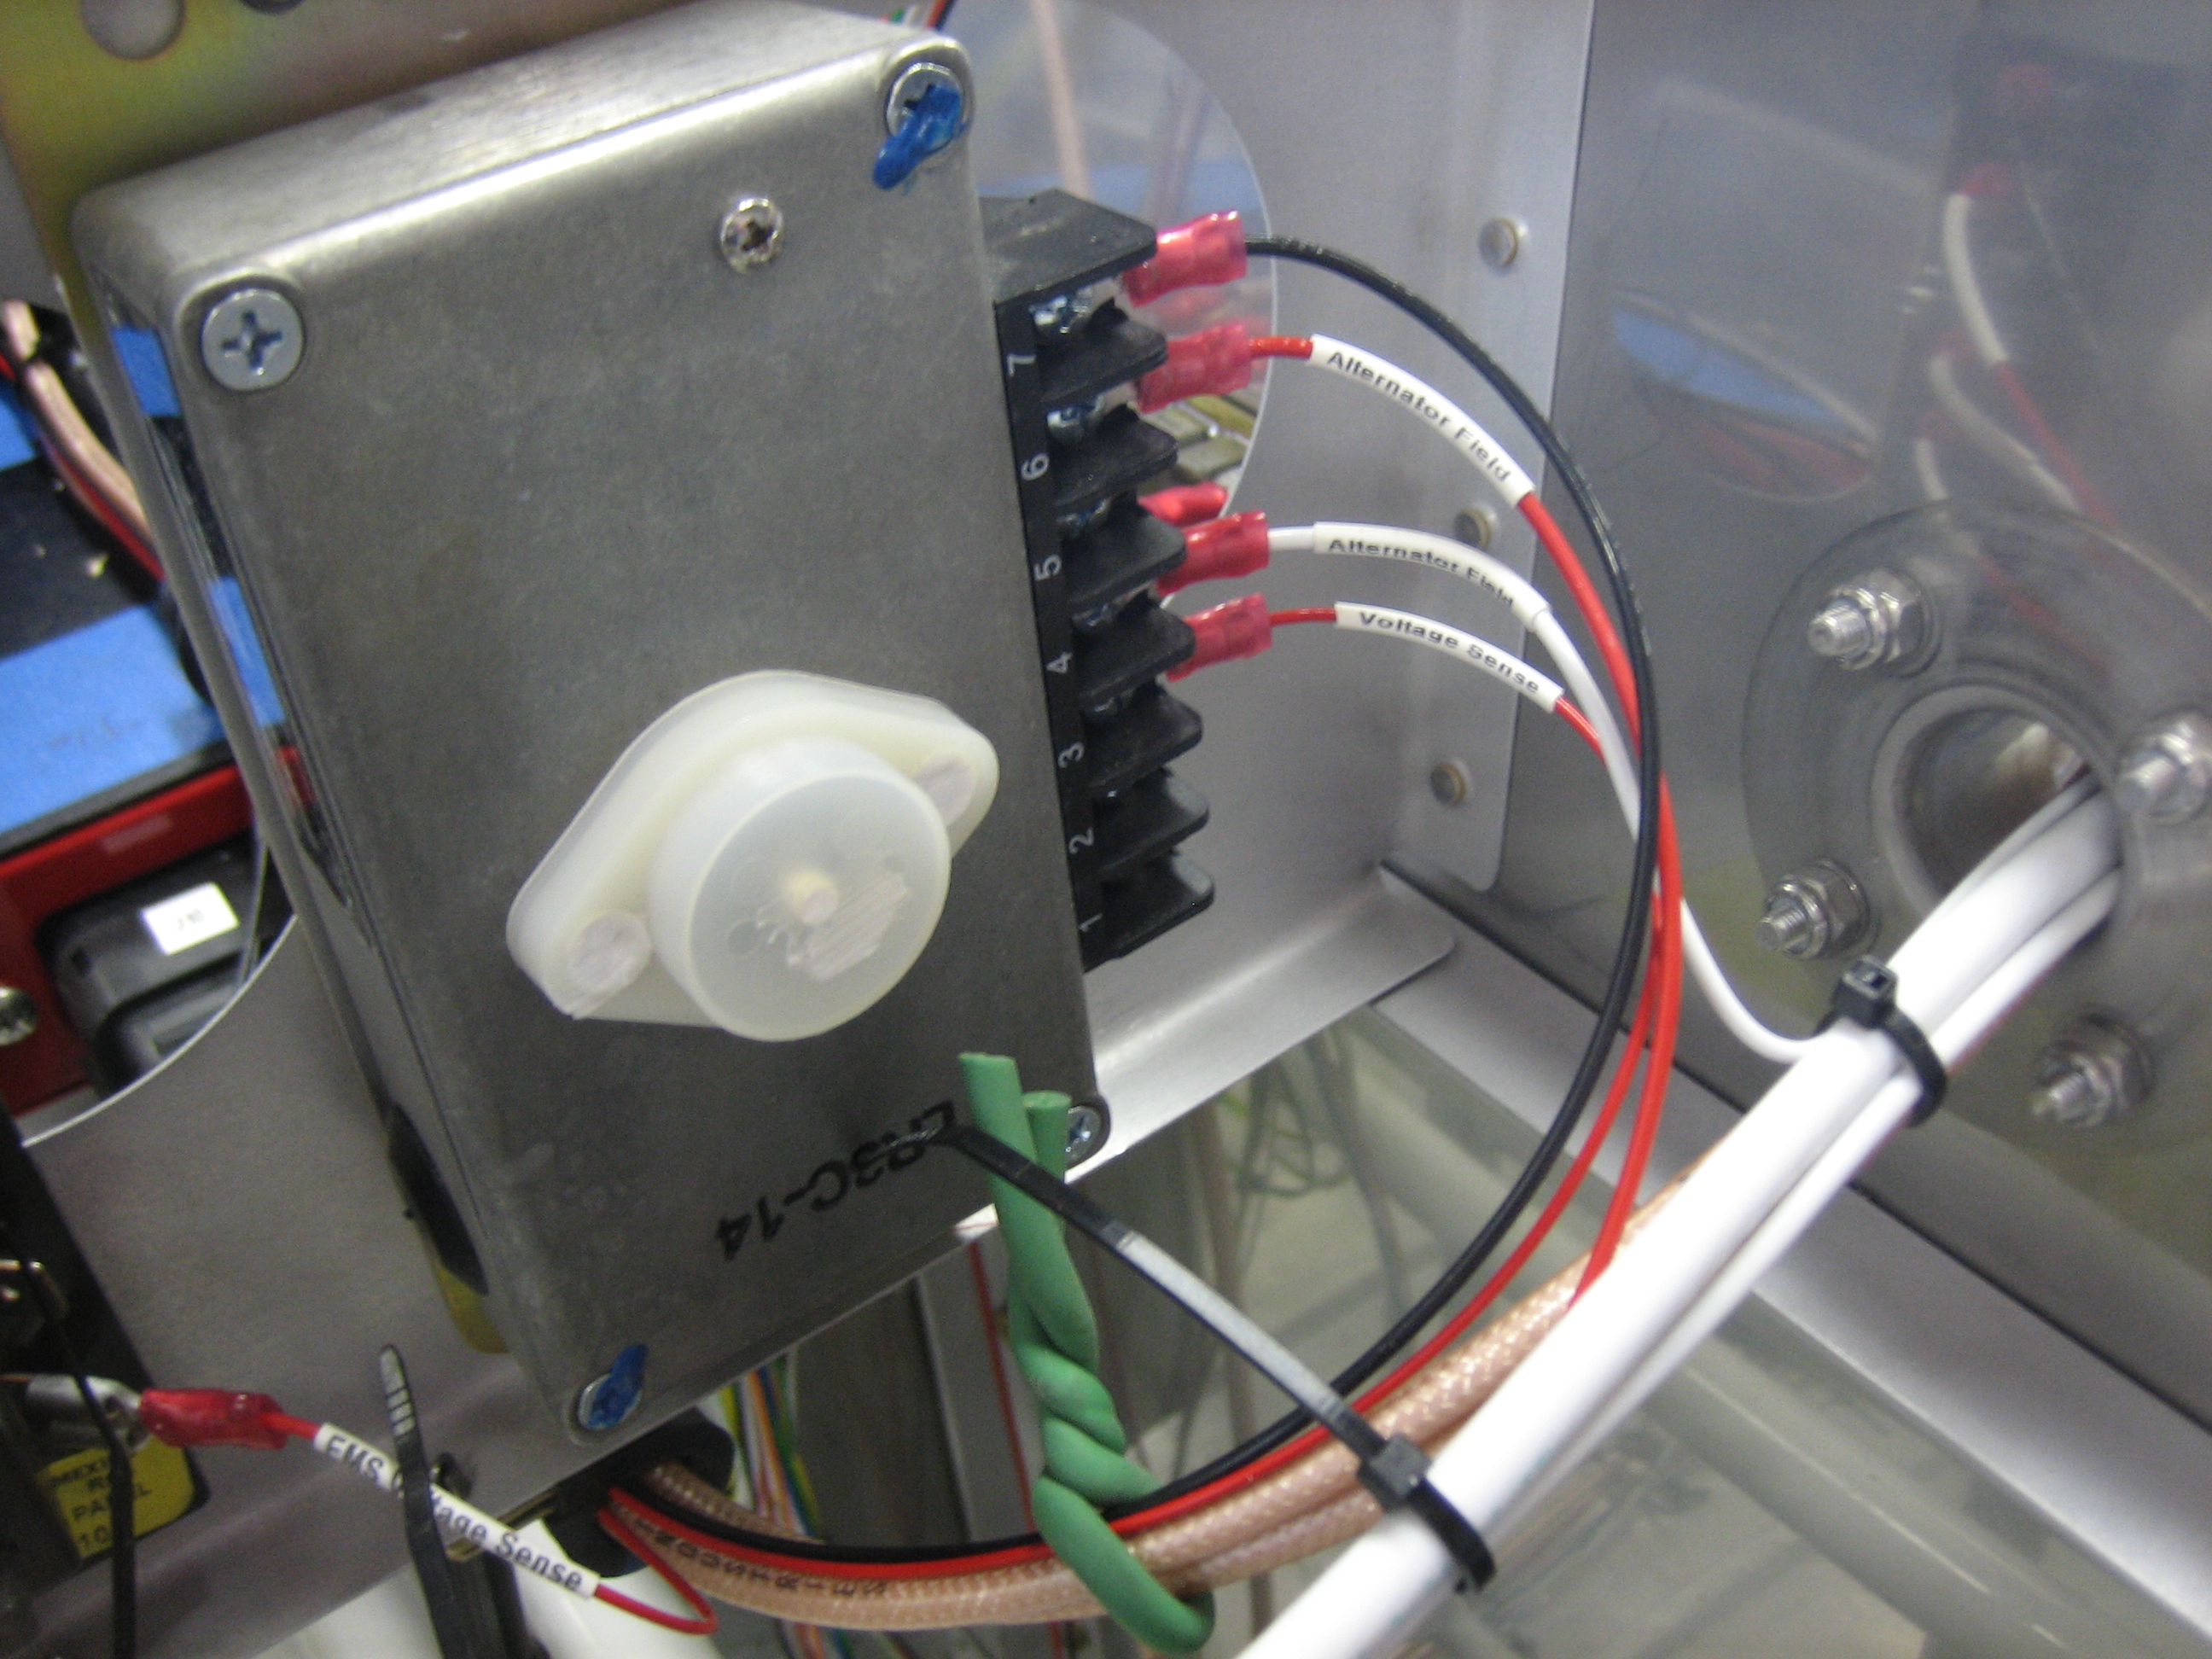
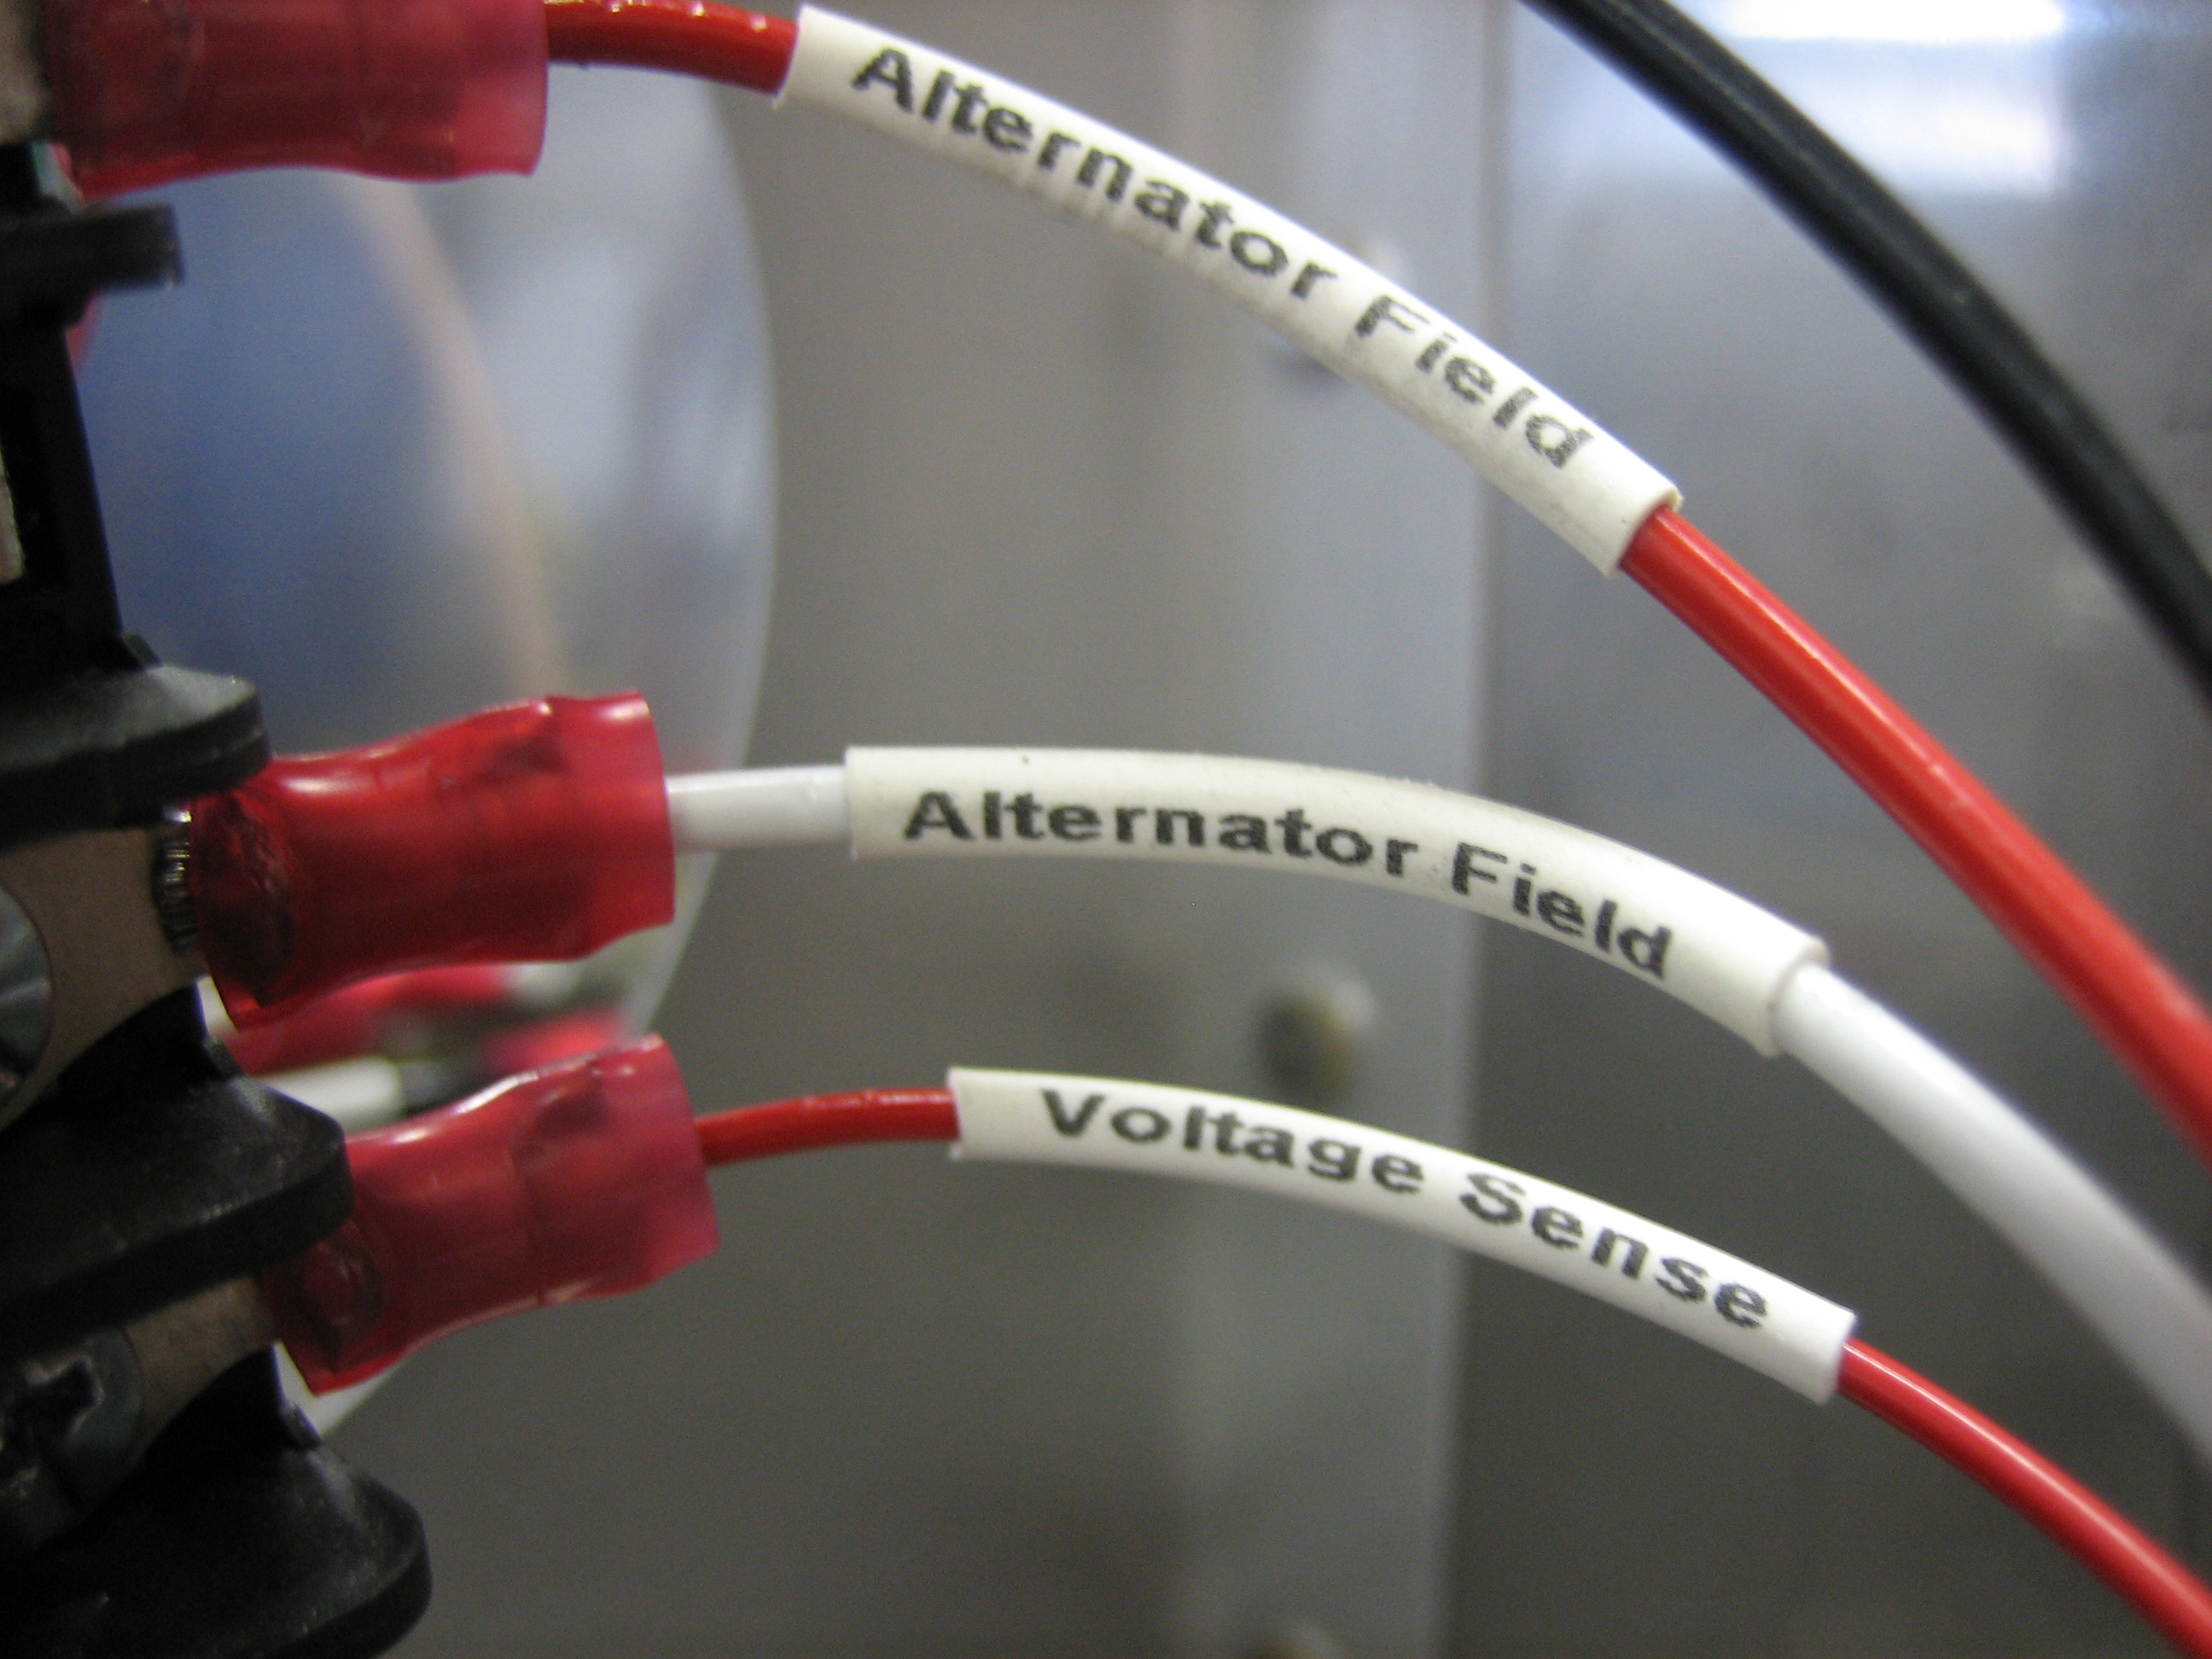
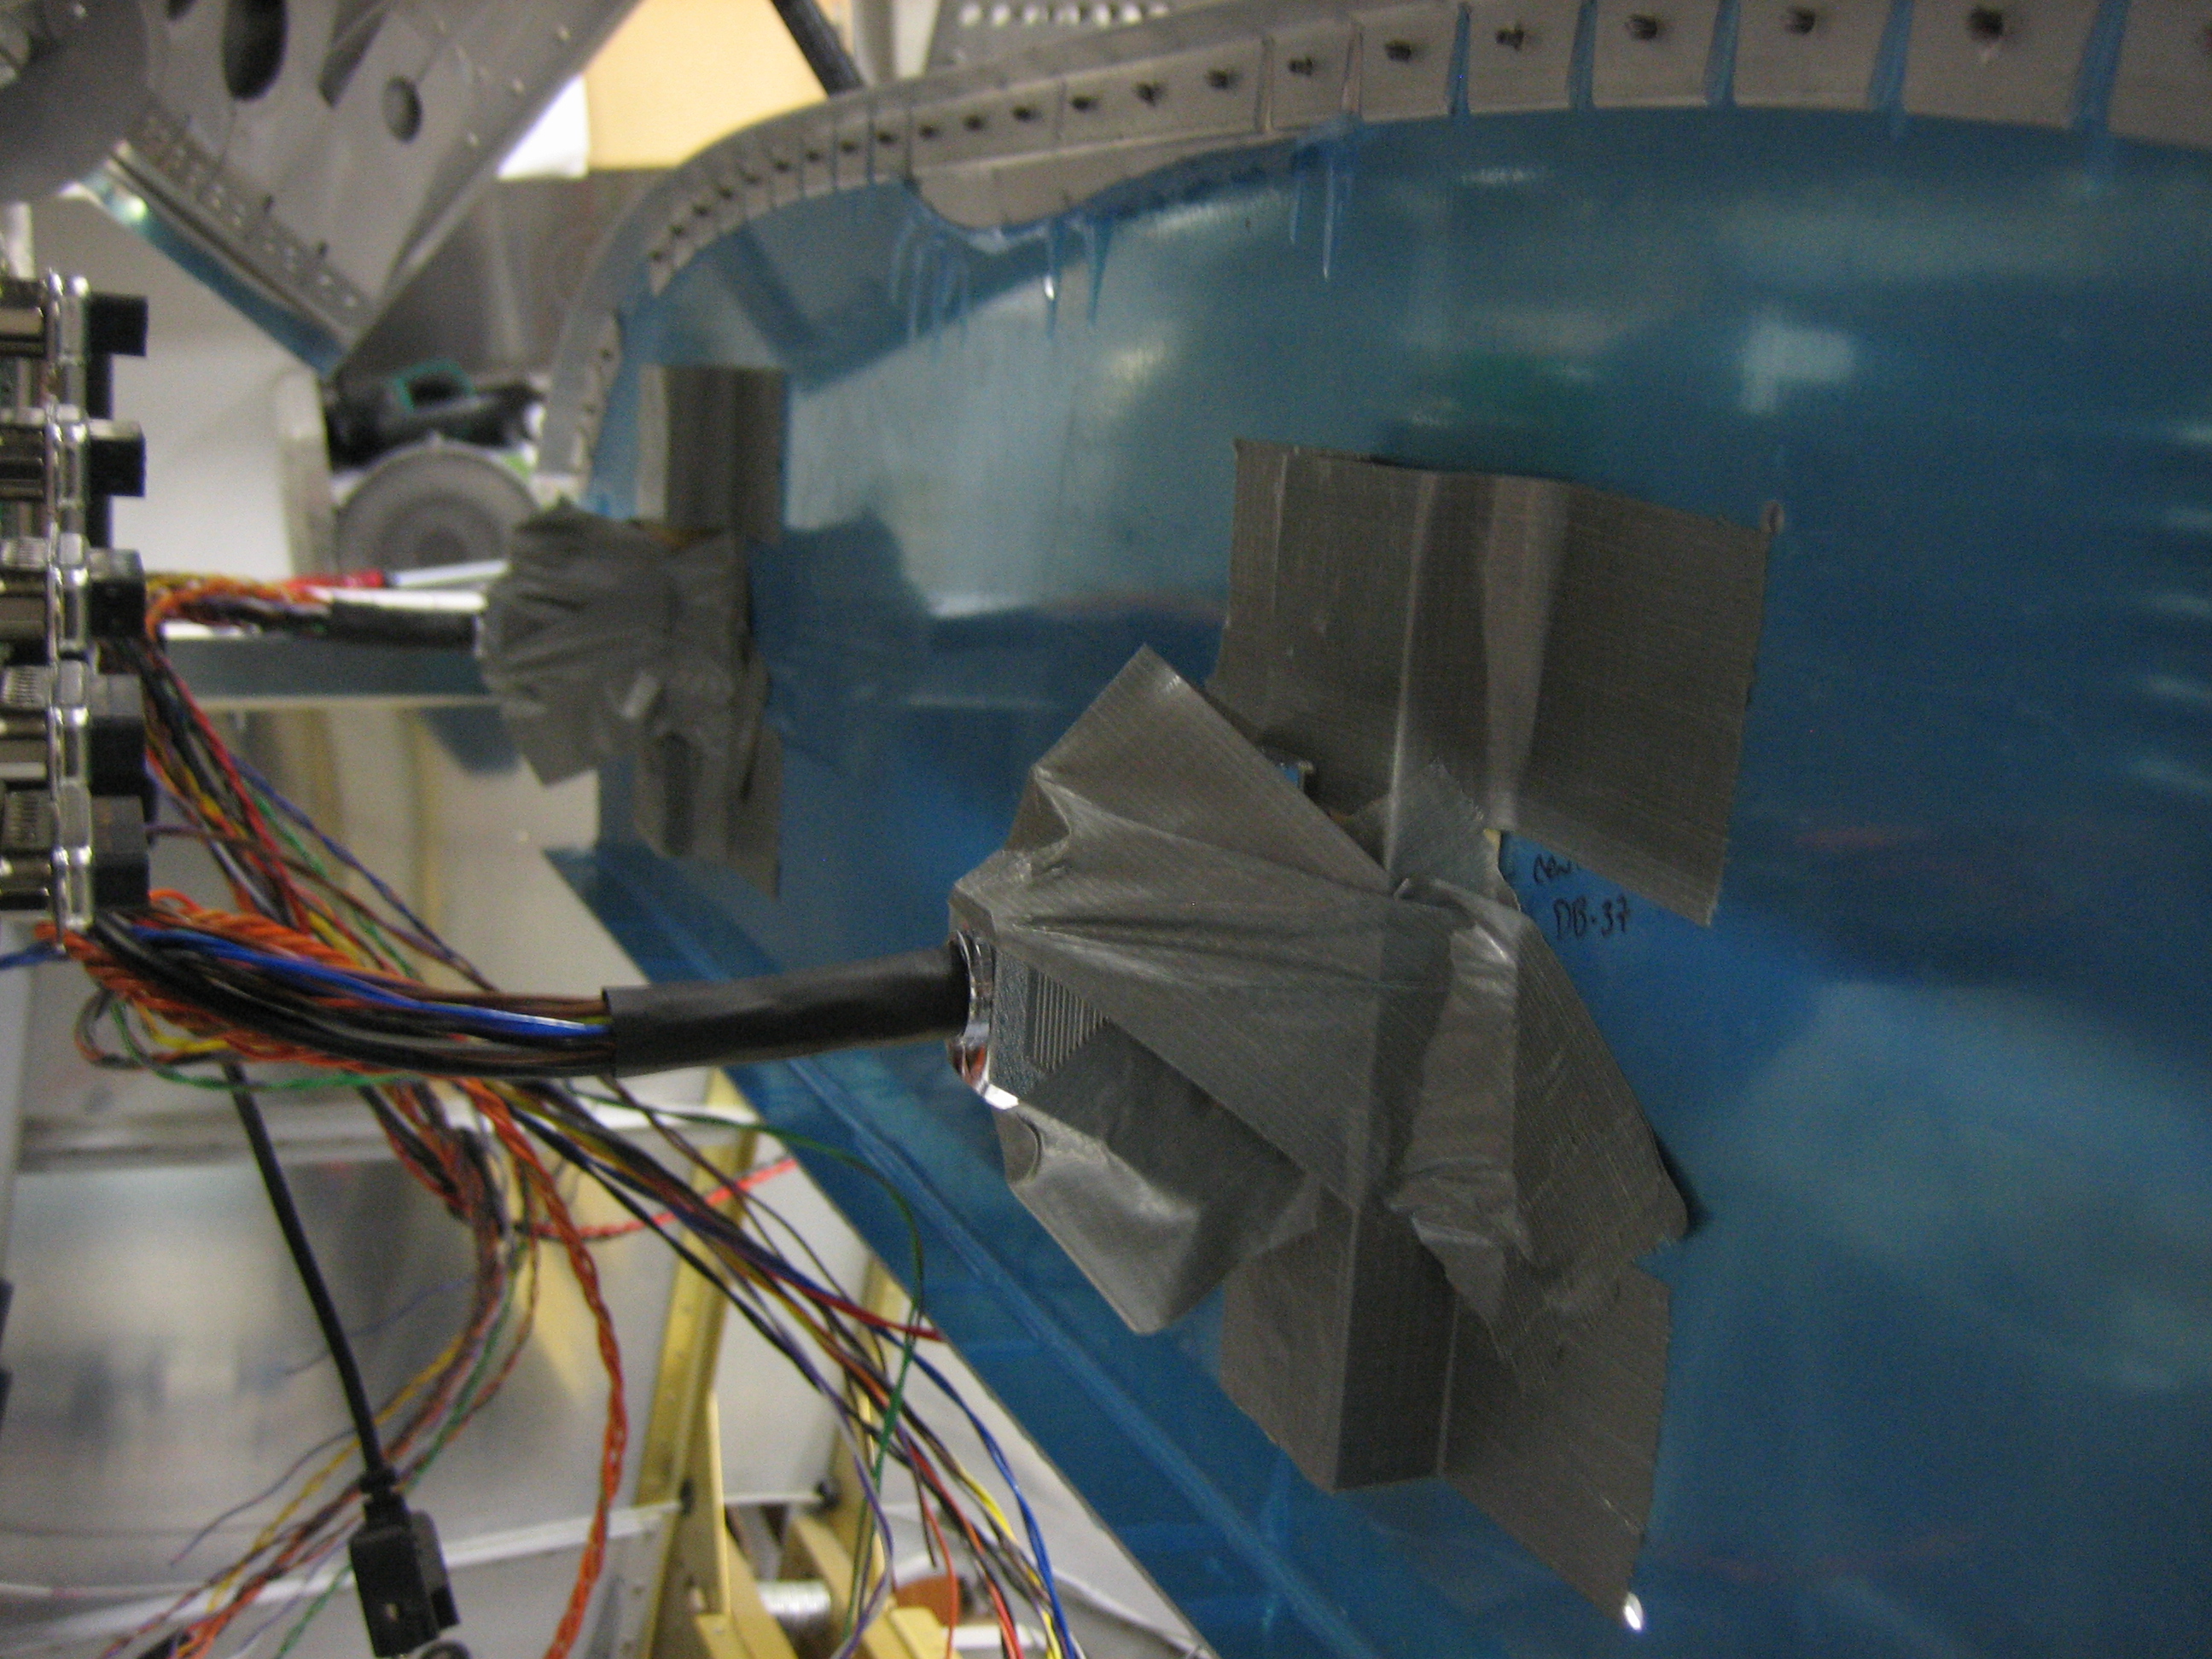
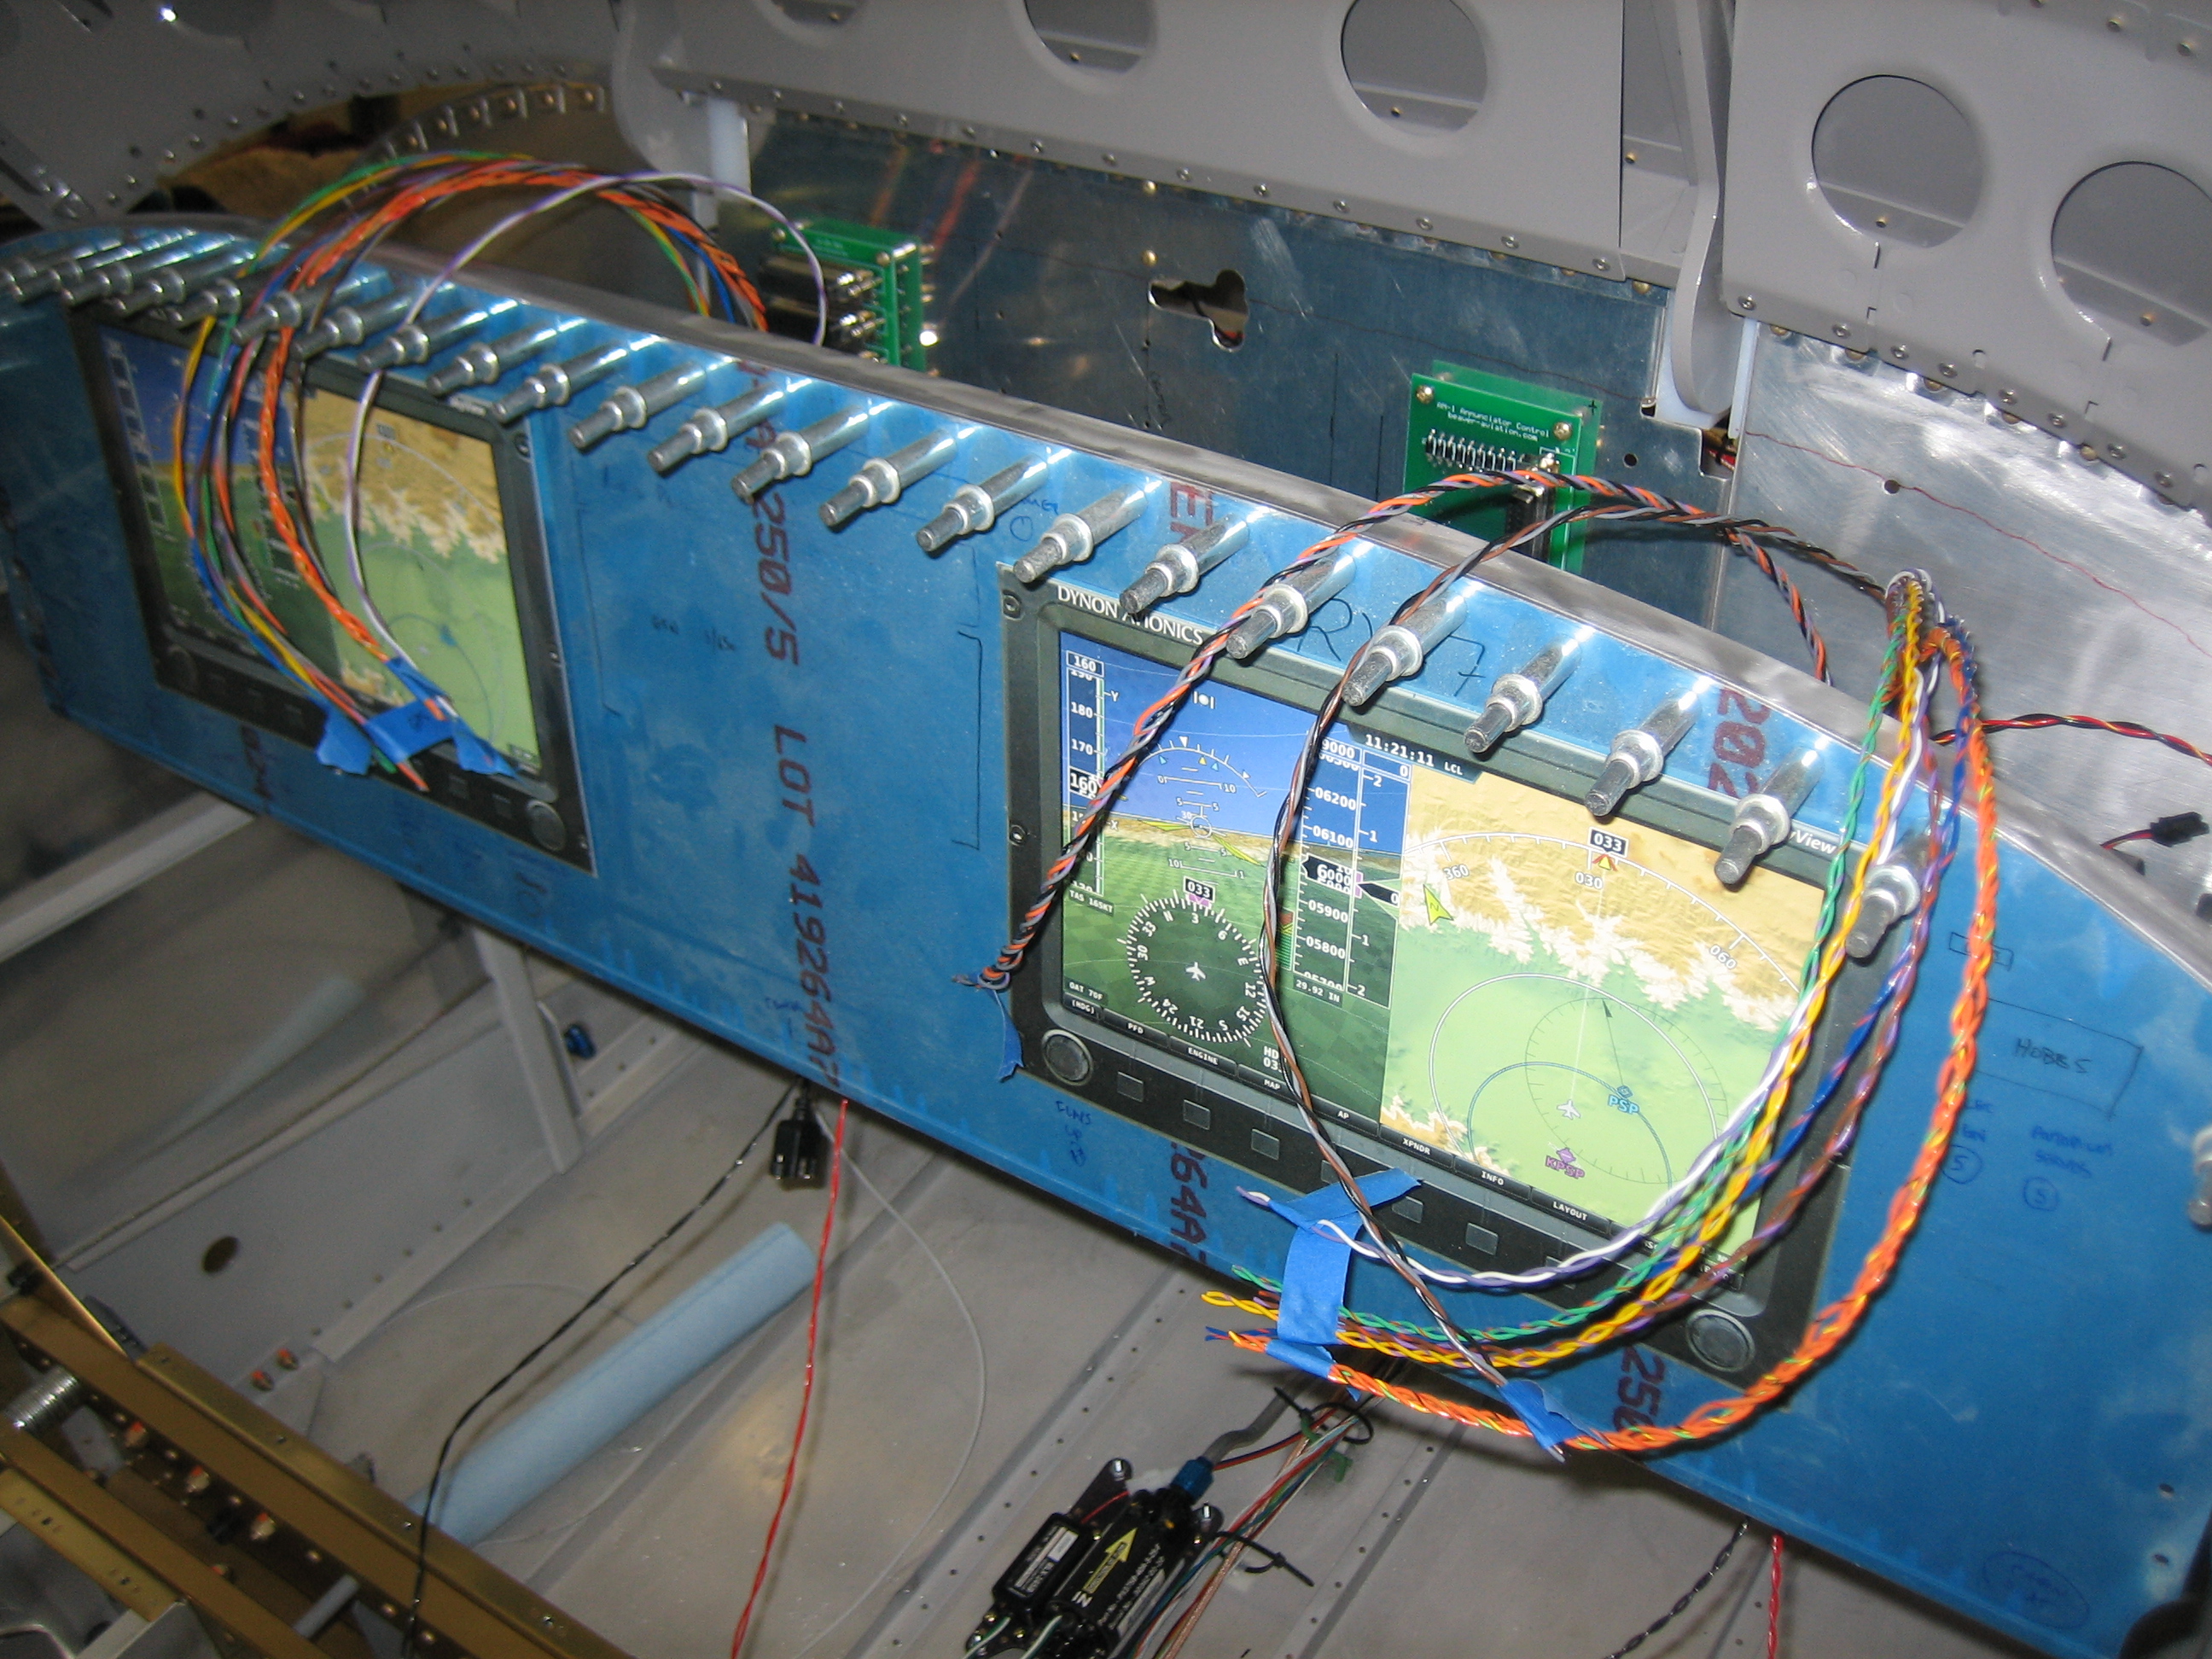
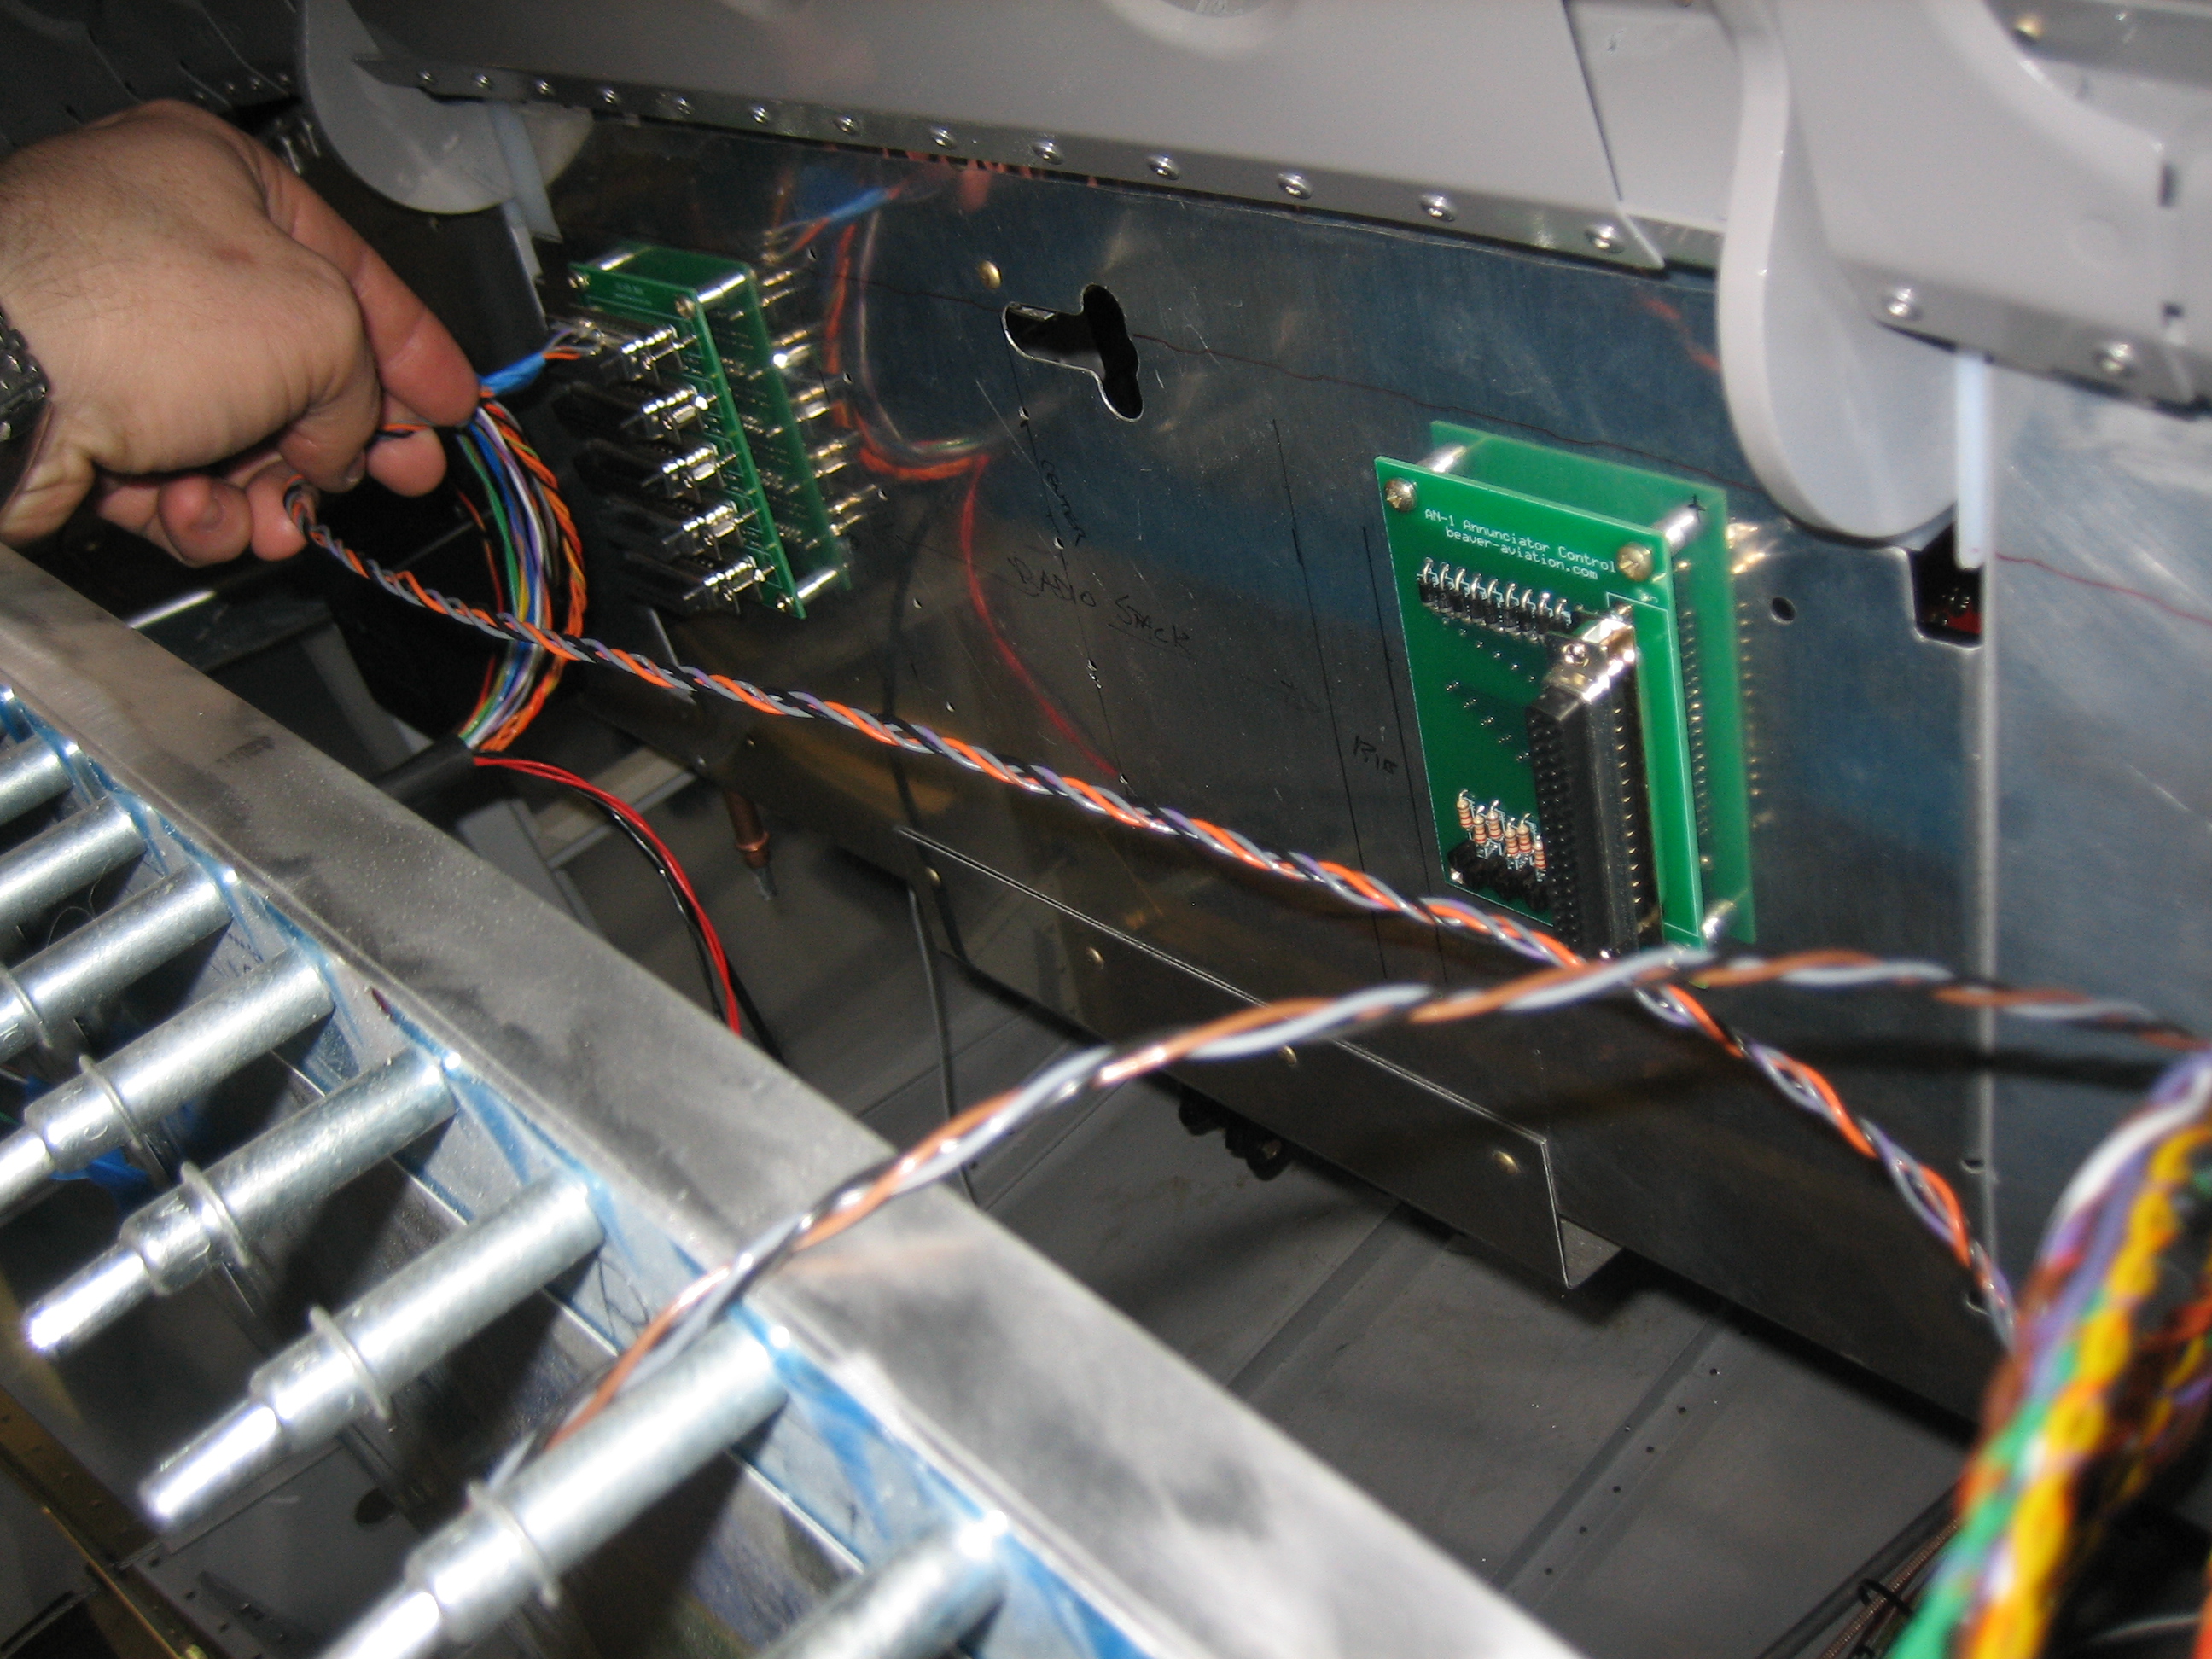
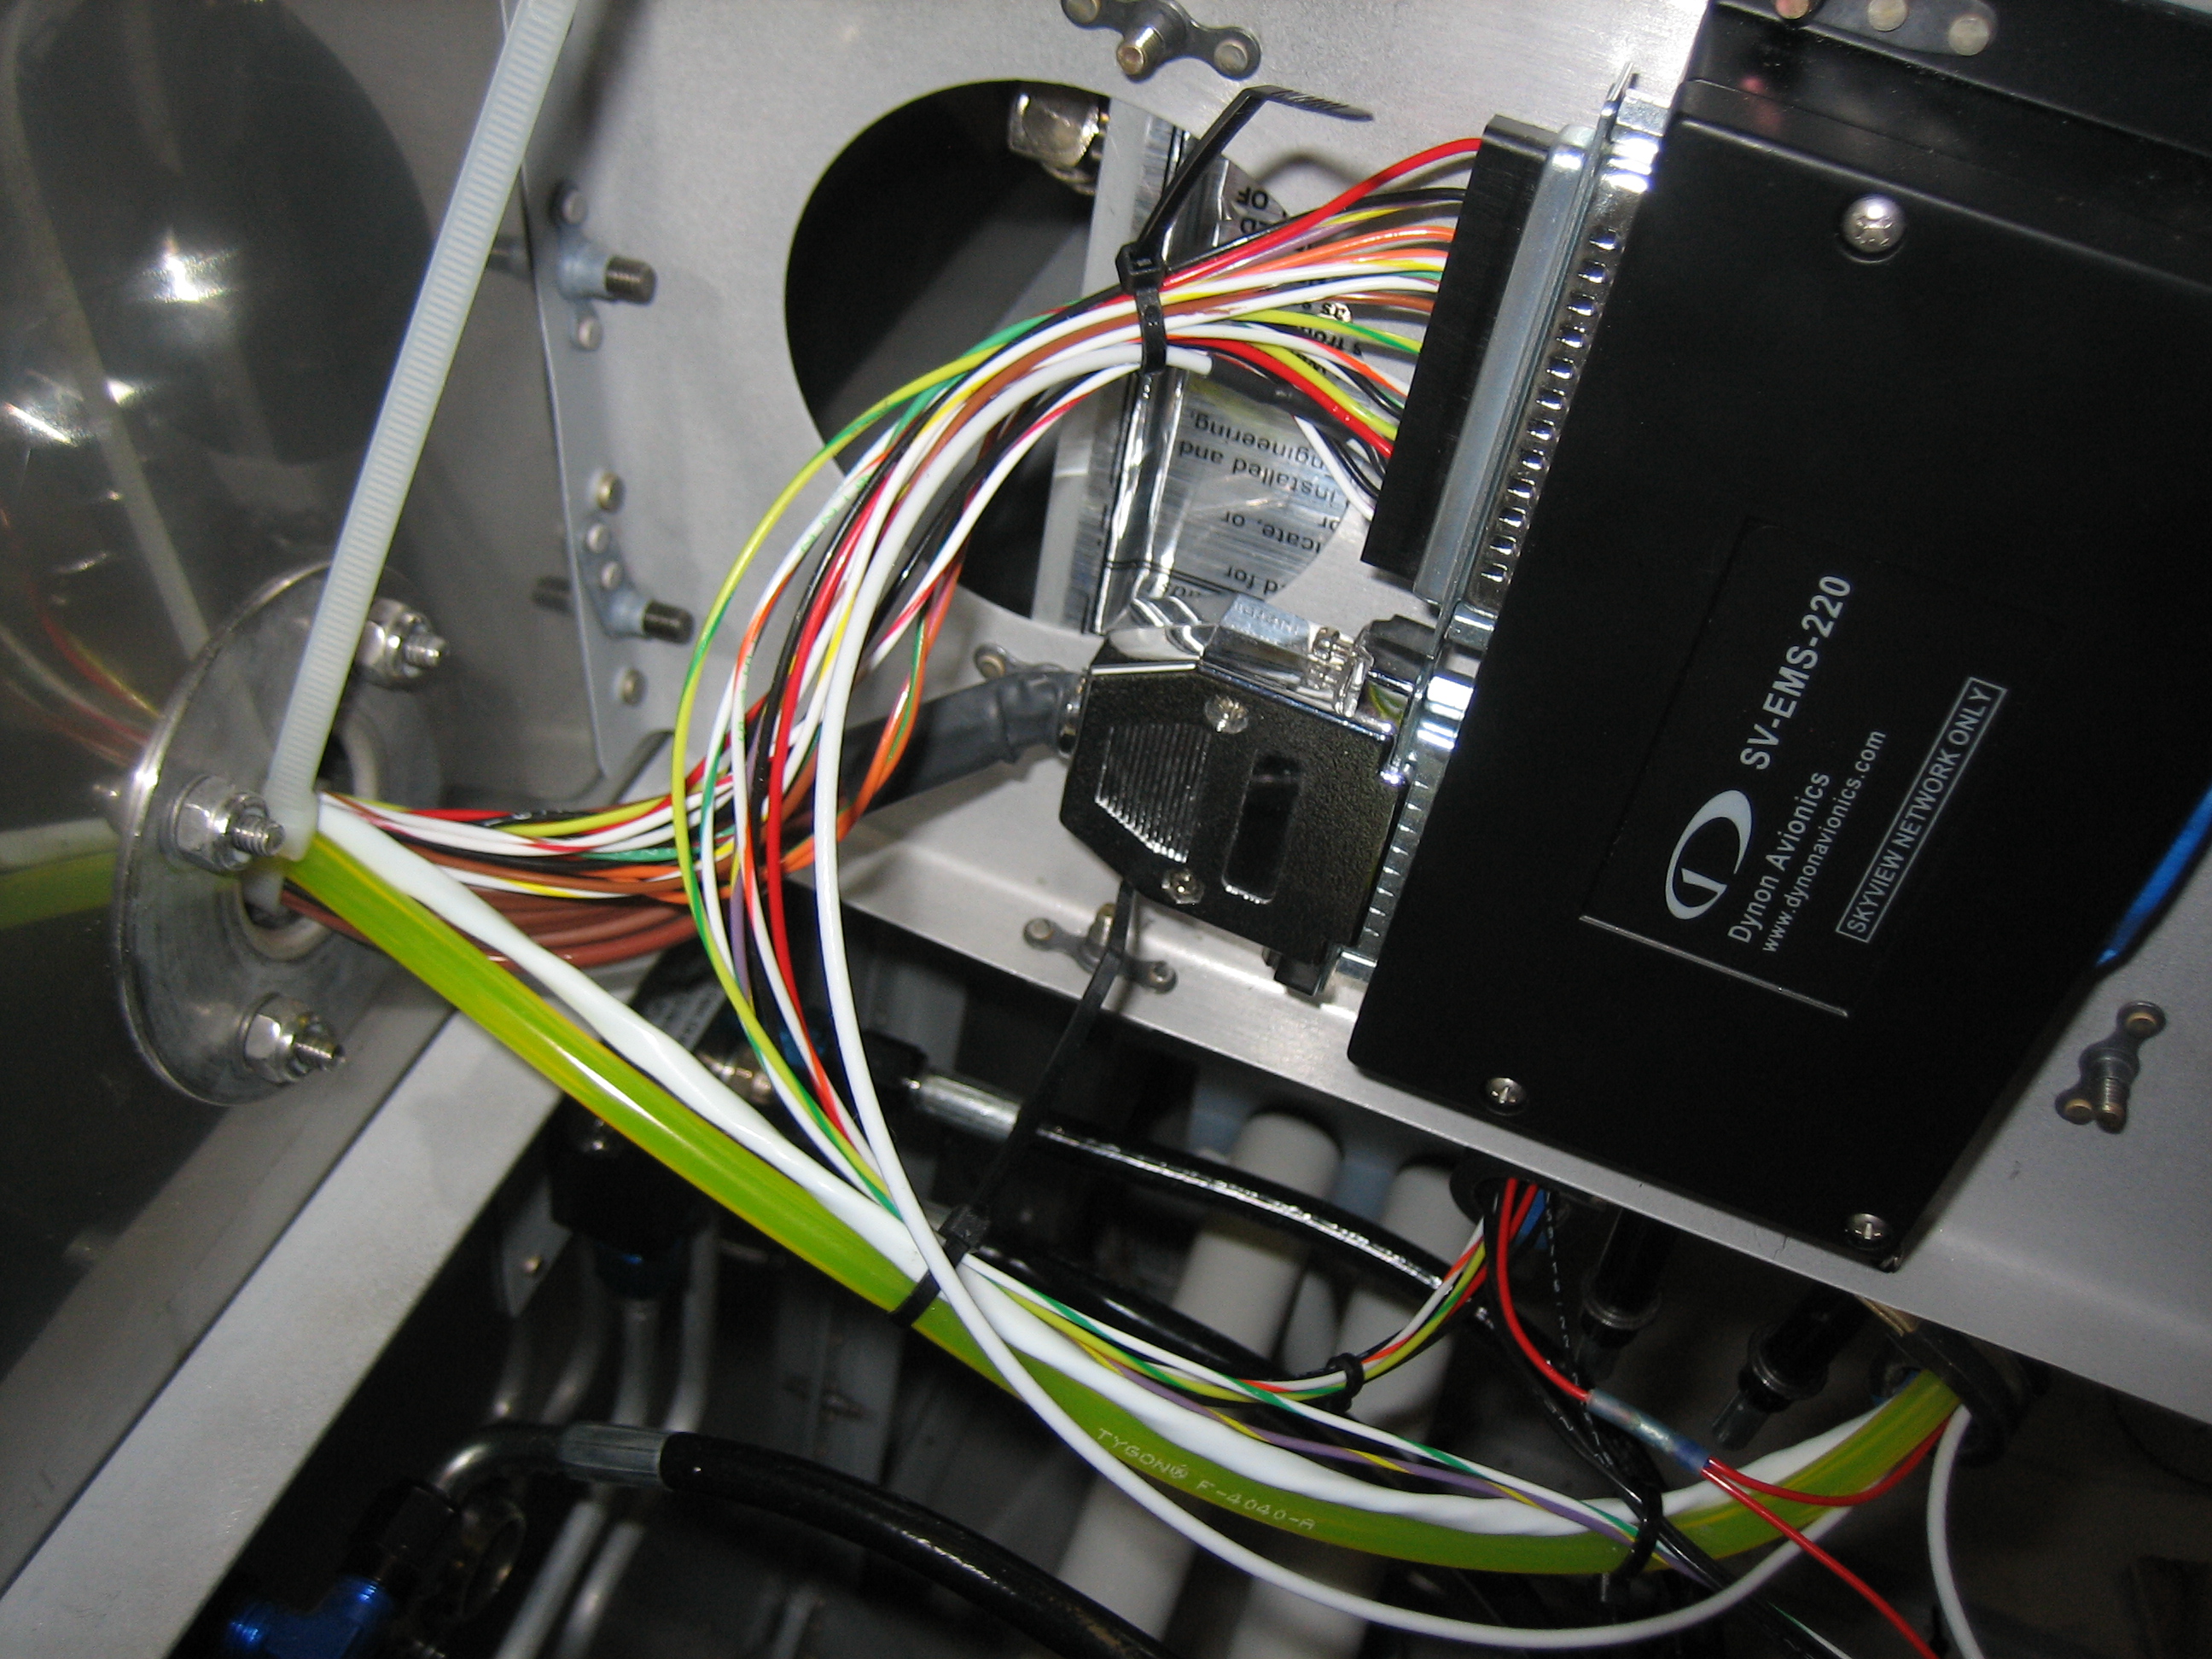
I’ll post a schematic later showing how these will be used, but the basic idea is that all of the serial and audio lines from the left SkyView screen will go to one connector and the serial and audio lines from the right SkyView screen will go to another connector (on the same pins since the SkyView requires they be connected together).  The serial lines from the Dynon transponder and GPS will go to a third connector (connected to the appropriate pins so that they can communicate with the SkyView screens).  The Garmin GTN-650 serial lines will go to a fourth connector to talk to both the SkyView screens and the transponder (to support the ADS-B out mandate).  The audio panel will connect to the final connector to get audio alerts from the SkyView and GTN.  I may also use this circuit to connect the dimming lines from all of the avionics.  This will be so much easier to wire and maintain than connecting all of the wires together directly in the harness.

Fuel Pump and Covers

I riveted the pump cover to the fuel selector cover.  Some people use screws to attach these, but I can’t see why you’d ever care to remove one without the other and rivets are simpler and lighter.

It’s a little hard to see what this is, but it’s a picture of the inside of the two pieces above.  I cut away most of the front of the fuel selector cover since the extra metal inside here served no purpose.

I also installed nutplates on the forward cover.  These allow the forward cover to be attached to the floor stiffeners as well as allowing the pump cover to be attached to the forward cover.

I cleaned the floor well and attached some adhesive tie-wrap mounts.

This is a closeup of the tie-wrap mounts.

I added loose tie-wraps to all of the mounts and then ran wires for the fuel pump.

The ground wire attaches to the firewall ground block and the power wire connects to the VP-X.  I’m really liking wiring with the VP-X since it allows you to do all of the wiring without having to have the panel design done or in the plane.  Once the panel is cut, I just need to run a sense line from the VP-X up to the switch and then the fuel pump wiring is done.

Fabricated Fuel Line Between Pump and Firewall and Worked on Covers

I fabricated the fuel line that runs between the fuel pump and the firewall.  I had previously fabricated this line, but that was for the old pump position and that line would no longer work.  Despite the pump being farther back, this line is shorter because it takes a more direct route.

The line steps down immediately after leaving the pump to go under the cover and then bends slightly to the right to head directly to the firewall penetration.

I cut away a good chunk of the cover so that it can drop in over the pump.  This is so much better than old way I was installing this.  That would have required removing the pump to access the wiring bundle.  I bent a flange in the forward end of the cutout to stiffen the cover in this spot.

The line just touched the forward end of the cutout, so I used my Dremel and sanded away a relief.  There is about 1/4″ of clearance around the line now and nothing can flex that far.  I might still add some silicone wrap here though.

Here’s what it looks like with all of the covers in place.  With everything in its final position, I drilled the cover to the holes that were already in the floor stiffeners

I pulled everything apart to install nutplates and prep everything for final assembly.  While I had the fuel selector mounting plate off the plane, I countersunk all of the screw holes.  I didn’t realize until after doing this that the three holes near the fuel selector didn’t need to be countersunk since there is a cover plate that mounts over this.  It won’t matter though since these will be hidden under that plate.

Worked on Fuel Pump Mounting

After fiddling around with where to mount the fuel pump, I decided not to mount the fuel pump to cross bars on the center cover.  I did this for a couple of reasons.  First, It means that the fuel pump has to come out if I ever need to remove the cover fiddle with the wiring.  Second, the cross bars reduce the vertical space available for wiring under the cover.  Instead, I’m going to mount the fuel pump mounting plate directly to the floor.  I do need to be able to remove the fuel pump and controller if they ever need to be serviced, and I don’t want to have to remove the mounting plate since that will require two people (one for the screws on the outside and one for the nuts on the inside).  To do that, I decided to replace all of the small metric nuts and screws with standard #6 AN hardware.  I installed nutplates on the bottom of the mounting plate.

I then used some short AN515 #6 screws to screw the pump and controller down to the mounting plate.  You can also see that I removed the terminal block and replaced it with a two connector molex connector.

Here’s where the fuel pump will be mounted.  I’ll fabricate some short spacers and the screw this to the floor.

Moving the pump down made it a lot easier to bend this fuel line between the fuel selector and the fuel filter.  There is tons of room around the fuel line, and plenty of clearance from the spar penetration holes for wiring.  This also brings the pump pretty far back which keeps it completely inside the pump cover.

Installed Fuel Pump

The fuel pump needs to be spaced up off the floor a little bit because of the nutplates and protruding screws on the bottom of the fuel pump mounting plate.  I fabricated four aluminum spacers and countersunk one end of each so that it will fit over the dimples in the floor.  I didn’t get any pictures of it, but I then dimpled the floor and installed the fuel pump with some scrap hardware.  I need to order some AN509-8R12 hardware to mount it for good.

Removed Firewall Conduit and Worked on New Center Cover

I added up all the wires that will need to go through the conduit, and it was pretty clear that they weren’t all going to fit.  I could either run a second conduit down the left side, or simply run the wires through the adel clamps directly and then wrap them with a split conduit which seems like the simpler option.

I decided to order a new center section cover from Van’s.  If you recall, I had to move the electric fuel pump forward a bit because I couldn’t easily fabricate the line from the fuel selector down to the fuel filter according to the dimensions in the plans.  This was going to require fabricating a custom fuel pump cover.  I was recently putting together my interior order, and the custom cover was going to complicate the floor carpet order.  I ended up deciding the easier thing to do was move the fuel pump back so that I could use the standard fuel pump cover (and hence the standard carpet).

I also played around with wire routing under the seats.  Van’s stock location just isn’t going to work.  The RG-400 would be right at the minimum bend radius and the wires have to get routed around the control stick mounts.  I’m going to have to punch additional holes in the ribs in the location I identified yesterday.

Finally, I ordered a couple of custom circuit boards today to control the annunciator lights and for the avionics interconnect.

EGT/CHT Wiring and Firewall Conduit

Since the knife splices aren’t insulated where they connect, I slipped a piece of heat shrink over each connection.

I then put larger pieces of heat shrink over each pair to keep everything immobilized.  For some reason, the EGT probe wires are solid conductors instead of stranded like every other wire used on aircraft, so they need to be well supported.

I ended up turning my ground block vertical.  I’m really glad I held off on drilling the other hole in this.  I’m going to hold off as long as possible in case I need to order a larger one.  If I can use this one, I may turn it another 90º clockwise so that it’s still horizontal.

Here’s the reason I turned the ground block.  I installed the firewall wiring conduit per drawing OP-30.  This will be used to route wires front the front of the aircraft to everywhere aft of here.

The conduit follows one of the firewall stiffeners and goes through another adel clamp near the bottom.  It then steps inside the stiffener (where there is already a hole in the cover) and will go under the center floor cover back to the spar.

I pushed a piece of RG-400 through the conduit to get an idea how much space I’ll have in the conduit and figure out how I’m going to route the wires.  There are going to be a ton of wires that have to run through this conduit:

  • COM antenna[s]
  • SkyView network cable
  • Transponder power, ground, and serial wires
  • Autopilot servo power/ground wires
  • Stick trim and PTT wires
  • Aileron and elevator trim wires
  • Landing, taxi, NAV, and strobe wires
  • Flap motor and position sensor wires
  • Cabin light wires
  • Seat heater wires

Geez, after listing all these, I can’t possibly see that they’ll all fit through the conduit (even though most are pretty small relative to the RG-400).  I’ll either run the wires through the adel clamps directly and wrap the wires with split tubing, or possibly run a second conduit down the left side of the center section.

The wires exit the bottom of the conduit and will run along the floor.  I’ll add anchors along the floor to keep the bundle secure.

The wire exits the back of the spar near where the elevator horn sits.  I’m not sure I like where Van’s suggests you put the snap bushings in the ribs.  The wires have to make a fairly sharp turn to go through the ribs.  This is fine for all of the small wires, but the RG-400 has a minimum bend radius of 1″, so that might not work.

Another possibility I’ve seen builders use is to cross the wires and penetrate the rib on the opposite side of the spar penetration (though obviously below the push tube).  I’d need to drill new rib penetrations which would be challenging given the spacing between the ribs.  This certainly allows a generous bend radius in the wires though.

I also ordered my interior from Classic Aero Designs.  I’m going with the aviator seats with headrests, side panels, and full carpet.  I also added in the hooker harnesses with matching leather pads.  This will be a relatively heavy interior compared with the minimal cloth interior that many builders go with, but I really want a completely finished leather interior.

Installed Fuel Flow Sensor and Worked on EGT/CHT Wiring

I removed the fast-on tabs from the wires on the fuel flow sensor and installed some knife connectors.

I then installed the short fuel line between the fuel servo and the fuel flow sensor.  If you want to duplicate my setup, you’ll need a 2.75″ seat-to-seat hose with 1/4″ straight-to-straight connectors and firesleeve.

The output side of the sensor has an identical fuel line, but 9.75″ seat-to-seat.  It’s a little hard to tell from this picture, but there’s quite a lot of clearance all around the sensor.  It’s only about 3″ from the #1 exhaust pipe though.  The alternator wire is a little closer even.  I’ll put a long heat shield along this section of the exhaust pipe to reduce radiated heat to these components.

Here you can see how the fuel hose makes a straight run up to the spider from there.

I then reinstalled the inter-cylinder baffle retaining clamp (which was a pain in the ass).

I’m also using the knife connectors to connect the EGT/CHT wires to the EMS harness.  I got through part of the connectors on the right side tonight.

Here’s a closeup of the #1 and #3 EGT connections.

The knife connectors interlock and form a connection that can’t vibrate apart even under tension.  I’ll put sections of heat shrink over all of these connections before finishing off the wiring bundle.