
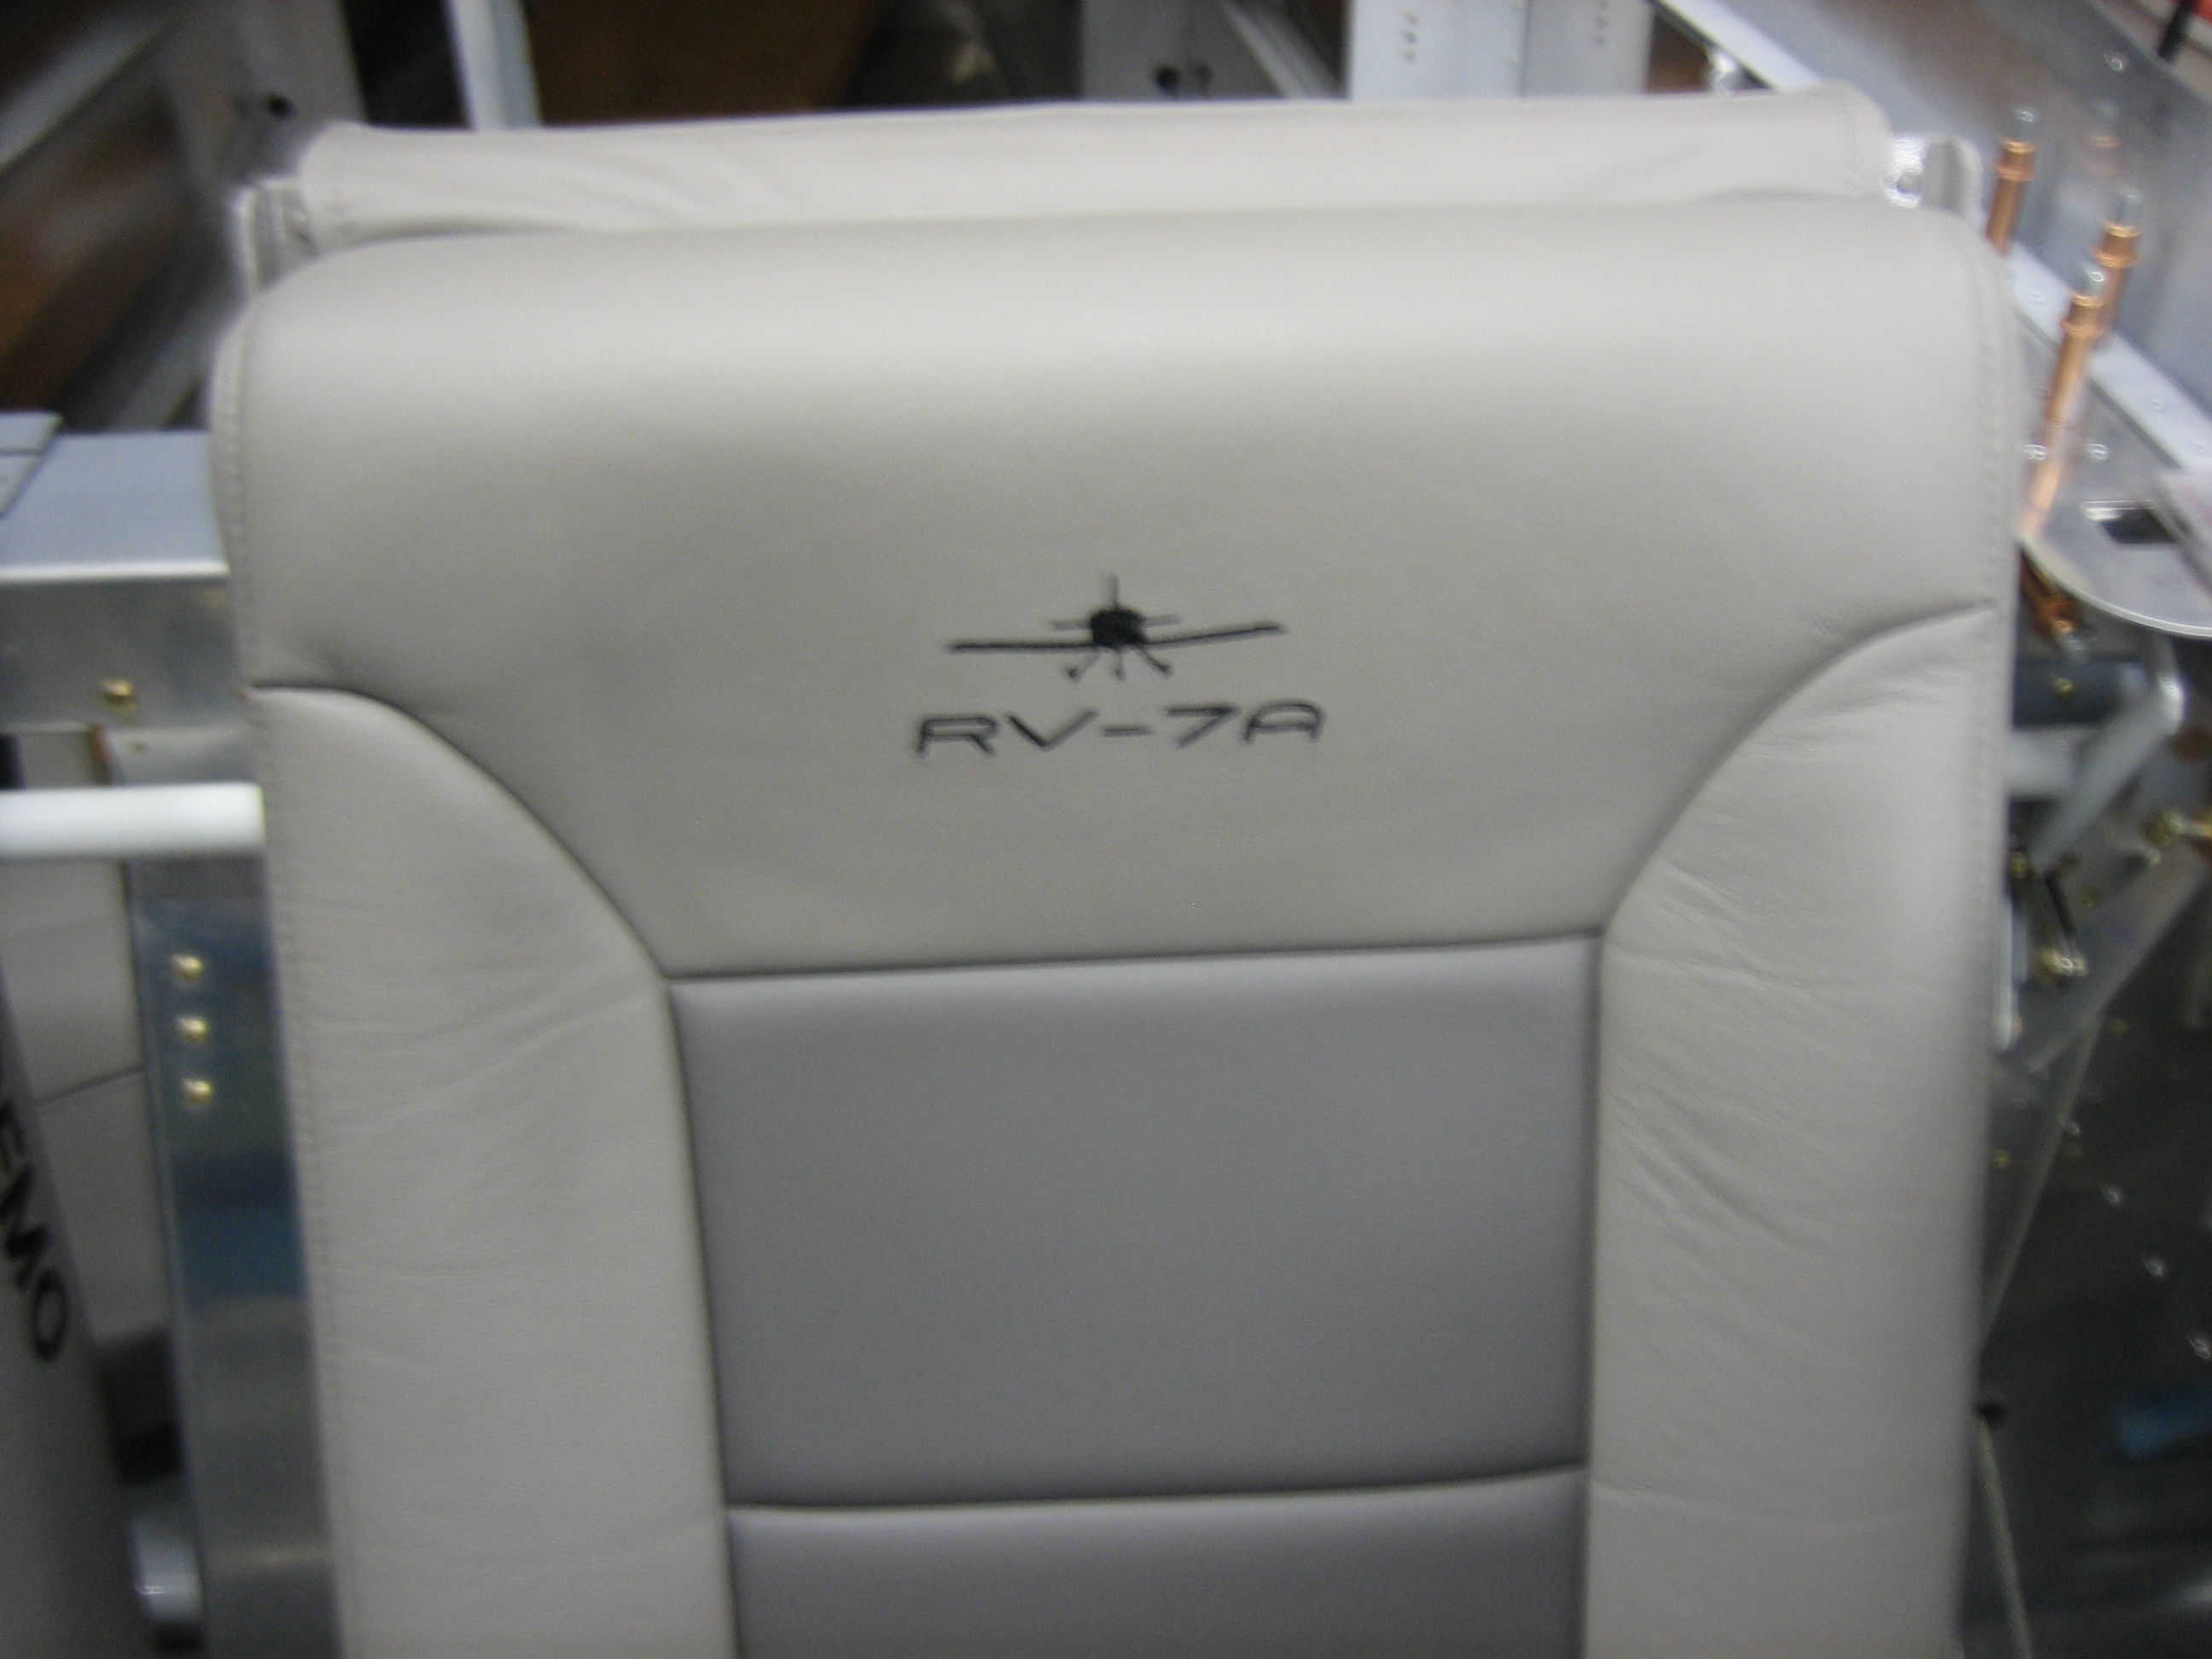
I’m having my interior done by Classic Aero Designs. I really want to go with the Aviator seats, but I had some concerns about the amount of headroom I’d have. I spoke with Luke at Classic Aero and he offered to send me out both an Aviator and a Sportsman seat so I could try them out.
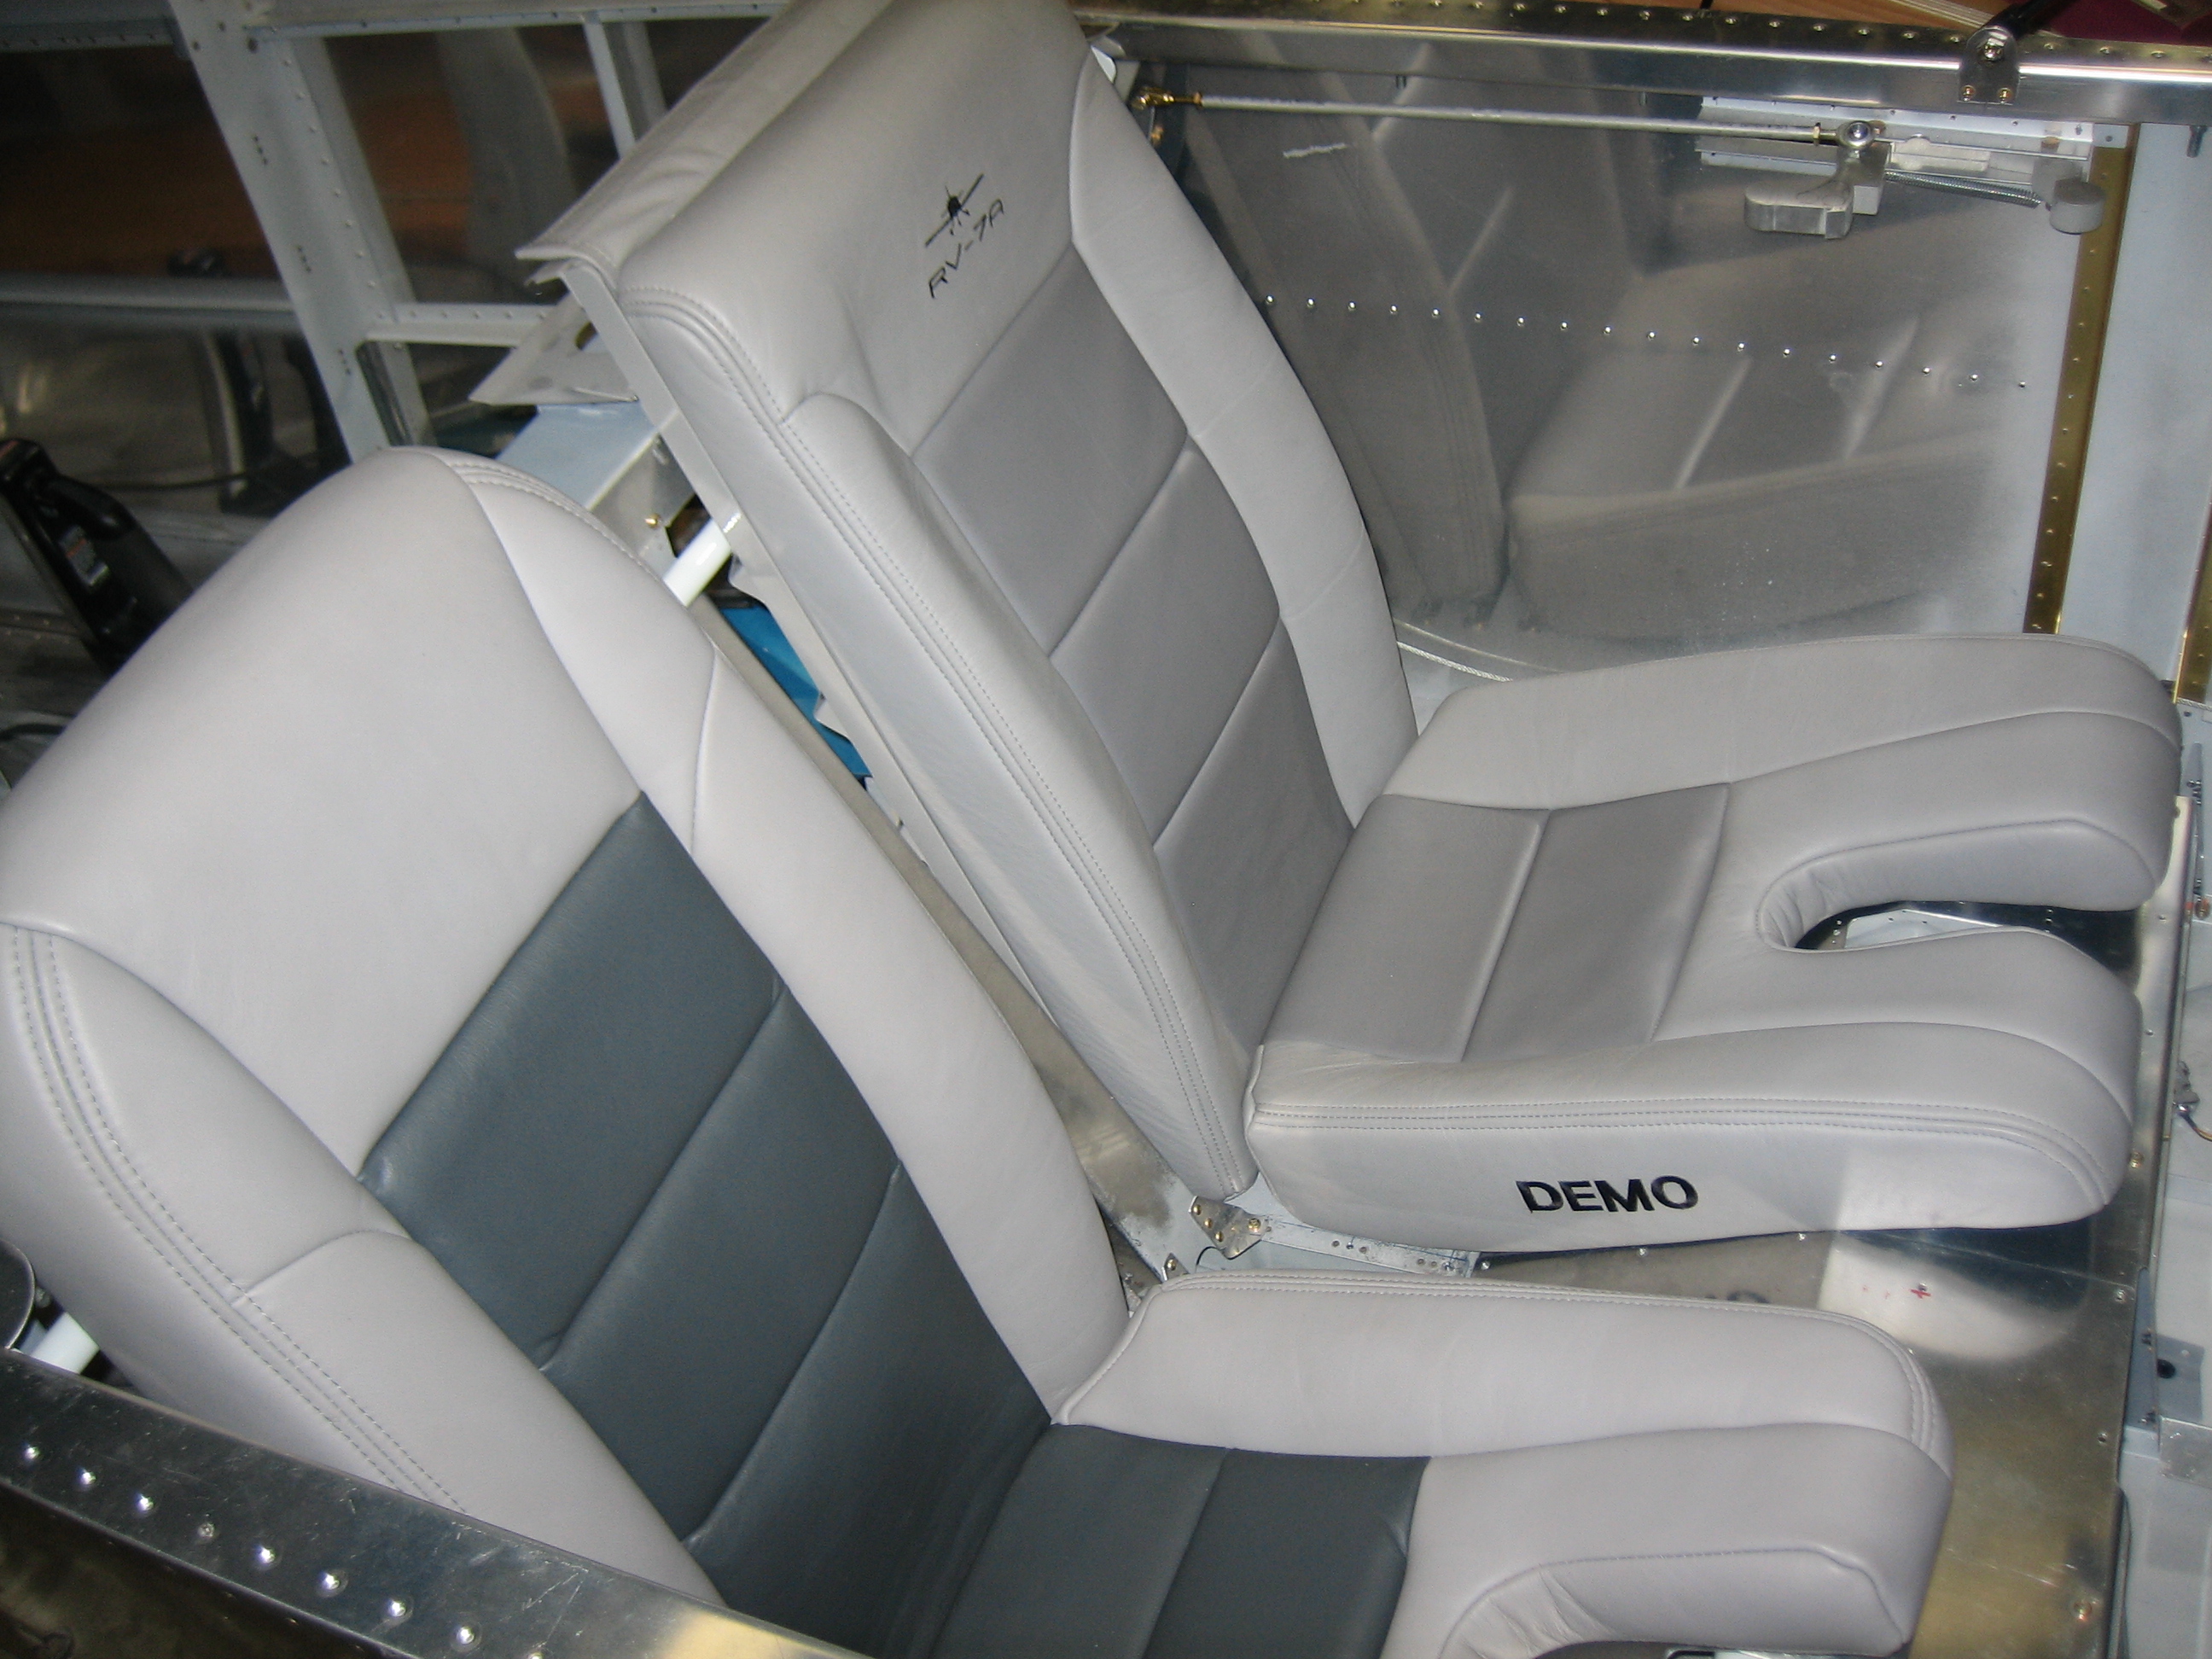
The Aviator seat has a rounded top and an integral frame. It’s also offered with a headrest and looks much more like an automotive seat.
Since it has an integral frame, the back is covered and has a pocket. There is also an adjustable lumbar support.
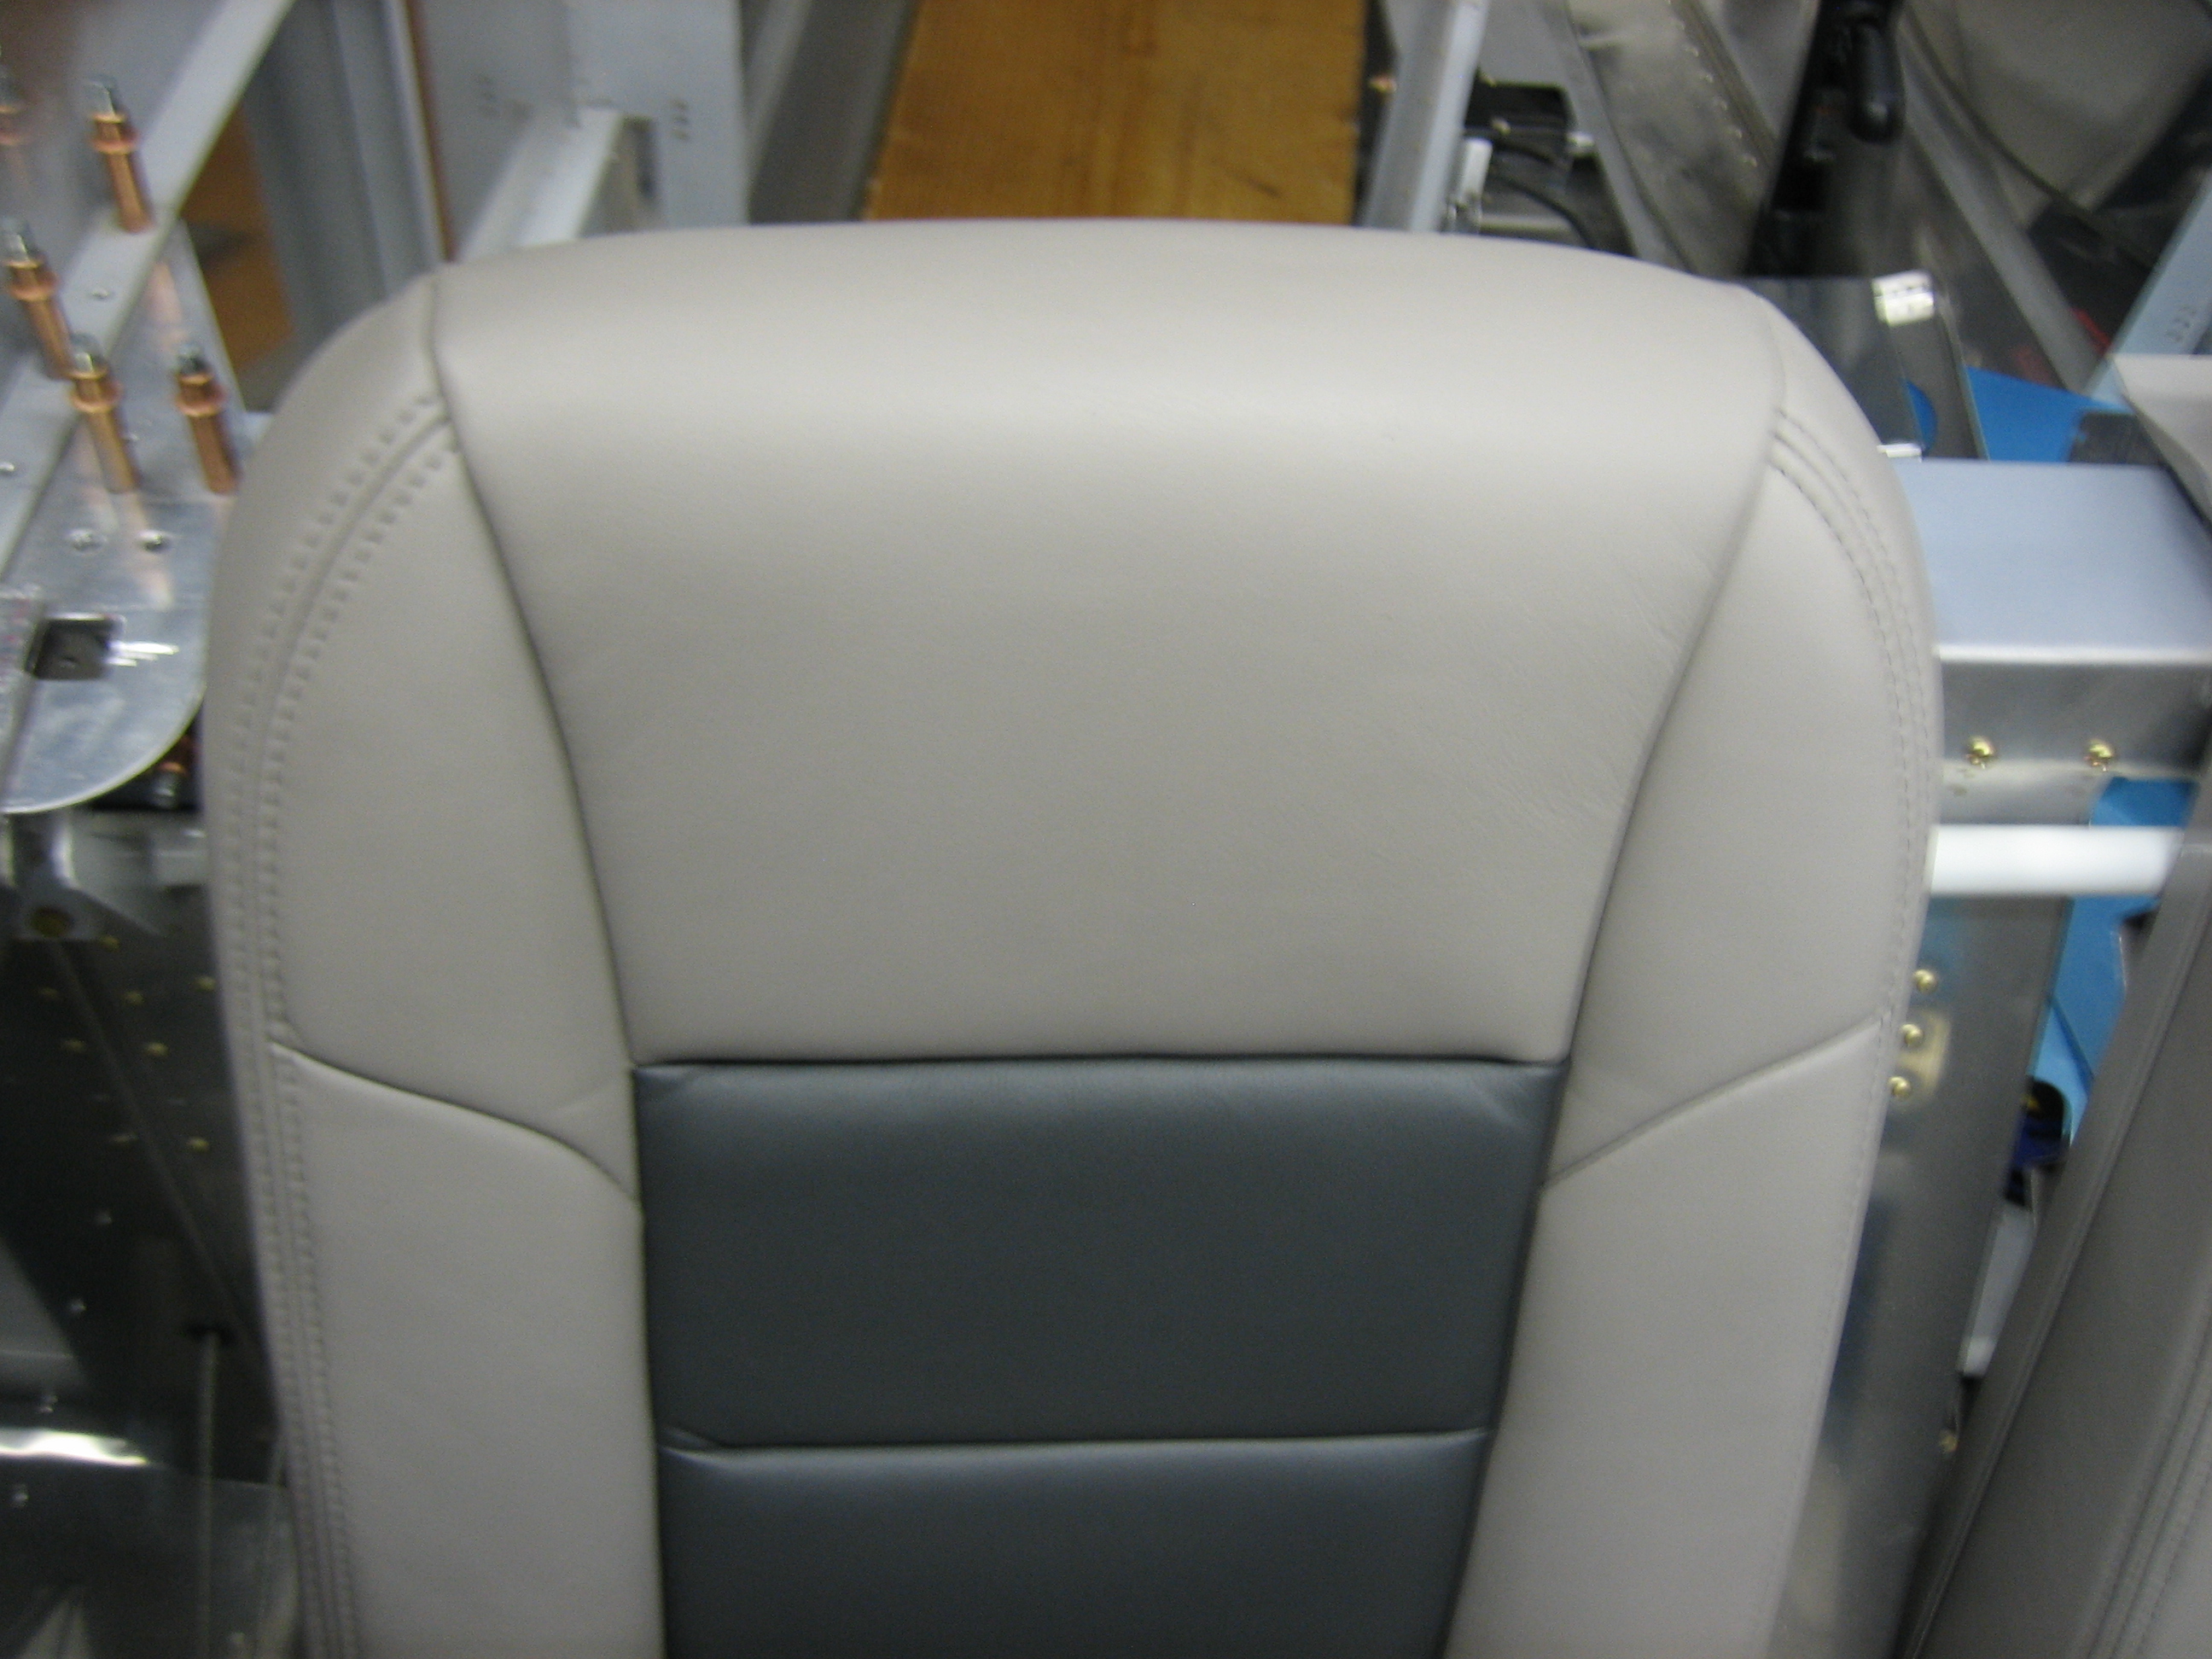
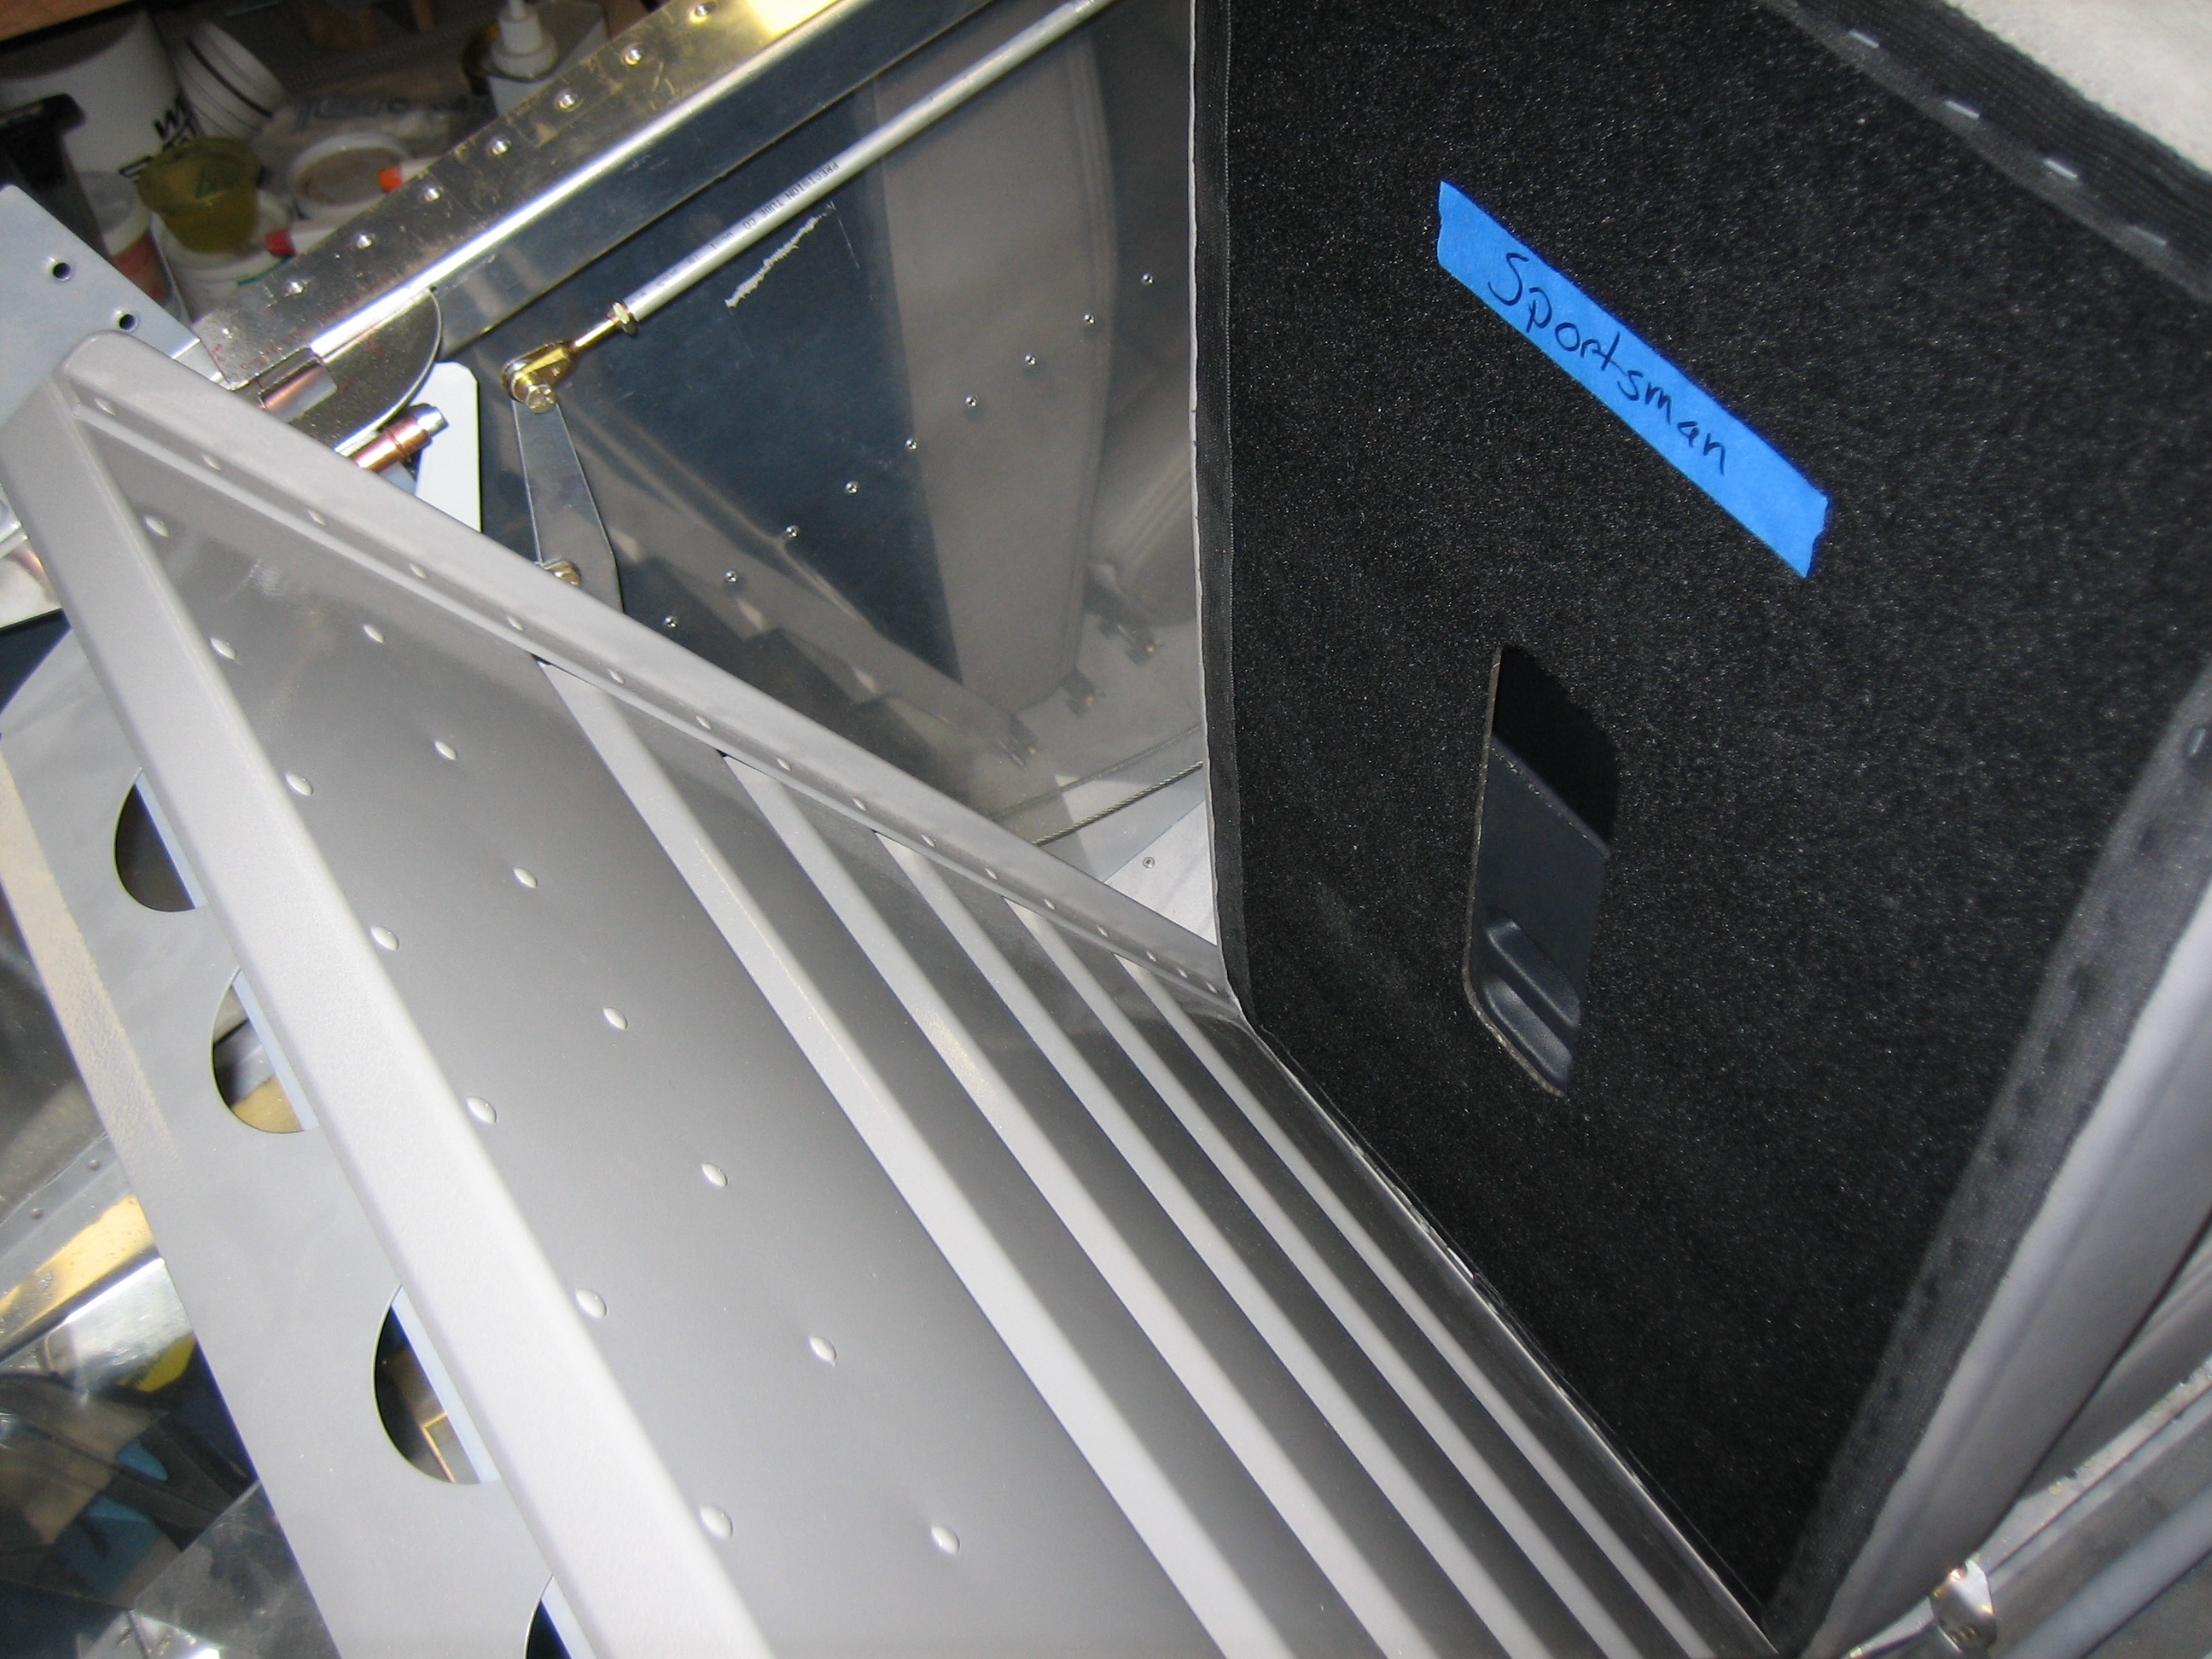
The Sportsman seat has a square top (because it uses the Van’s seat back which has a square top).
It also has an adjustable lumbar support, but the back must be un-velcroed from the frame to adjust it.
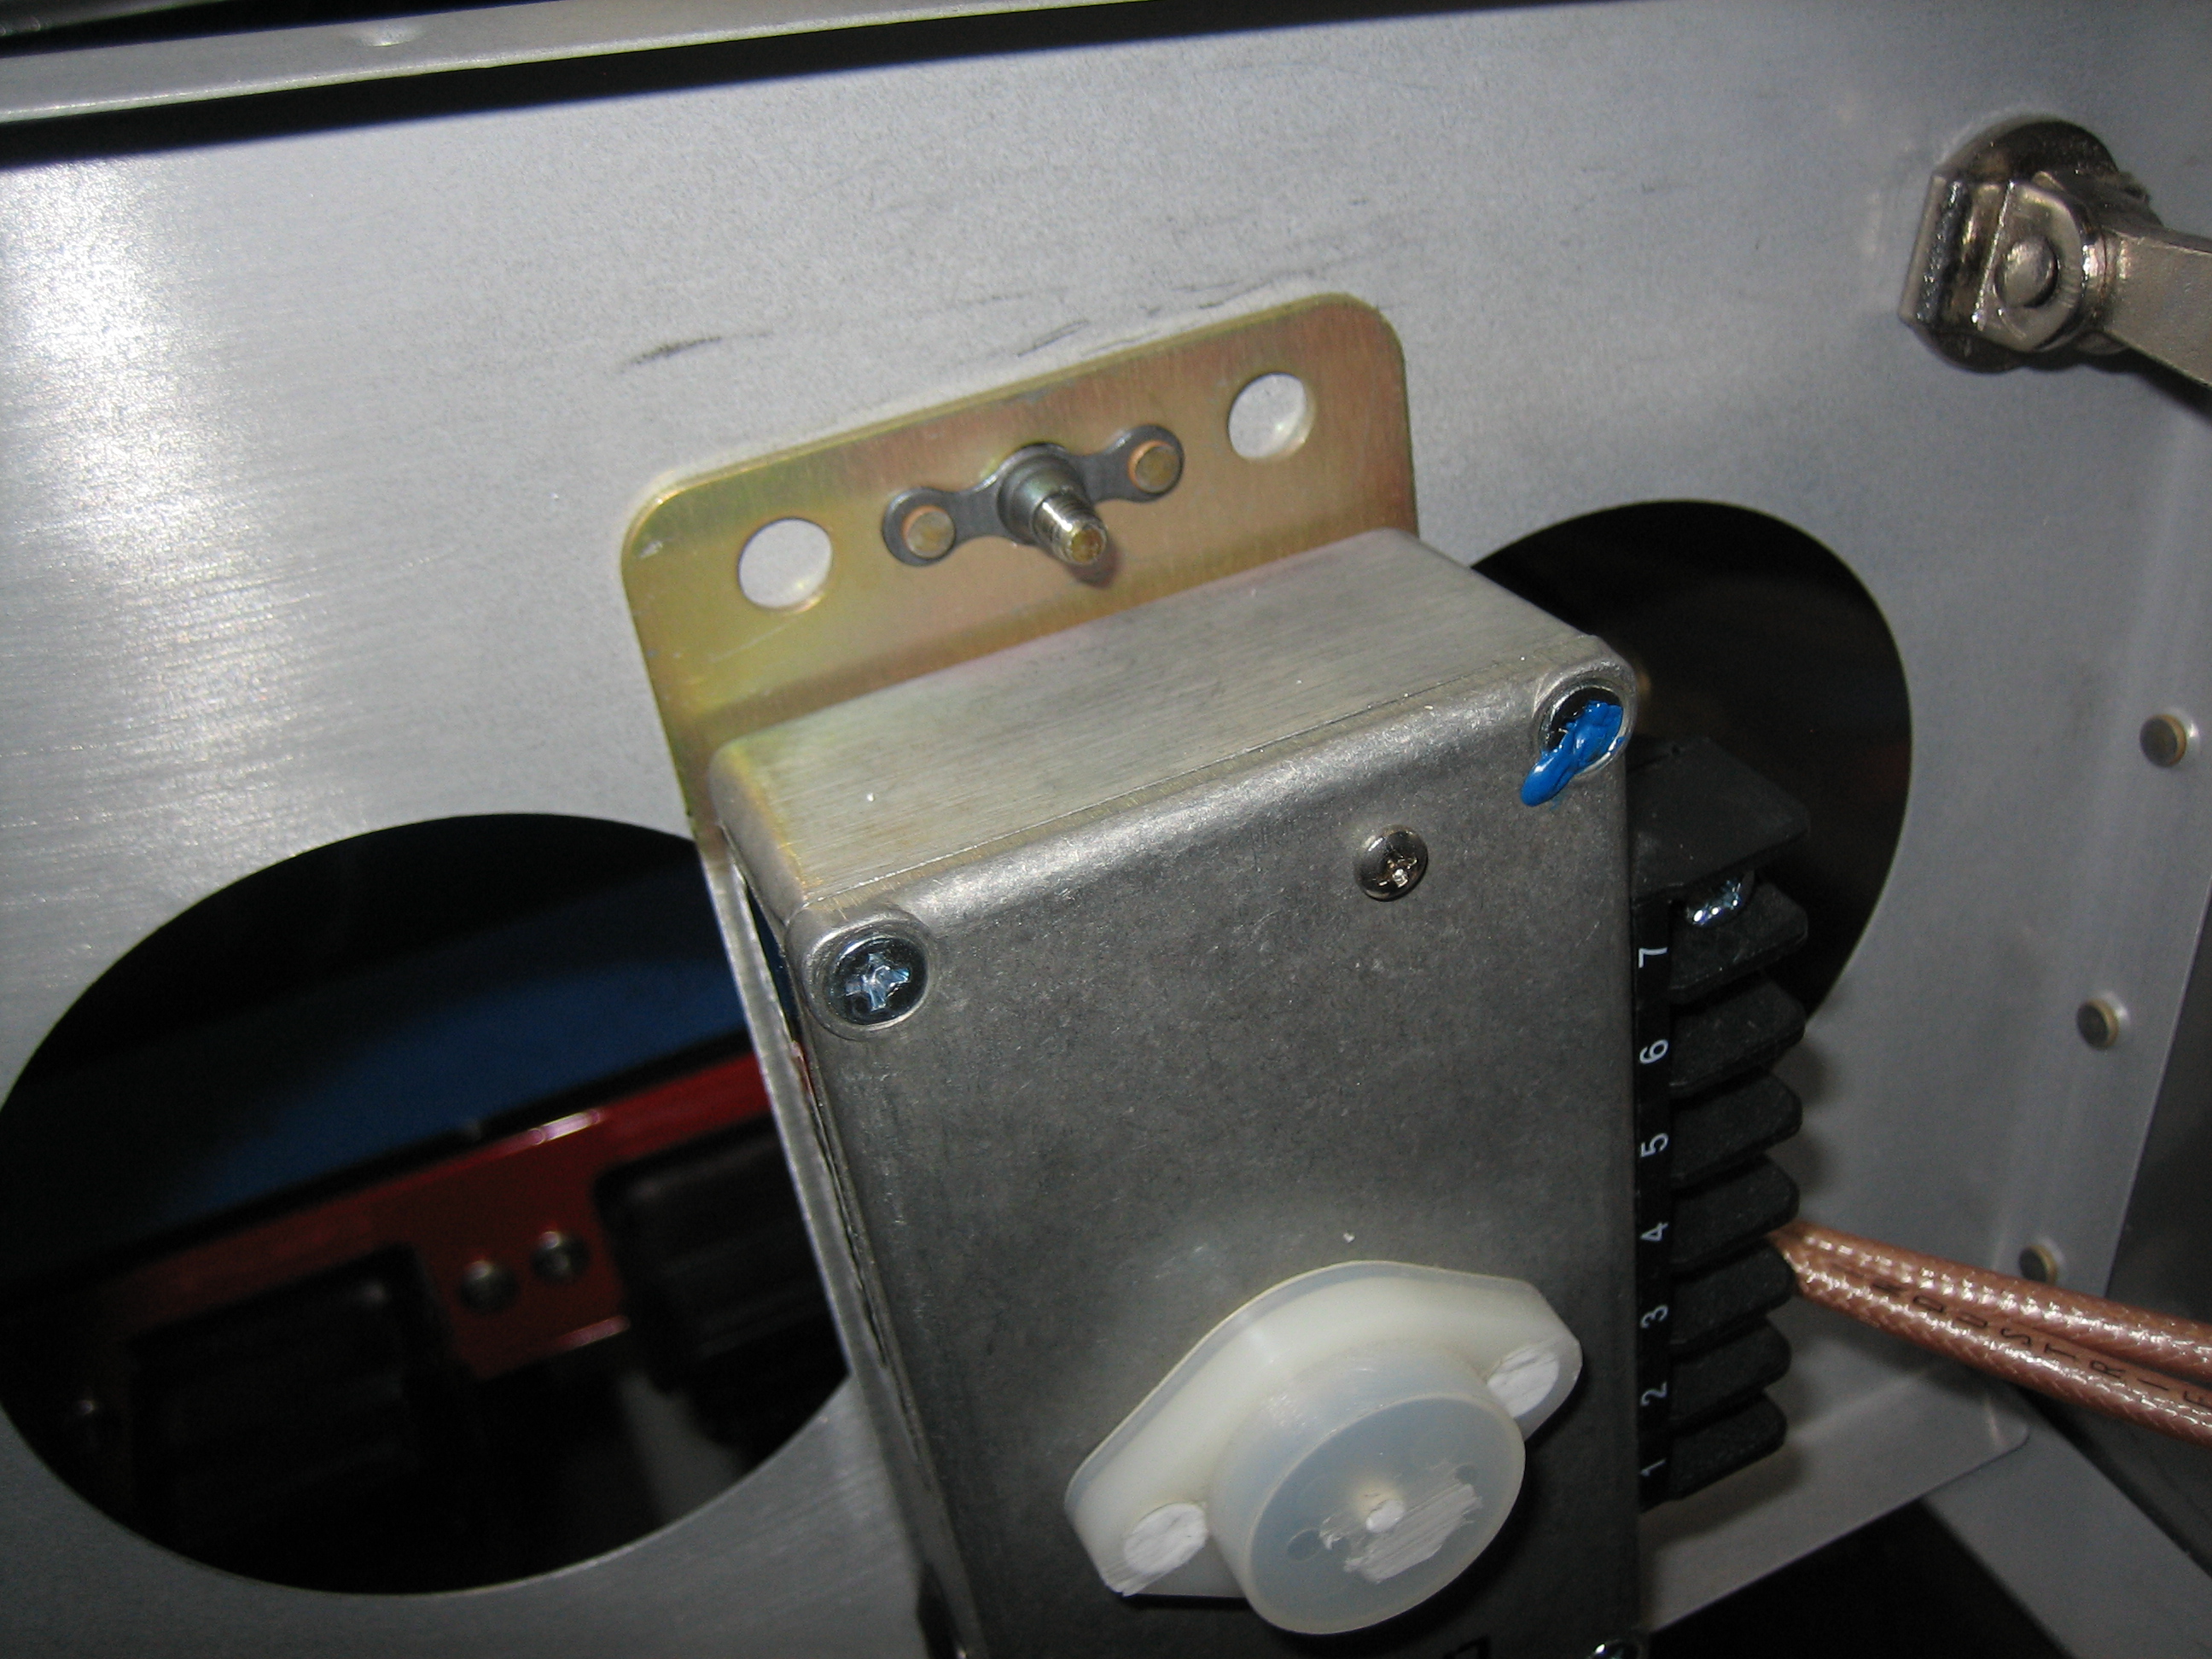
I installed a couple of nutplates on the B&C voltage regulator and installed it to the right subpanel rib.
There are two bundles of wires on each side of the VP-X that need support. I also need a way to route wires between the left and right side of the aircraft. I installed some adel clamps on the bottom of each subpanel rib. They’re just clecoed on since I’m sure I’ll have to swap them out for different sizes after I know how many wires will run through each clamp.
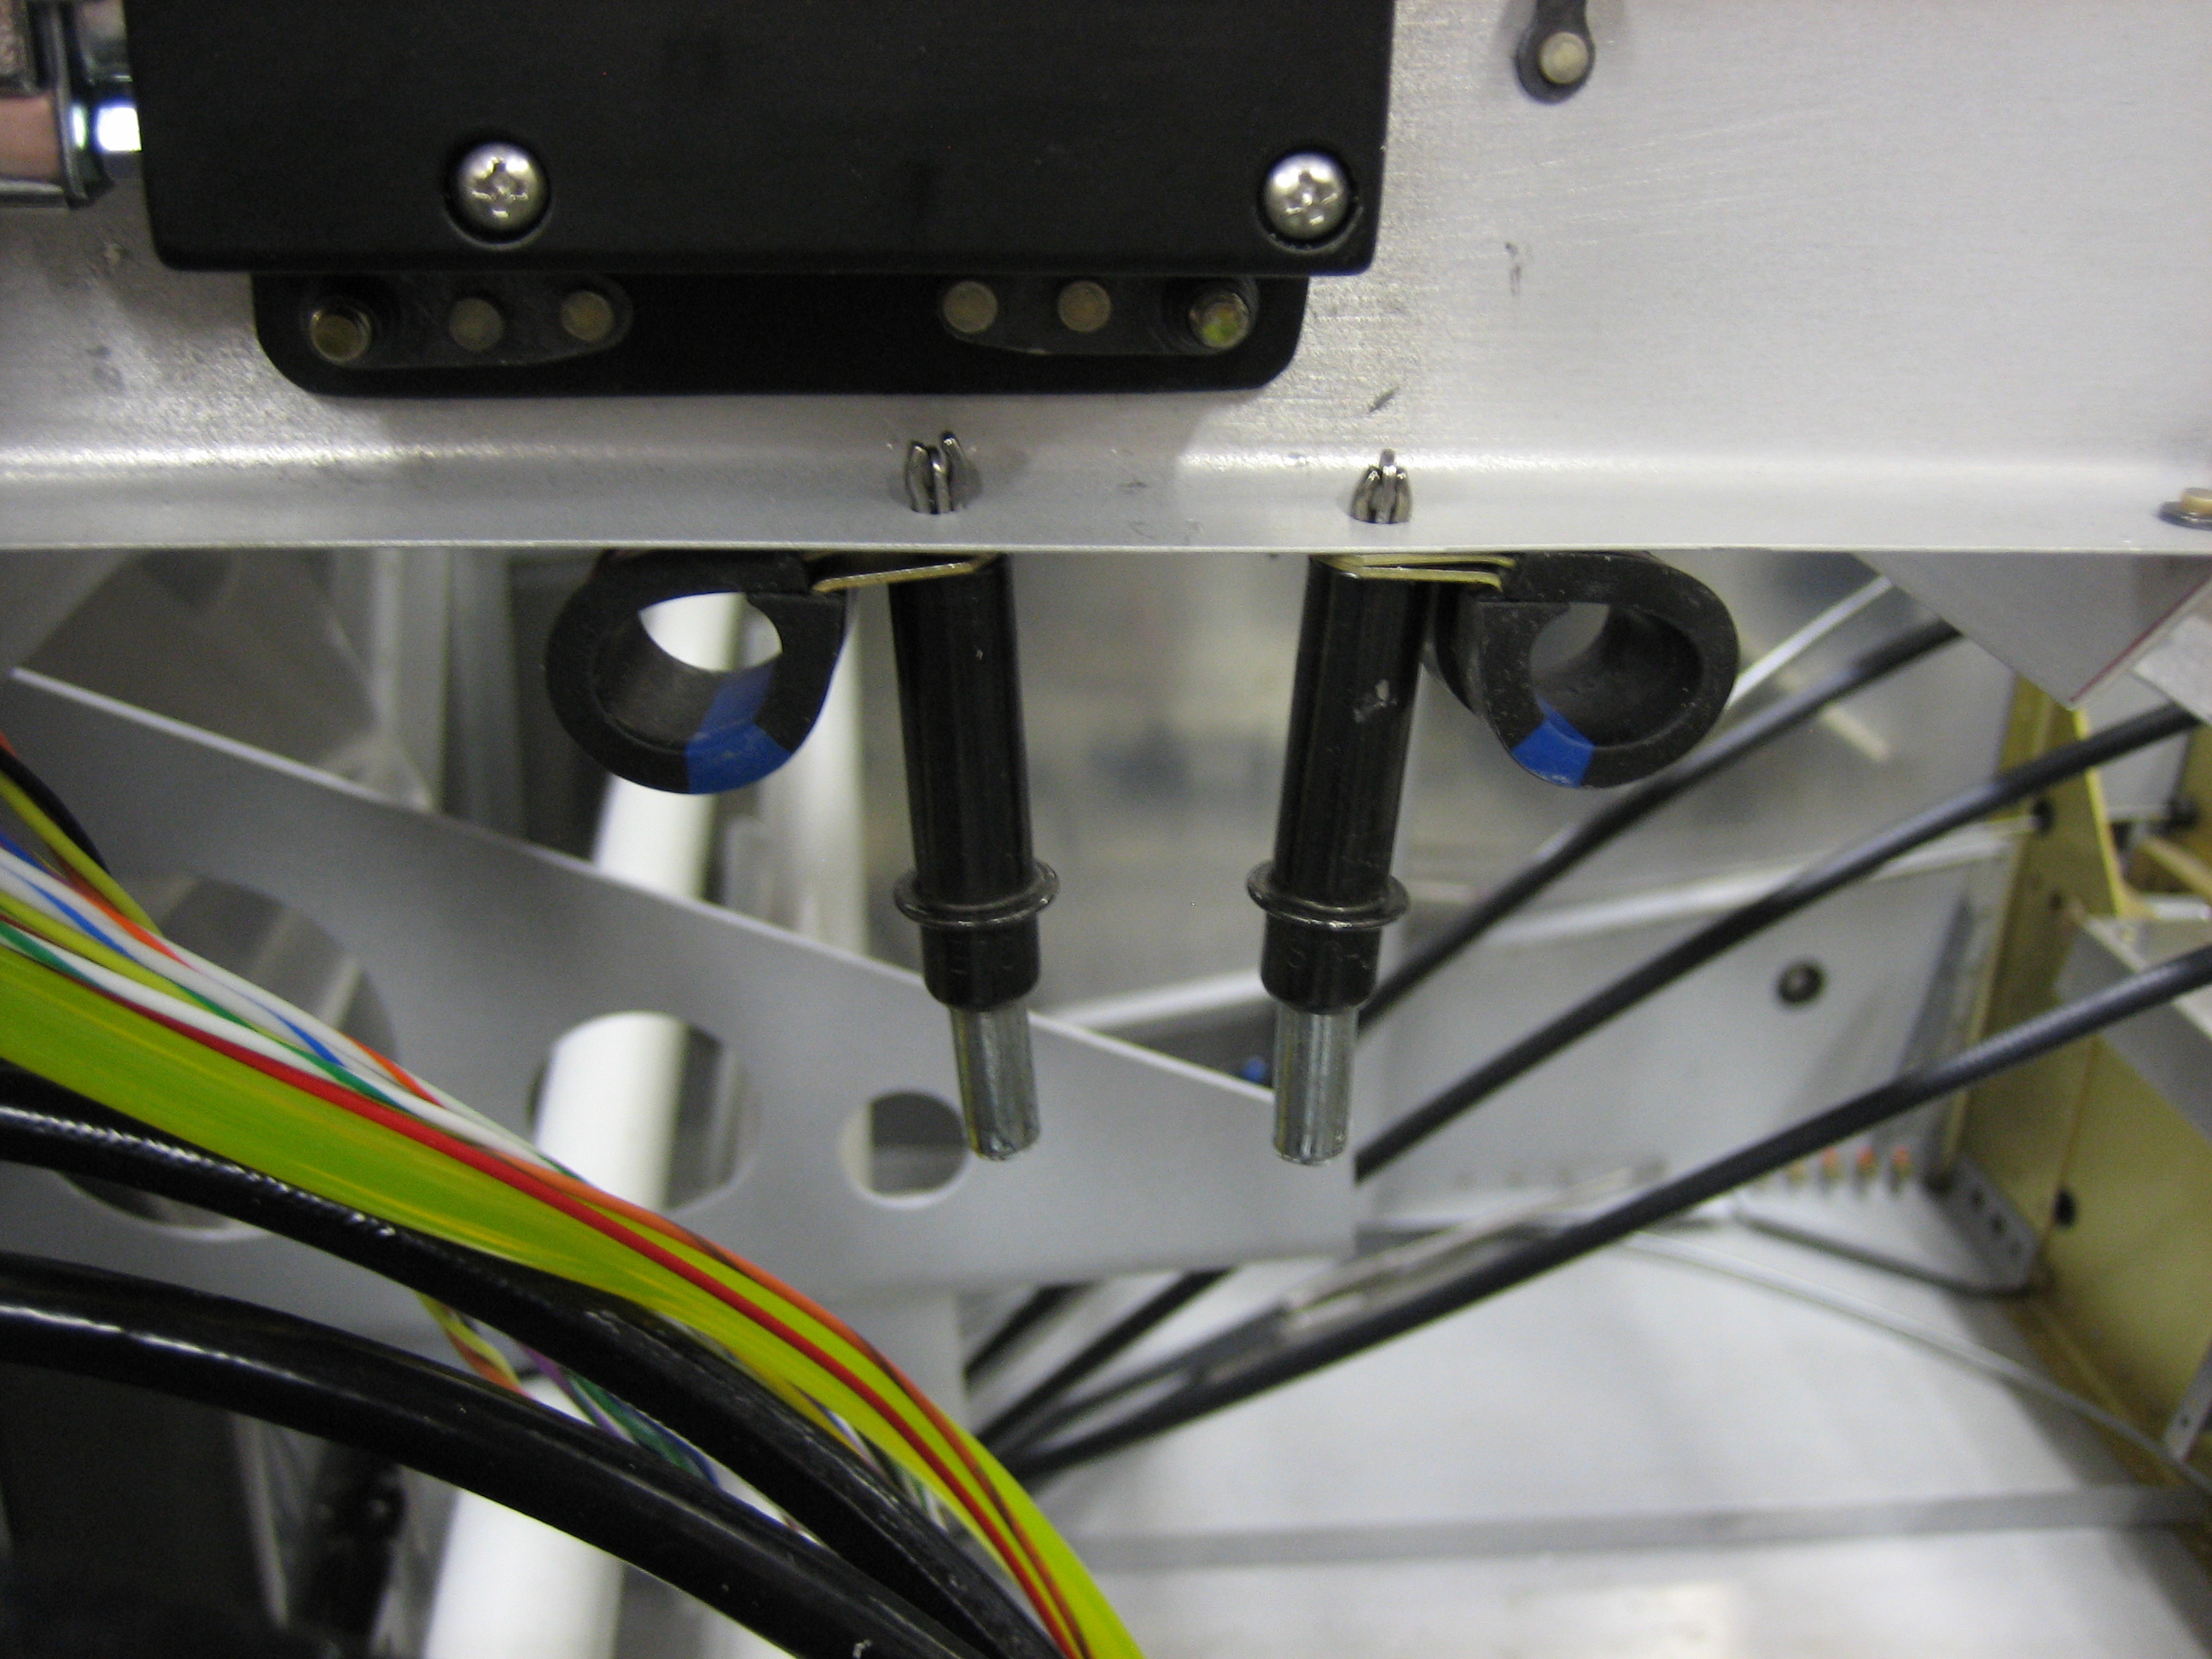
It’s not clear from this picture, but they’re aligned with each set of connectors on the VP-X.
I also installed a couple of adel clamps on the forward VP-X support angle. Wires that need to cross from one side of the plane to the other will step up and cross on to of the VP-X through these adel clamps.
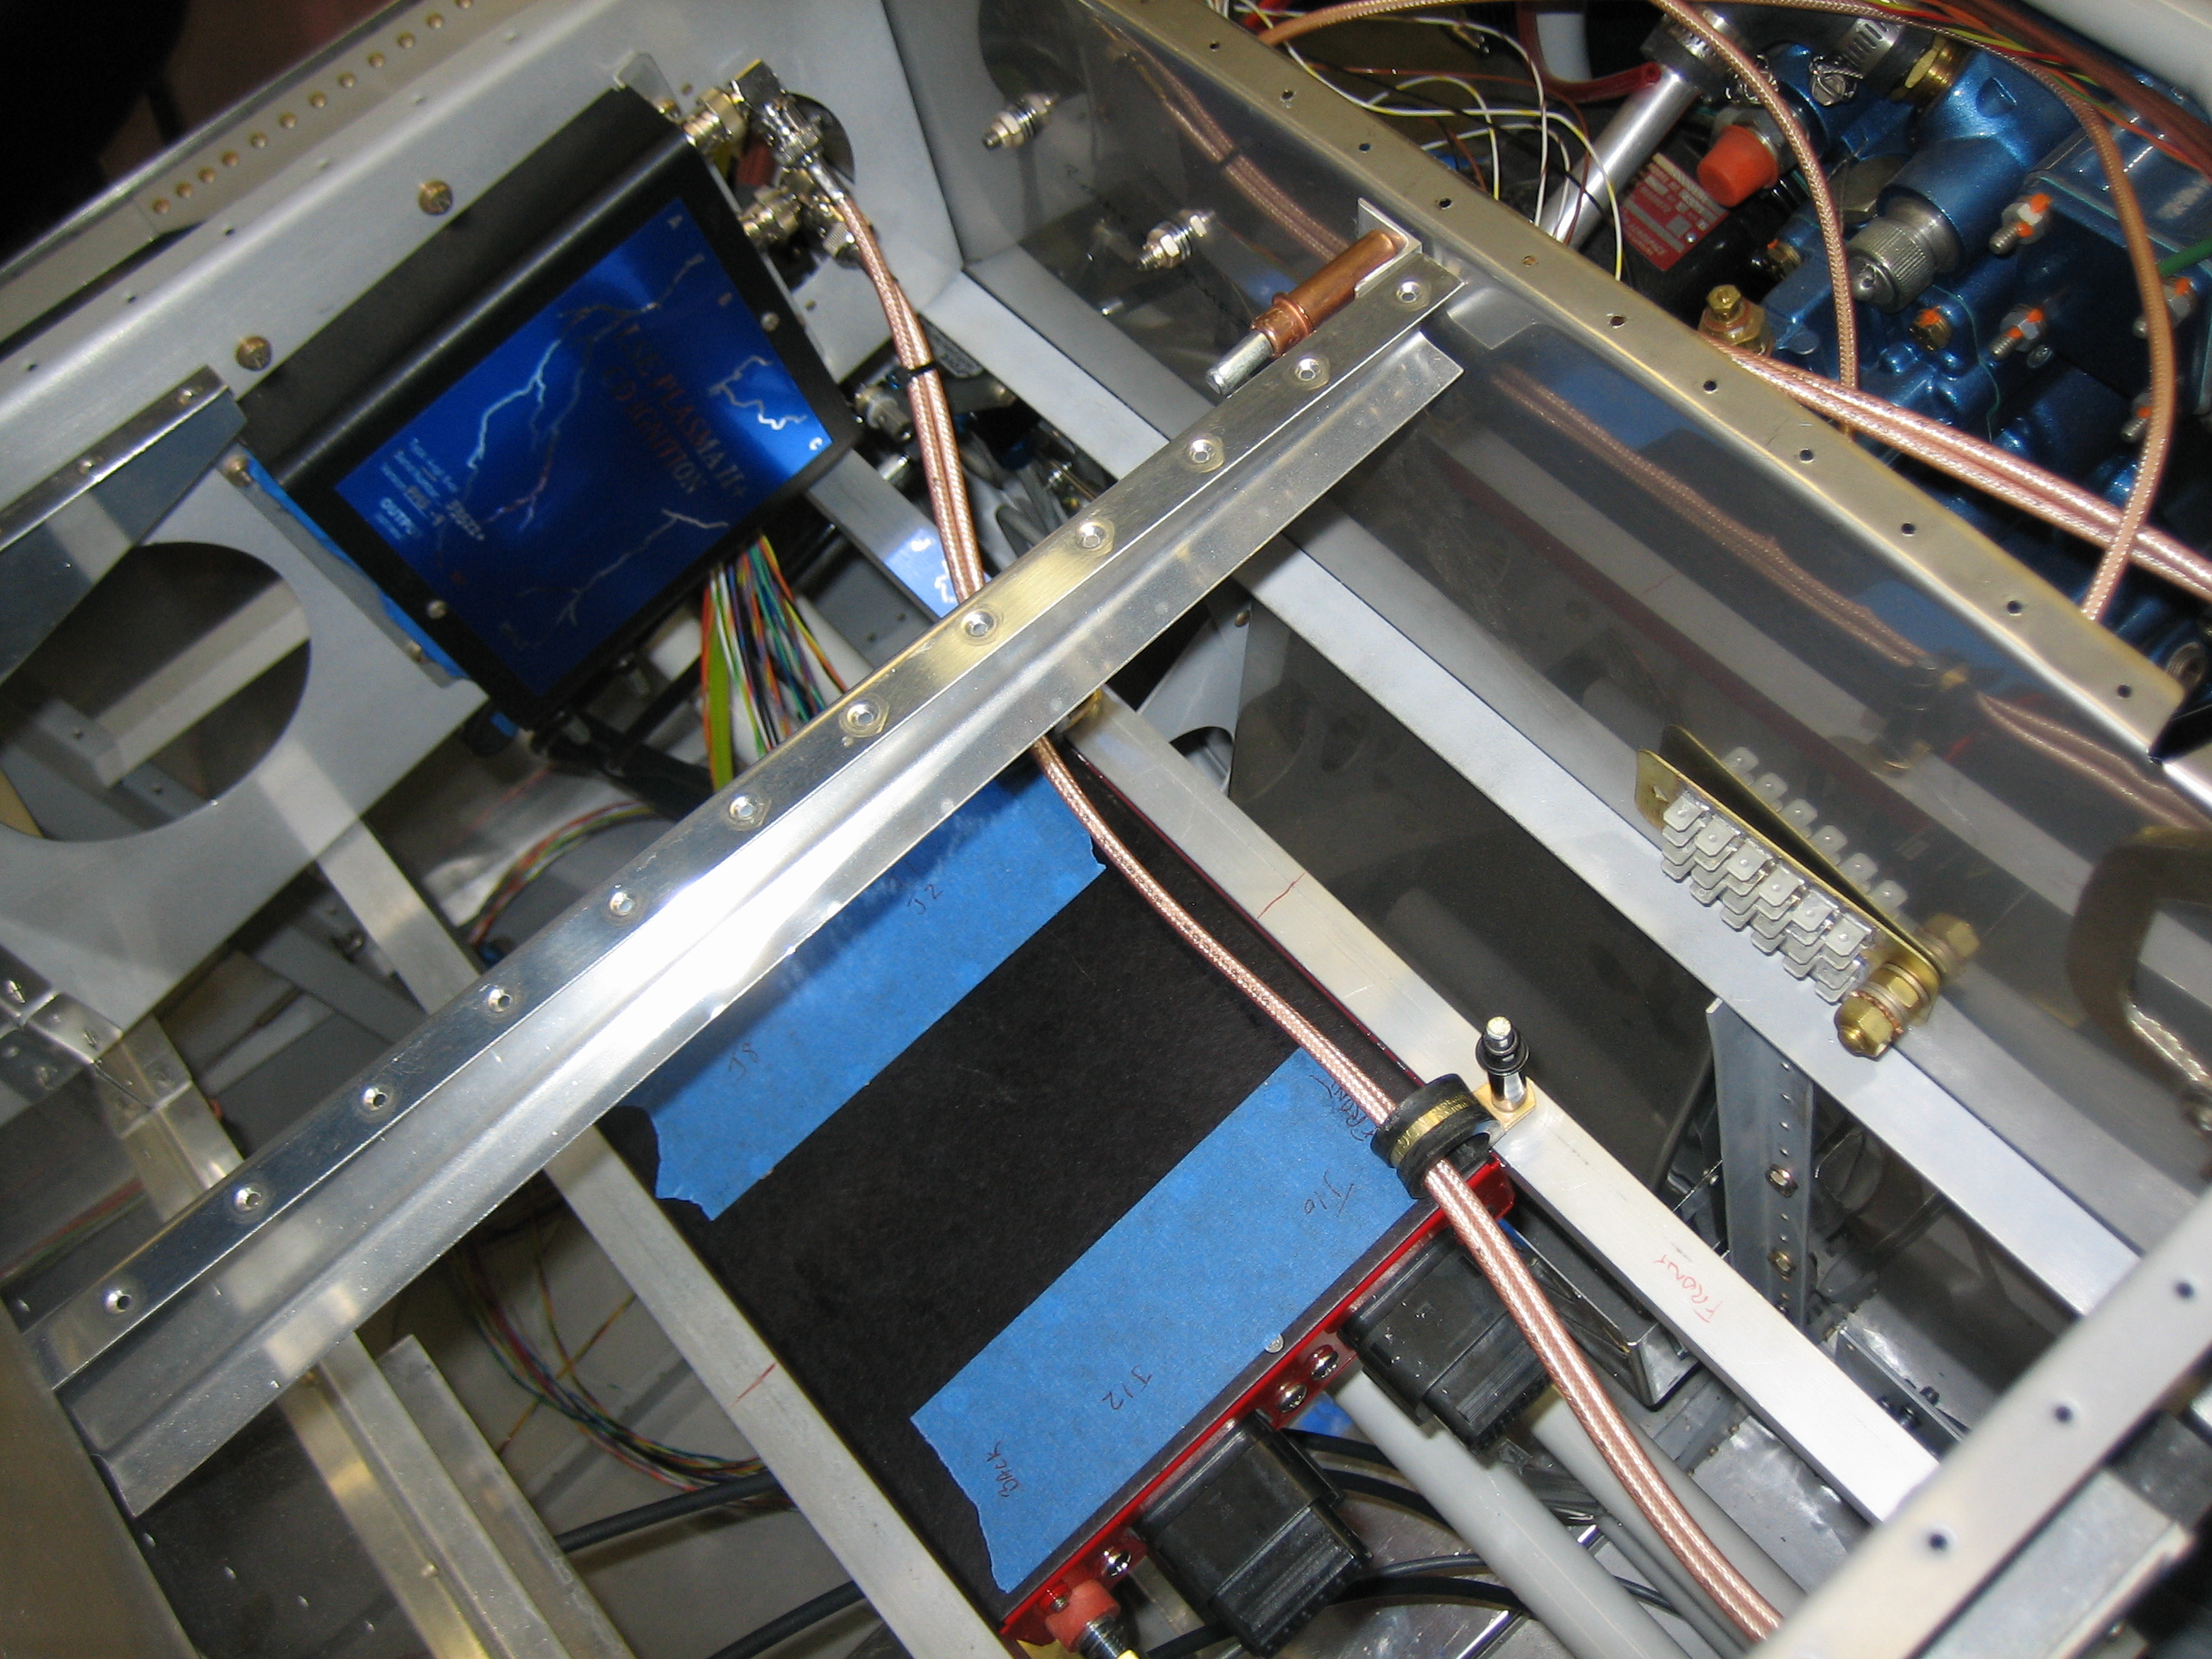
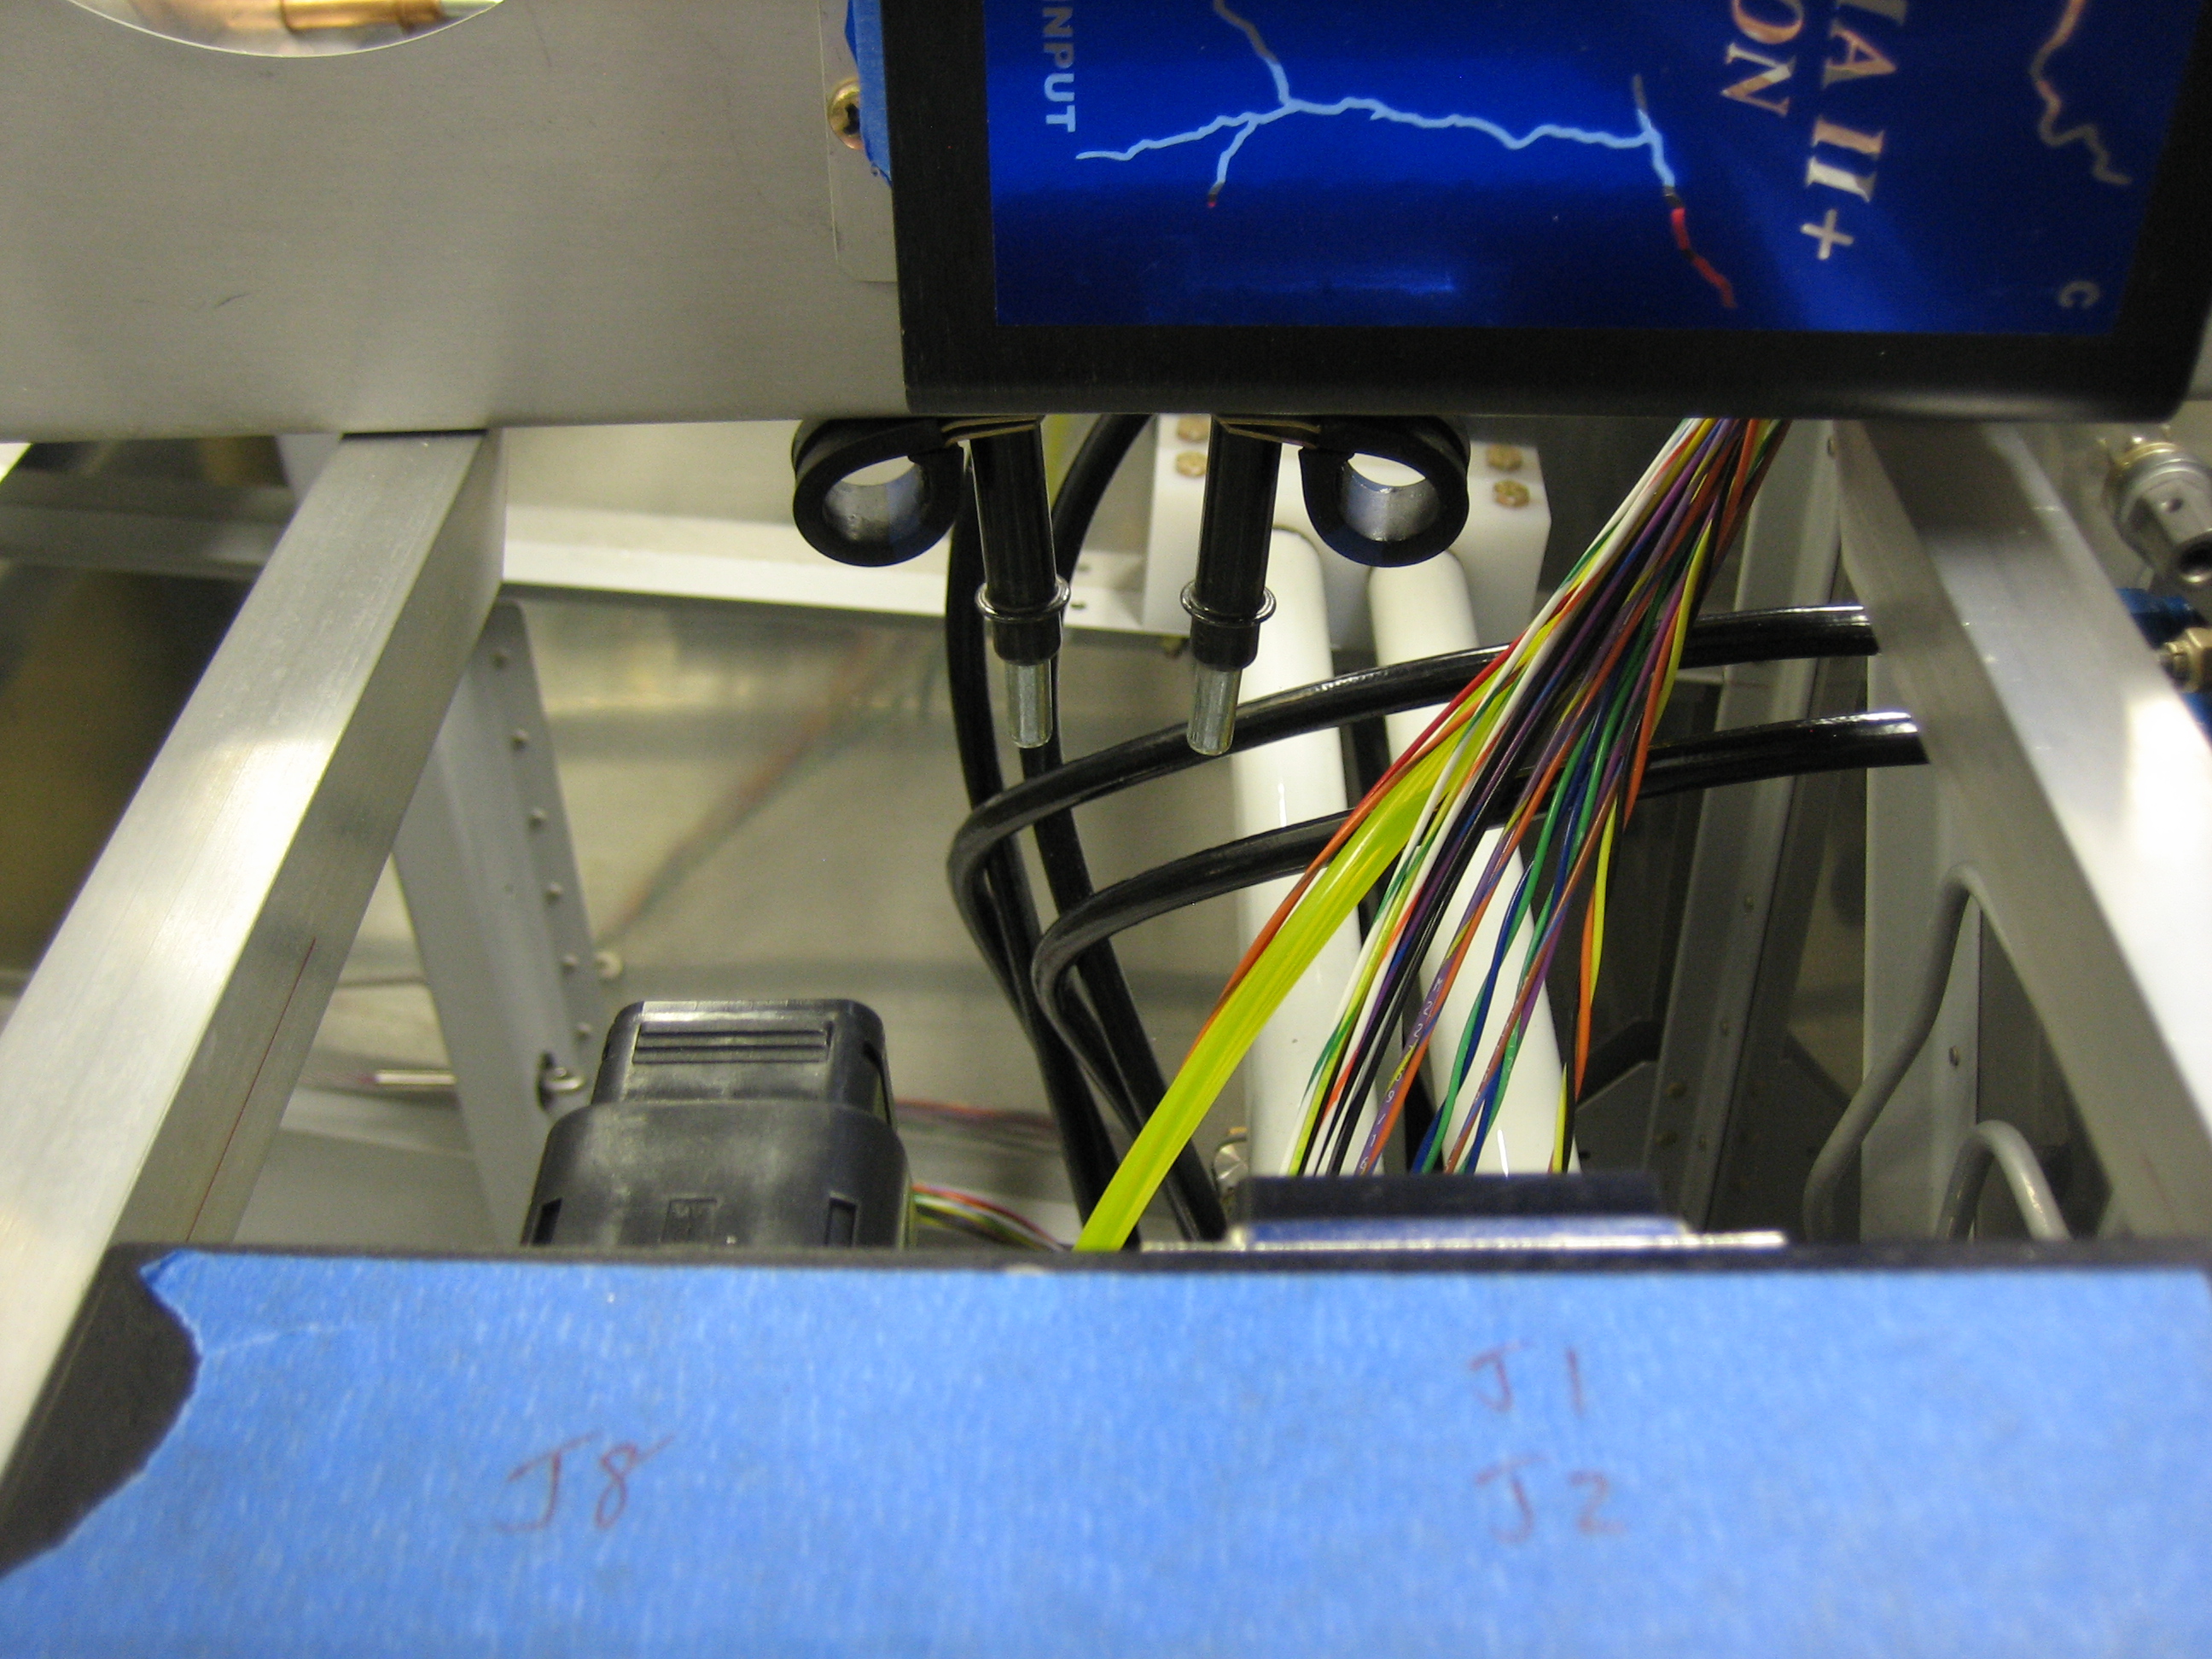
Here you can see that the ignition wires cross over the VP-X, down through the forward adel clamp below the subpanel rib and then out through the firewall pass-through. Once these are zip-tied to all the other wires running along side them, these will very well supported.
