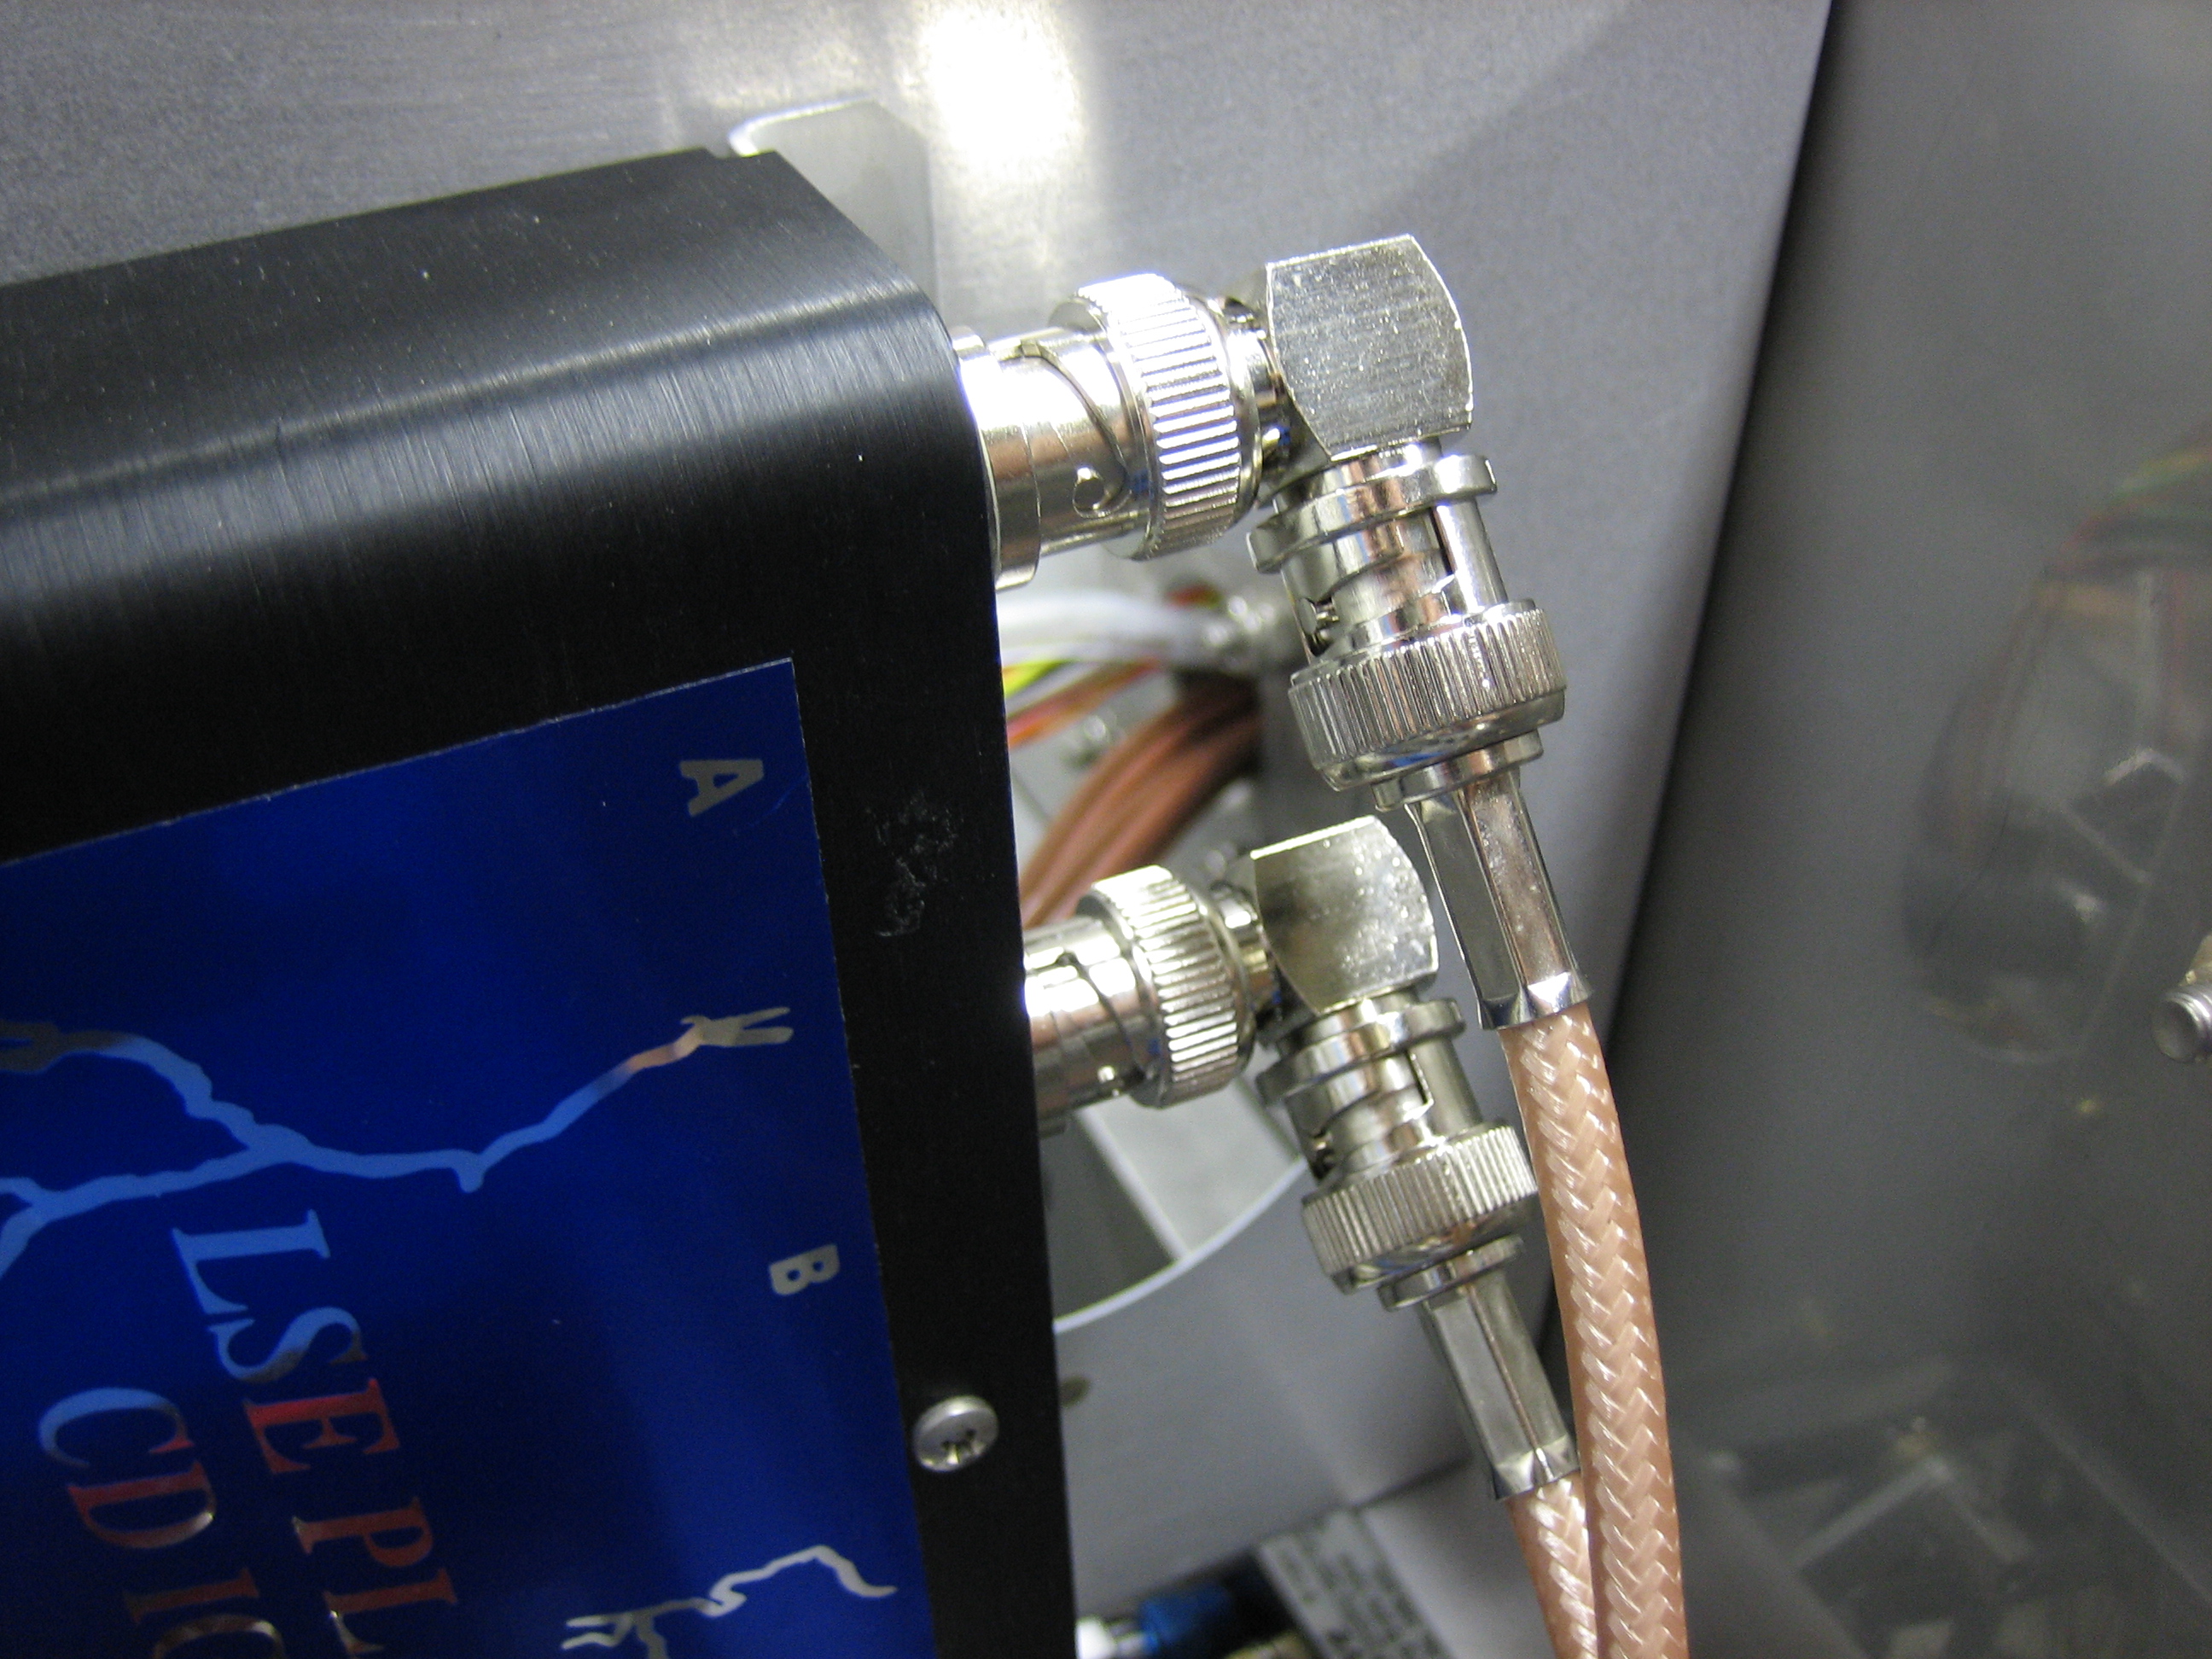
I didn’t like the strain put on the ignition wires by the tight bend necessary to curve down toward the top firewall stiffener, so I picked up a couple of right angle BNC adaptors from Fry’s. These were only a few bucks each vs. the $17 each (plus shipping) for right angle crimp connectors. This creates an extra connection in each line, but they’re on quite solid, so I’m not worried about it.
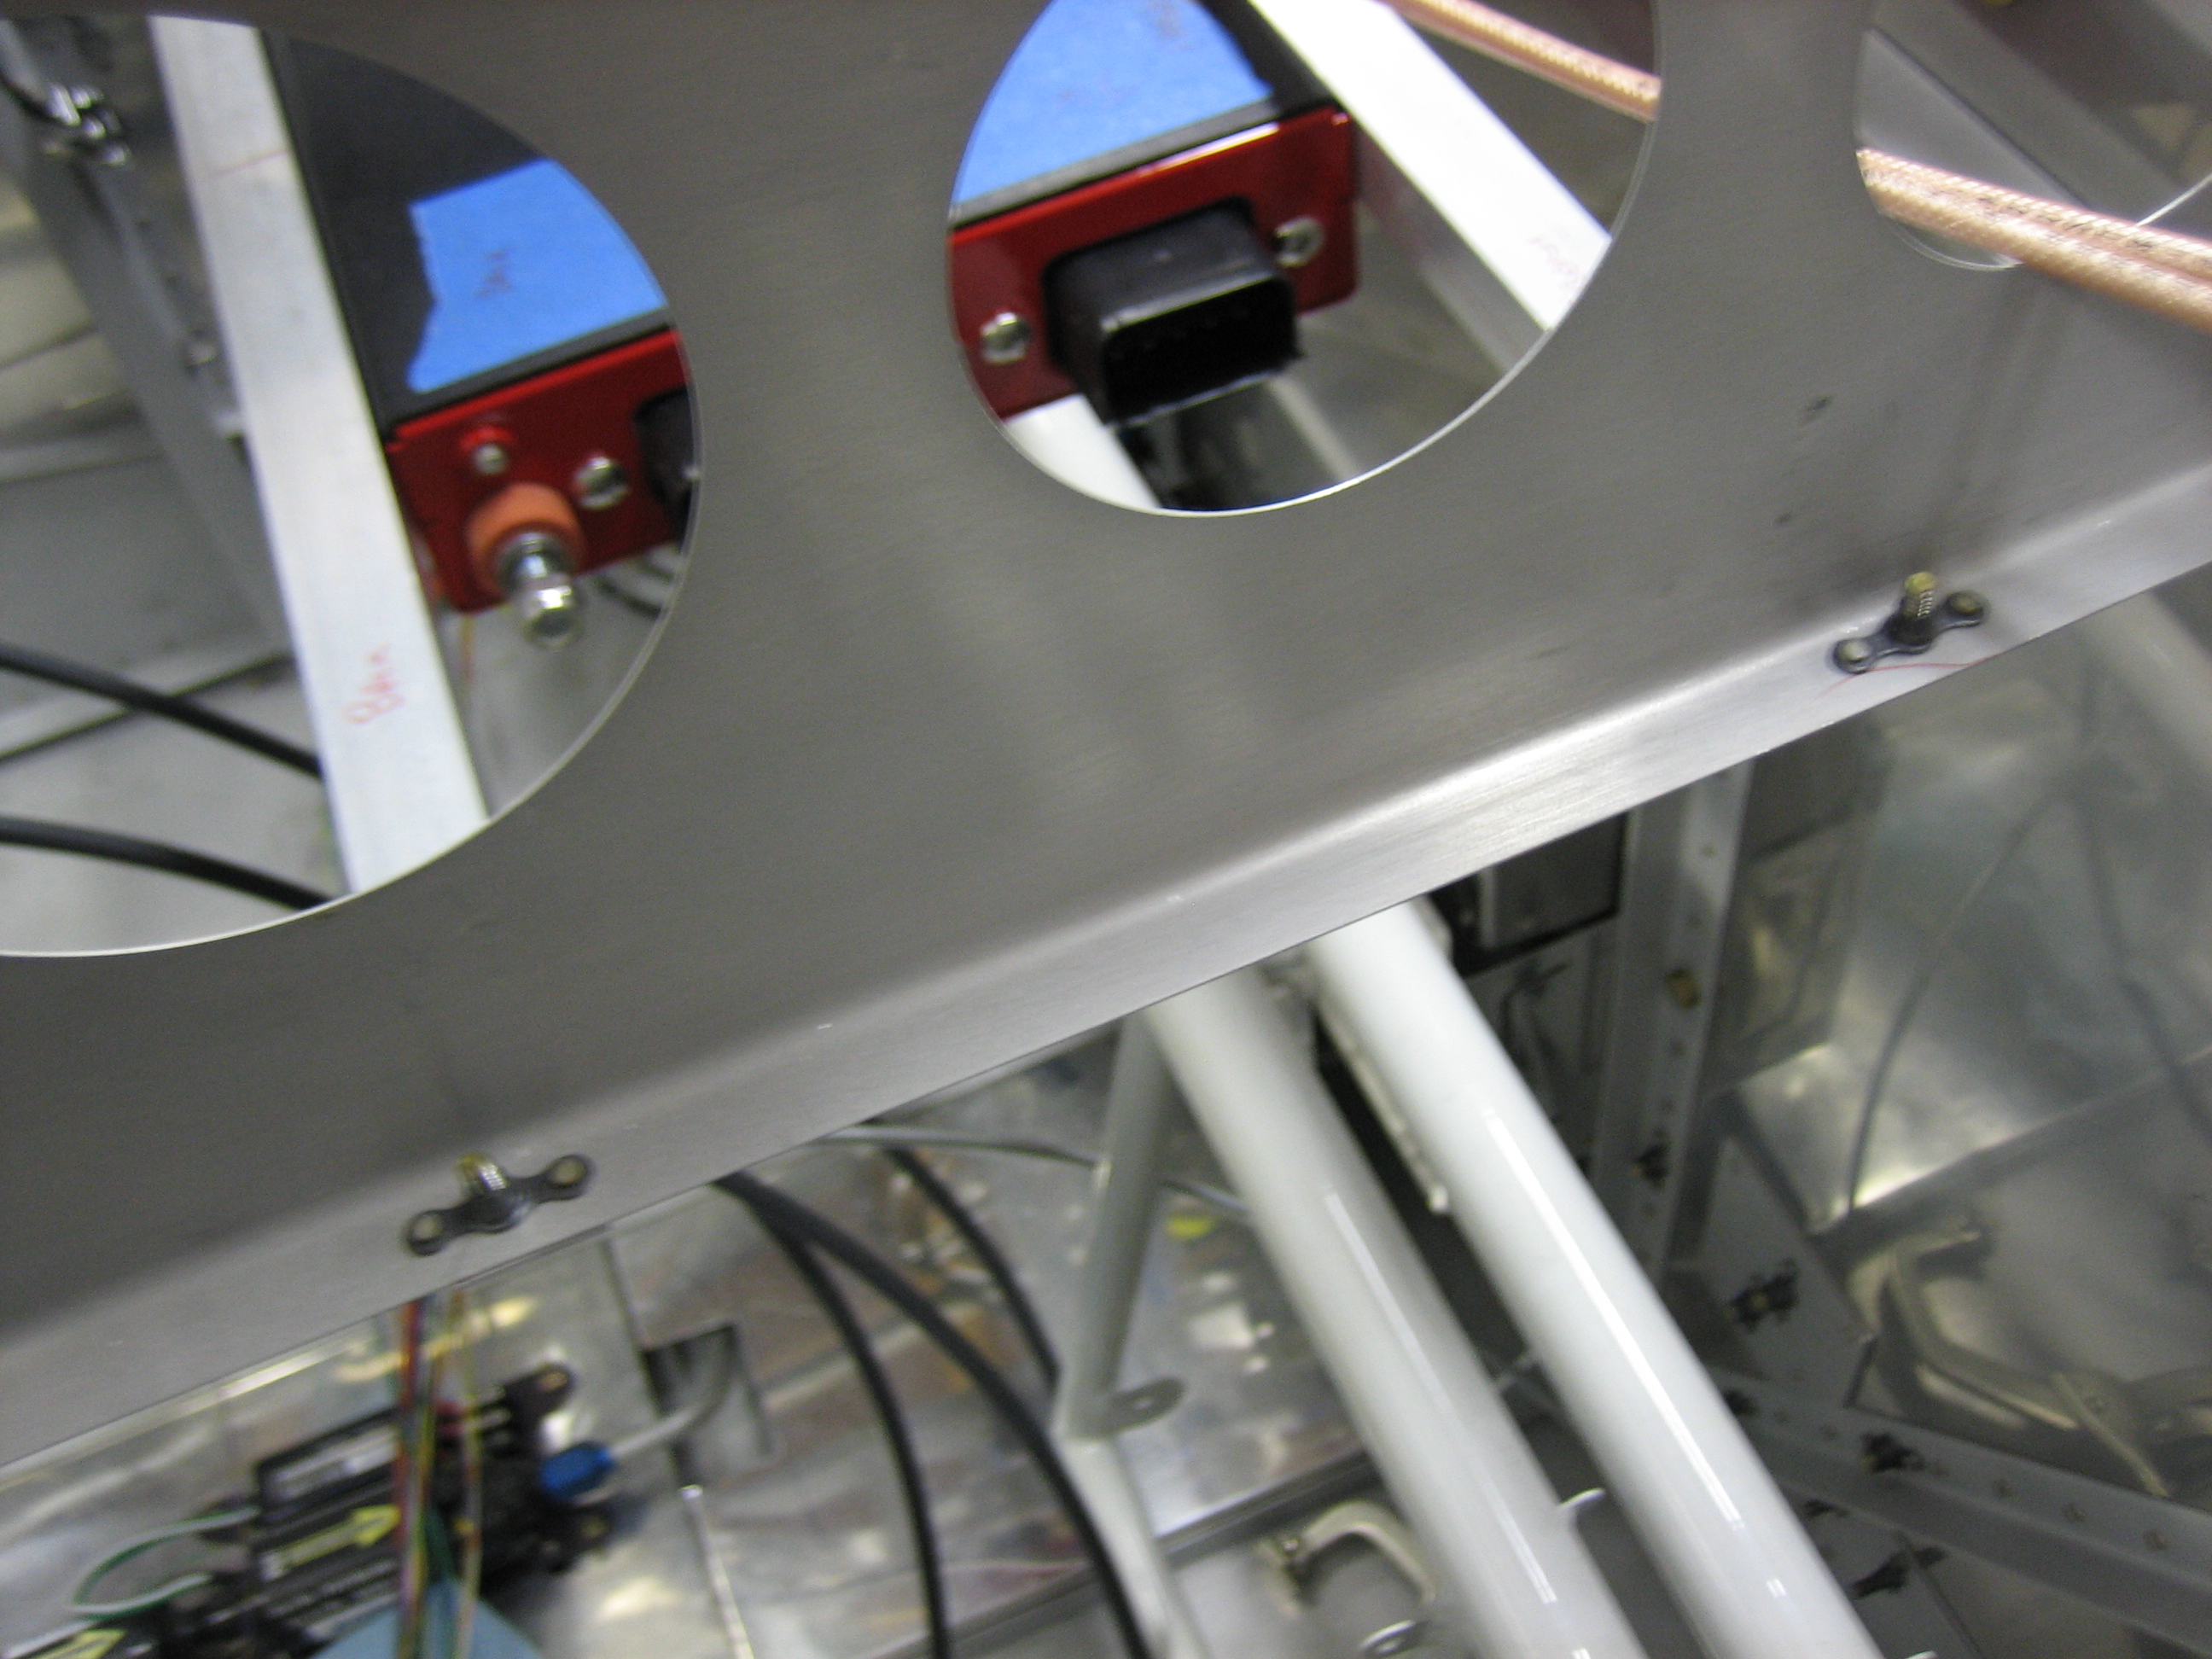
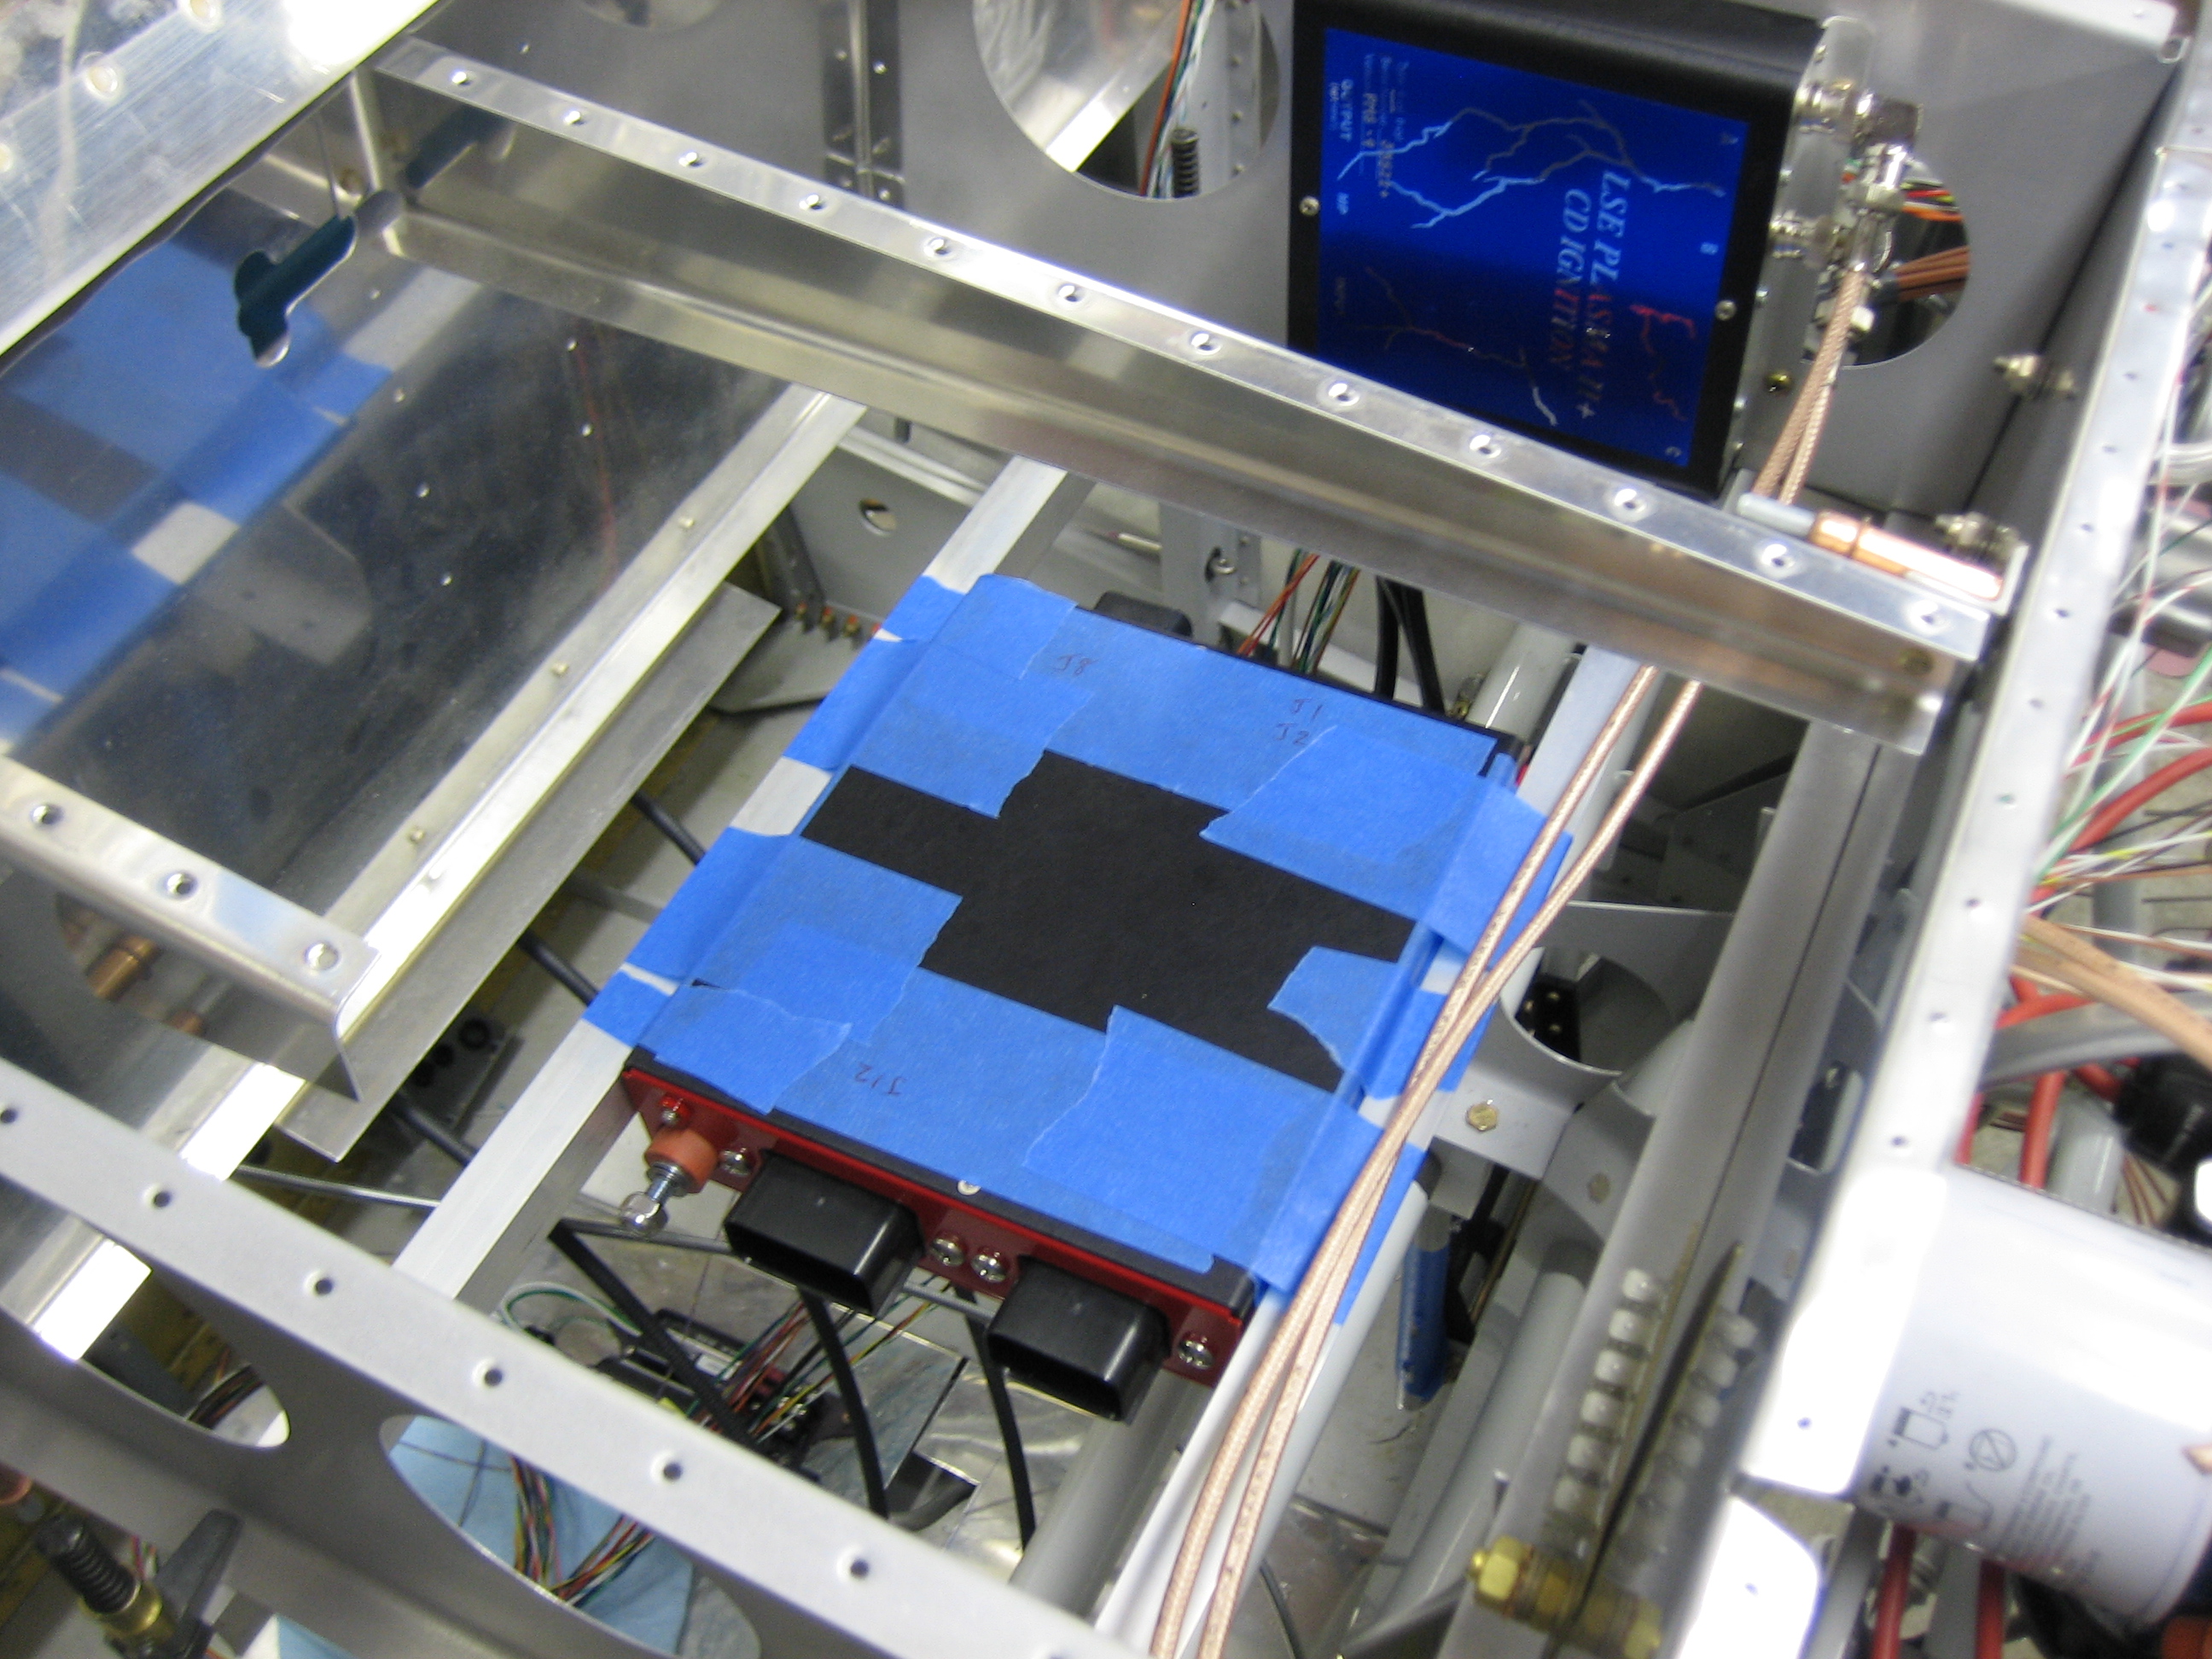
I received my Vertical Power VP-X empty shell today. Instead of using the included mounting brackets, I cut a couple of pieces of 0.063″ angle so that the VP-X could be mounted to the bottom of the two subpanel ribs. This location will create plenty of room on each end for the connections. It’s high enough that it won’t interfere with the control cables, but low enough (and forward enough), that it shouldn’t interfere with any radios that poke through the subpanel. The forward mounting angle is 1 7/8″ aft of the top firewall stiffener, which provides plenty of clearance for the parking brake valve arm. You can also see in this picture that the ignition wires fall naturally along the forward mounting angle (now that the right angle adaptors have been installed). I’m likely going to use that angle as an anchor point for a forward wiring bundle.
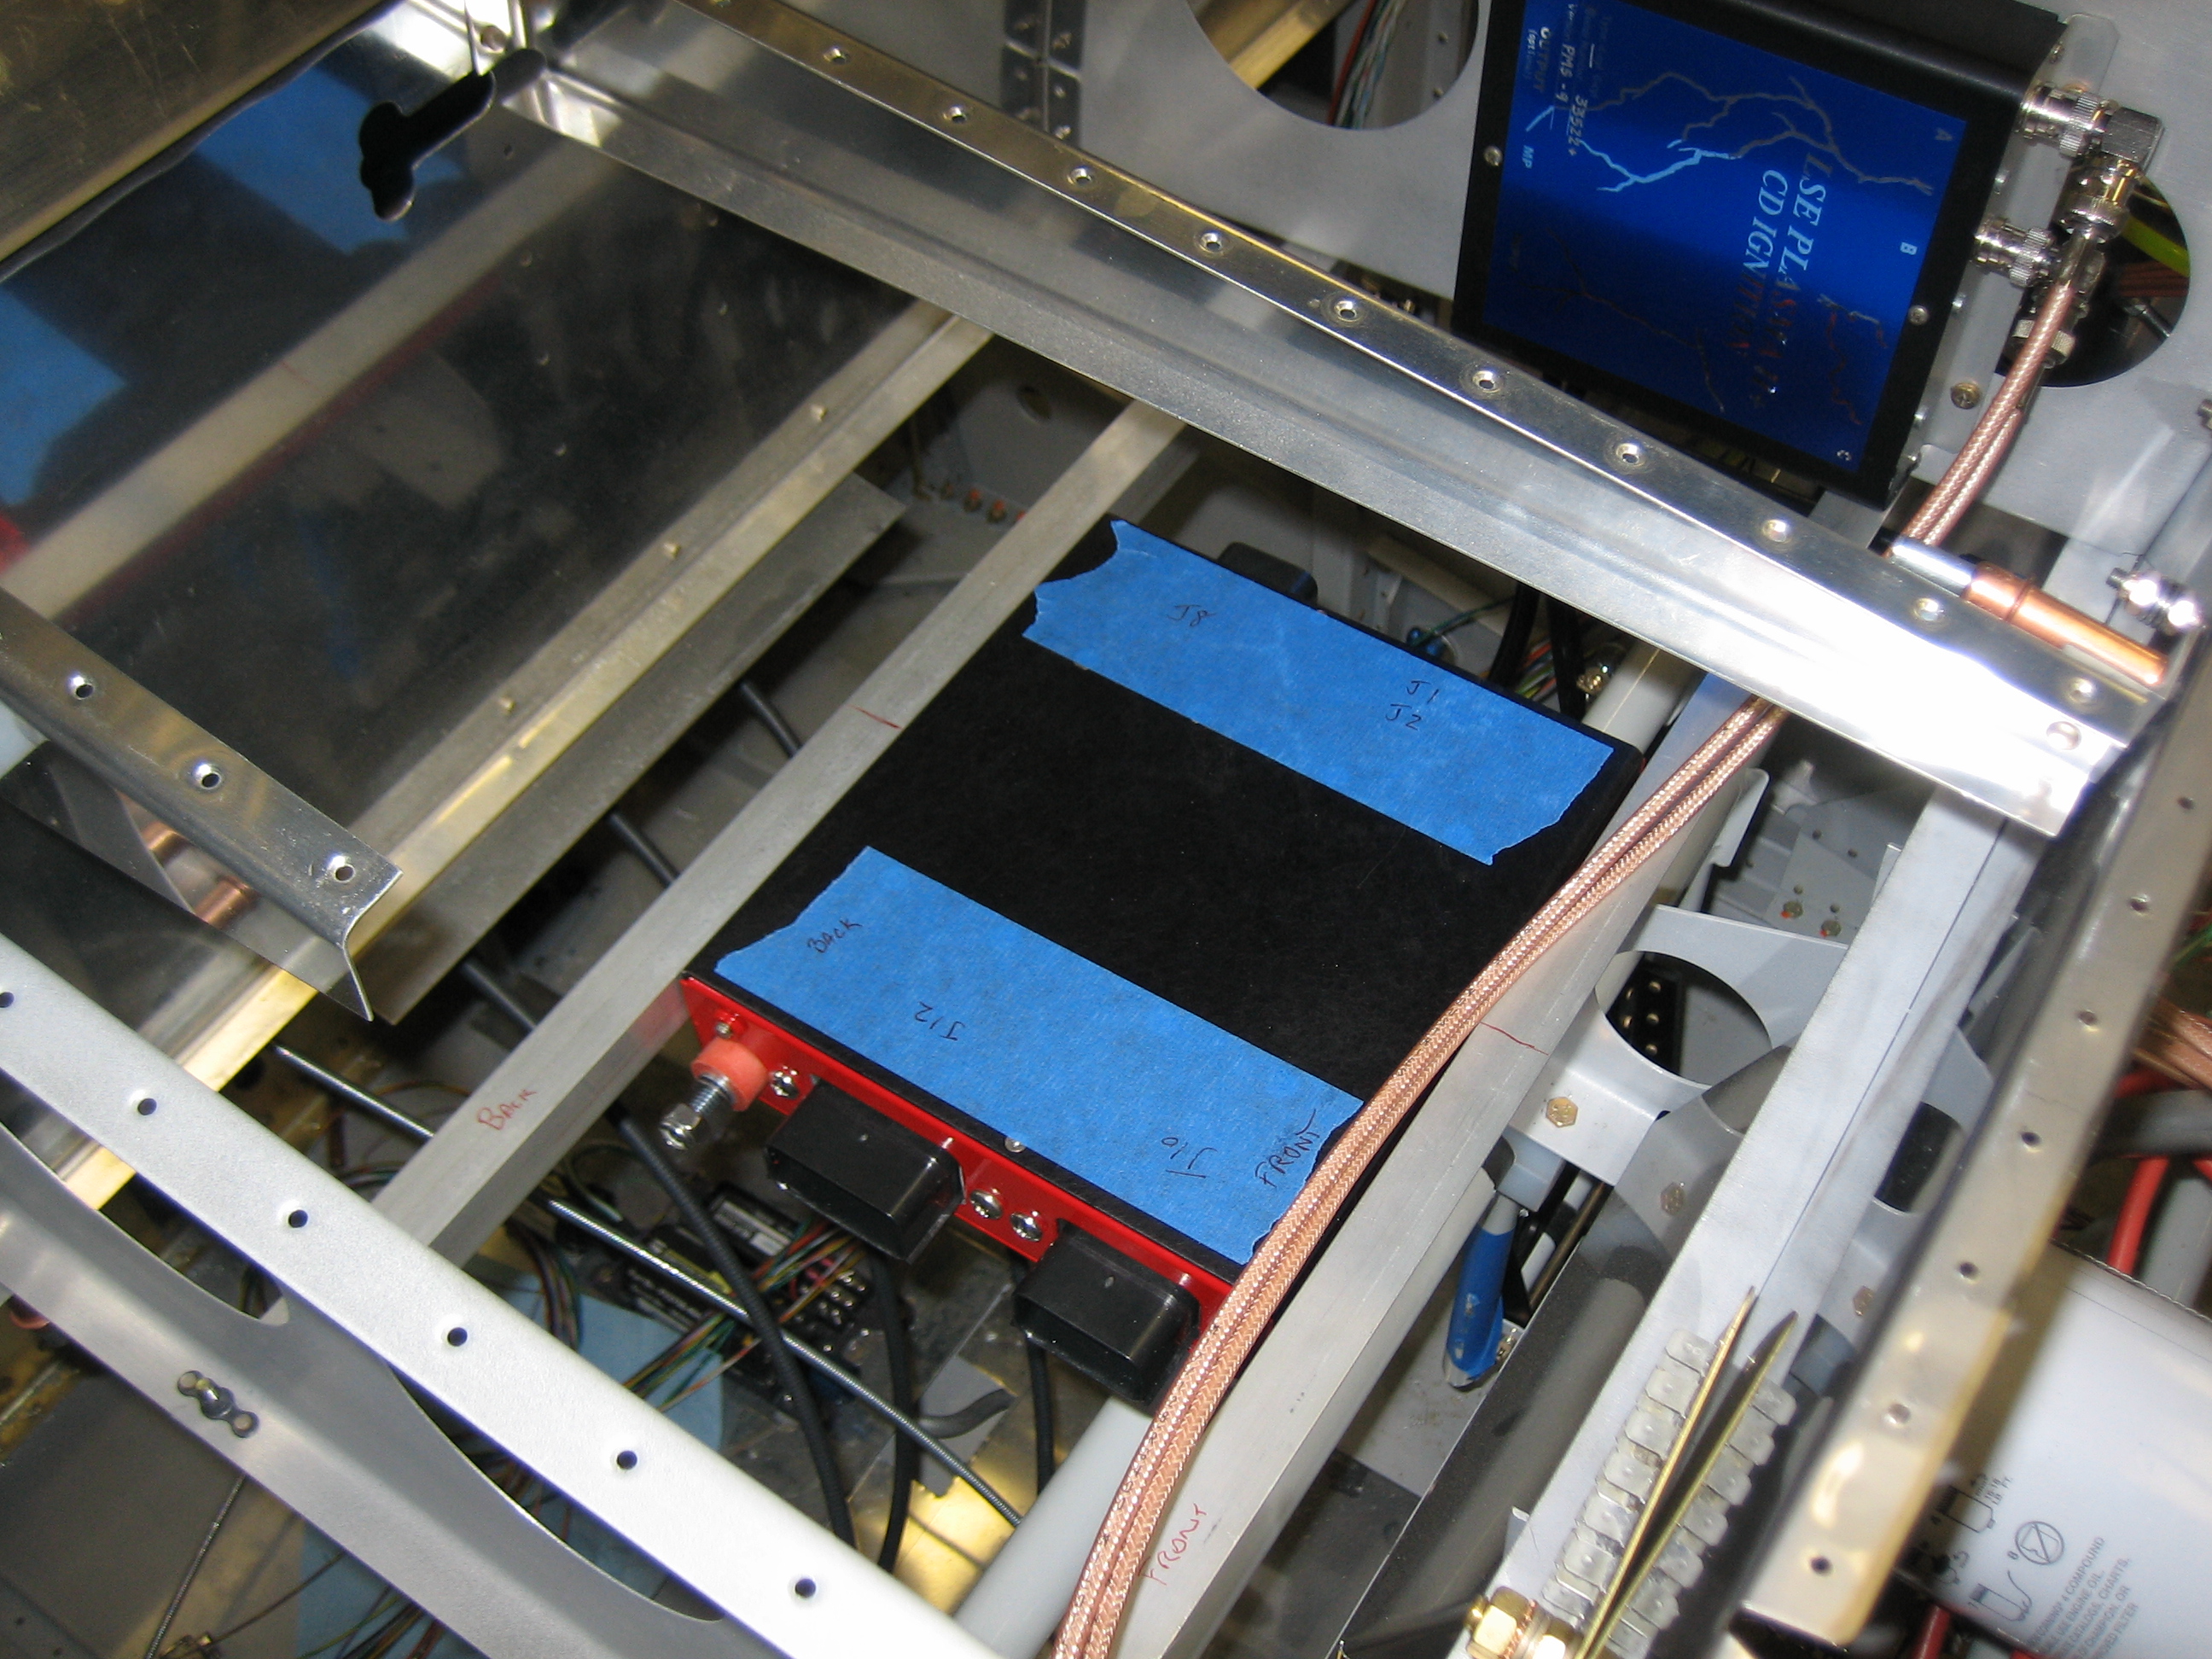
I drilled and attached the mounting angles to the VP-X.
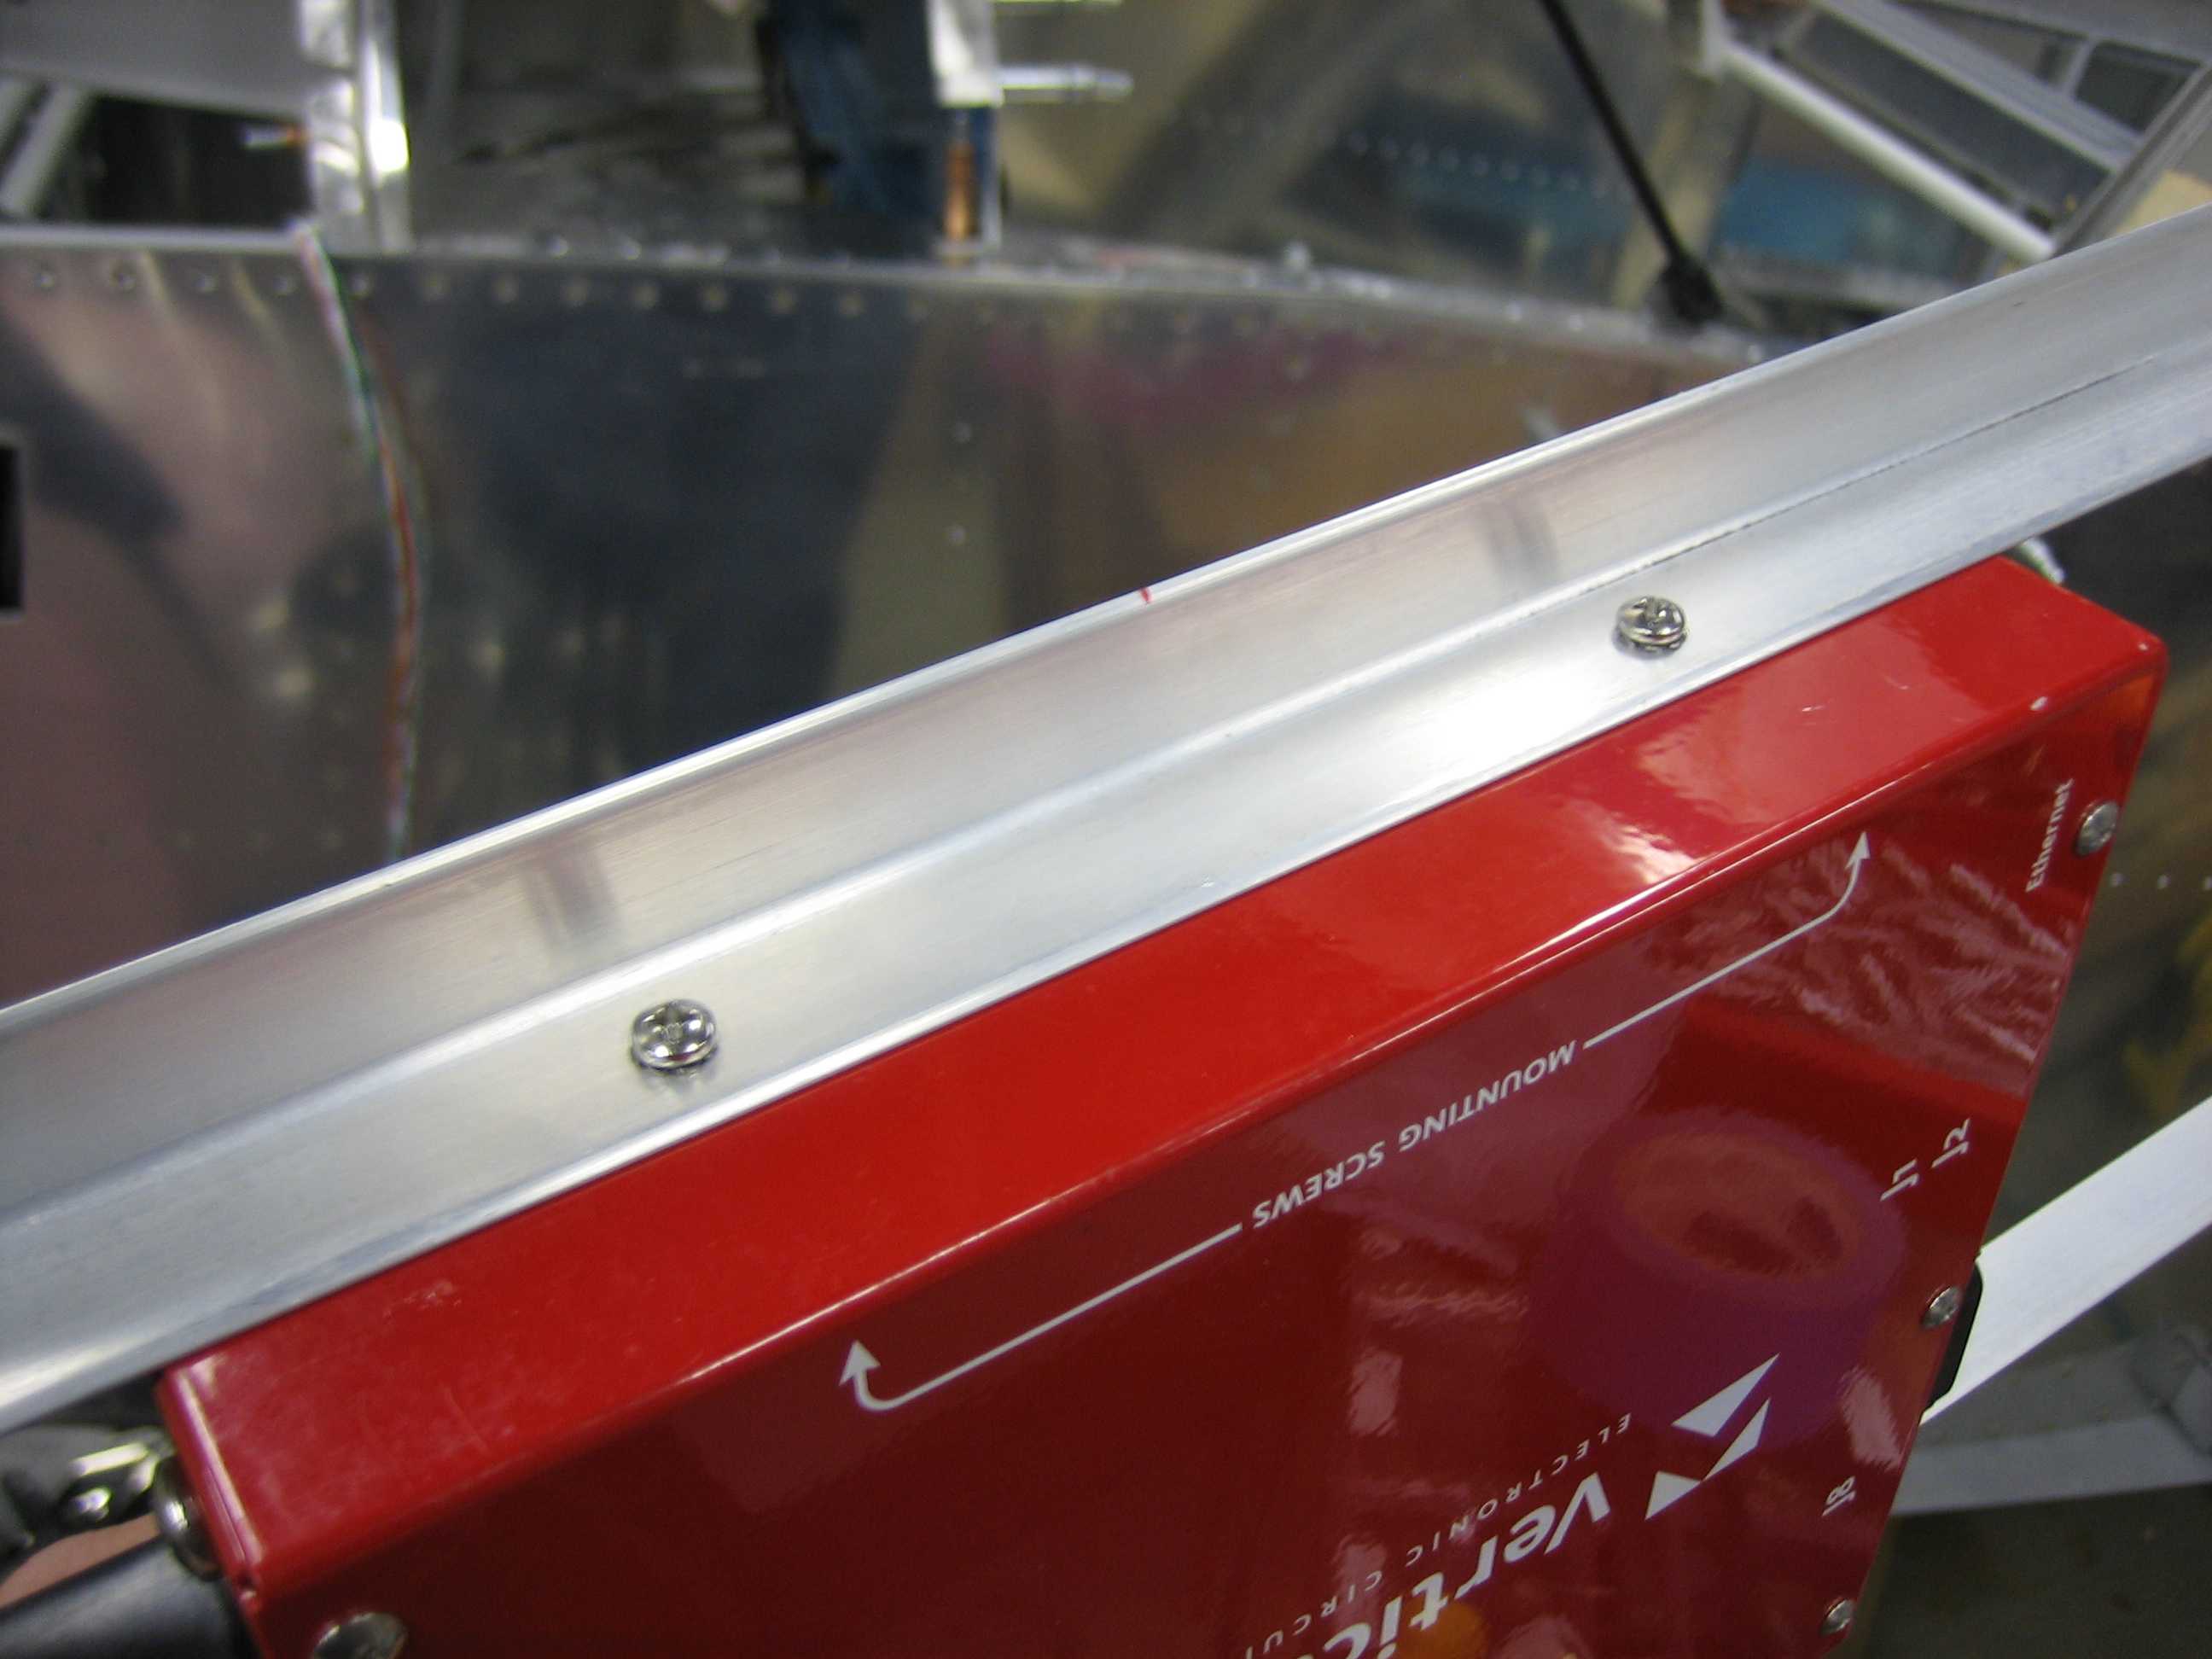
After cutting the angles to length and drilling them to the subpanel ribs, I installed nutplates on the ribs and reinstalled the VP-X.
Here you can see the nutplates that are used to anchor the mounting angles. This is *very* strong. The actual VP-X (as opposed to the empty shell) weights 2lbs. There might be as much as a pound or two of other stuff hanging off these mounting angles. Even at 6 Gs, that’s no more than 25lbs or so. This can easily hold twice that, so there is plenty of margin built into this.