
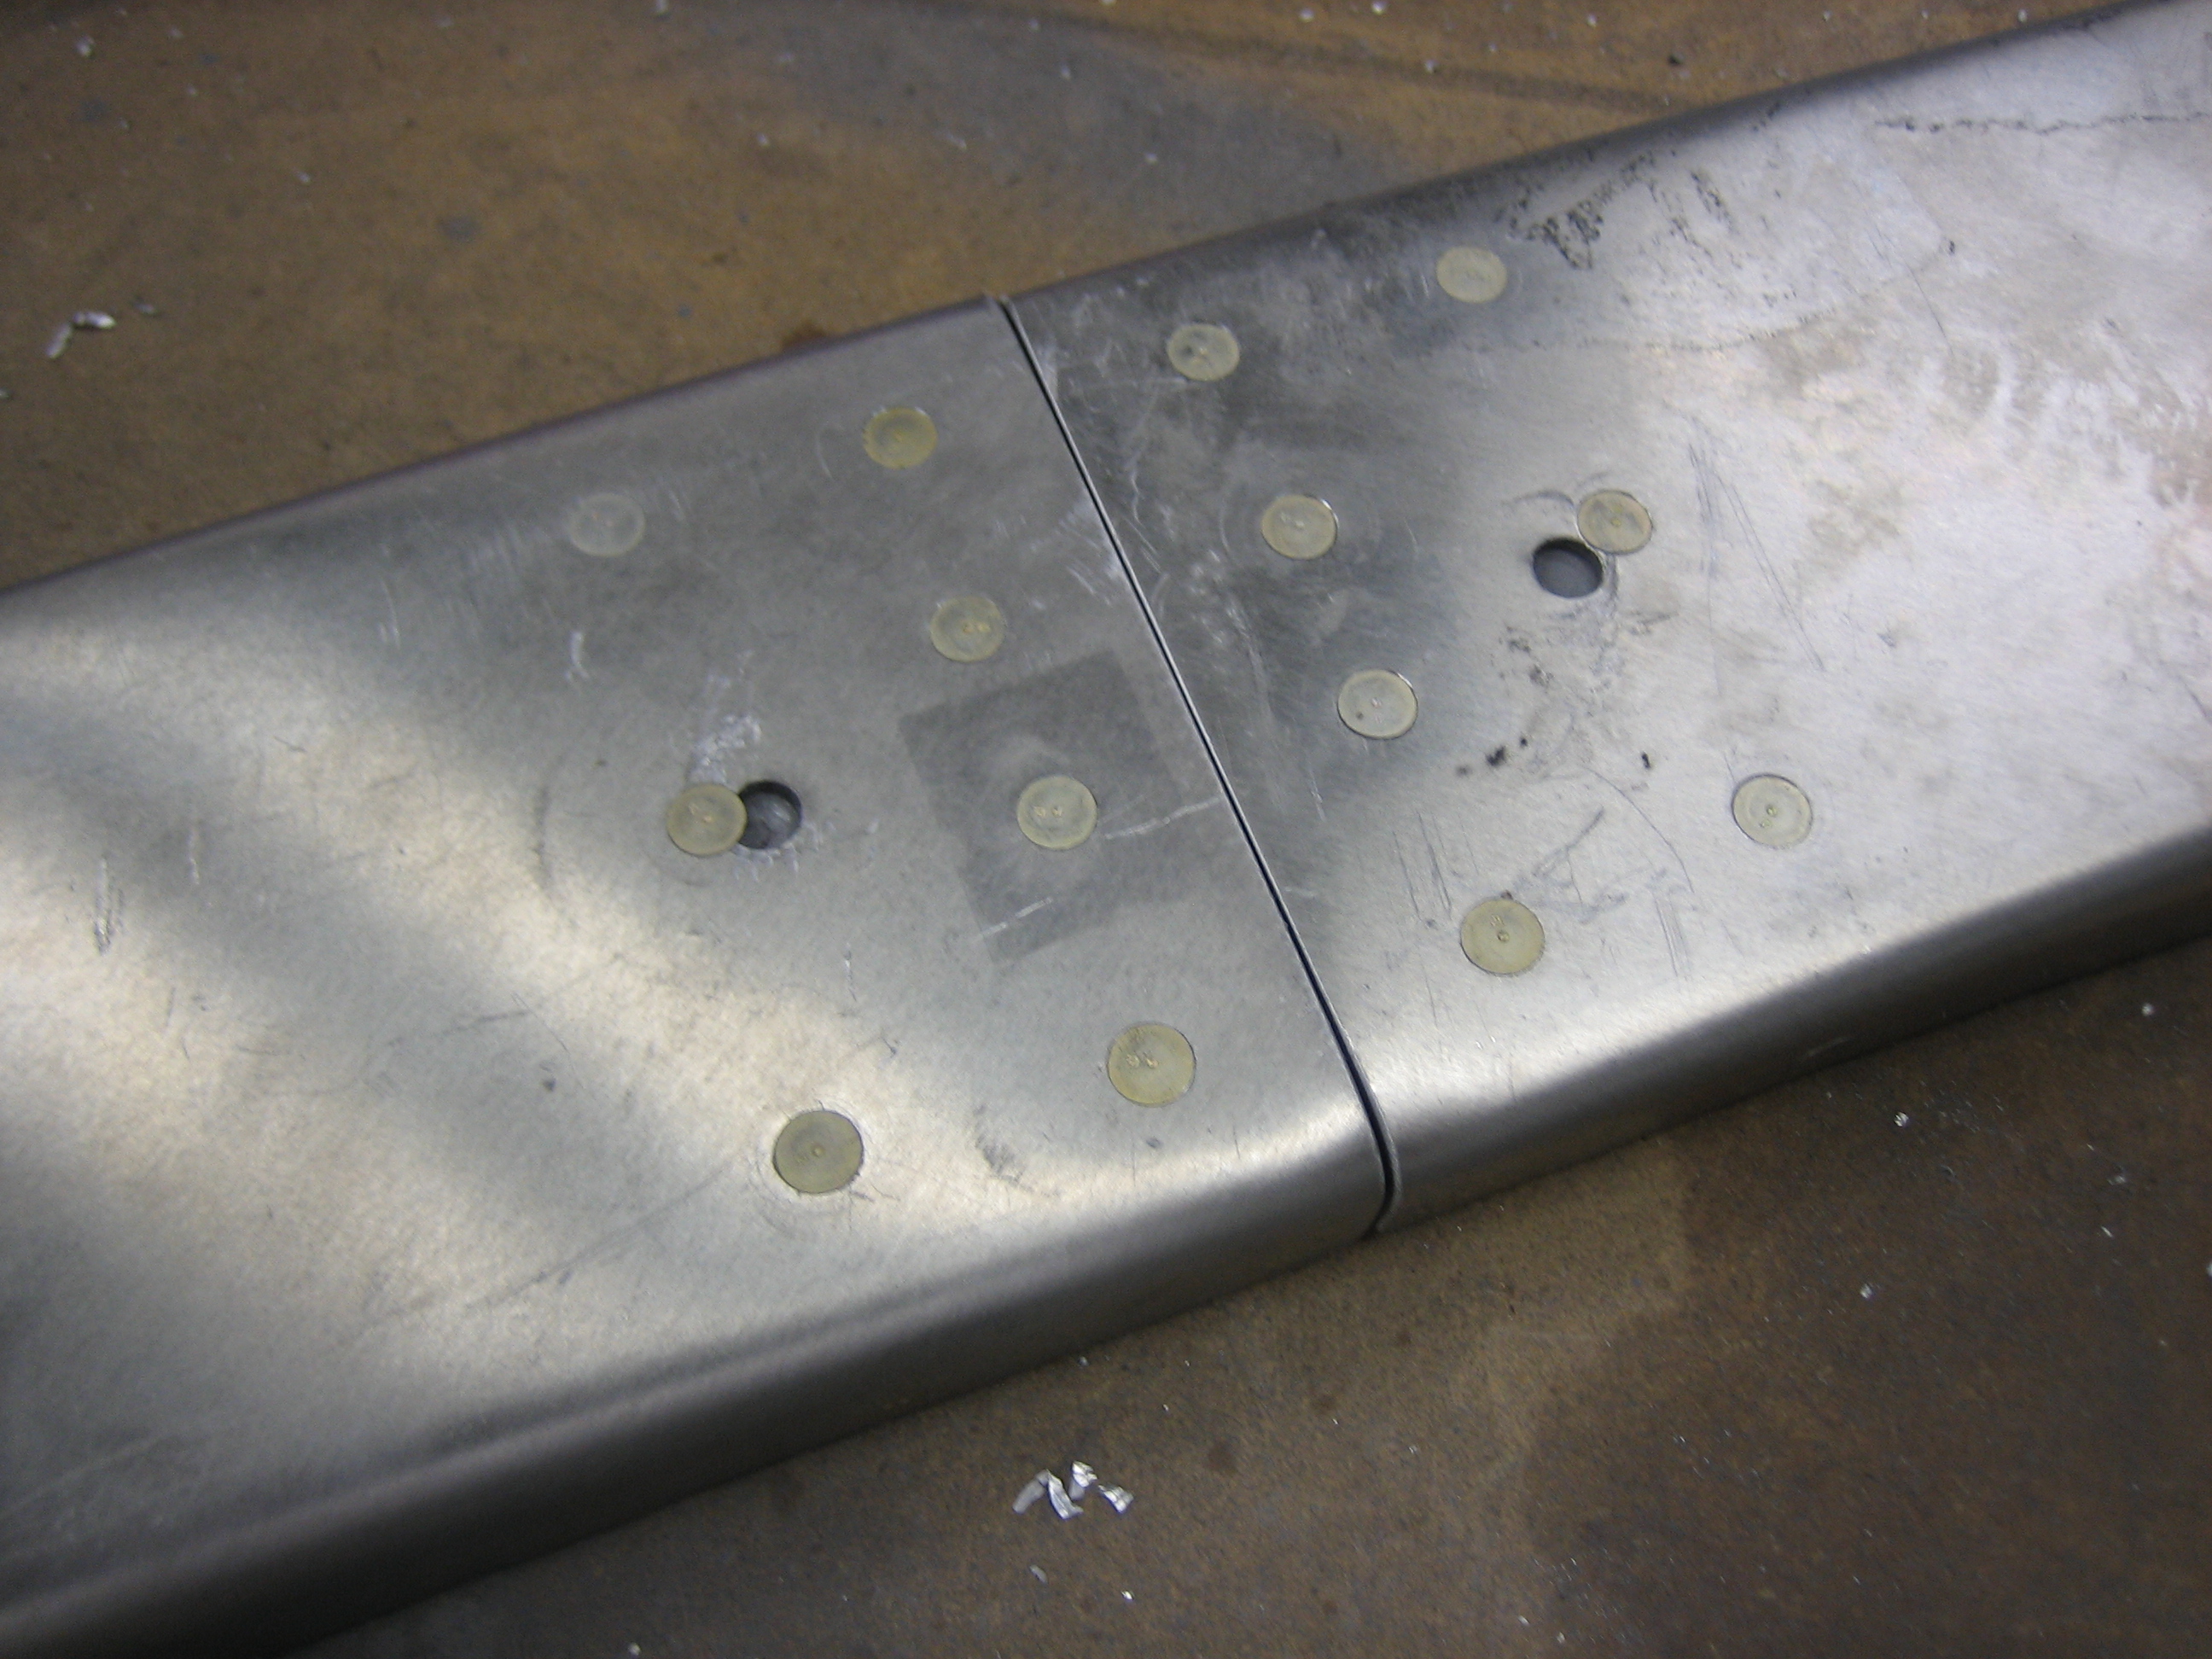
I primed and riveted the canopy bow together. One of the rivets intersects a tooling hole, but I’ll fill both of these with filler anyway.
I clecoed on the canopy bow and then drilled the latch lugs to the canopy frame. There is very little room to fit these, so Van’s basically has you just guess where to drill the holes and then cheat them over if you guess wrong. I didn’t like that approach, so I slipped the lugs in from the bottom and then engaged the latch to define the lug position. I then ran the drill bit through one of the holes in the weldment to mark the lug. I then removed it and center punched along the scratch and drilled to #40. I reinstalled the lug, held it vertical and drilled the second hole. This worked perfectly and the lugs seem to be in just the right spot. Finally, I reinstalled the struts and raised the full canopy frame for the first time. Without the canopy, the struts nearly eject the canopy frame from the airframe.
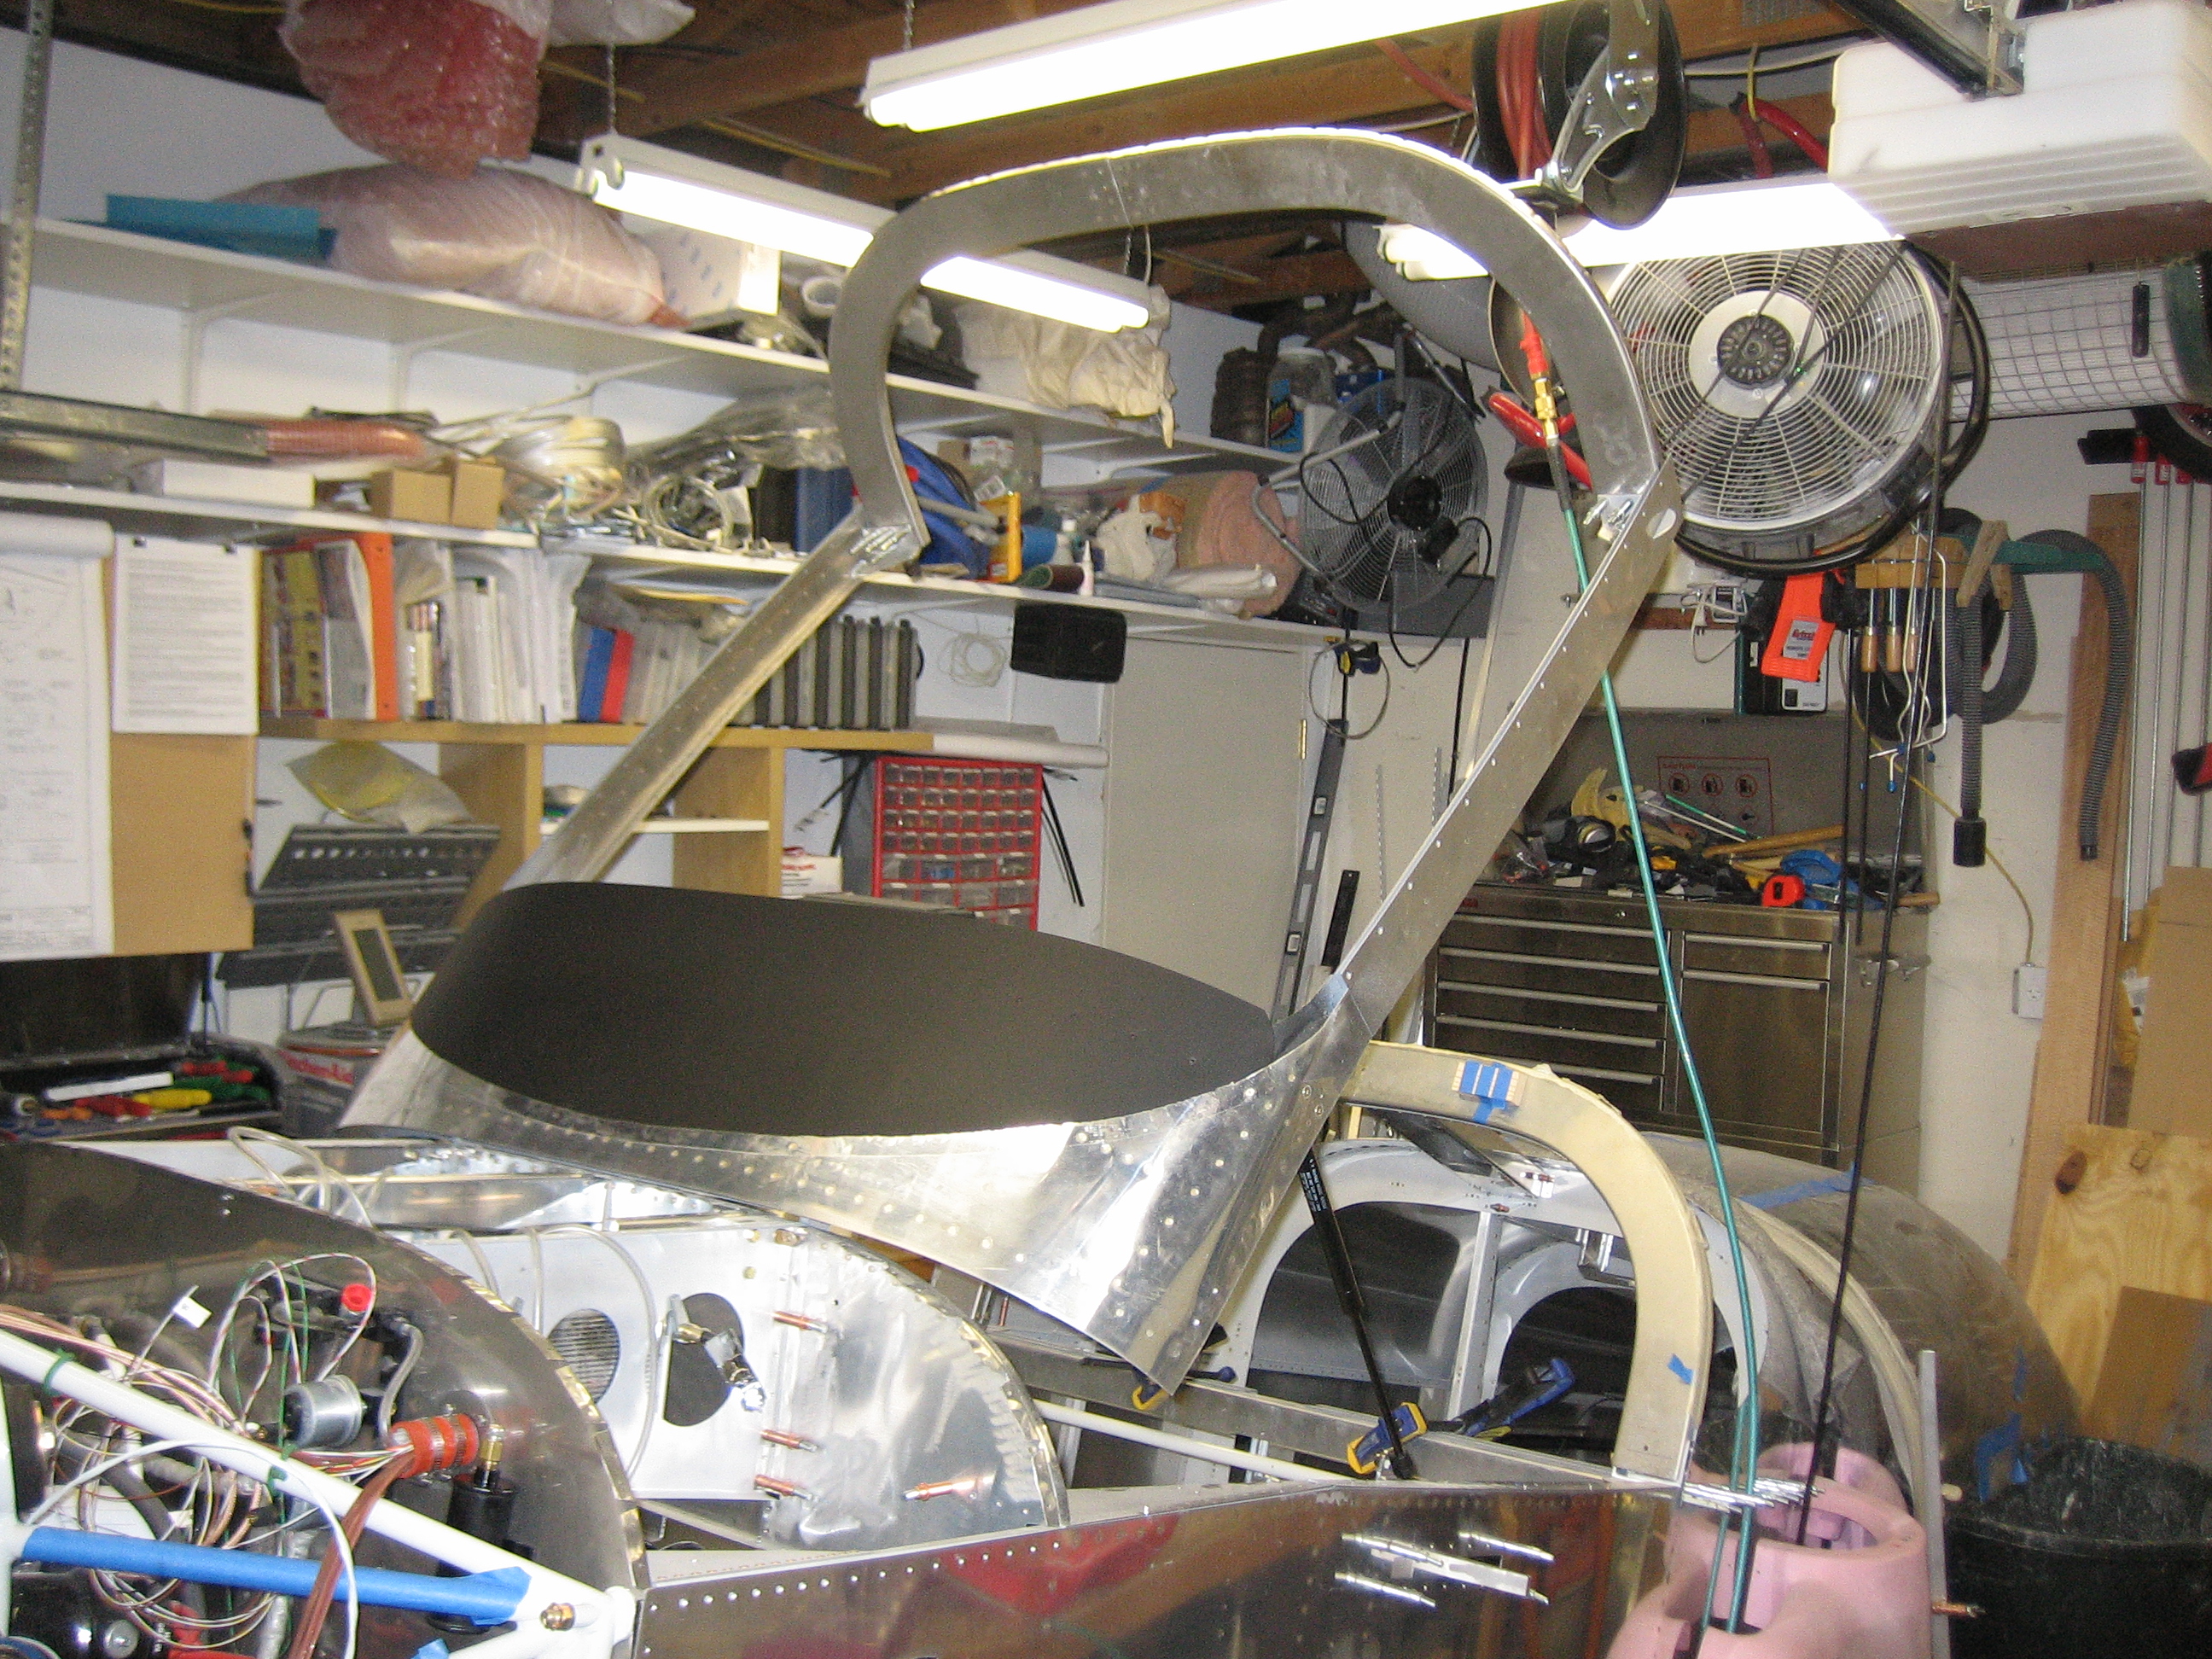
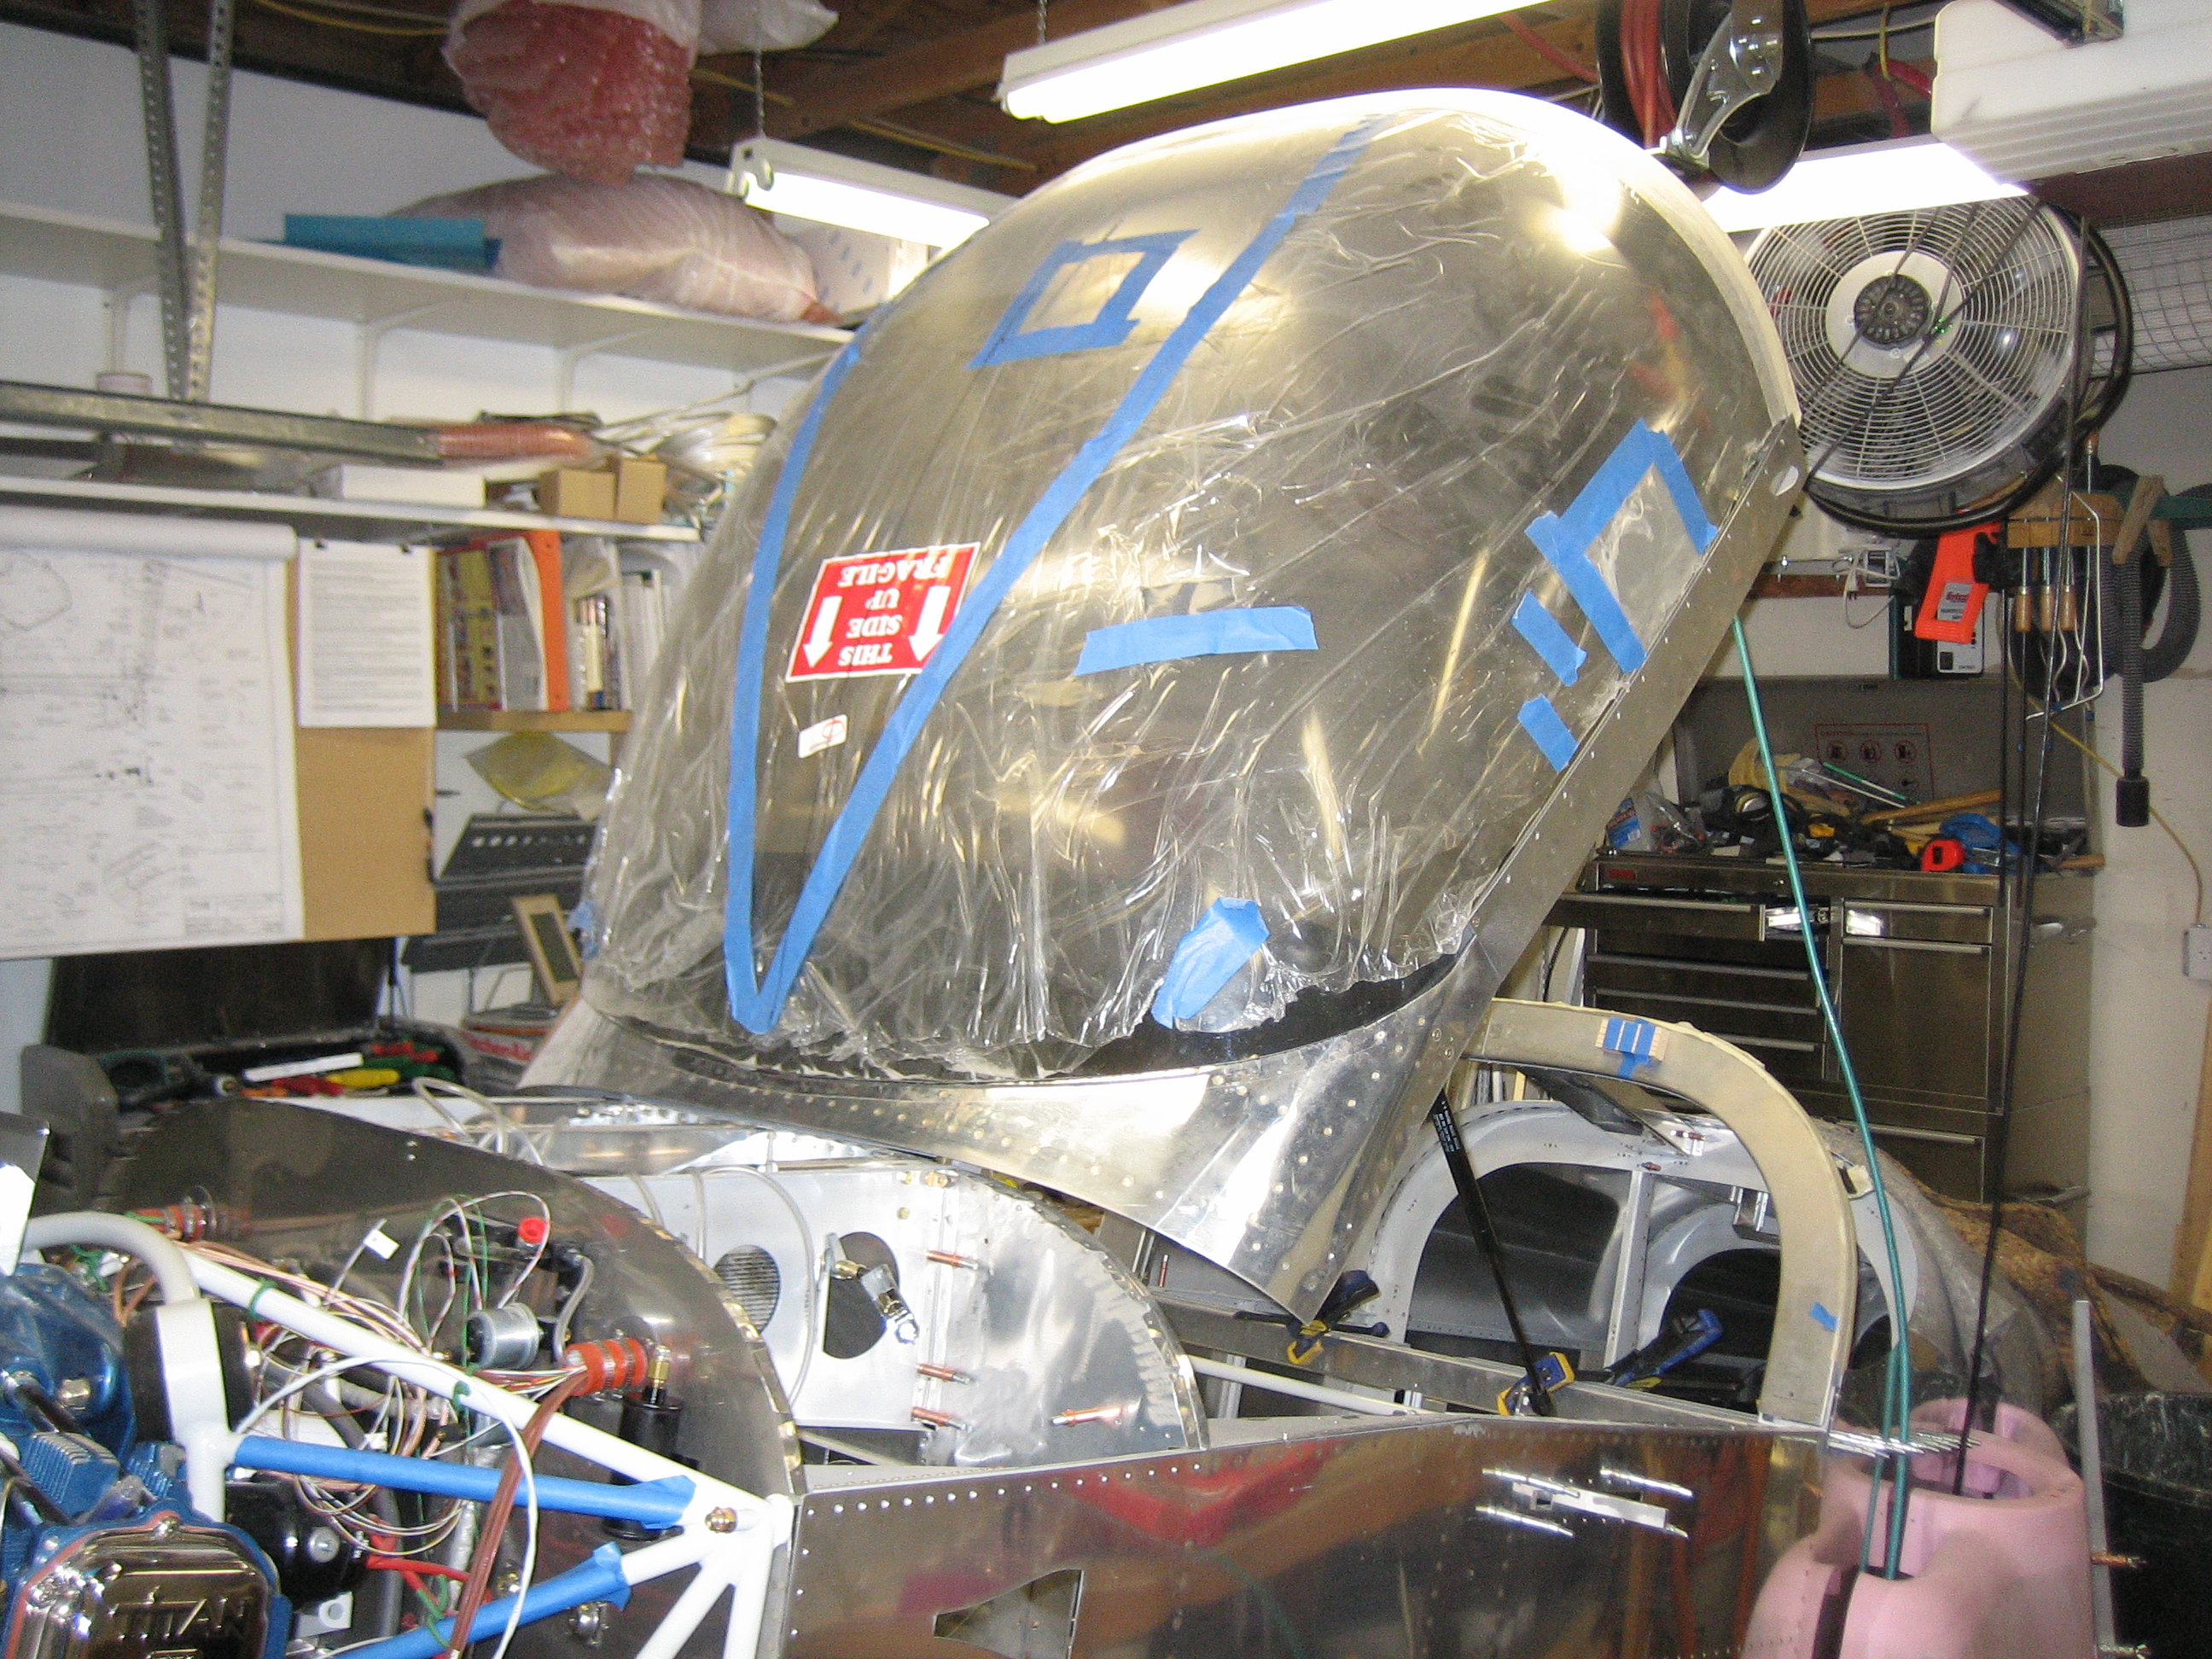
I temporarily installed the canopy to see how it affected opening. With the extra weight of the canopy, it opens nice and smooth. You really have to manage it coming down though since it hits the neutral point about 12-18″ up and will slam down if you’re not careful. I’m also going to have to add some guides that help align the lugs with the holes in the side rails. Without that, it’s too easy to have the canopy come down slightly cocked and have the lugs hit the top of the side rails.
Finally, I spent about an hour inside the cockpit. I put down enough padding to simulate the thickness of the seats to see how much head and knee room I was going to have. I also tried the control bracket to see how it affects my knee room. I ended up biasing it to the right so that the prop control is centered on the panel. This will give the passenger less knee room, but they’re not flying so it shouldn’t be that big of a deal. I also spent a bunch of time thinking about the placement of switches, buttons, etc. on the panel. The radio stack will be centered with the SkyView displays as close to the stack as I can mount them. This should leave room on the left for a TruTrak Gemini and some switches. There will also be some switches below the SkyView displays and a few other odds and ends on the right side of the panel. I’ll lay this out more precisely eventually.
