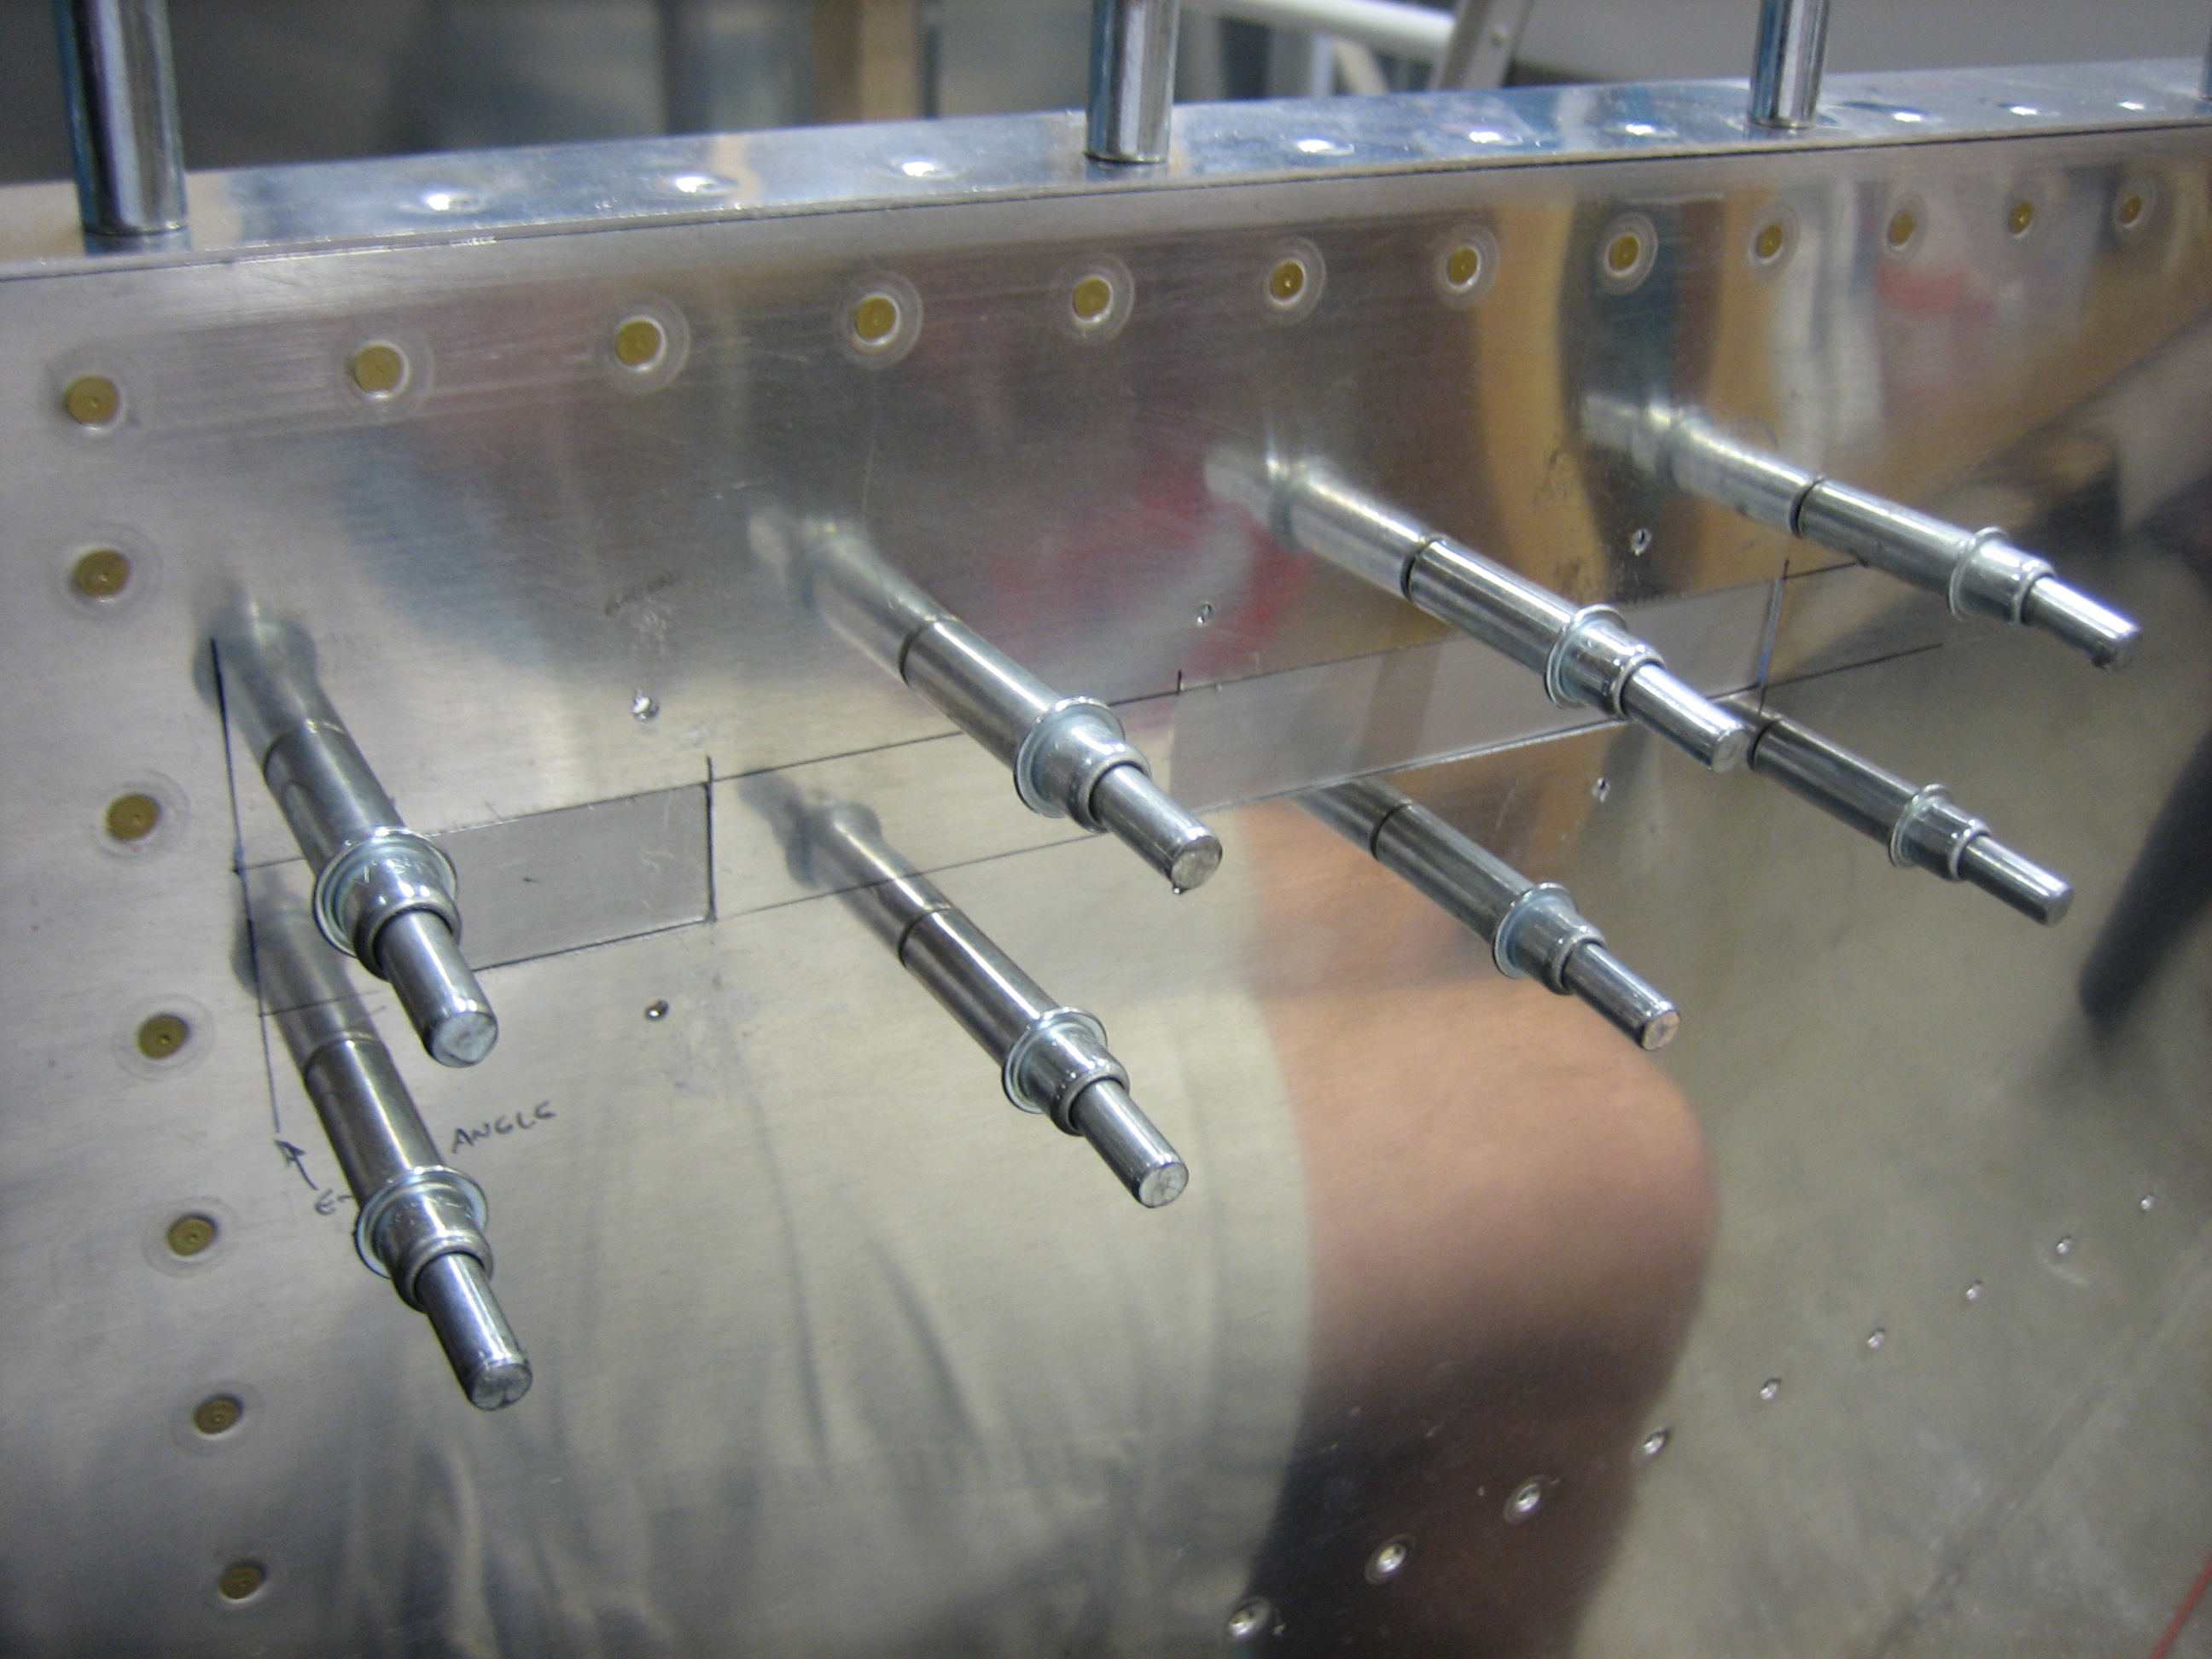
I laid out and drilled the holes on the attach angles. I also put four layers of blue painters tape between the angles and the latch pieces. These add about 0.018″ of clearance between the pieces to make room for the 0.016″ thick UHMW tape that will be installed in the completed assembly.
I then clamped the latch in place.
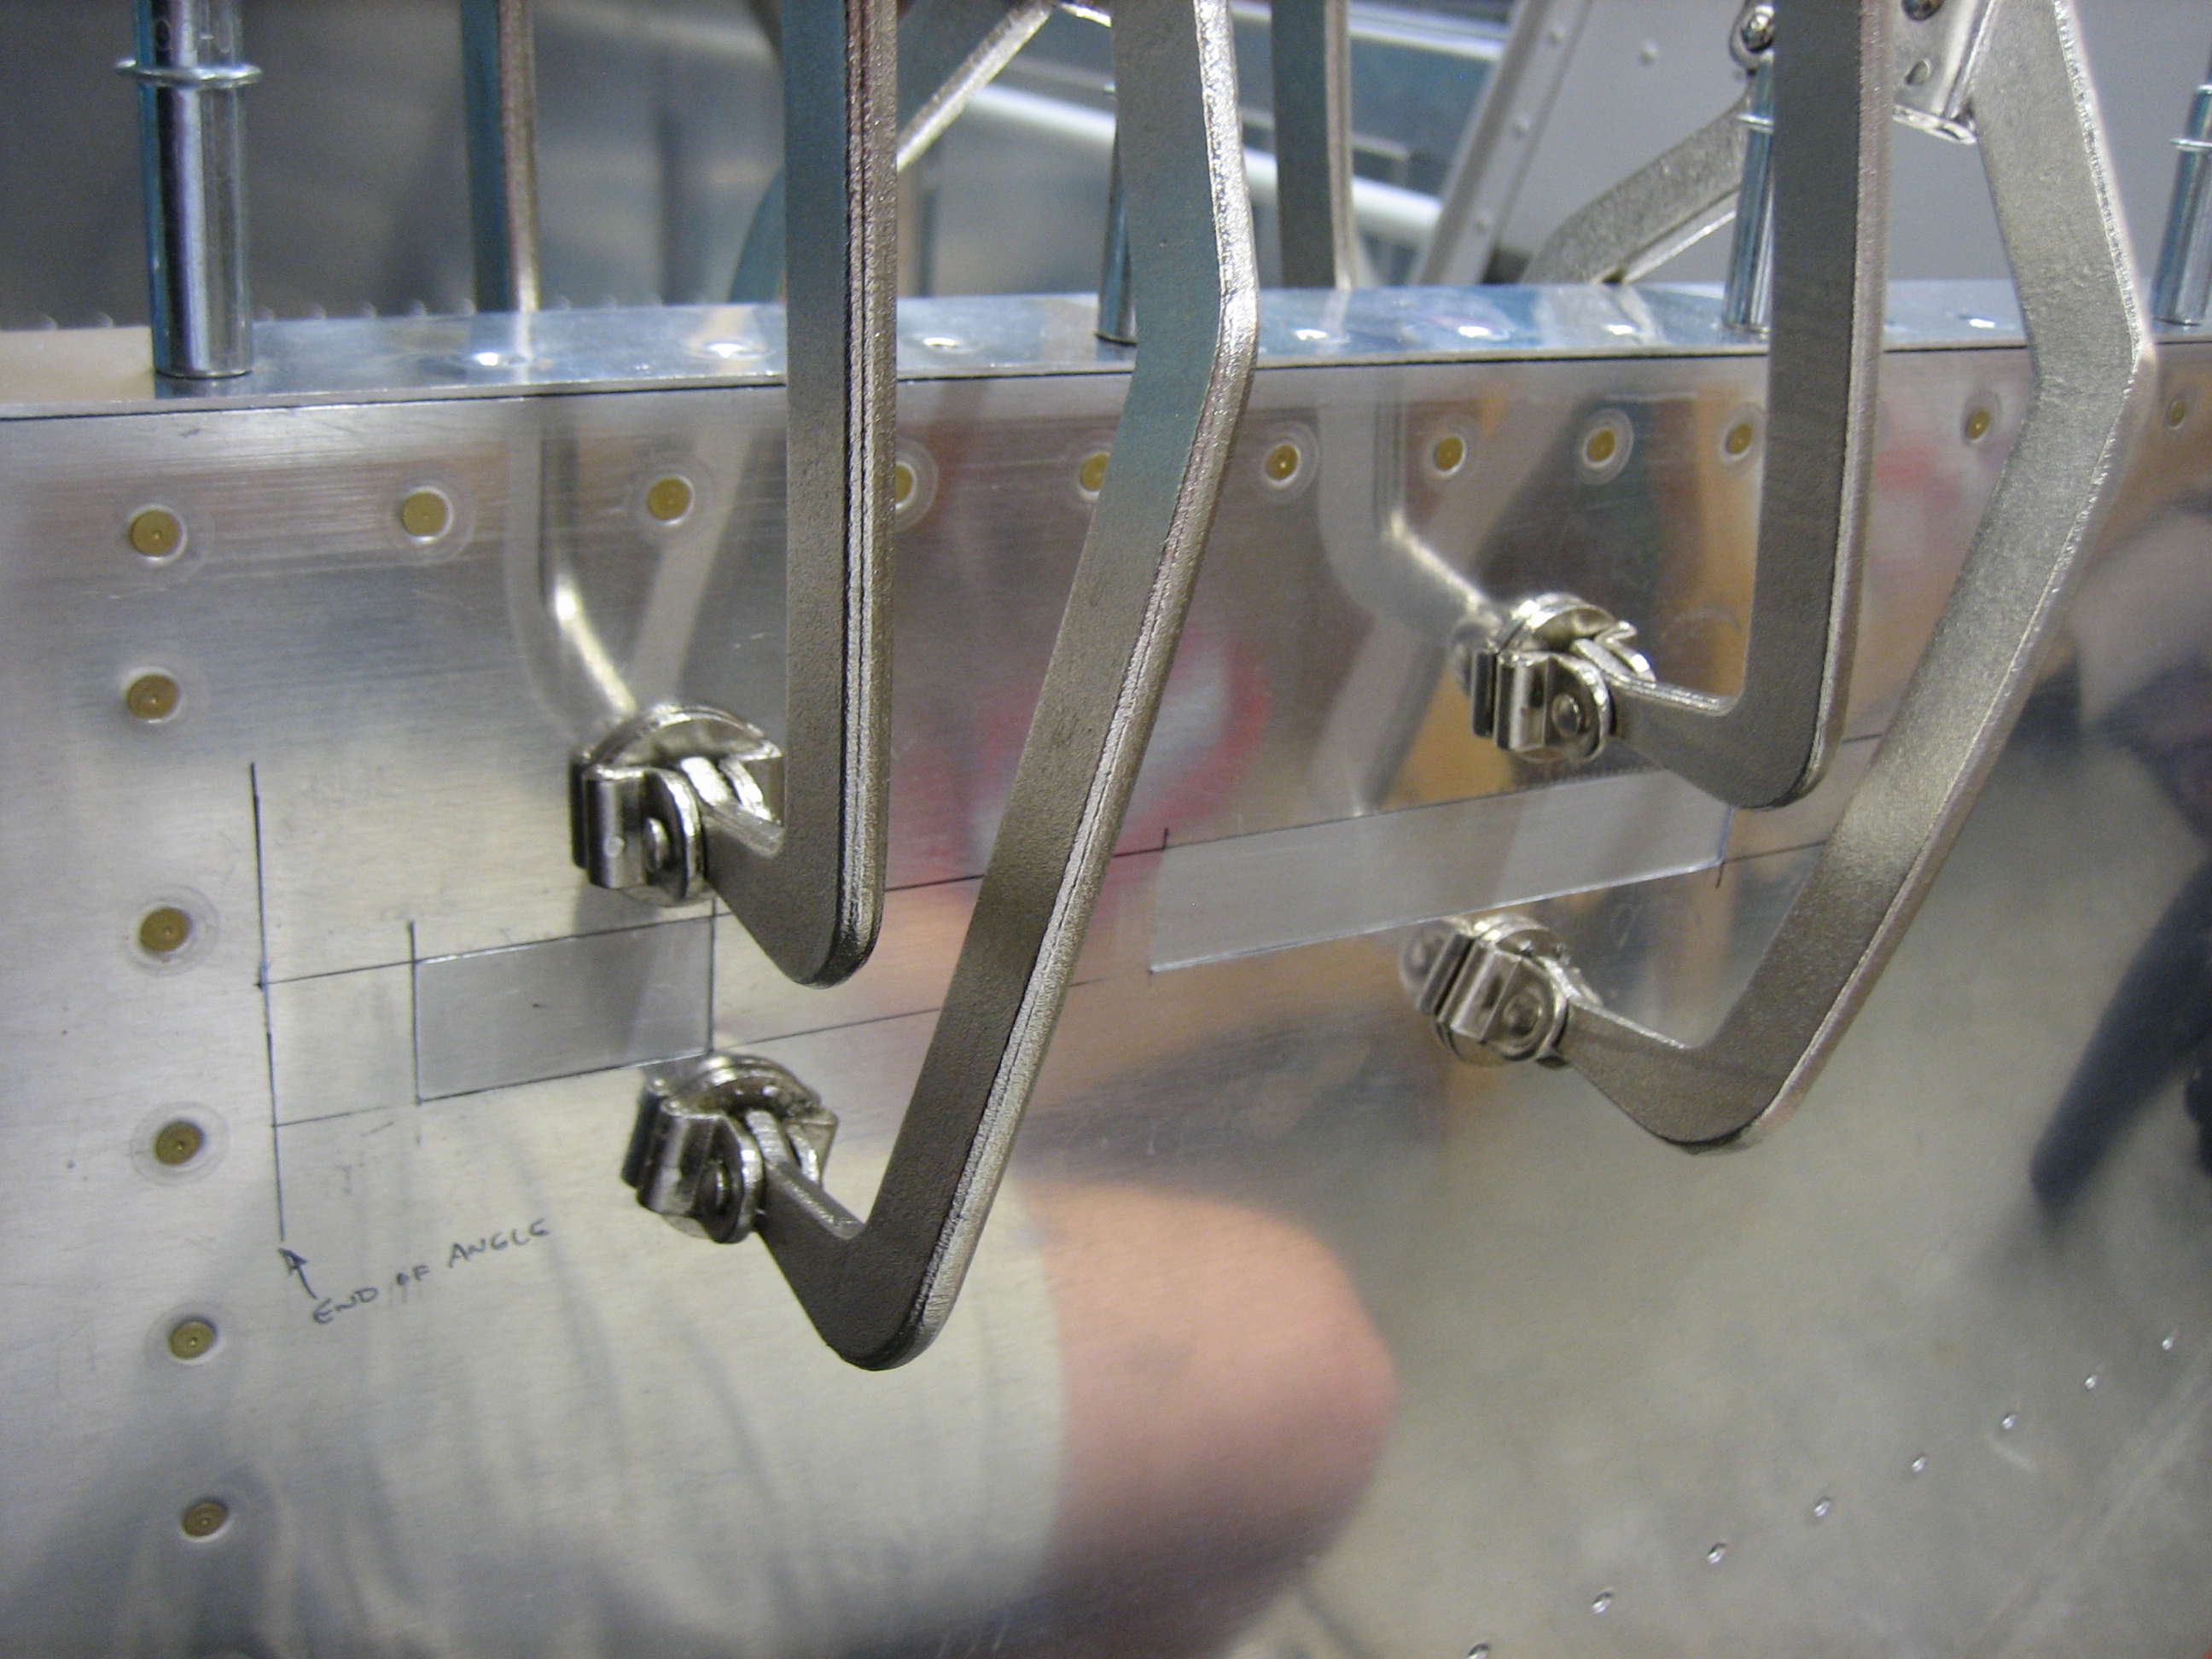
And backdrilled through the skins. This is the opposite of the way the Van’s plans specify, but it ensures that the latch is perfectly centered in the slots and the holes are centered in the attach angles.
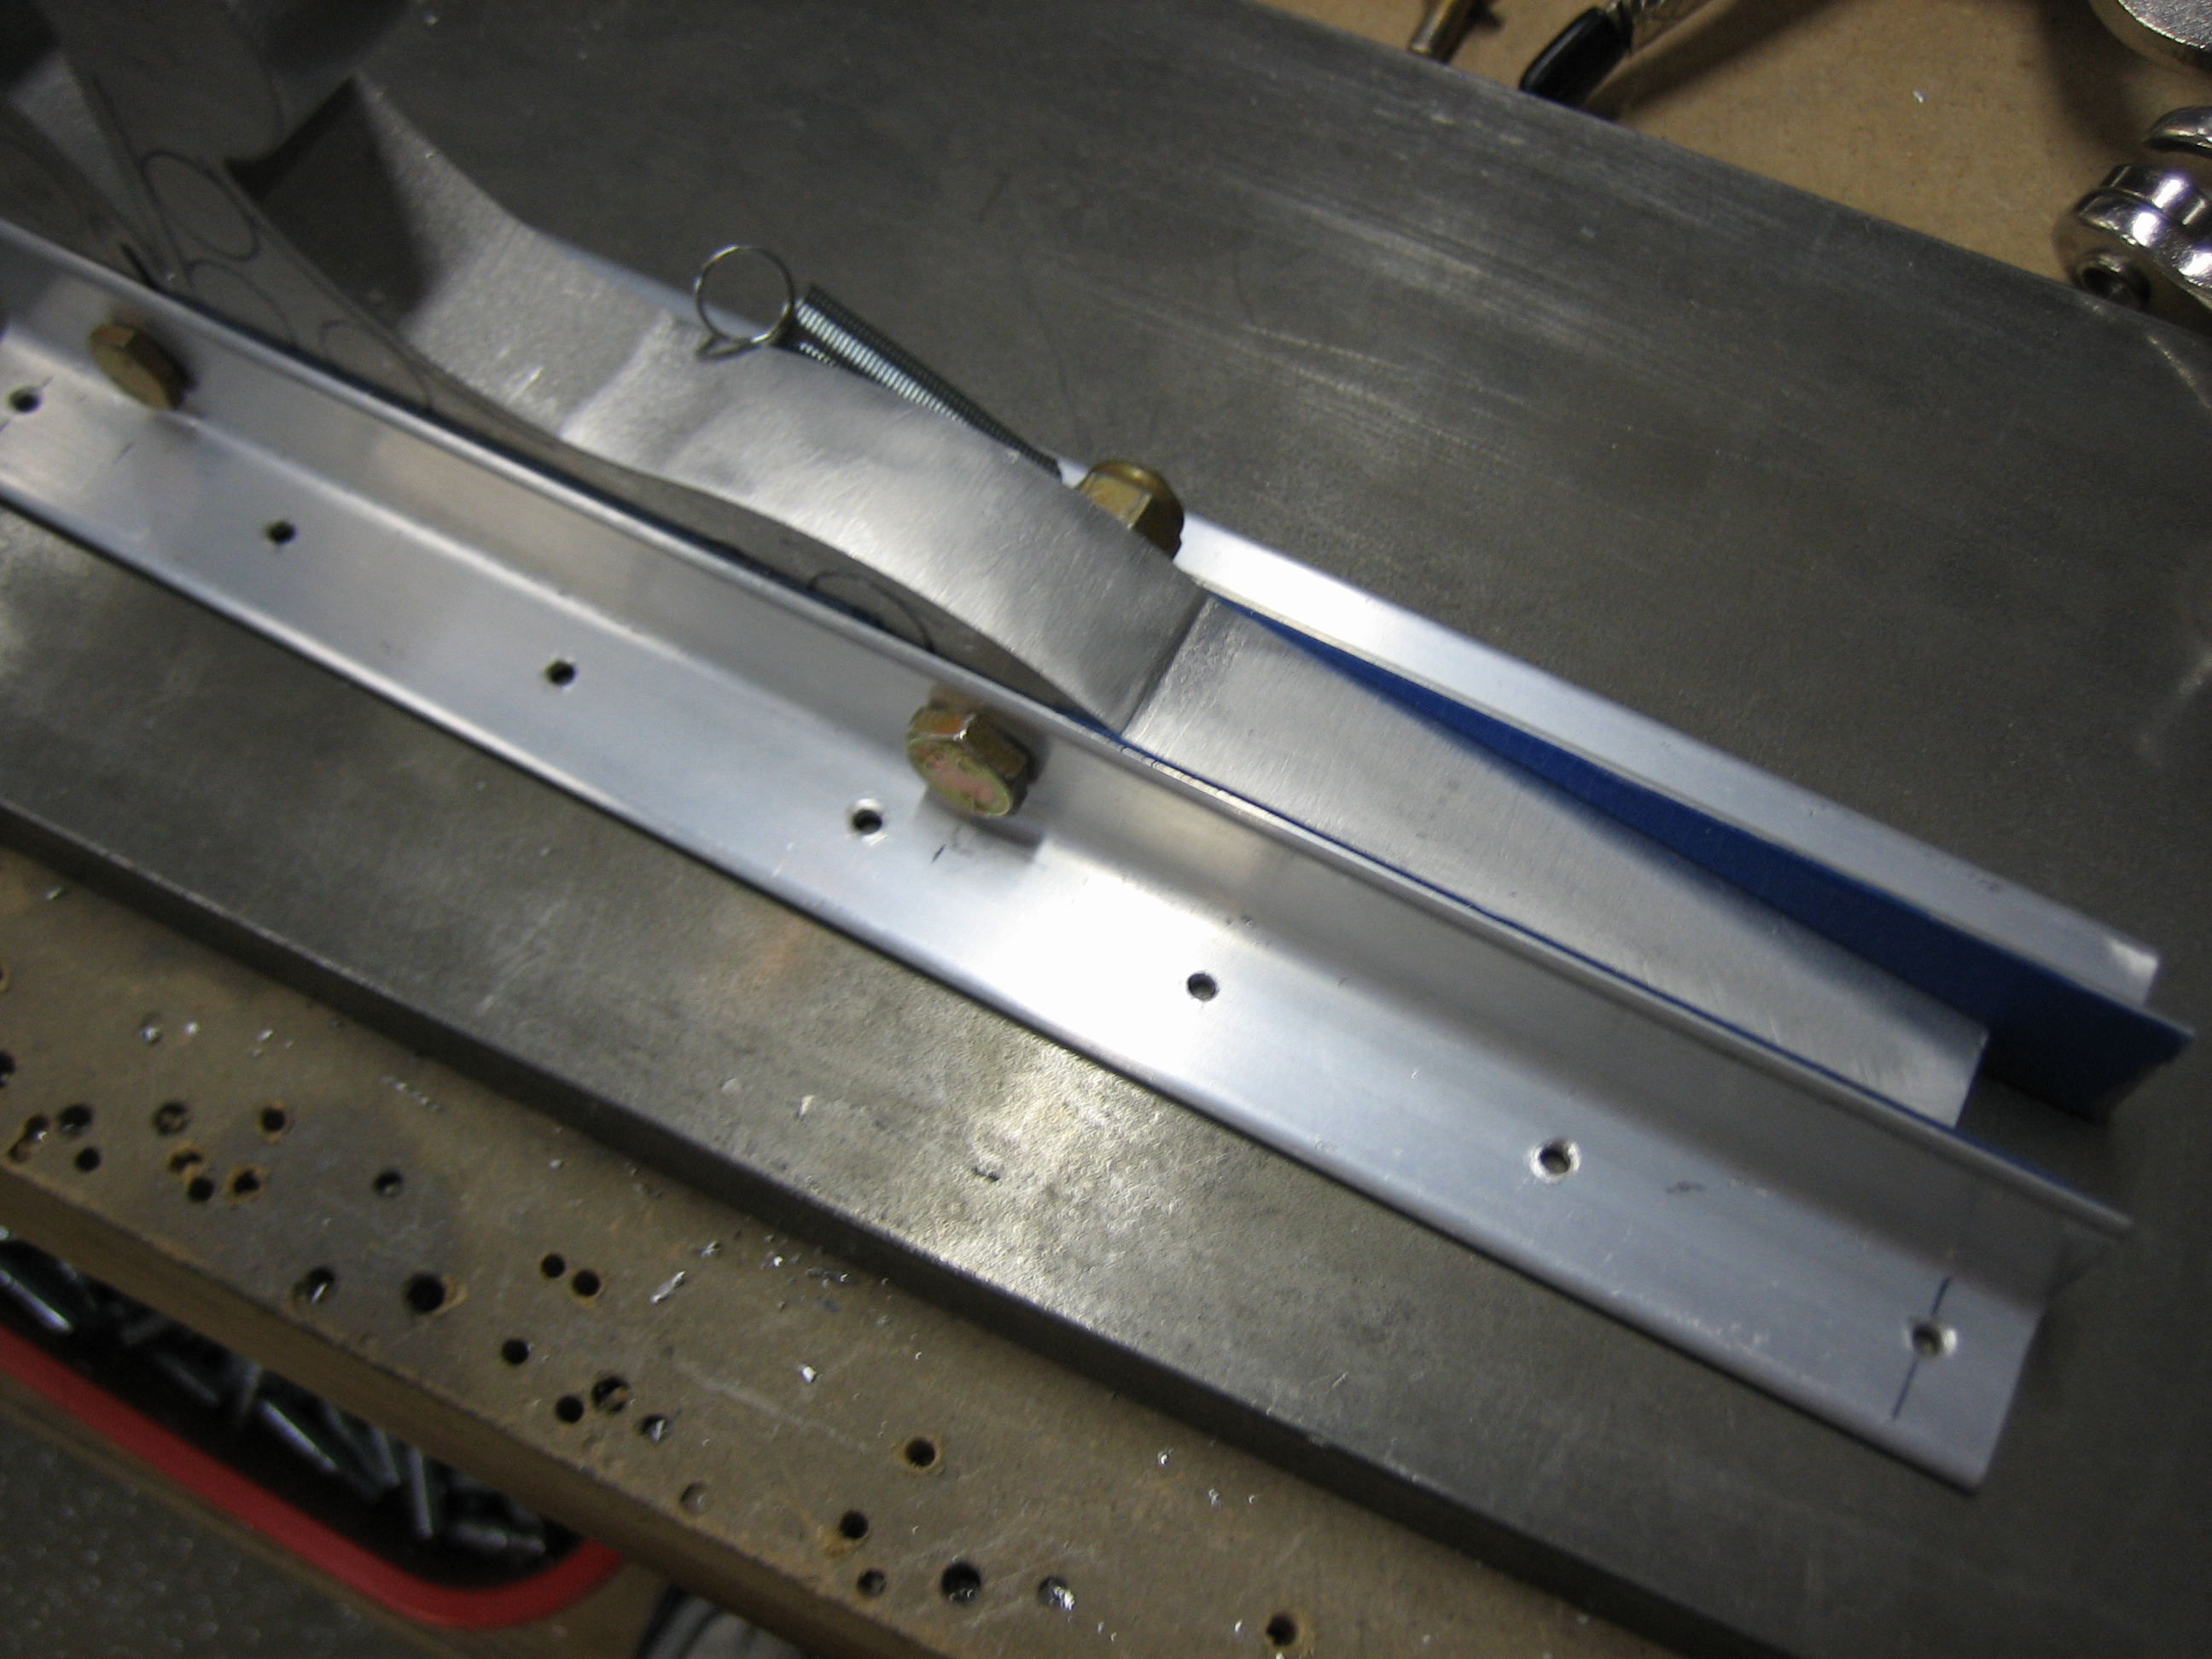
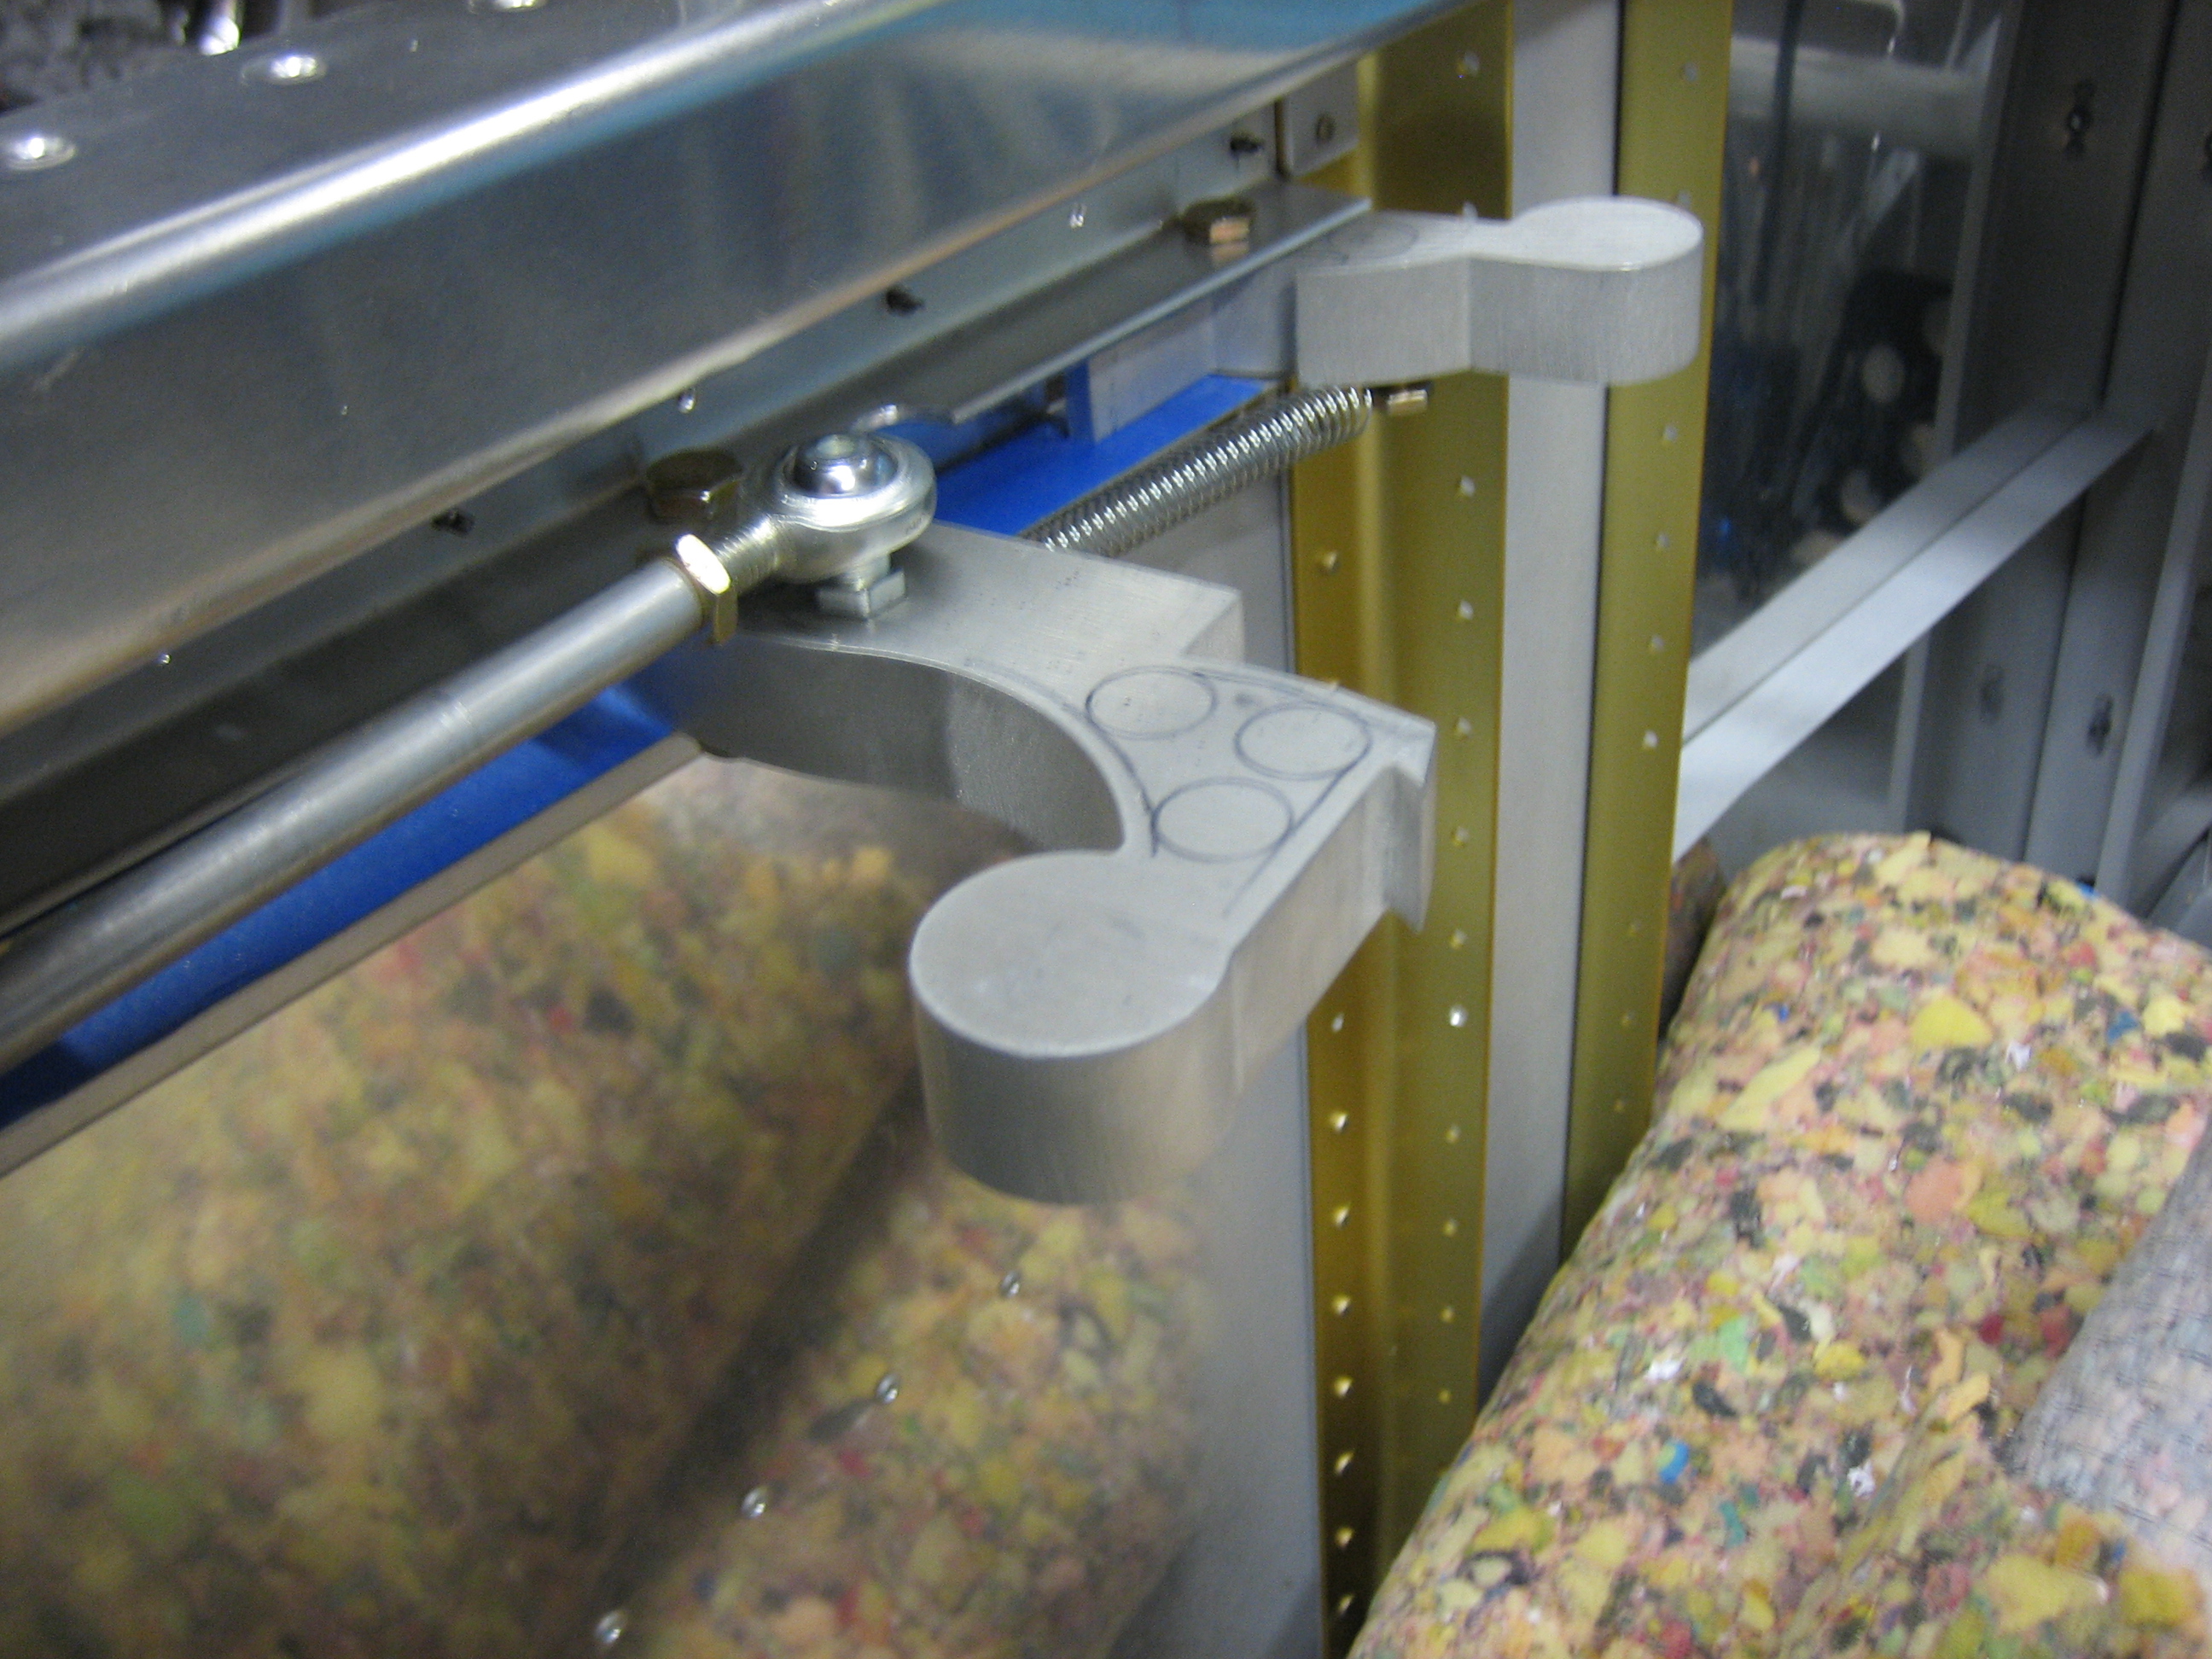
Finally, I fabricated the connecting rod that ties the latch handle to the idler. I ended up needing to make mine about 1/8″ longer than the plans specify. The tube has to be cut to length and then the ends tapped out to 1/4-28 for the rod-end hardware.
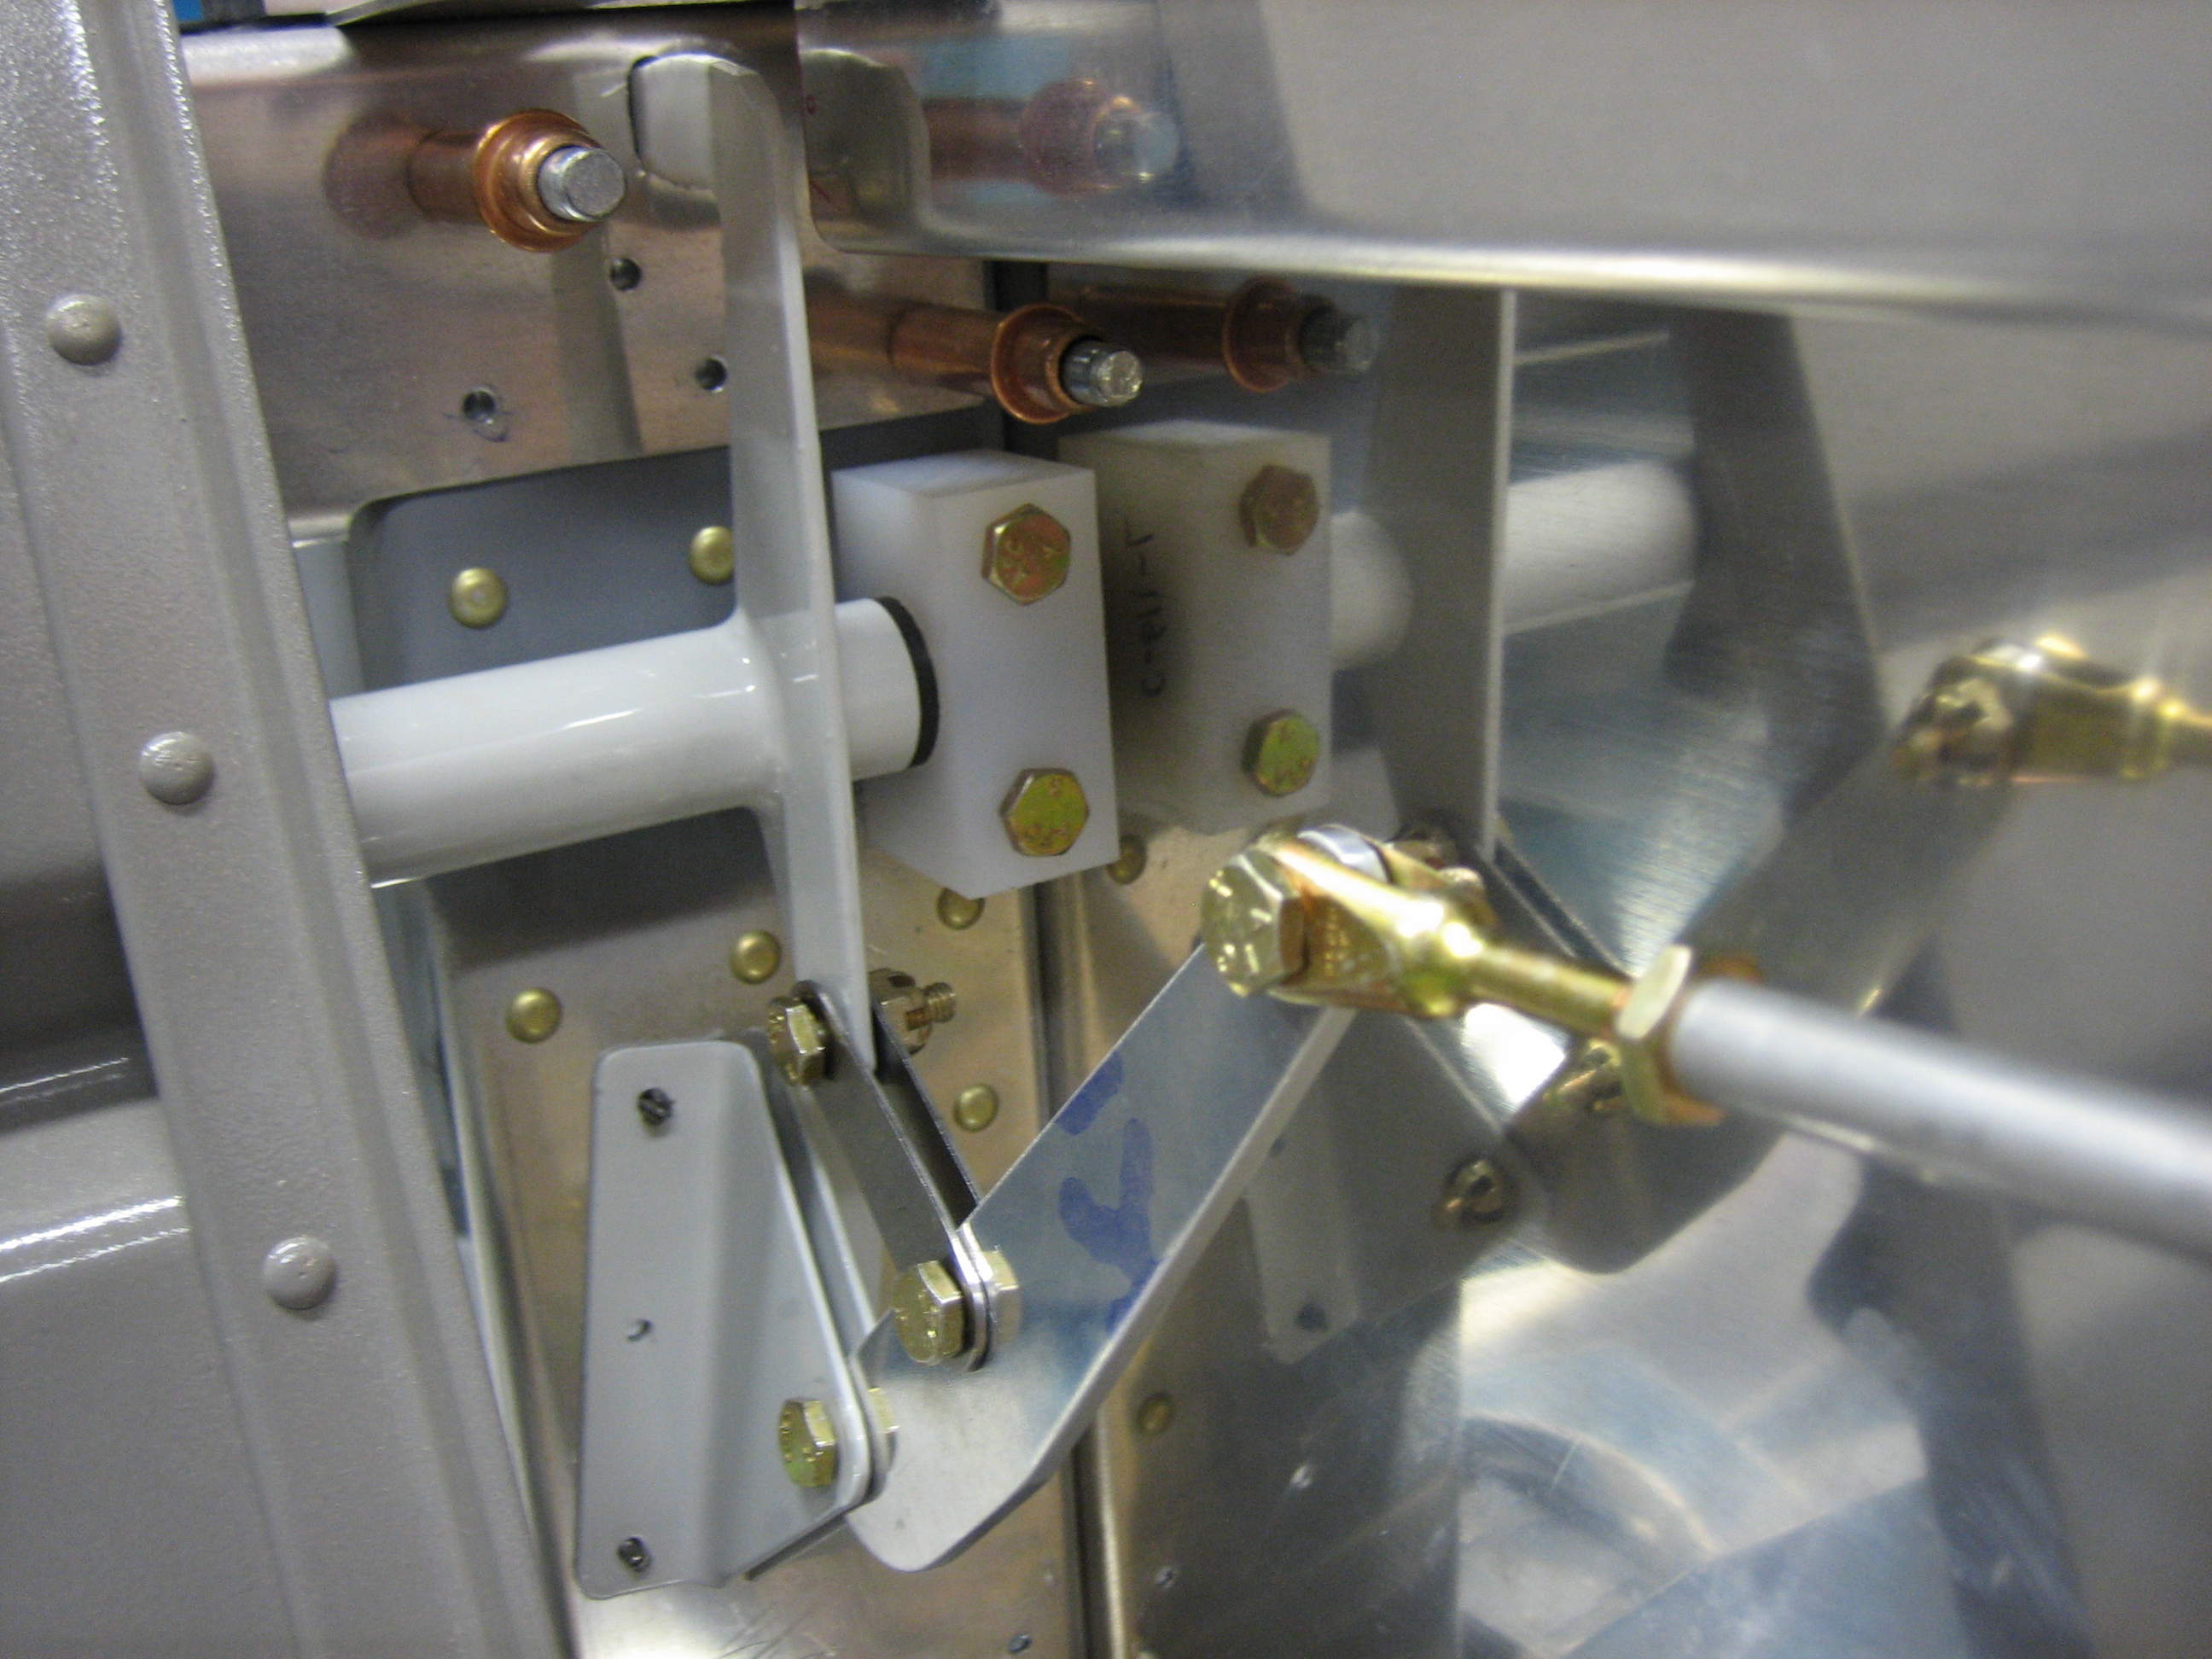
Here’s a closeup of the handle end. You can see how I had to notch the upper attach angle for the rod-end.
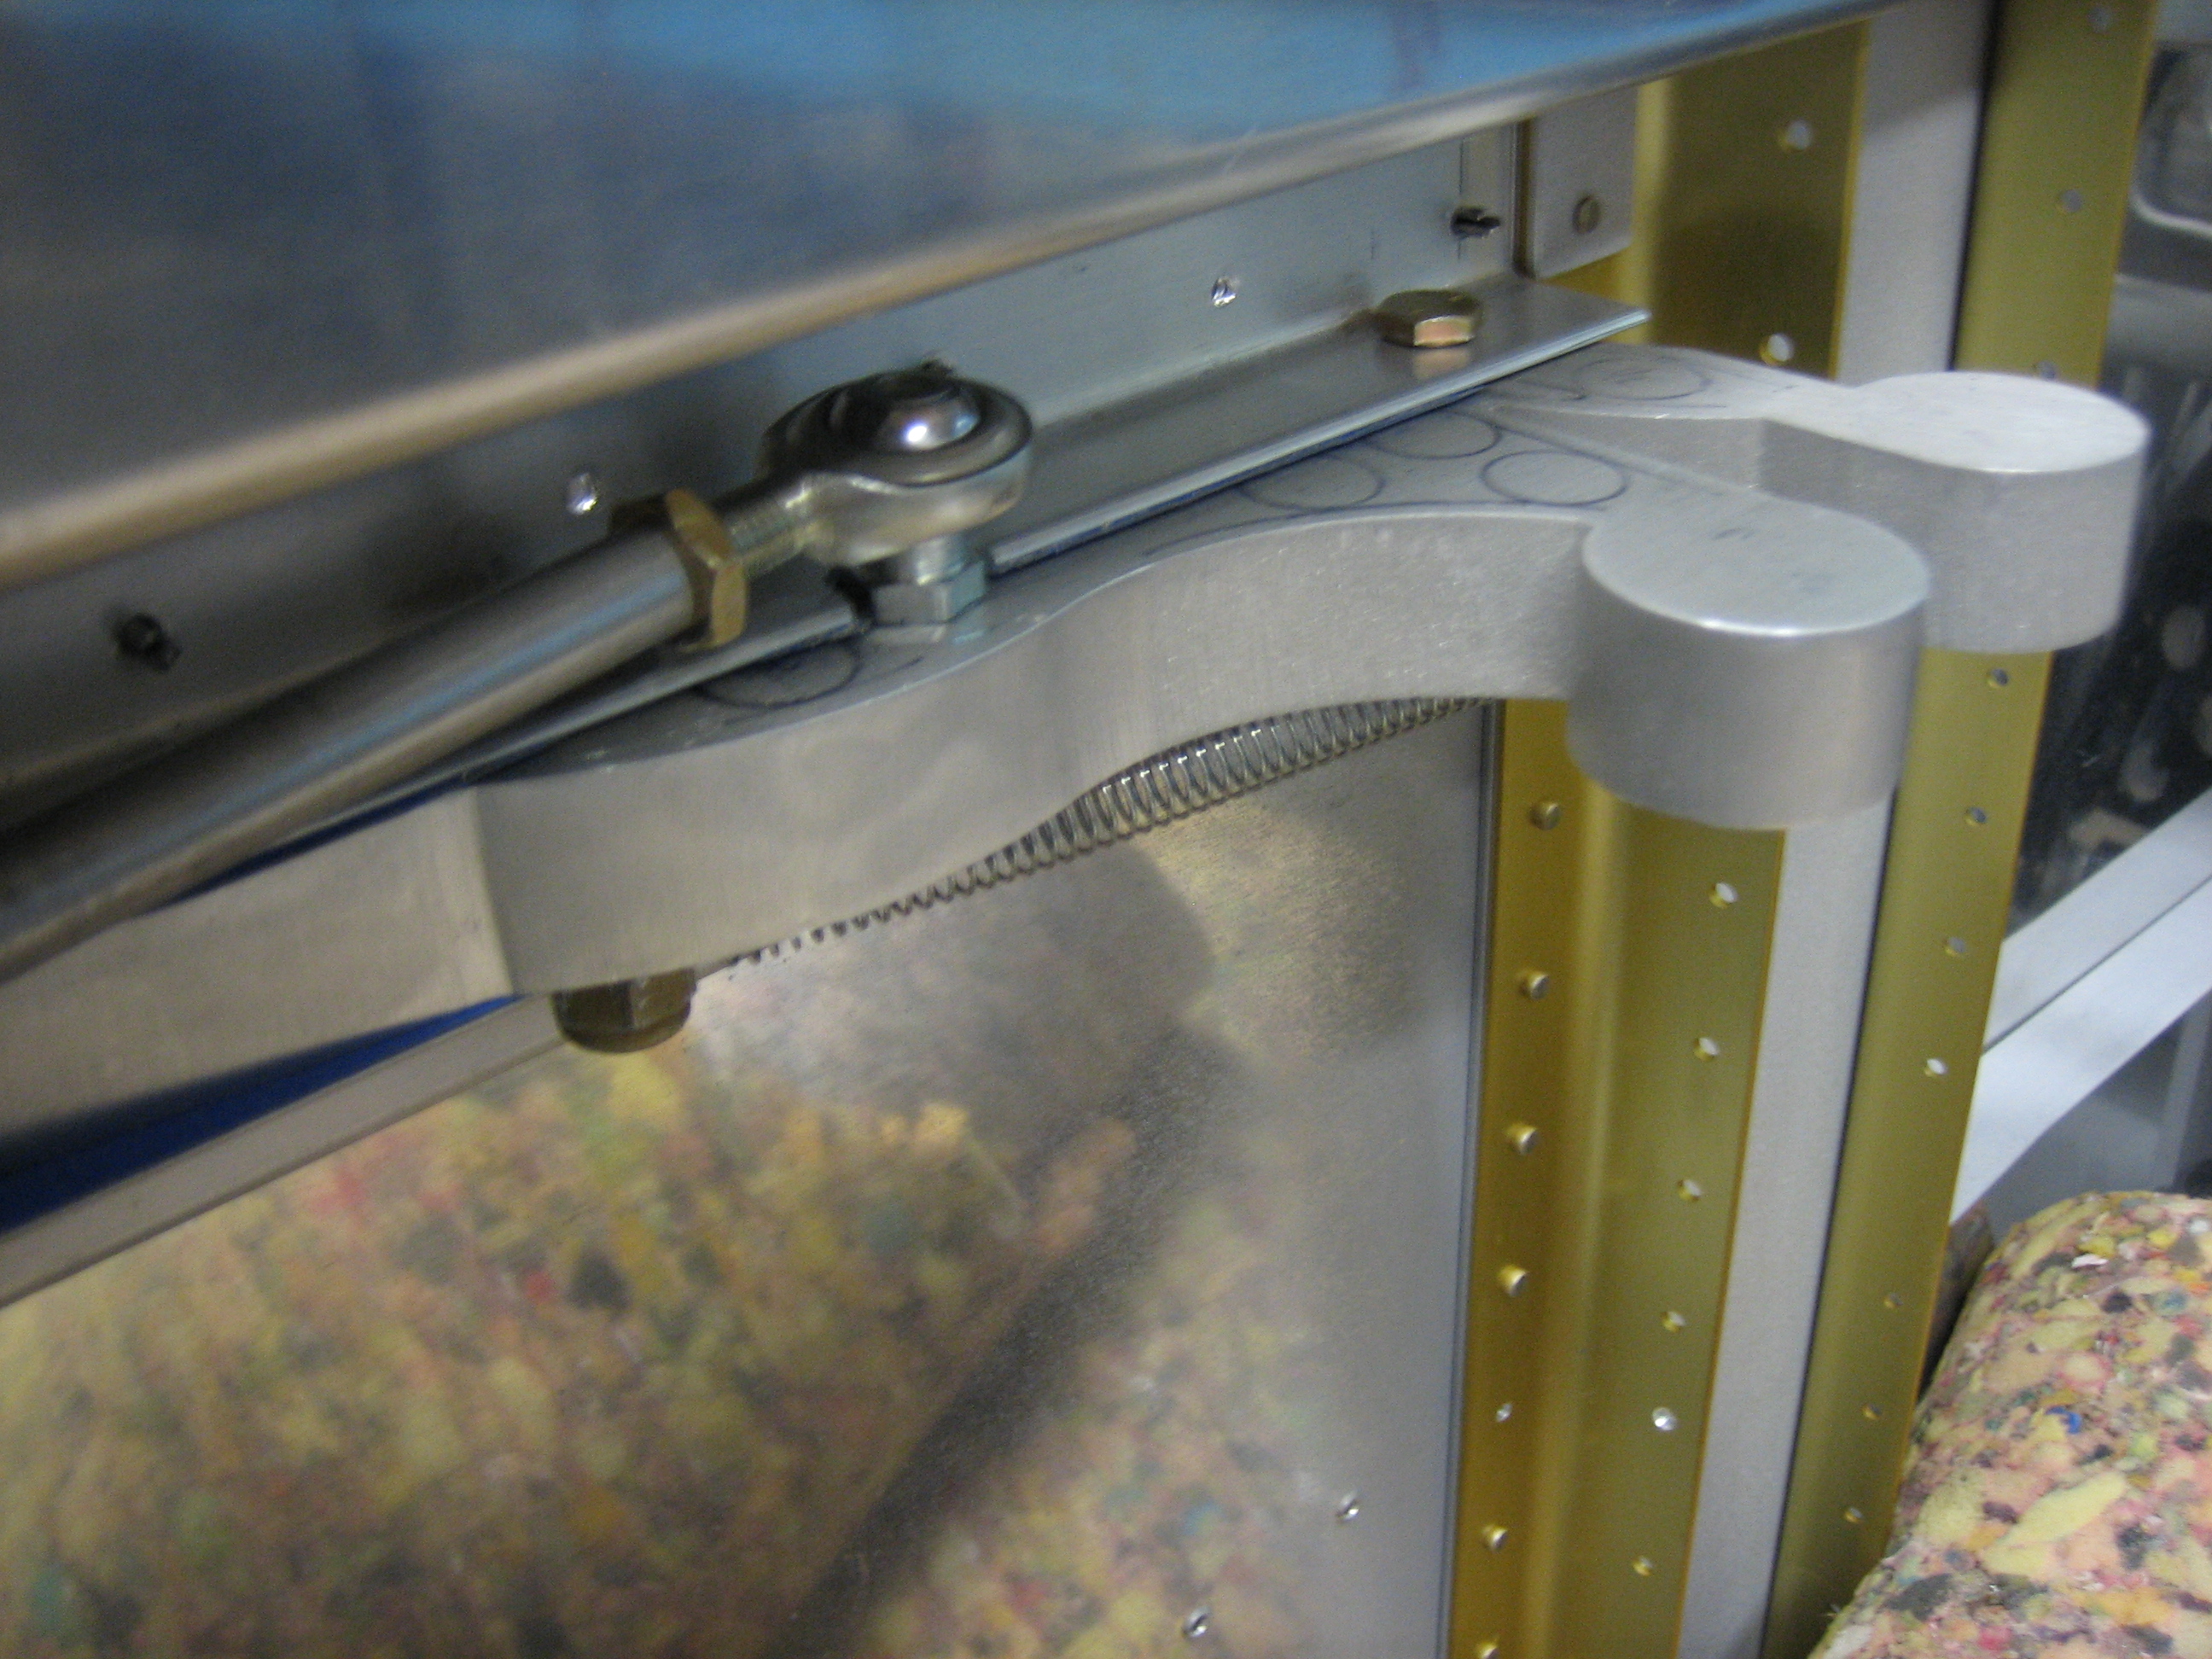
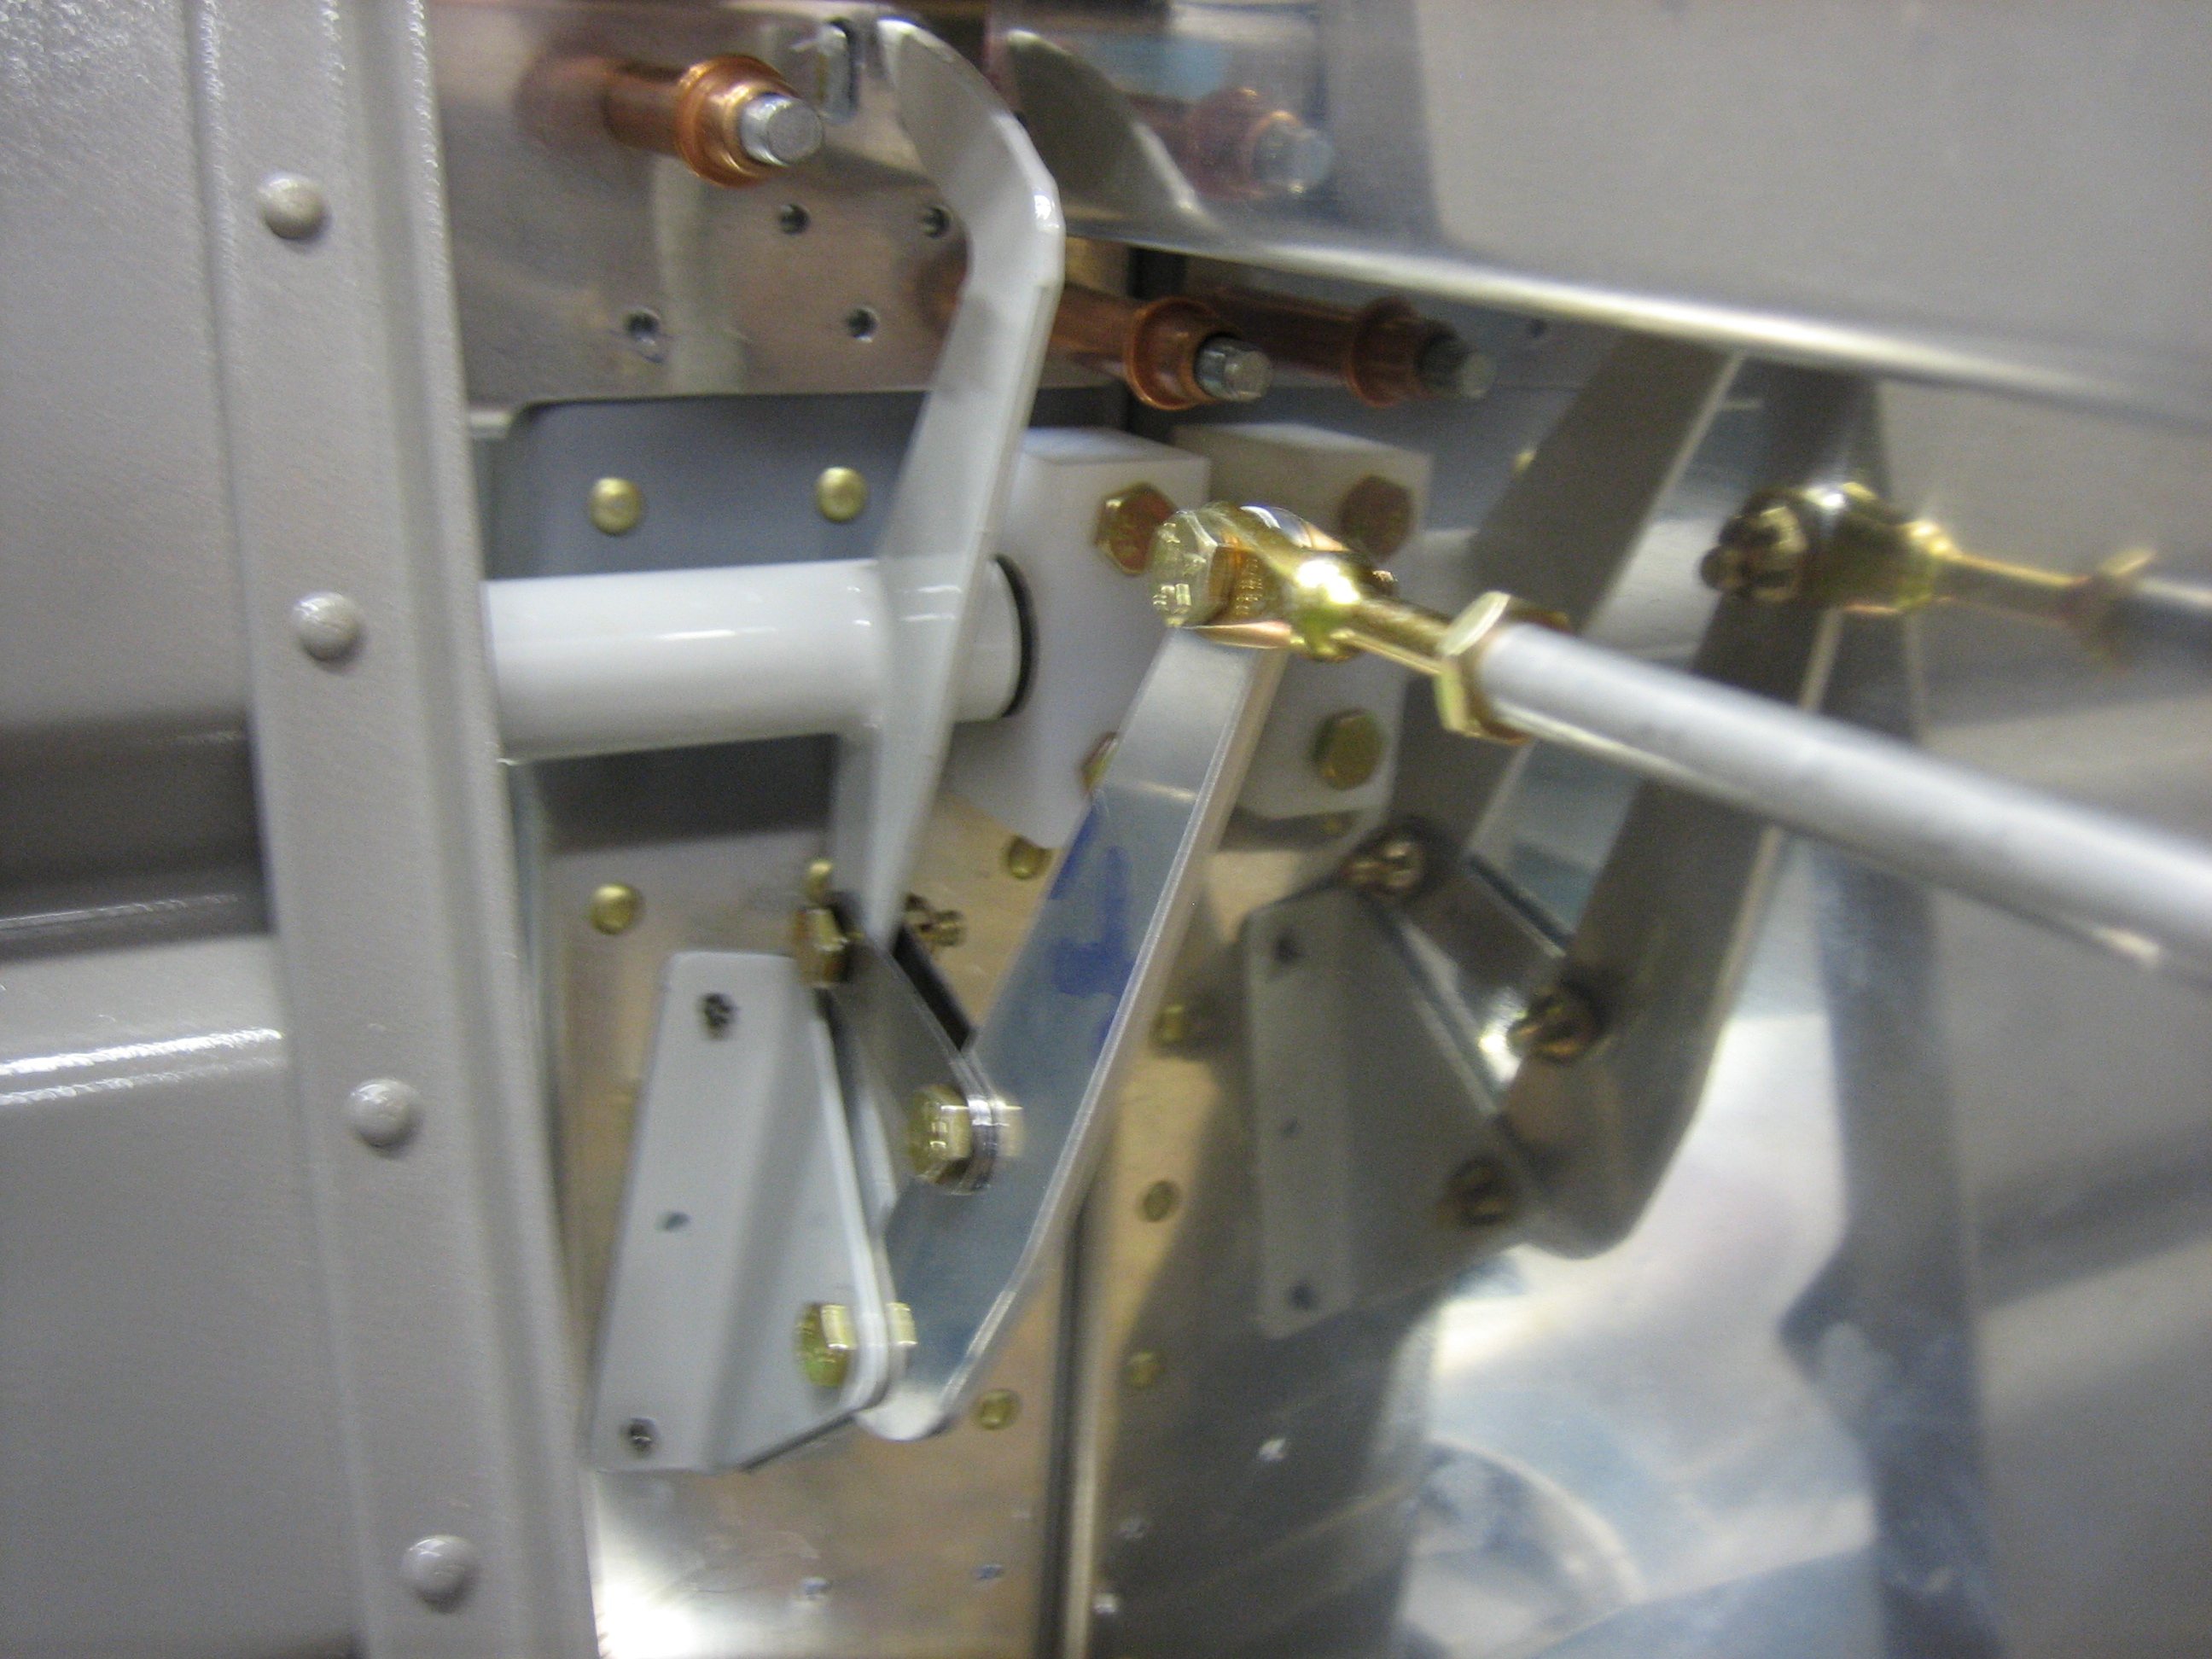
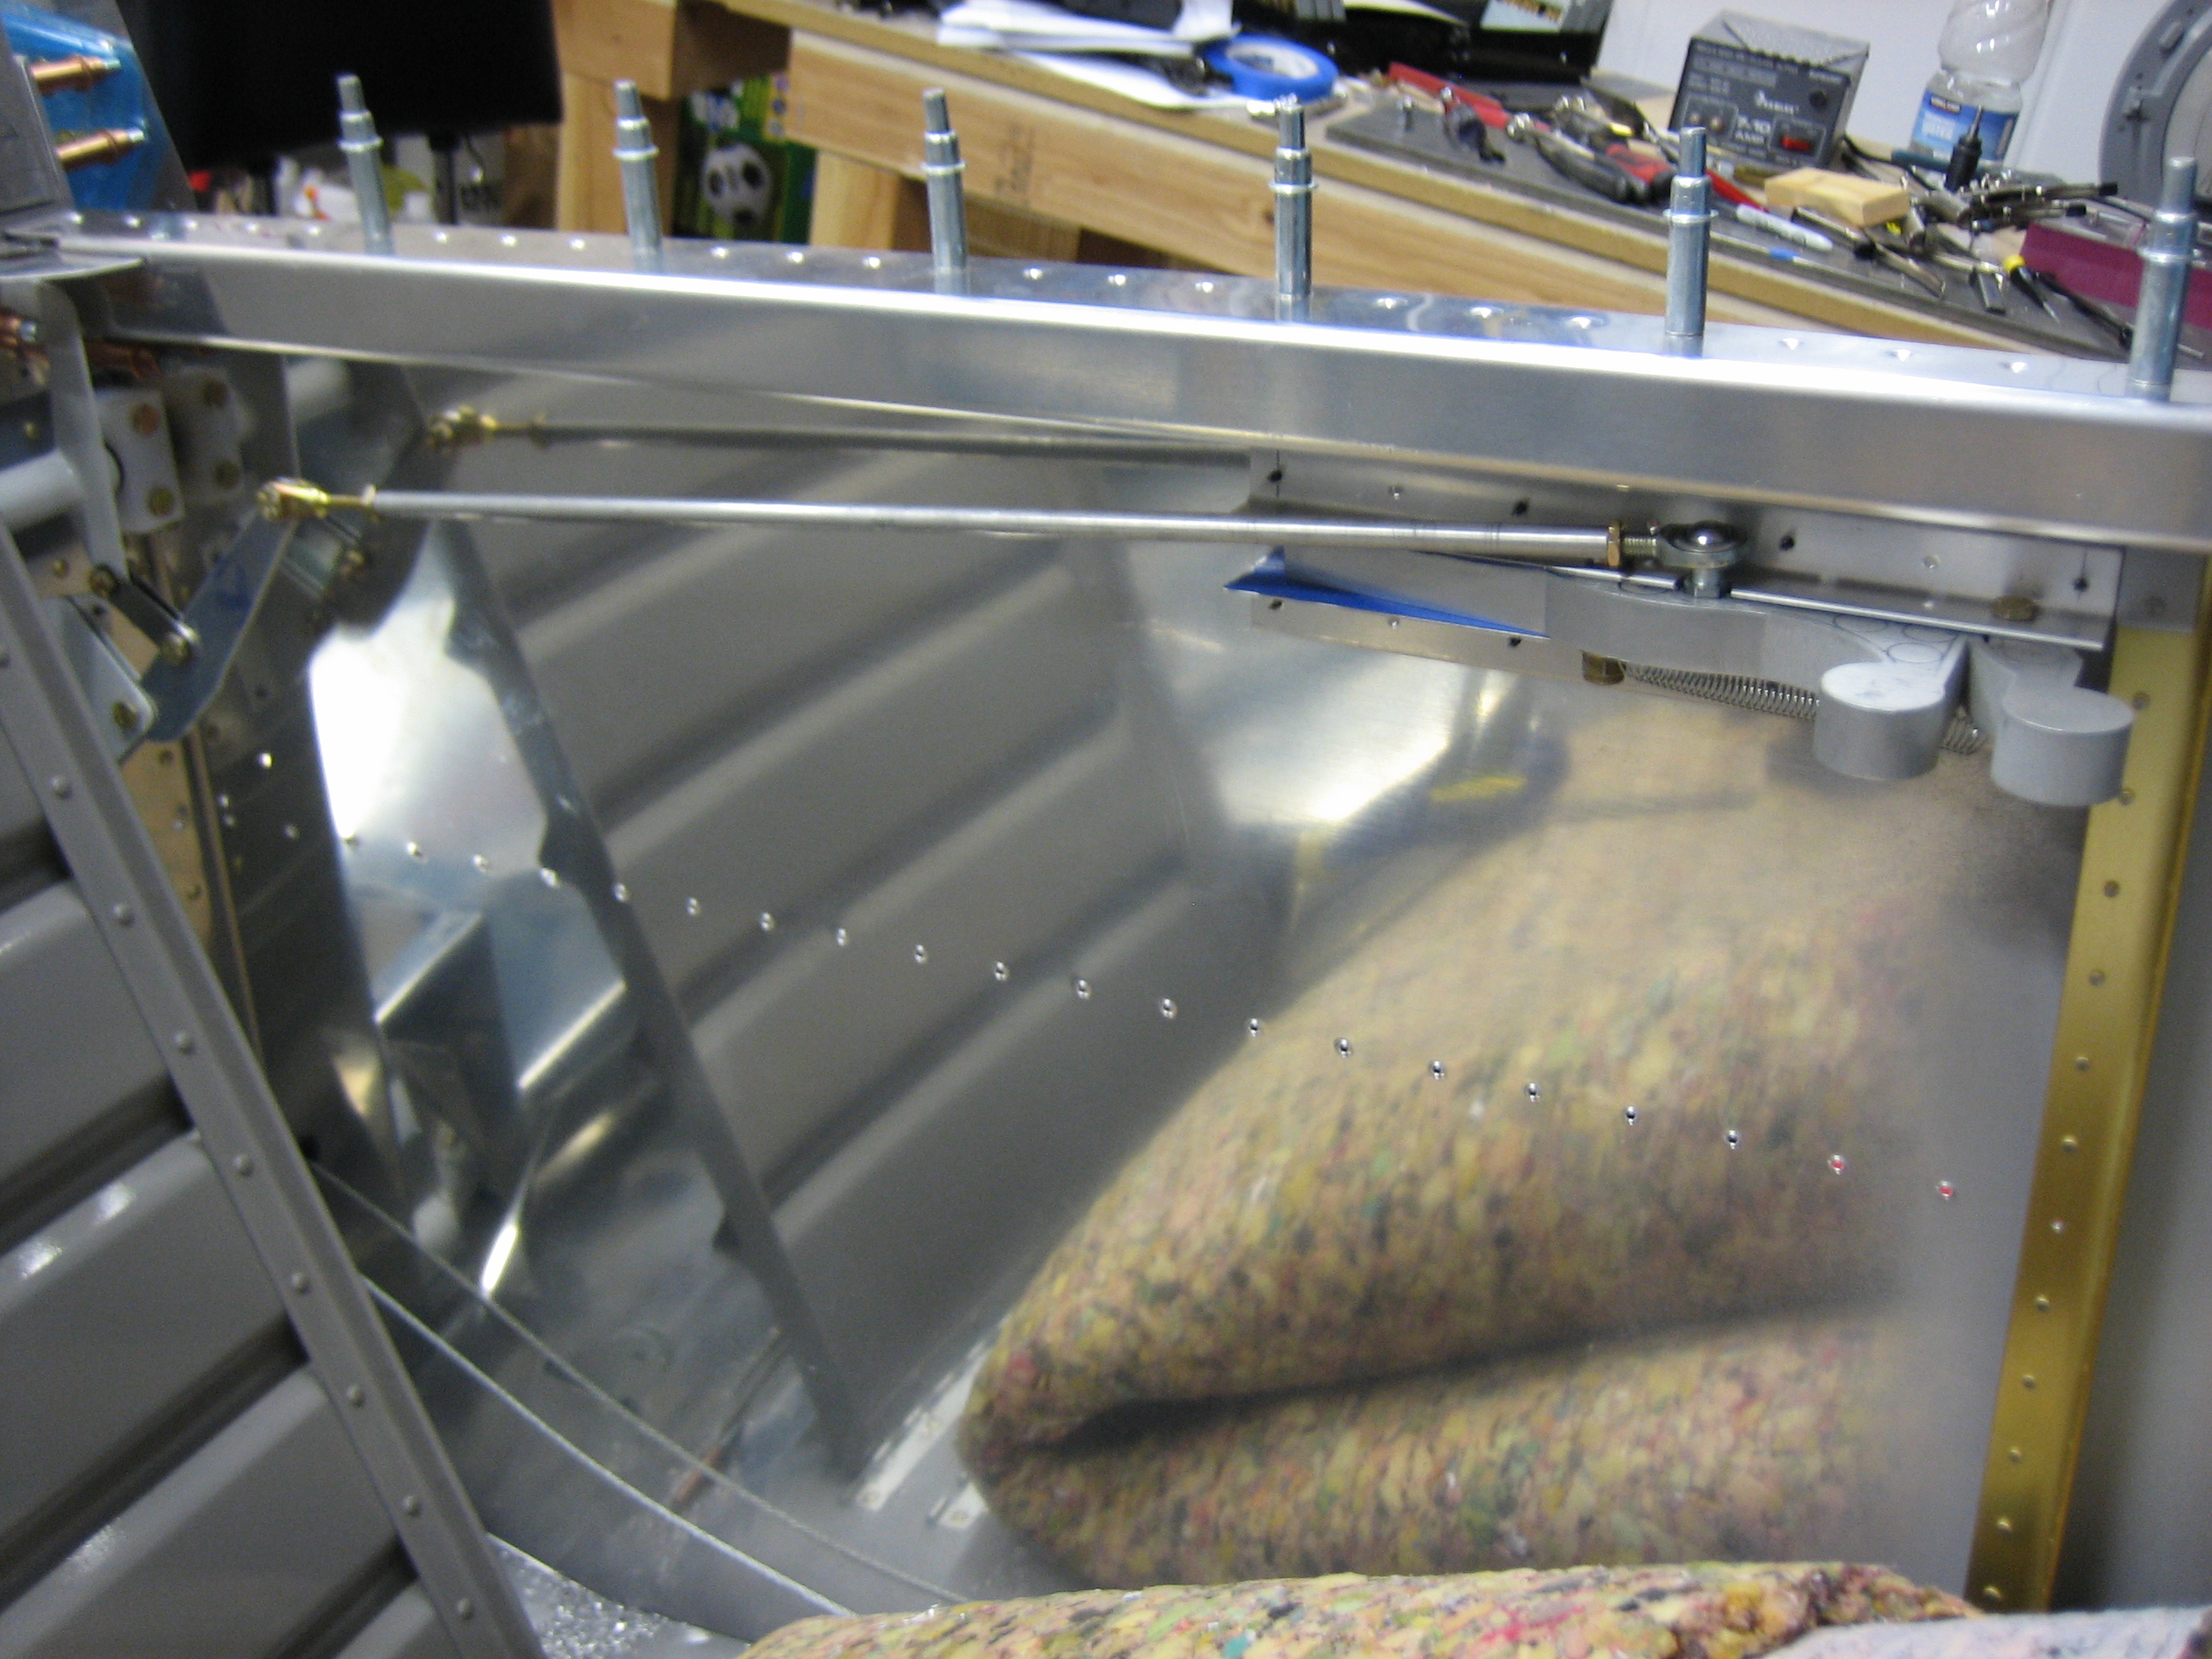
With the handle in the closed position, you can see how the idler is pulled forward which pushes the latch finger into the slot on the bulkhead.
Here is the latch handle pulled back all the way.
With the latch handle pulled back, you can see how the idler is pushed back which pulls the latch finger forward.