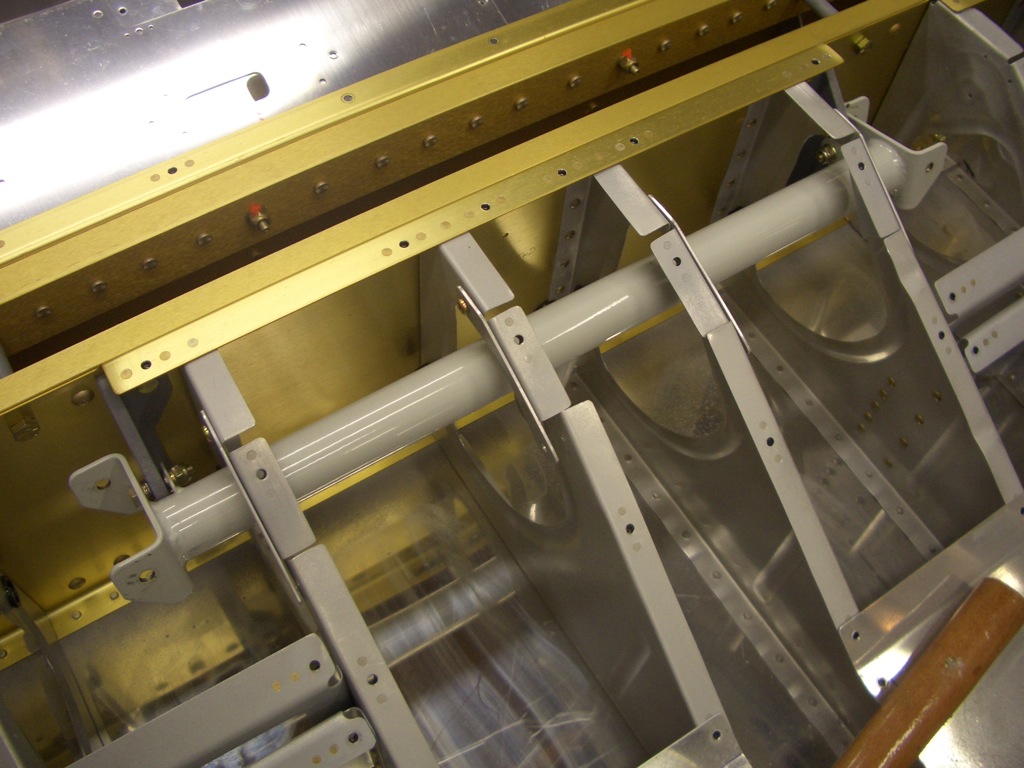
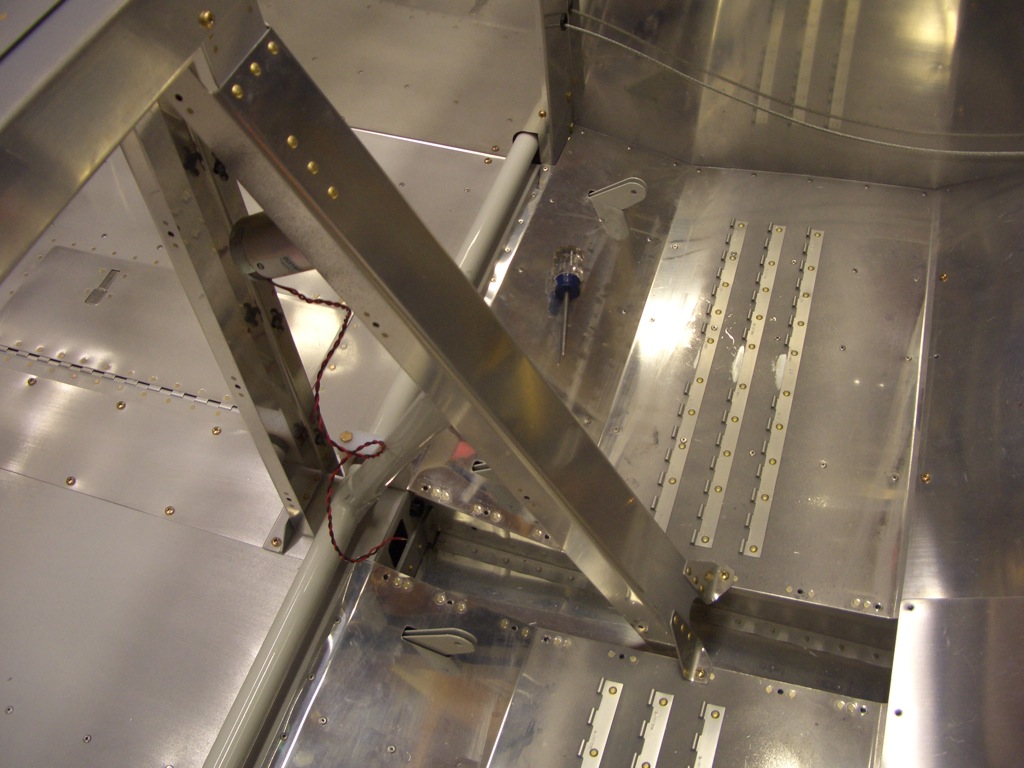
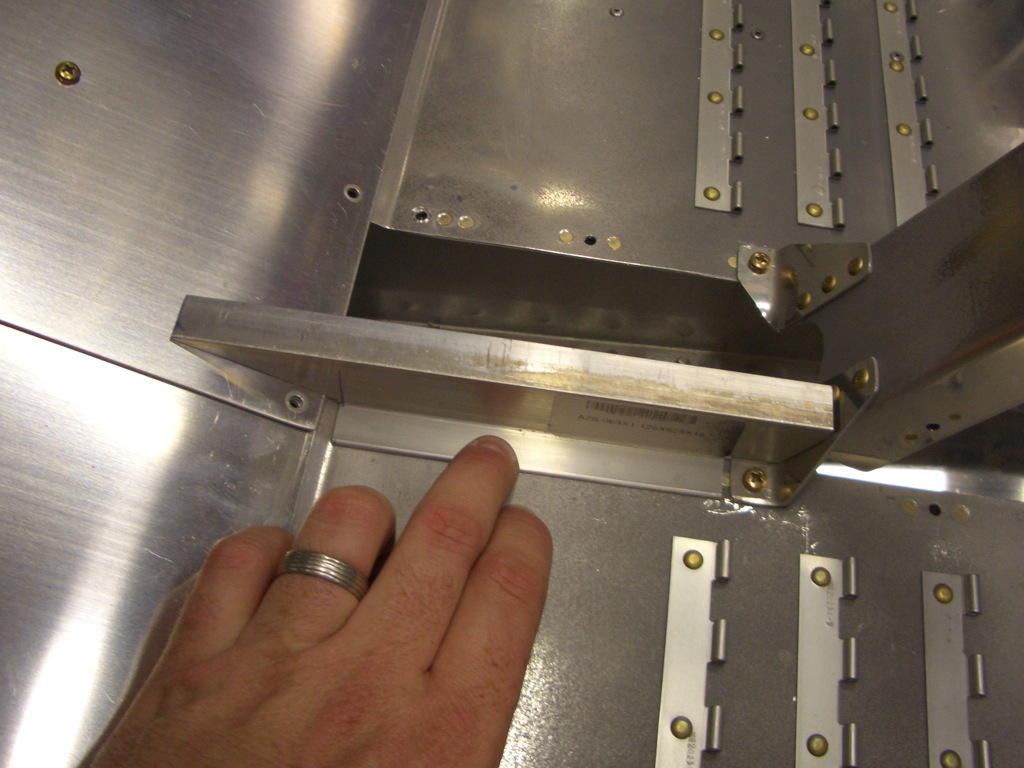
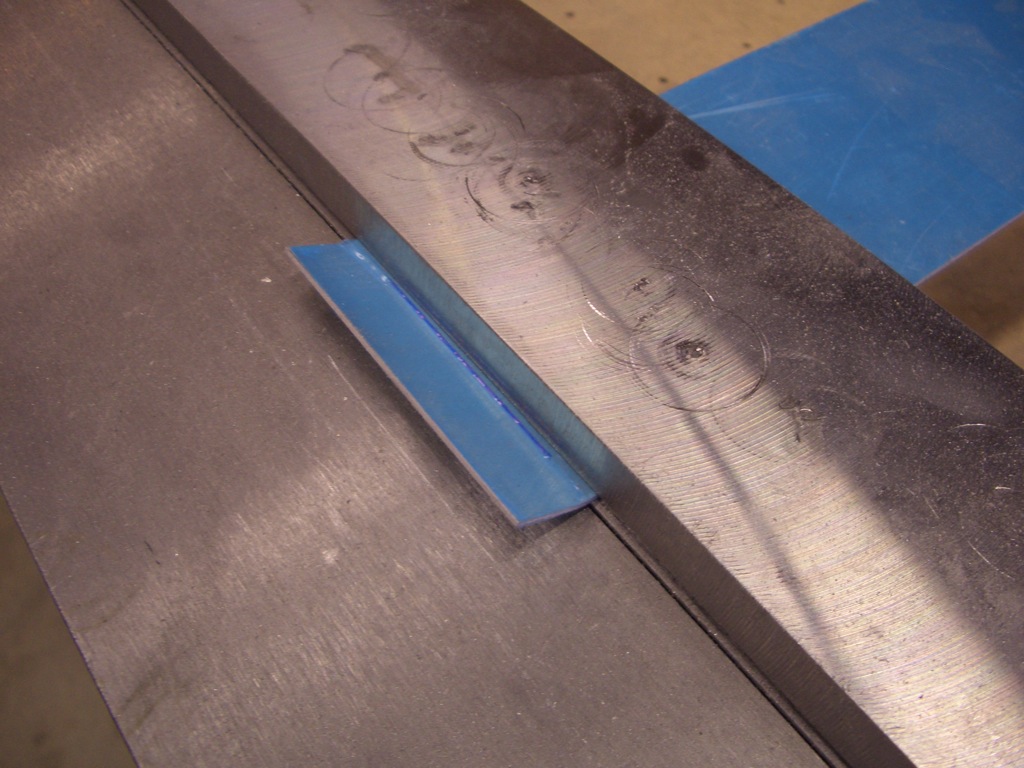
I bent the forward edge of the center cover top upward to match the slope of the forward seat pans. This bending brake has come in handy for a lot of things in the build.
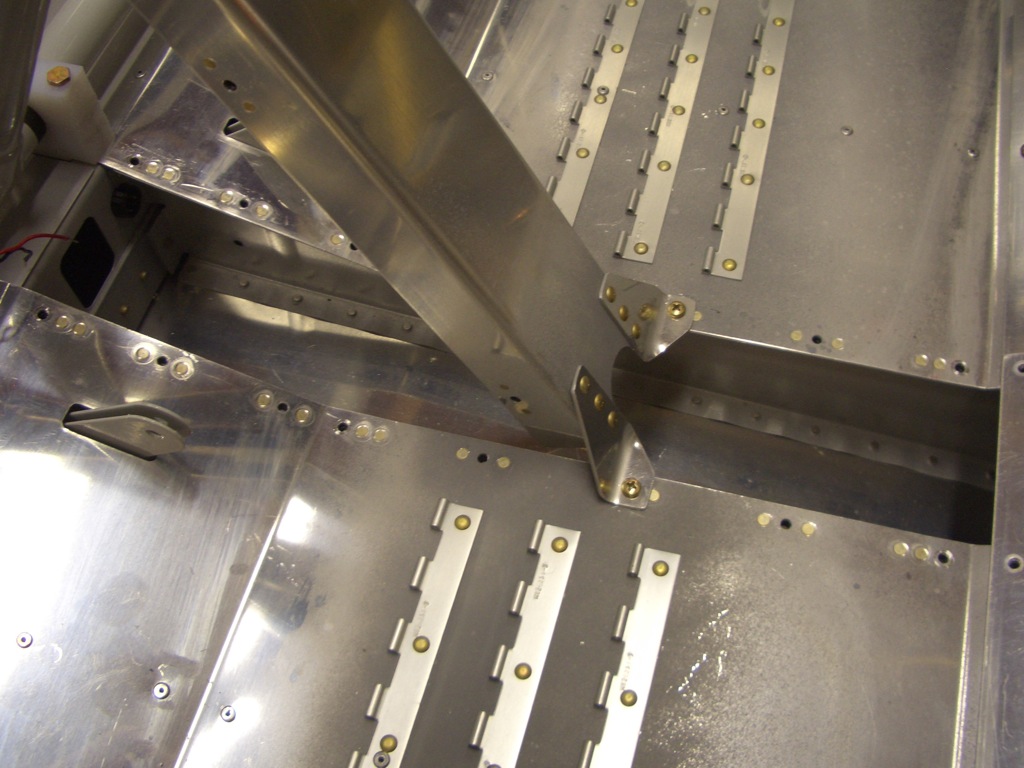
I drilled the top to the side z channels. I intentionally drilled the top to the channels prior to drilling the channels to the floor so that I could ensure the top edges line up perfectly with the apex of the channels.
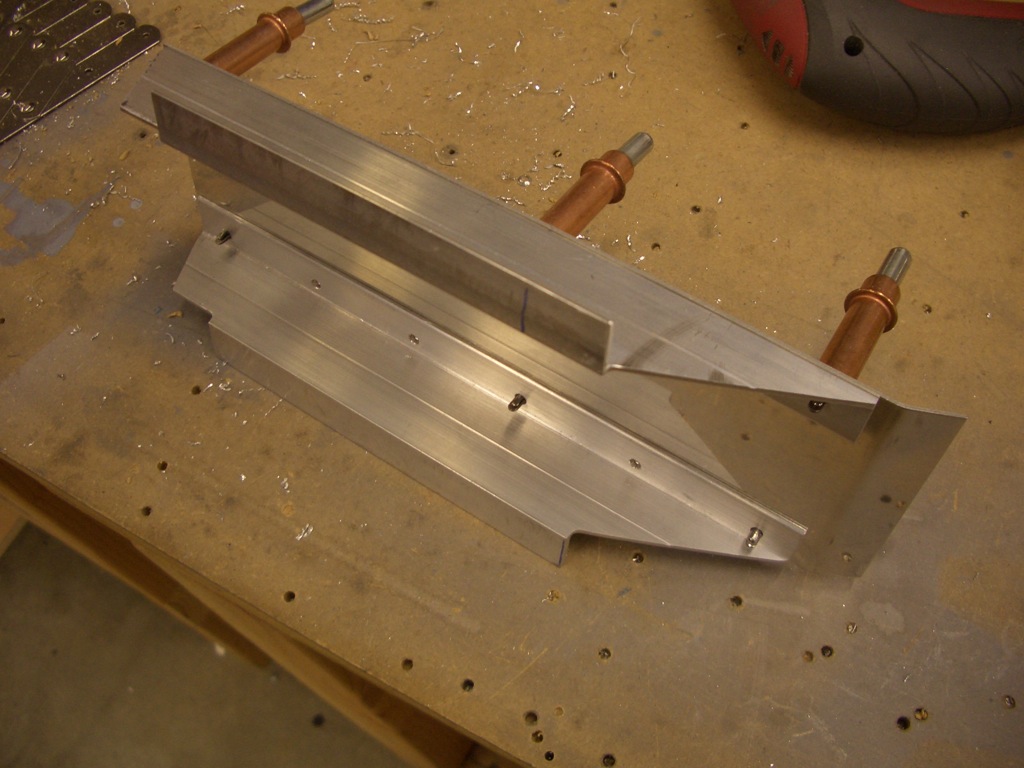
I had to sand/file away almost 3/8″ from the back edge to get this to fit down flat against the floor.
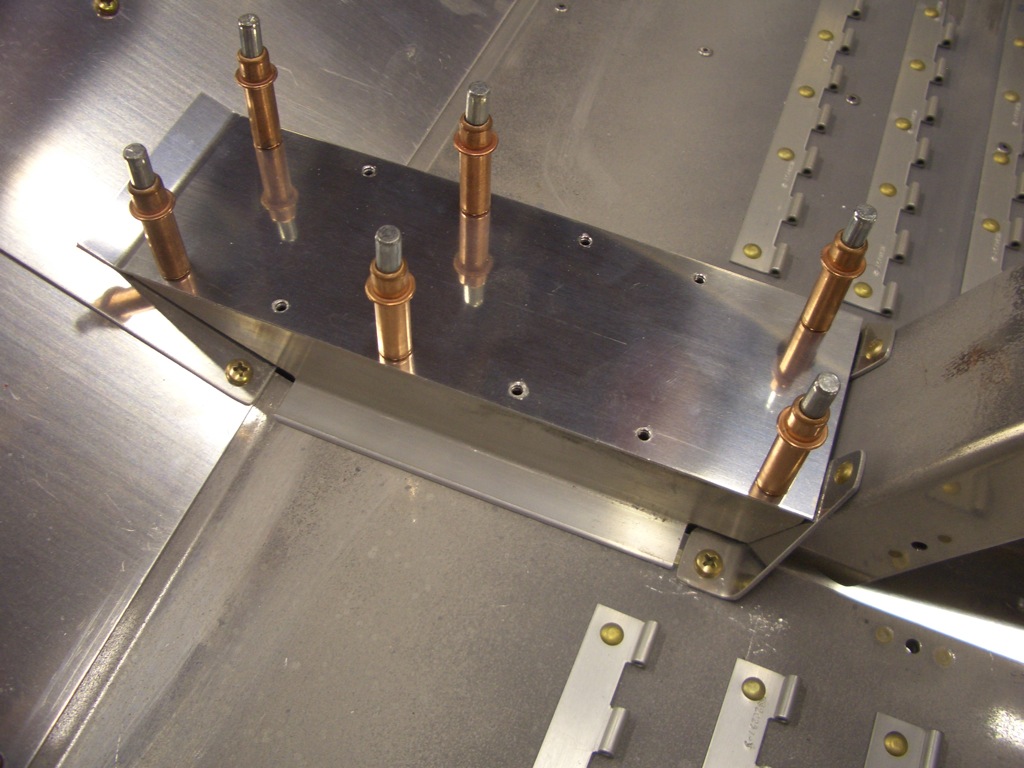
I laid out and drilled the holes on one side of the cover. I drilled some screws in part way so that the z channel is up about 1/32″.
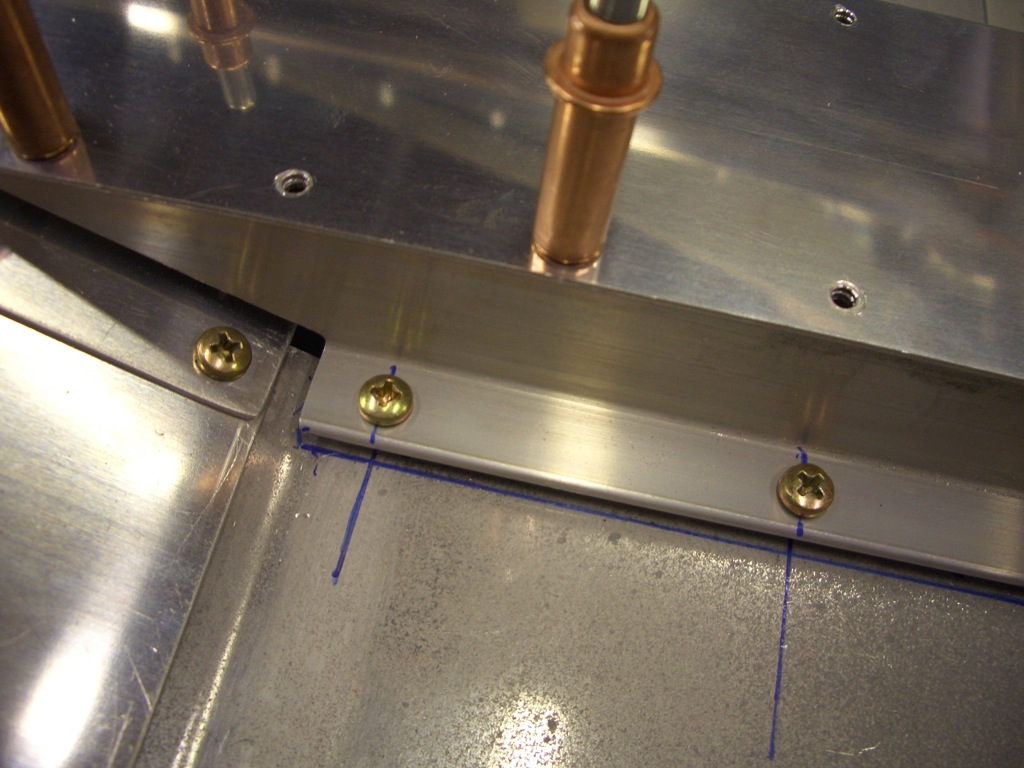
This keeps the cover level while I use a strap duplicator to match drill the other two holes.
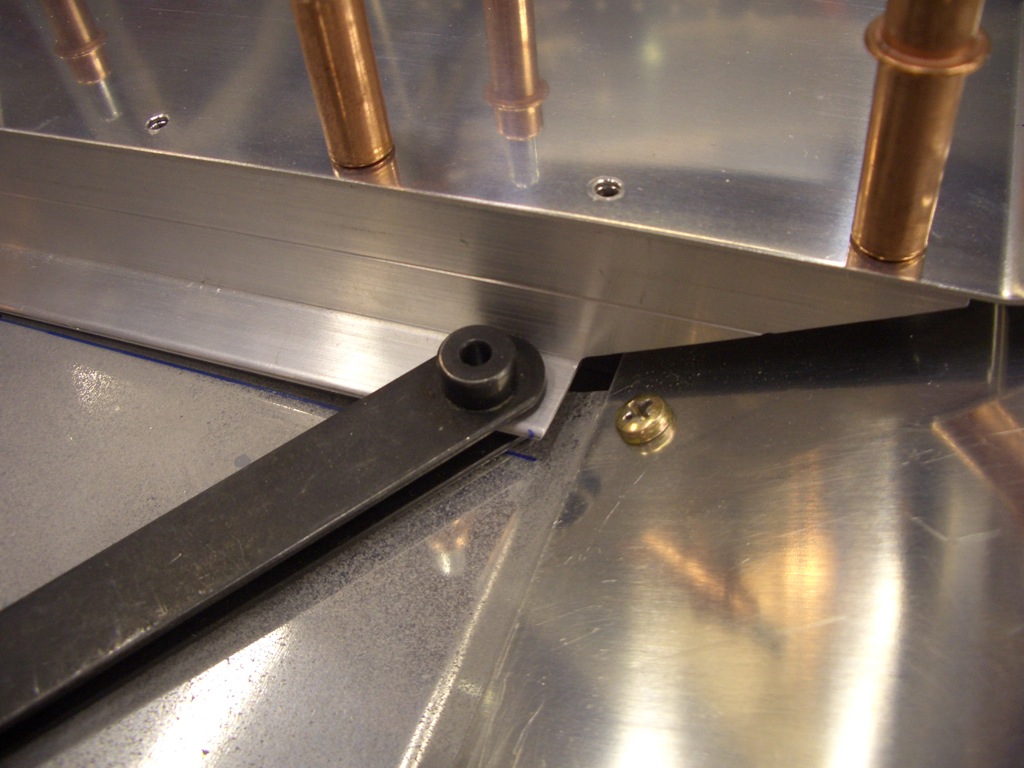
After screwing the cover down tight against the floor, I drilled an additional #8 hole in the turned up end that will allow the cover to be screwed to the forward seat pan.
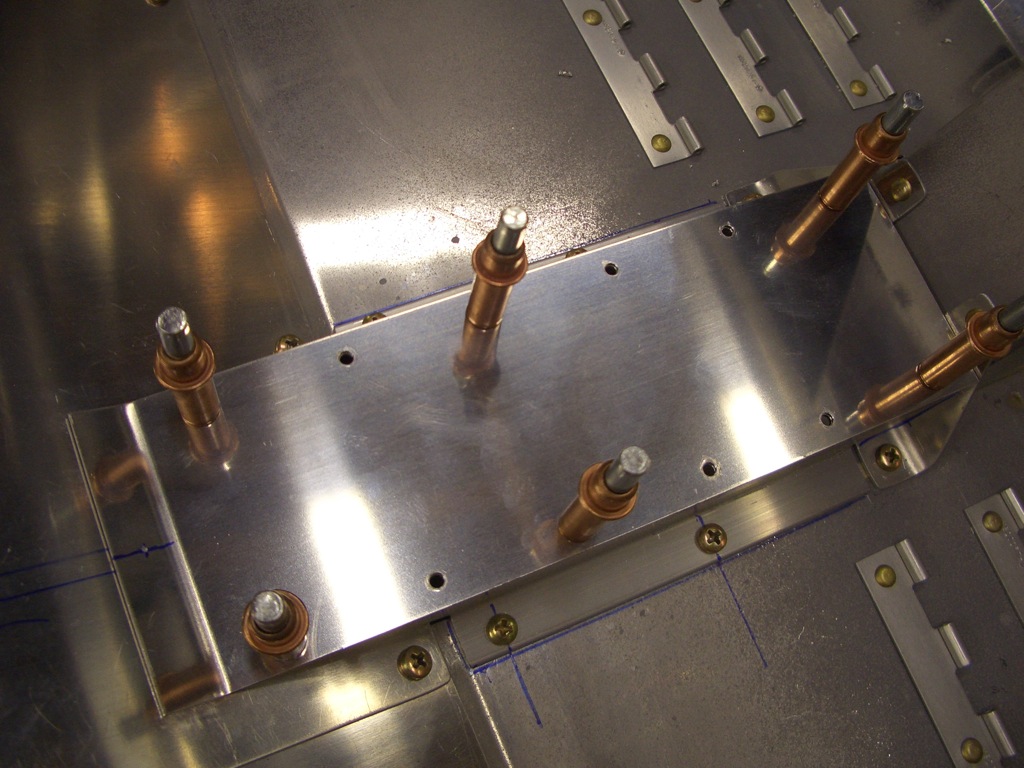
I then installed a nutplate on the underside of the seat pan.
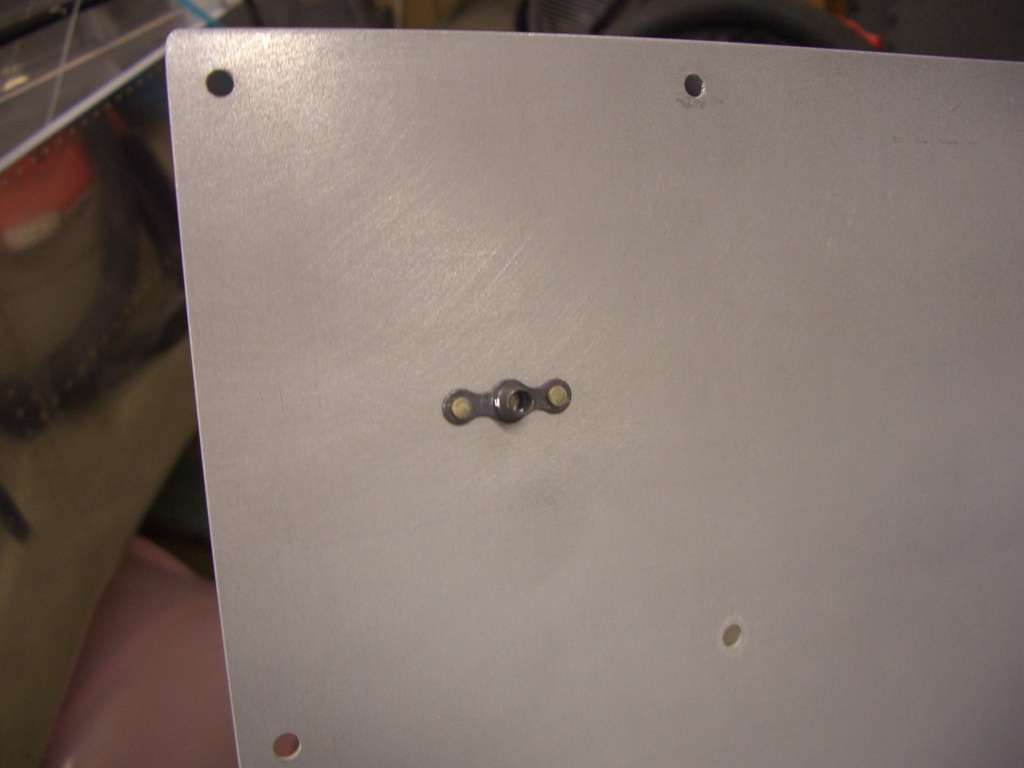
The copilot’s stick is removable so that it can be taken out when not needed. The stick is a tight friction fit in the base, but Van’s recommends installing a bolt through the pair to keep the stick from inadvertently pulling out. Apparently, this is due to an accident that happened a number of years ago when the copilot’s stick pulled out while somebody was trying to land the plane from the right seat. The problem with this approach is that it means removing the copilot’s stick requires tools and would be inconvenient at best. A number of builders recommended using a quick release locking mechanism. I ordered a few of these clips from McMaster-Carr. Since the copilot’s grip wiring is going to be running past this clip, I slipped on a piece of heat shrink tubing since the edges are pretty sharp.
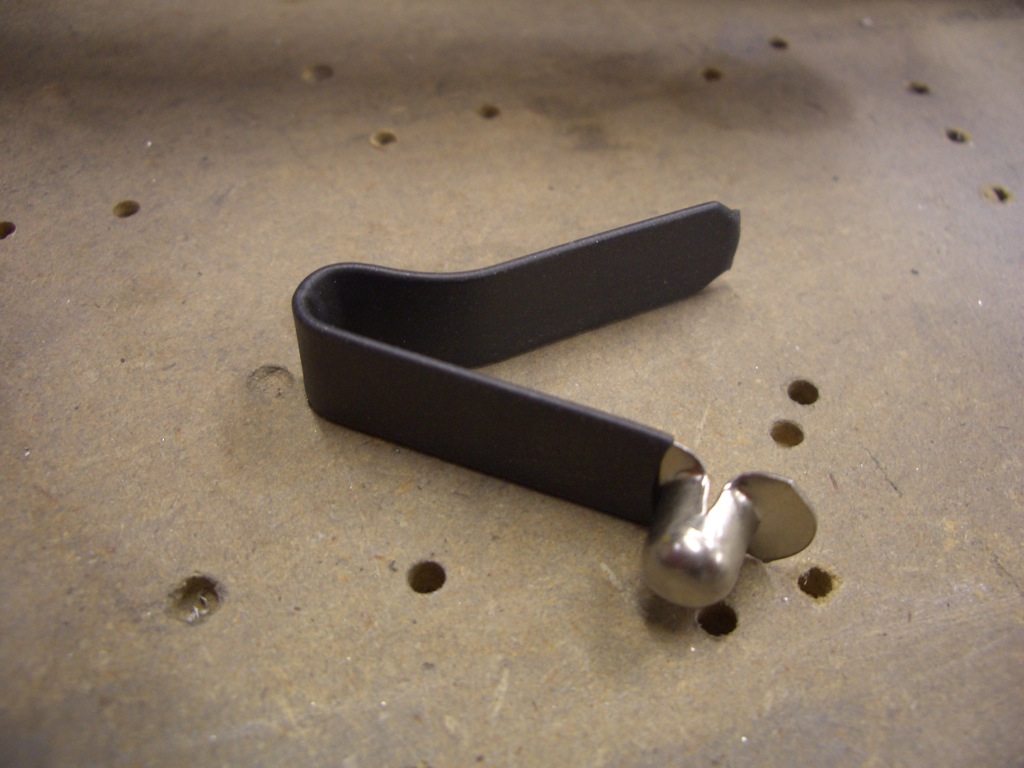
I drilled/reamed a 1/4″ hole through the stick and base, then installed the clip into the stick.
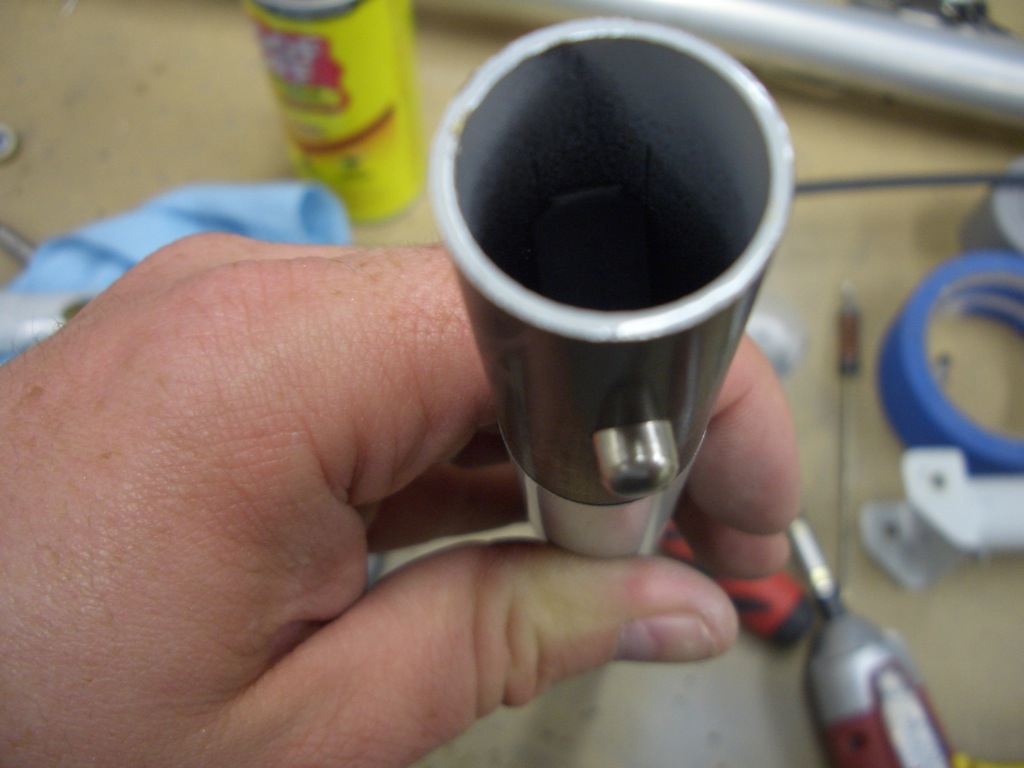
When the stick is inserted into the base, the clip locks the two together so that there is no way they can come apart inadvertently. When I want to remove the stick, I just have to push in on the button and pop the stick out. There will be a small 2 circuit Molex connector inside the stick for the copilot’s PTT switch that will need to be disconnected.
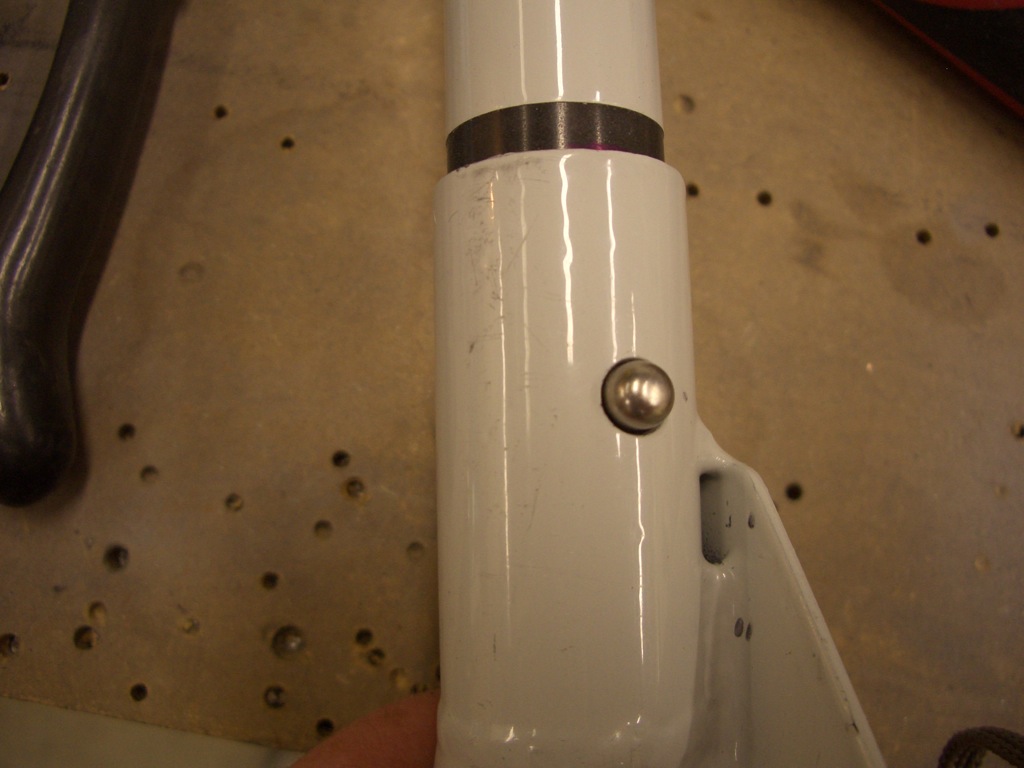
Finally, I reinstalled the control stick mount. I need to fiddle with the washers a little bit to make this pivot smoothly.
