I fit the forward baggage side covers, then removed them to install nutplates on the bottom flange, The baggage floor will screw down to this flange,
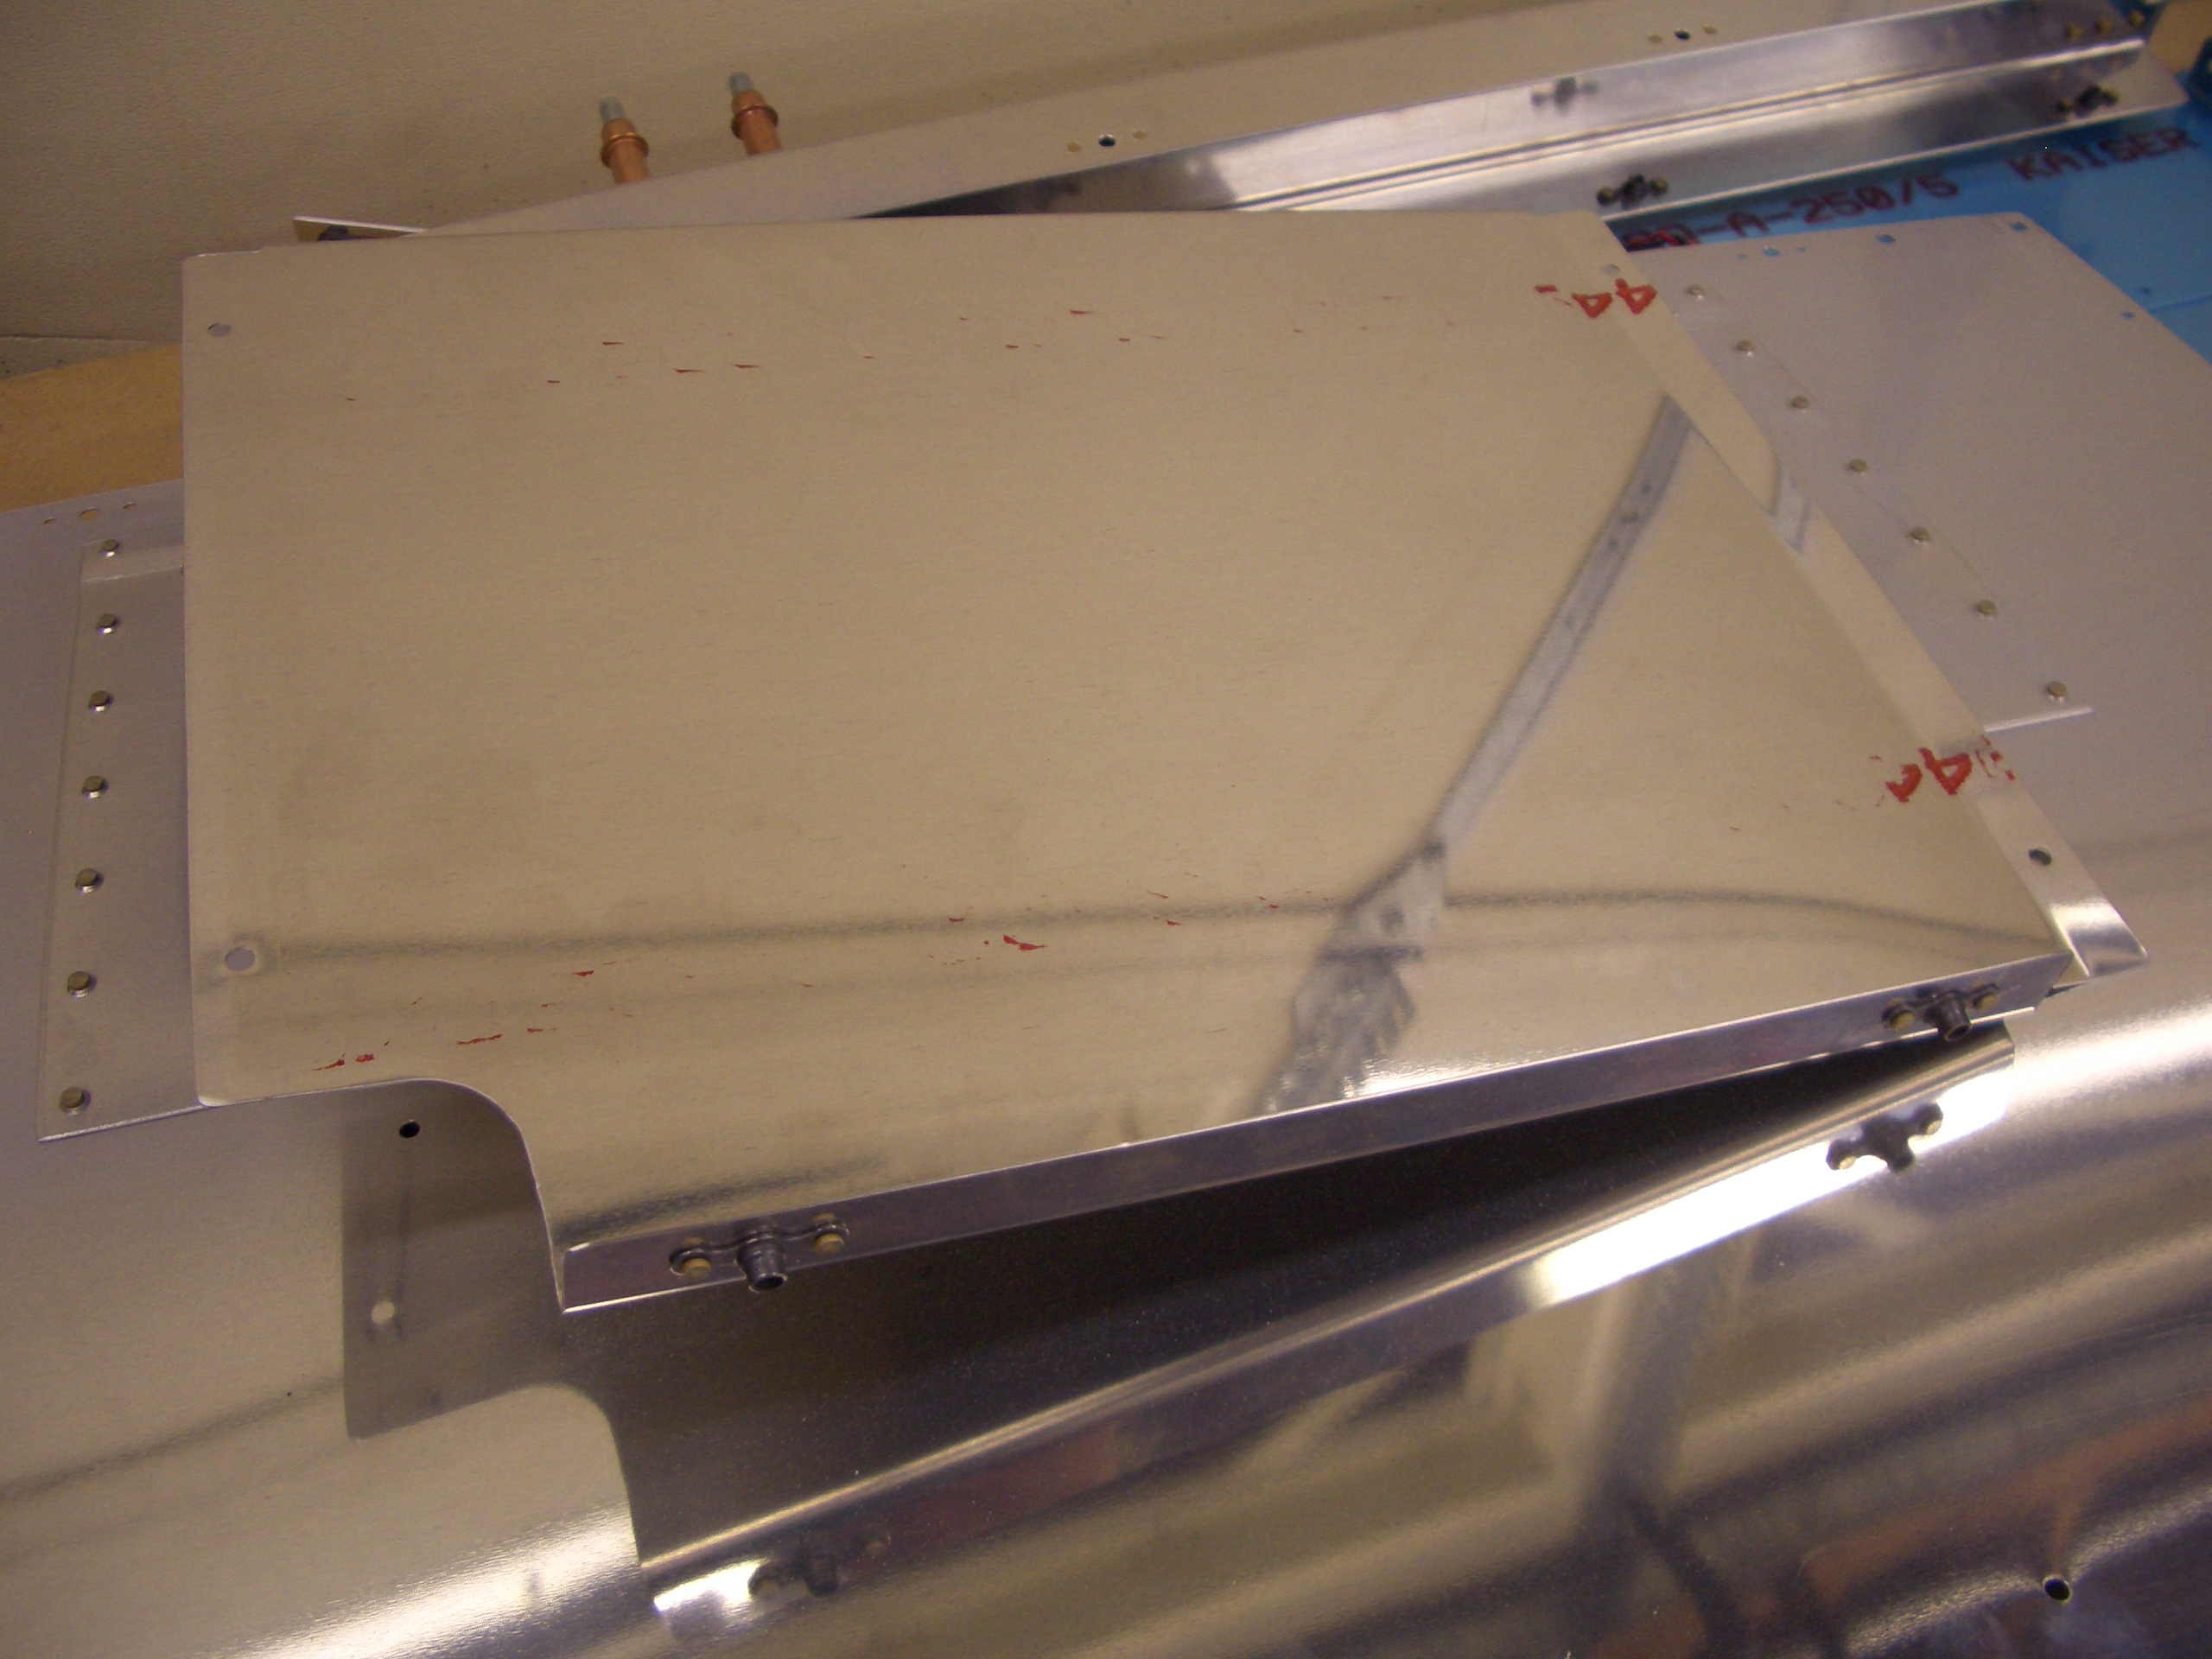
Here you can see how the side cover fits. The bottom flange fits under the baggage floor and the other three side screw down to side bulkheads. The flap torque tube will stay exposed in the plane, but it rotates in place, so nothing can catch on it.
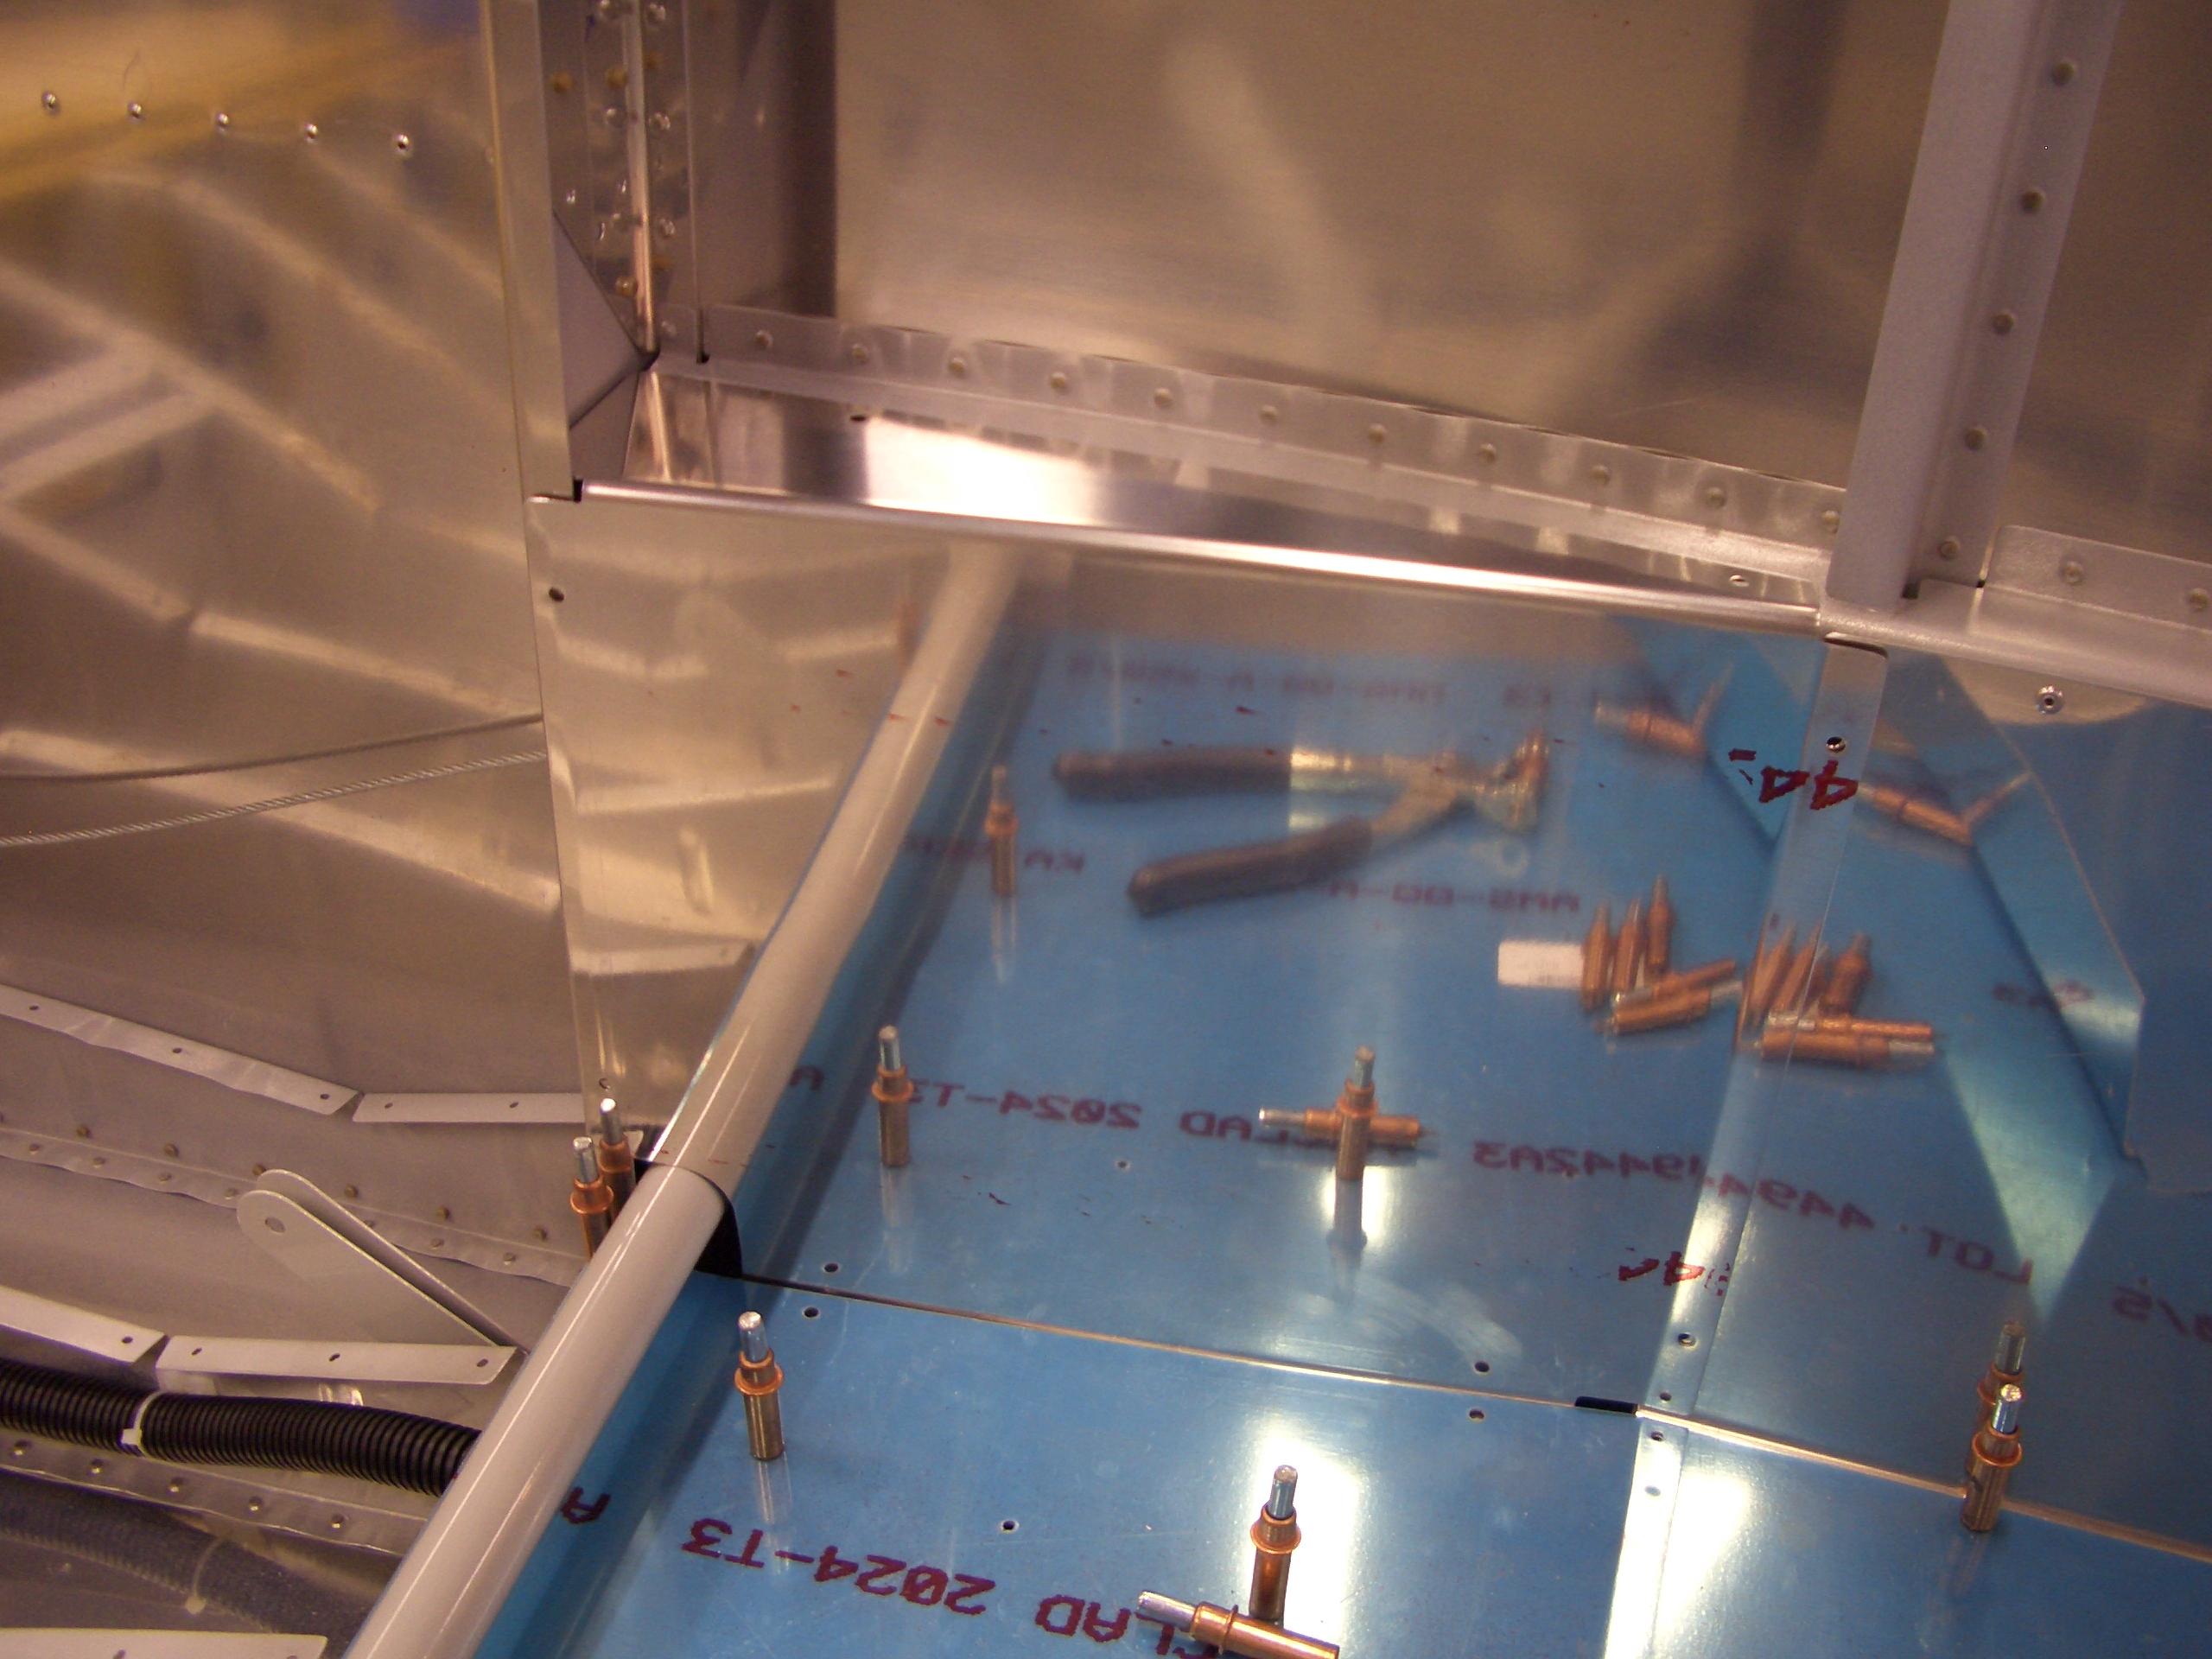
Now that everything has been match drilled, the nutplates on the aft side covers can be installed.
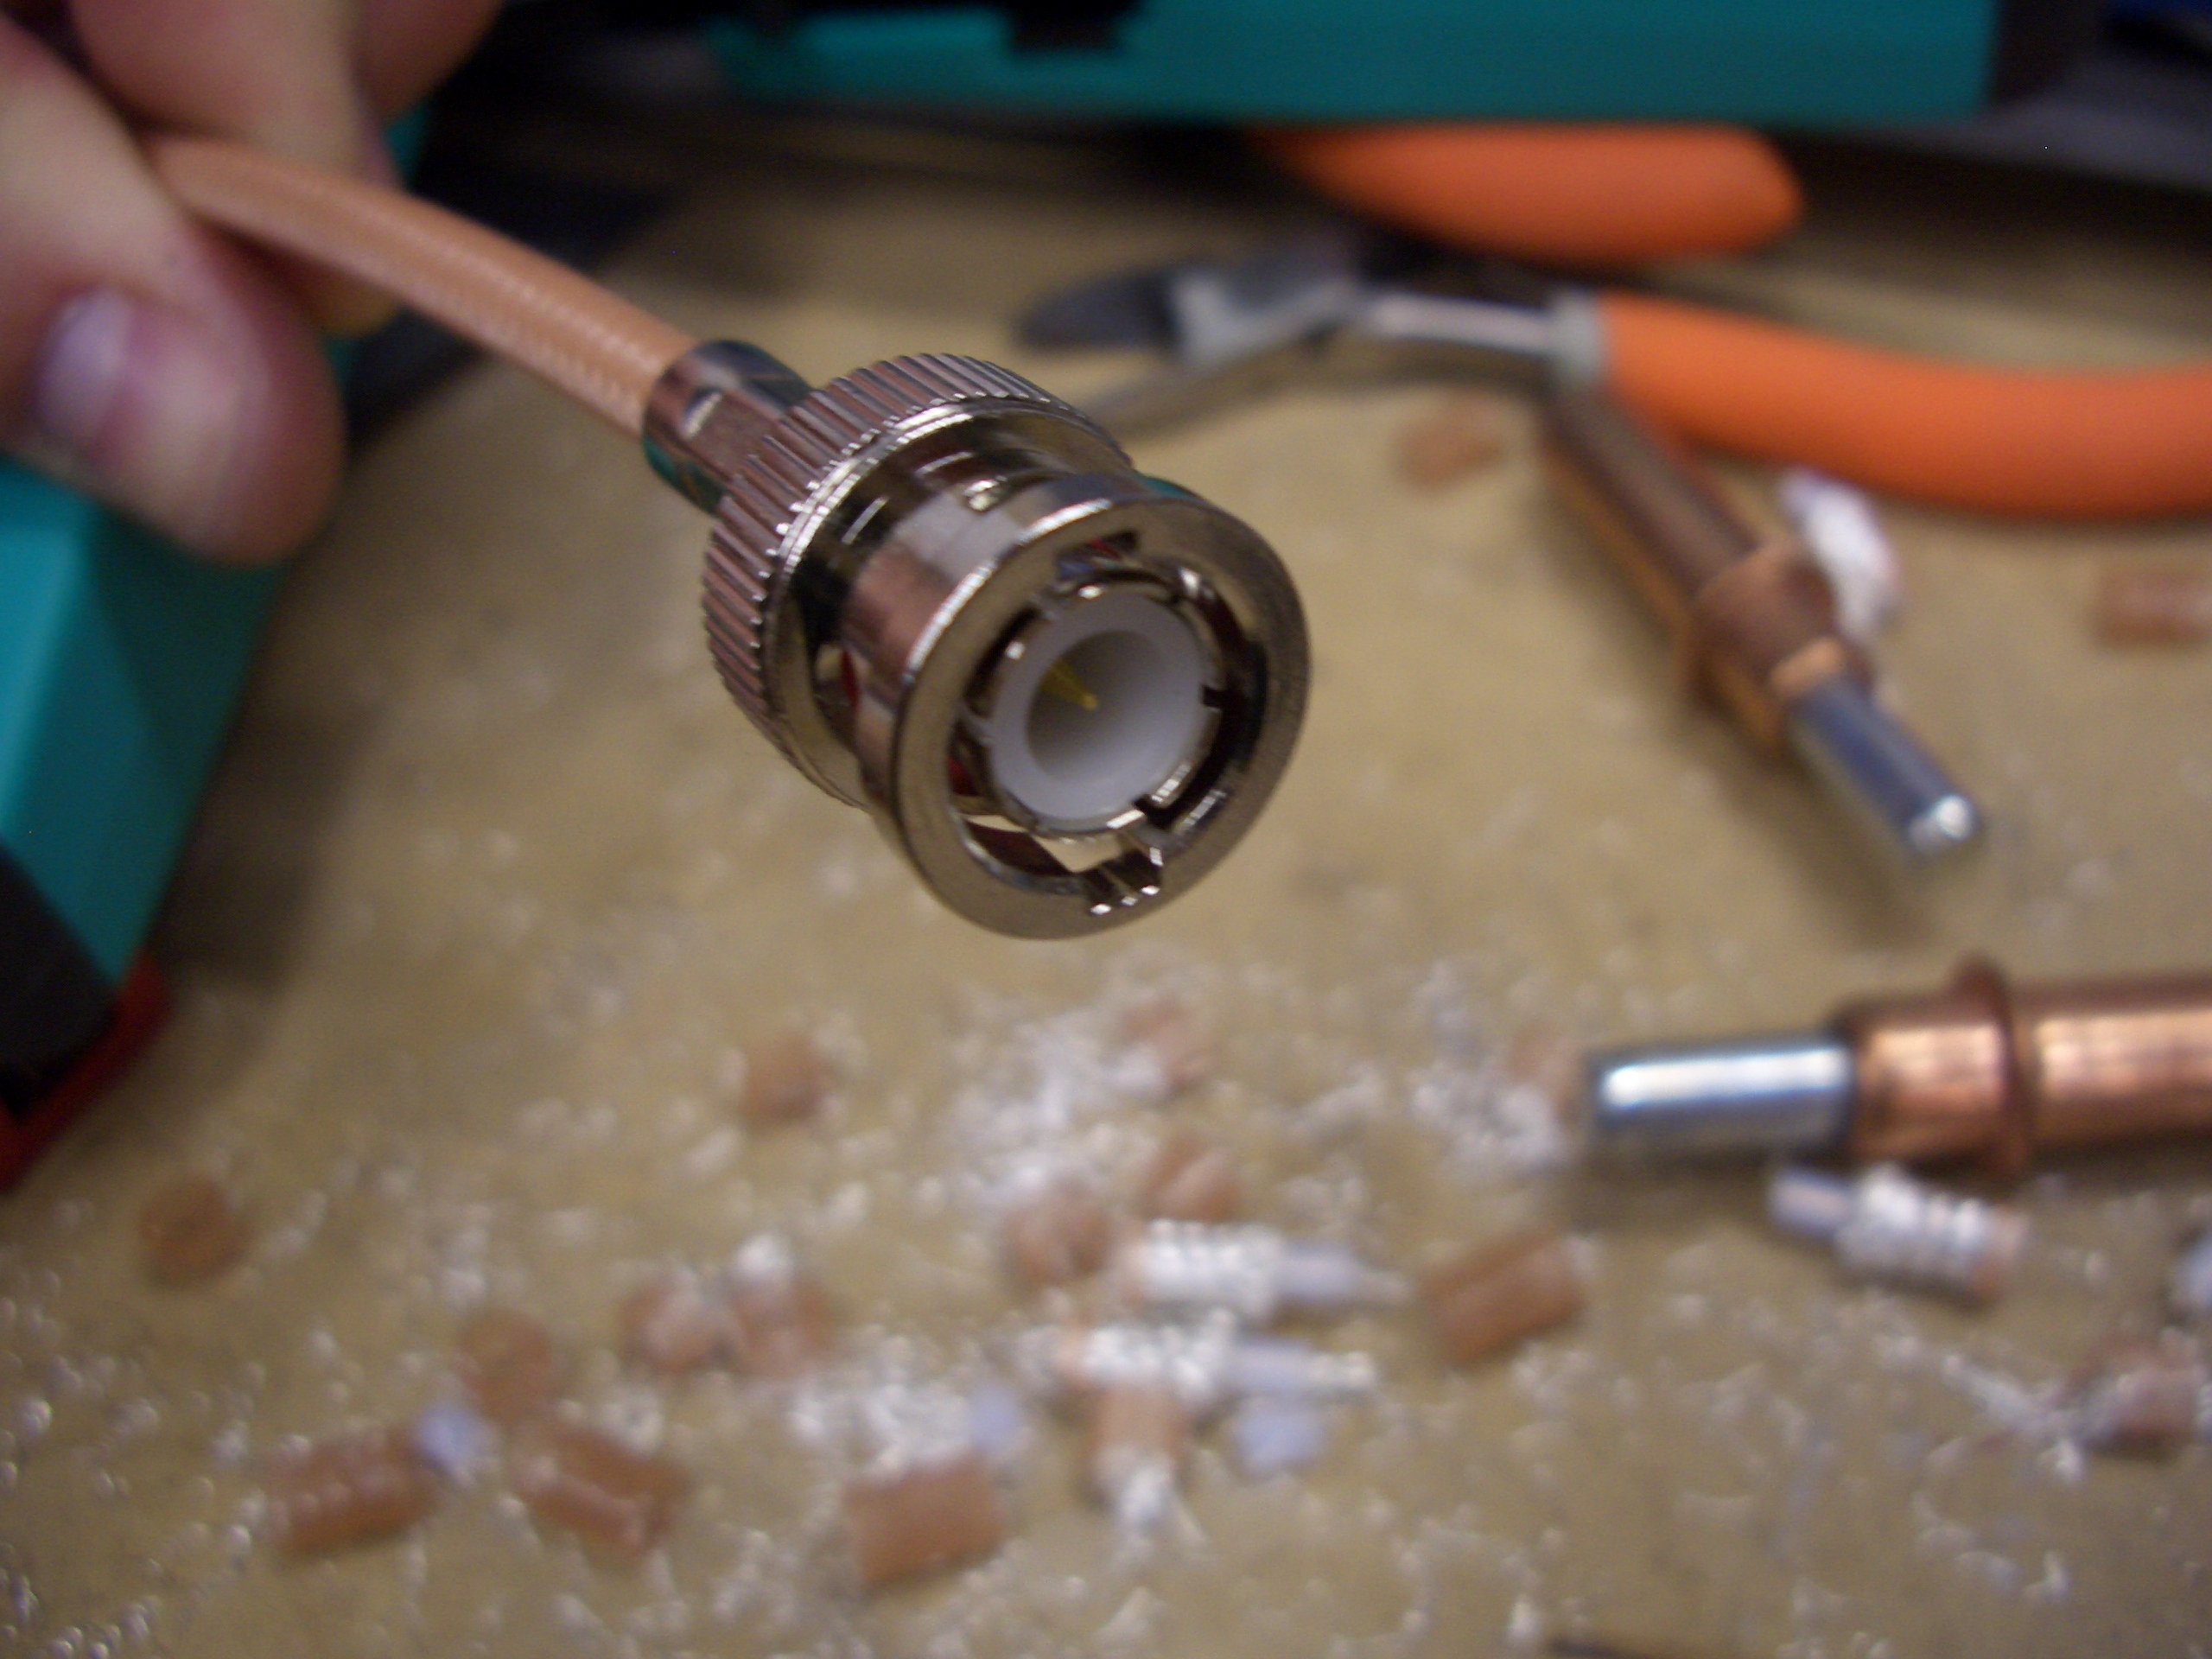
I got an order from SteinAir the other day which included a bunch of wire I’ll need to start wiring components in the plane. I ordered about 30′ of RG-400 which is enough to do most if not all of the antennas in the aircraft. I also purchased an adjustable RG-59 three blade coax stripper off eBay. After a bunch of test cuts, I managed to get the stripper adjusted for RG-400 so that it perfectly cuts all of the various component of the cable without nicking any wires. I then installed a male BNC connector on the end to test the crimper I bought.
The crimper I have has interchangeable dies. I installed the hex dies and crimped the gold plated center pin to the stranded center conductor with the 0.068″ die (RG-58 and RG-400 both have stranded center conductors for use in the high vibration environment of an aircraft compared with the solid center conductor of RG-59 that is typically used in home cable tv systems. It’s also 50? instead of 75? impedence). Next, the connector body is pushed onto the pin until it clicks into place. Finally, the ferrule is slide up tight against the connector body and crimped with the 0.213″ die.