I got started tonight by fabricating the spacers that sit under the aft deck. Here is the one that sits on top of F-710.
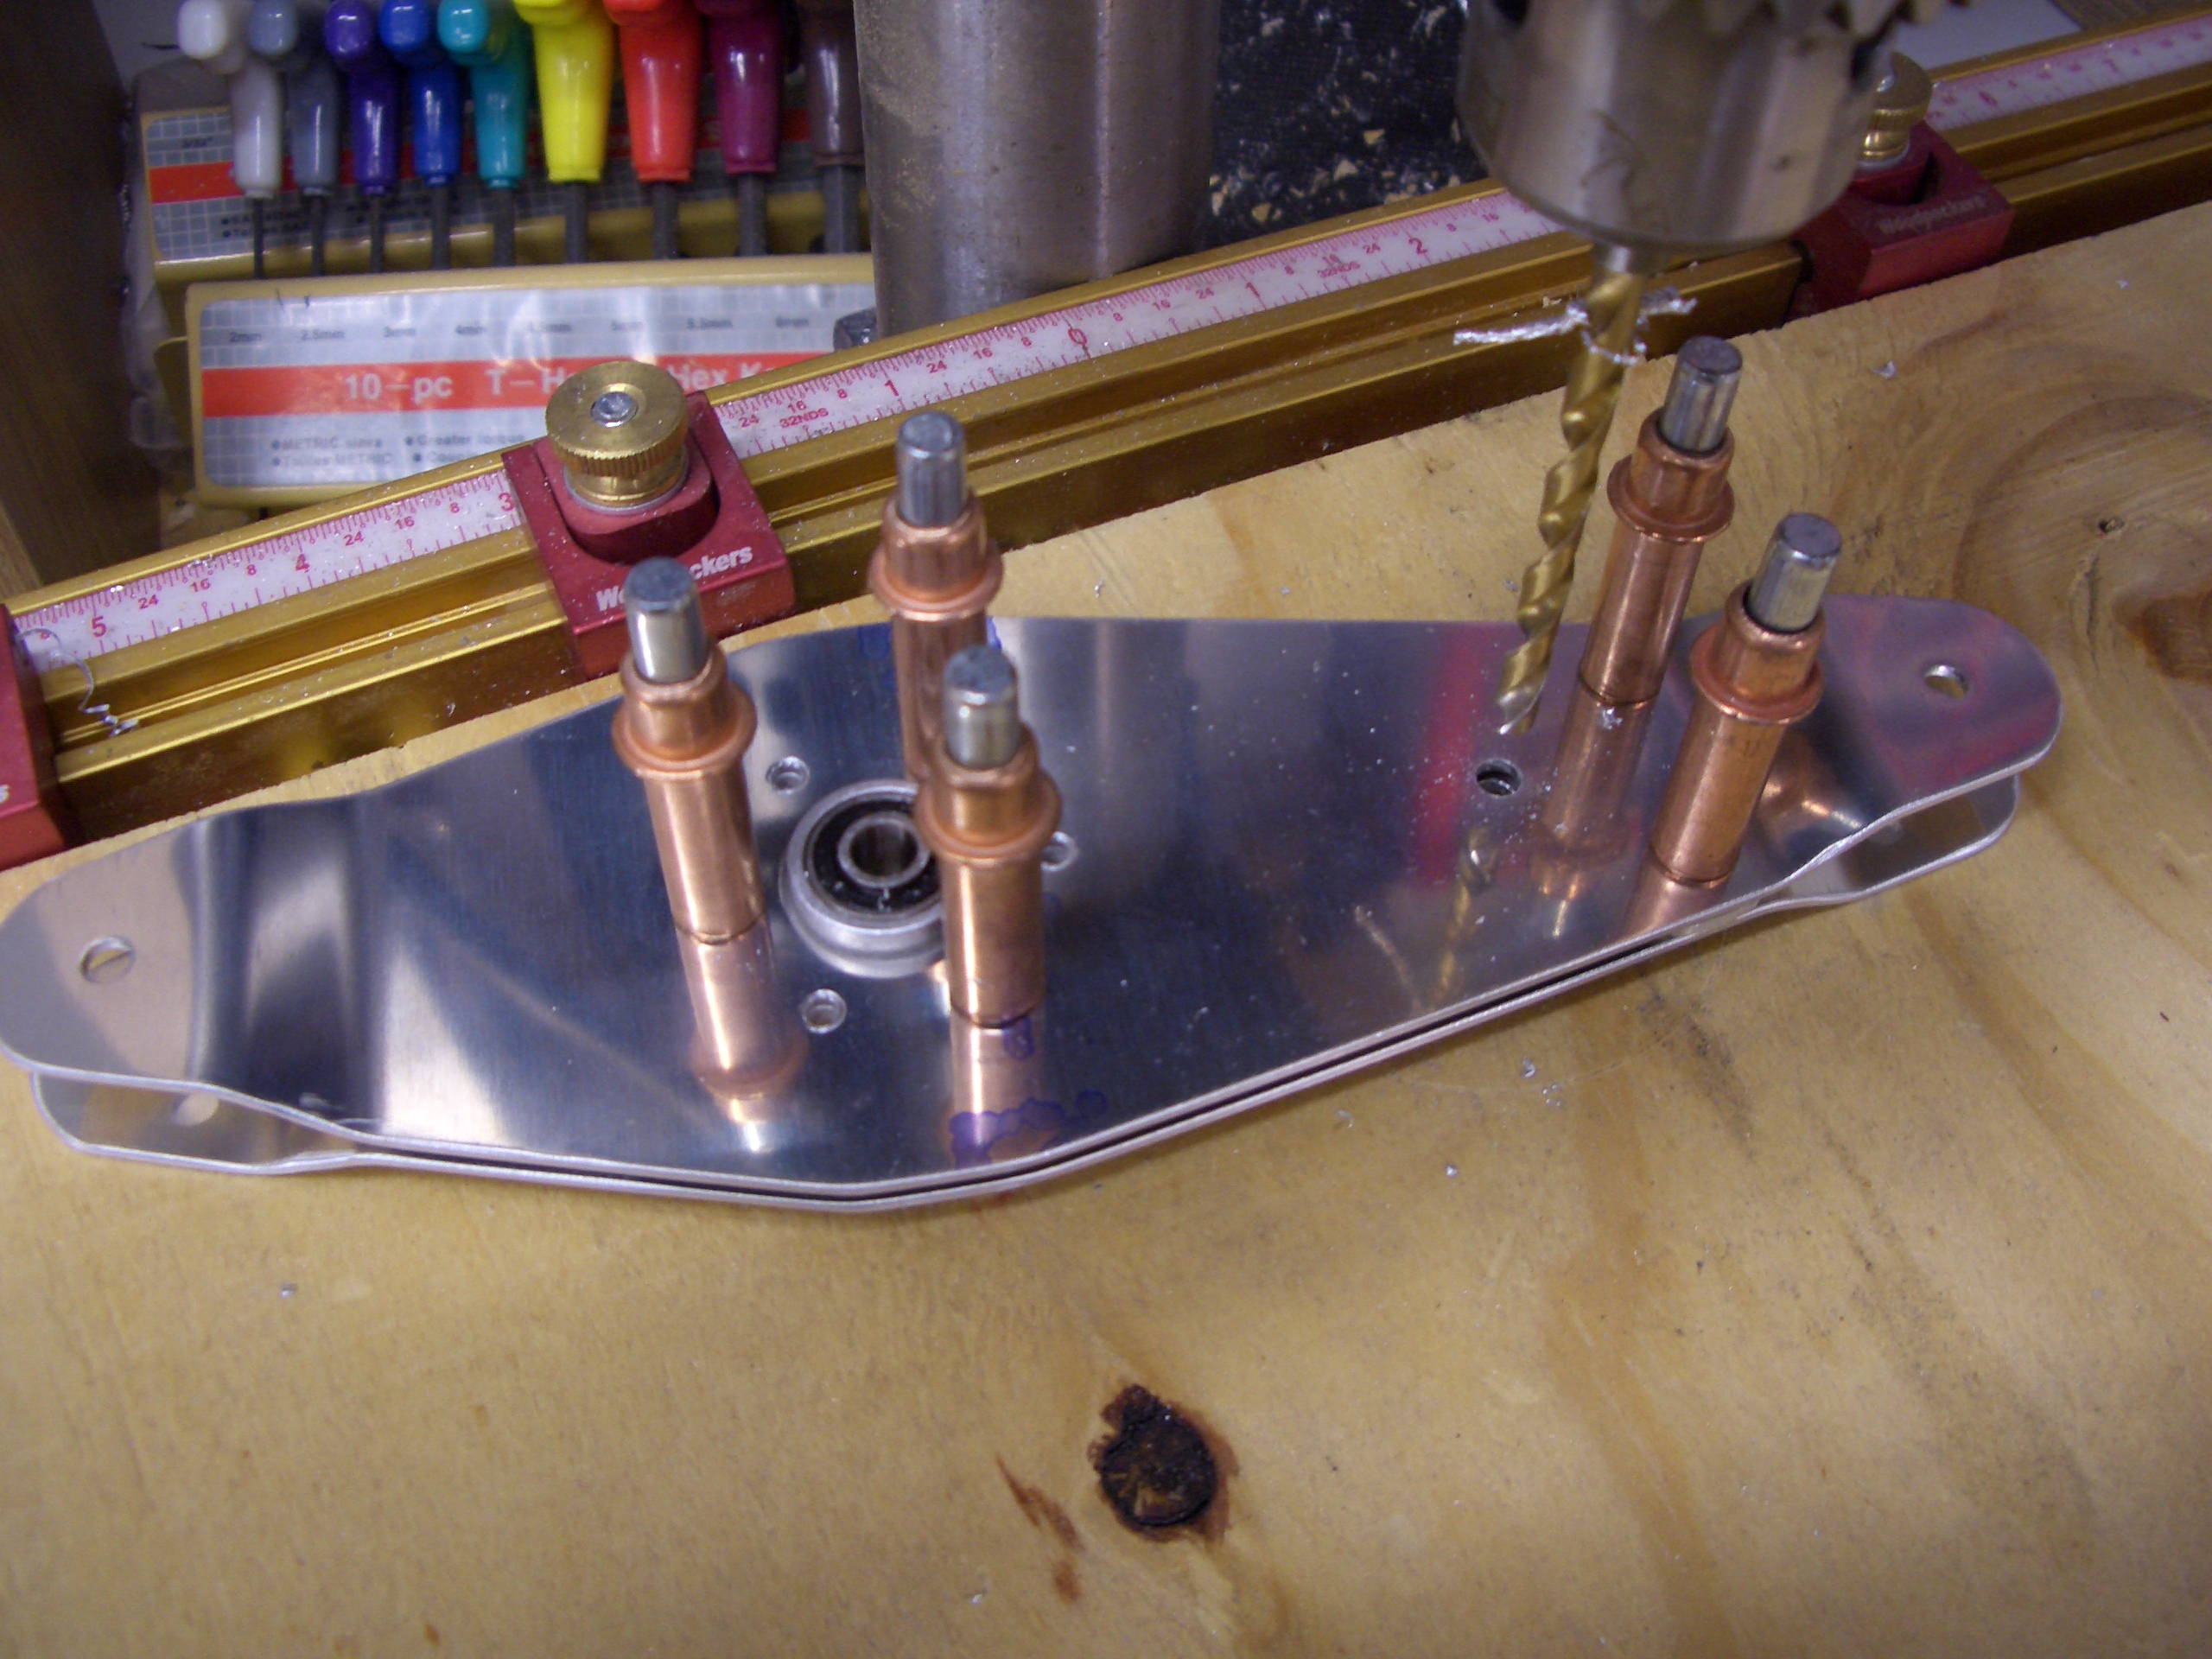

I got started tonight by fabricating the spacers that sit under the aft deck. Here is the one that sits on top of F-710.
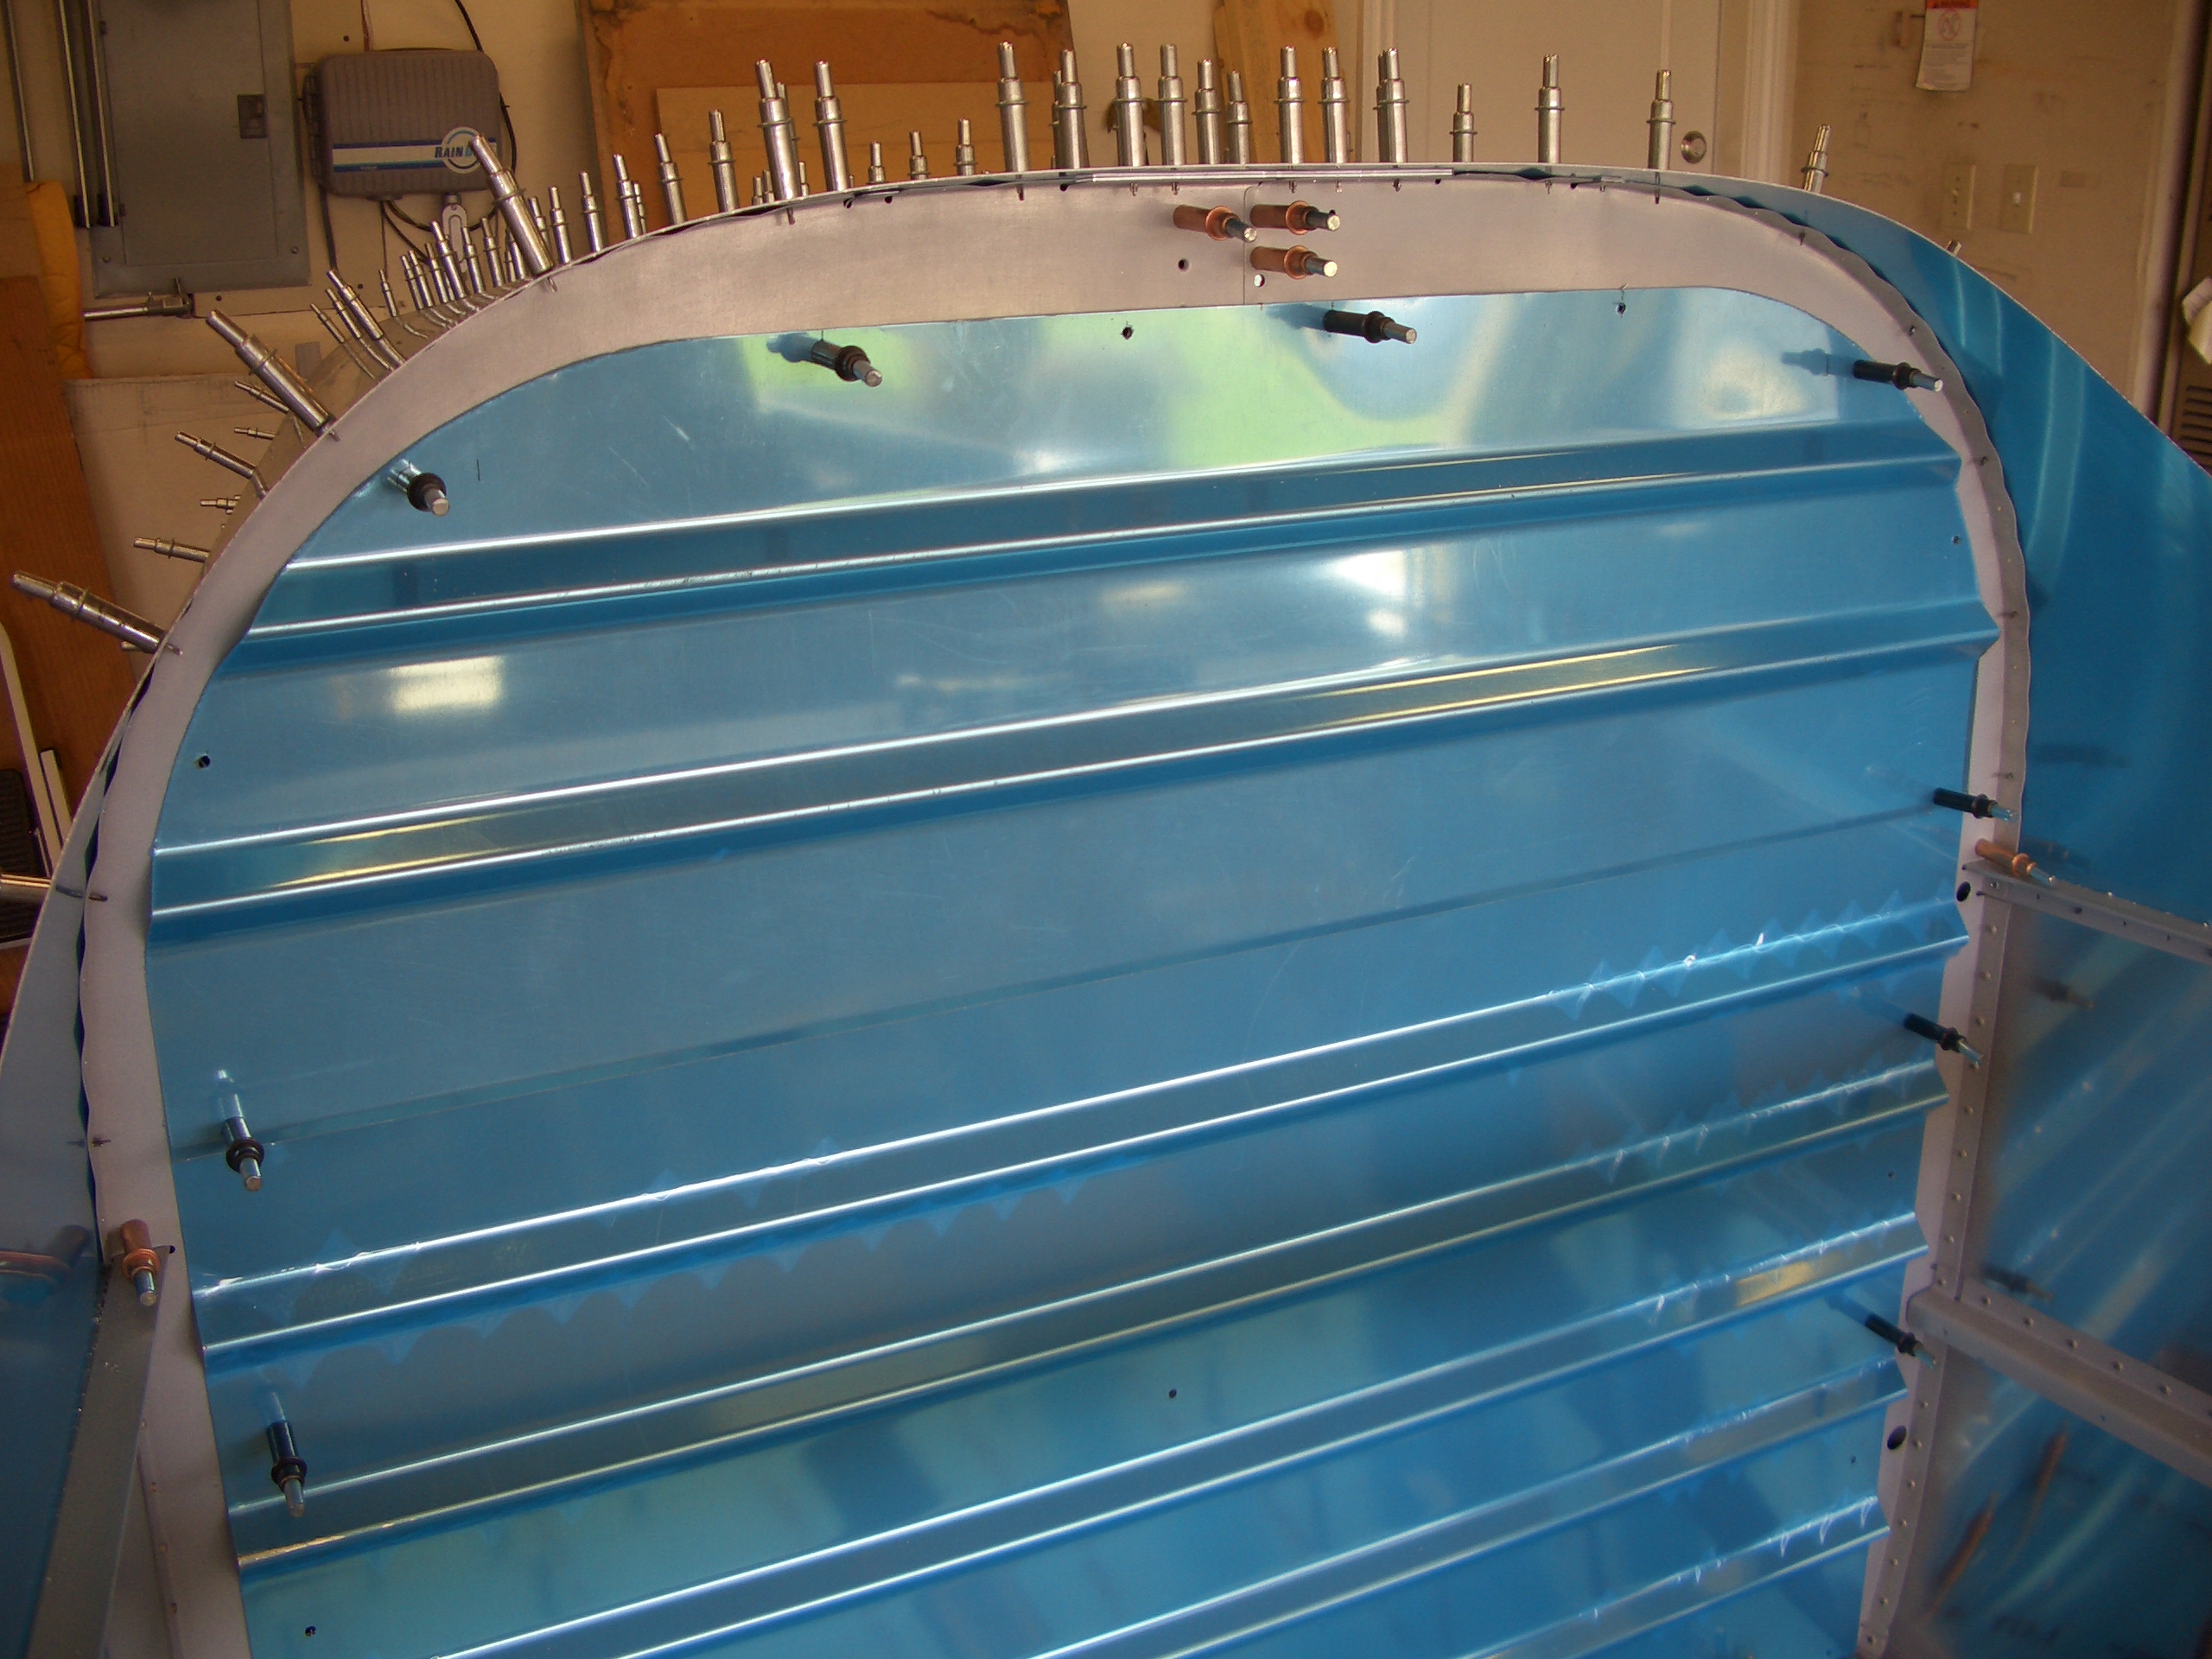
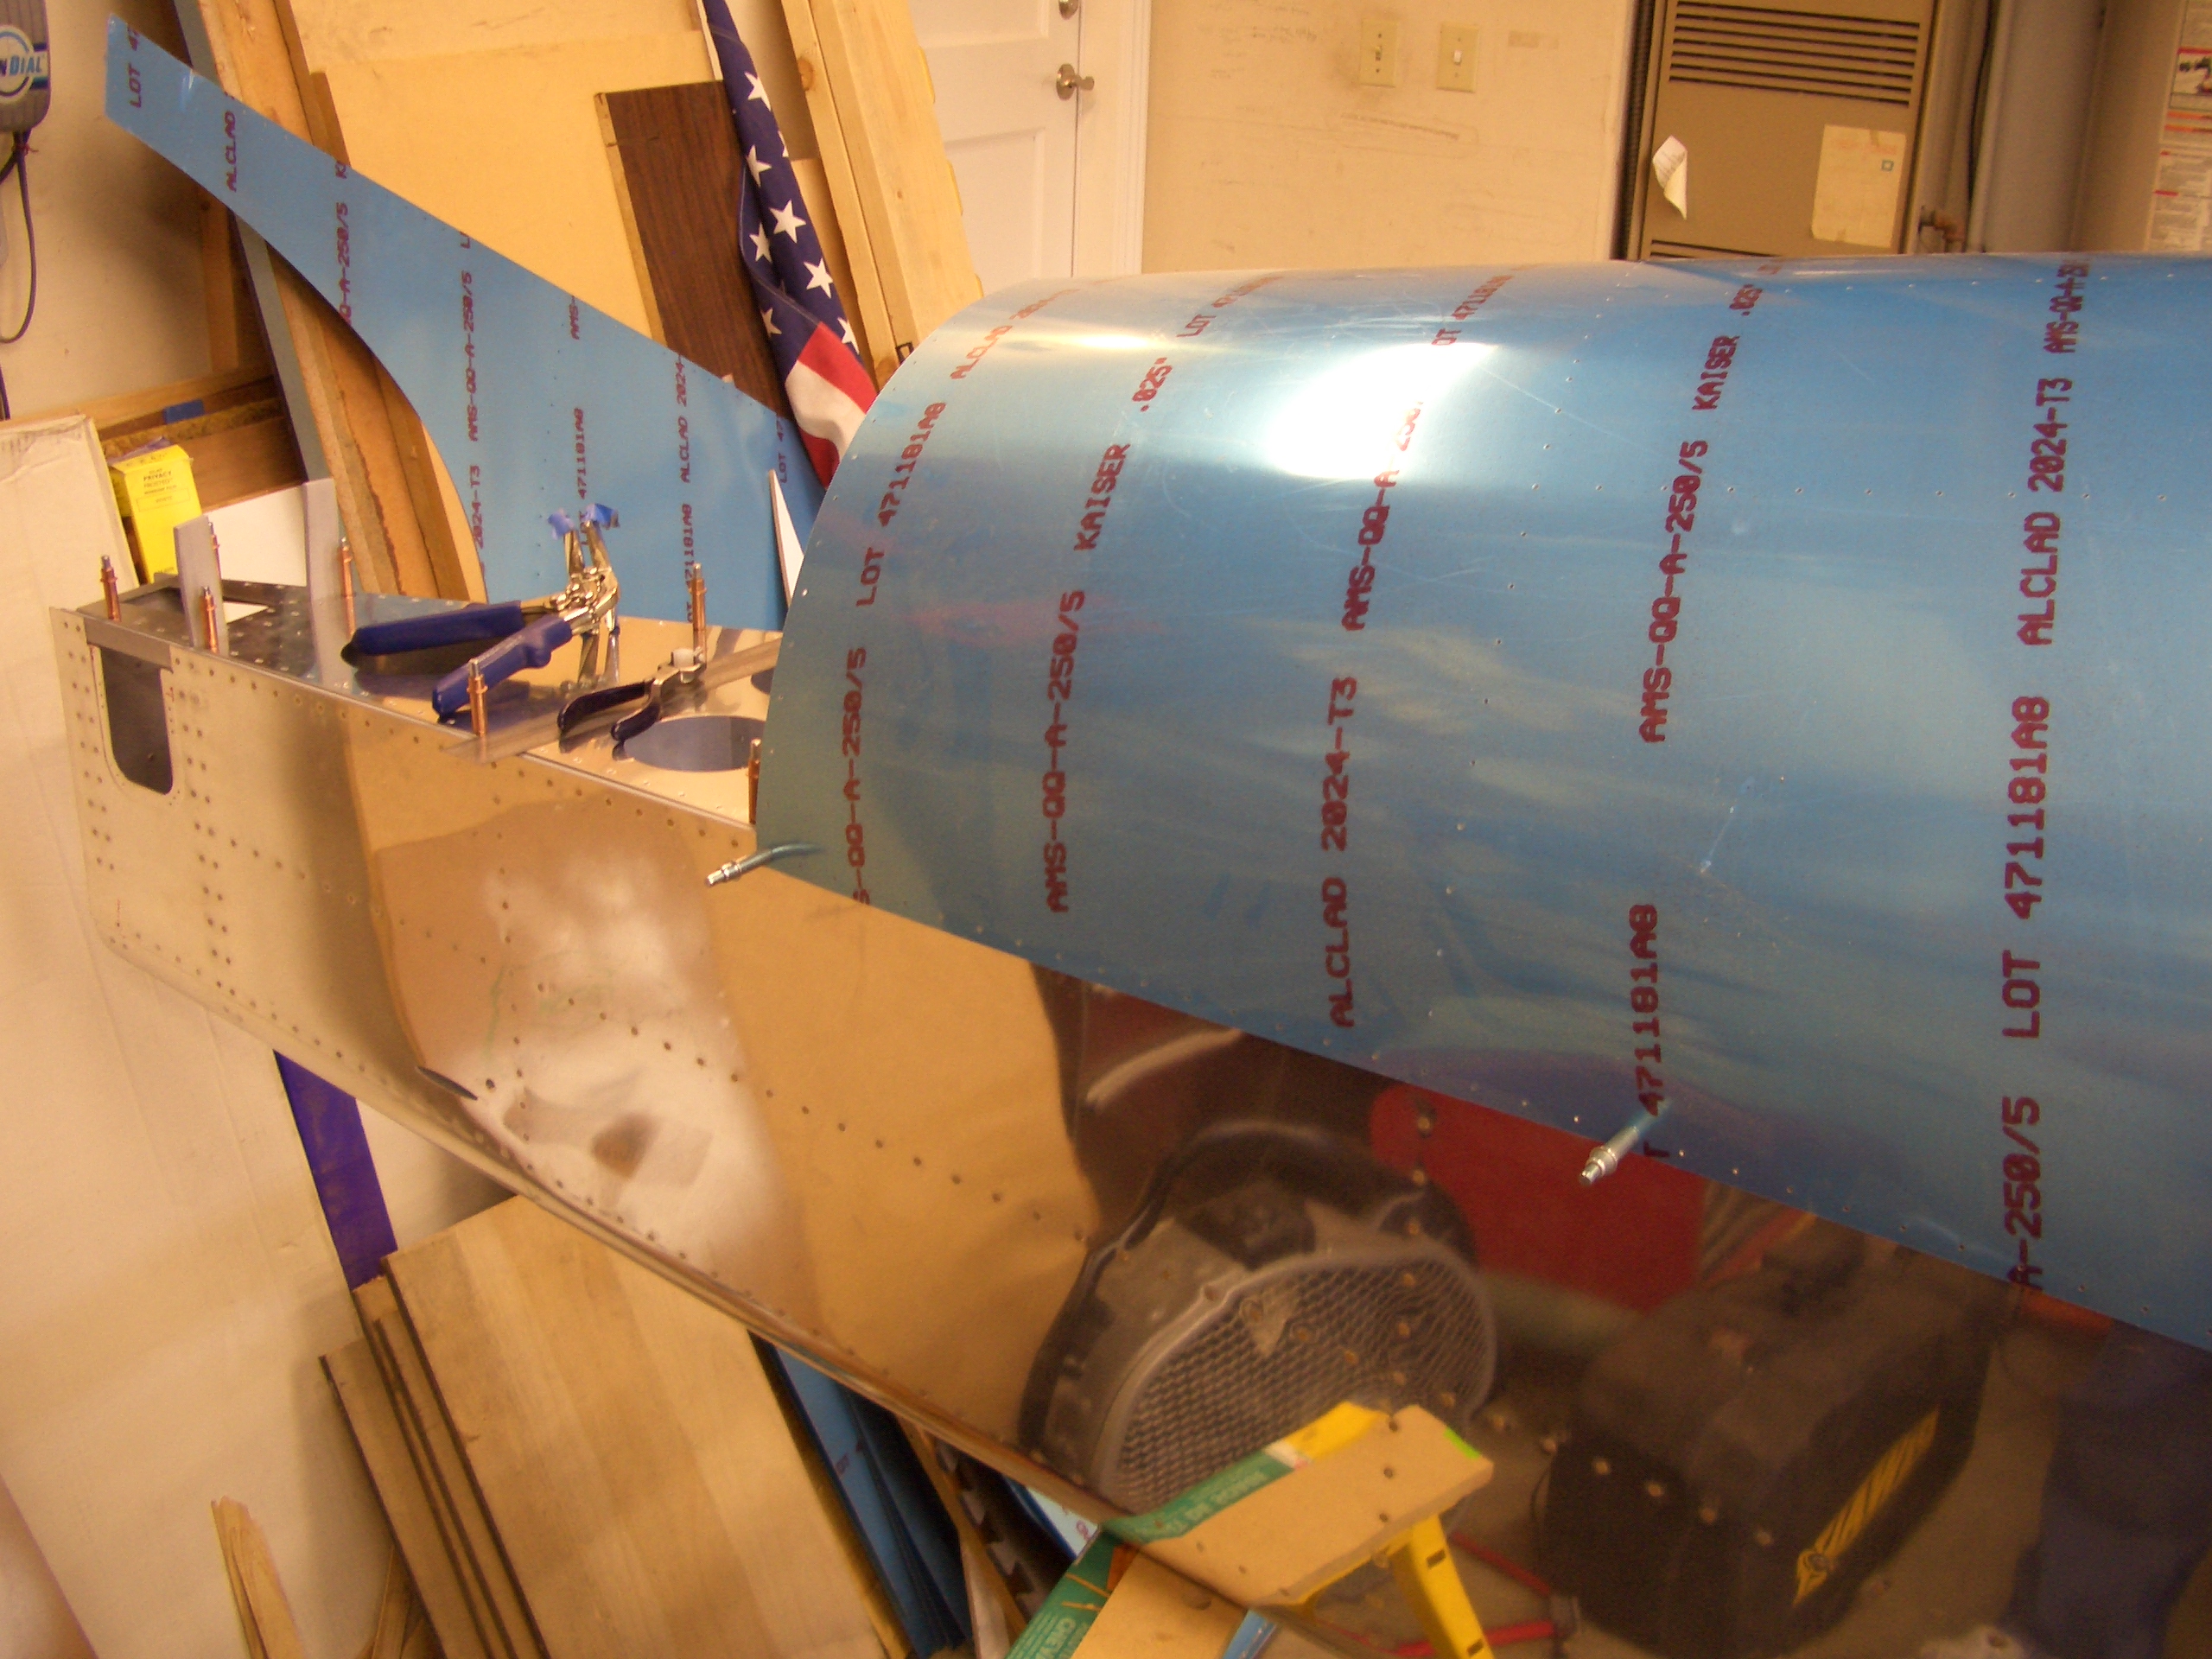
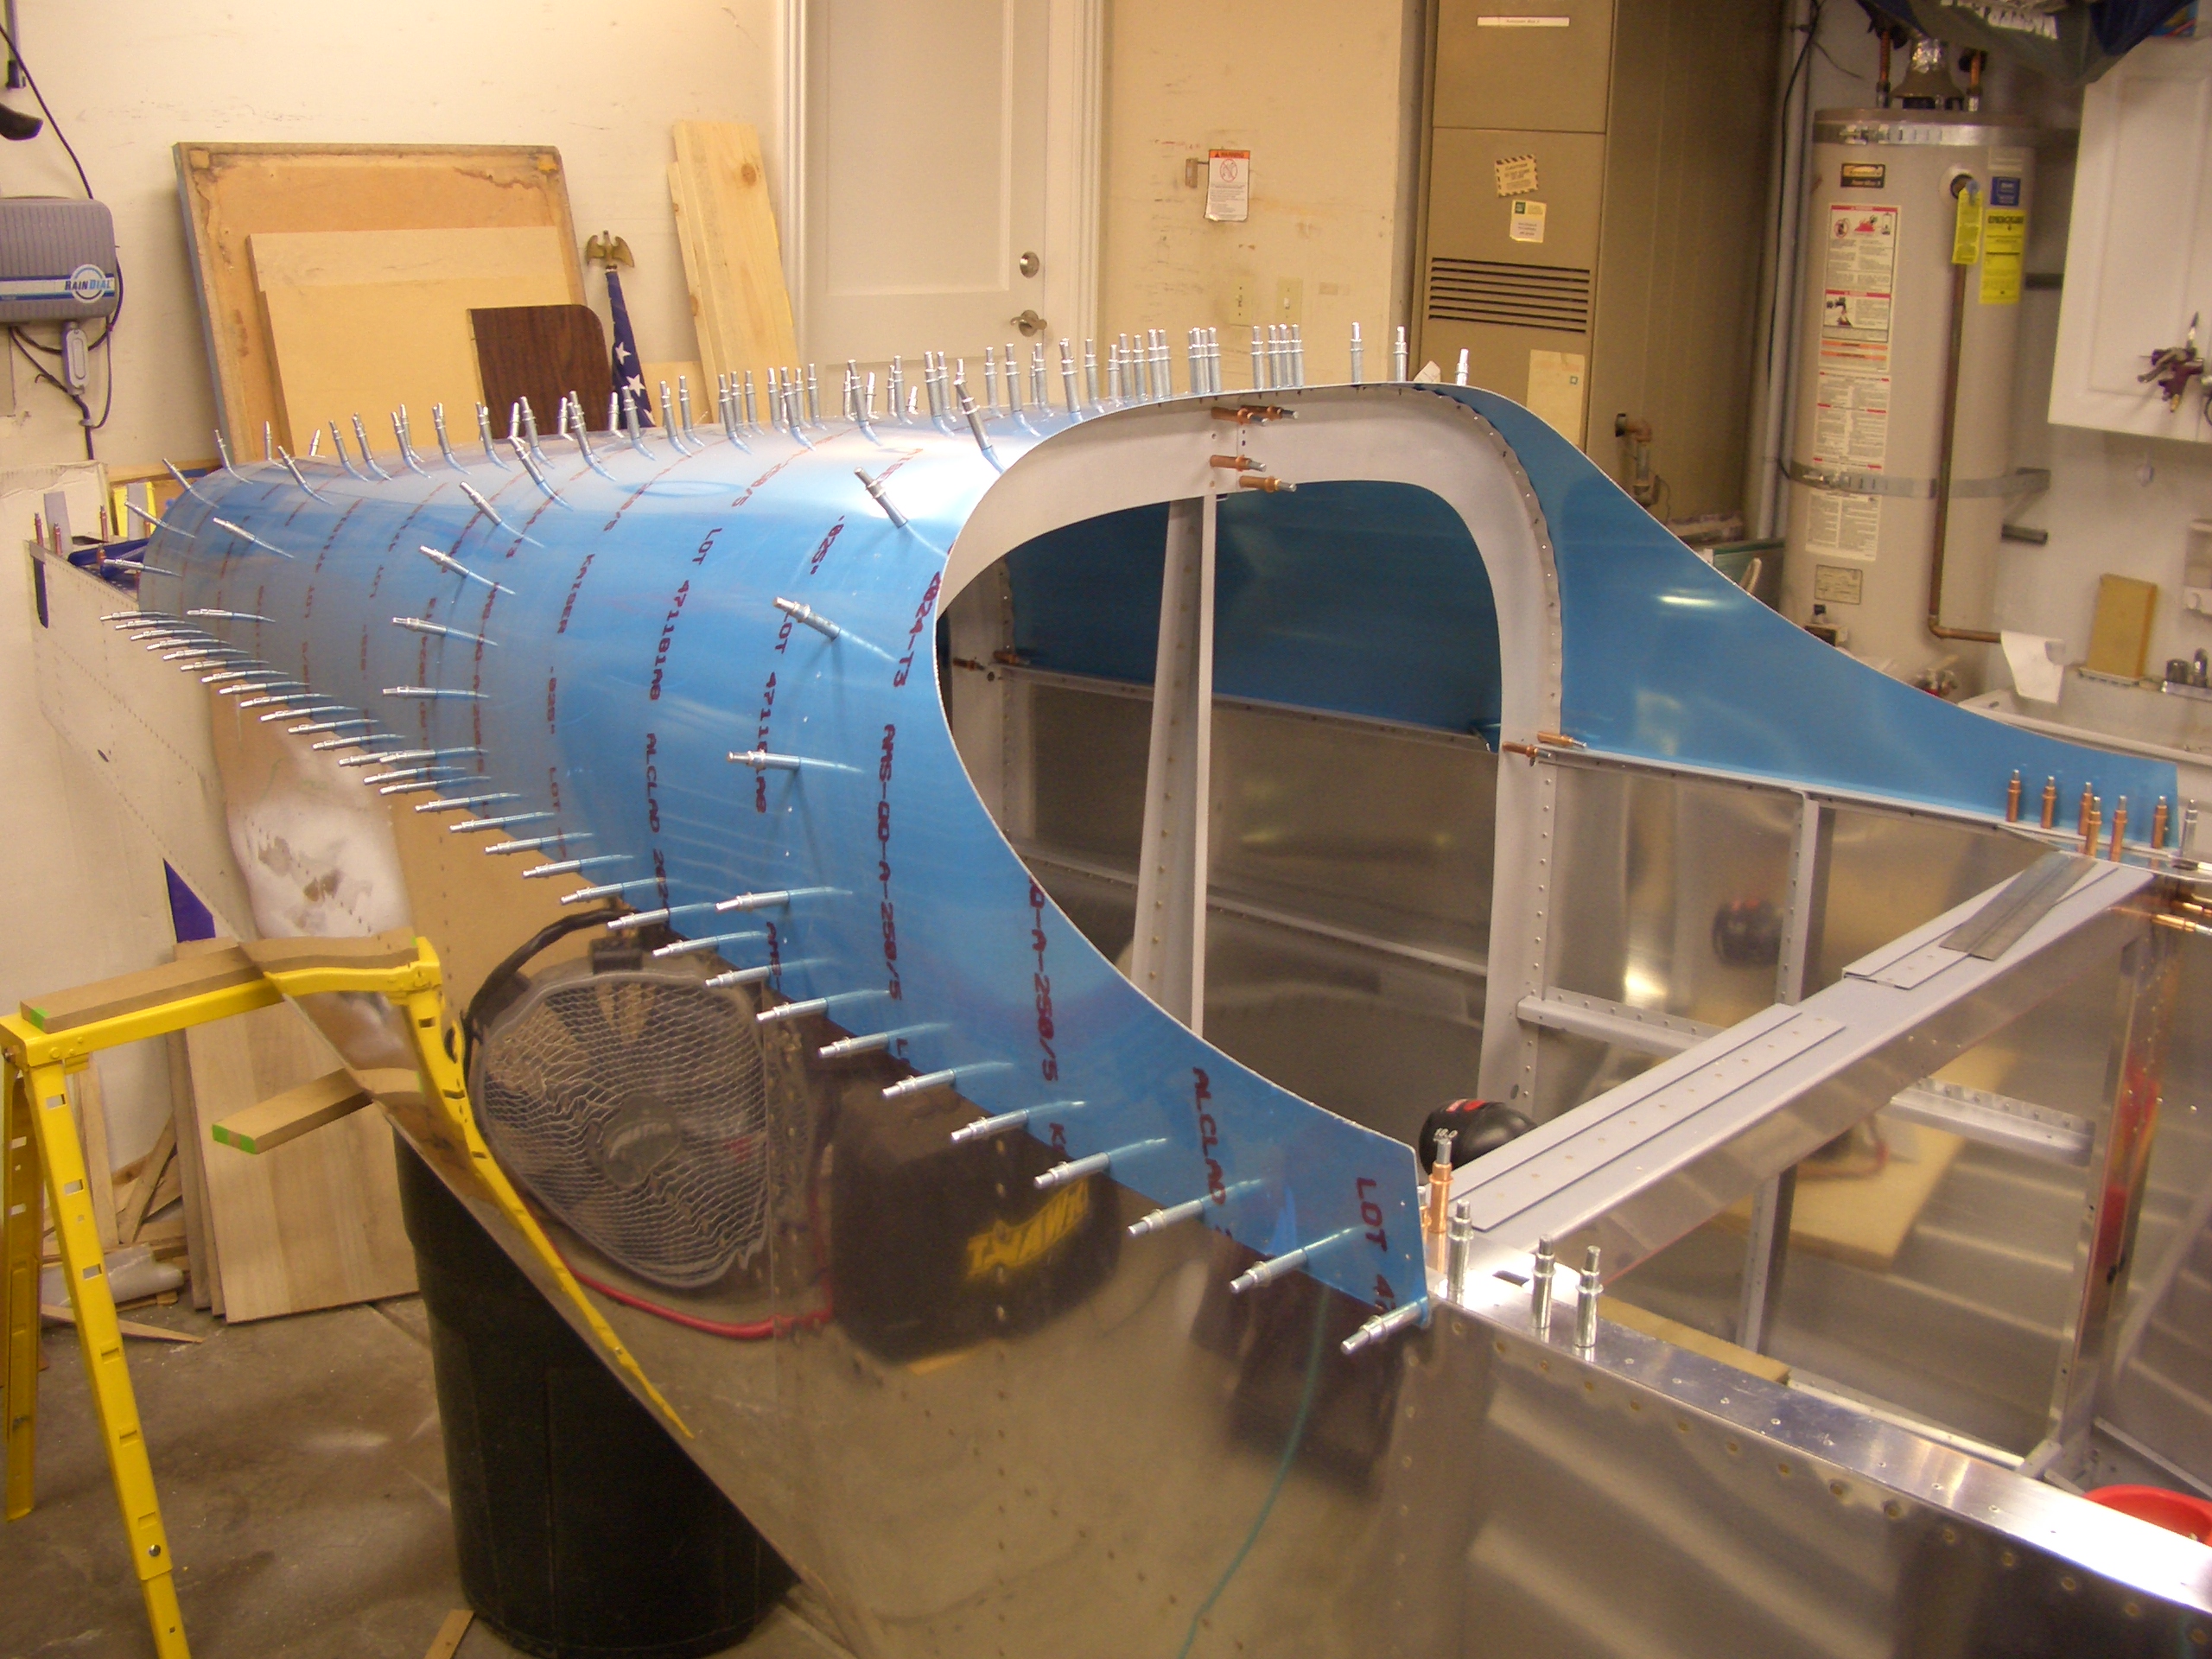
We were busy most of the day at a cub scout event with my son, but I managed to put a couple of hours in this evening. I got started by fluting all of the bulkheads and making sure their flanges would lie flush with the skins. I then temporarily attached the rear top skin to mark a few holes that are not predrilled.
The bottom three holes on F-709 on each side are not drilled. I marked their position through the holes on the skin so that I can determine where to flute. You can see that this area will need some significant fluting.
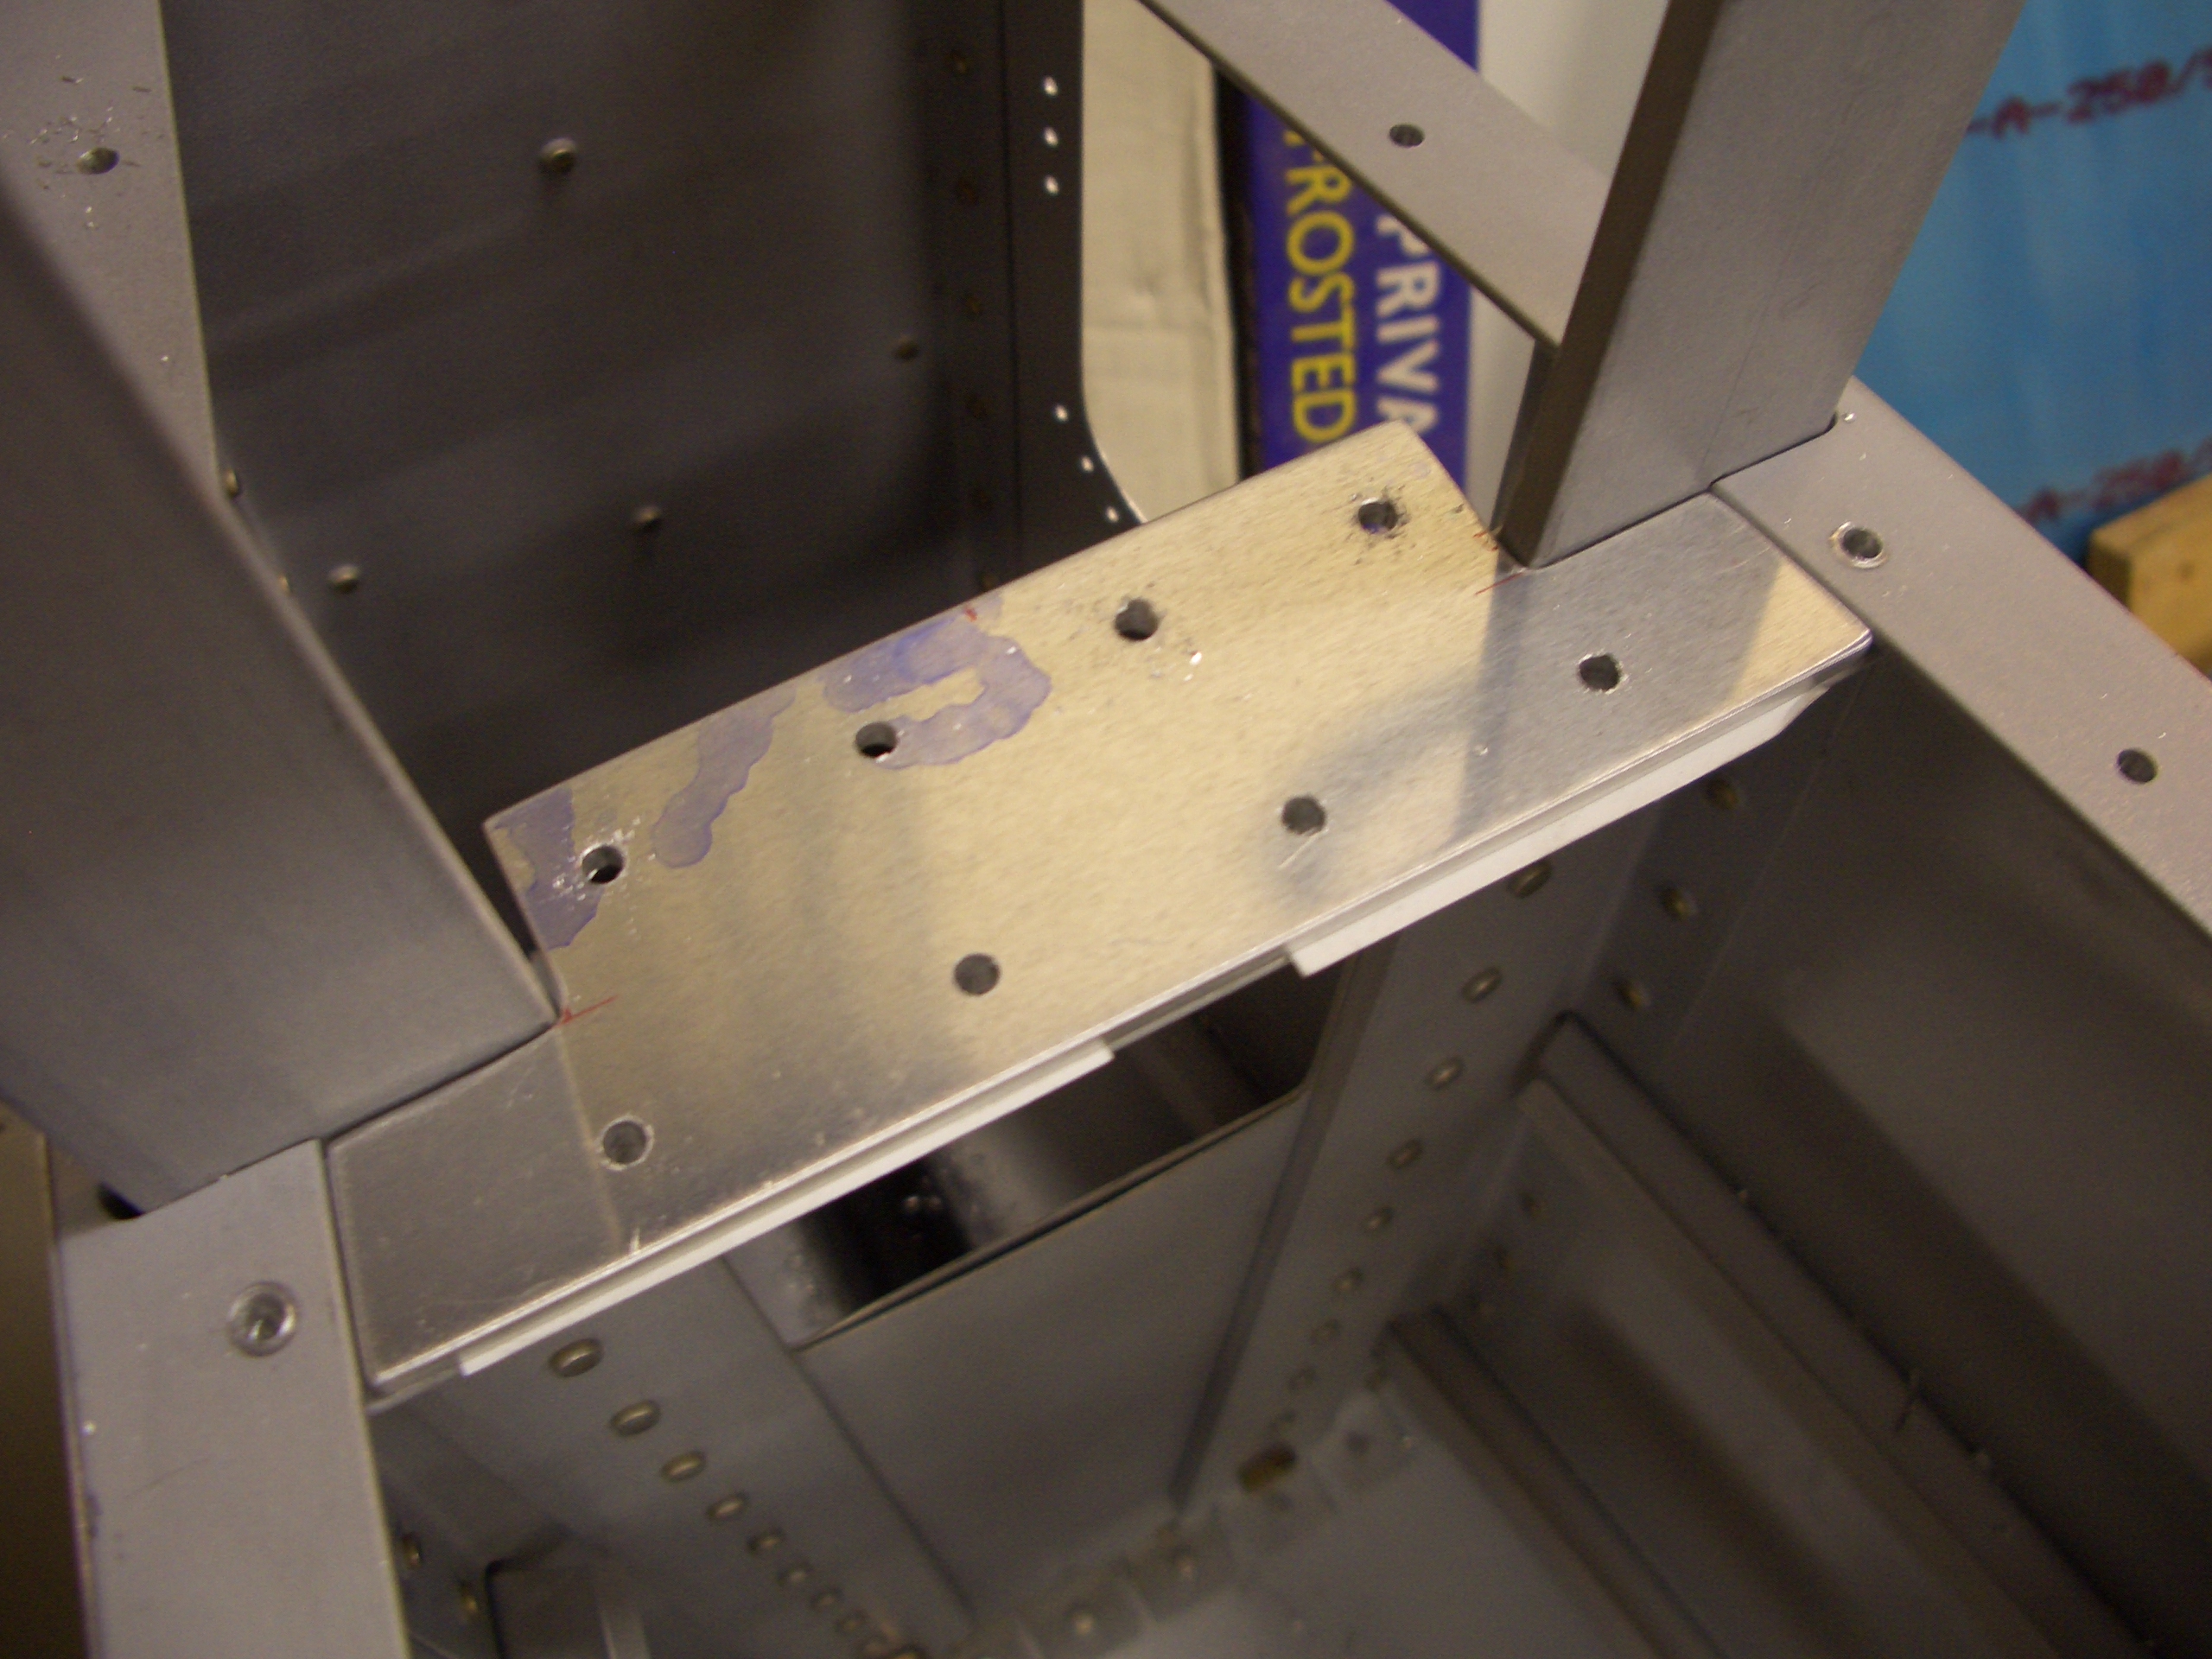
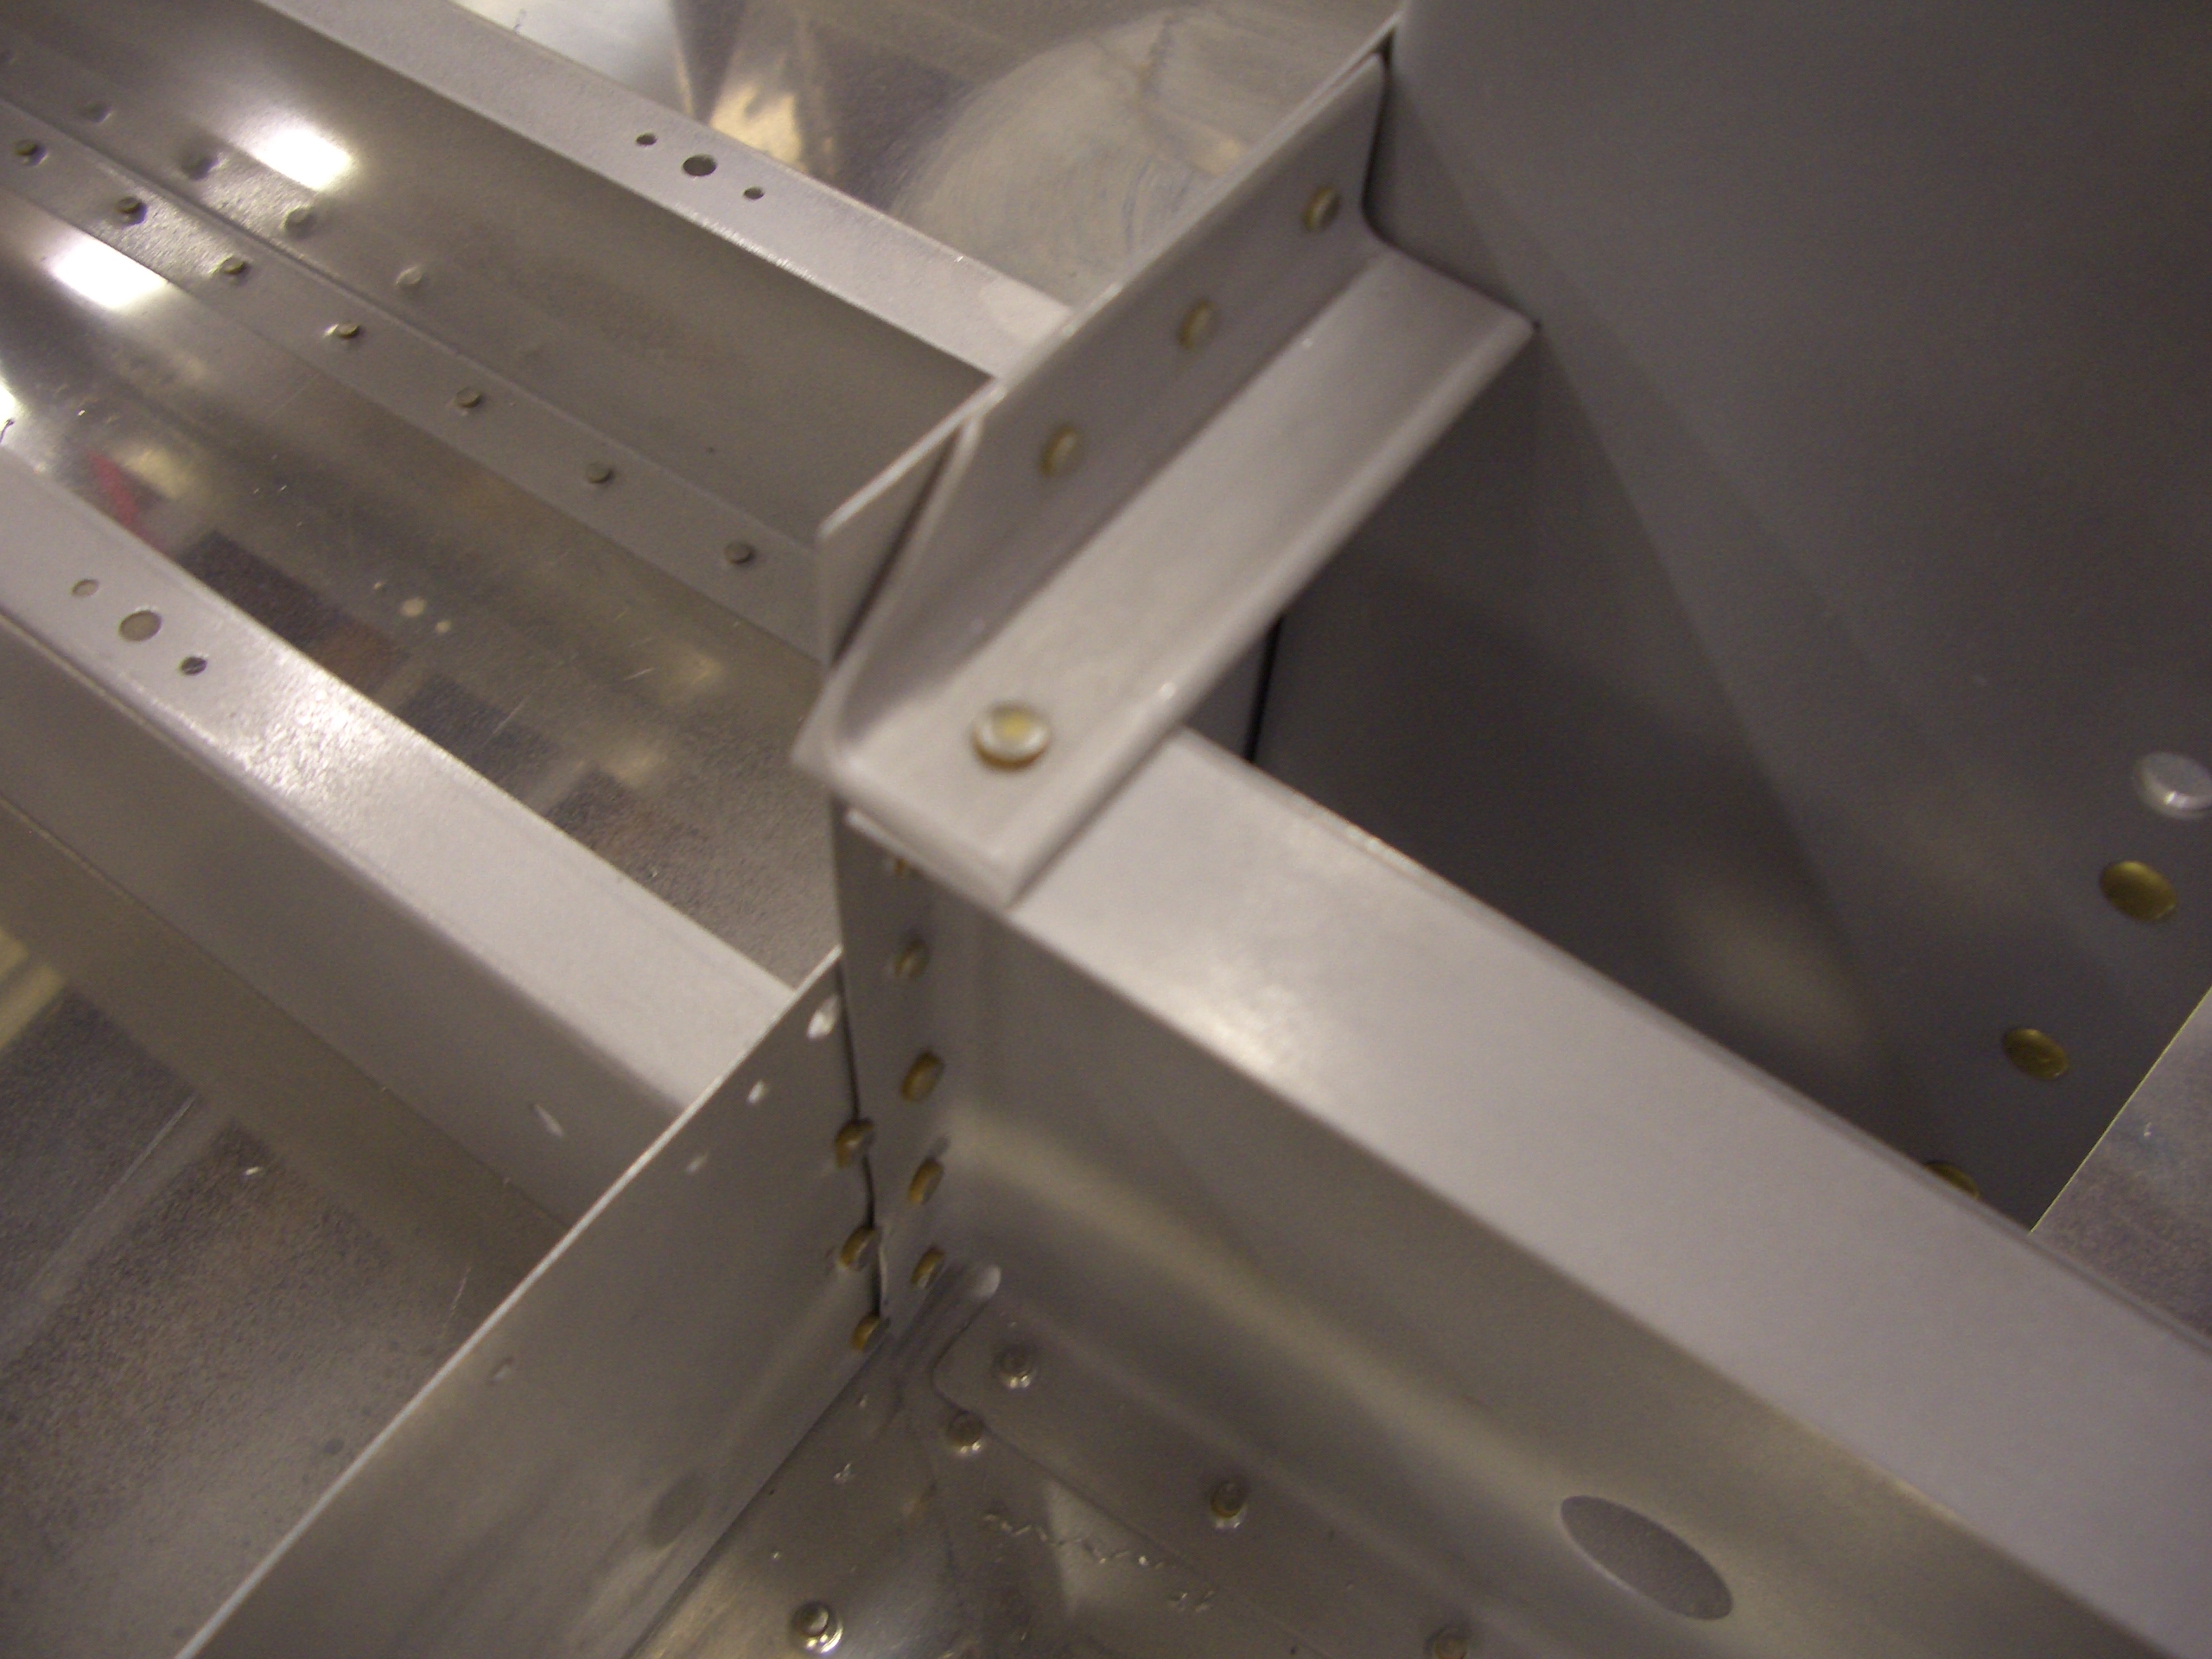
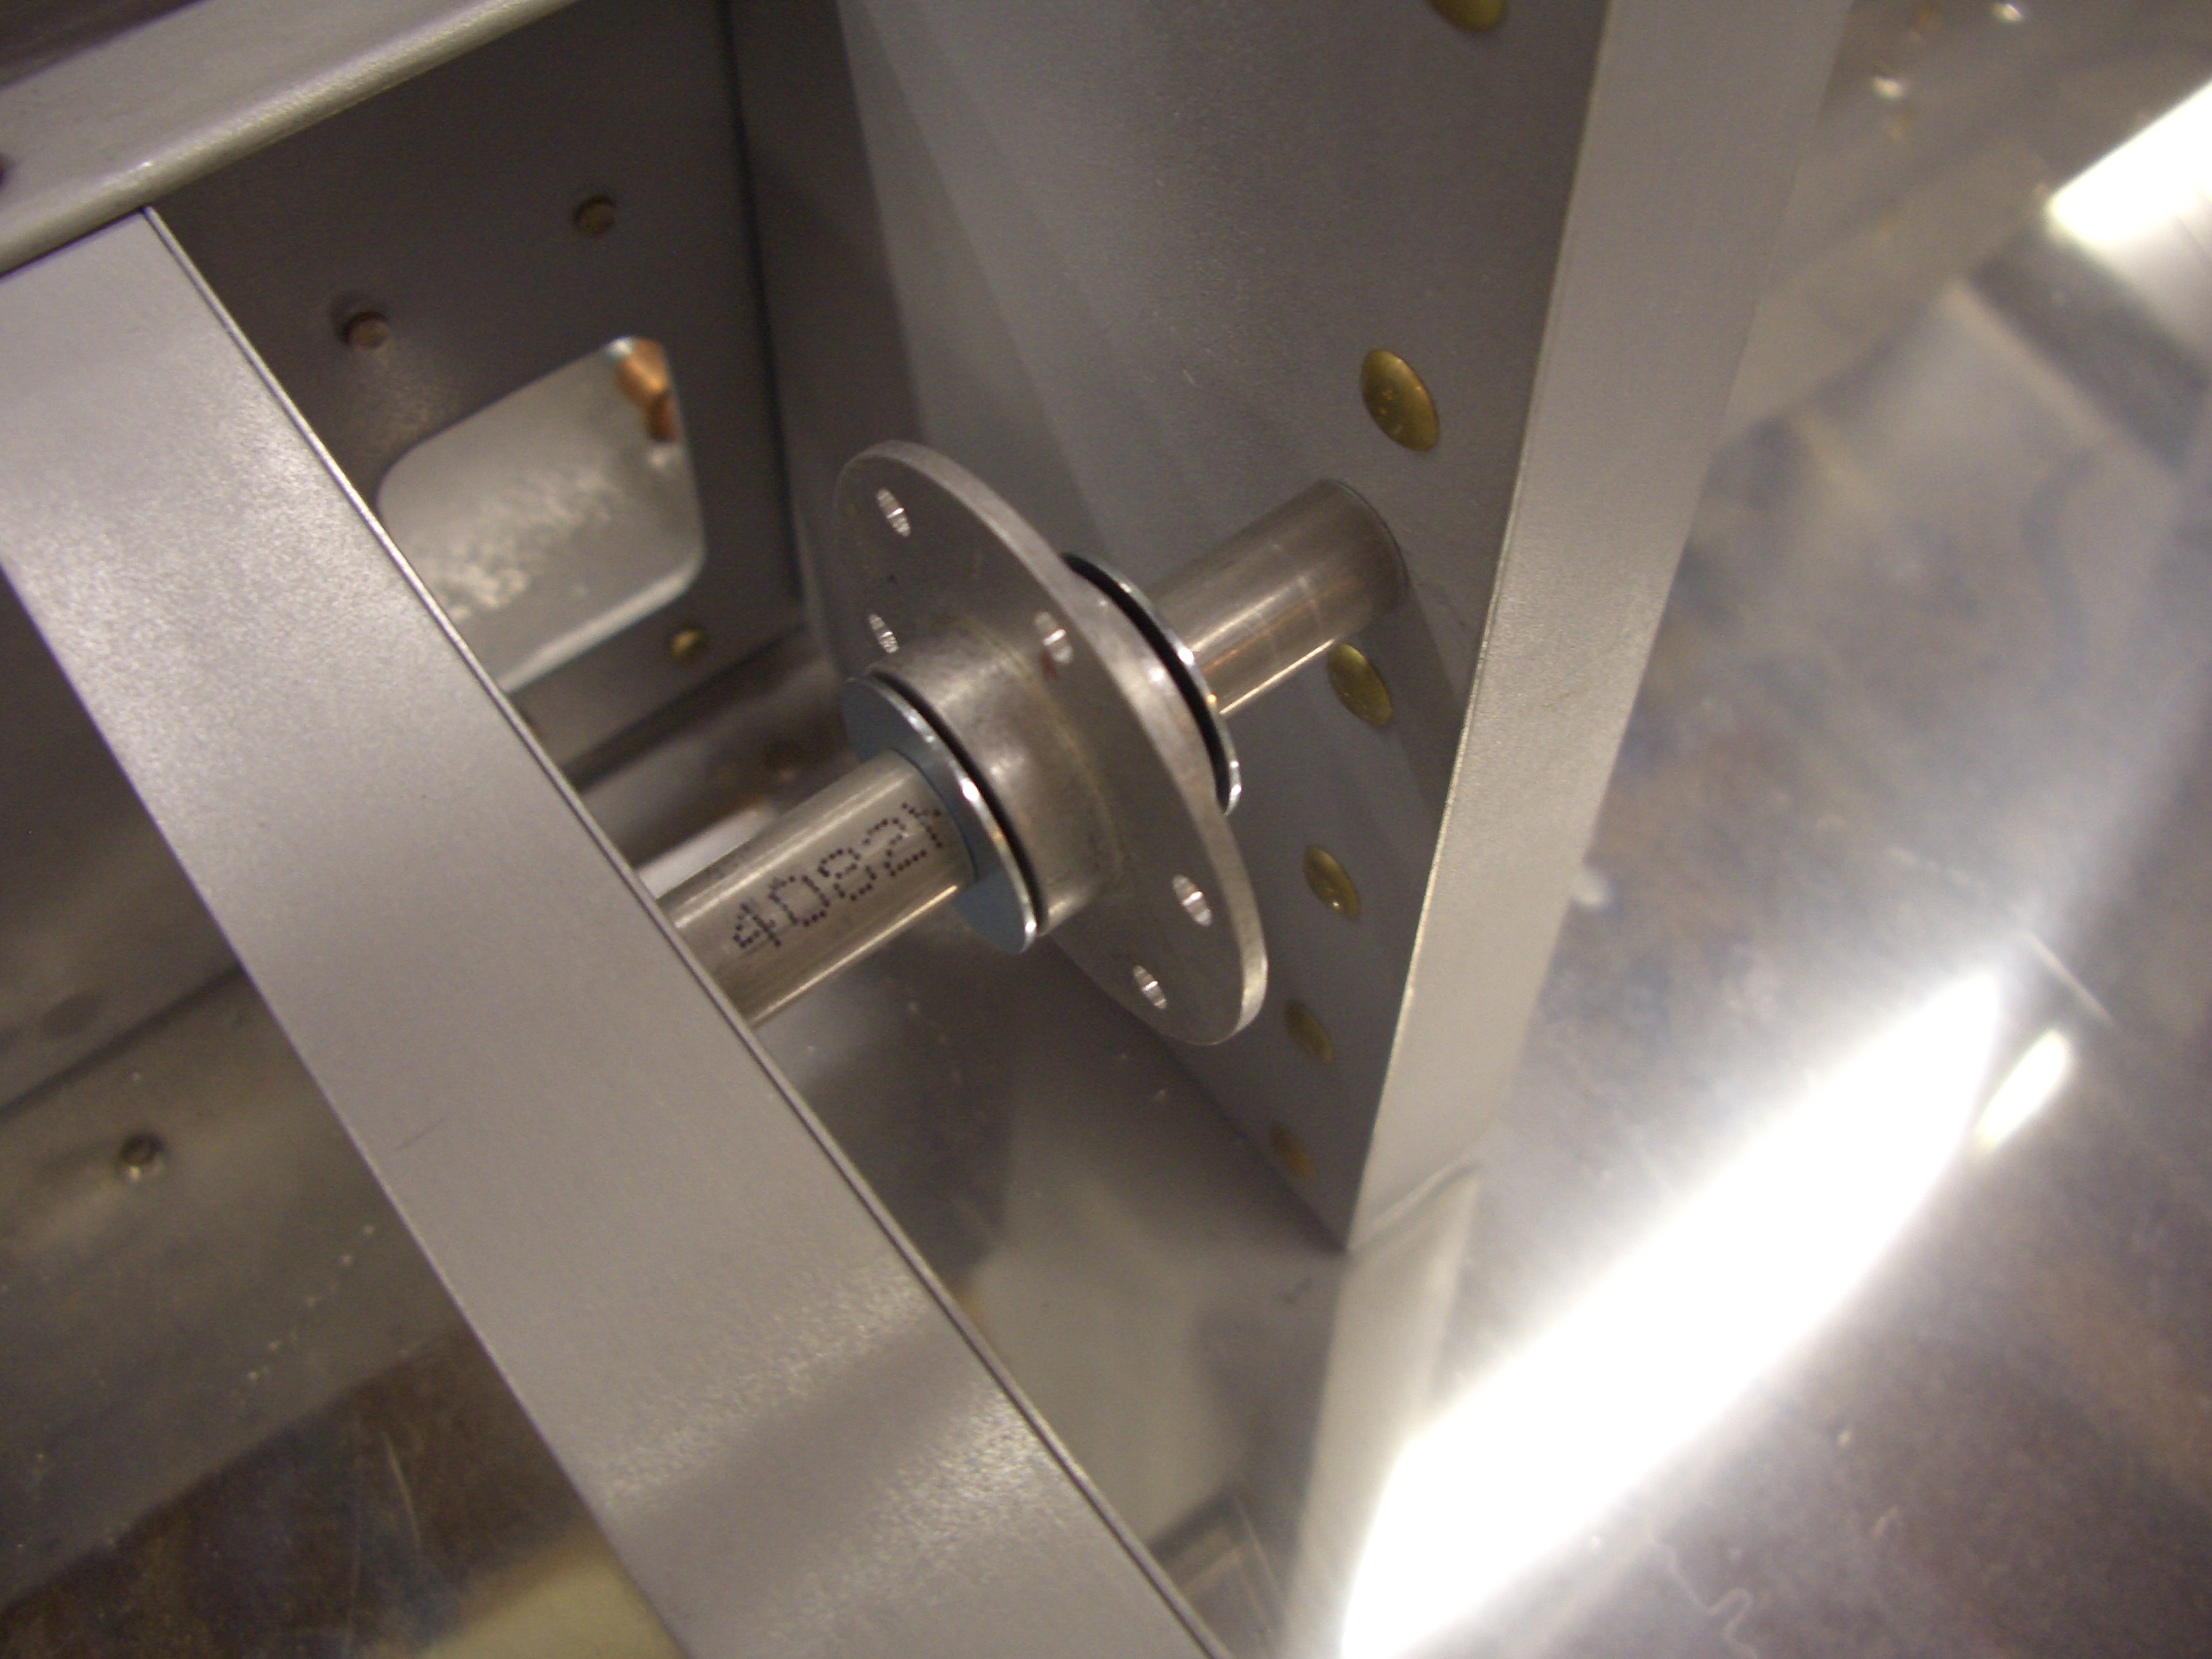
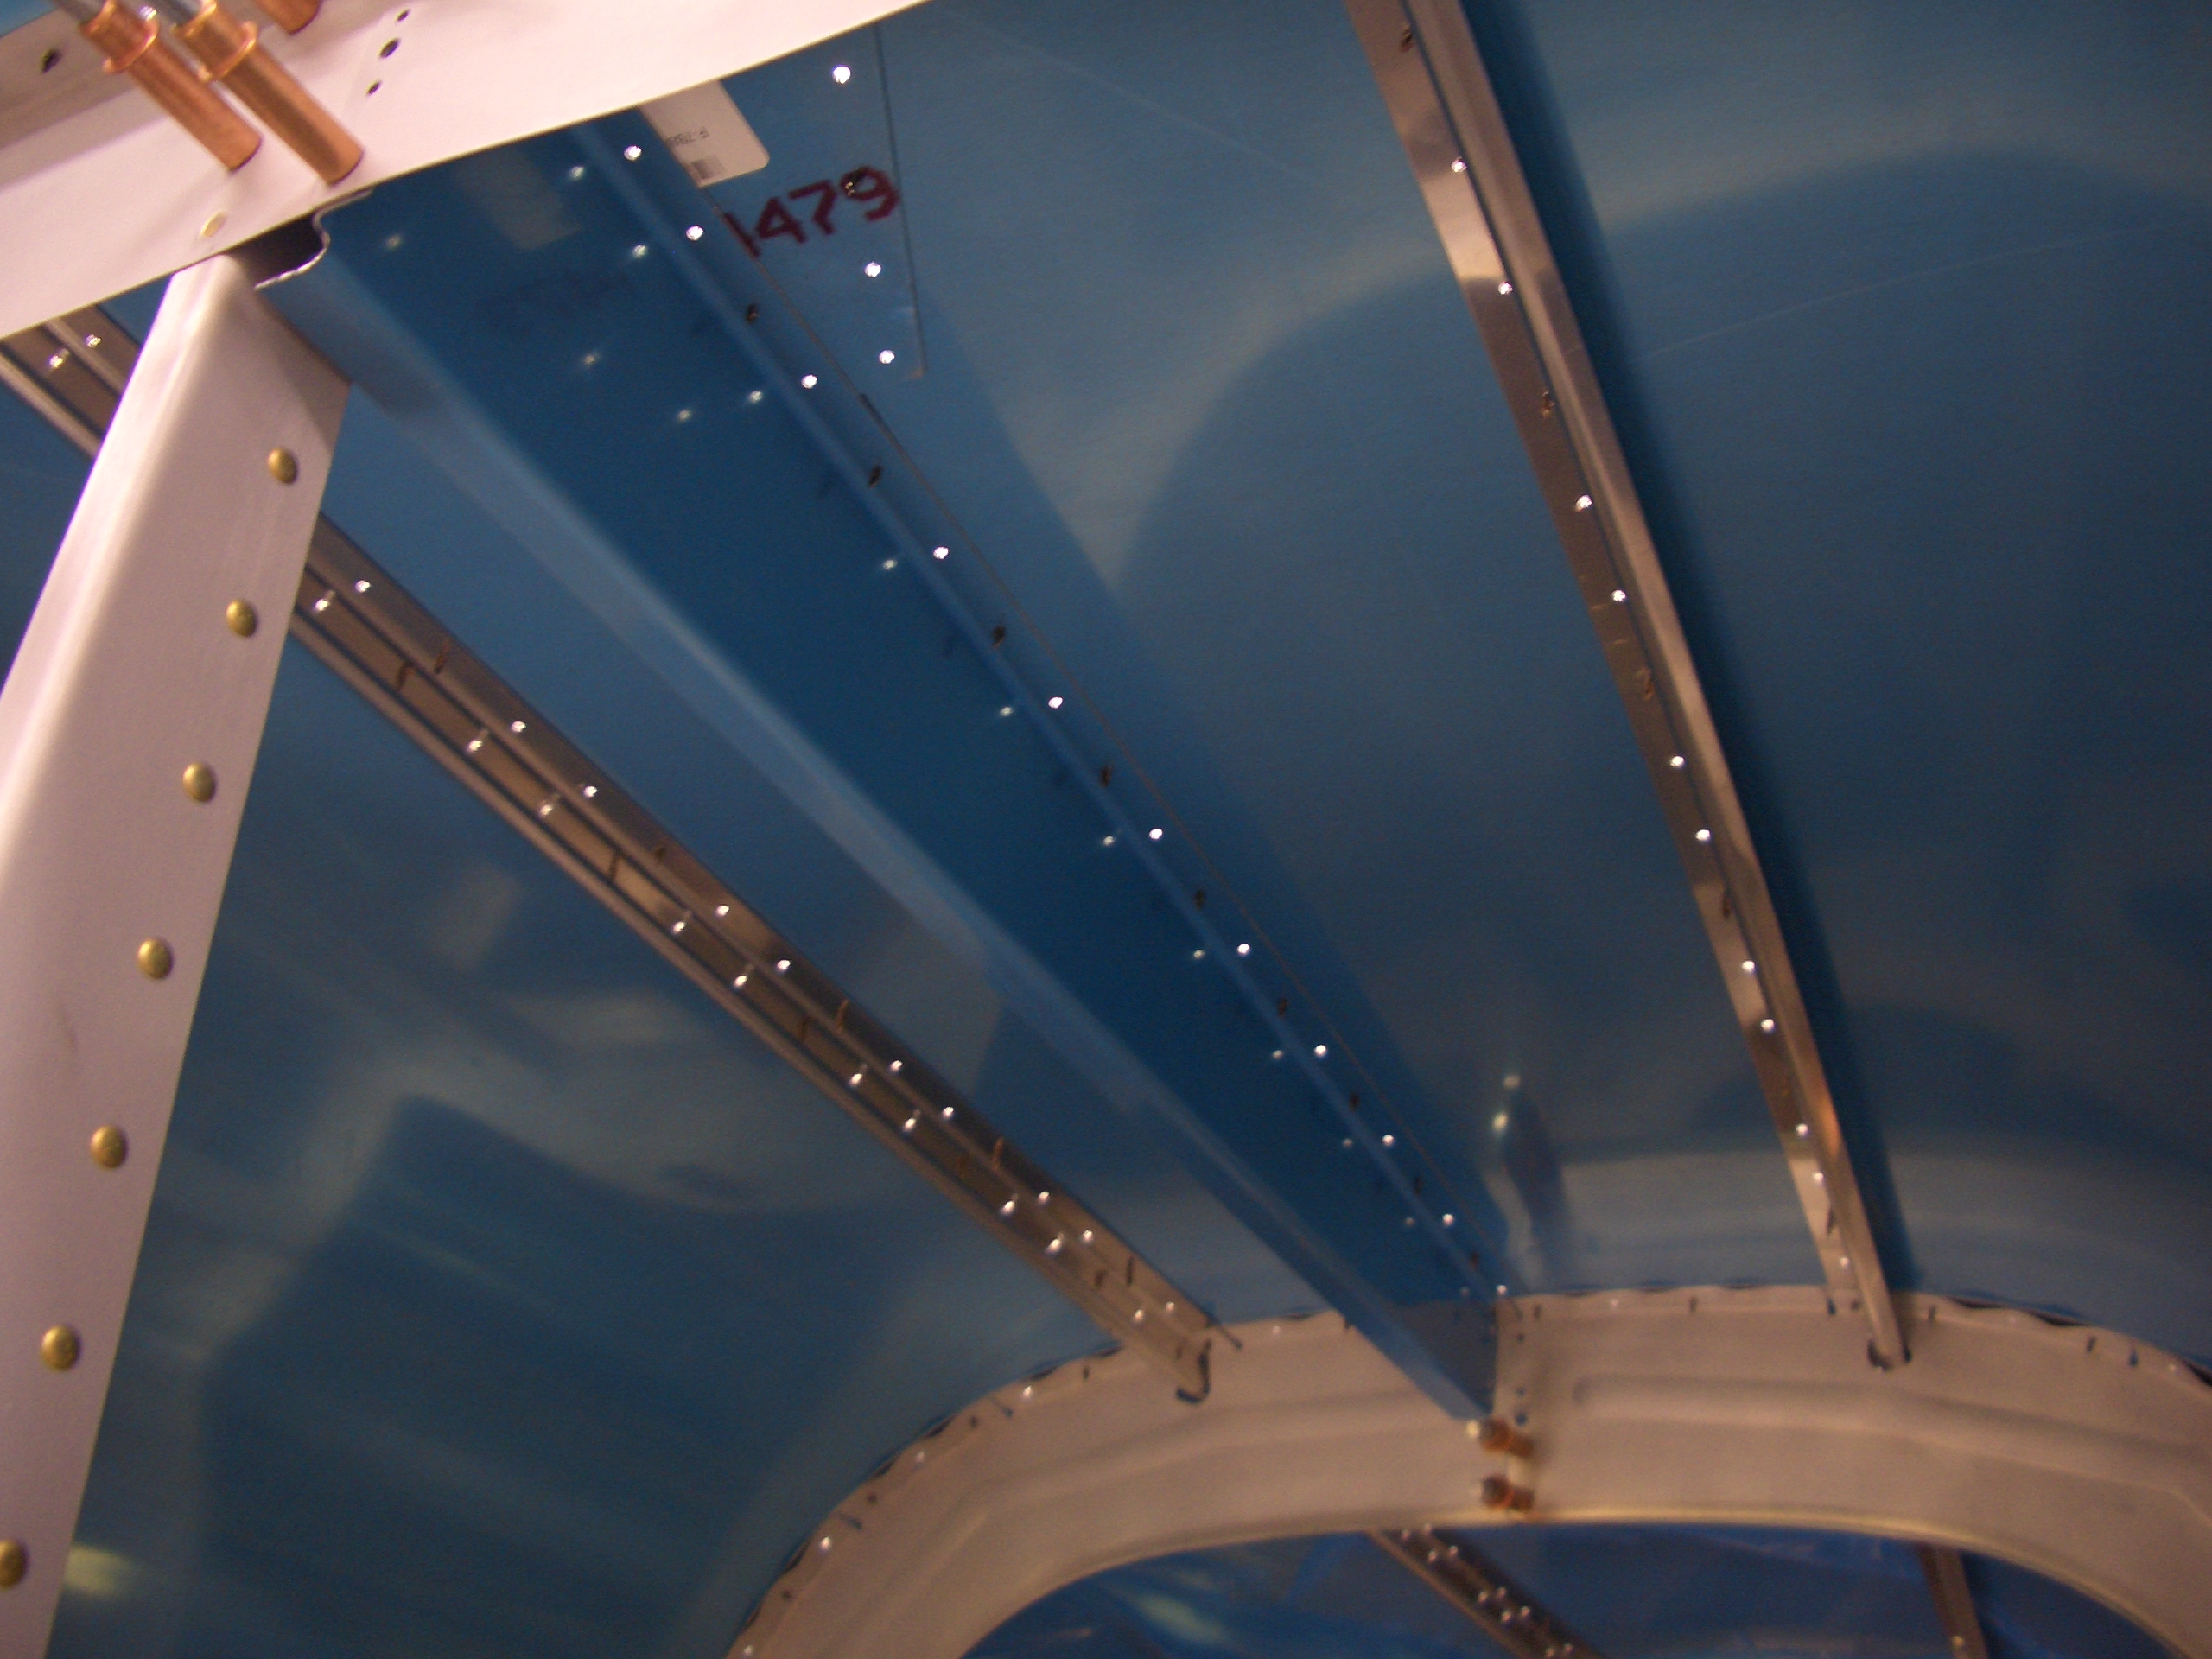
I then trimmed and fit the stiffeners and then put on the forward skin. One final rib is inserted on the top skin between F-706 and F-707 as well as a gusset plate (where the numbers 479 are visible).
Finally, I match drilled the skins to the bulkheads and stiffeners.
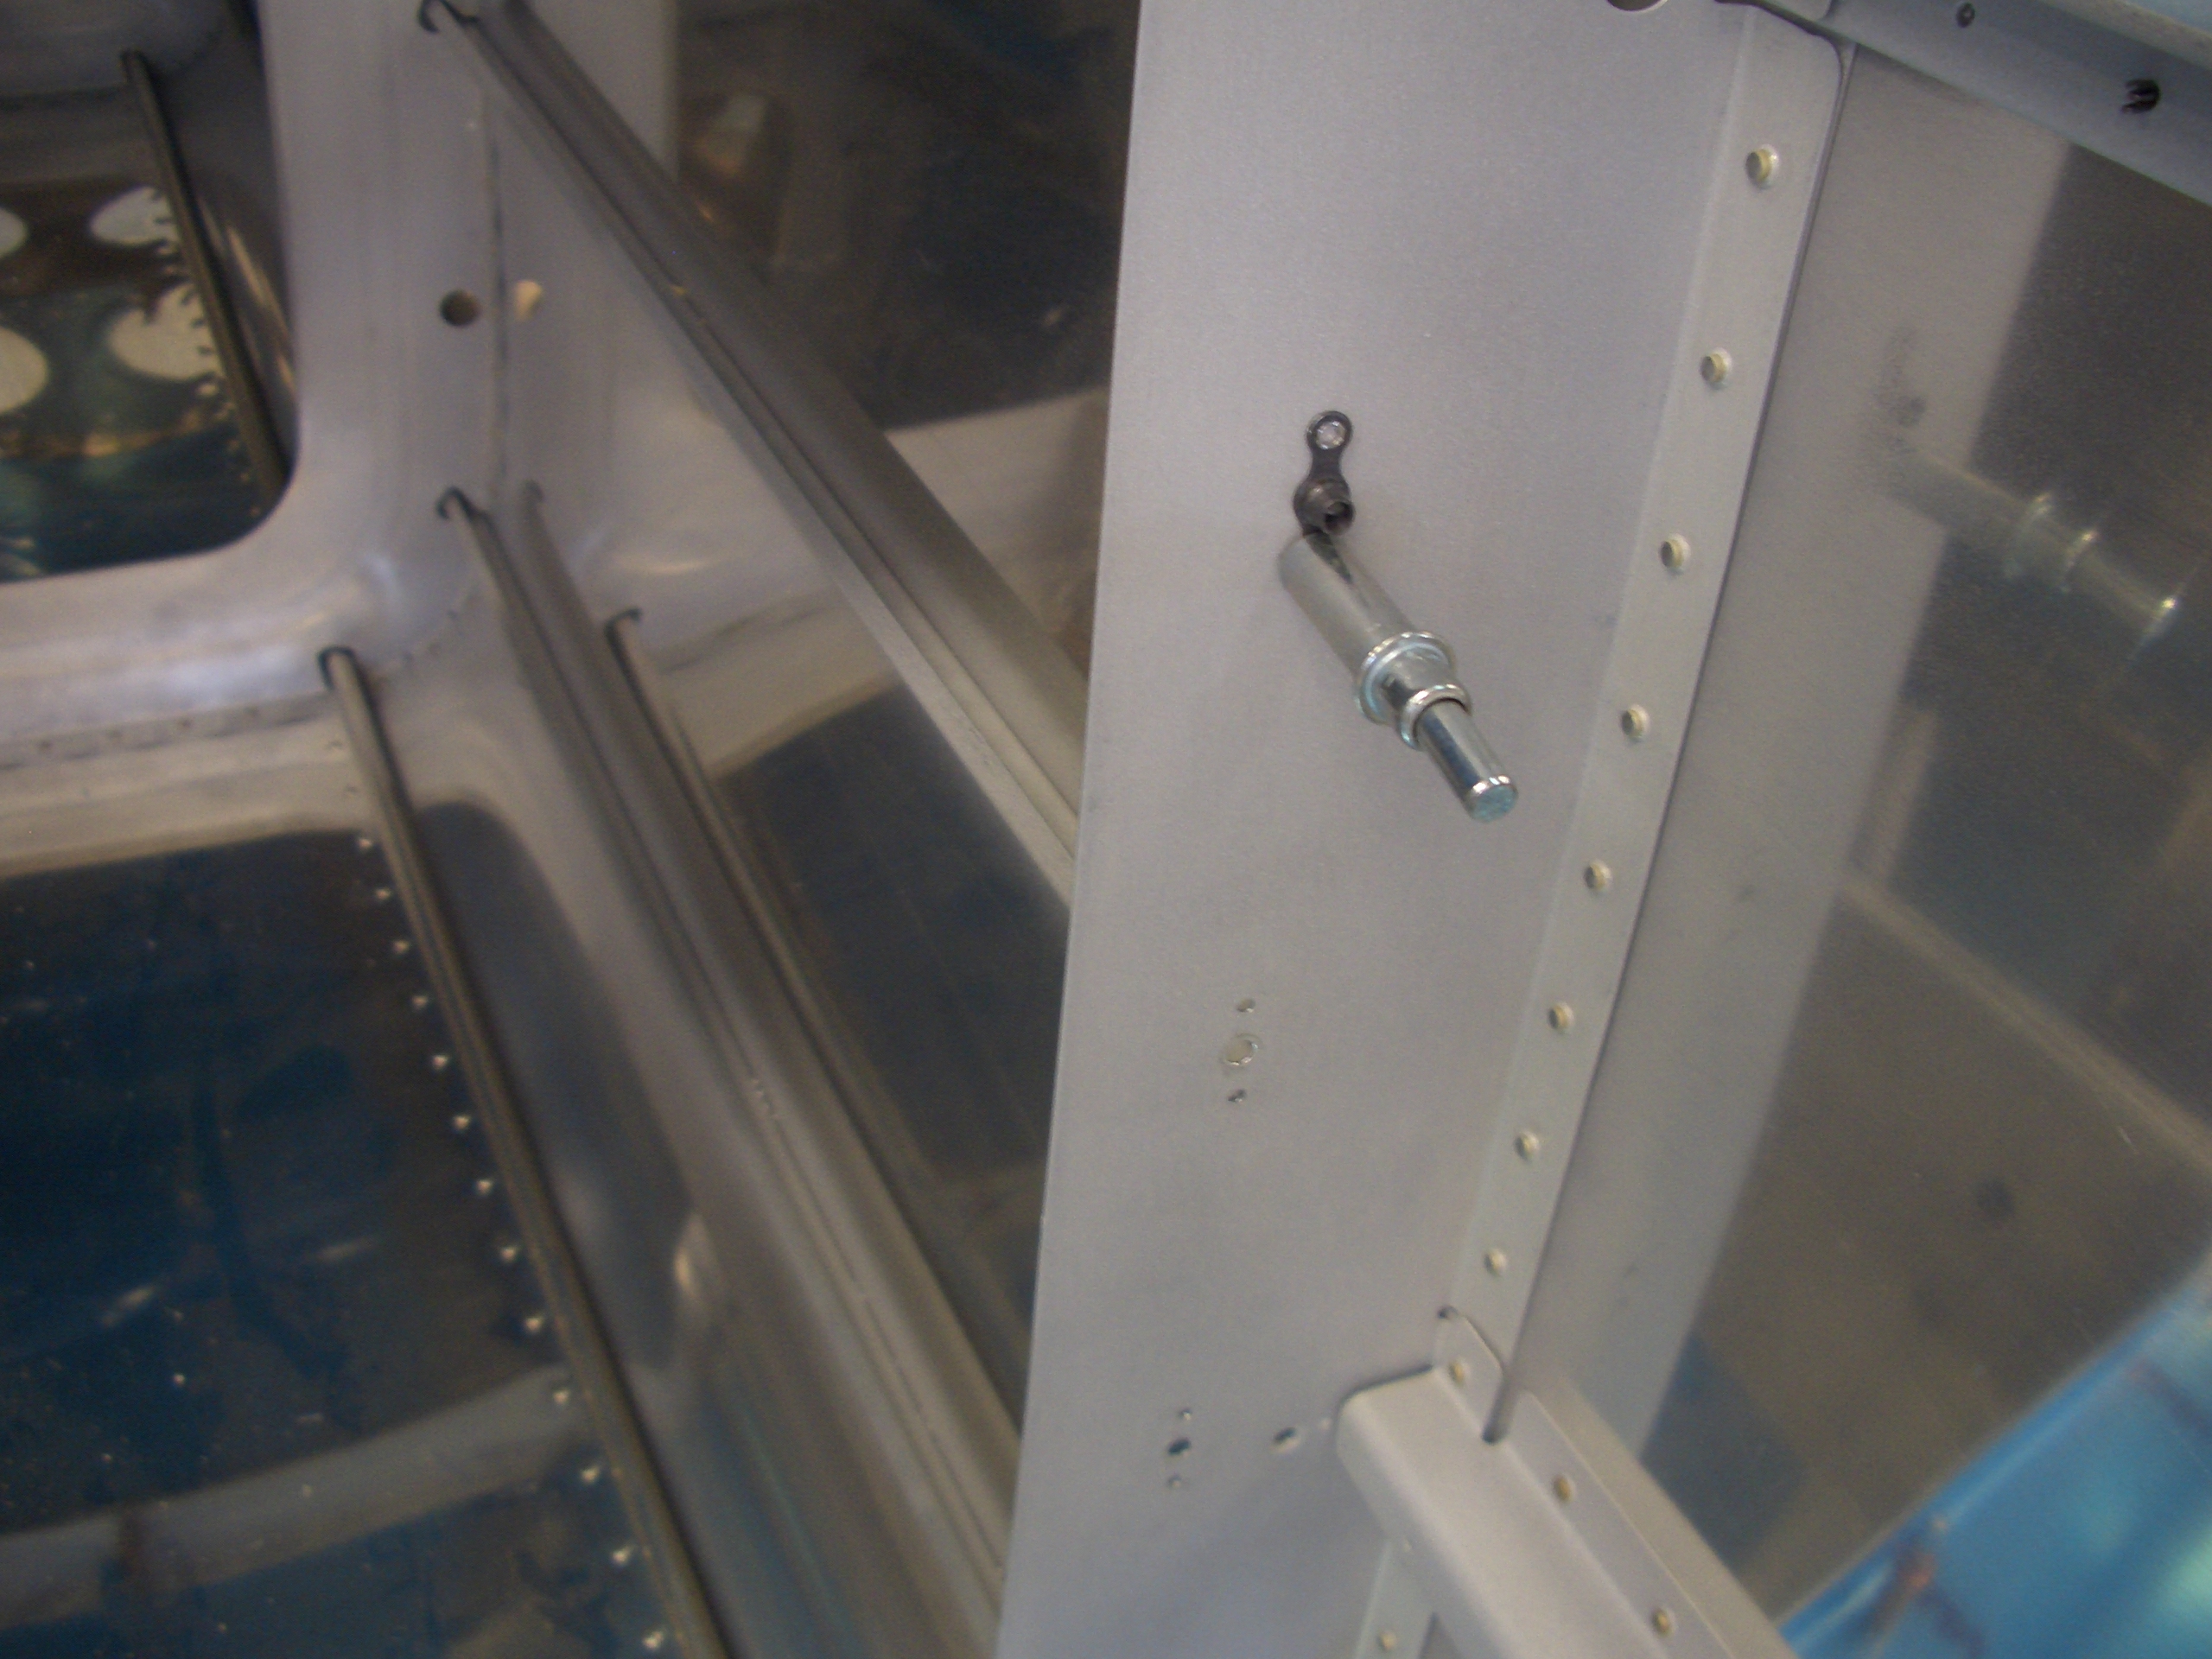
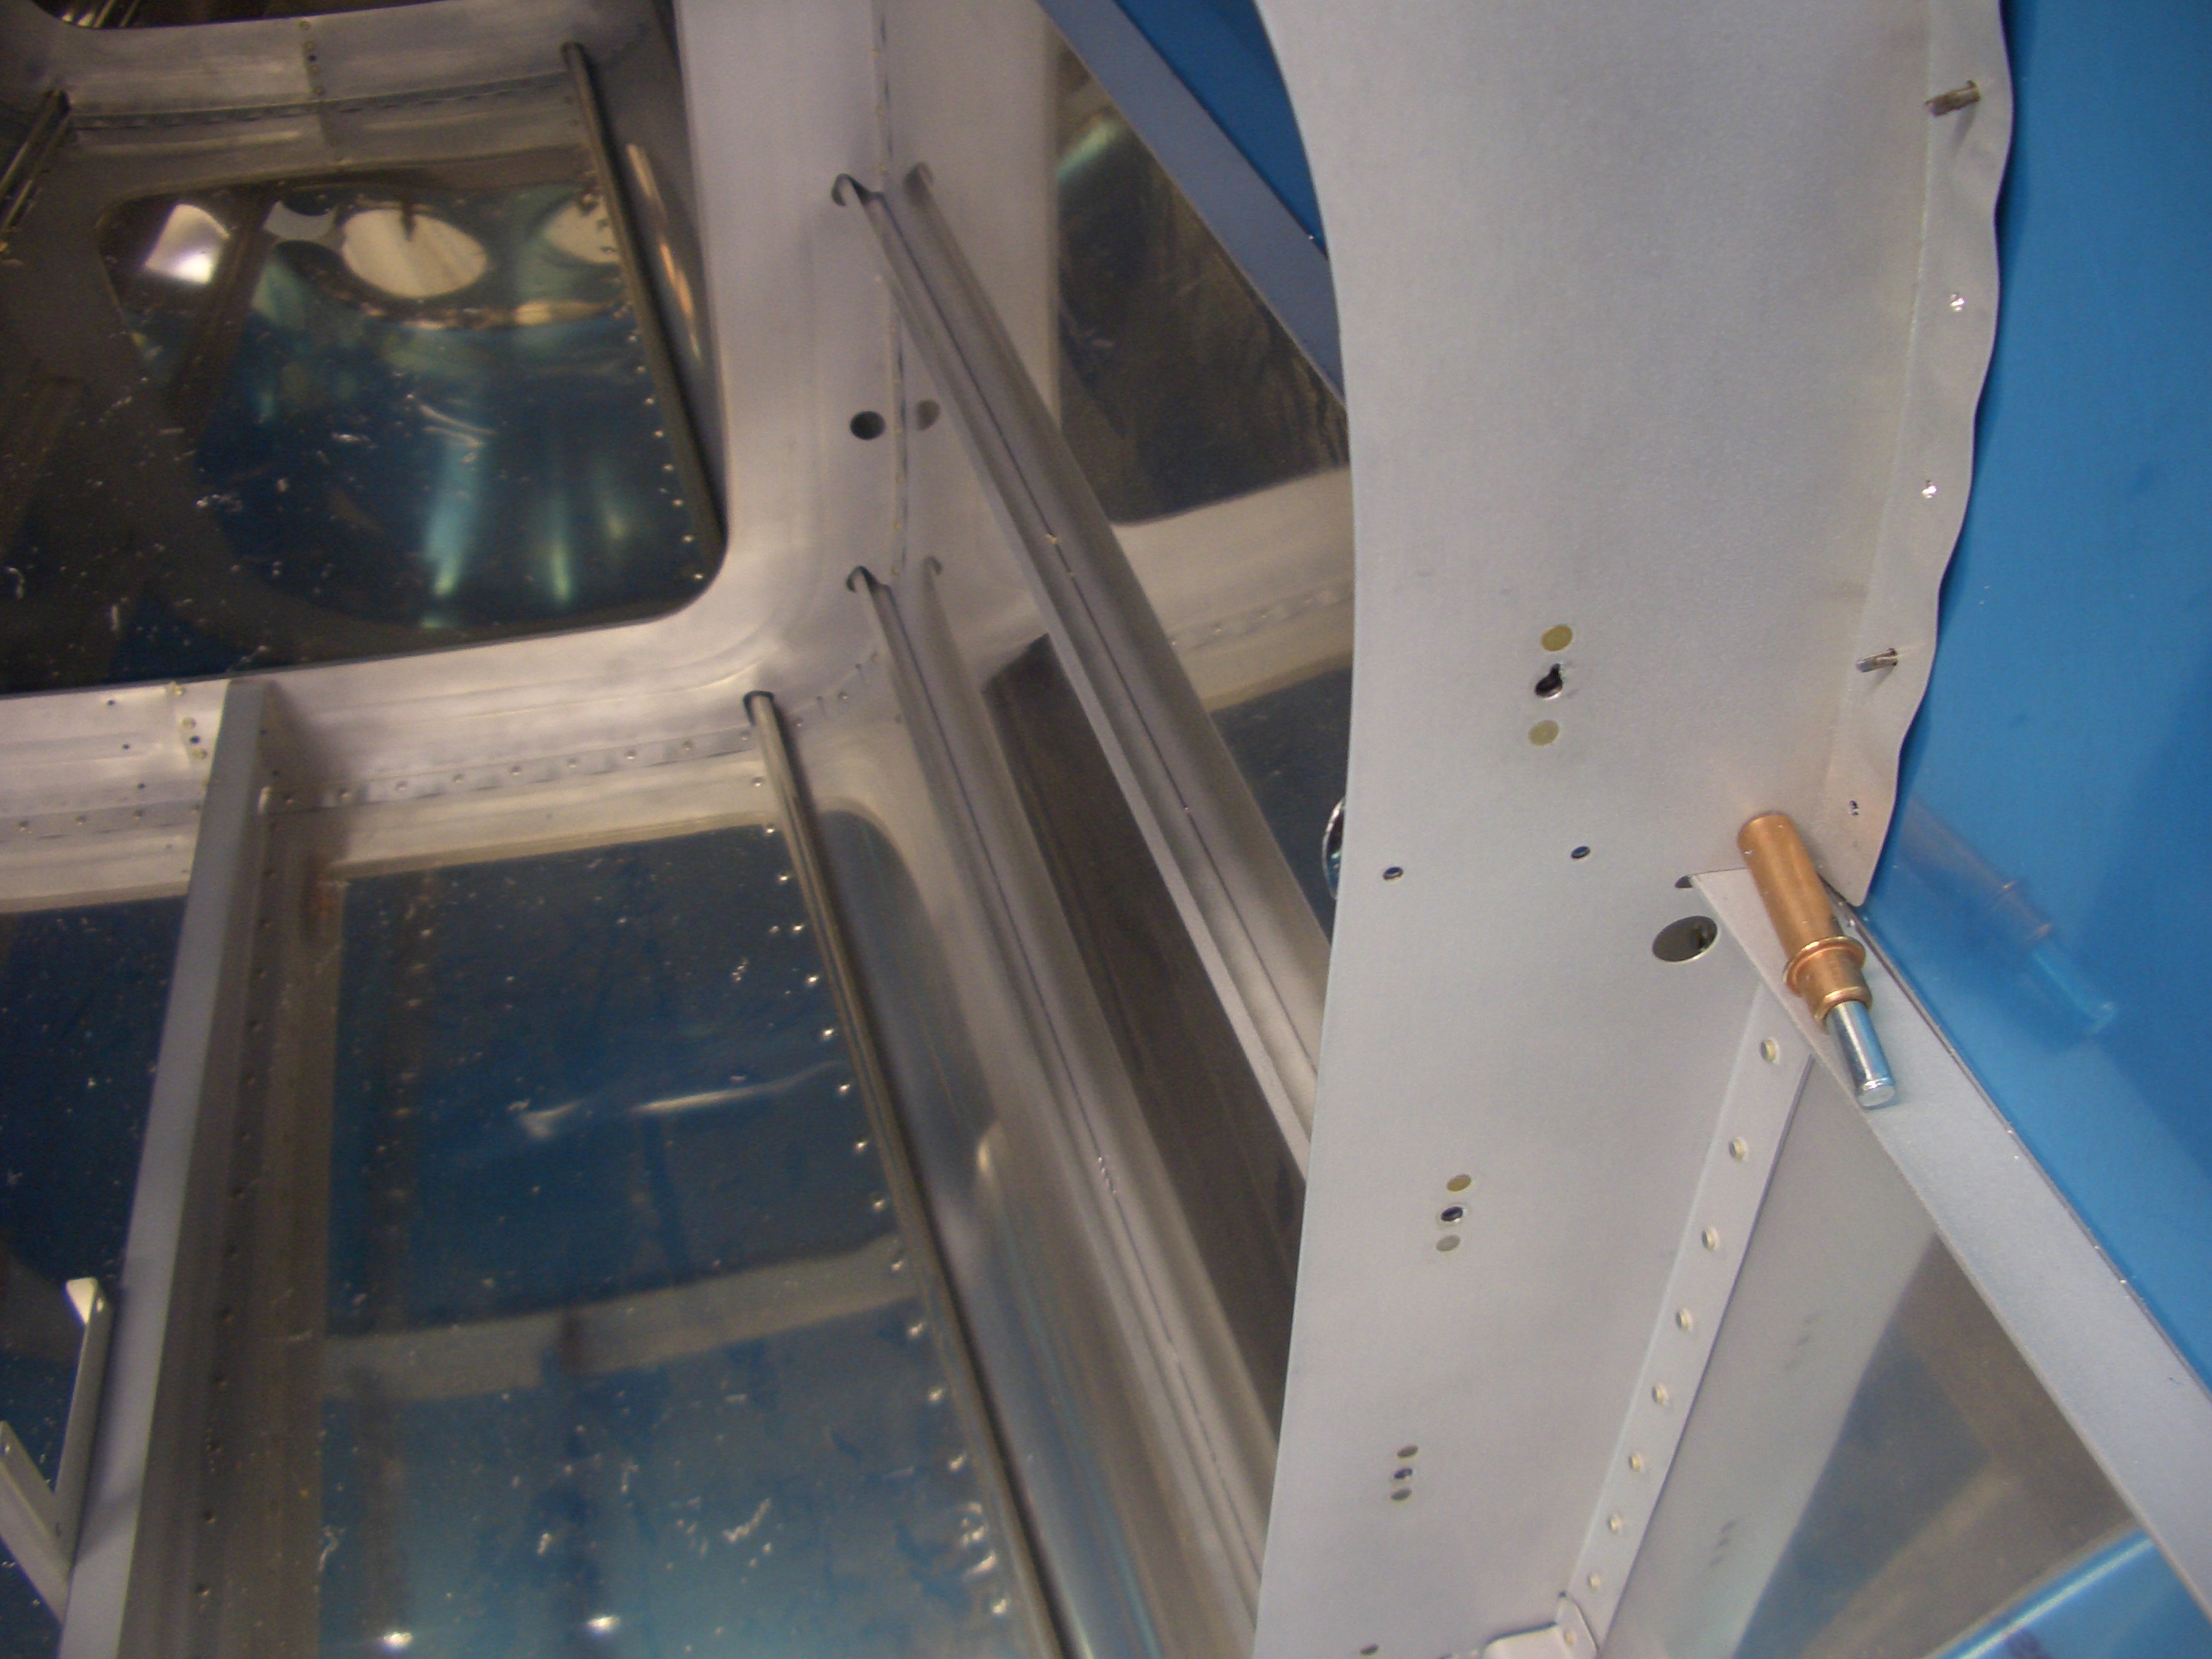
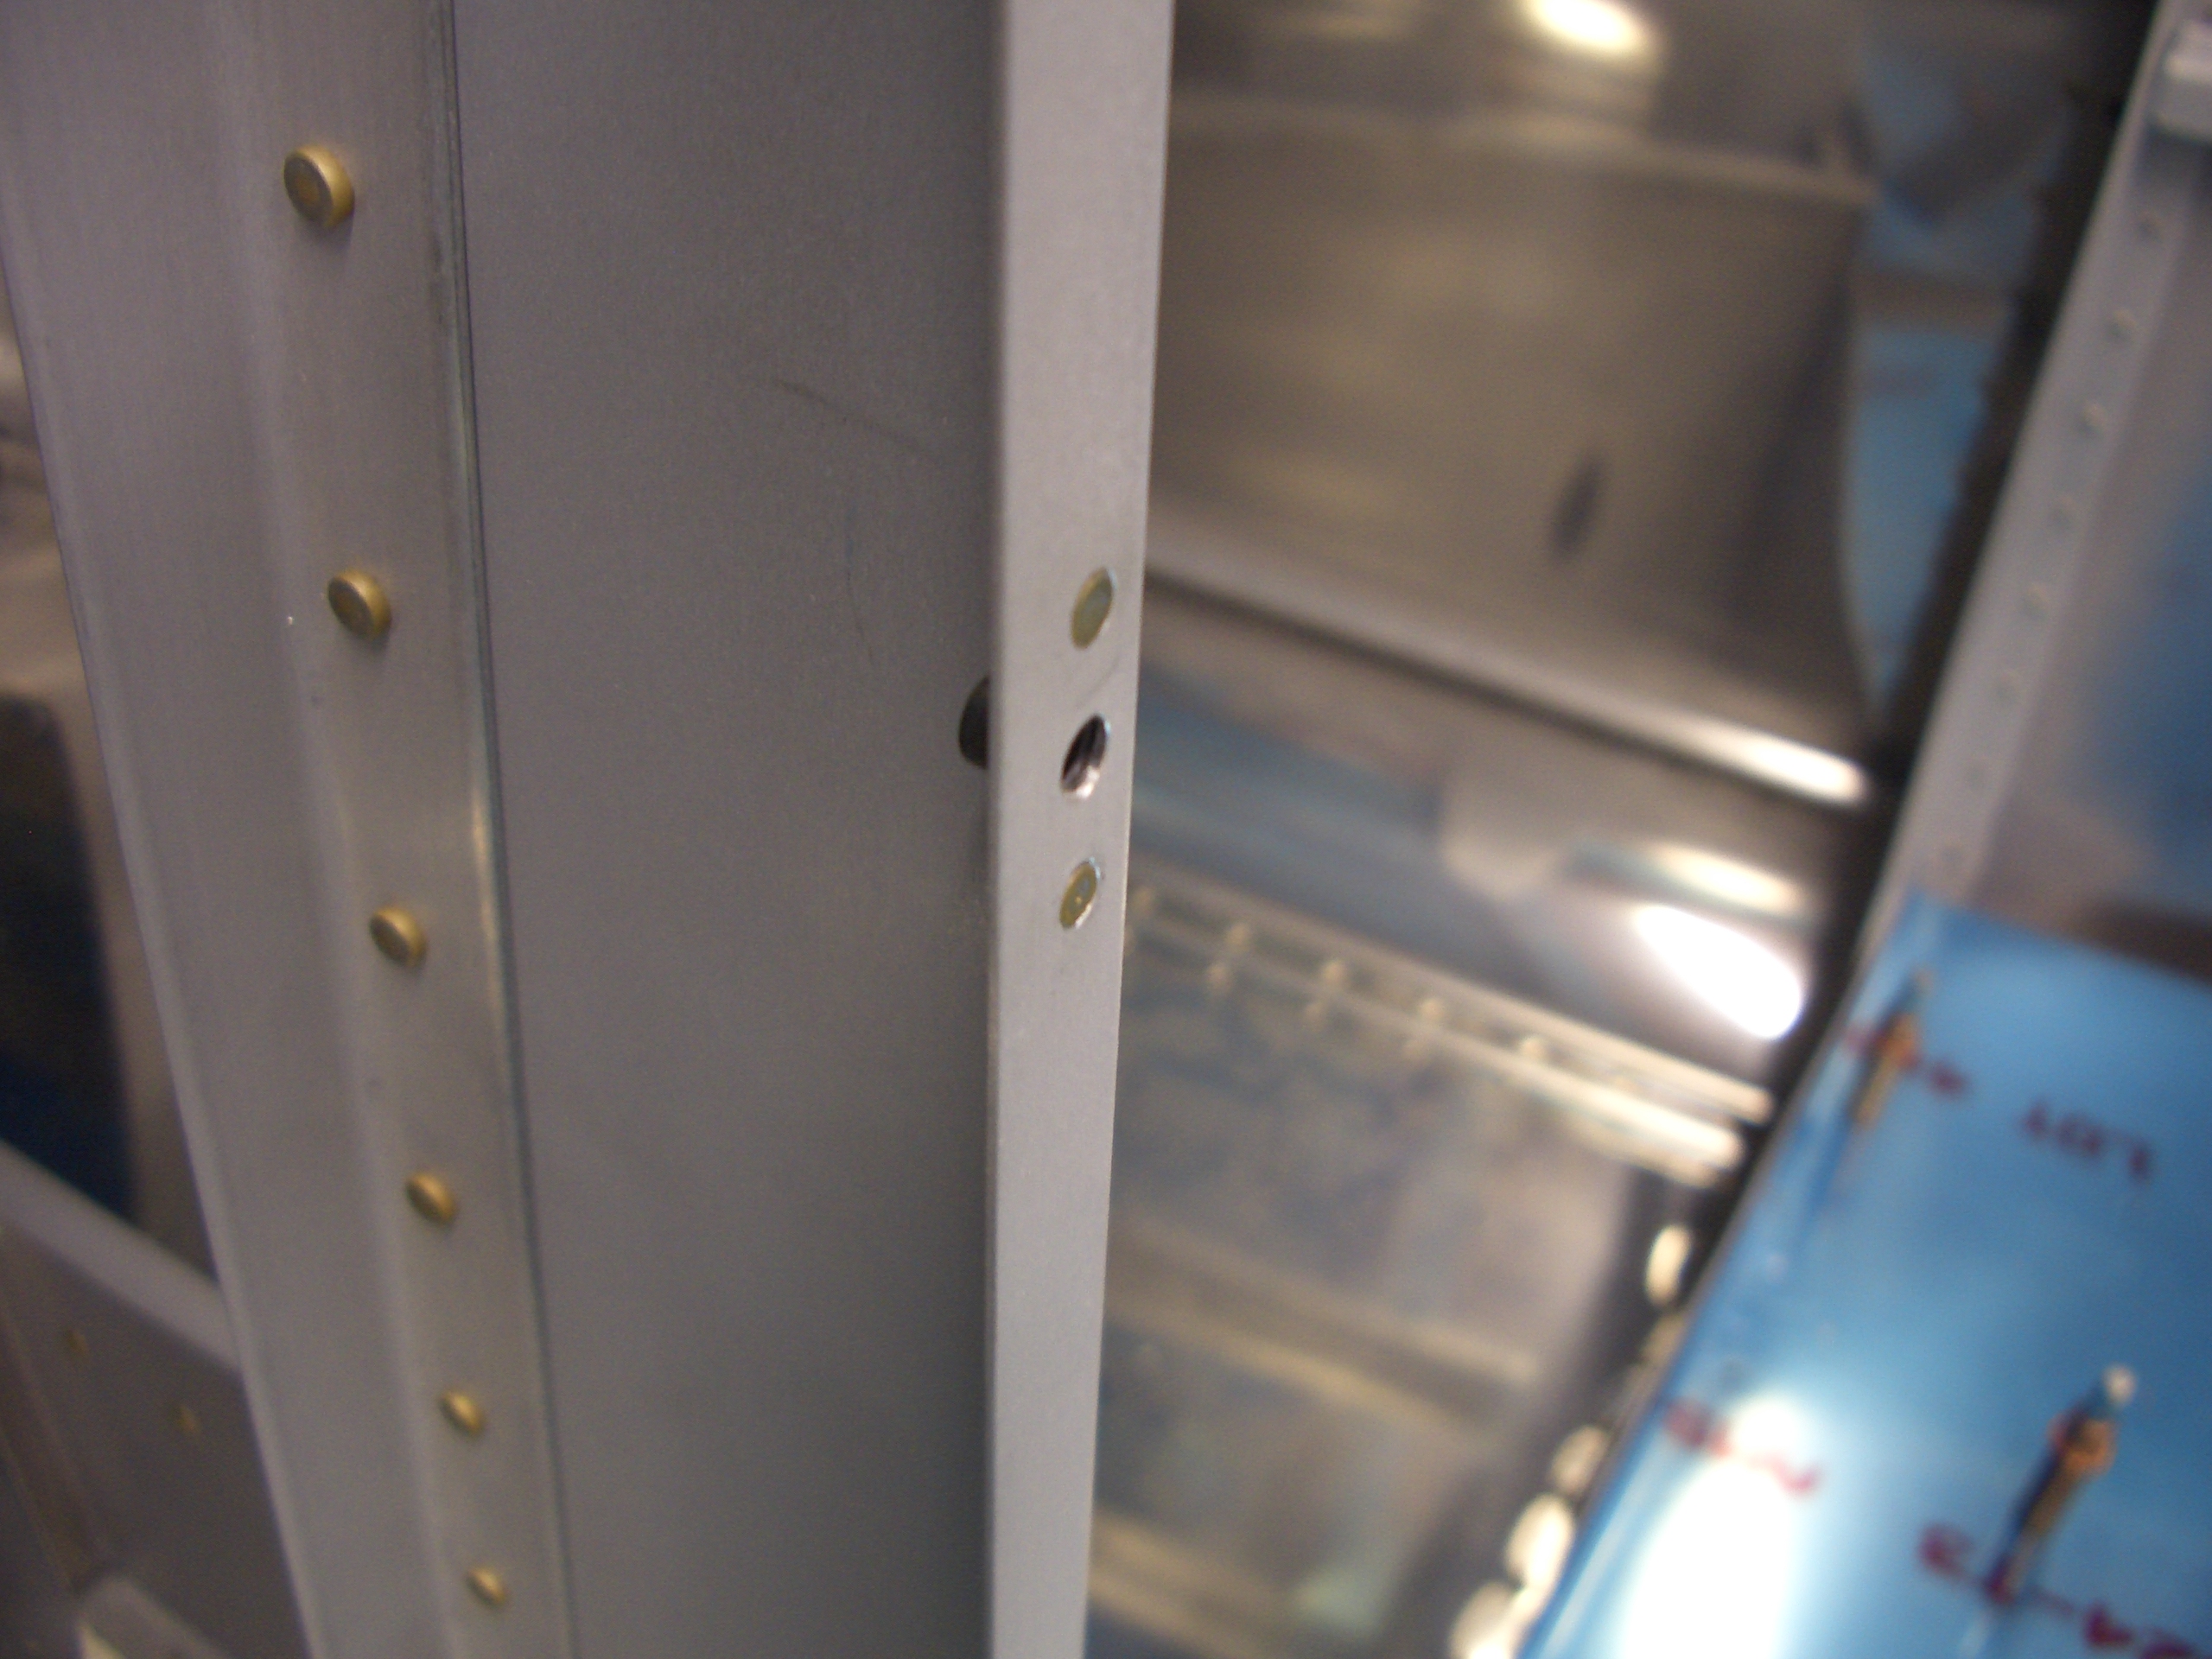
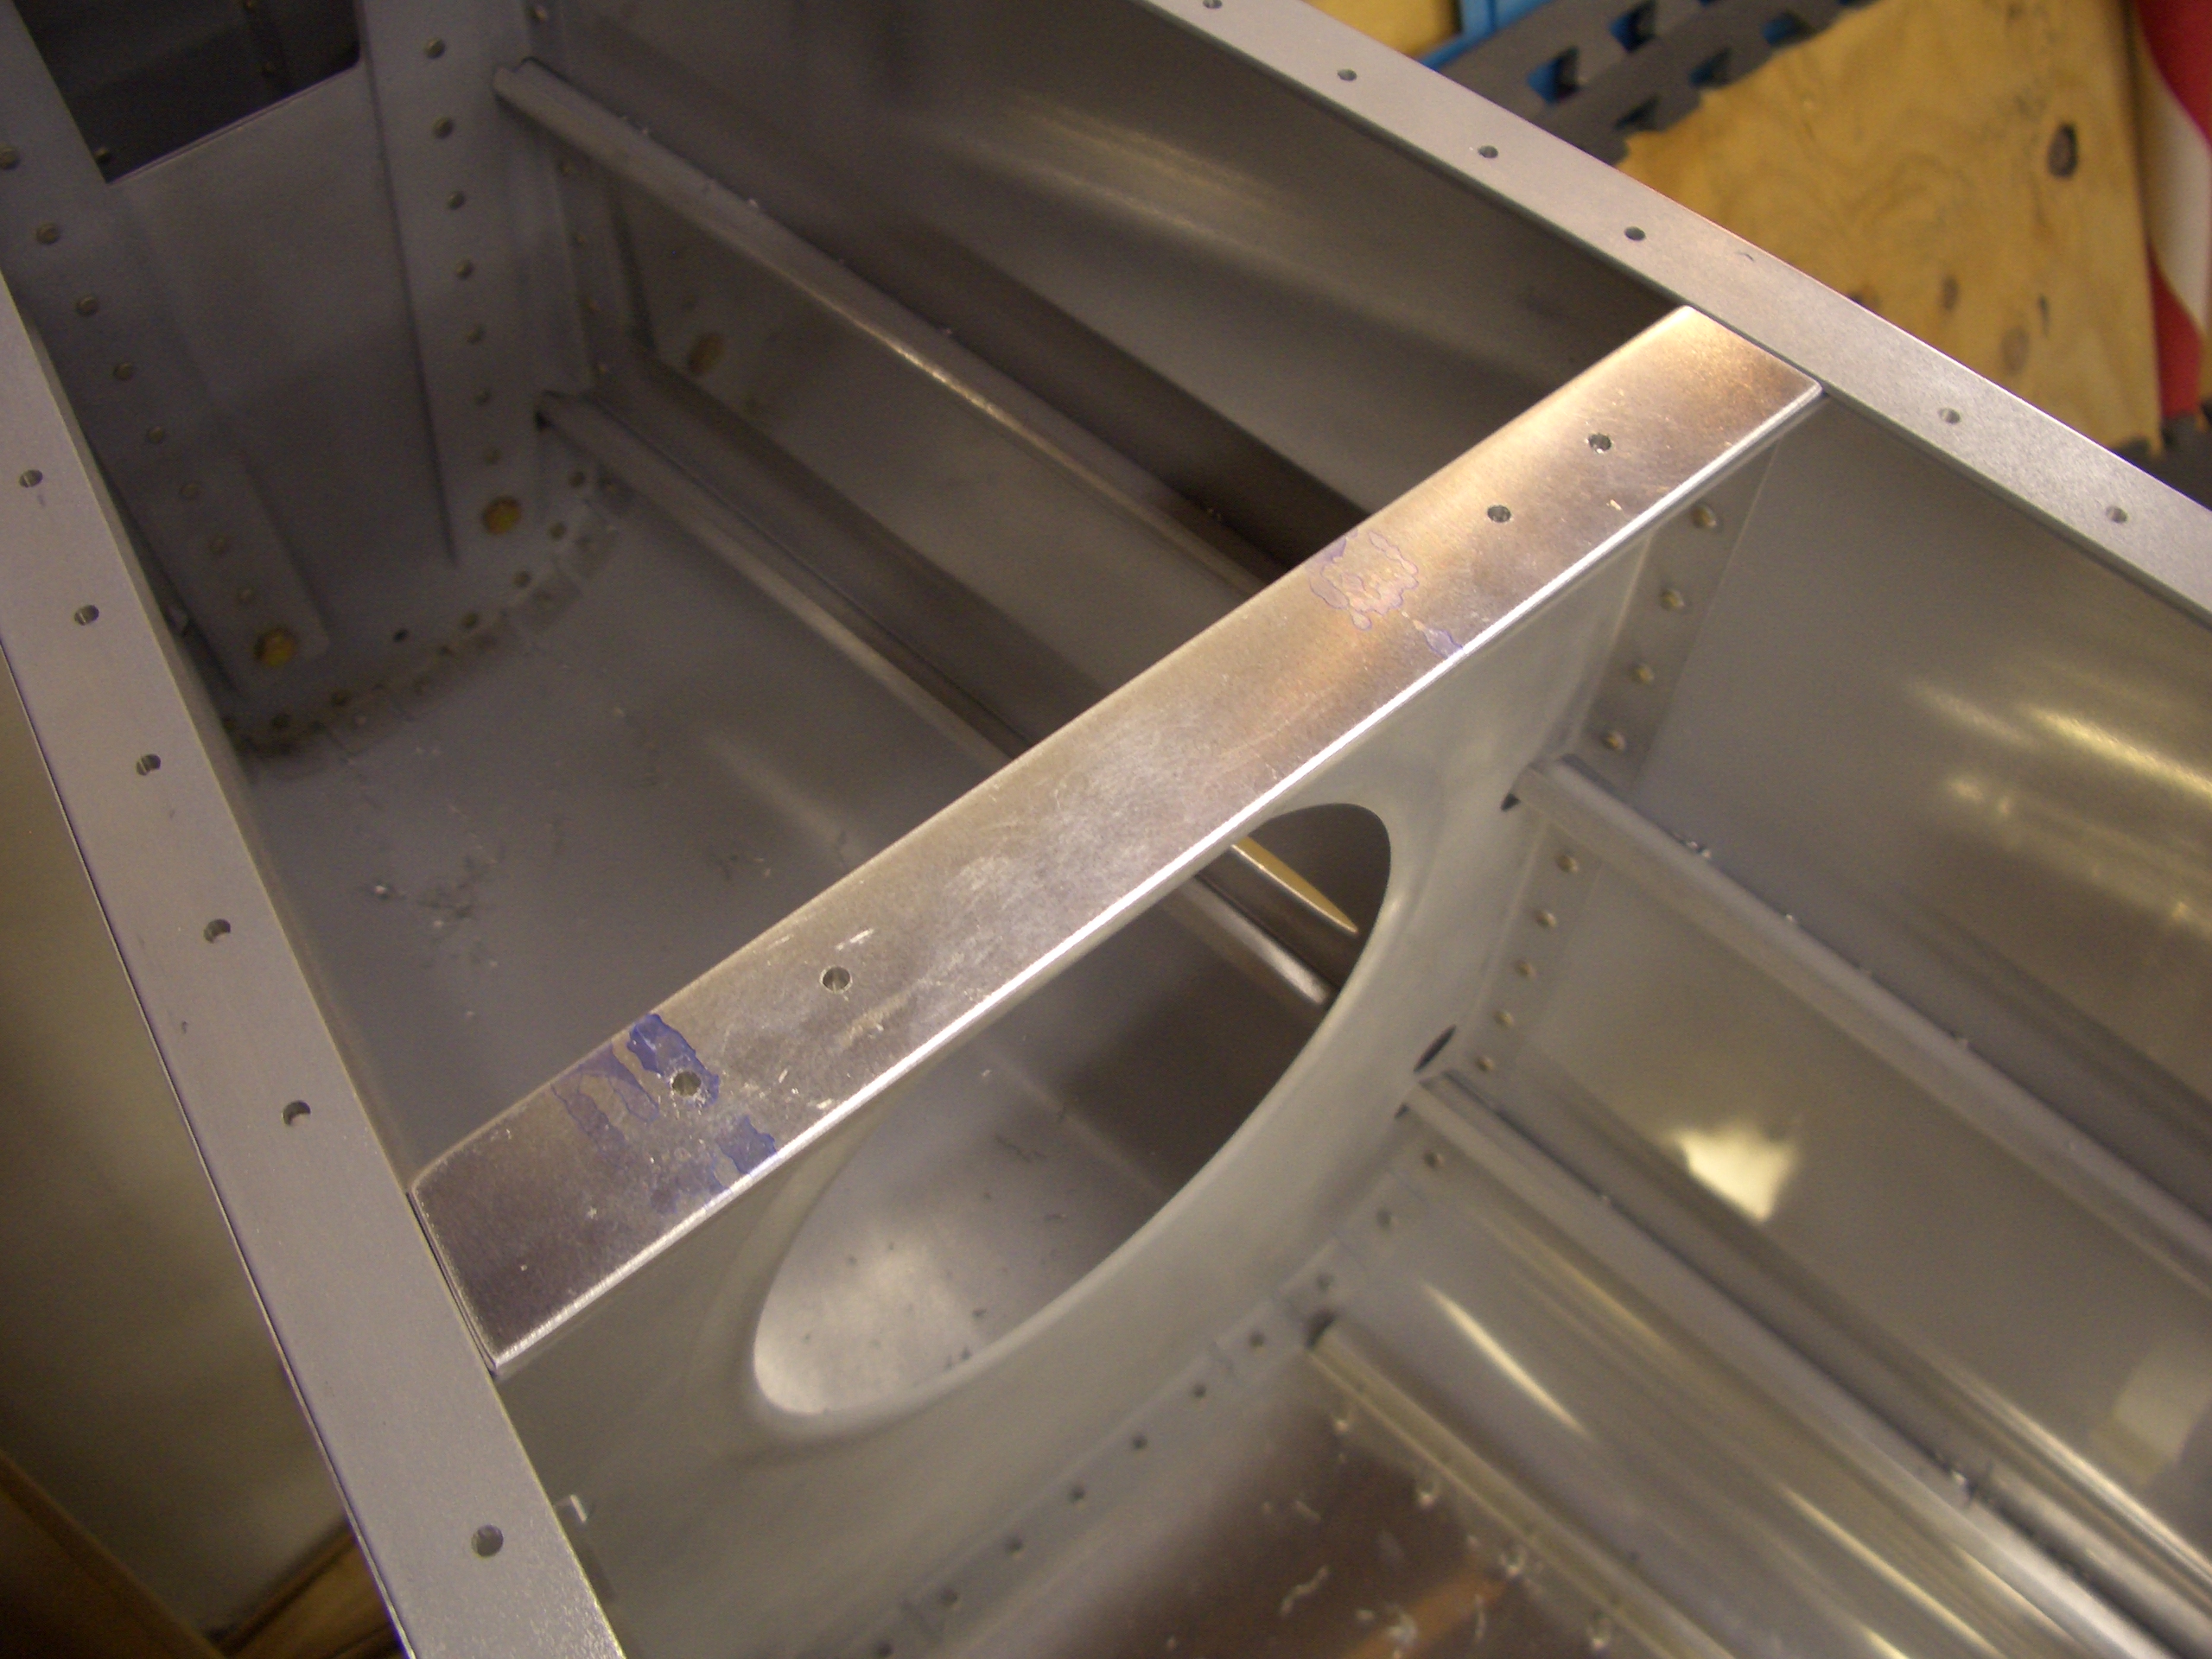
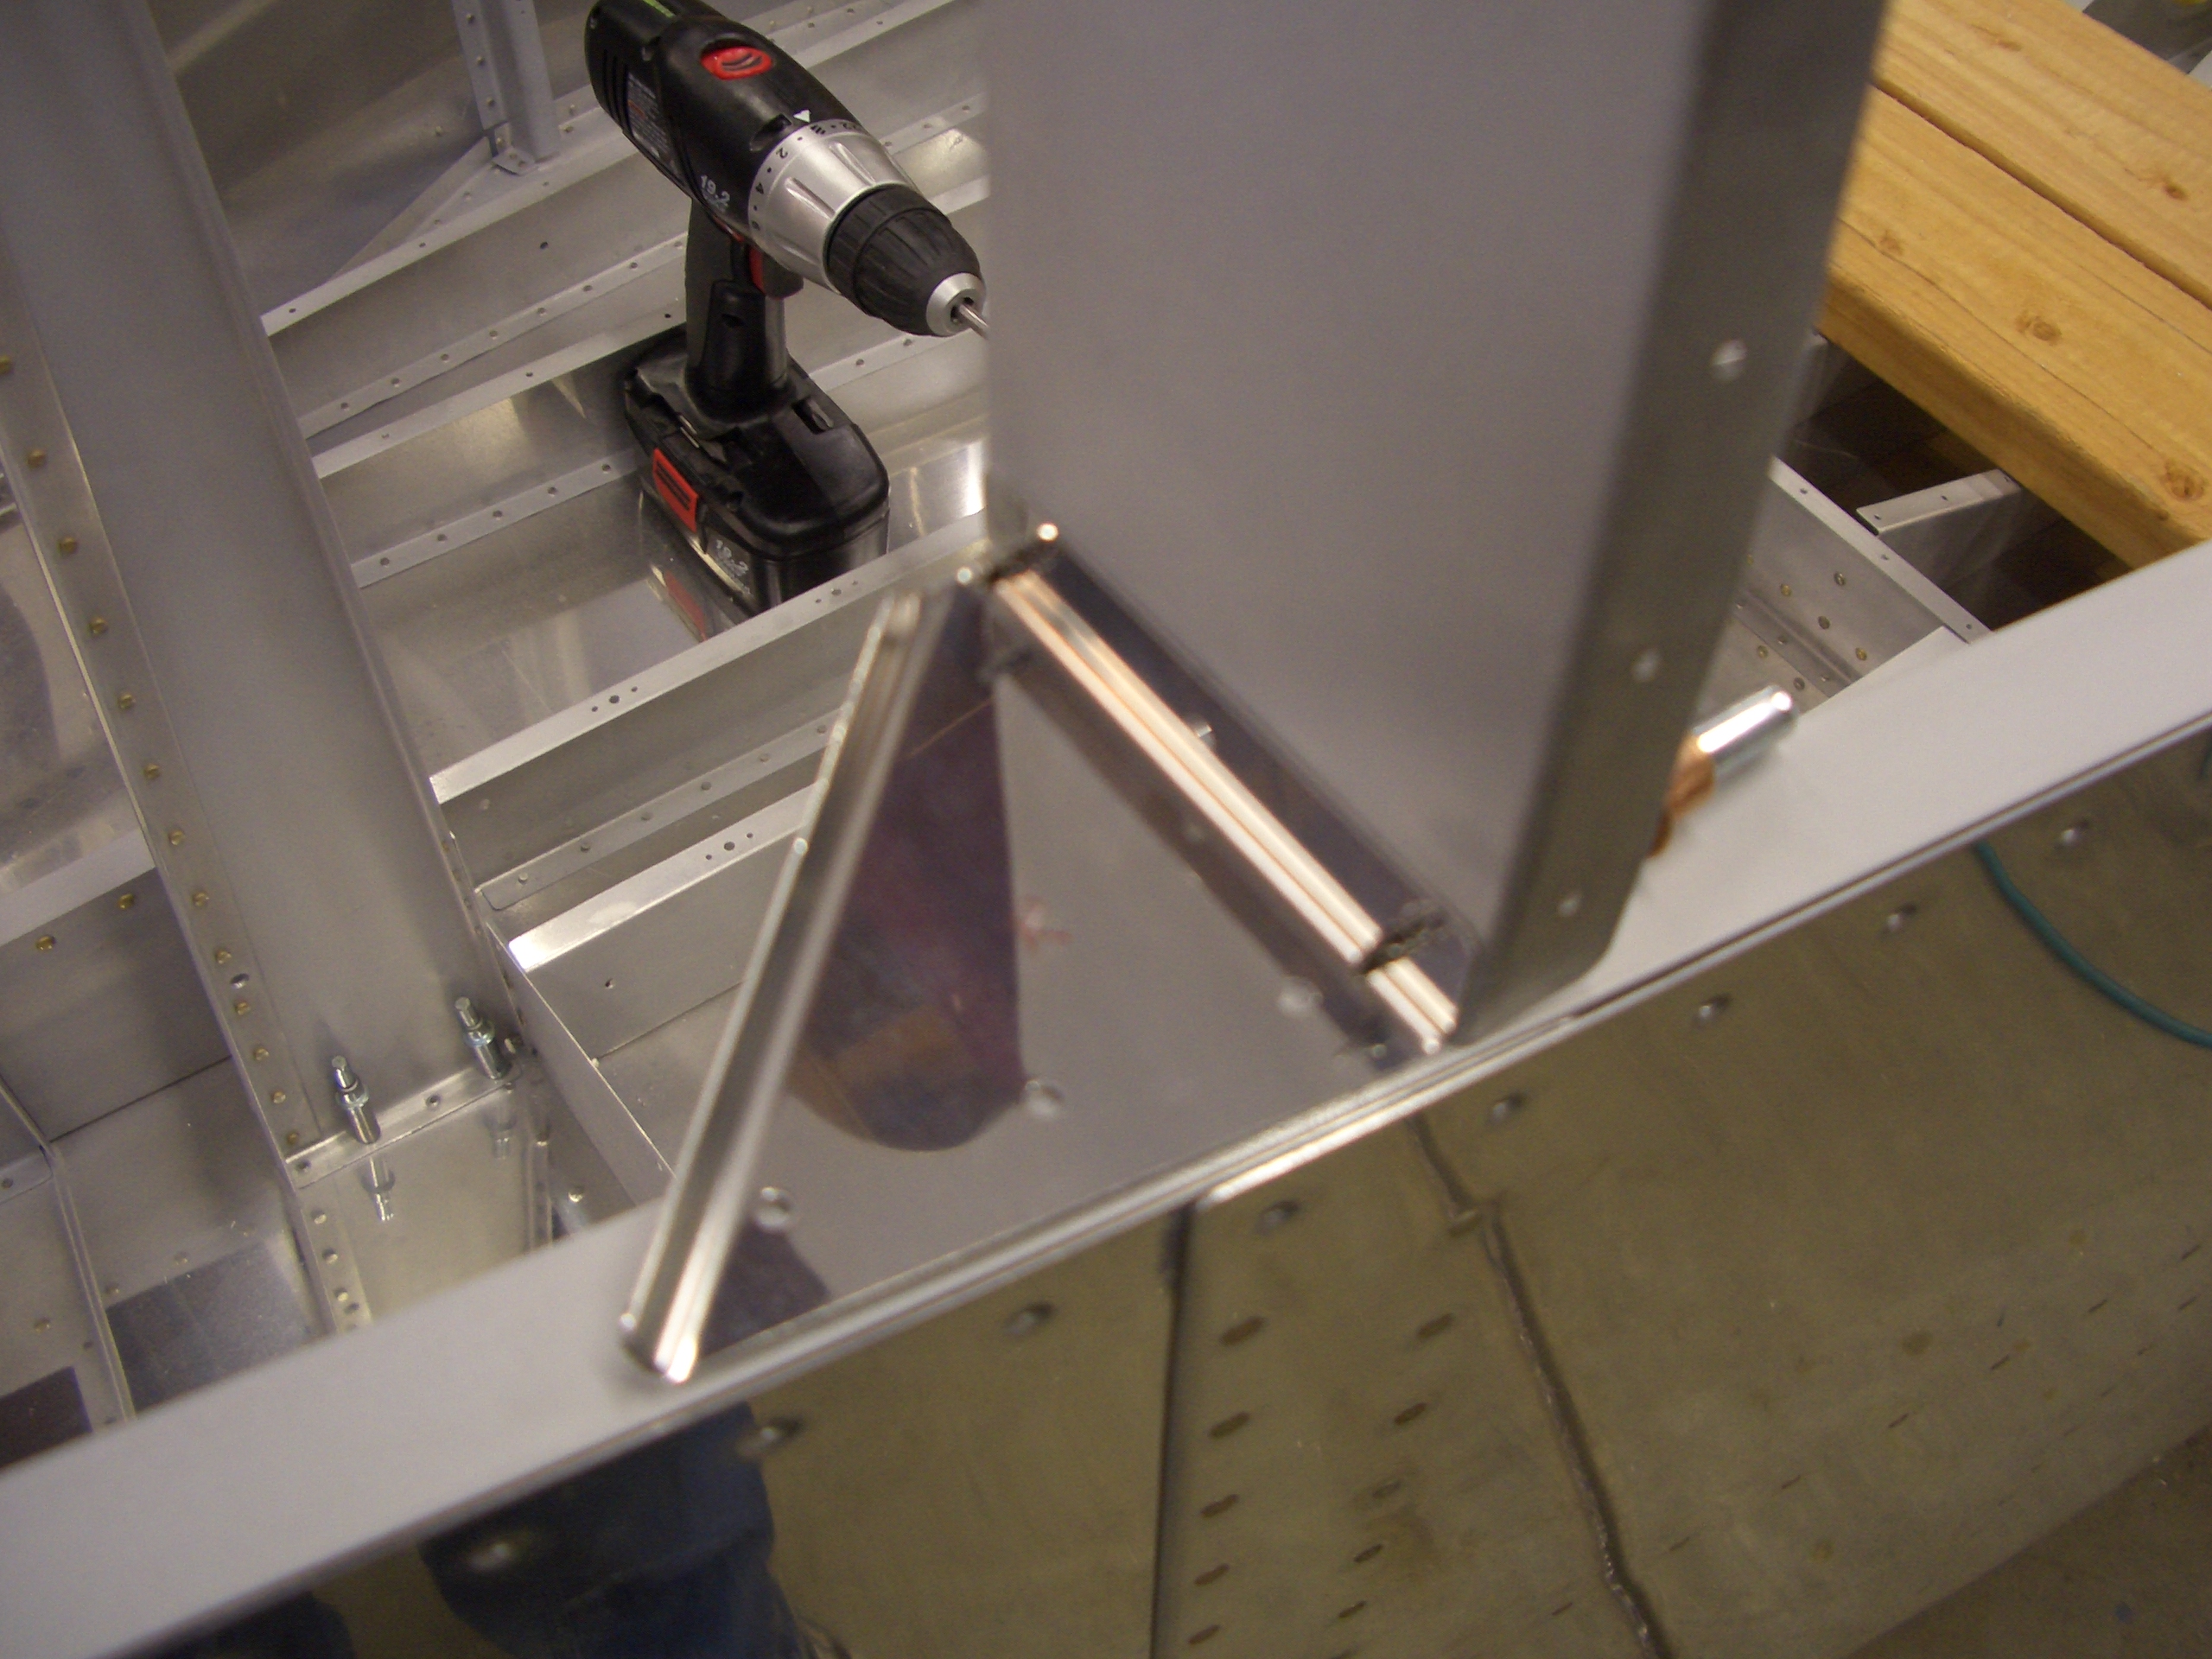
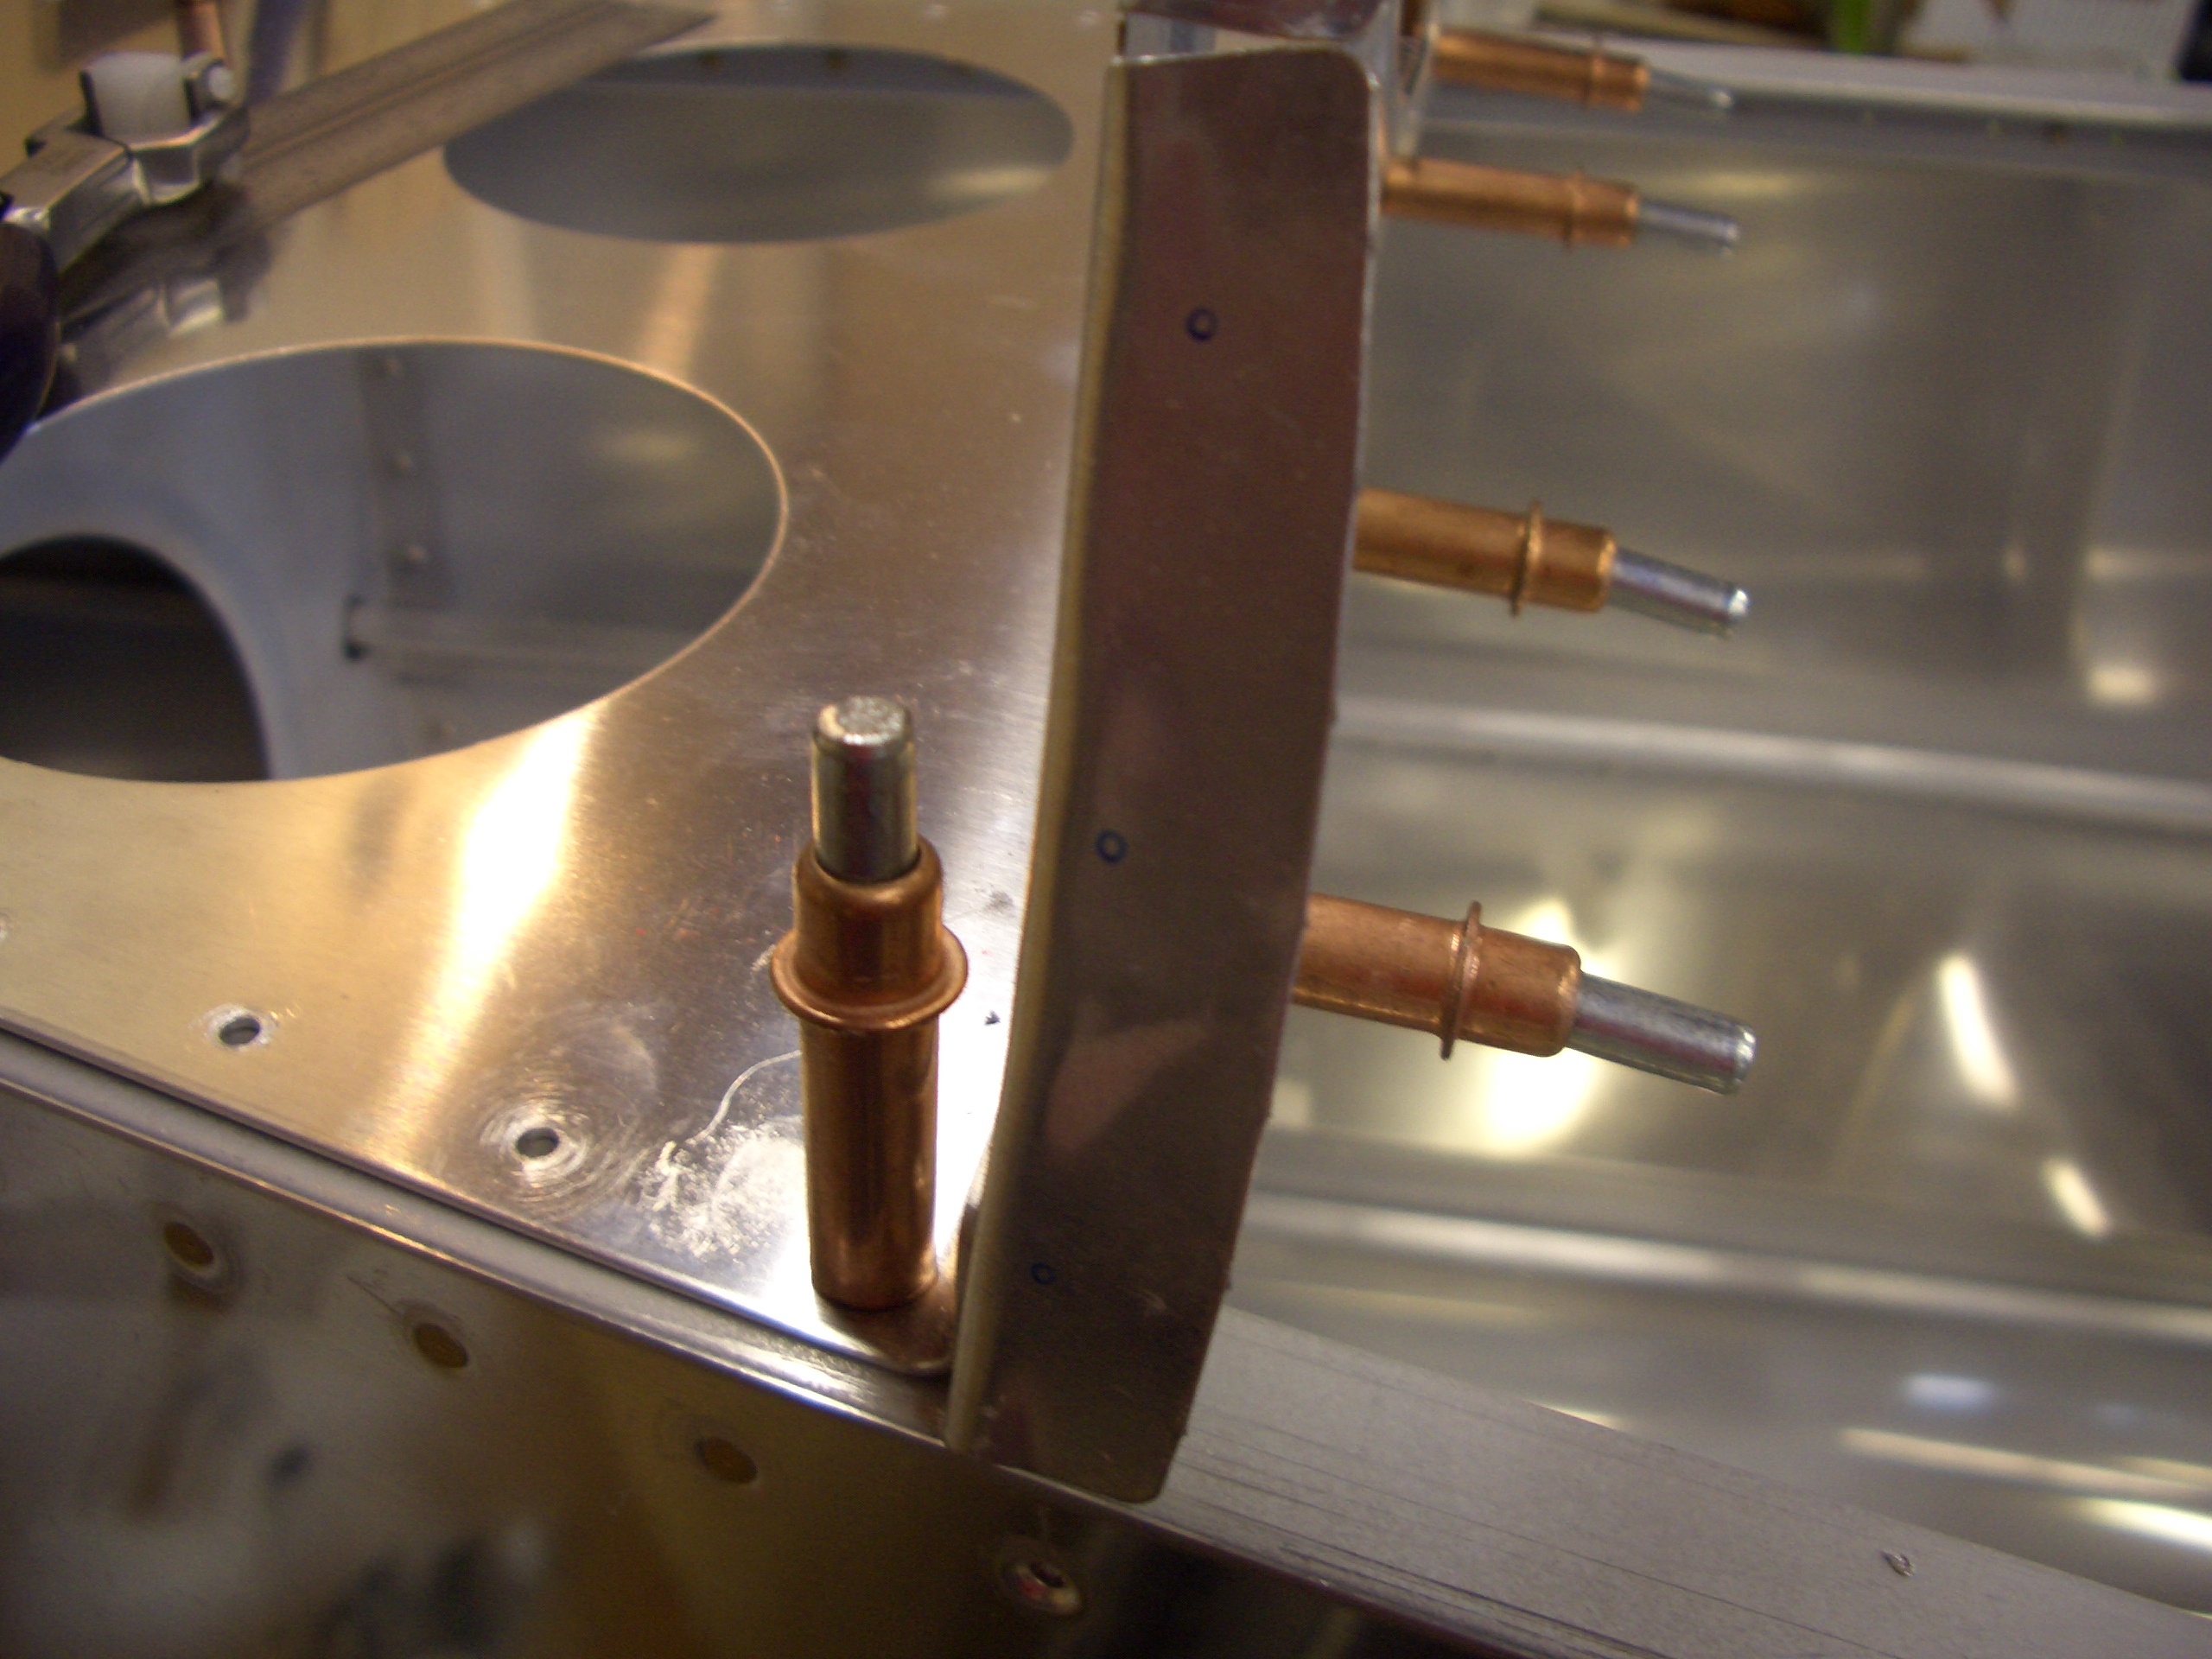
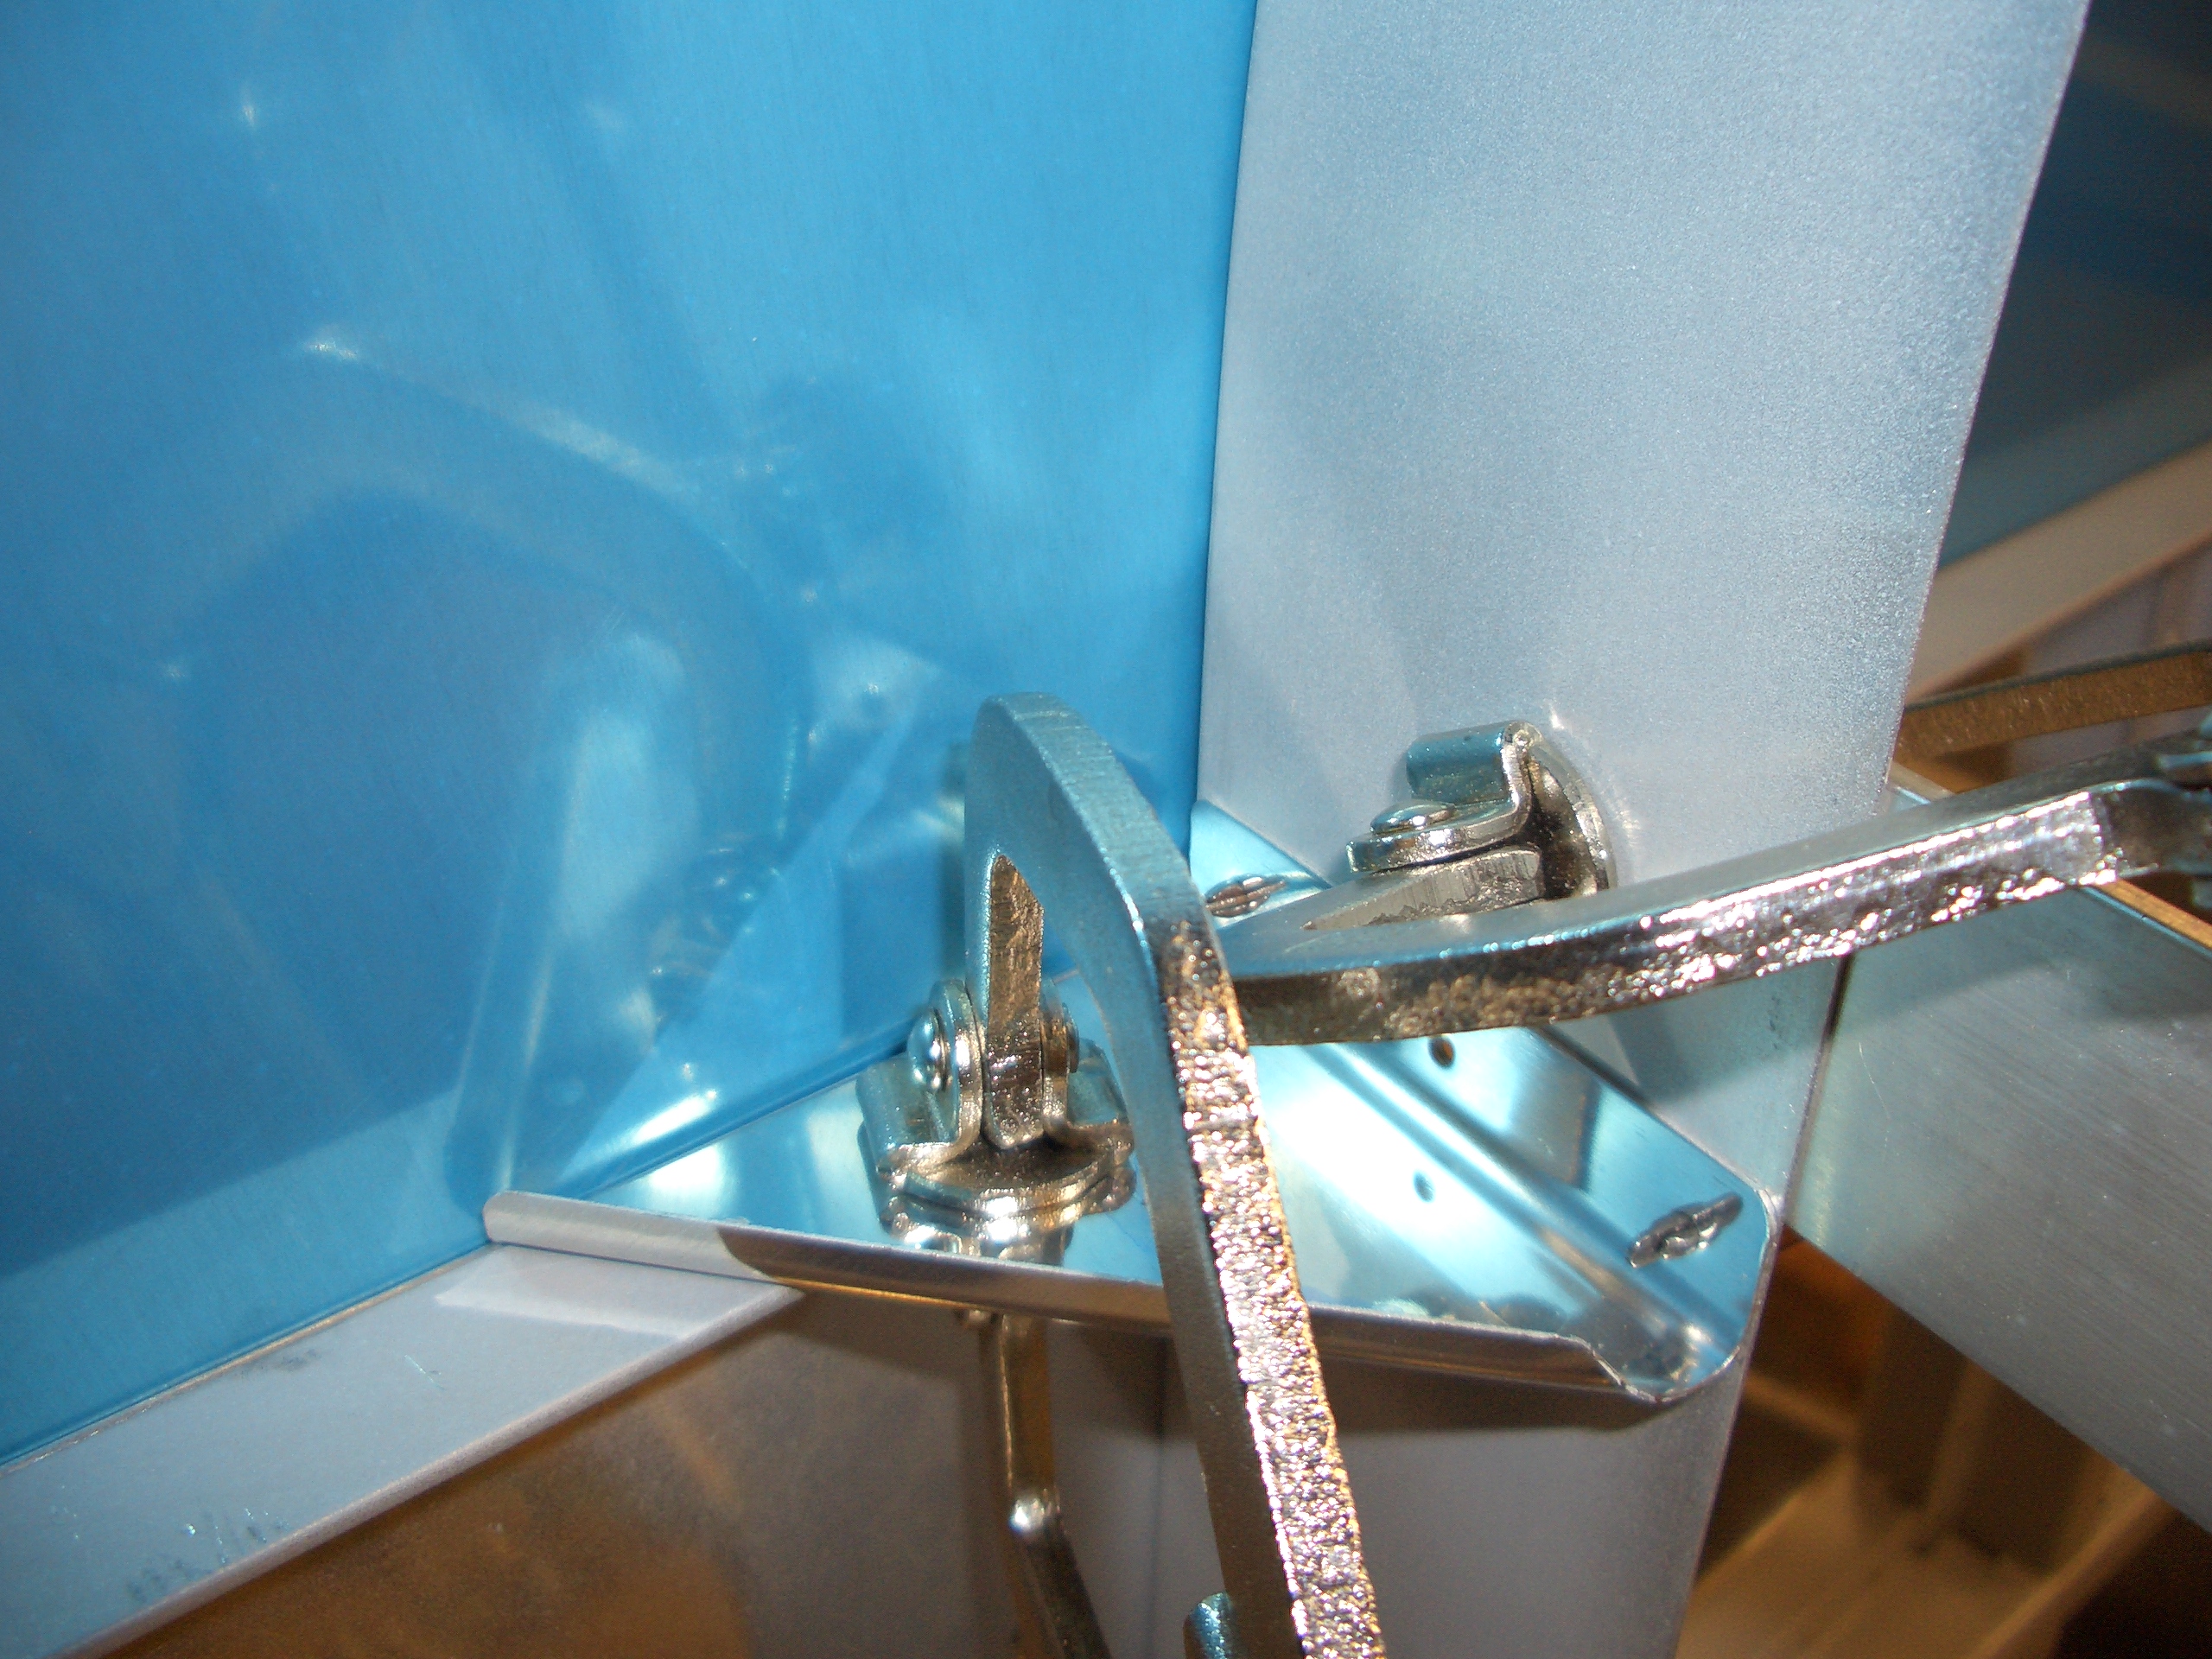
Now that the skins were in place, I needed to drill the bulkhead gussets to the longerons. Instead of peeling back the skins, I just climbed back into the tailcone and drilled the gussets in place. For the F-706 bulkhead, I clamped a straightedge across the opening to ensure the gussets hold the two sides of the bulkhead perfectly in line with each other.
Finally, I clecoed the baggage floor back in place.
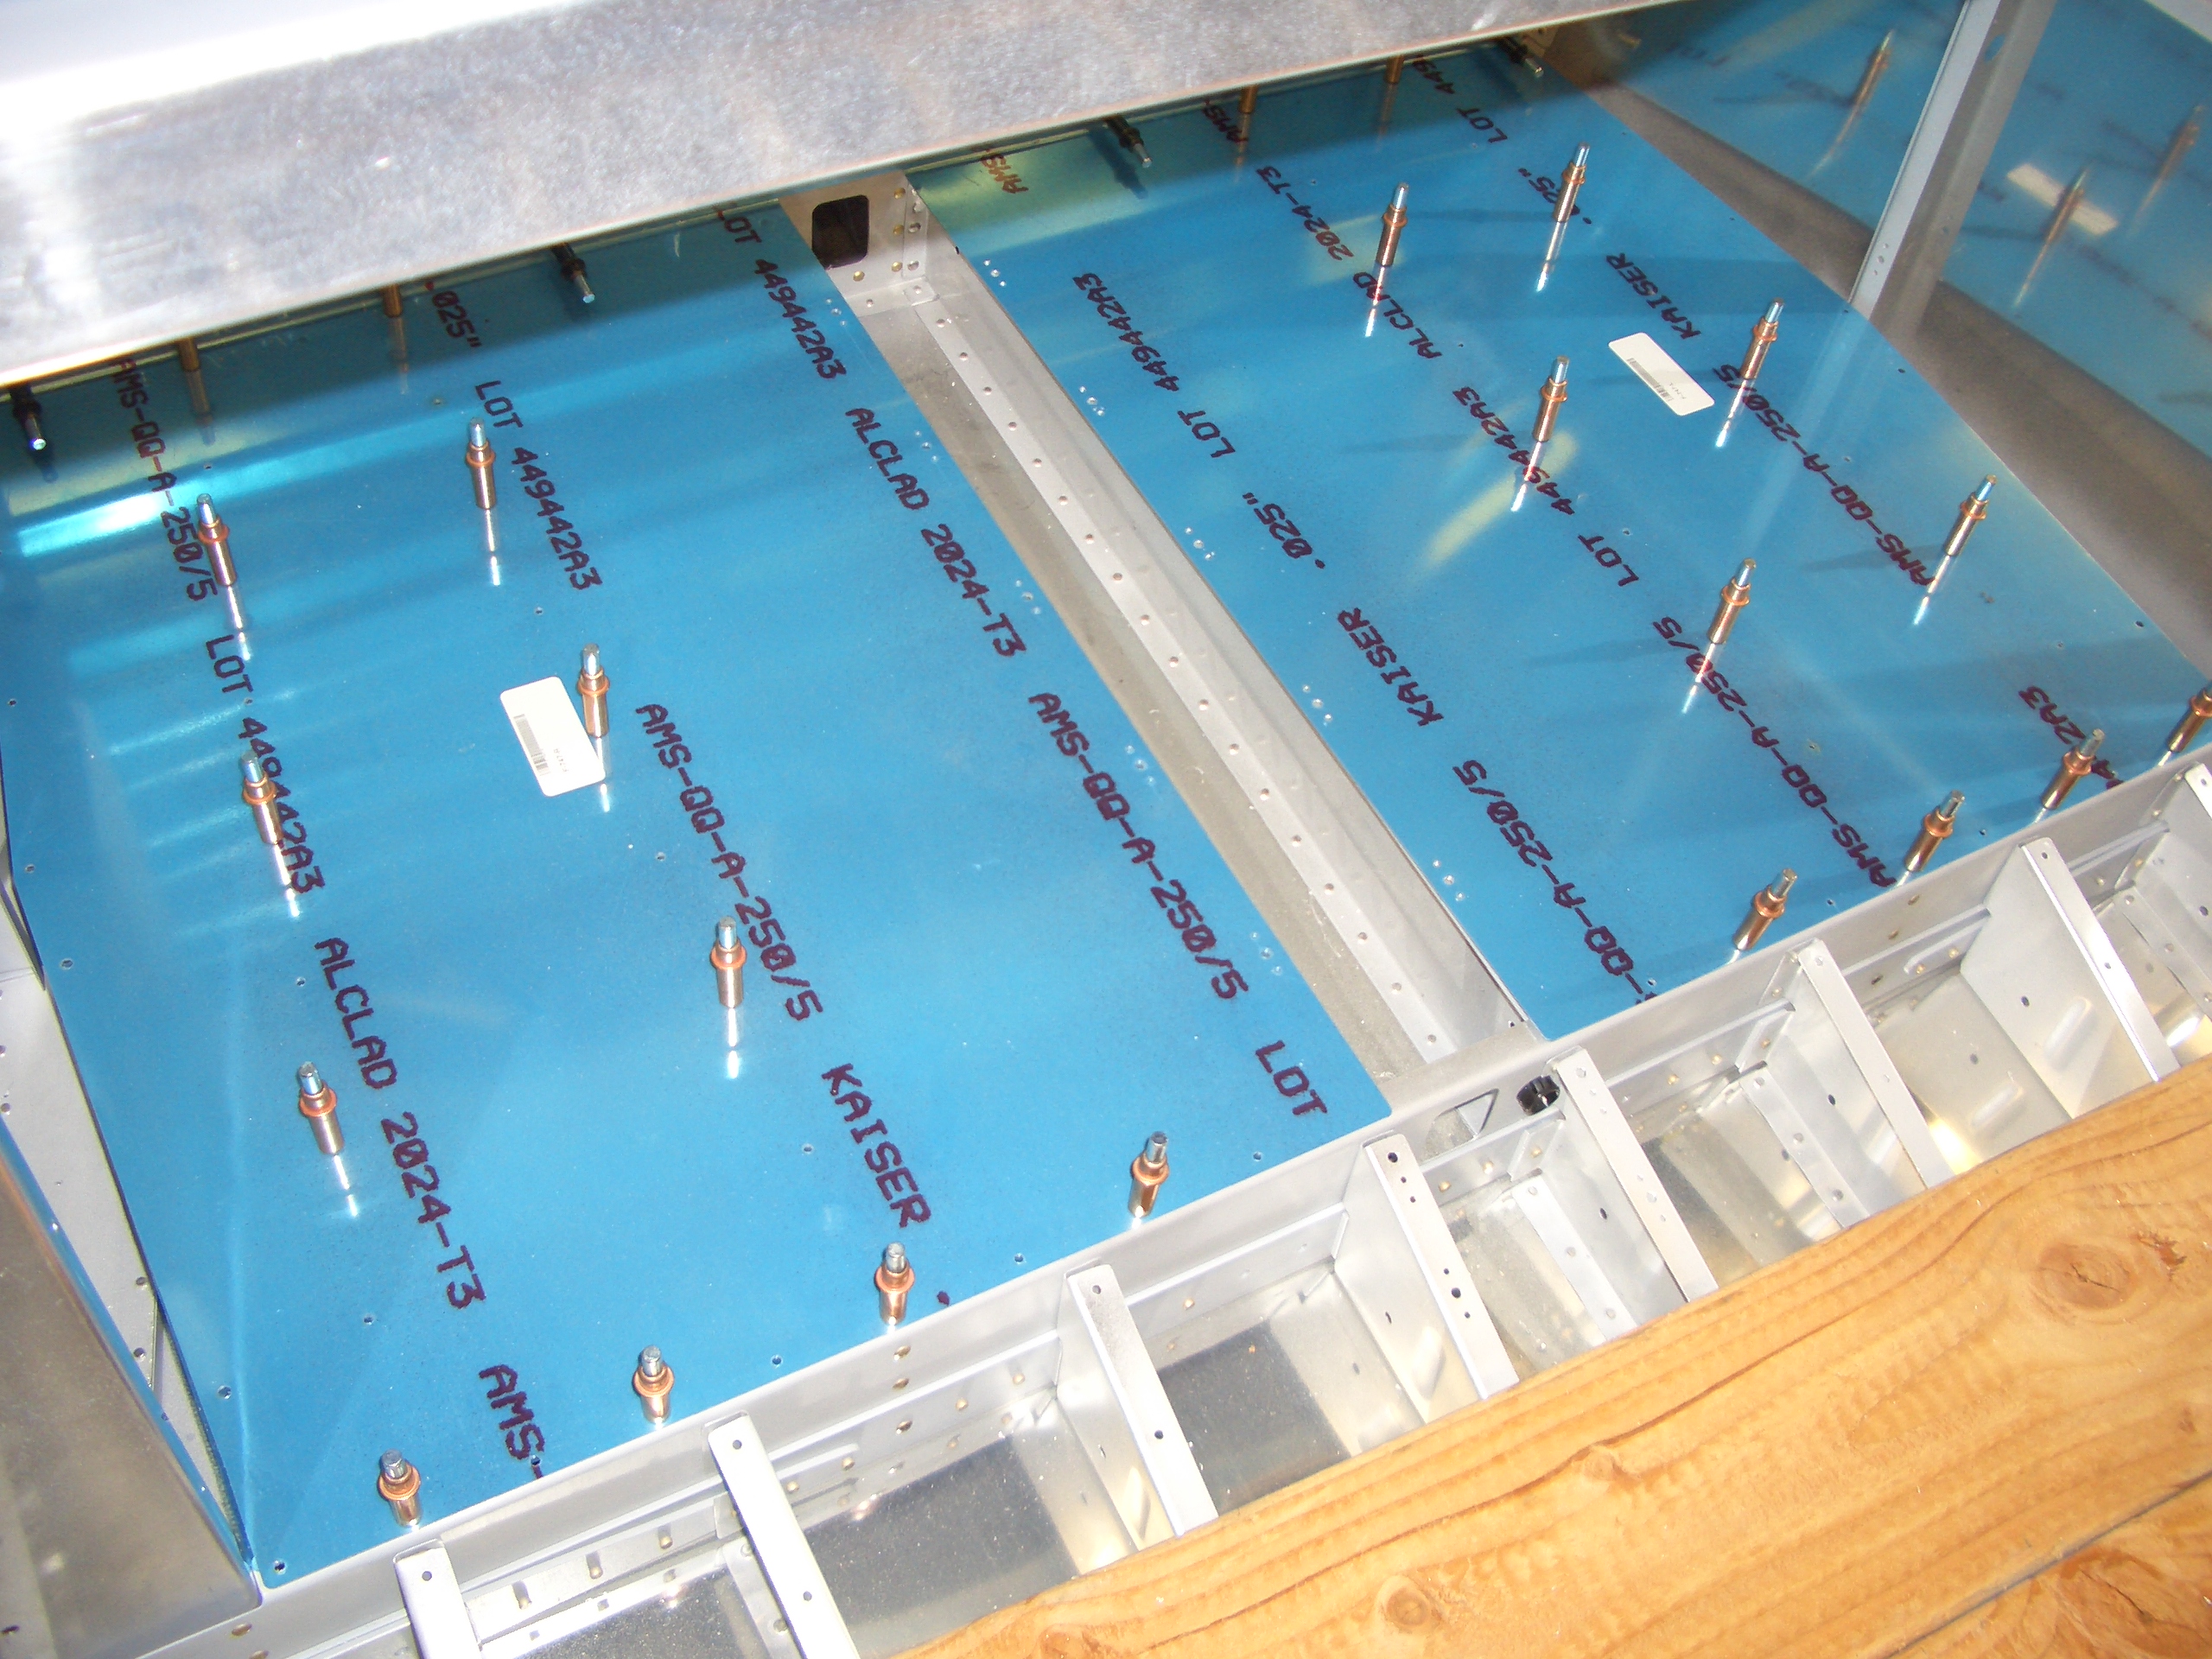
…and then clecoed and clamped the lower back wall of the baggage compartment in place.
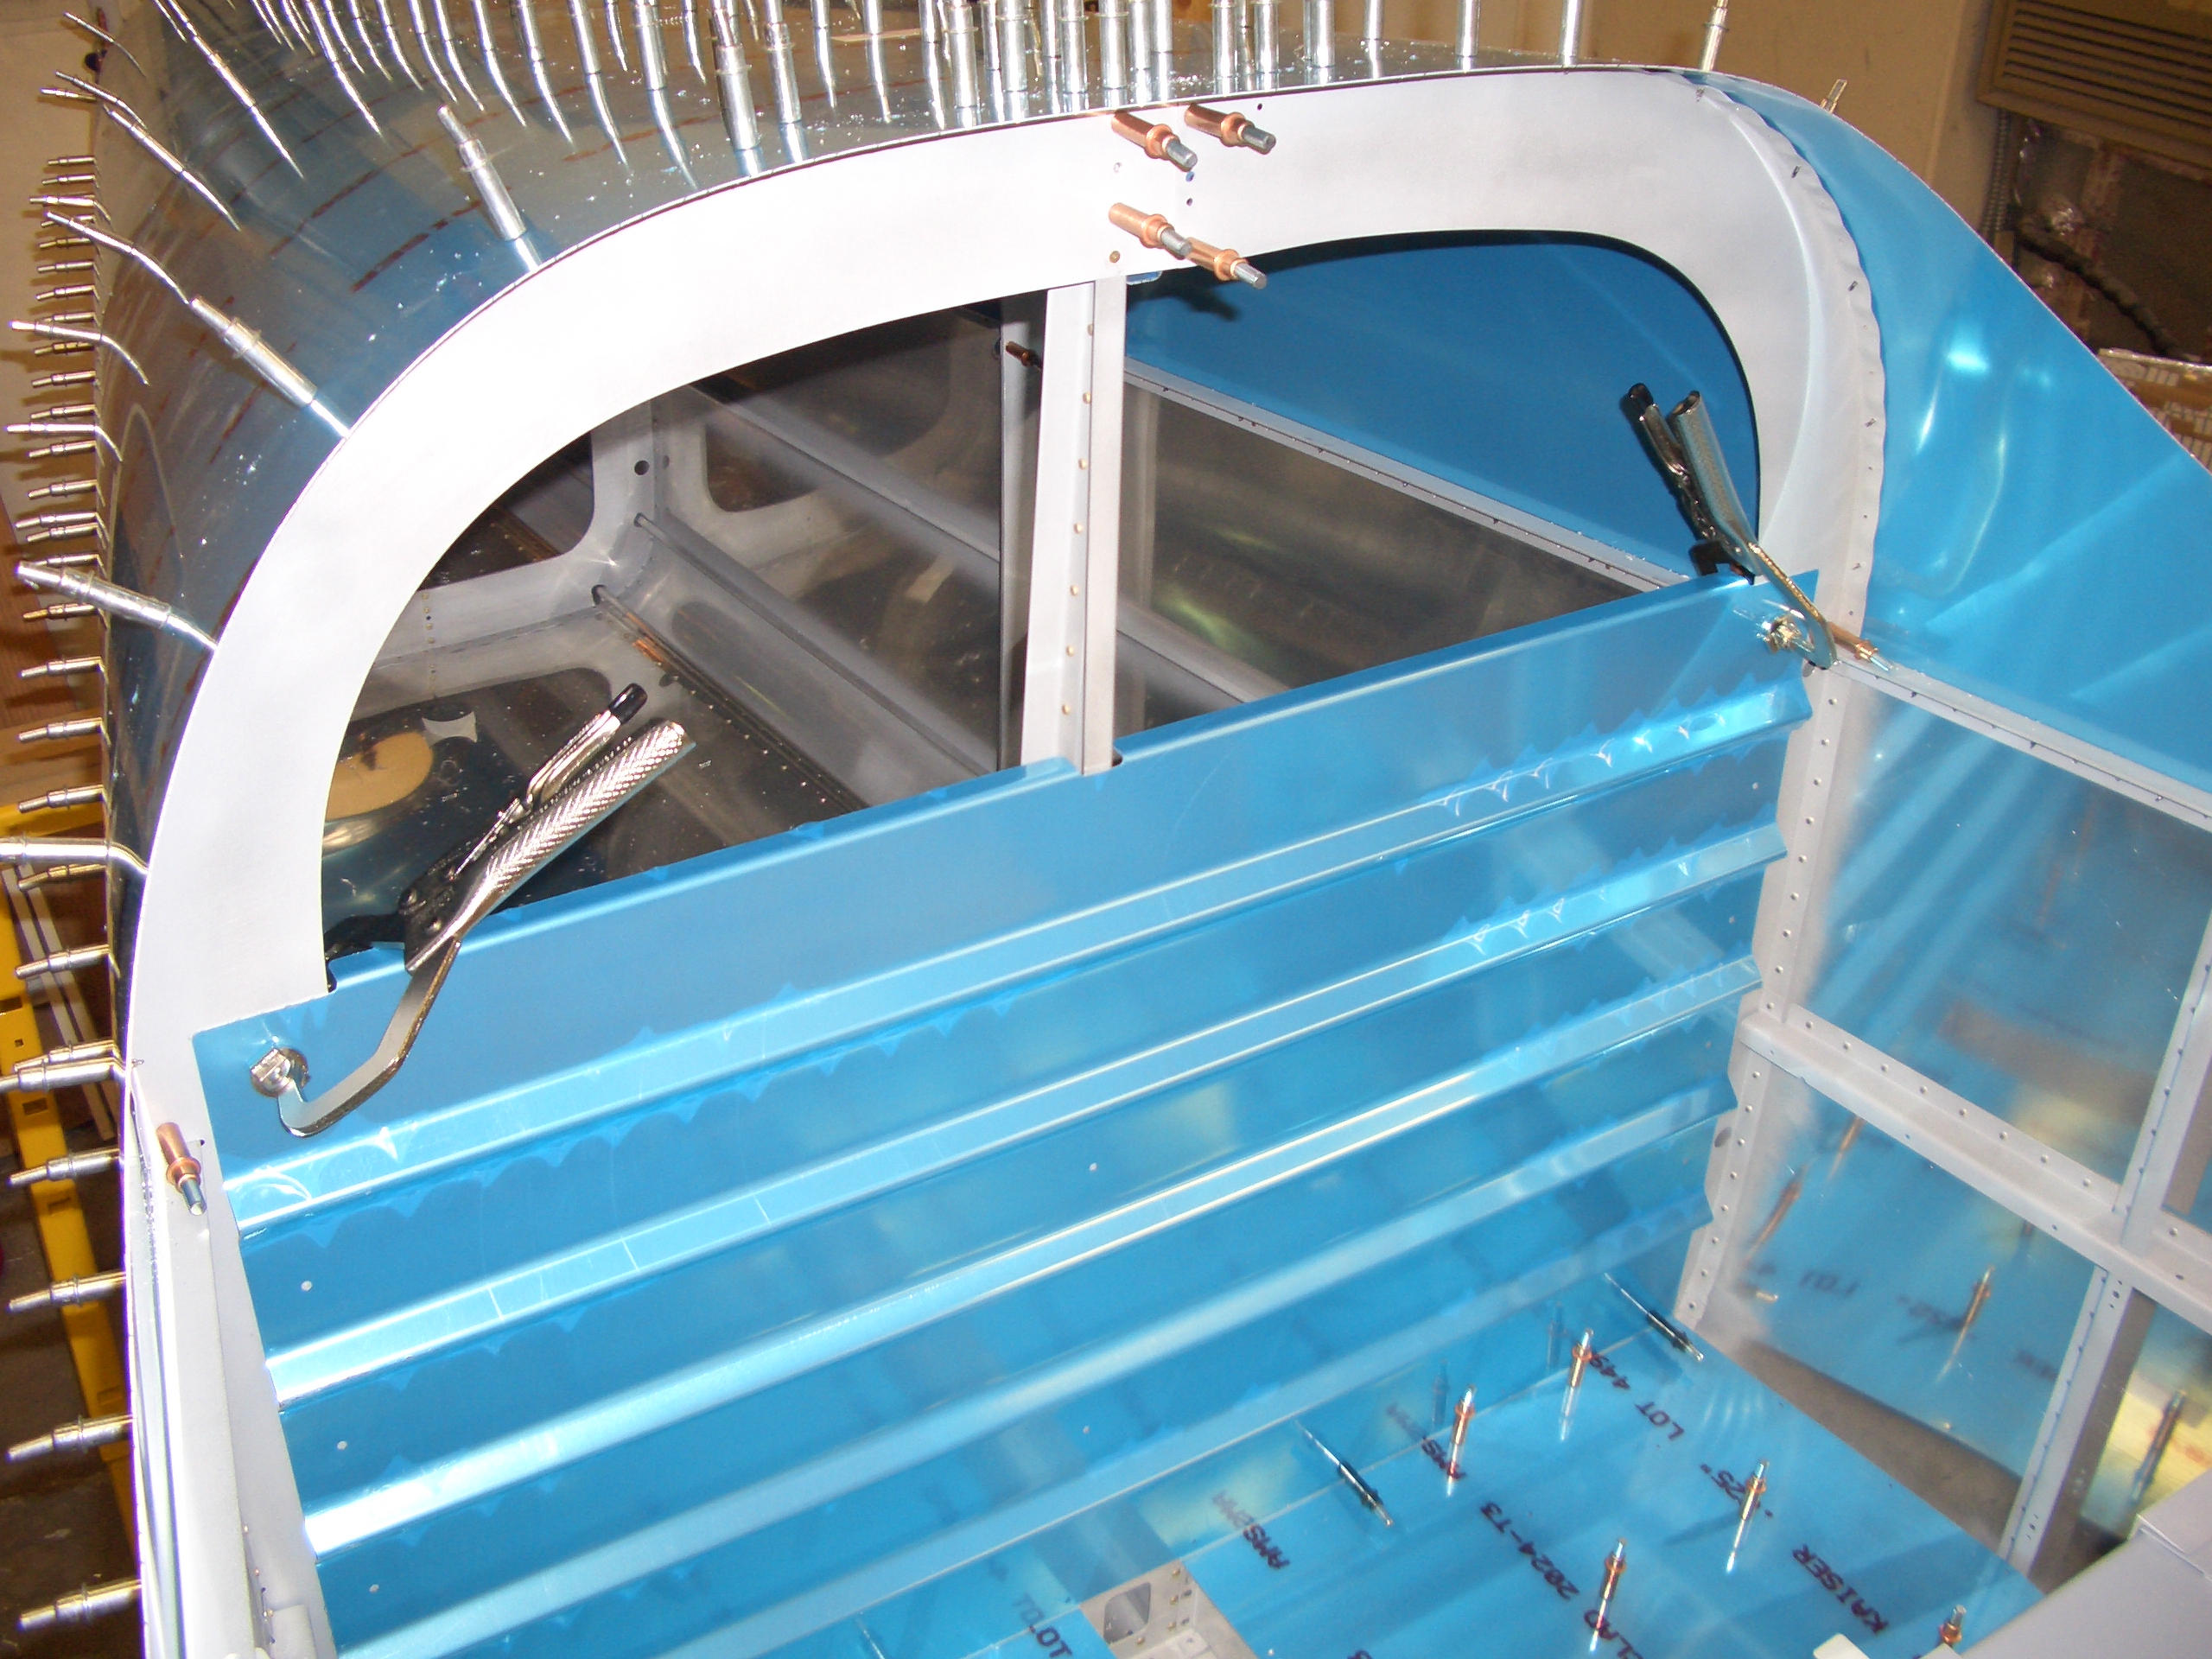
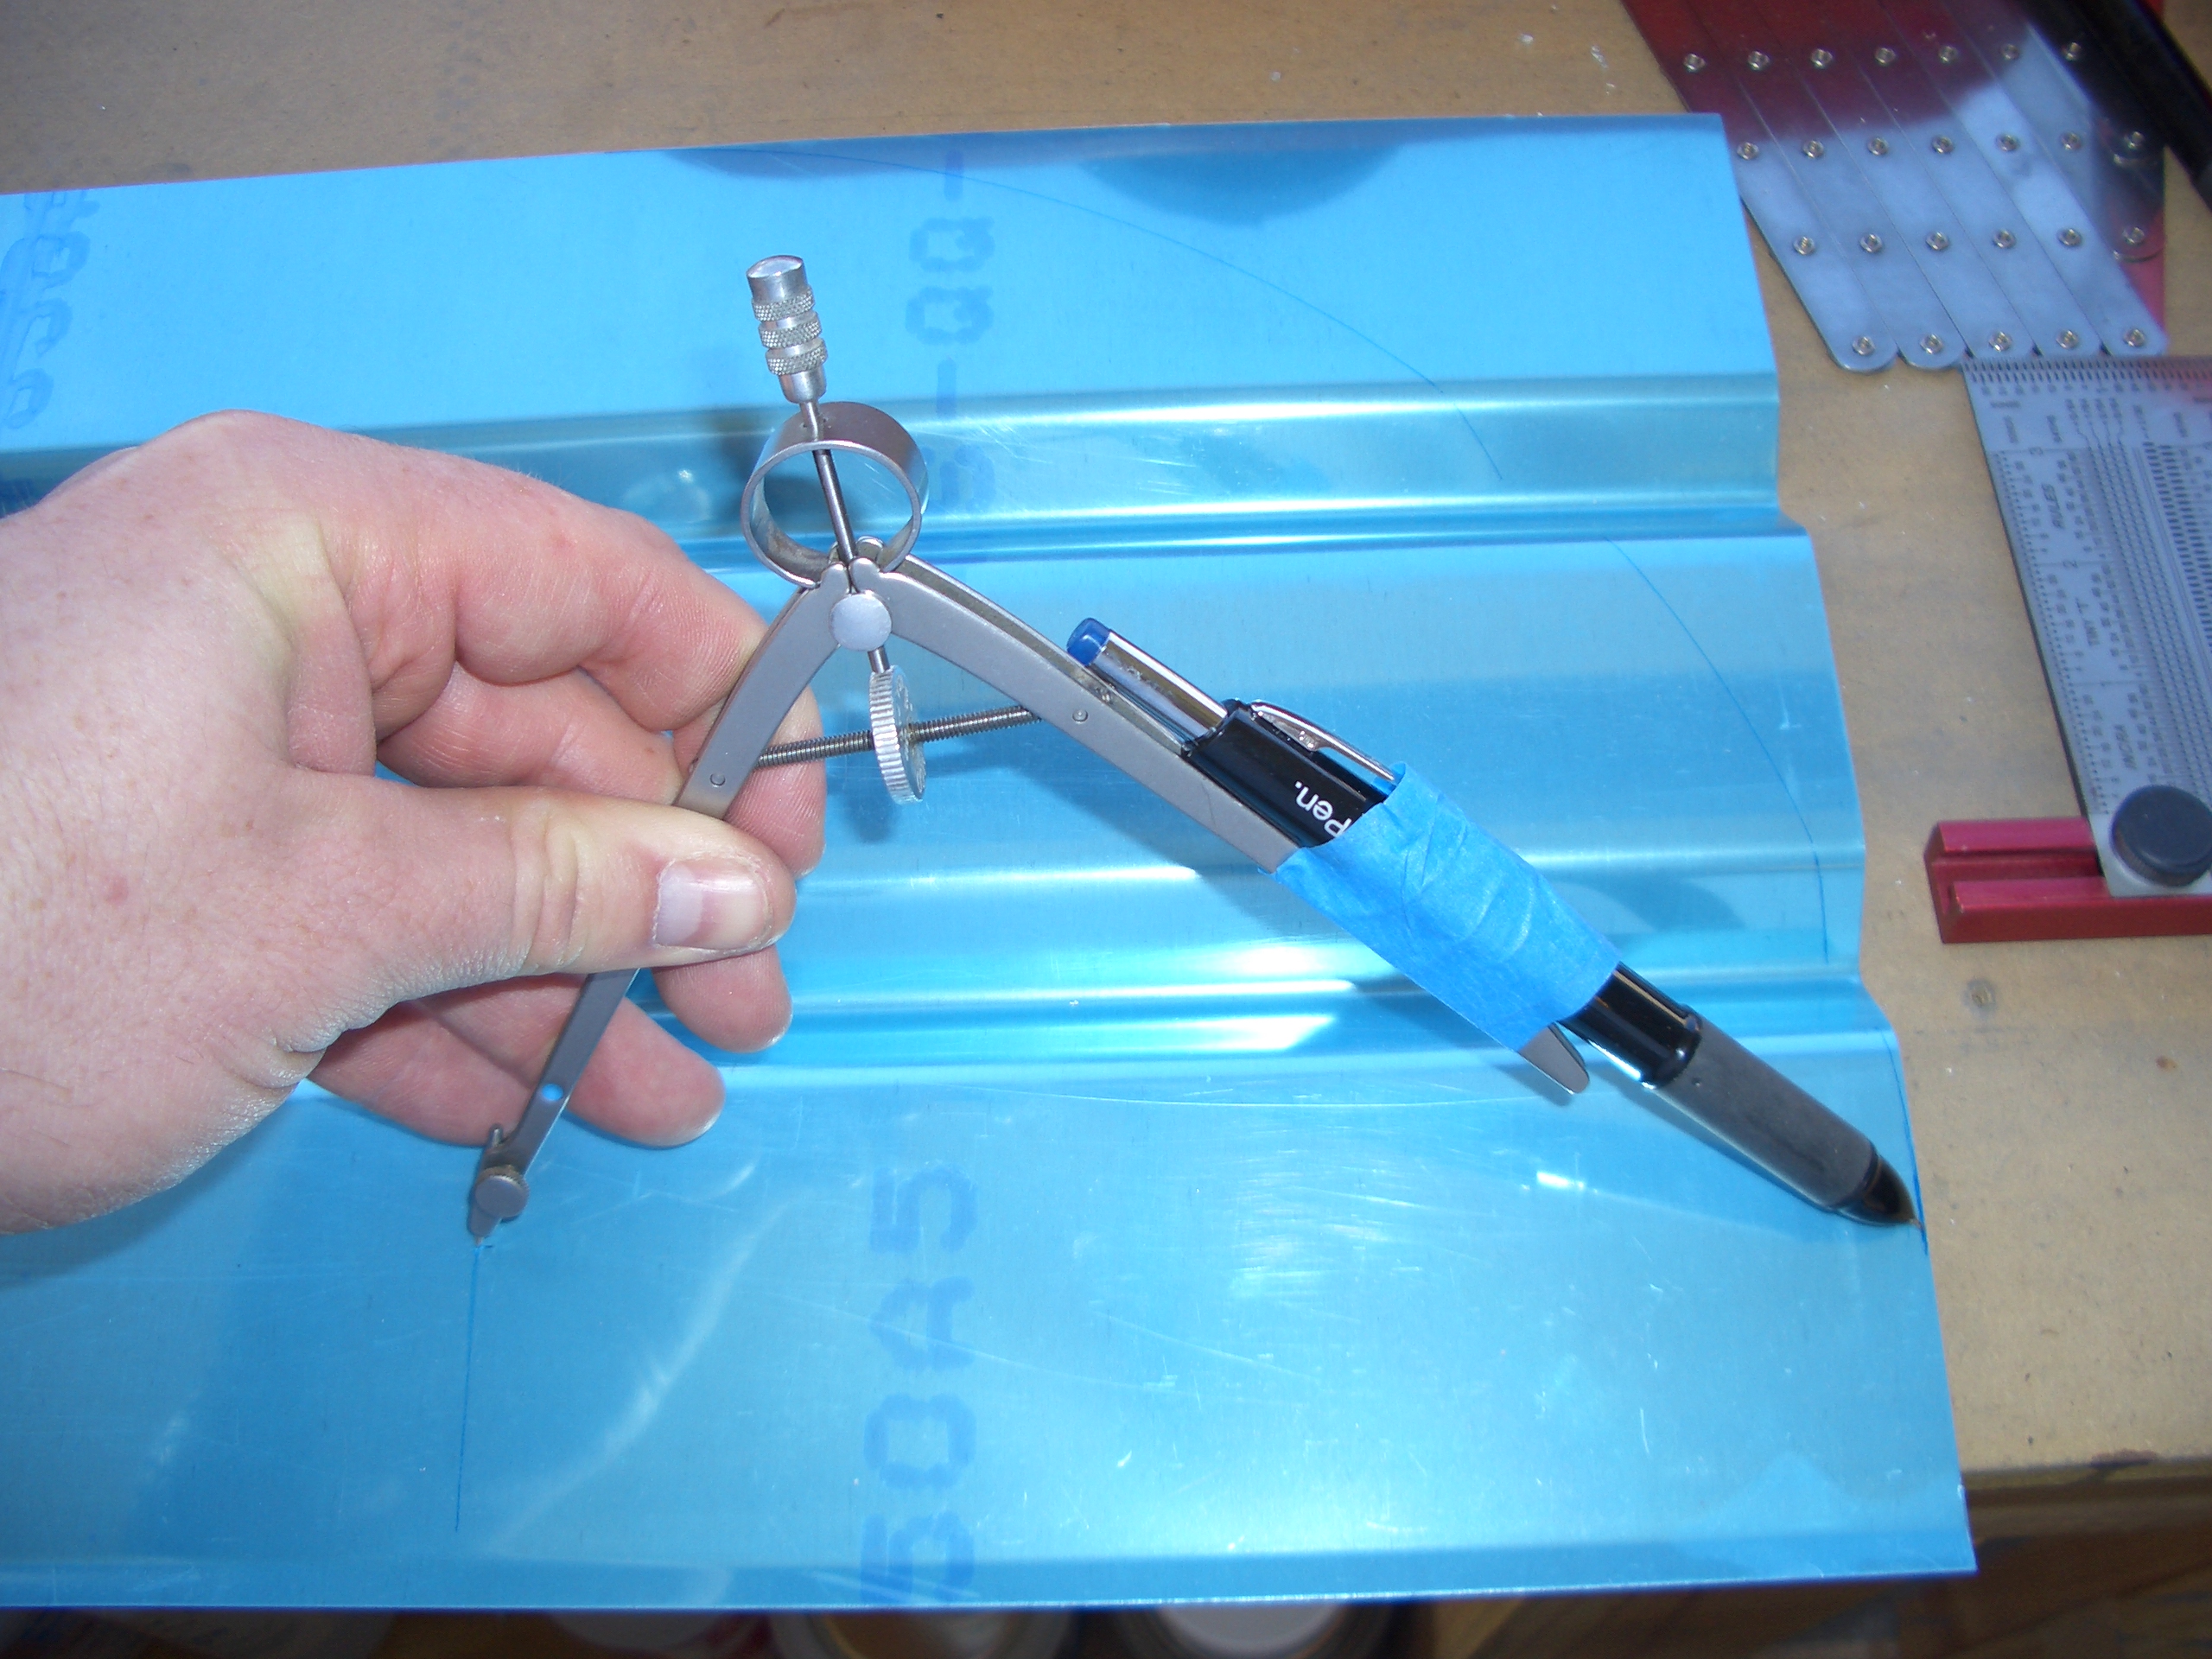
I fit and drilled the lower portion of the rear baggage wall. The top portion needs a radius cut in it. After measuring for the center, I taped one of my sharpie pens to an old compass and adjusted it to 8.5″ and marked the cut. I then used some tin snips and a vixen file to trim to the line.