More Fuselage Riveting

I squeezed all of the rivets between F-902 and F-705 along the upper longerons on both sides.

Aft of F-705, there are a few places on each side where there are three rivets close together.  The middle rivets can be set now since they just keep the longerons in place.  The remaining holes are left open for the time being since they also attach the top skins.

A number of rivets along the aft end of the longerons (where the aft deck sits) can also be squeezed now since there are no other parts that attach here.

I also squeezed a number of the AN470 rivets just aft of F-704.  Near the lower right of the picture, you can see one boogered rivet.  There is a nutplate right behind here (on the seat rib flange) and I didn’t notice it when I squeezed the rivet.  It didn’t do any significant damage, just slight bends to a couple of pieces.

Started Riveting Forward Fuselage

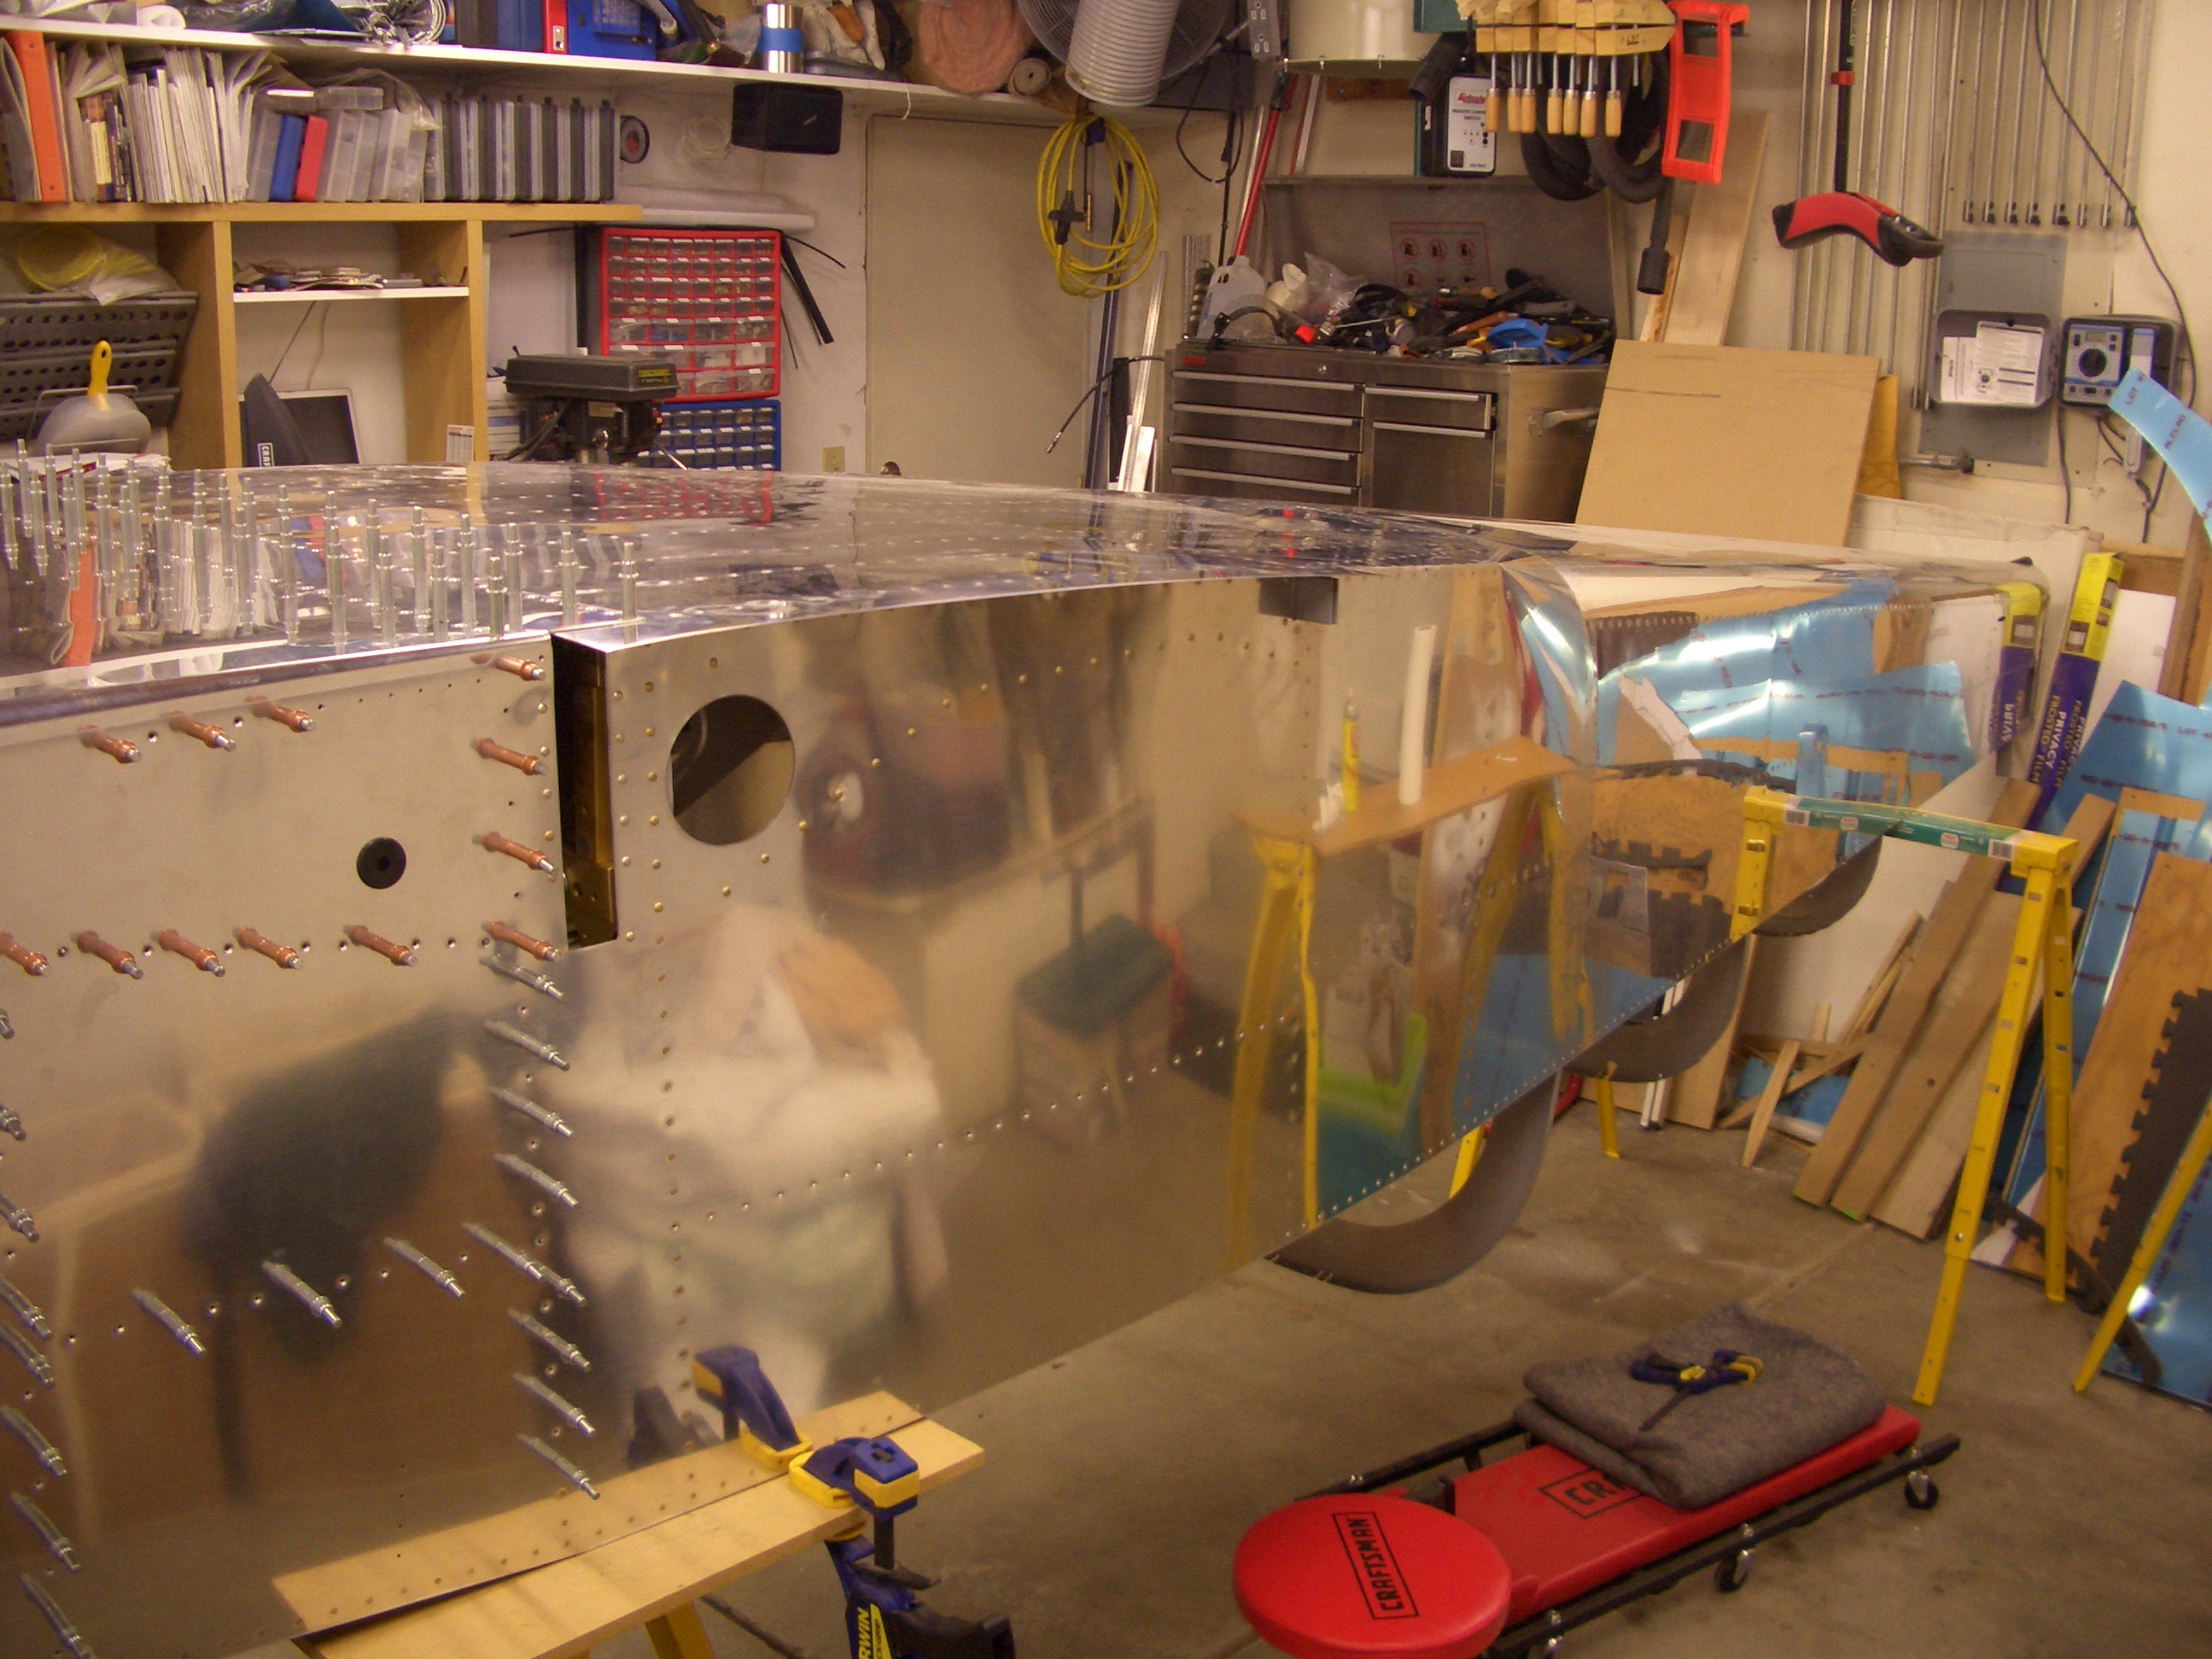
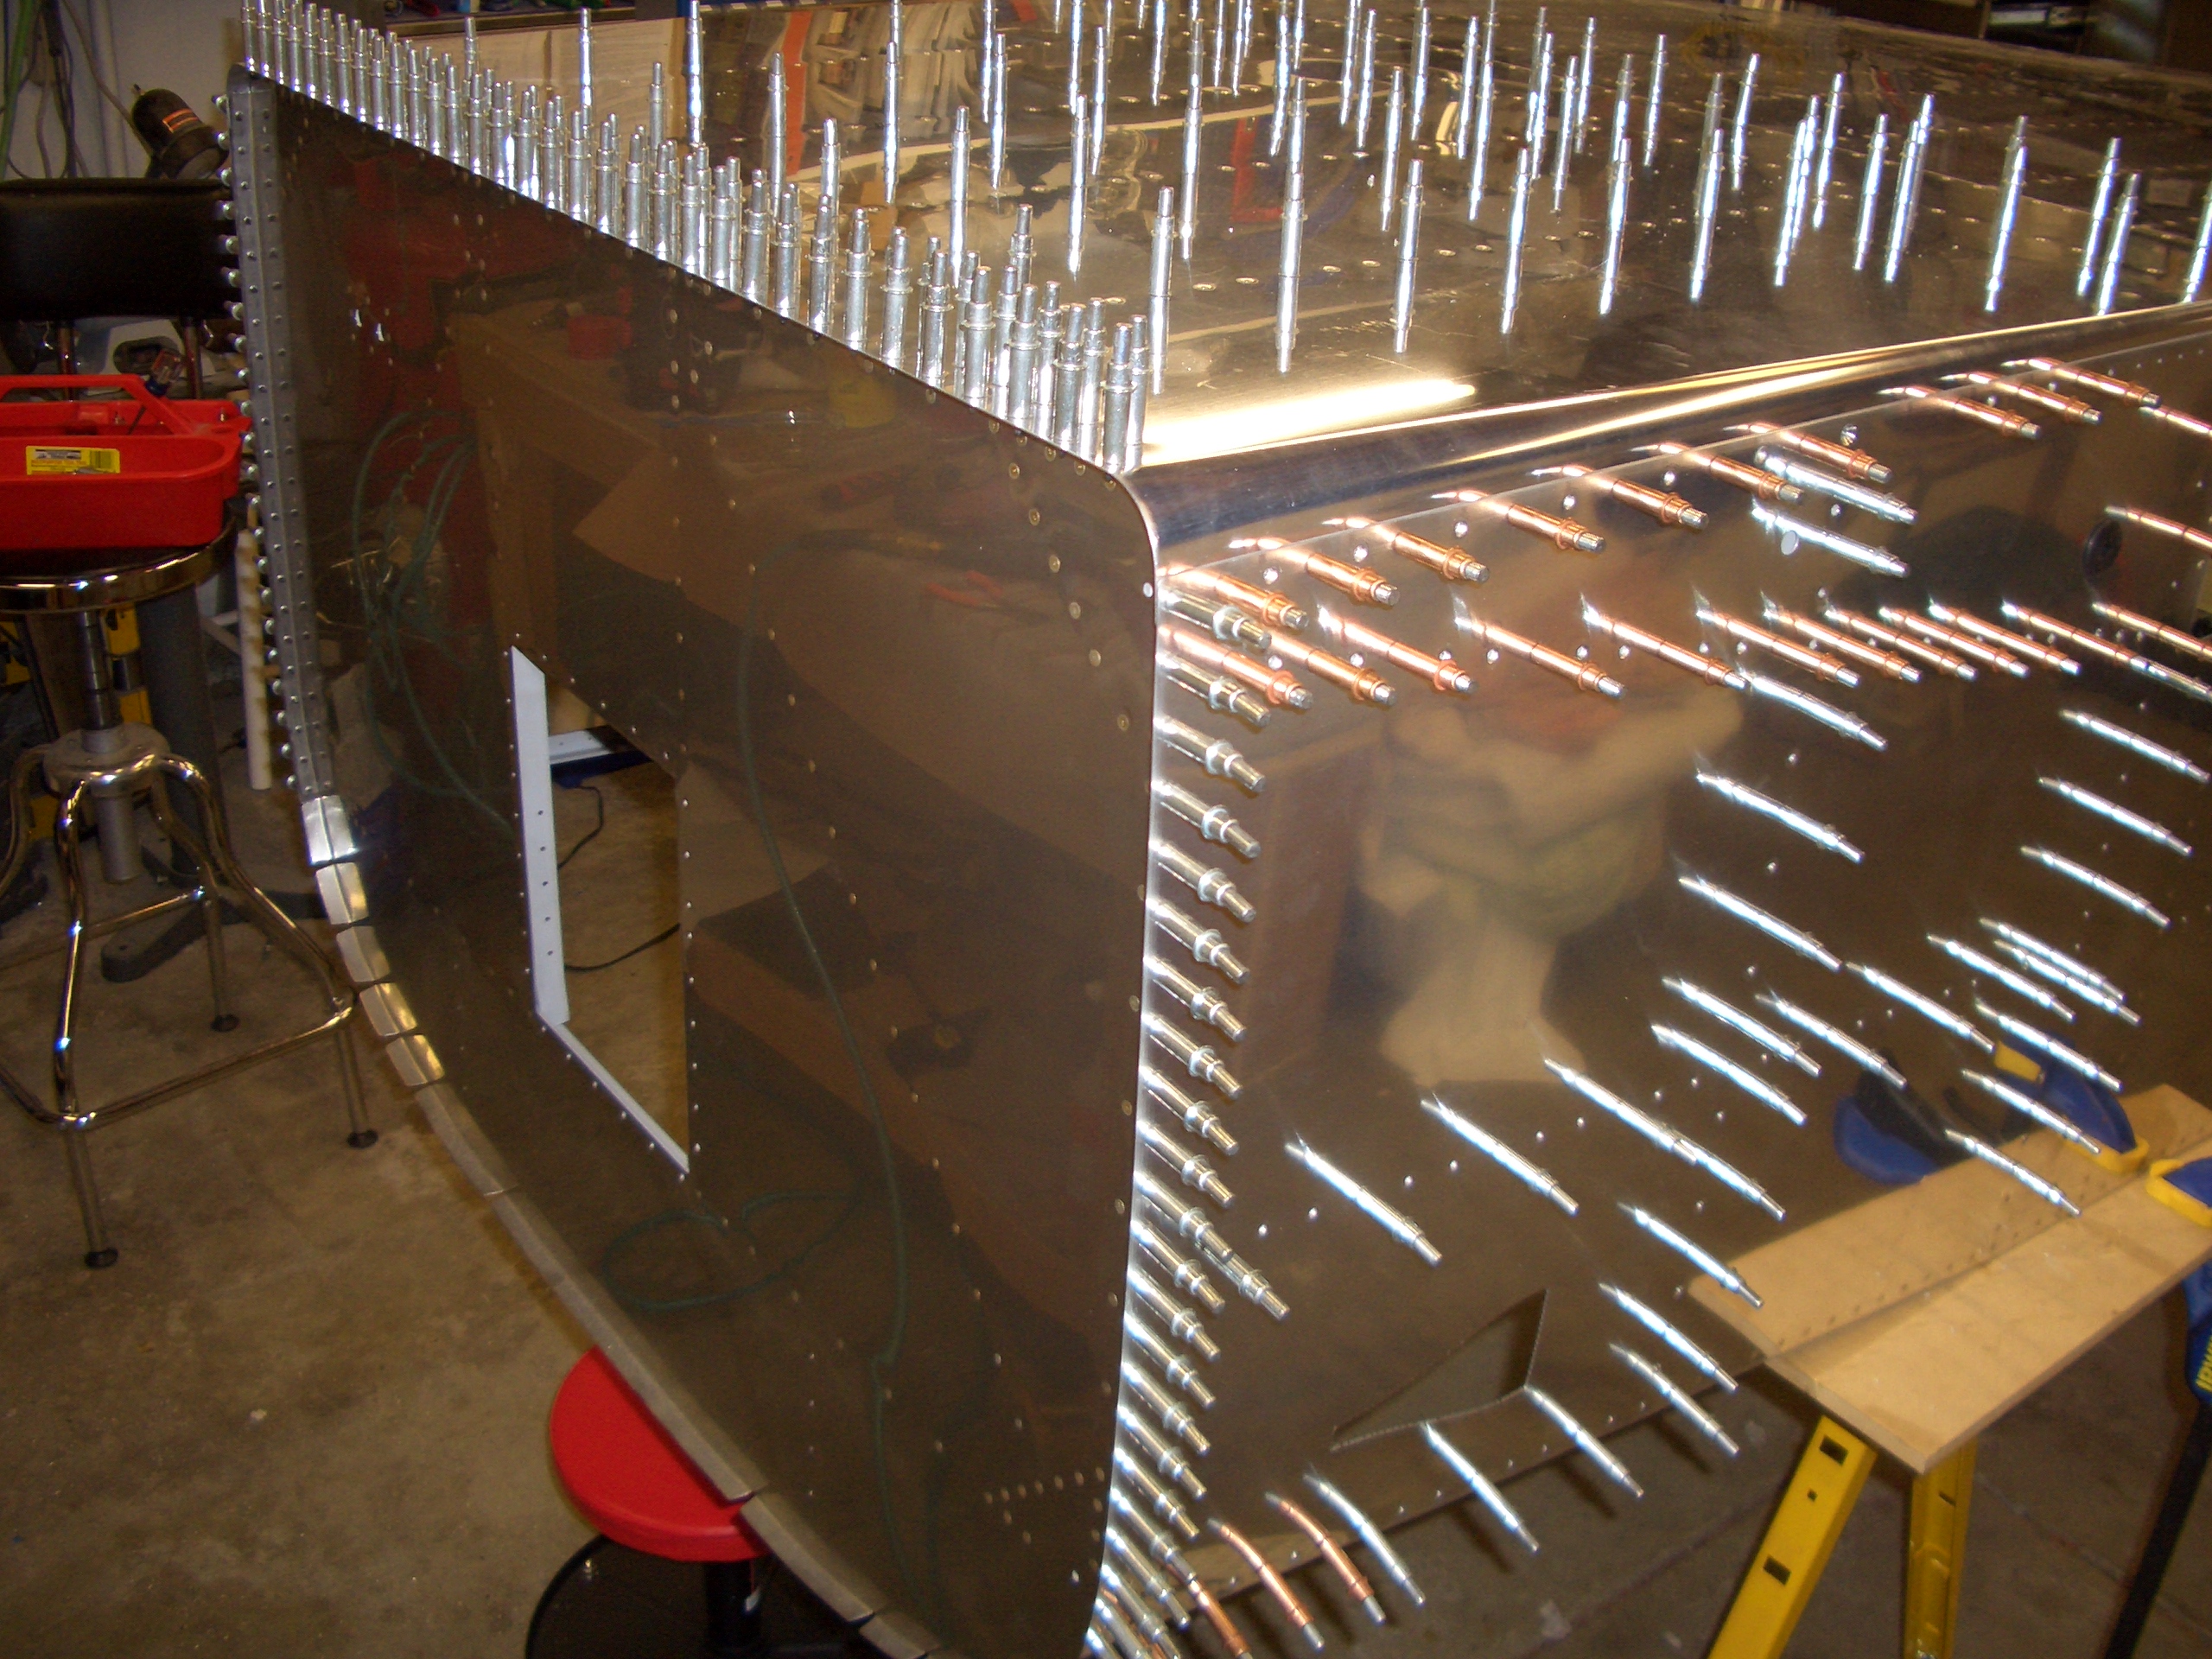
Jenn had to work today, so I got started today by finishing the right skin.  My buddy Andre then stopped by and we installed it and started riveting.  We made it through all of the bottom rivets on the left side aft of F-704 as well as all of the rivets on the side skins aft of F-704 (with the exception of the longeron rivets which I can squeeze).

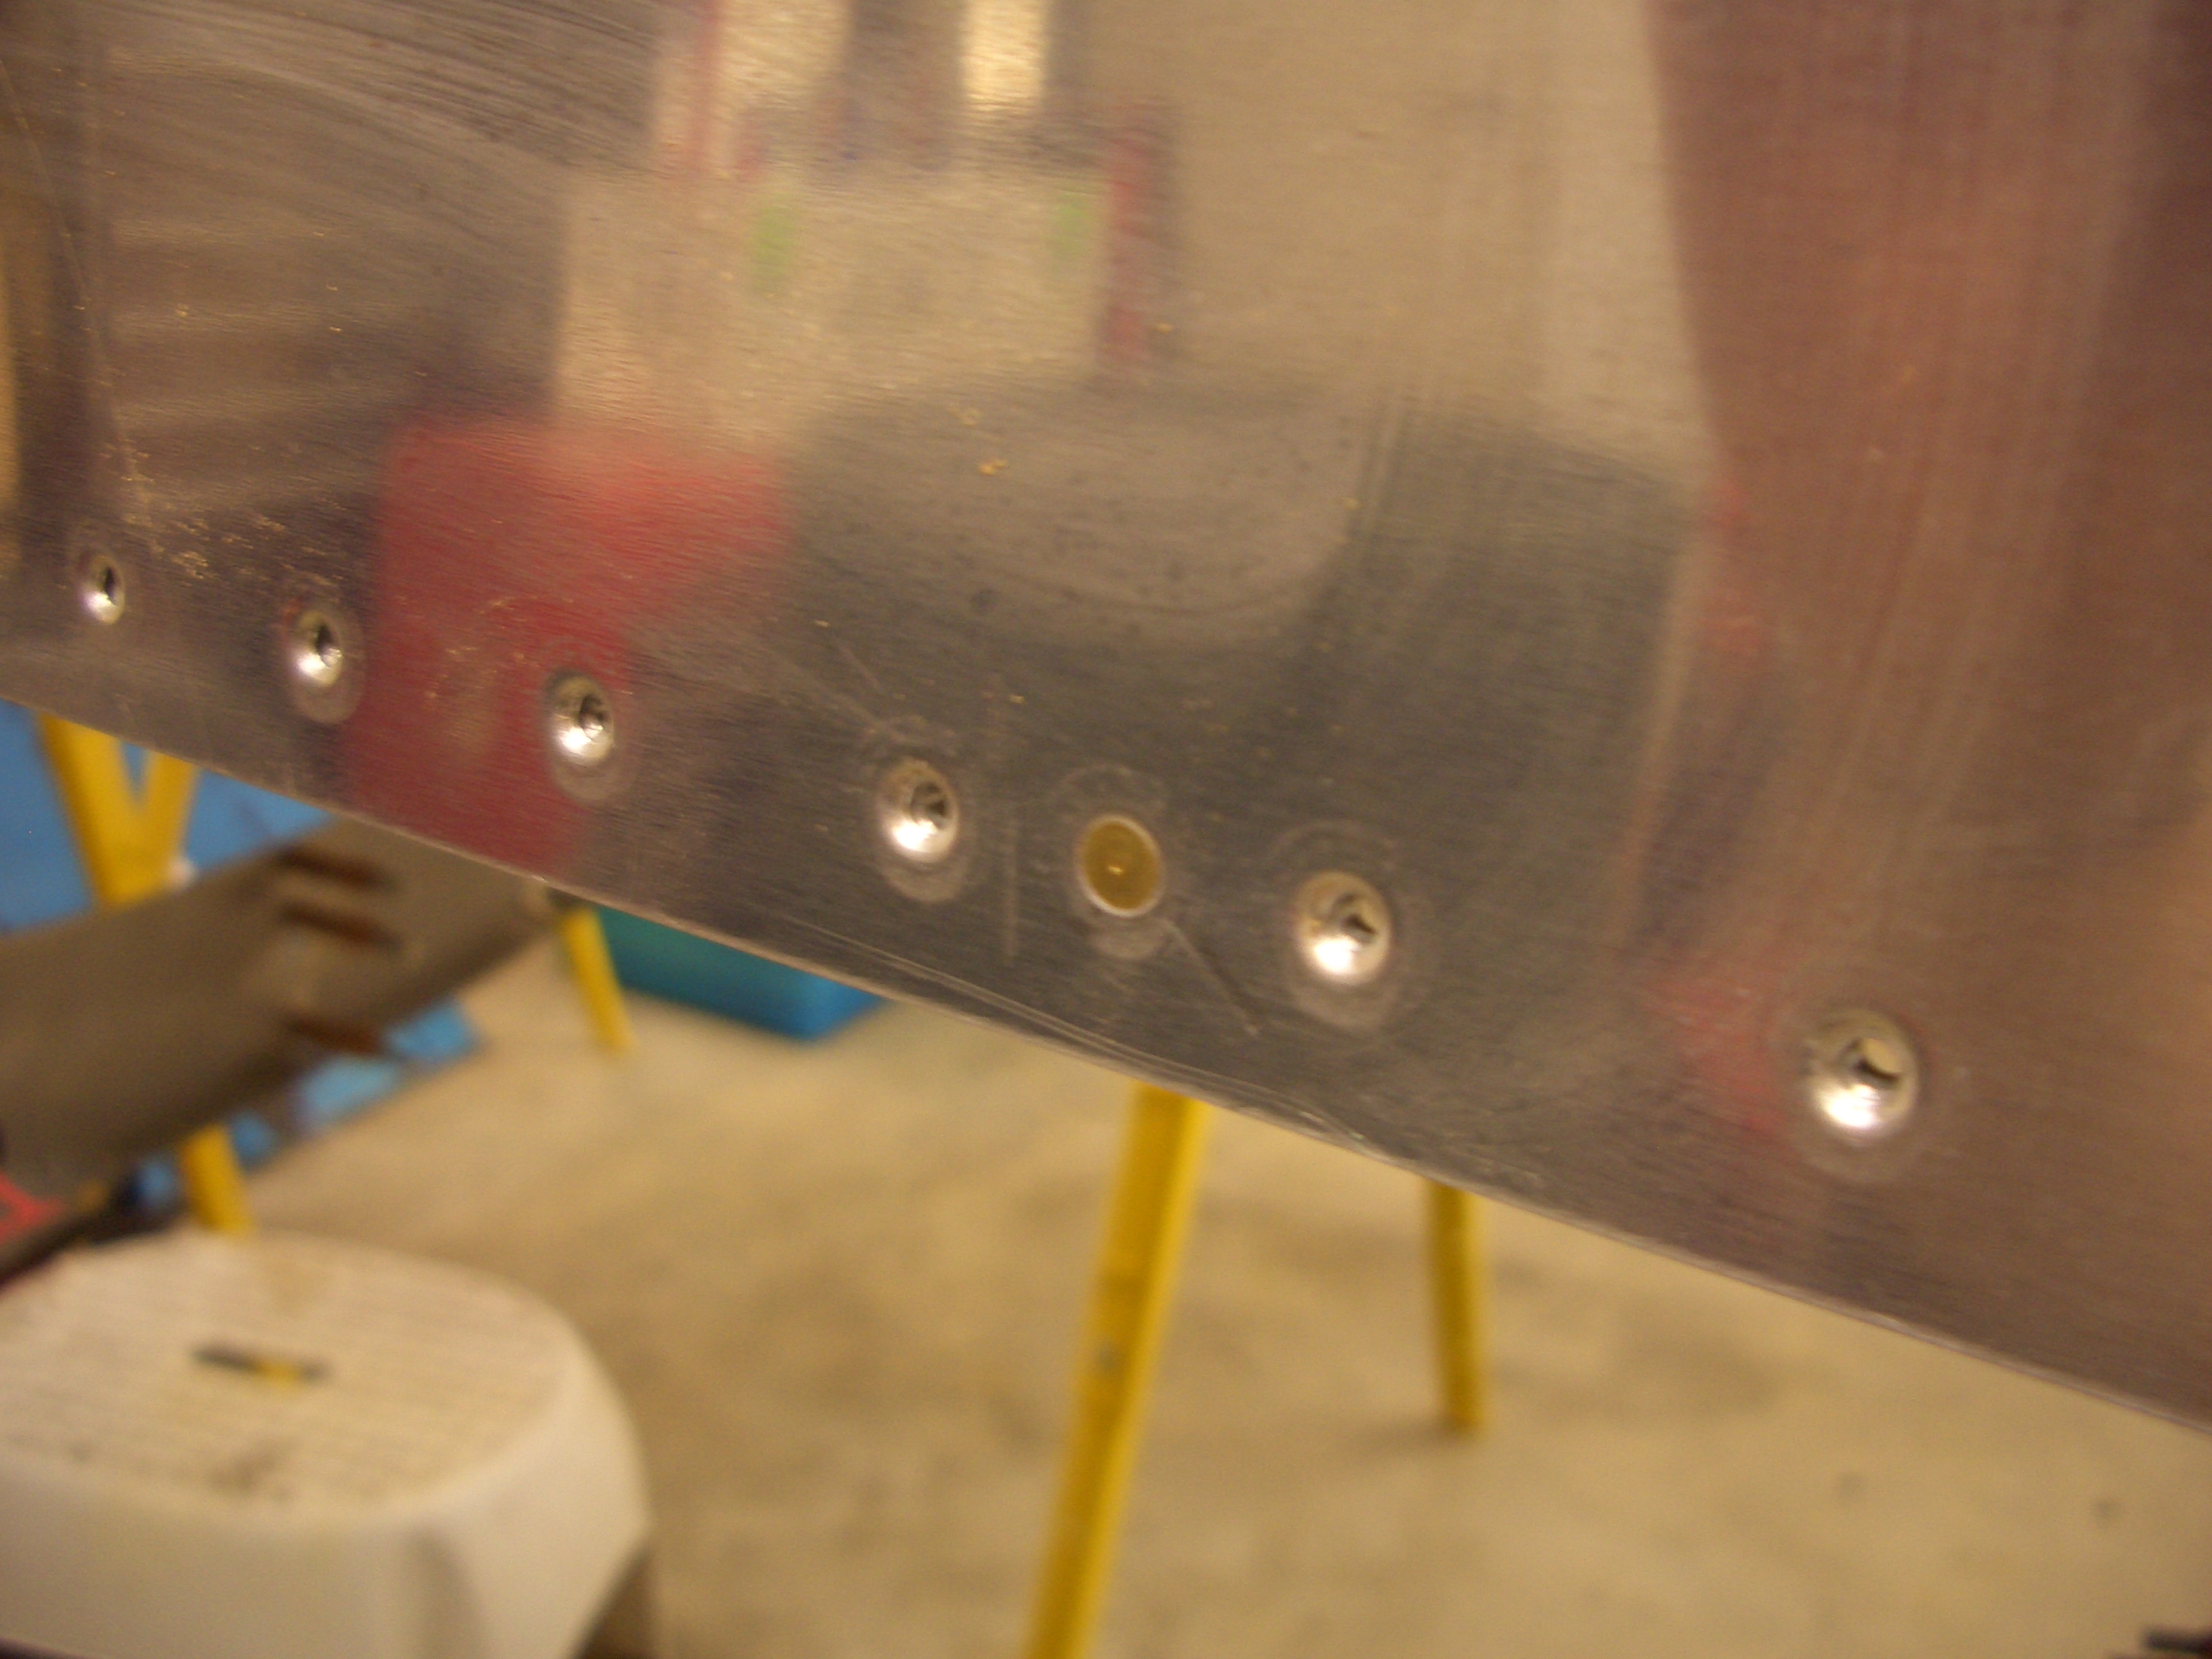
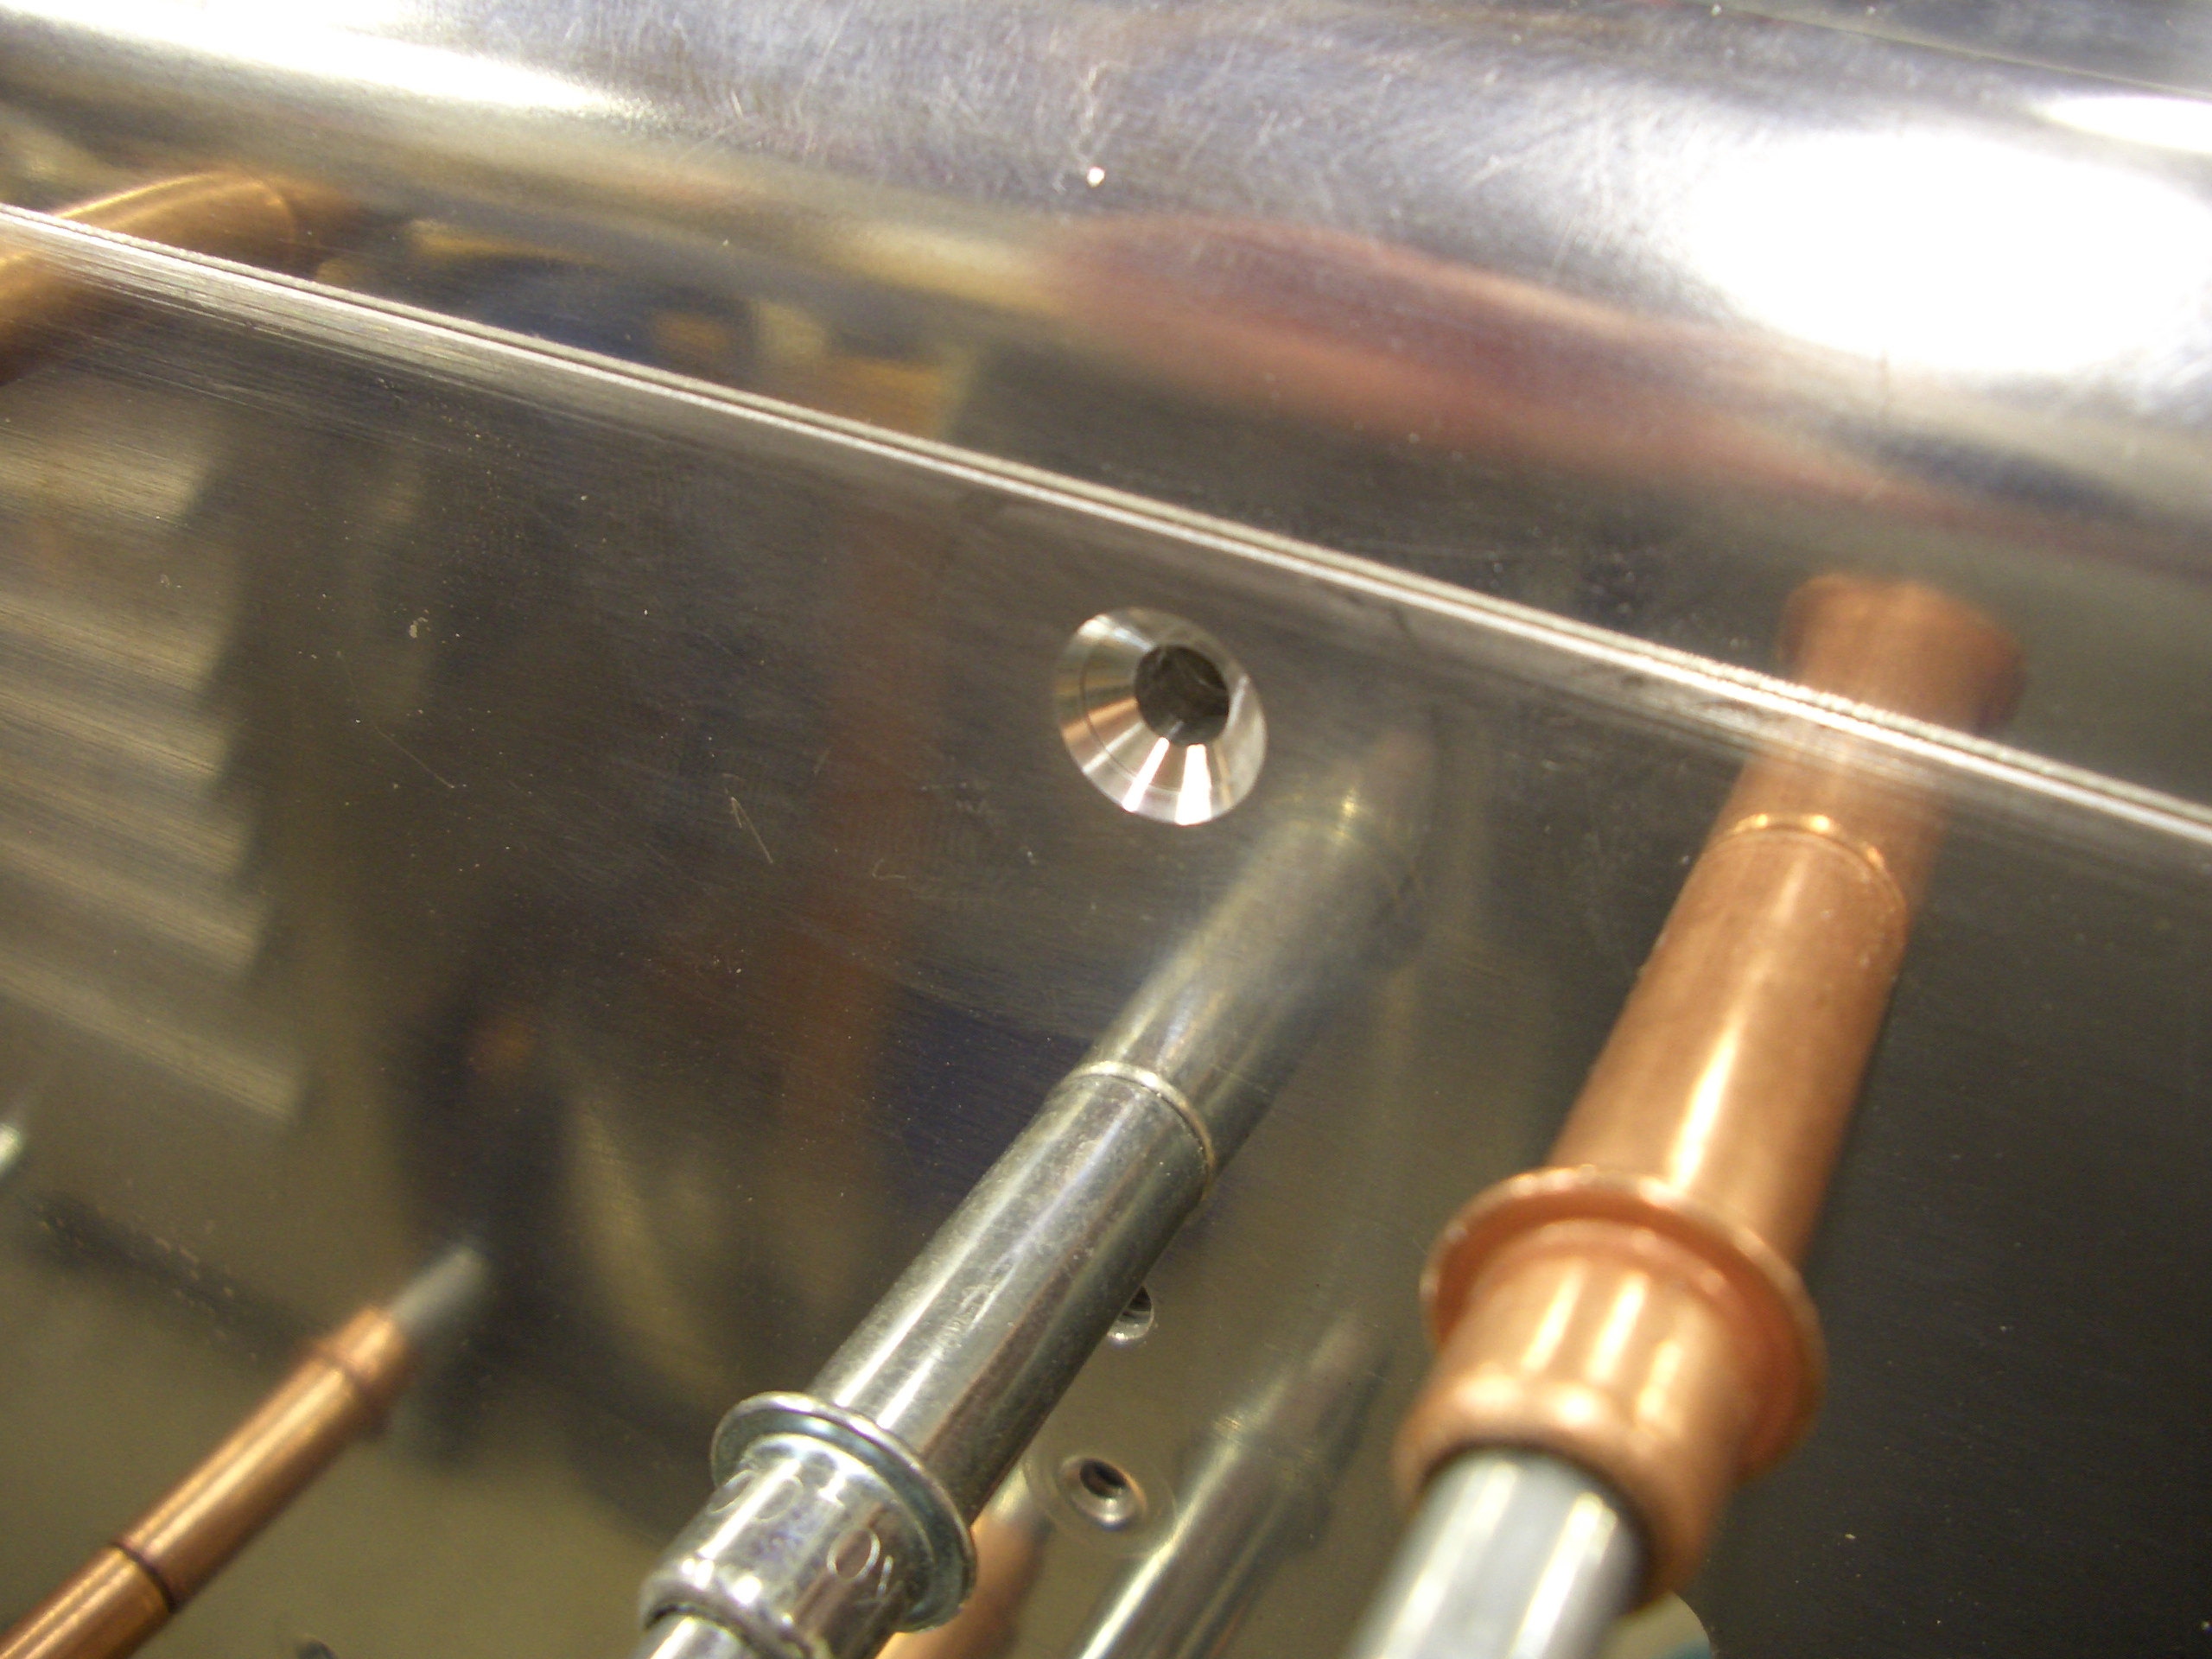
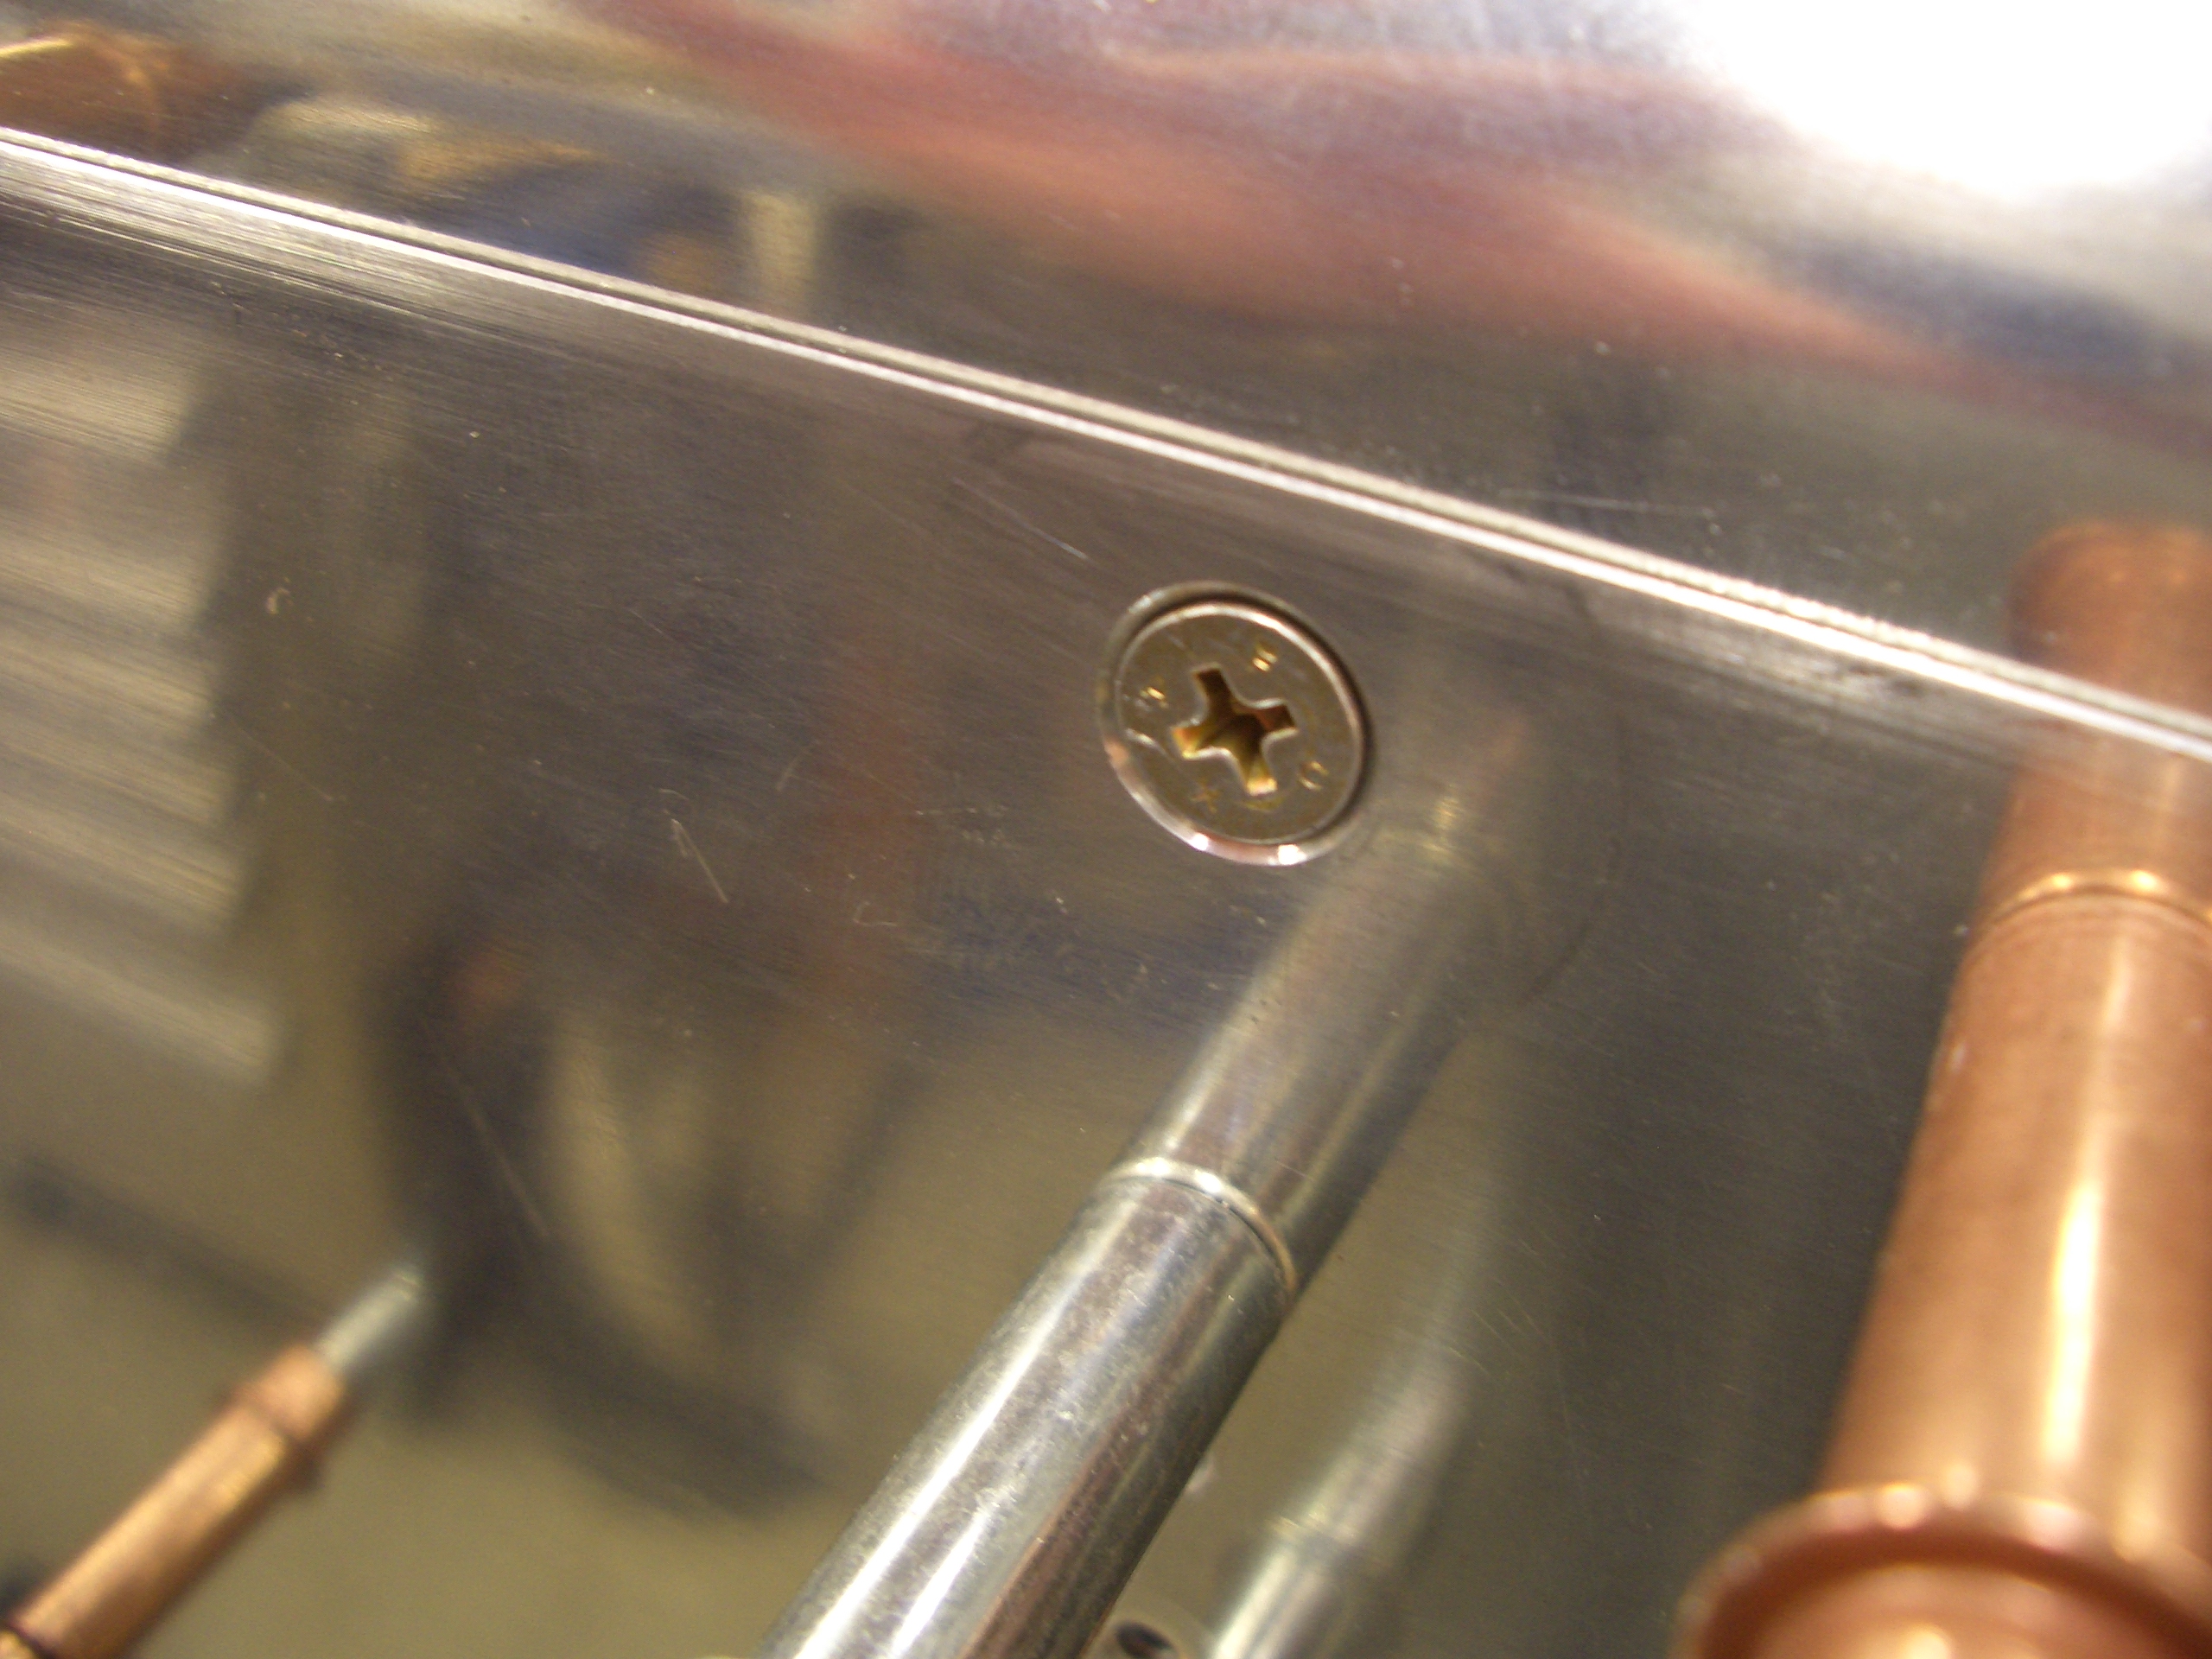
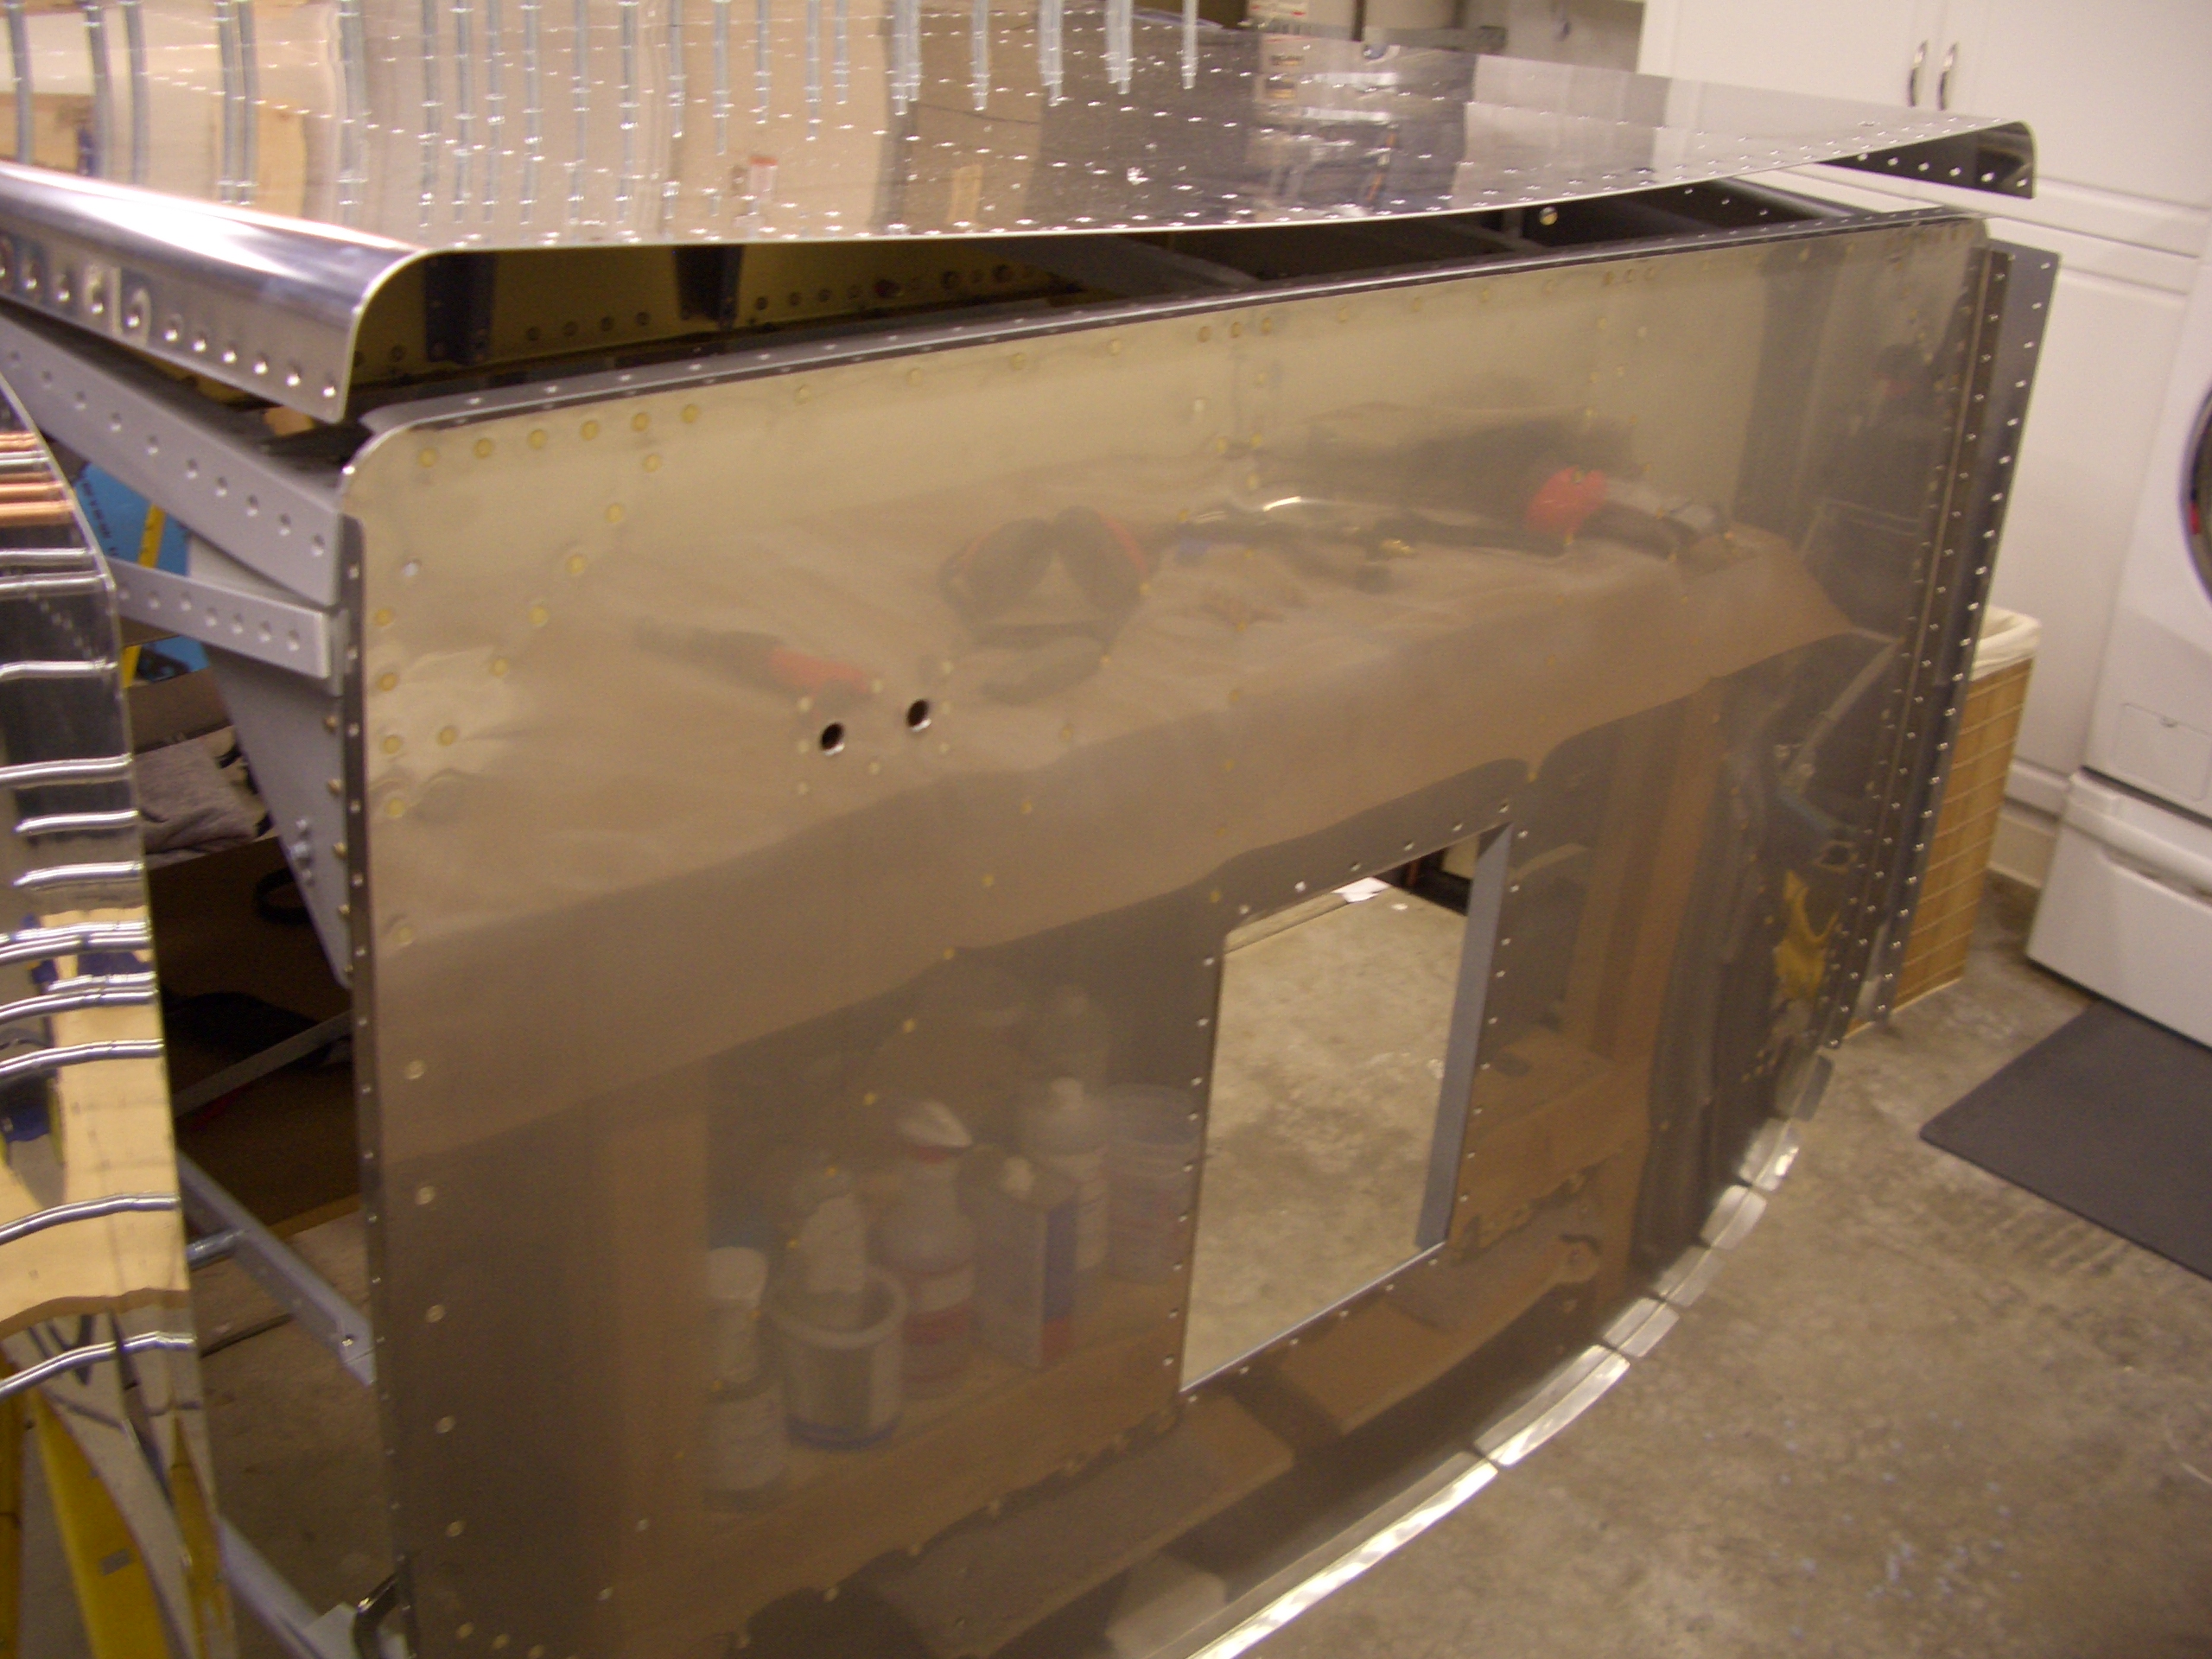
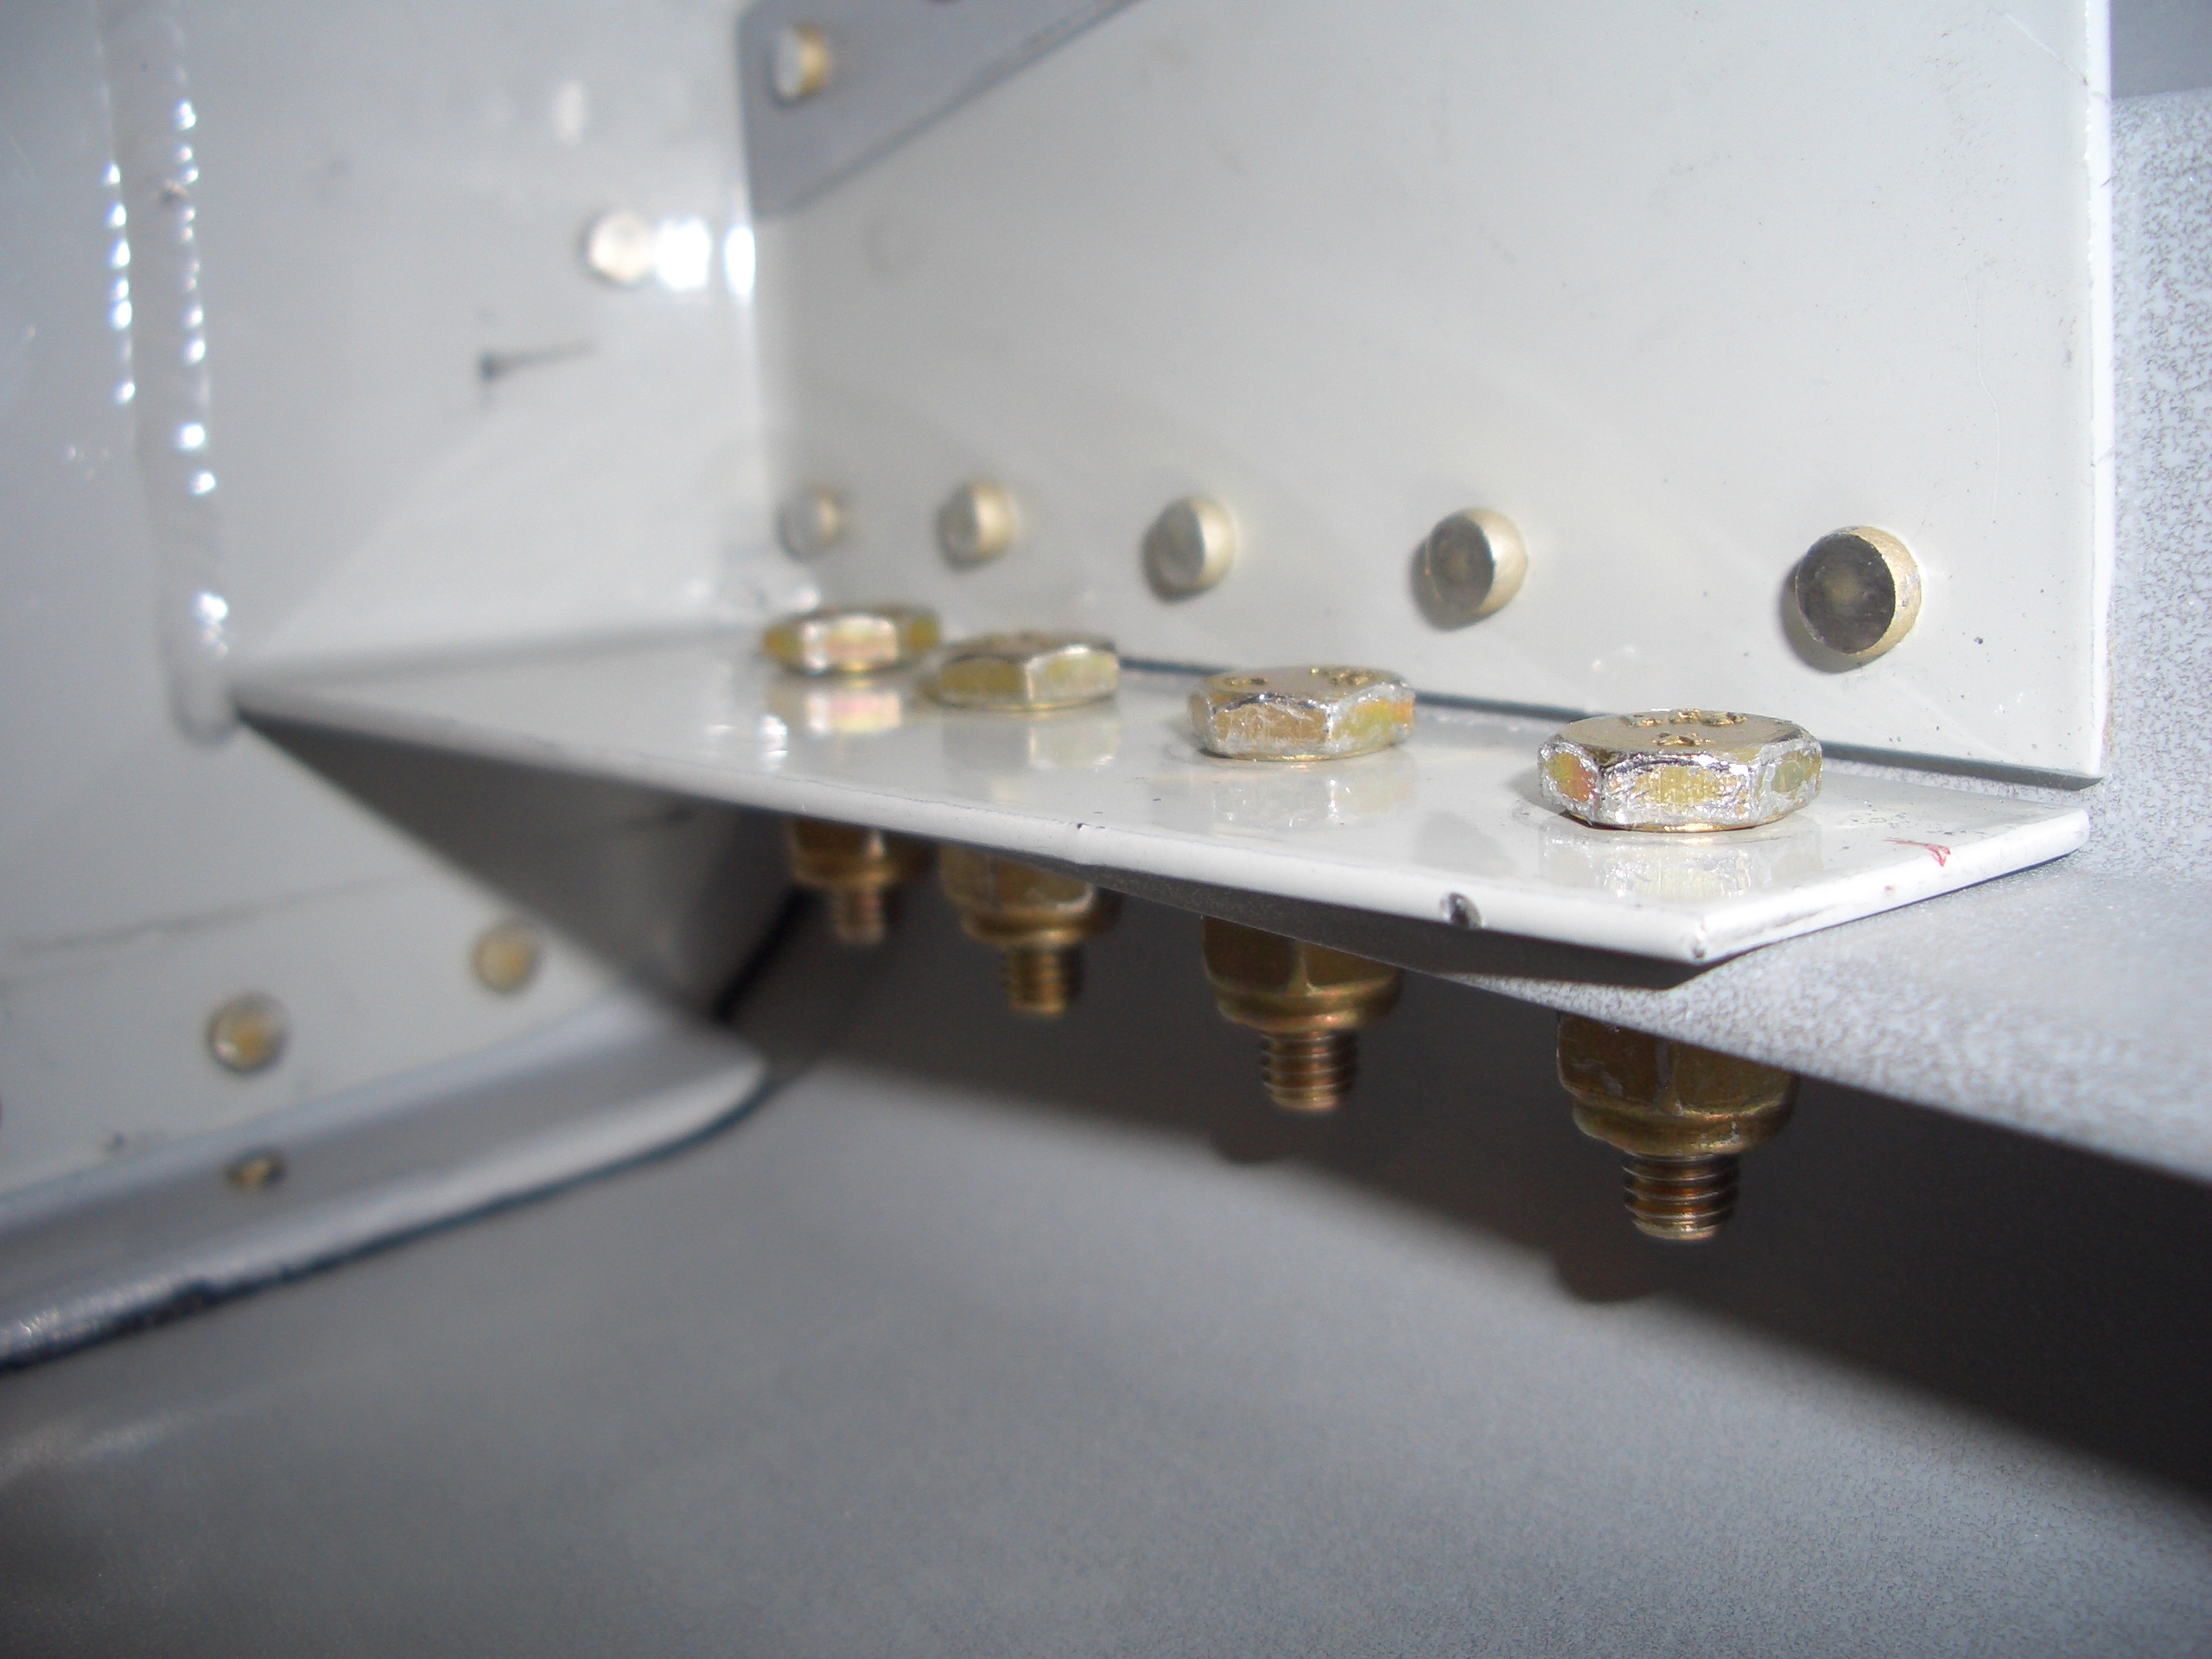
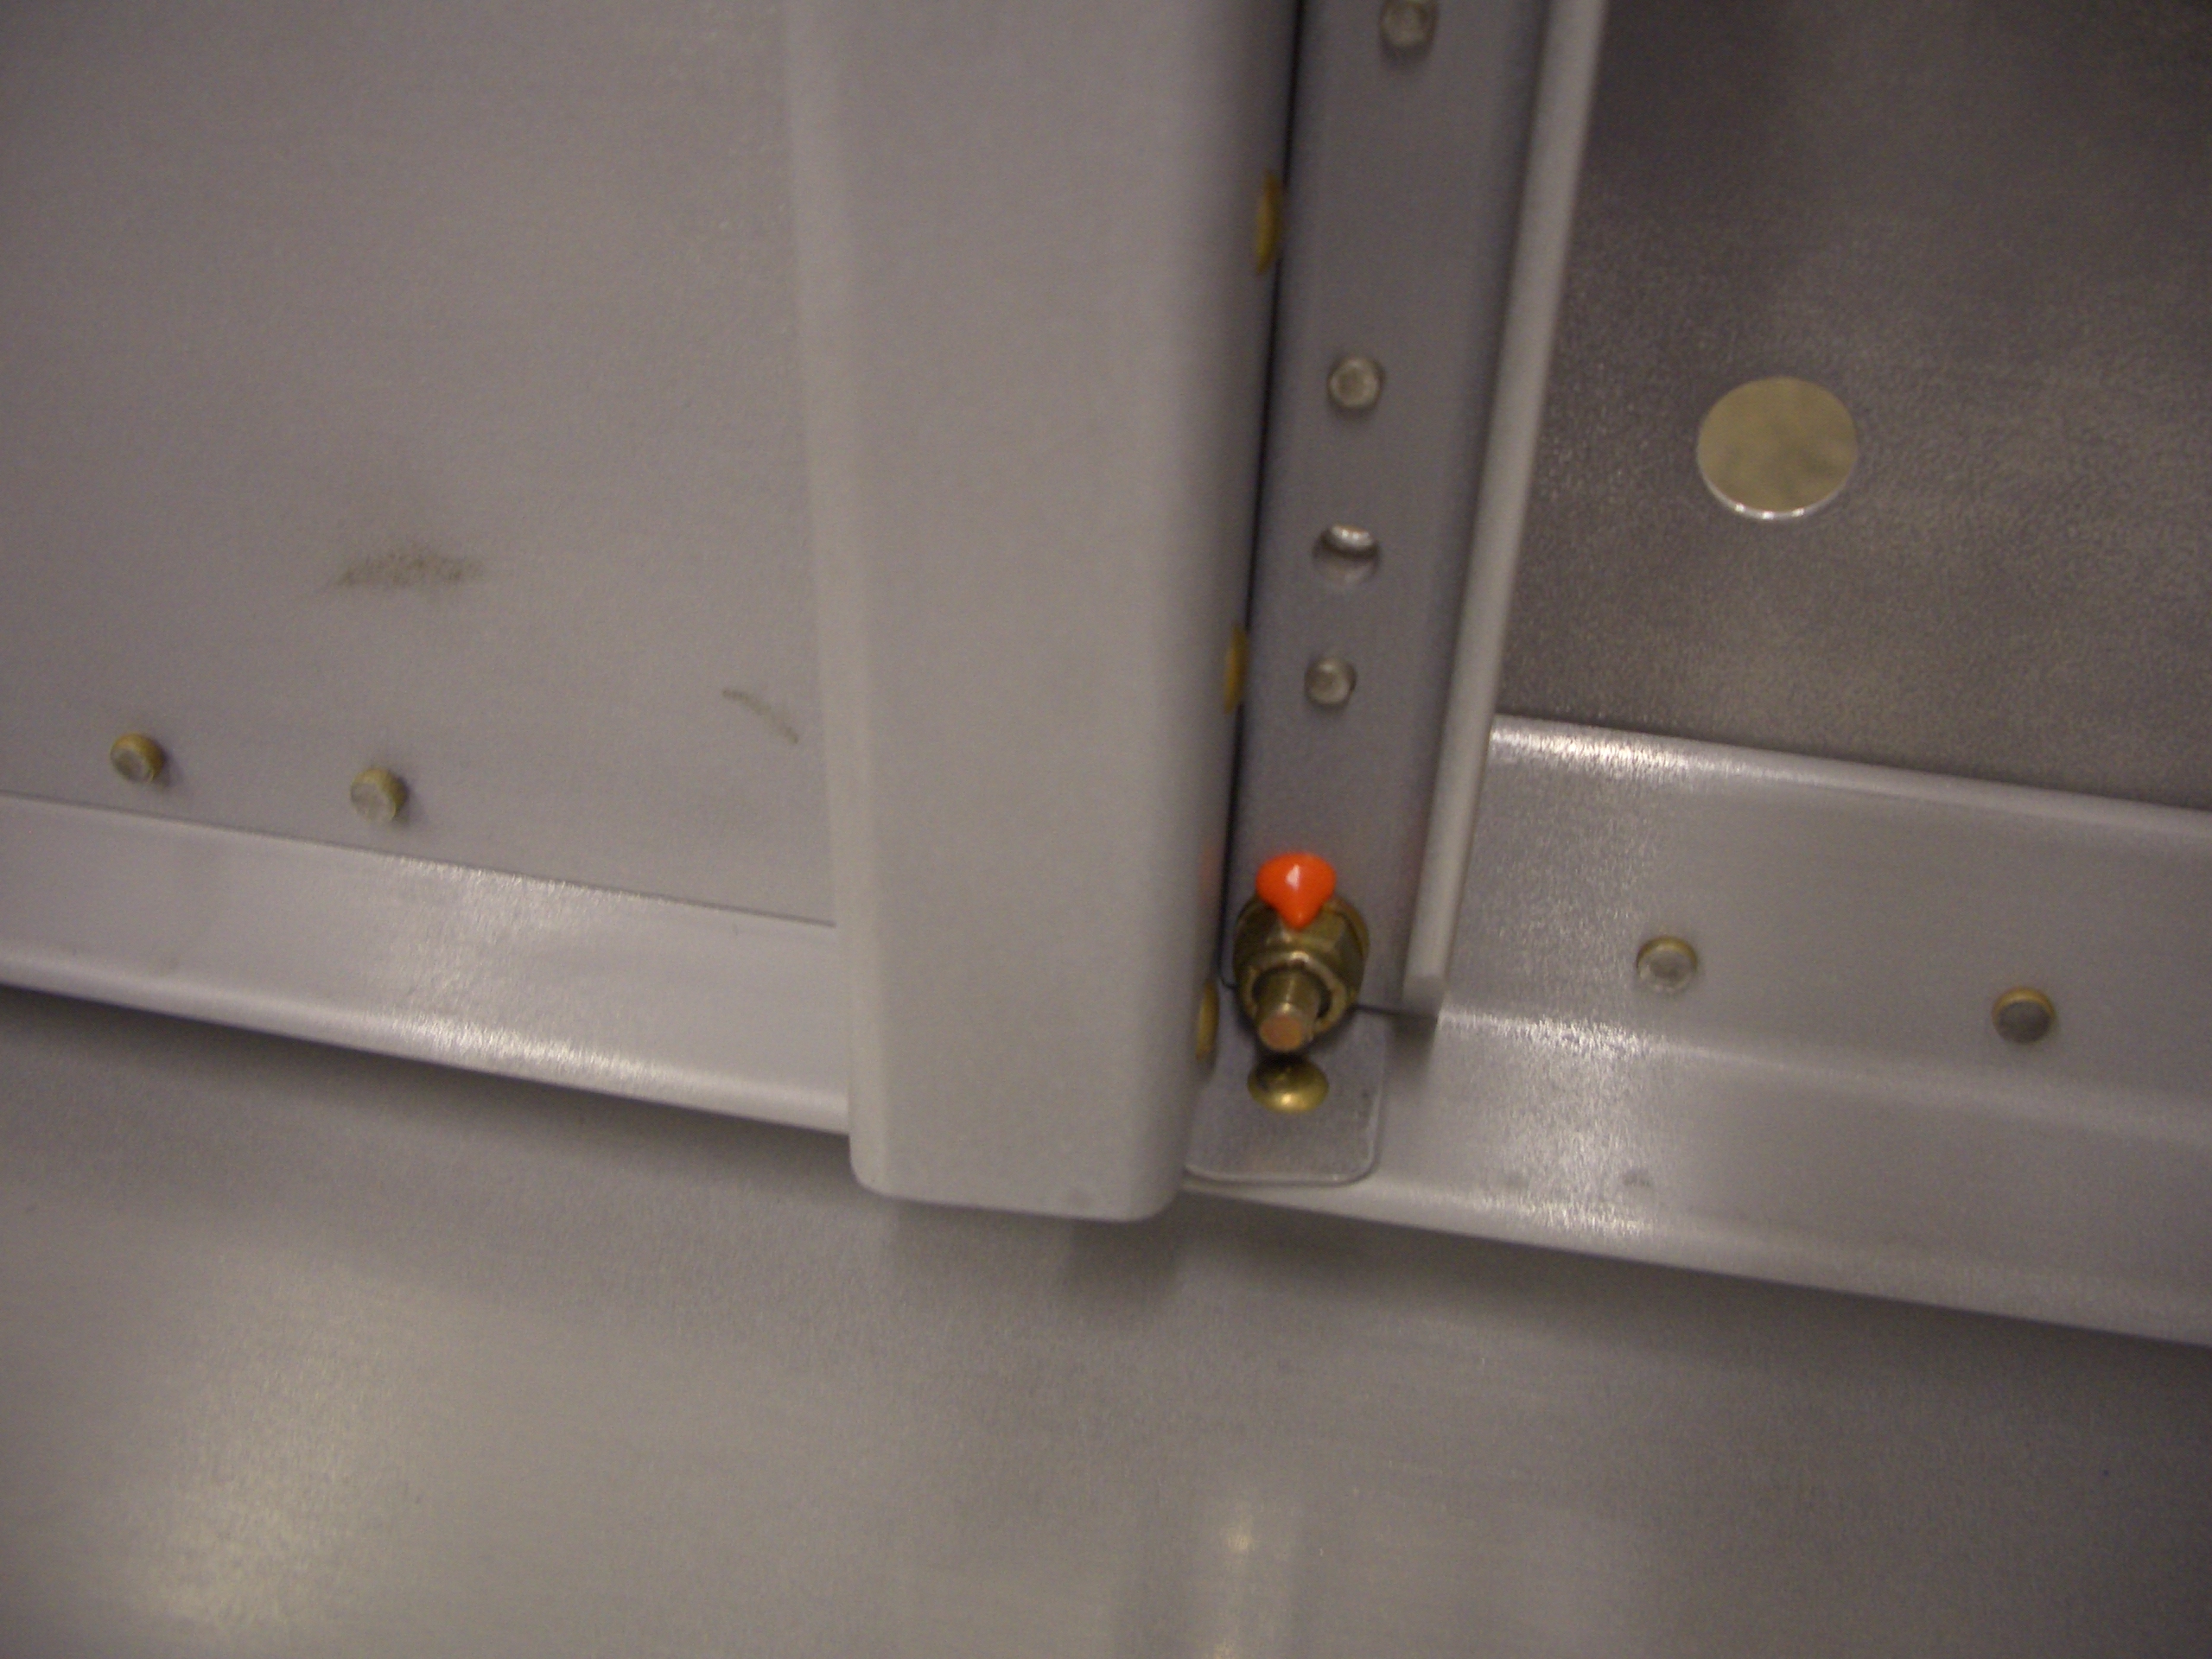
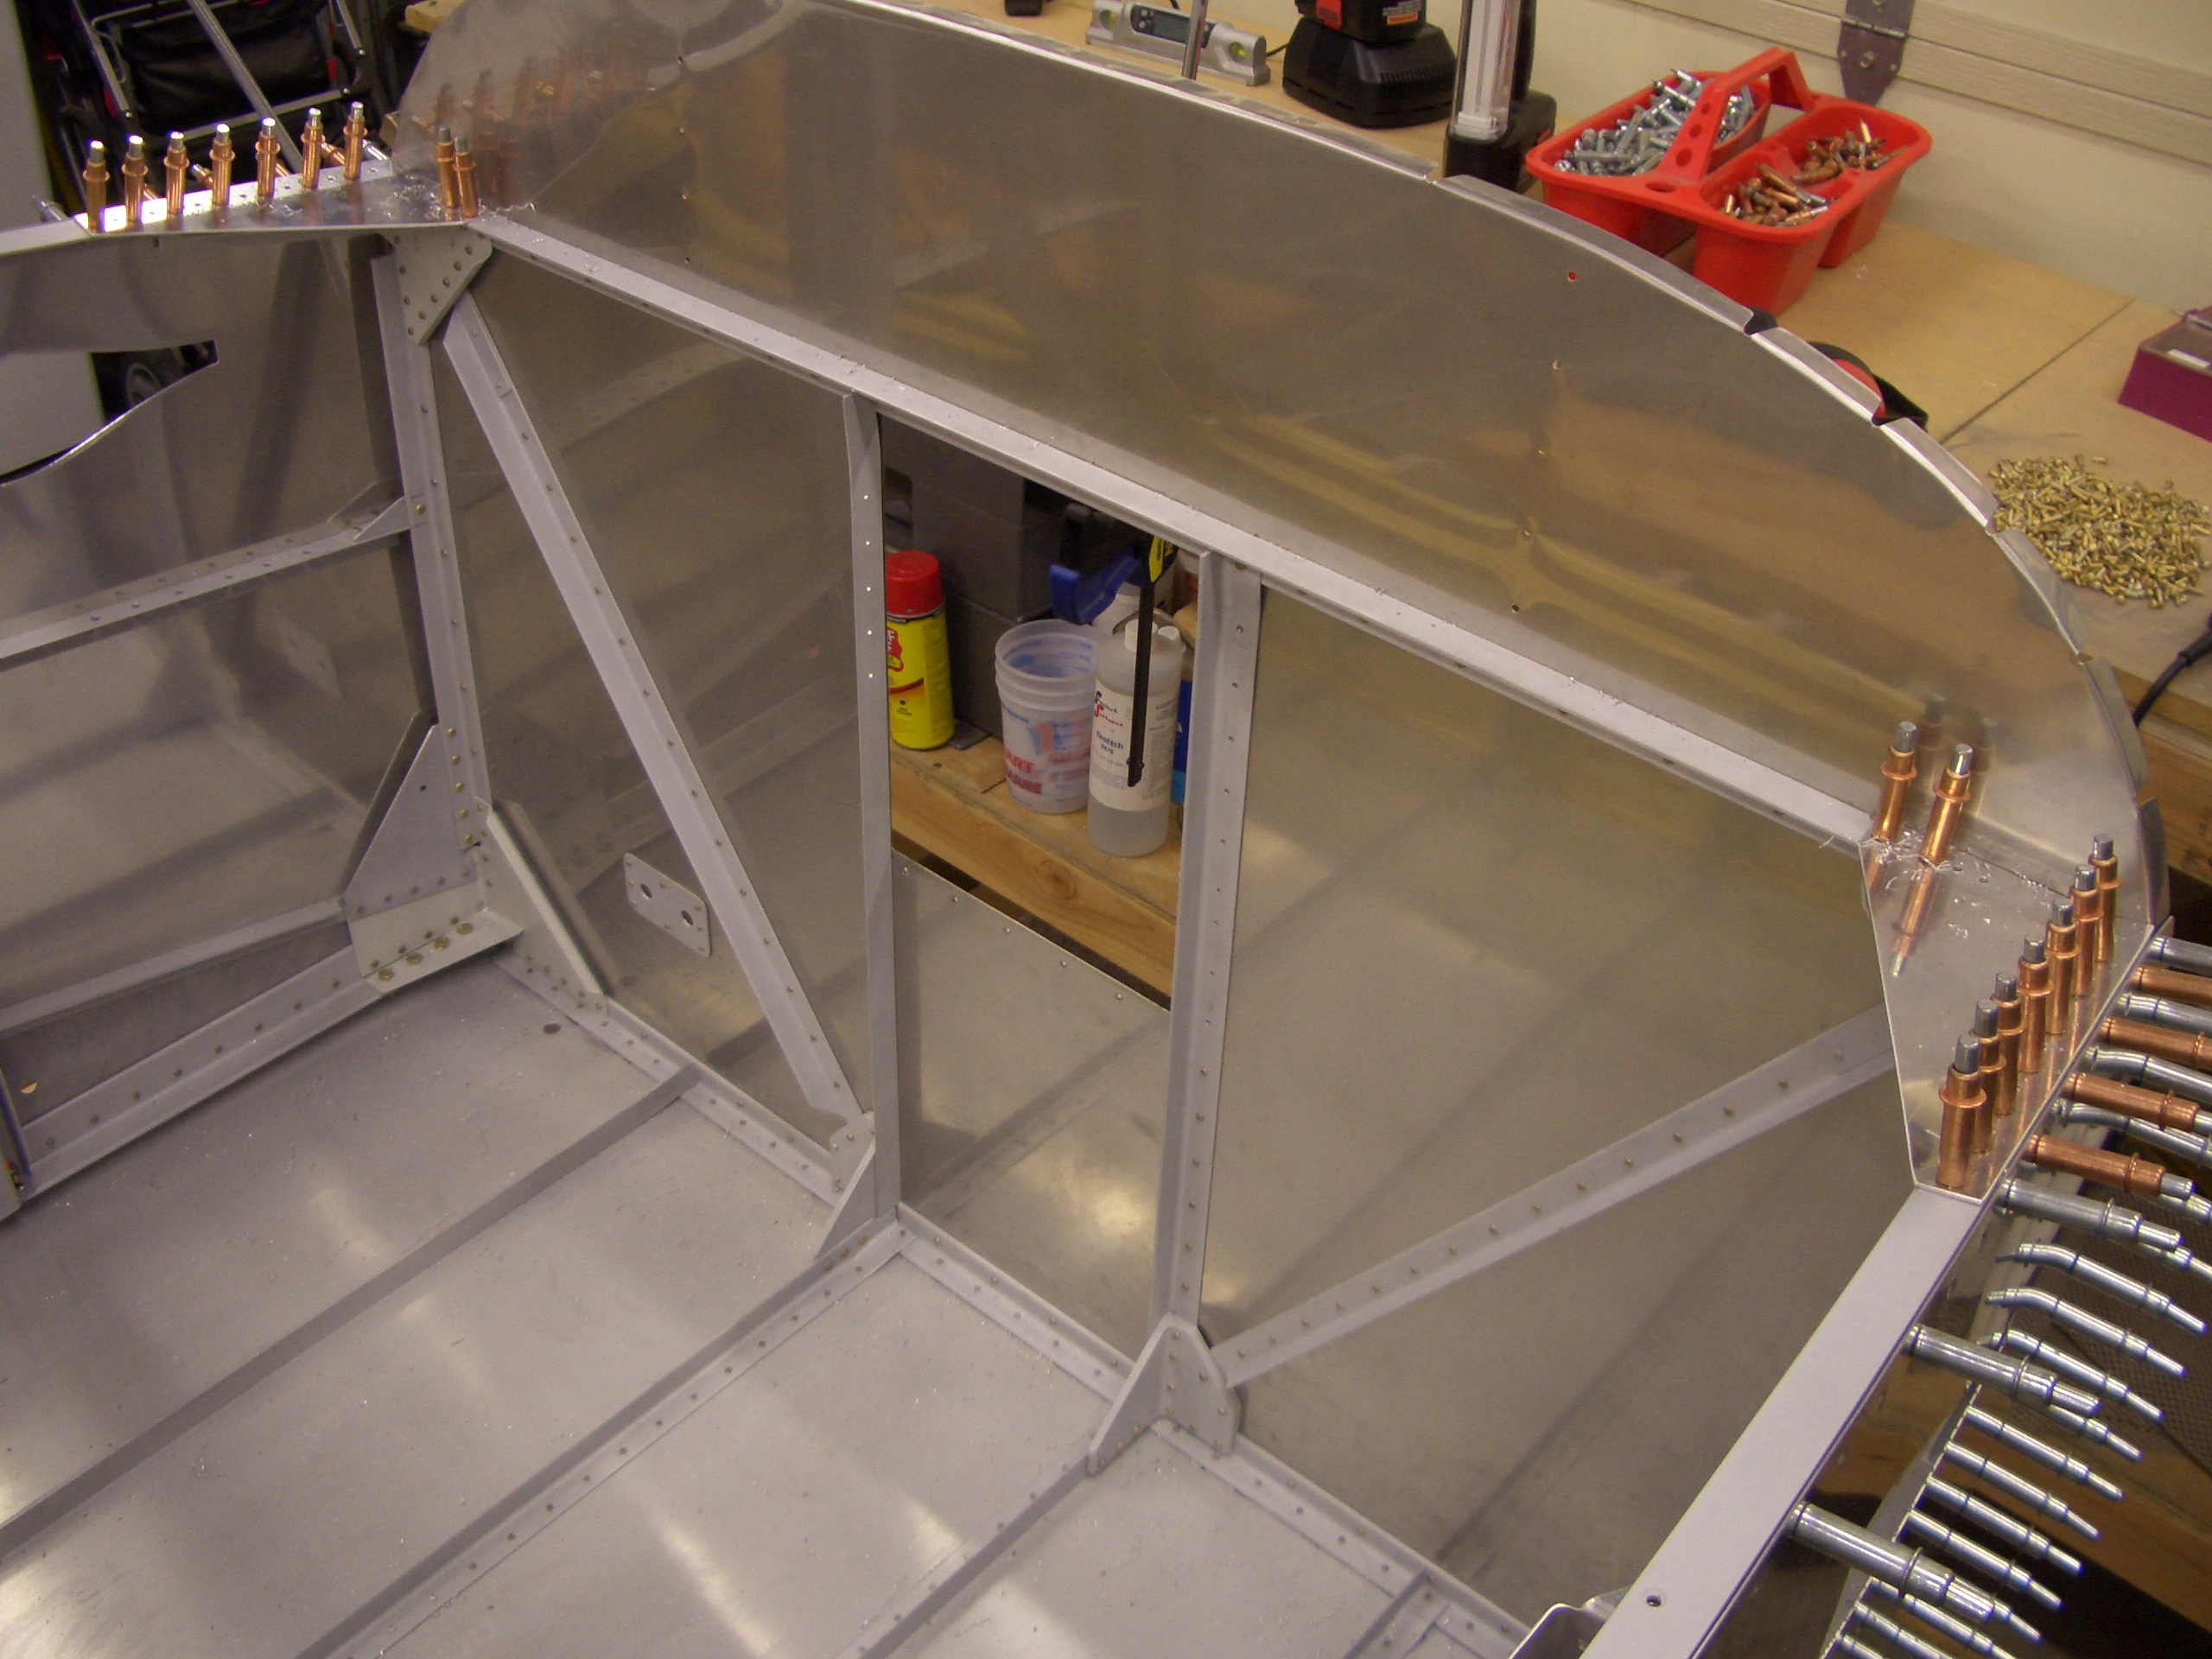
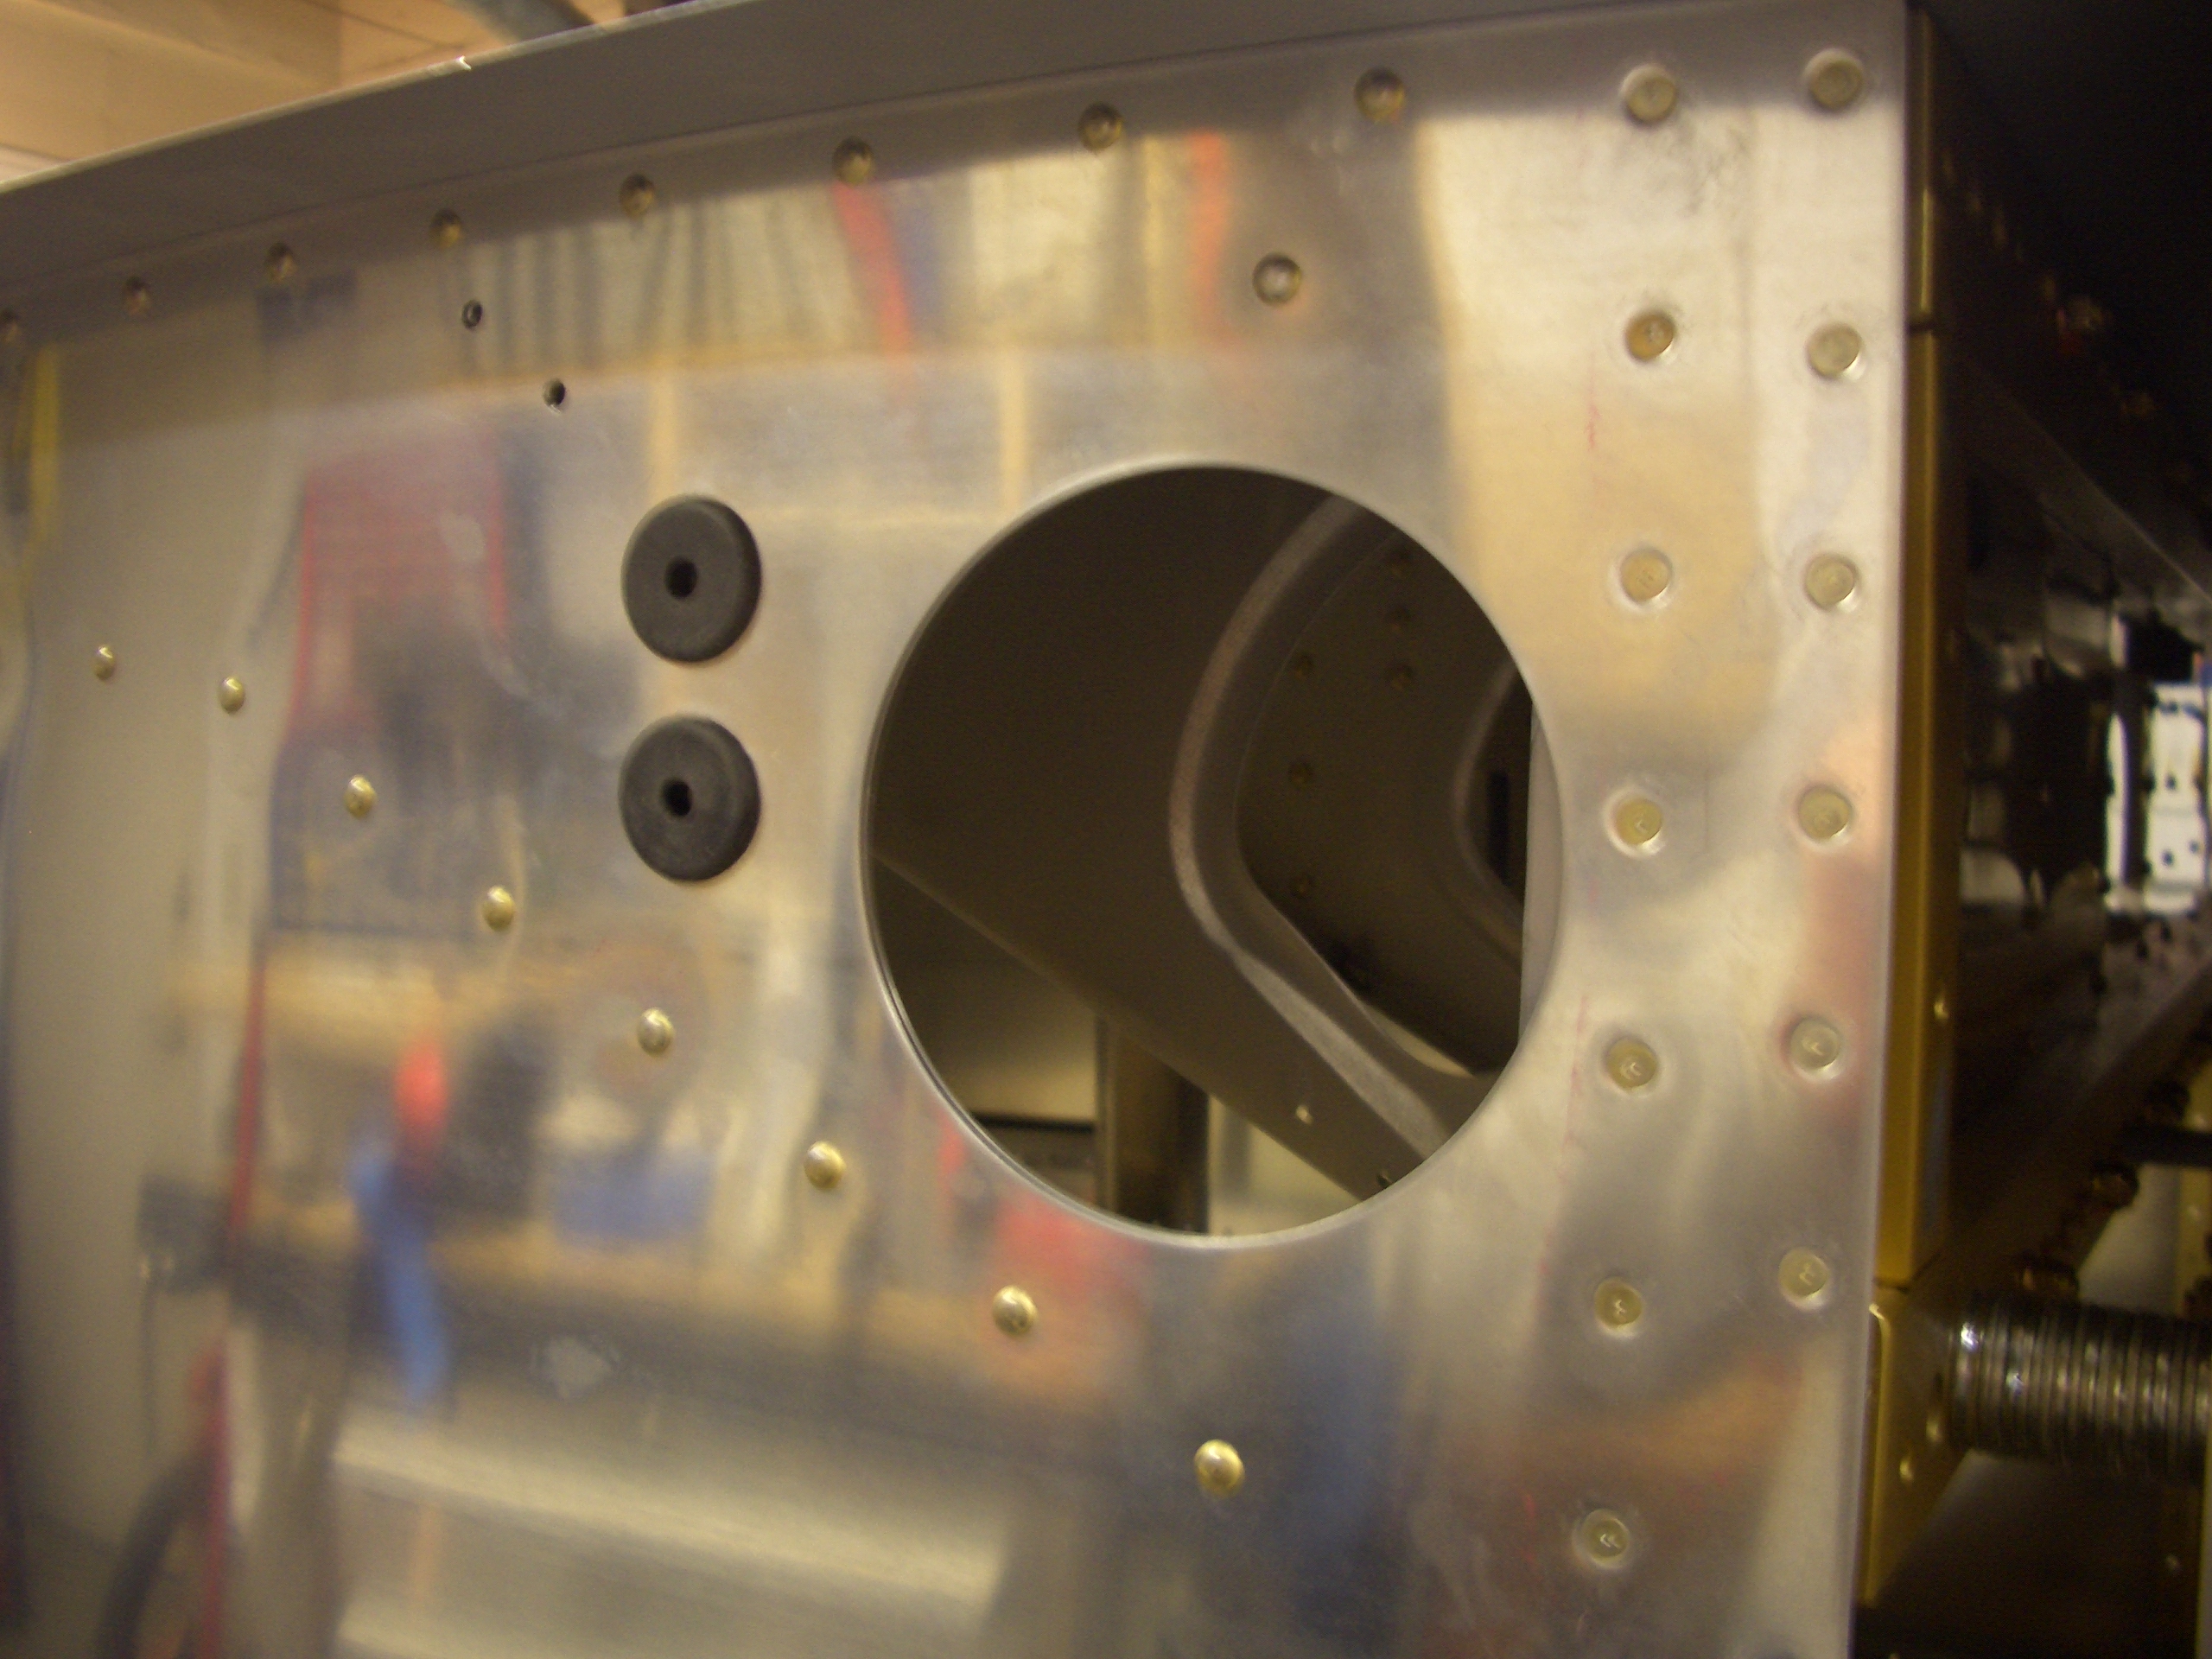
Here you can see that the outboard seat ribs are riveted to the side skin using AN470 rivets since this is inside the wing root and won’t be visible when the wings are installed.  If you look carefully, you will notice that the forward two rows of rivets are AN426 instead of AN470.  This is because I inadvertently countersunk these holes in the side doublers, so I had to dimple the skins to match.  I spoke with Ken at Van’s, and he confirmed this was a non-issue.

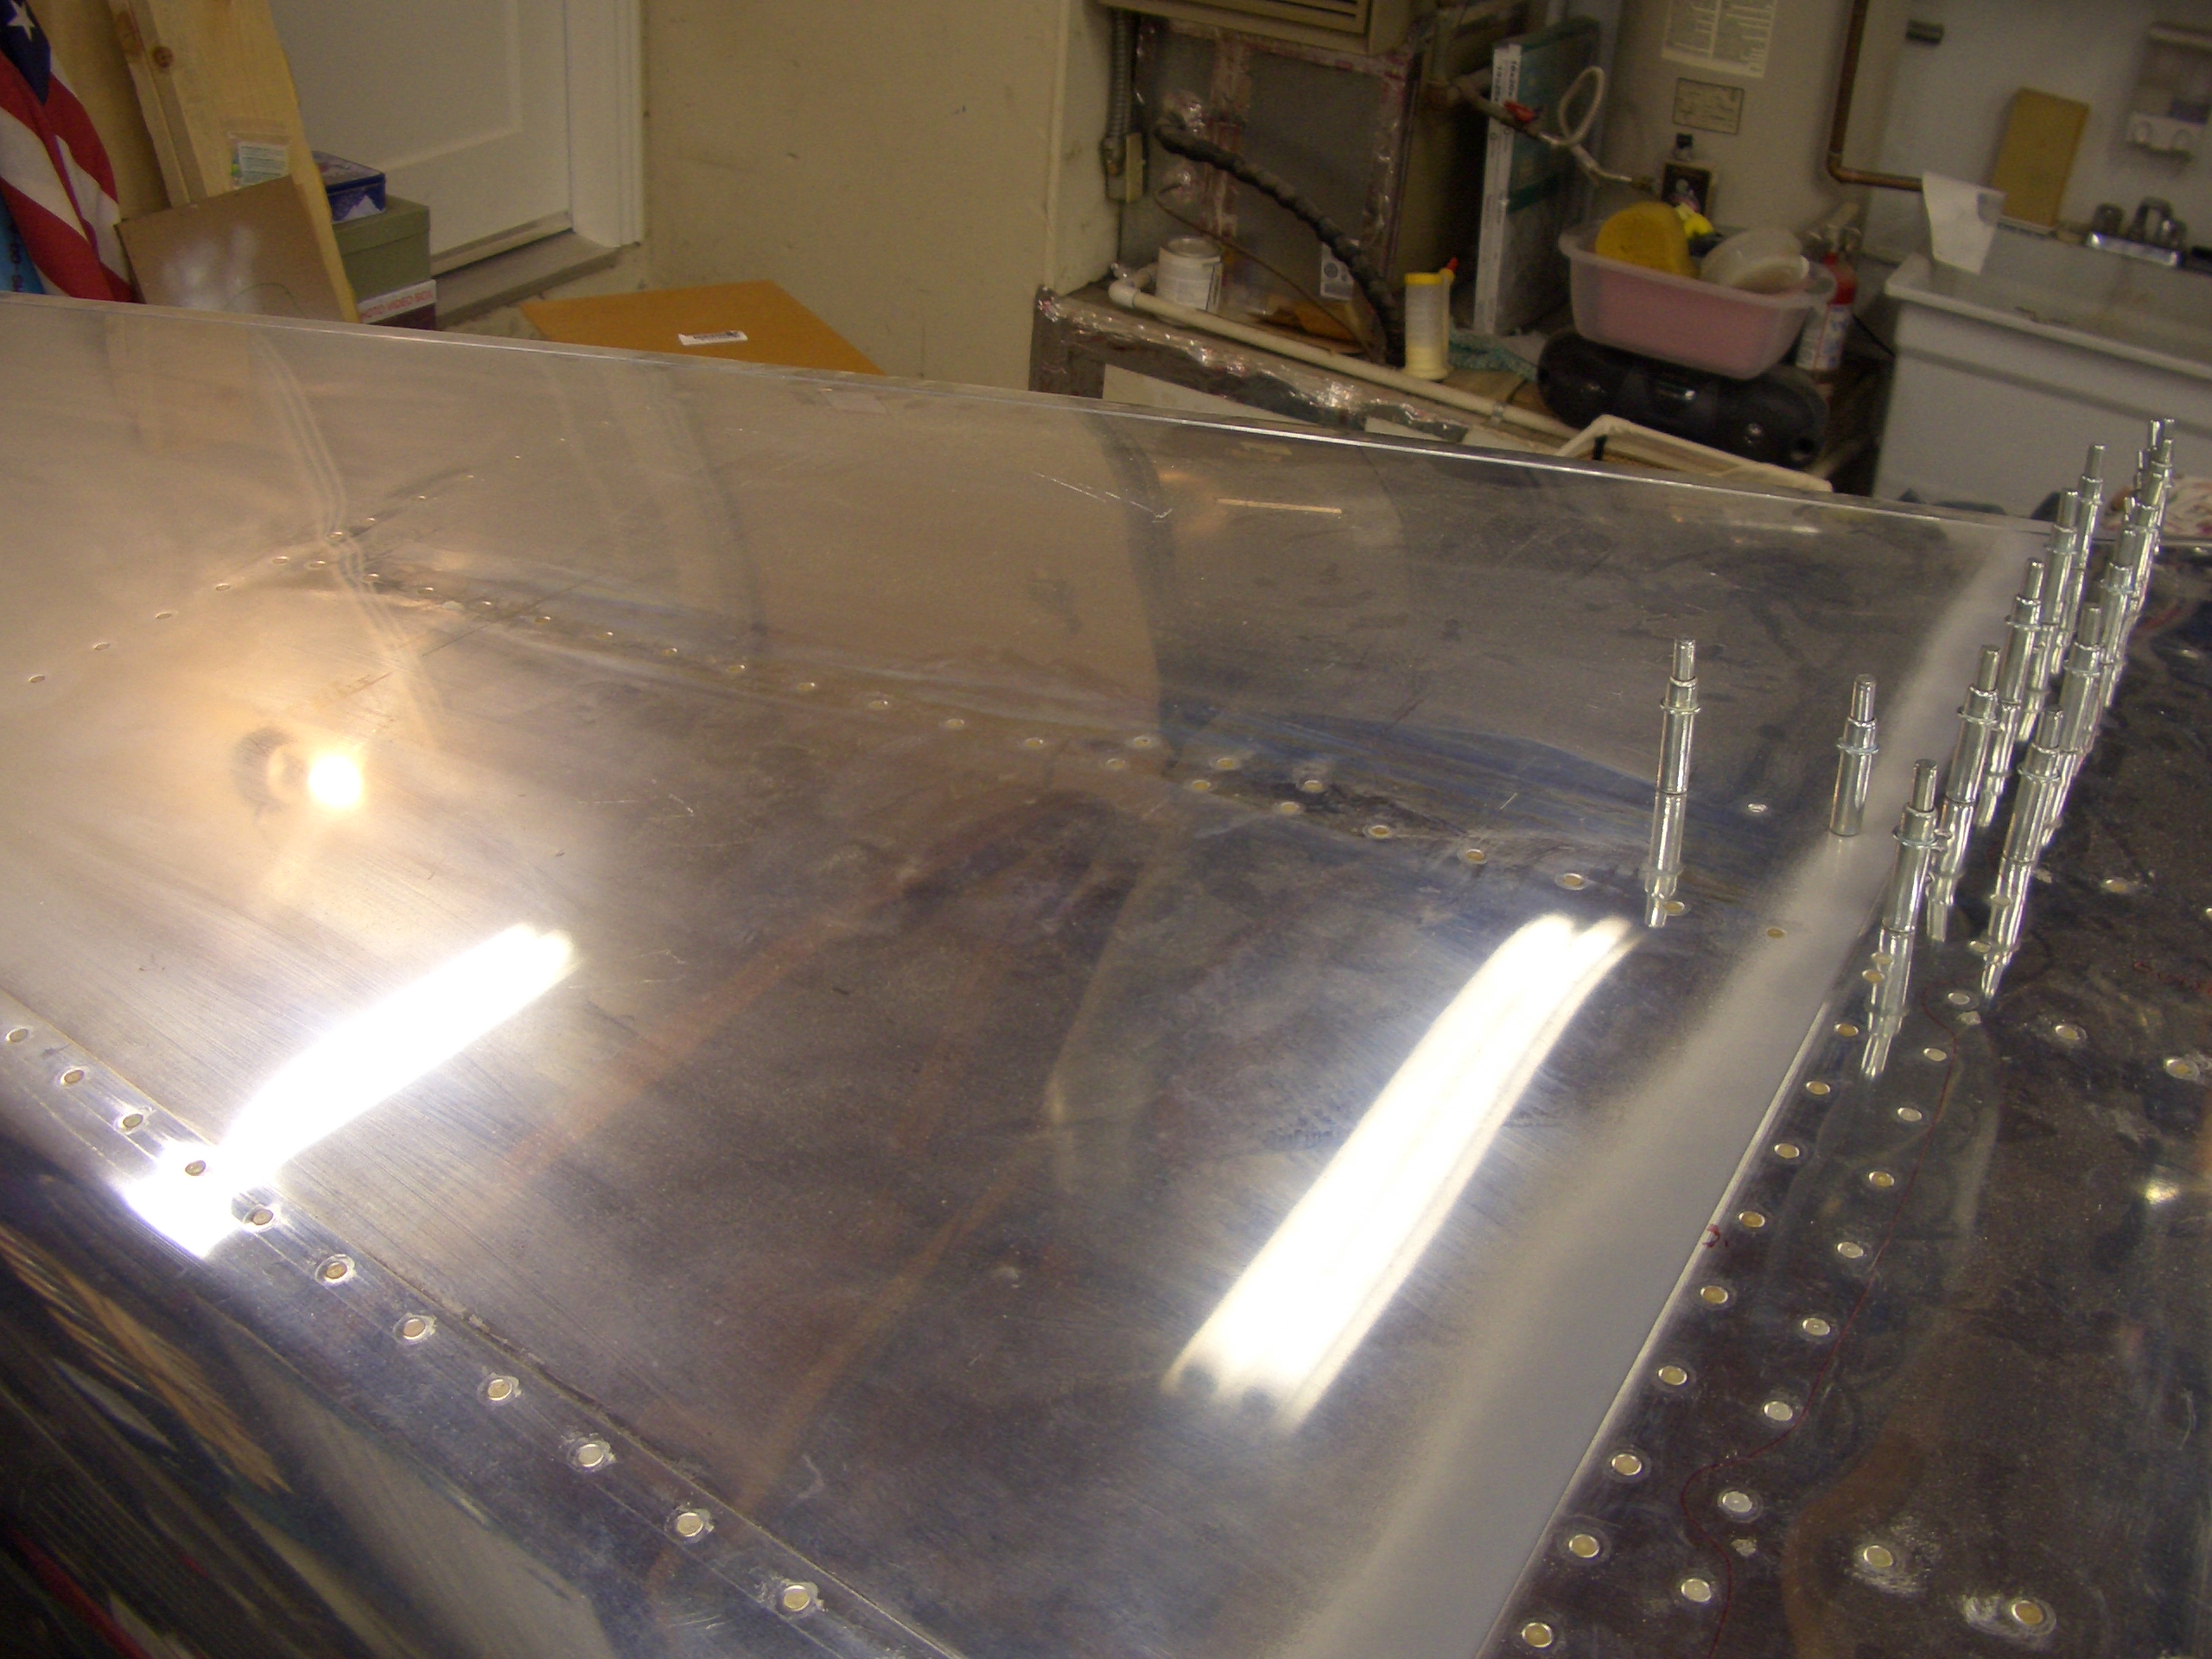
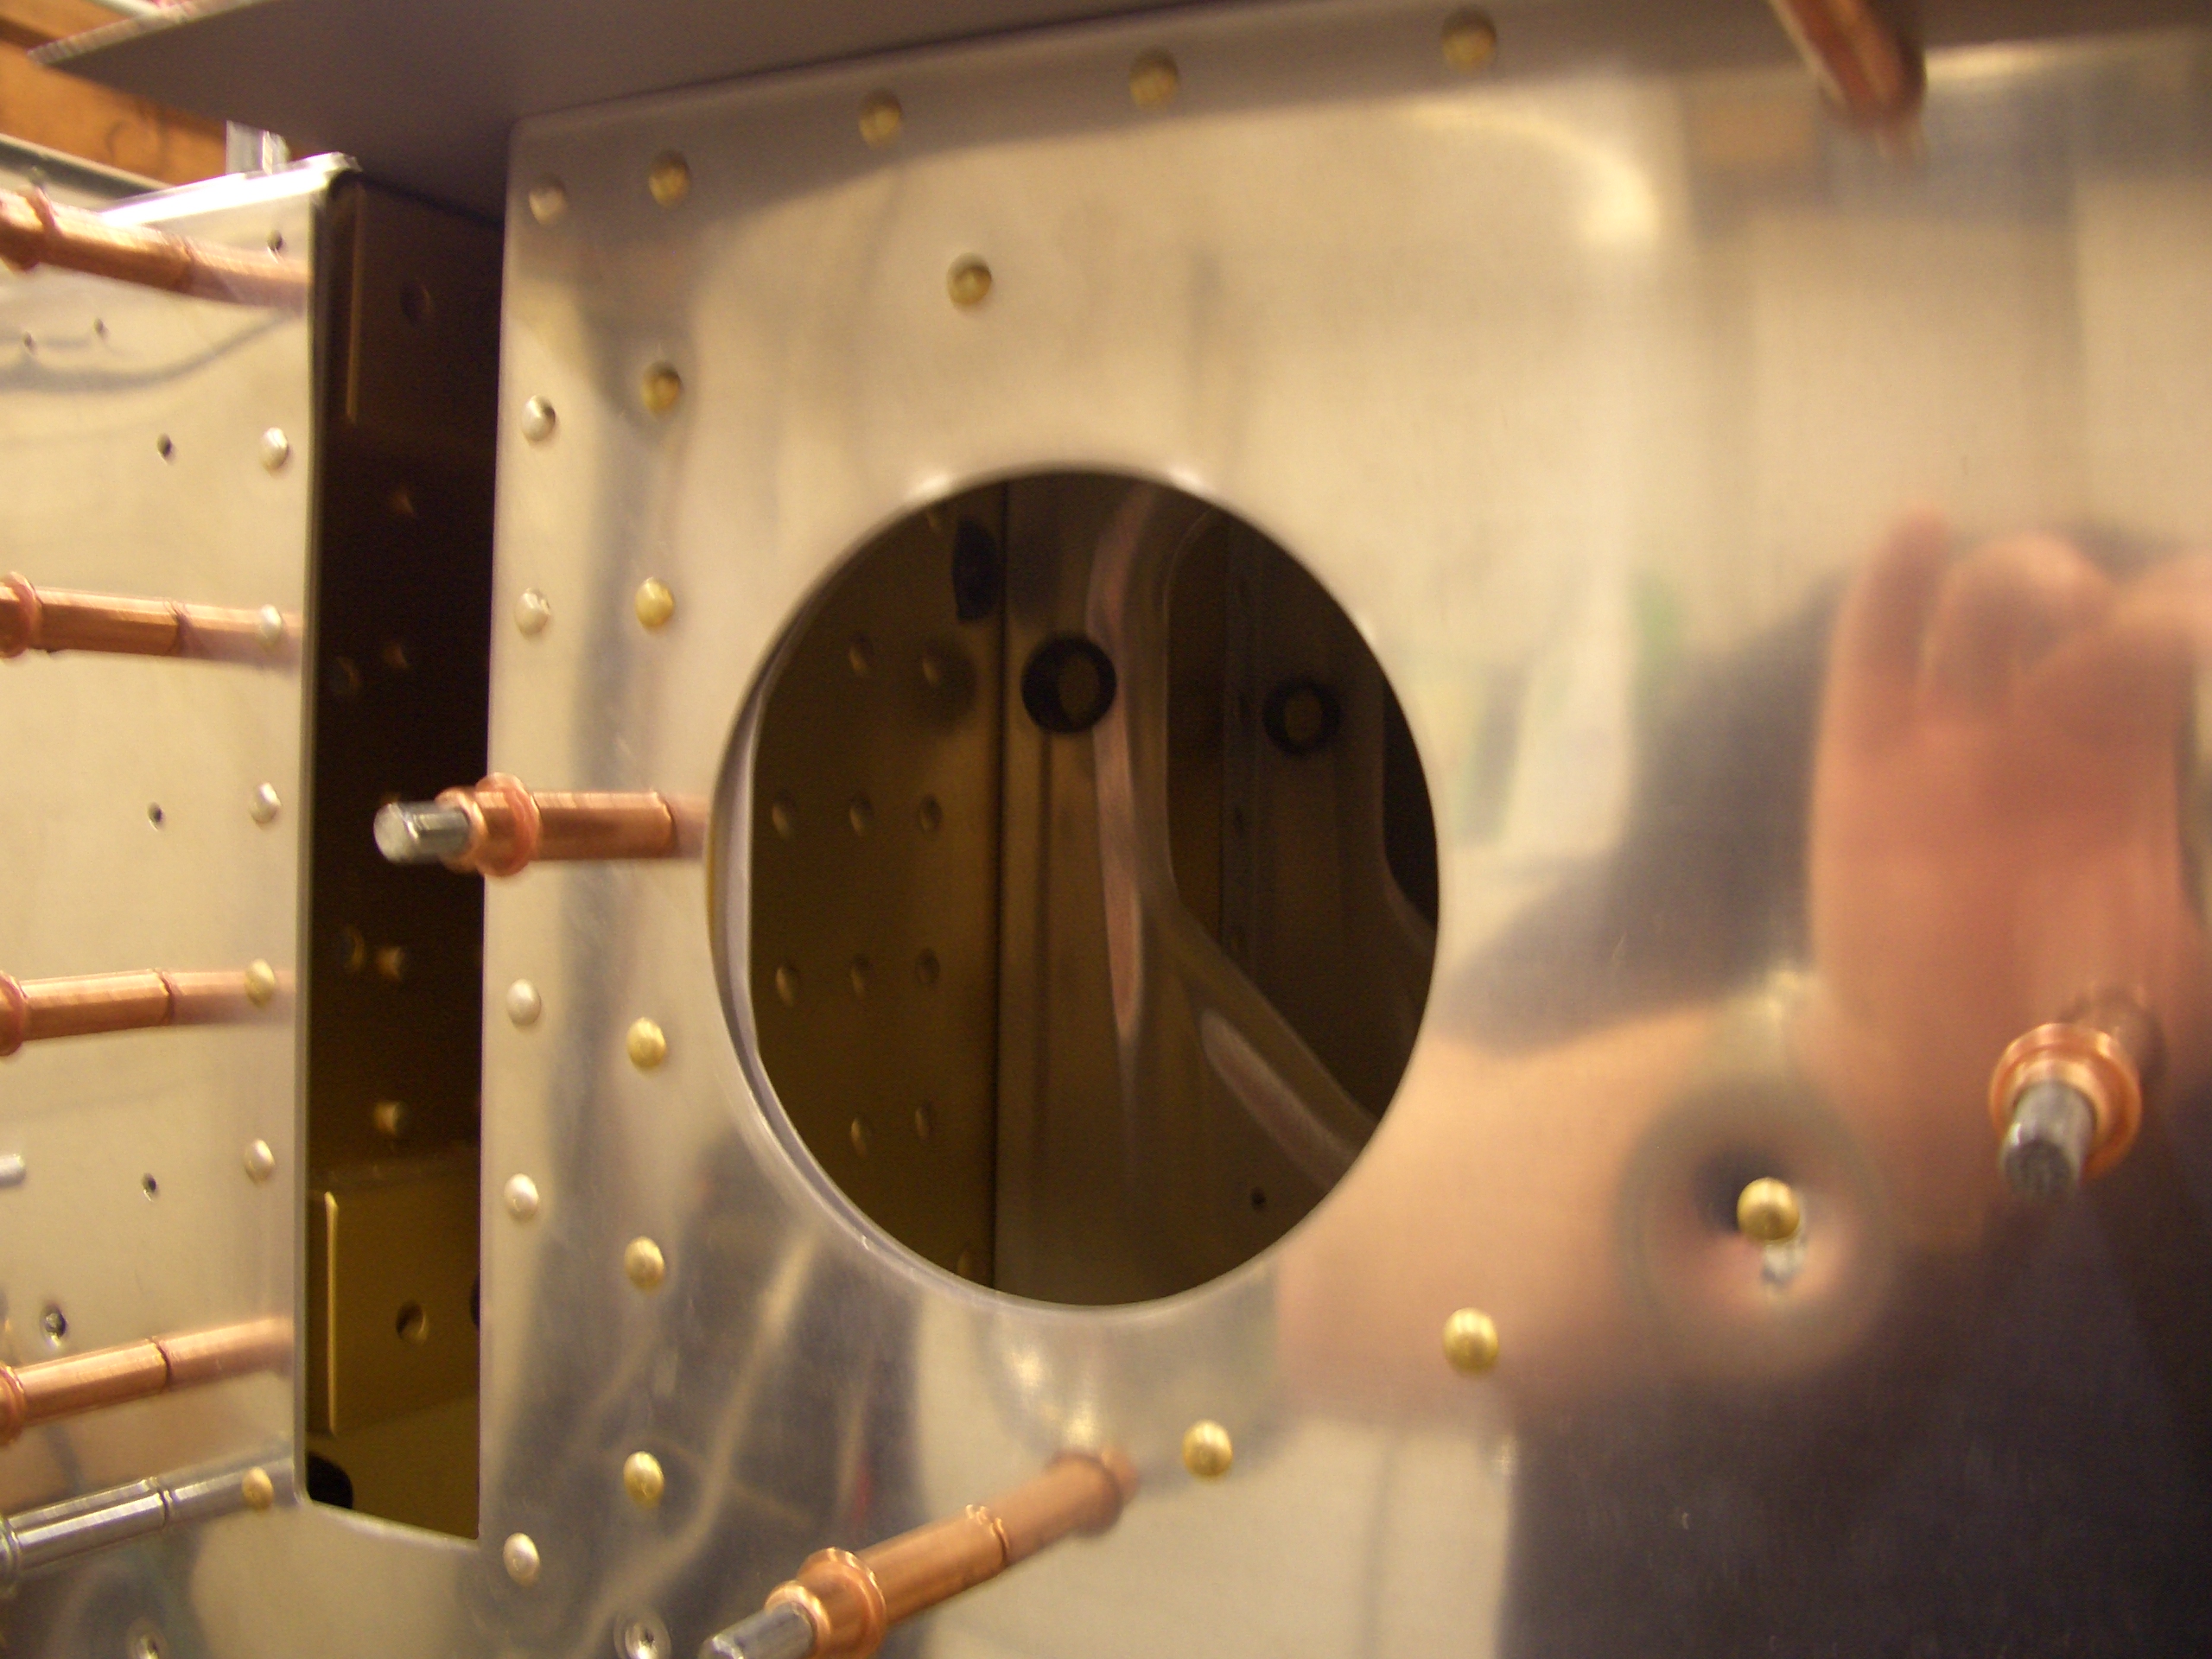
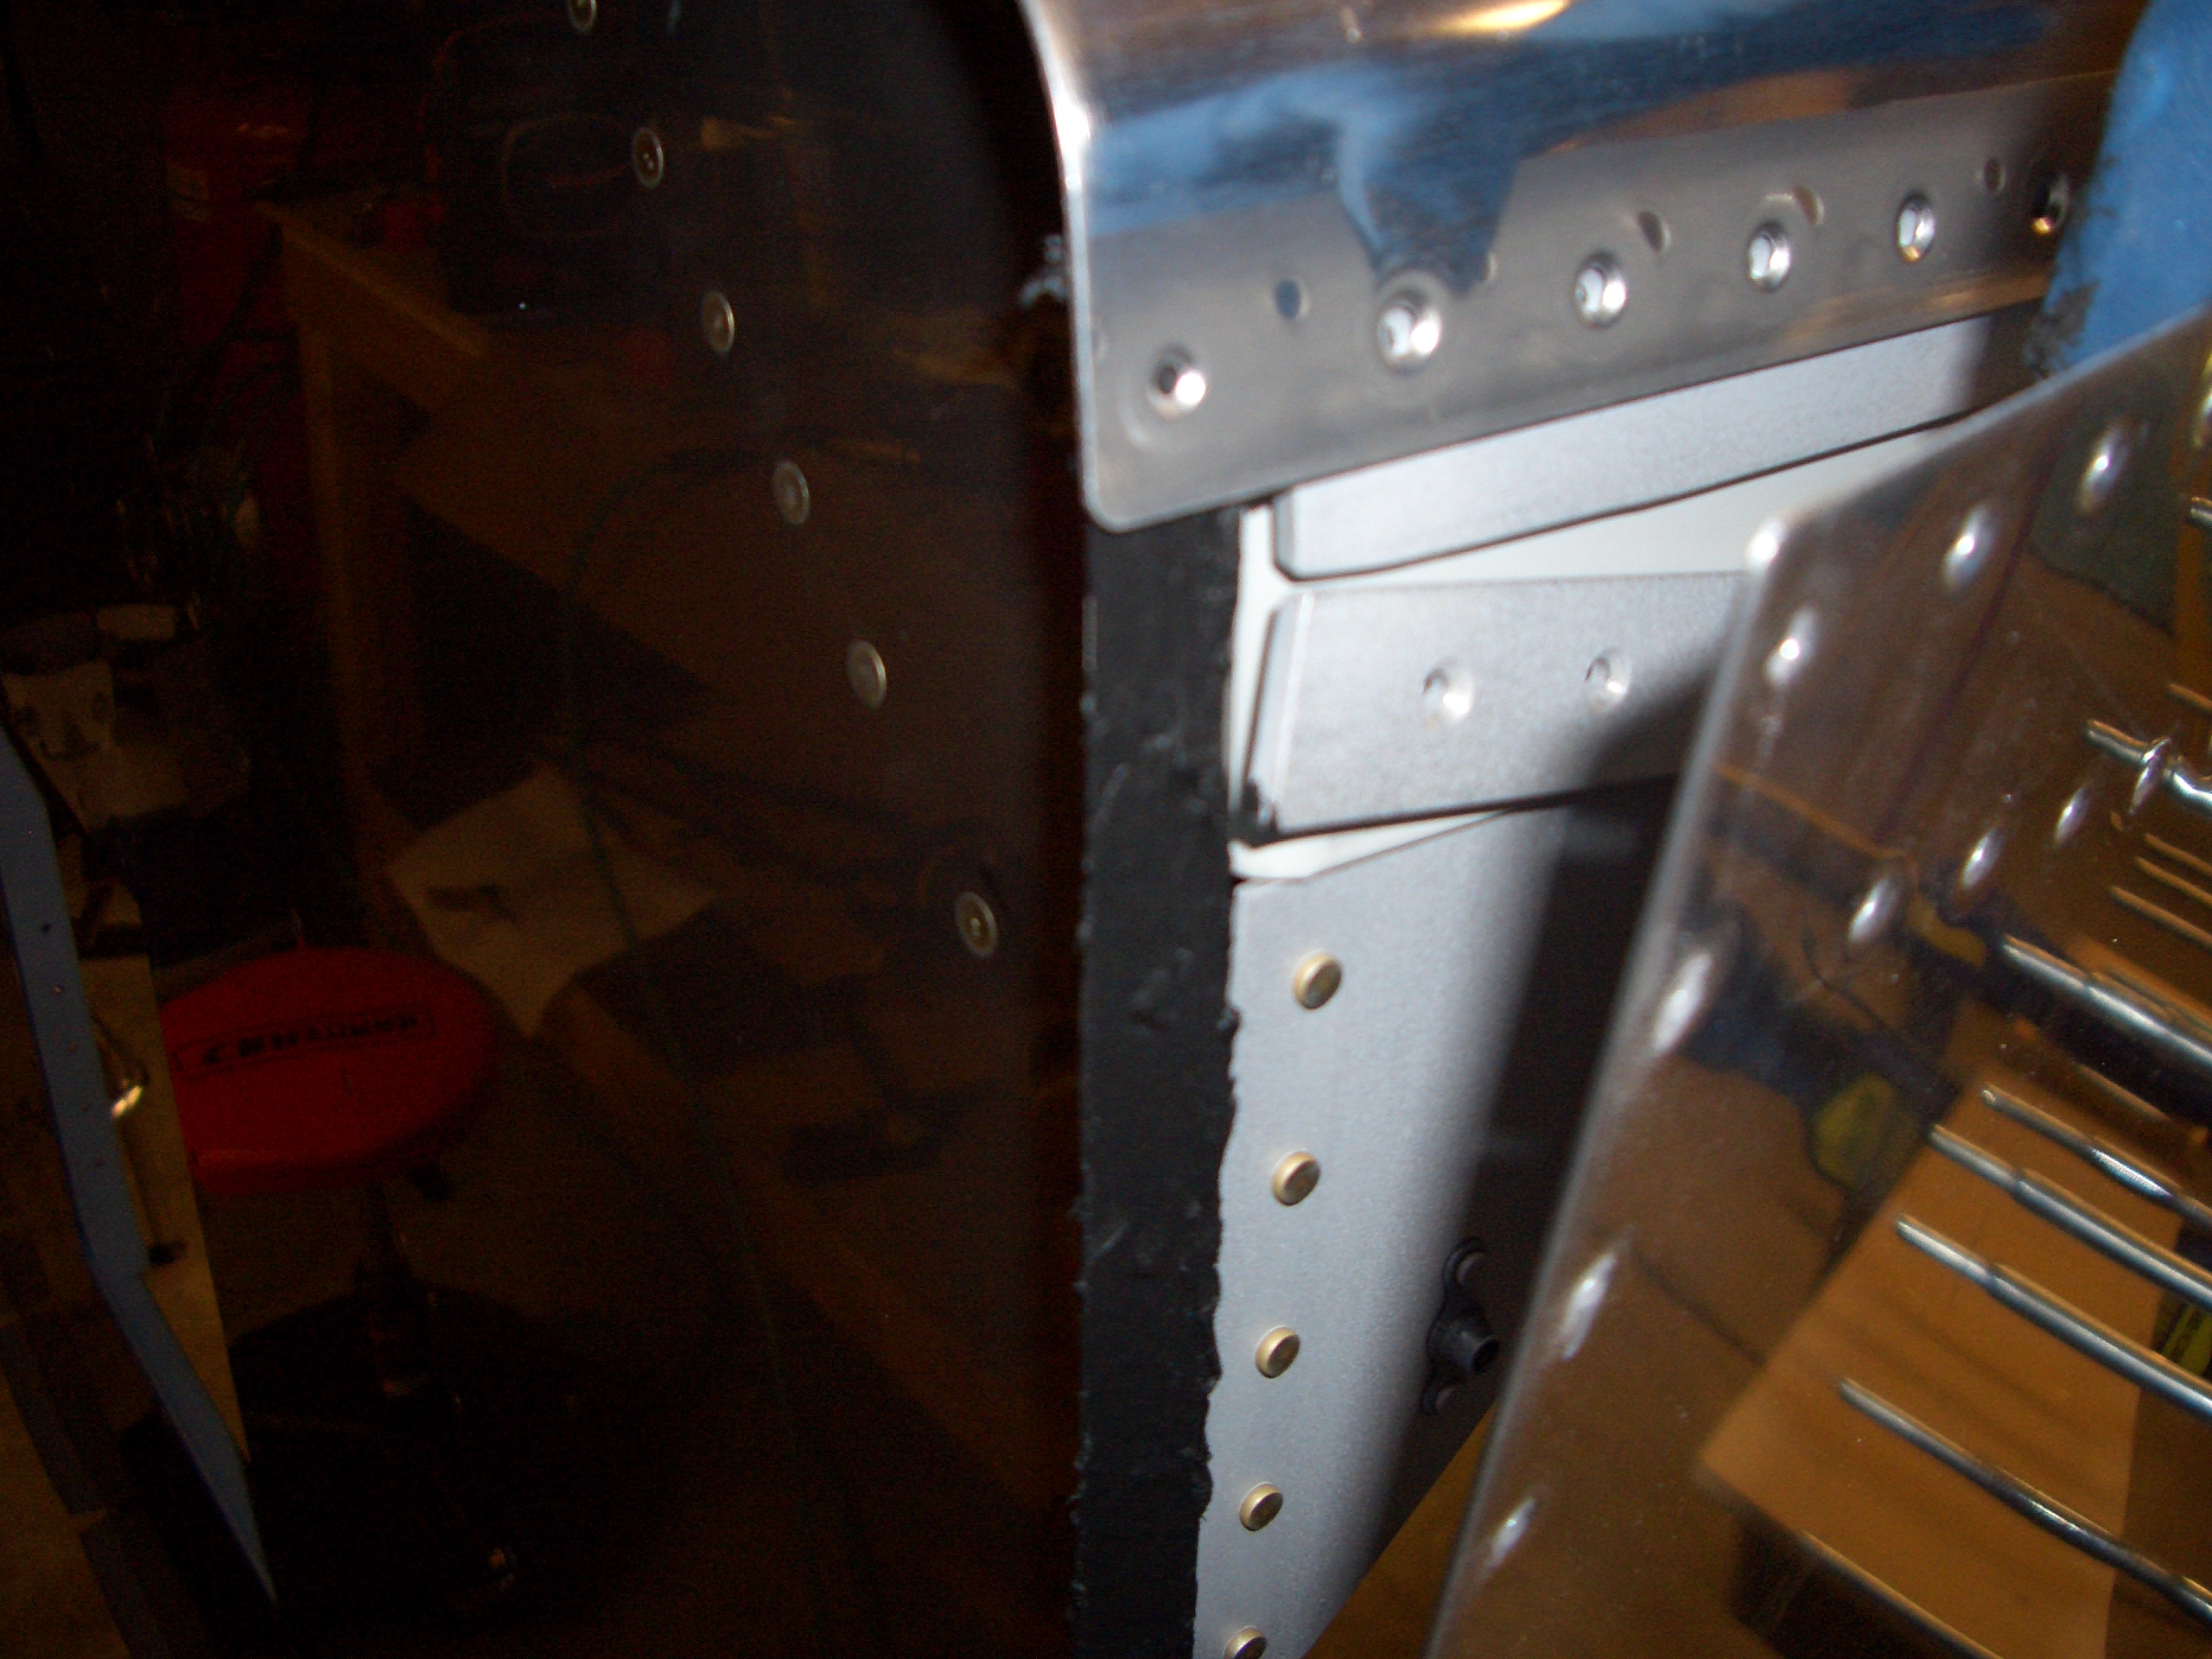
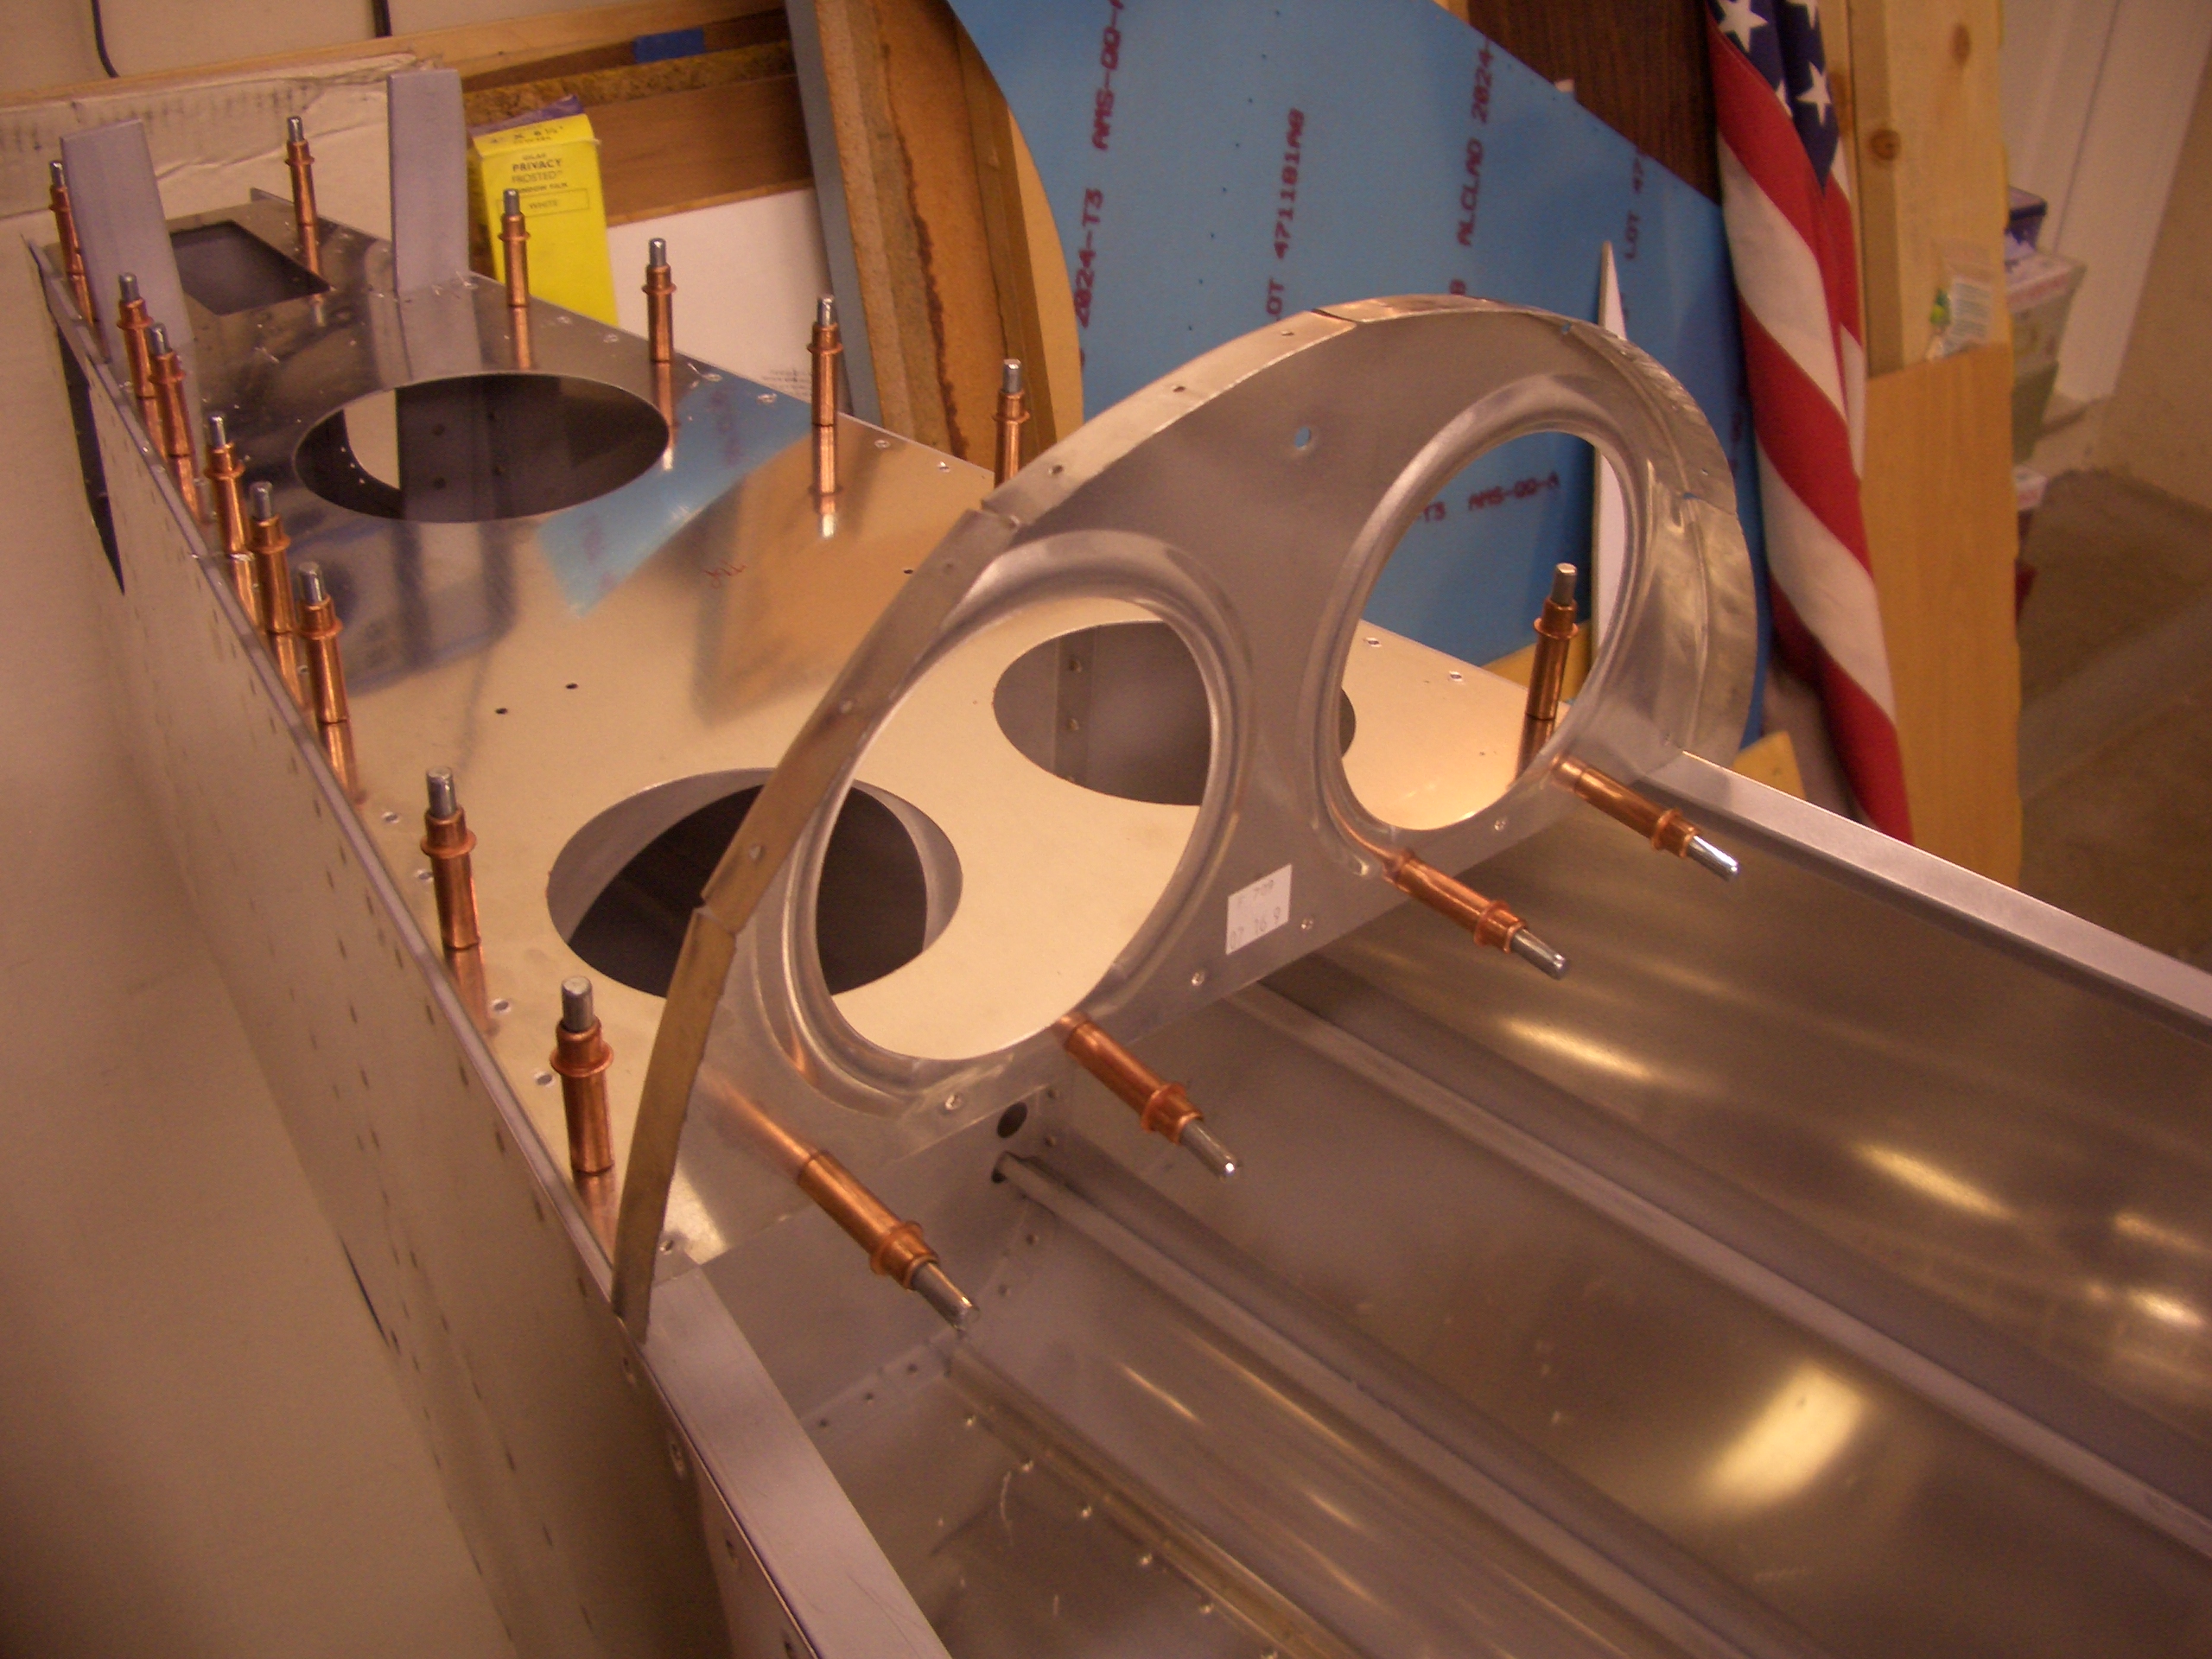
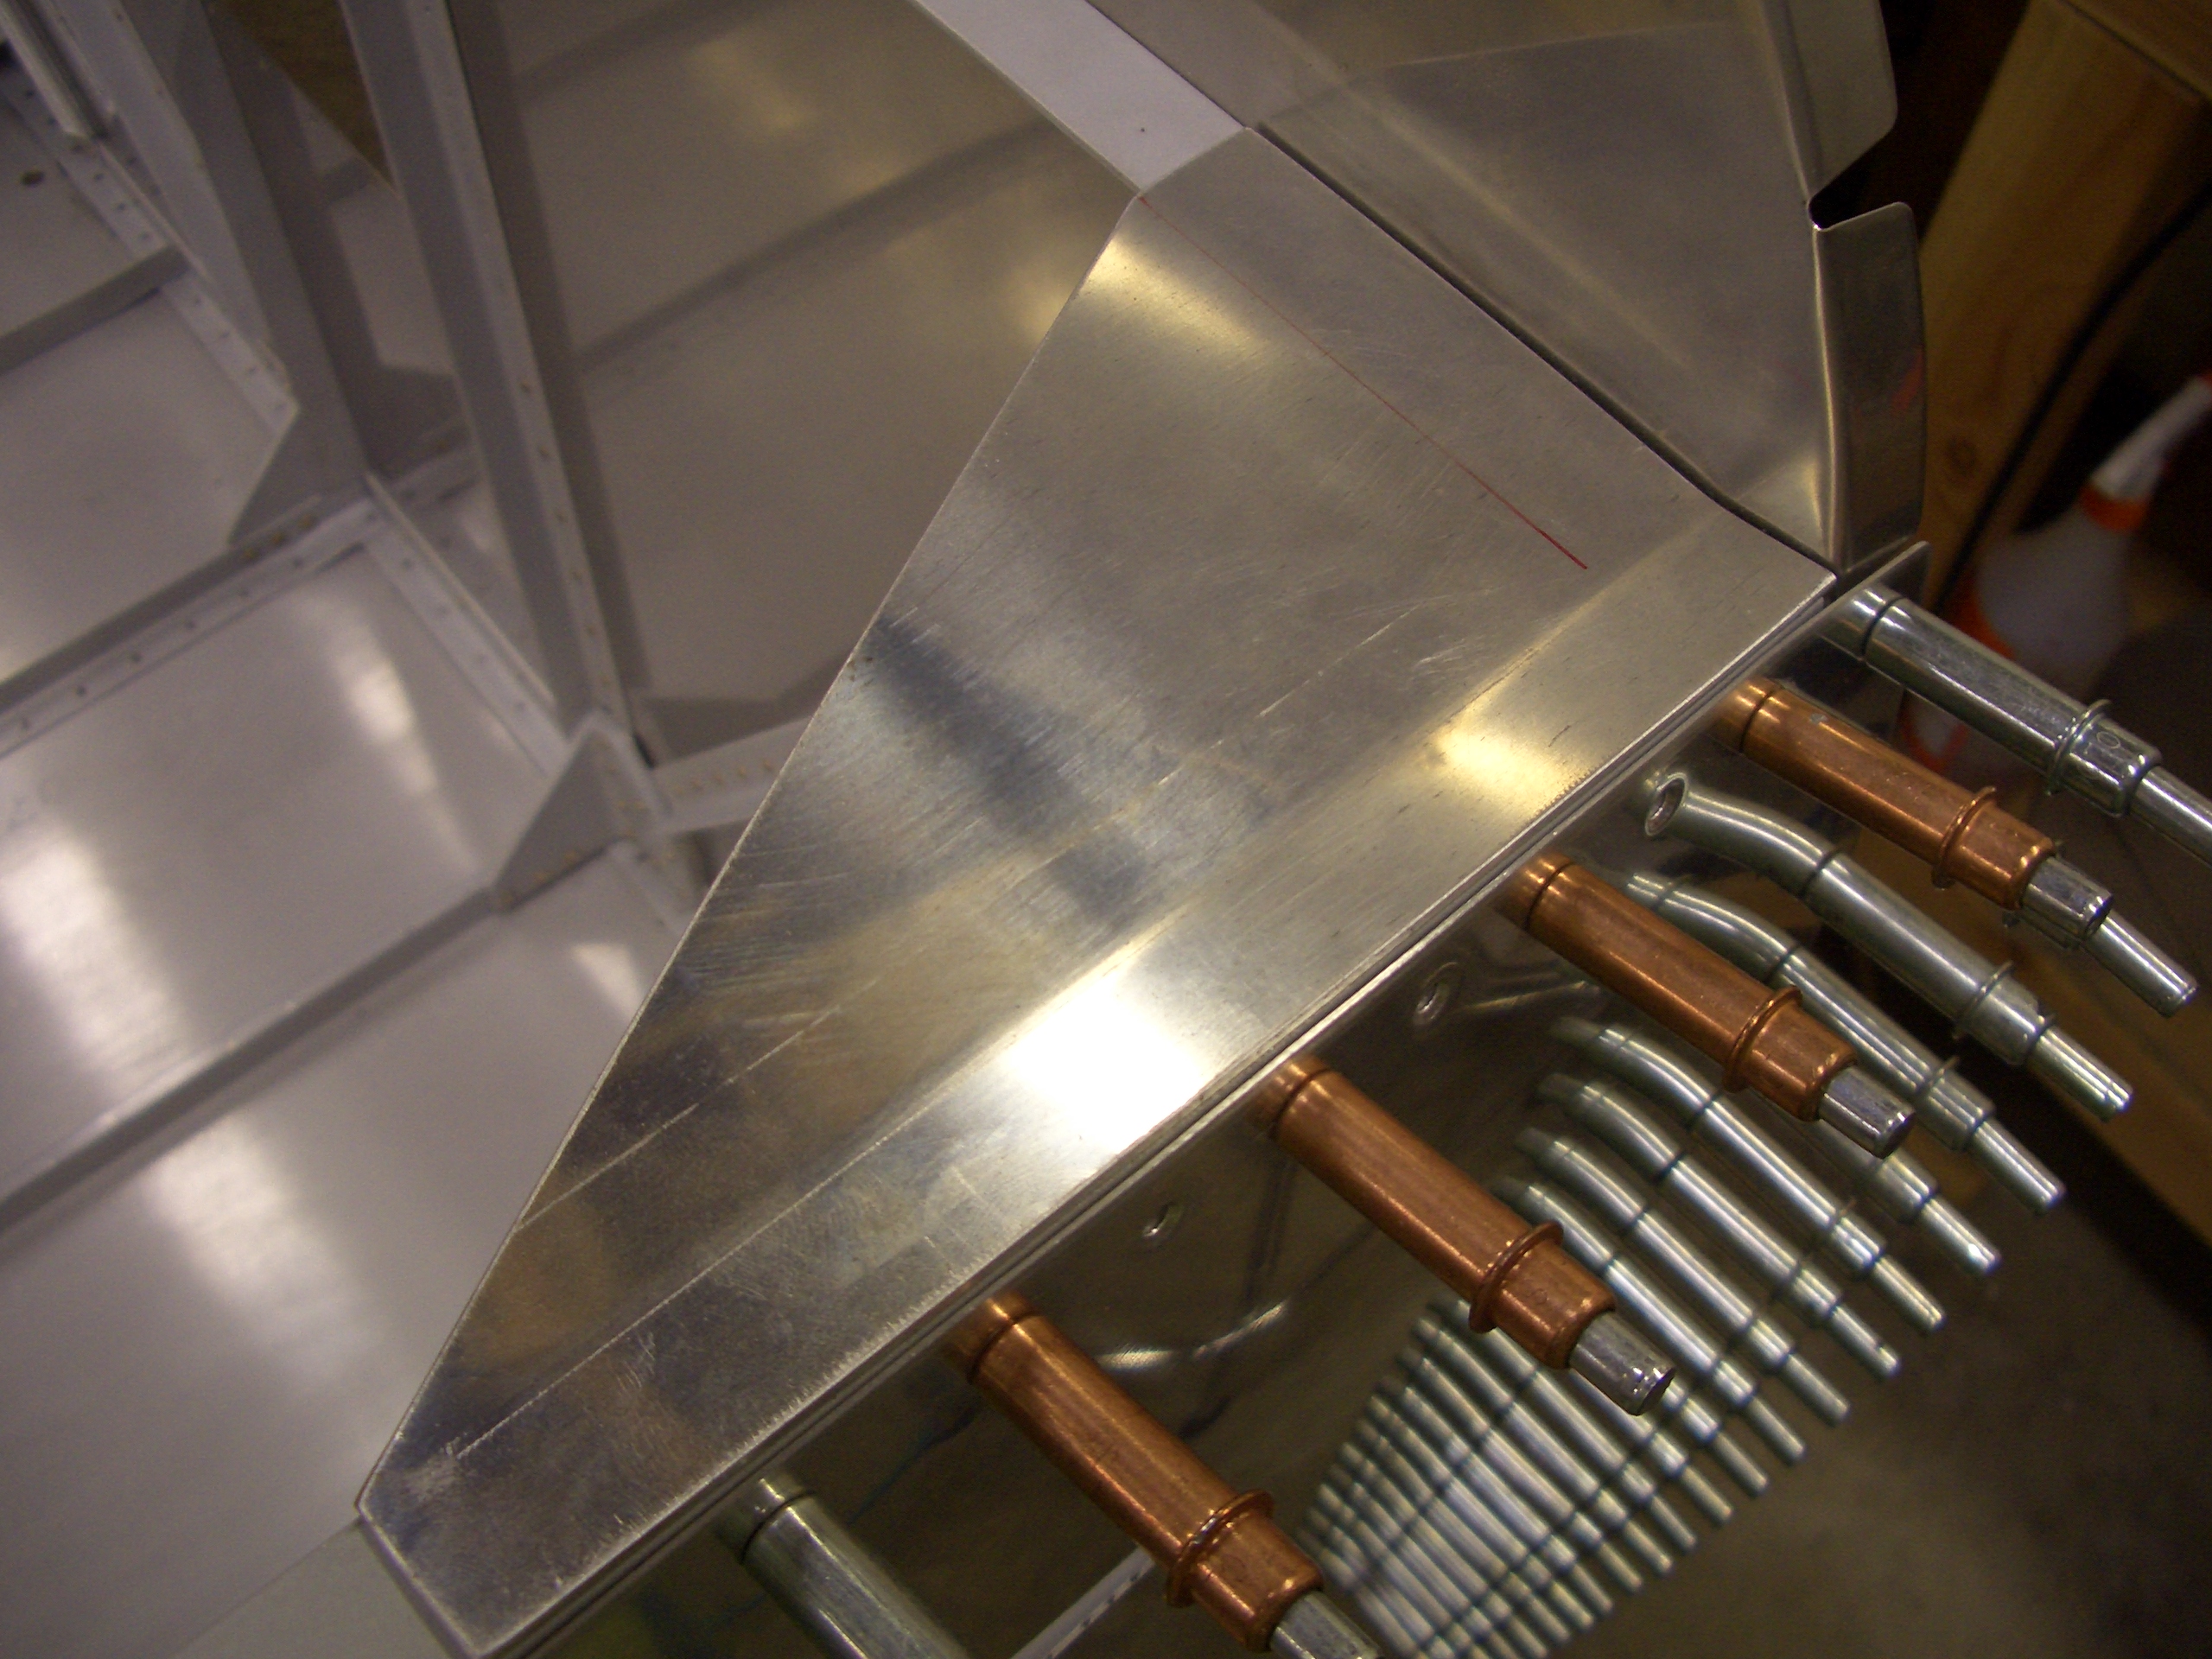
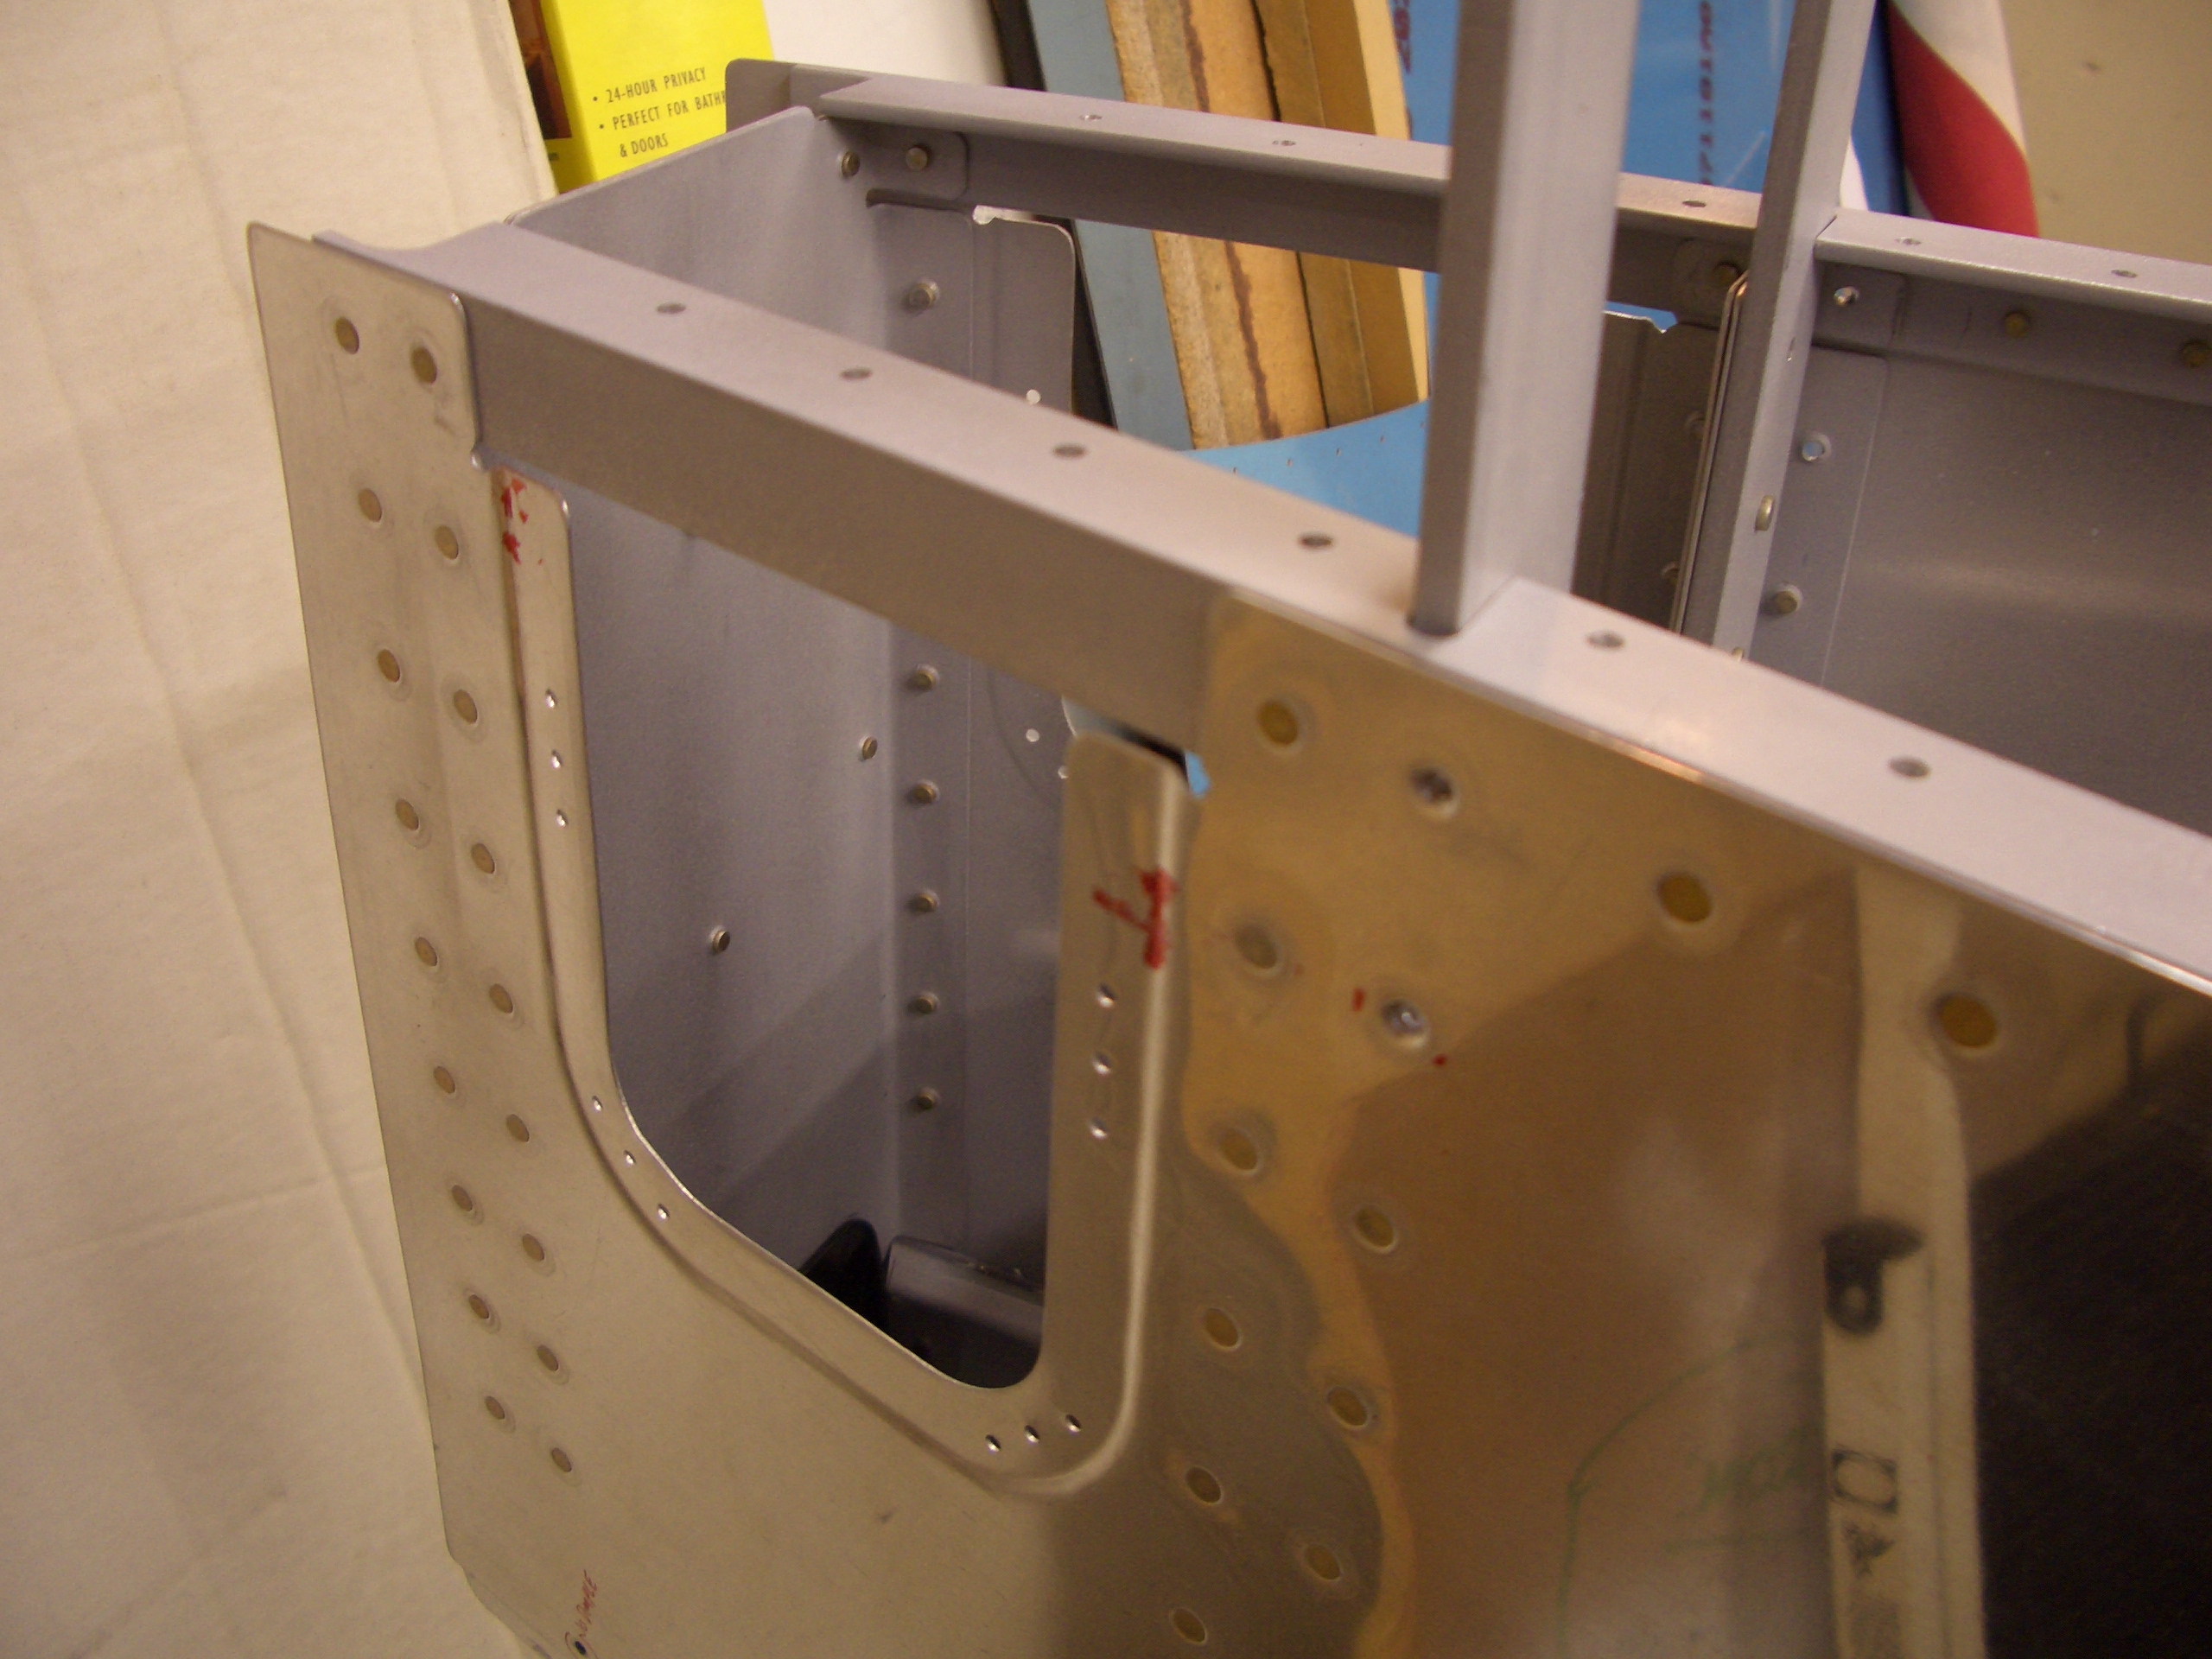
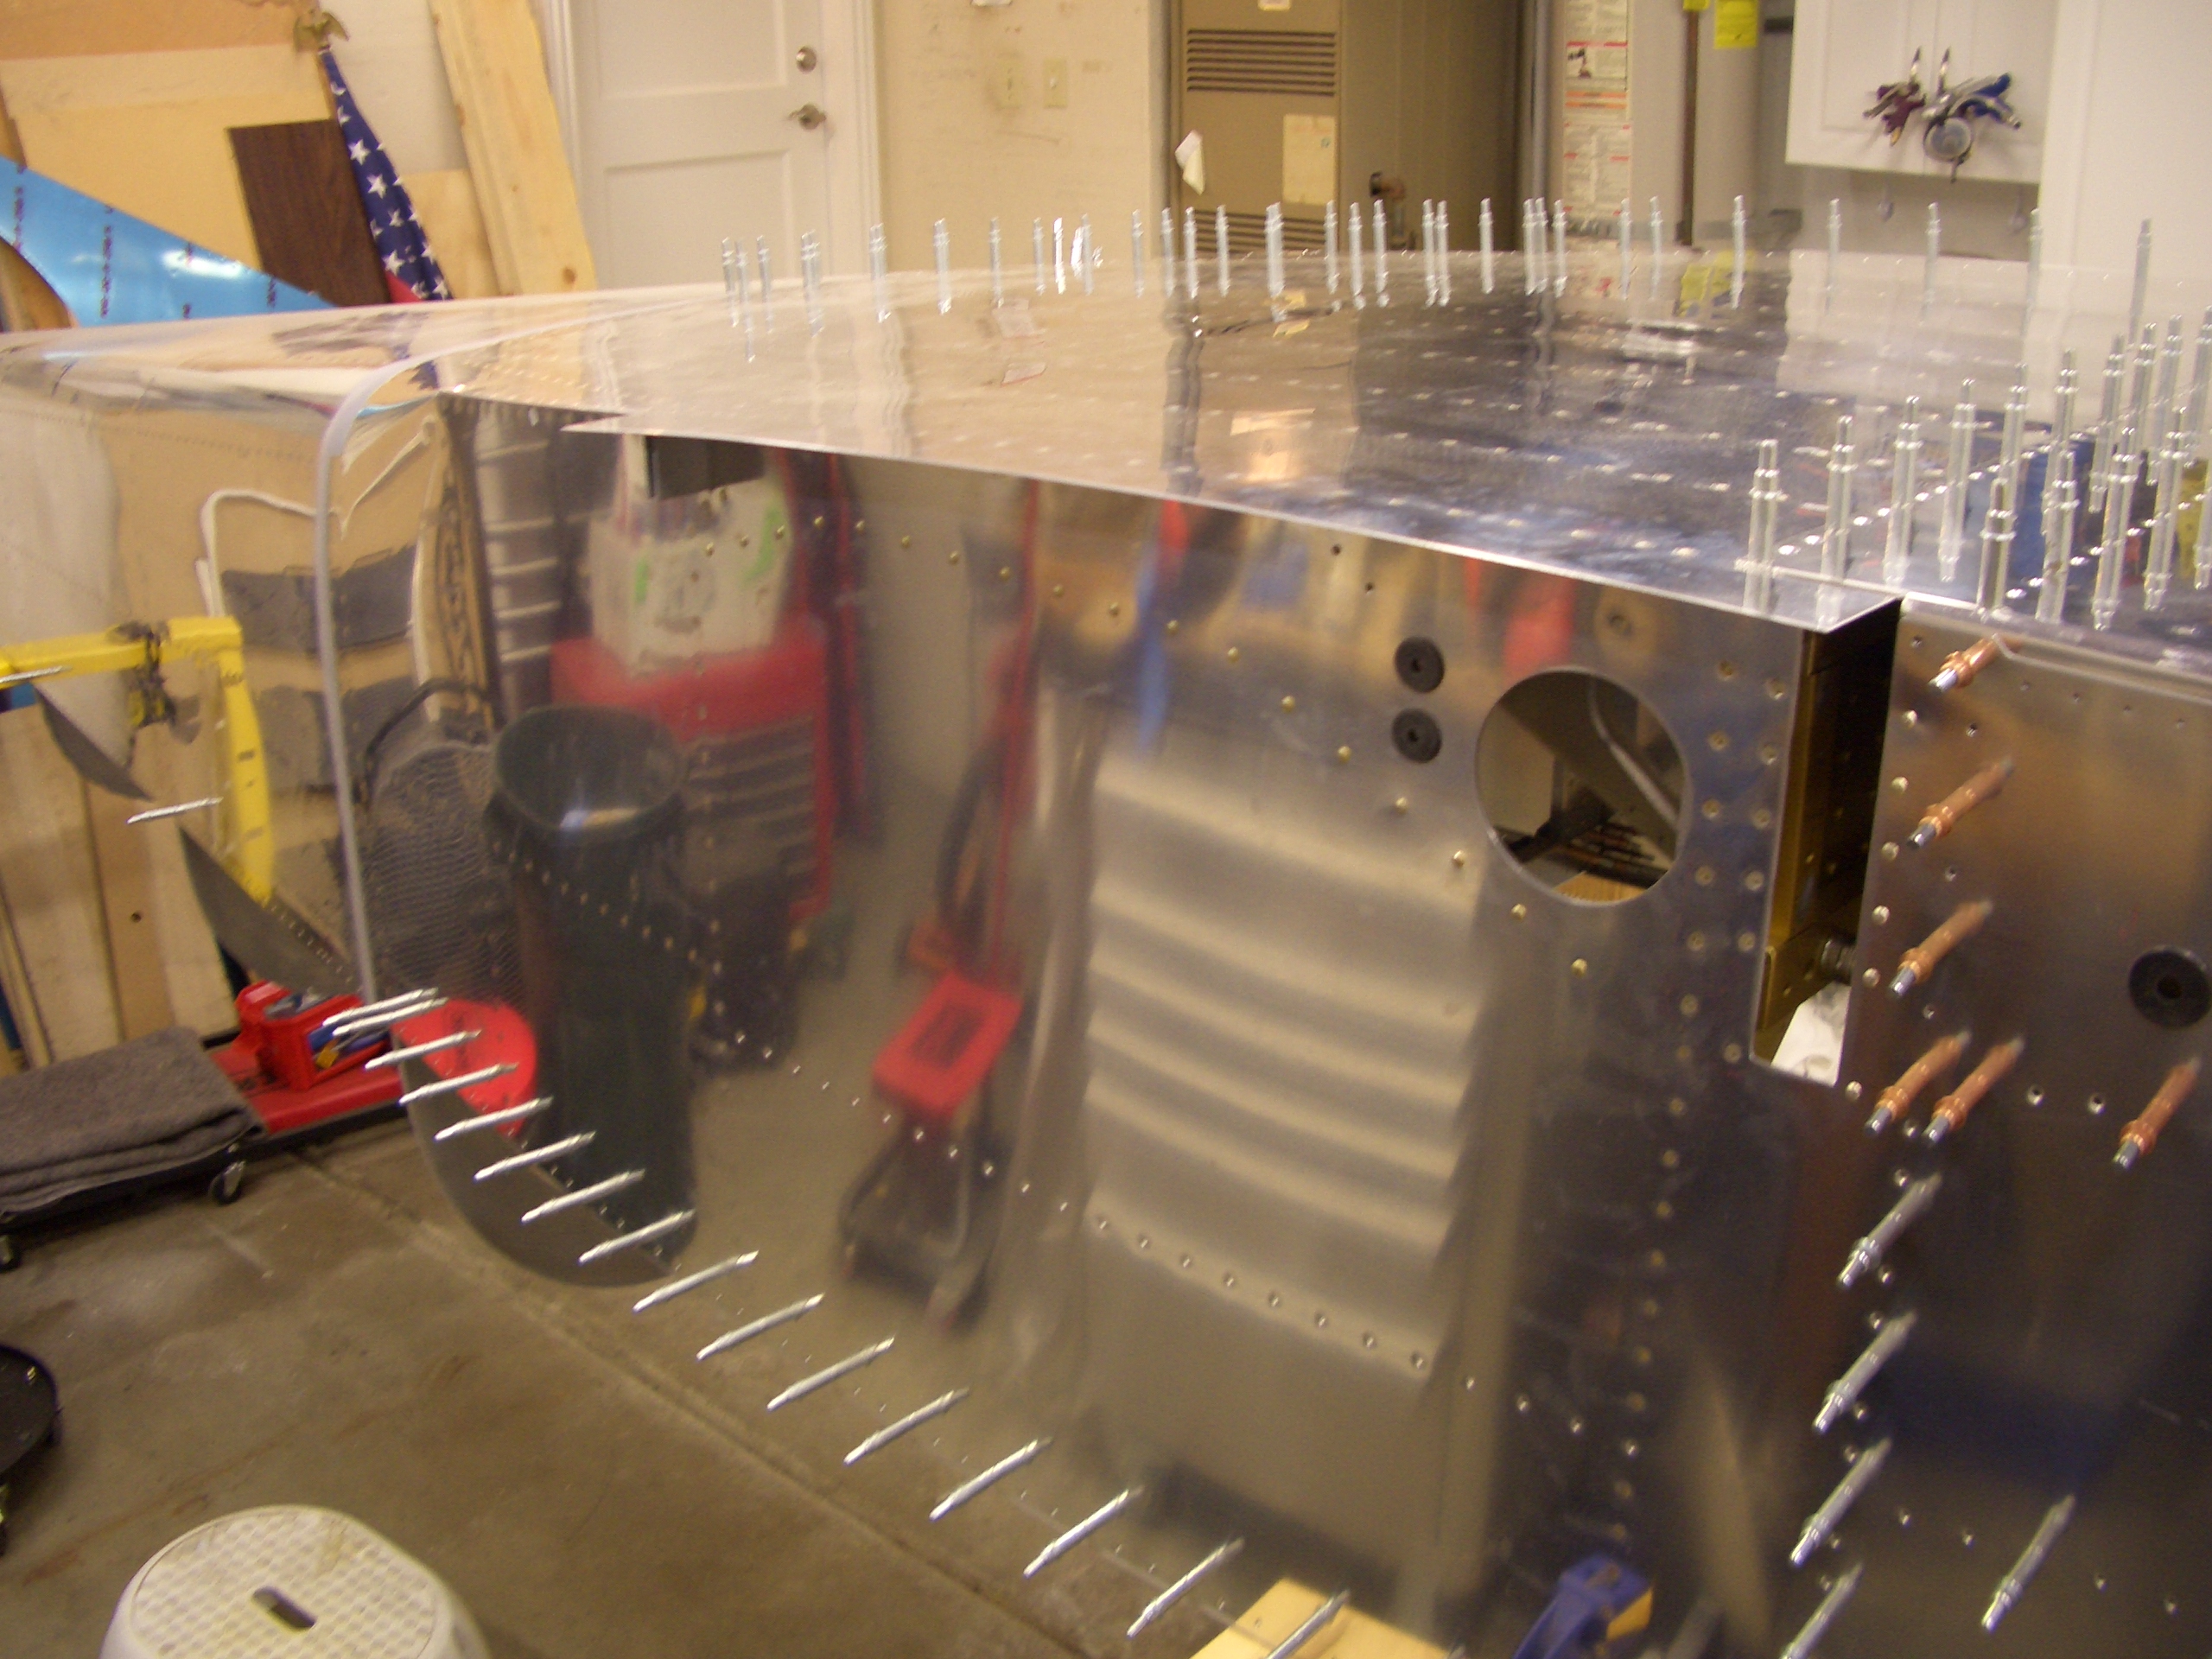
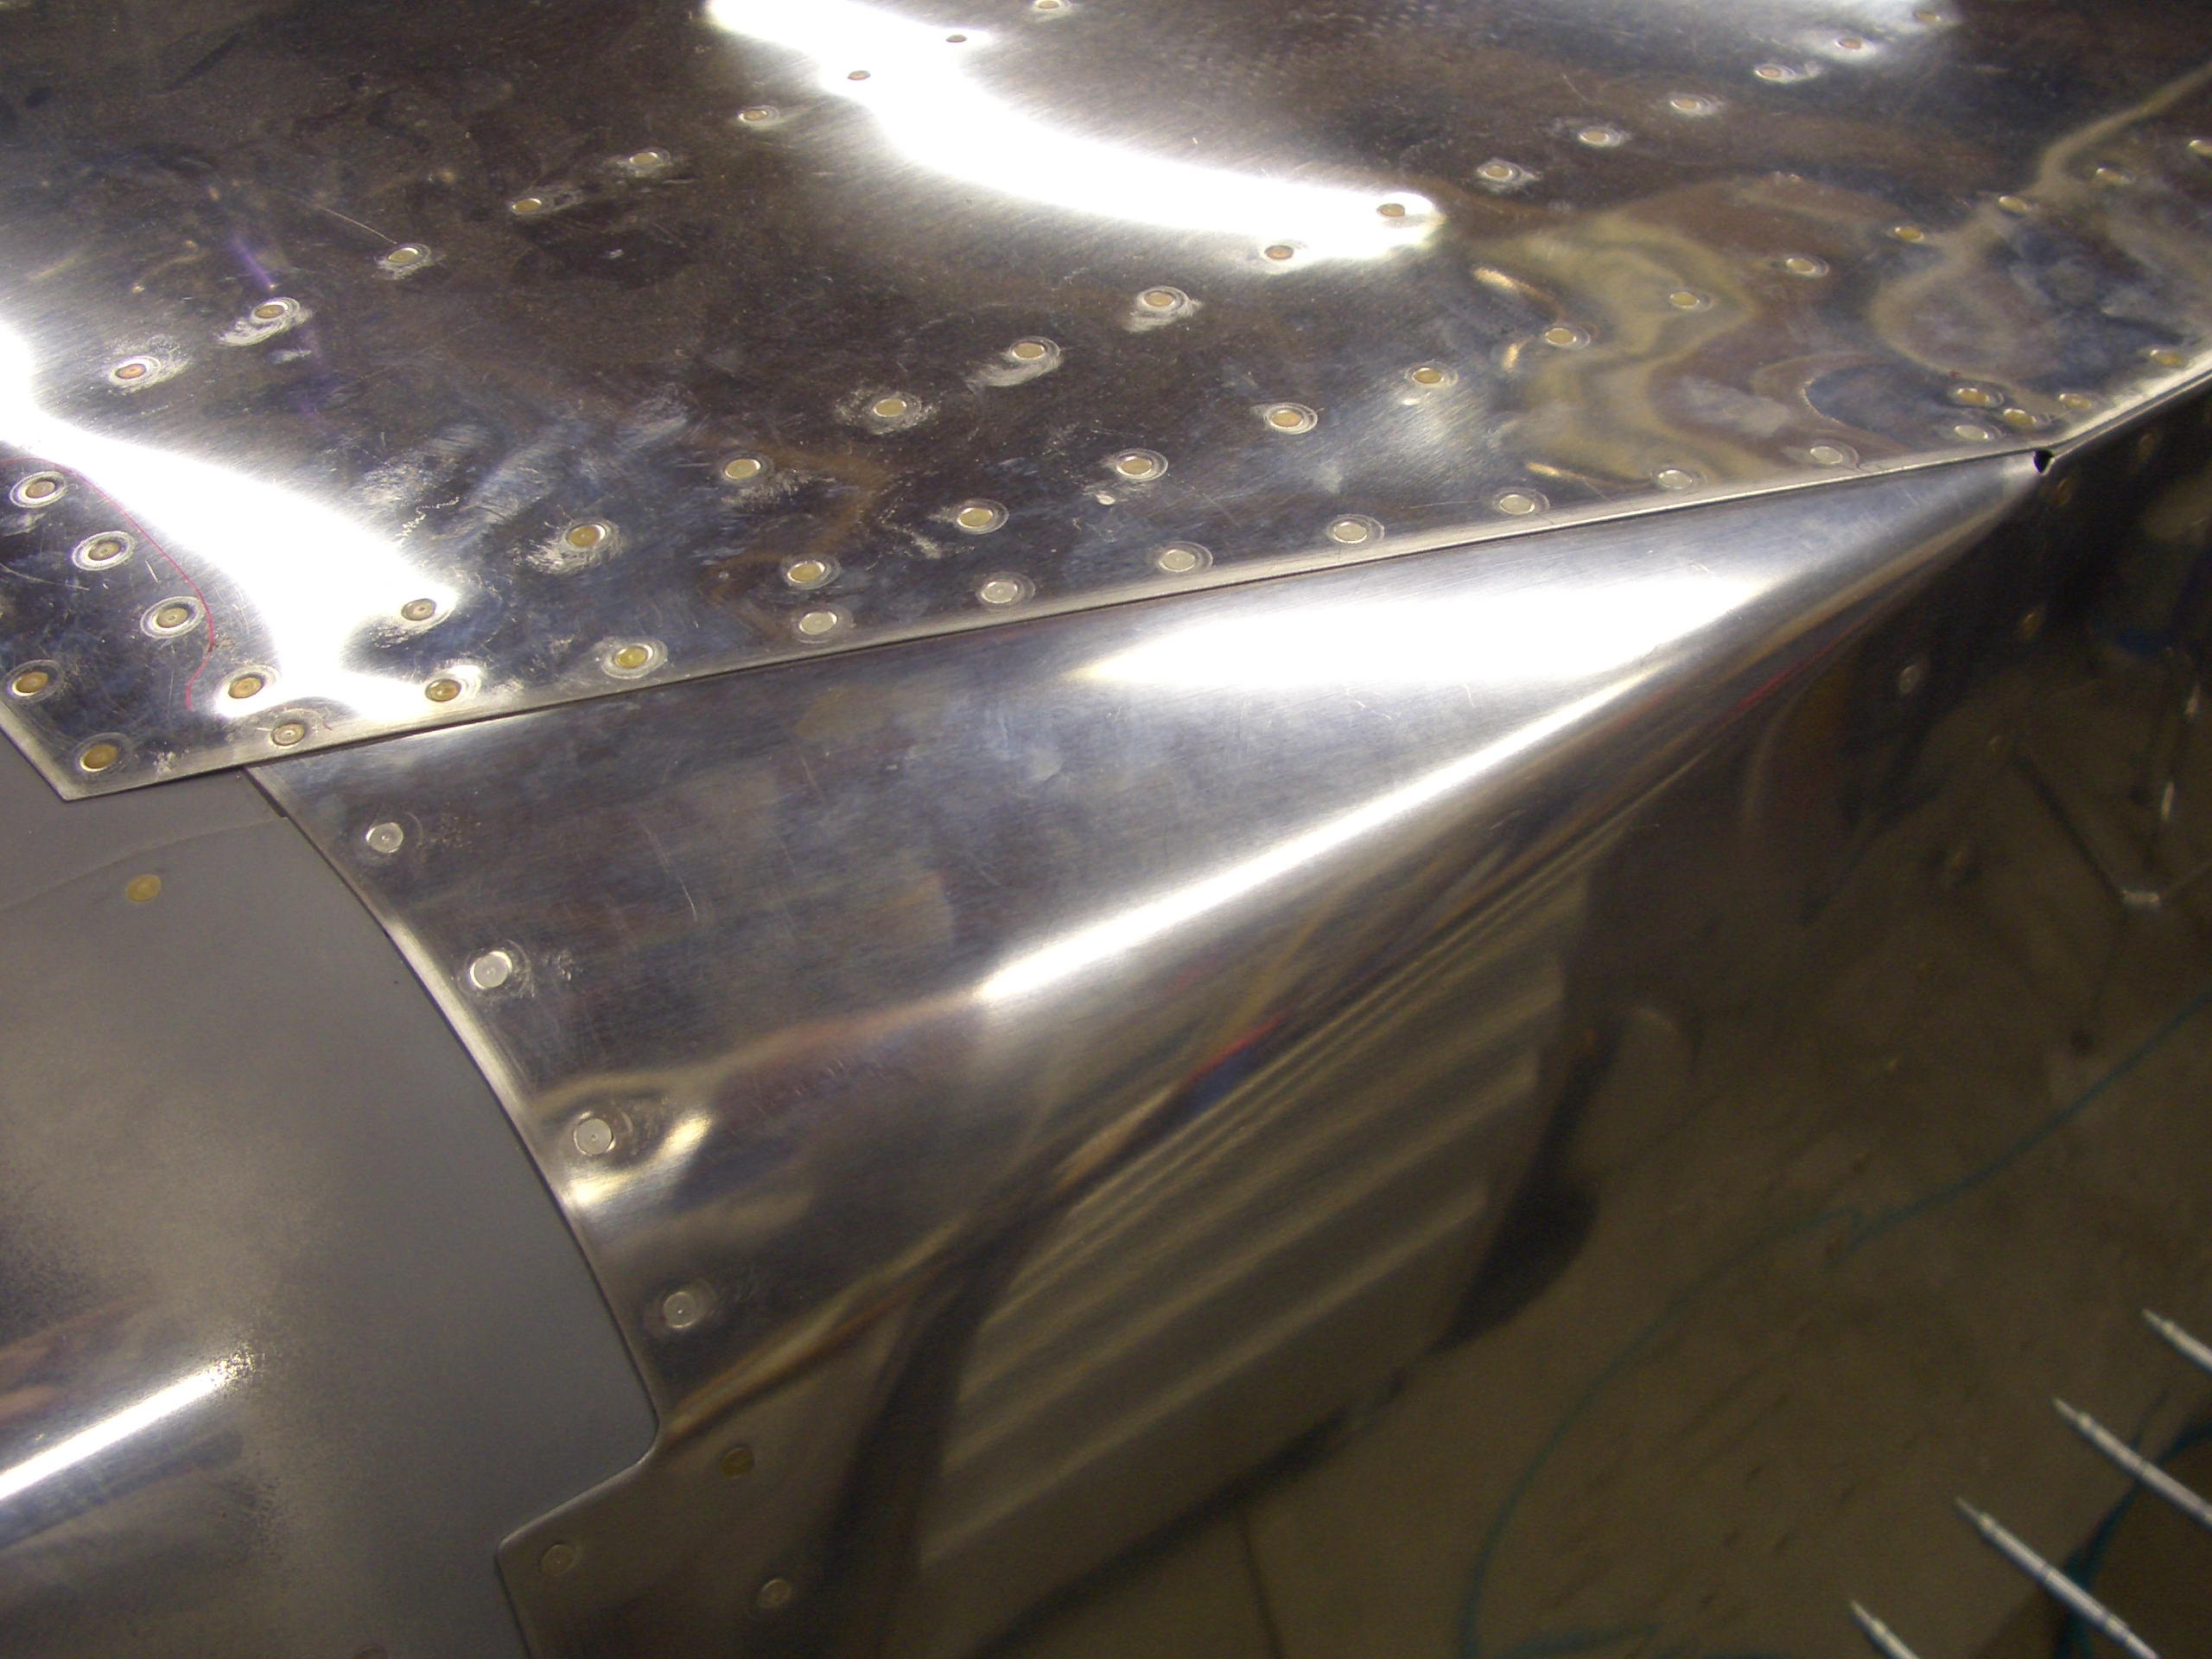
Here you can see how the conical bend looks when riveted.  I’m really happy with how this turned out.  All of the joints are nice and tight, and the rivets turned out great.

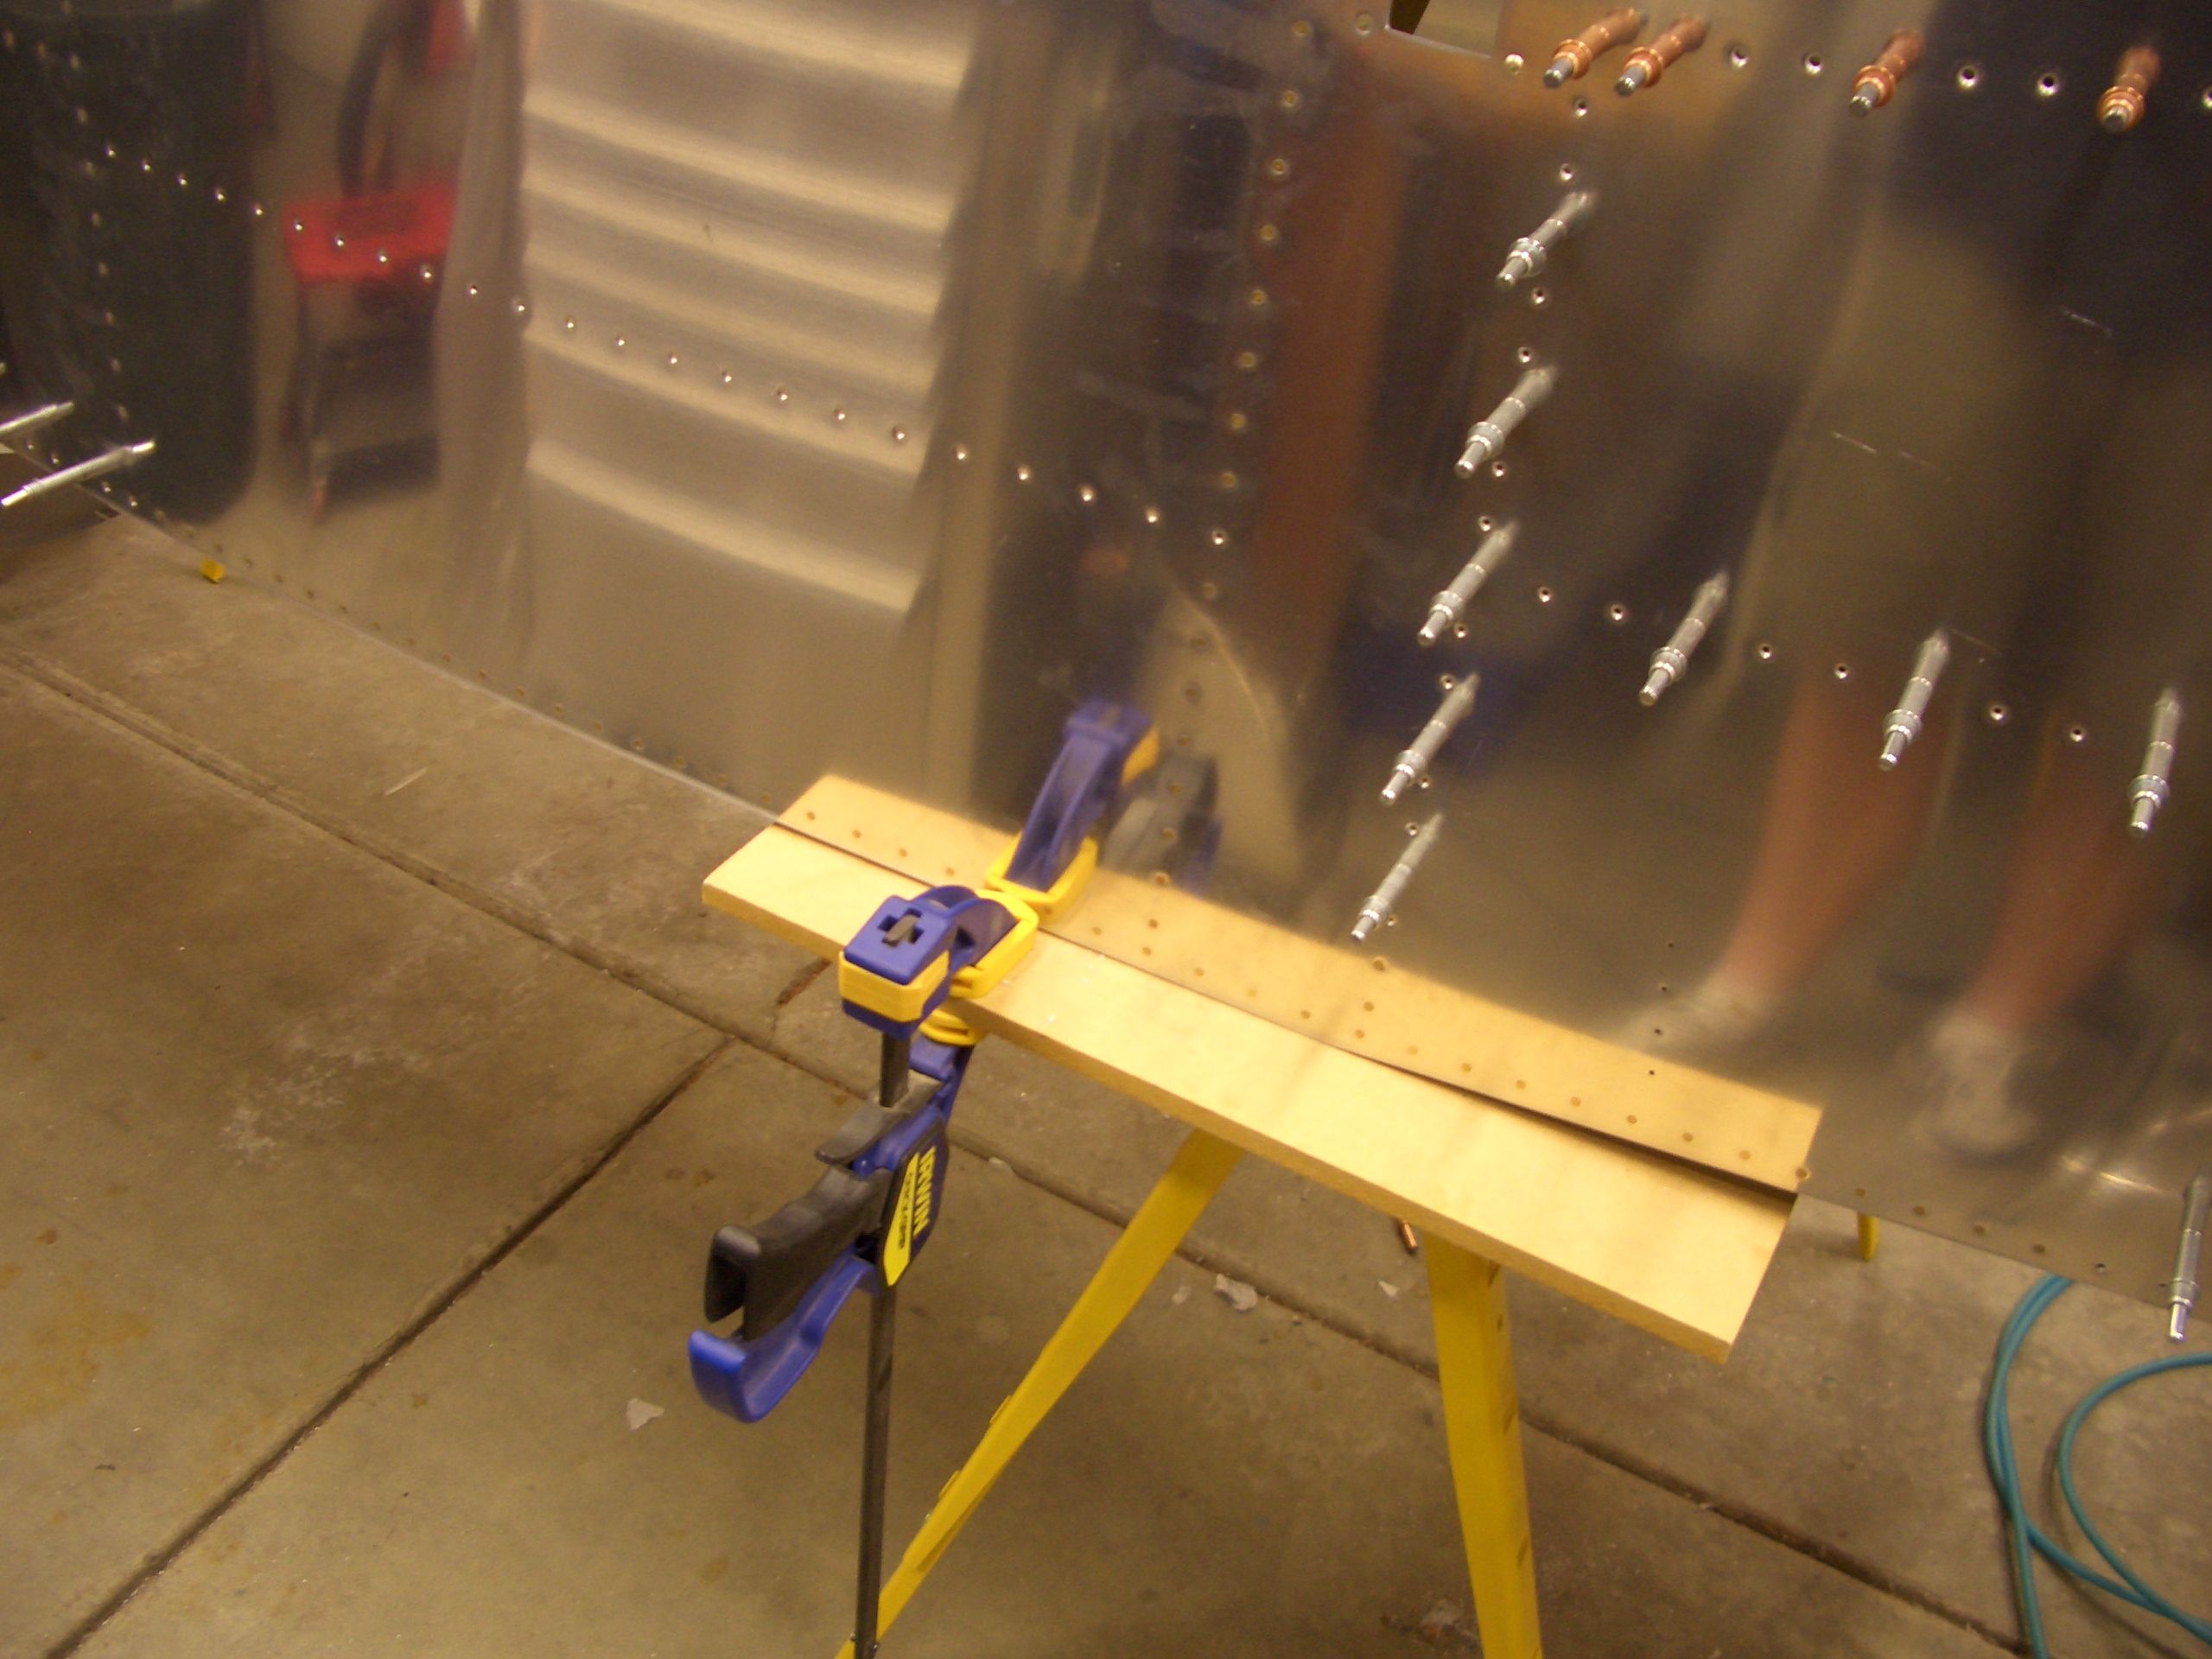
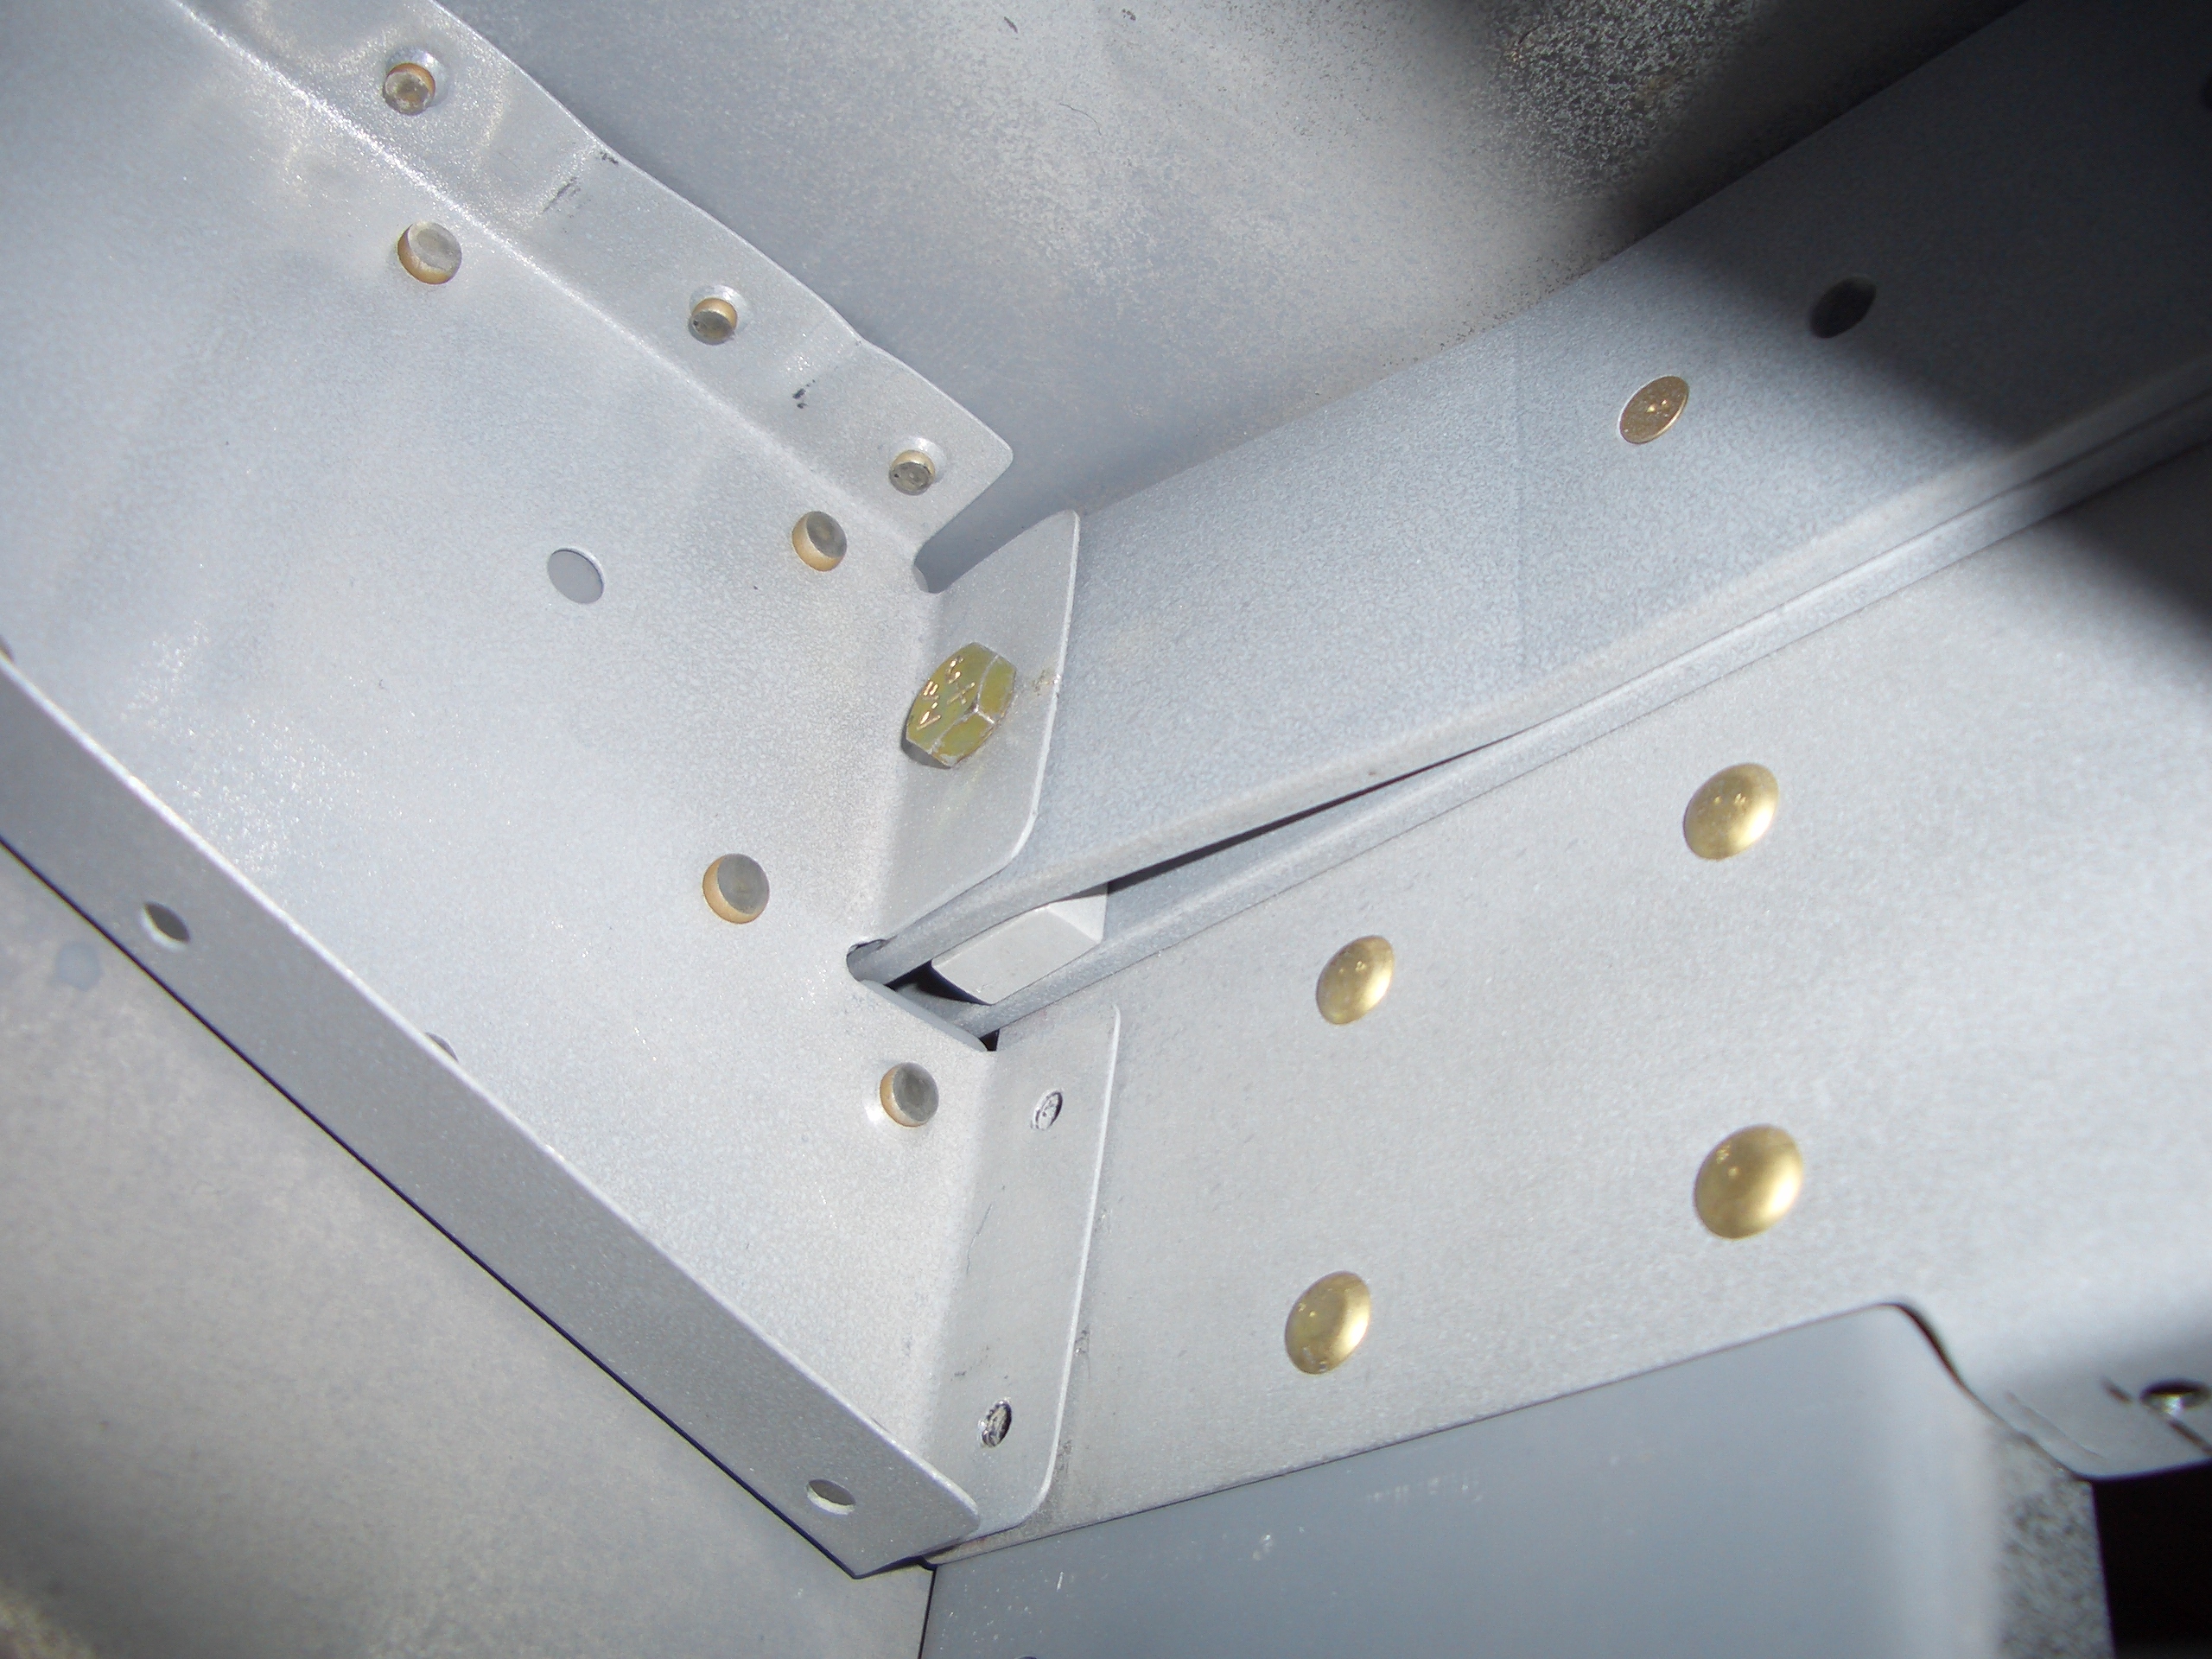
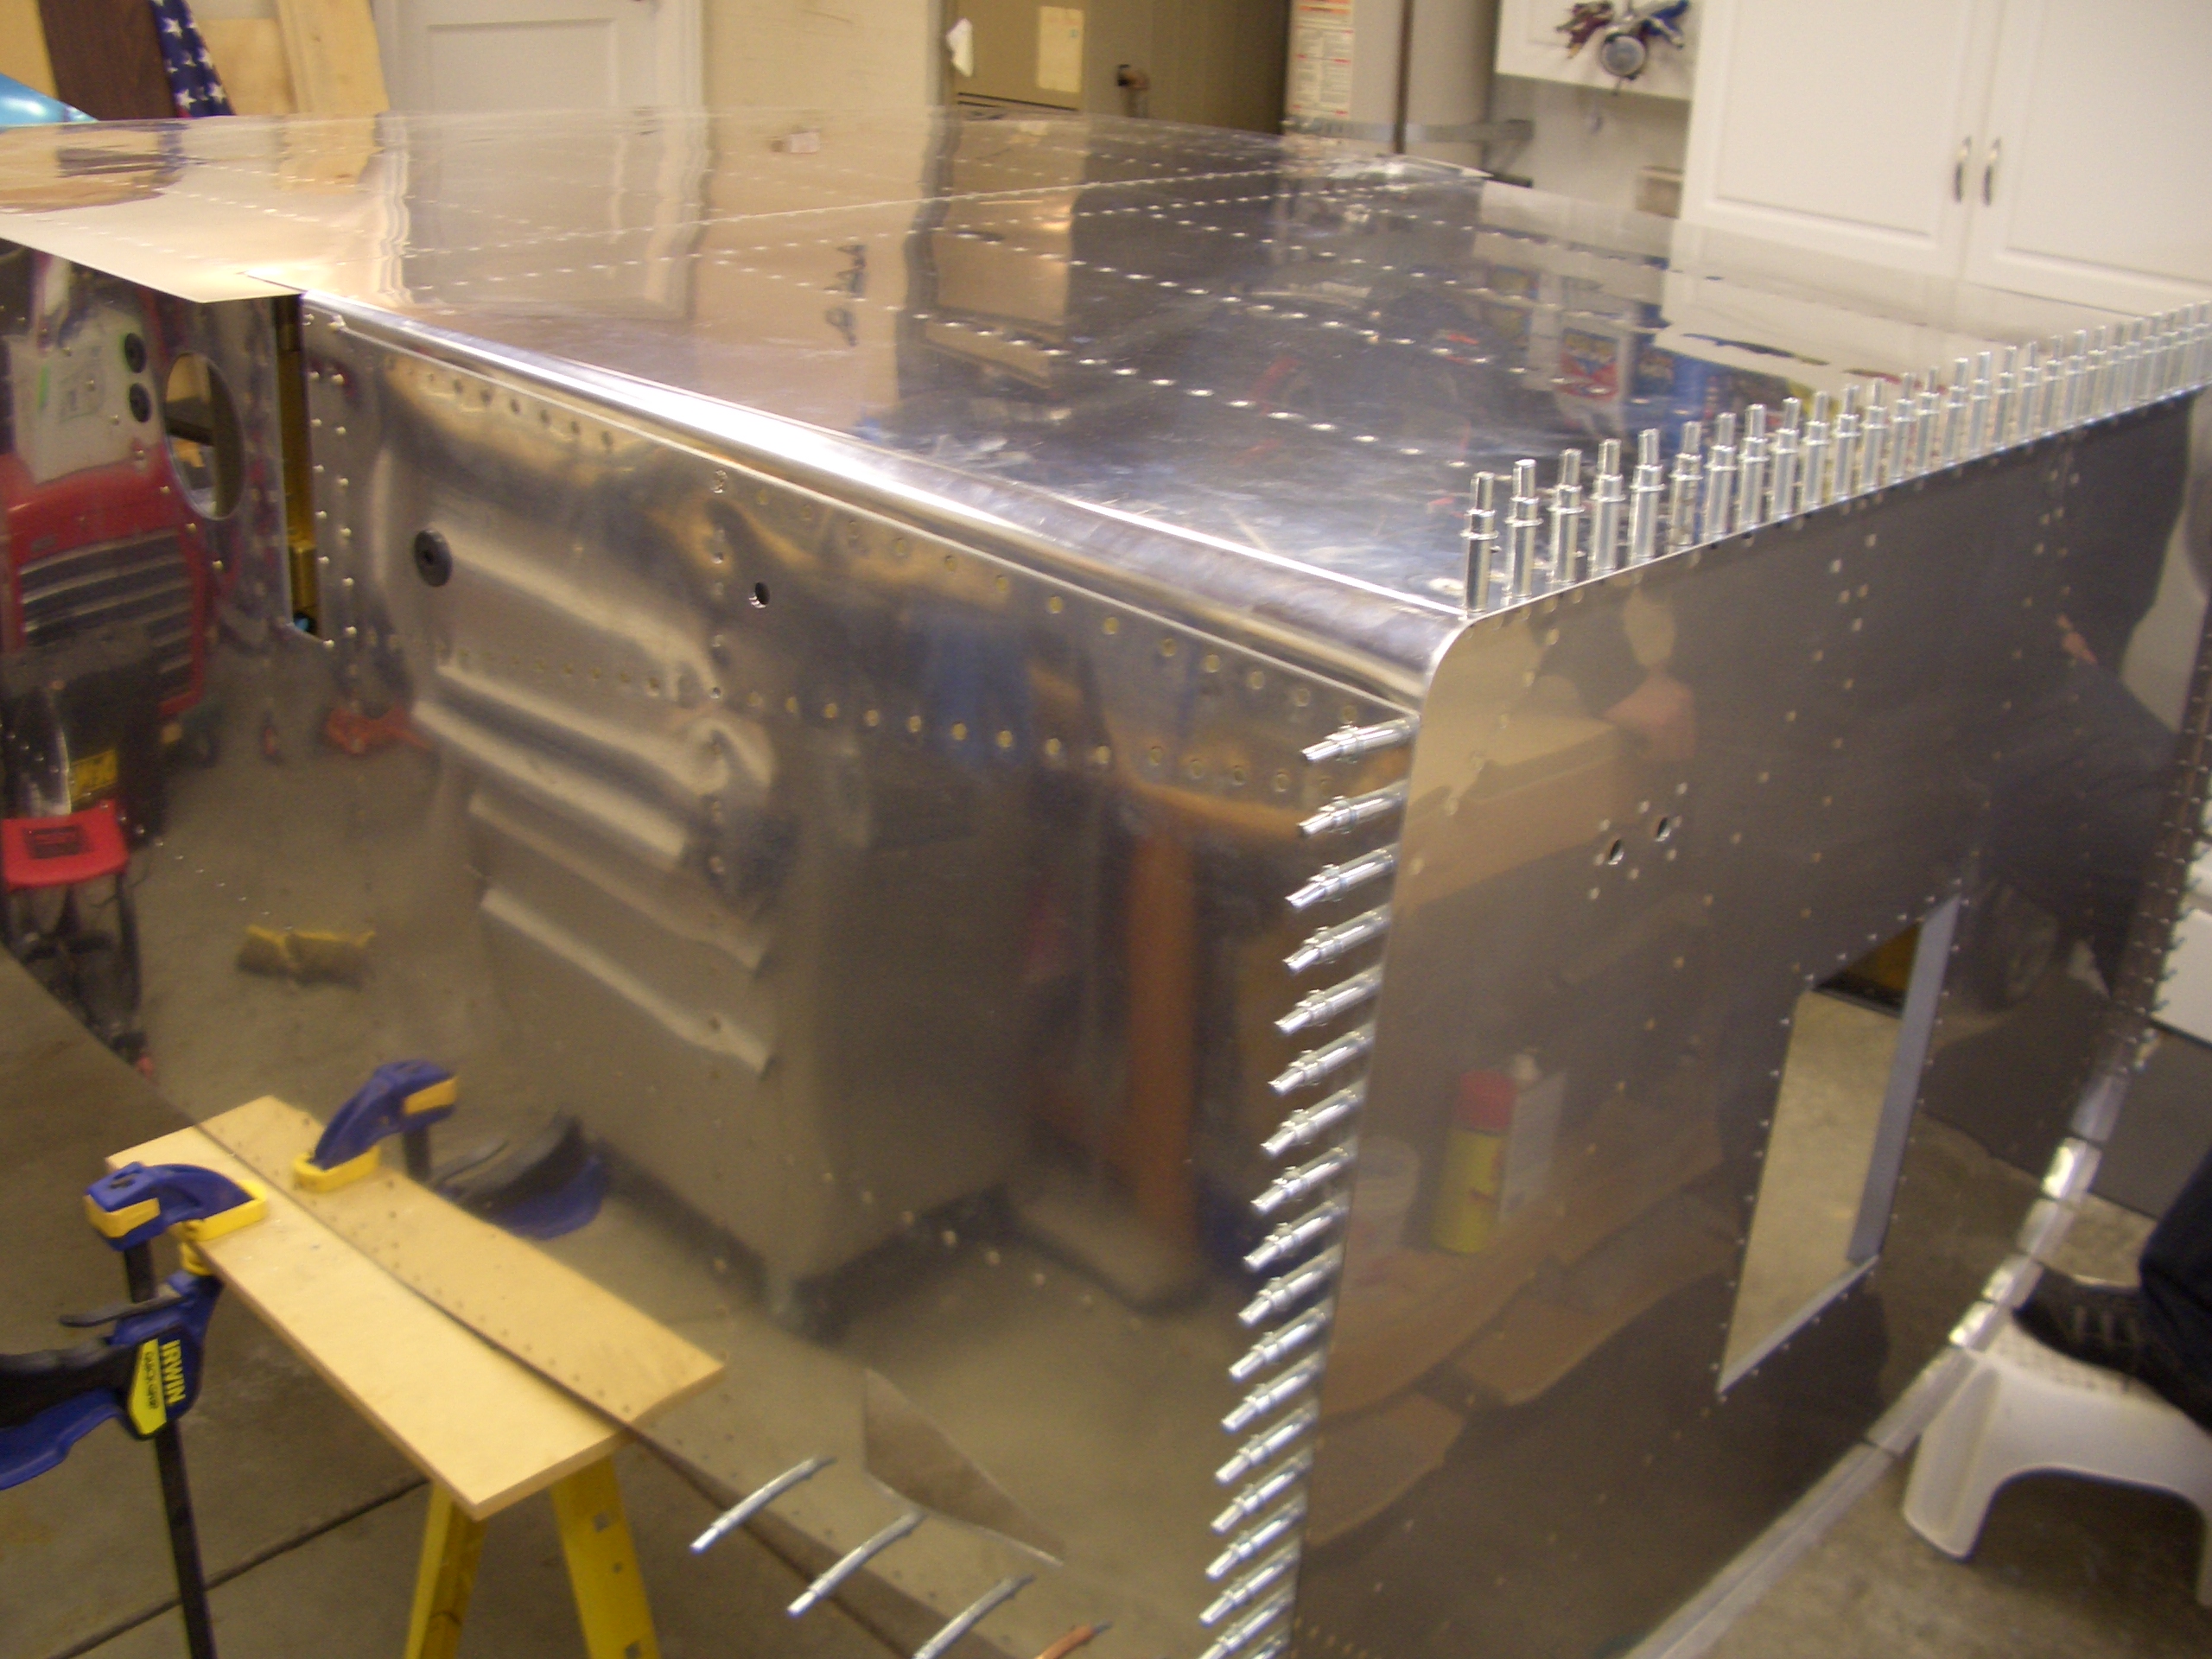
We knocked out the double row of rivets attaching the center skins to the tailcone on the left side as well as the rivets holding the bottom skin to the center rib.

Forward Fuselage Prep

I drilled two 3/4″ holes in the left side skin for the grommets that will pass the pitot and AOA tubes in from the wing.

The side support doubler is riveted onto the side skins using the holes adjacent to the spar cutout (with the exception of the bottom-most forward hole since this also joins the forward bottom skin.

I also drilled a couple of #19 holes to mount the quick disconnect fittings that are provided with the SafeAir pitot/static system.  As you can see, I’ve also installed the grommets for the pitot/AOA lines.

I also installed the grommet for the fuel line in the side skin forward of the spar cutout.

Finally, I installed the forward bottom skin.  I still need to finish the right side skin (seen in the upper left of this picture leaning against the back wall of the garage), but I’ll take care of that tomorrow.

Fabricated Replacement Side Skin Stiffener

I trimmed back the ends of the replacement skin stiffener (replacing the one that had a crack) and clamped it in place.  I then match drilled in to the skin and clip that attaches it to the firewall stiffener.

I temporarily reinstalled the rudder pedals so that I could mark the new stiffener for the holes that are used to attach the mounting blocks.

After priming the stiffener, I riveted it to the attach clip and riveted both clips to the firewall side stiffeners.

Since I mixed up an entire ounce of primer, I also shot the bottom of the forward seat pans so that I wouldn’t waste it.  These will be removed from time to time, so they’ll likely get a little scratched.  This should help protect them from corrosion.

Received Heater Valve and Firewall Sealant

I received my heater valve from Plane Innovations.  It’s basically a stainless steel version of the aluminum valve that Van’s sells.  In case of a fire, the aluminum version would melt in a matter of seconds.  This would keep the fire contained for long enough that I could likely get on the ground.

I also received a half pint of firewall sealant from SealPak.  This is the same CS1900 sealant that Van’s sells, but not in a single use container.  Since the firewall will be sealed over several sessions, this will ultimately save me a fair amount of money.

Started Fuselage Reassembly

I finished deburring the forward bottom skin and dimpled all of the required holes.  Be sure and skip the two #30 holes on the aft end of the sides since those are riveted with AN470 rivets.

Since I’m building a tail dragger, there are two holes that need to just be filled with AN426AD3-3 rivets.  These are used as the pilot holes for the brake lines on the A models.

The F-684 gussets can be riveted to the side firewall stiffeners now.  The remaining holes are also shared with the lower aux longeron and the side skin, so they’re left open for now.  Where possible, I’m trying to put the manufactured heads where they will show in the cabin since I think it looks nicer.

The F-7101 gear webs can be riveted to the F-902 forward bulkheads since access would be difficult later.

I still need to debur the side skins, but I wanted to start assembling the forward fuselage so that I didn’t have such a big pile of small parts stacked around and in my way.  Here I’ve clecoed on the firewall and all aux longerons.  Notice the missing longeron on the near side.  This is the piece that had the crack from a couple of weeks back.  I have the new piece, but I want to put the side skin back on in order to drill it.

I went ahead and riveted the F-902 bulkheads to the lower longerons.  The corresponding holes tying the F-902 to the upper longerons need to be left open until the forward top structure is drilled.

The center floor stiffeners can be riveted to the cover support ribs.  I couldn’t reach the aft holes with the squeezer, so I’ll have to shoot those.  It’s too late to run the gun tonight though, so that will have to wait until later.

I also squeezed the rivets attaching the center floor stiffeners to the F-601-J angles.

Primed Fuselage Components

I put an extra thick coat of primer (still translucent thought) on the forward floor area since this may see extra moisture from people getting in with wet or snowy shoes.  I masked off the area in the front so that the firewall sealant can stick to the bare aluminum.

Here are most of the other components after being primed.  I primed the longerons out in the driveway balanced across two sawhorses.

Here are the longerons and outboard seat ribs installed.  I also got some of the deburring on the forward floor done.

Rejoined Center Section

After deburring and dimpling the remaining holes in the center bottom skin and F-705 bulkhead, I managed to join the center and aft fuselage sections by myself.

I neglected to install 12 bolts in the forward half of F-704, so I wanted to do that now before access got worse.  After inserting the bolt in from the front (so there is still access to buck holes in bottom skin), I used a washer wrench to put the washer on the bolt.  These washer wrenches were expensive ($30 for a set of four covering eight sizes), but when you need them, they’re worth every penny.

Getting the nuts on these bolts can be tricky.  I’ve seen people construct contraptions of wrenches held by vise-grips with tape on the end to keep the nut in the wrench.  This however proved to be the perfect tool.  This is basically an adjustable wrench with a vise-grip type clamp attached.  You can run the adjustment screw down snug against the nut and then clamp it shut and it squeezes the nut tight, allowing you to start threading the bolt and then torque it down.

My dad bought this for me years ago and it’s come in handy a number of times for stuff like this.  I have no idea who makes this or where you can buy it though.

Here are some of the bolts installed (the ones where you can just see the heads, not the nuts).  There are twelve bolts total (six each on the left and right).