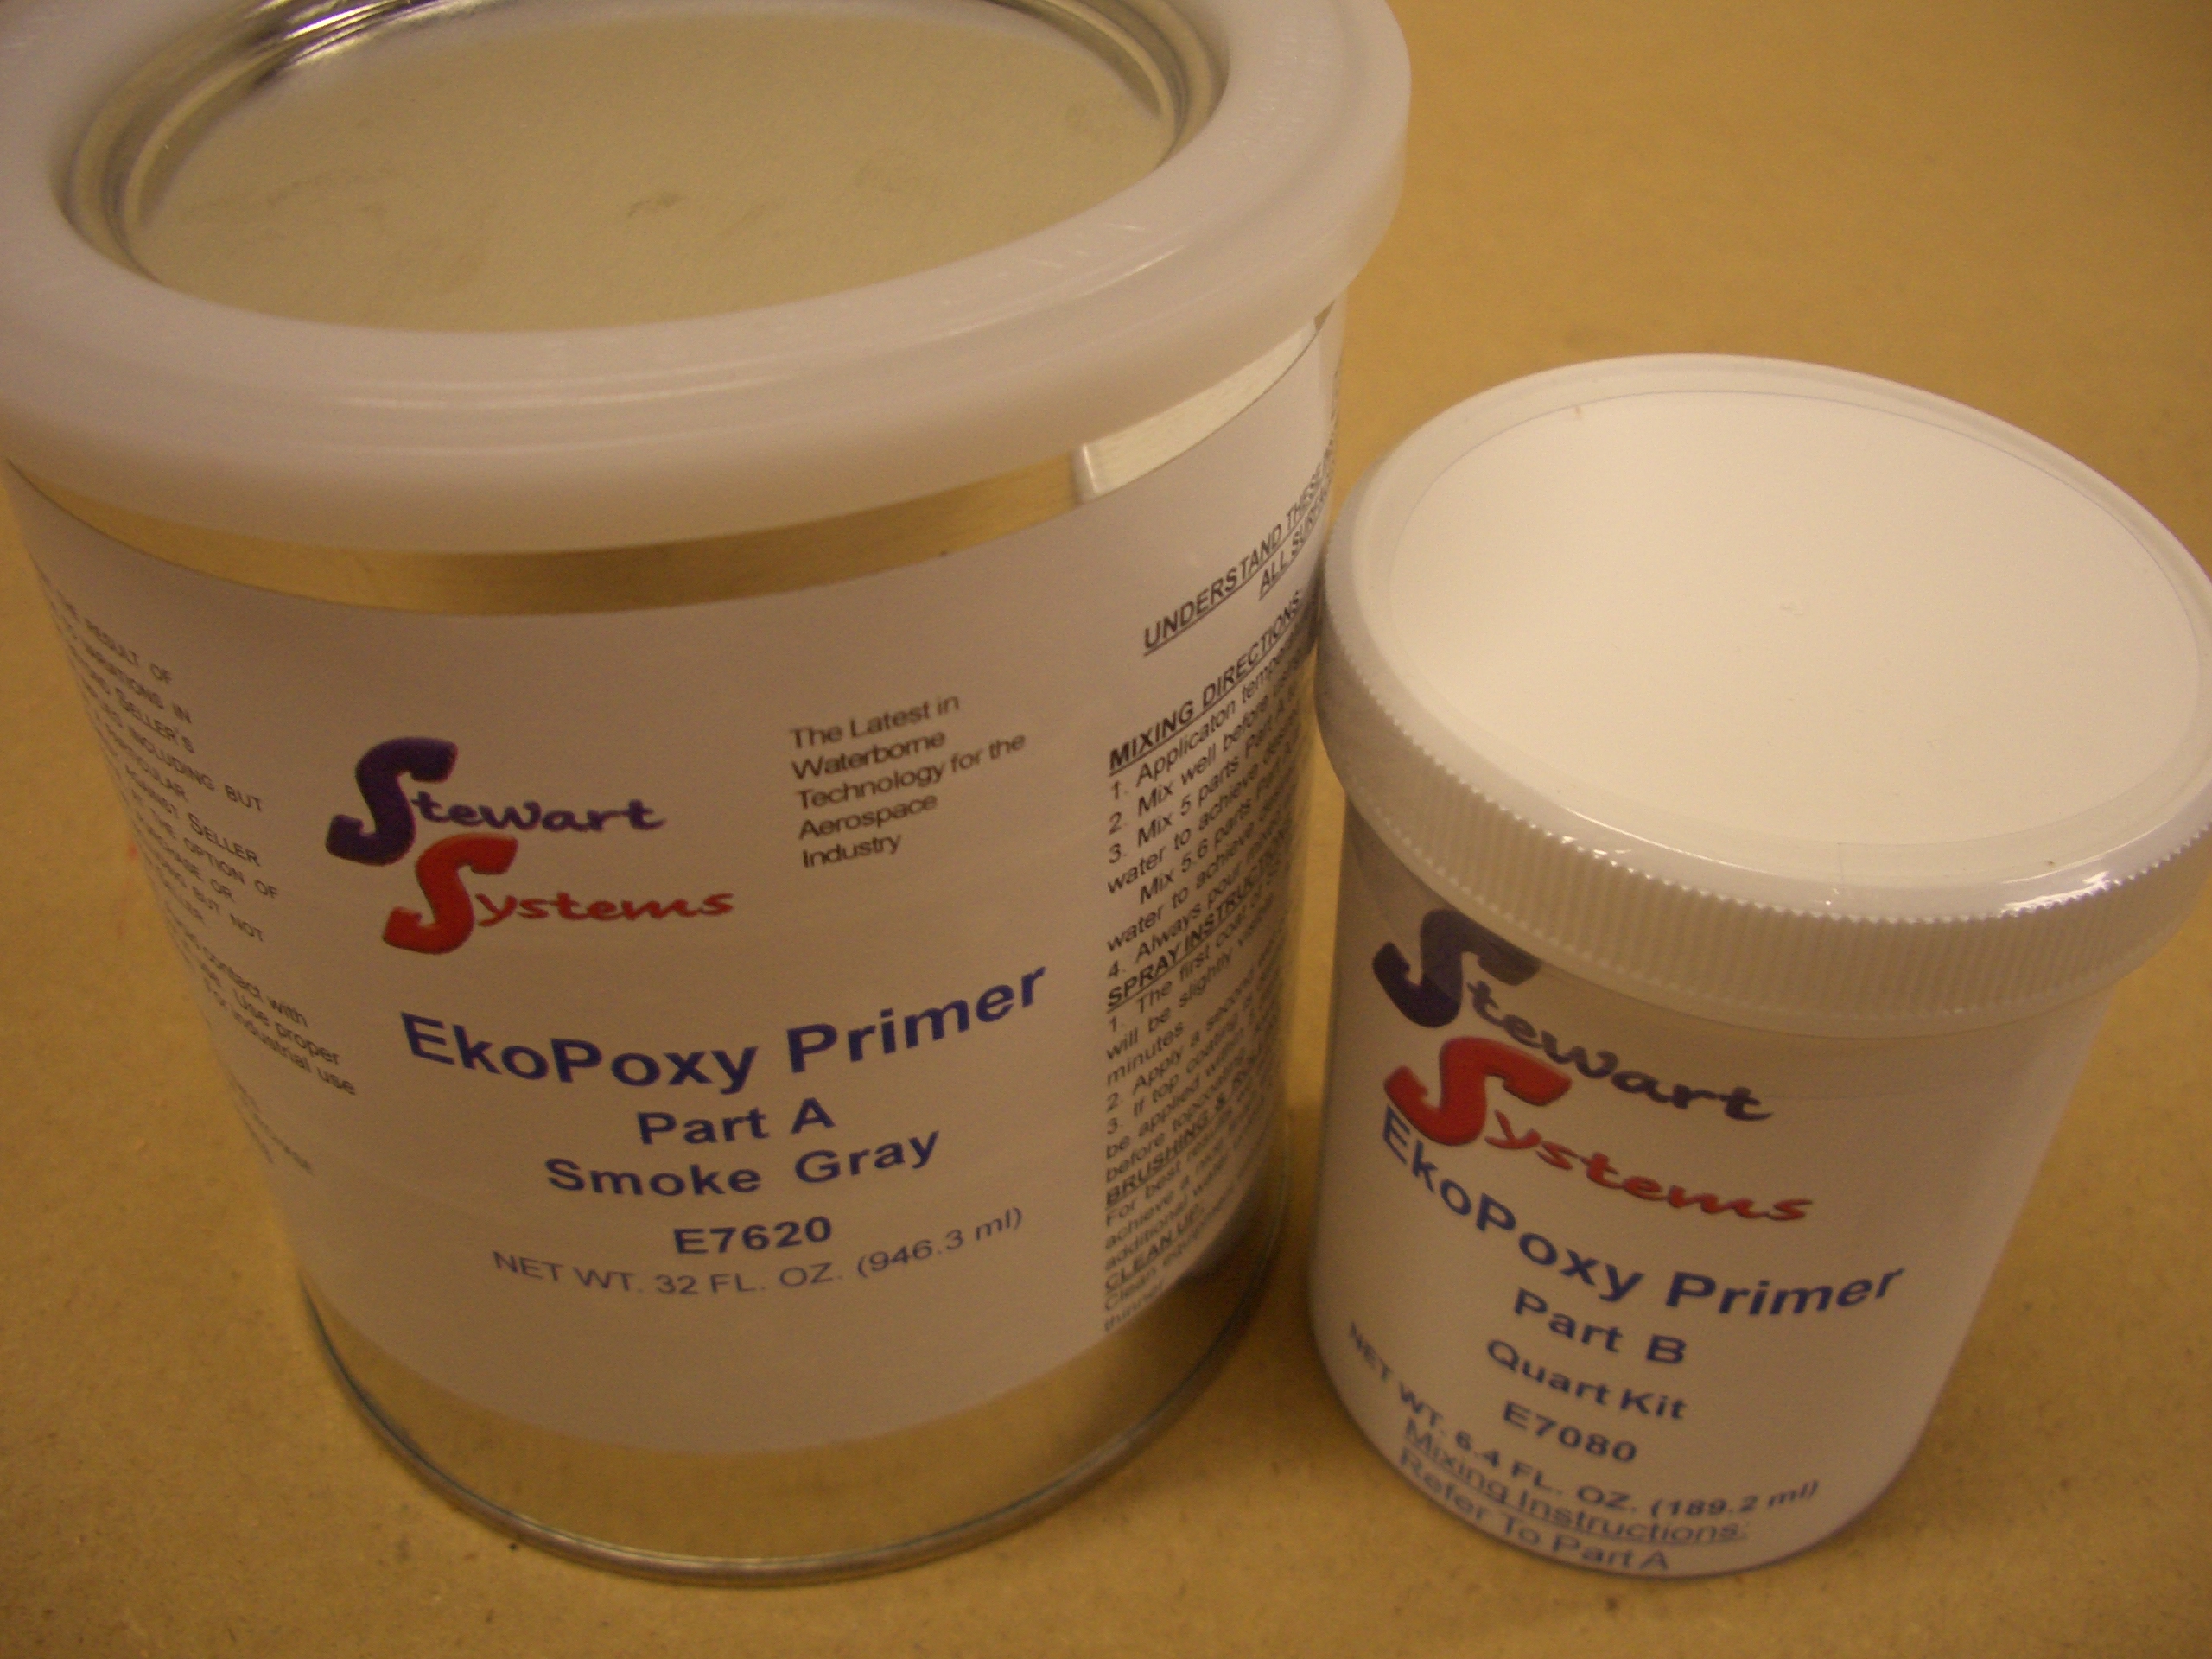
So far during the build, I’ve almost used 1 qt of primer. I was just about out, so I ordered another quart. This should easily get me through the rest of the build. Because I’m only priming the interior structure and not the wing skins, and even then I’m applying a very thin coat (more of a fogging than a coating), I’m sure this will get me through the rest of the build. I doubt I’ll add more than a pound or two of primer to the whole plane.
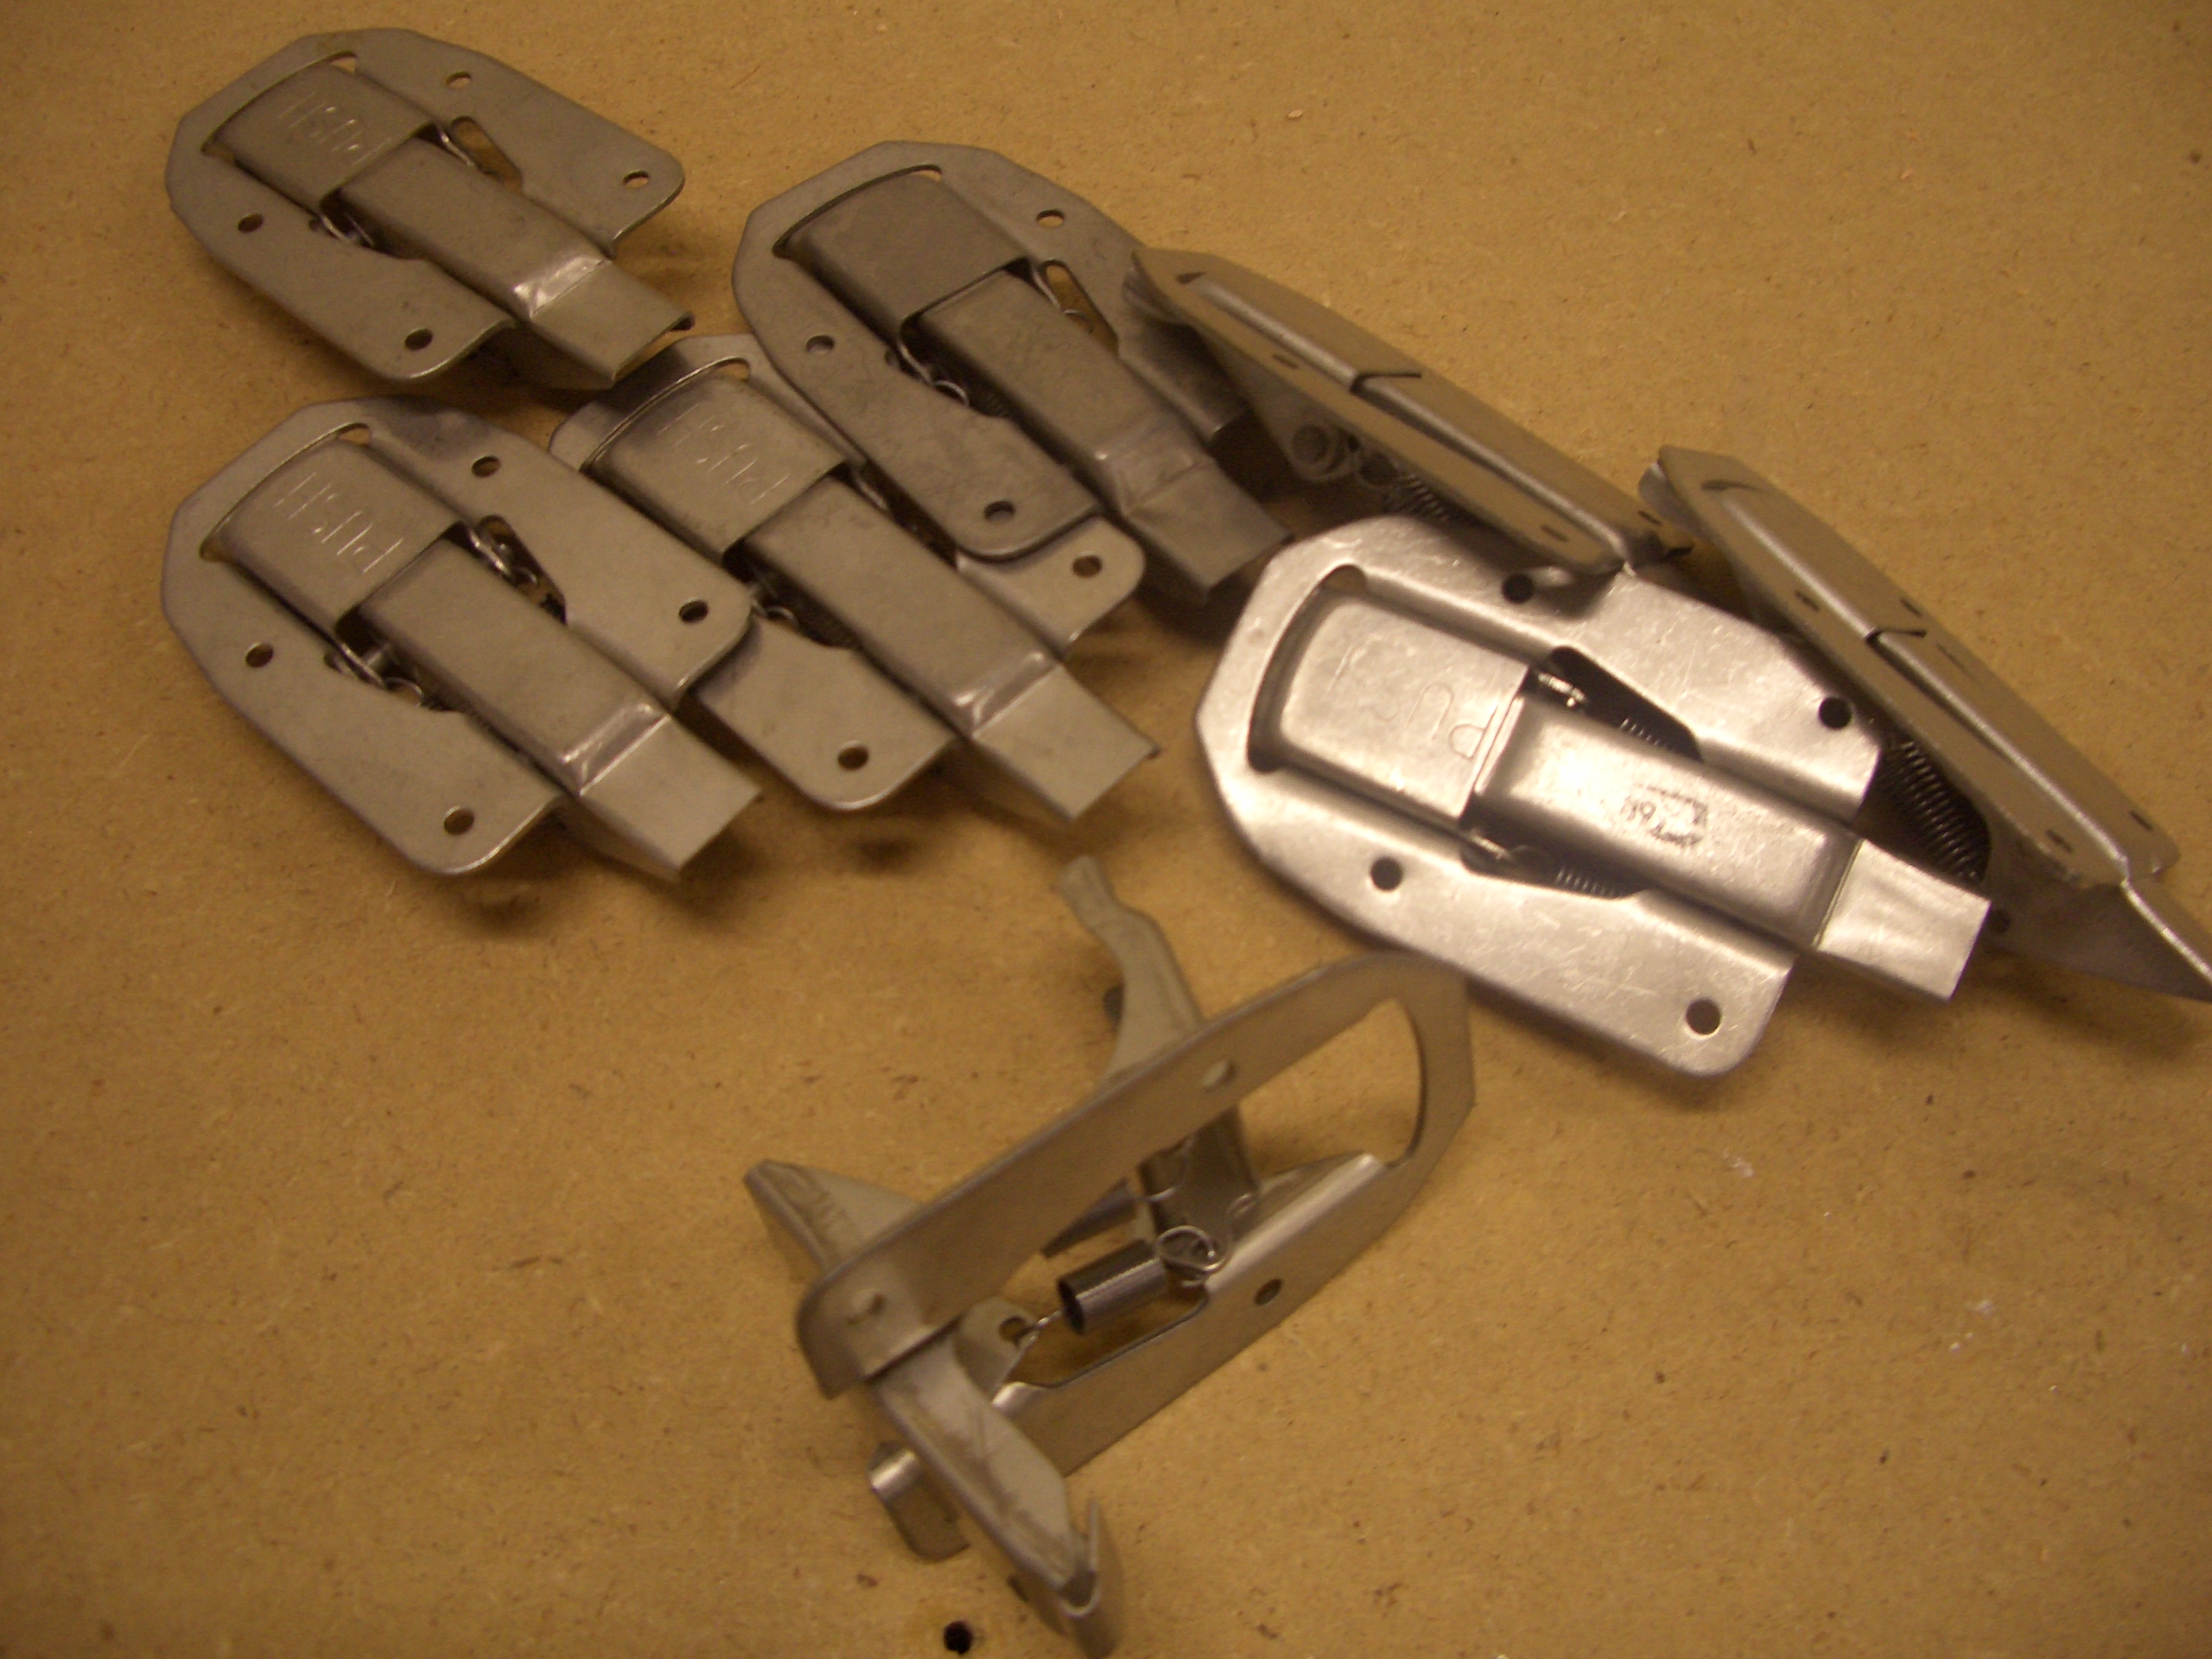
I also picked up 8 brand new Hartwell H-4603 latches off eBay for $5 each. I’m thinking about using some of these for a couple of storage areas under the baggage floors and I may use a one or two for the oil door in the cowl. Similar latches are $90/ea at Aircraft Spruce, so this was quite a deal.
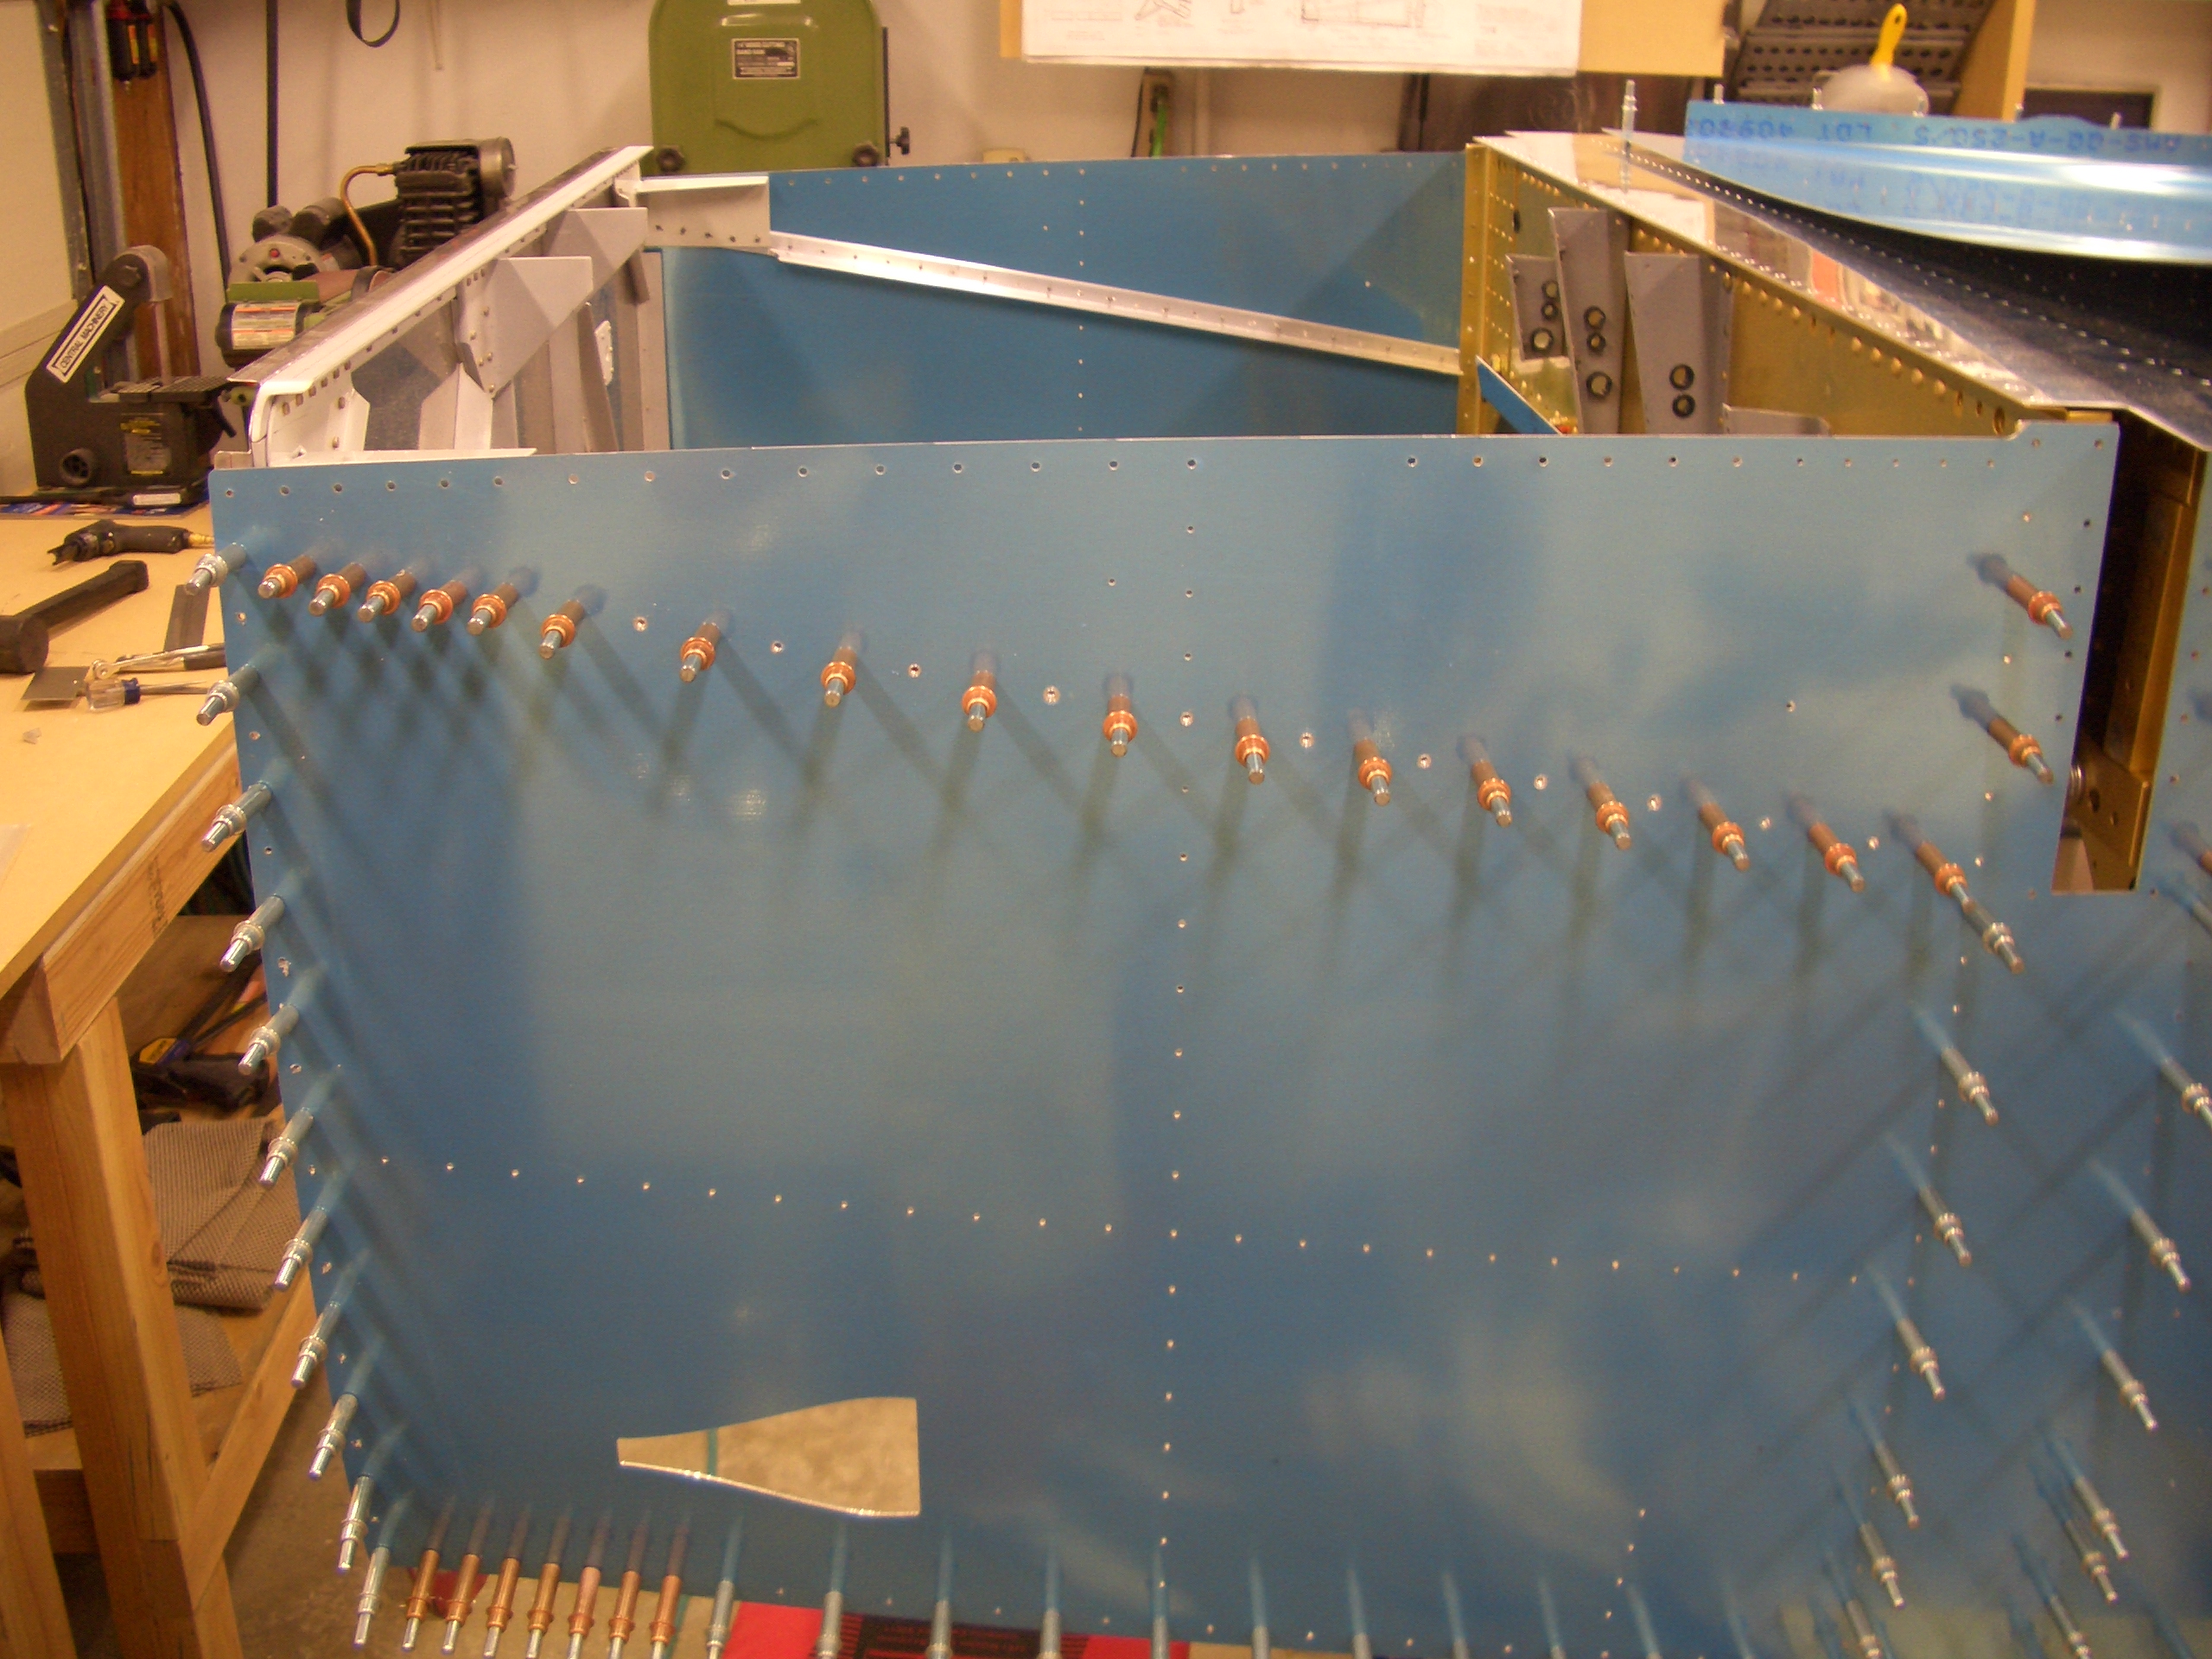
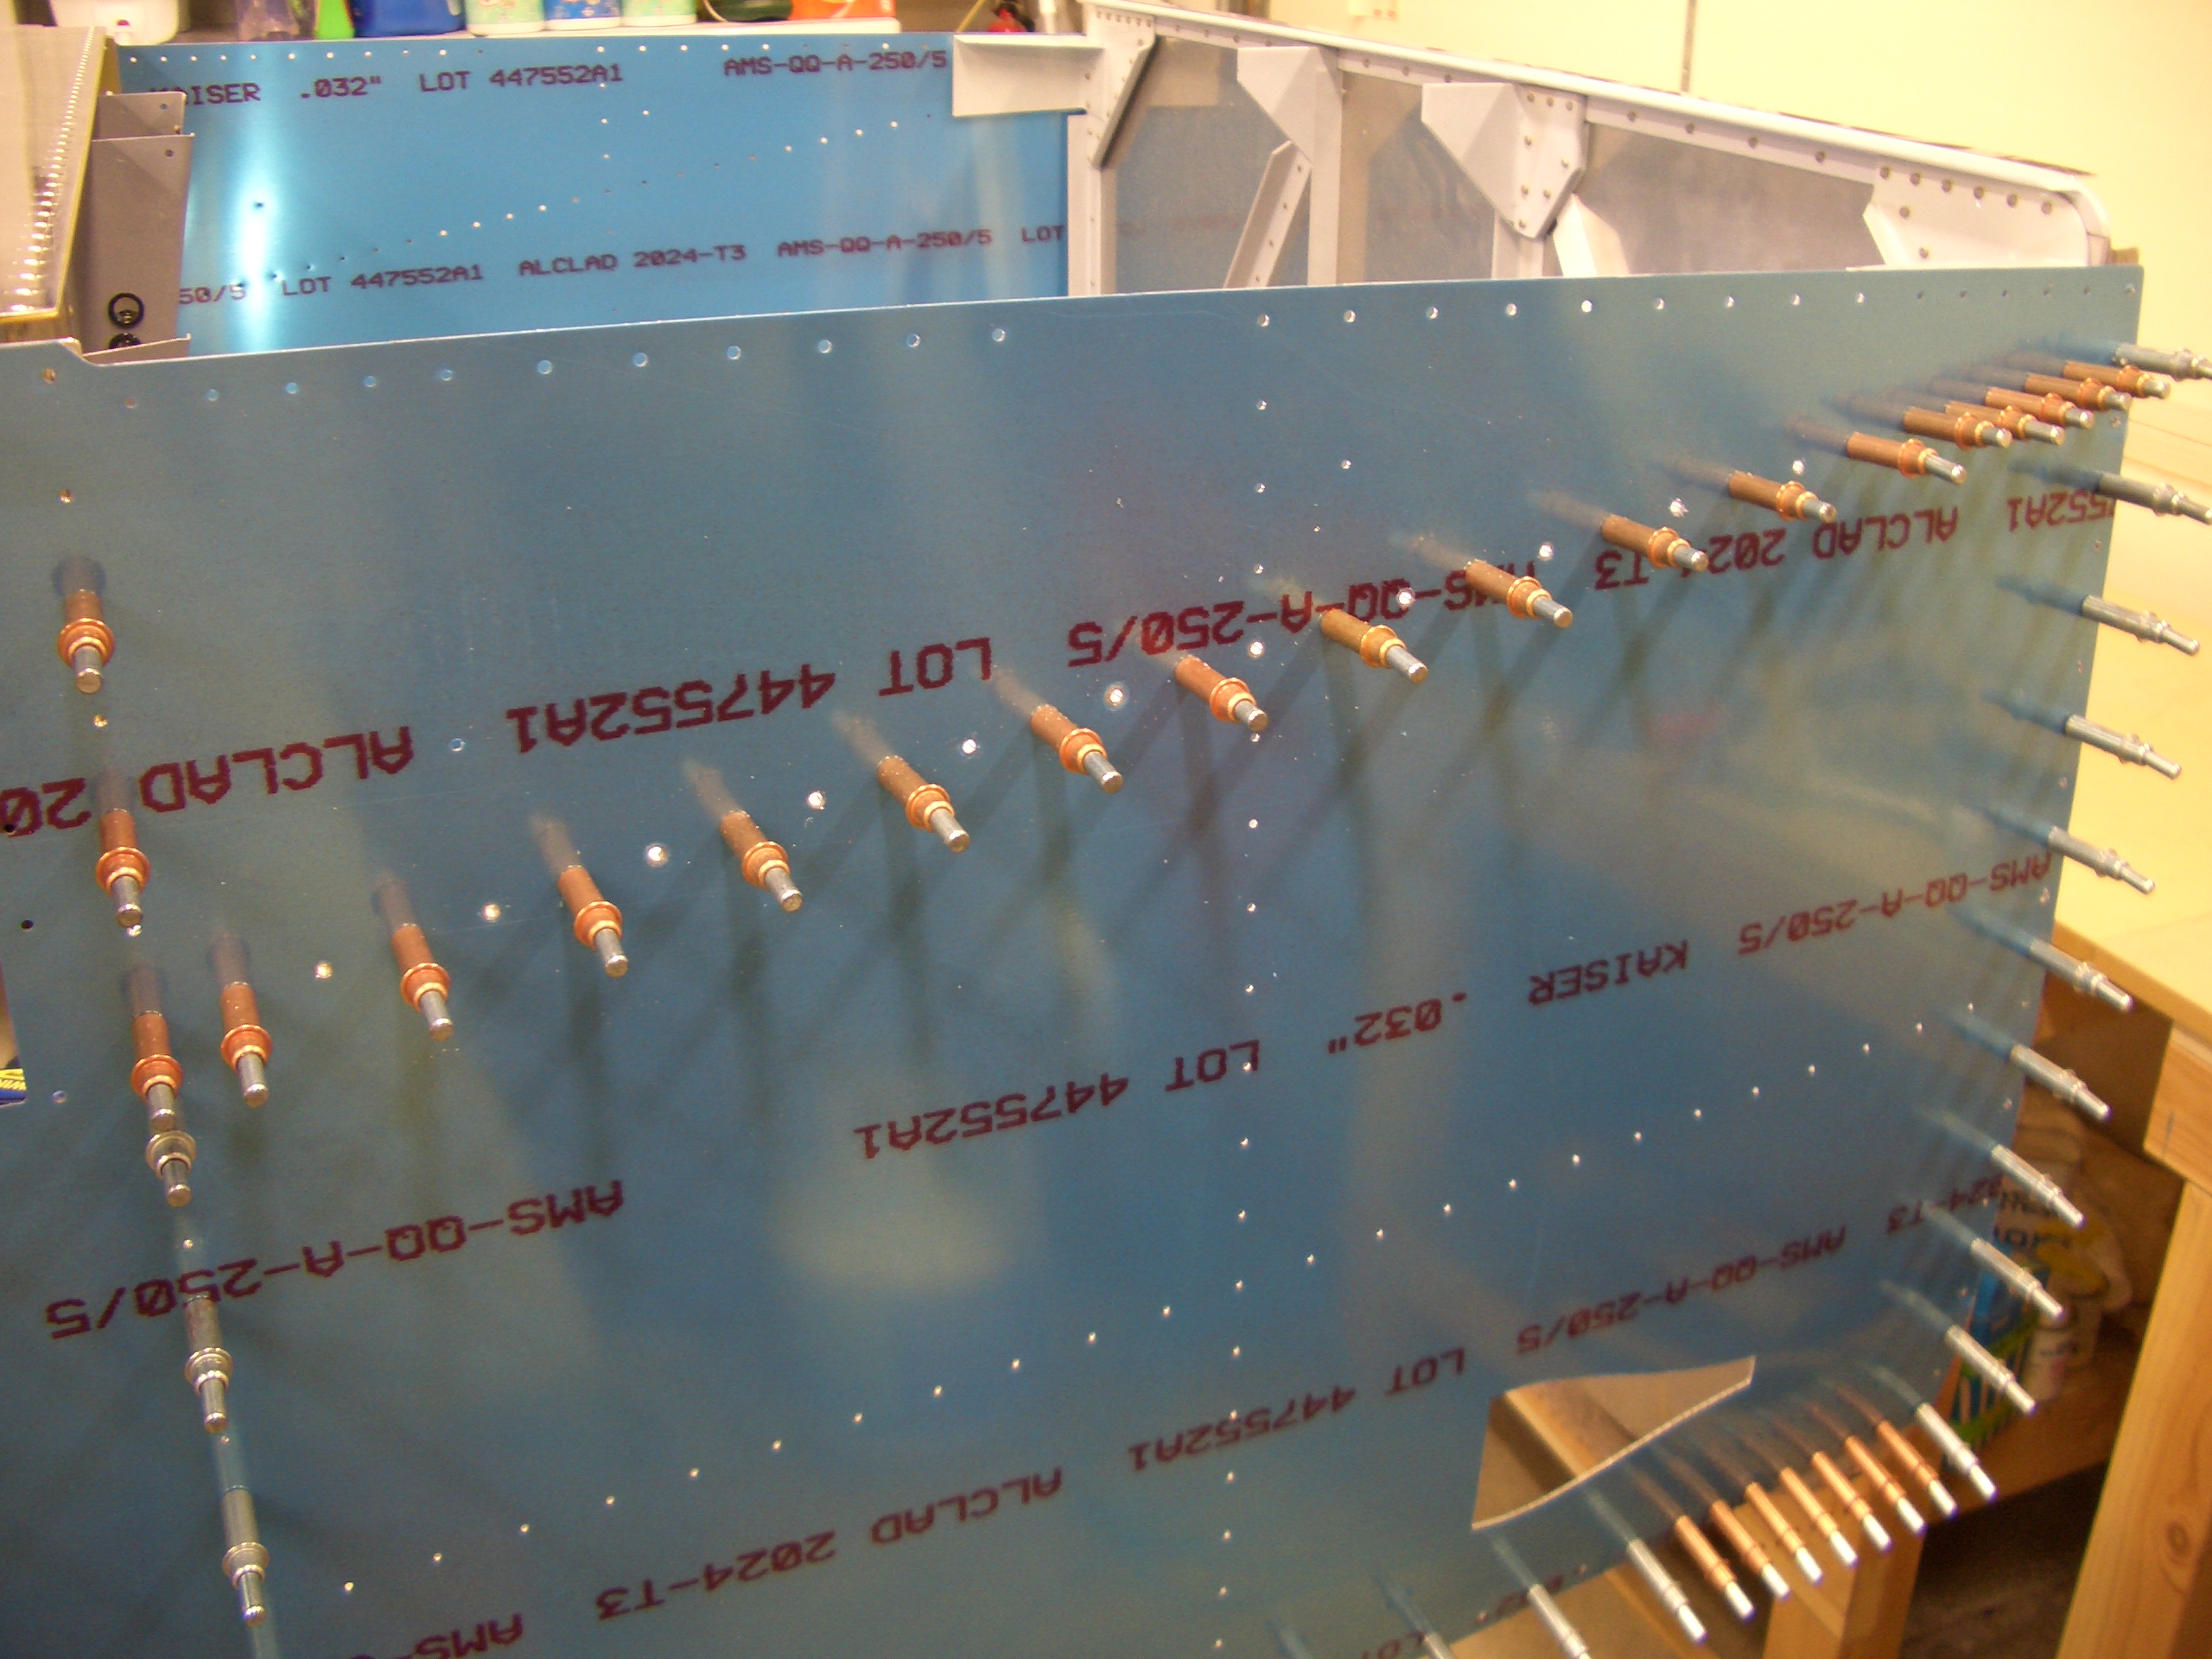
I got started tonight by quadruple checking that the firewall was 5/8″ behind the leading edge of the skin and then drilling the firewall to the side skin. I also drilled the forward seven holes in the upper longeron and into the engine mount (the seven copper colored clecos at the bottom of the picture).

Next, I fit and drilled the F-713 aux longerons. These require a slight twist since the side skins curve inward near the bottom of the firewall. I used the same technique I did for the upper longerons (clamp and use a large crescent wrench to twist the hell out of it).
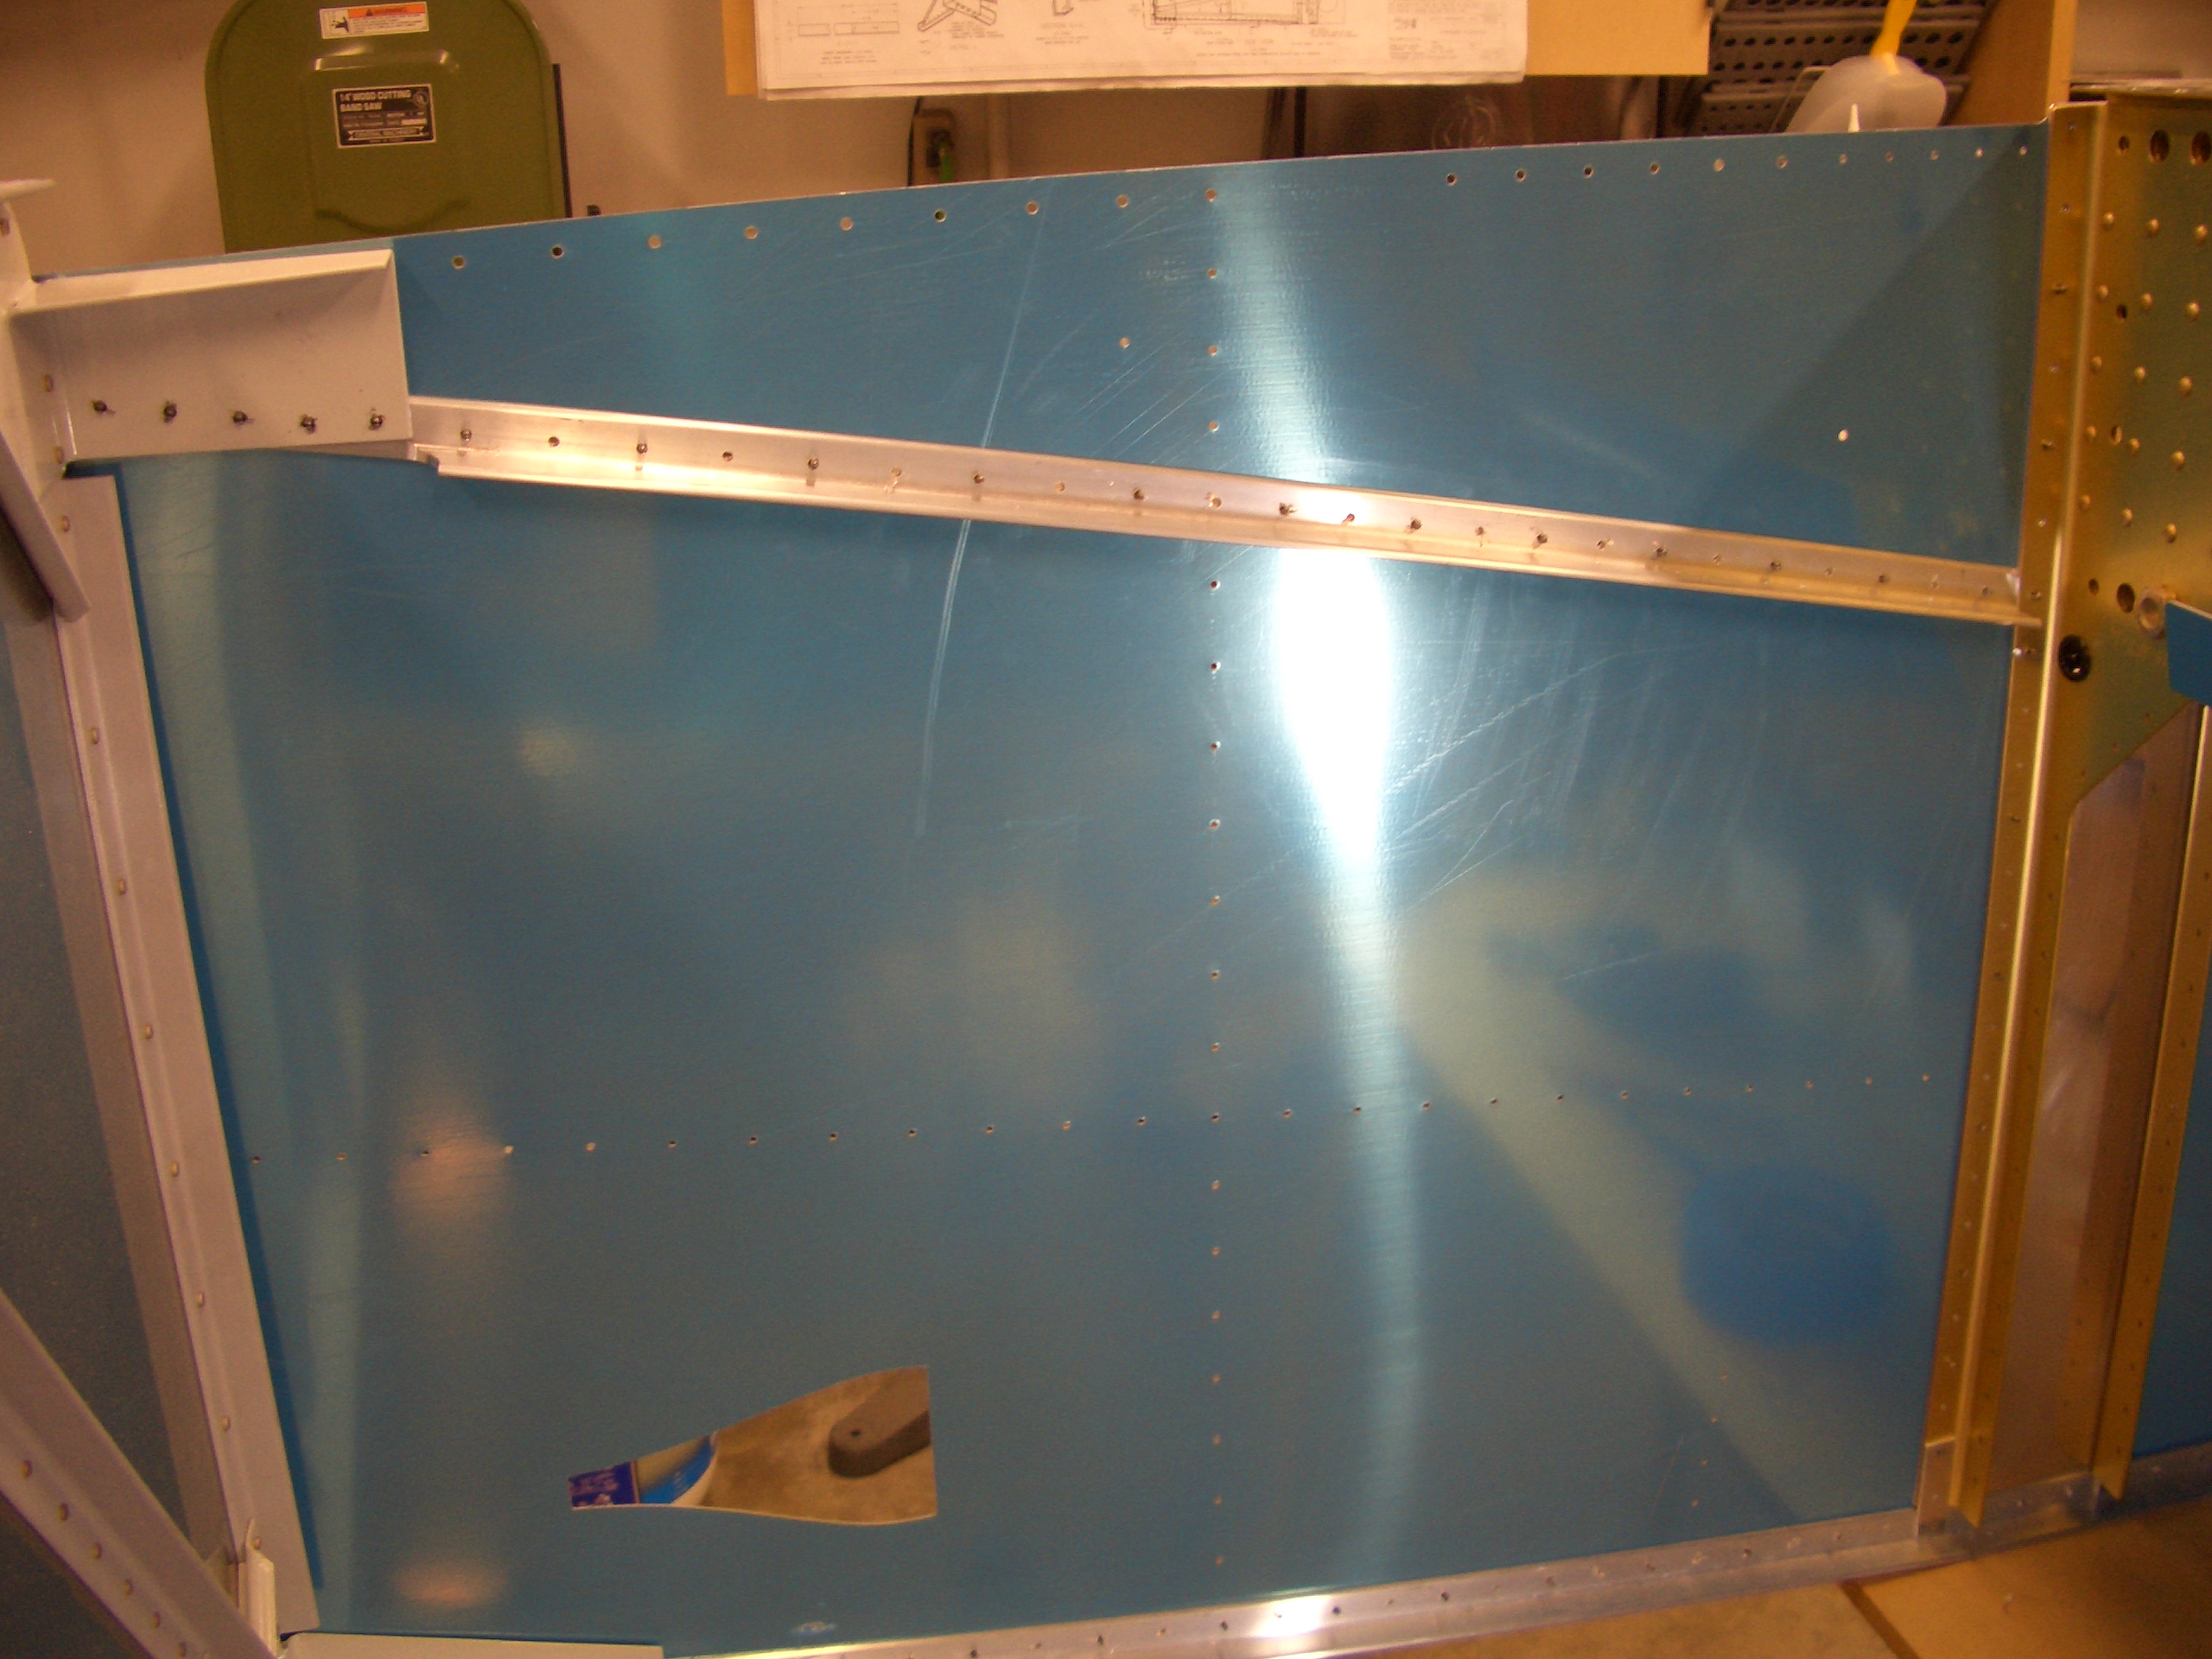
The aft end has to be cut to fit tightly against F-704.
The forward end ties the side skins to the lower engine mount. There will also be a gusset here which ties all of this into the firewall stiffener that is visible in the lower left of the picture.
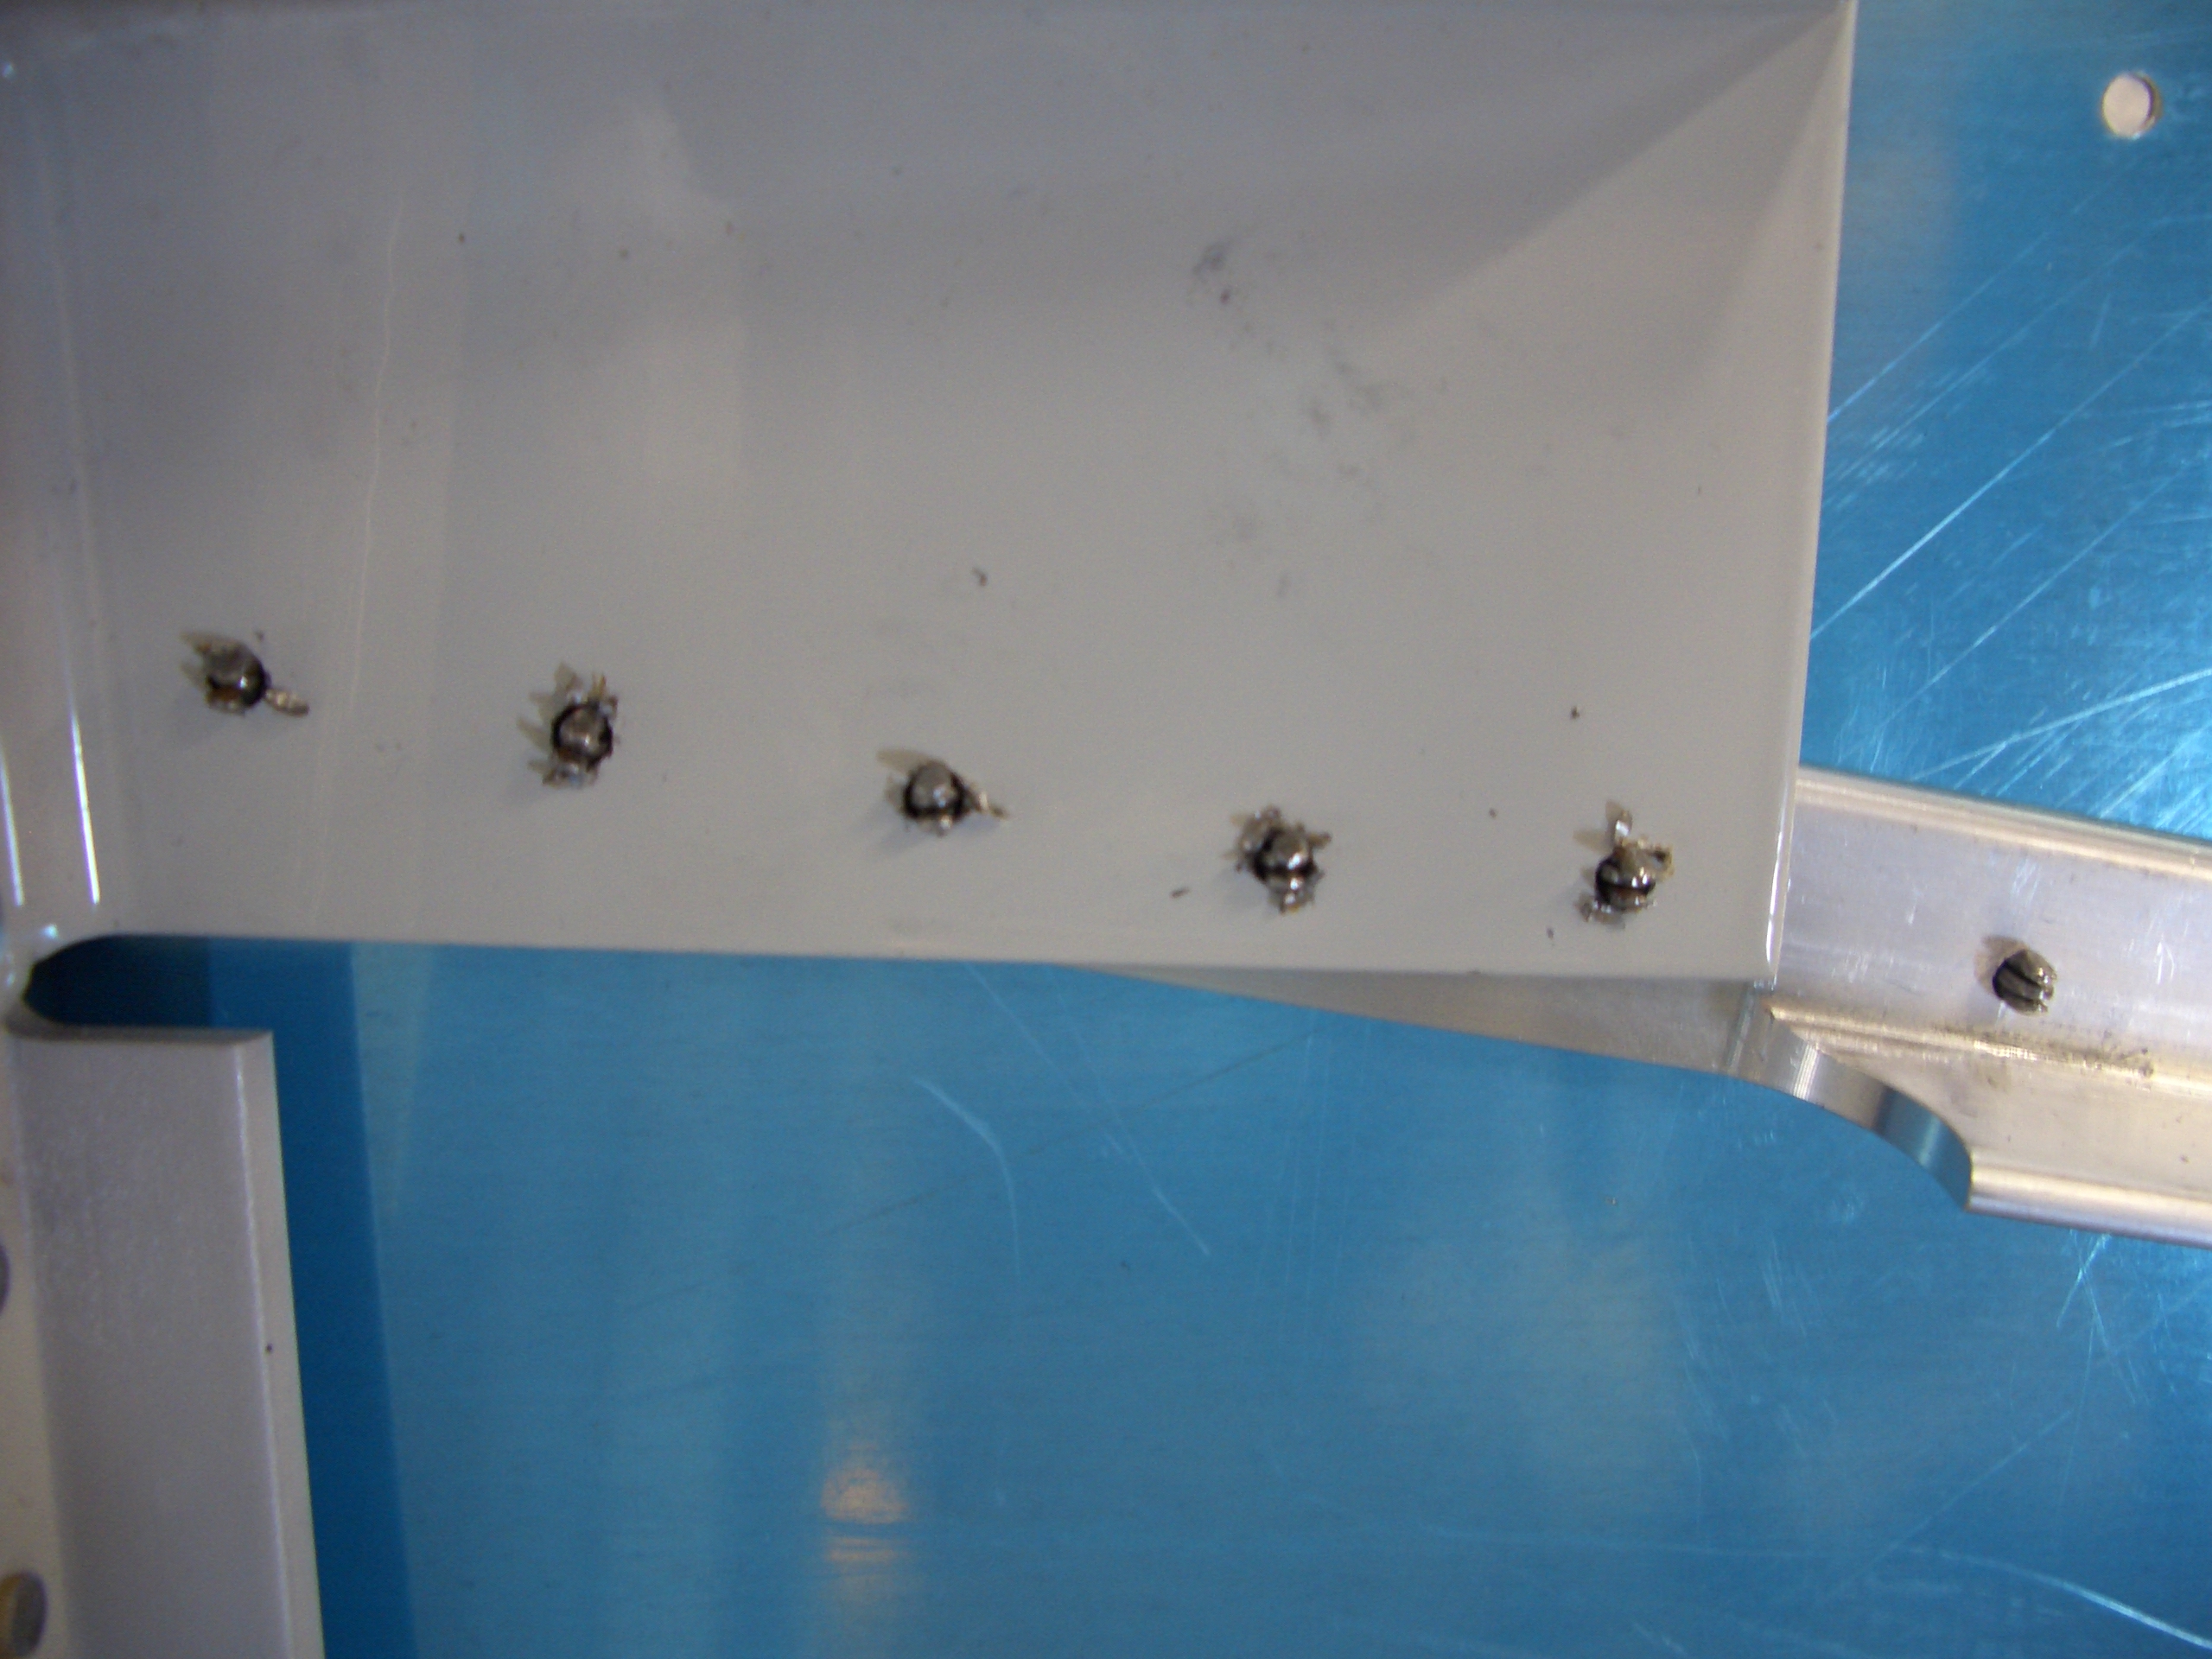
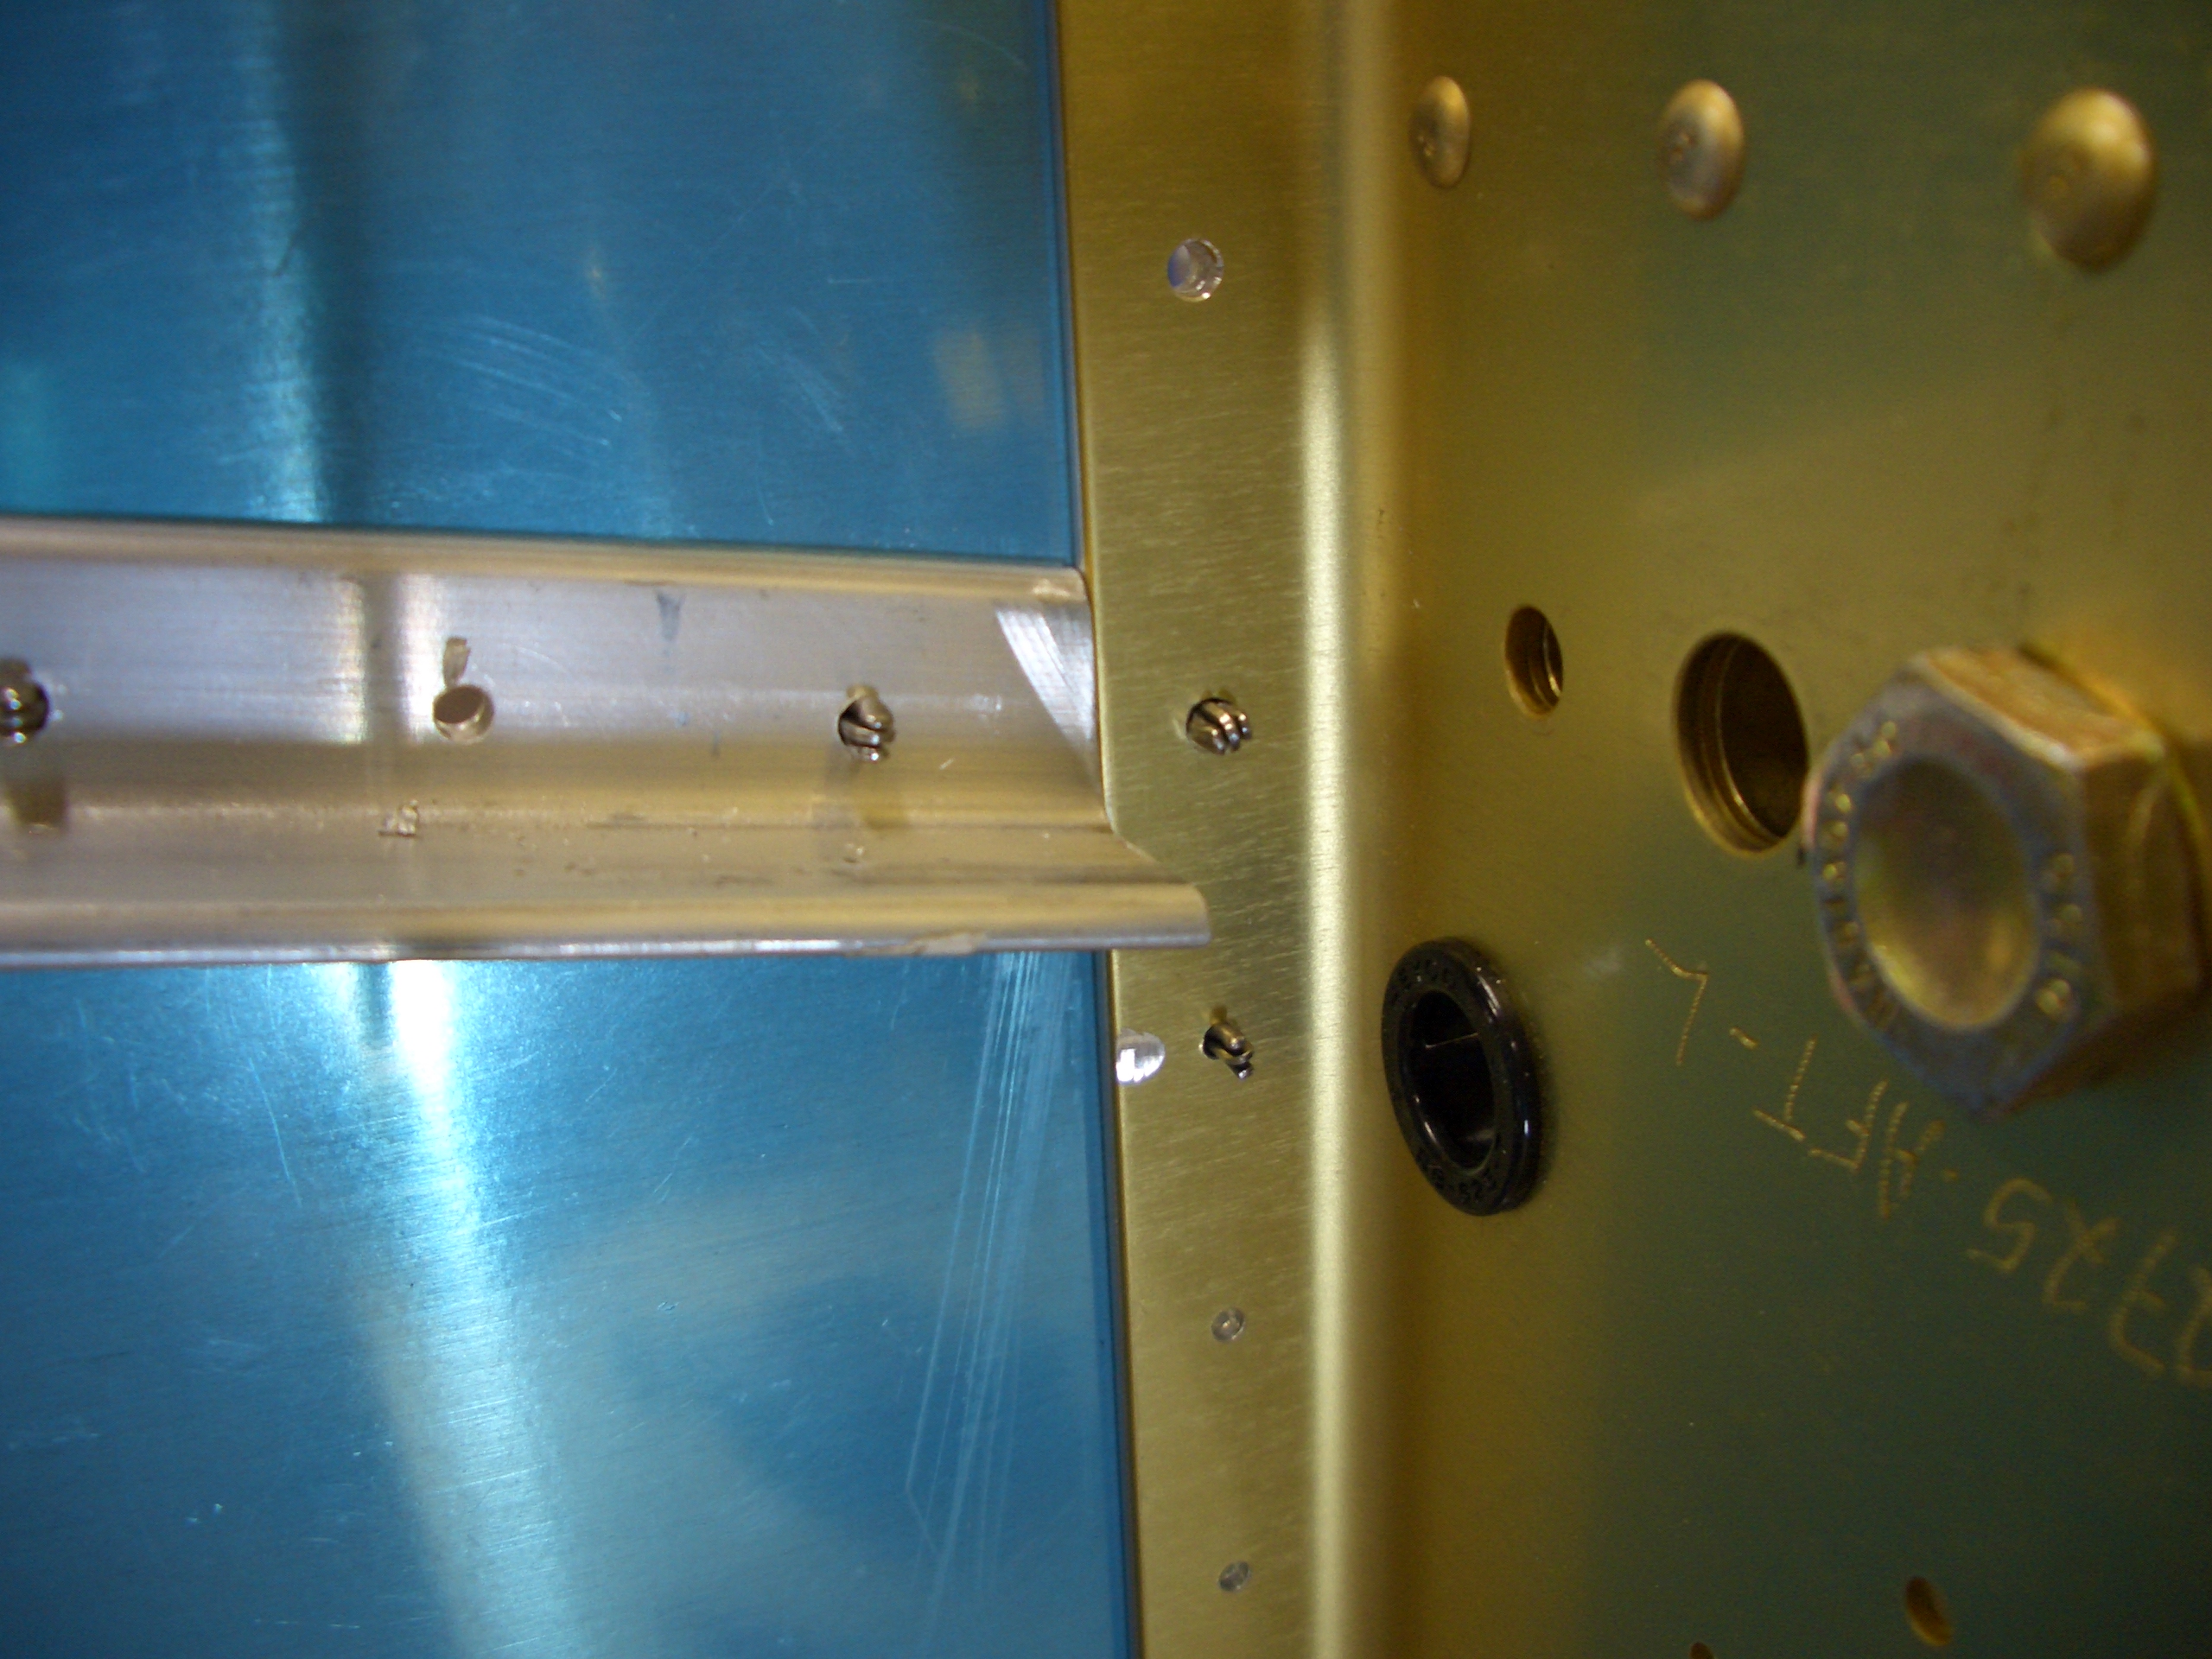
Here is the outside of the aux longeron. This is one of the few areas on the outside of the plane which uses AD4 (1/8″) rivets. Most of the exterior uses AD3 (3/32″) rivets.
After spending 30 minutes doing the left side, I knocked out the right side in about 10 minutes.