
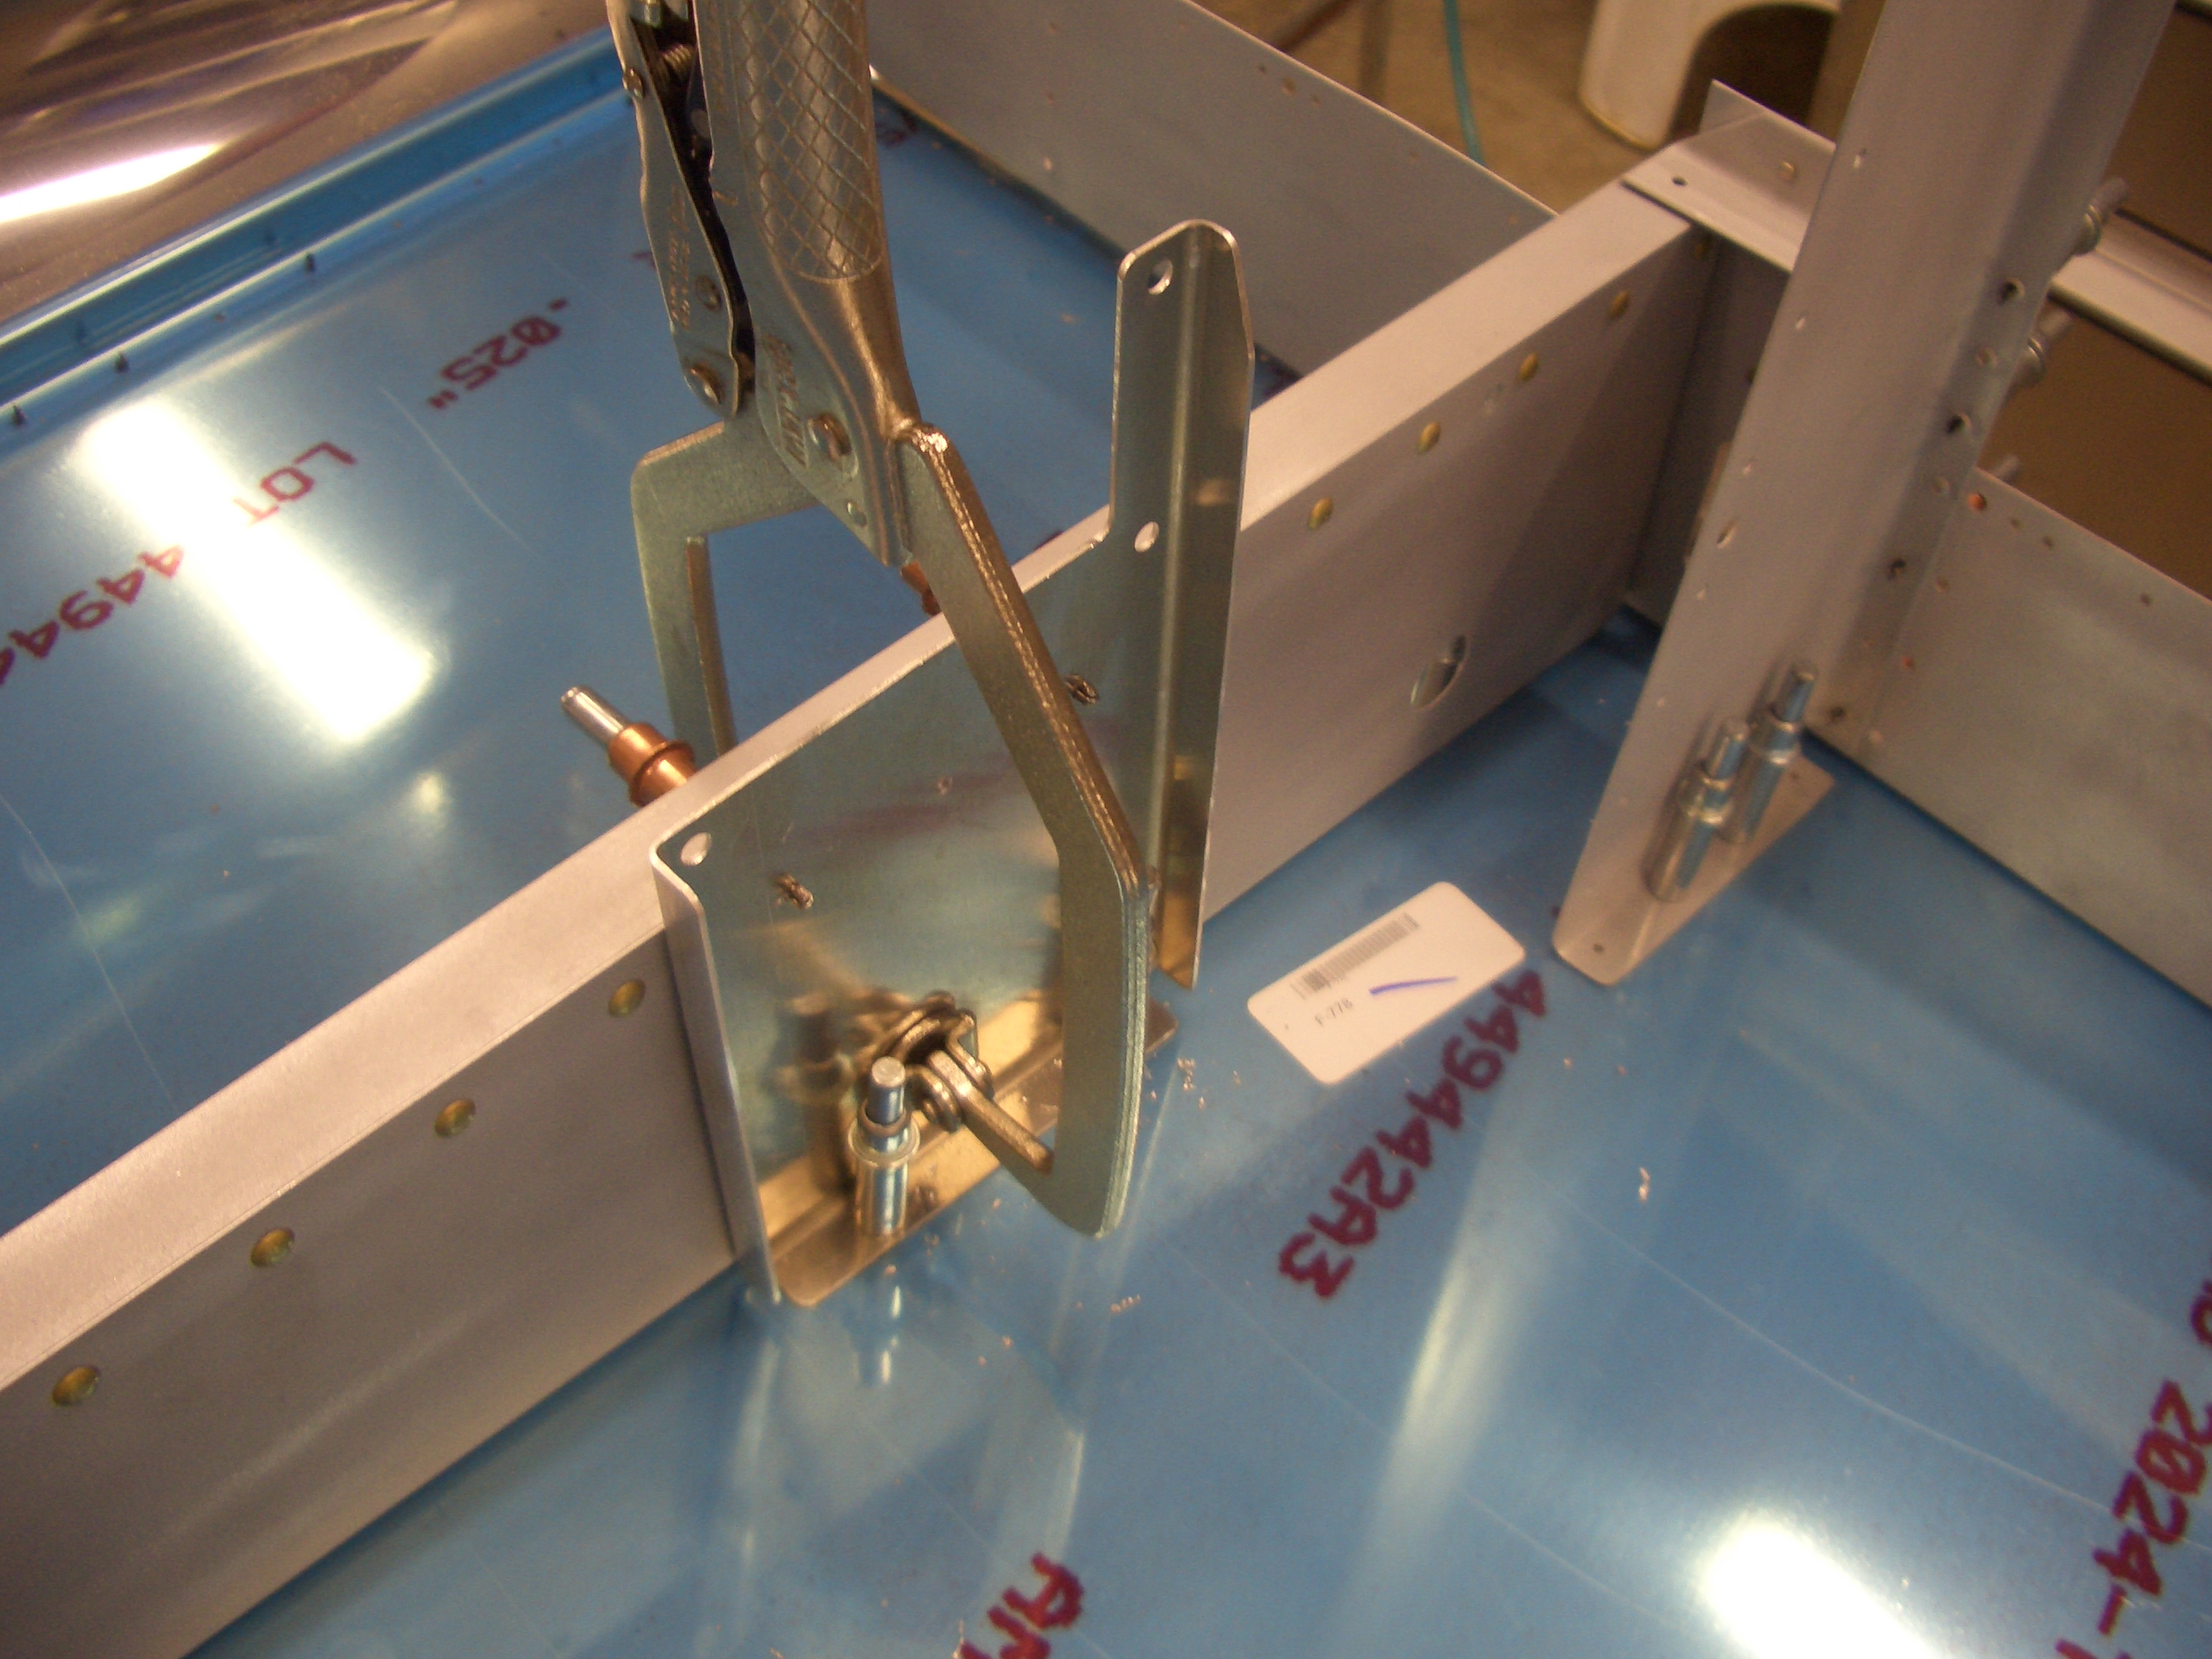
I had a couple of tasks to take care of before disassembling the aft fuselage. First up is to mount the autopilot pitch servo mounting bracket. The forward edge of this has to be 3.43″ from the center of the 1/4″ pivot hole for the elevator bellcrank. This required drilling out three rivets so the mounting plate could sit flush. If you’re installing a dynon autopilot, just leave these rivets out from the beginning and save yourself the time.
Here’s how the bracket sits against the rib. The flange on the bottom can be cut off or drilled to the skin (which I’m doing).
After match drilling the bracket to the rib, I laid out for rivet holes aligned with the ones in the rib (as if aesthetics matter on the bottom of the aircraft).
After clecoing the structure back to the bottom skin (and using a clamp to keep the bracket tight against the rib), I match drilled the skin to the bracket.
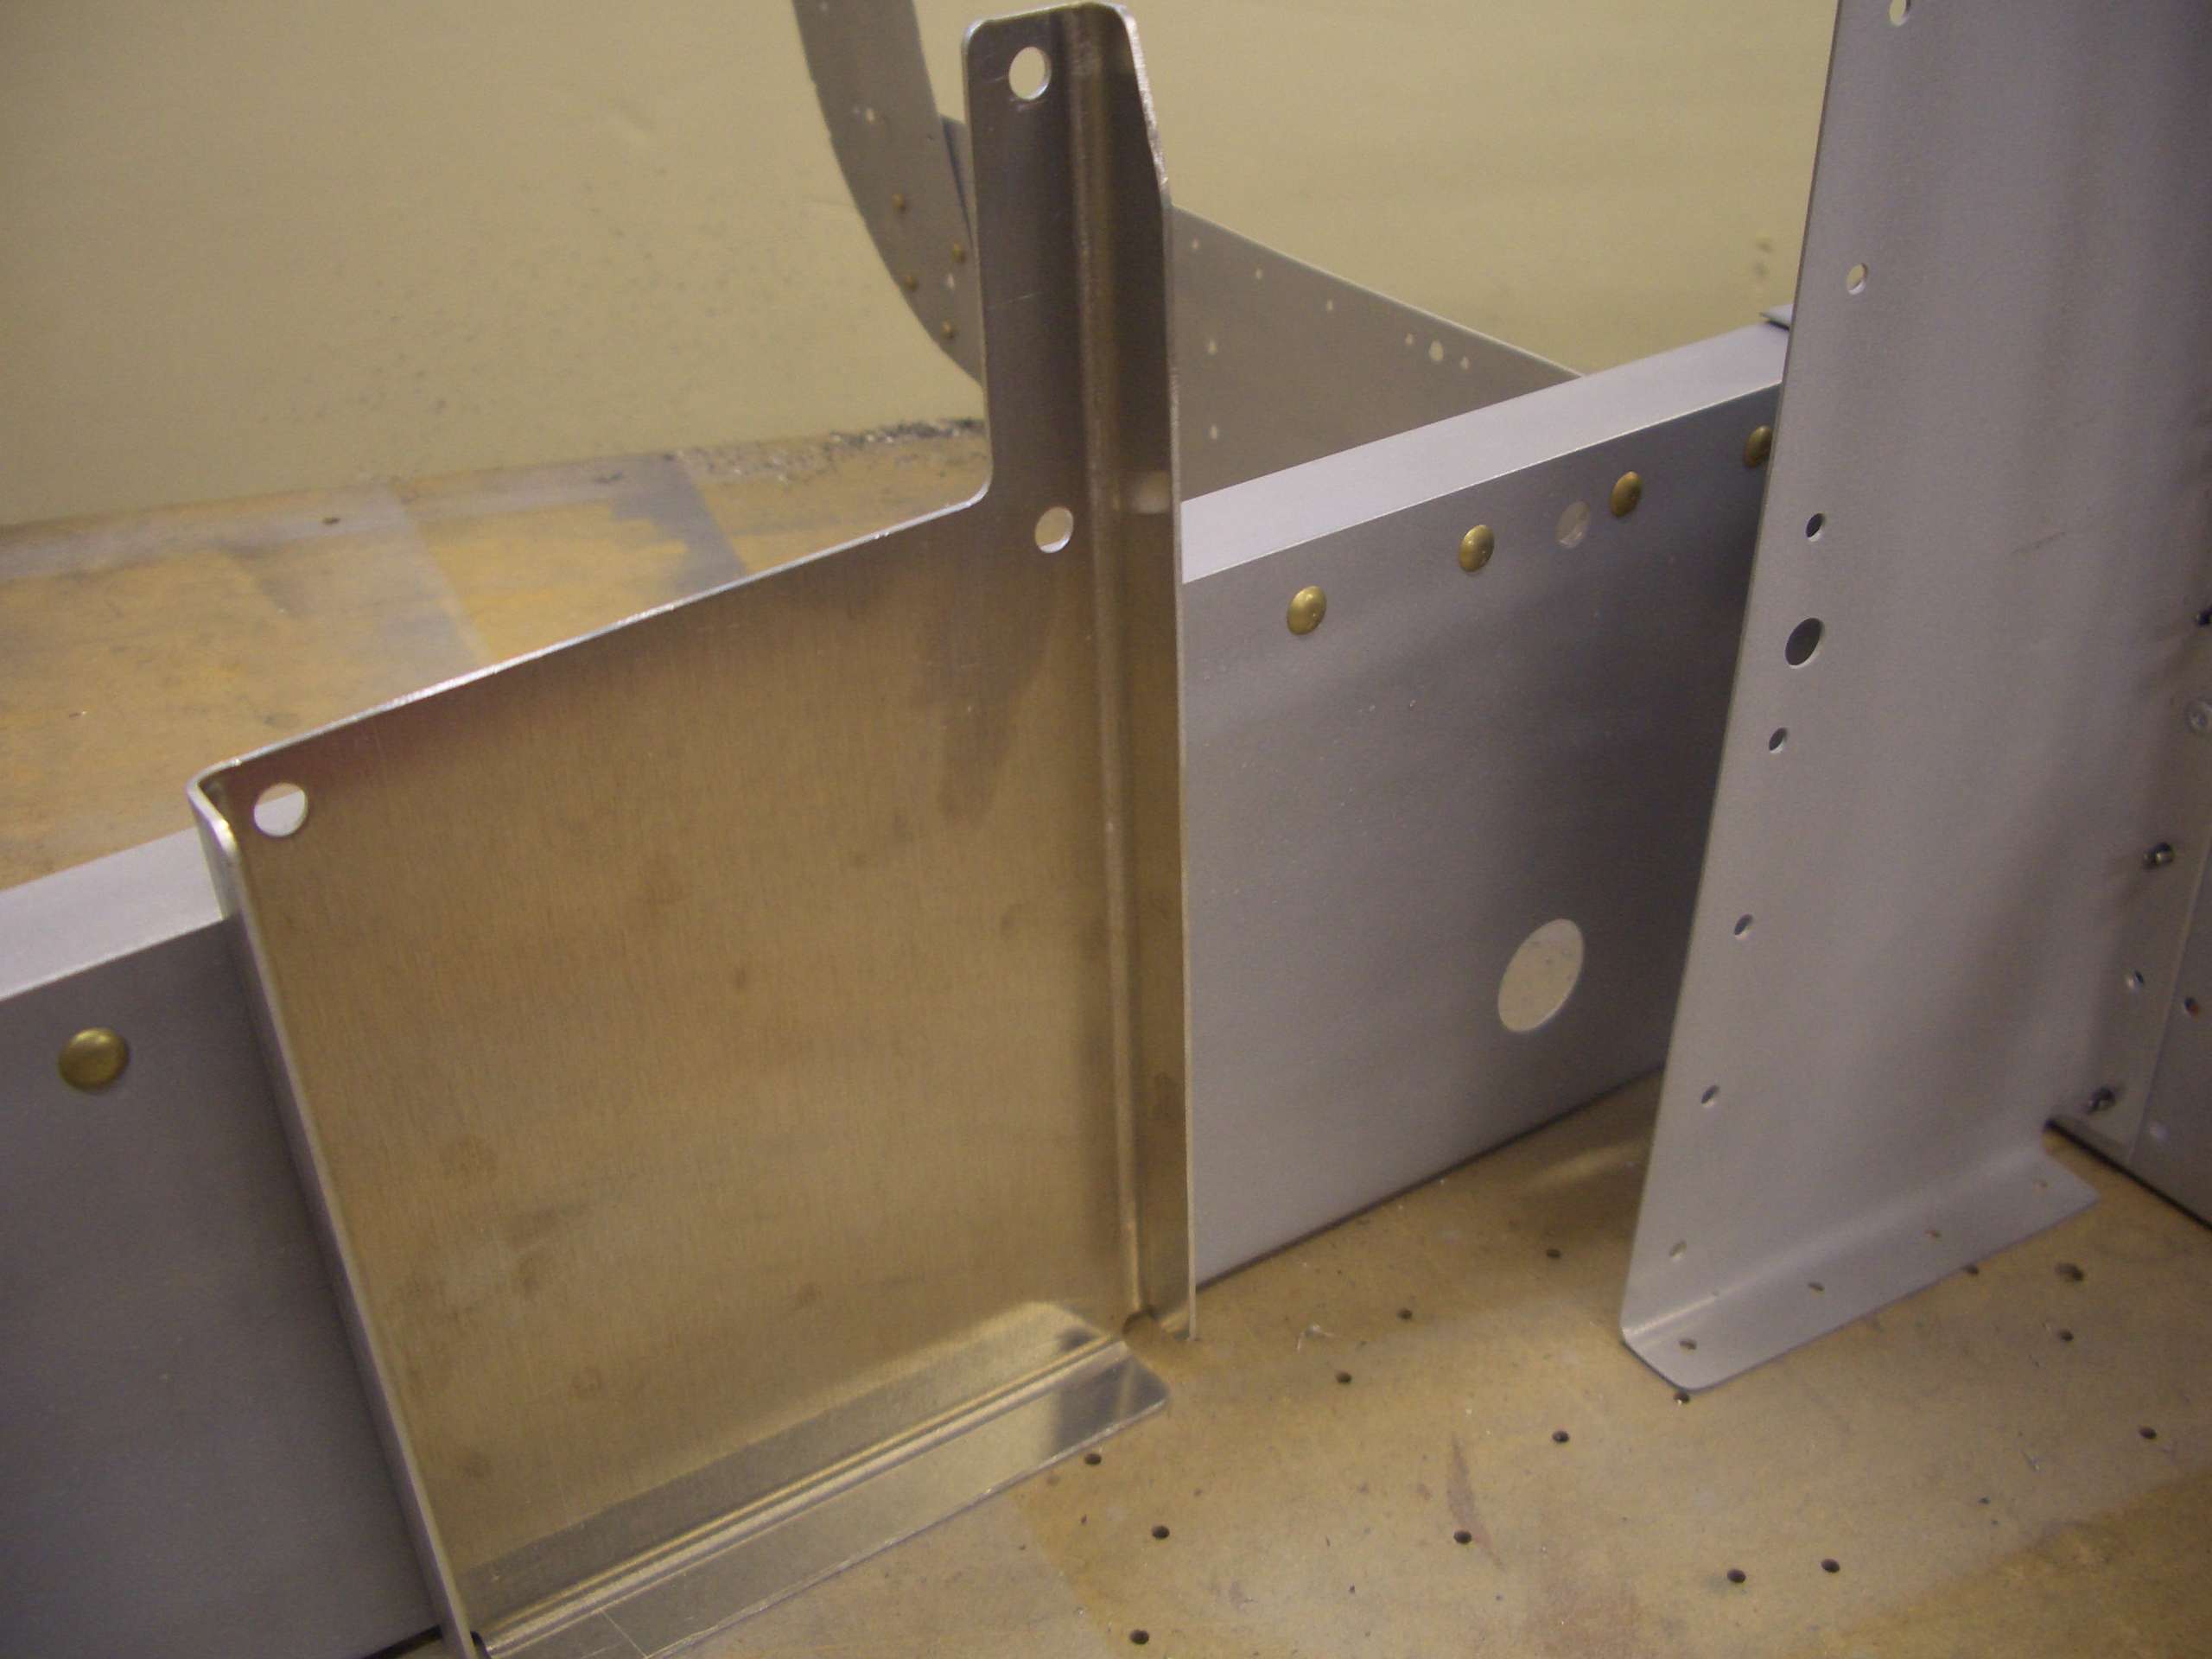
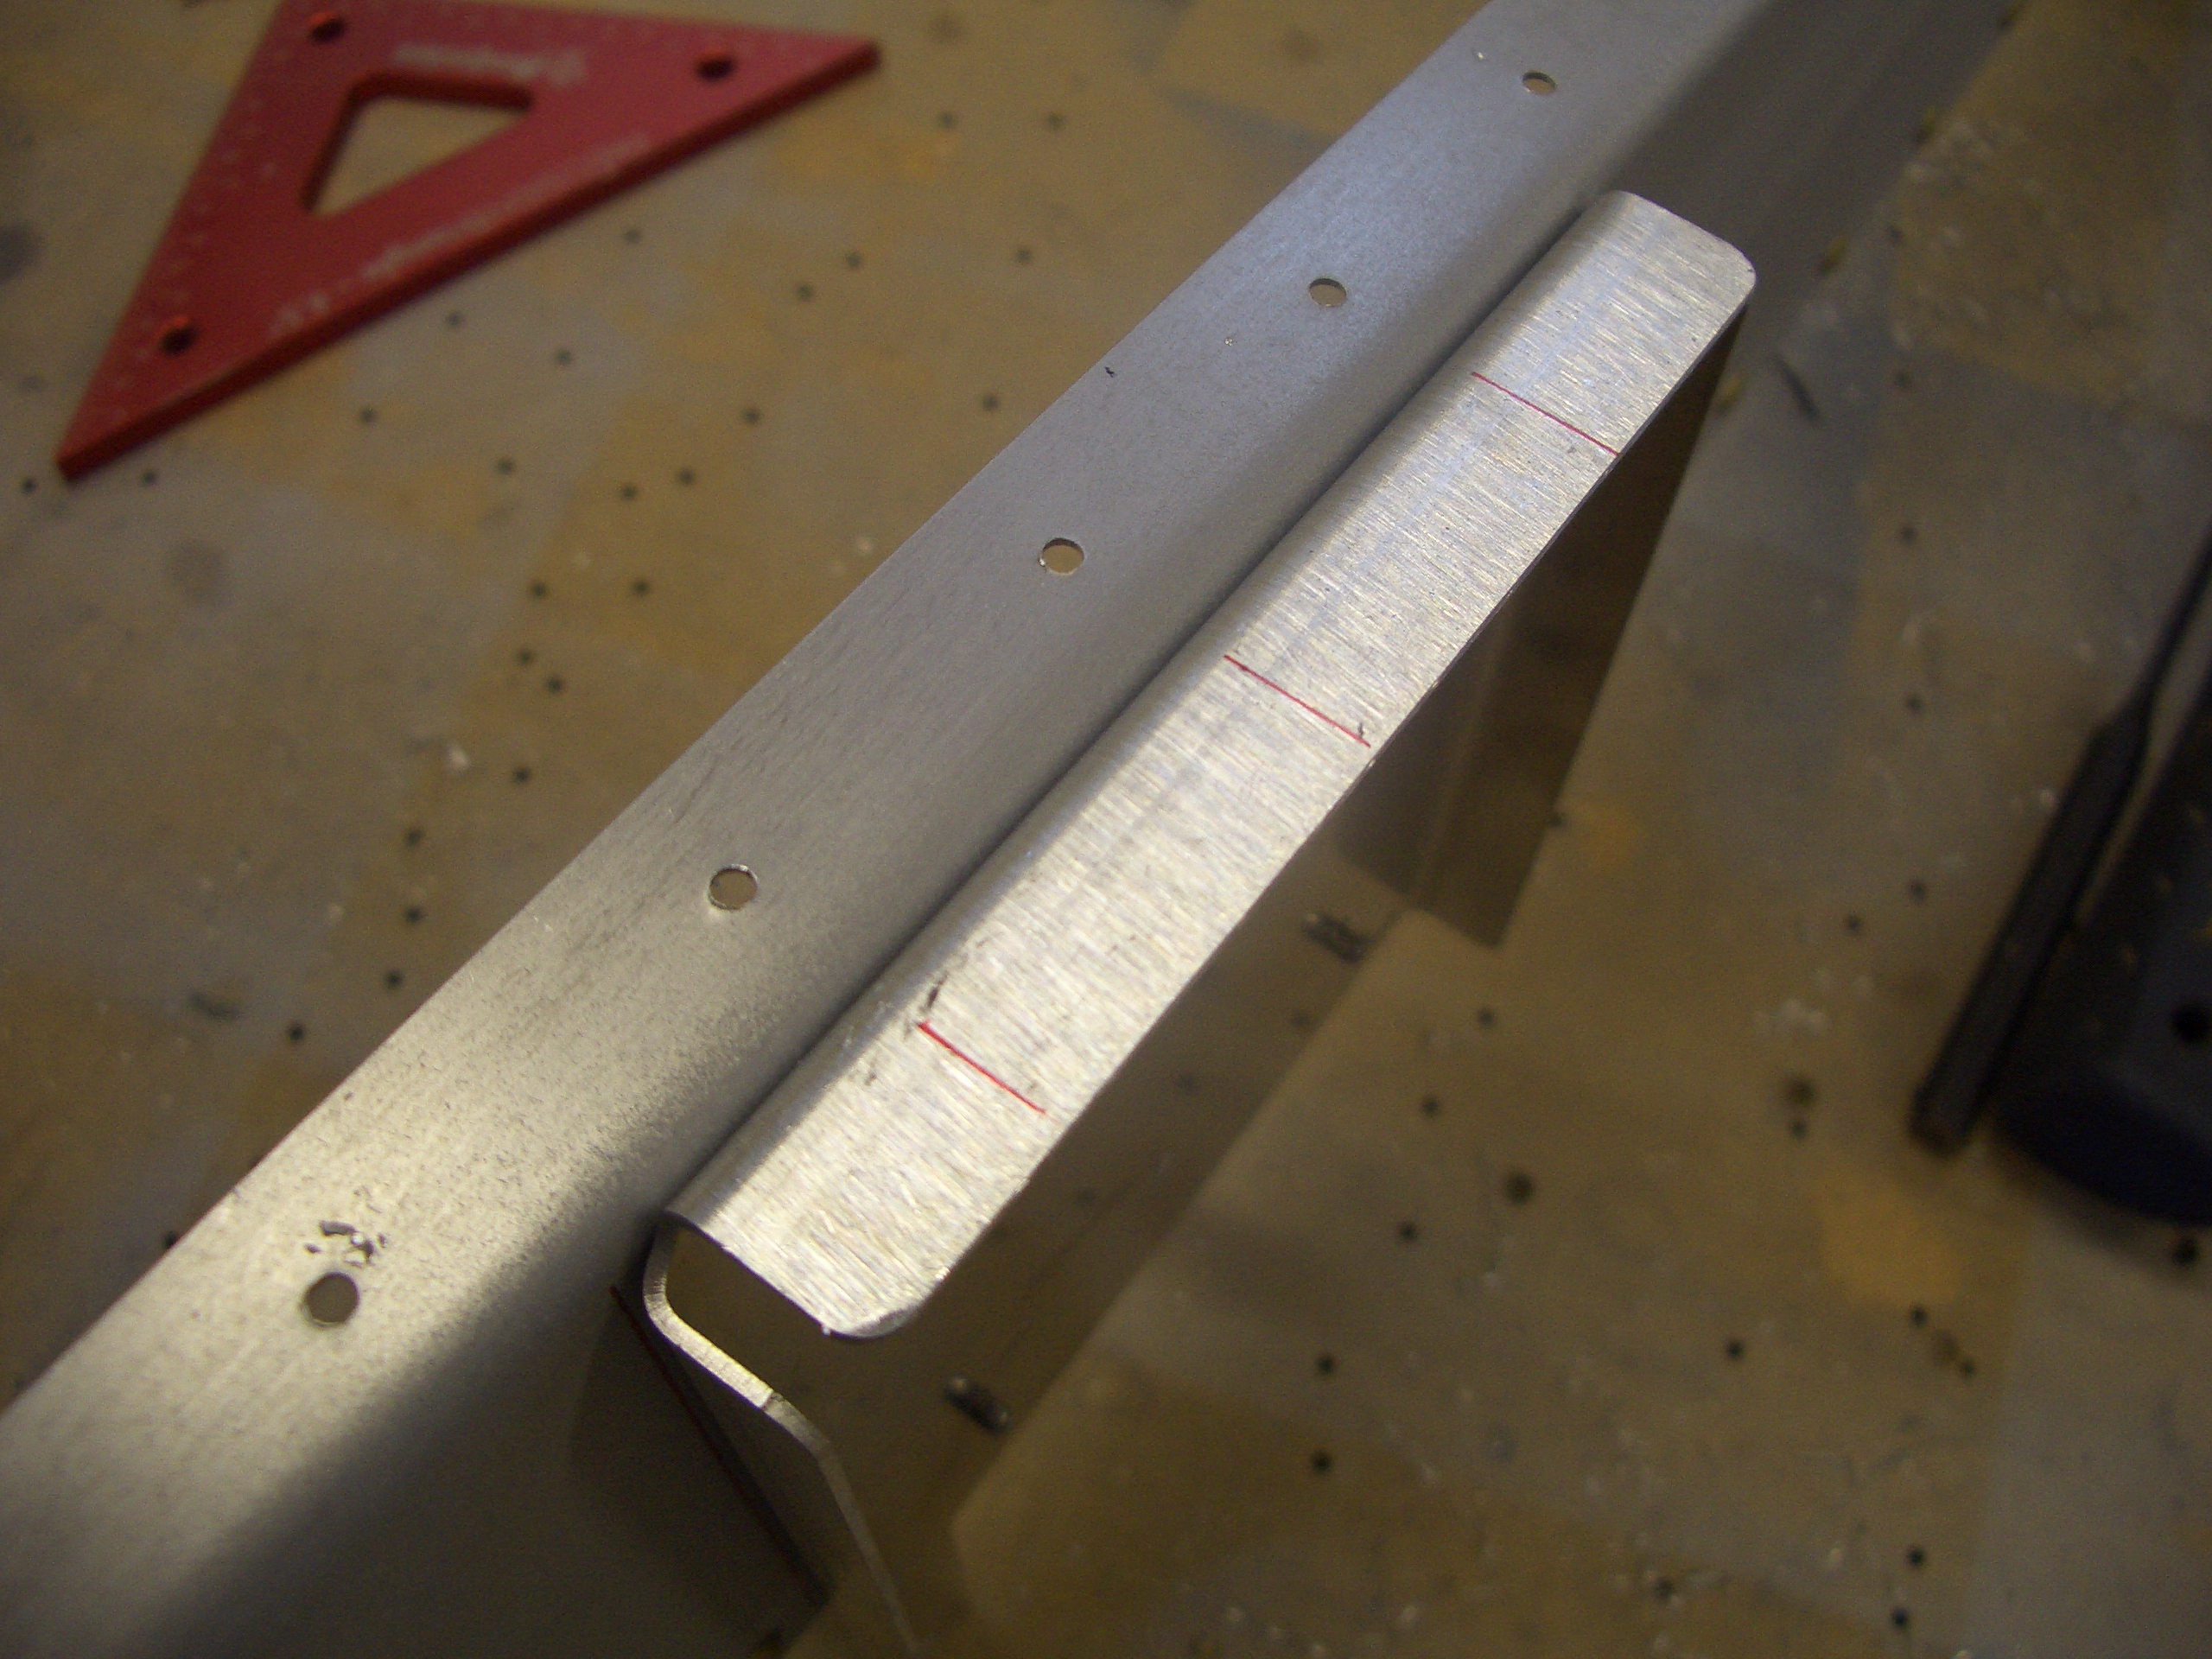
The F-710 bulkhead needs a piece of 1/8″x1″x1″ angle fabricated to sit at the top edge. The ends have to be tapered and shaped to nest into the longerons.
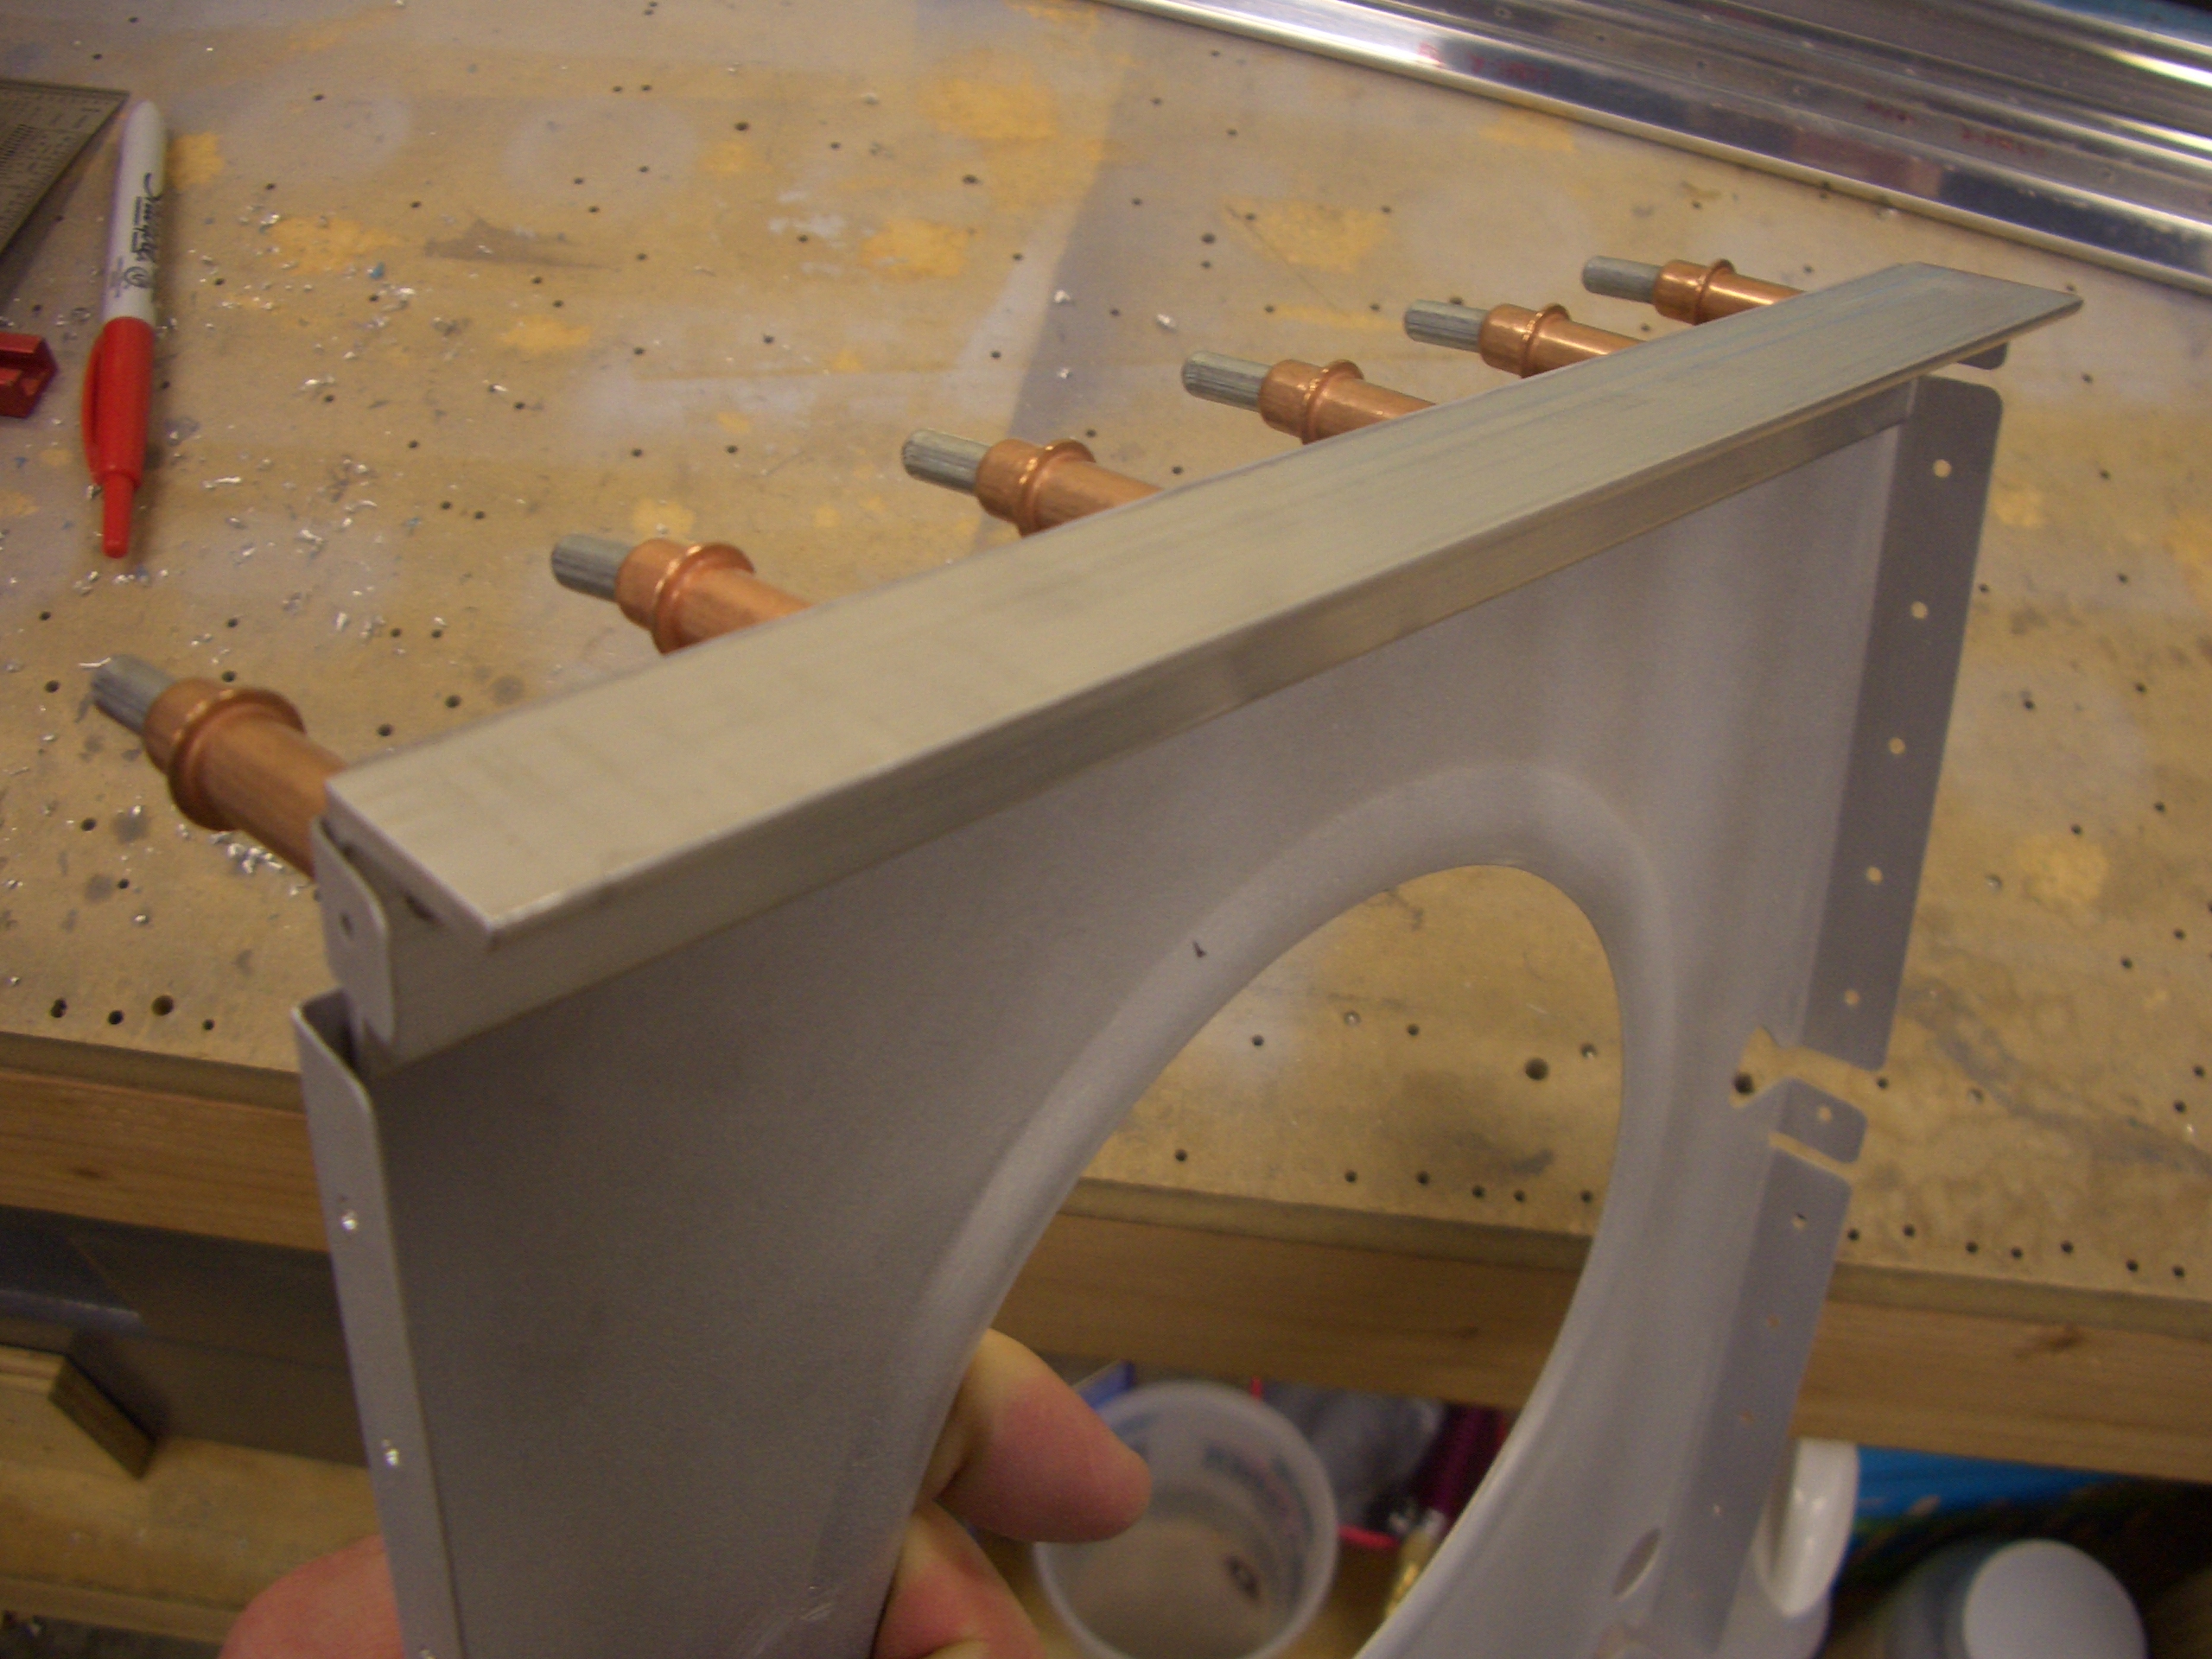
The F-711 bulkhead also needs a piece of 1/8″x3/4″x3/4″ angle, also with tapered and shaped ends. This won’t get riveted on until the side skins are riveted to the longerons.
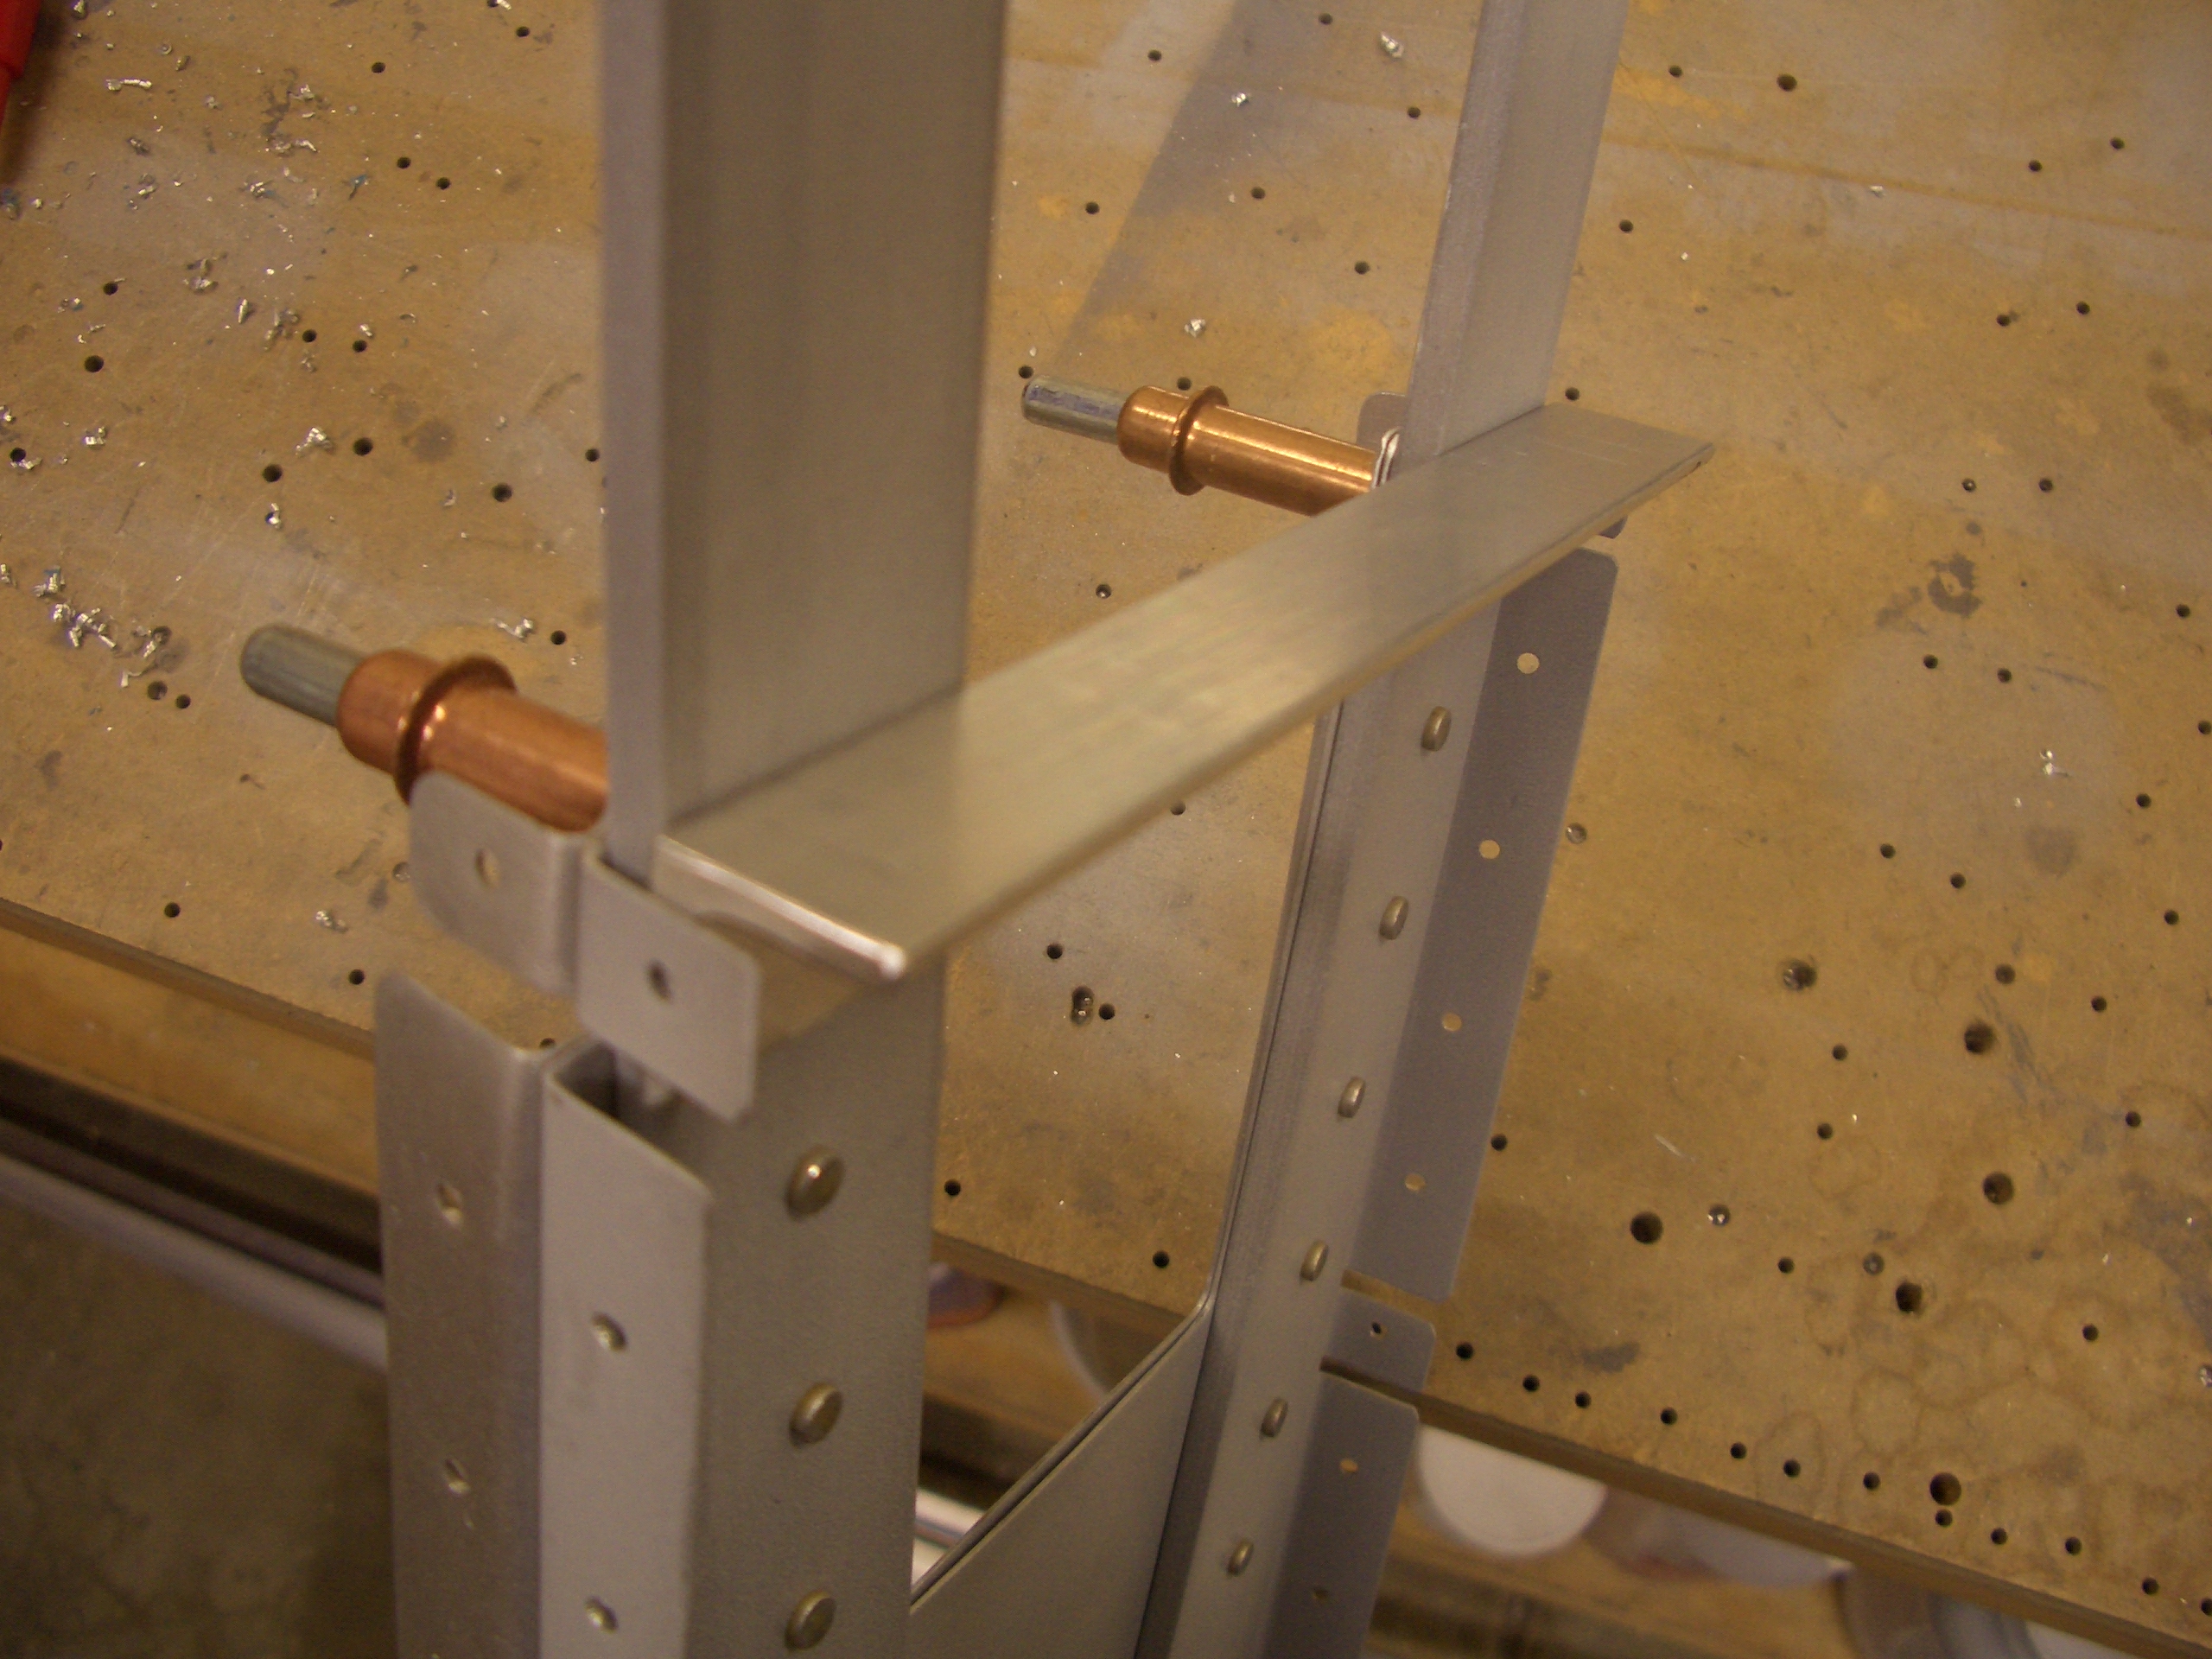
Here you can see why. The longerons rivet to this flange on the bulkhead which is covered by the angle I just fabricated. In fact, I had to notch the ends of the angle here to clear the future shop head for this rivet.

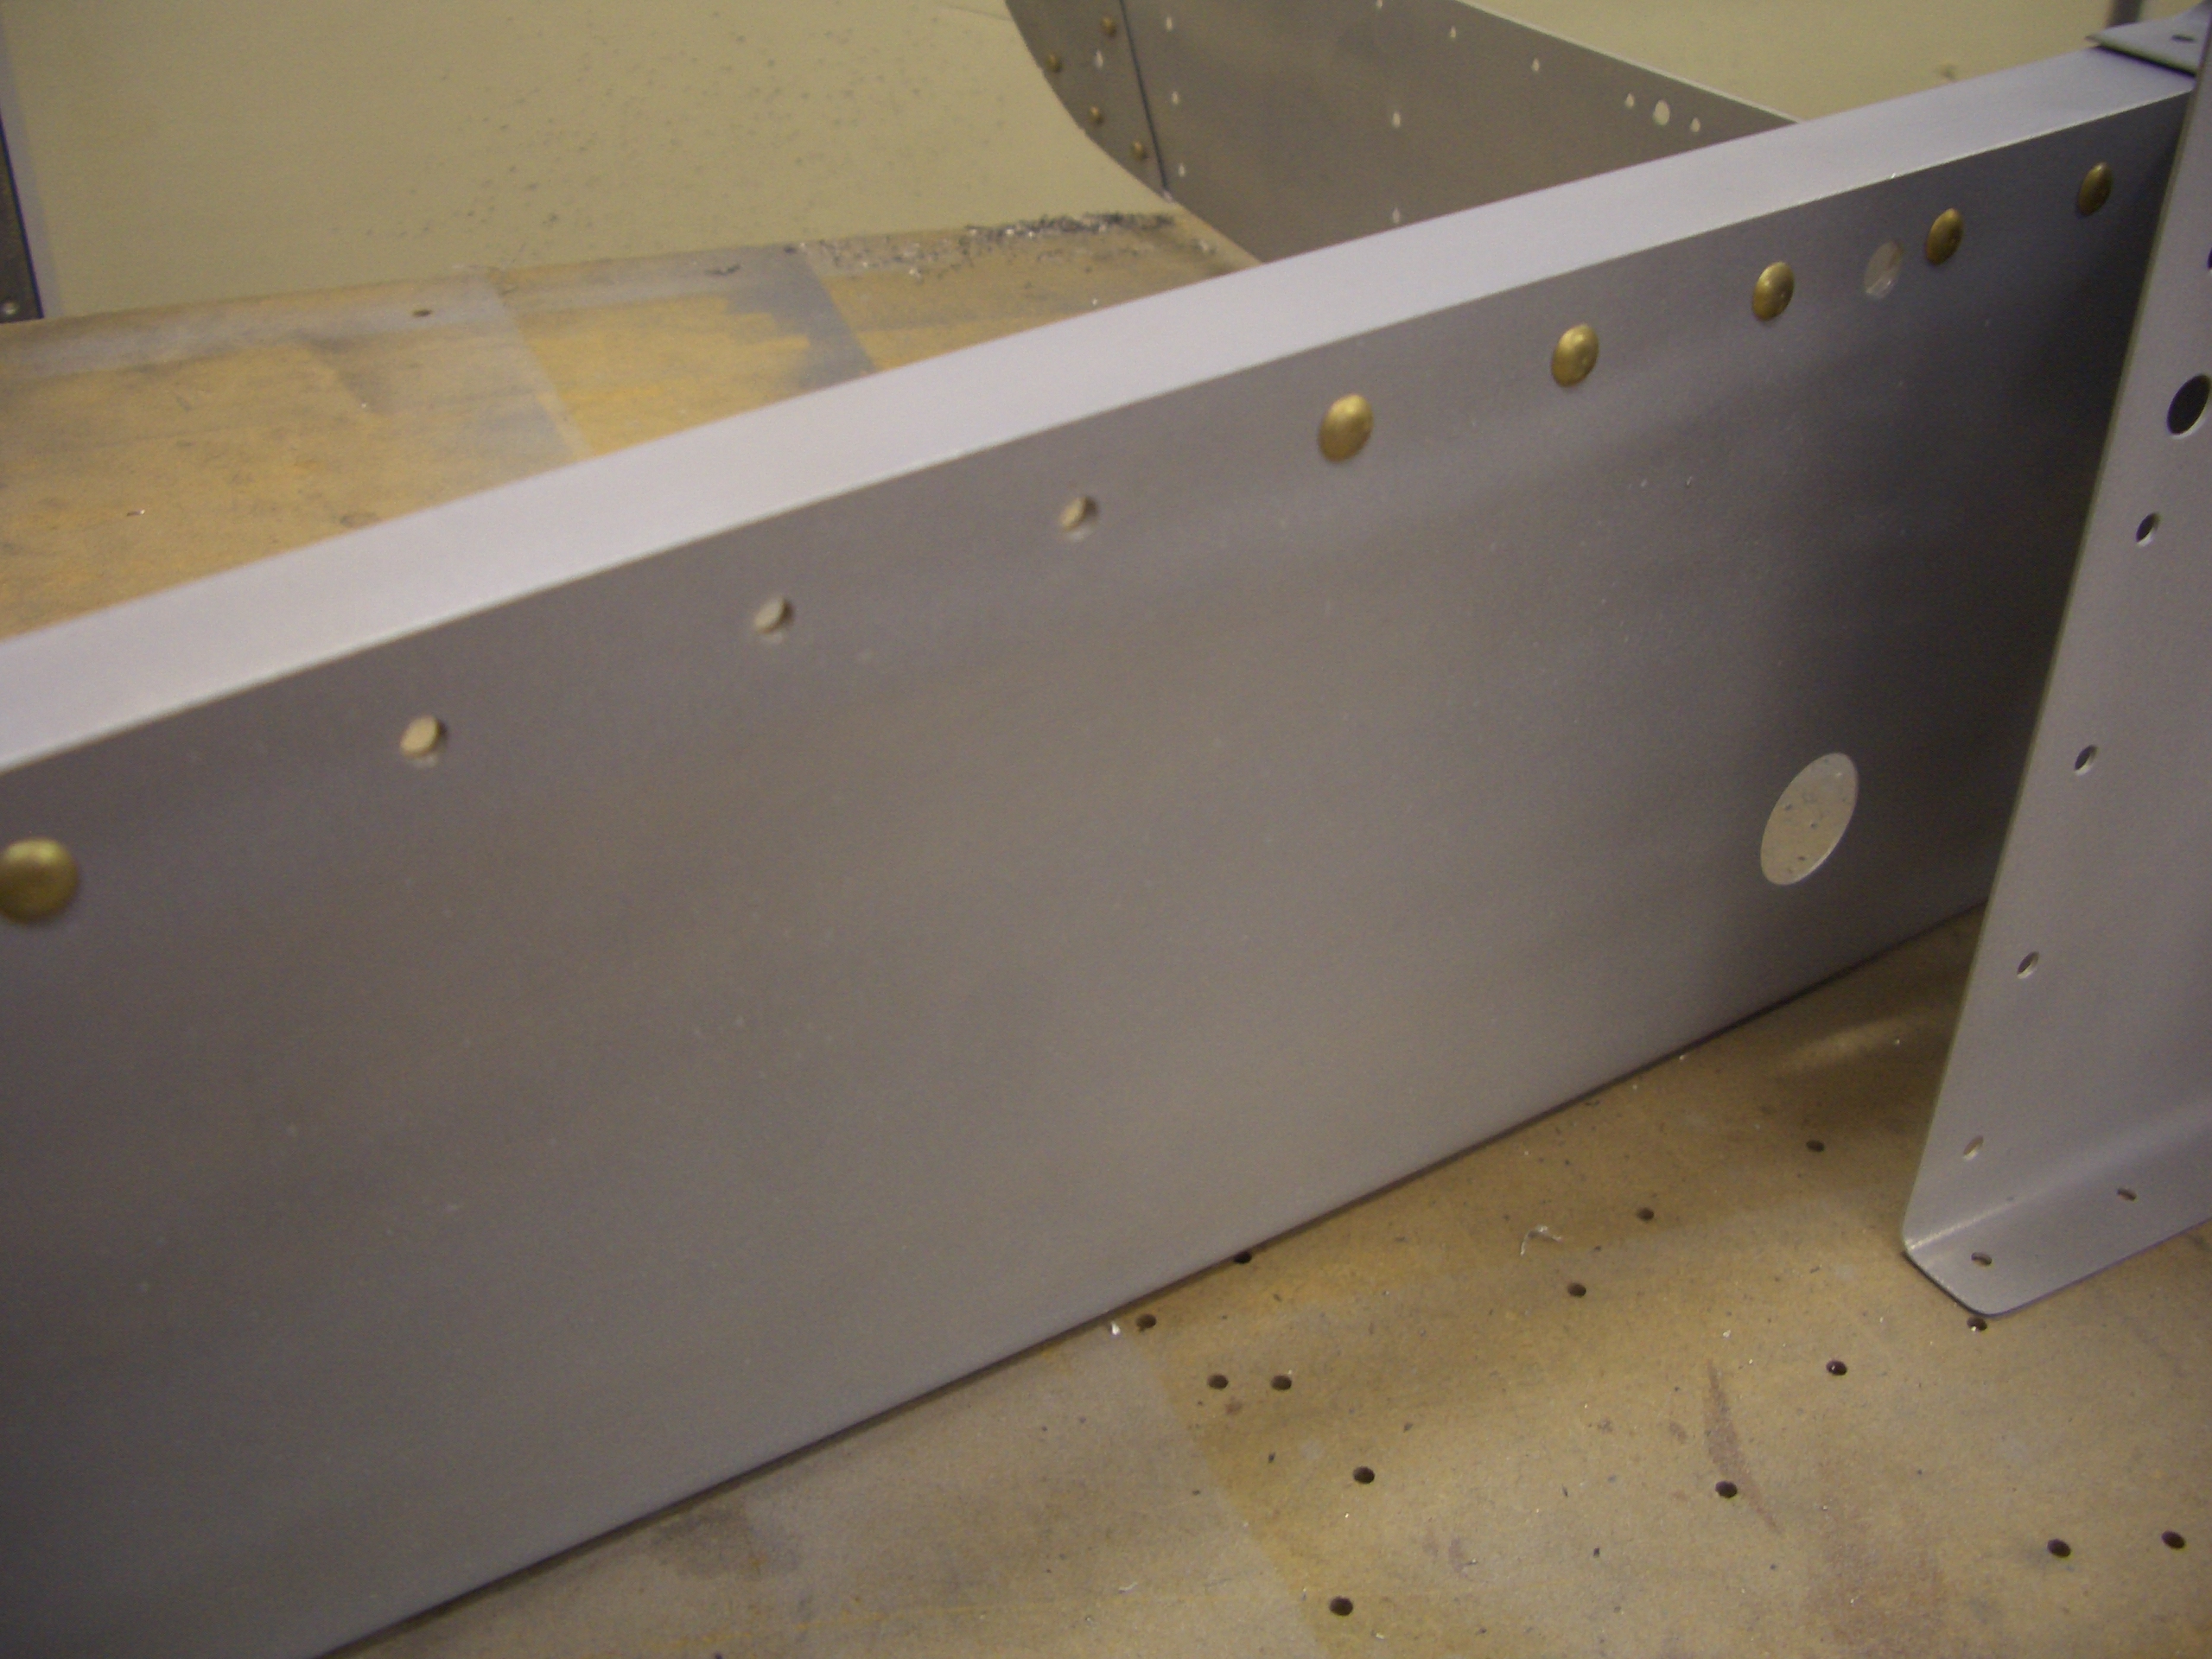
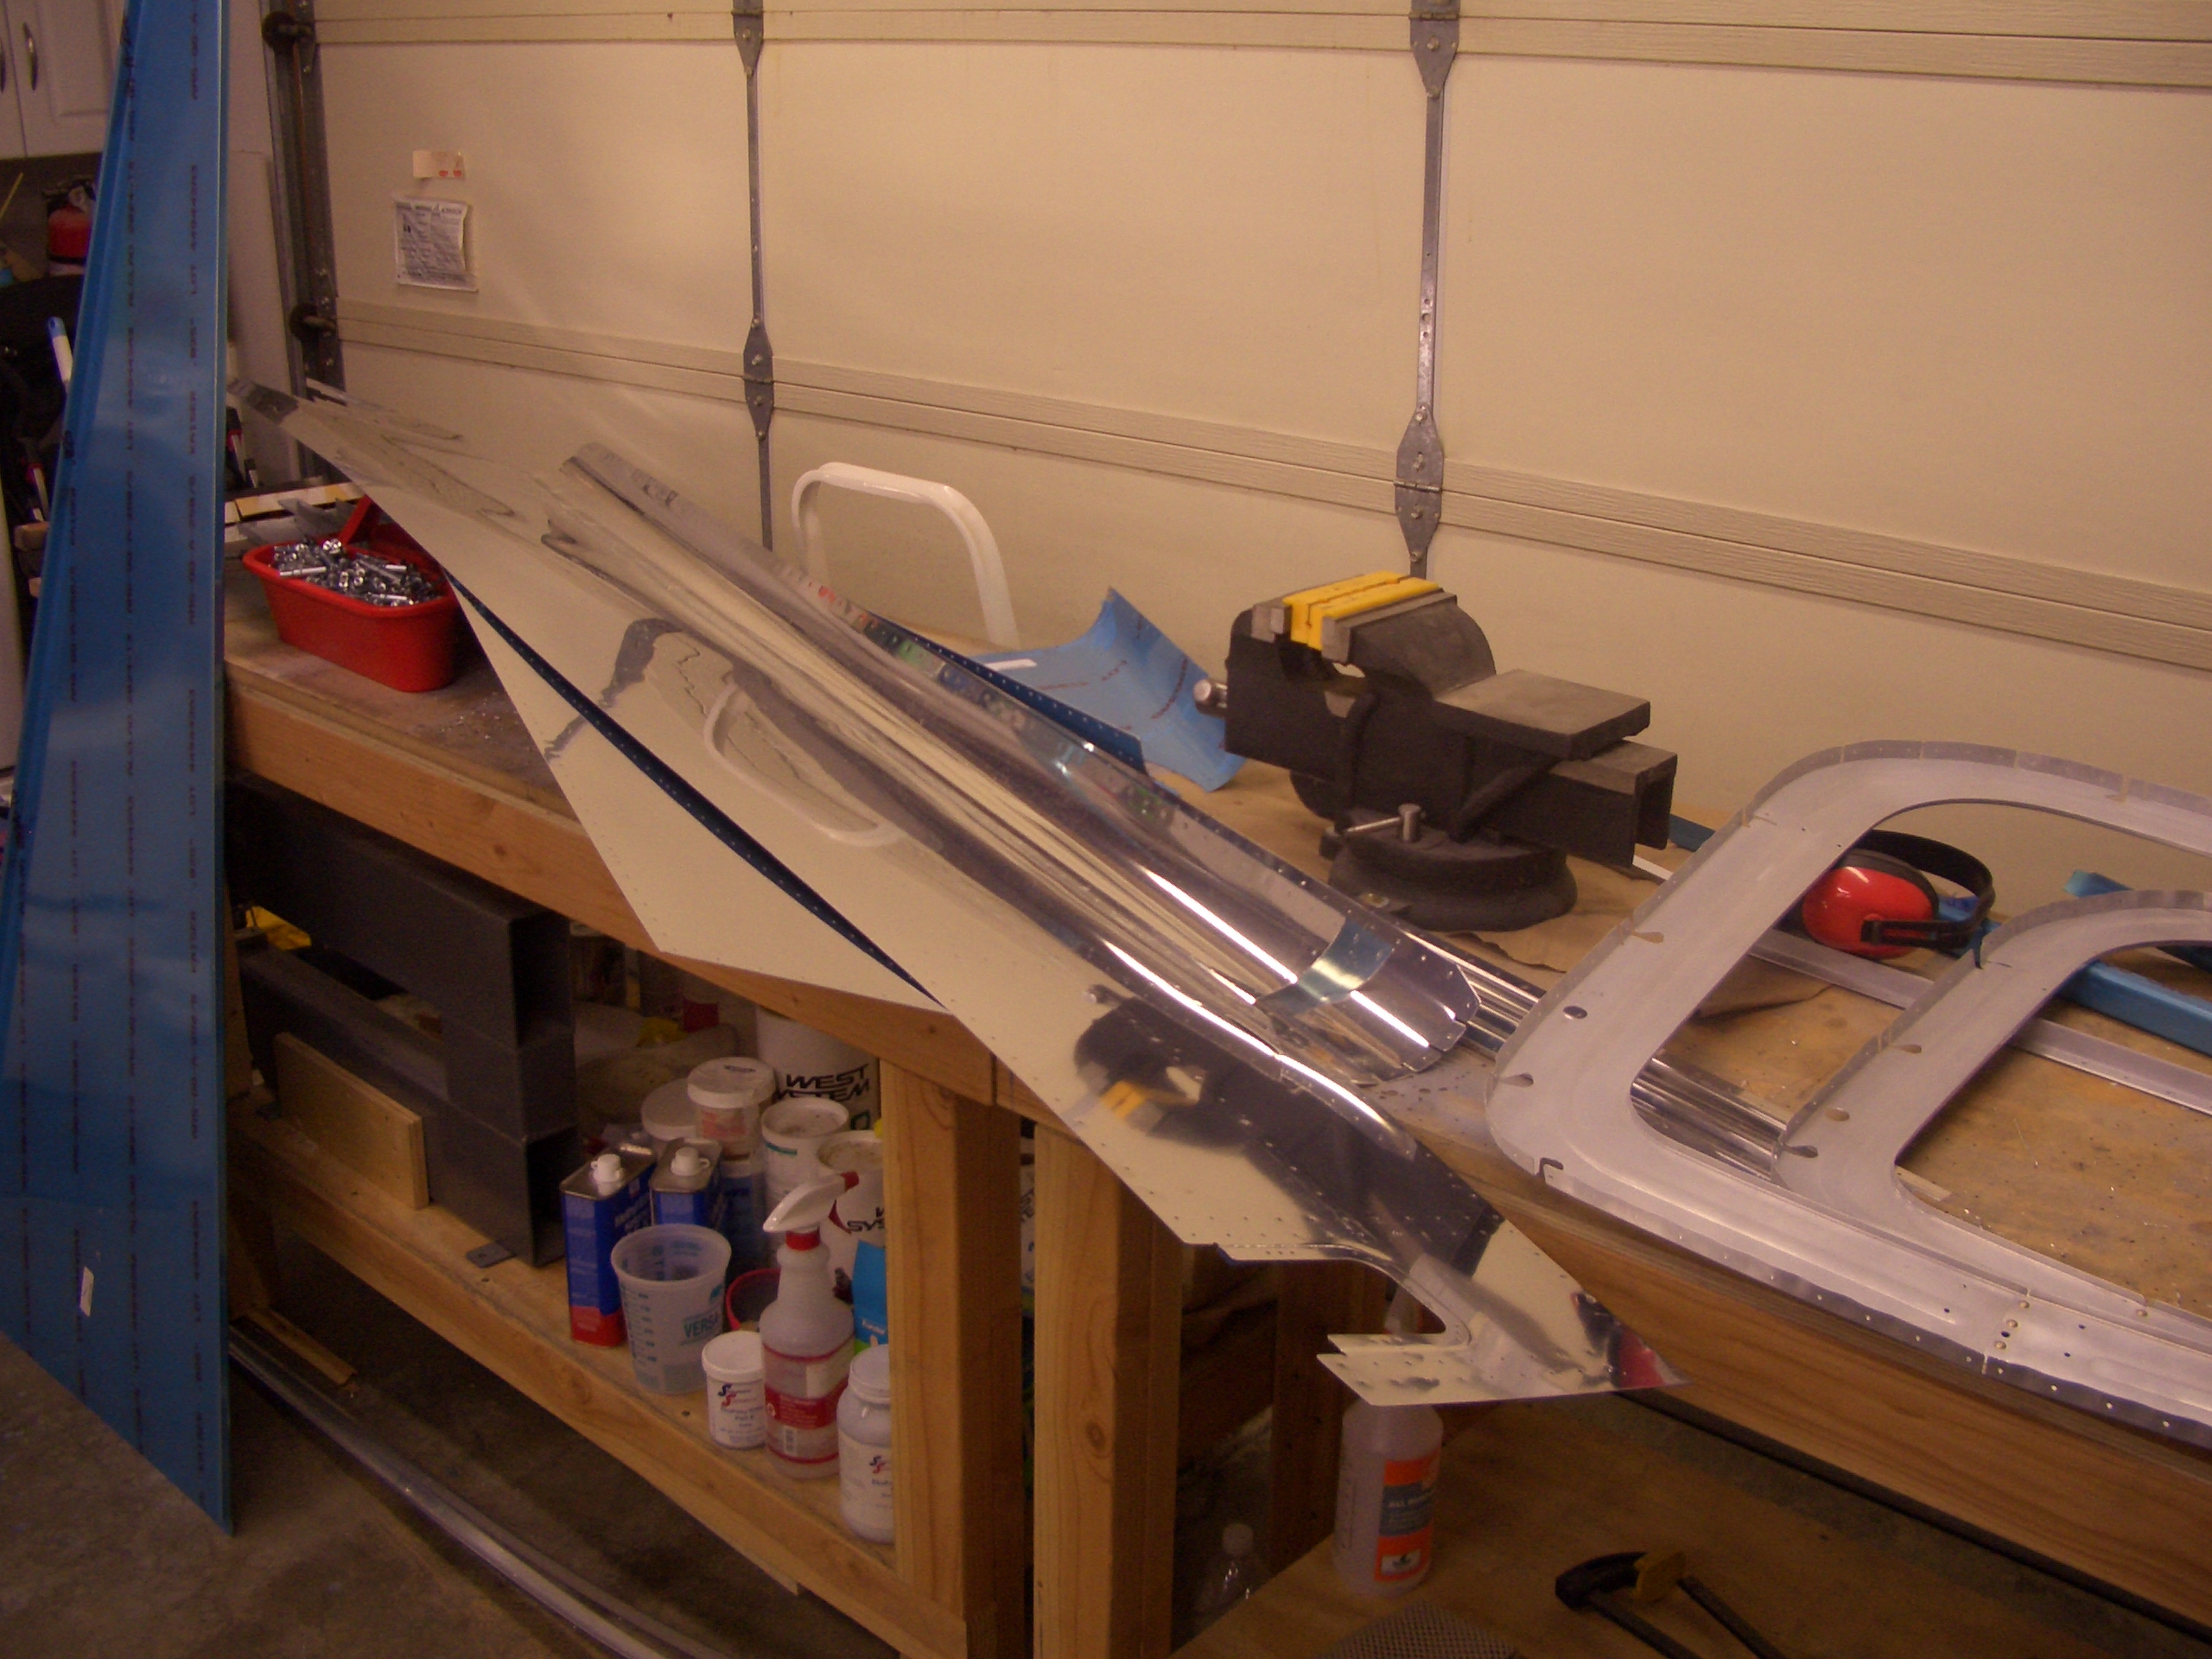
The tailcone is now fully disassembled so I can begin deburring, dimpling, and priming.
The bracket is 0.048″ thick, so it can’t be dimpled. Instead, I machine countersunk the holes here to receive the skin dimples.

I started deburring parts, but ran out of steam. I’d like to finish this up this weekend so I can get the tailcone riveted together before the holidays.