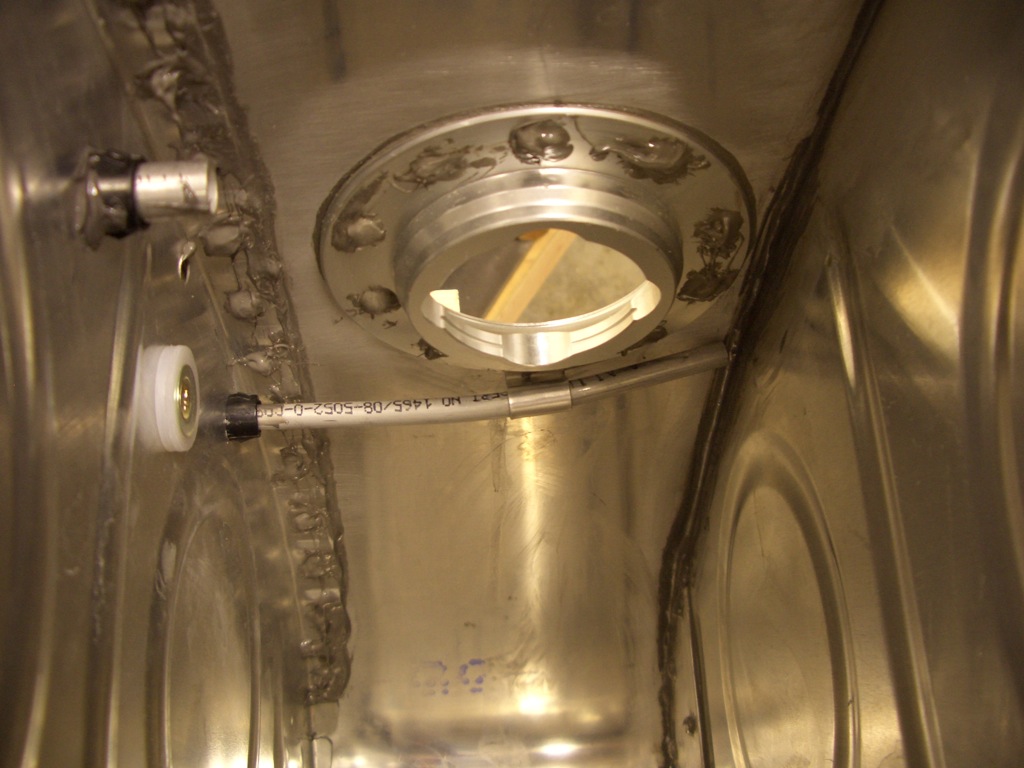
I got three of the four end ribs installed today. First up are the outboard ribs. These are pretty simple since they don’t interfere with any of the interior components and all of the rivets can be squeezed.
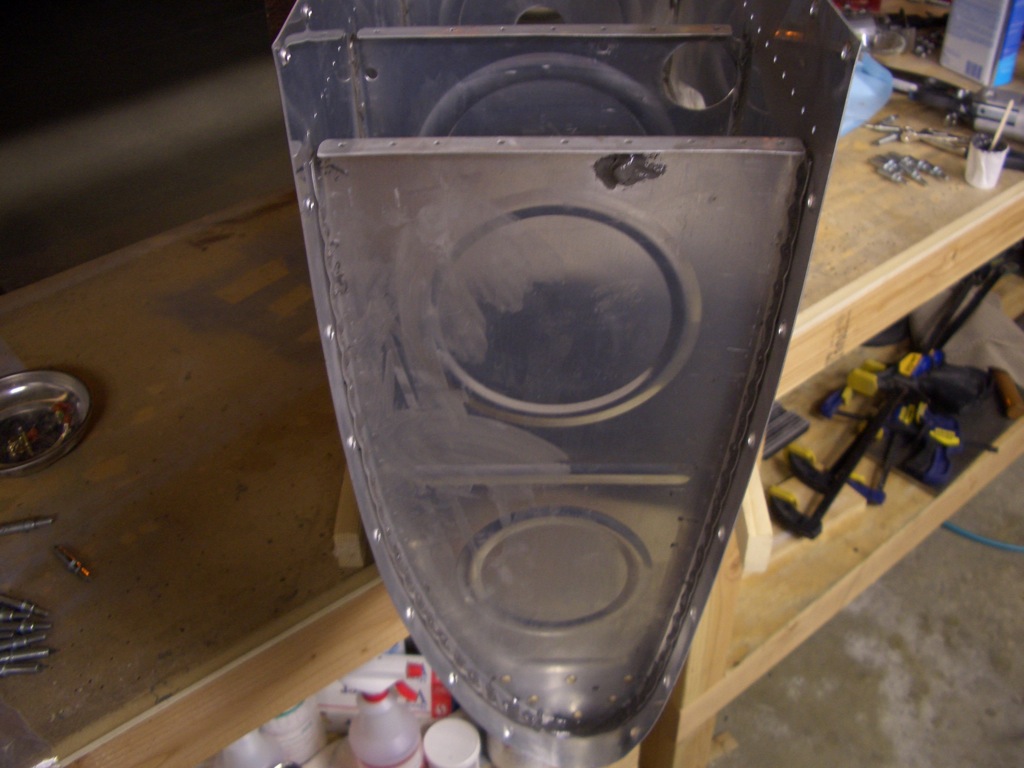
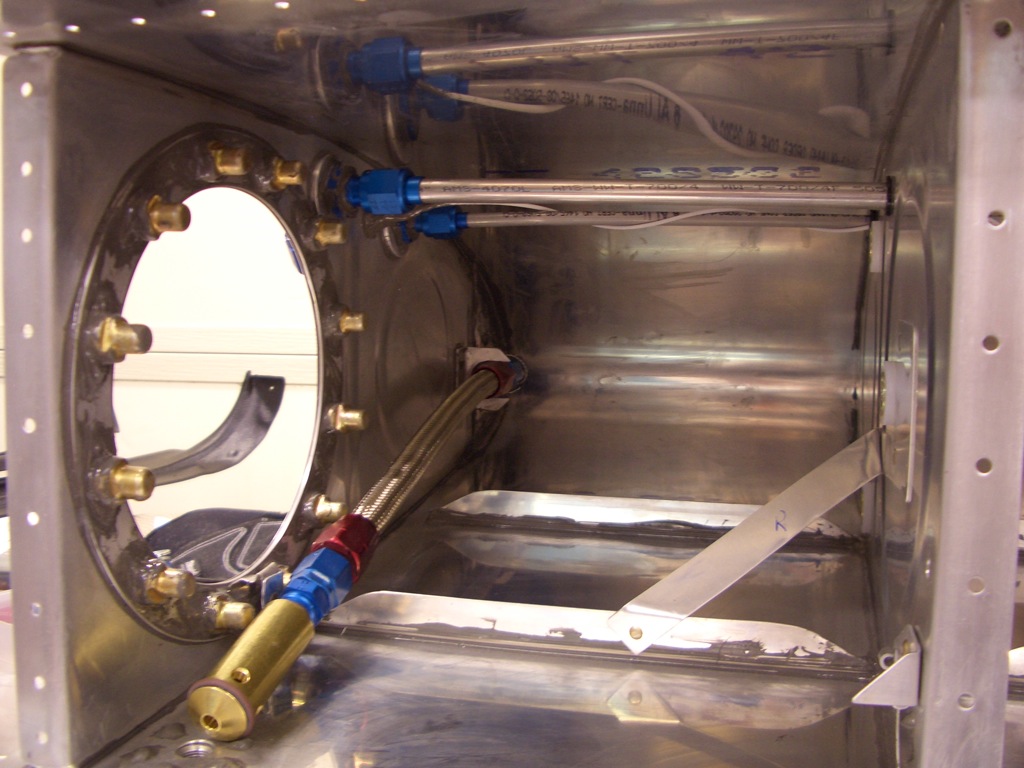
Next up is to install the inboard ribs. After that, the fuel return and vent line can be torqued down. The wire from the BNC connector is then routed along the vent line to the second bay where it will connect with the inboard sender plate. Finally, the flop tube can be installed.
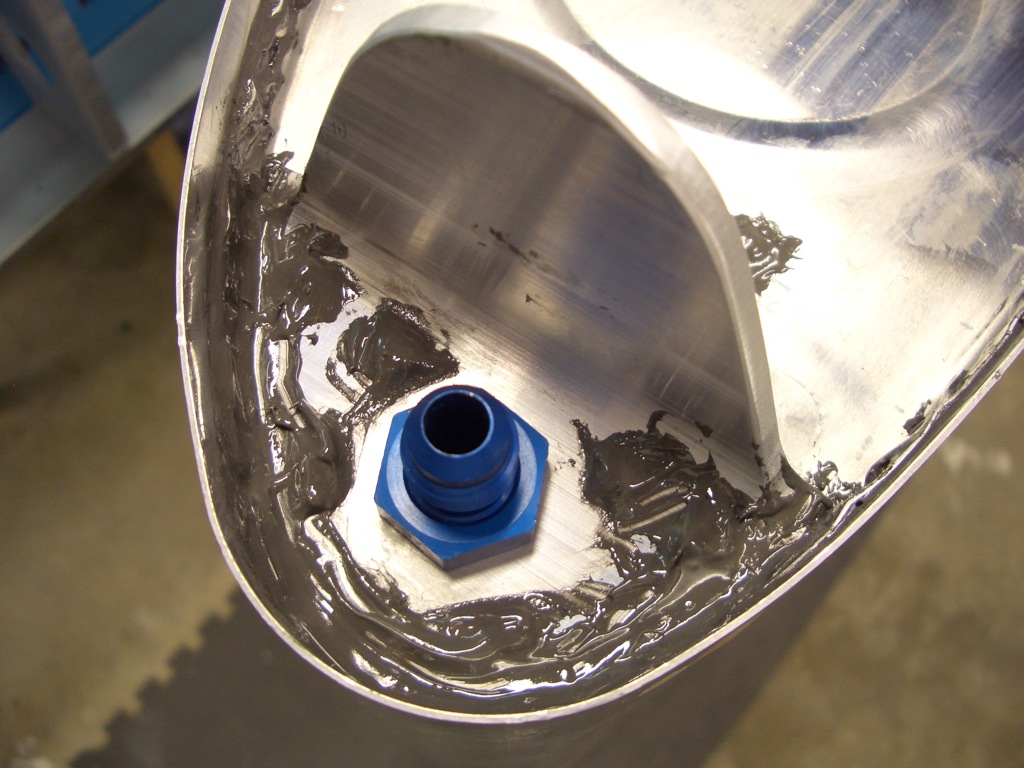
Here is the nut that holds on the flop tube fitting. I didn’t get a picture of it before installing the flop tube, but I also installed this fuel tank attach bracket and the reinforcing plate on the other side with six 1/8″ universal rivets. I probably overdid it on the sealant here, but I’d rather be safe than sorry when it comes to sealing the tanks.
Now that the vent line is in its final location, I used some sealant to cover the wire terminal and to secure the wire to the vent line.
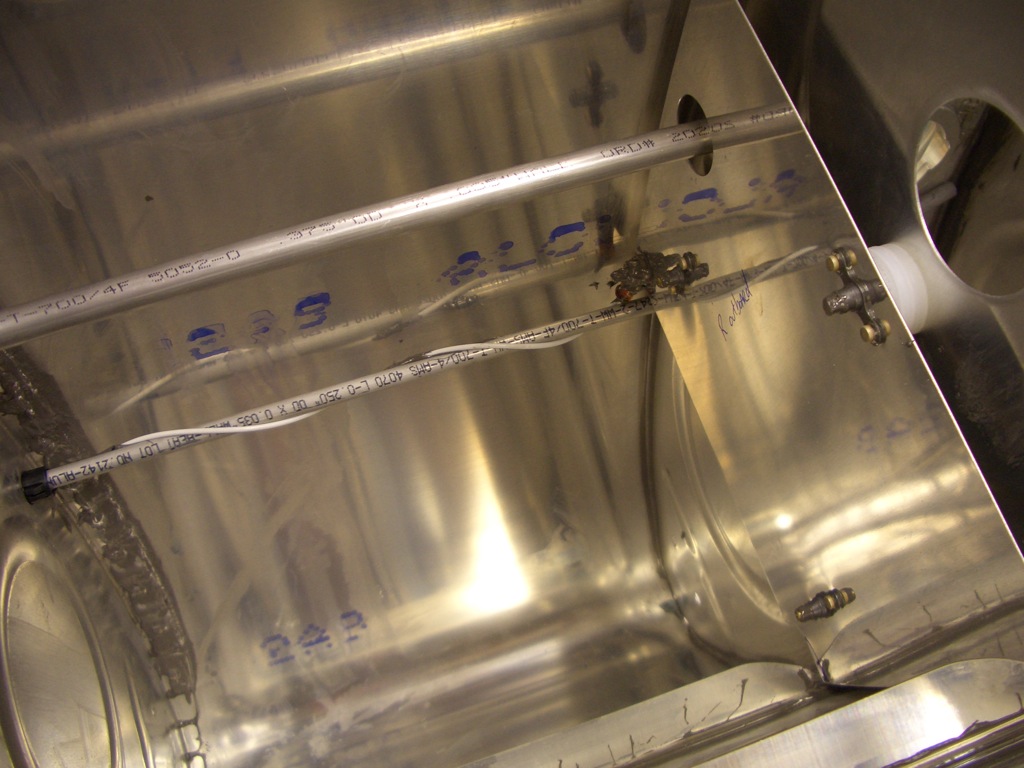
The wires from the BNC connector and the outboard sender plate come together in the second bay and are screwed to the inboard sender plate. I’ll use some sealant to cover these terminals and secure the wires from moving.
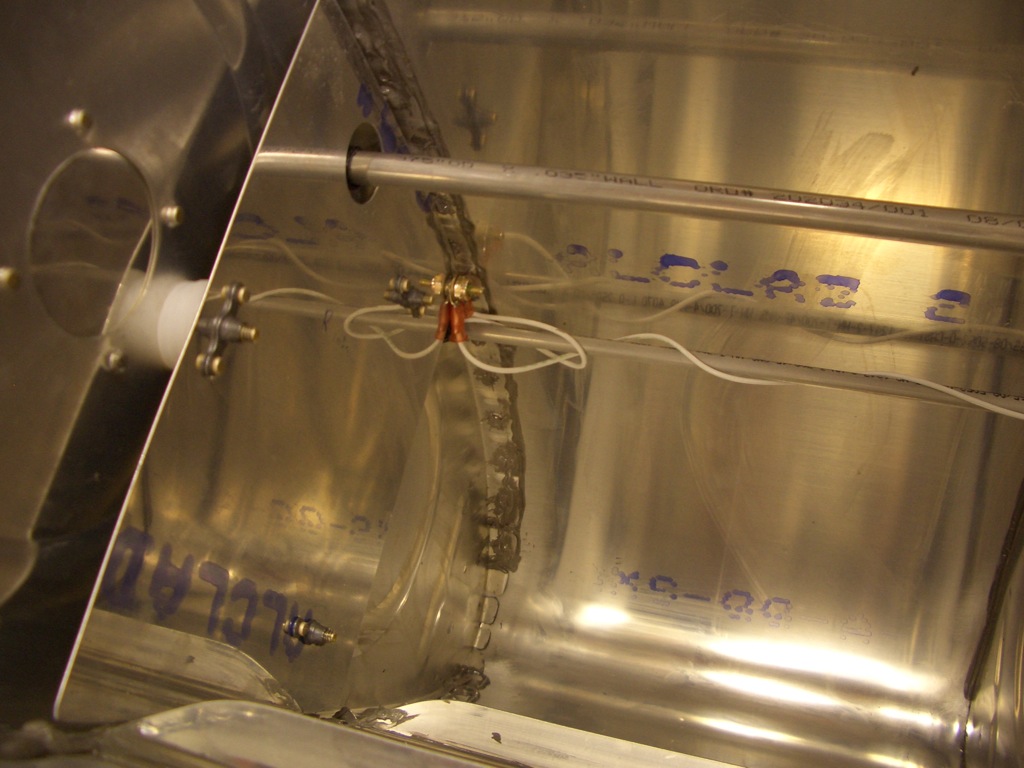
Also, now that the vent line is in its final position, the end of the vent line can be bent up to the highest point in the tank. This will allow the tank to hold the maximum amount of fuel possible before fuel starts draining out of the vent lines. The vent lines will have a high point in the fuselage that is above this point to keep fuel from flowing overboard even if it gets into the vent line unless there is significant fuel expansion.
