More Spar Platenuts and Tie Down Brackets

I installed two more center section platenuts per spar.  Given that I was alone today, I shot and bucked these solo.  They turned out pretty good.


I also tapped the tie down brackets. Apparently, many builders have trouble with this, but mine turned out great and only took about 15 minutes.


Here are both tie down brackets with their threaded ends.

Finished Main Spars

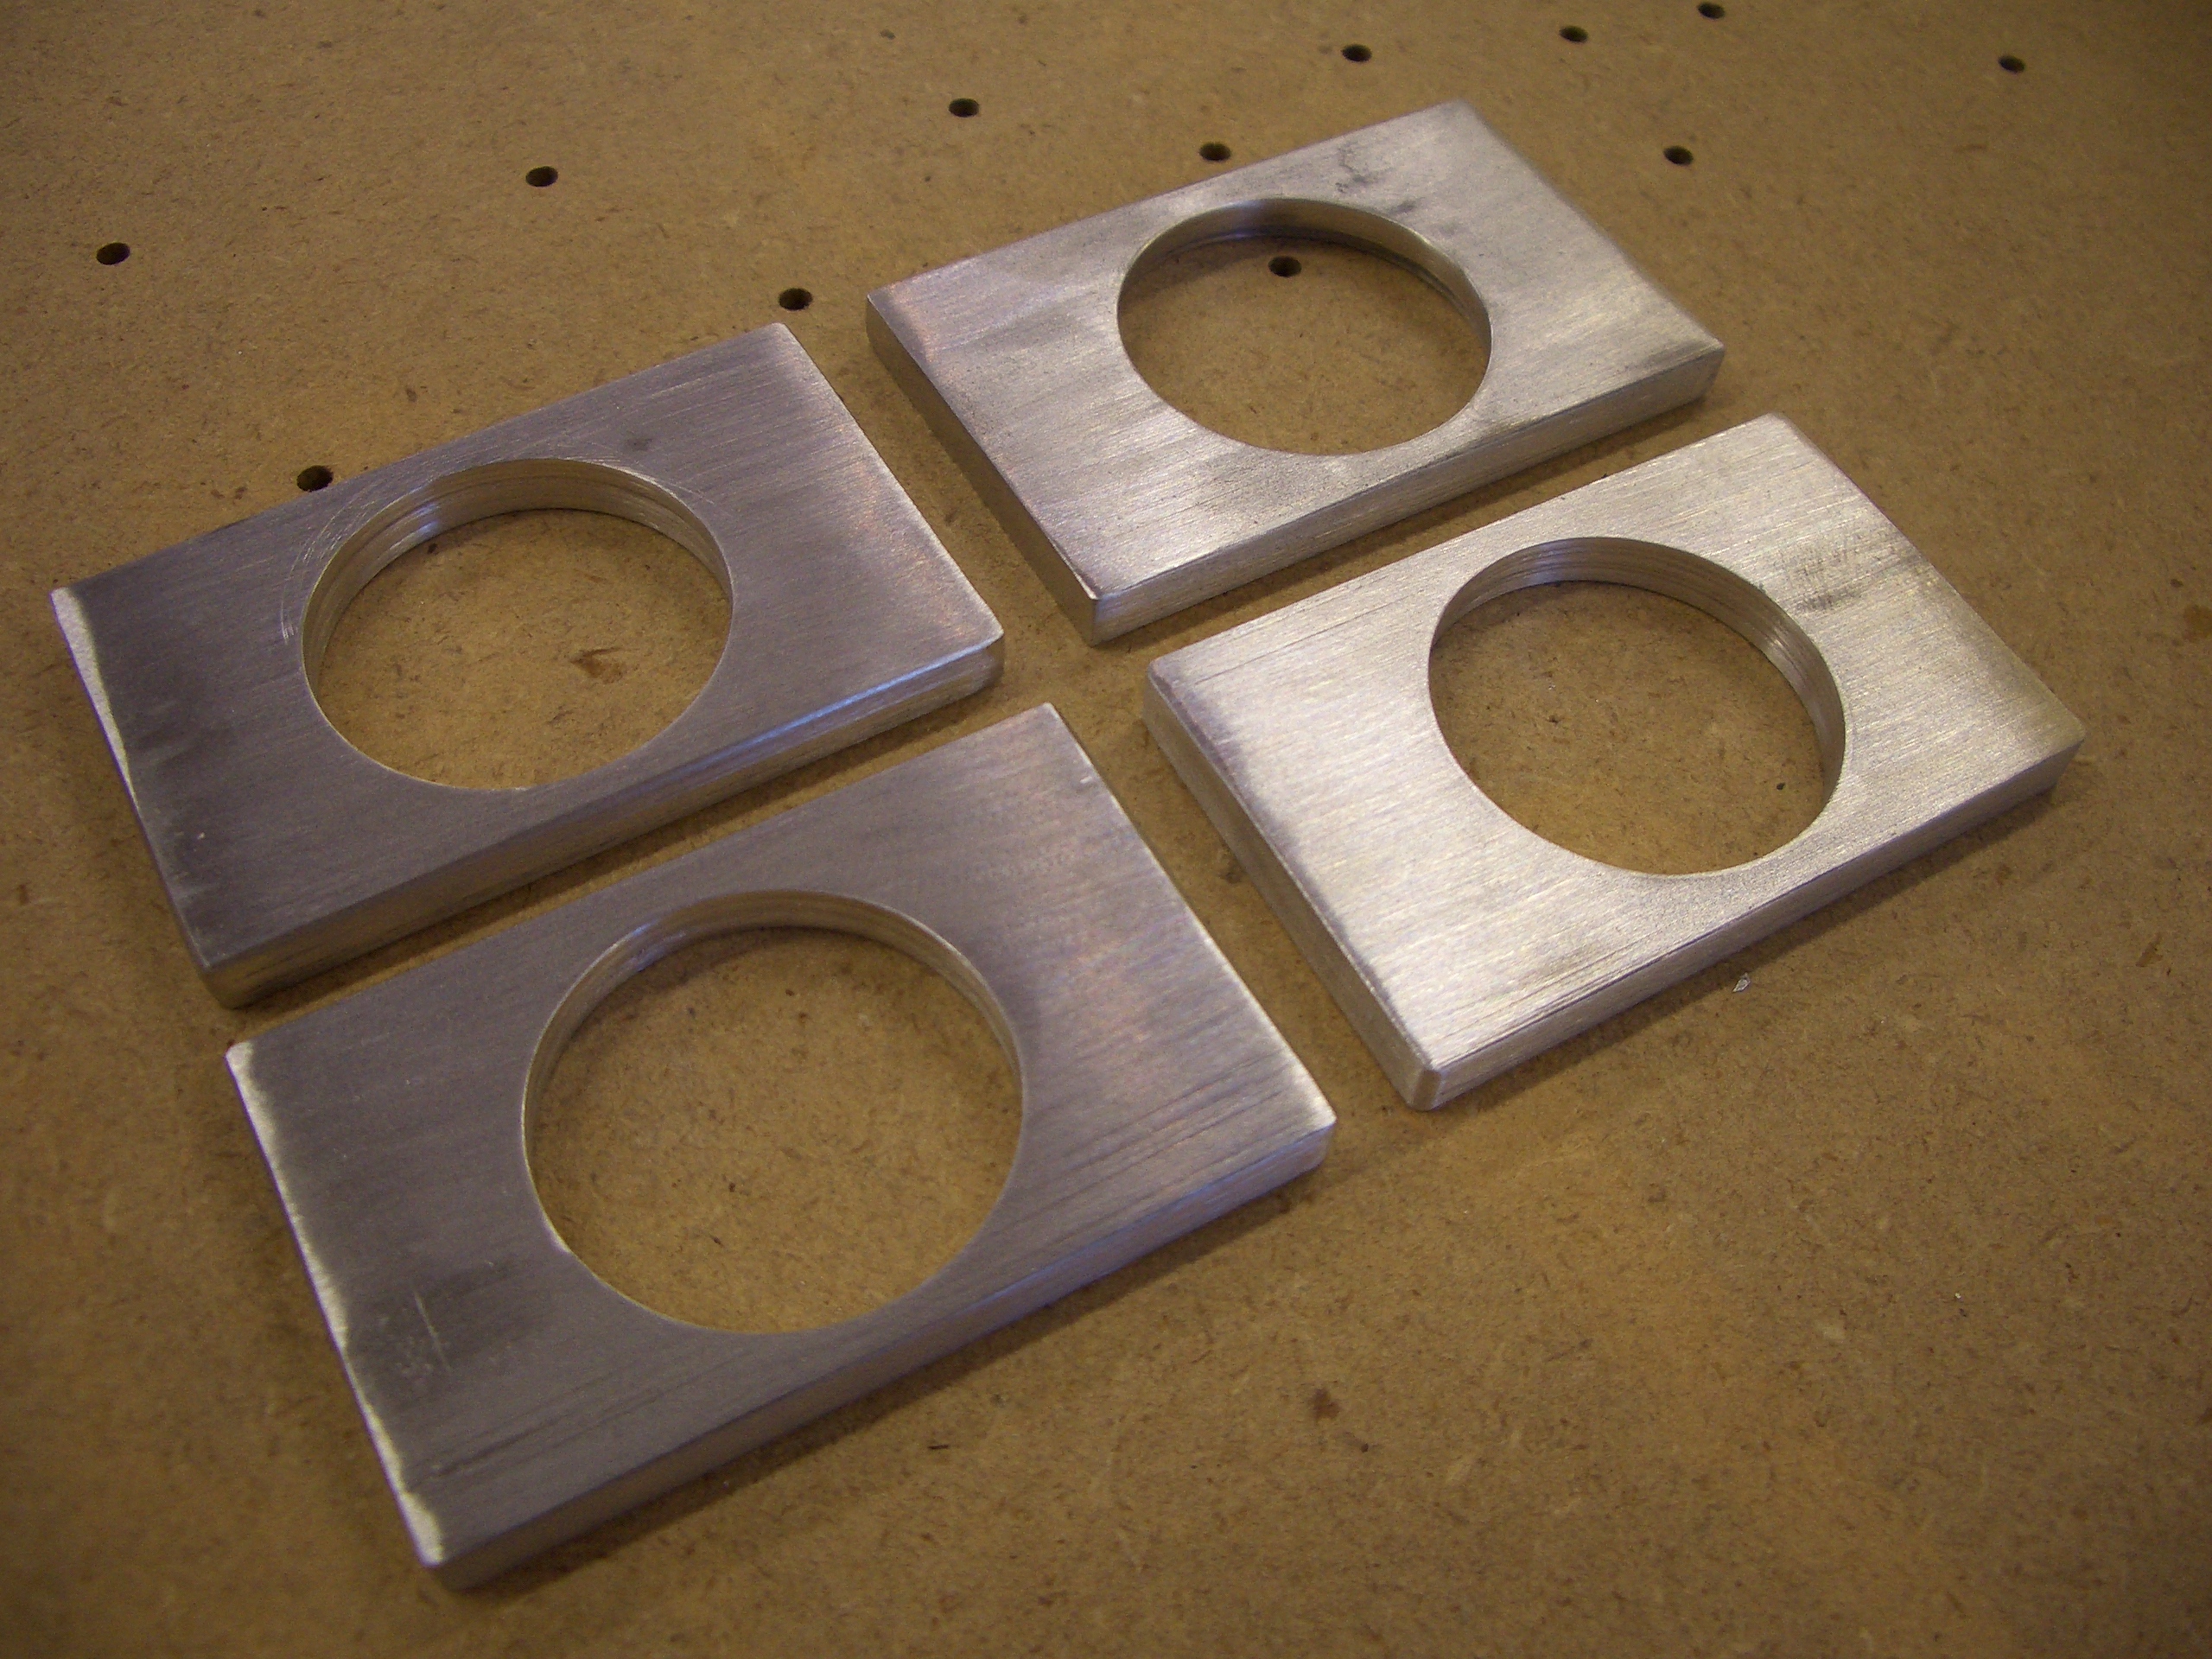
I got started making the tie down bracket spacers.  The crappy harbor freight hole saw and fly cutter I had sucked, so I went to Lowes and picked up a bi-metal 1″ hole saw to make these holes.


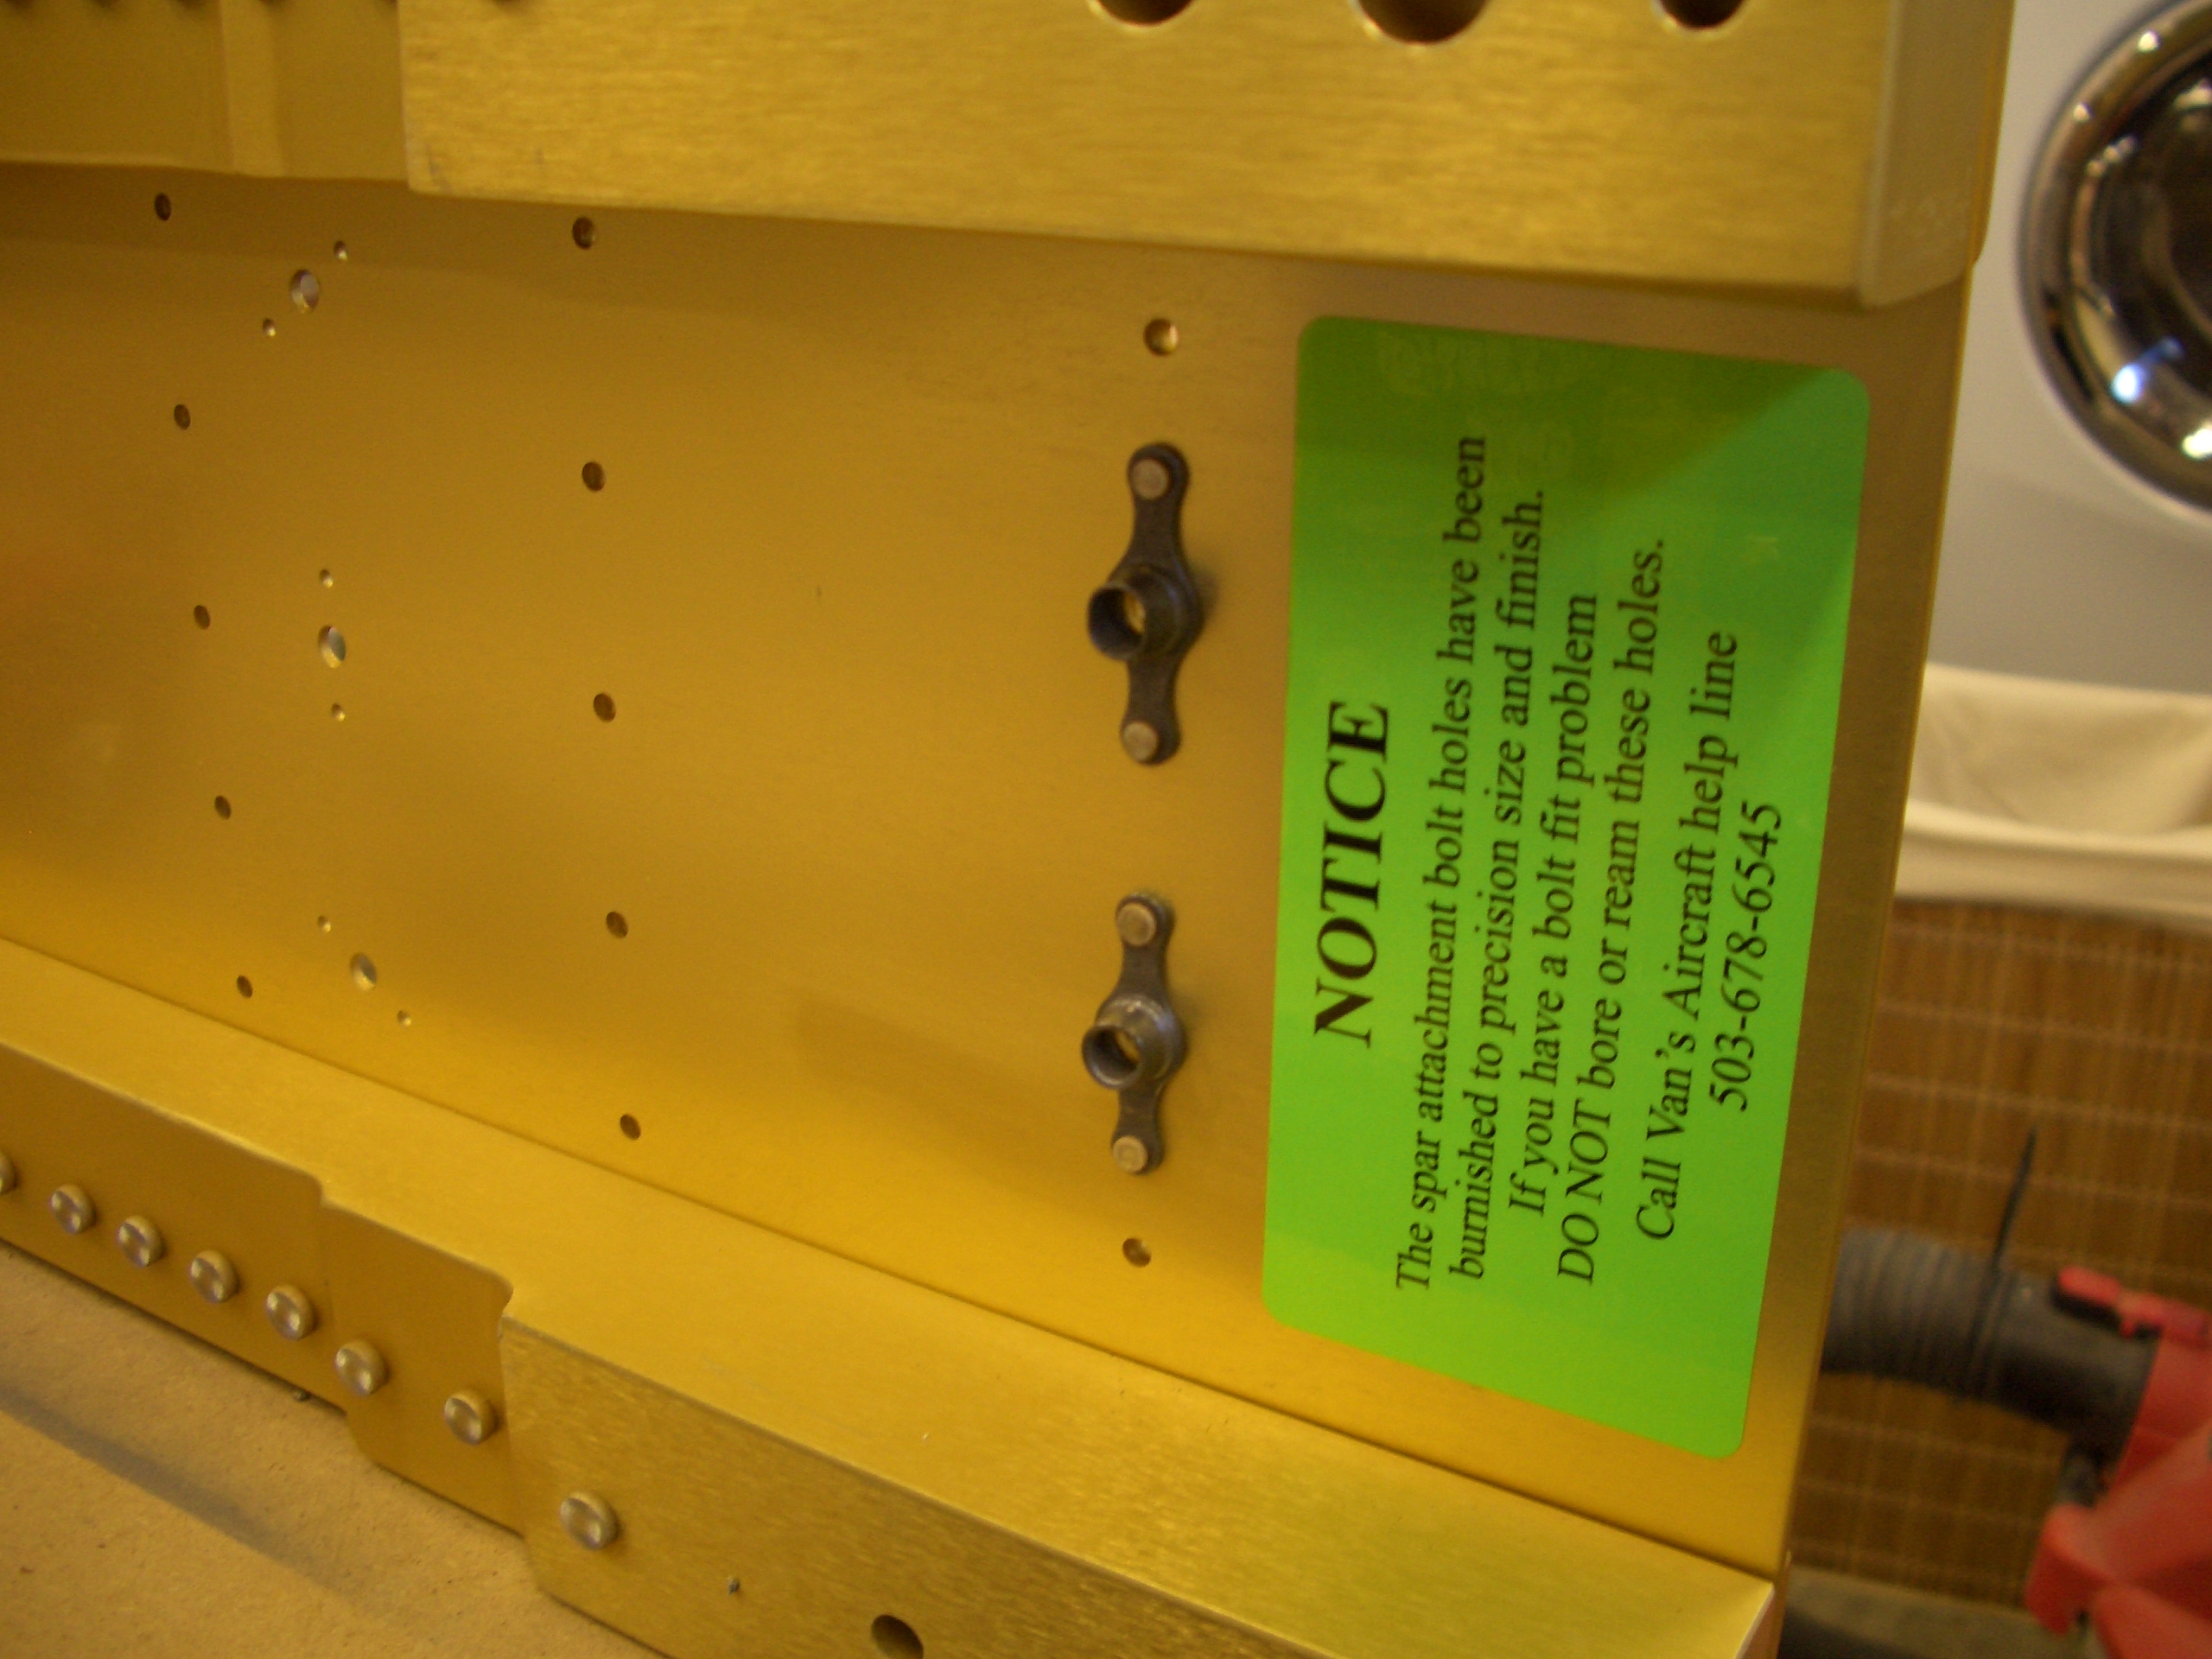
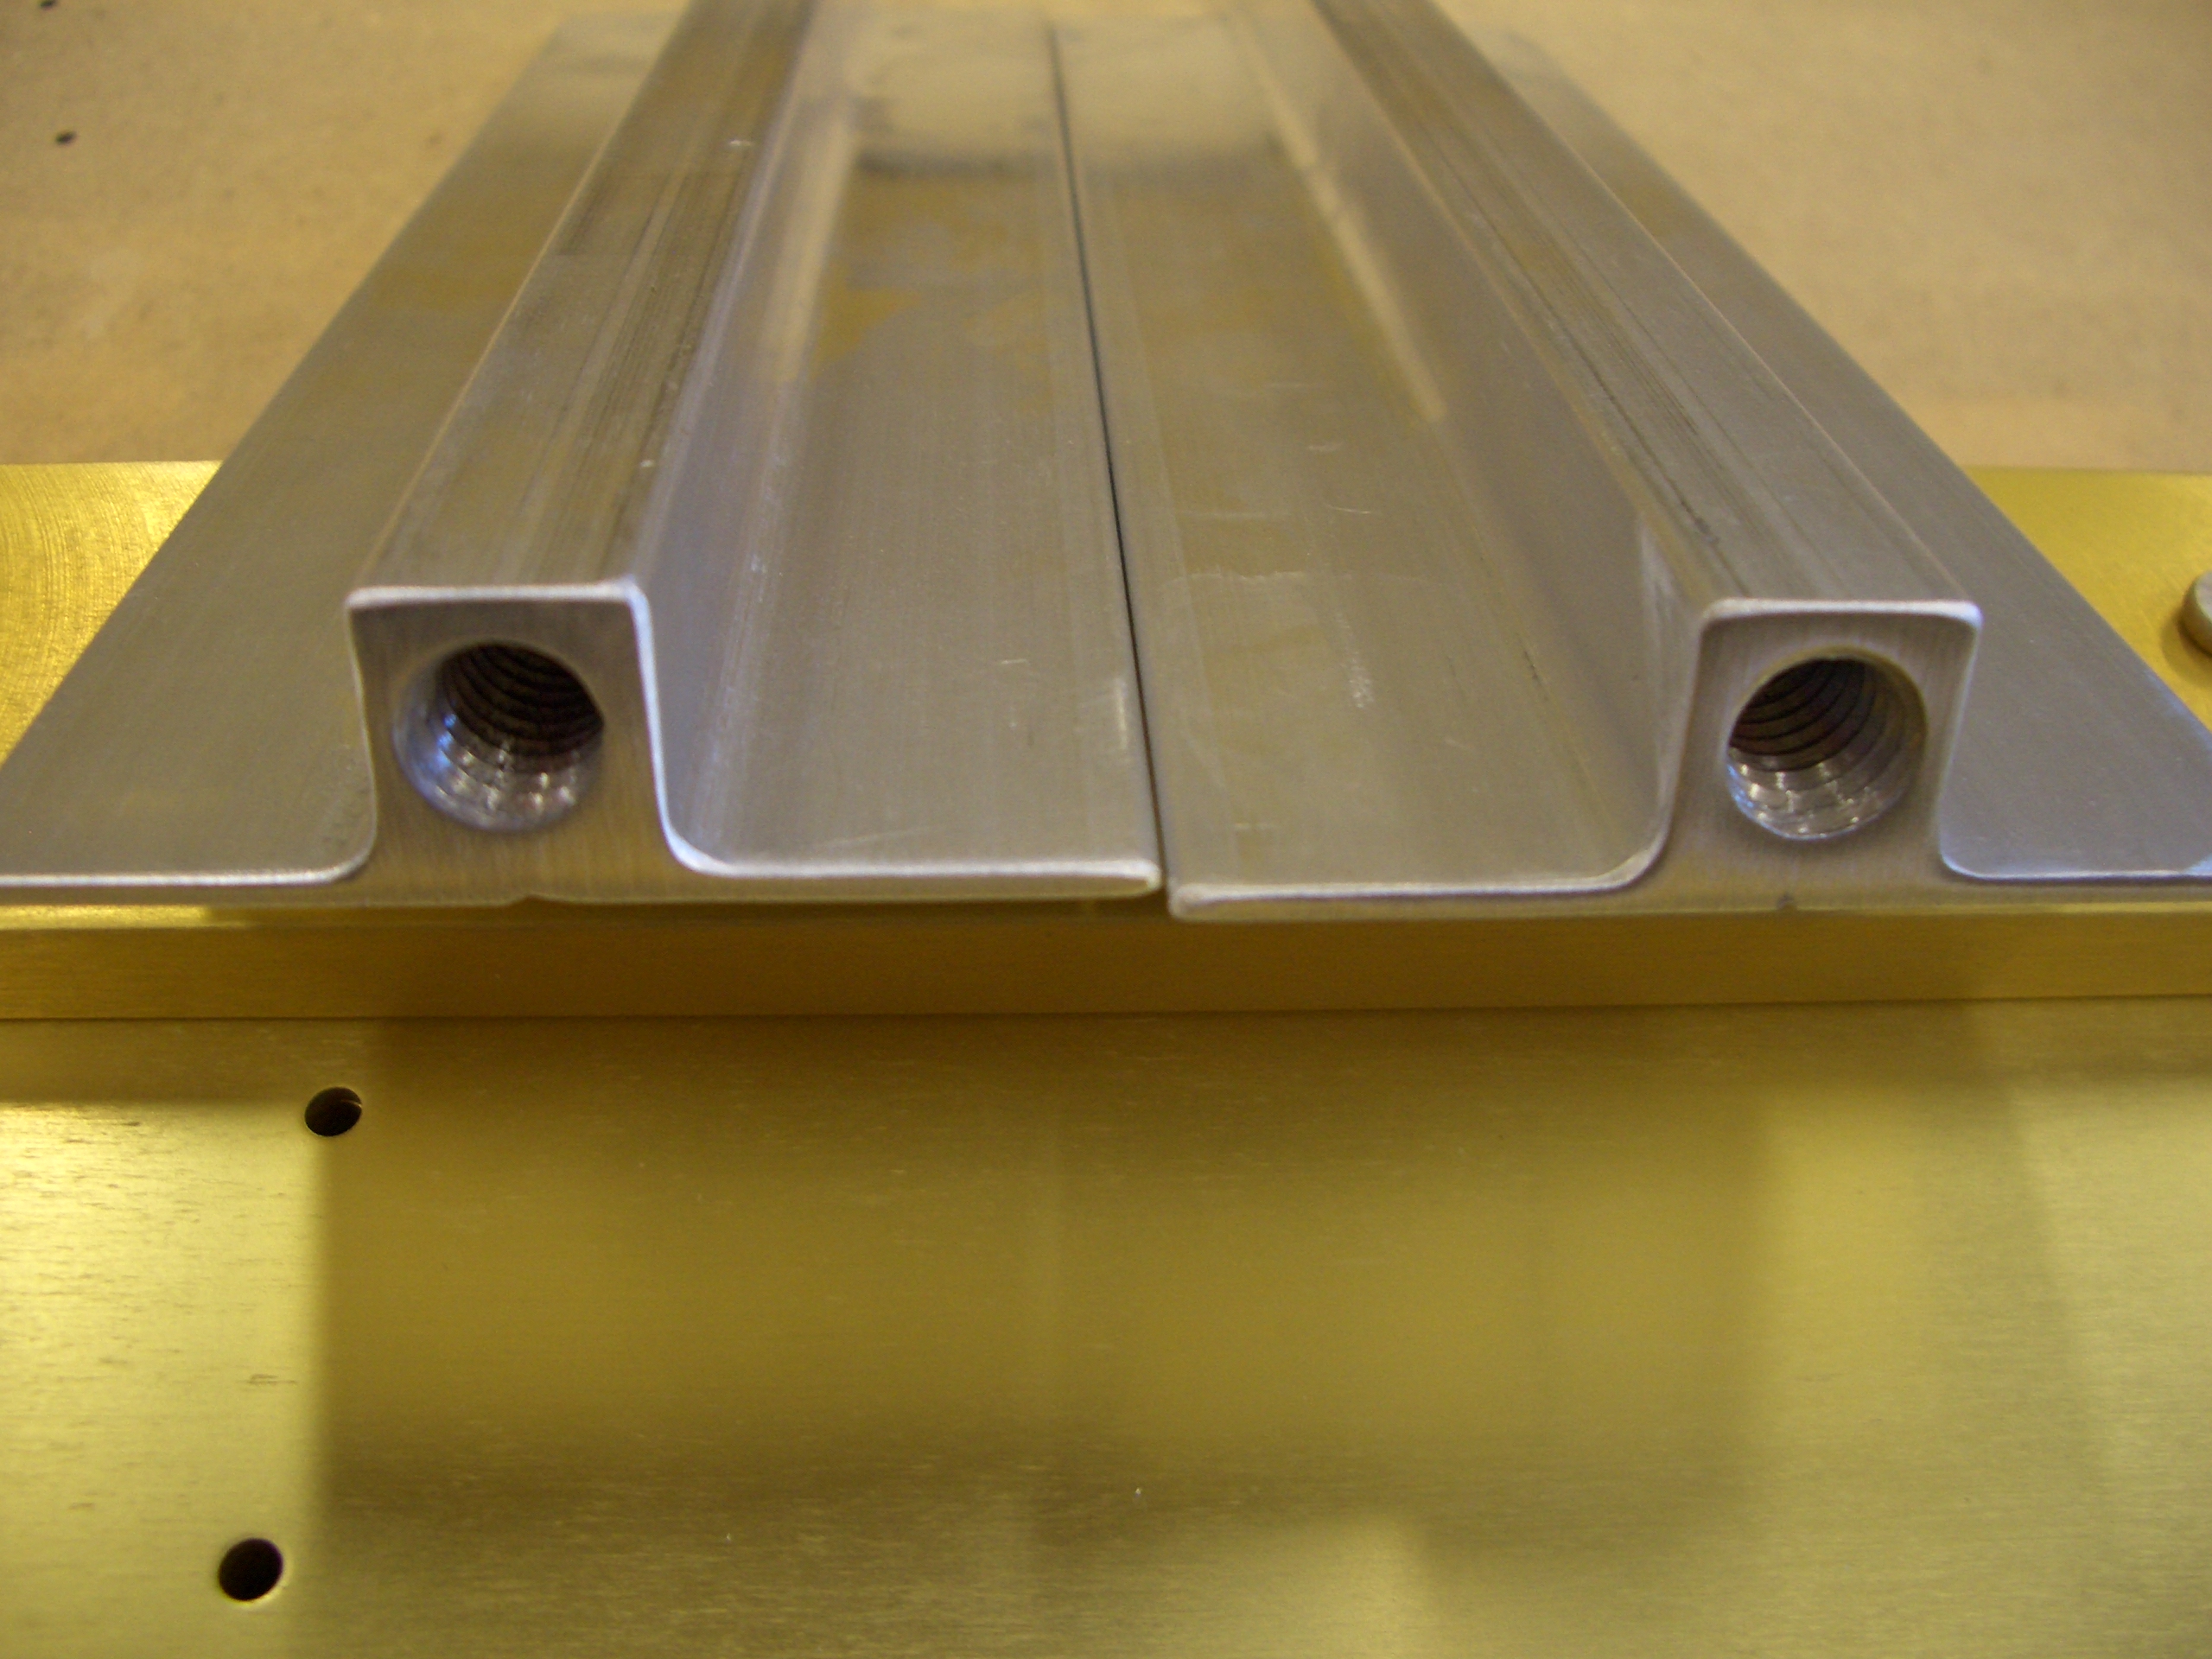
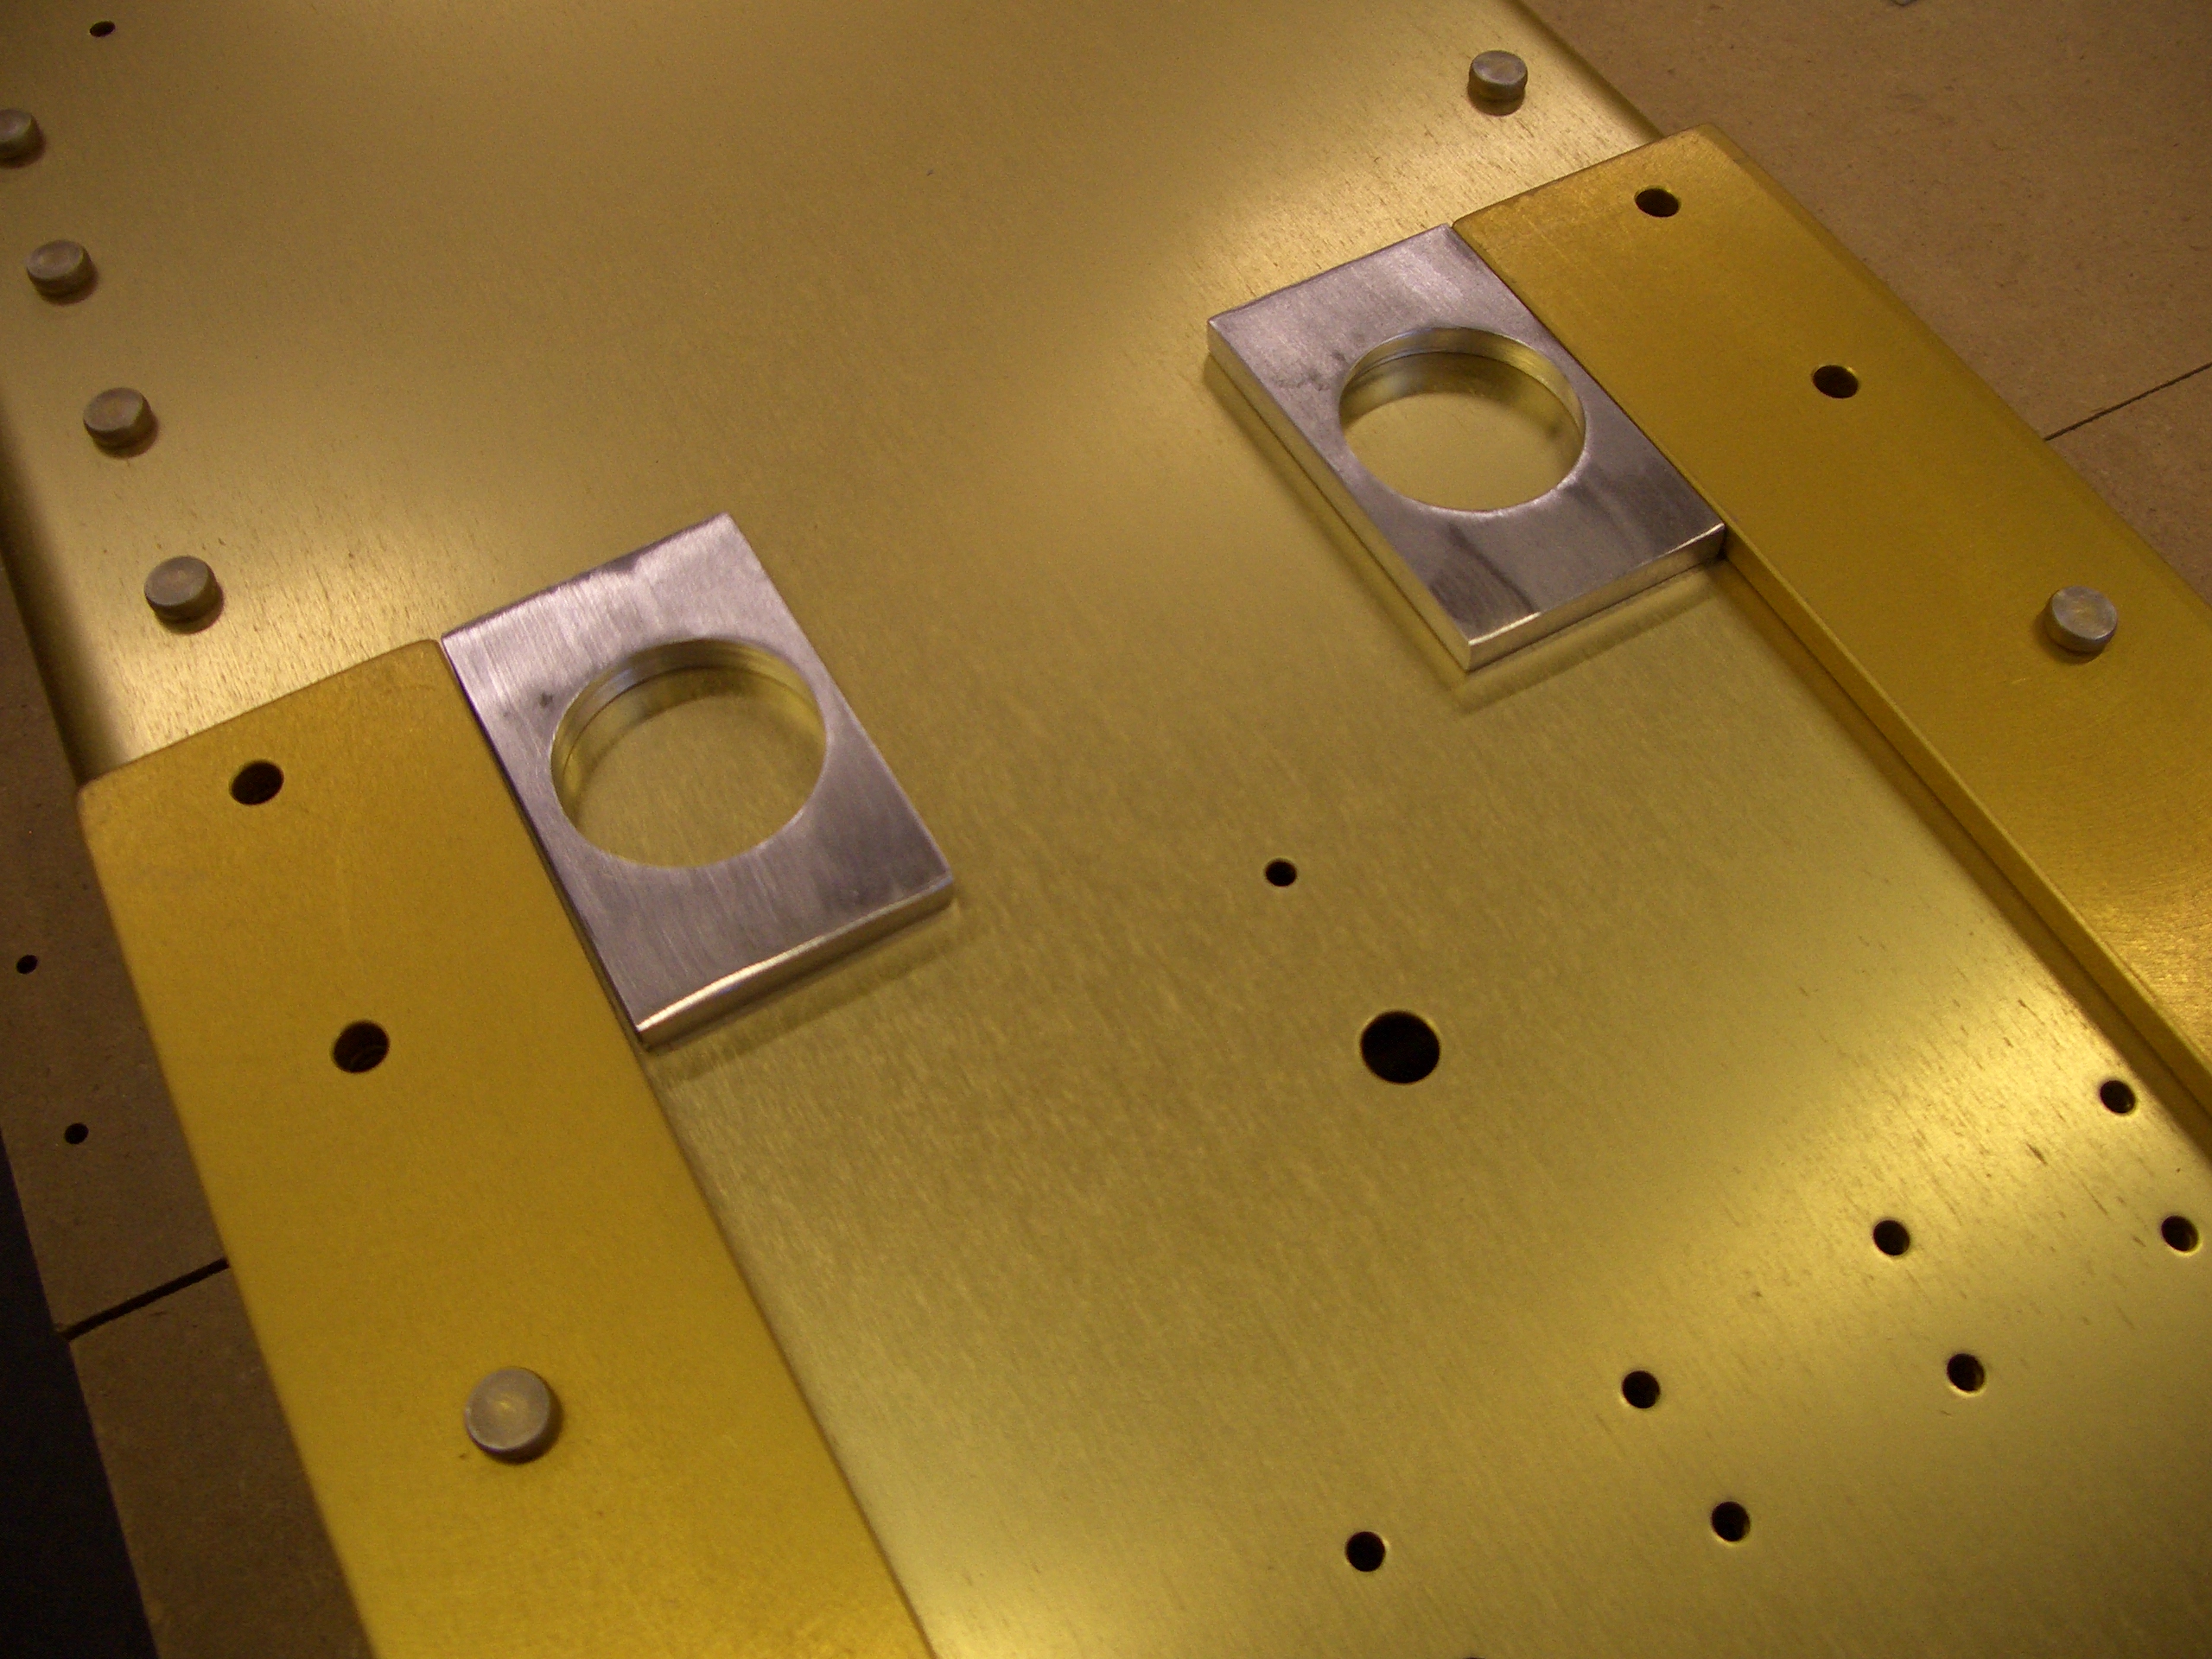
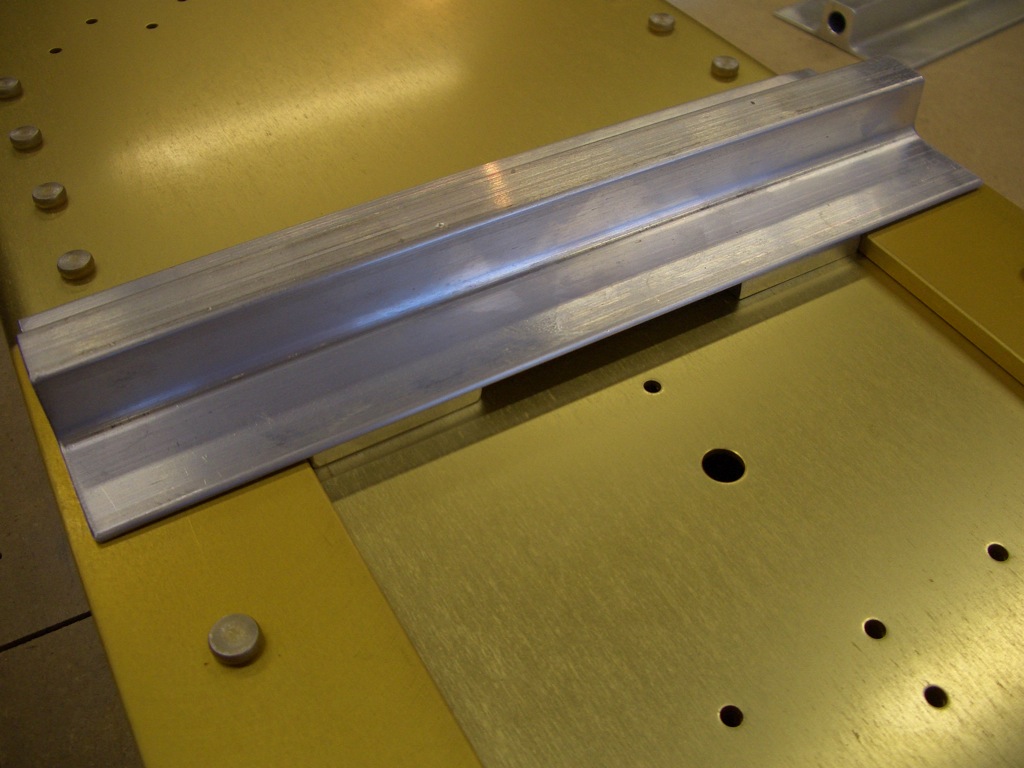
Here is where the spacers will sit on the spar.


And here is how the tie down bracket will sit on top of them.


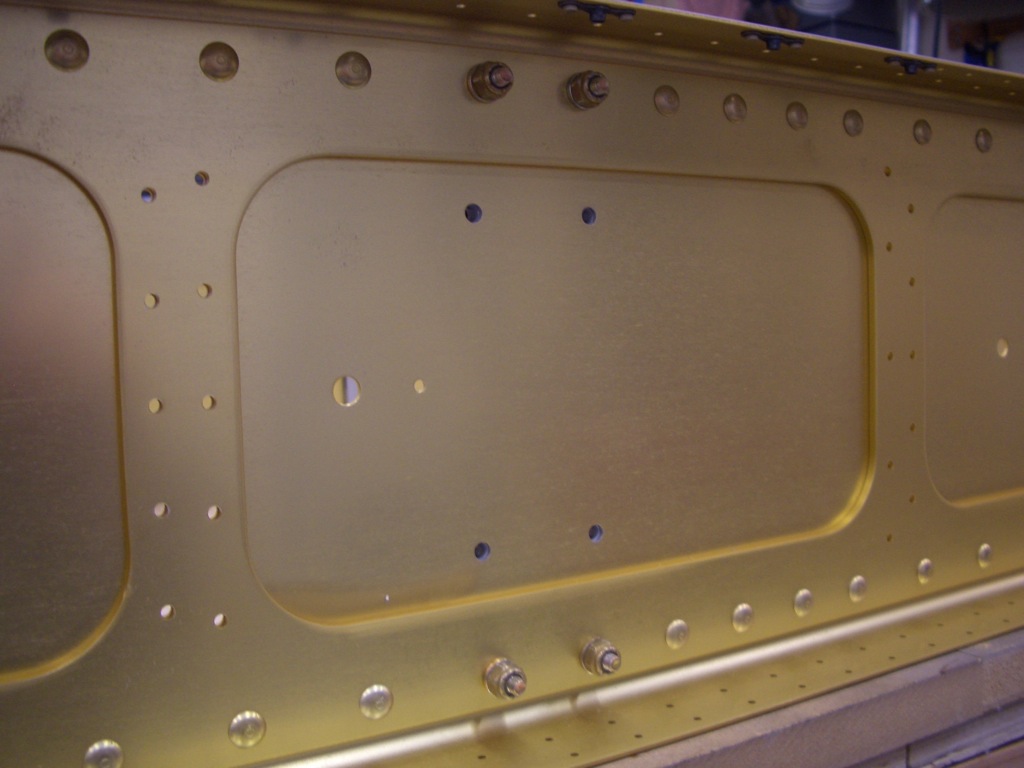
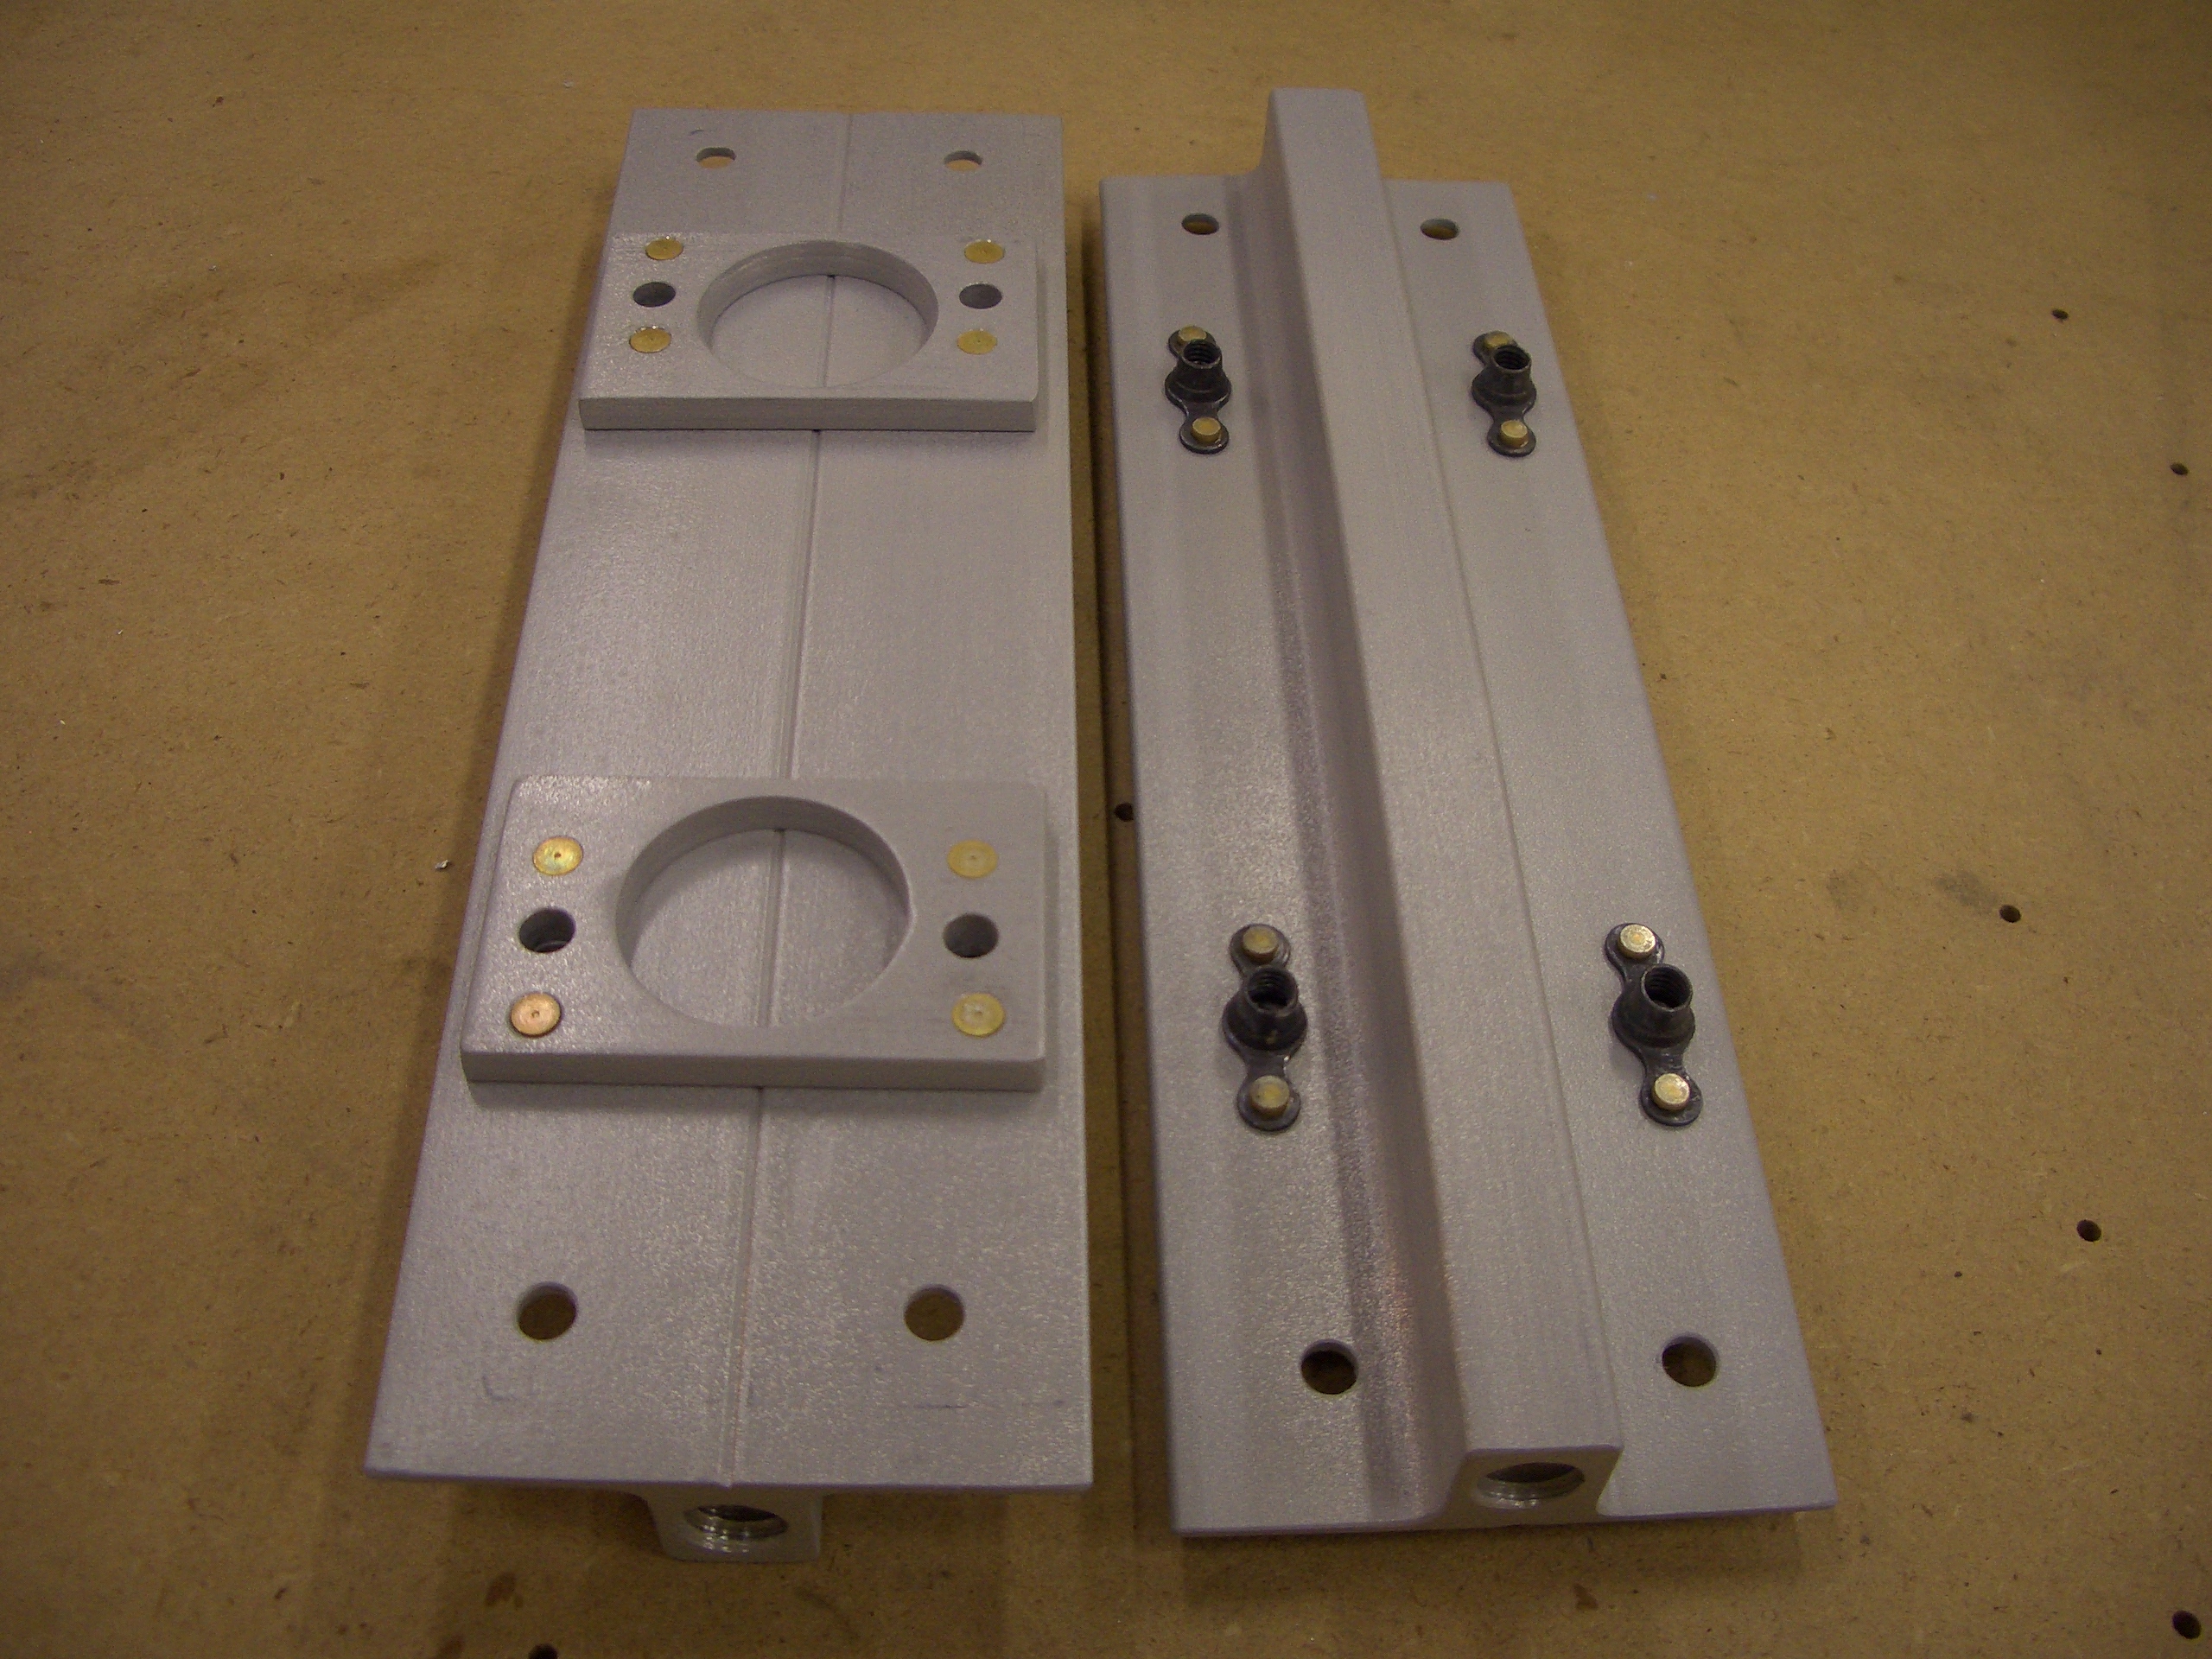
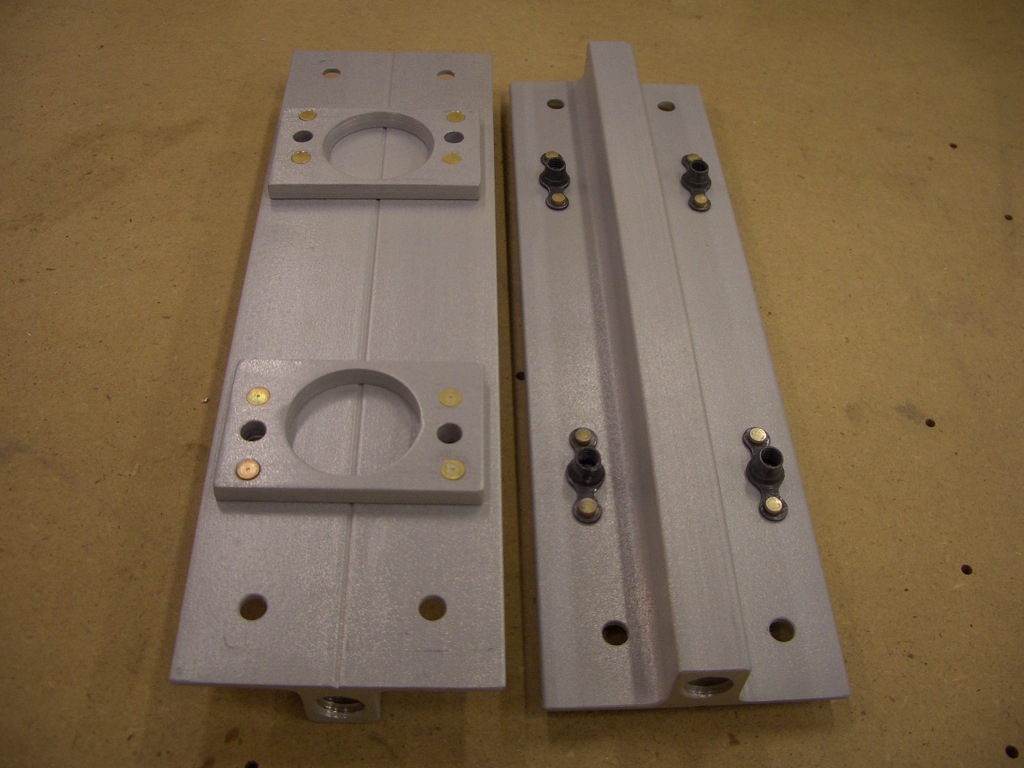
The spacers are back-drilled through the holes in the spar and then holes for nutplates are drilled.  Here are all of the parts primed and riveted together.


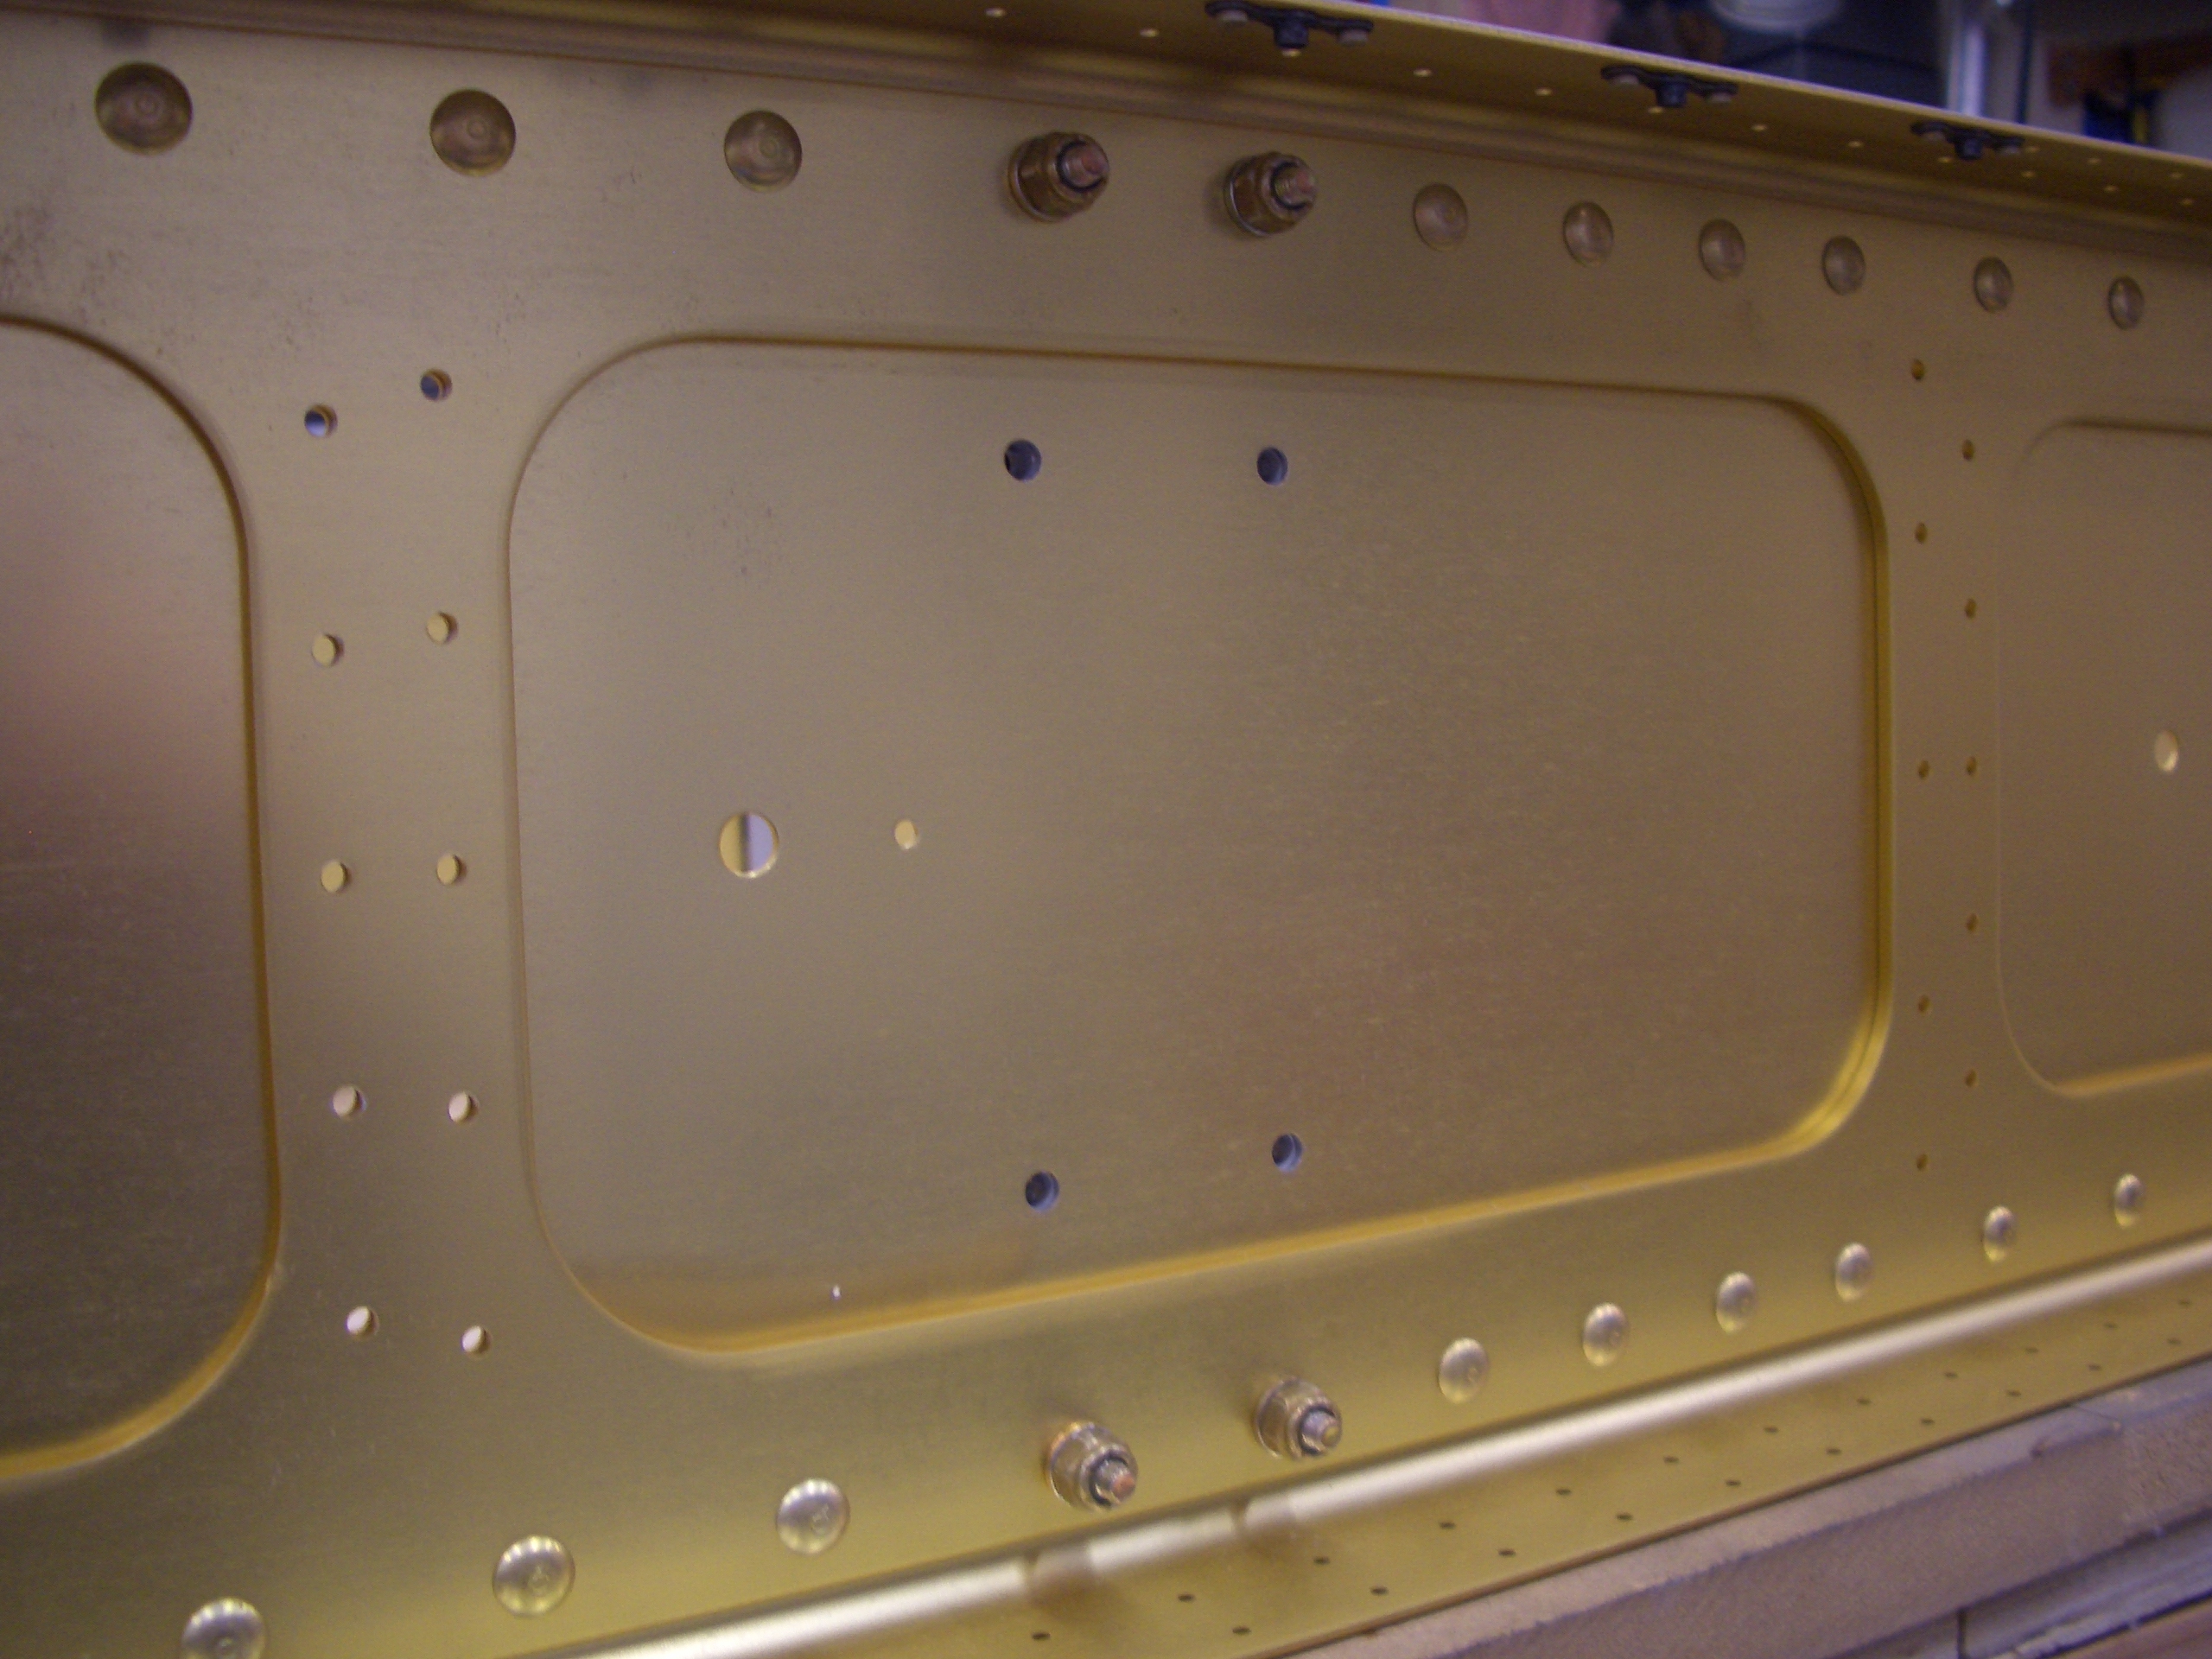
And here they are installed and torqued to the spar.


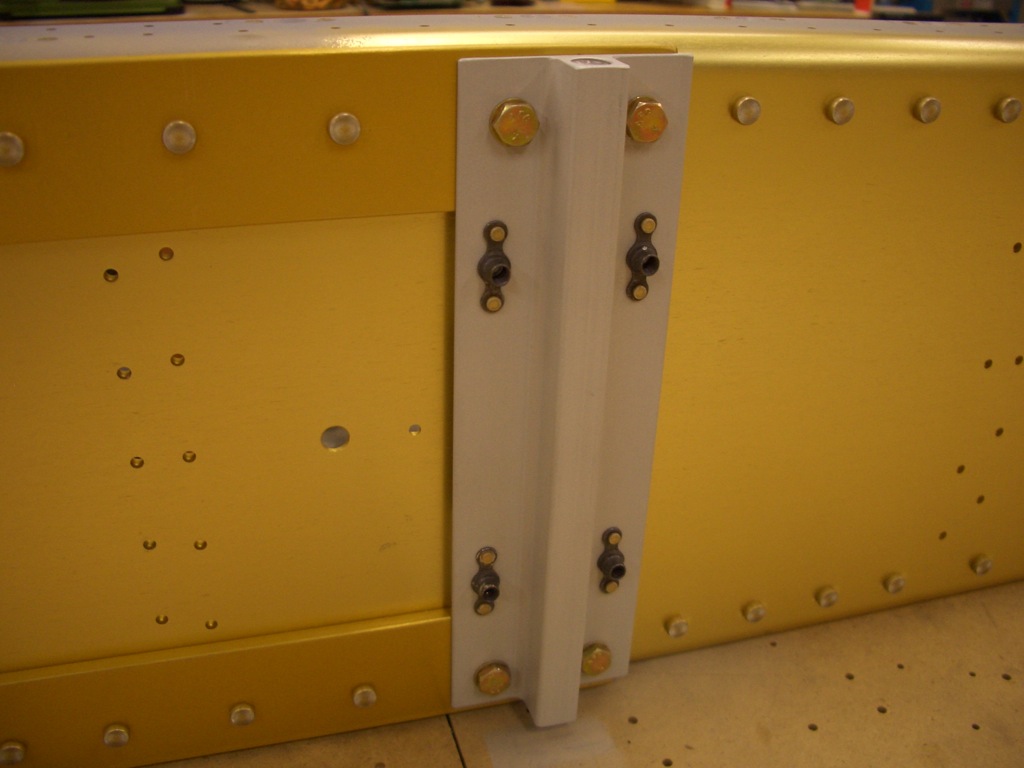
The backside of the spar showing the nuts holding these on.  The four hole in the middle bo through the spacers and line up with the nutplates.  These will be used for mounting the aileron bellcrank brackets.

Identified Wing Ribs

I took the time tonight to identify and mark all wing ribs.  This was a surprisingly time-consuming process because there are three types on main ribs (on the left) and four types of leading edge ribs (on the right), and all of these come in left-handed and right-handed variants.  Also, each wing has a mix of the left and right-handed variants and they don’t follow any simple pattern.  Basically, you have to study the plans and make sure you’re using the right rib in the right spot.  I have all of these stamped now, and I’ve double checked them, so it will be easy when it comes time to attach these to the spar.