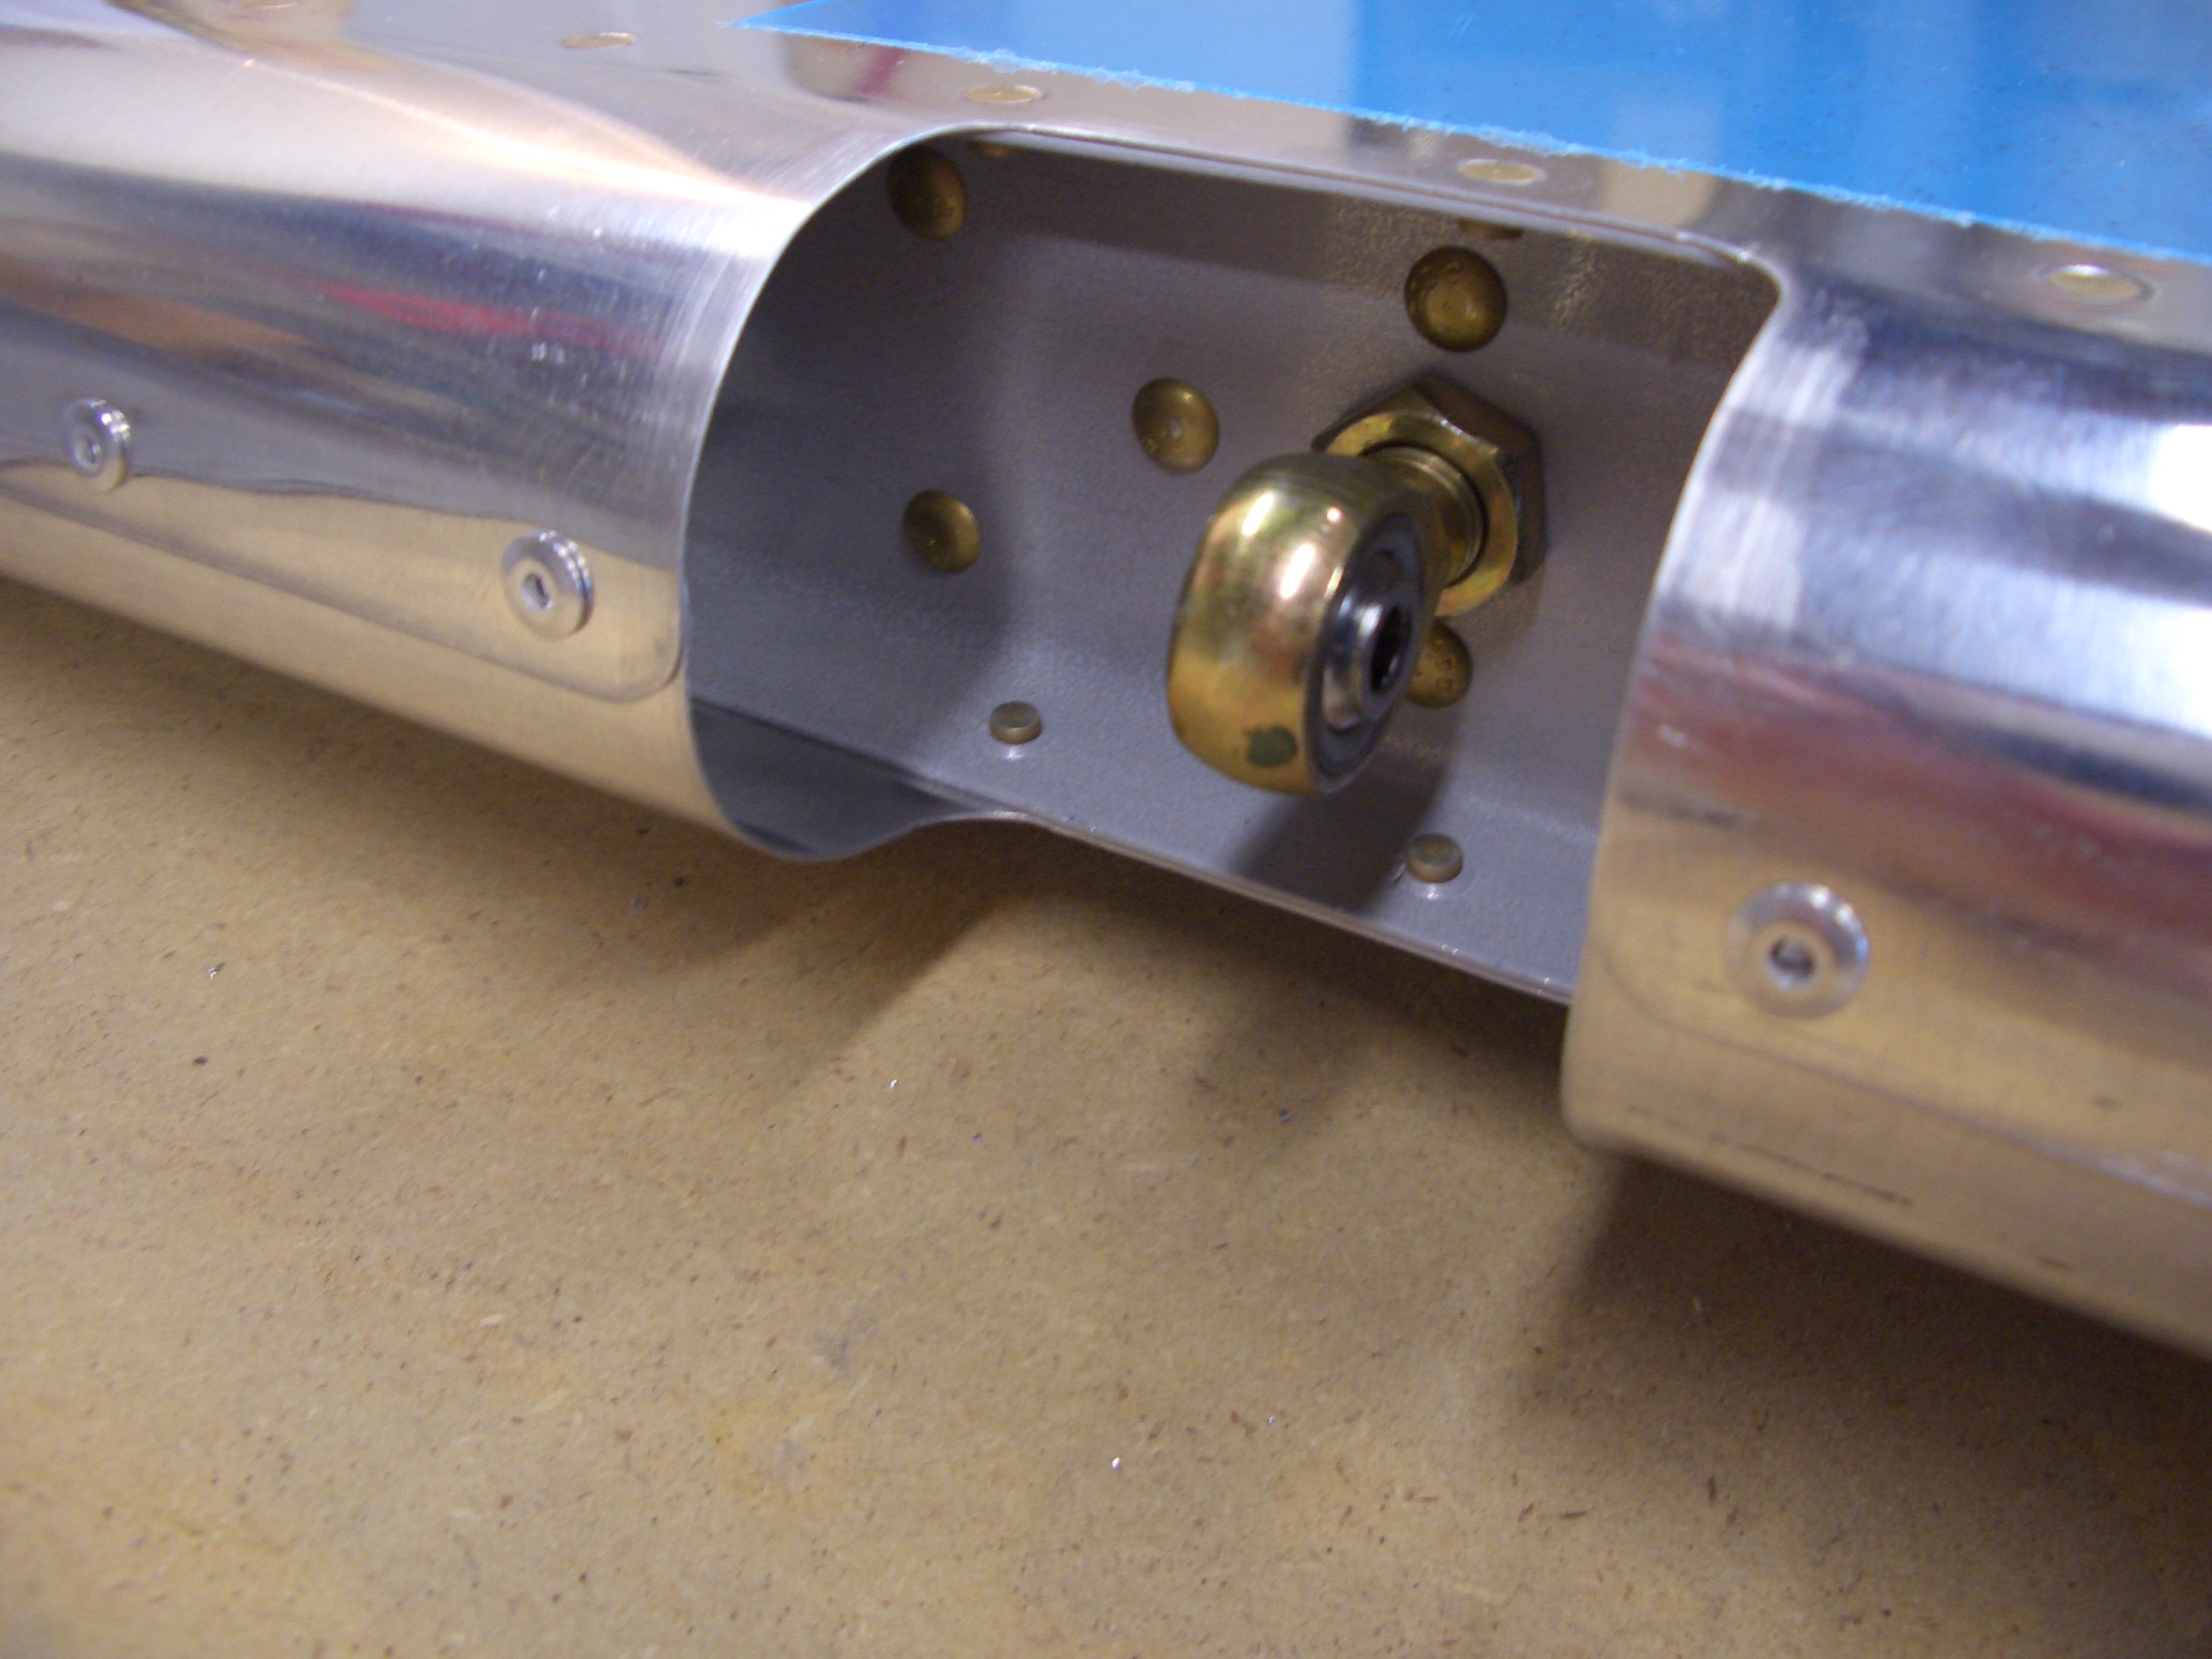
I did a little fine tuning of the leading edges and installed the pop rivets. I also installed the bearings into both elevators. Here’s one of them (I don’t know which), but they all look about the same. Basically, you screw these in until the center of the bearing is 13/16″ away from the spar face. It’s not hard to be precise since one too many or one too few half turns is obviously off of 13/16″
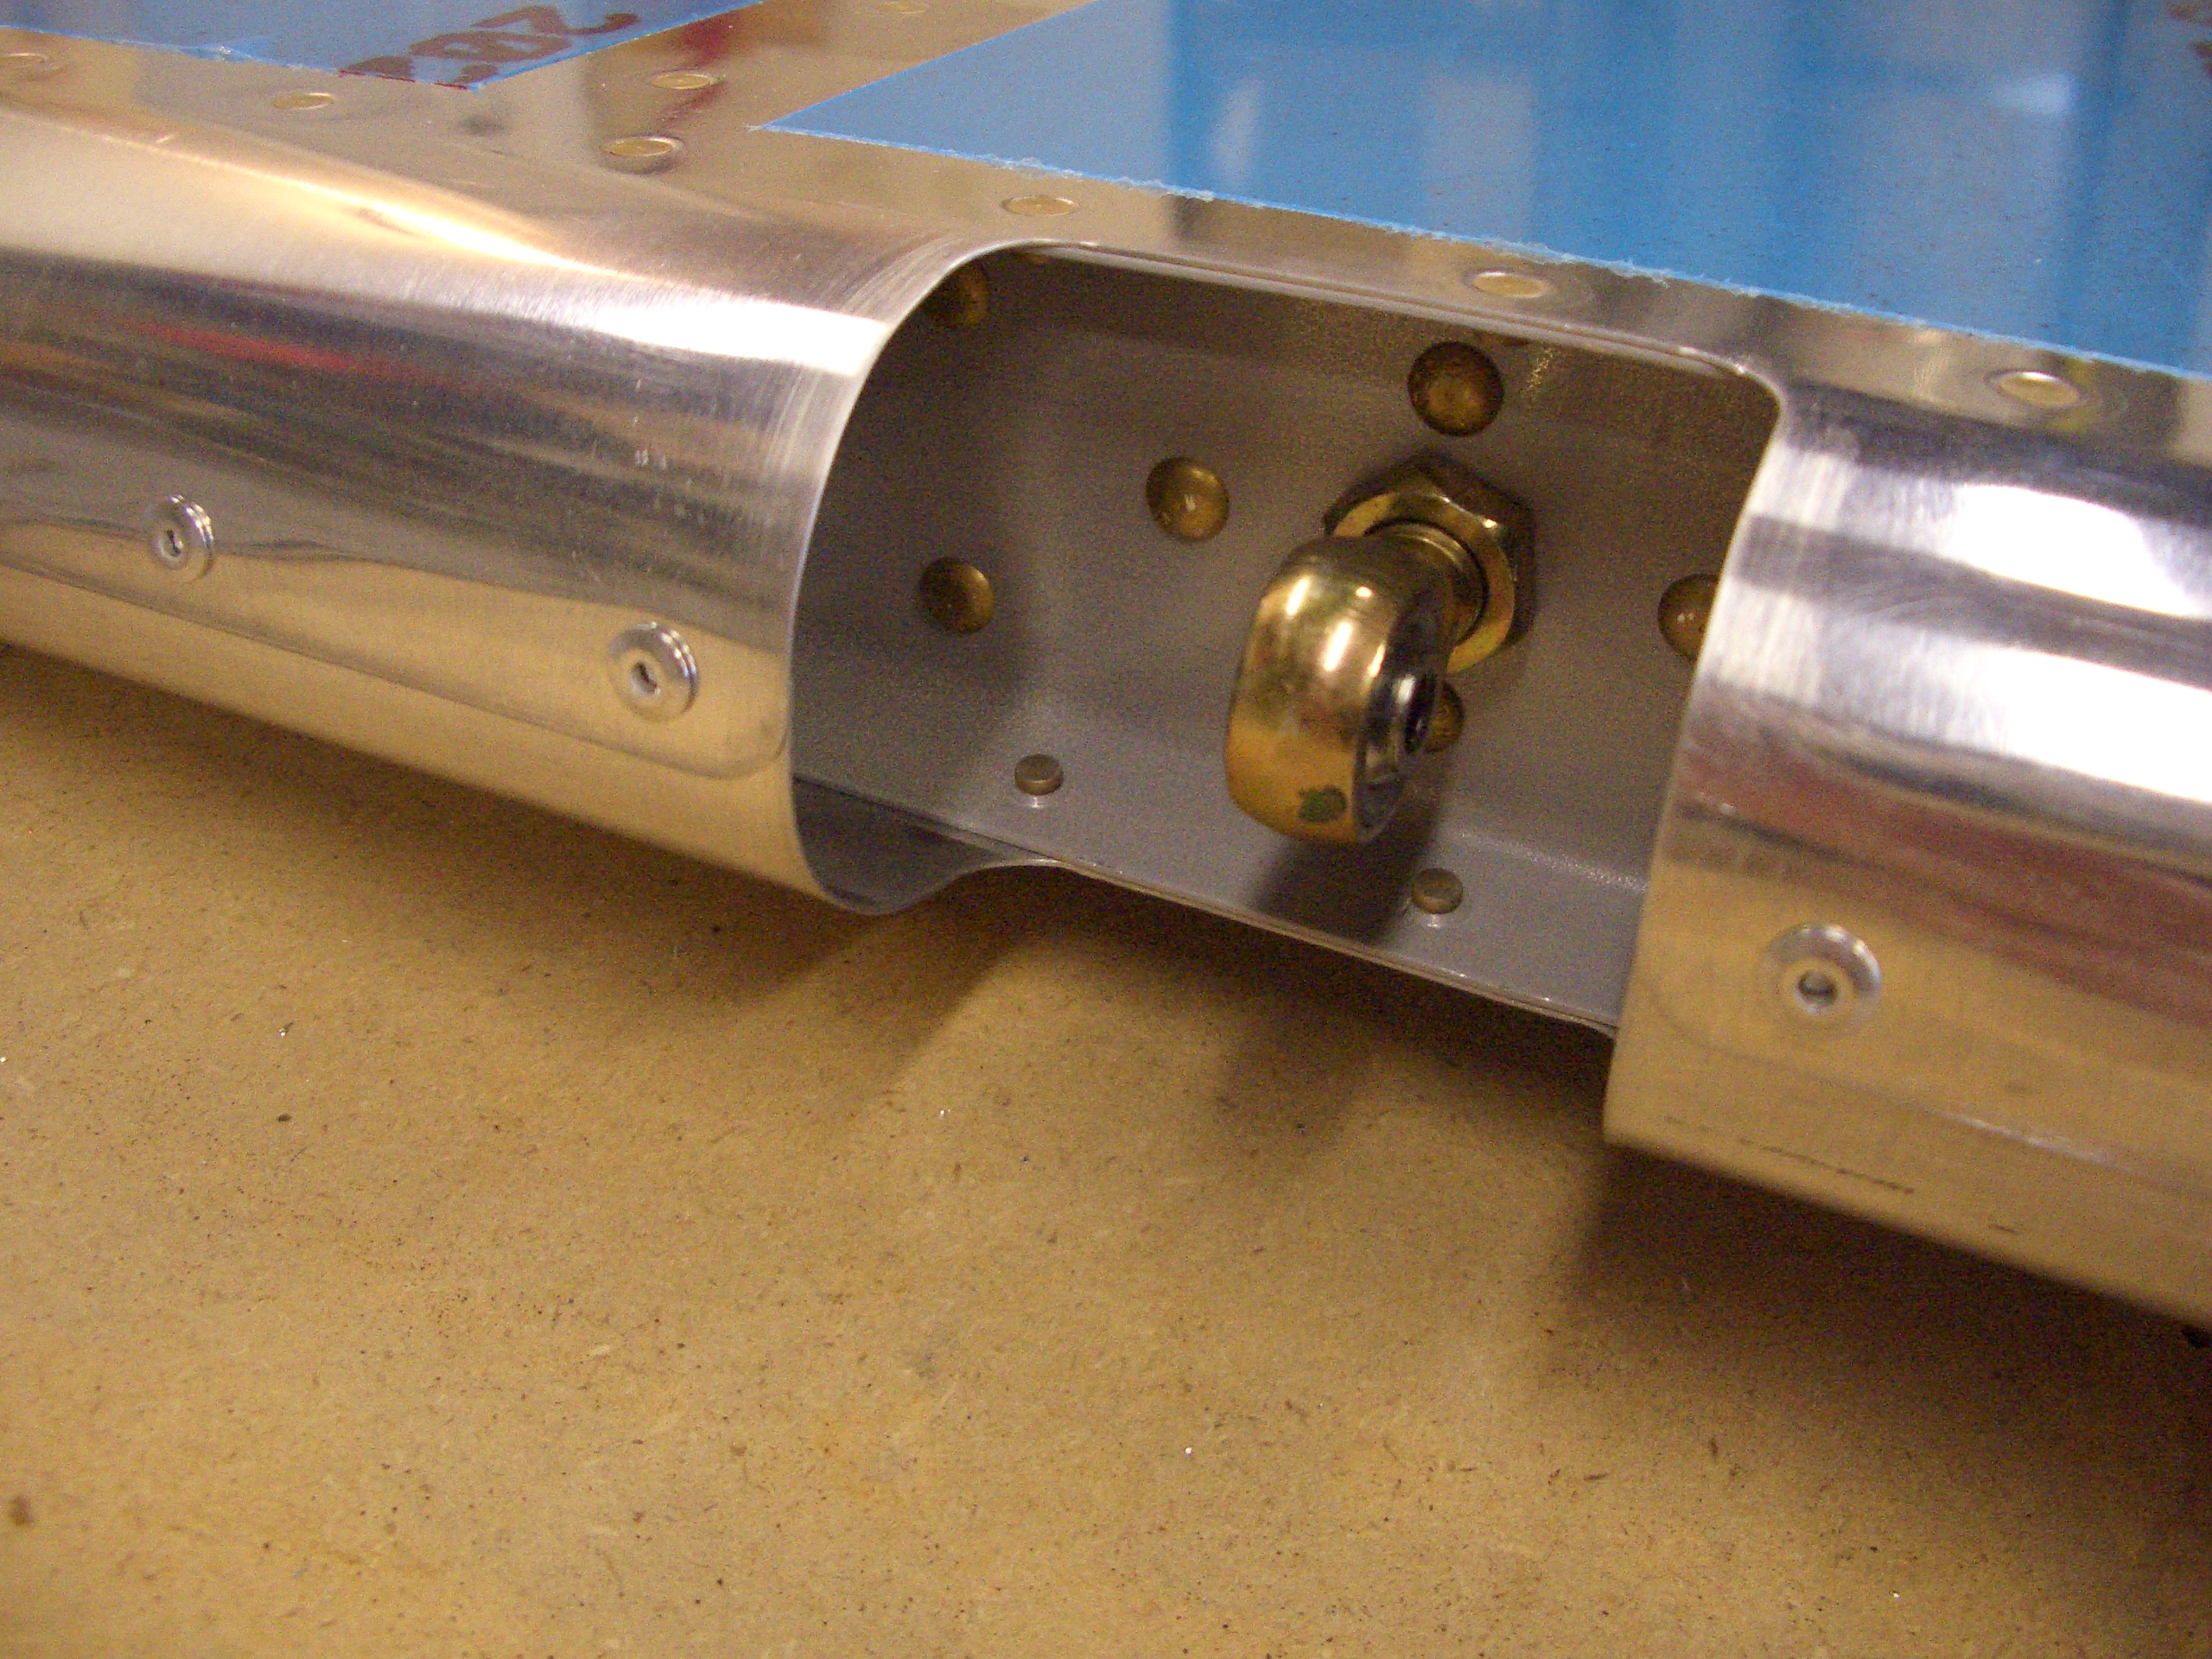
Here’s another one. This is the inboard bearing (the spar is wider at this point since all of the empennage surfaces taper as they move from the root to the tip). Overall, I’m pretty happy with how the rolled leading edges turned out. There is no puckering between the rivets as I’ve heard a number of builders complain about. You really want to get the edges to lie flat against each other when the holes line up. Also, putting a small roll in the top edge really helps. I purchased the Cleaveland Tools edge rolling tool, and I’m really happy with it.
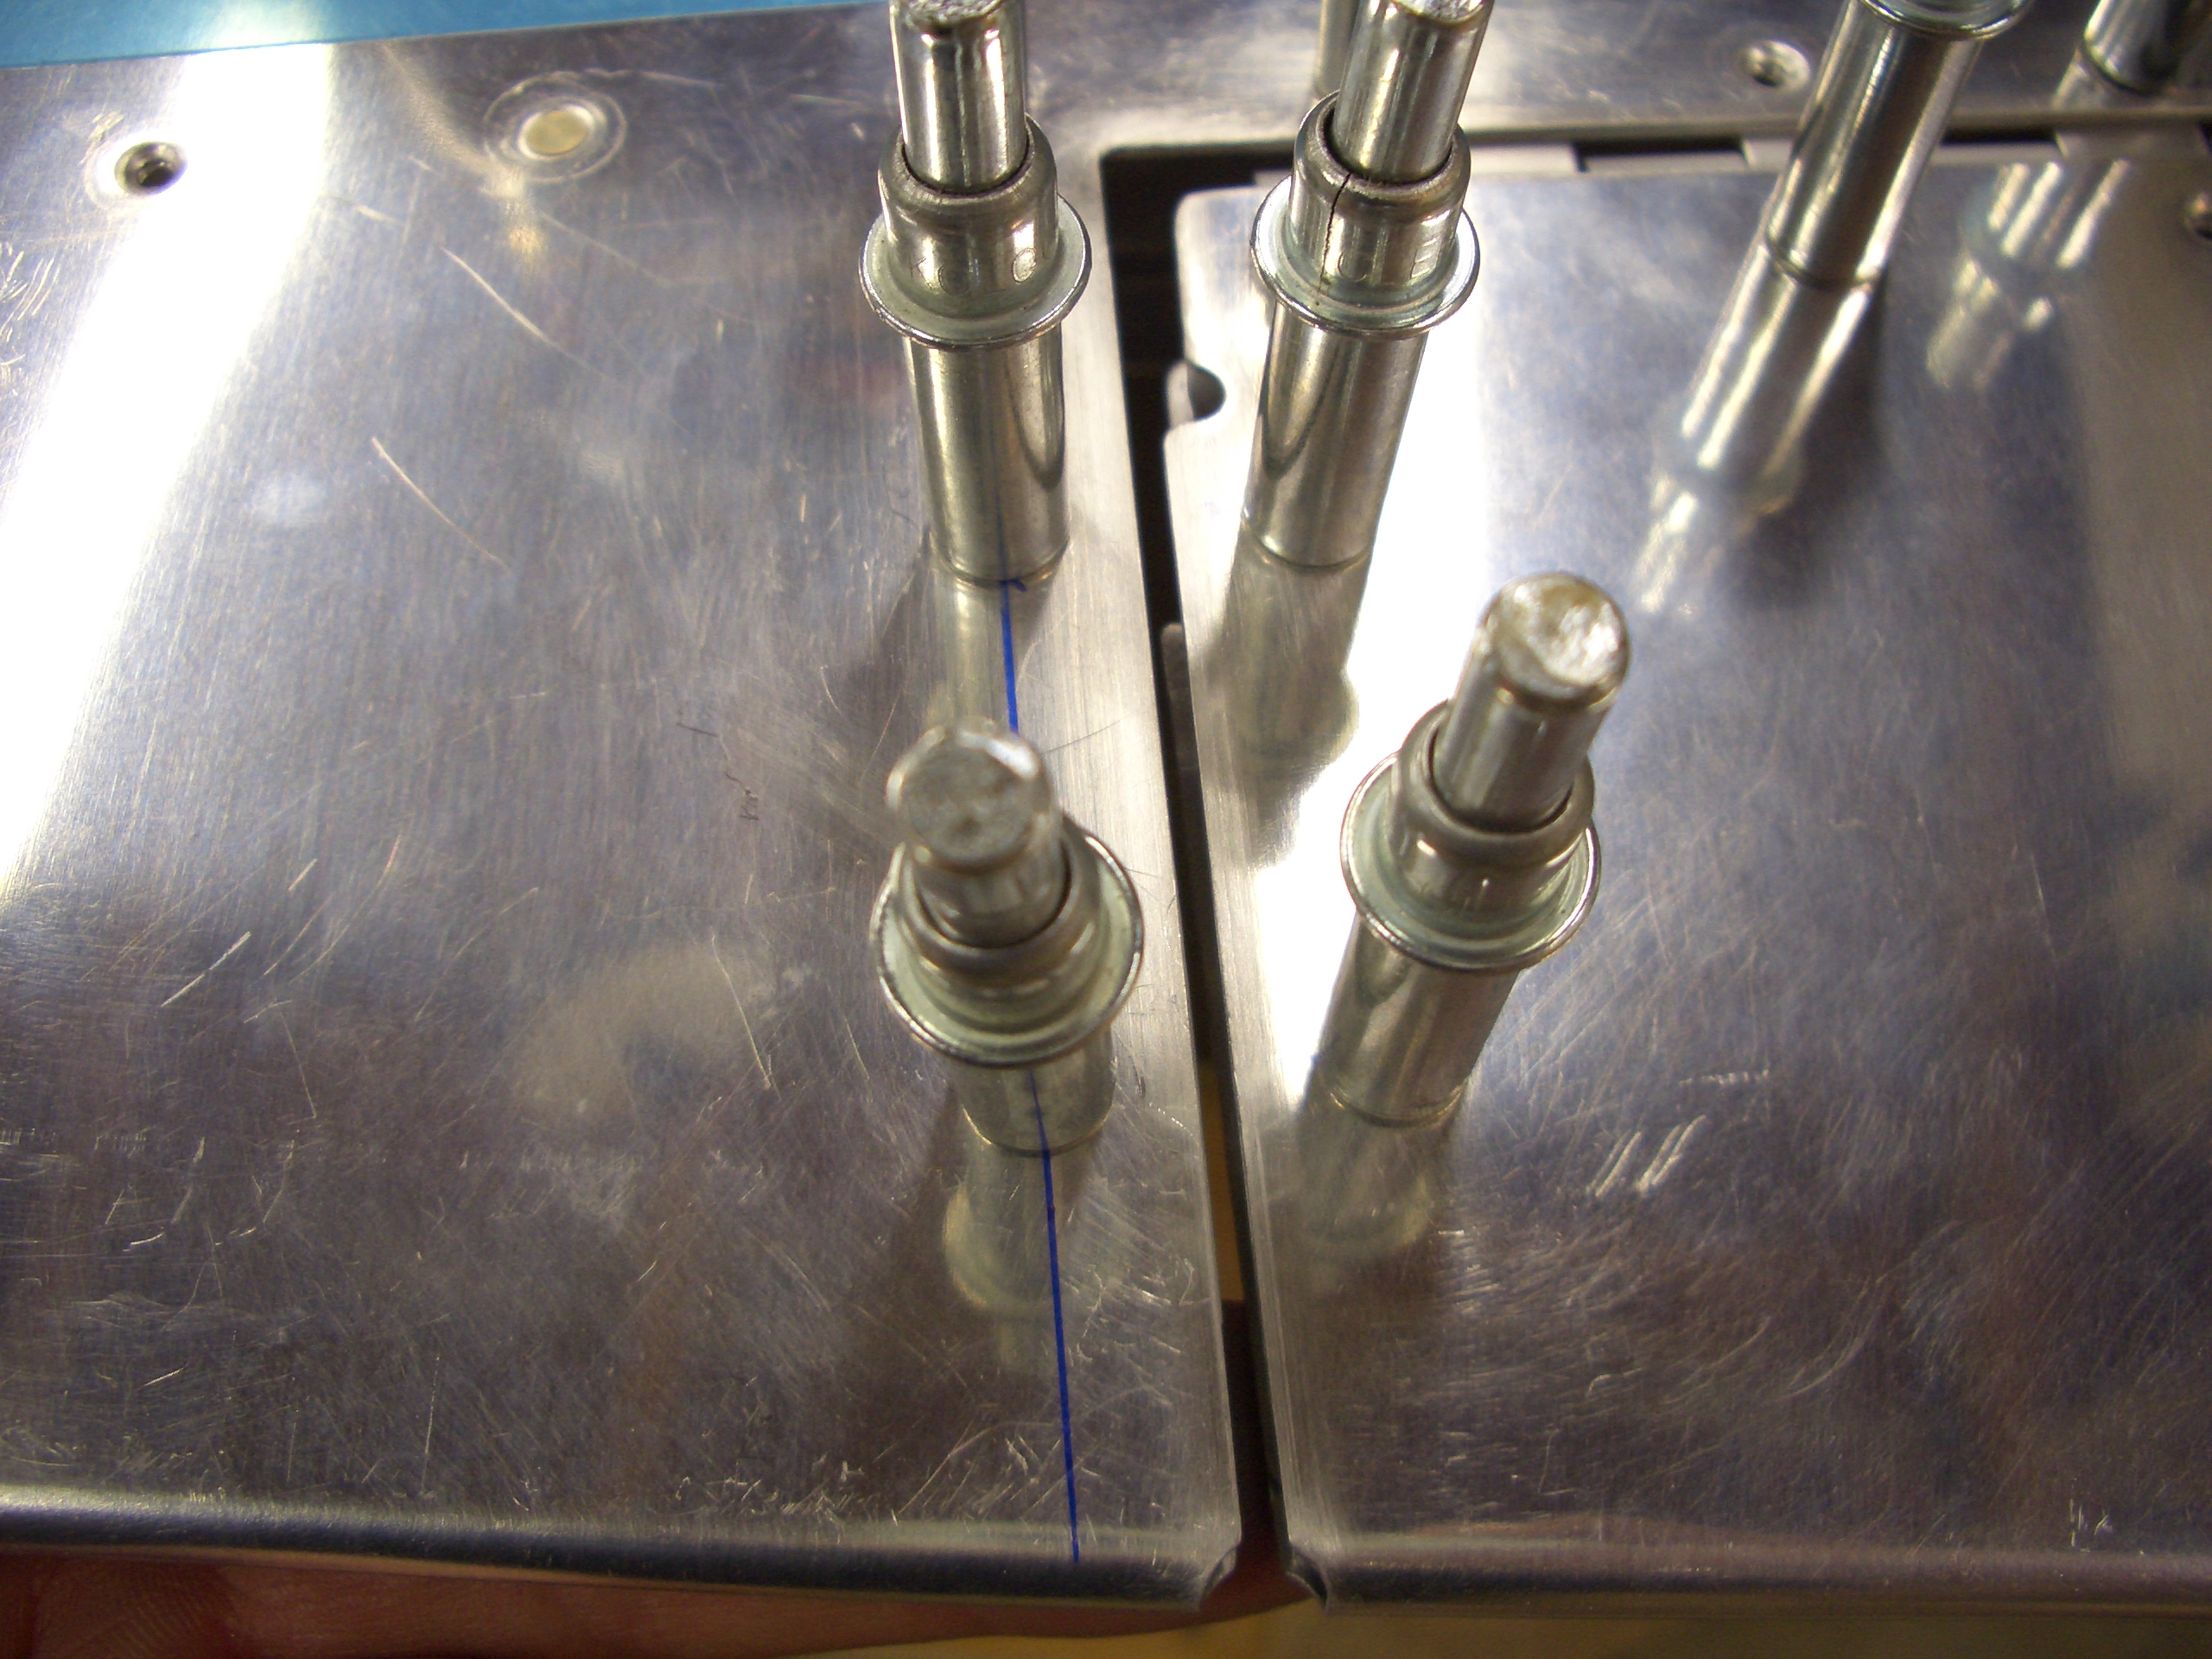
Now that I have the trim tab mounted and I’m happy with the alignment, I cut off the inboard ears in line with the inboard edge of the elevator. I still have to fabricate a small rib to fit in here.

I also opened up the gap between the trim tab and elevator to 2/32″. Van’s specifies the minimum gap as 3/32″, but that’s with folded ends and rivets that could conceivably interfere if something ever moved or flexed. Since I’m using ribs here, nothing could move to decrease the clearance (There actually is a small amount of side to side play in the hinge, but the 2/32″ clearance is with the trim tab pushed as close to the elevator as possible. The actual clearance varies from 2/32″ to almost 3/32″). Even if hinge wear theoretically allows greater play at some point in the future, I could always increase the clearance by filing these edges back a little further (definitely not an option with the folded ends).
Here’s another shot of the elevator rib. This picture makes it look like there’s a gap on the top edge, but the rivets will pull this down flush.
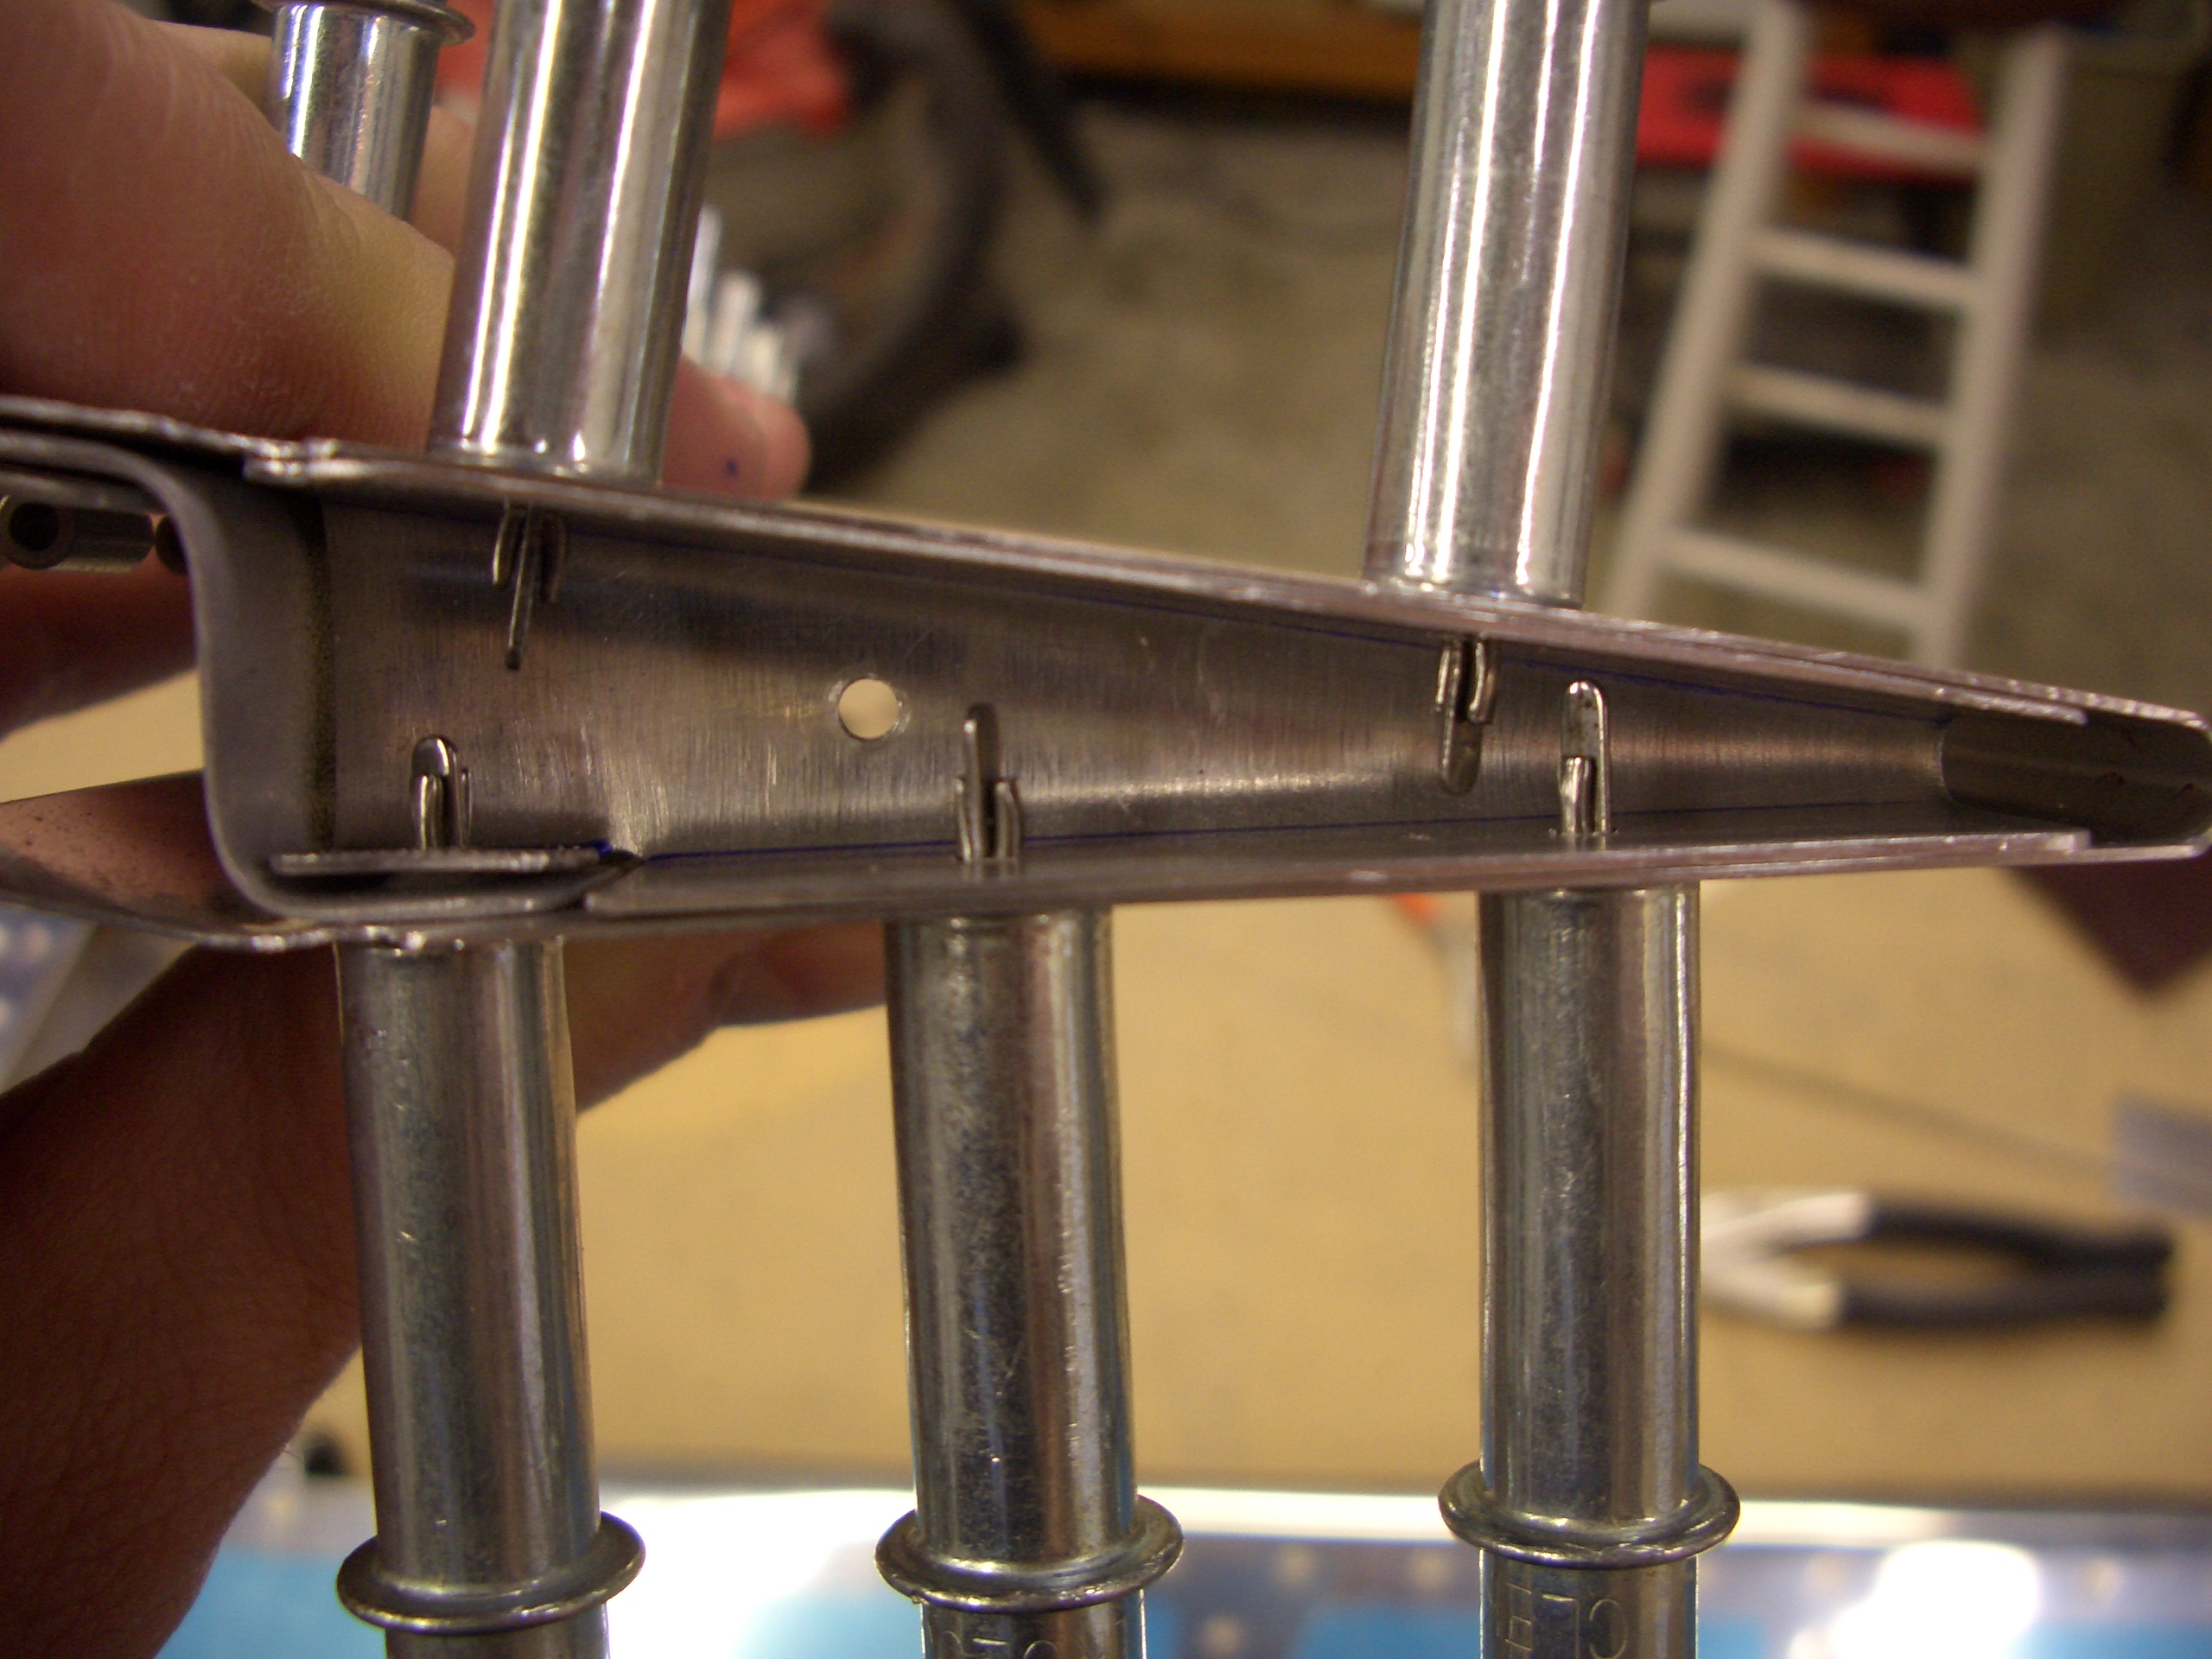
Here’s the second rib I fabricated for the outboard end of the trim tab. The first was way off, but this fits perfectly. I still need to dimple all of this which is why the little ear on the left isn’t sitting flat. It was a little more work to make the ribs have these little ears to tie into the spar, but I think it’s well worth it to reduce the potential for flex and cracking.