Finished Rudder Structure

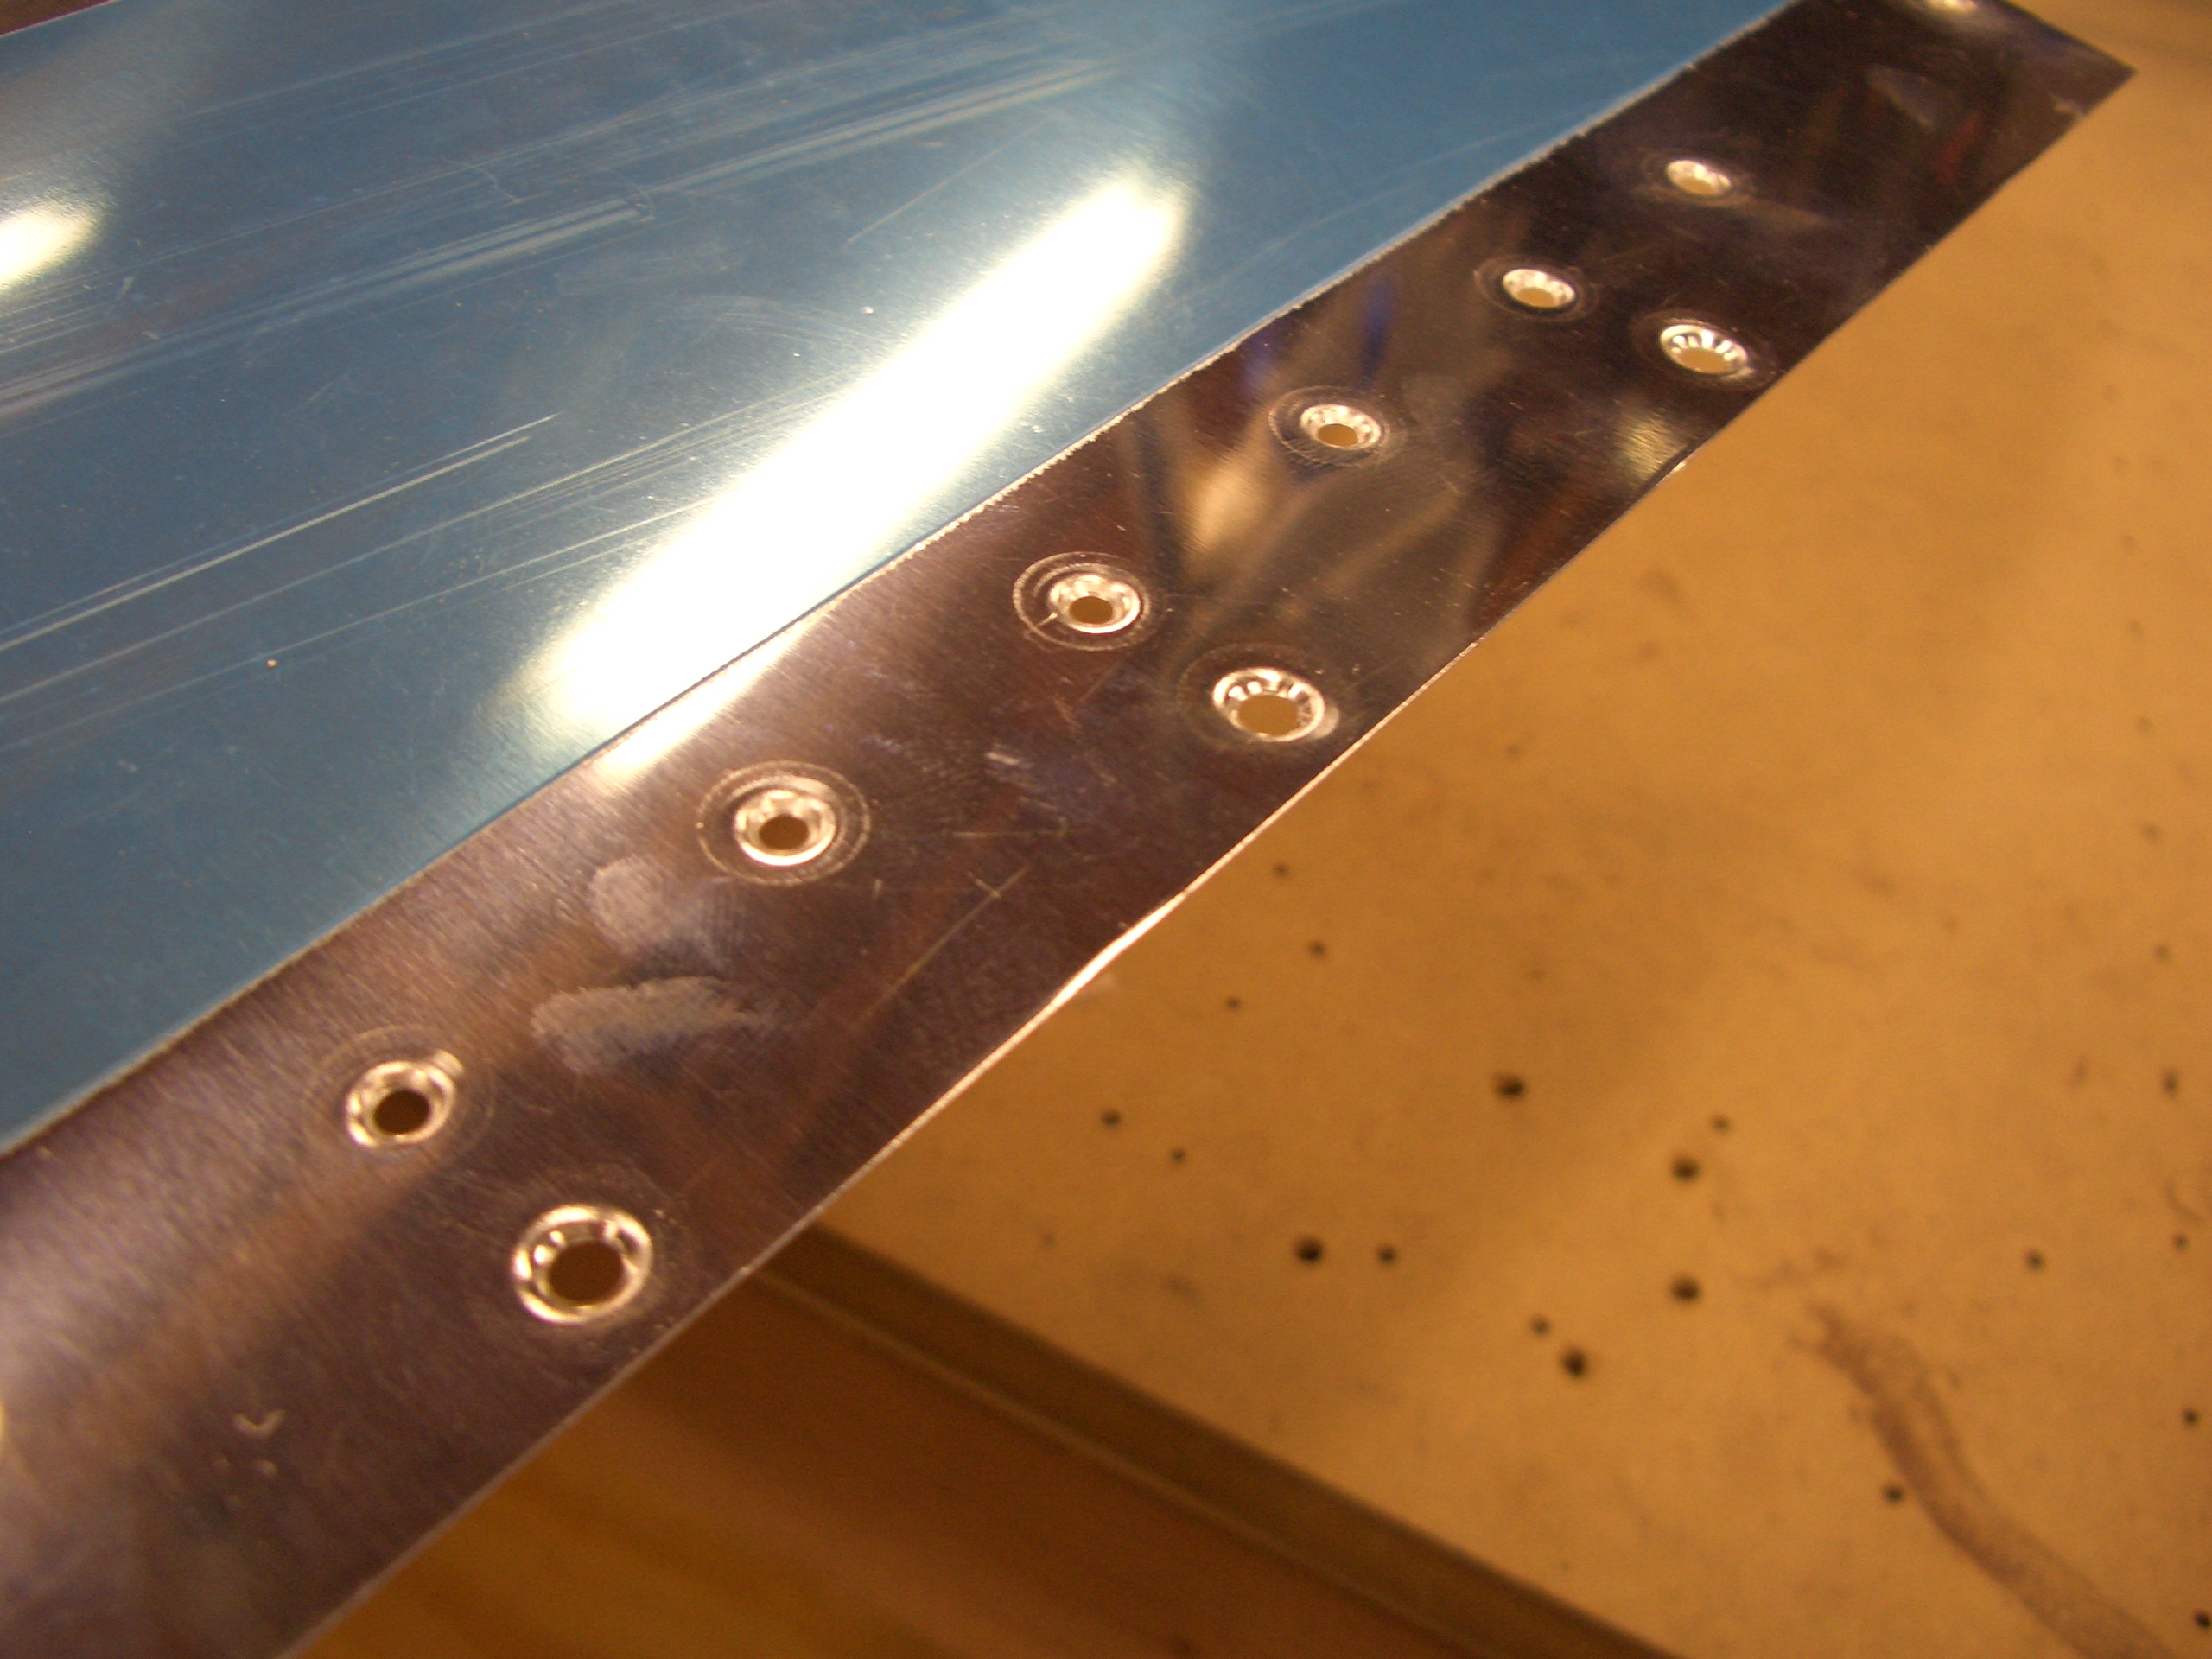
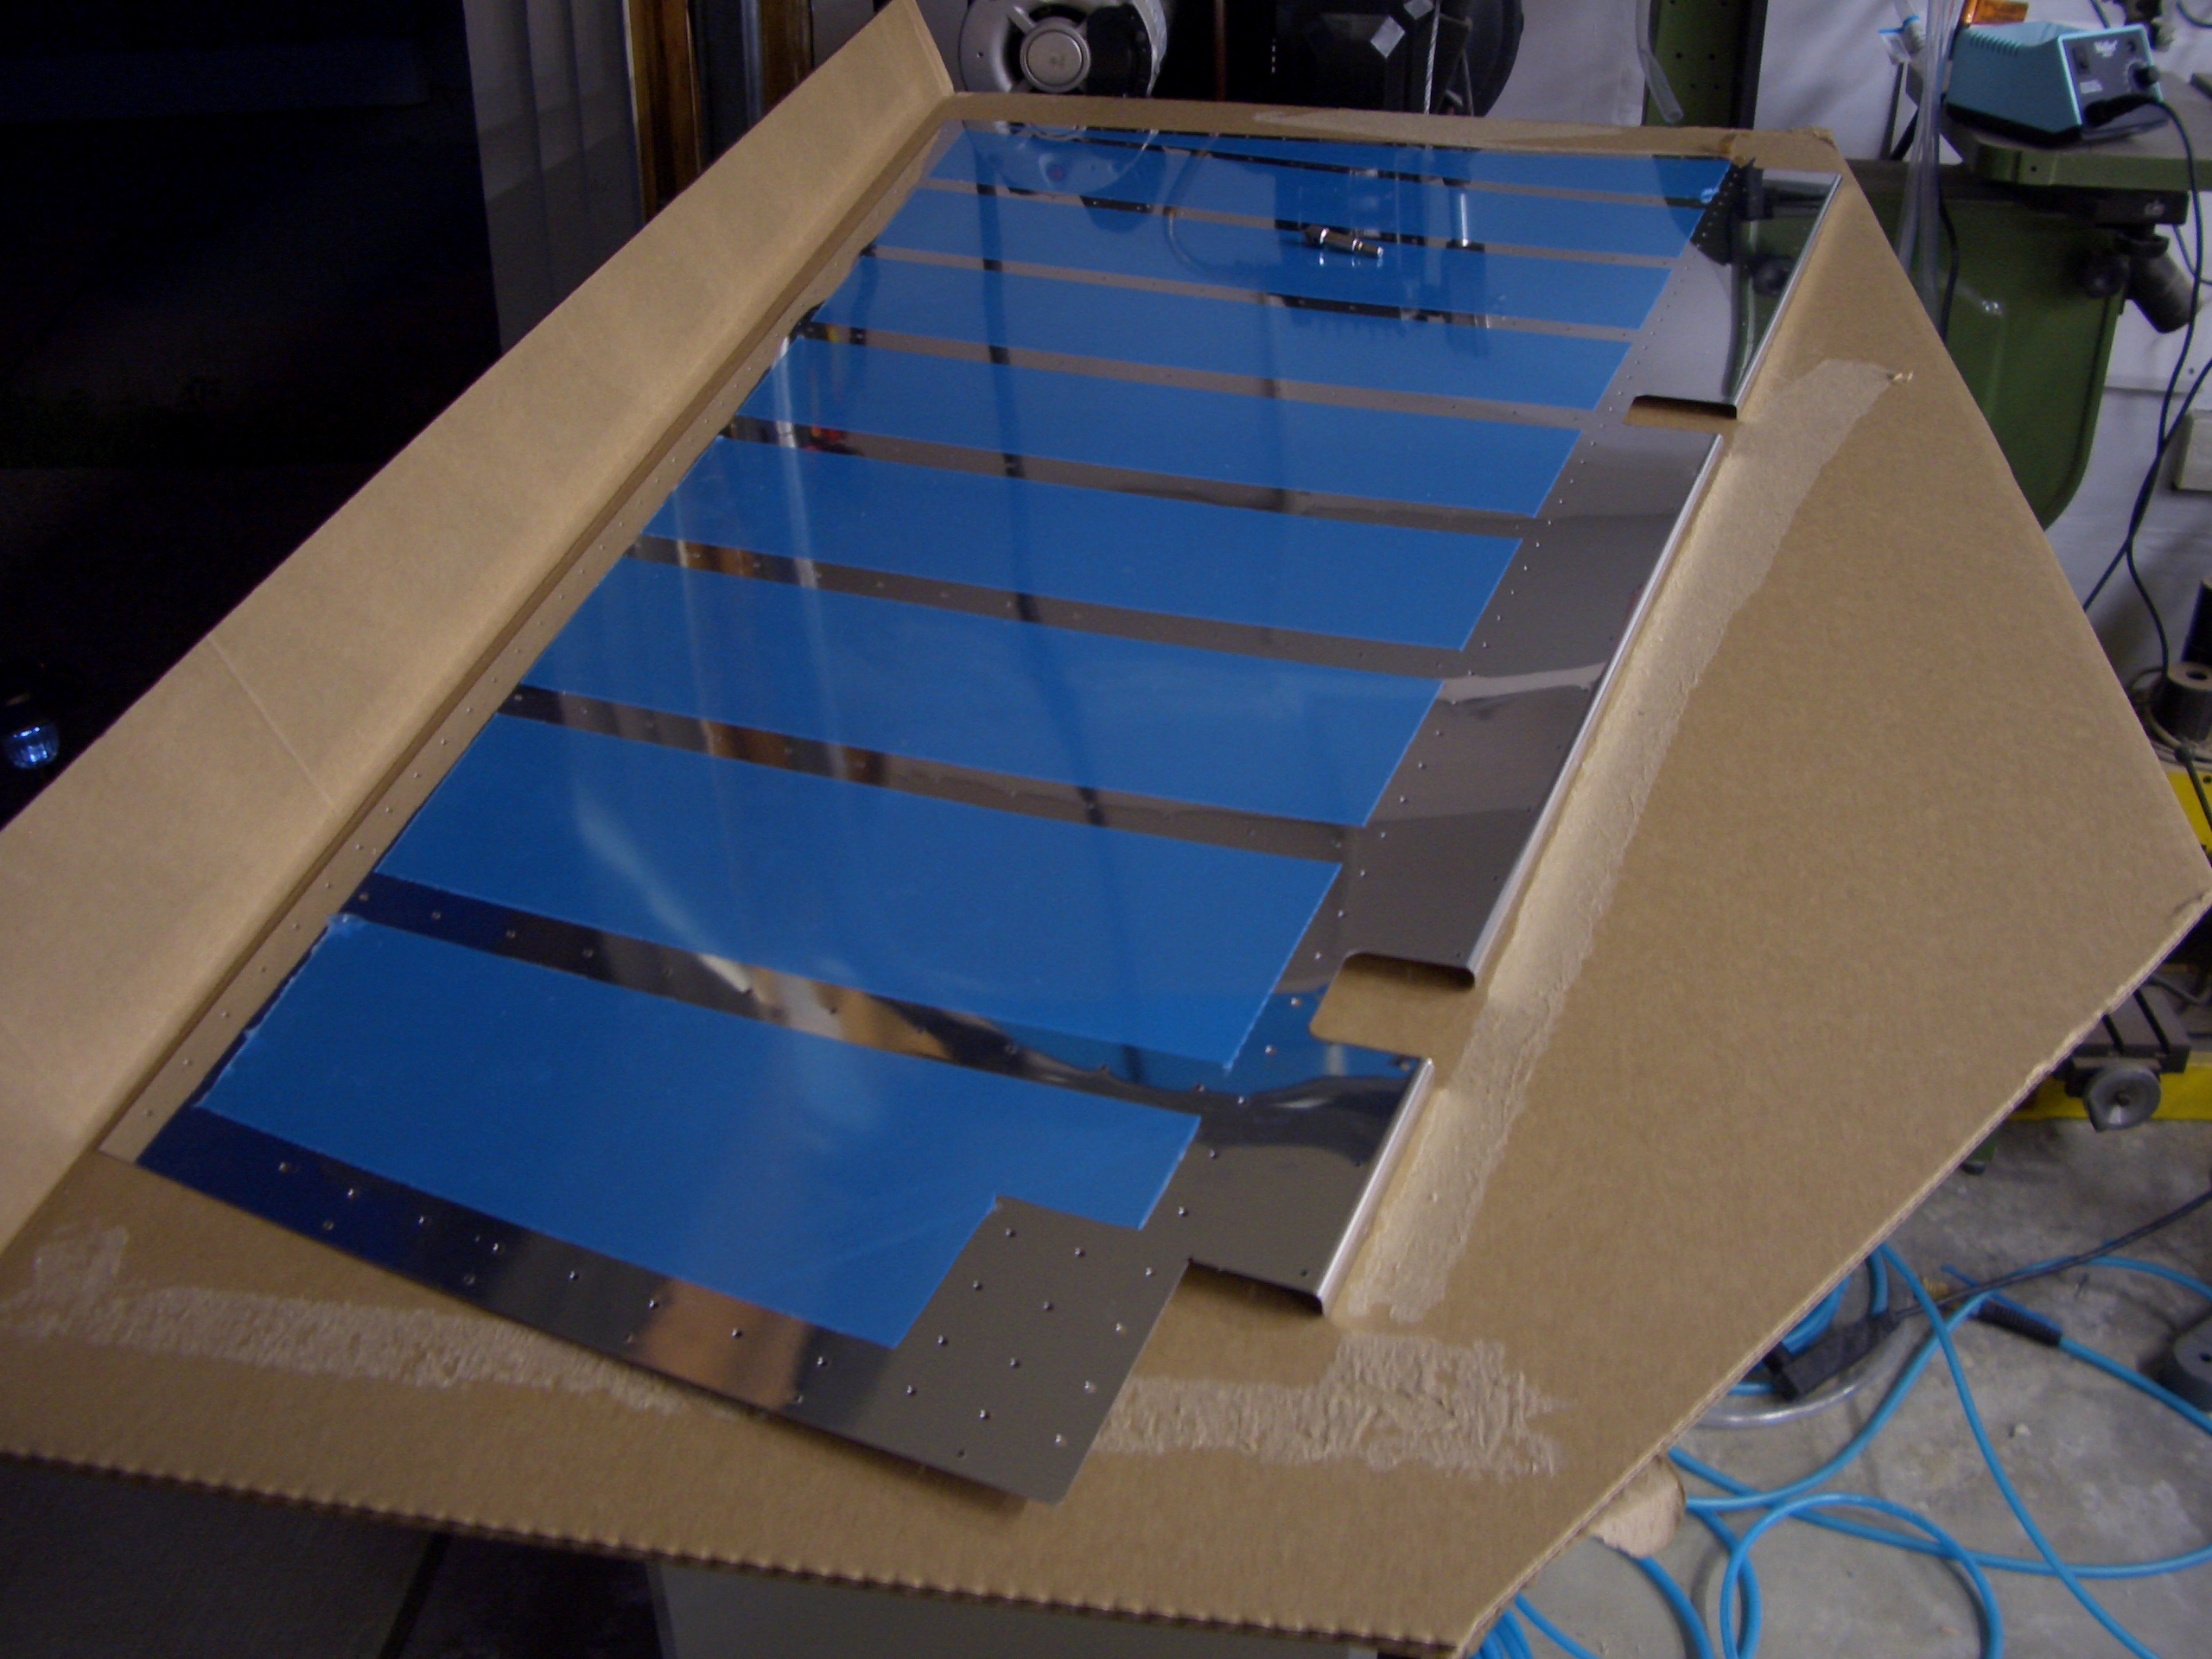
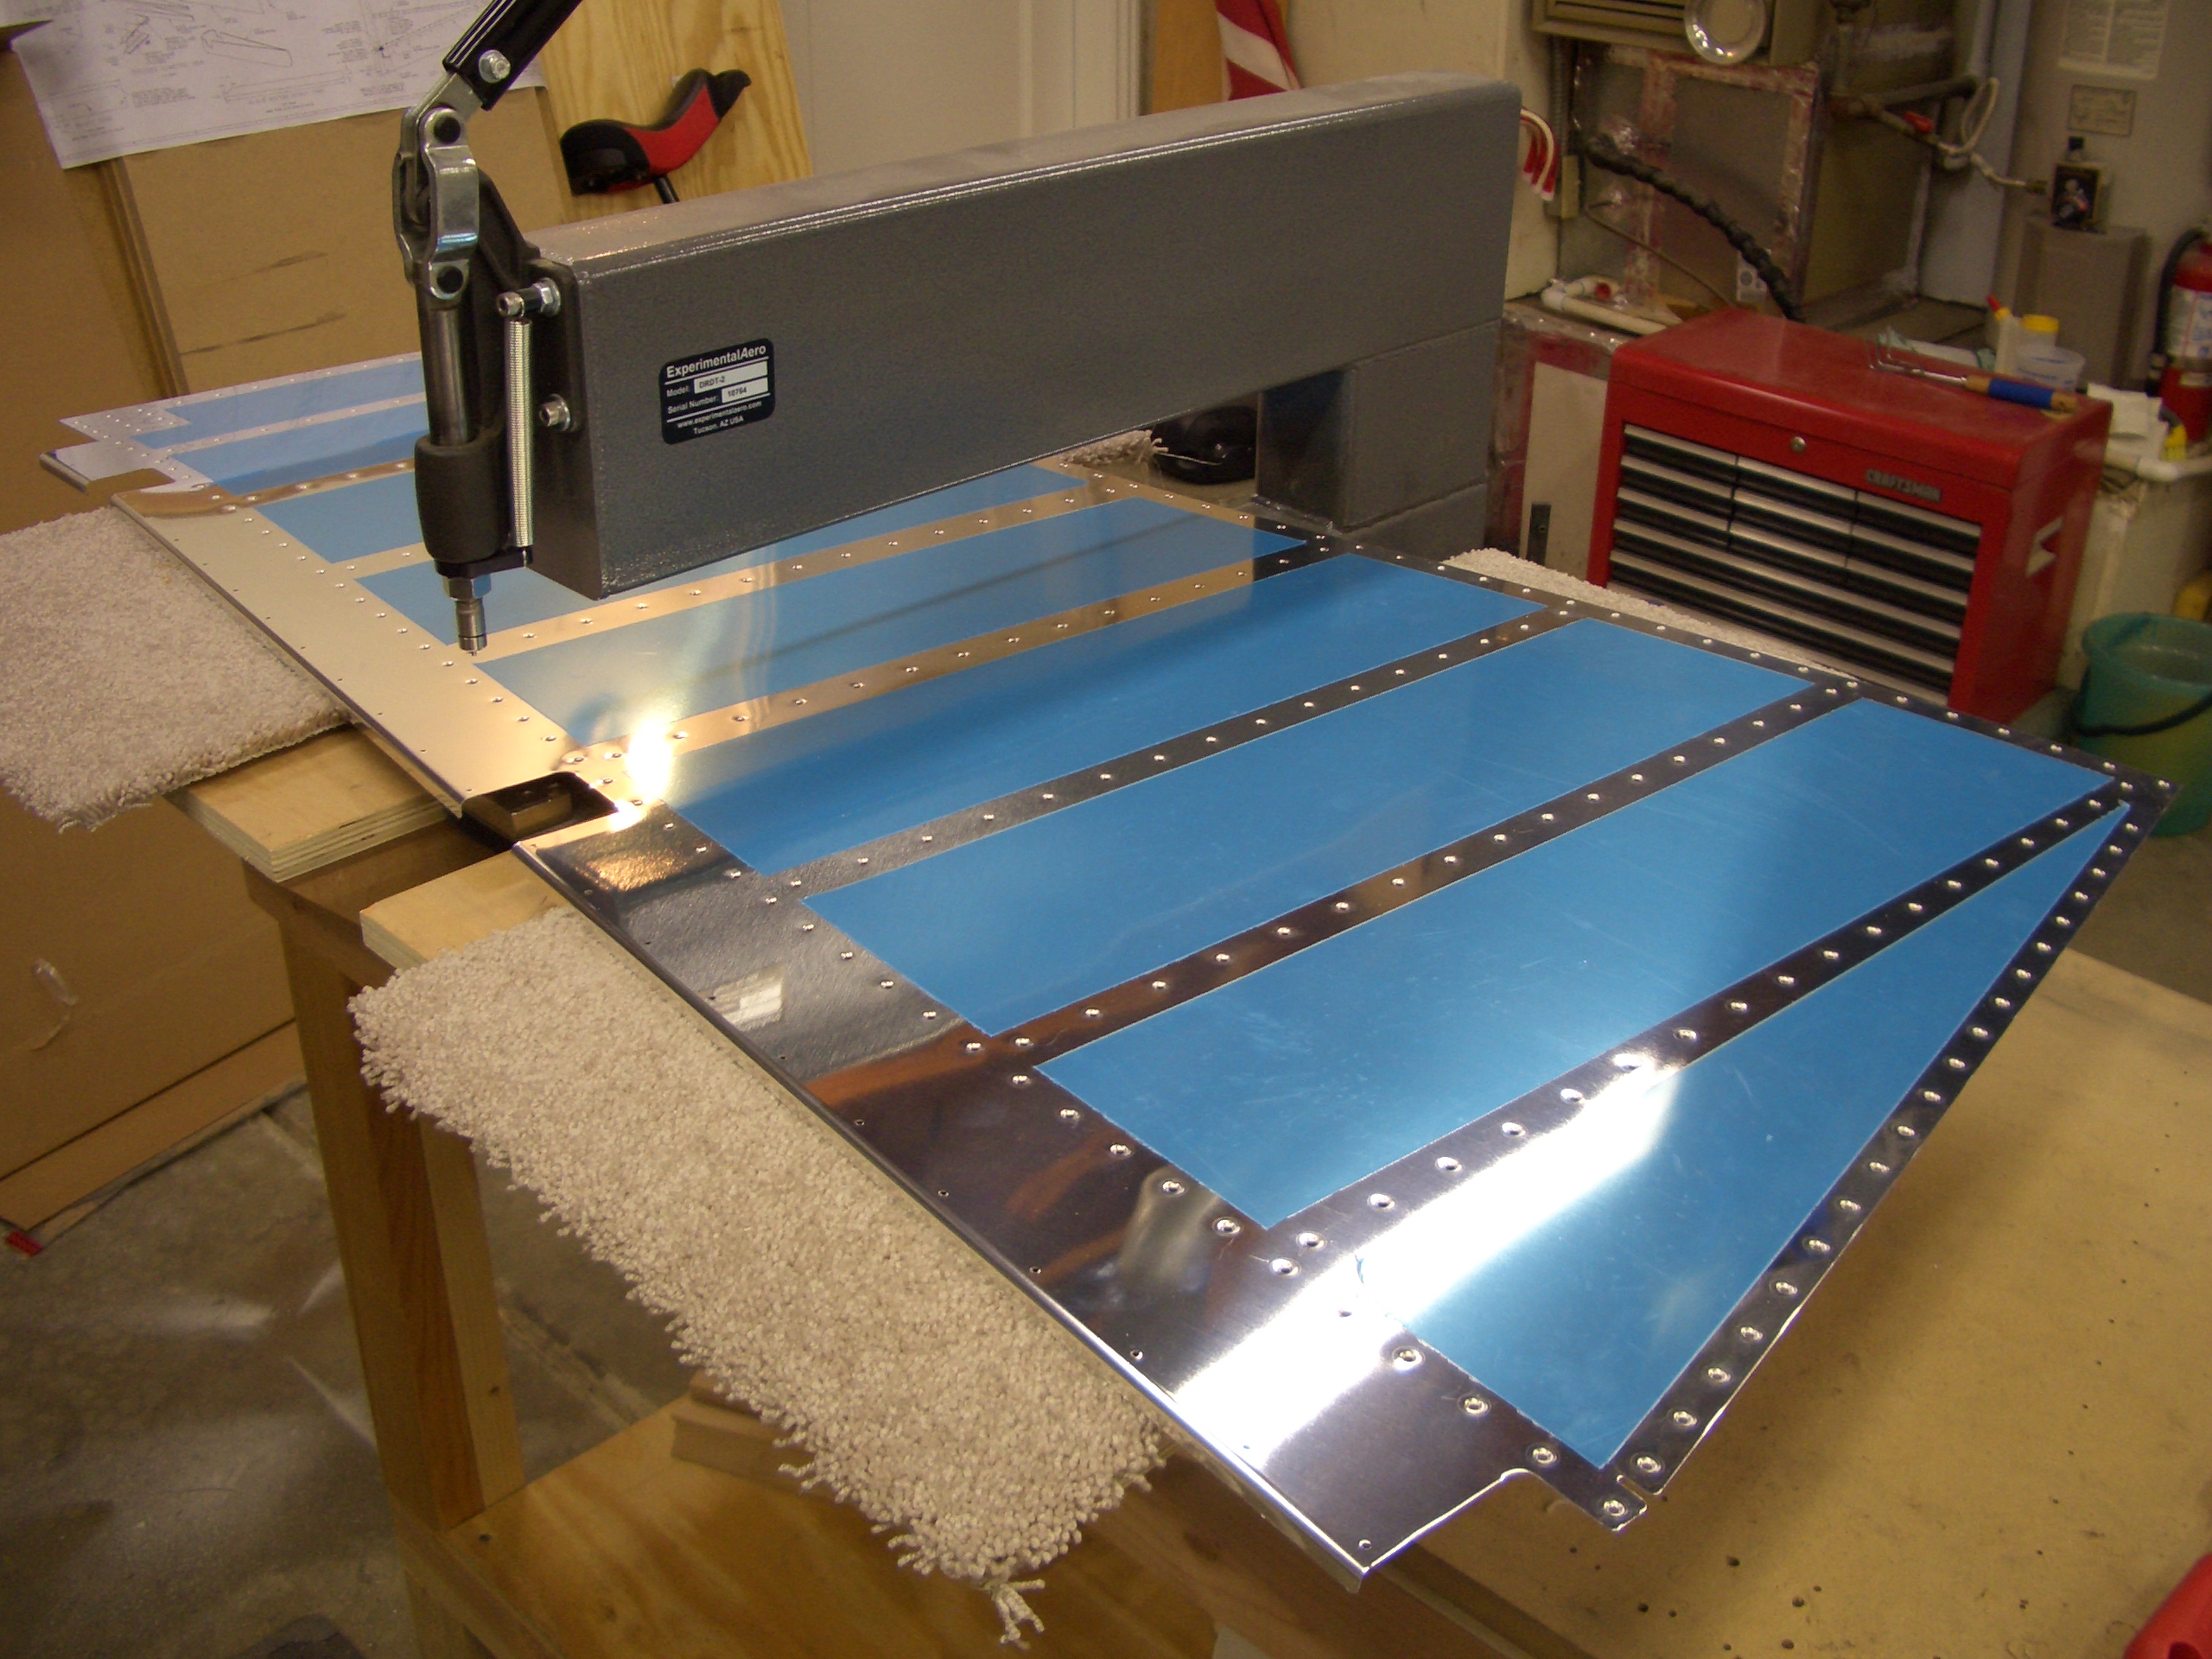
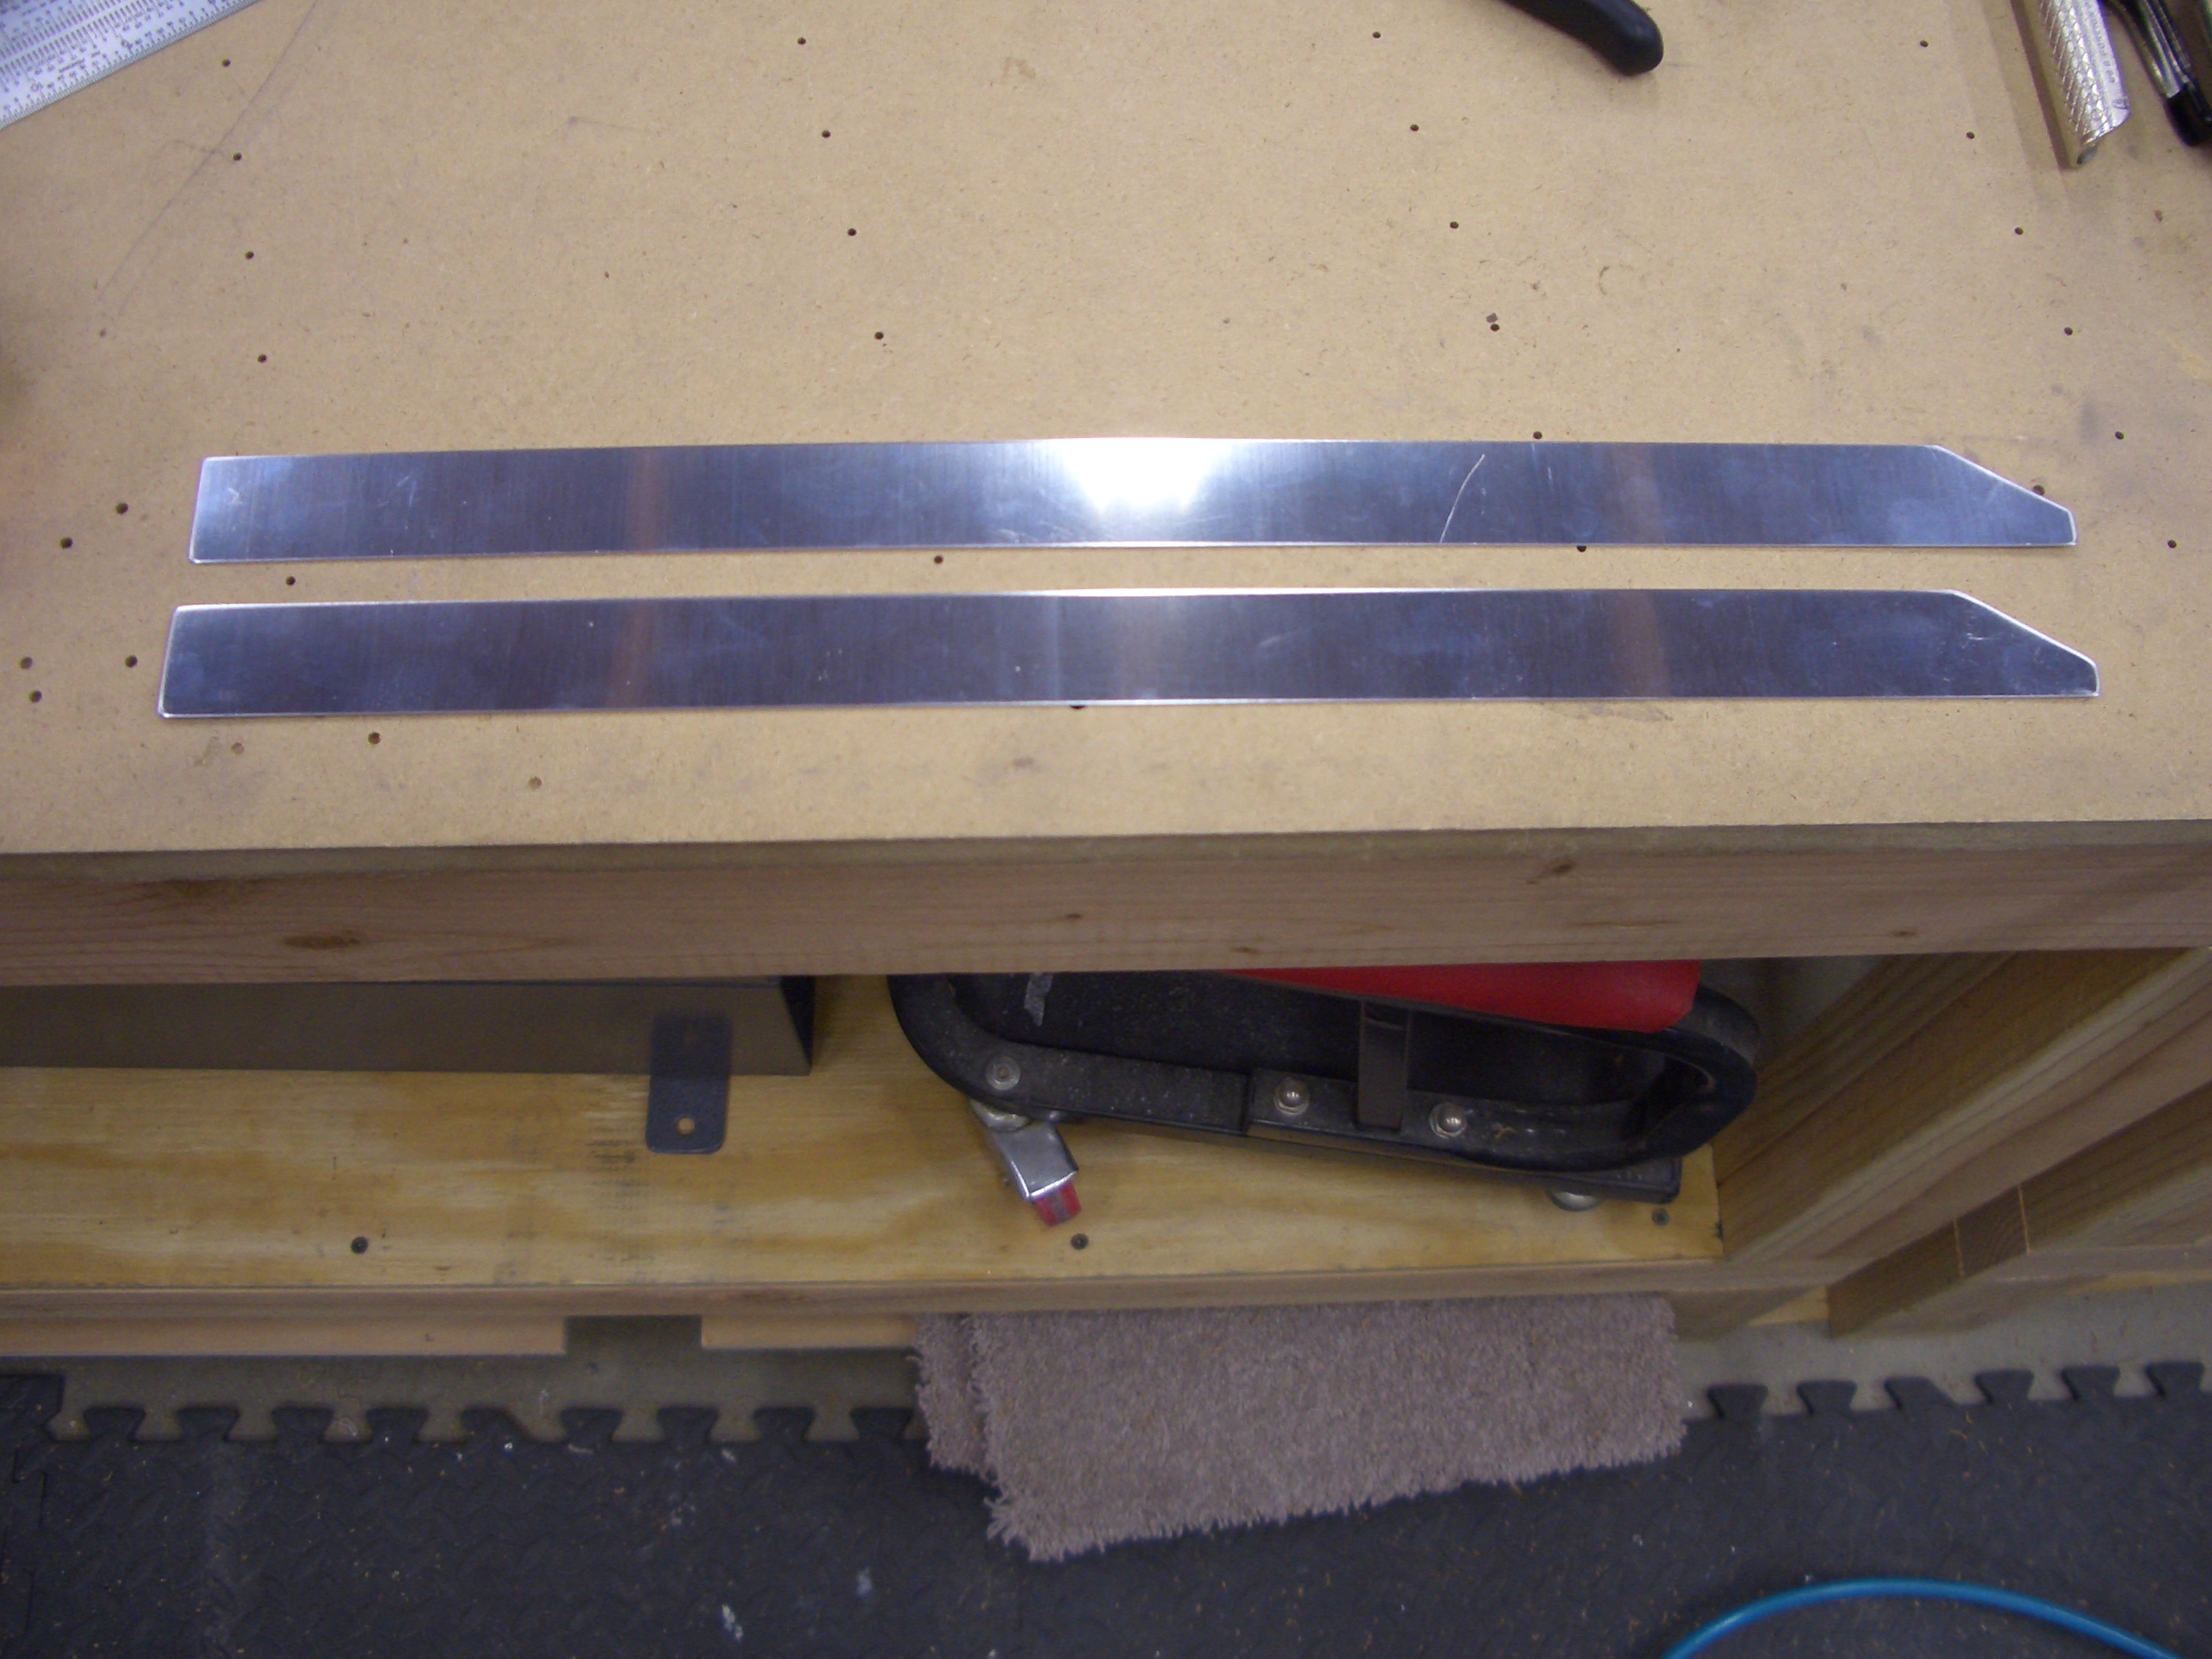
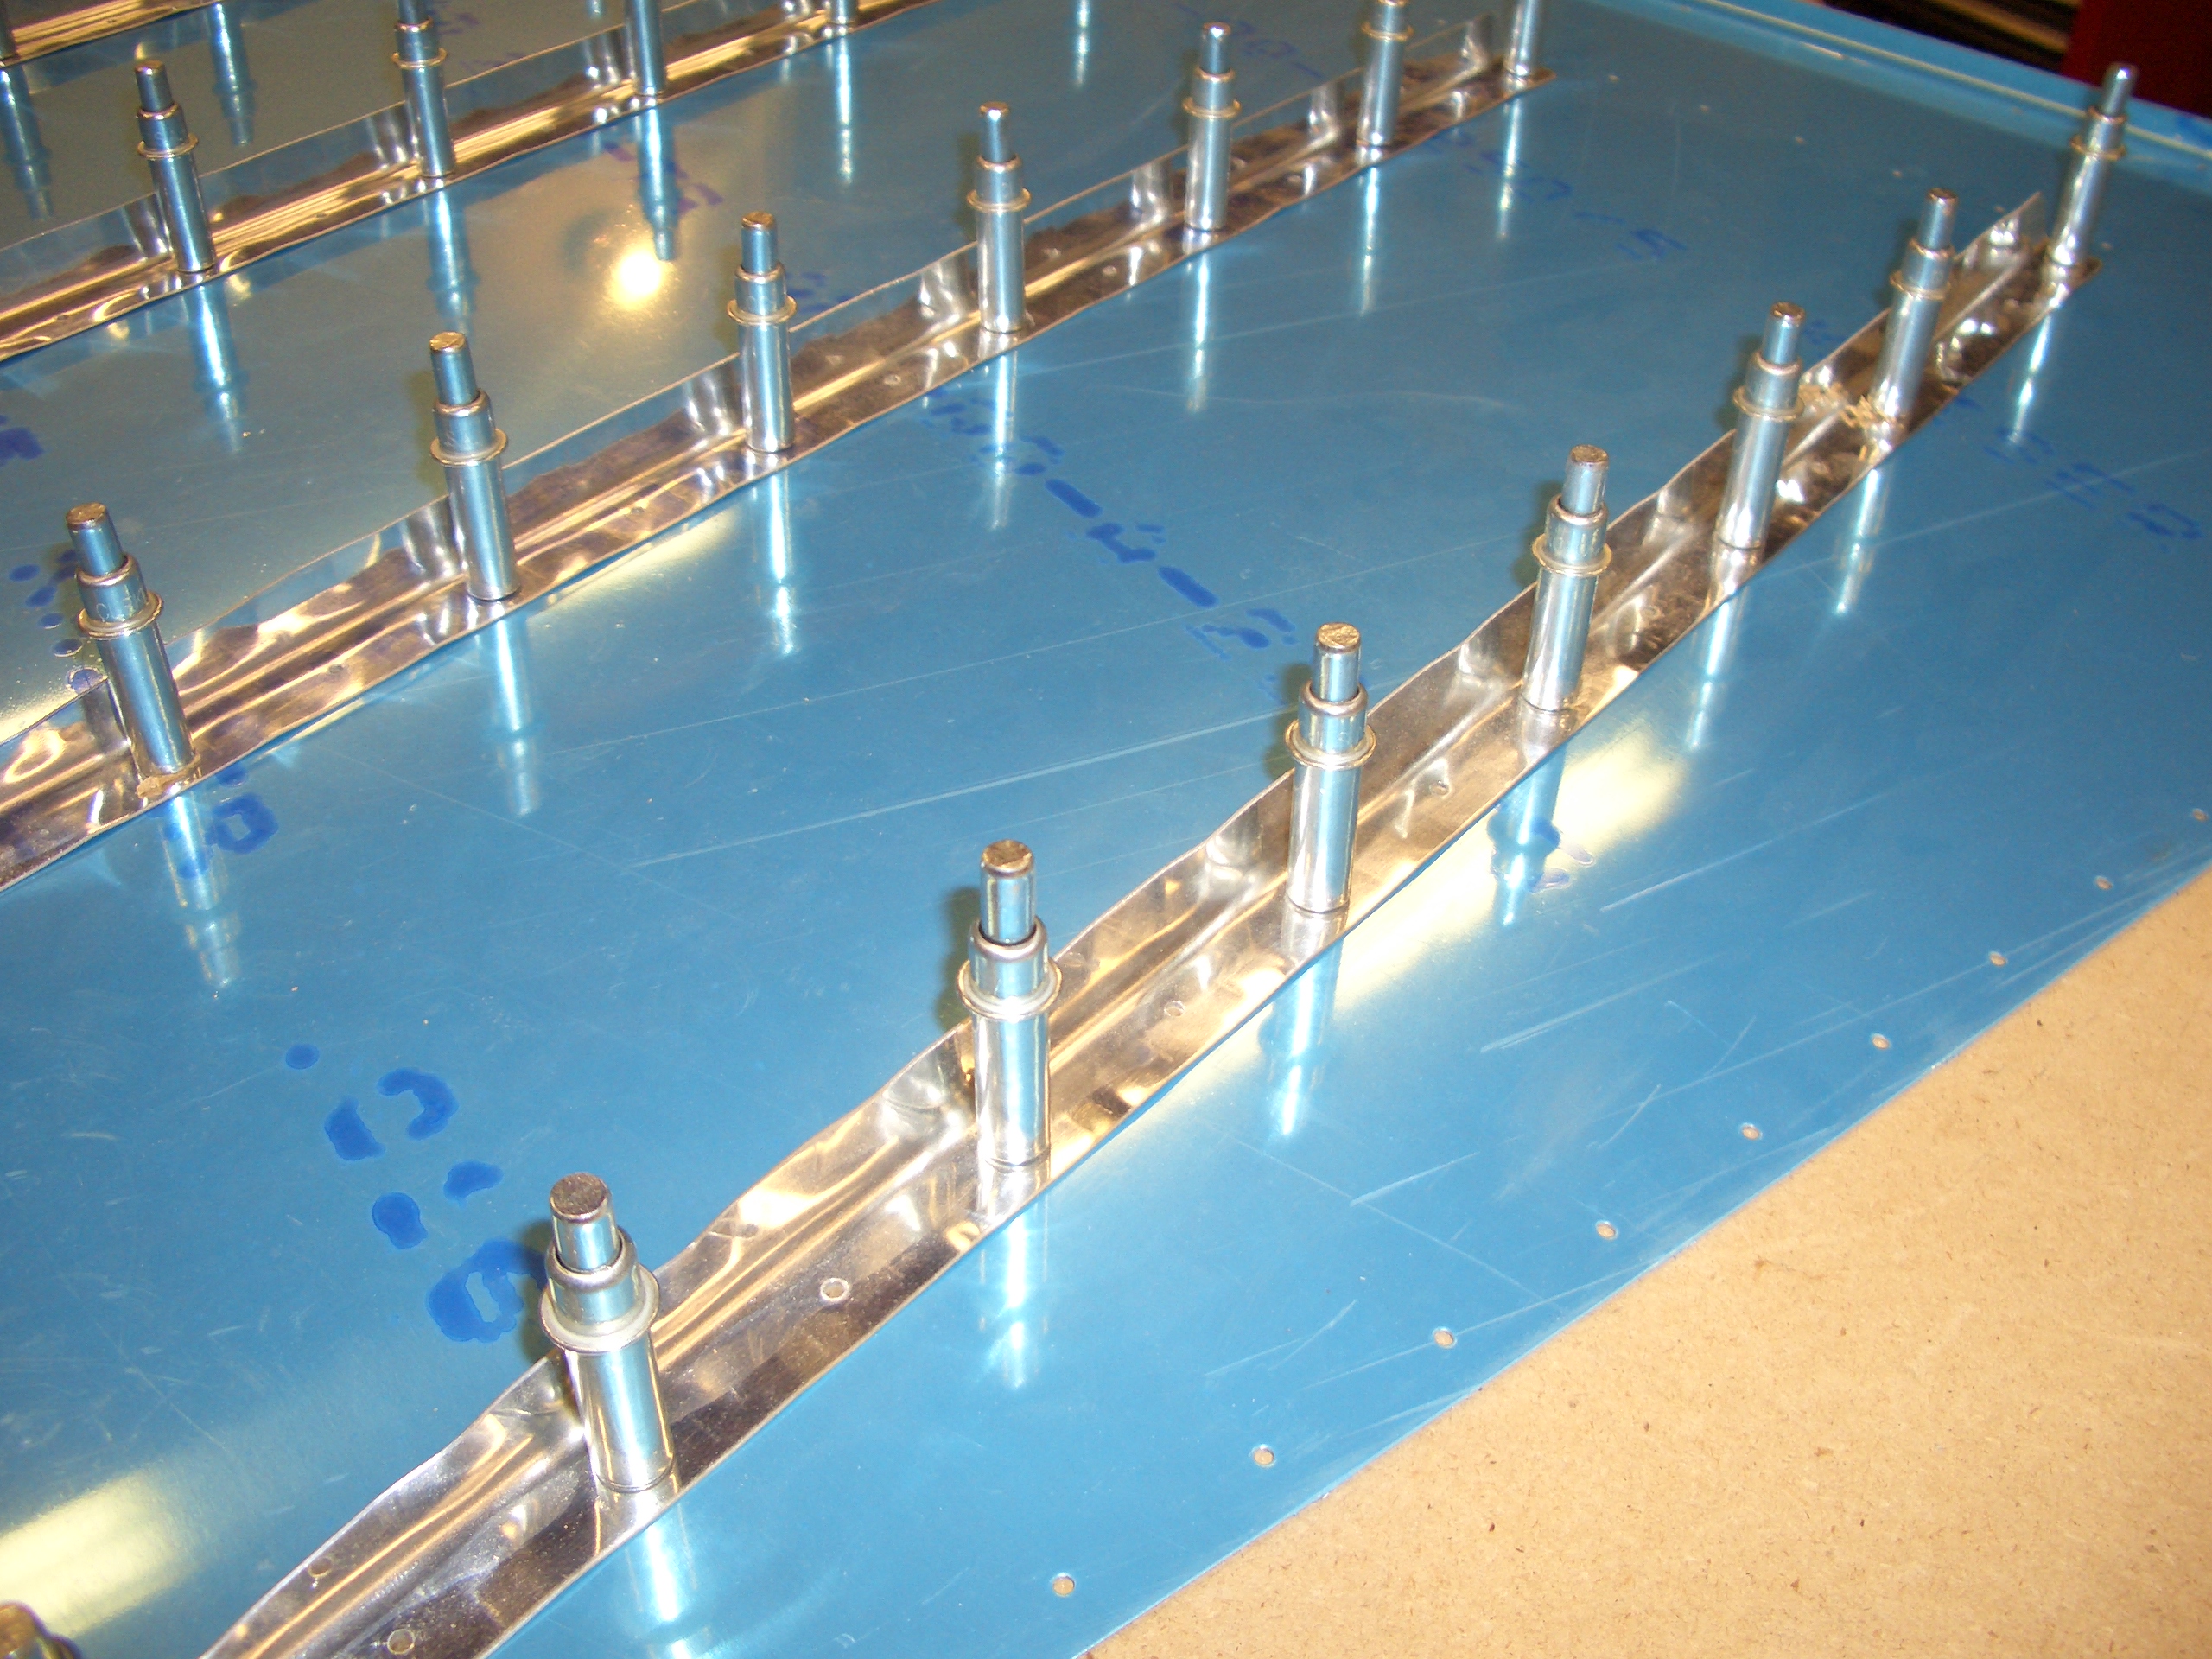
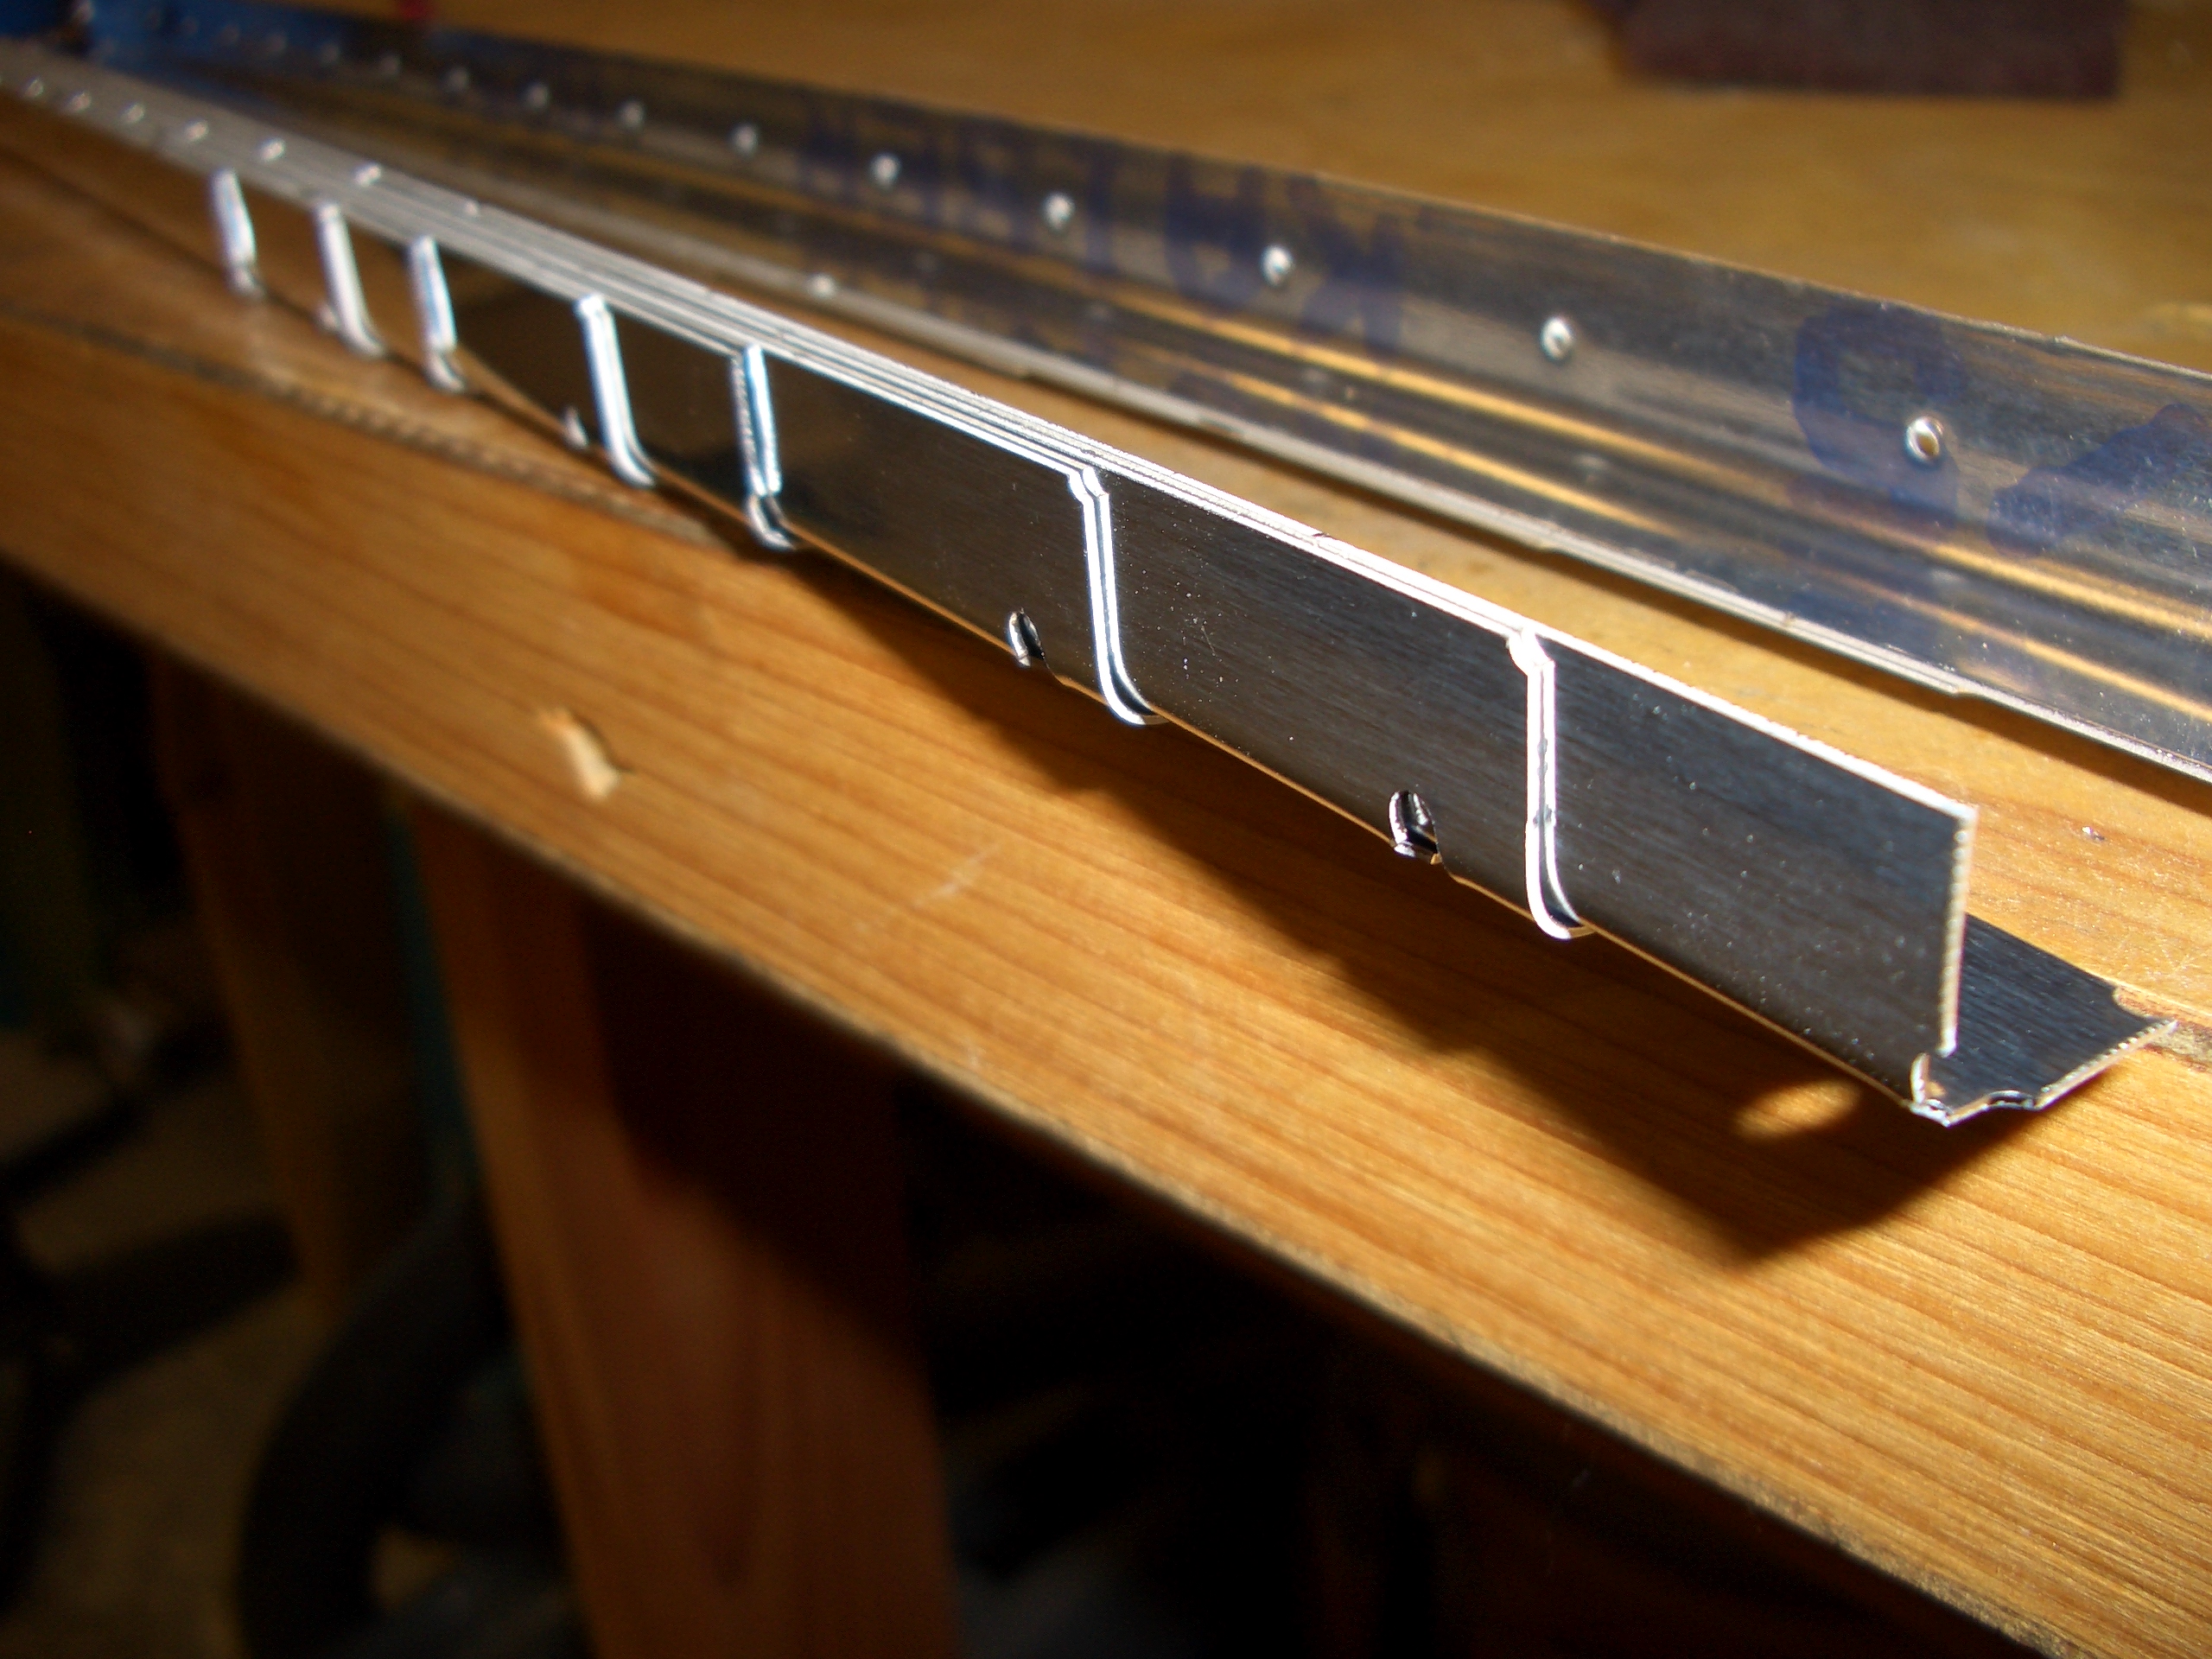
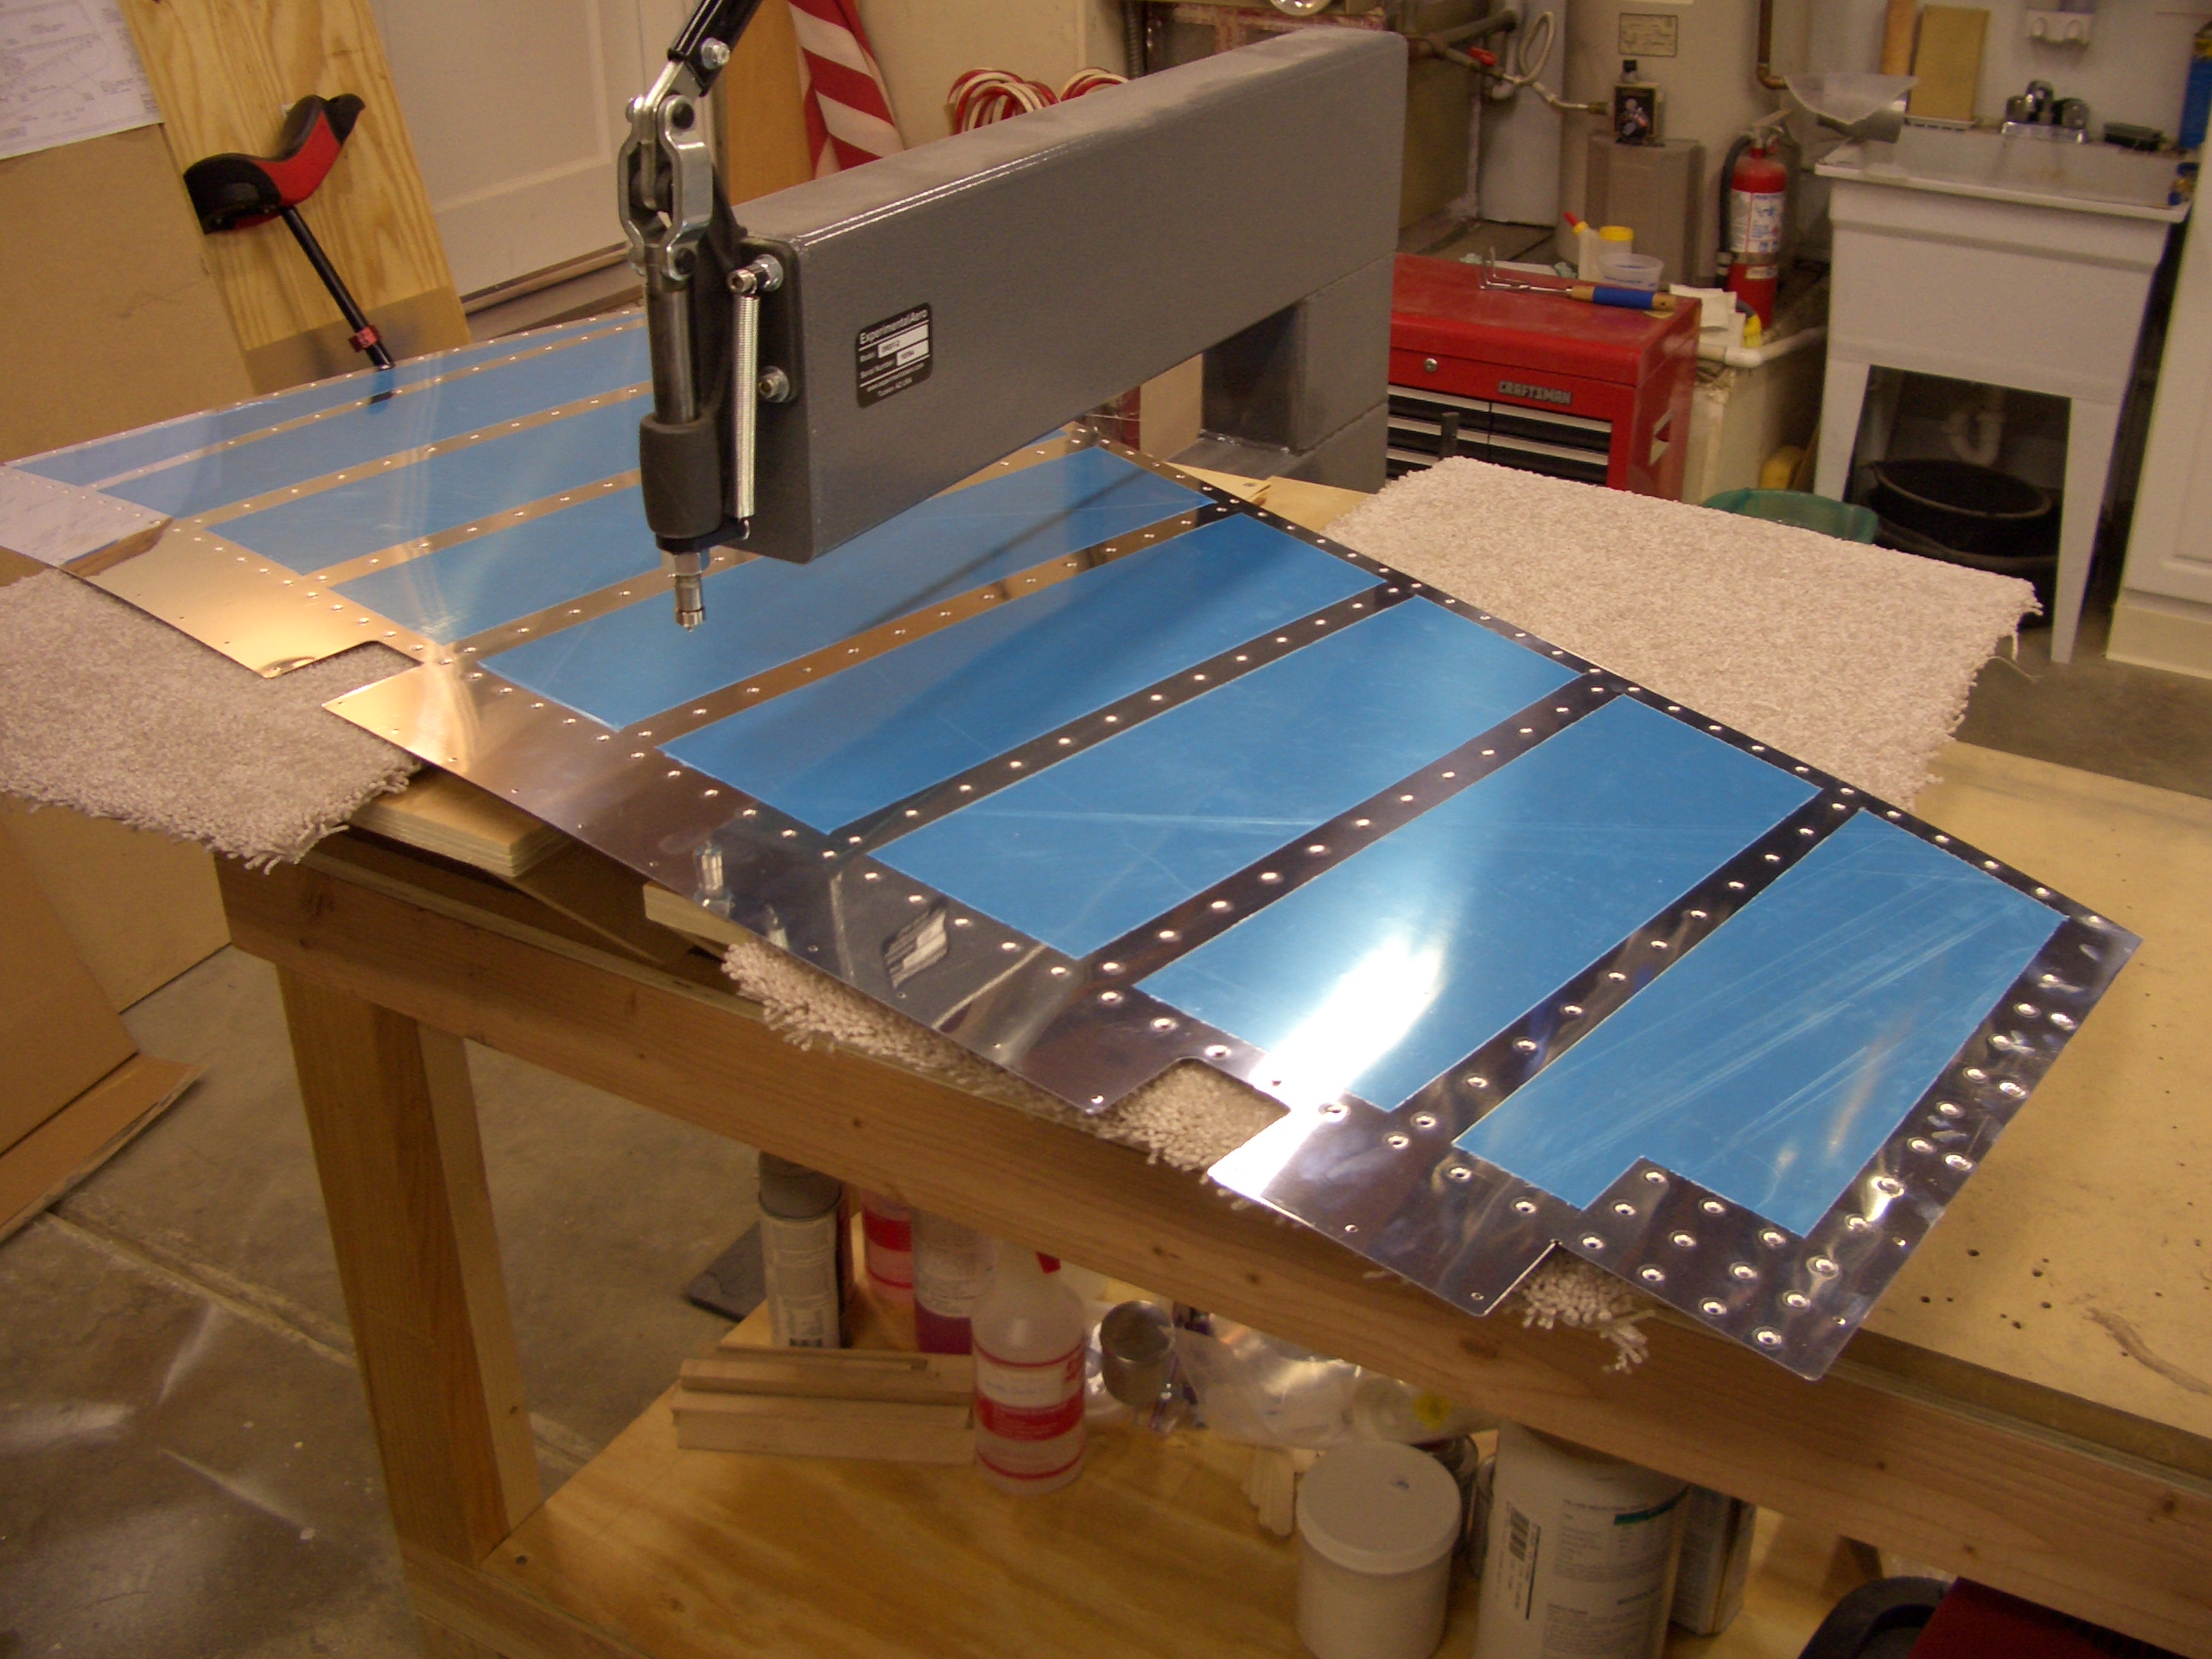
I deburred and dimpled the other rudder skin tonight.  I highly recommend the DRDT-2 dimpler.  Not only is it quiet and very low impact, there’s basically no chance of damaging the skin.  I can’t tell you how many builder’s websites I’ve run across where they accidentally put an extra hole in their skin while dimpling using the standard c-frame dimpling tool.  Unless you’re completely not paying attention, I simply can’t see how that could happen with this tool.  If you lower the handle gently into the hole and only press firmly after the dies are engaged, you’ll never make a mistake.


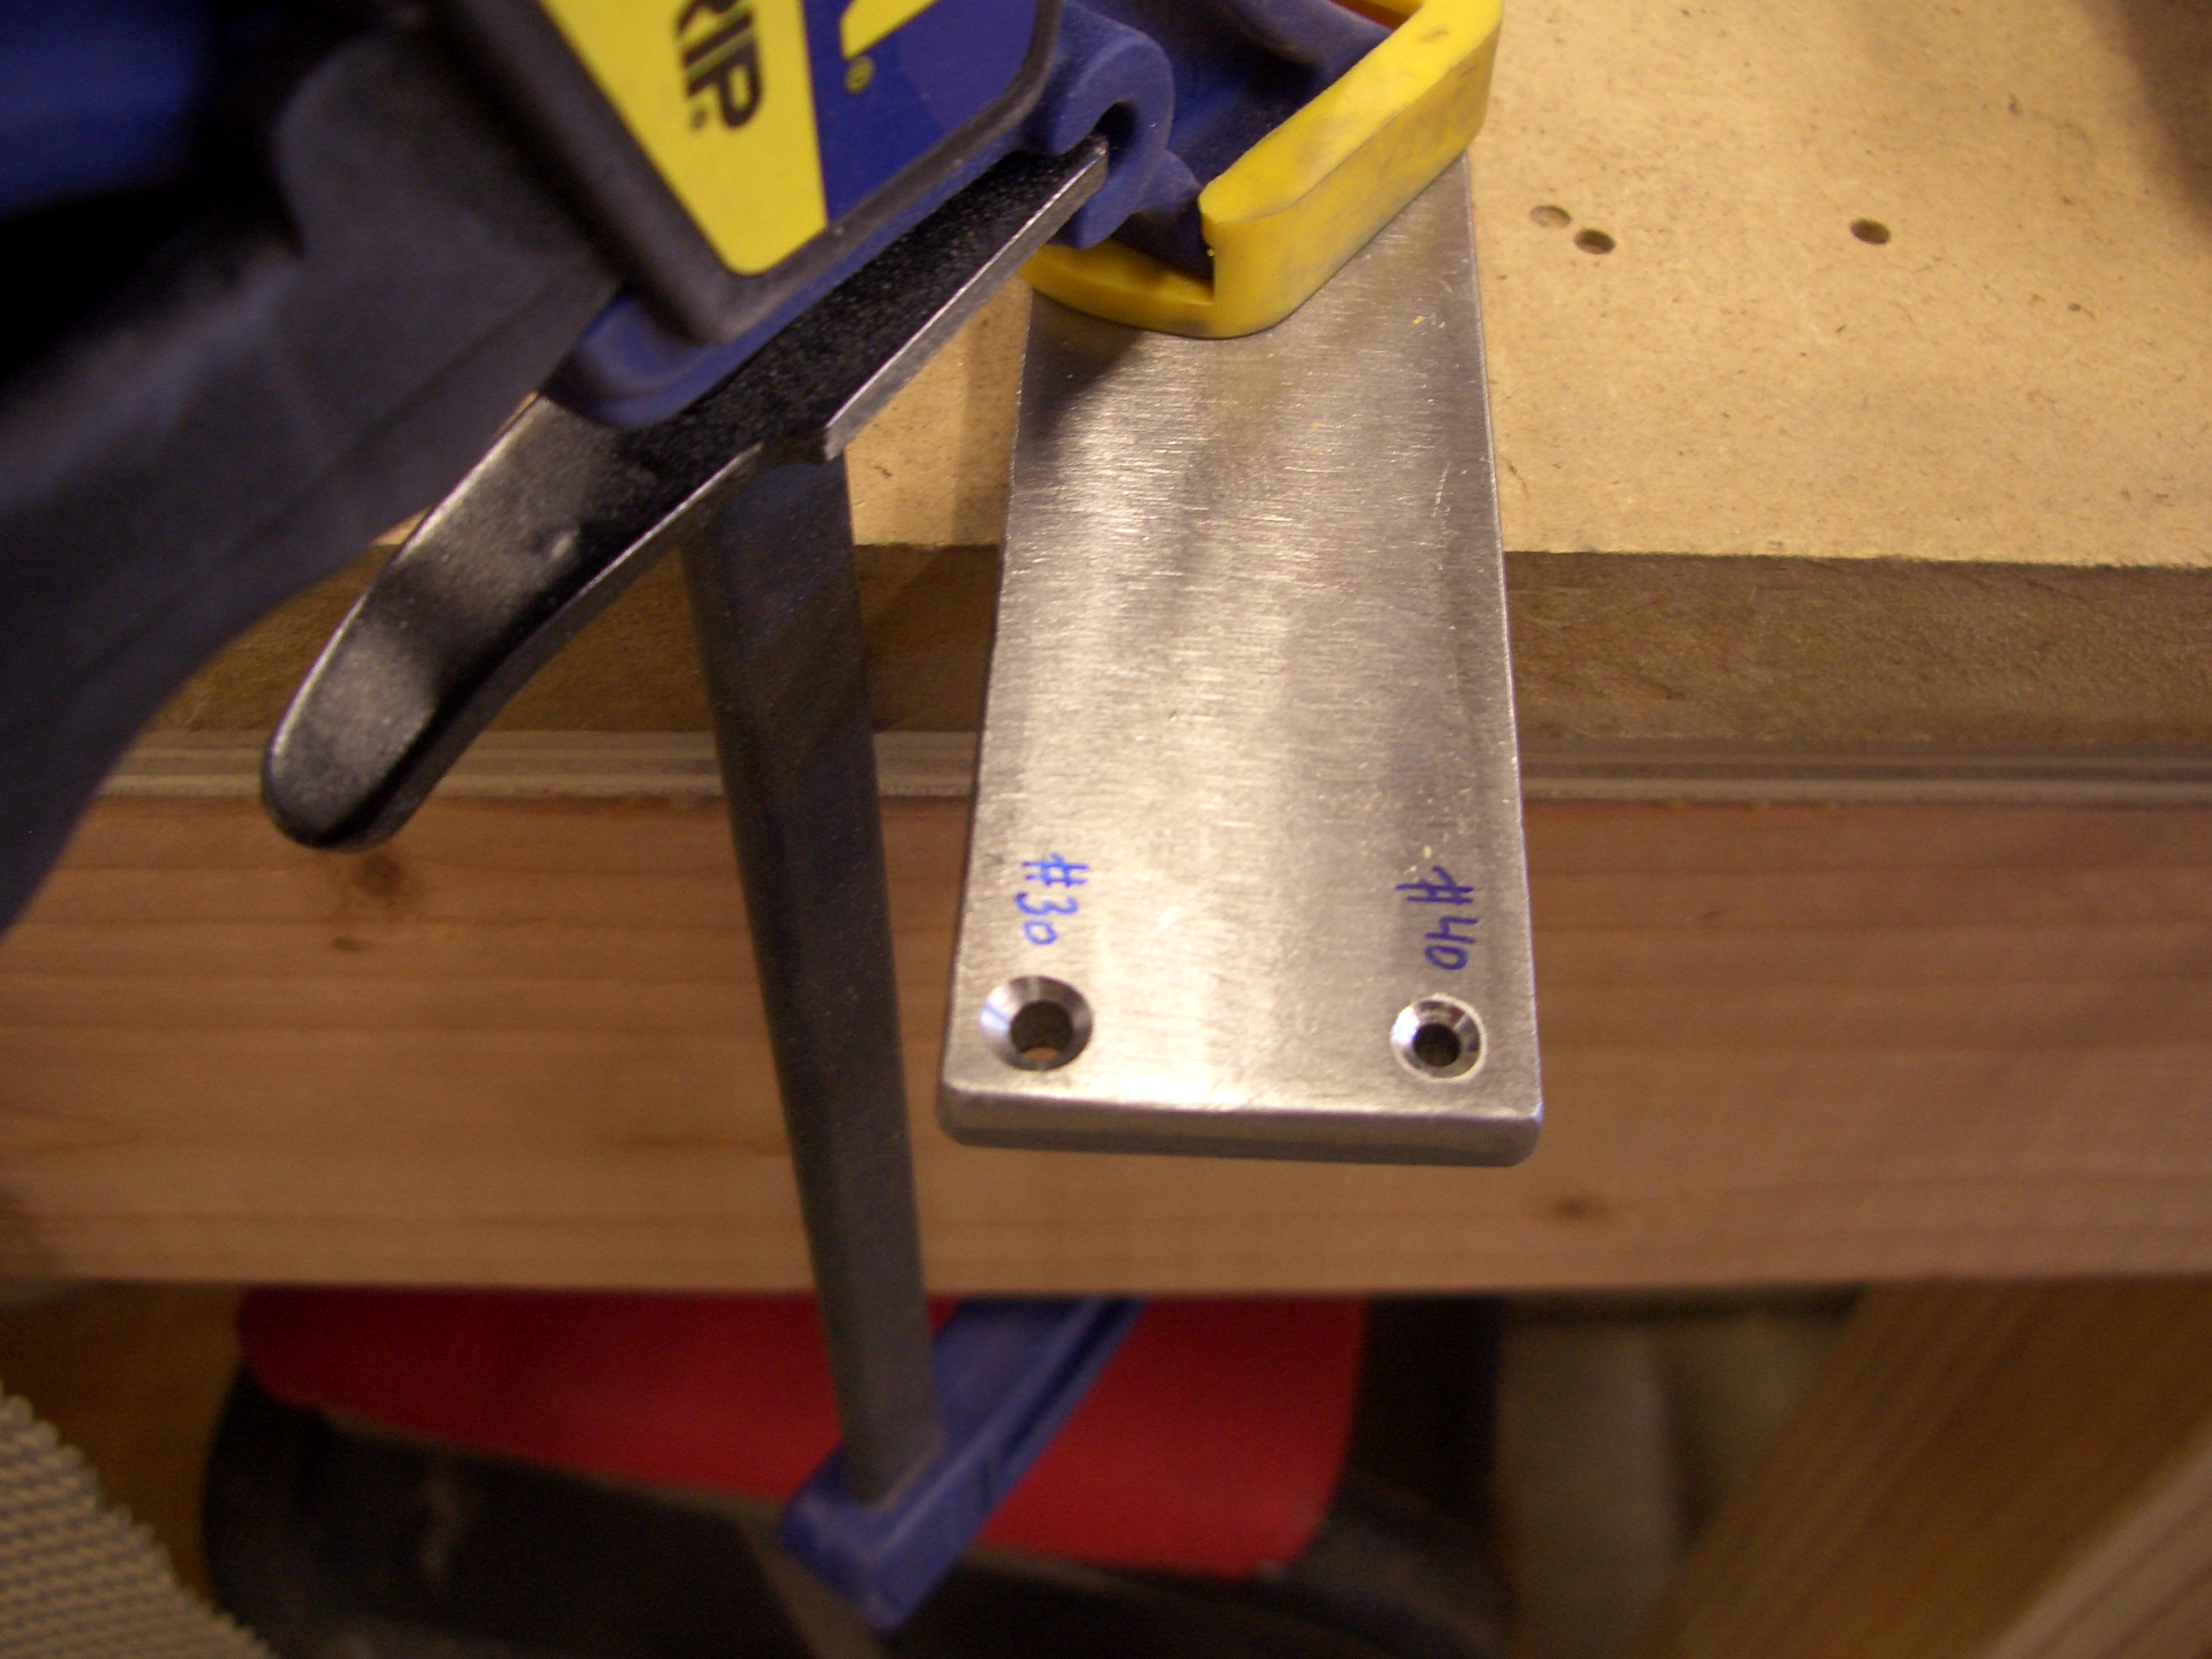
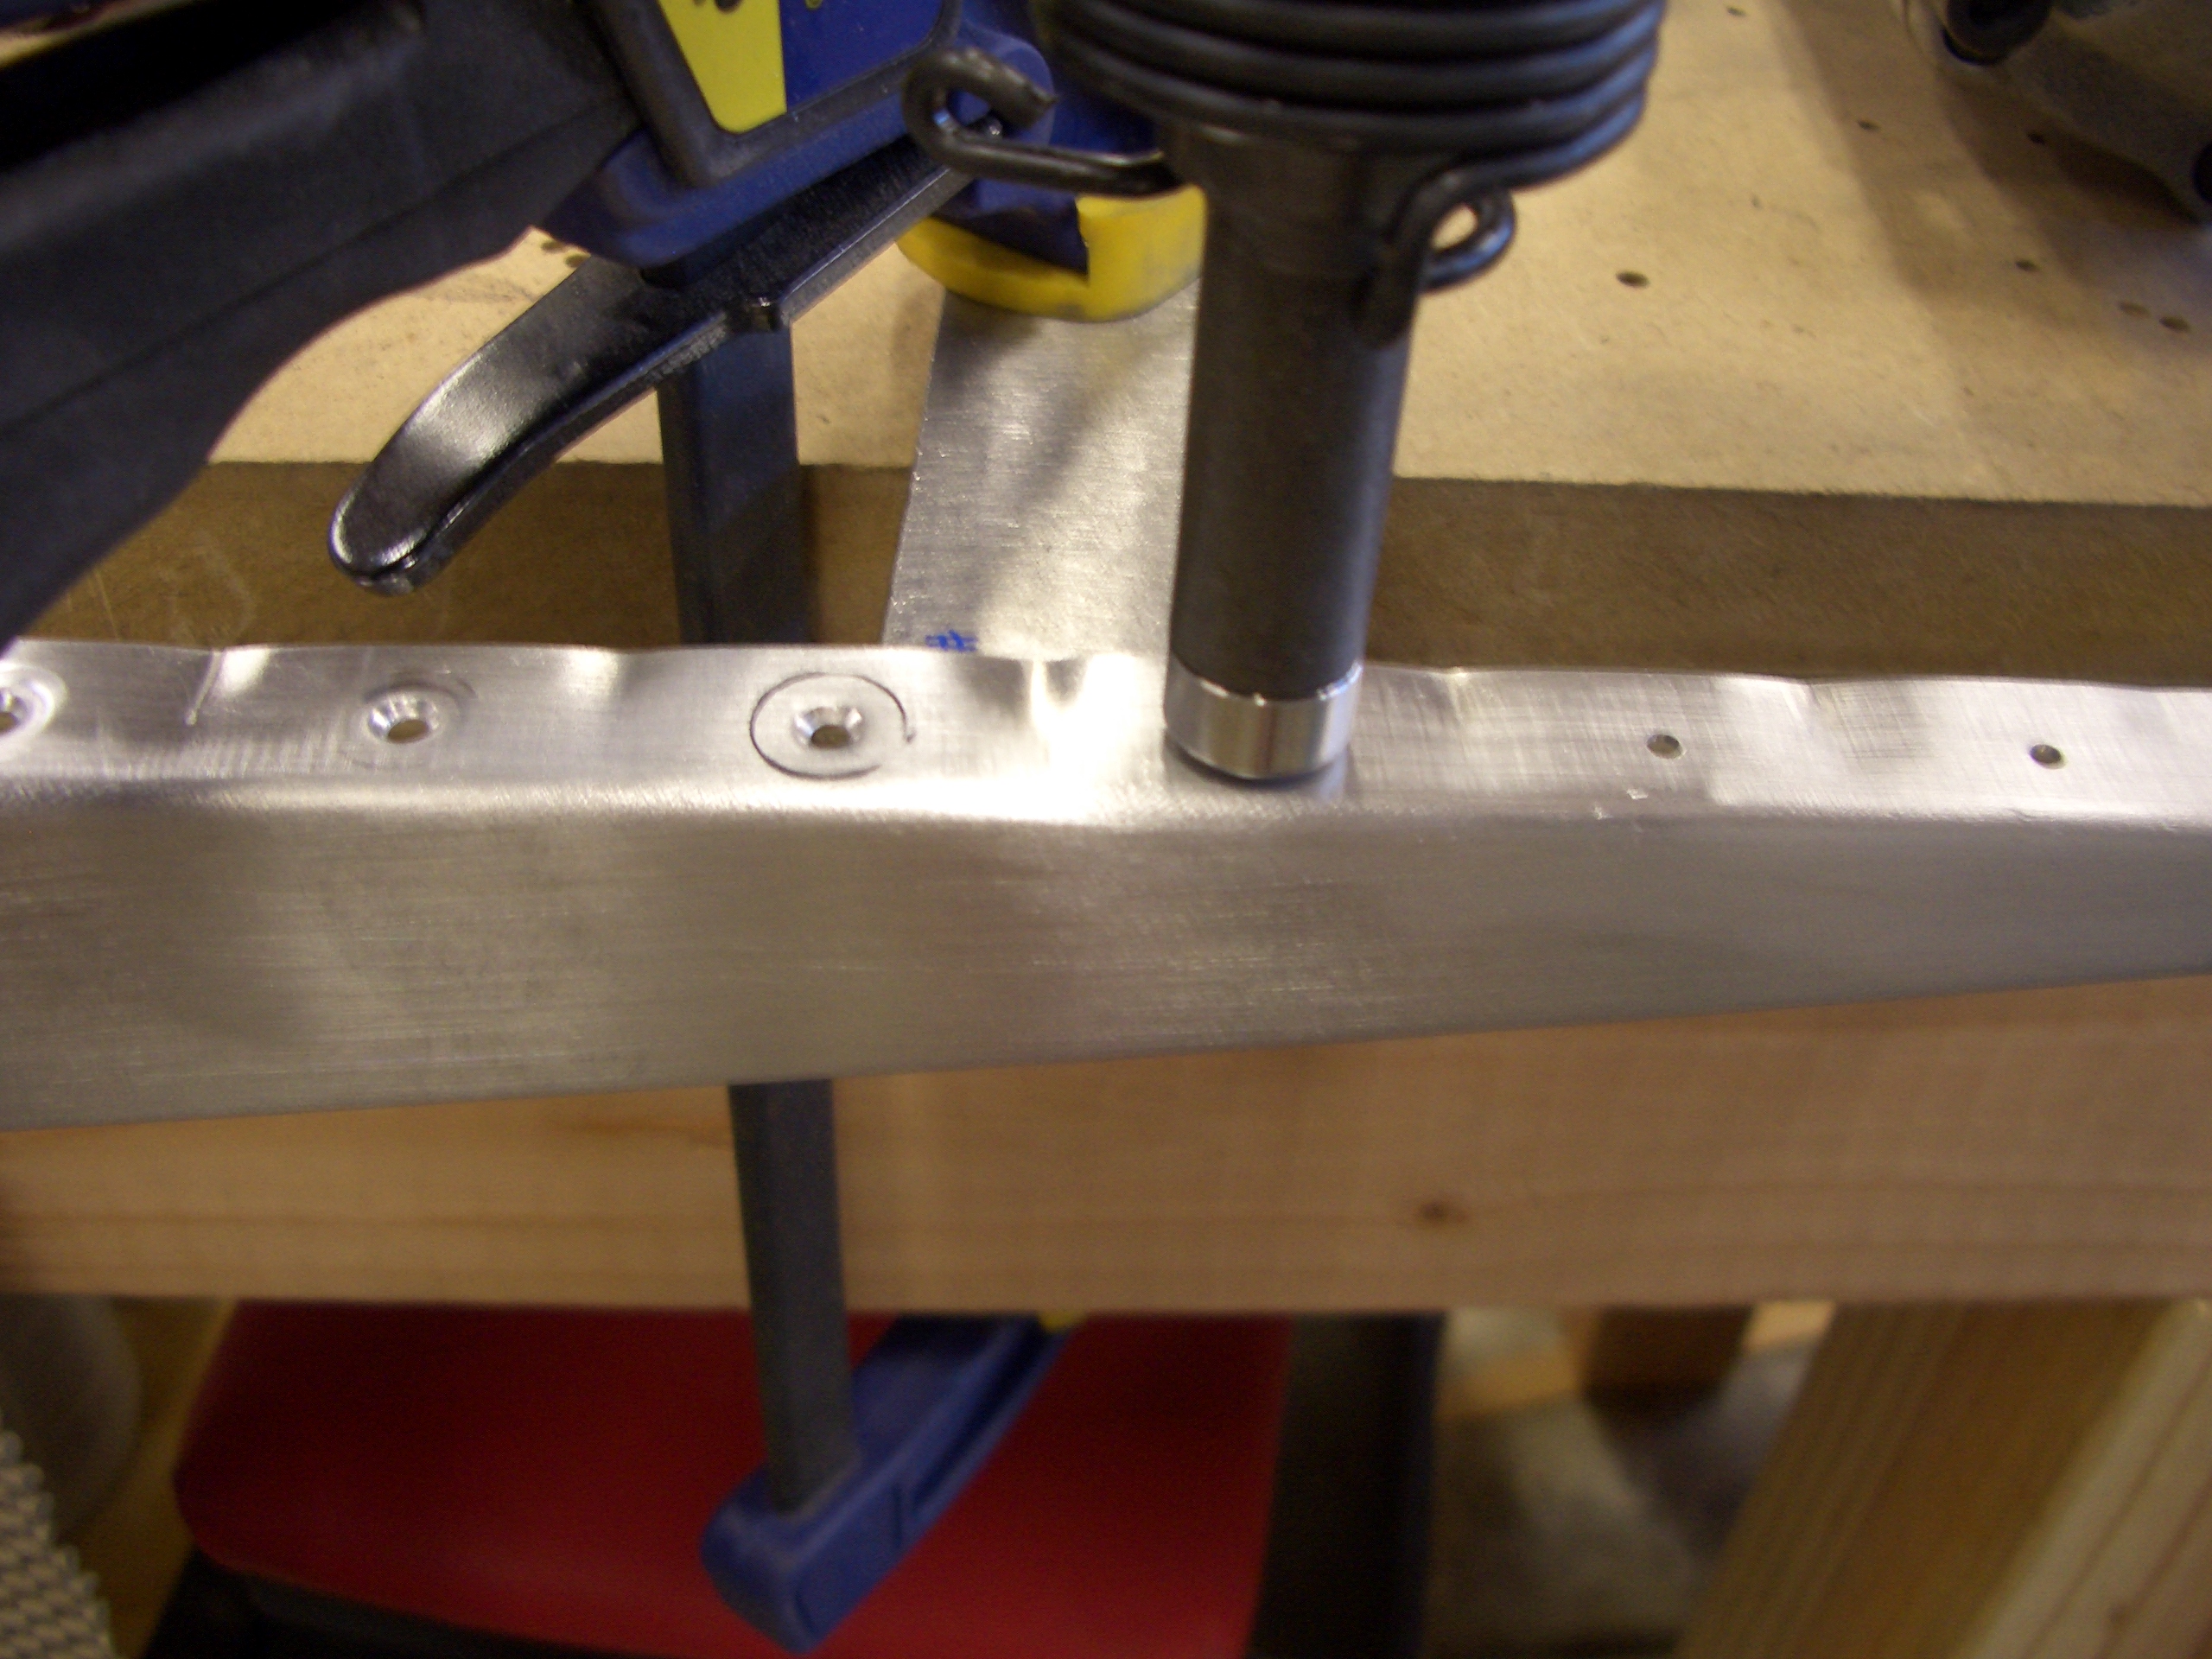
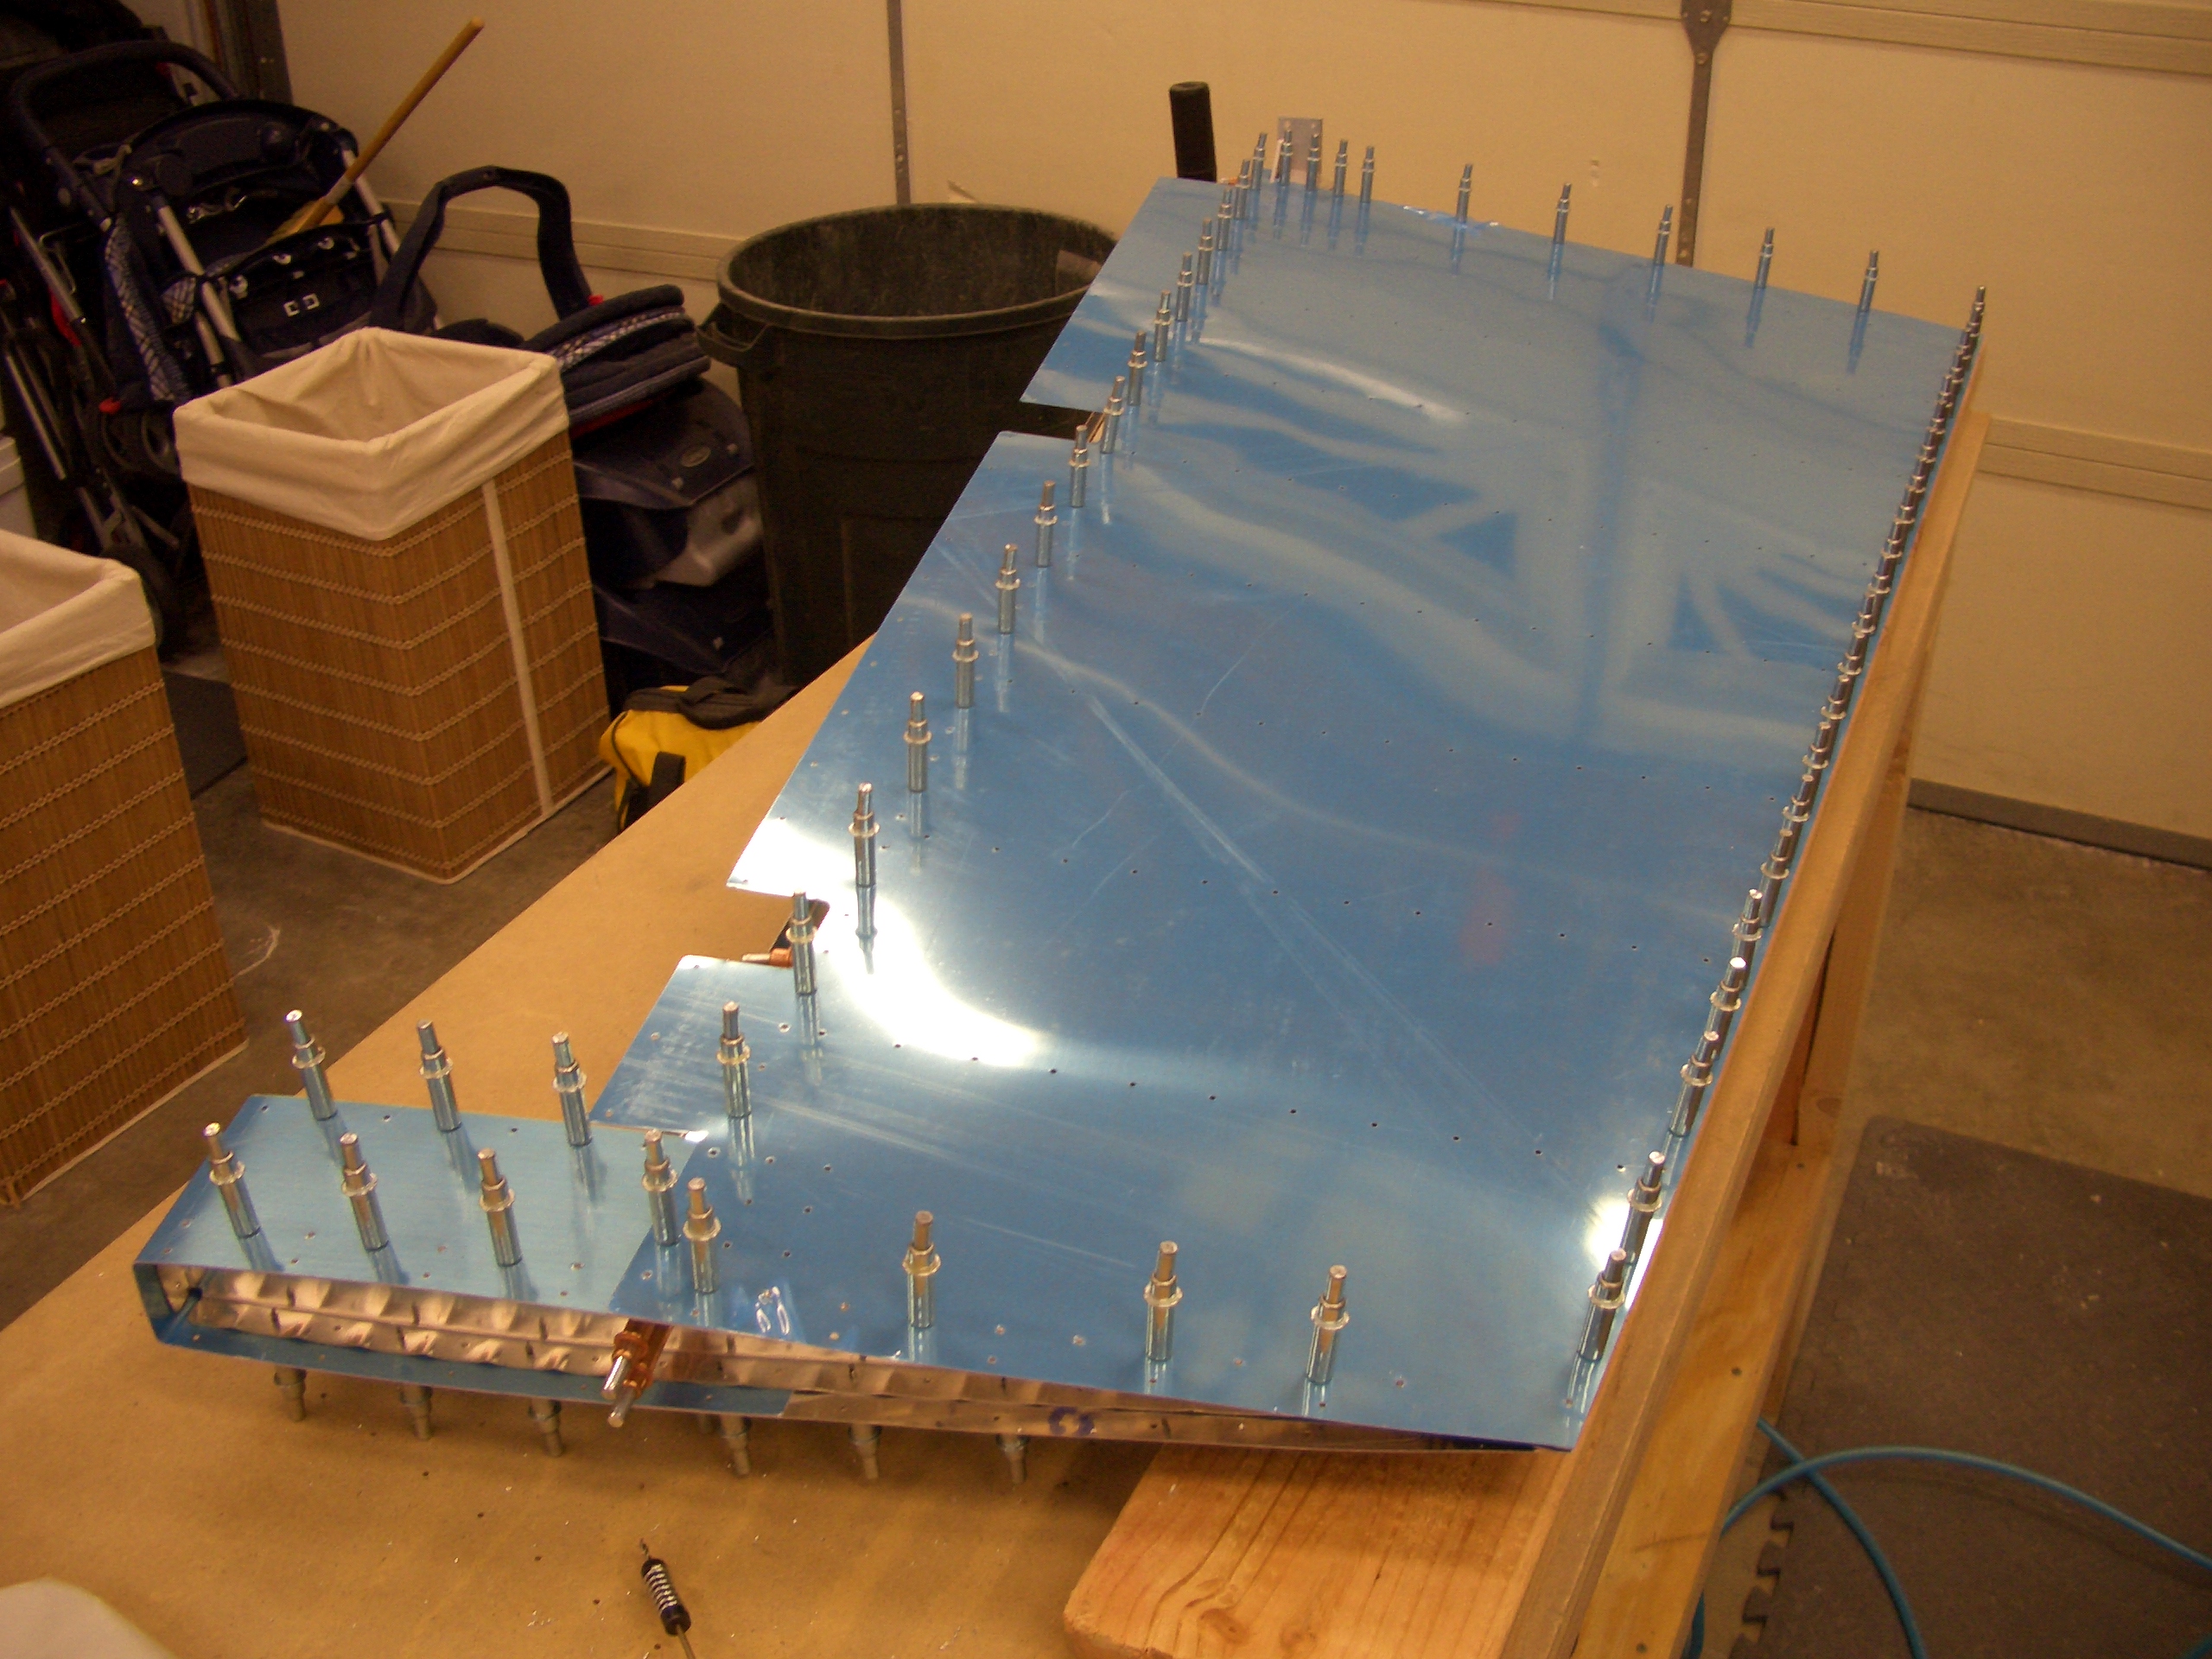
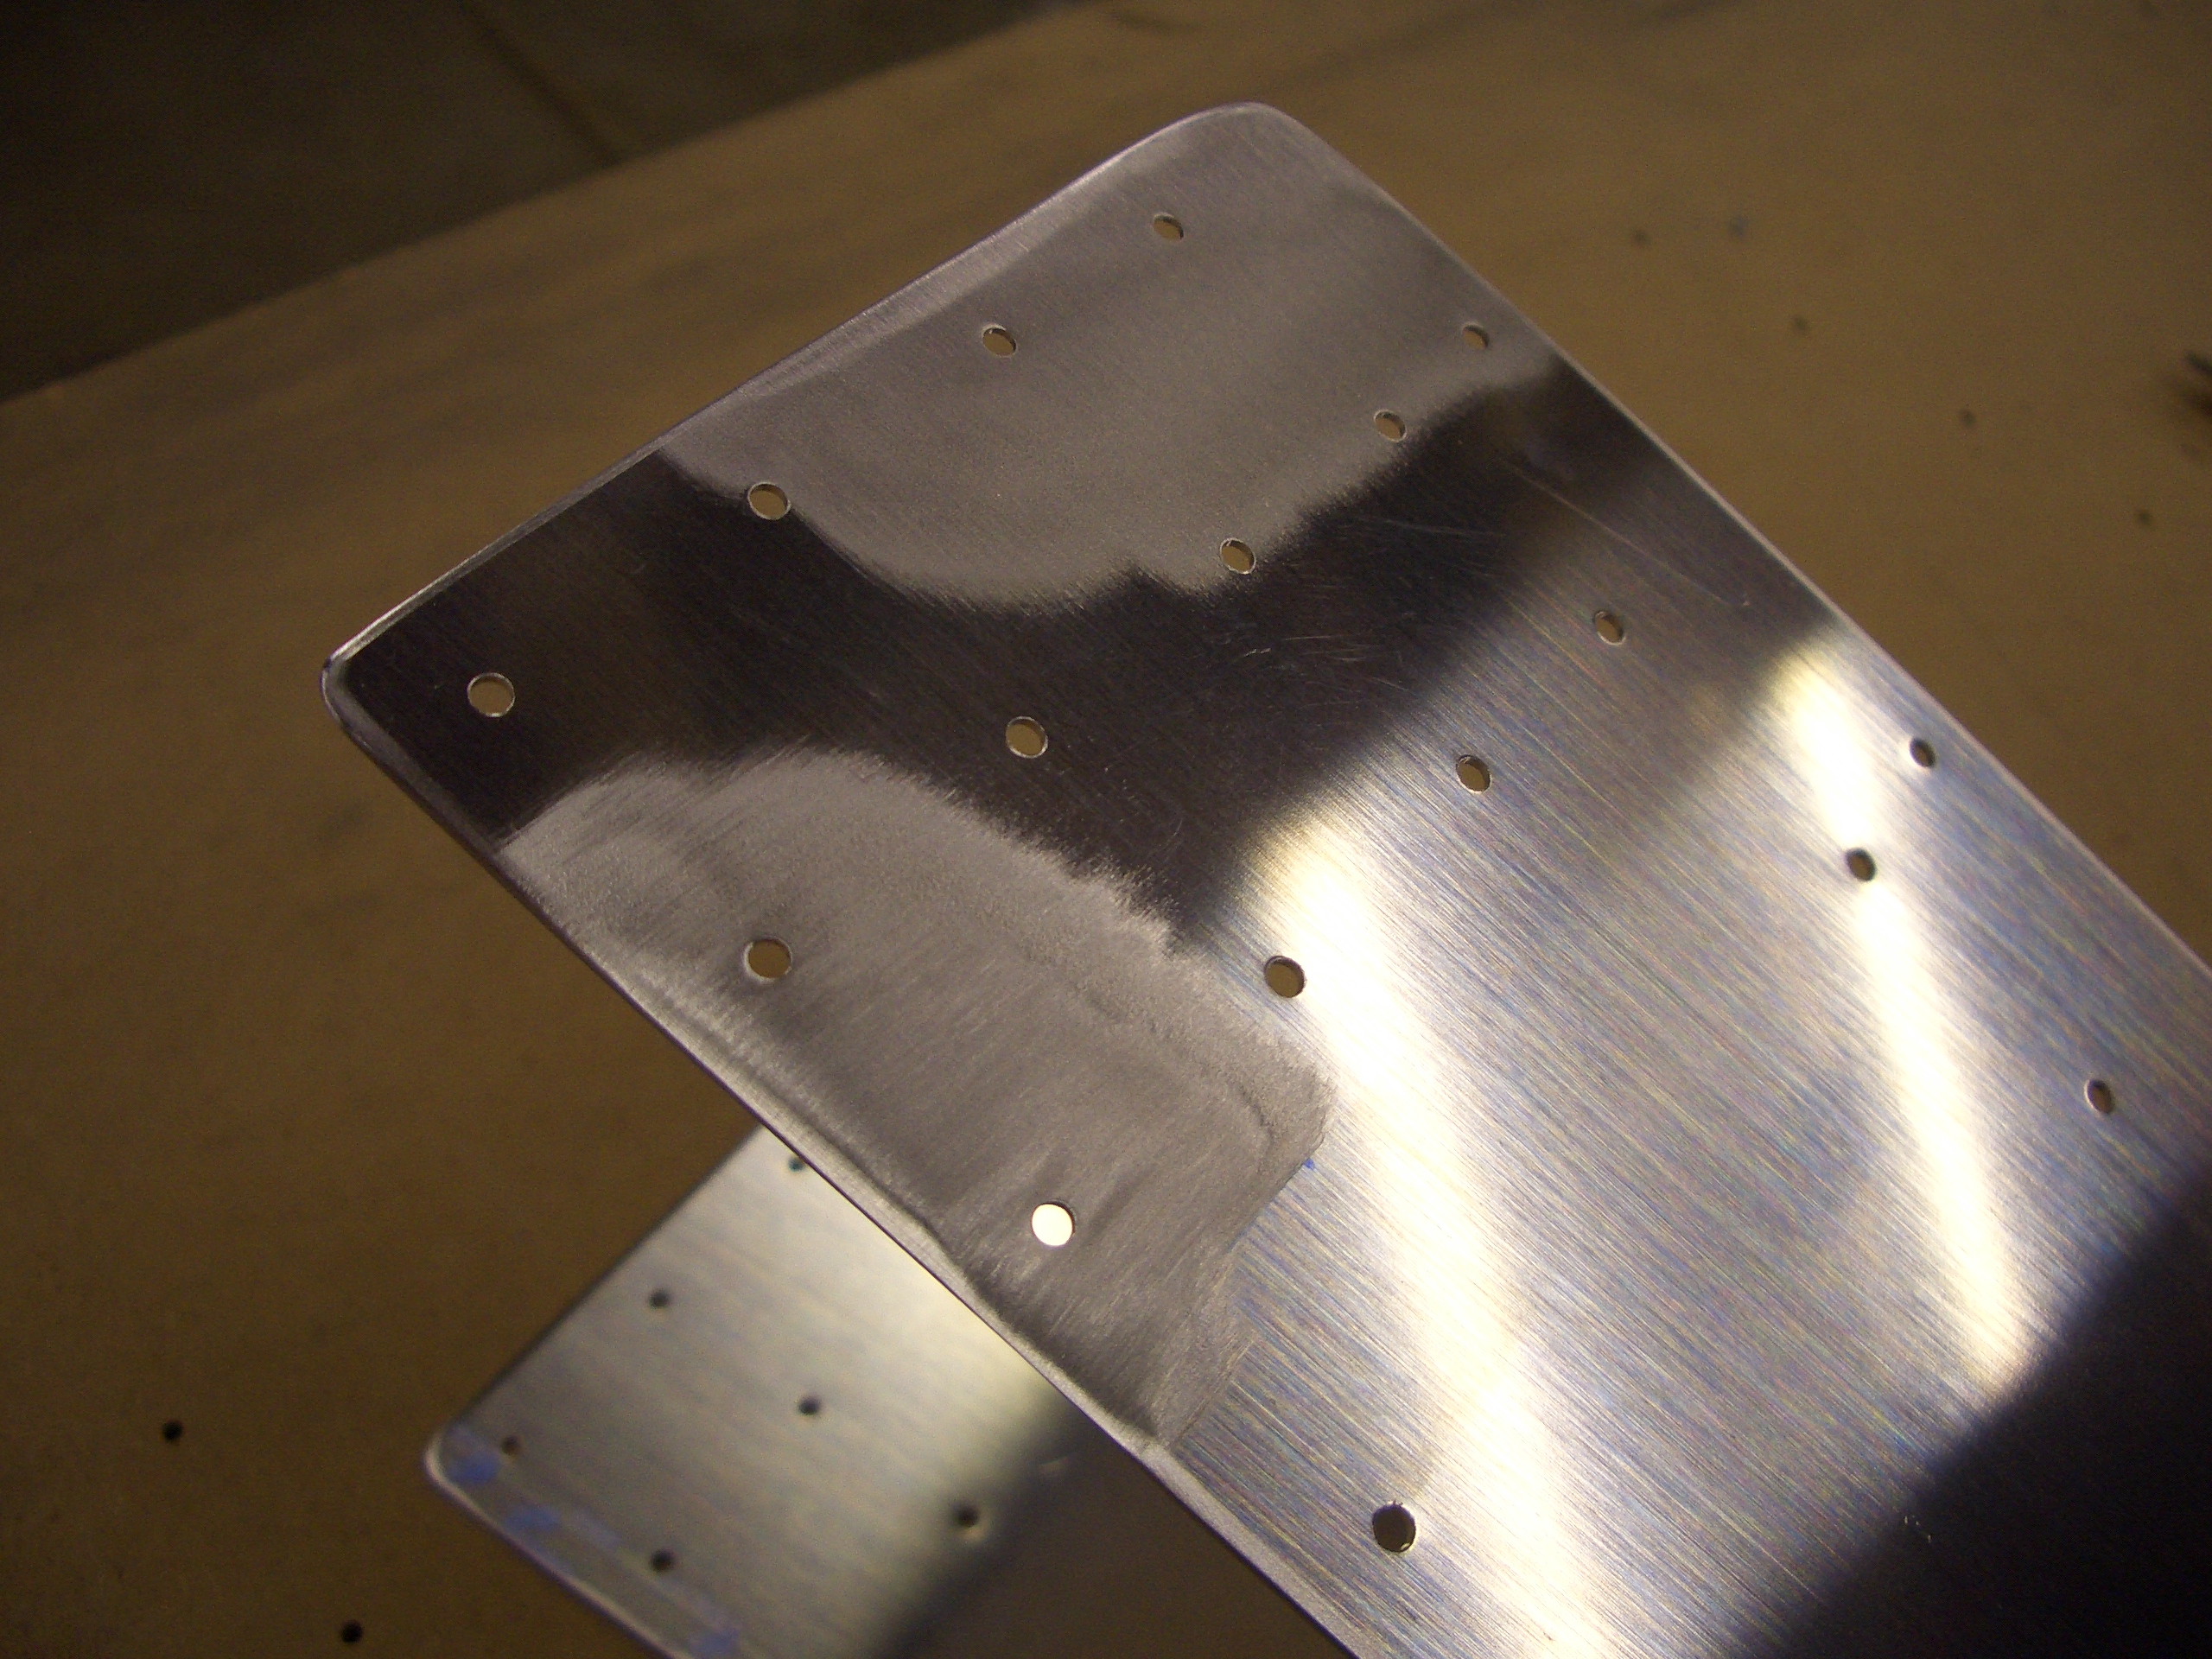
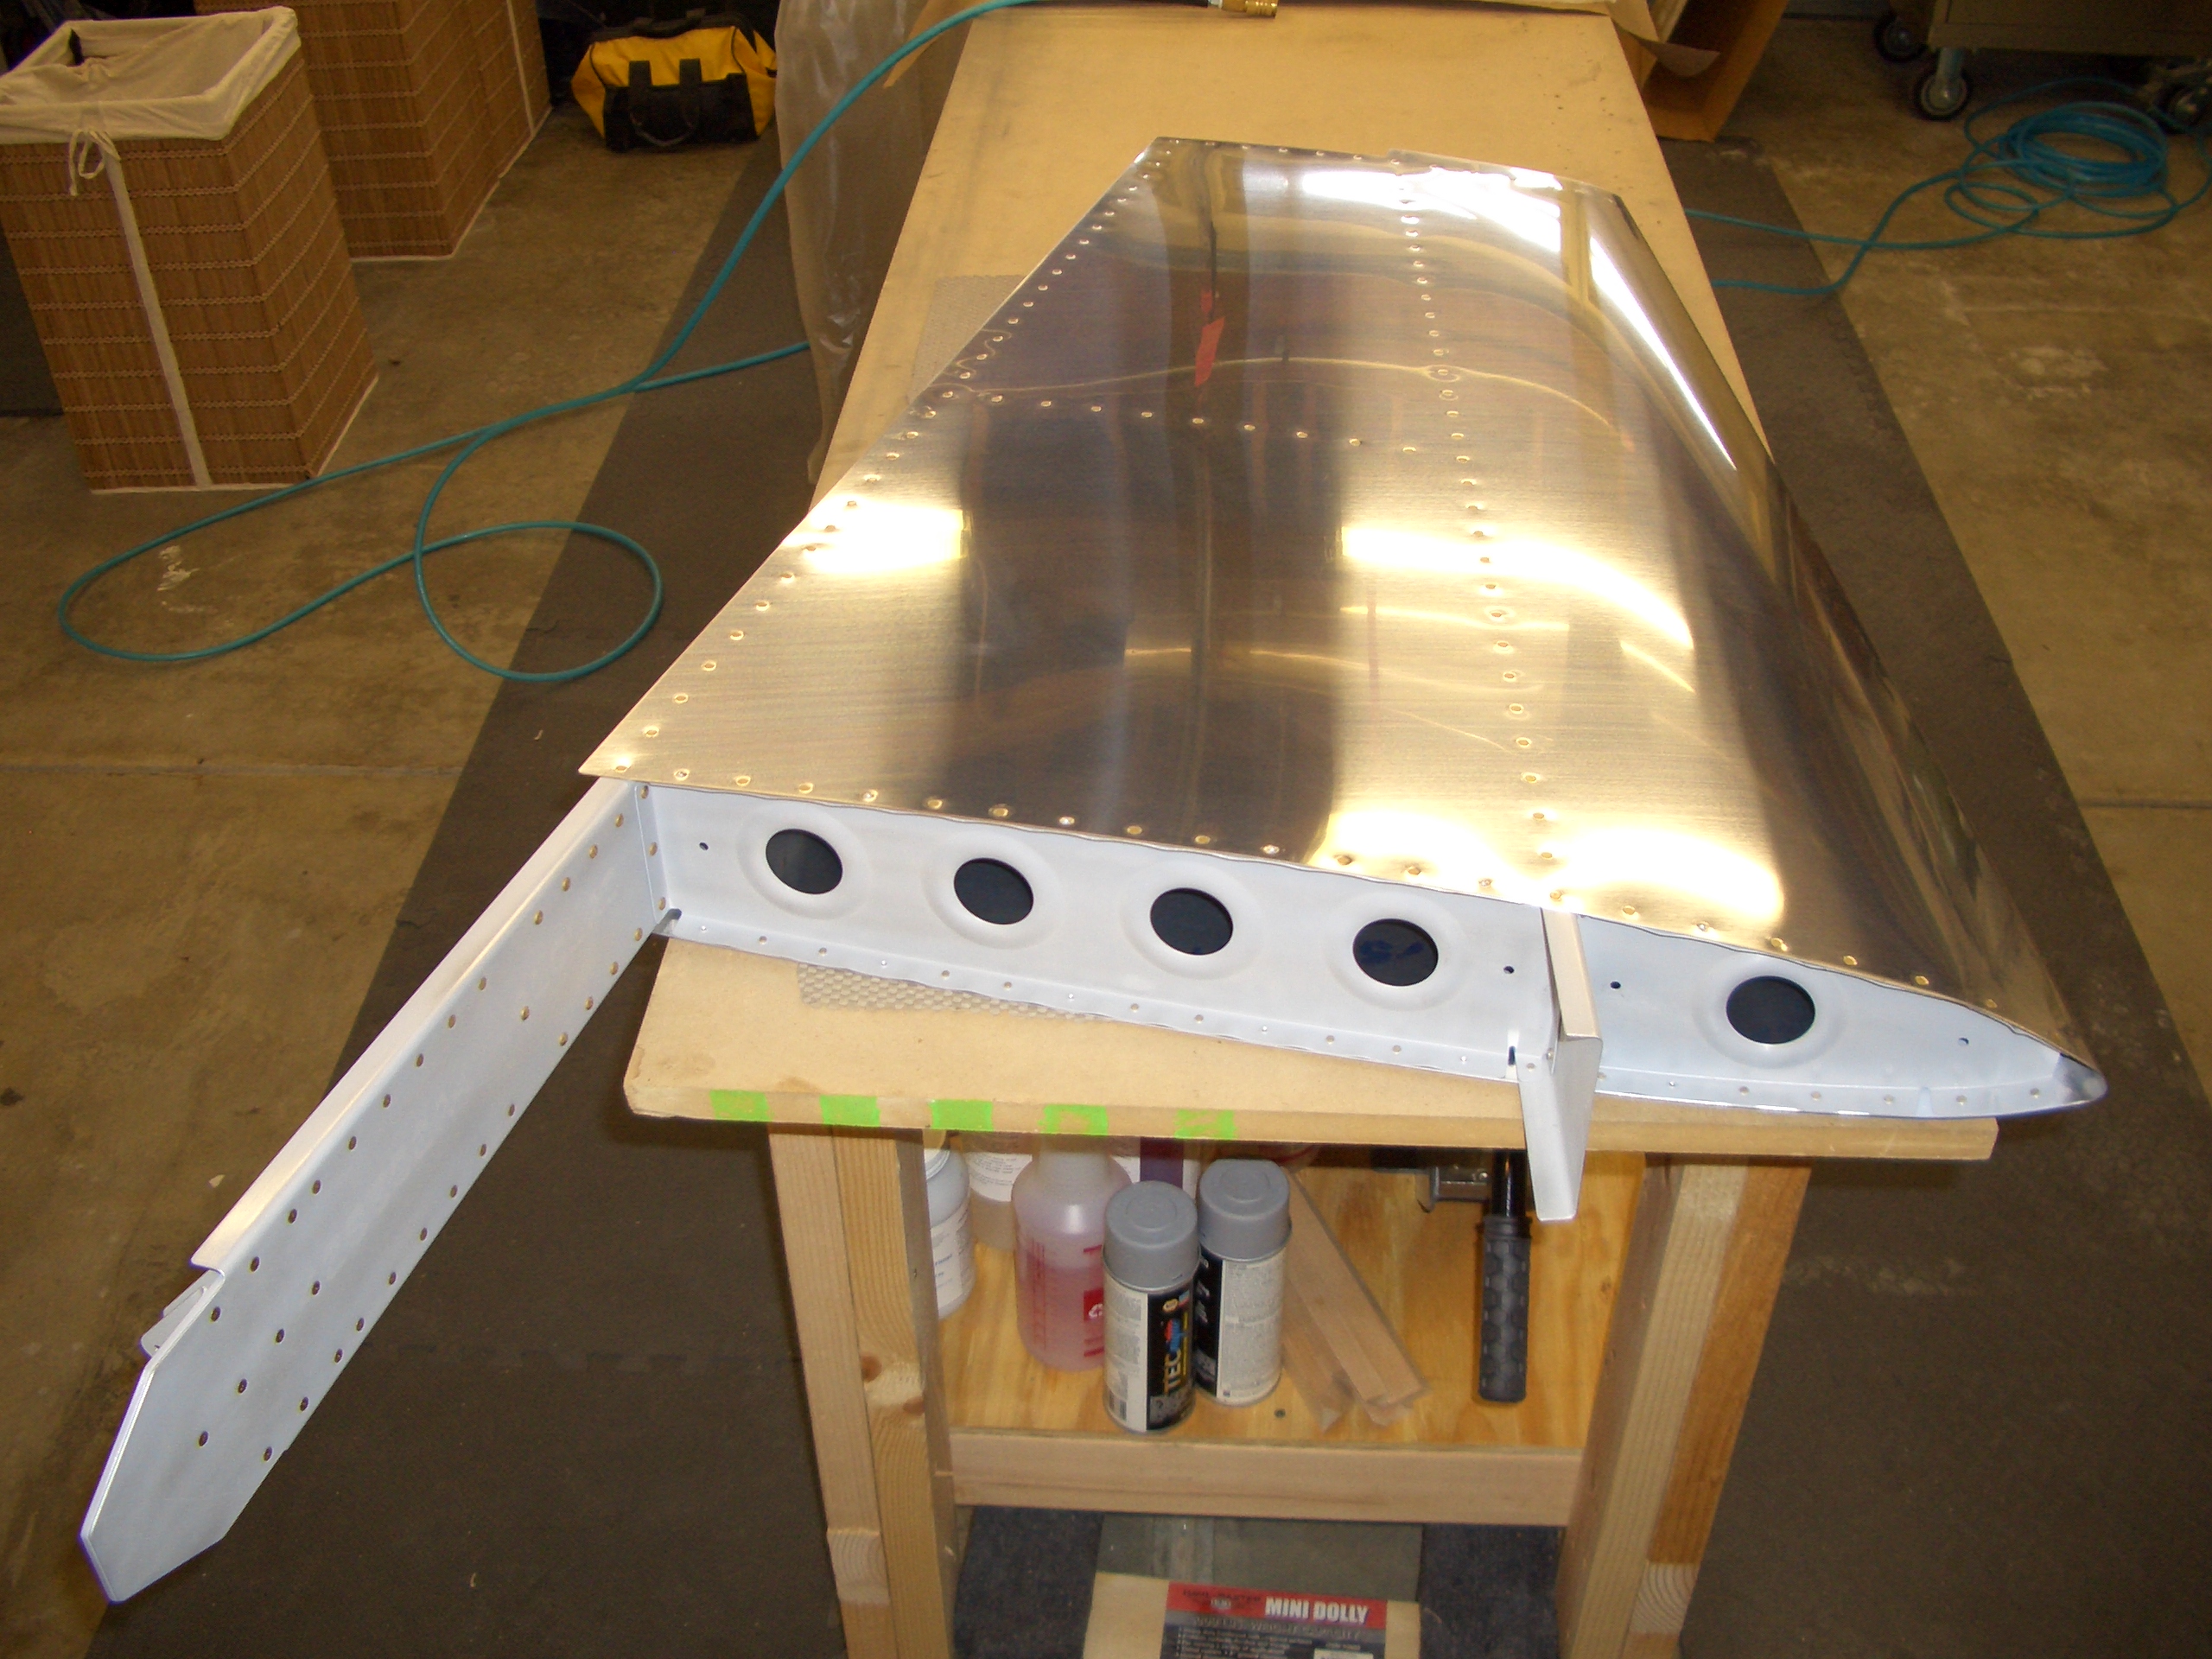
The aft three holes at the top on each skin need to be drilled to #30 and dimpled for the rudder top fairing.  The rudder is very narrow here, so there would basically be no access to dimple these after the rudder is assembled.

Prepped Rudder for Riveting

In order to dimple the rearmost holes on R-903 and R-904 (top and bottom ribs respectively), I broke out a tool I made while building the practice control surface from Van’s.  It’s basically just a small piece of steel that’s been drilled and countersunk for #30 and #40 drills.


Here you can see how it’s used.  The rib is slipped over it and the rivet gun is set up with a special rivet set that holds any type of squeezer set.  Here it’s holding the #40 male dimple set.  A few hits with the rivet gun and this creates a nice dimple.


Next up was to countersink the trailing edge wedge.  Unlike the other control surfaces on the RV-7 which use a folded trailing edge, the rudder uses two separate skins that are joined at the trailing edge with this wedge.  This is countersunk from both sides to receive the dimples from the skins.  A rivet is then set against a back rivet set such that it fills the dimples on both sides of the rudder.


One skin fully deburred on both sides.  The RV-7 rudder uses very thin 0.016″ skins, so you have to be very careful when deburring to avoid removing so much material that the inside of the hole has a knife edge.


Here’s the same skin fully dimpled.  I only need to prep the other skin, prep and prime the internal components, and the rudder will be ready to assemble.

Finished Drilling Rudder

This looks a lot like the picture from yesterday, but now the rudder has been fully drilled and is ready for disassembly and prep for riveting.


After disassembling, I drilled the rudder counterweight to the R-912 counterbalance rib, dimpled the rib and countersunk the lead weight to accommodate the dimples.


You have to make the rudder bottom attach strips from a piece of 0.032″ alclad.  Basically, you just cut these to 18″ and trim the corner as specified.


Here are the strips, temporarily clamped to the R-904 bottom rib to match drill with the existing holes.  Holes in the lower half of this strip will be drilled in conjunction with the fiberglass rudder bottom.


The R-913 counterbalance skin in 0.032″, and because the rudder skin is 0.016″, the overlap can cause a visible joggle in the rudder skin.  Beveling the two points on each side of the counterbalance skin where these two skins overlap with the underlying structure smoothes out this transition.

Rudder Fully Assembled

I still haven’t received an email back from Van’s about the top rib, so I gave them a call.  They’re going to take a closer look at my pictures and get back to me, but they did say that the top rib often requires a bit of massaging by the builder to get everything to line up.  Since I may end up using this rib anyway, I spent some time tonight getting it bent such that all of the holes lined up and the skin laid flat against its flanges.  Here is the rudder fully assembled to see how things lined up.

Here is the tip of that rib after I adjusted it a bit.  The holes line up well enough now that the clecos interfere with each other (causing the top one to lay over a bit).  I still have to adjust the fluting a bit more (you can see a slight gap between the skin and rib where the second cleco in on the top is located).

I went ahead and trimmed the rudder brace and fitted it to the rudder horn.

Drilled Rudder Stiffeners

I finished deburring the rudder stiffeners and drilled them to the skins.


The rudder stiffeners have a slight bow to them as they come from vans.  This would create a slight concavity in the rudder skin, so I slightly fluted the stiffeners to make them lay flat.  They had to be fluted on both faces since the flutes to pull the stiffeners flat also pulled the holes out of line.  Fluting between the holes pulled them back in line, but typically bows the stiffener slightly so it doesn’t lay flat anymore.  Definitely an iterative process, but by the end they were only taking me a couple of minutes per stiffener.

Ordered Wing Kit

I ordered the wing kit today.  Van’s says the lead time is 8-10 weeks typically, so I should get it sometime in early May.  I only have the rudder and elevators left to do from the empennage, so I’ll likely be done with that before the wing kit gets here.  Since I now have all of the materials to do the fiberglass tips on the empennage components, I’ll probably get started on that while waiting for the wing kit to get here.

Finished Vertical Stabilizer

While Madeline was taking her morning nap, I snuck out to the garage and finished riveting the vertical stabilizer.  I thought that all of the remaining rivets could be done with a squeezer.  They can certainly be reached with a squeezer, but the placement of some of the rivets and hinge brackets in the rear spar prevented getting proper alignment.  I ended up shooting and bucking probably a dozen rivets along the sides of the rear spar.

Here is an example of the bad access.  The shop head of the lower rivet which is holding the skin to the rear spar actually extends behind the plane of the face of the shop head of the upper rivet which is holding the middle rudder hinge bracket to the rear spar.  Fortunately, I have a small tungsten bucking bar with a tapered end which could tuck nicely back in this area.

I got started on the rudder stiffeners tonight.  To save a little time, I marked them to length and ganged them up to rough cut them to size.  The bandsaw is pretty loud, so that’s all I can do on these tonight.