Fabricated Tank Fuel Return Lines

I fabricated the tank fuel return lines.  Since I may put an engine on at some point in the future that requires a high flow fuel return line, I’m running the same size return line as the supply line (3/8″).


Unfortunately, I wasn’t thinking about the location of the capacitive fuel sender plates when I drilled the holes for the return lines, so I had to modify the plates to provide room for the lines to run through.  I kept the same clearance from the line as from the ribs/stiffeners.


The return line dumps fuel into the last bay so that hot fuel returned from the engine won’t immediately be picked up and returned to the engine.

Riveted Fuel Access Nutplates

I riveted the access cover reinforcement ring and nutplates on tonight.  As you can see, the sealant gets everywhere.  I didn’t take any pictures of it, but MEK cleans all of this up nicely.  I used NAS1473-A08 instead of the K1000-08 nutplates called out in the plans.  These nutplates are enclosed and have an o-ring seal that prevents fuel from seeping out around the threads as can happen with a regular nutplate.


Here is the outside of the rib.  Flush rivets are used here because a rubberized cork gasket is used between the rib and the access plate.

Worked on Inboard Tank Ribs

I put a little fuel tank sealant on the end of the clunk under the o-ring to help keep it in place.


Here is the o-ring in place.  Sorry for the dark pictures.  The garage door was up because of the MEK fumes, so my bench was shaded.


I also sealed the vent and return line fittings to the end rib.


…as well as the anti-rotation brackets.


I also put a little extra sealant around the nutplates and enveloped the rivets.


Here is the outside showing the access hole and the two fittings.  The hole between the fittings will be for the BNC connector that connects to the capacitive fuel senders.

More Work on Tank Ribs

I riveted the flop tube anti-hang-up guides onto the access plates.


I also installed the BNC connectors and sealed them on the outside.


And the inside.  Make sure you seal part way down the wire to prevent fuel from wicking through the strands of the wire and through the BNC connector.


I also riveted reinforcement plates onto the outer ribs and covered over the rivets.  Here is the inside of one of the ribs.


Here is the outside.  The reinforcement plate stiffens the front part of the ribs since there aren’t any rivets holding the leading edge of the ribs to the skin.

Fabricated Aileron Hinge Bracket Assemblies

I needed a break from the tank work, so I decided to fabricate the aileron hinge bracket assemblies.  There are four total (one inboard and one outboard for each wing).  Here are the two outboard brackets.  The L-shaped section at the rear will wrap around the end of the rear spar and rivet to the end ribs.


Here are the two inboard brackets.  These will get riveted to the reinforced section of the center of the rear spar.


Here is a closeup of the captured hinge bearing.  This is free to rotate within the race which allows the aileron to swing freely even if there is some small misalignment of the brackets.

Finished Capacitive Fuel Senders for Left Tank

I modified the other capacitive plates to allow for the fuel return line.


This isn’t much of a picture, but I deburred all of the nylon washers that are used to mount the capacitive plates. I’m not sure how they make these things, but there are little pieces of nylon all around the edges that could easily break off and become loose in the fuel tank. Better to get these off now rather than find them in the fuel filter later.

Sealed Interior Ribs

No pictures today, but I created filets of tank sealant around each side of all of the interior ribs on both tanks and encapsulated all of the rivets on these ribs.  Slow, tedious work, and rather back-breaking given how awkward it is to reach deep into the tanks to precisely place the sealant.

Prepping Tank Interior For Closing

The progress has been slow the past week as I’m getting ready to fly our Cardinal to Oshkosh with my buddy Dan.  I want to get the tanks sealed up before we go through so that the sealant has 10 days to cure before I leak test them.

First up in prepping the tanks for closing is to install the vent lines and outboard capacitive sender plate.  The wire between the two plates is wrapped around the vent line and will be secured with a few dabs of tank sealant.


I also installed the flop-tube anti-hangup guides in both tanks using some 3/32″ universal rivets.

Installed End Ribs and Interior Components

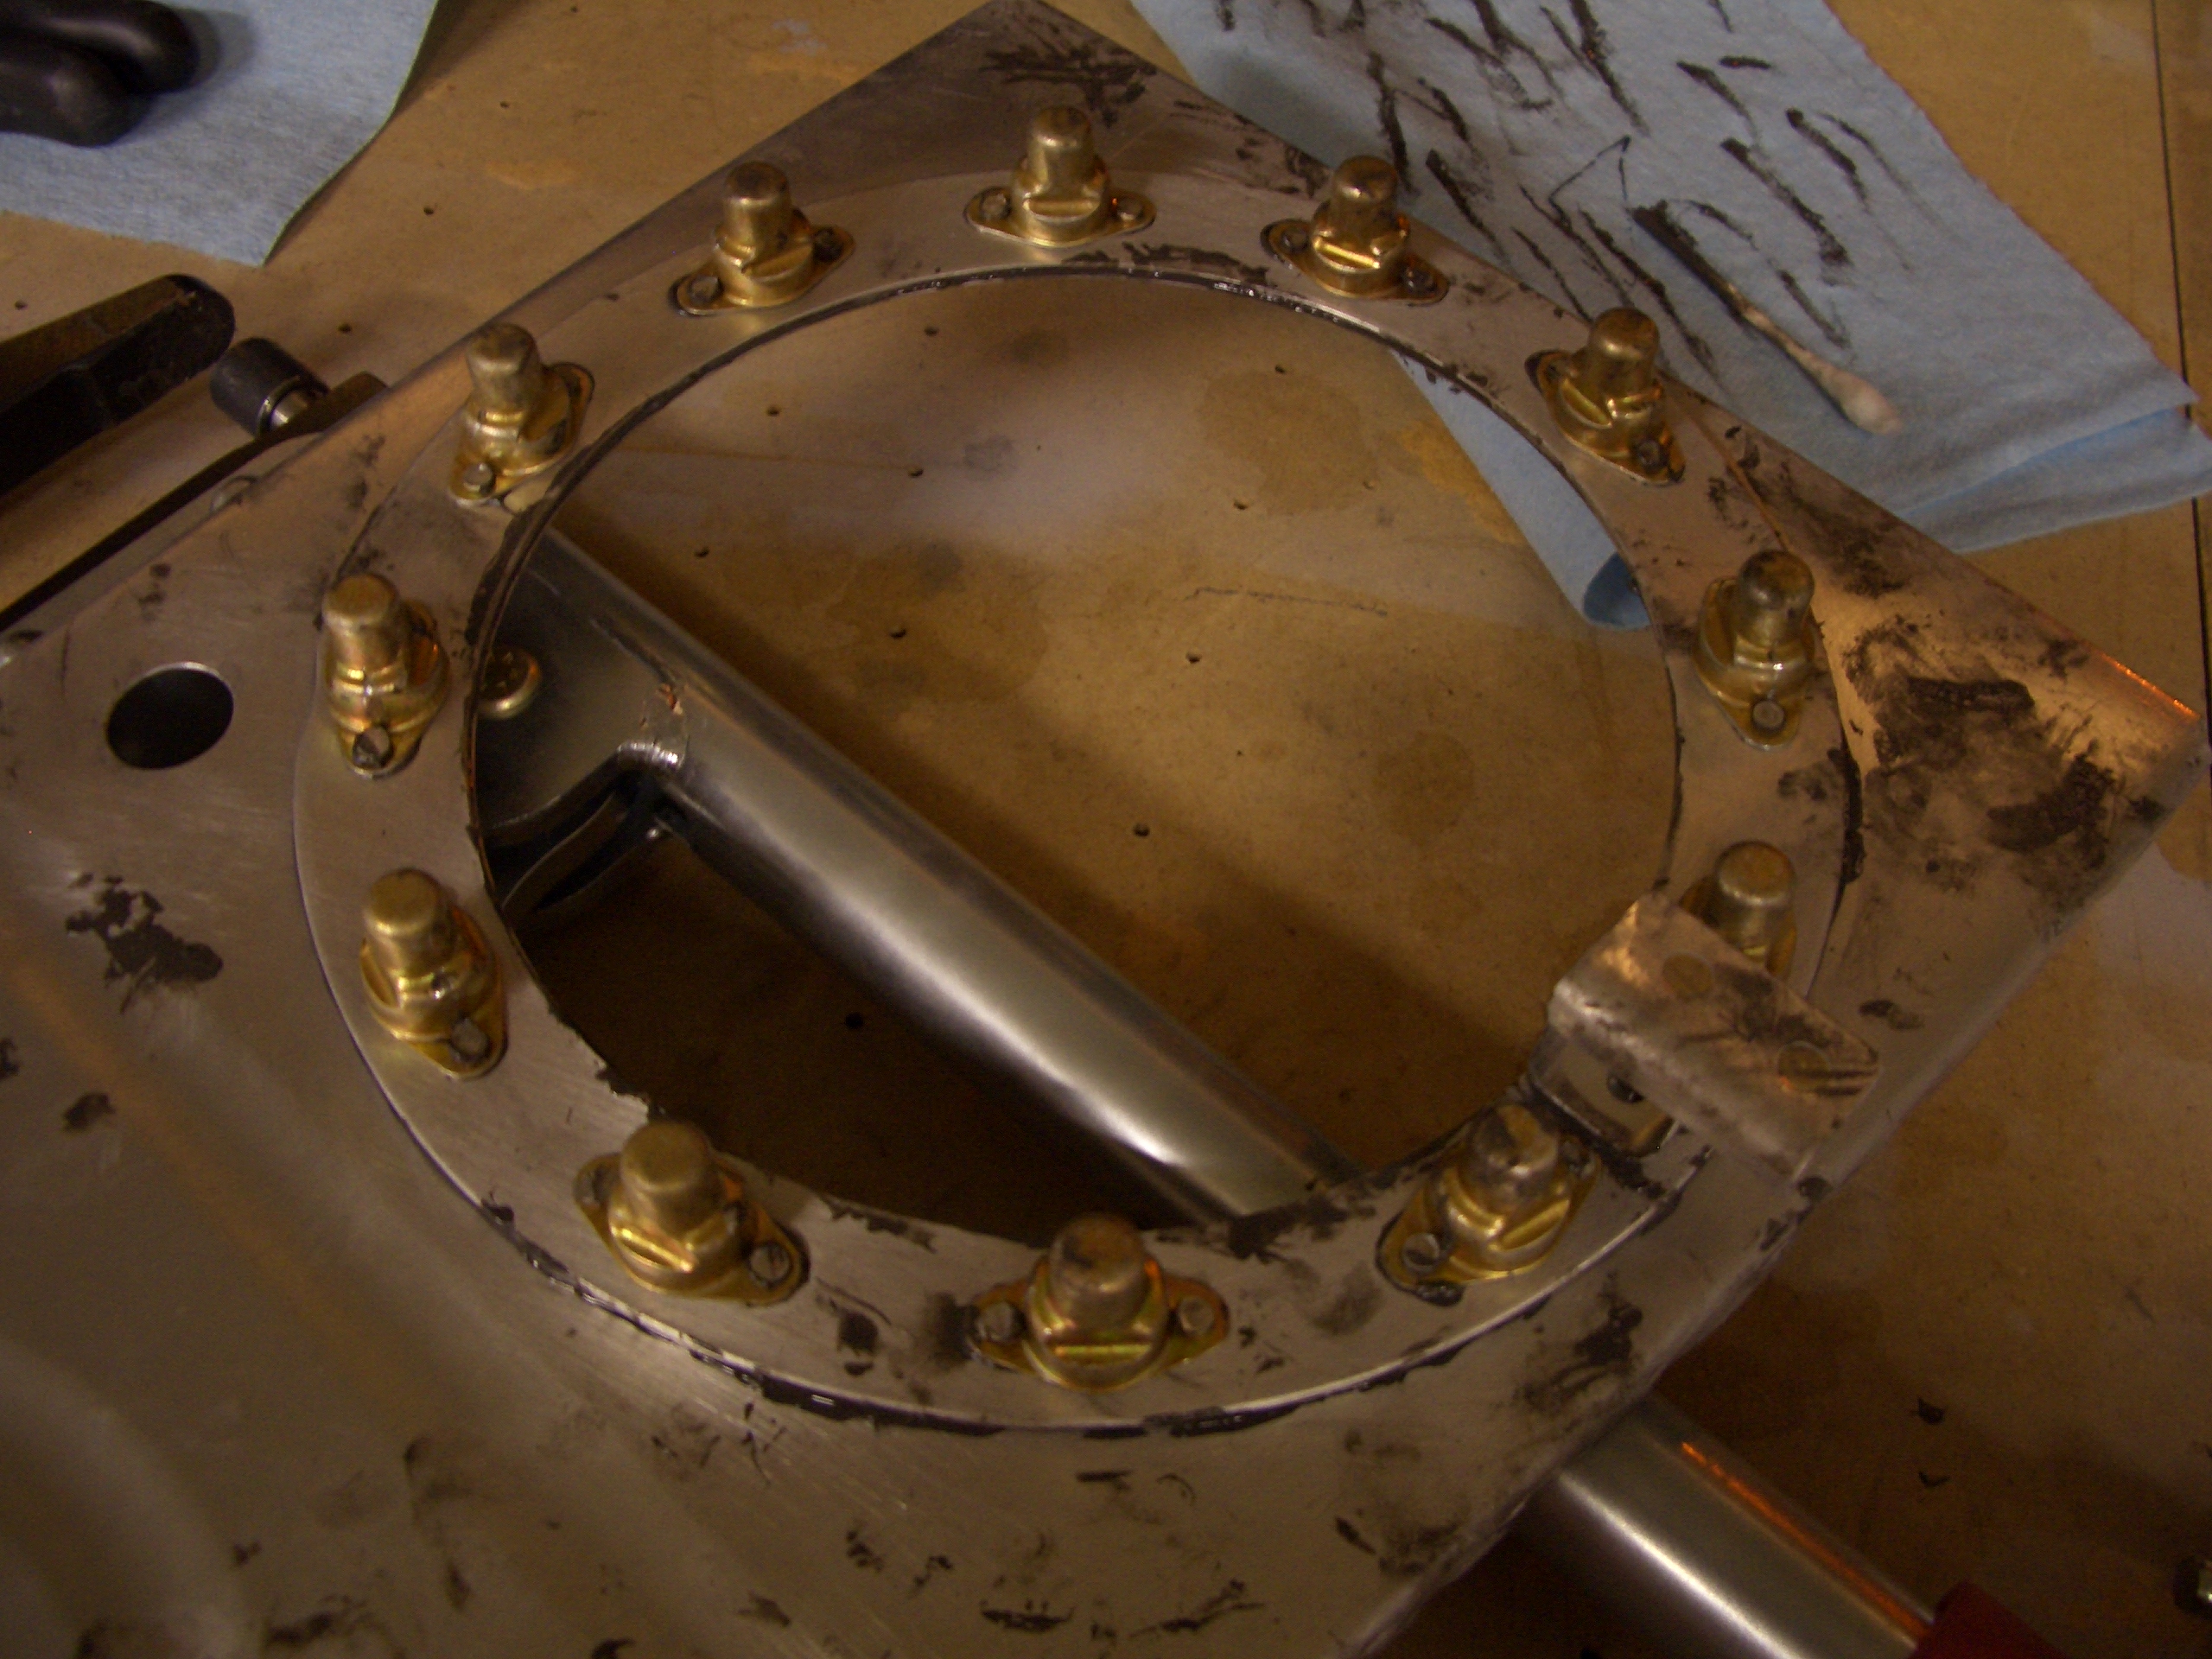
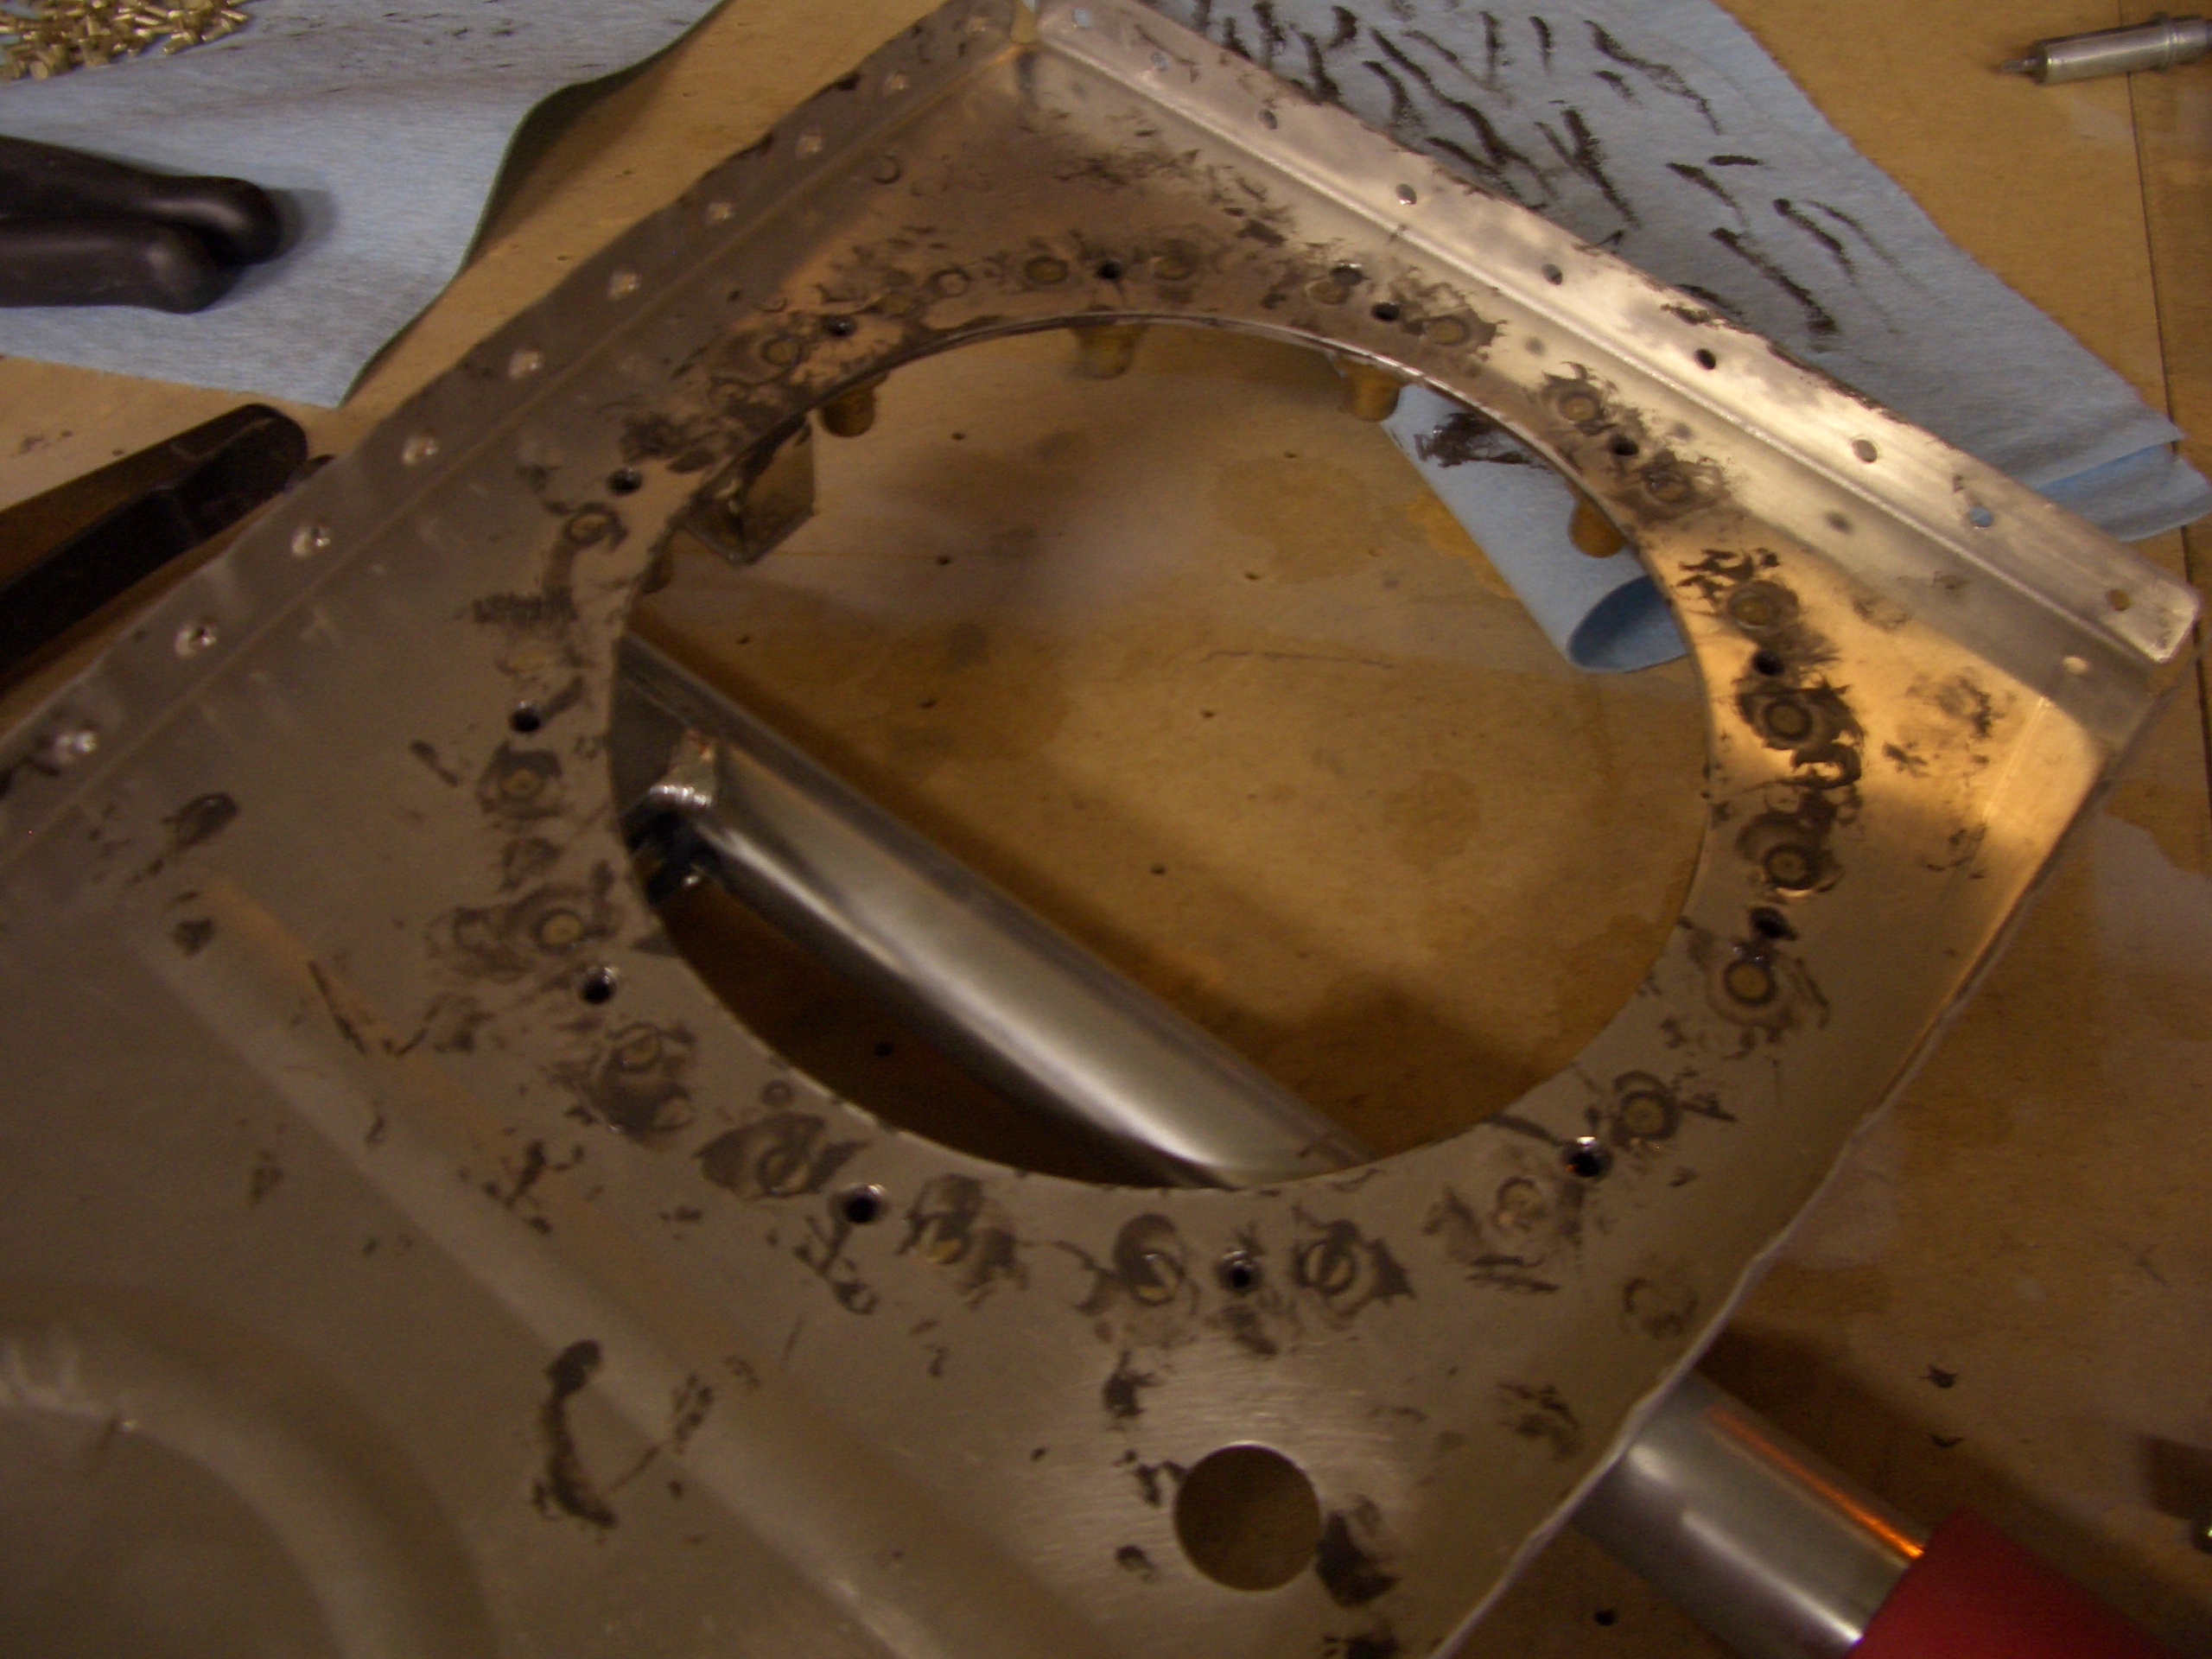
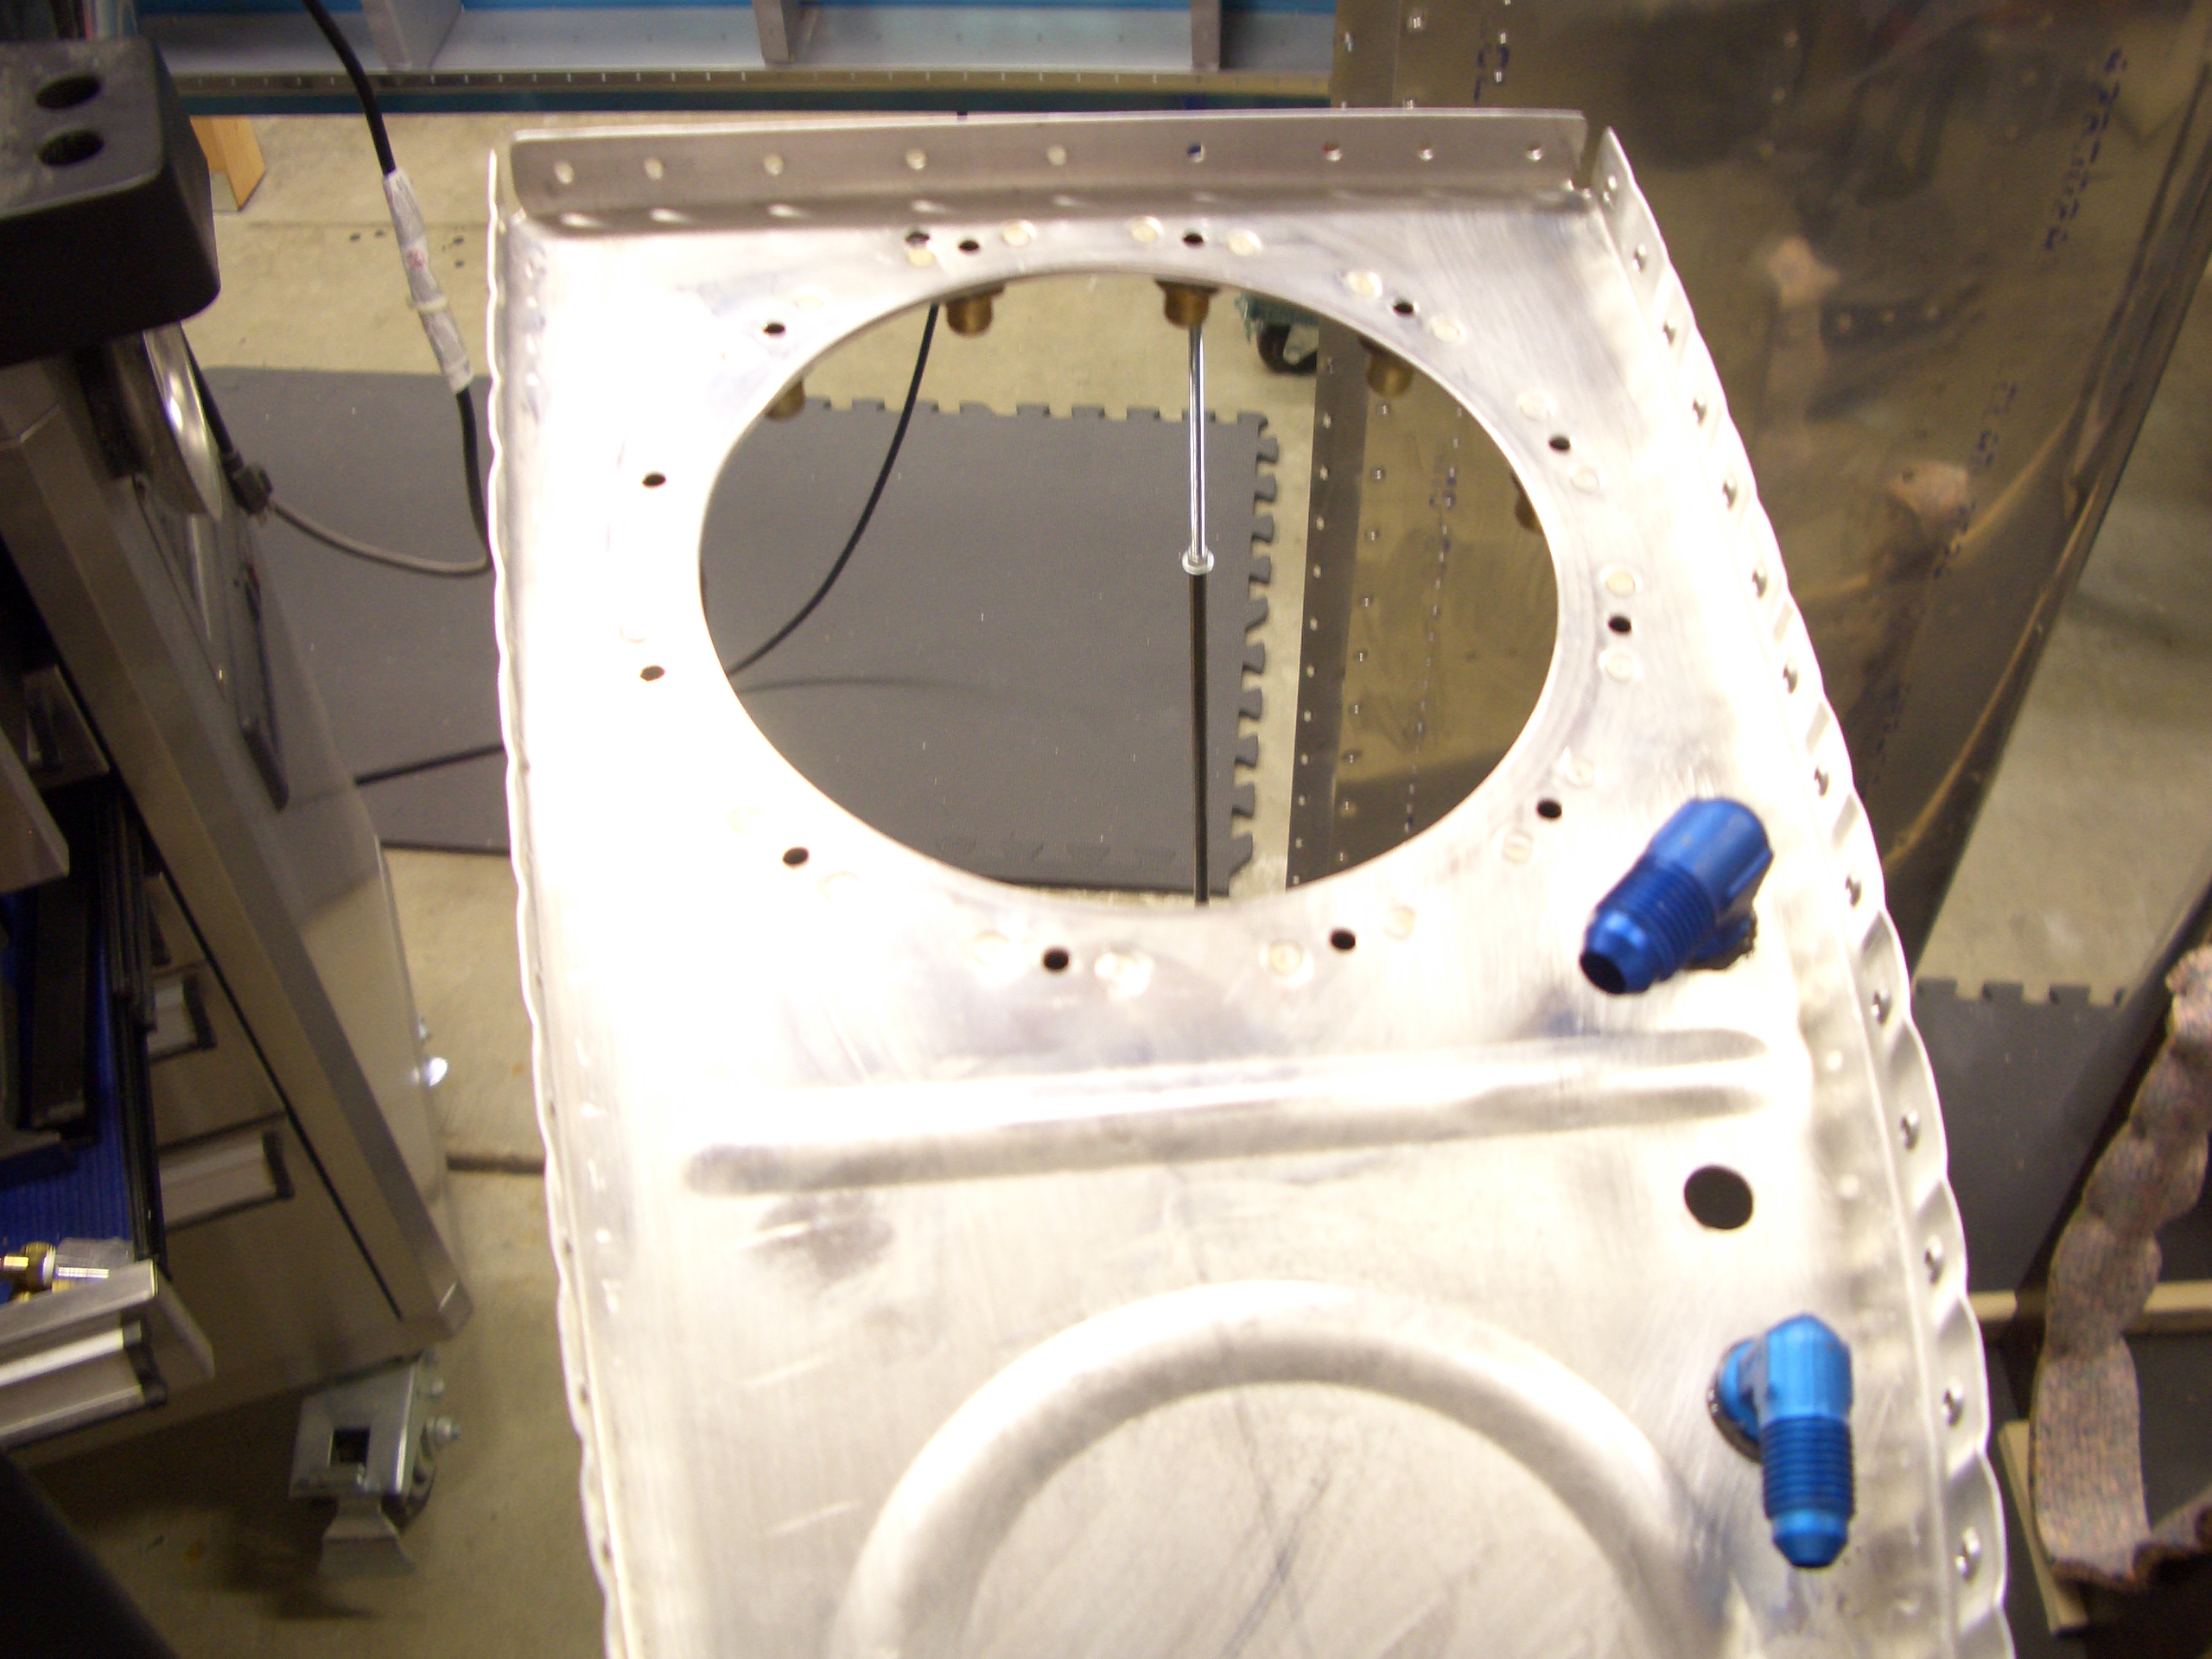
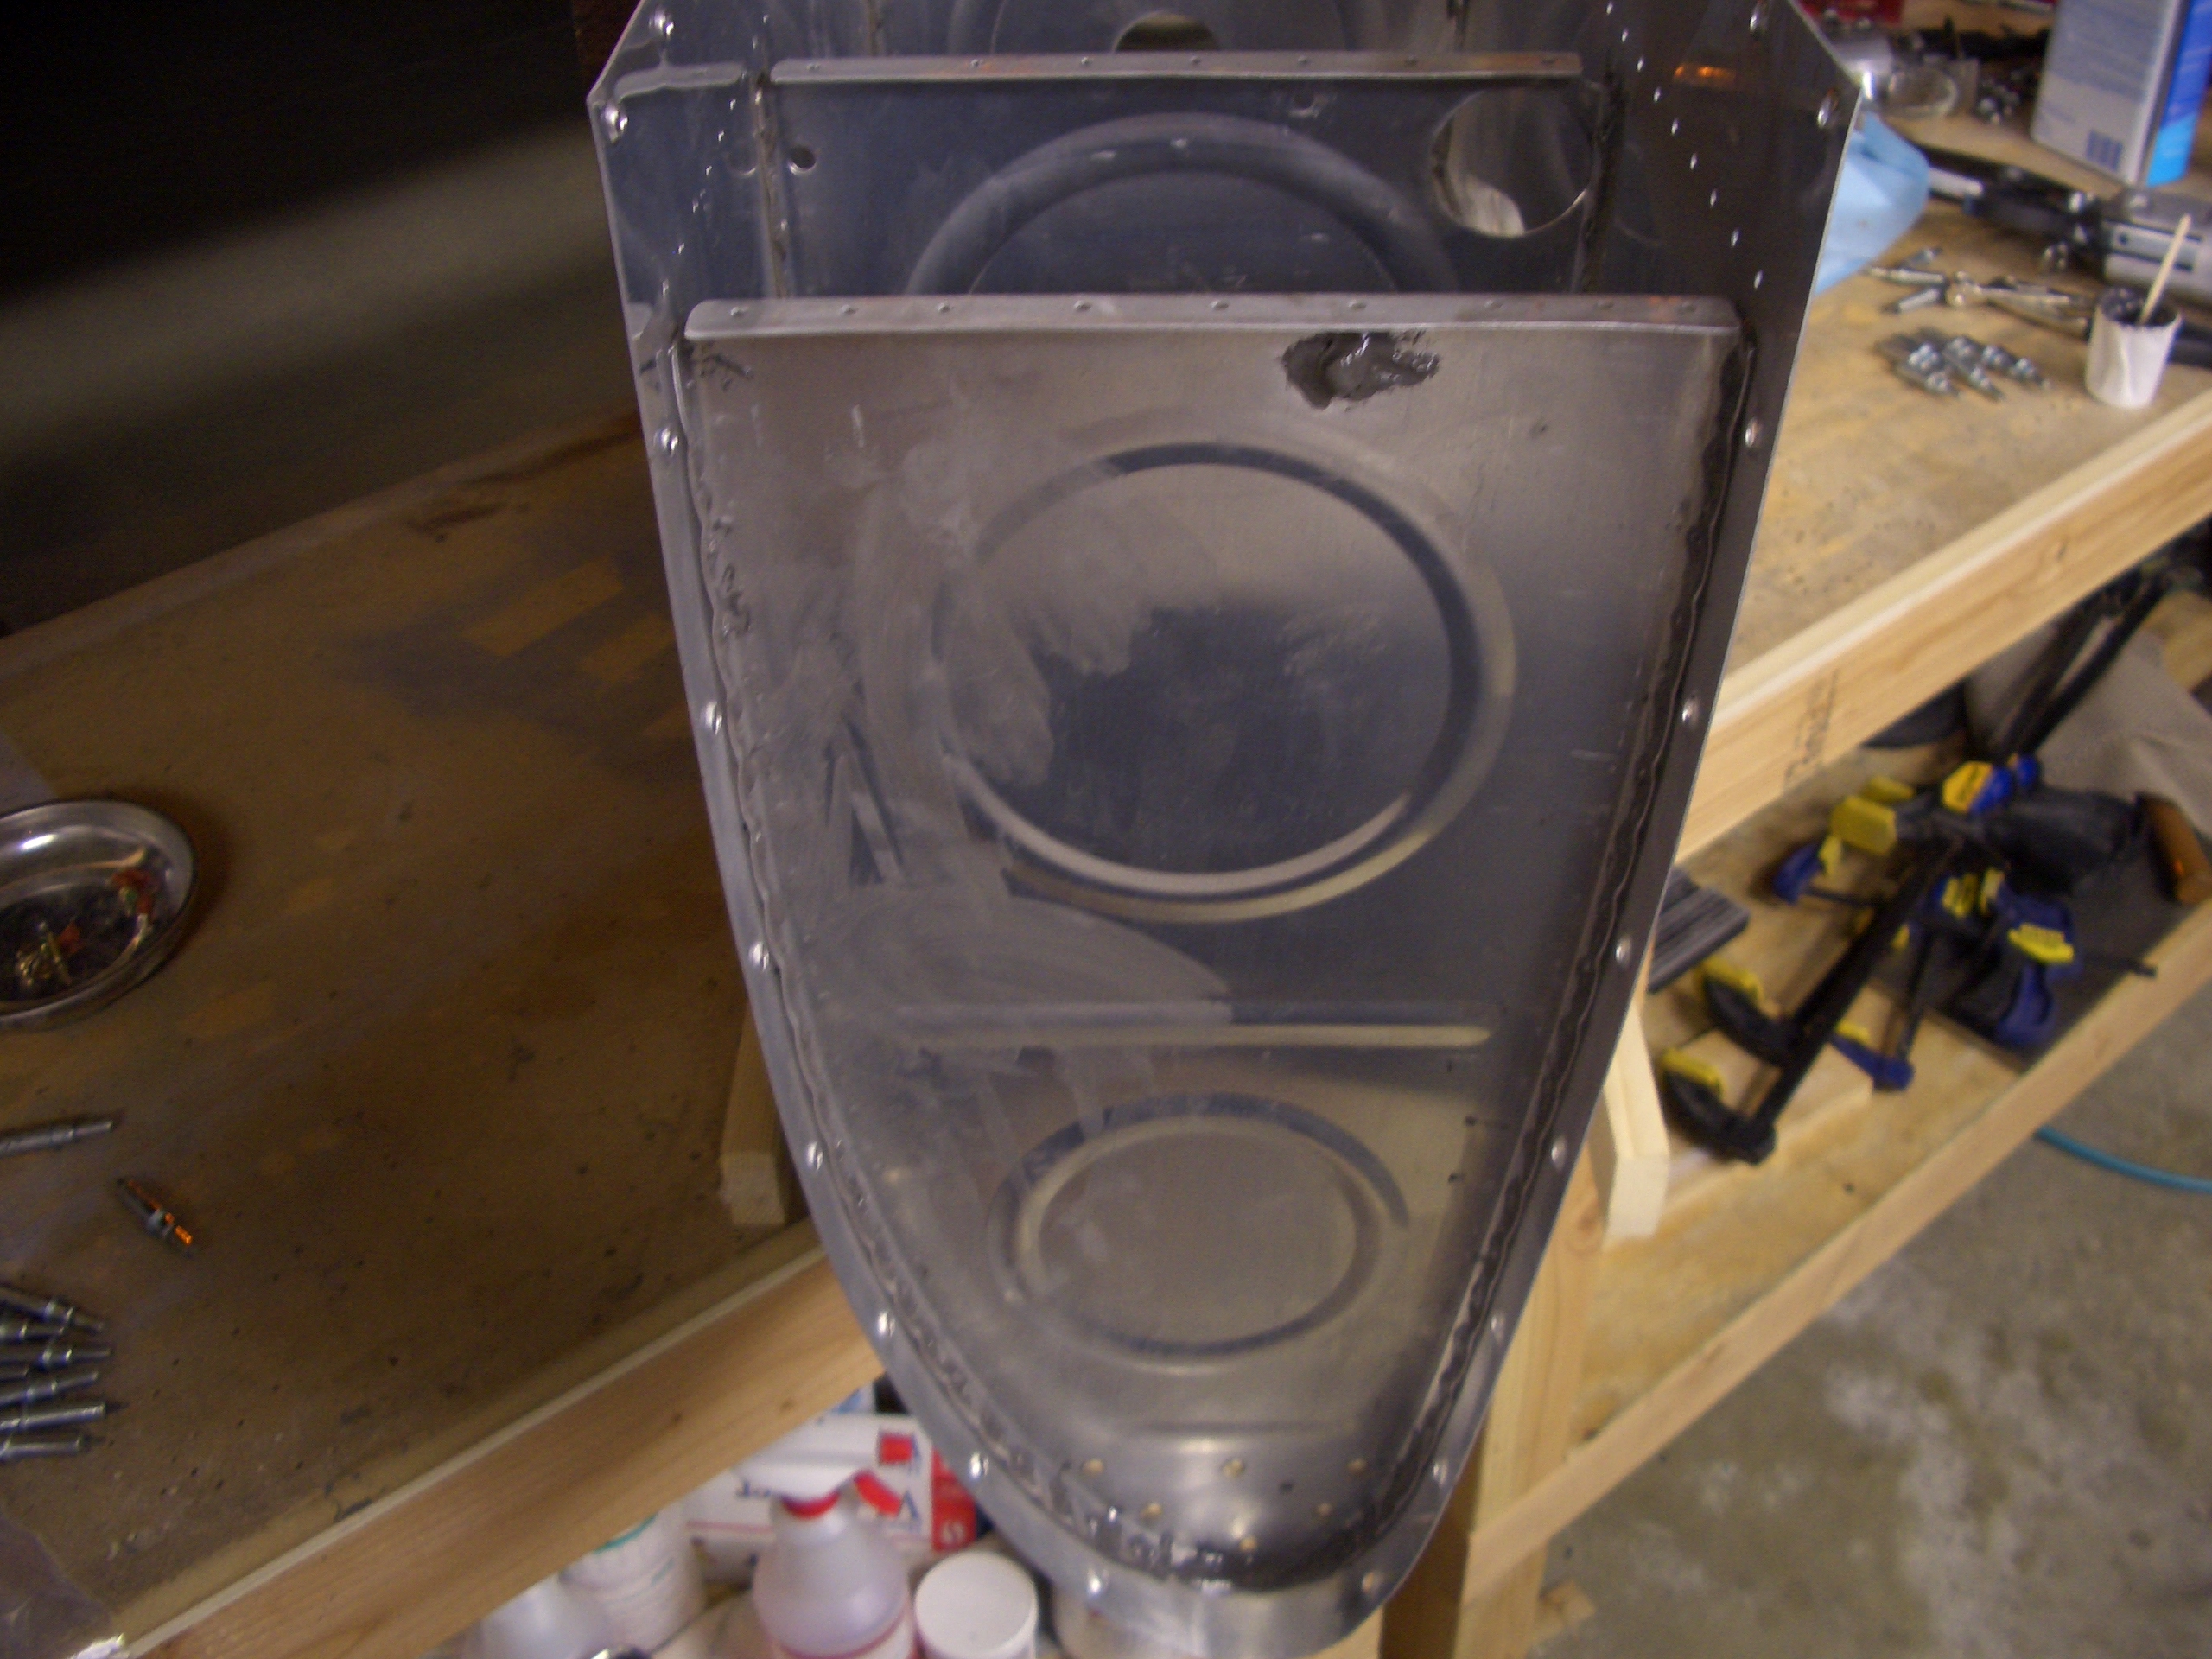
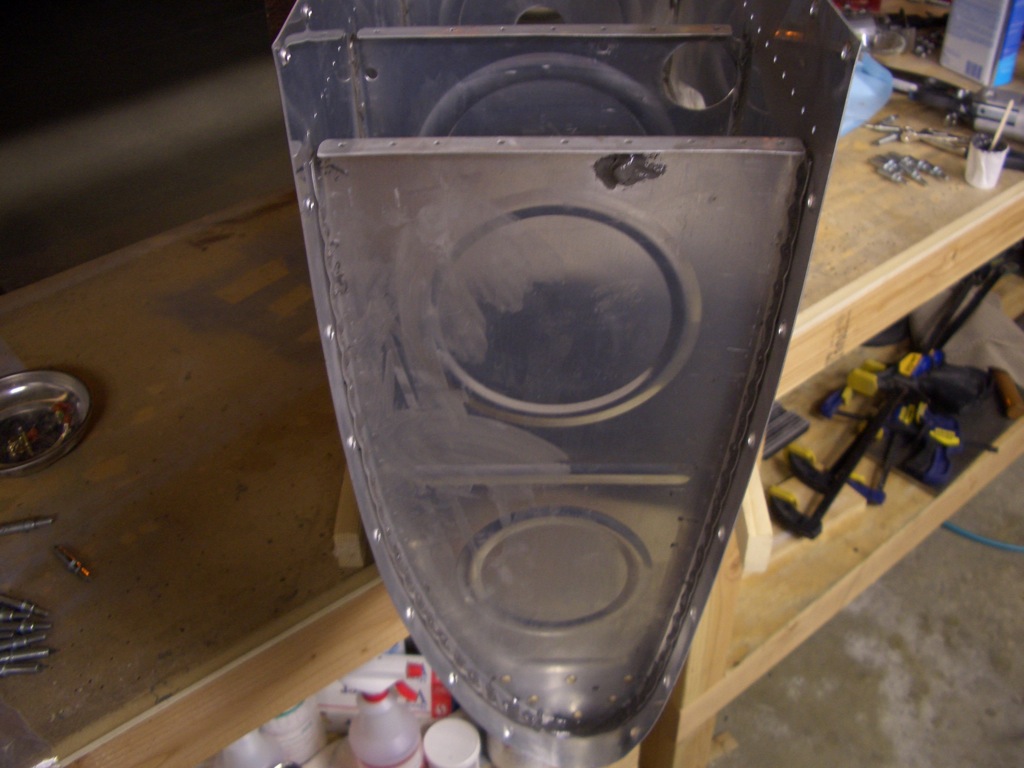
I got three of the four end ribs installed today.  First up are the outboard ribs.  These are pretty simple since they don’t interfere with any of the interior components and all of the rivets can be squeezed.


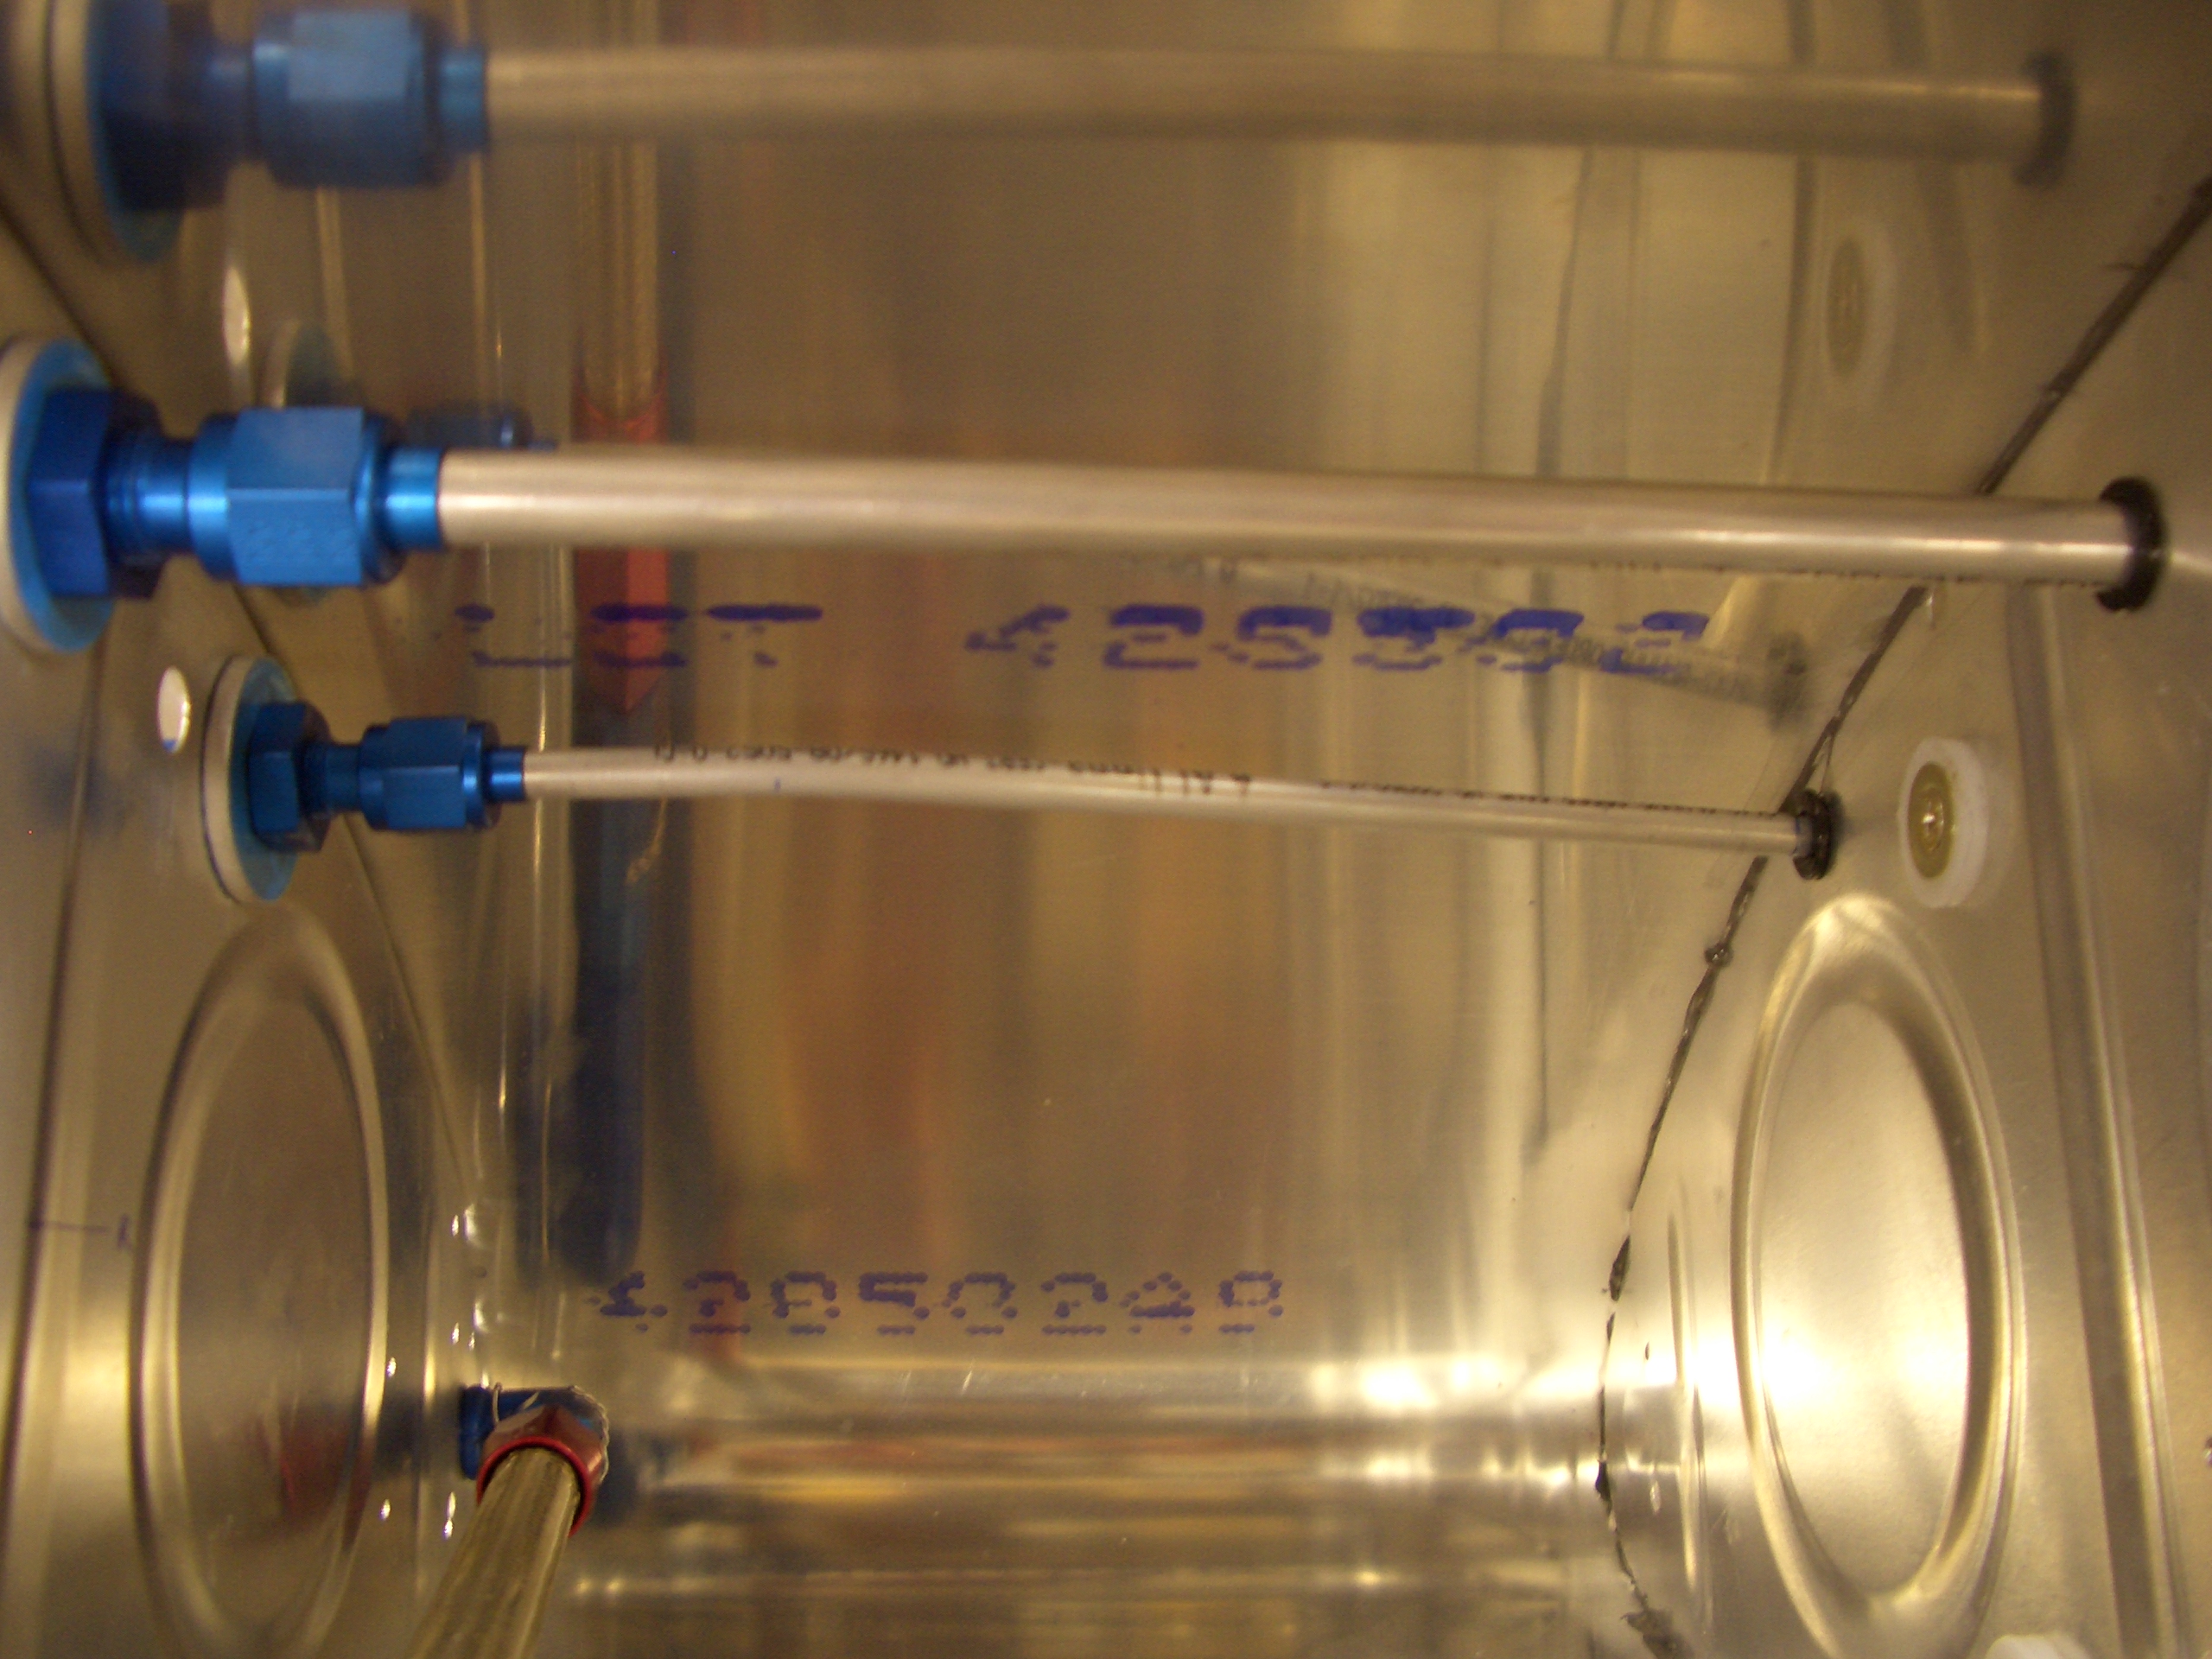
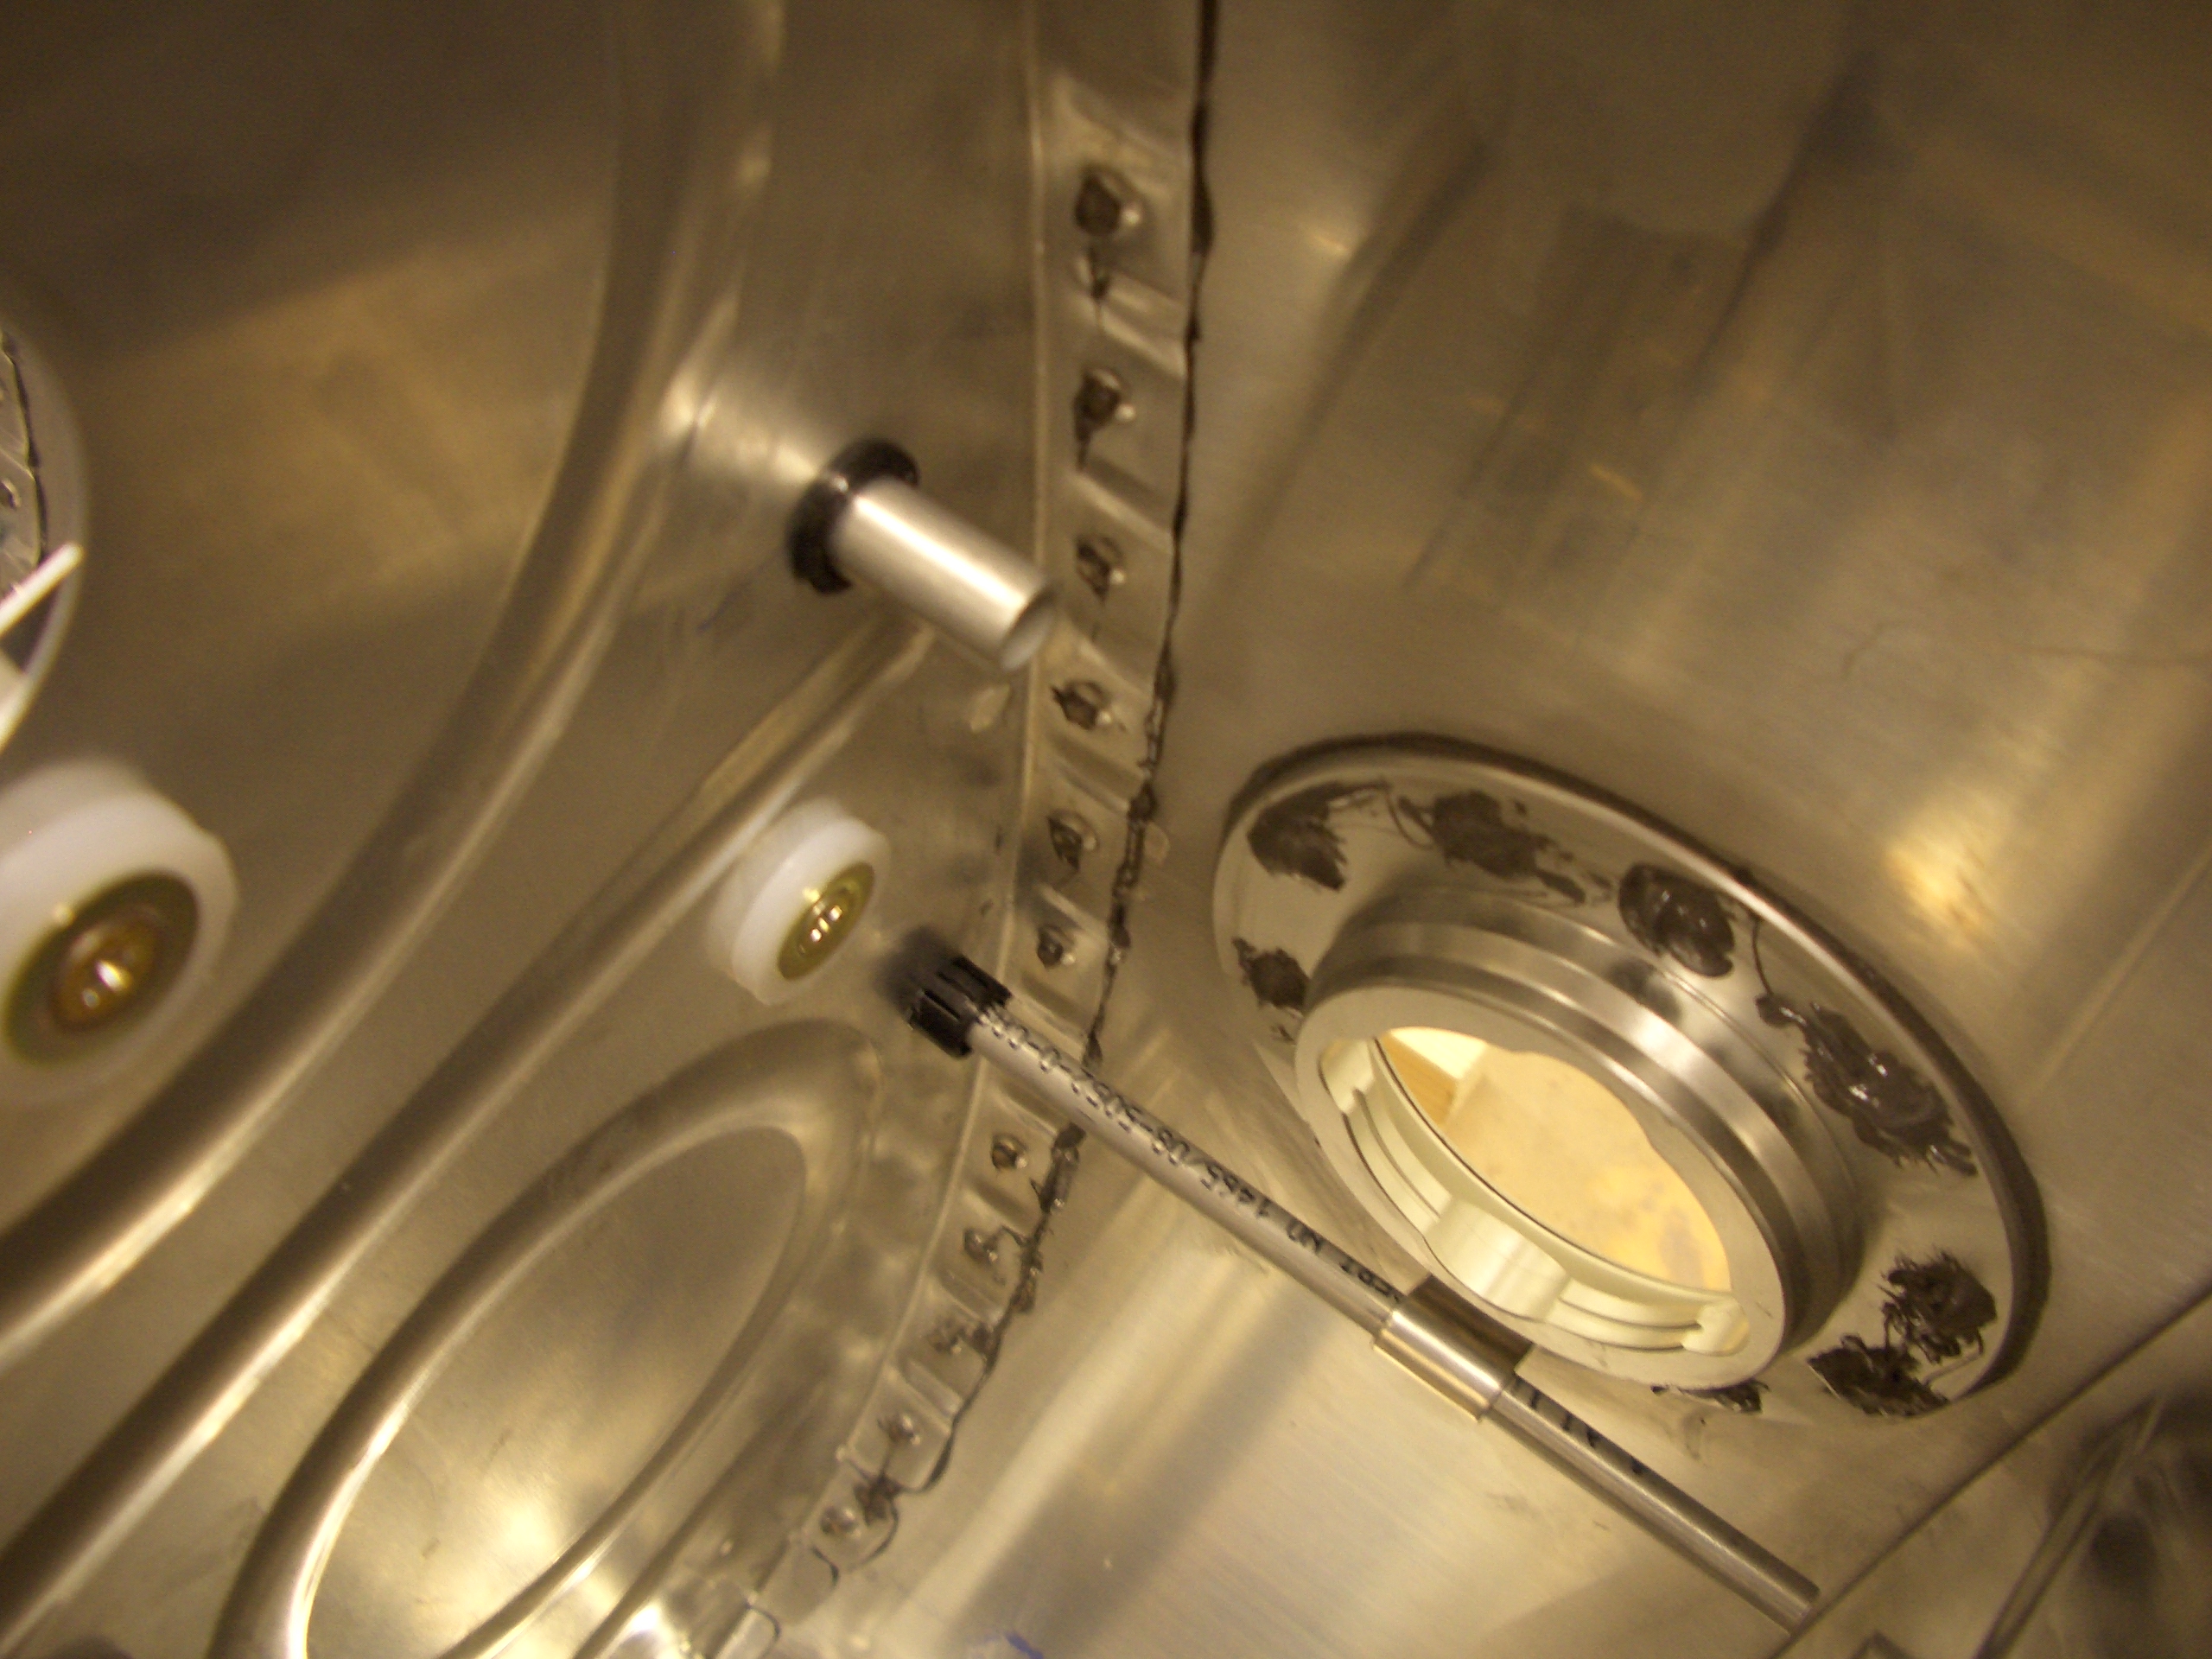
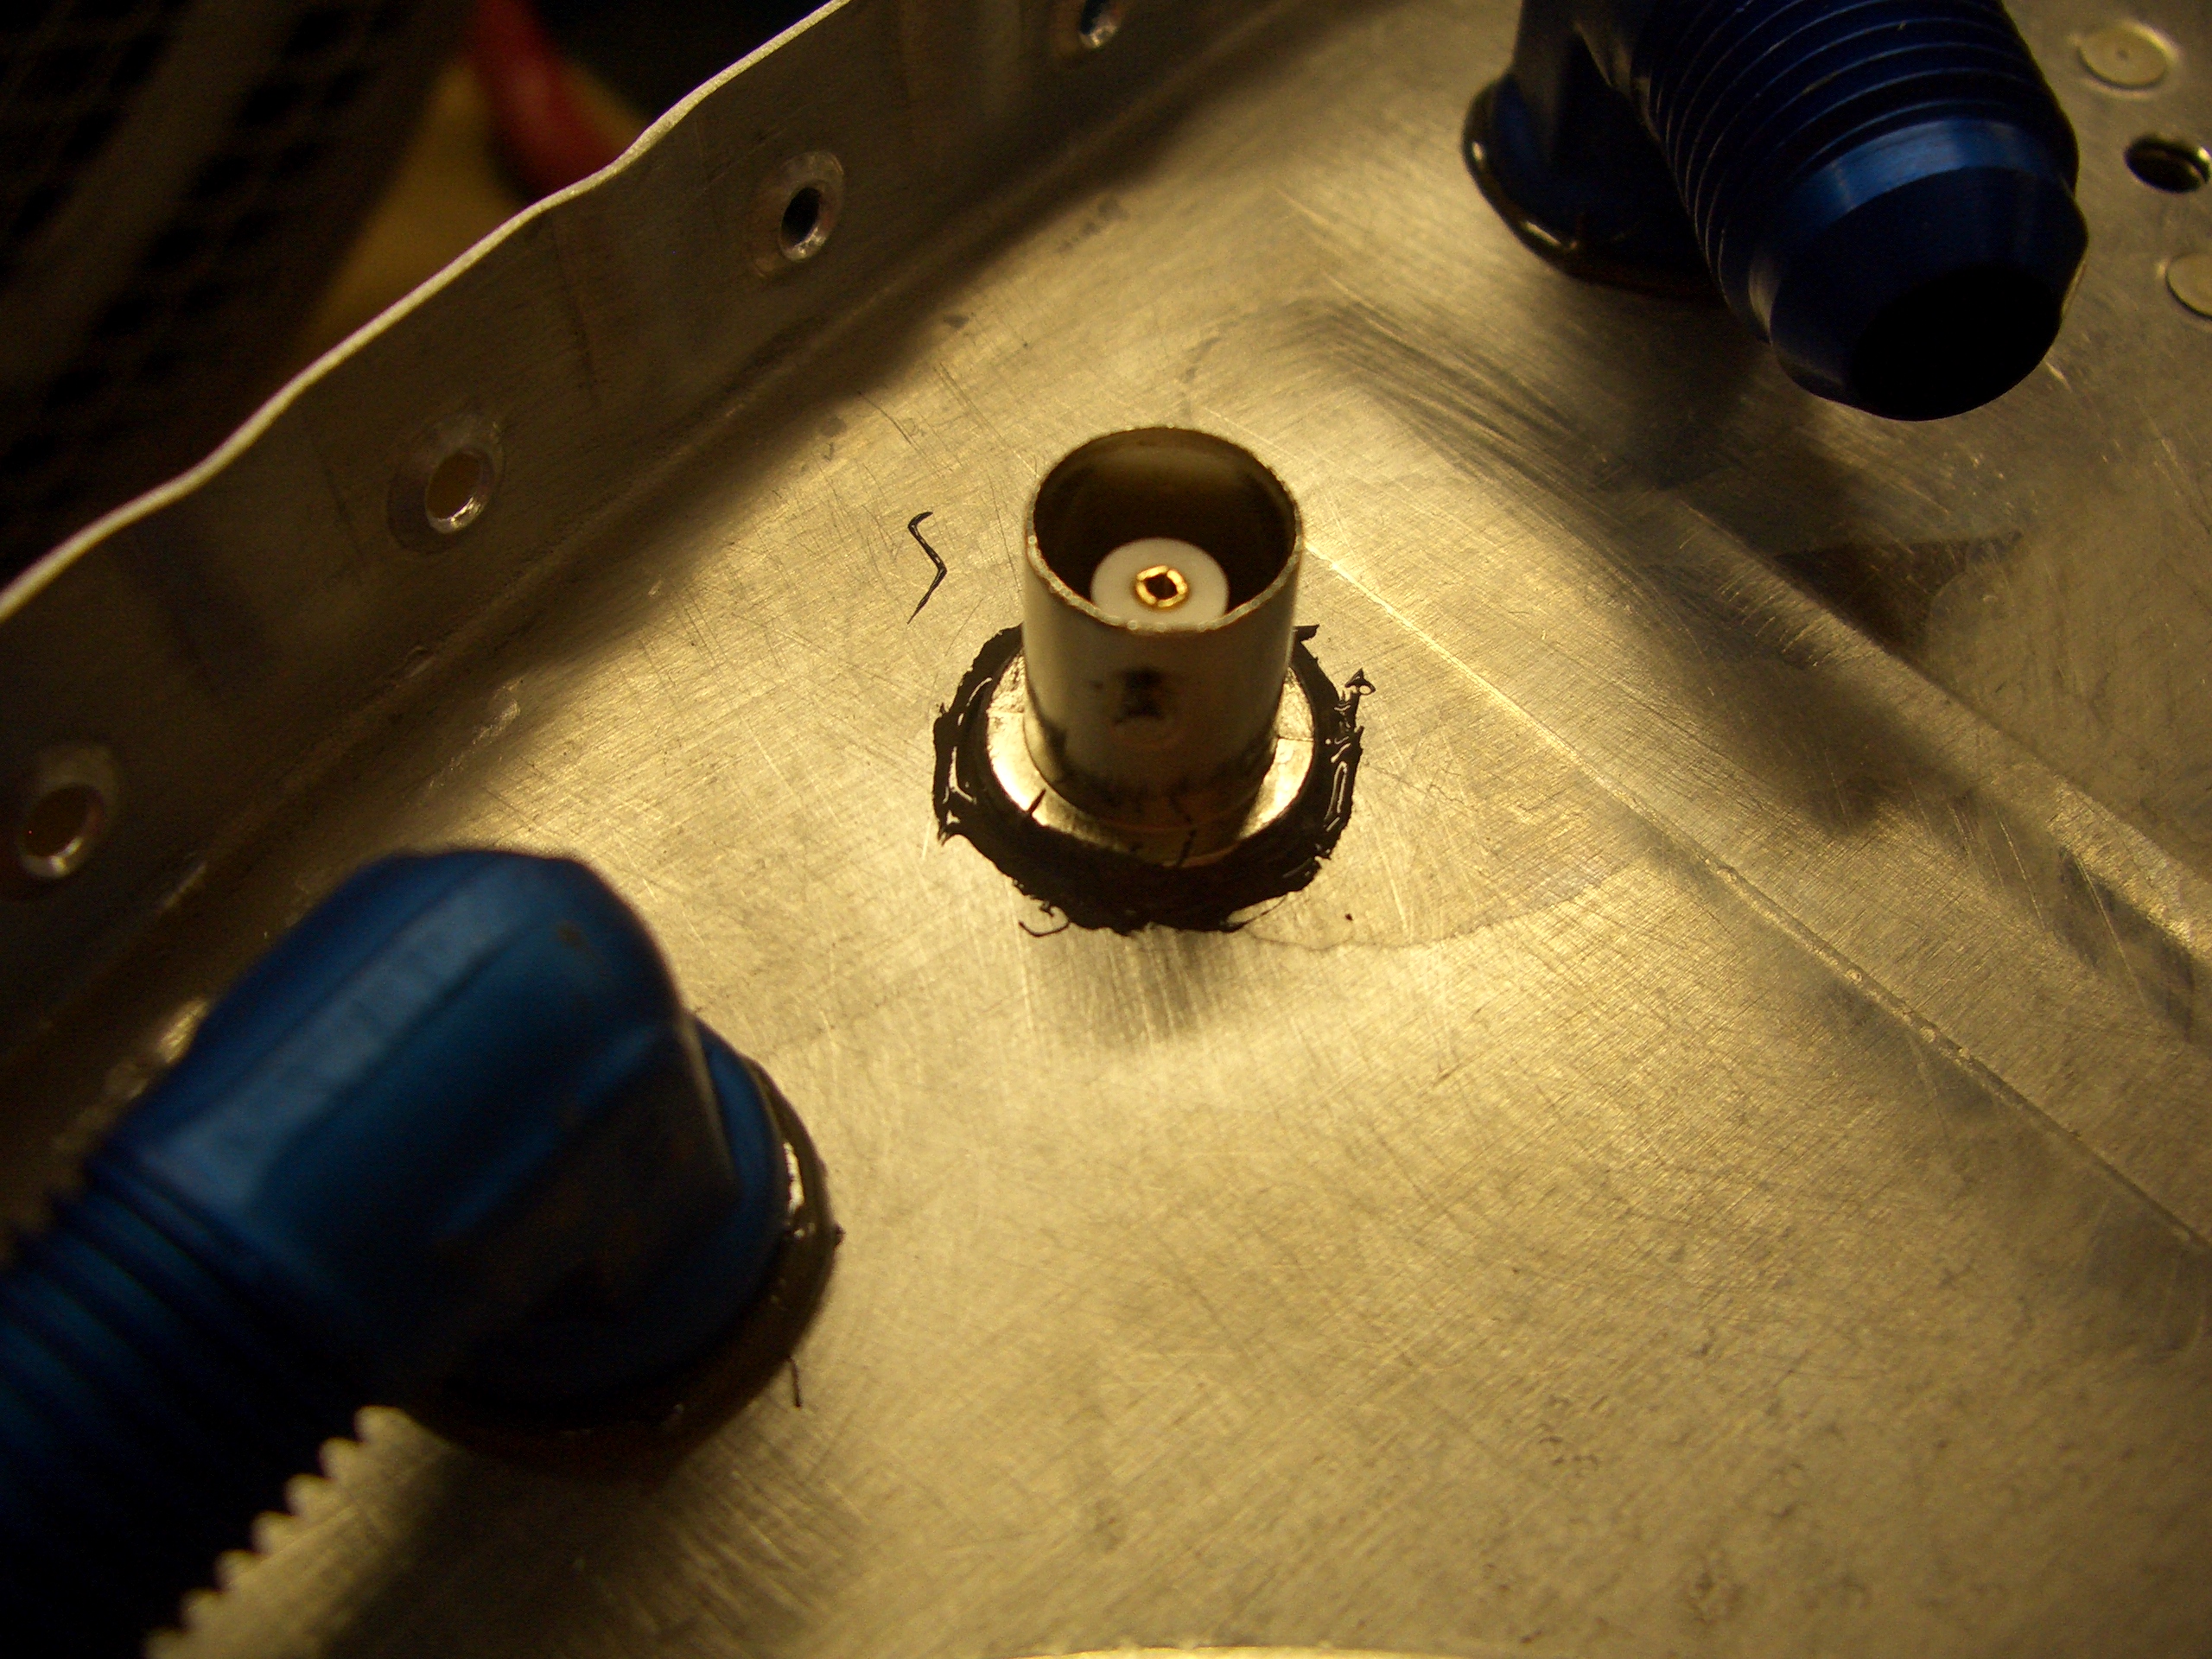
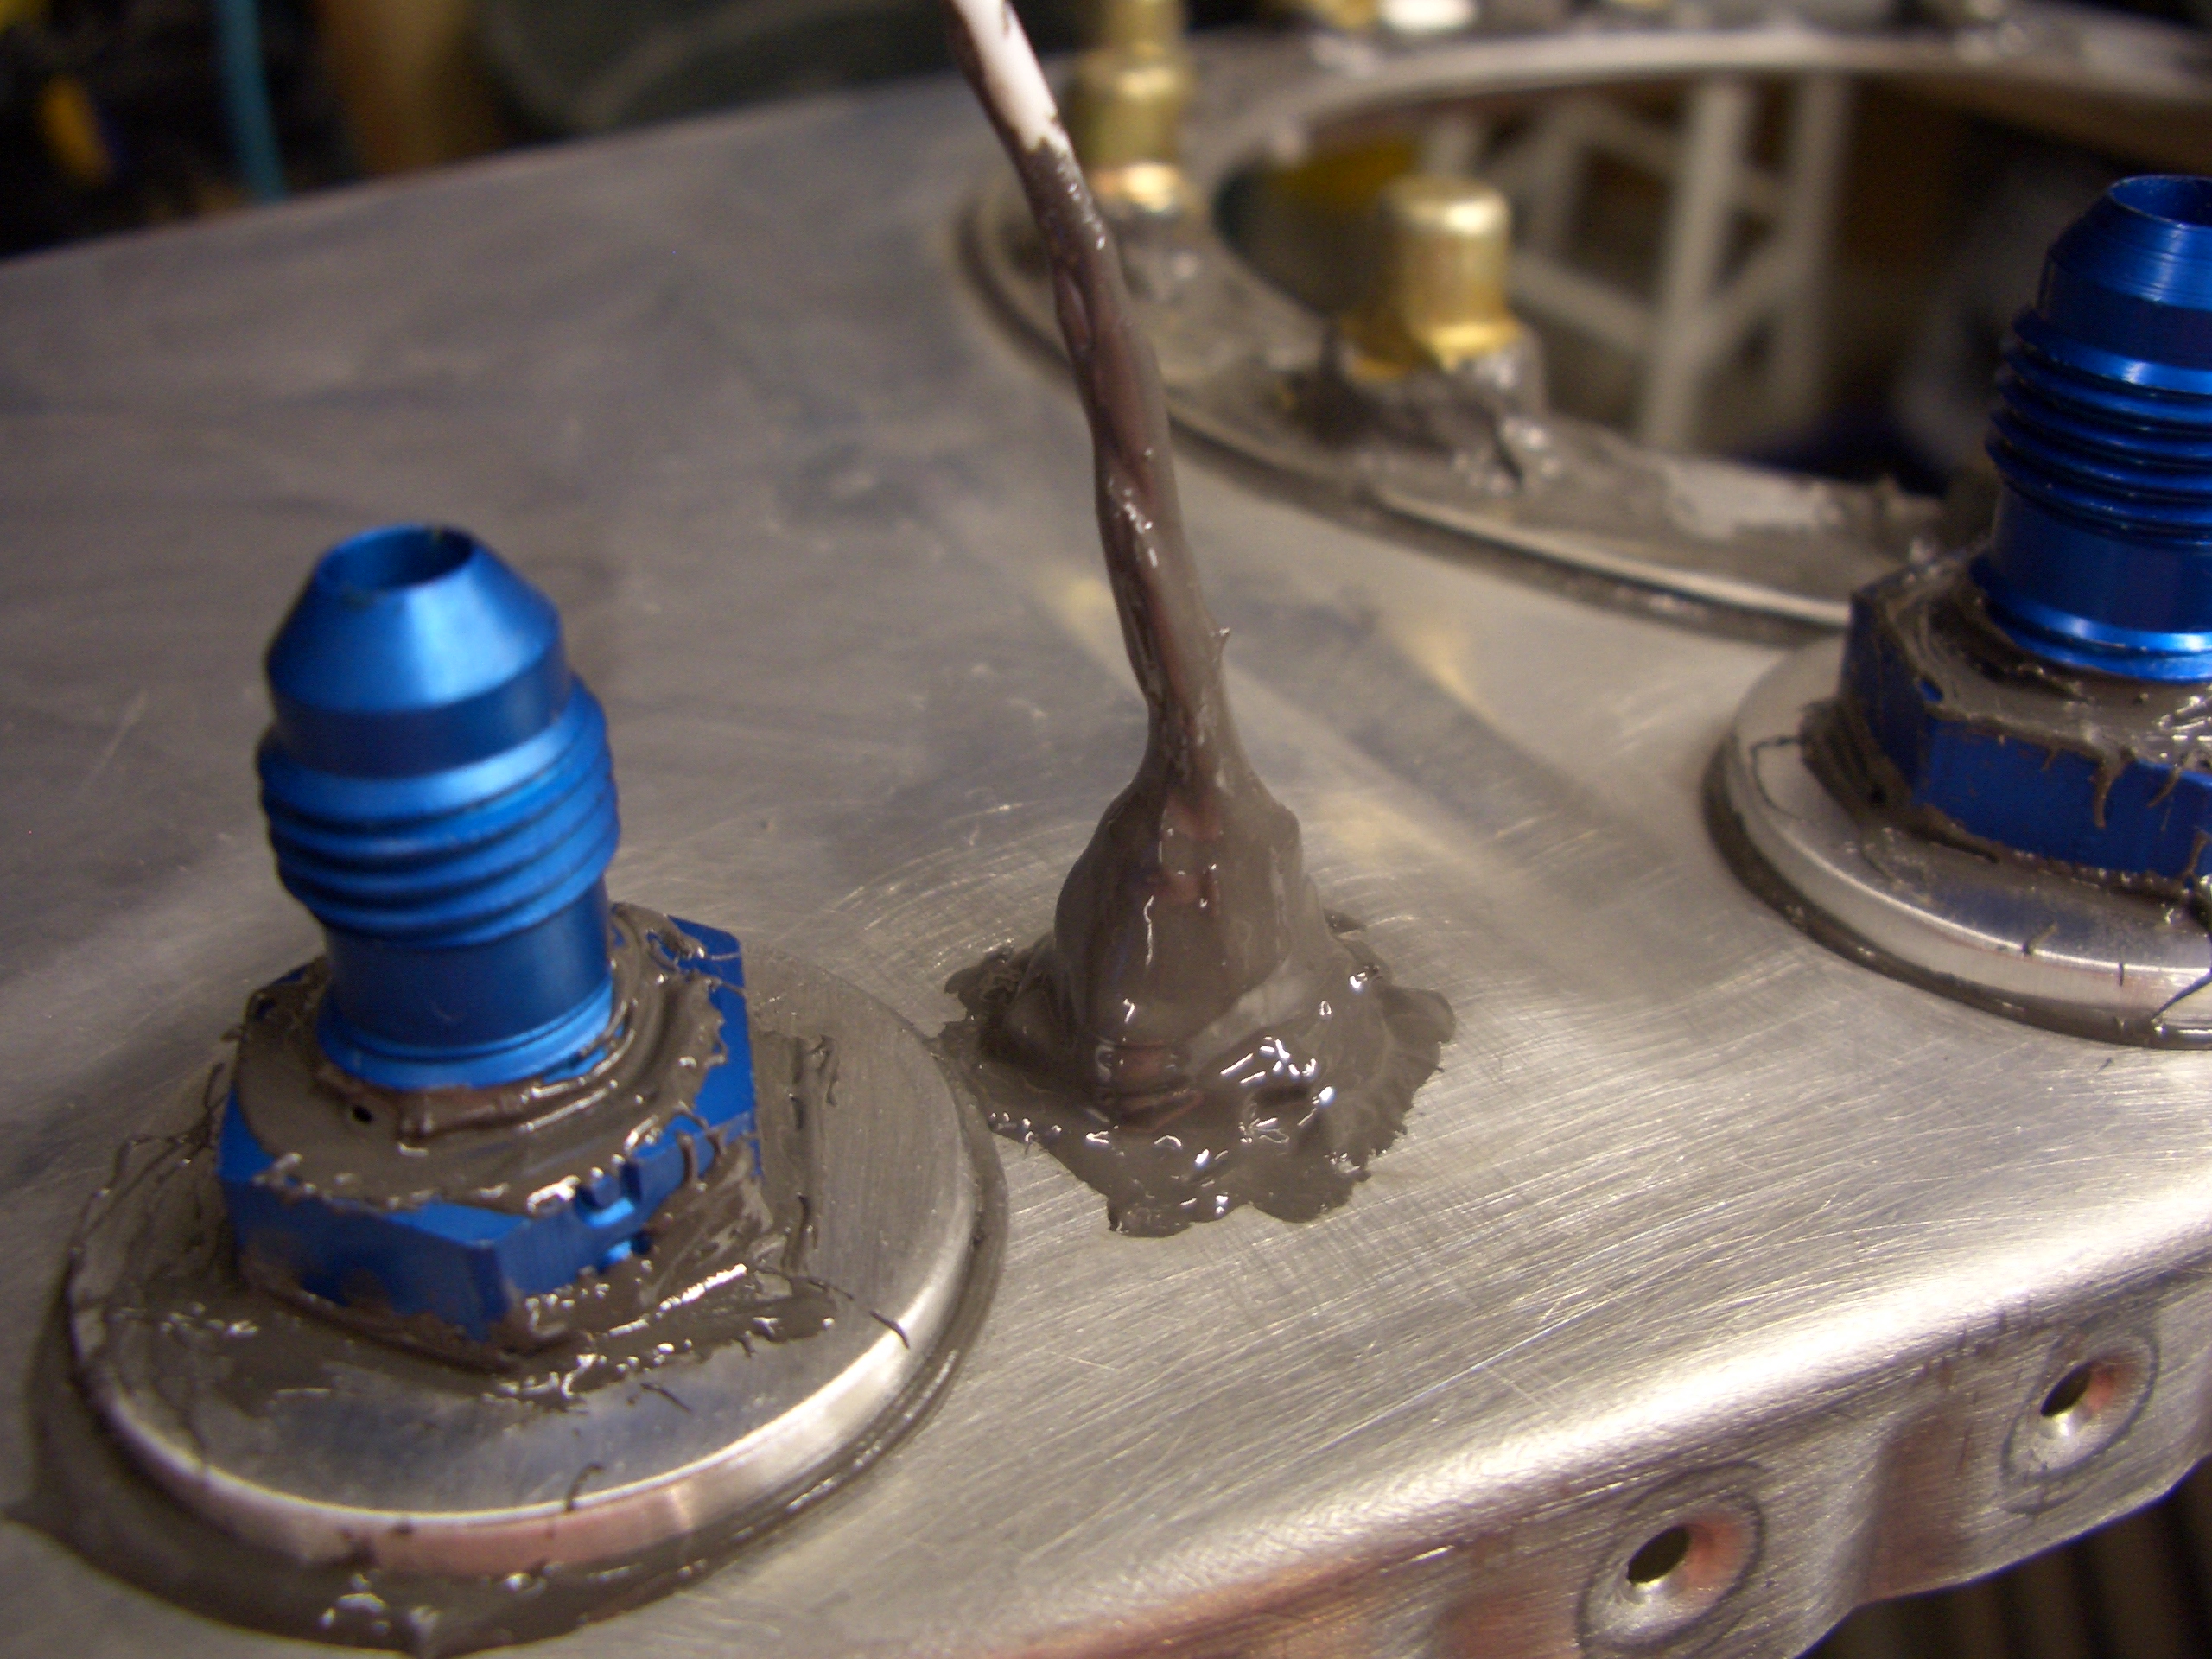
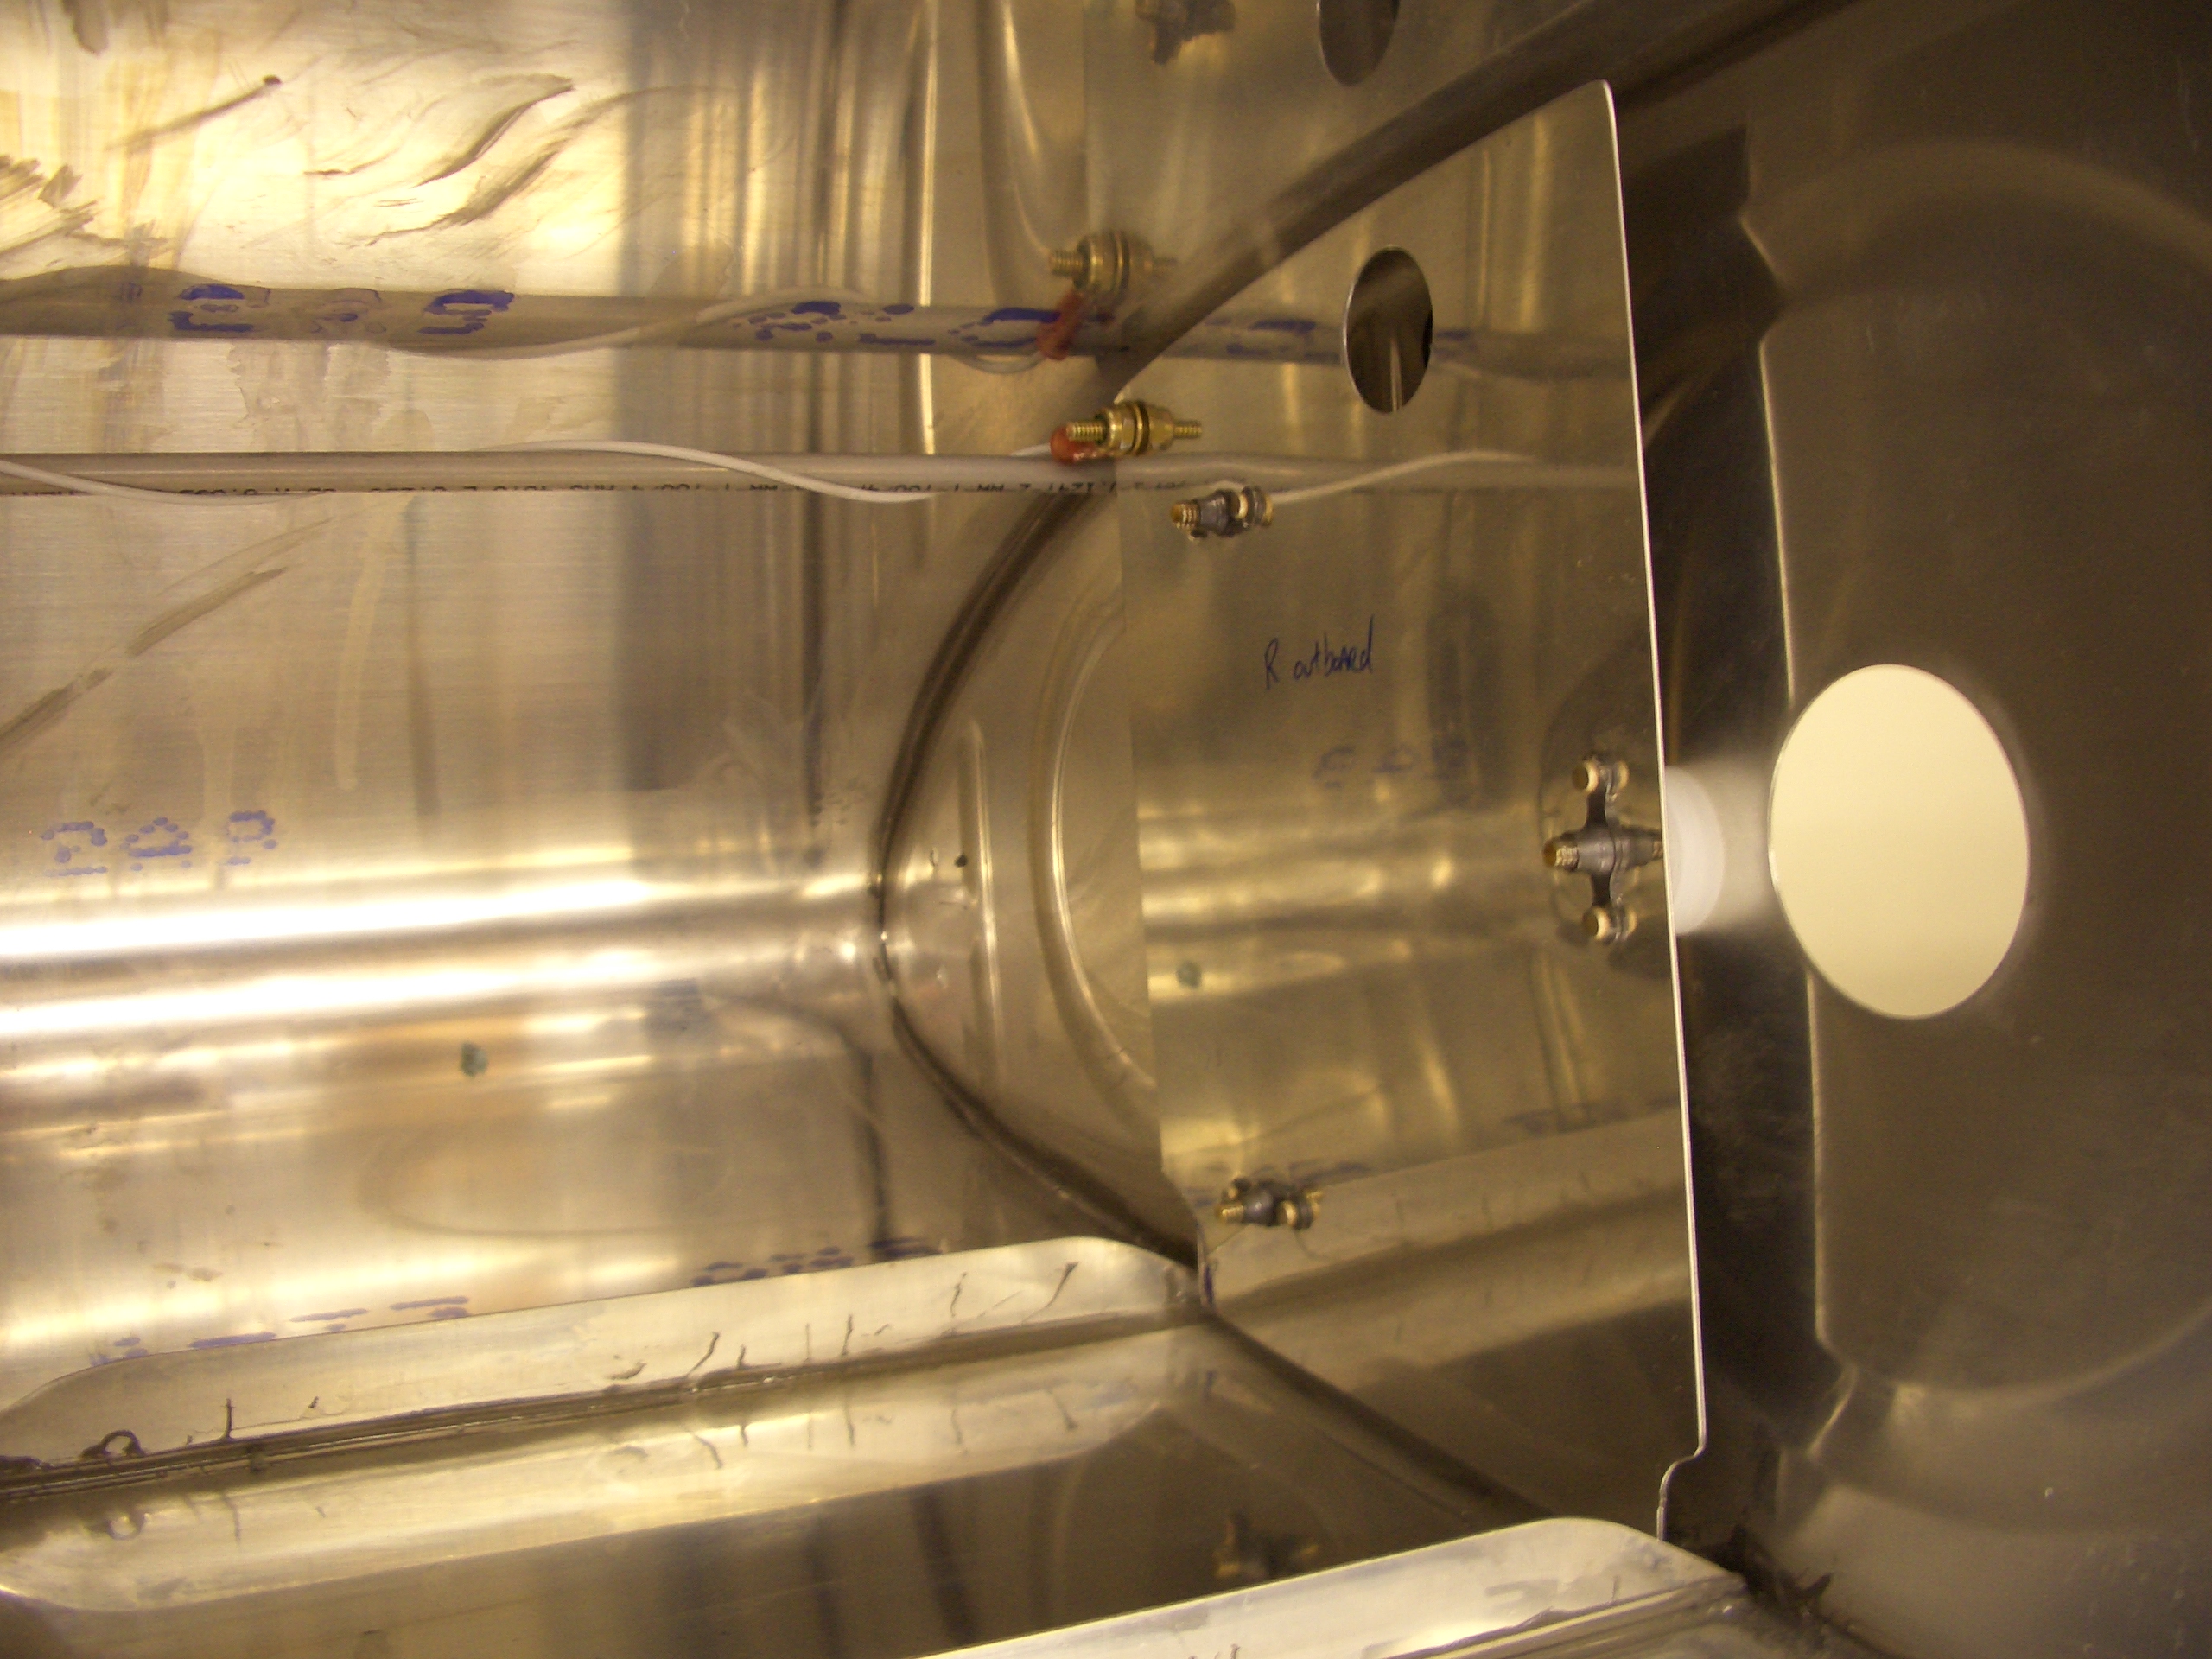
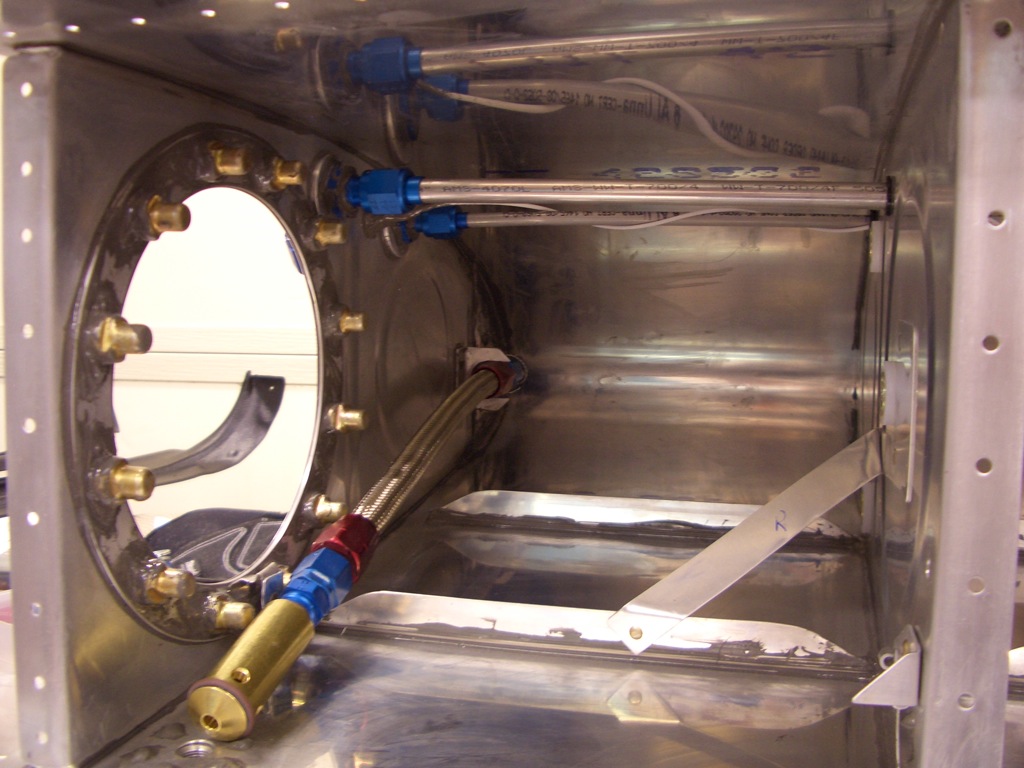
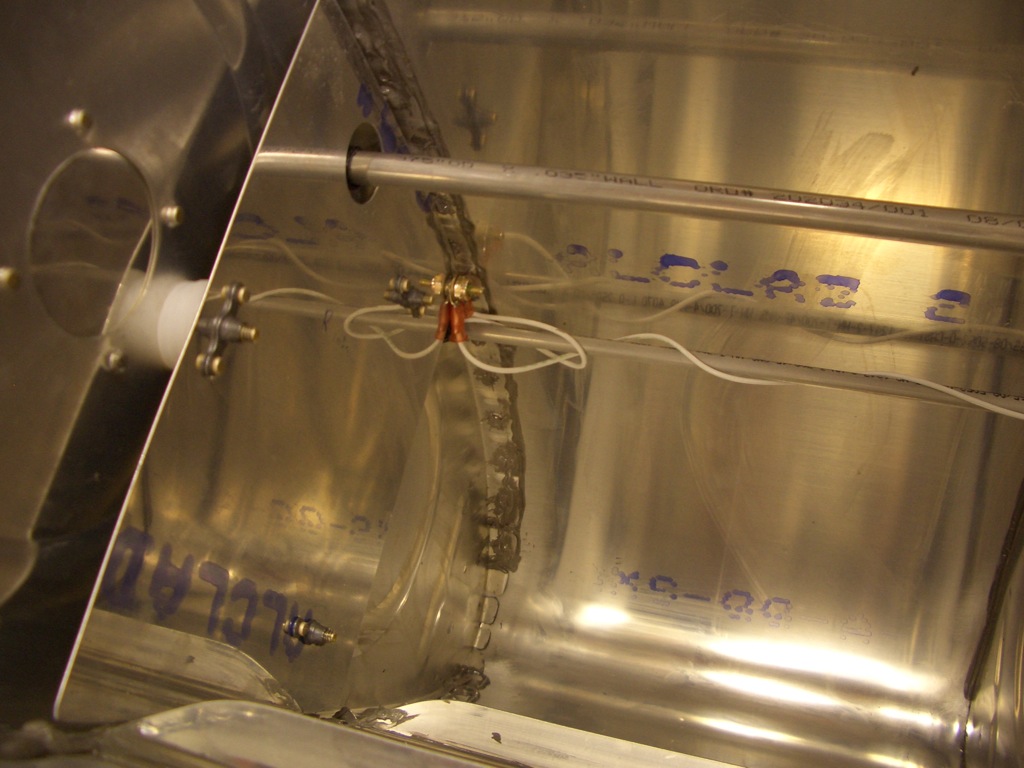
Next up is to install the inboard ribs.  After that, the fuel return and vent line can be torqued down.  The wire from the BNC connector is then routed along the vent line to the second bay where it will connect with the inboard sender plate.  Finally, the flop tube can be installed.


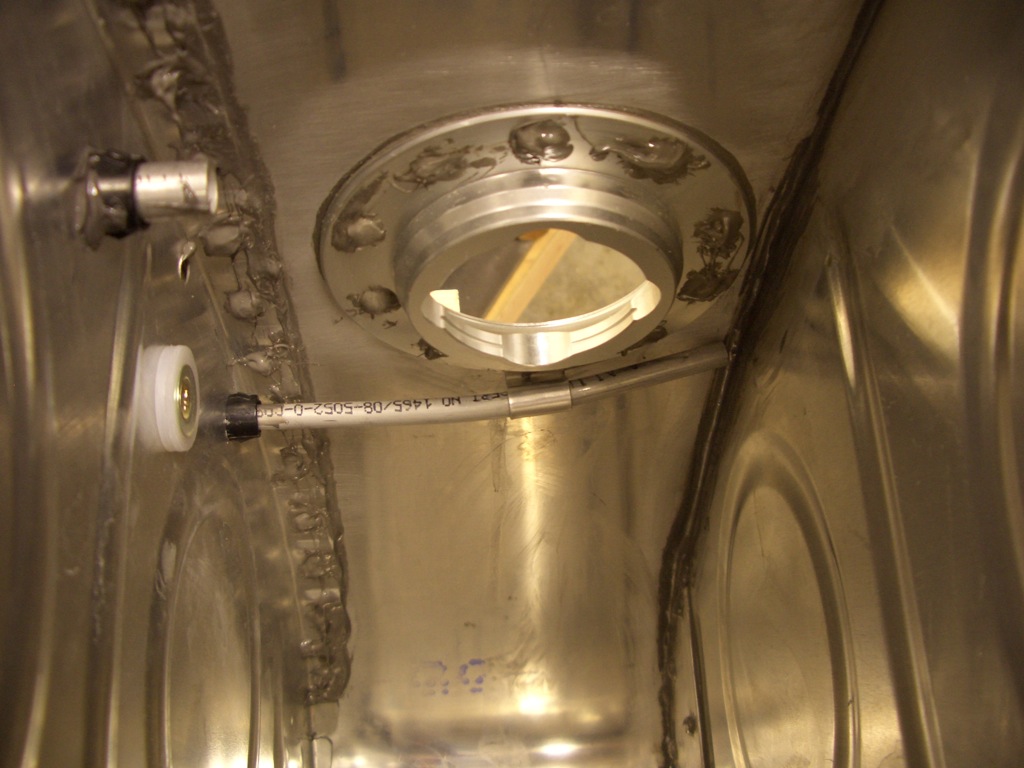
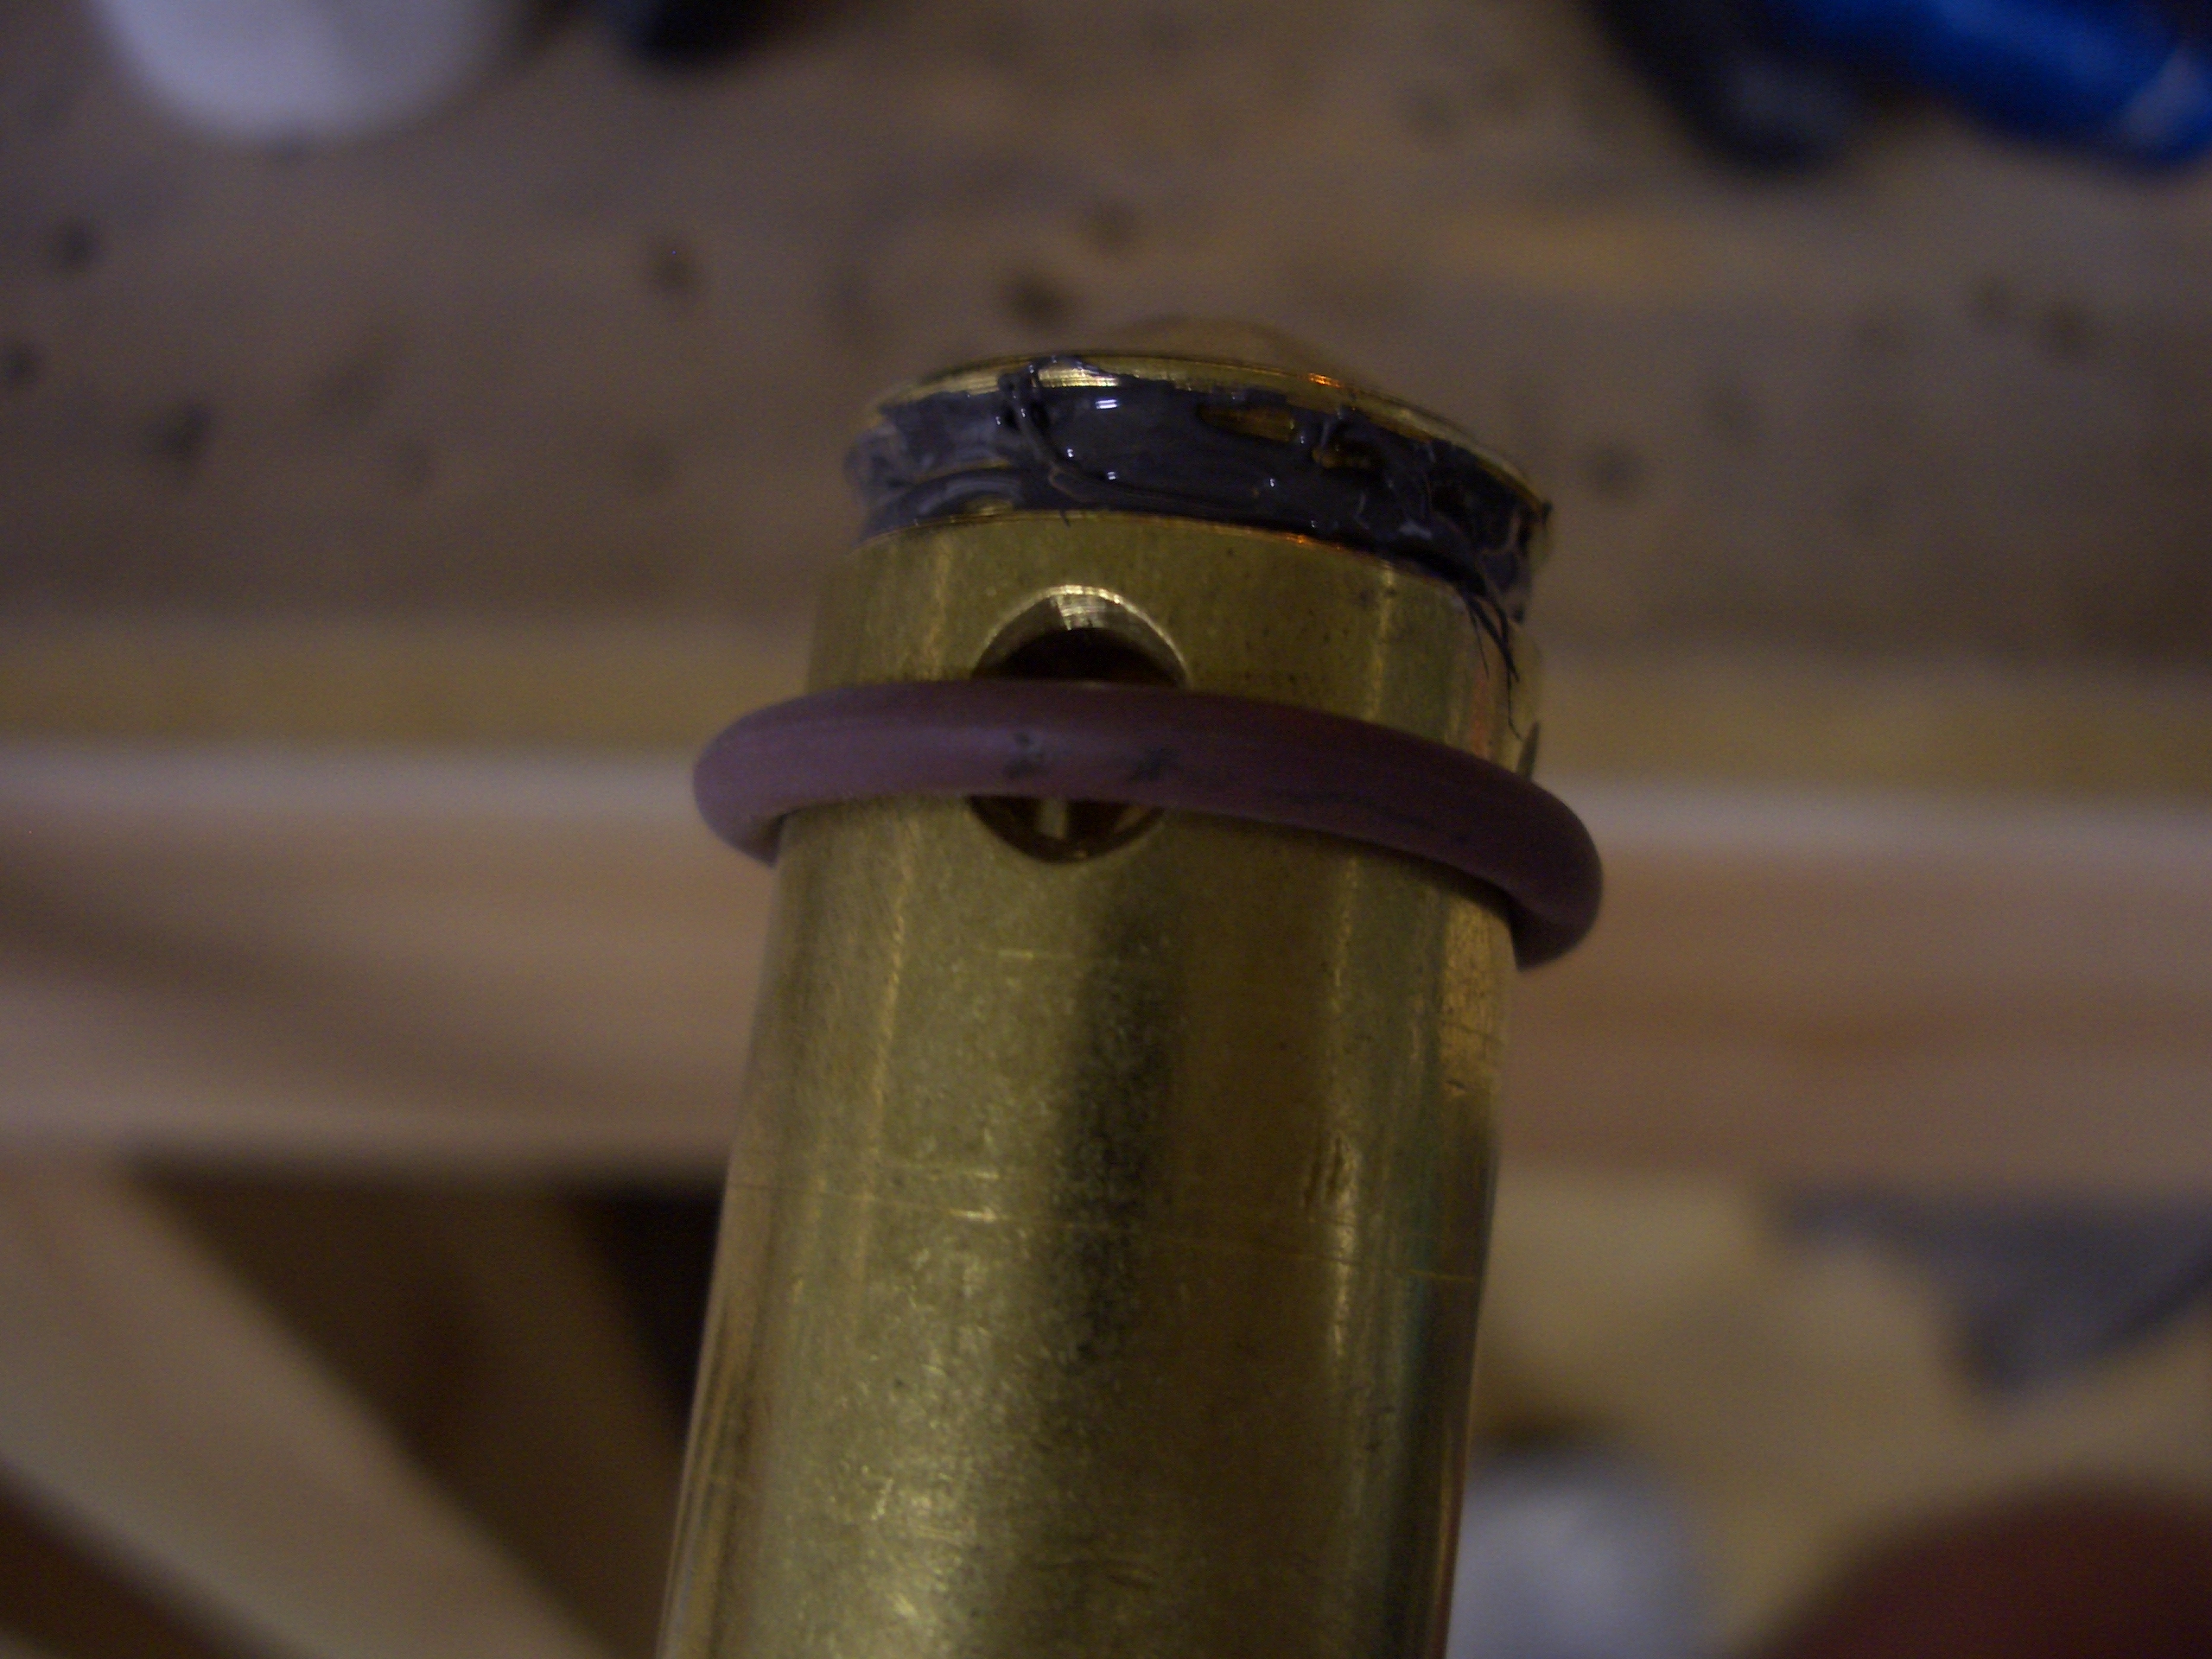
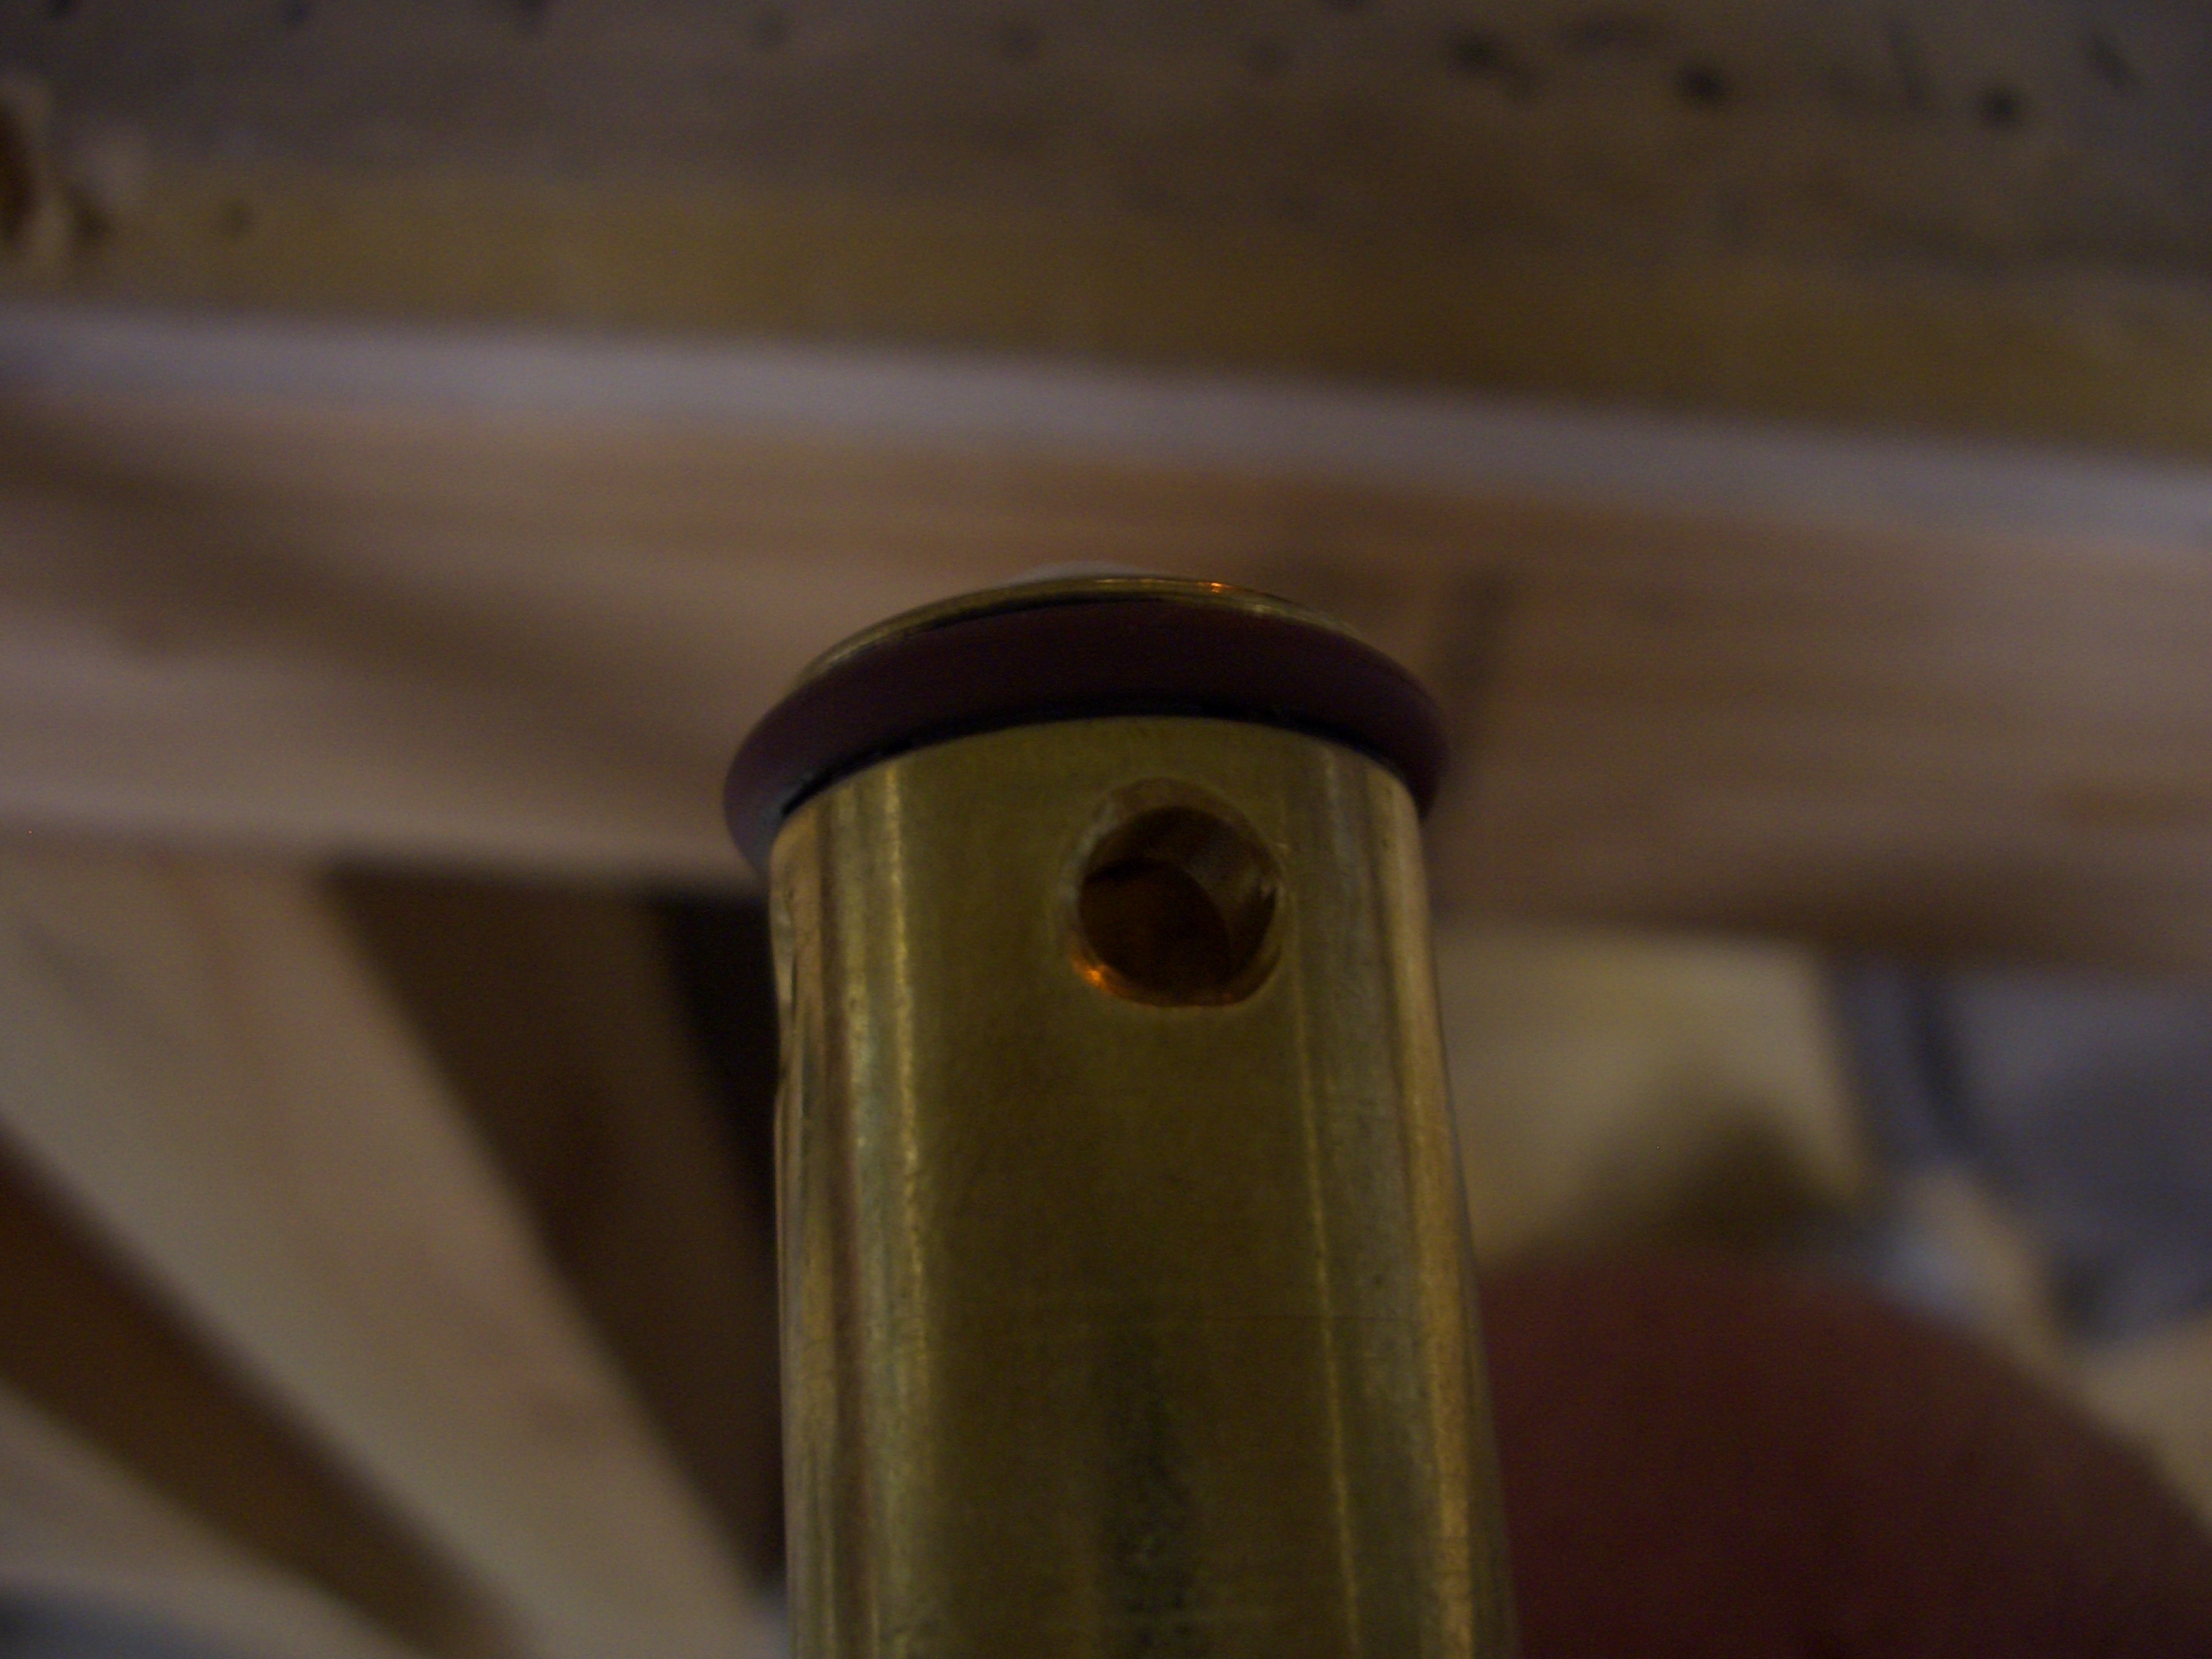
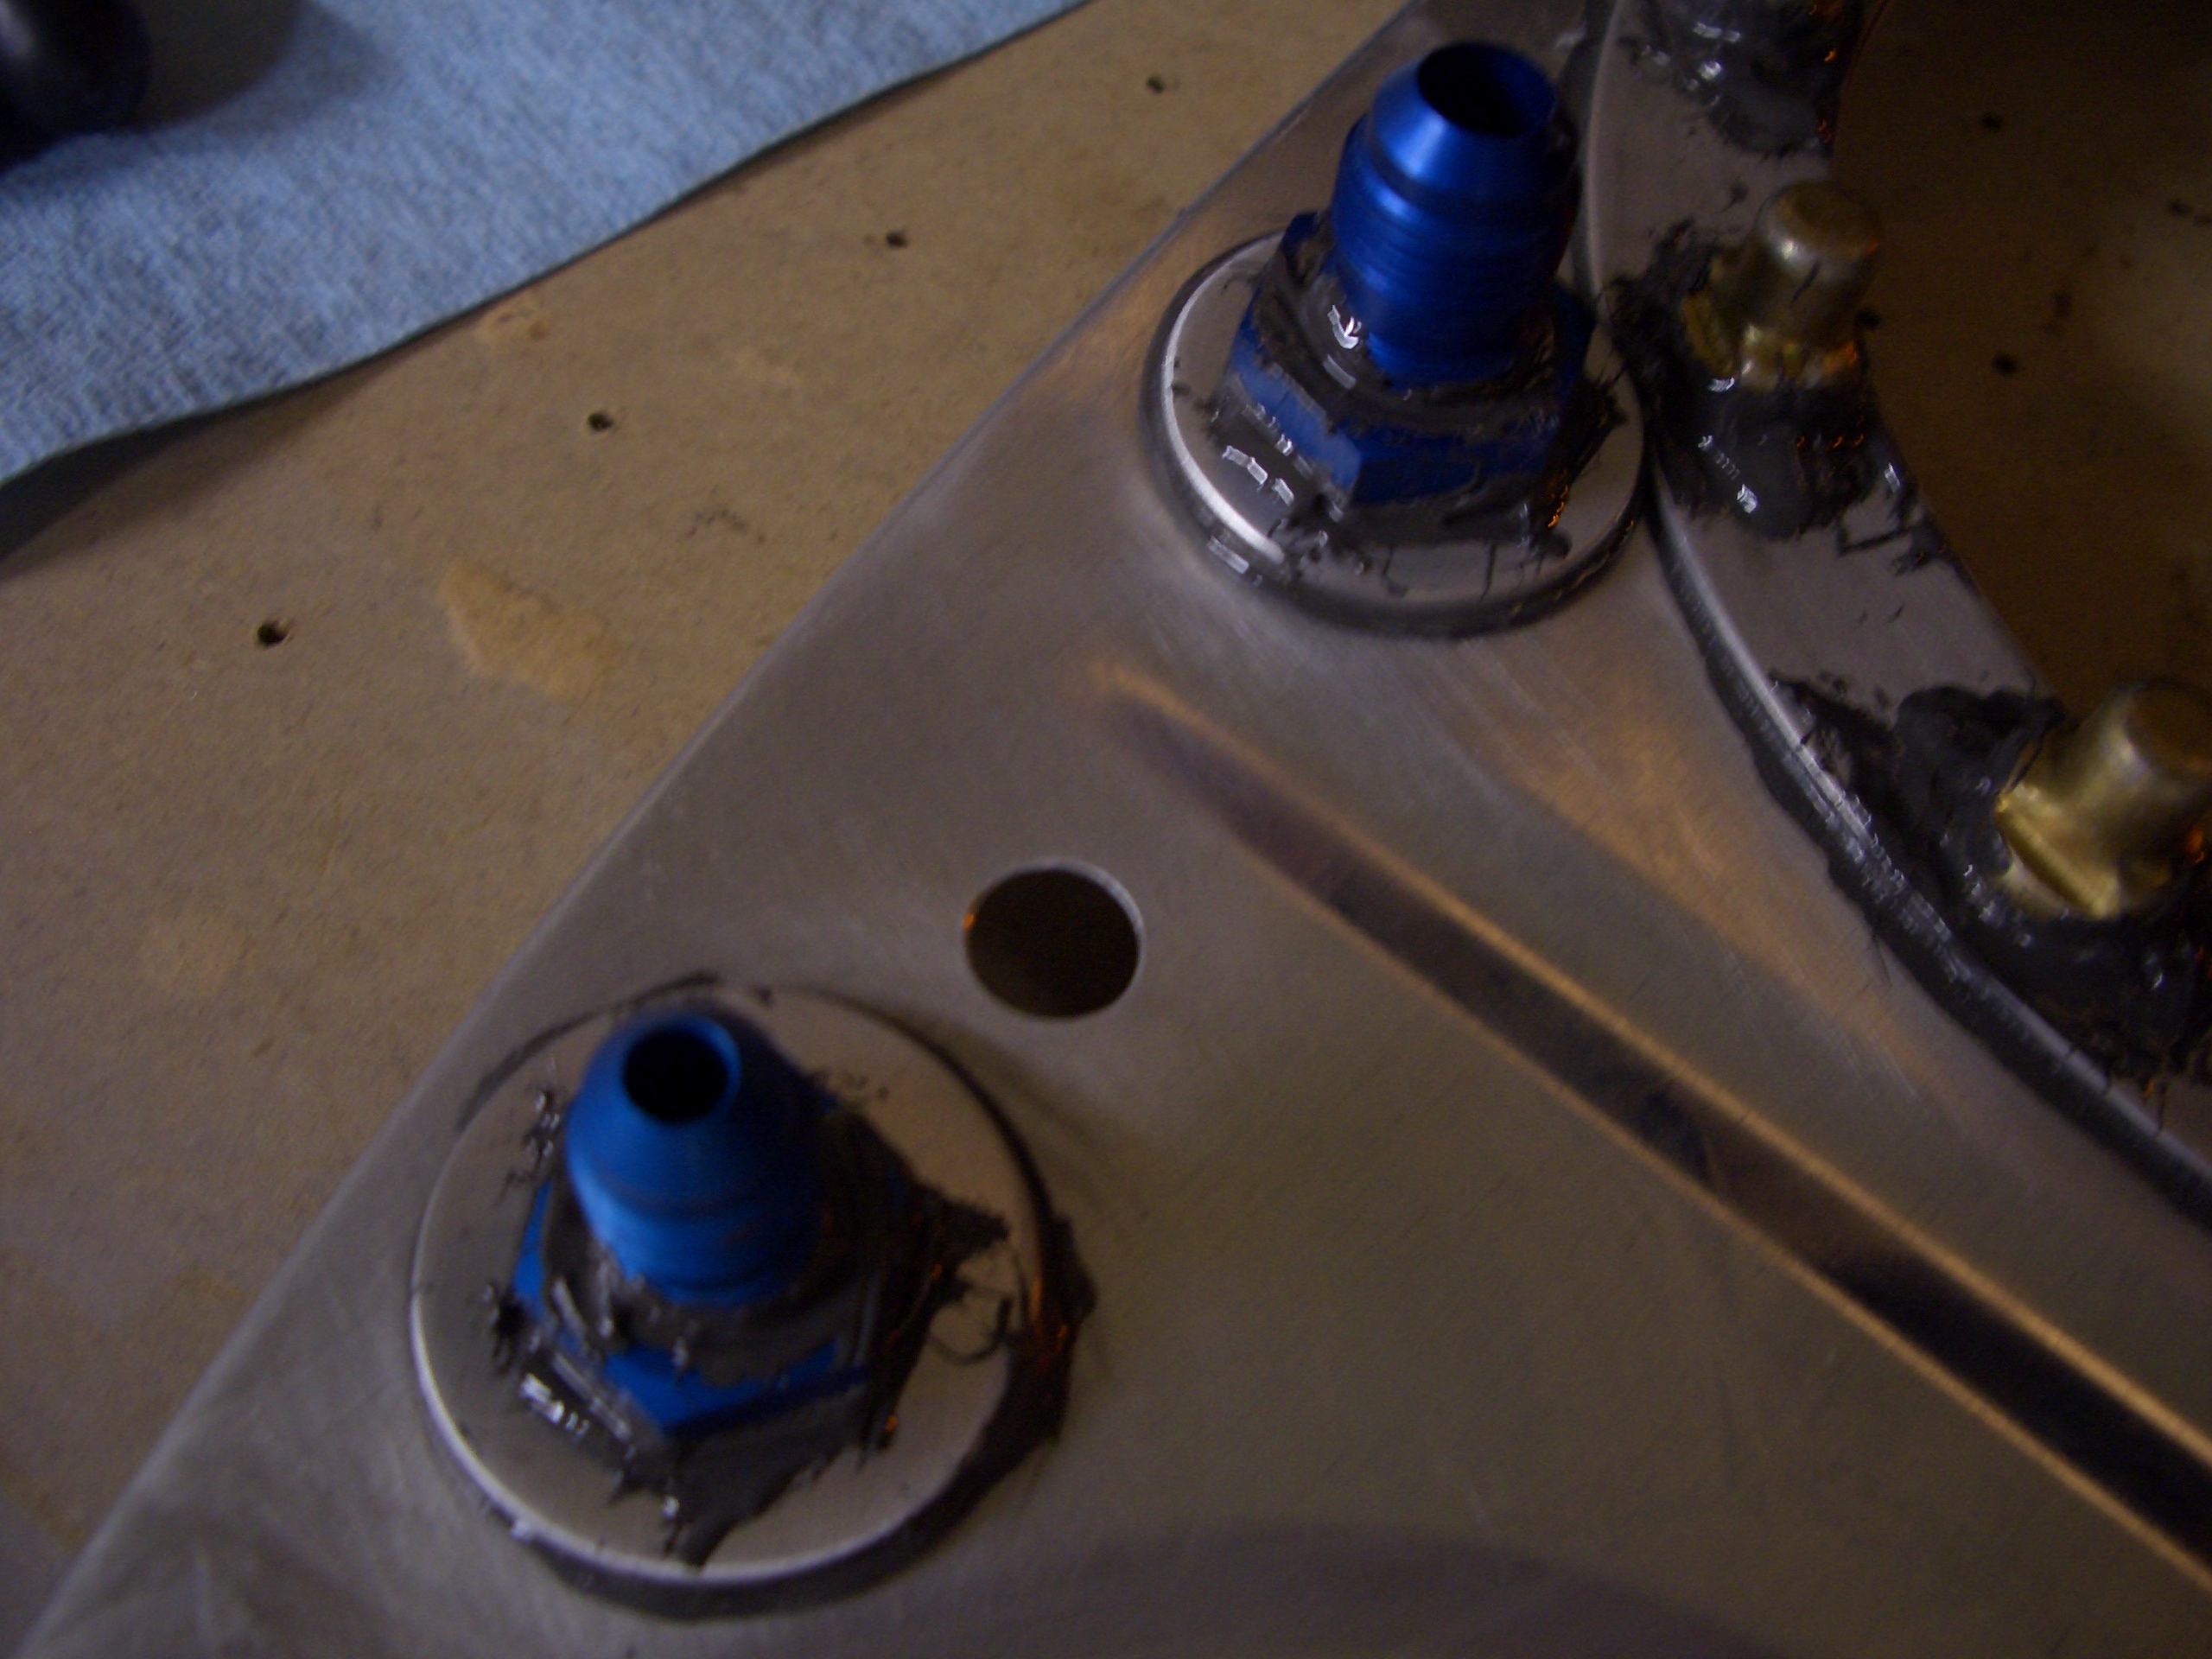
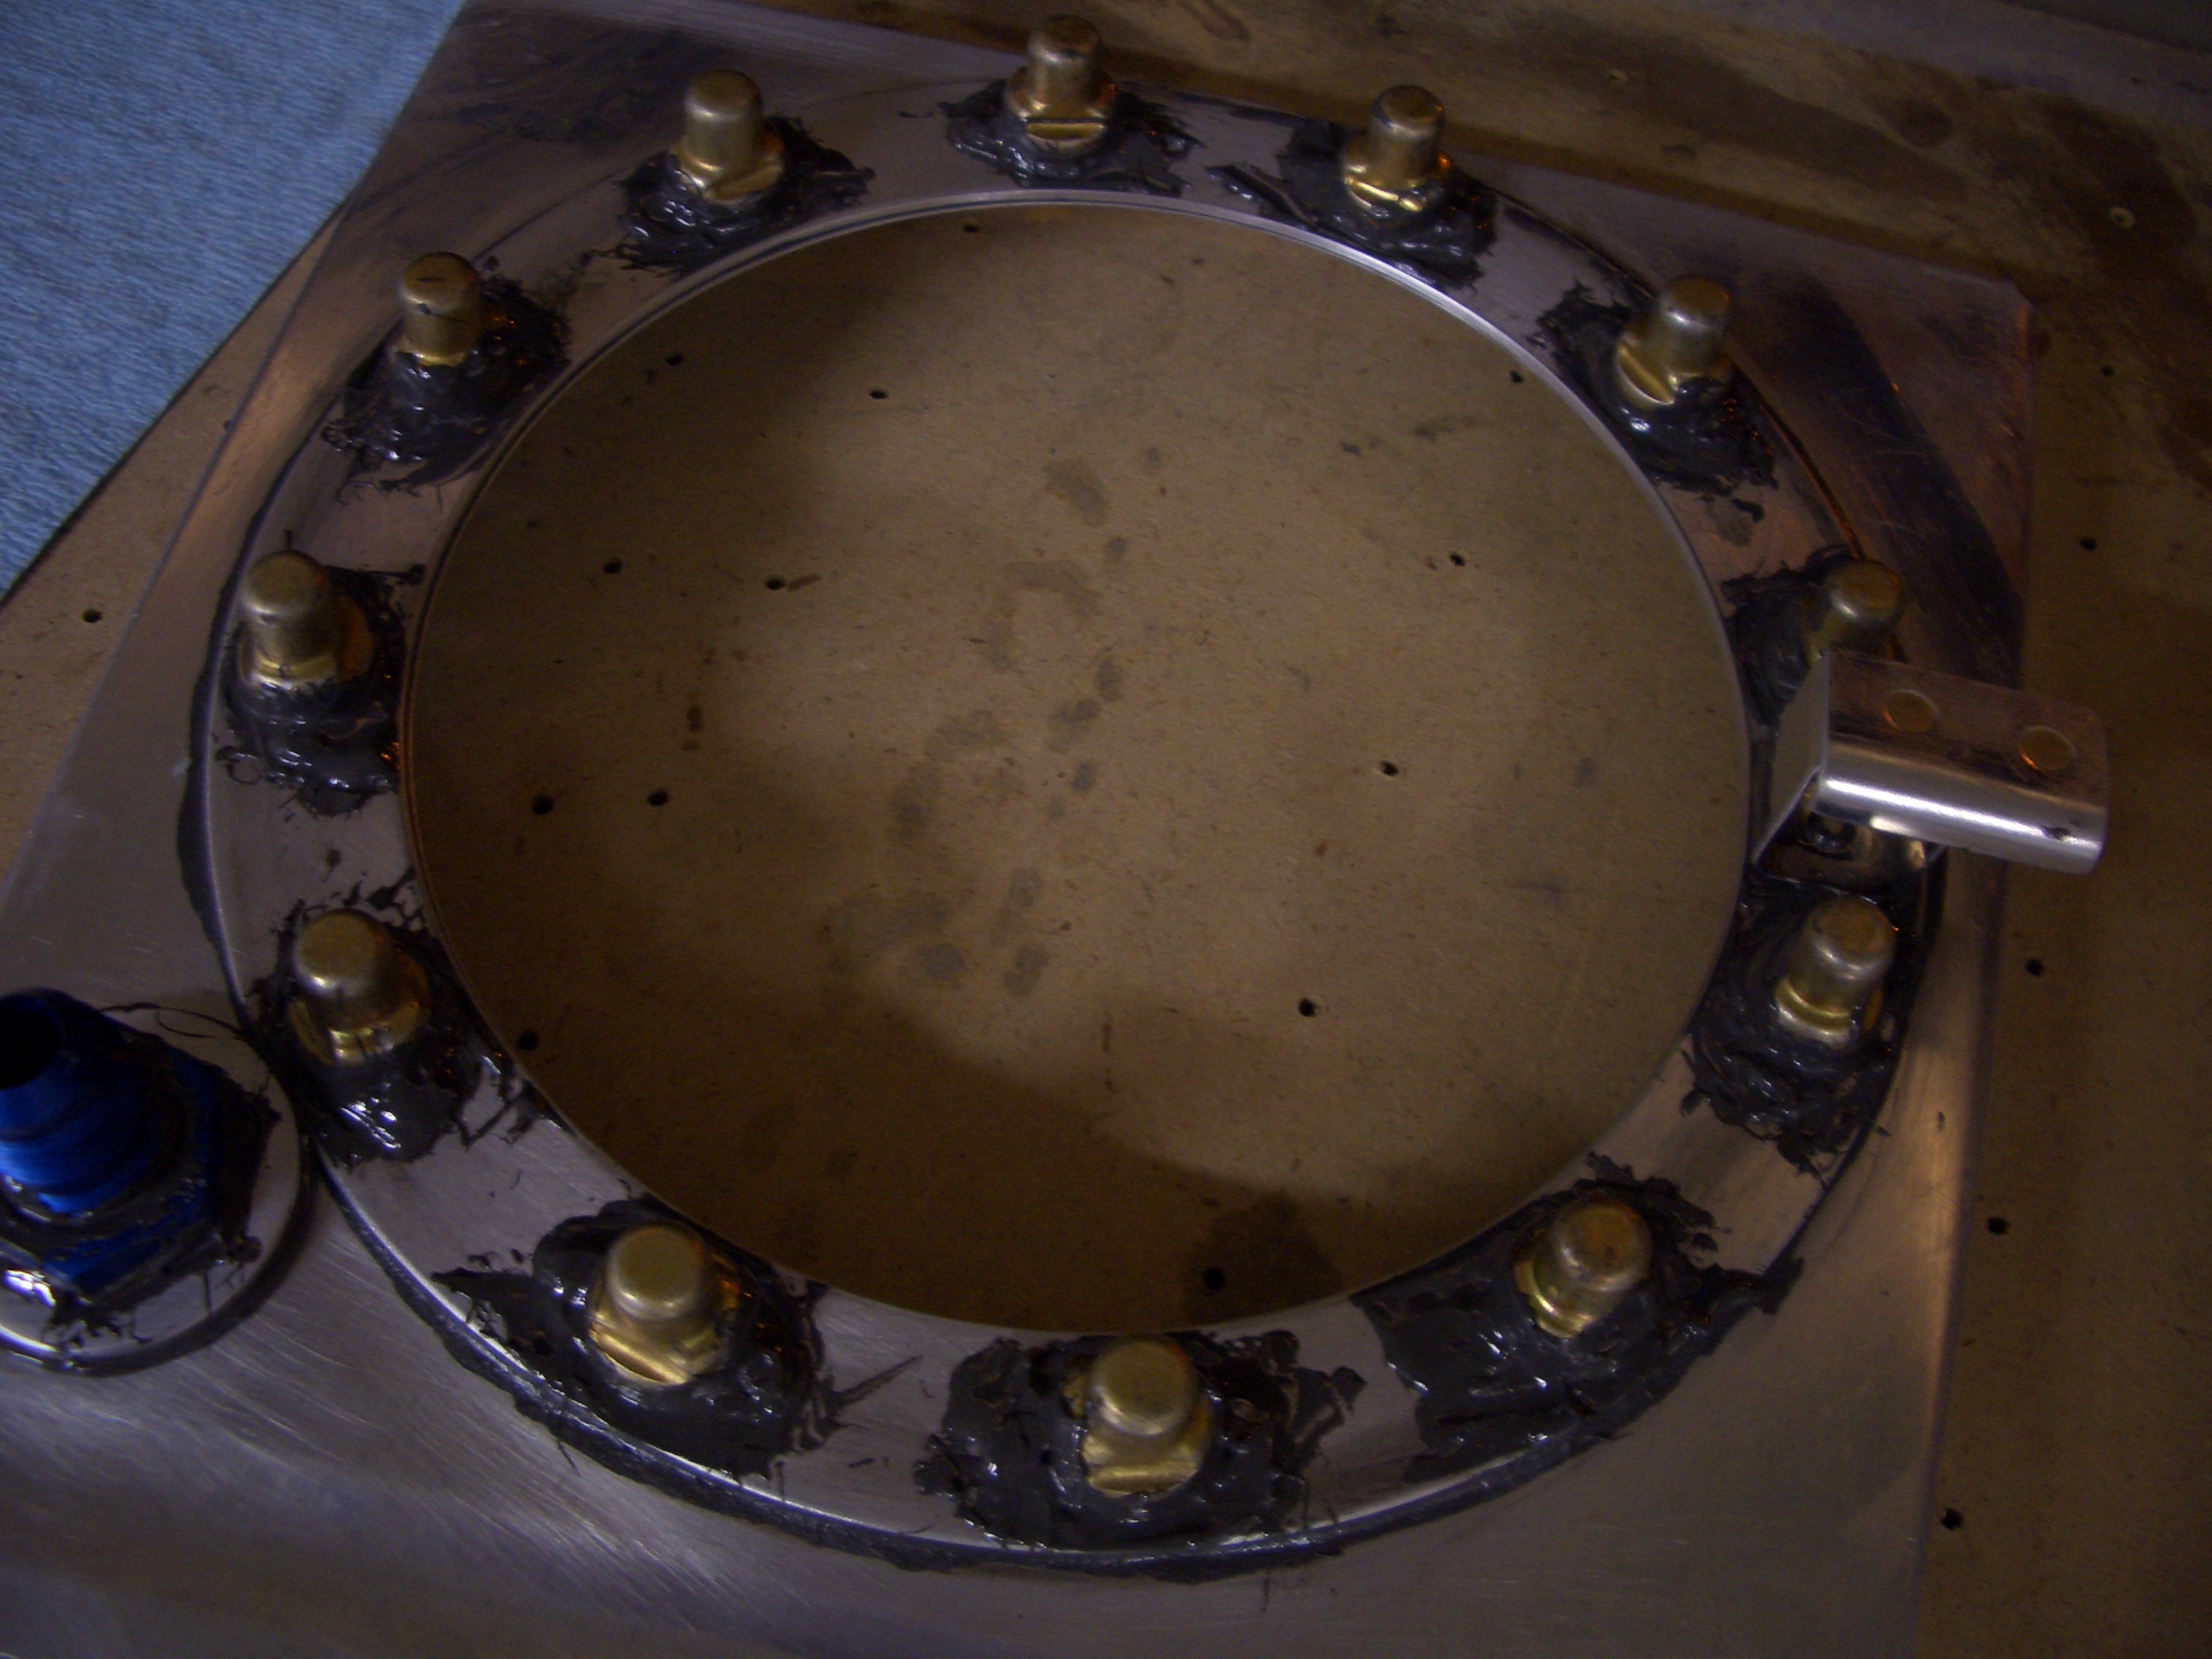
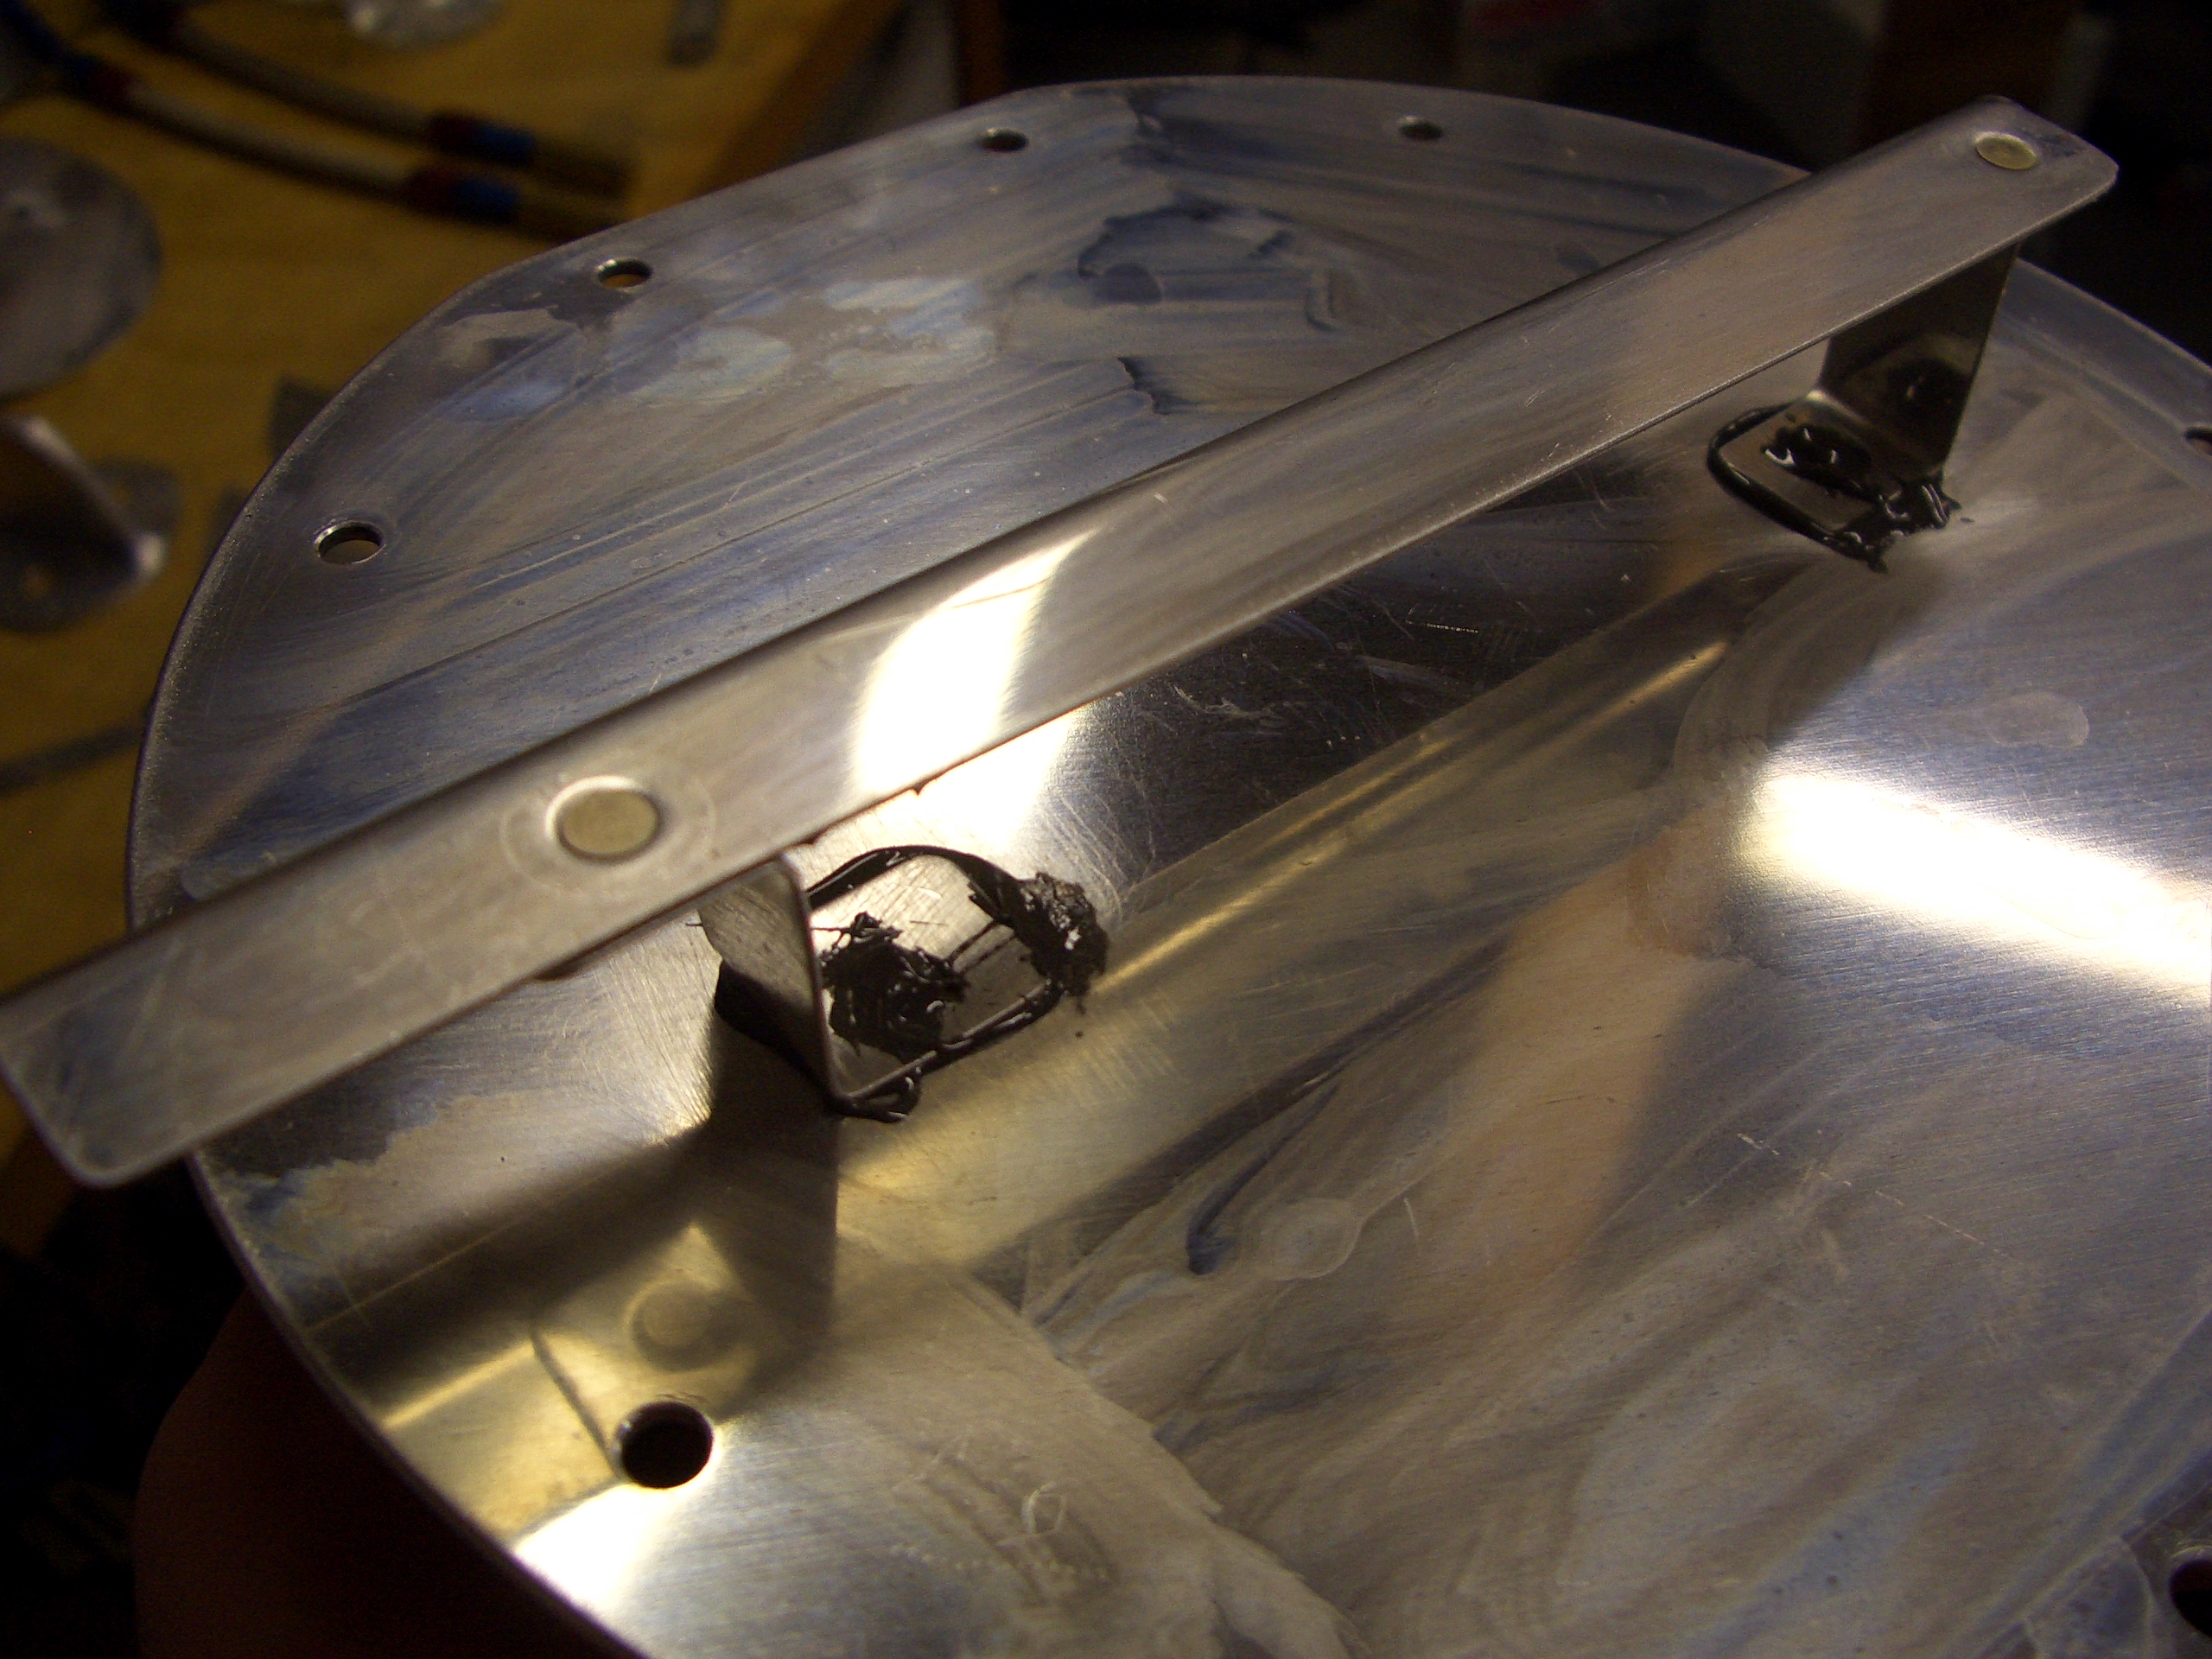
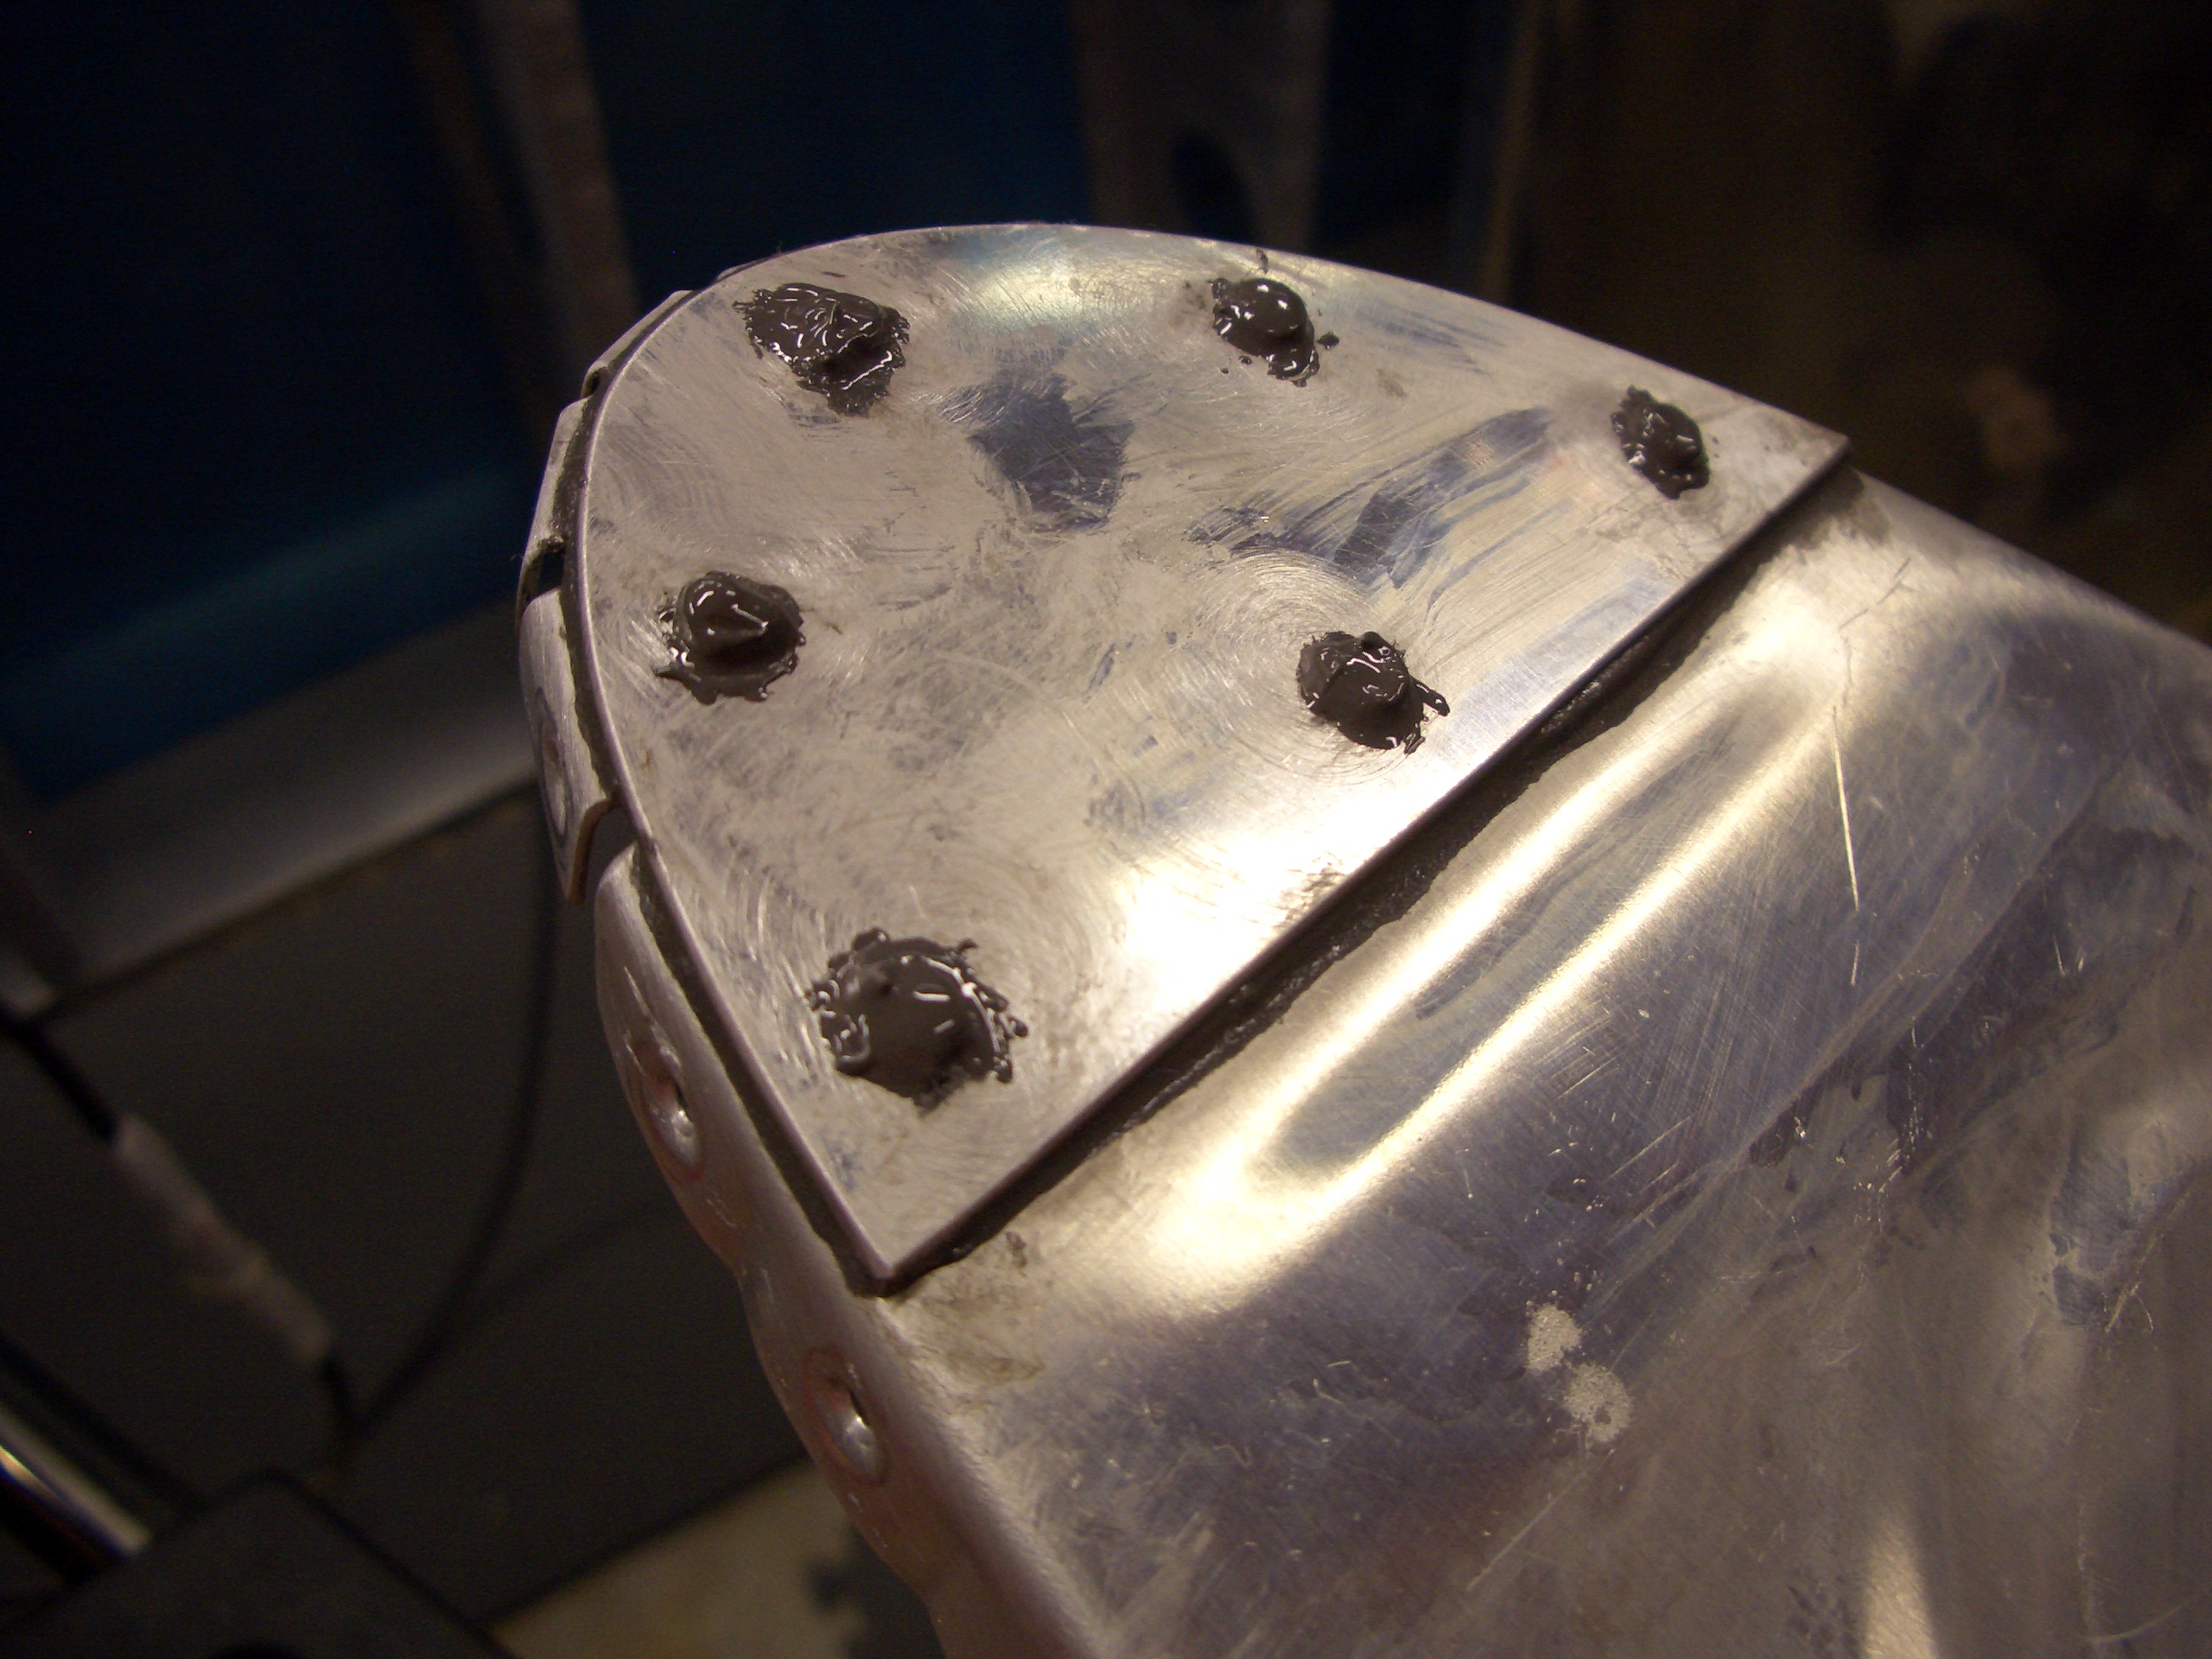
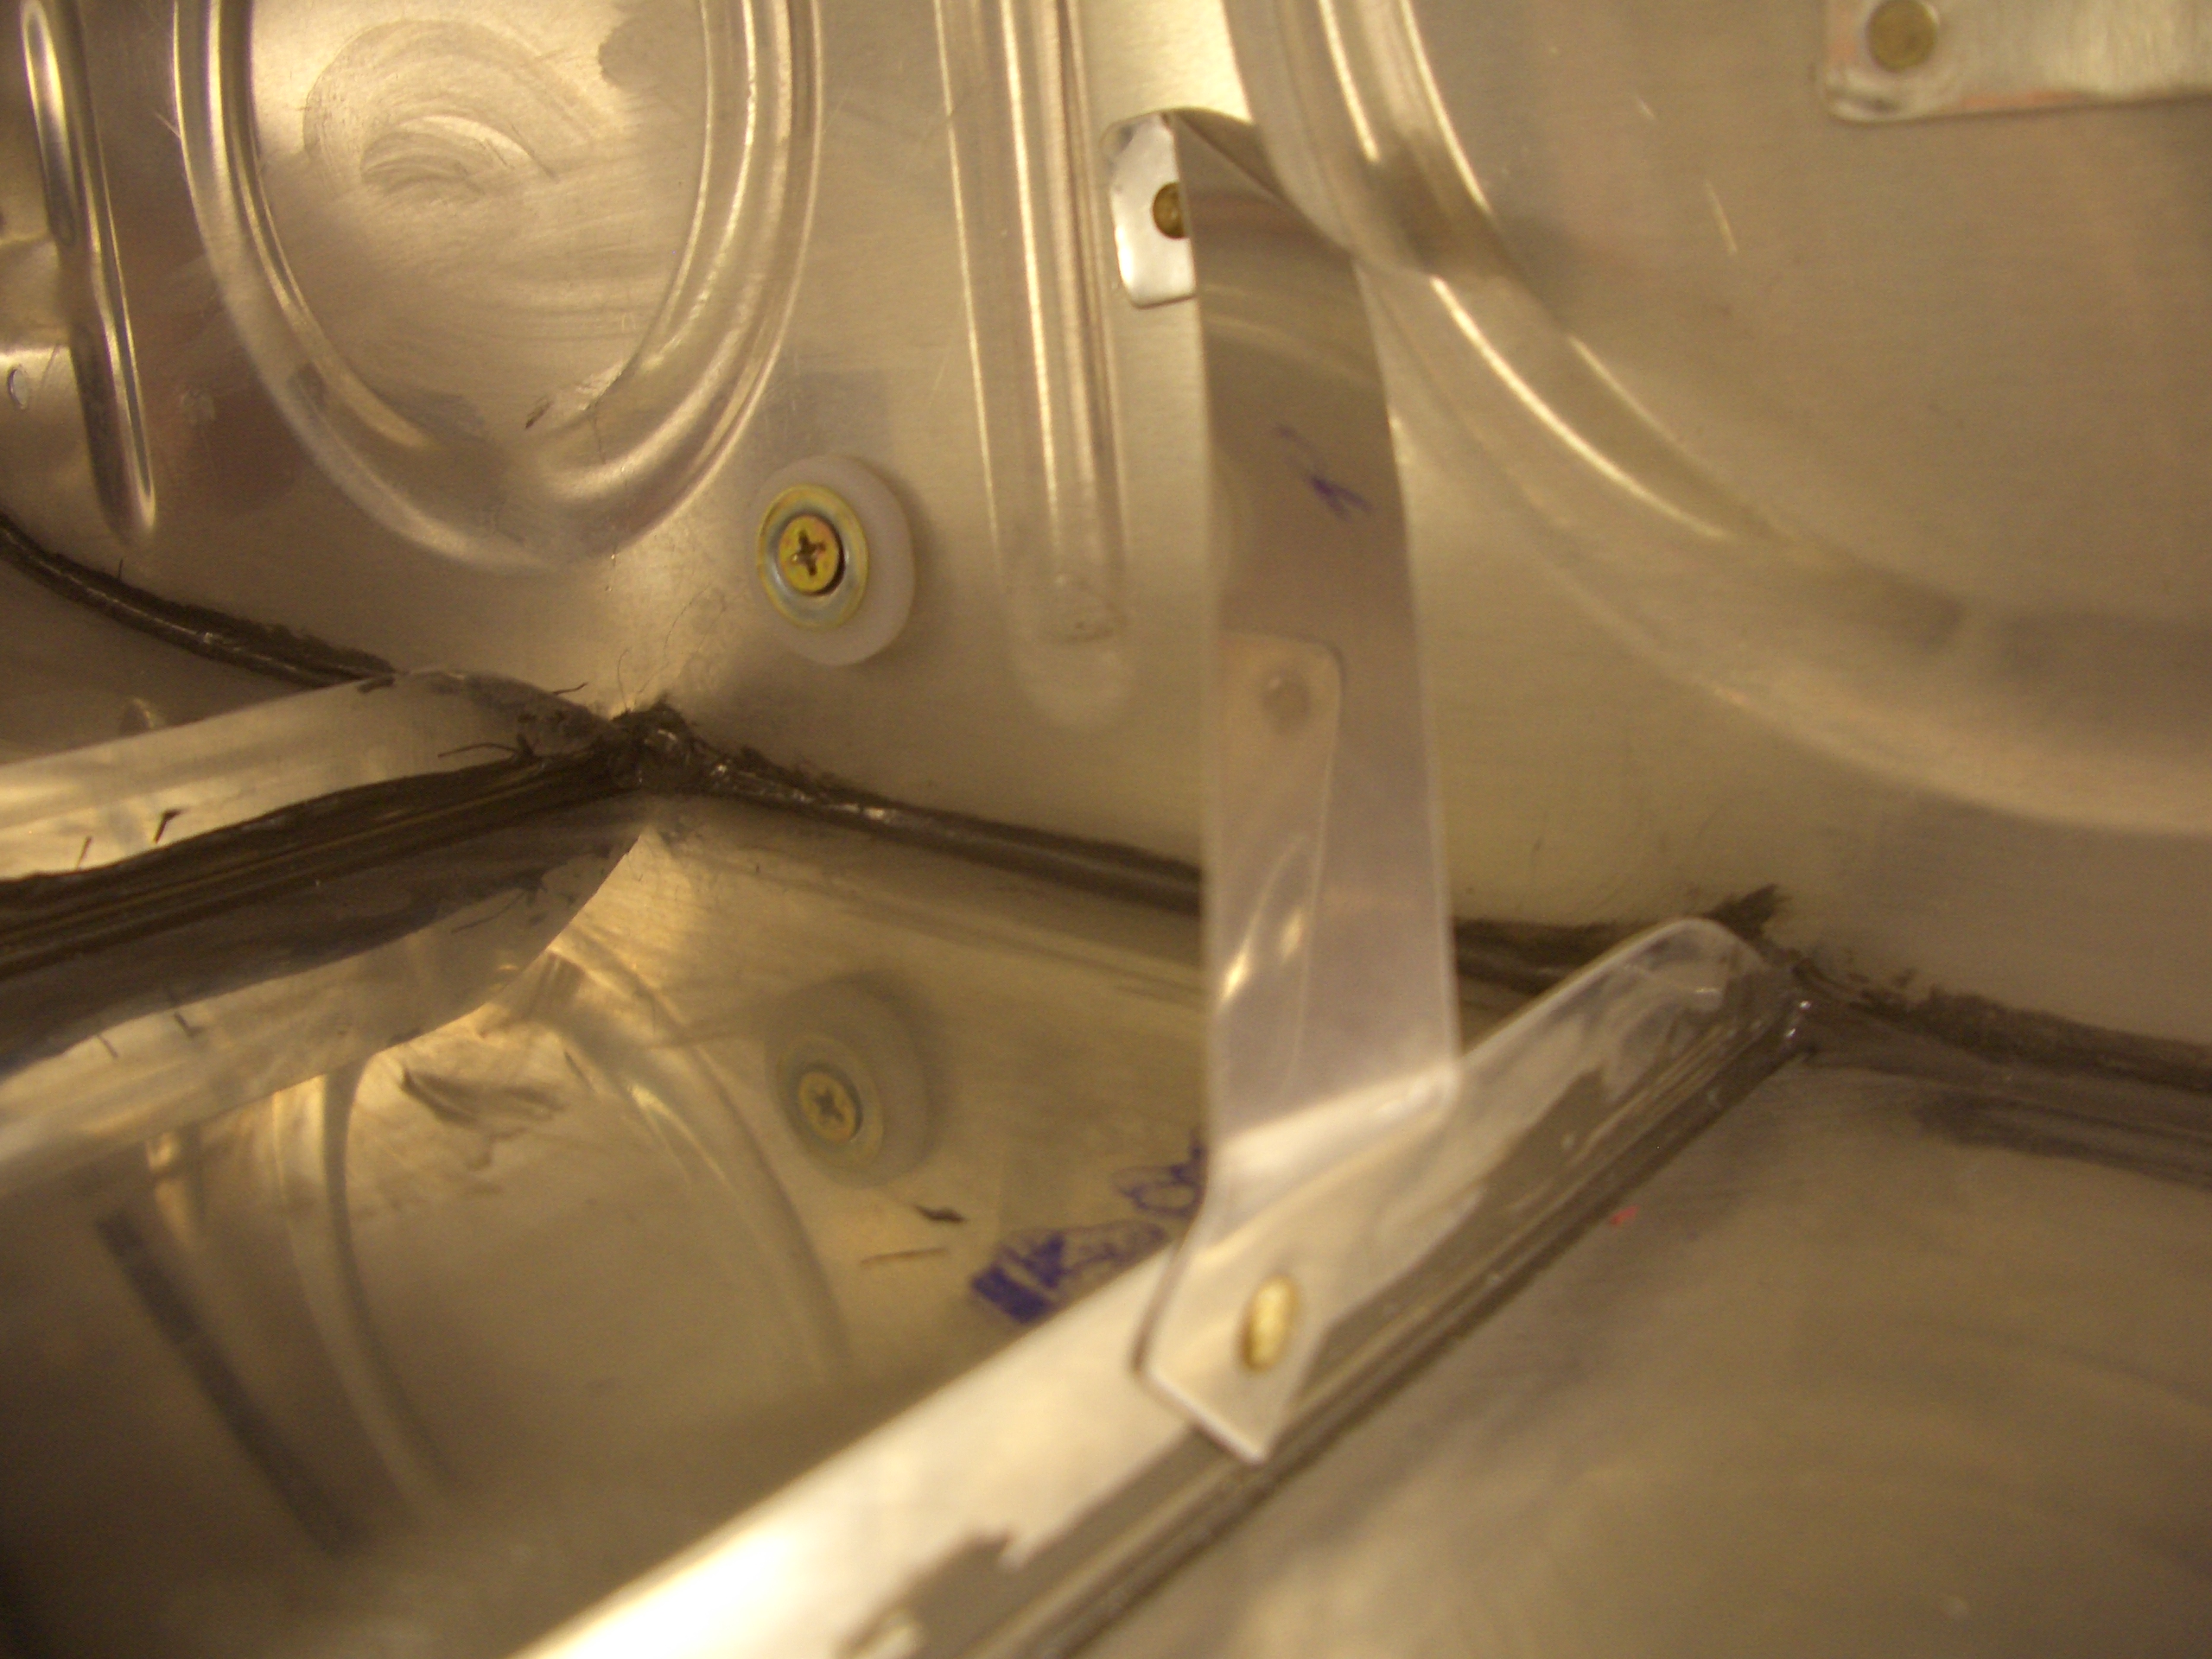
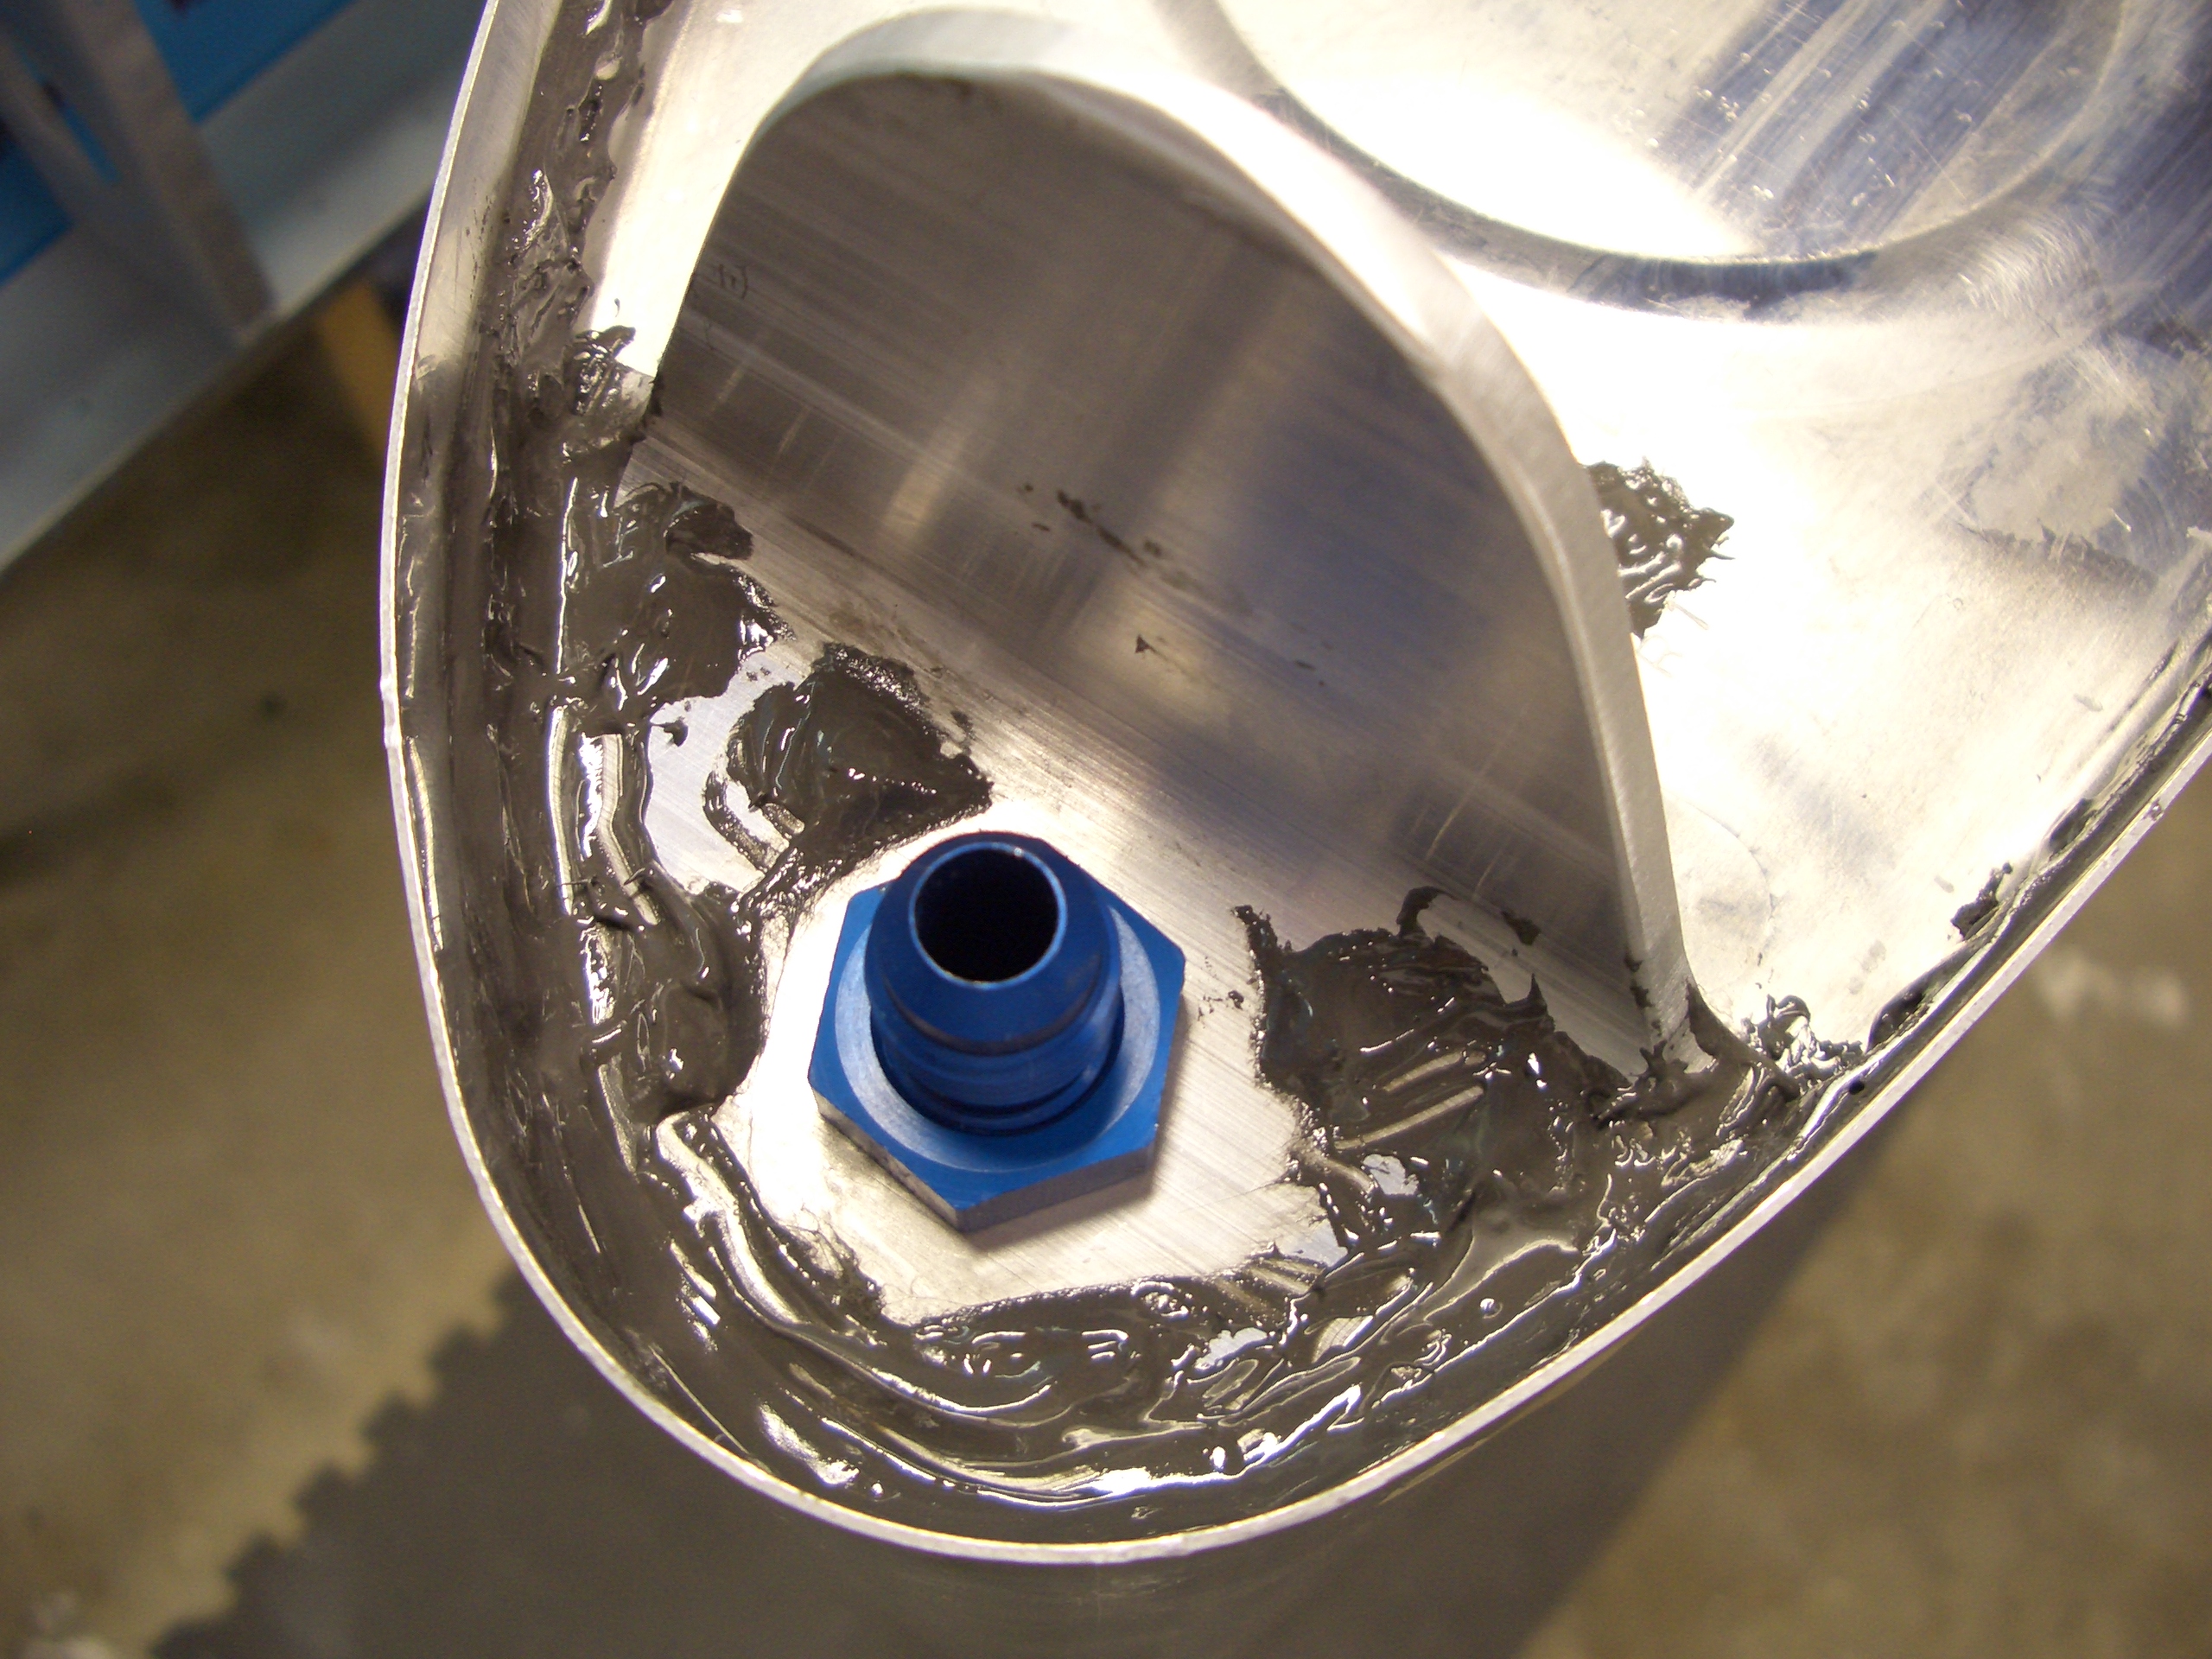
Here is the nut that holds on the flop tube fitting.  I didn’t get a picture of it before installing the flop tube, but I also installed this fuel tank attach bracket and the reinforcing plate on the other side with six 1/8″ universal rivets.  I probably overdid it on the sealant here, but I’d rather be safe than sorry when it comes to sealing the tanks.


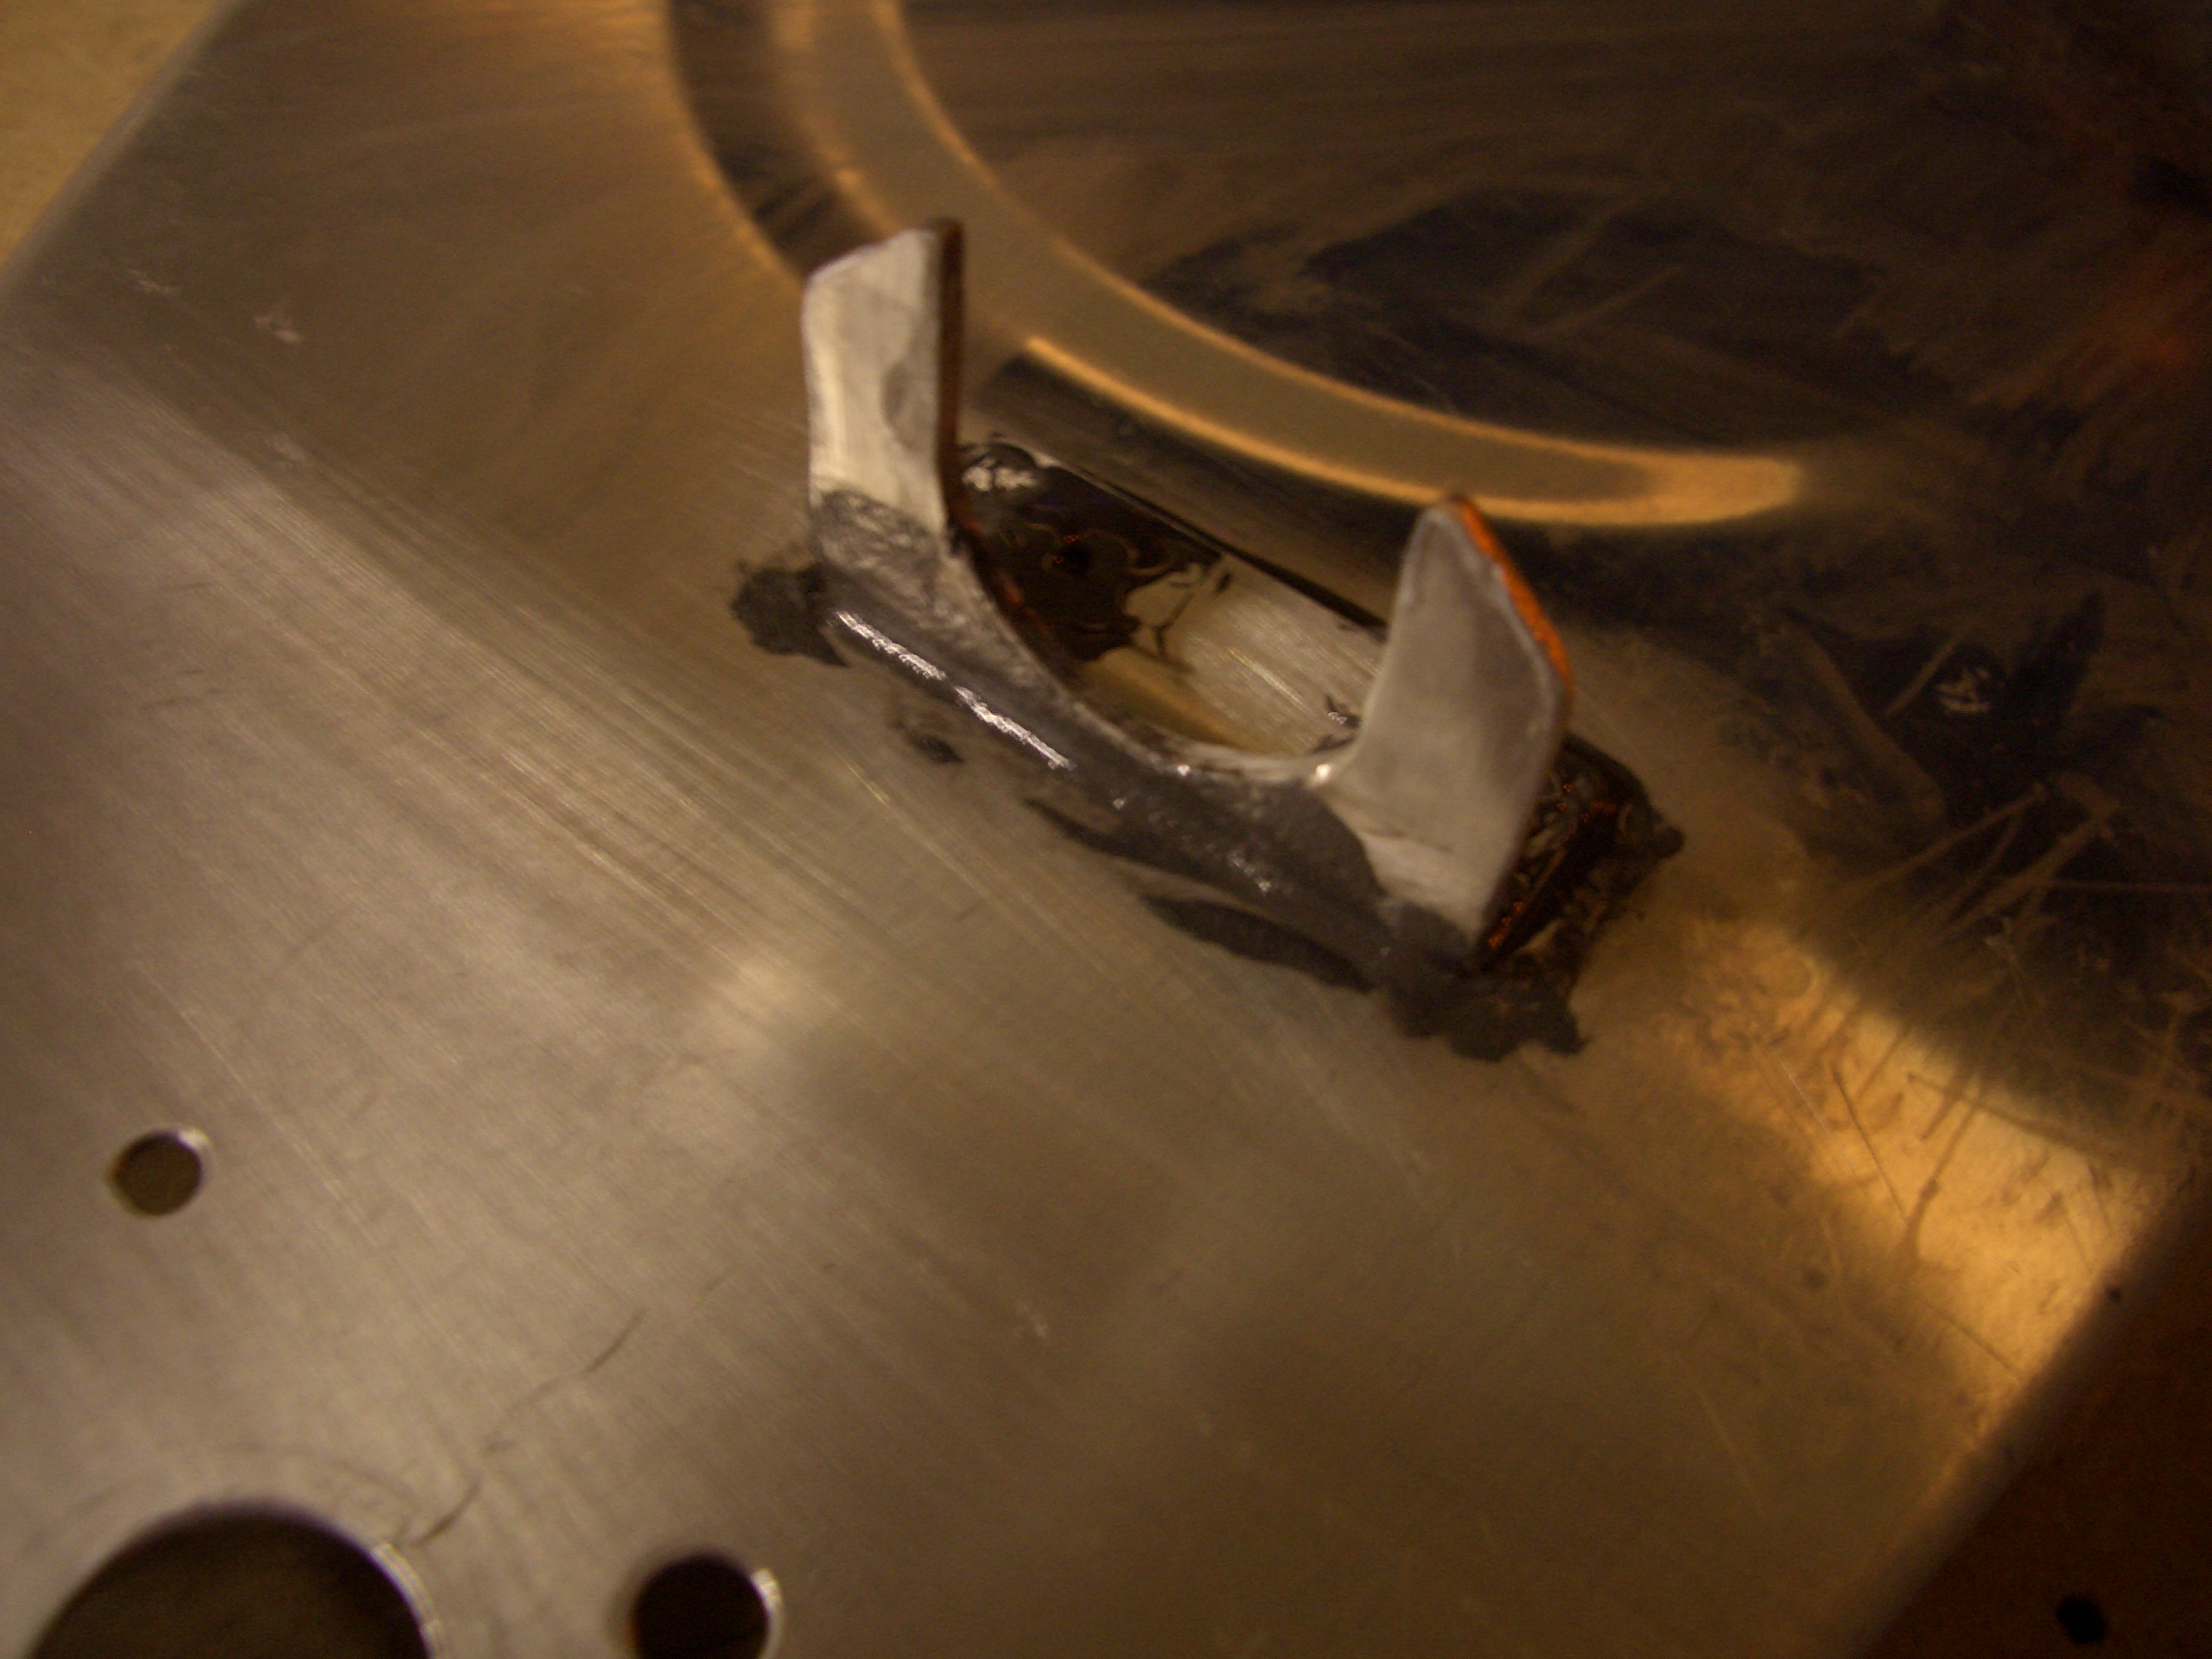
Now that the vent line is in its final location, I used some sealant to cover the wire terminal and to secure the wire to the vent line.


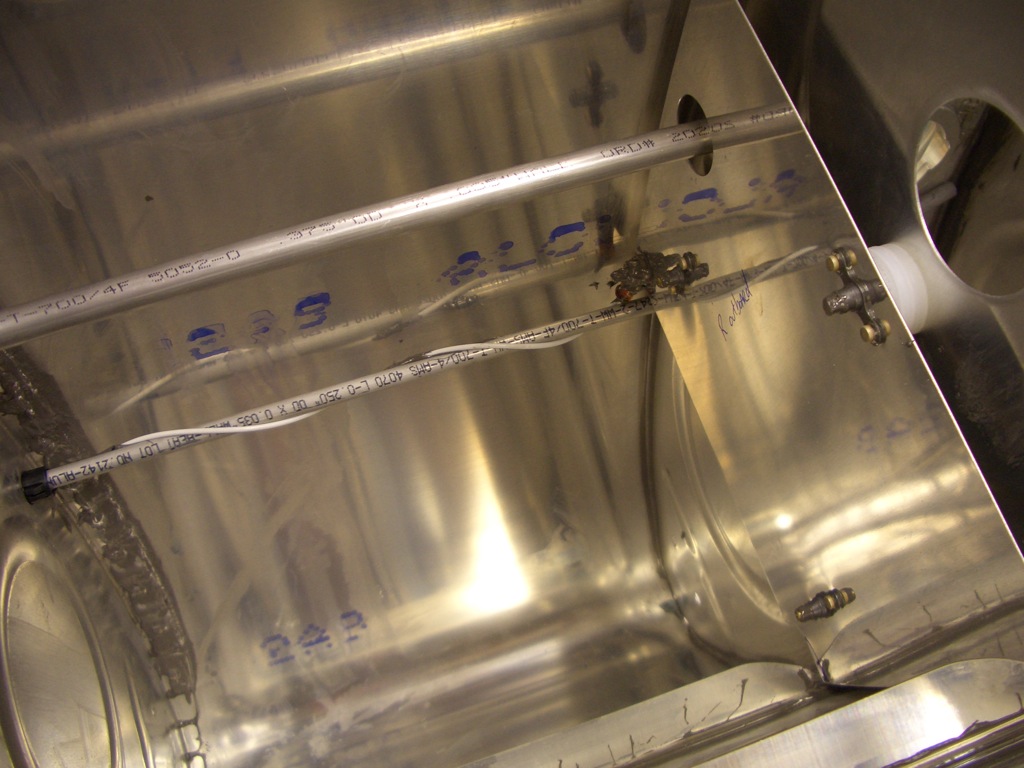
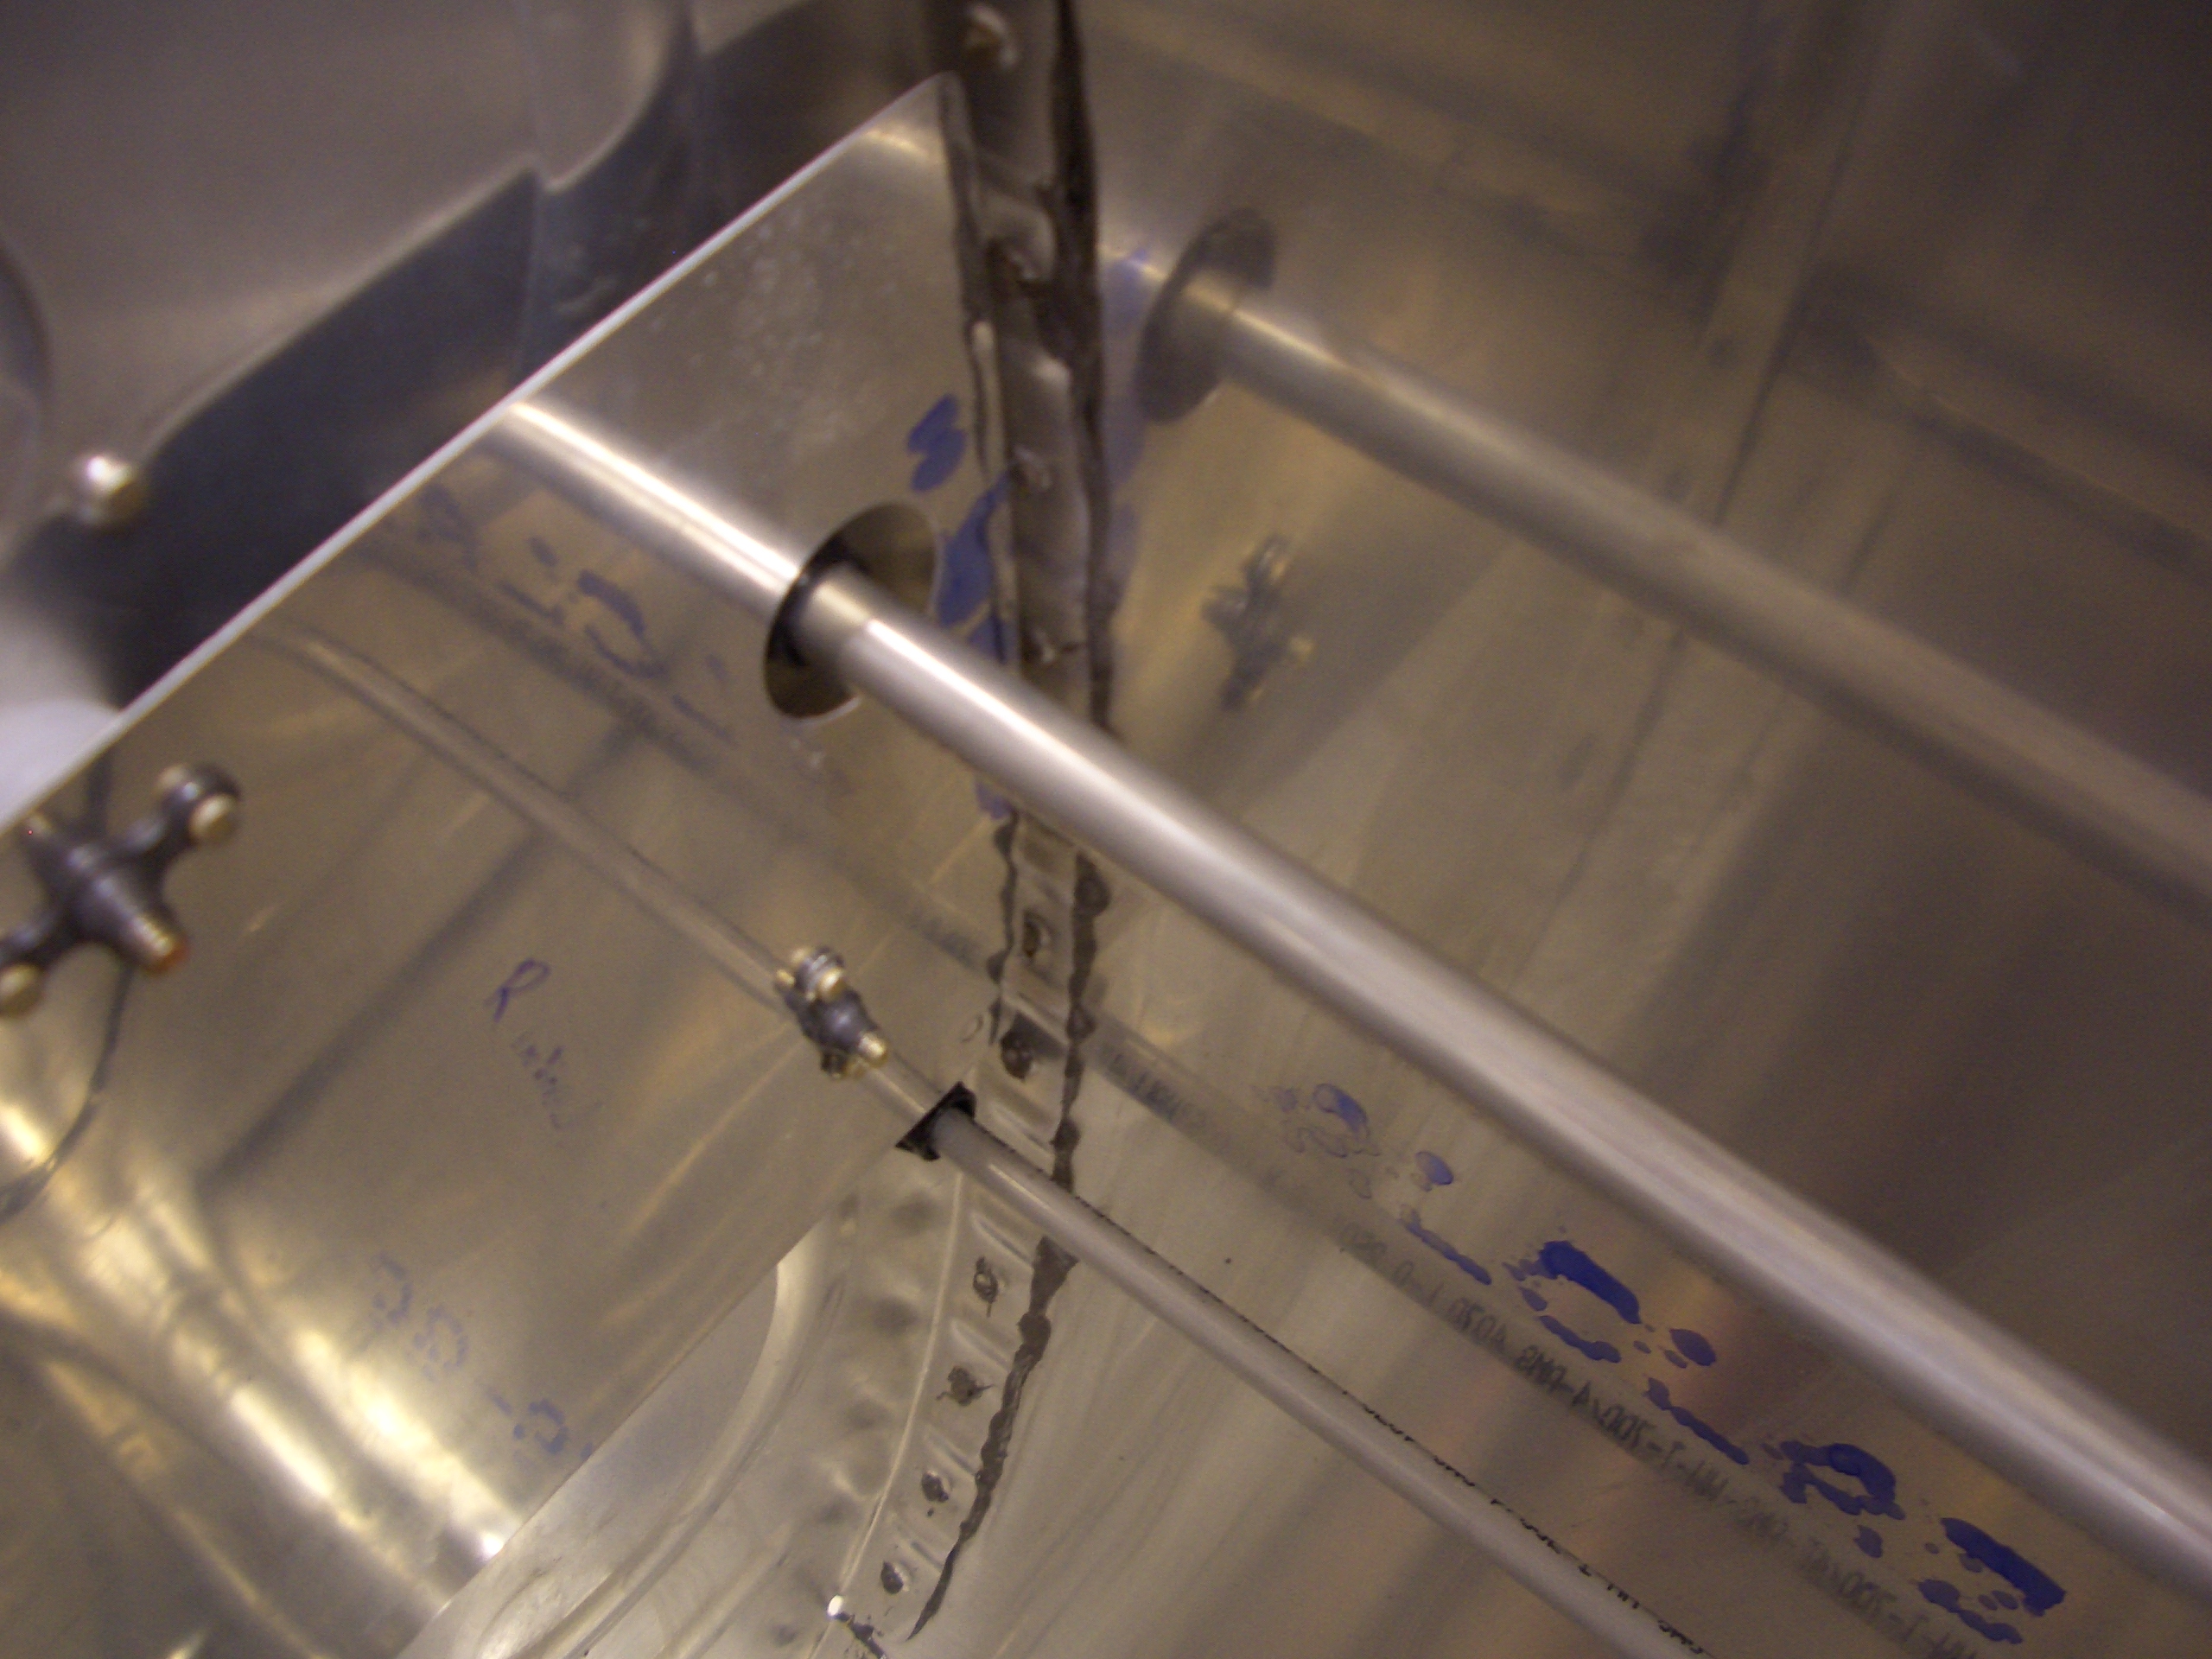
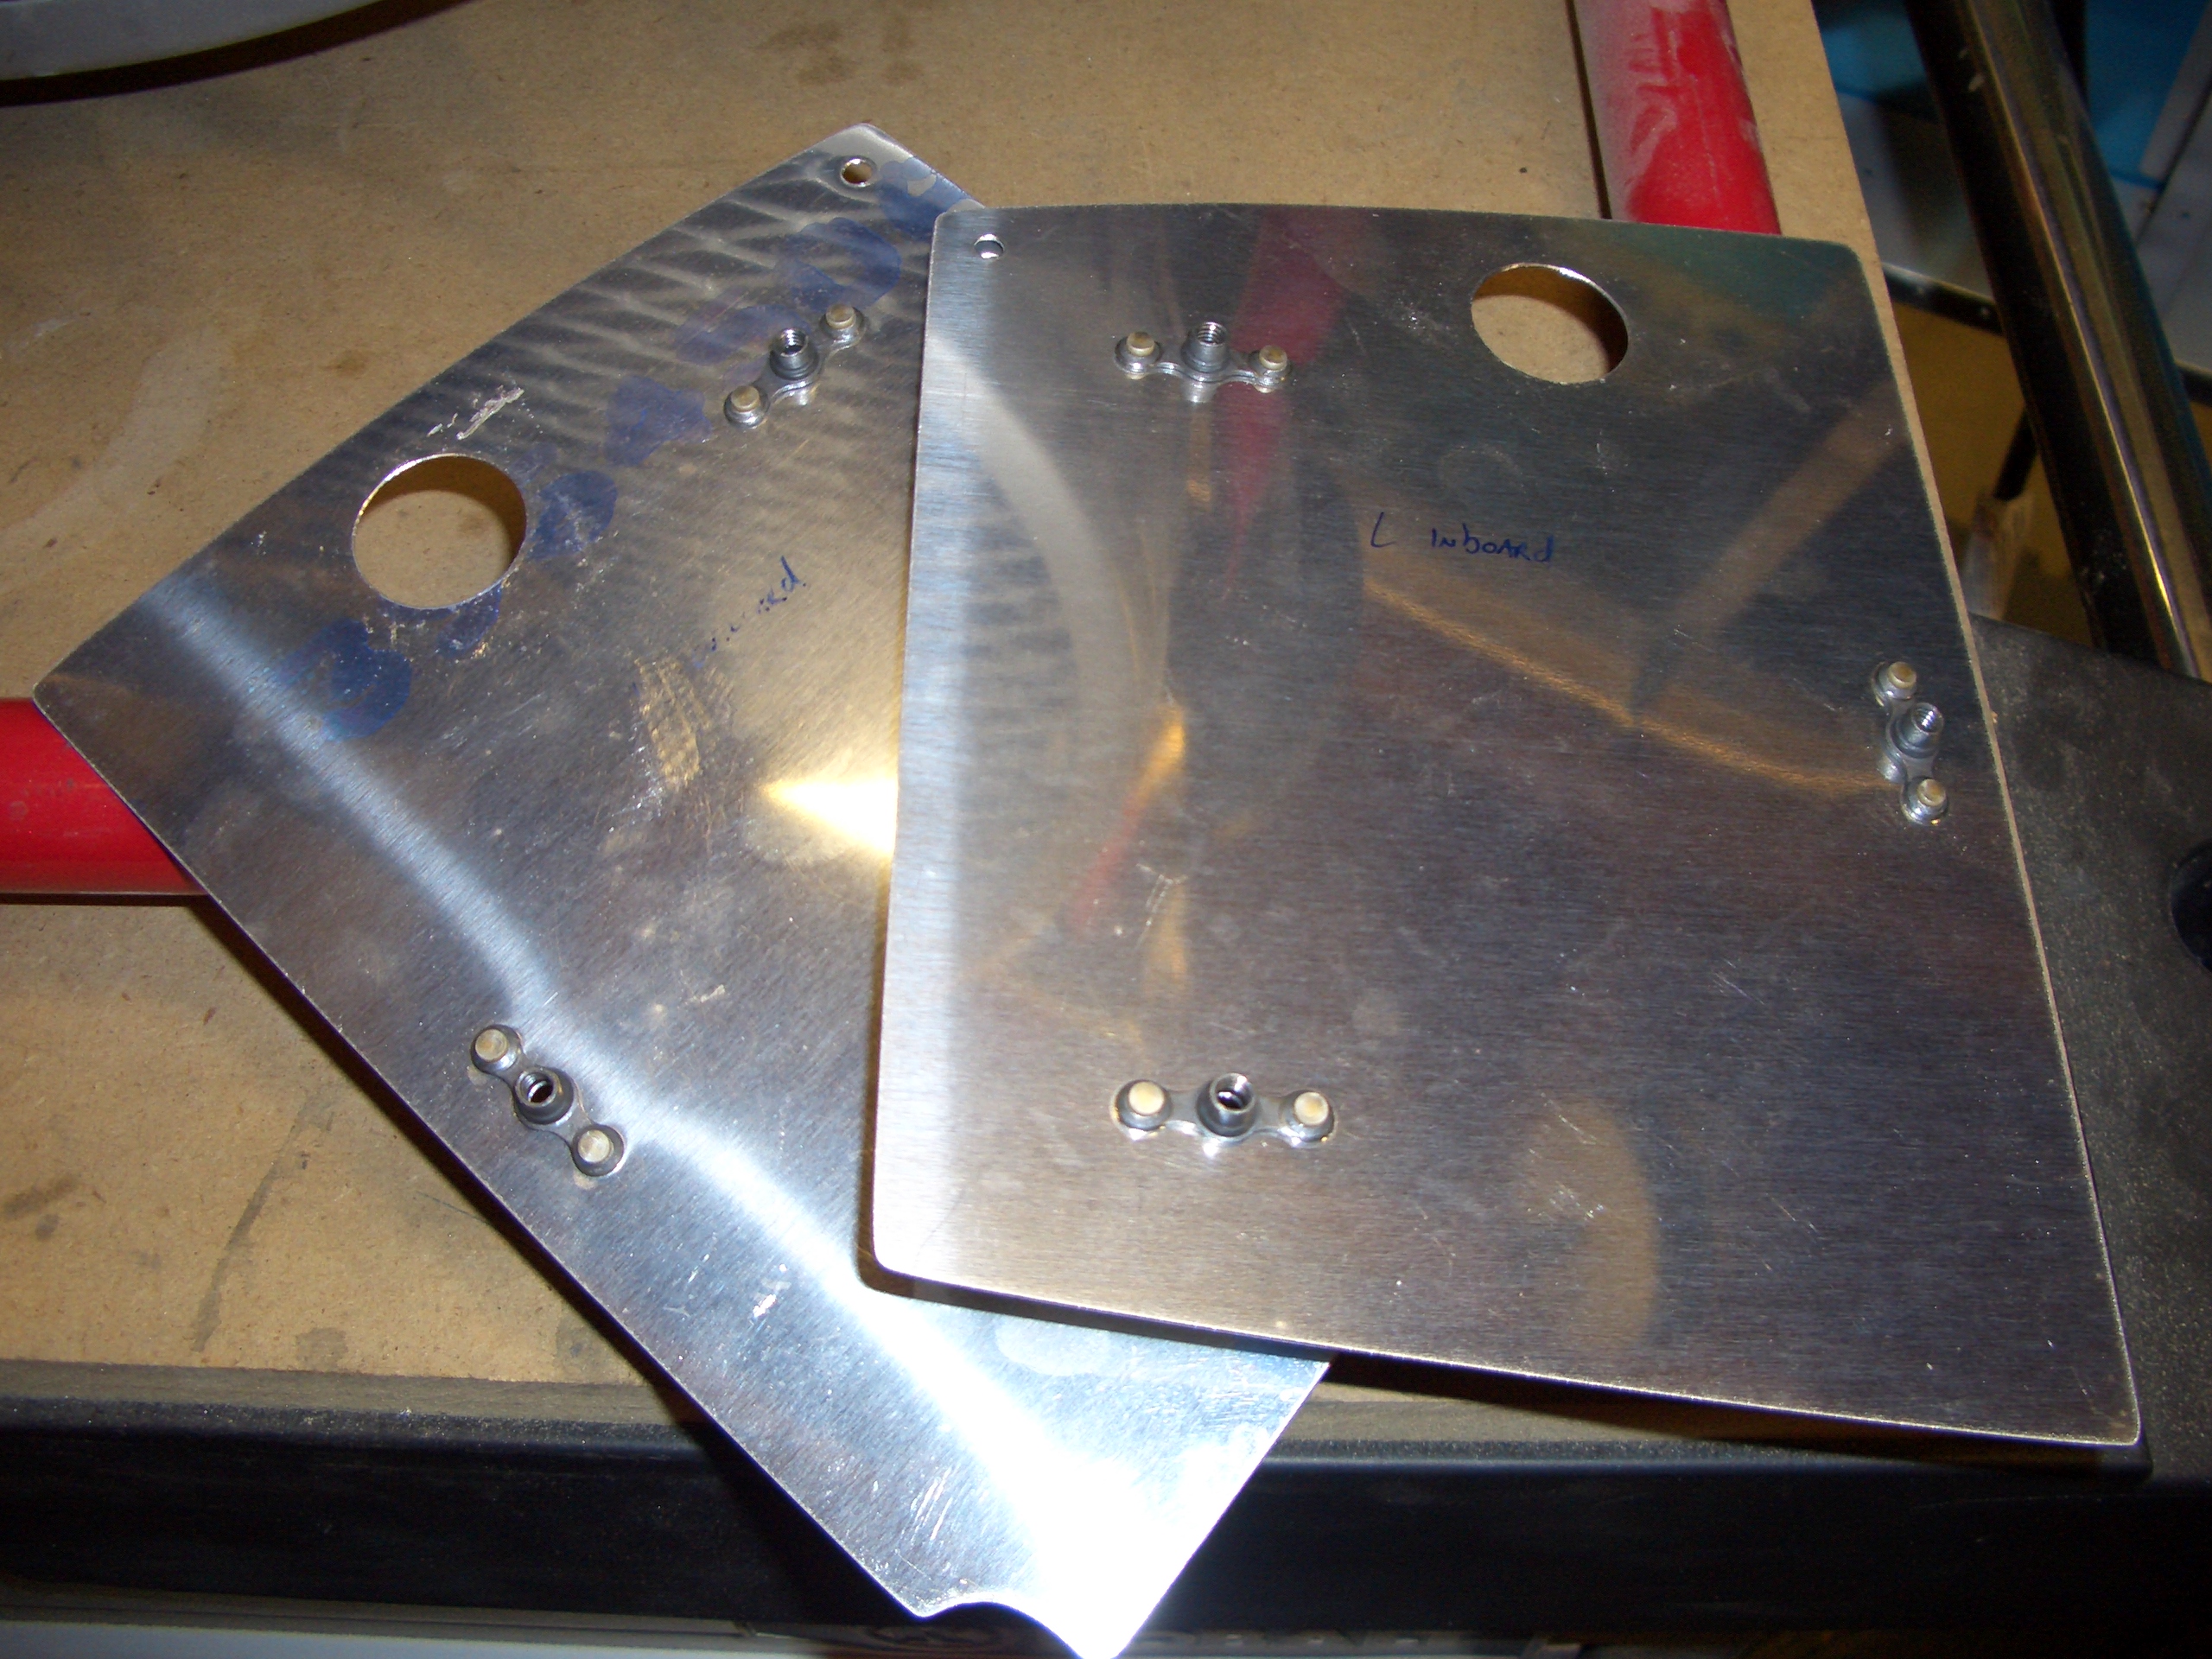
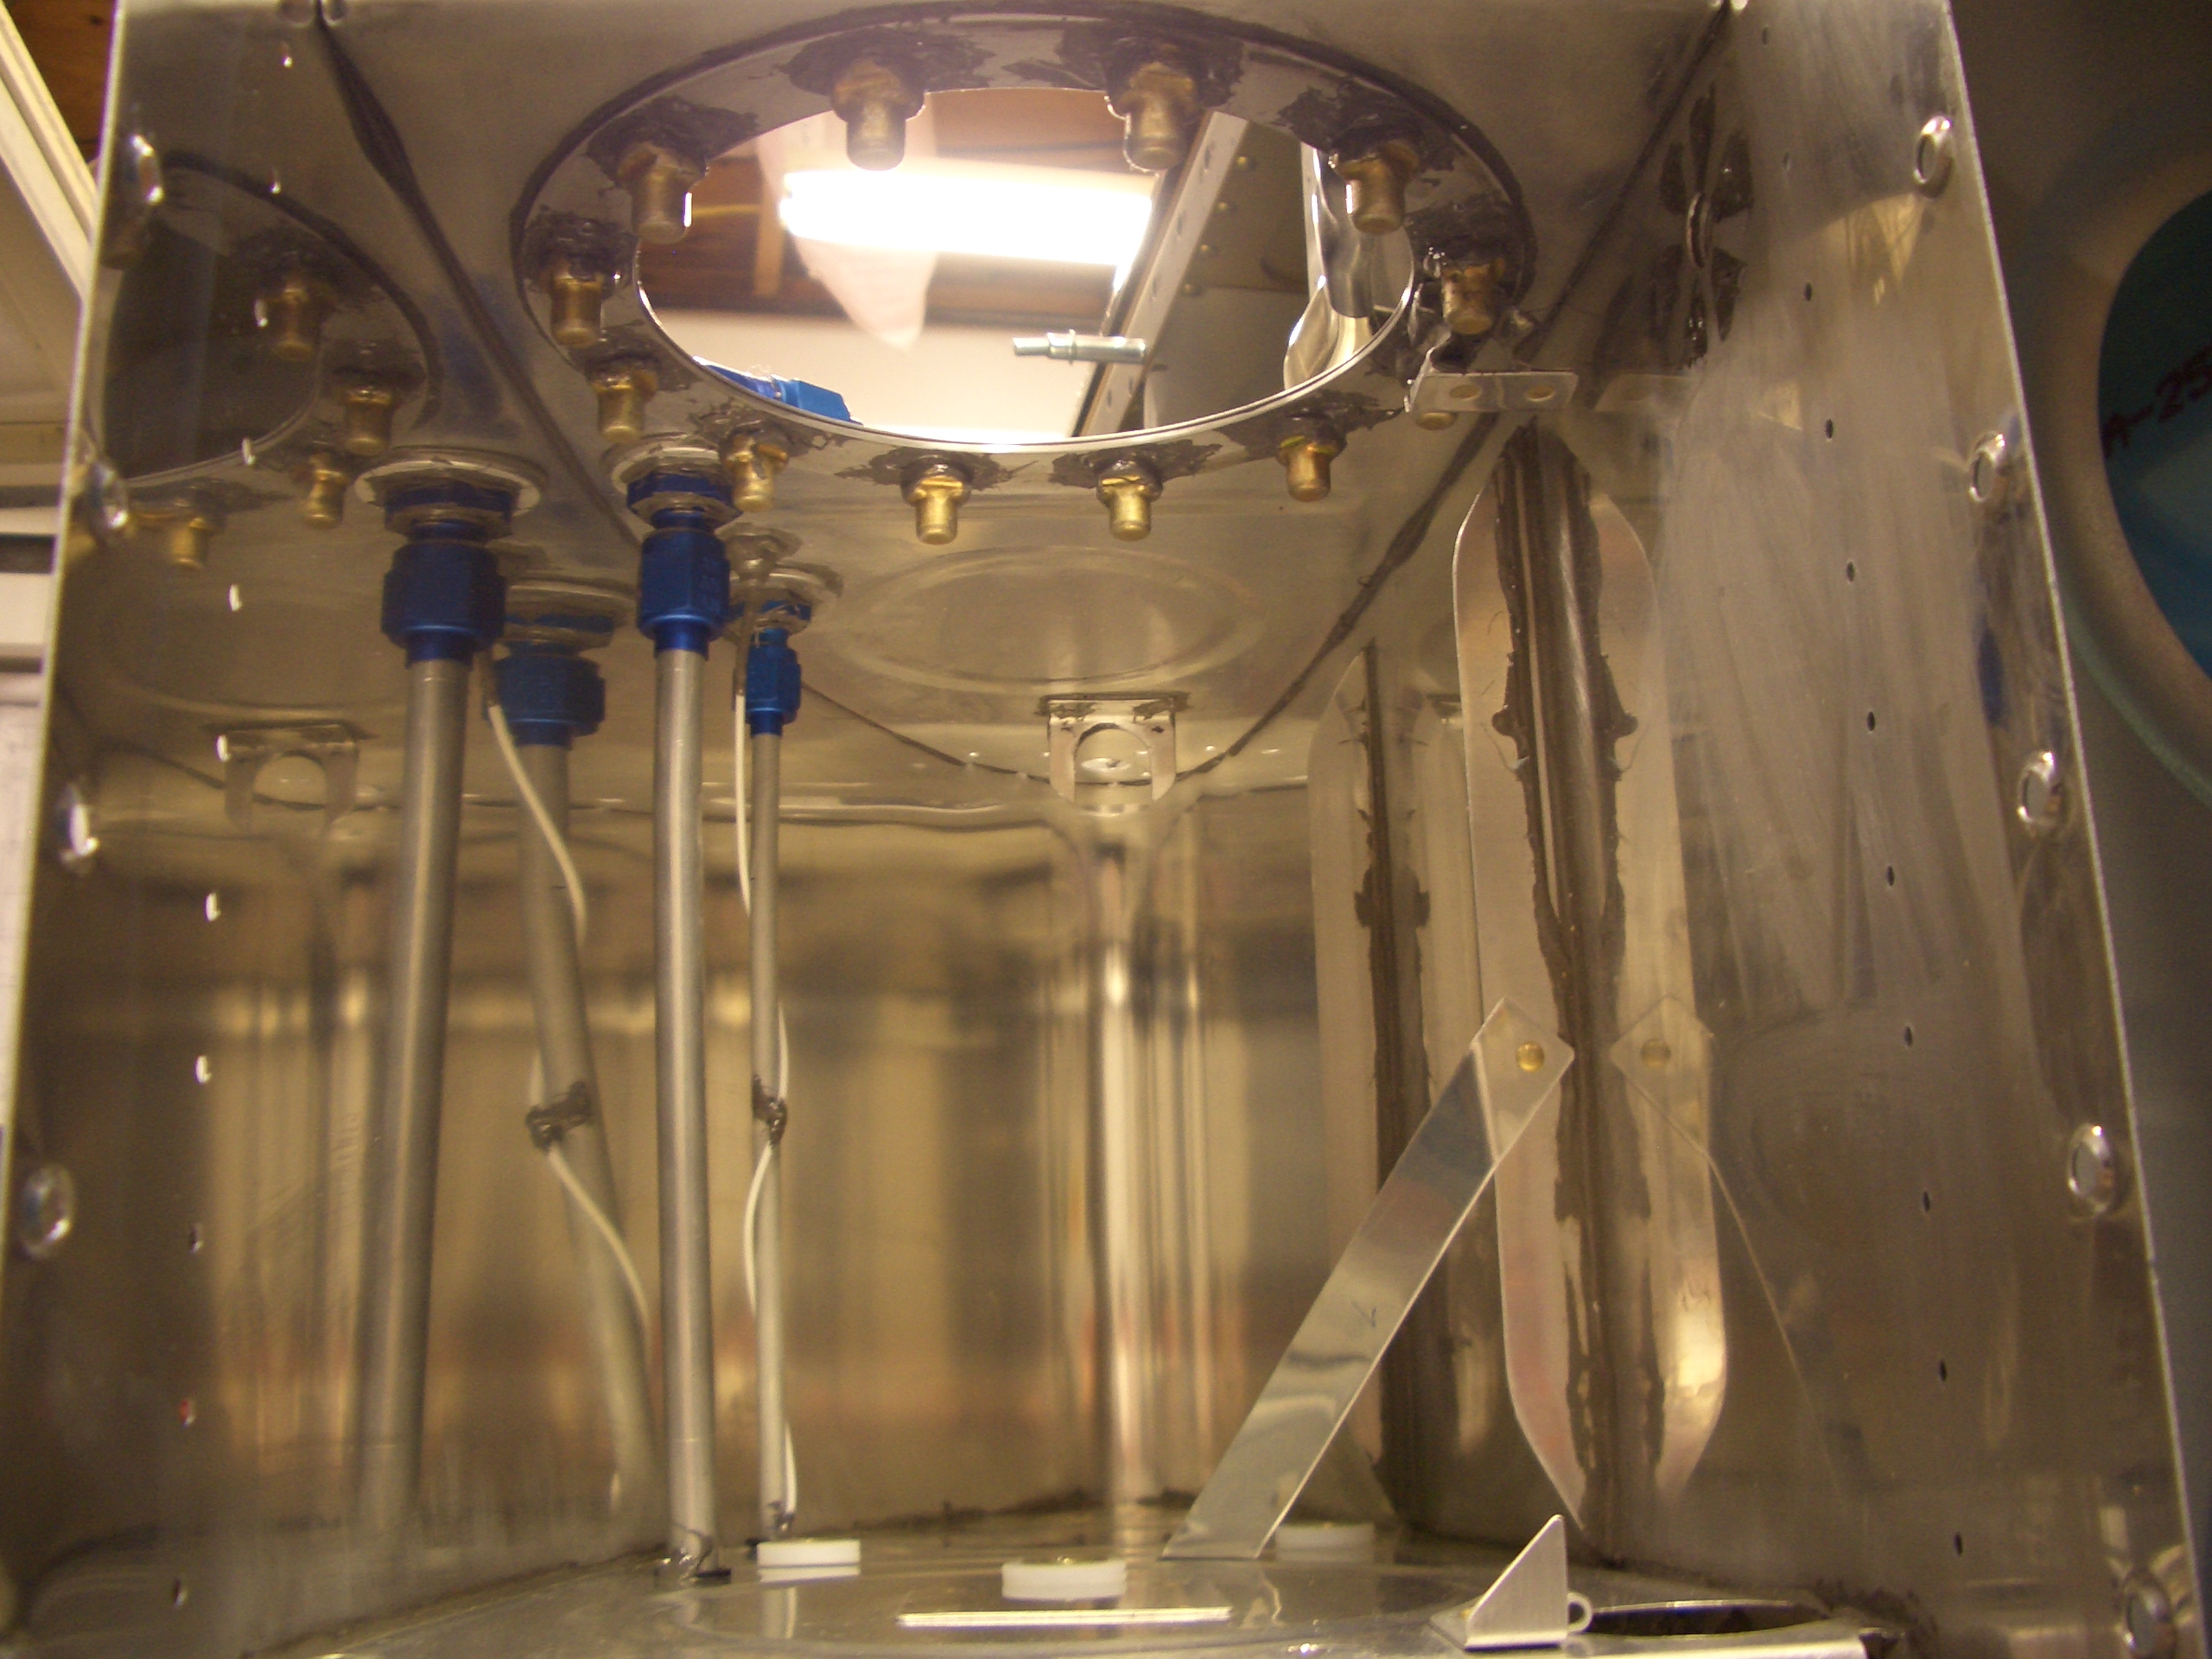
The wires from the BNC connector and the outboard sender plate come together in the second bay and are screwed to the inboard sender plate.  I’ll use some sealant to cover these terminals and secure the wires from moving.


Also, now that the vent line is in its final position, the end of the vent line can be bent up to the highest point in the tank.  This will allow the tank to hold the maximum amount of fuel possible before fuel starts draining out of the vent lines.  The vent lines will have a high point in the fuselage that is above this point to keep fuel from flowing overboard even if it gets into the vent line unless there is significant fuel expansion.

Riveted Remaining Fuel Tank Rib

I riveted the last rib on the fuel tanks (left inboard) and torqued the vent and return lines.  I also finished installing the capacitive sender plates and confirmed continuity between the two plates and the center pin of the BNC connectors on both tanks.  Other than cleaning the tanks, the tanks are ready to close!

.